When you click on links to various merchants on this site and make a purchase, this can result in this site earning a commission. Affiliate programs and affiliations include, but are not limited to, the eBay Partner Network.
So back in April of 2009 I got the crazy idea that it would be awesome to custom make an entire interior for my '84 928S 5 speed that looked like that of a Boxster. So, without much planning, I bought a bunch of Porsche Boxster donor parts from eBay and off I went...
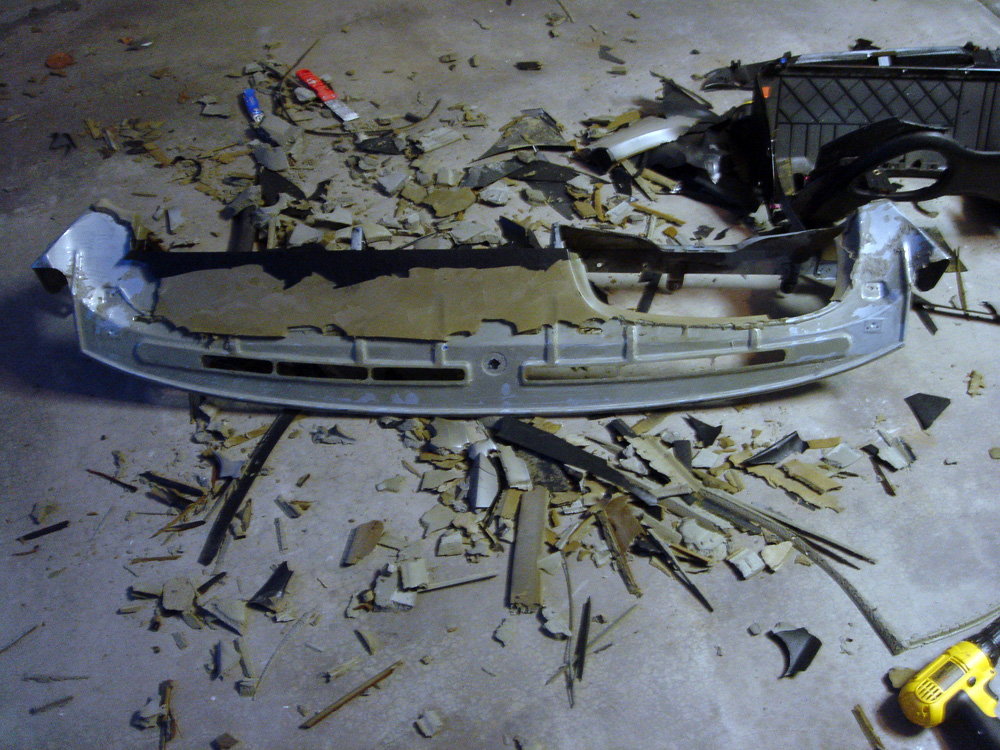
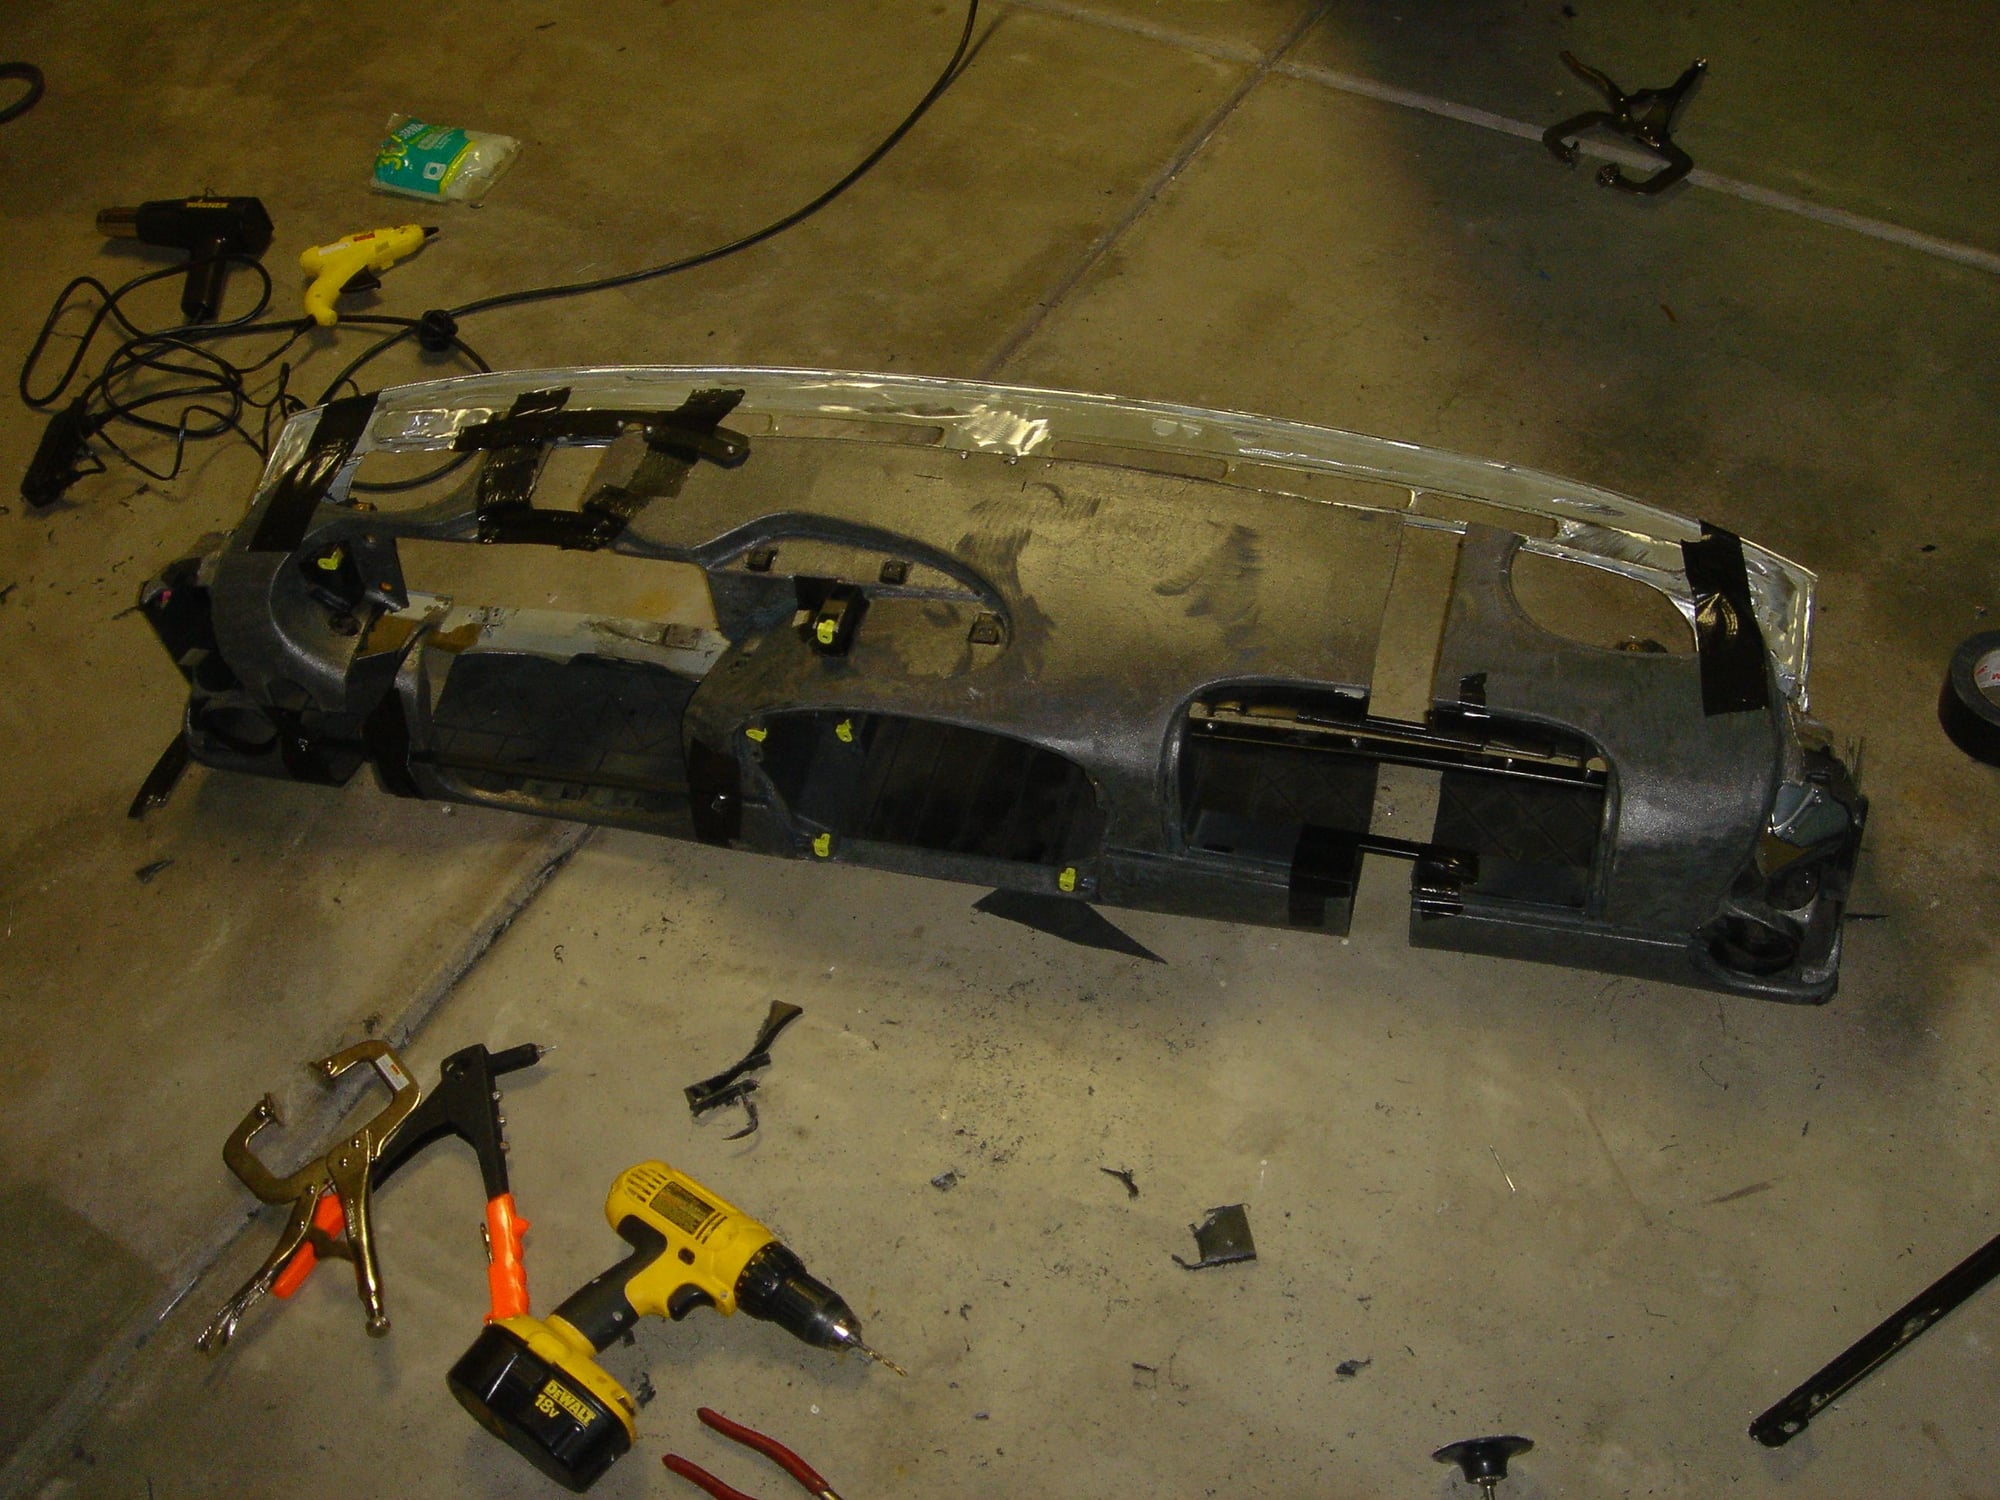
I started by stripping everything off of the metal 928 dash frame. It was a huge PITA. Took forever. I don't recommend it to anyone.
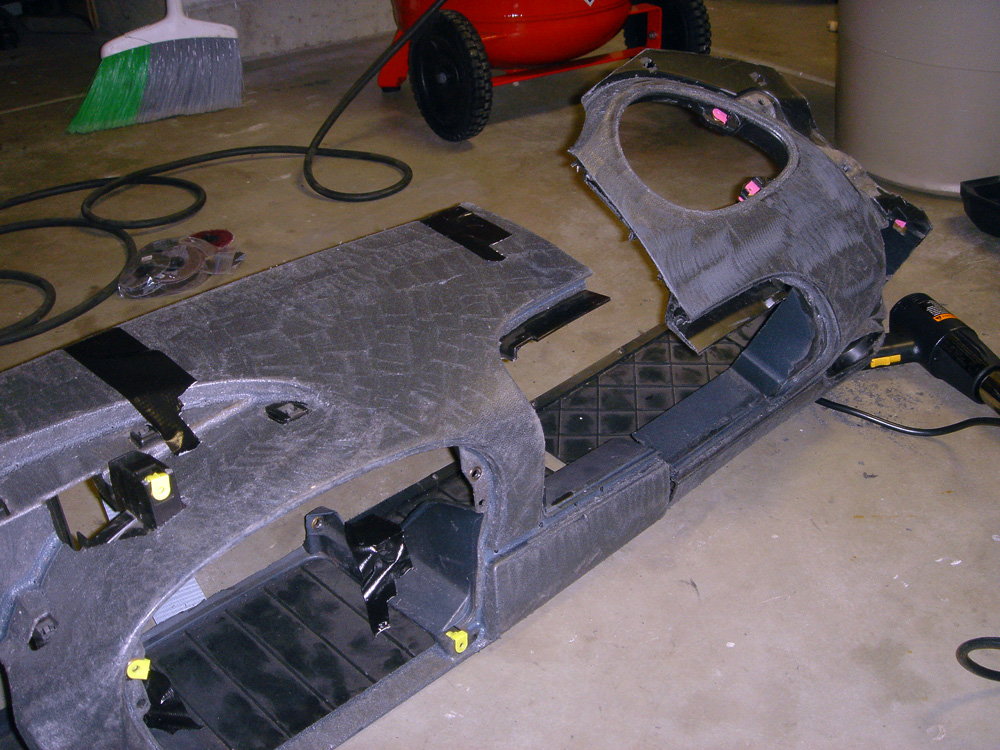
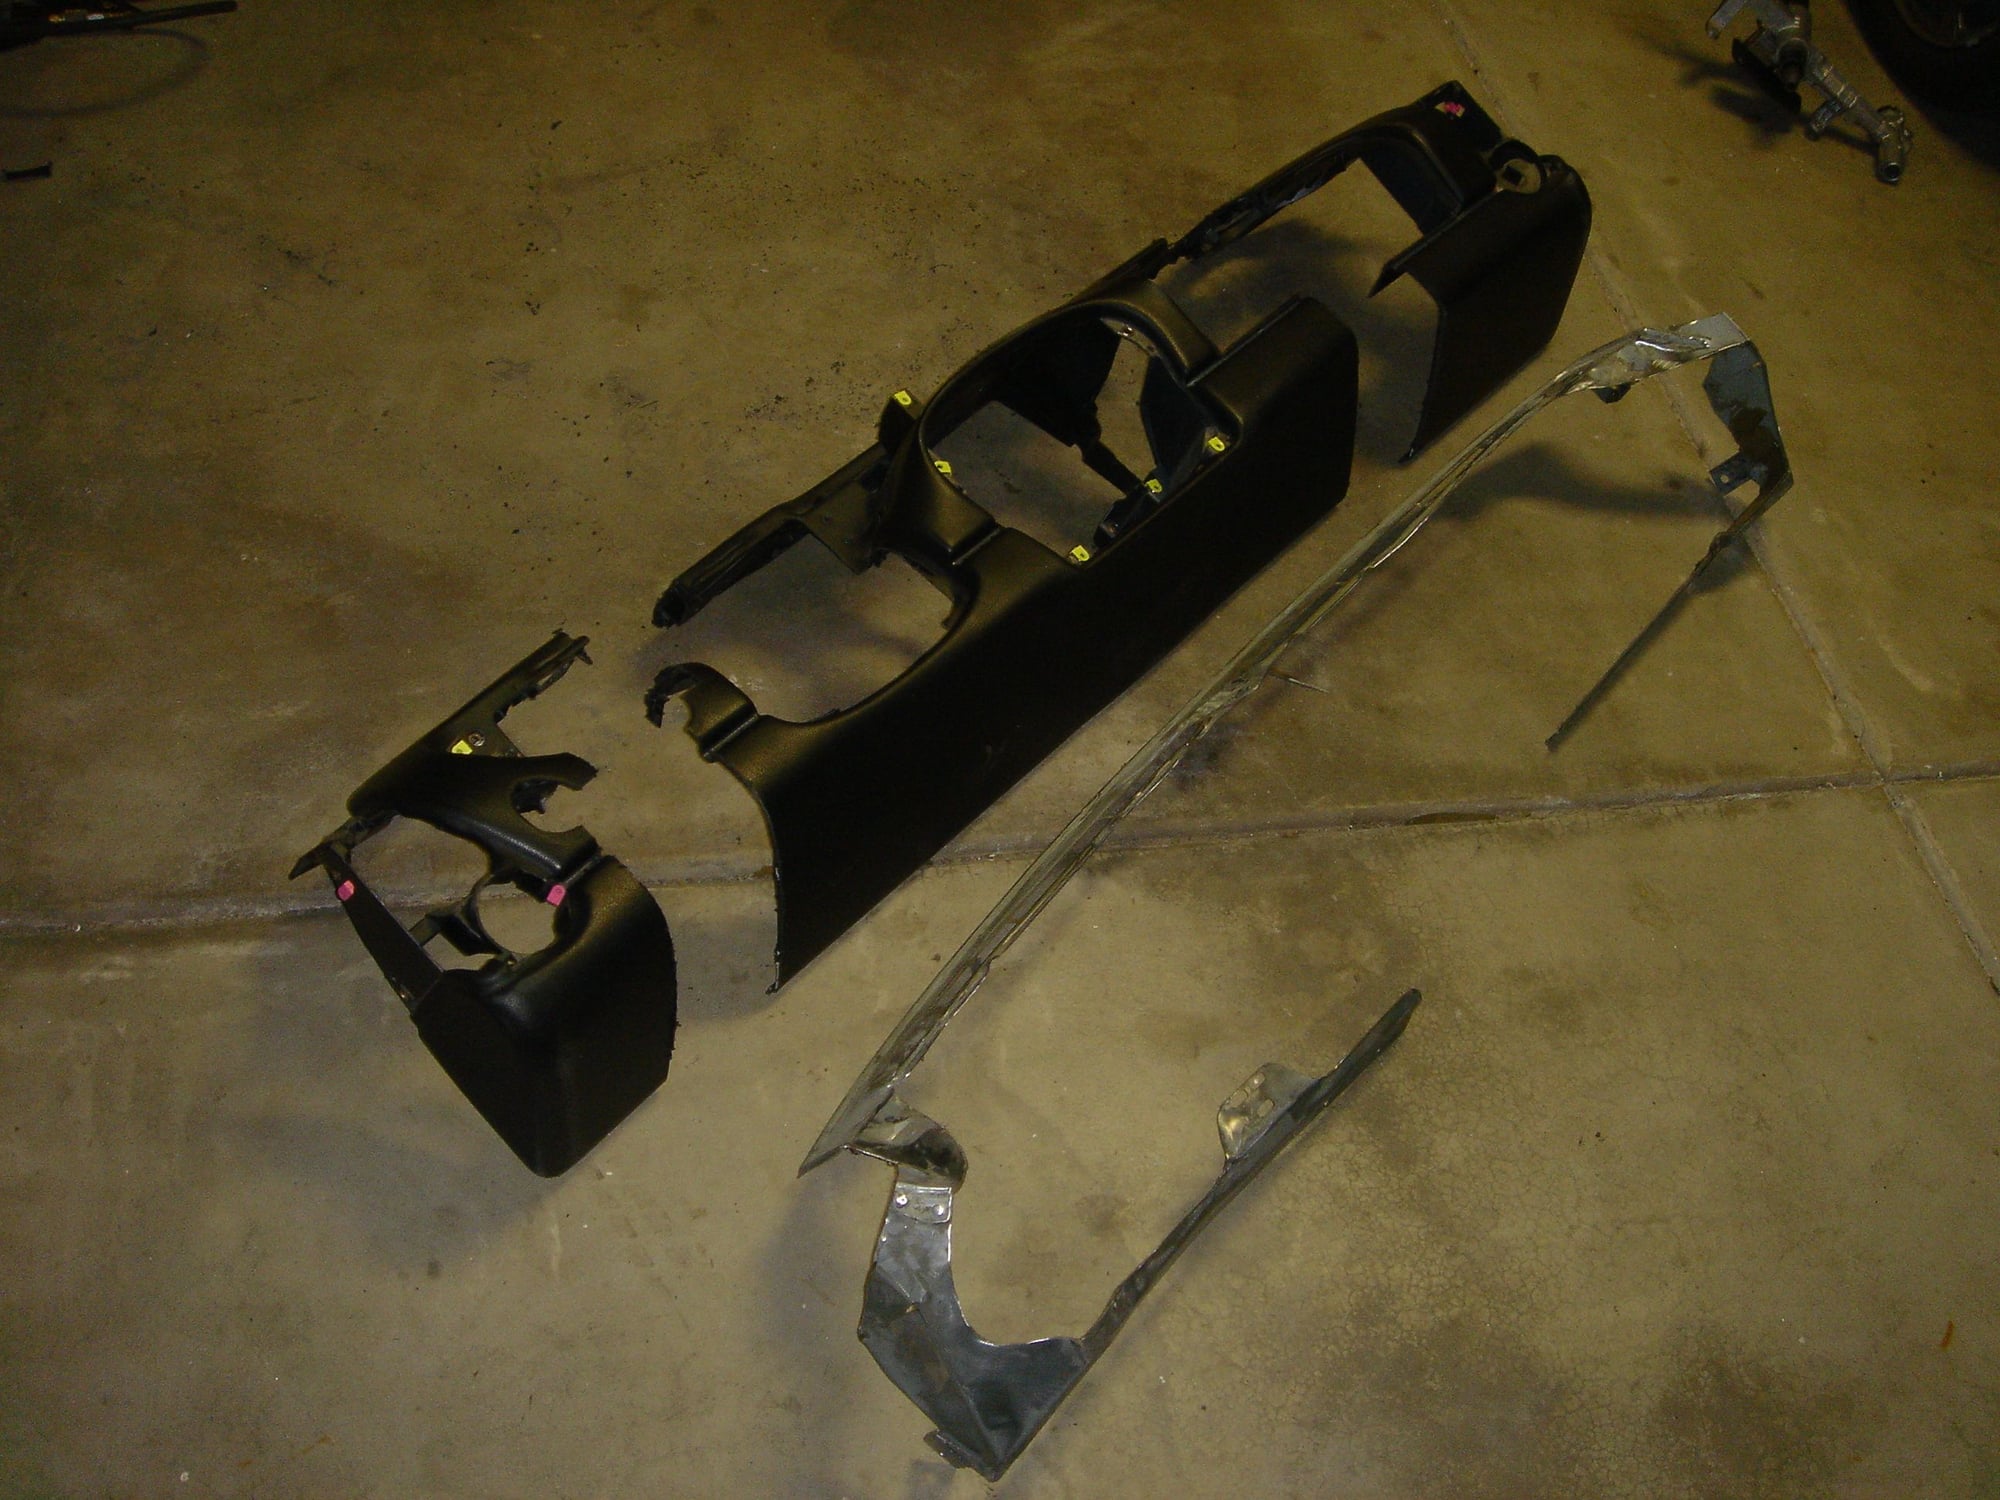
Then I repeated the process on the 986 dash and sectioned it in two places. I also cut out all of the 928 dash except for the perimeter mounting locations...
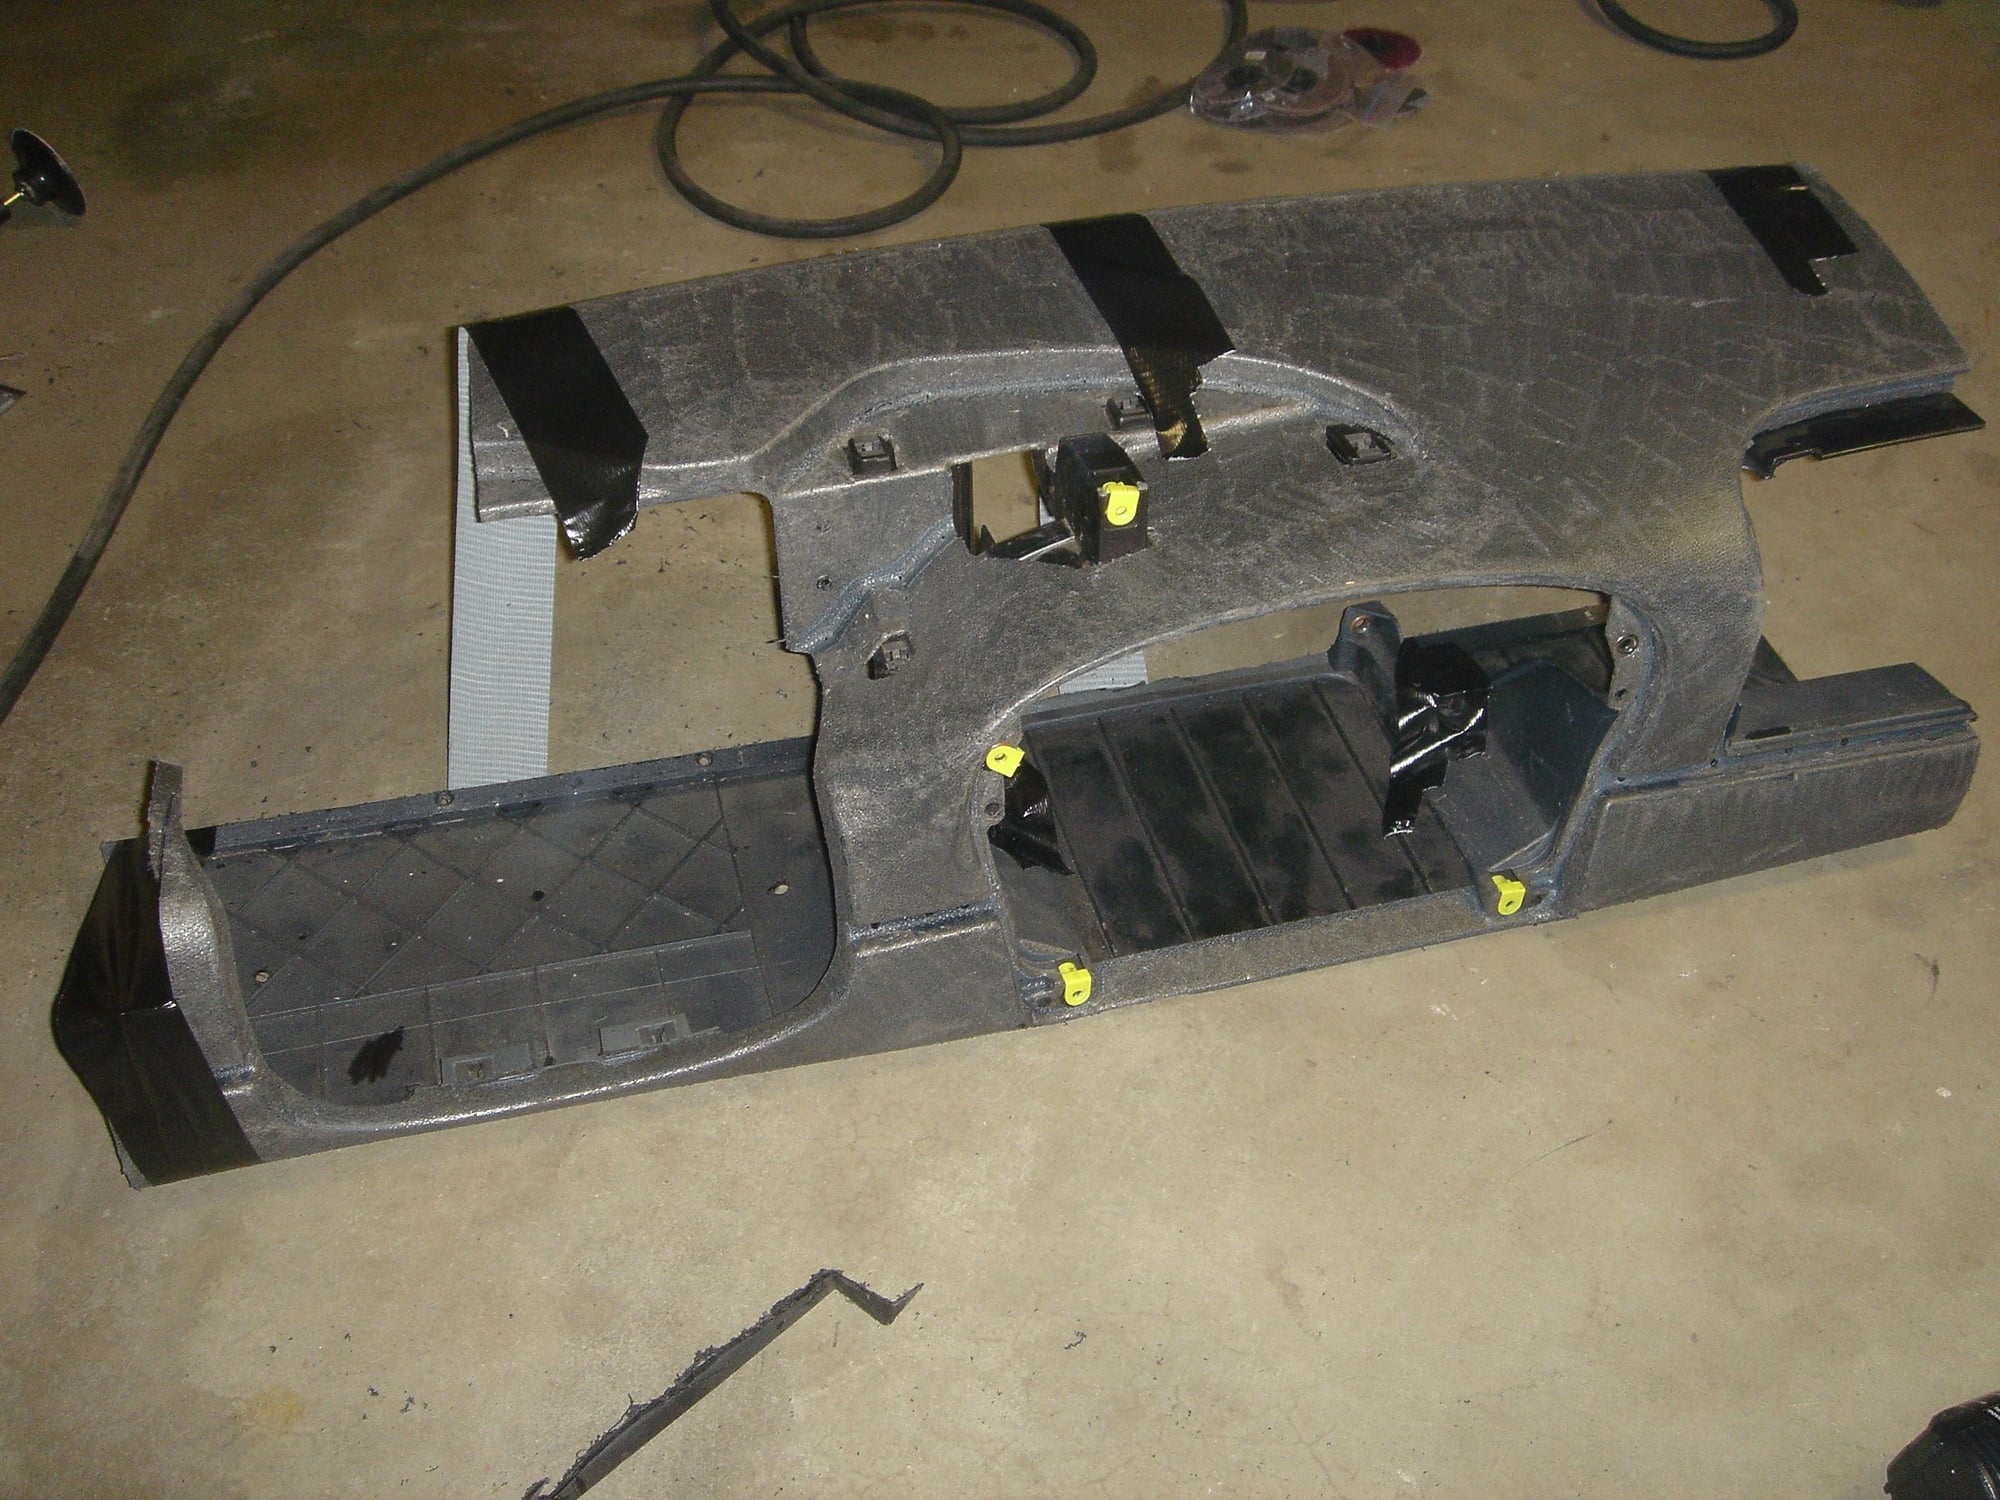
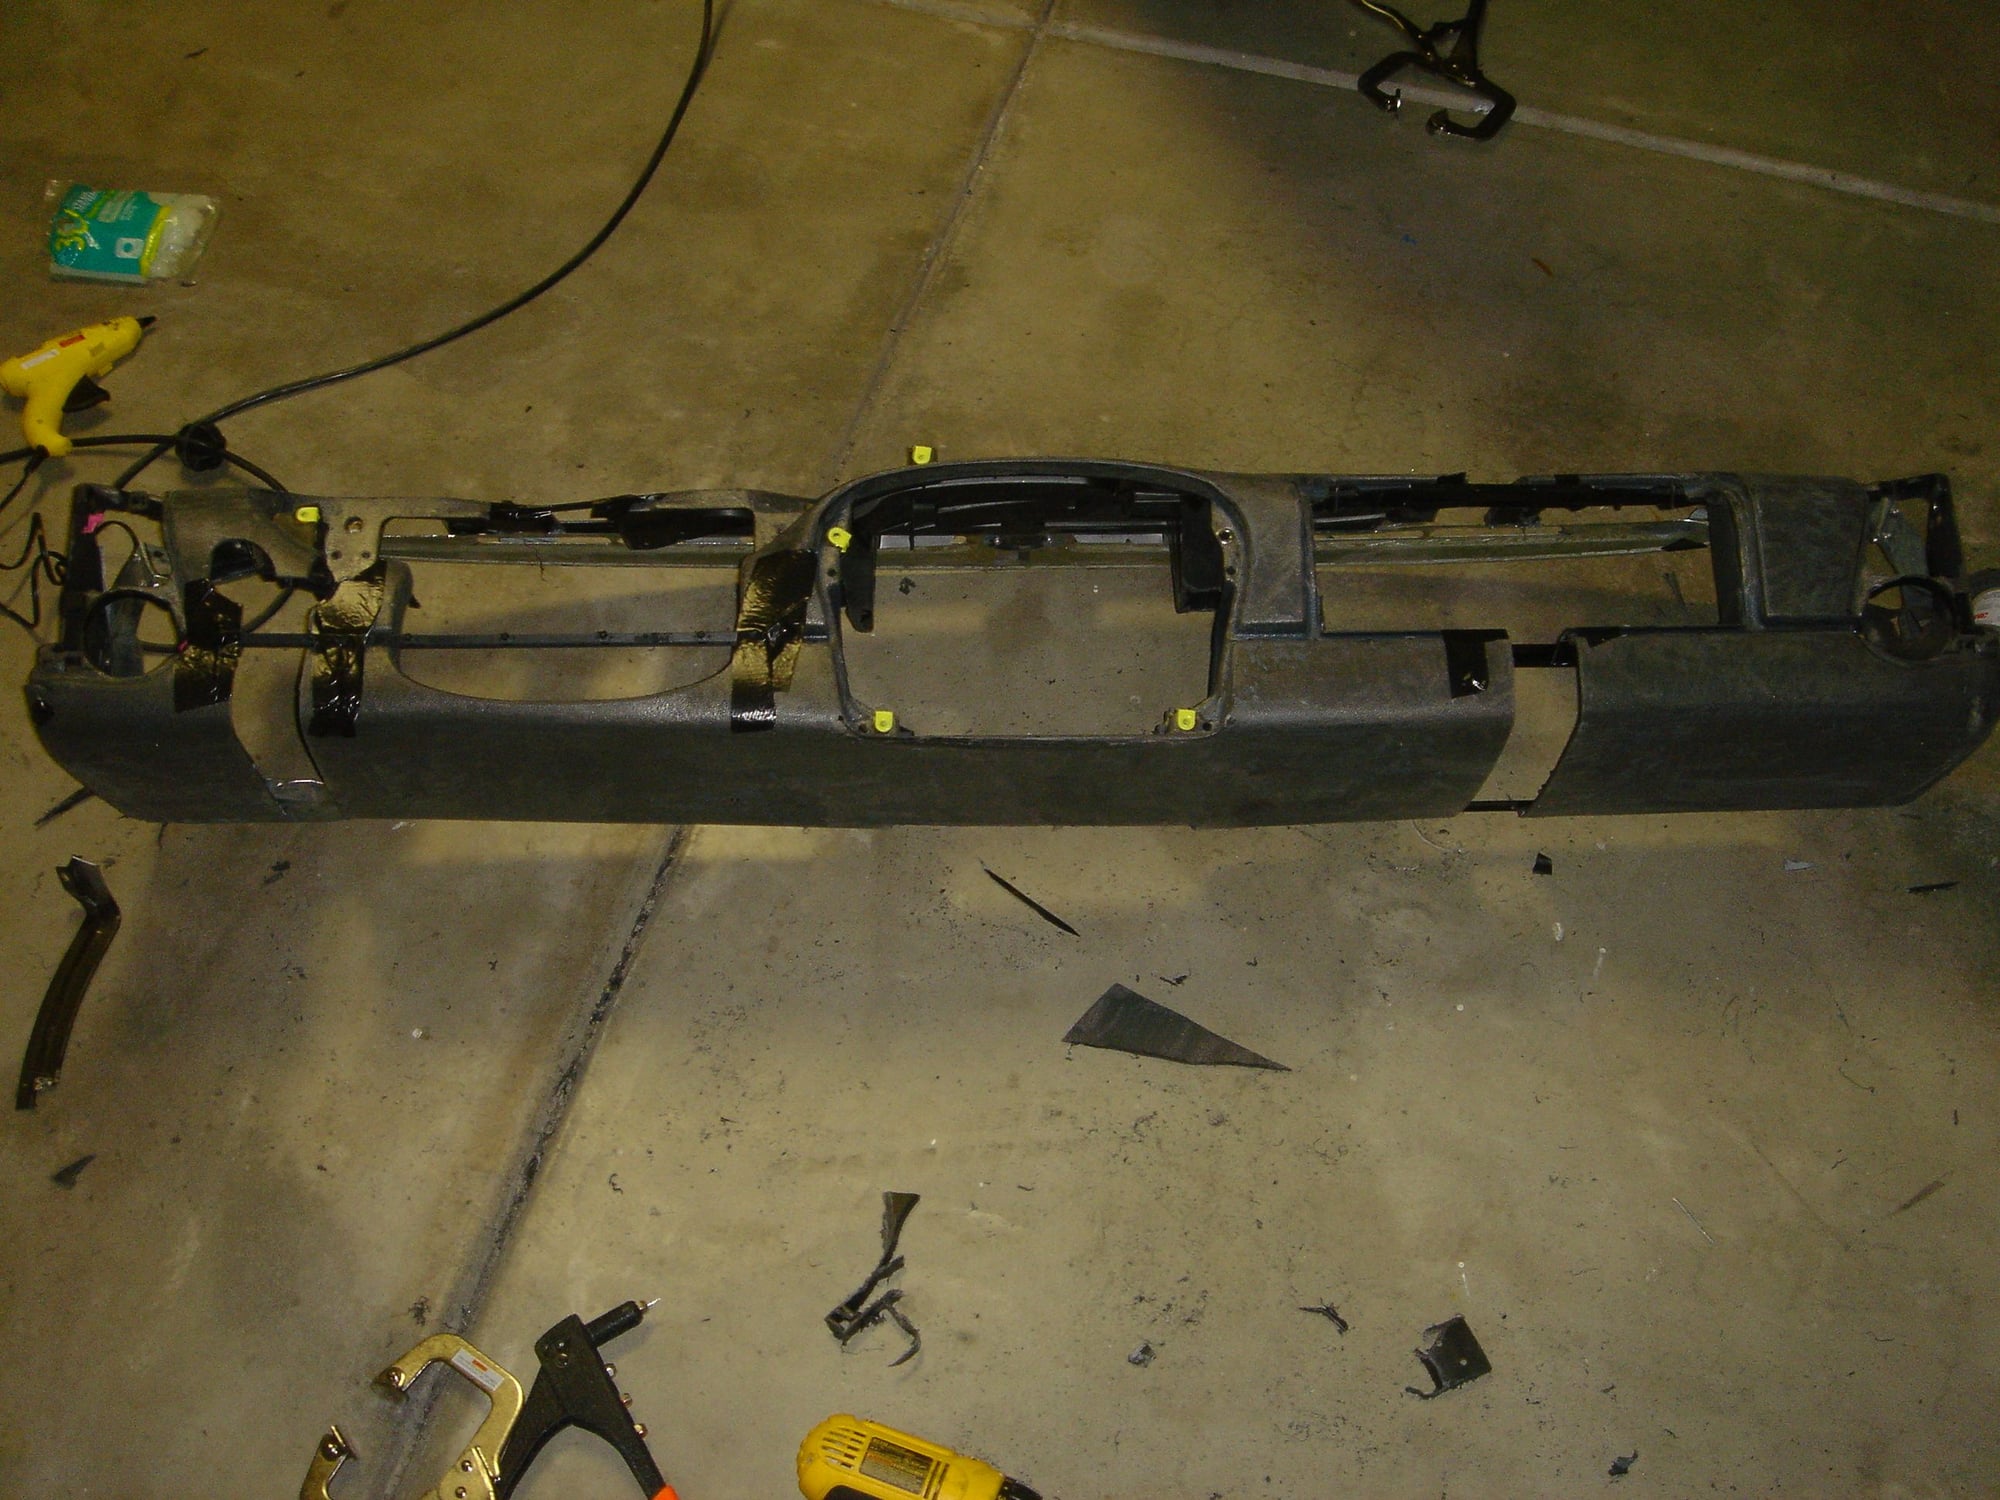
After seeing how best to lay these pieces out I temporarily fastened them to the metal frame of what remained of the 928 dash.
So after getting this far, I decided it would be best to do the door panels so I could make sure the dash properly aligned with them before I invested any more time into the dash...
Last edited by RennPartsDirect; 04-05-2017 at 05:48 PM.
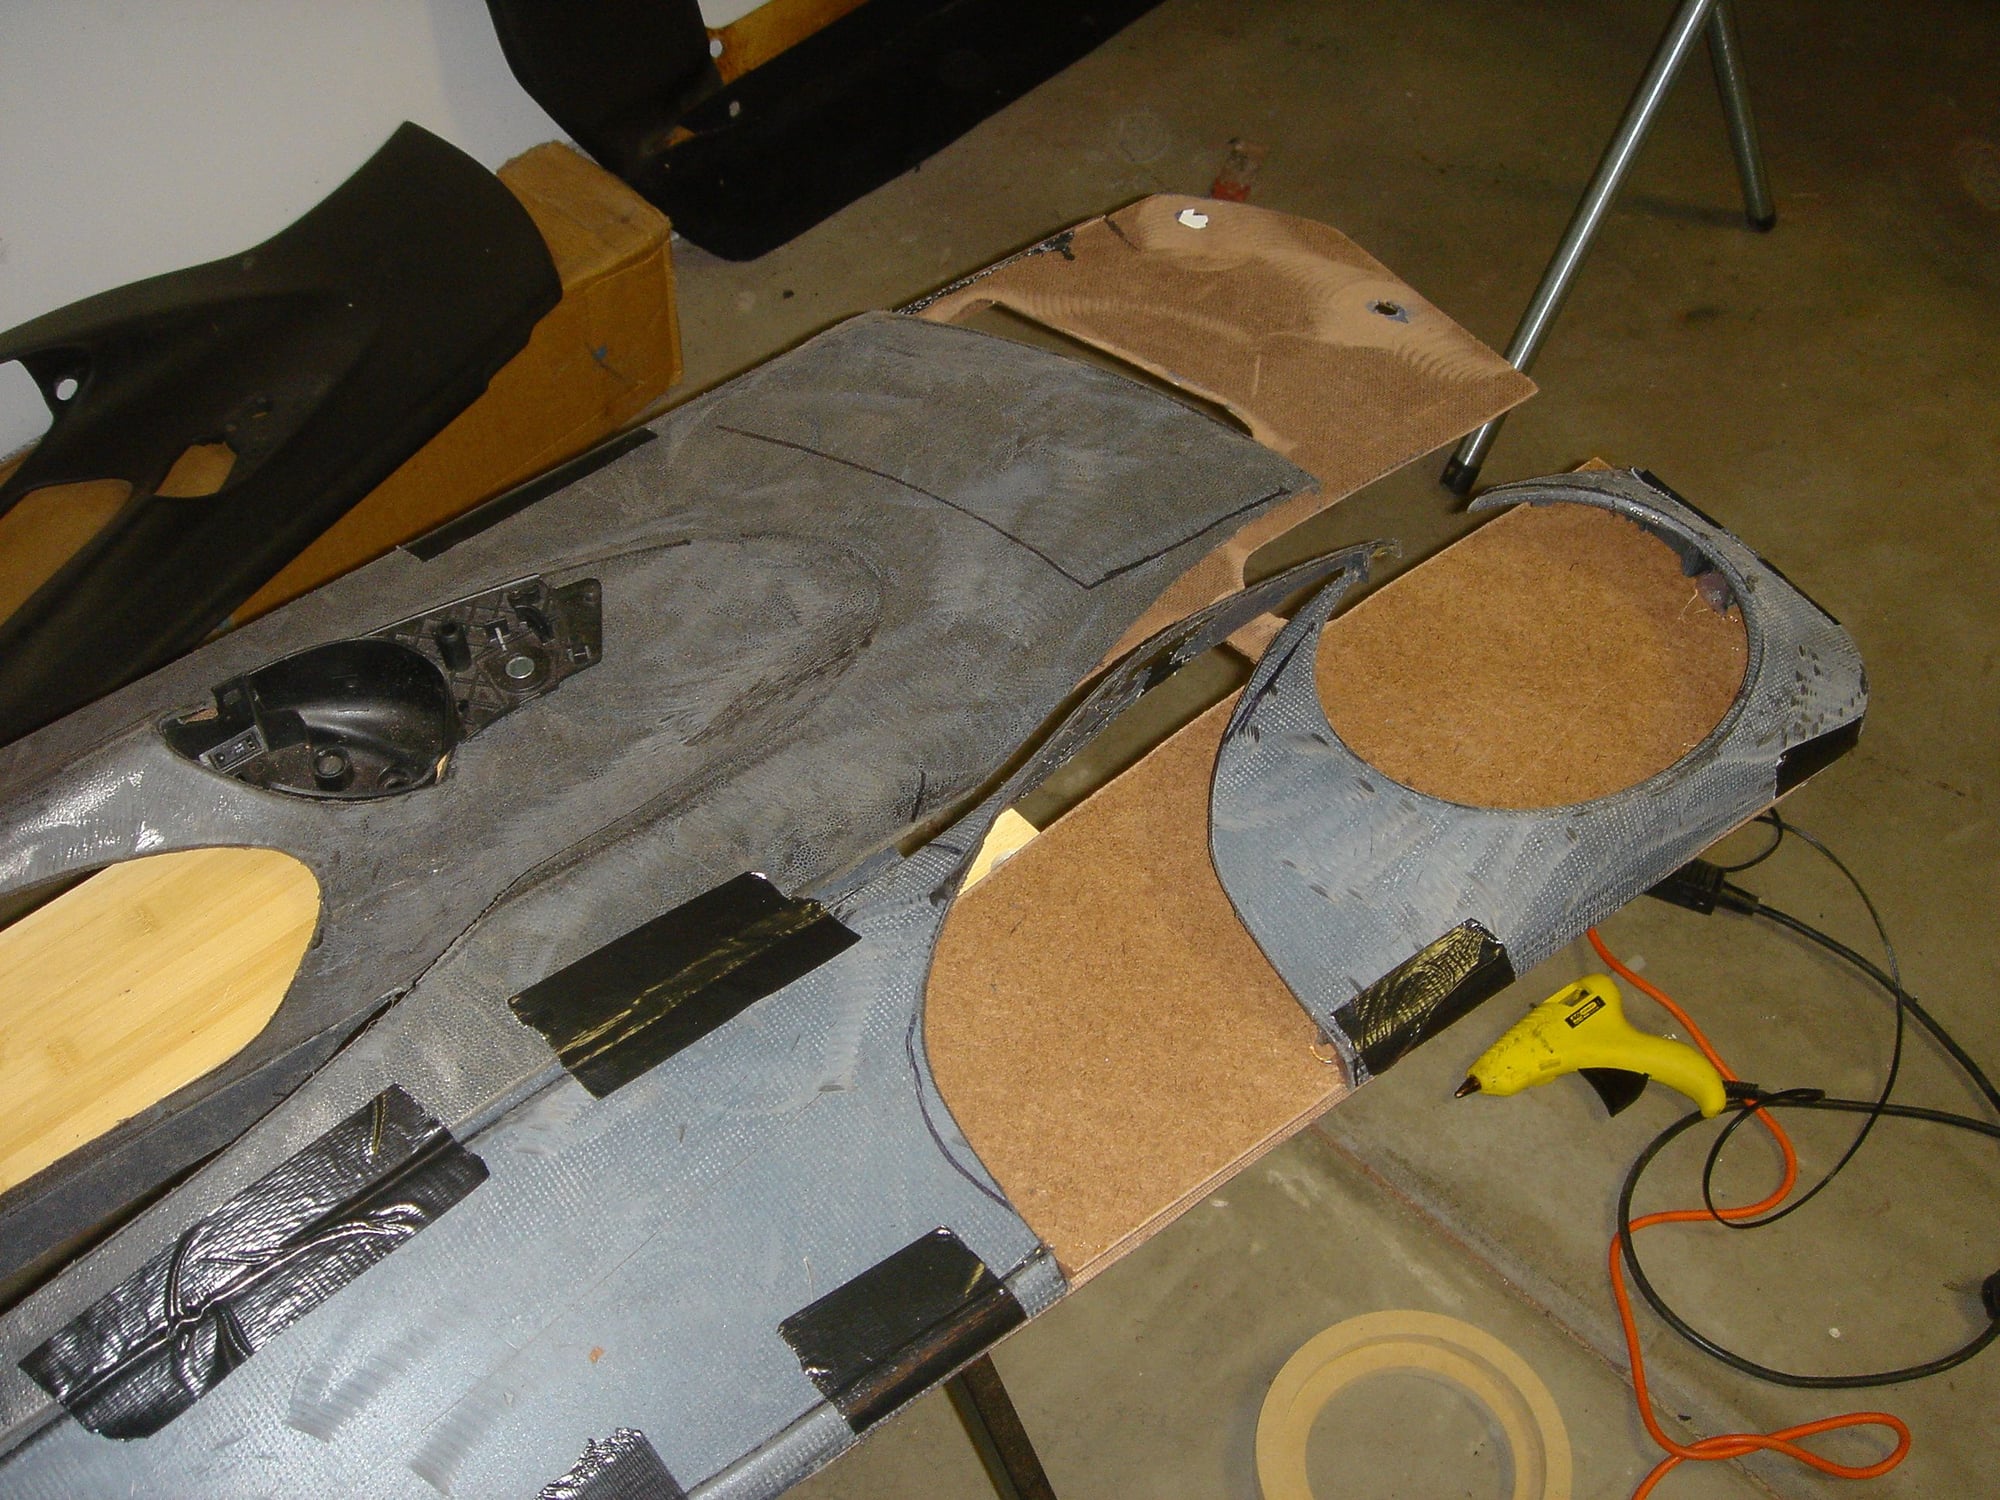
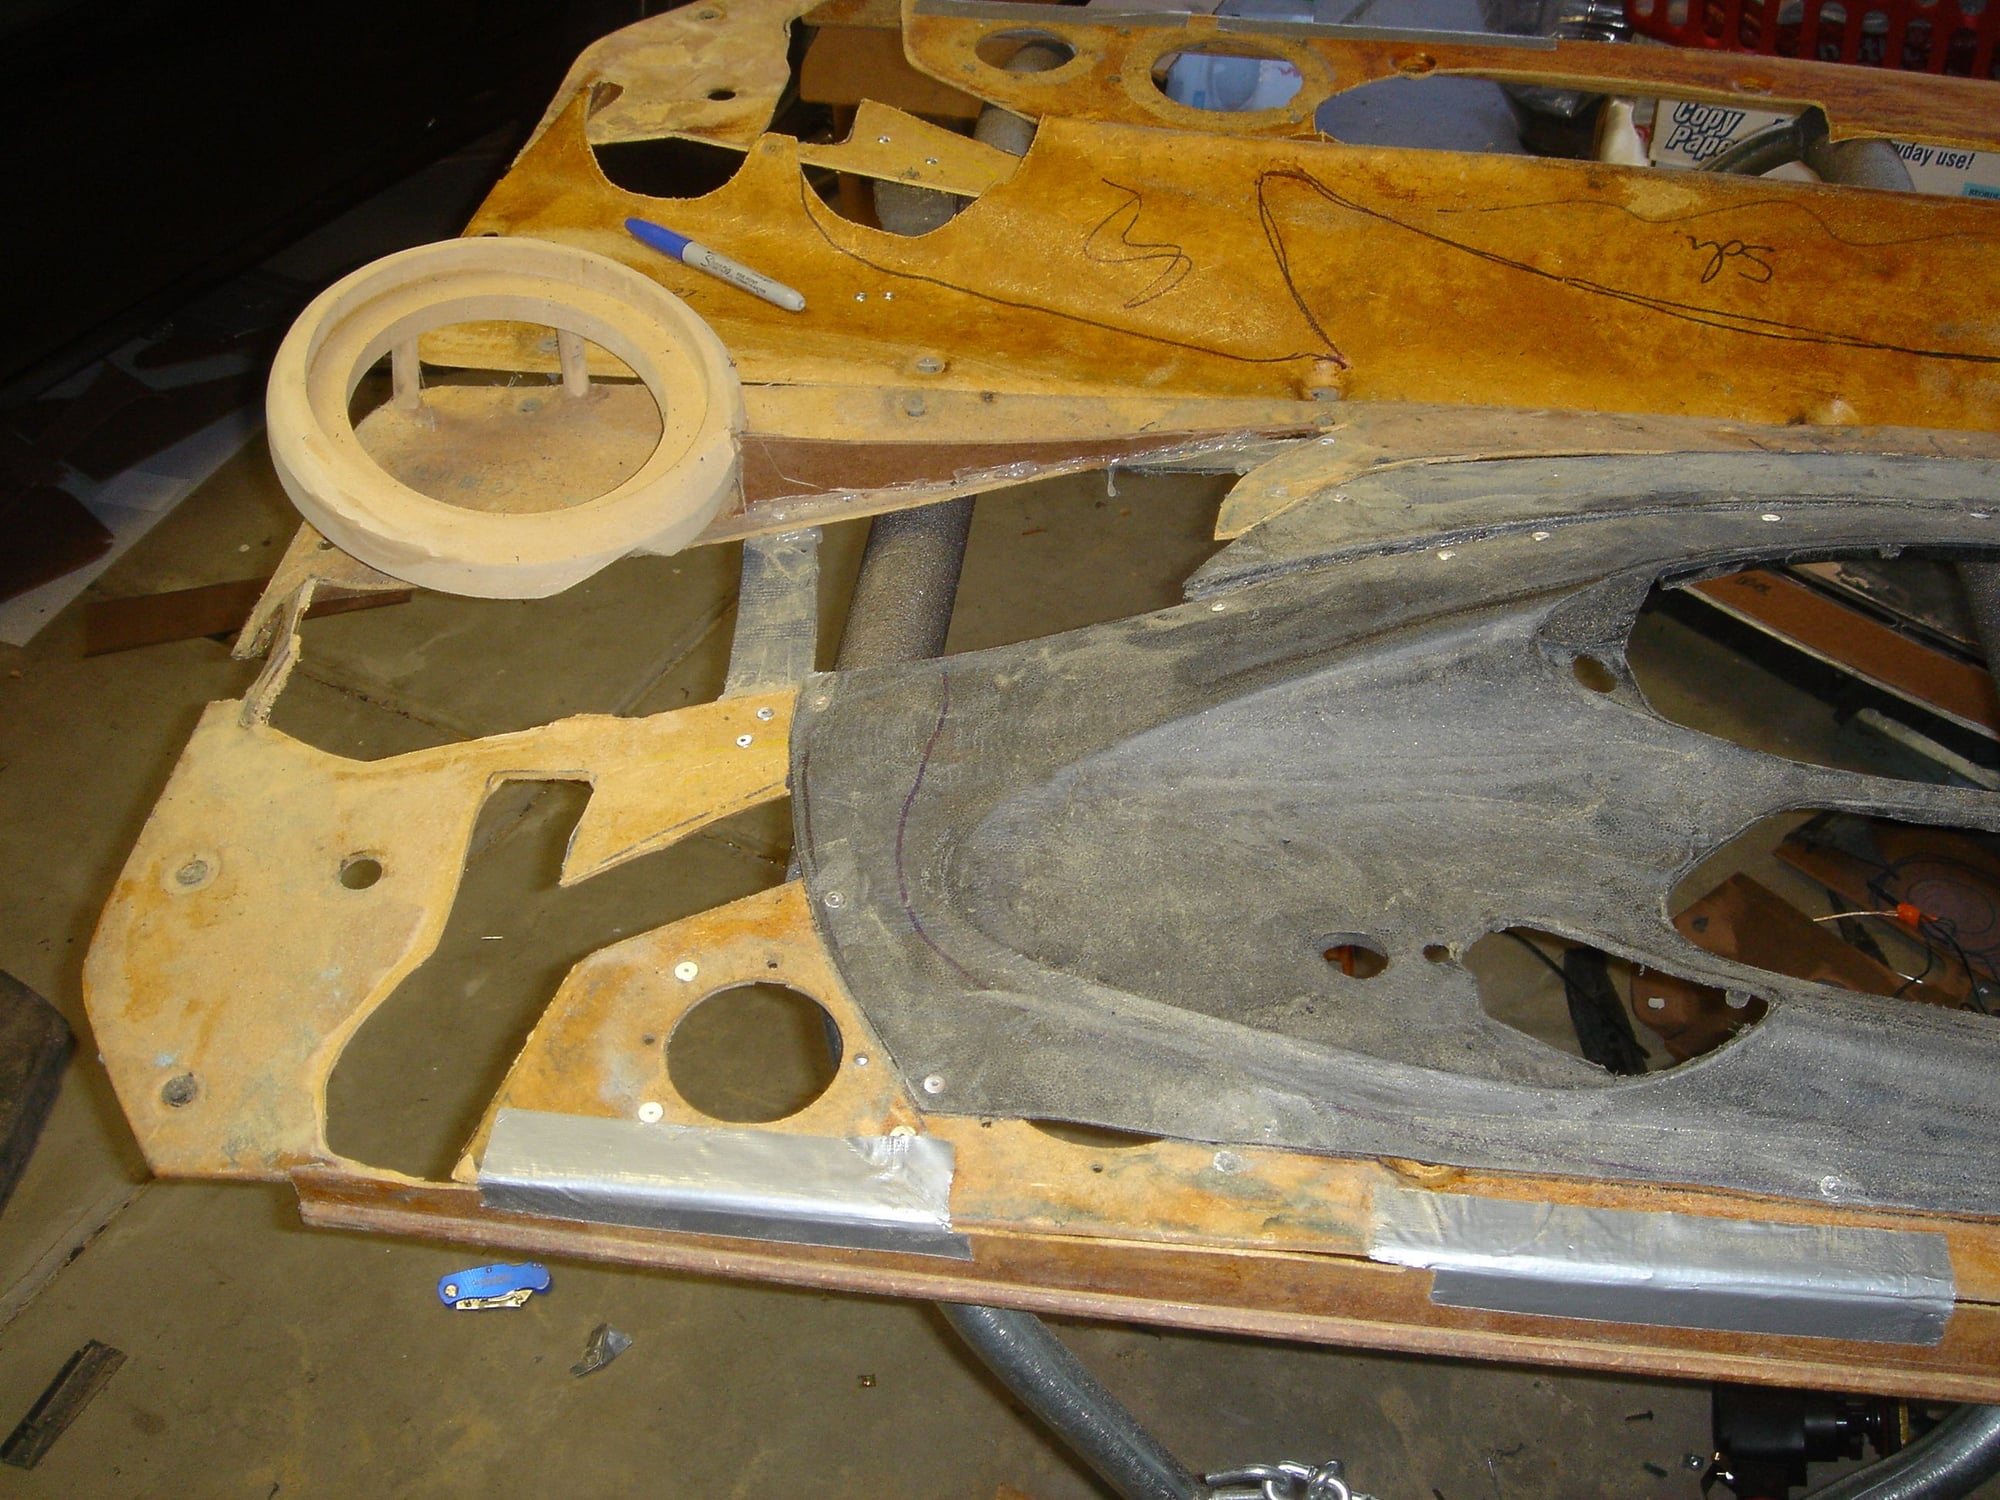
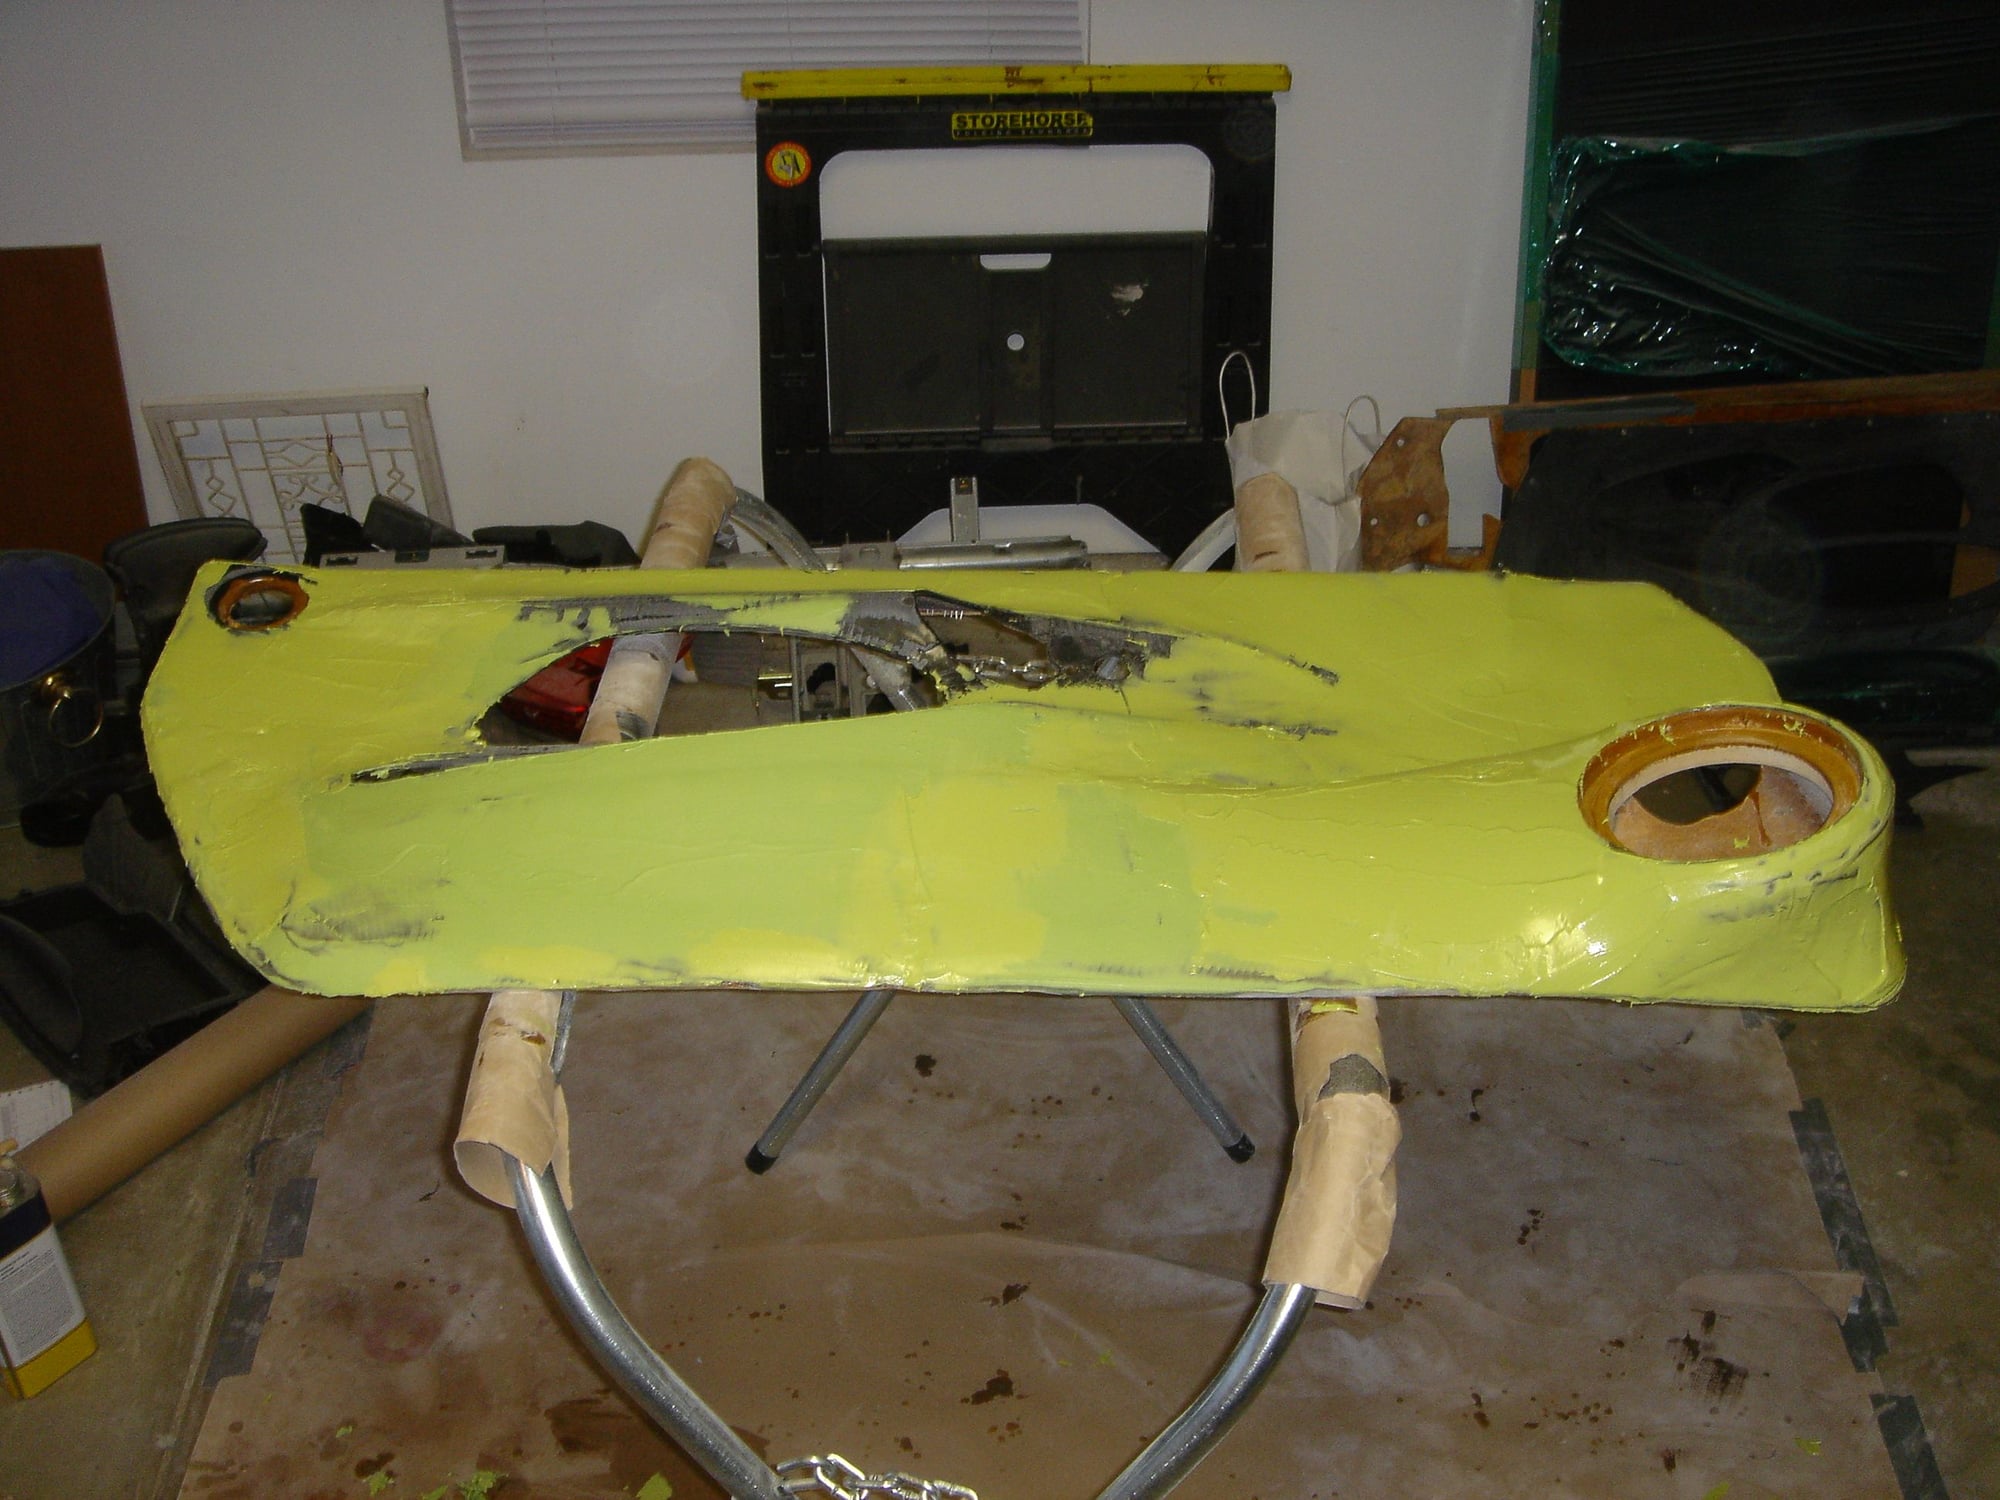
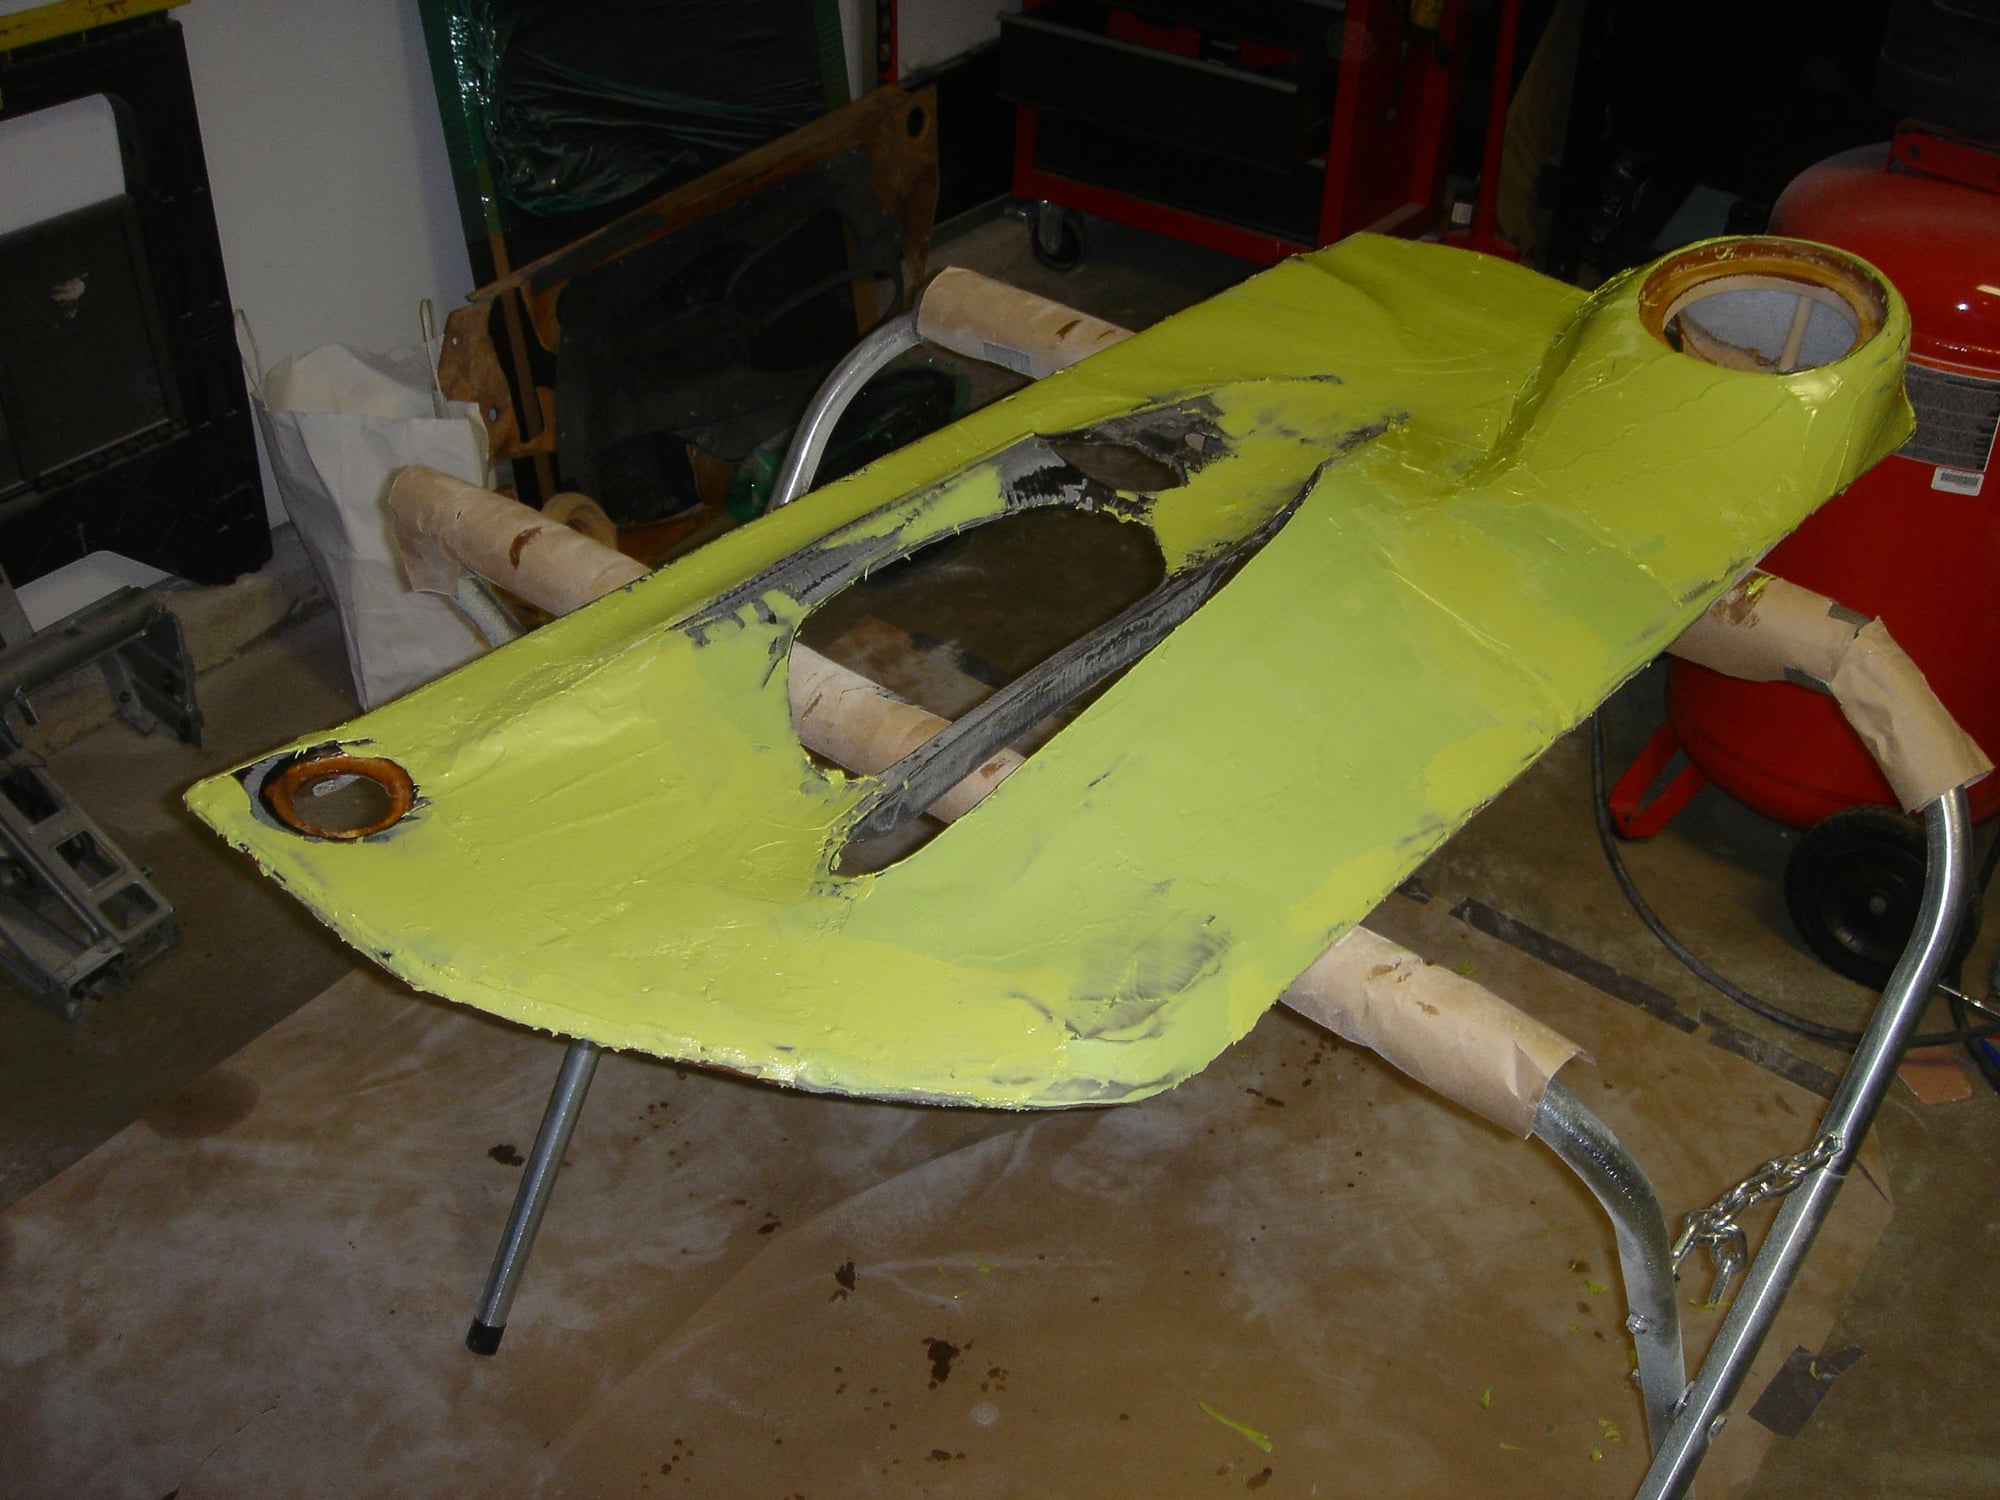
I stripped both the factory 928 and 986 door panels and then sectioned the 986 panel to maintain the shape as best I could. I cut out a lot of the interior portion of the factory 928 panel in the process. After playing around with the layout I temporarily secured what remained of the 986 panel to the 928 panel...
Once I was happy with the placement of the 986 panel I fit a speaker ring into the lower corner and started the process on the passenger door panel.
Lots of rivets... and hot glue.
Last edited by RennPartsDirect; 05-29-2015 at 12:50 AM.
As I sat and admired my efforts I quickly decided that I did not like where this was headed... It was too custom. I wanted it to look like it came from the factory. What I'd created was far from a factory look.
So, I started over. But this time I bought a bunch of Cayman S interior parts...
Last edited by RennPartsDirect; 05-29-2015 at 01:50 AM.
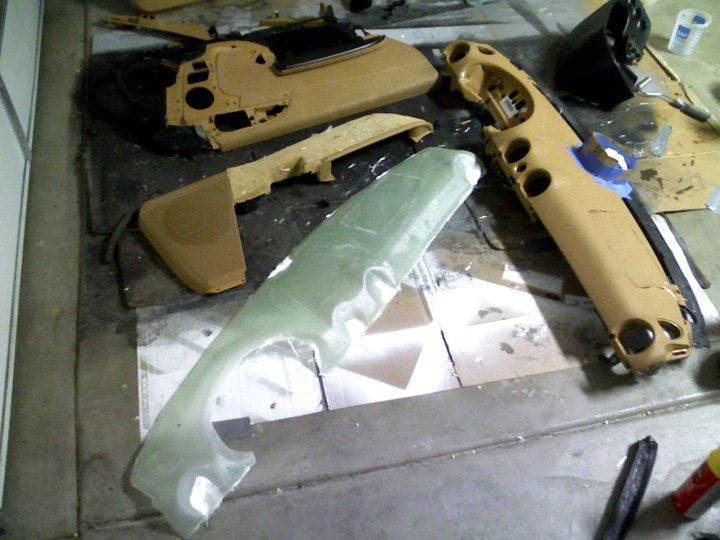
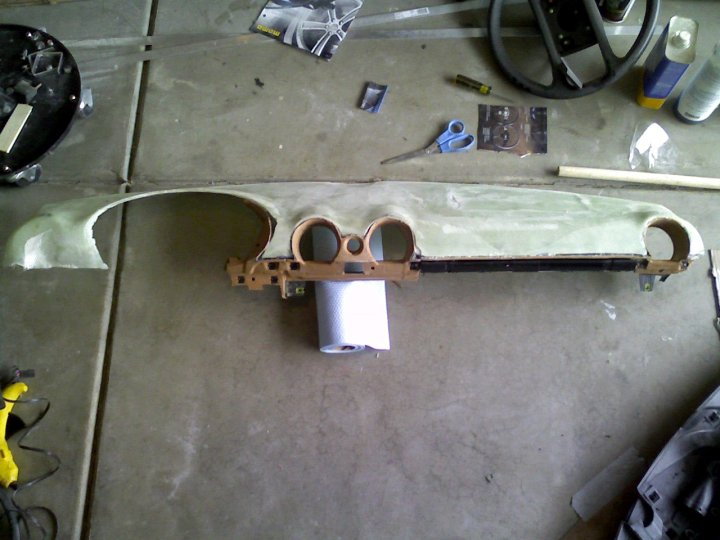
This time around I decided to make a mold of the original Cayman dash instead of cutting it into pieces. The 987 dash is quite heavy. Lots of thick plastic and other internal geometry that I decided wasn't necessary. So after making a mold of the dash I cut out all but the geometry around the dash vents that interfaced with the lower left and right dash sections...
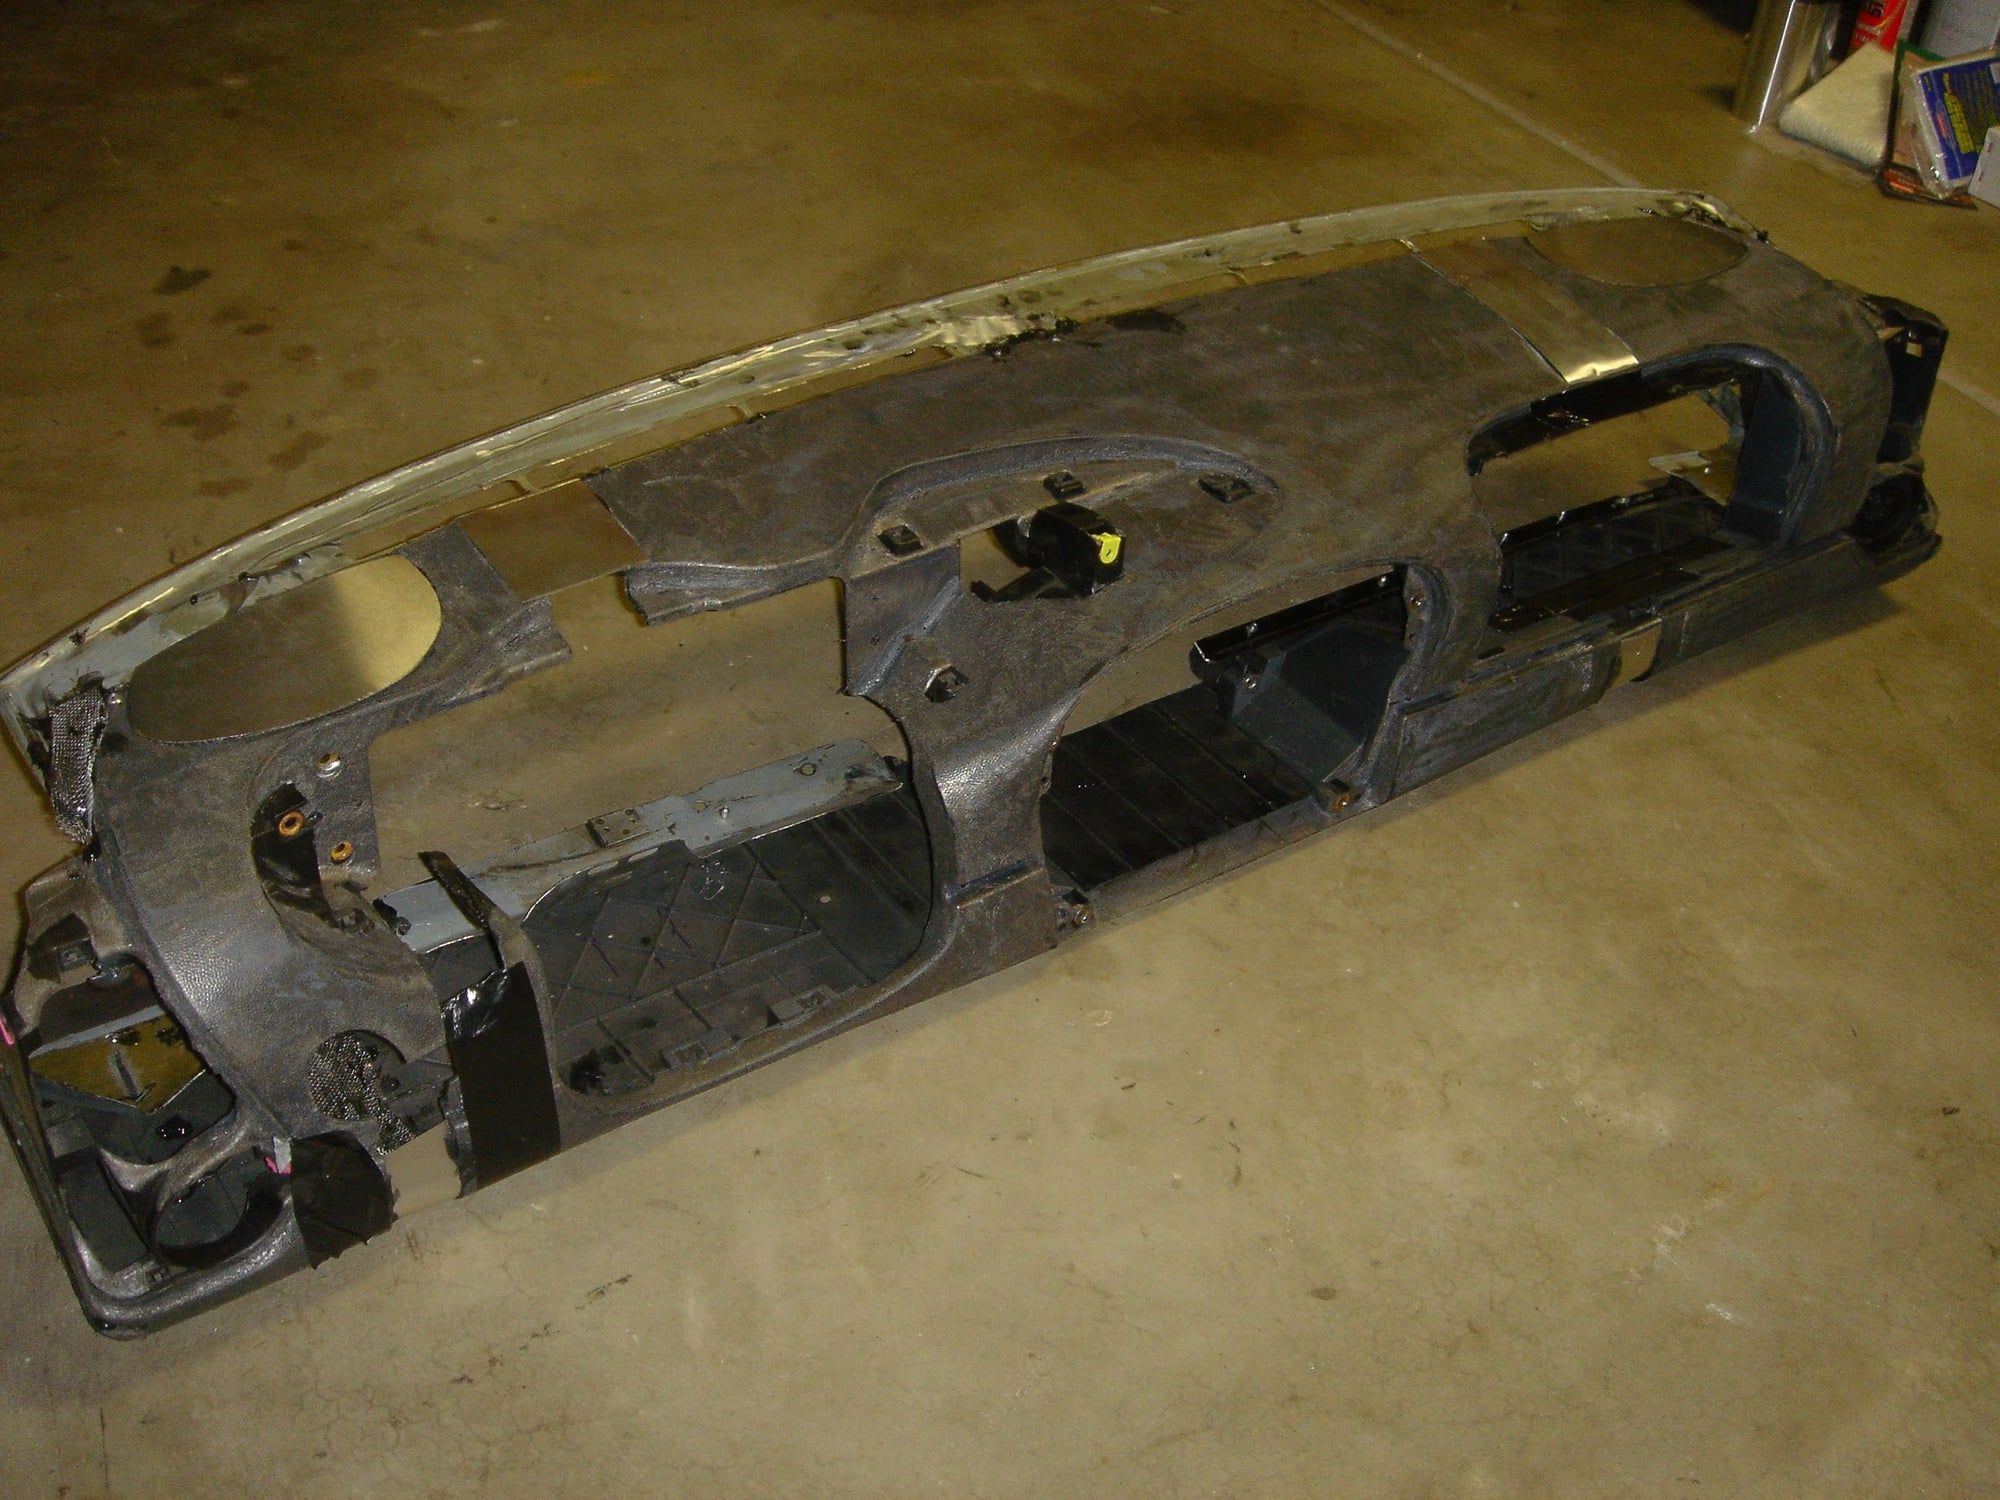
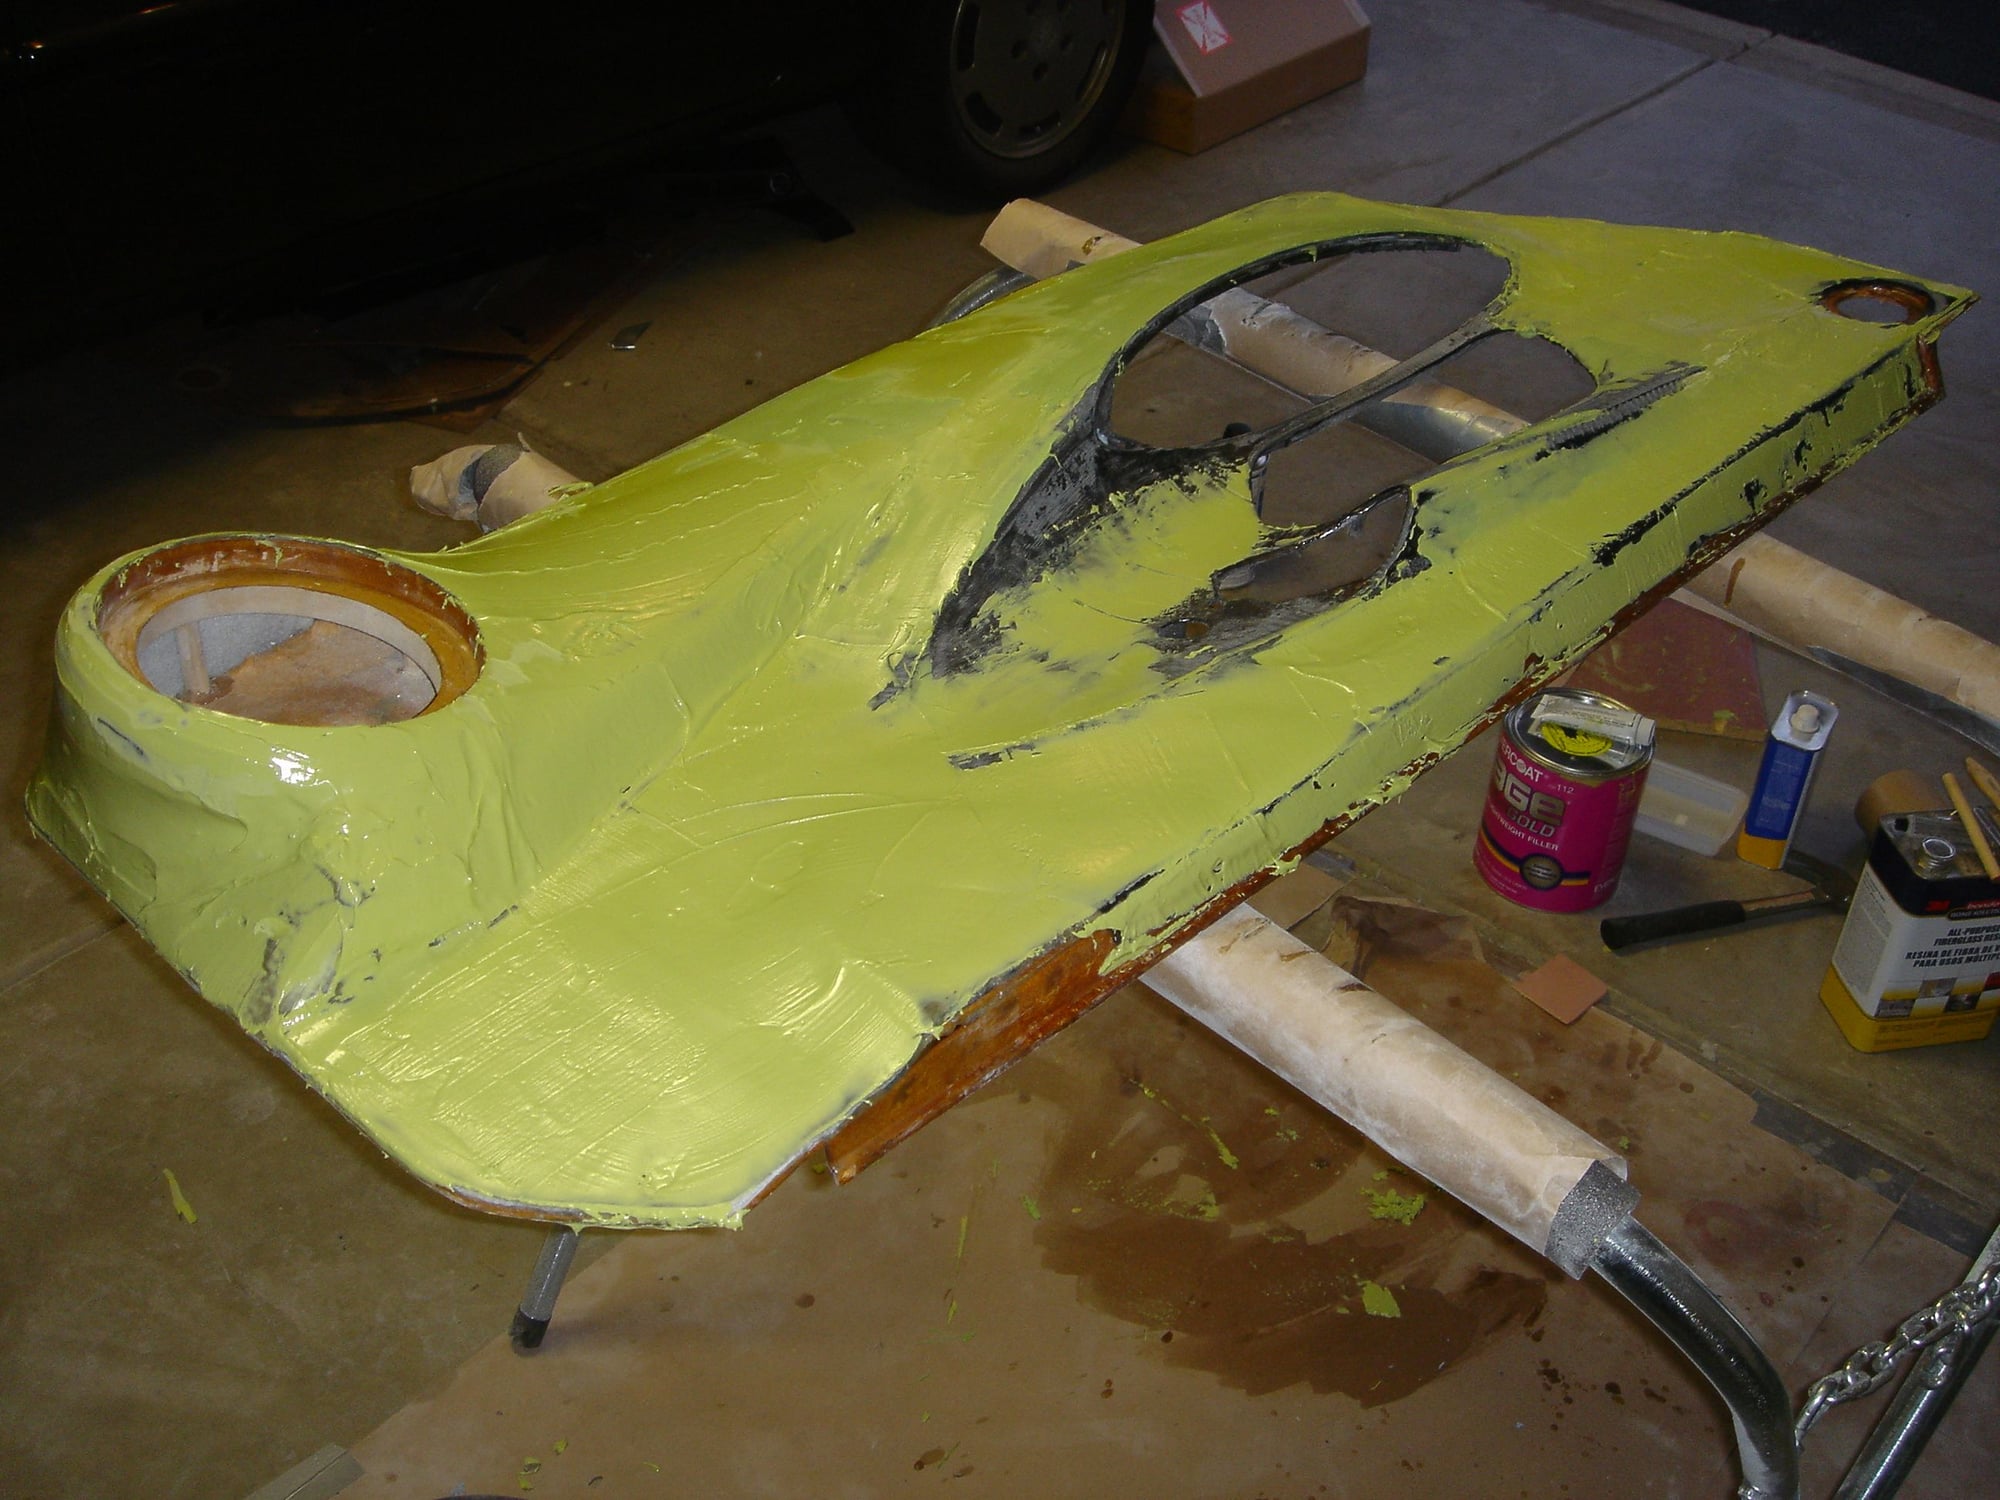
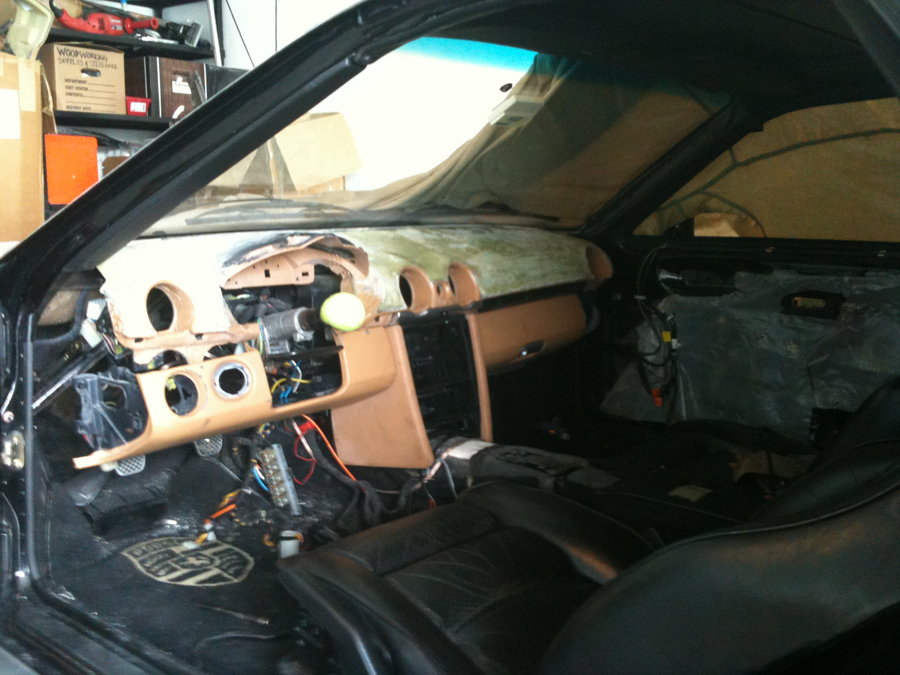
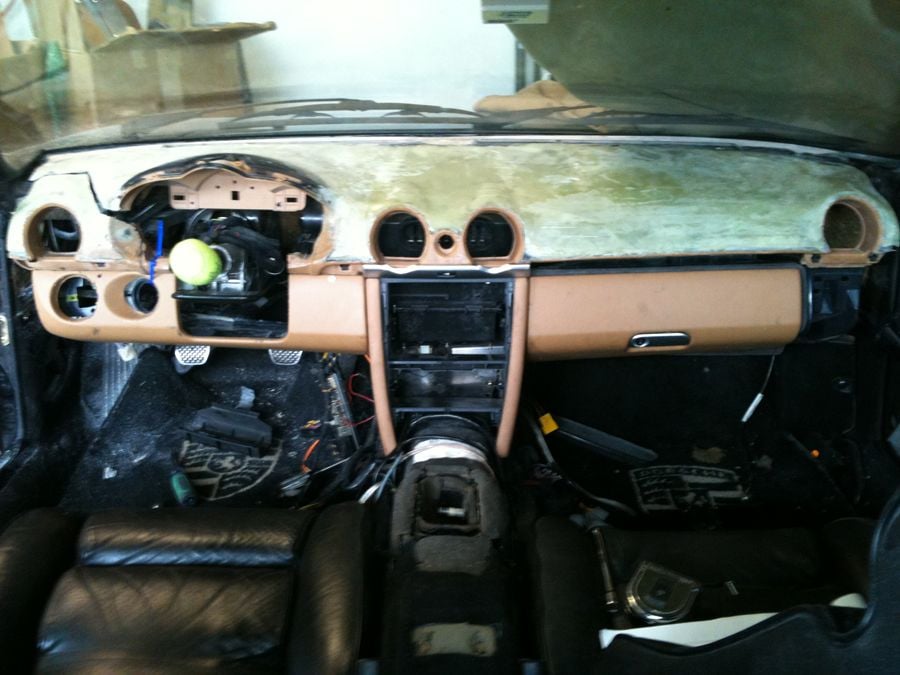
I took what remained of the original 928 dash and removed all of the 986 parts from it and fused it to this new overmolded 987 dash. Once that was secured I bonded the metal dash to the underside of the 987 dash with several coats of fiberglass. What I didn't take pictures of is the modifications I made to the center front console support that holds the radio and the side panels in front of the shifter. At least 25 to 30 hours was spent to get from the pictures above to what the dash looks like below when I first test fit it into the car...
Last edited by RennPartsDirect; 06-01-2015 at 01:24 AM.
The left side of the dash did not line up very well with the edge of the car so I sectioned it and lowered it to get better alignment with the lower dash.
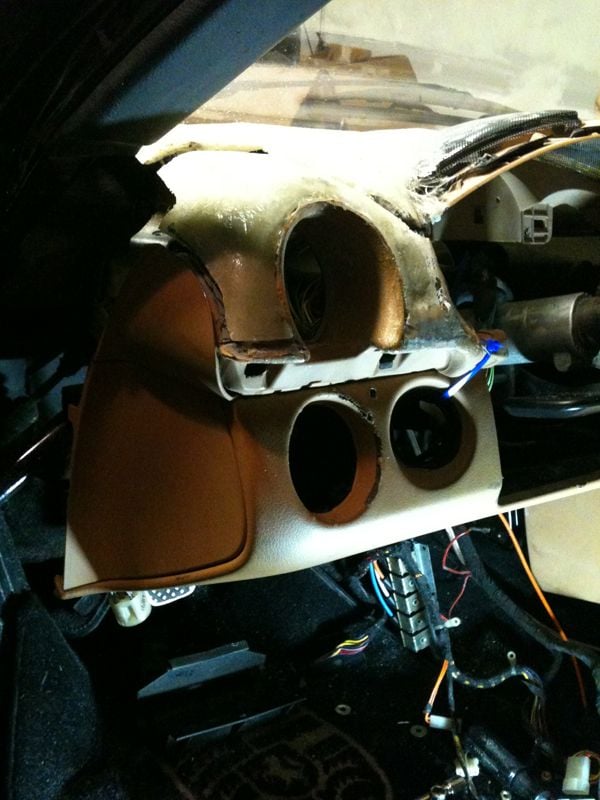
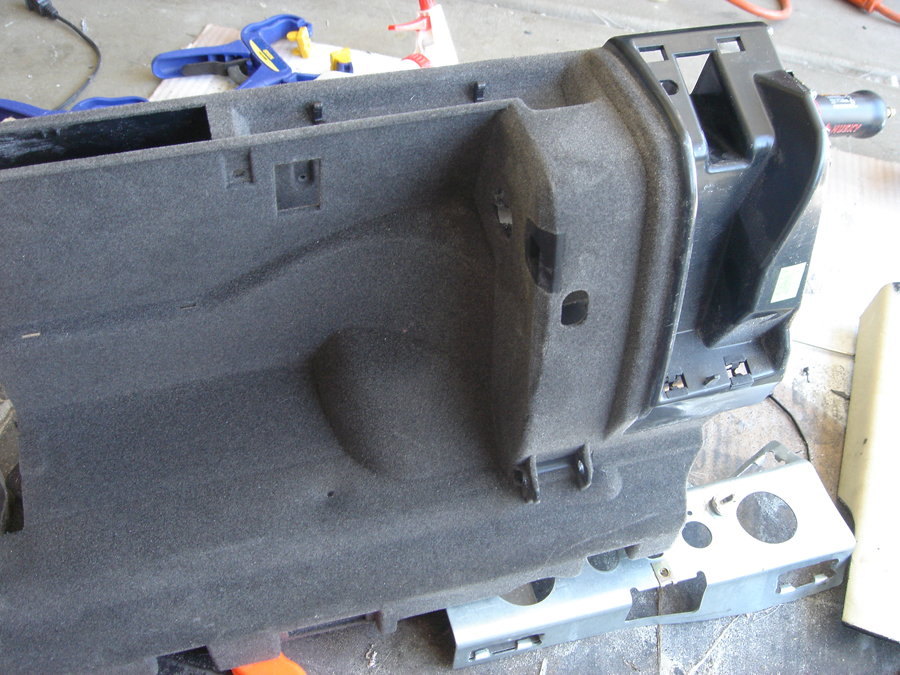
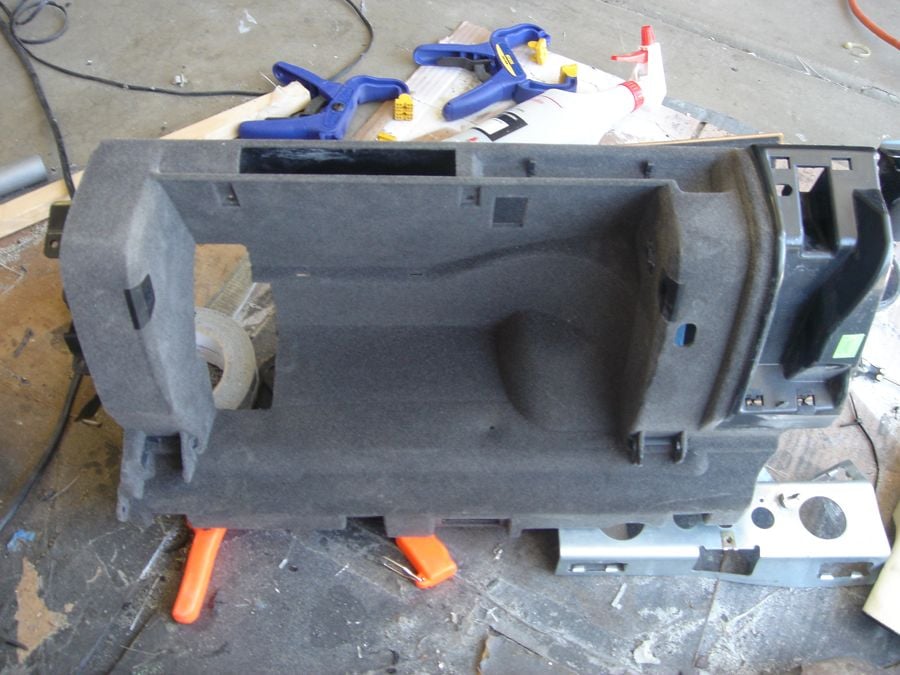
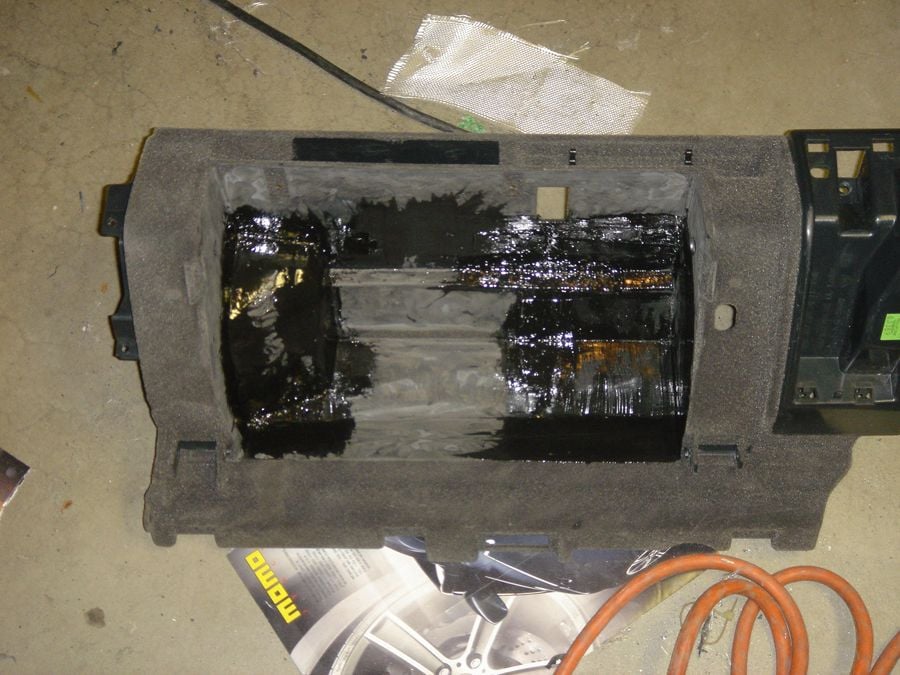
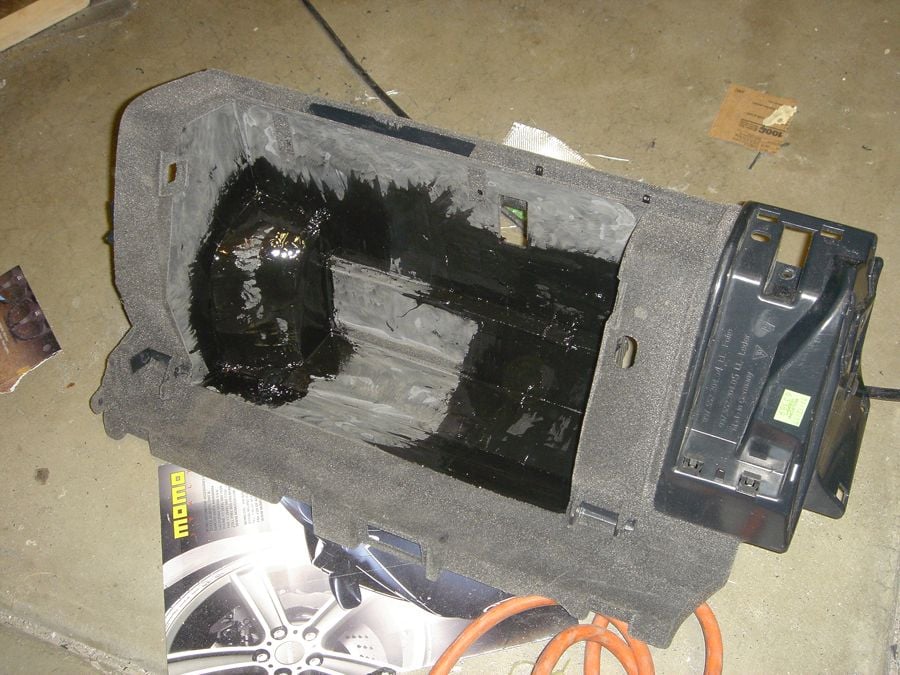
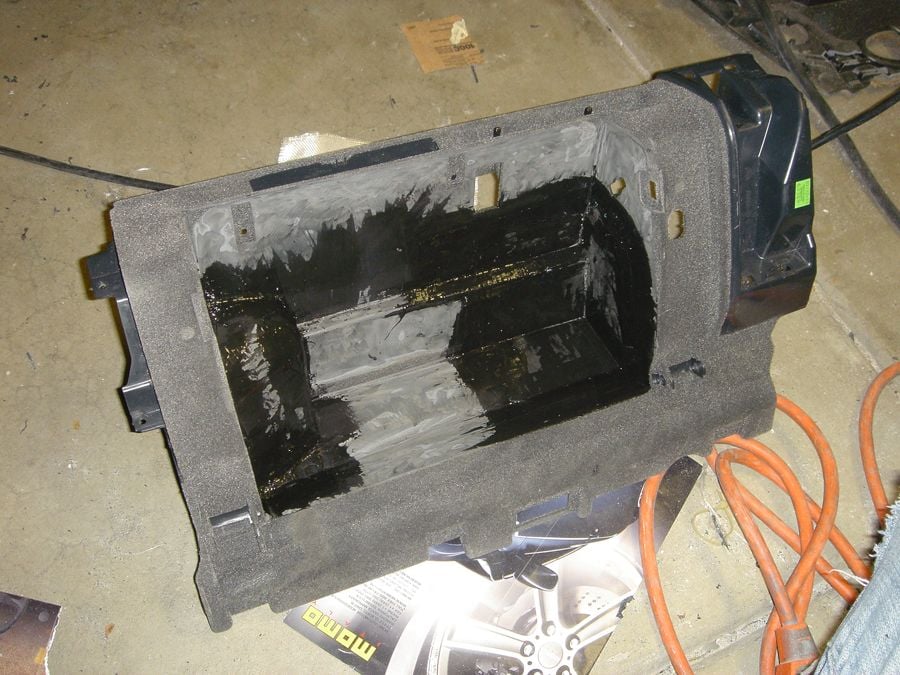
To get the glove box assembly to fit around the heater box I had to do some modifications to the inside cavity. I really wanted this project to look as factory as possible so I spent a lot of time trying to keep things original. For example, this 987 dash has a bumped in geometry on the right hand side to clear some of the ducting that runs behind it. I decided to cut this out and use this piece to create the room I needed around the 928 heater box...
Using the original piece that I removed from the right hand side and some ABS sheet plastic and some 2 part structural adhesive I began molding everything back together again and filling the void on the right side to make it flush with the surrounding pocket material.
I haven't gotten to it yet but my plan was to remove all of the gray flocking and recover it in black flocking material once everything was complete.
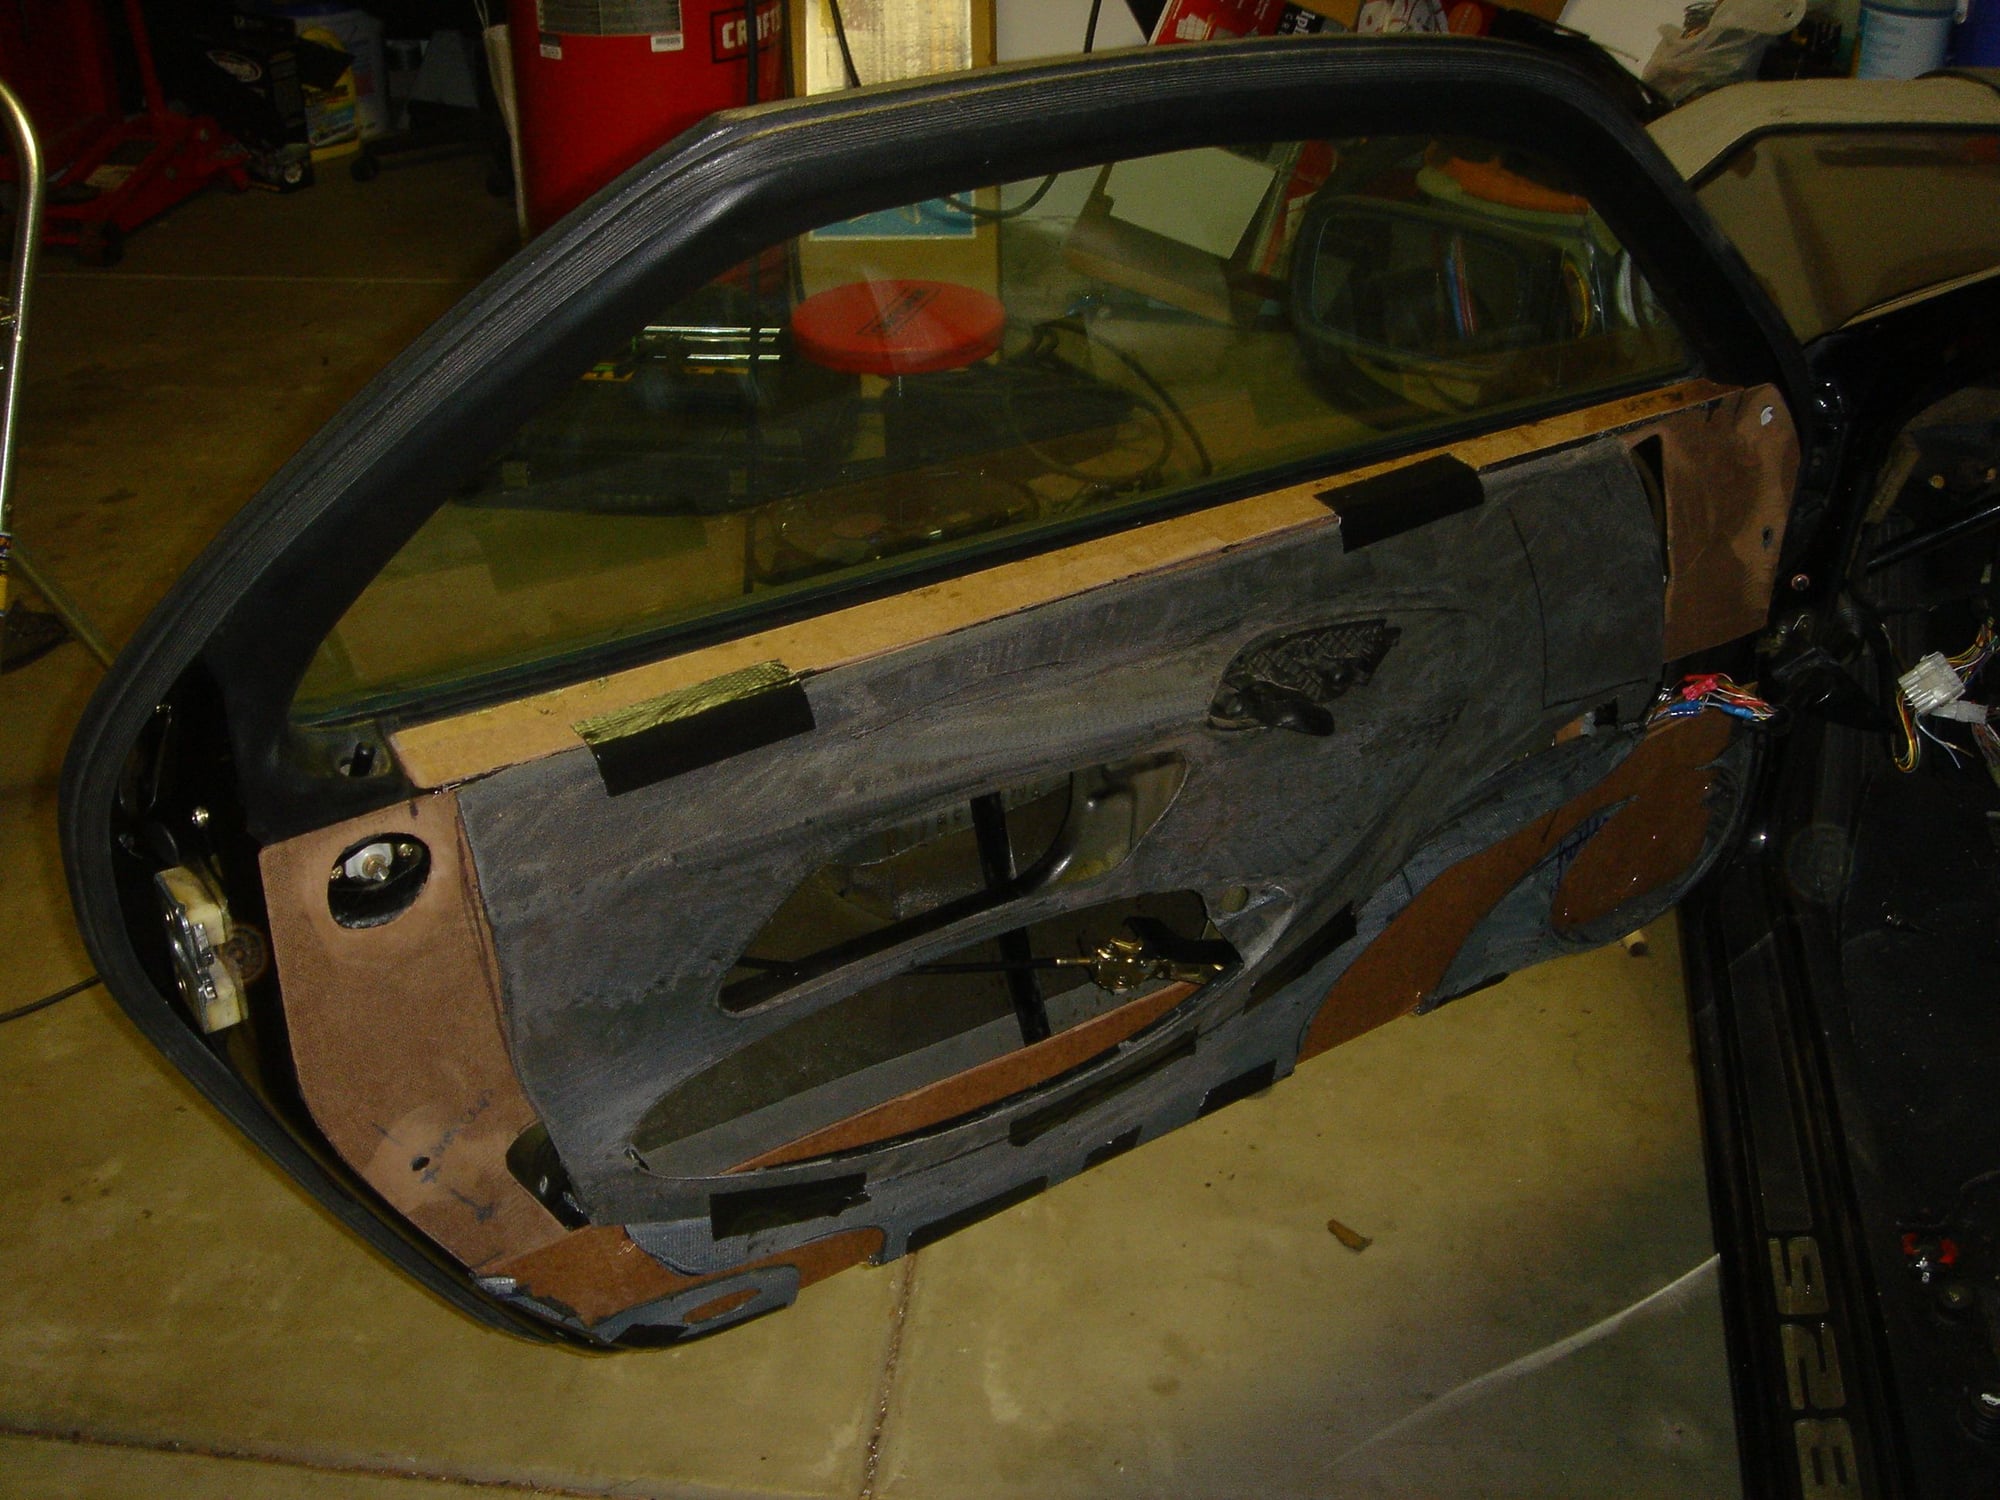
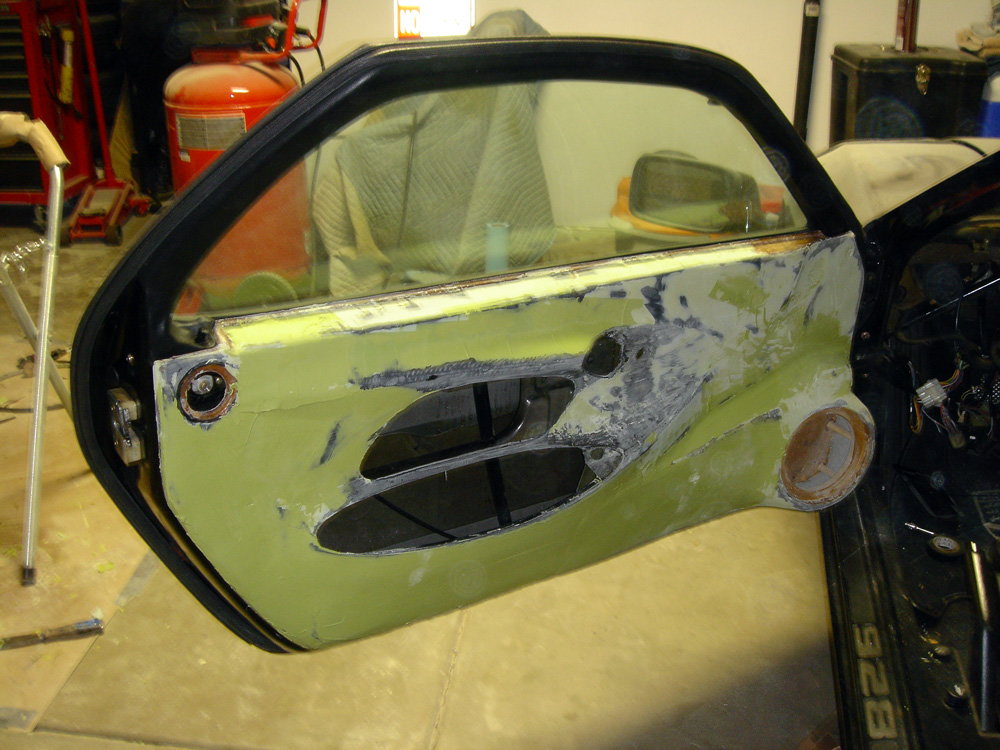
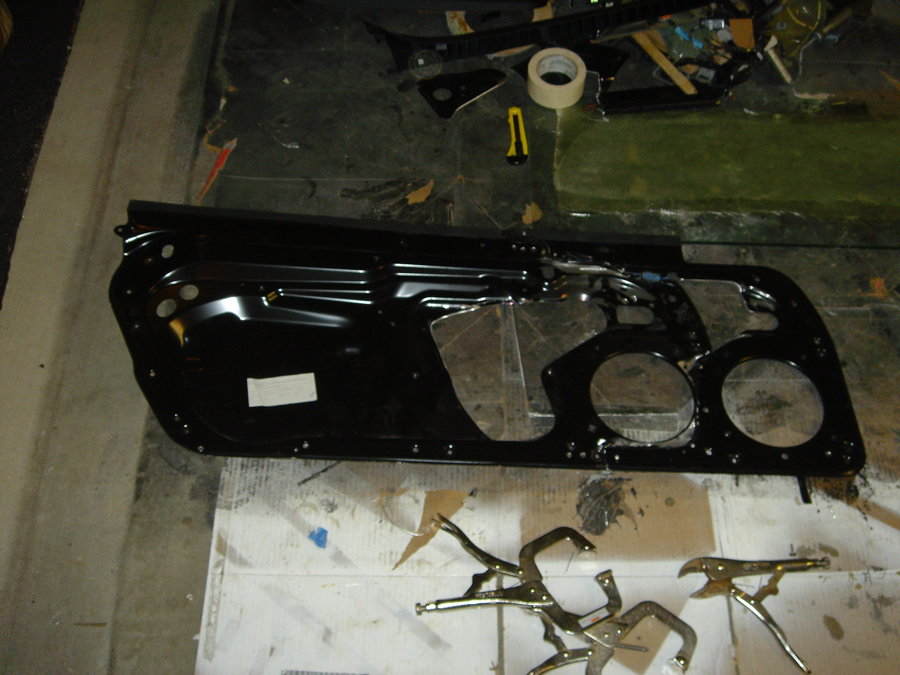
With the dash fitting into the car fairly well I started working on the door panels. This time around I again wanted to maintain a factory look as best as possible. Even a factory fit. So I started with 2 pairs of the inner aluminum door liners. After several hours of test fitting, cutting, marking, and modifying I was able to fuse the two driver side liners together.
I may not understand your motivation to do this, but I'm absolutely fascinated by your craftsmanship and resourcefulness. Keep us posted on the progress!
PS: Are you upgrading the HVAC box to one from the Boxster/Cayman?

 05-29-2015, 12:23 AM