
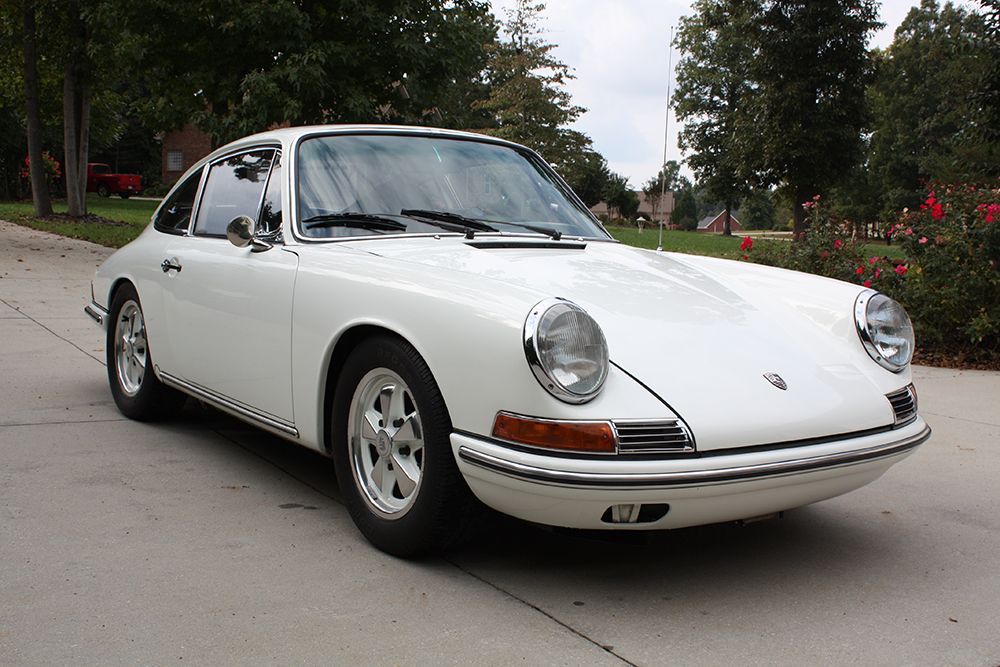
Projects on our (new to us) 1967 912-6
 09-11-2013, 07:56 PM
#16
Racer
Thread Starter

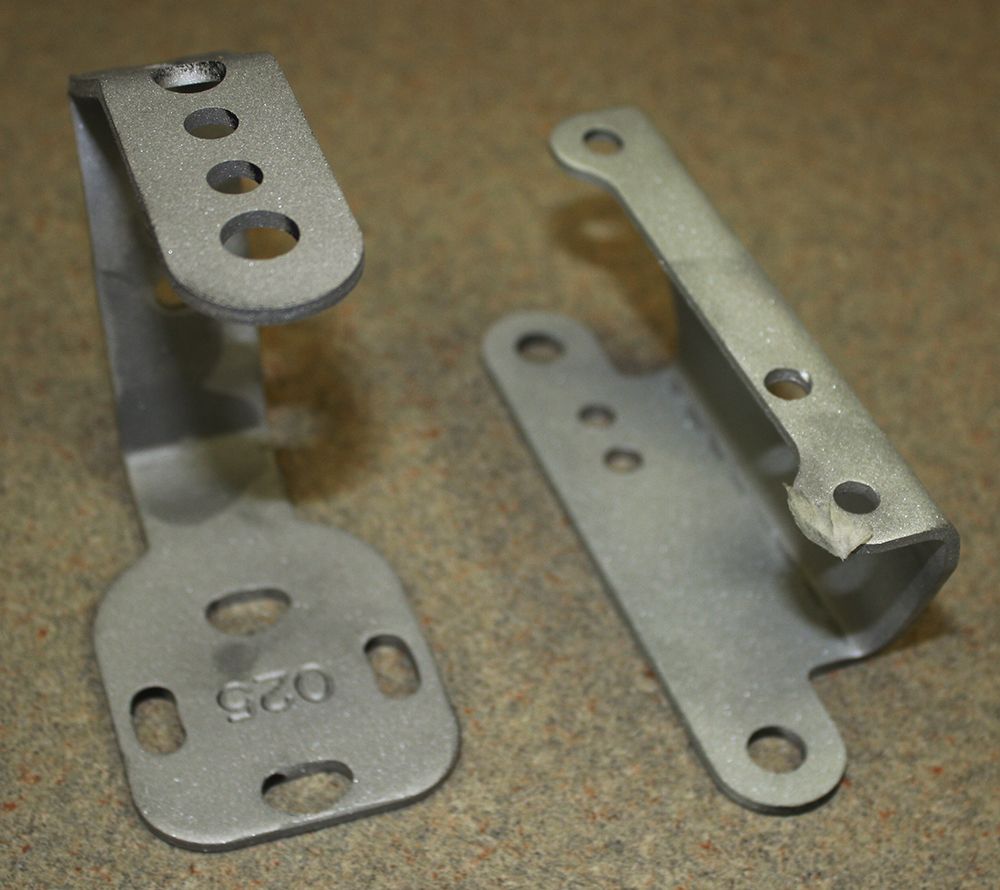
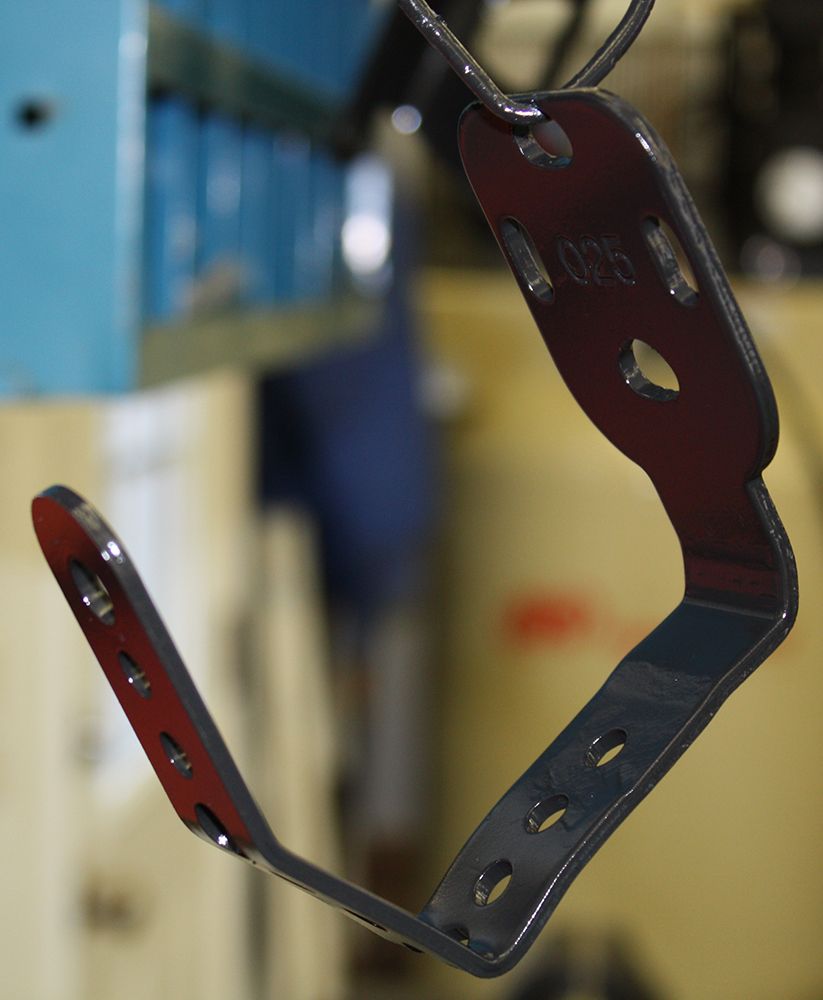
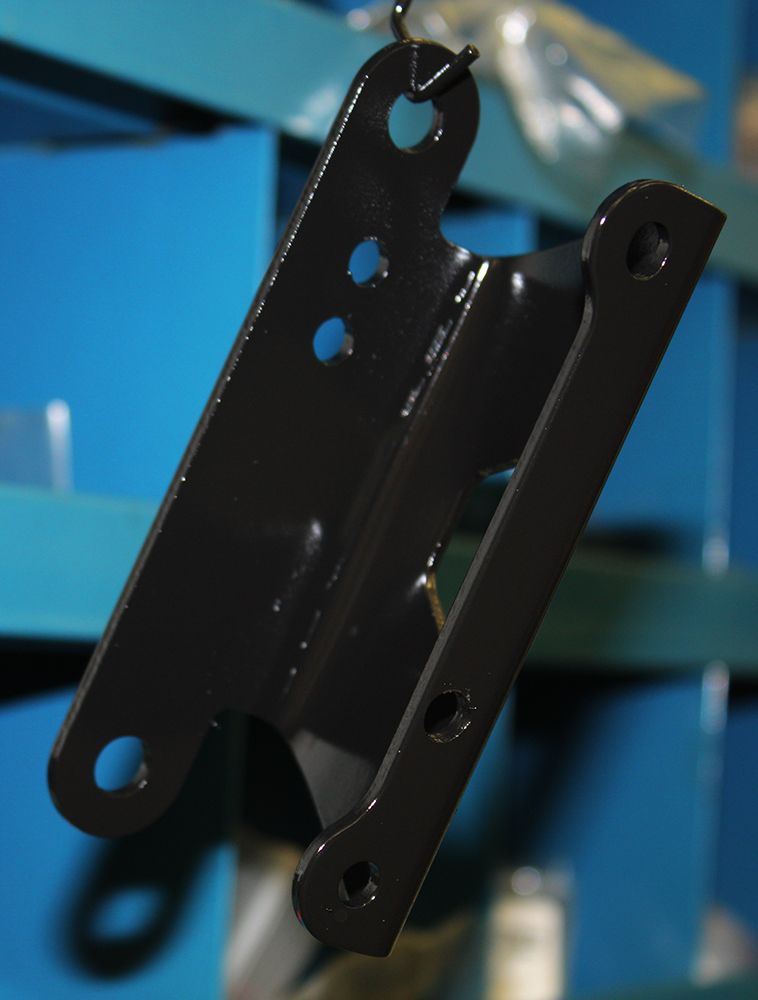
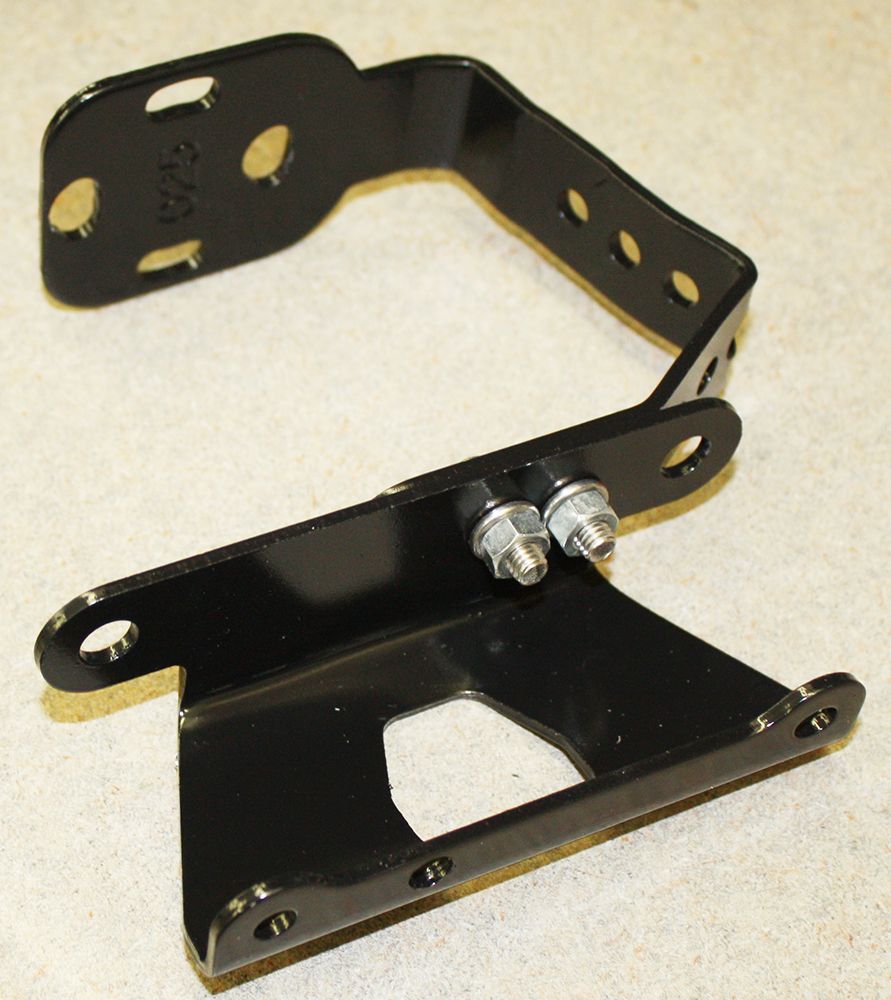
Busy yesterday but got back on the cruise control project today. It took me about two hours to modify the mounting bracket that came with the kit( it was a straight piece of metal) for the cruise module and to also modify another bracket I had in my basket of miscellaneous steel parts. Once I had them shaped and fitted, I bead blasted them and then primed and painted them.
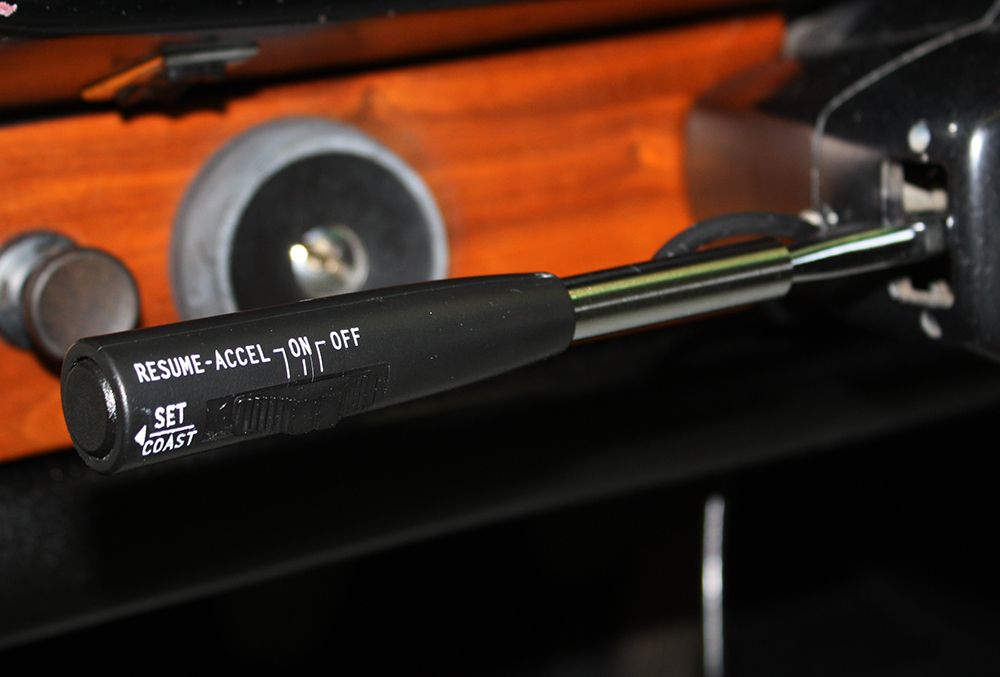
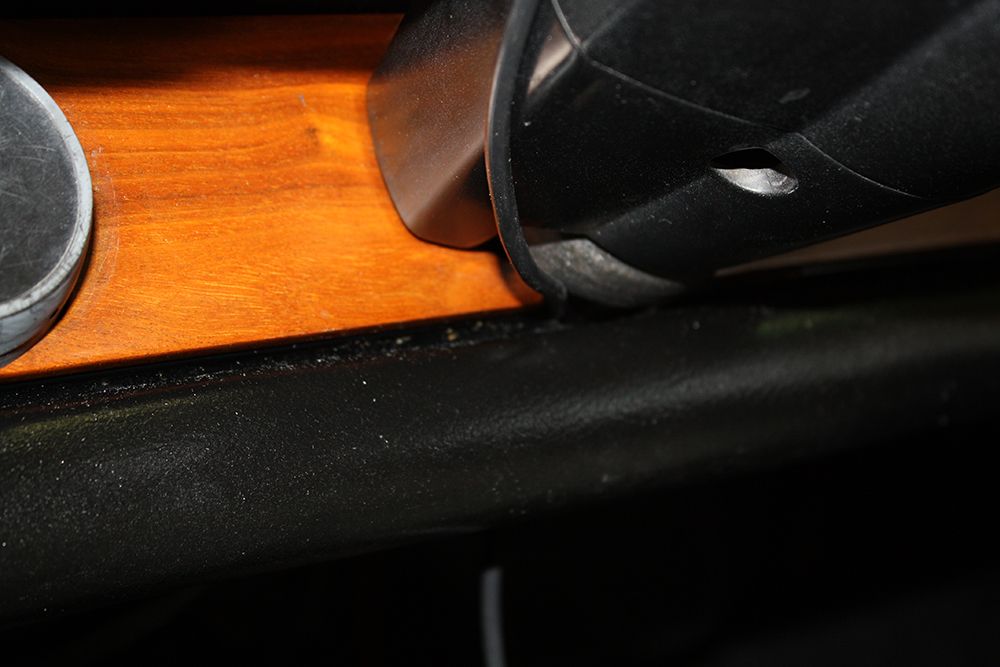
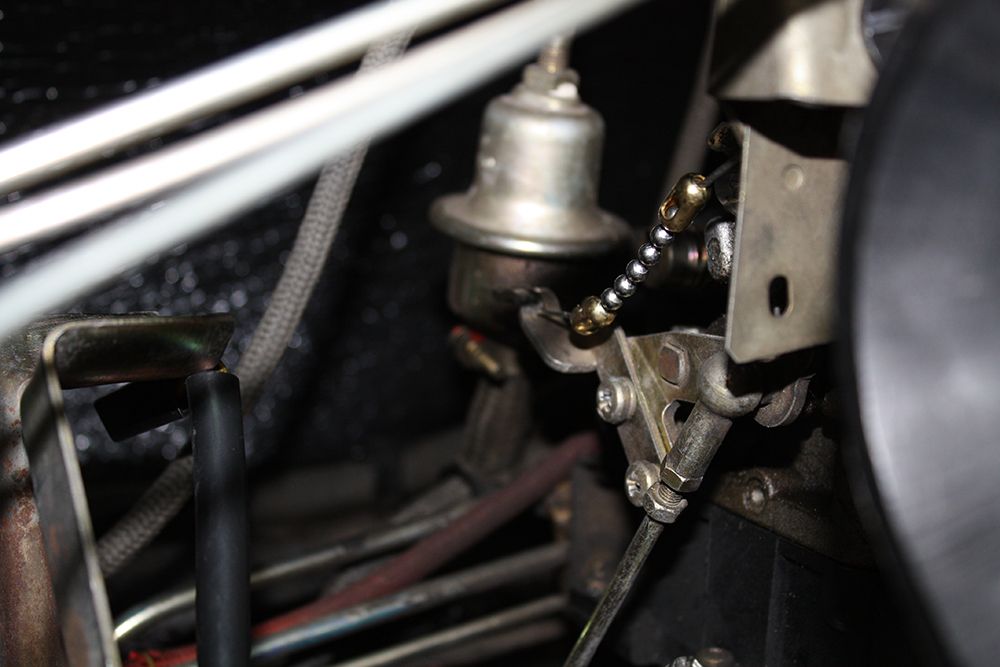
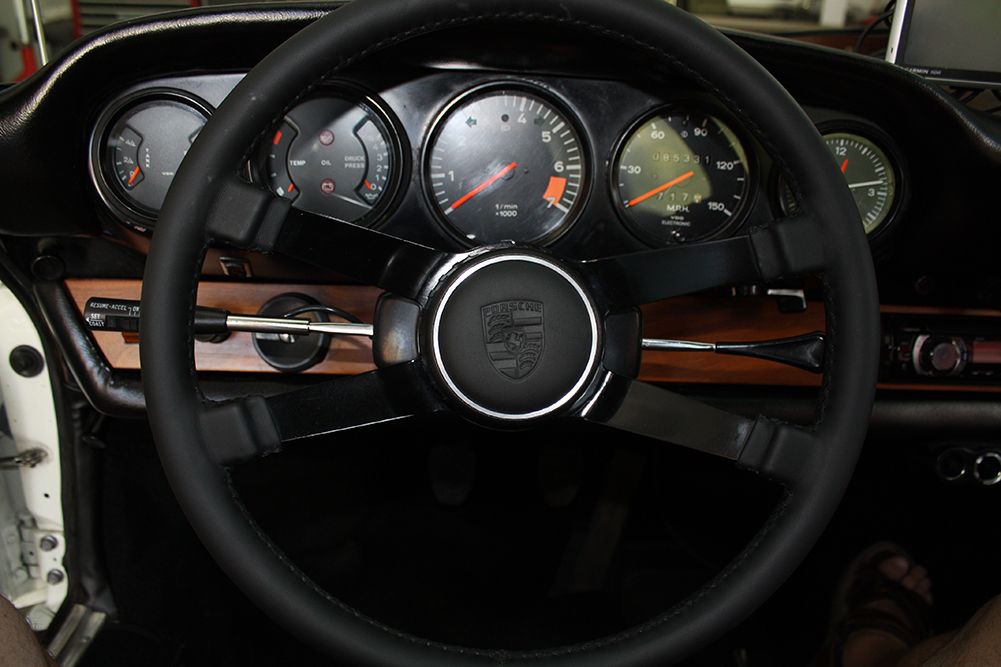
While waiting of the paint to dry, I mounted the cruise control switch. To do that, one must cut the turn signal stalk and slide the switch over the stalk using set screws to tighten it. I ran the wire along the steering column and between it and the knee bolster.

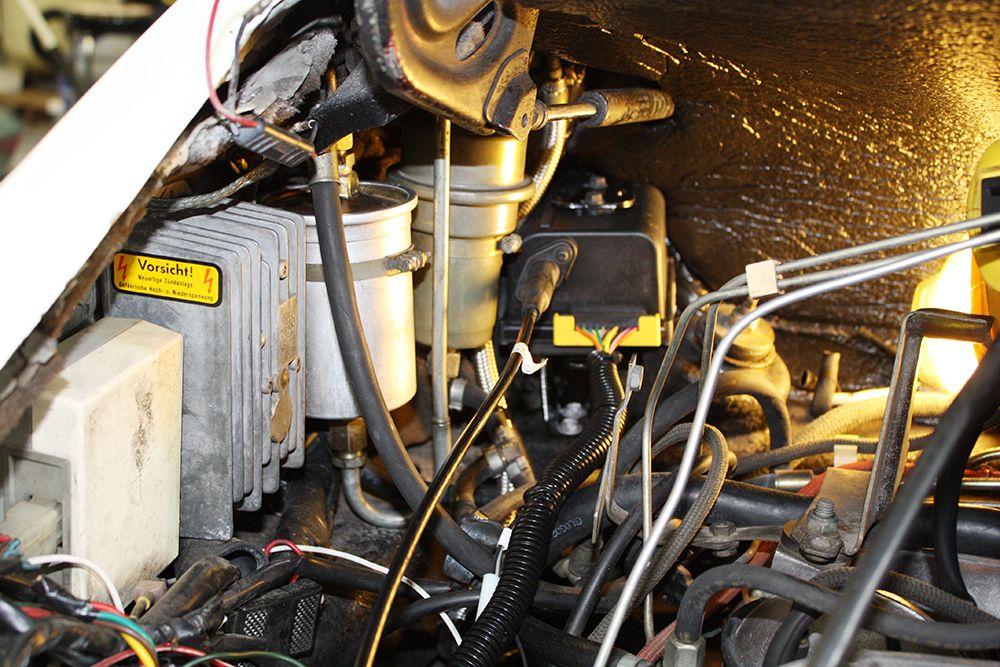
Next I identified the wires to tap into. The black/purple wire from the CDI box will give me the tach signal.
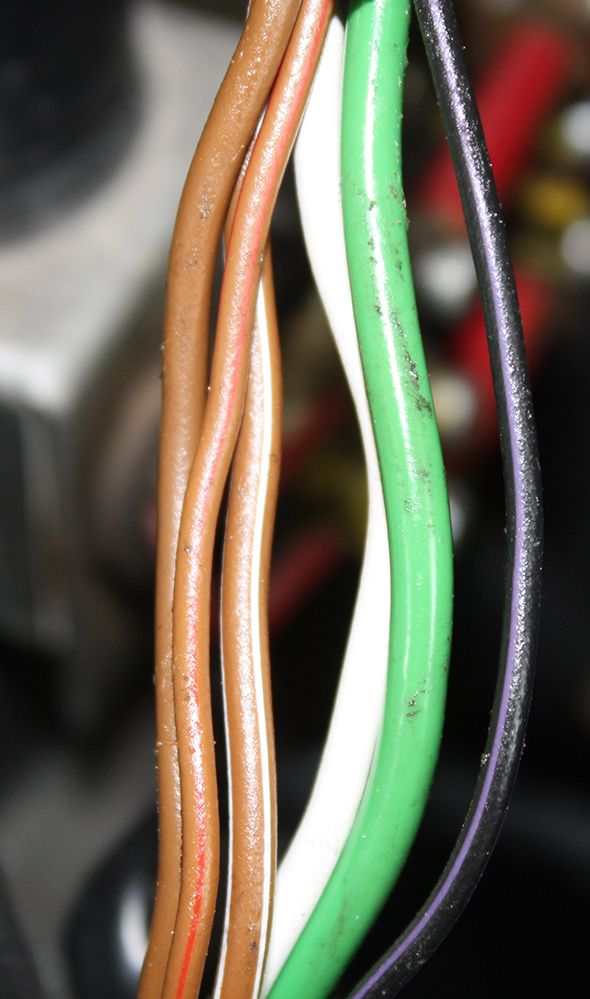
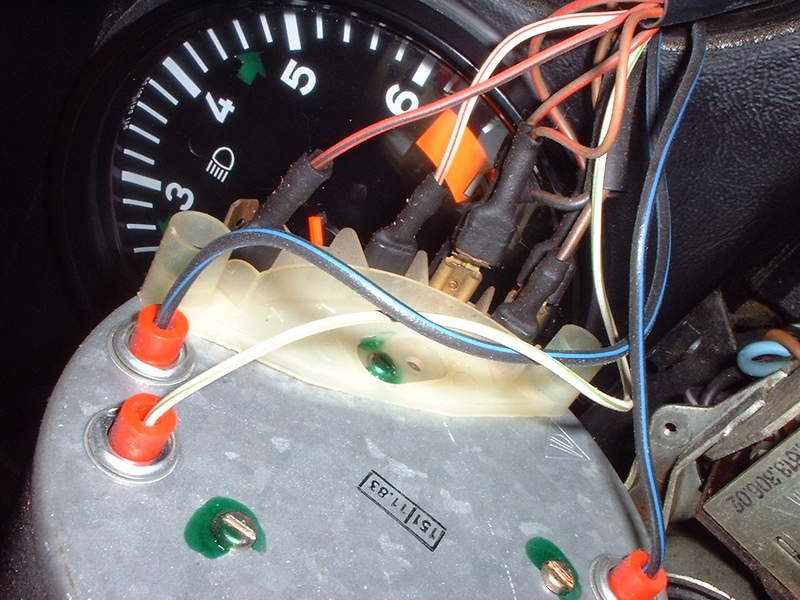
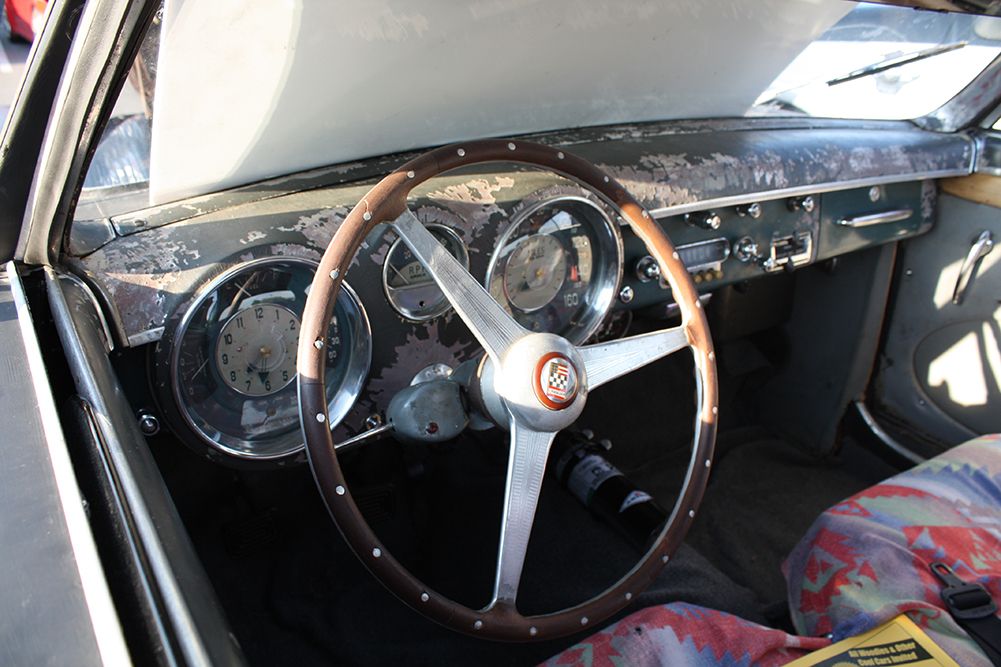
I have located a good place for the ground and the 12V ignition in the engine bay. Up front I need to wire to the constant 12V and 12V when the brakes are engaged at the brake switch. I also have located the VSS signal on the speedometer. According to what I have discovered, the Red/Brown wires on the speedometer are the correct ones. The photo below is not one of my speedometer but the second set of wires from the right should be the correct ones.
Plus I need to run the wires from the cruise module to the turn signal switch. The plan for tomorrow is to mount the module, hook up the throttle cable, and then complete the wiring. Should keep me busy.
www.jerryforthofer.wordpress.com


While waiting of the paint to dry, I mounted the cruise control switch. To do that, one must cut the turn signal stalk and slide the switch over the stalk using set screws to tighten it. I ran the wire along the steering column and between it and the knee bolster.


Next I identified the wires to tap into. The black/purple wire from the CDI box will give me the tach signal.

I have located a good place for the ground and the 12V ignition in the engine bay. Up front I need to wire to the constant 12V and 12V when the brakes are engaged at the brake switch. I also have located the VSS signal on the speedometer. According to what I have discovered, the Red/Brown wires on the speedometer are the correct ones. The photo below is not one of my speedometer but the second set of wires from the right should be the correct ones.

Plus I need to run the wires from the cruise module to the turn signal switch. The plan for tomorrow is to mount the module, hook up the throttle cable, and then complete the wiring. Should keep me busy.
www.jerryforthofer.wordpress.com
Last edited by jerhofer; 01-28-2014 at 12:39 AM.
 09-12-2013, 08:03 PM
#17
Racer
Thread Starter
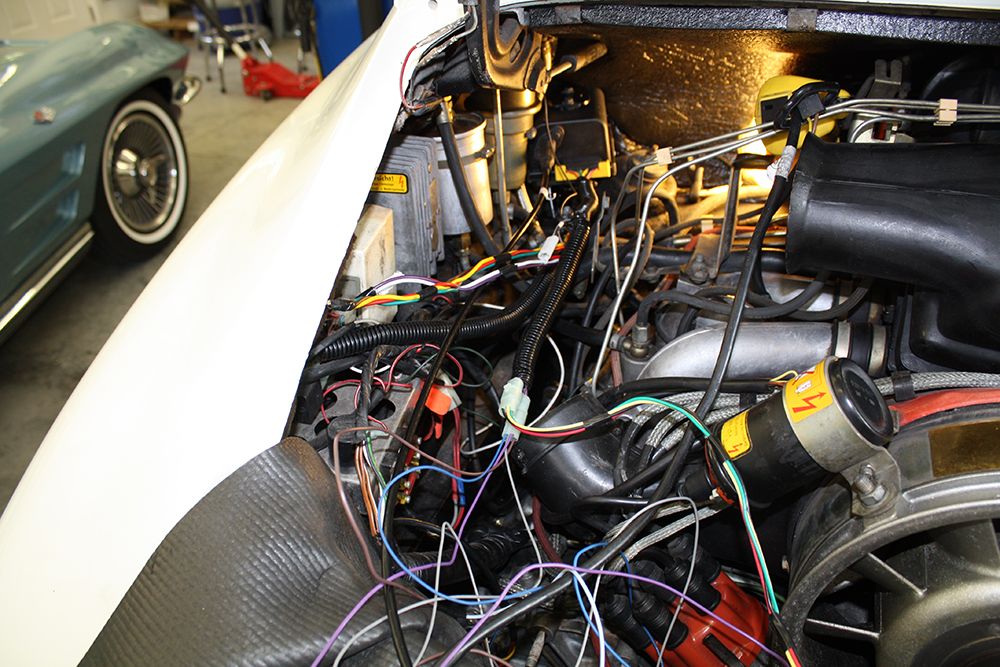
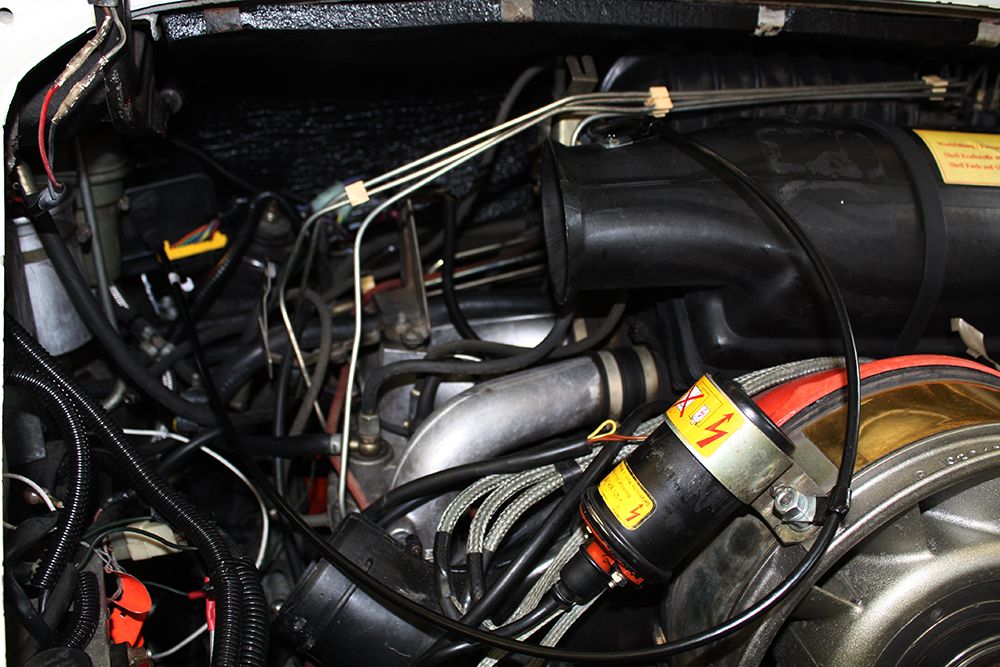
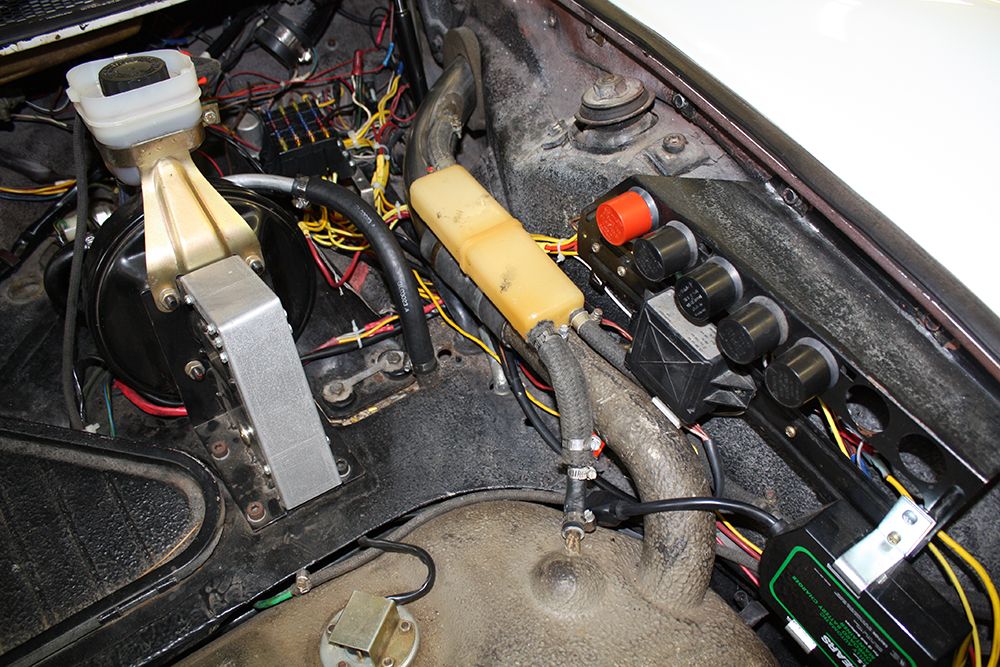
Spent all day on the cruise control. Not finished but closer than I was this morning. I mounted the brackets and the control module in the left rear corner of the engine bay.
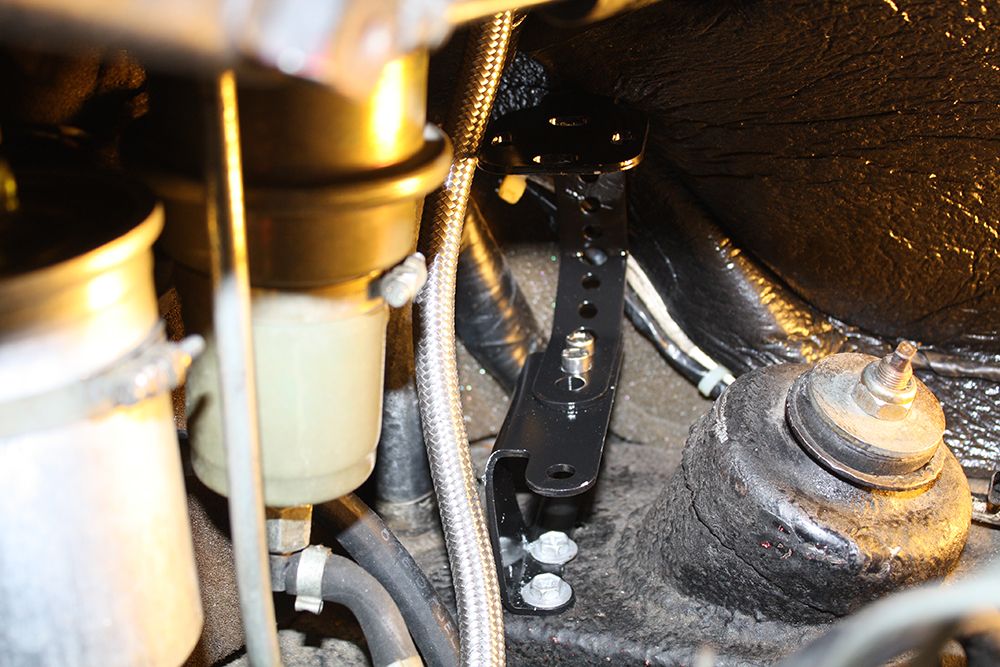
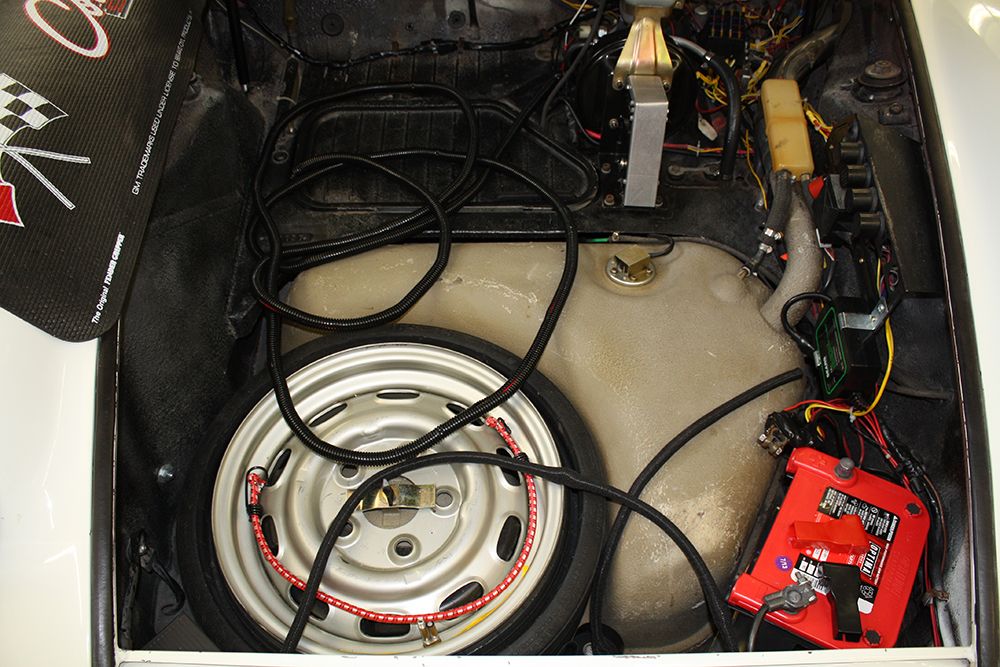
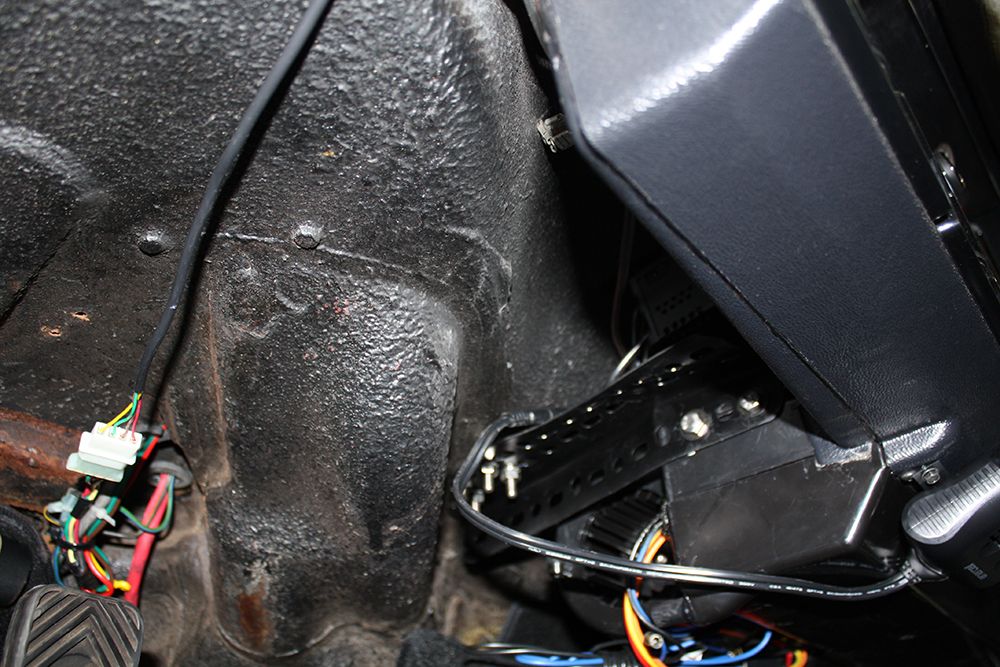
This is a universal kit obviously designed for a front engine car. I cut off quite a bit of the harness at the control module to shorten it. I then had to create a harness of eight wires that ran from the front of the car to the engine bay. Once I had decided on how much wire I would need, I made up two separate harnesses from the front to make it easier for troubleshooting. One four wire harness was connected to the cruise control switch while the other harness consisted of the VSS signal from the speedometer and the brake signals from the brake light switch. Once the harnesses had been made, I inserted them into some convoluted tubing. I cut a notch in the plastic piece above the smuggler's hole so the lid would close. There was an existing hole in the smuggler's hole that I used.

www.jerryforthofer.wordpress.com


This is a universal kit obviously designed for a front engine car. I cut off quite a bit of the harness at the control module to shorten it. I then had to create a harness of eight wires that ran from the front of the car to the engine bay. Once I had decided on how much wire I would need, I made up two separate harnesses from the front to make it easier for troubleshooting. One four wire harness was connected to the cruise control switch while the other harness consisted of the VSS signal from the speedometer and the brake signals from the brake light switch. Once the harnesses had been made, I inserted them into some convoluted tubing. I cut a notch in the plastic piece above the smuggler's hole so the lid would close. There was an existing hole in the smuggler's hole that I used.


www.jerryforthofer.wordpress.com
Last edited by jerhofer; 01-28-2014 at 12:40 AM.
09-12-2013, 08:14 PM
#18
Racer
Thread Starter
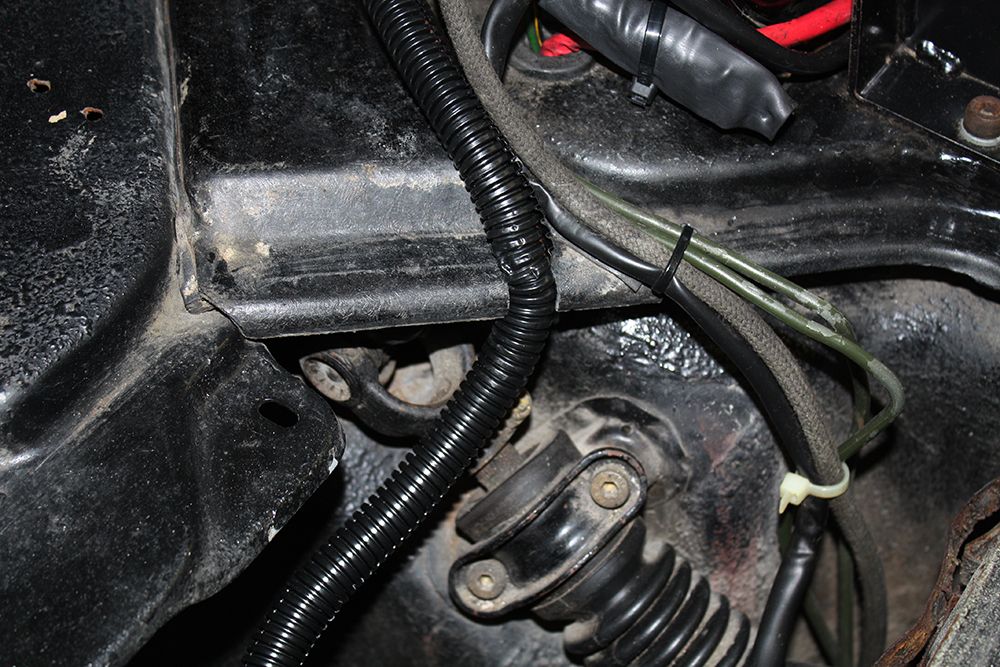
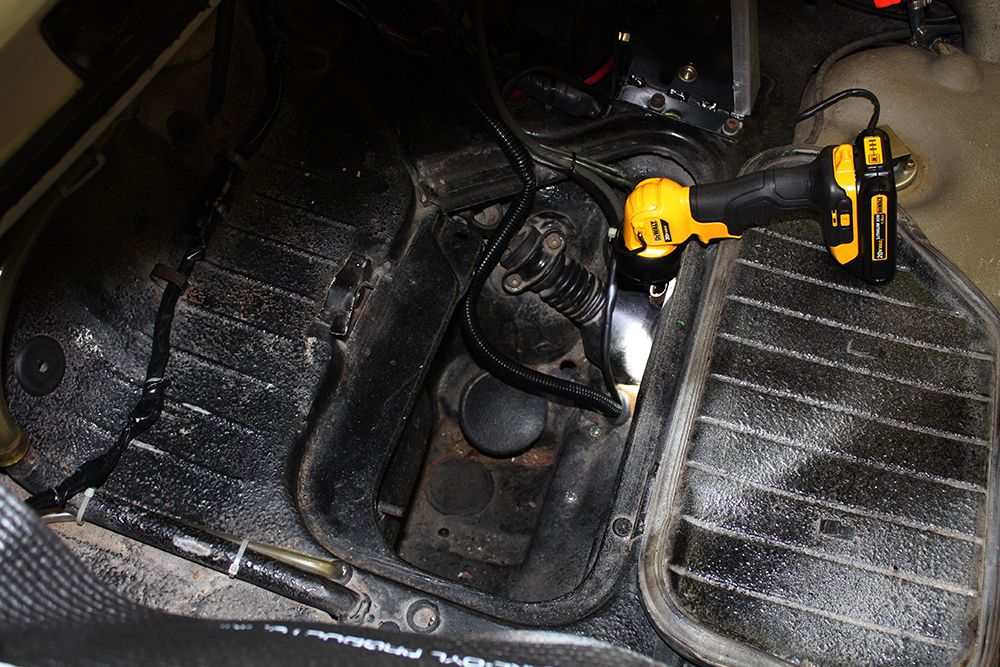
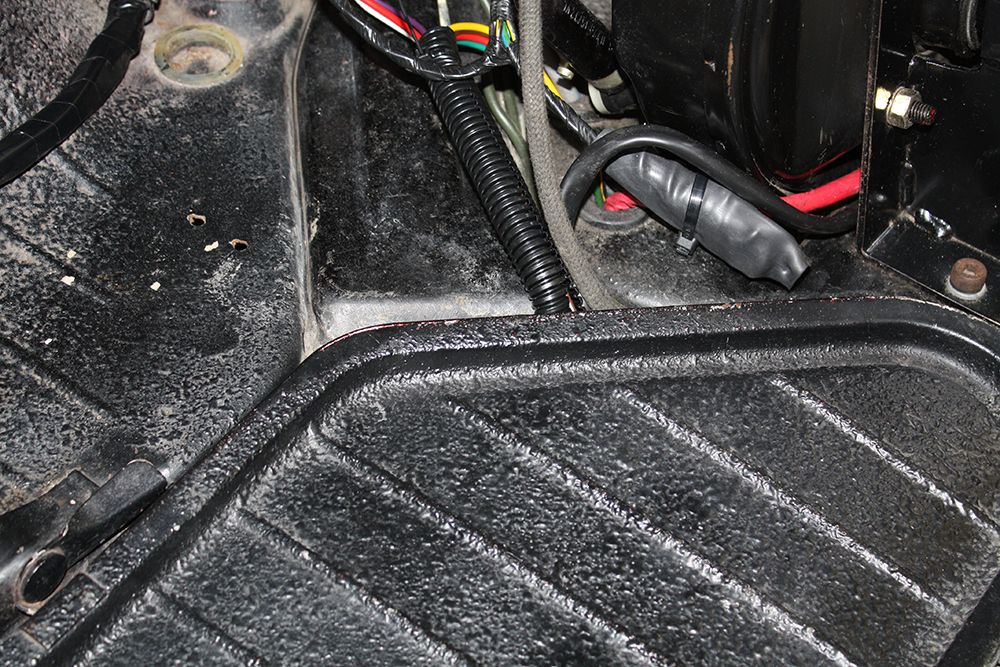
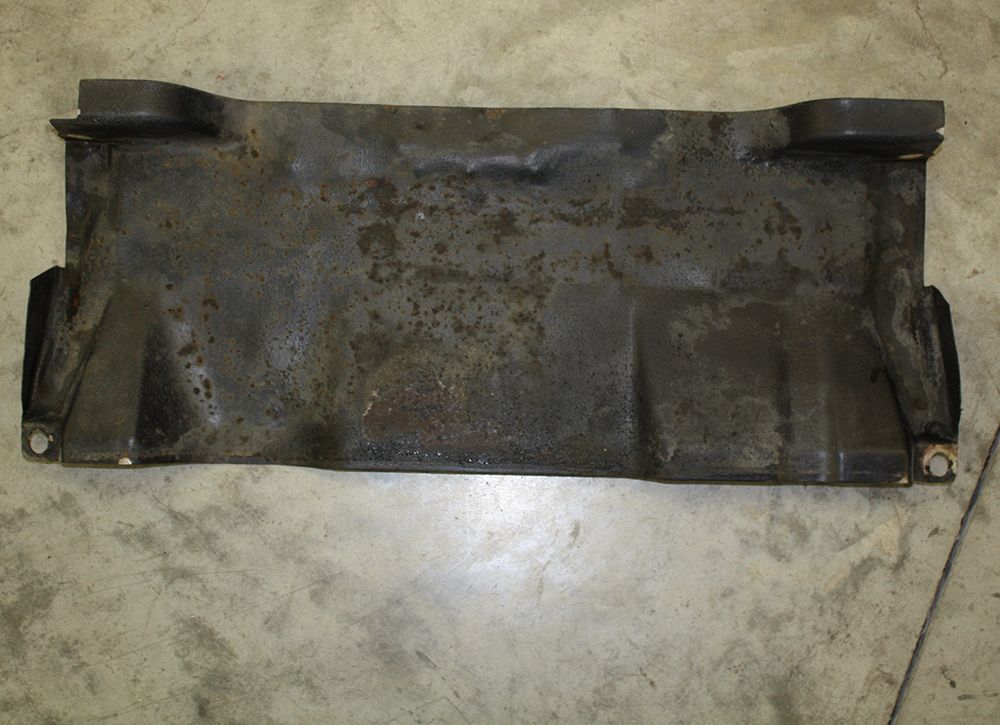
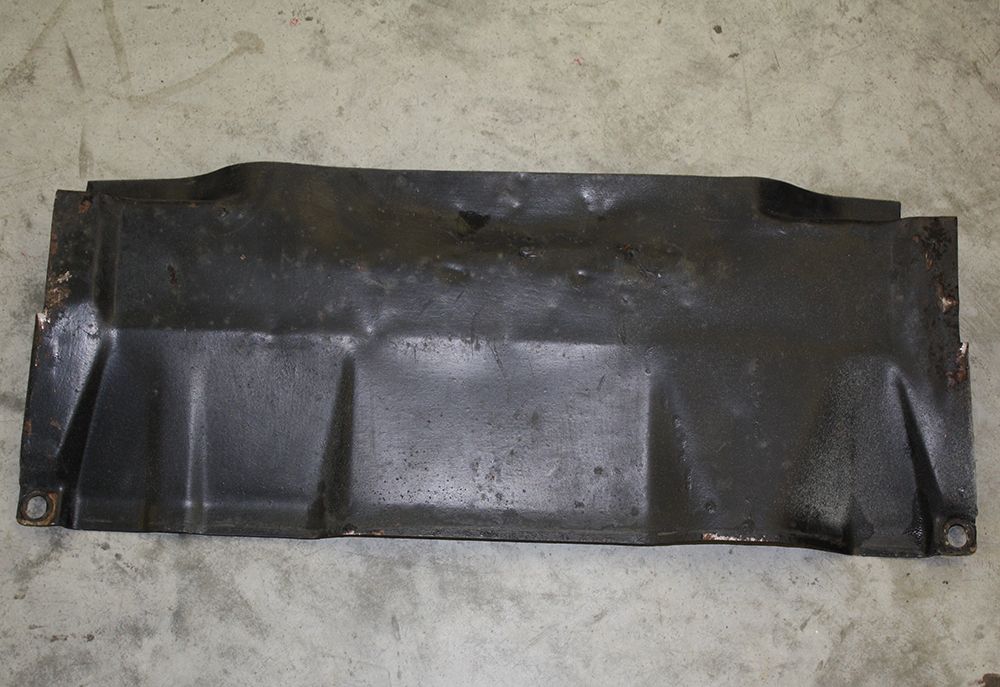
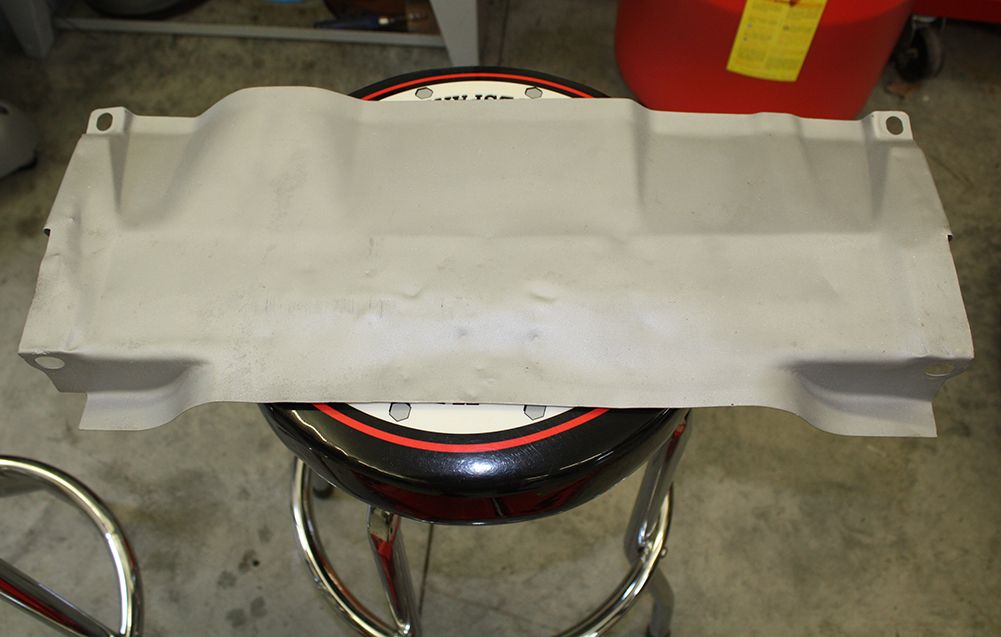
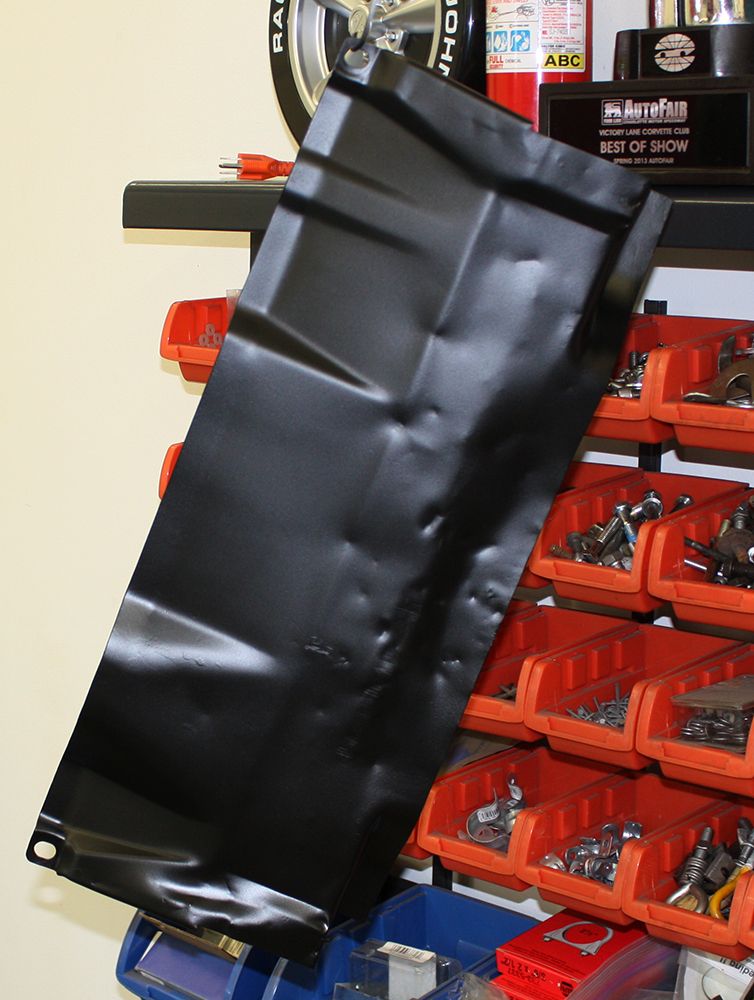
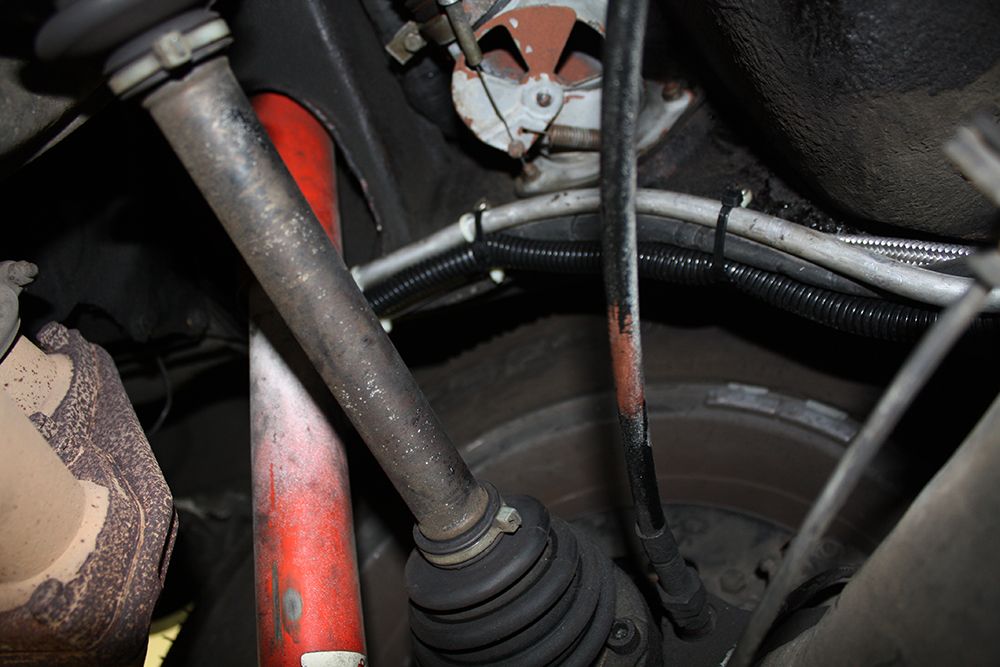
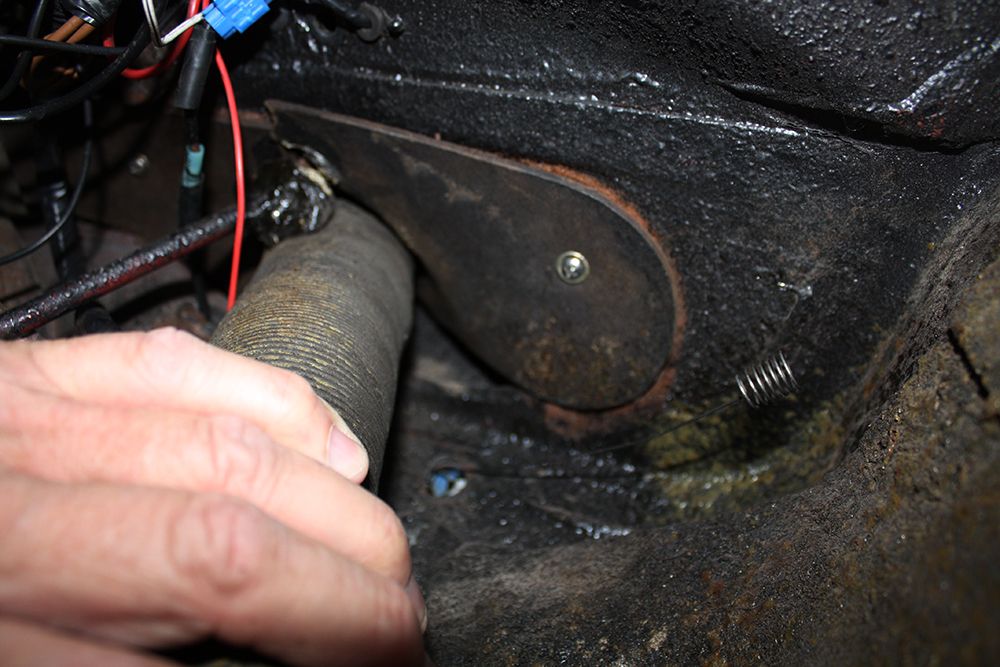
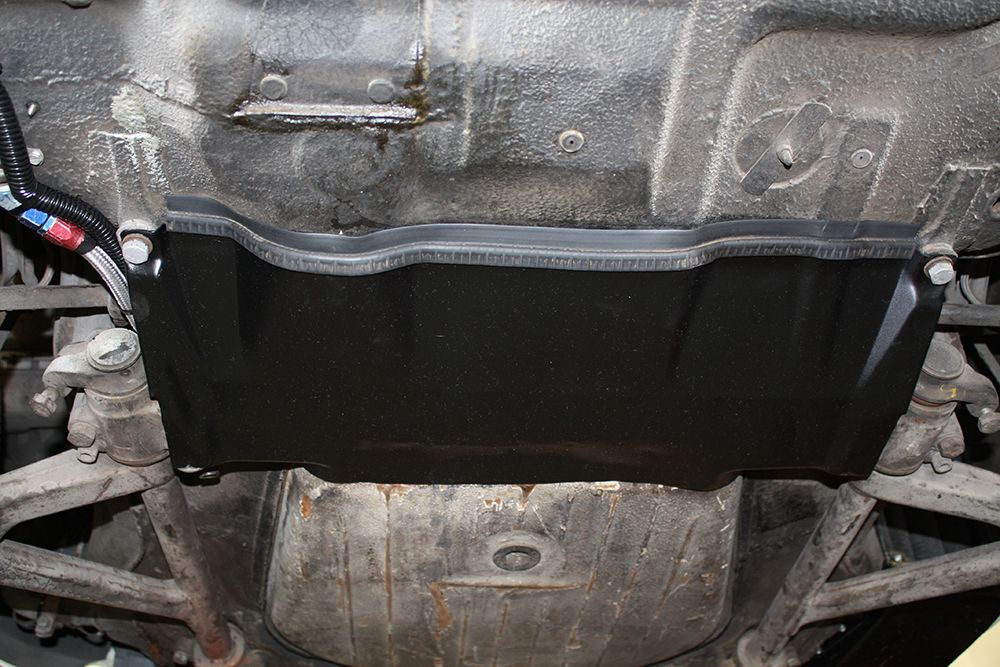
To get the wiring out of the smuggler's box and to the rear of the car, I had to remove the steering rack splash shield. It wasn't in terrible shape but I could not resist cleaning it, bead blasting it and painting it.
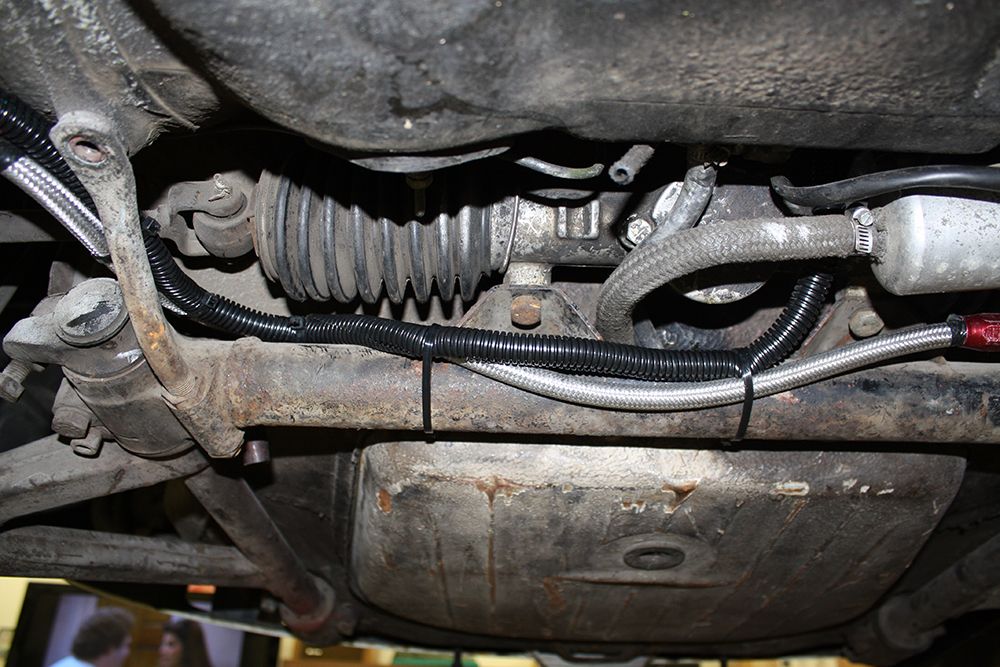
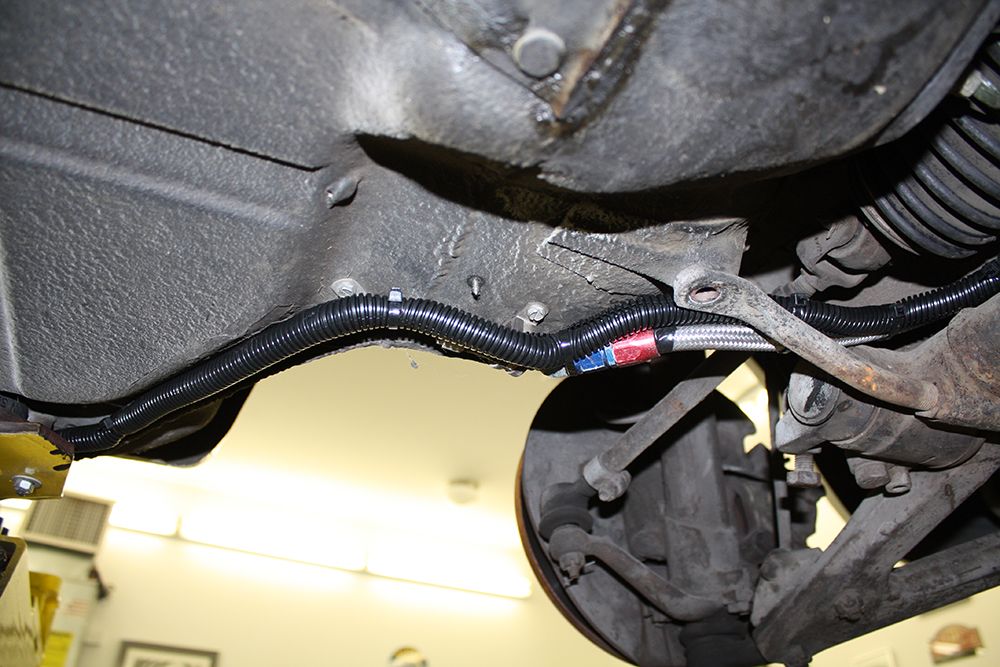
While waiting for the paint to dry, I ran the wiring harness I had created along the bottom of the car tied to the hard fuel lines back to the engine bay.
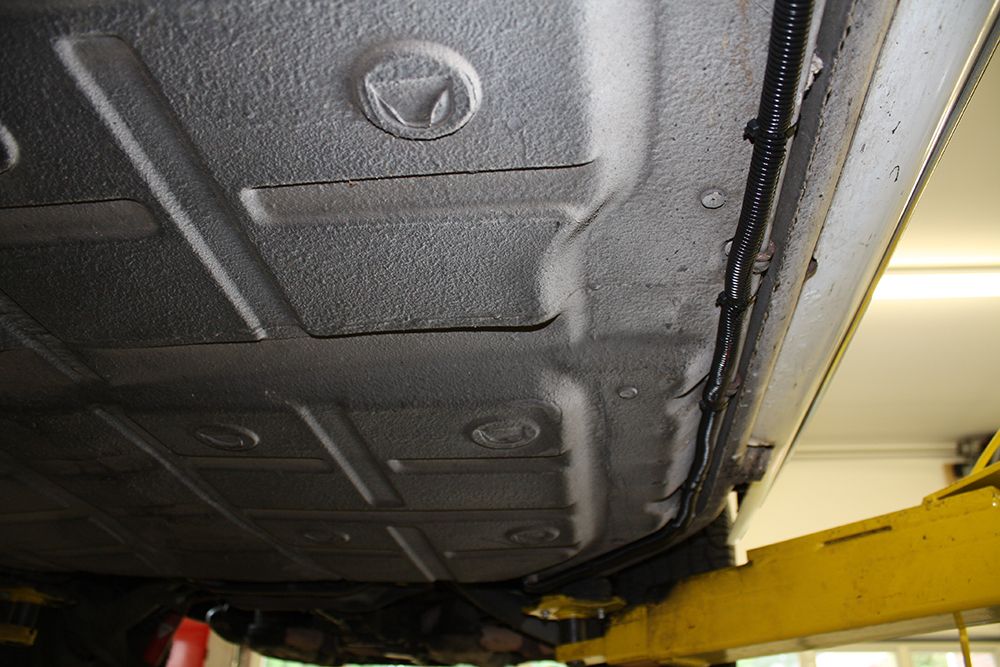
Now all of the wiring is in the engine bay waiting to be connected. I also have to hook up the throttle cable. With any luck, I will have it completed tomorrow.
www.jerryforthofer.wordpress.com


While waiting for the paint to dry, I ran the wiring harness I had created along the bottom of the car tied to the hard fuel lines back to the engine bay.


Now all of the wiring is in the engine bay waiting to be connected. I also have to hook up the throttle cable. With any luck, I will have it completed tomorrow.

www.jerryforthofer.wordpress.com
Last edited by jerhofer; 01-28-2014 at 12:40 AM.
09-19-2013, 10:52 PM
#19
Racer
Thread Starter
Finished up the cruise control. Haven't had the car off the lift yet to try it as I have been doing some other projects.
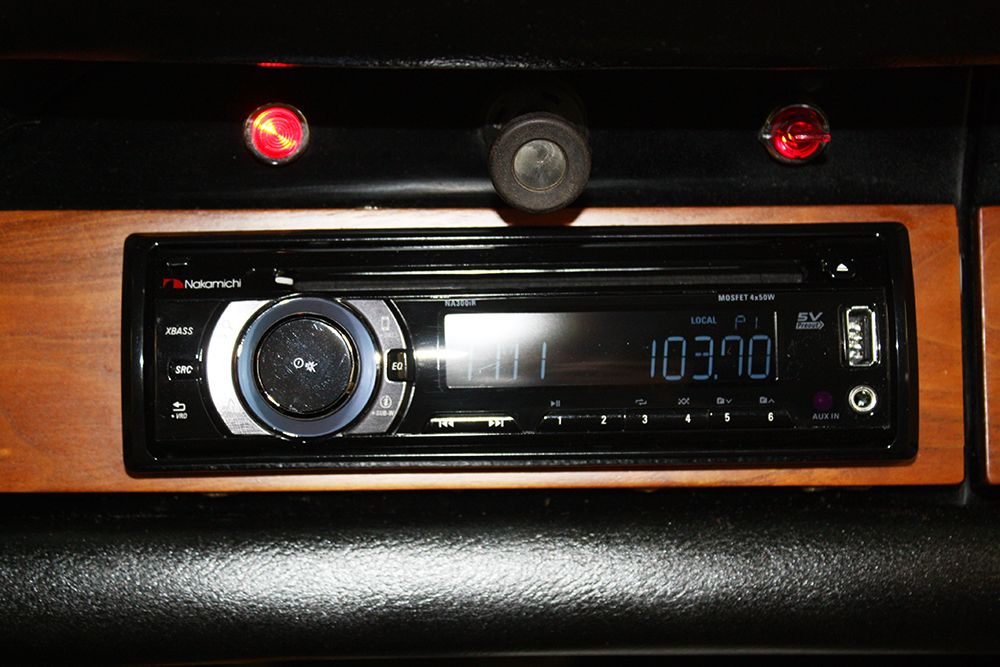
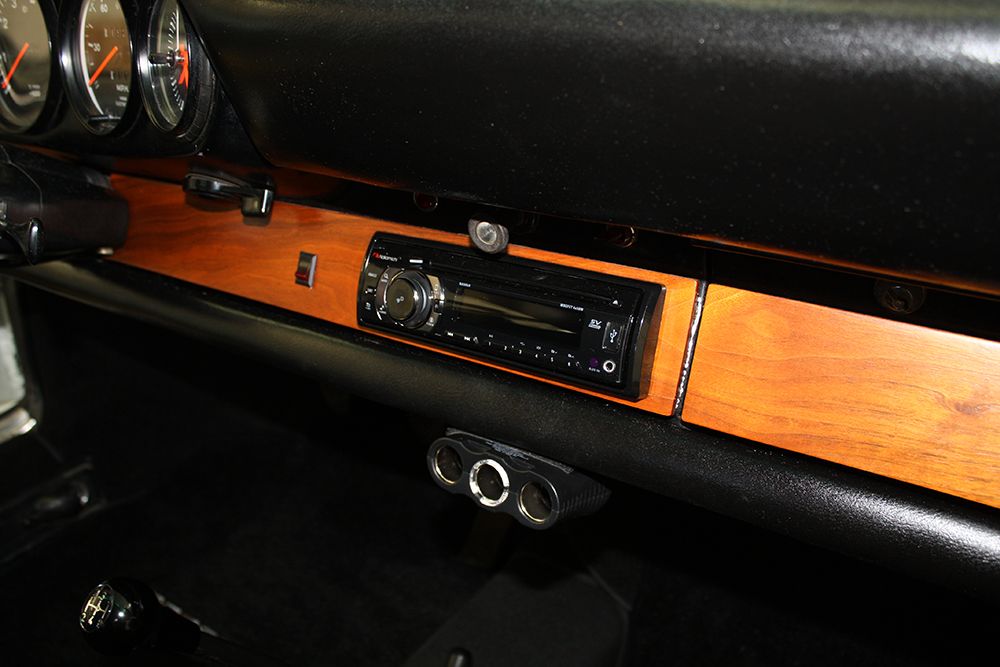
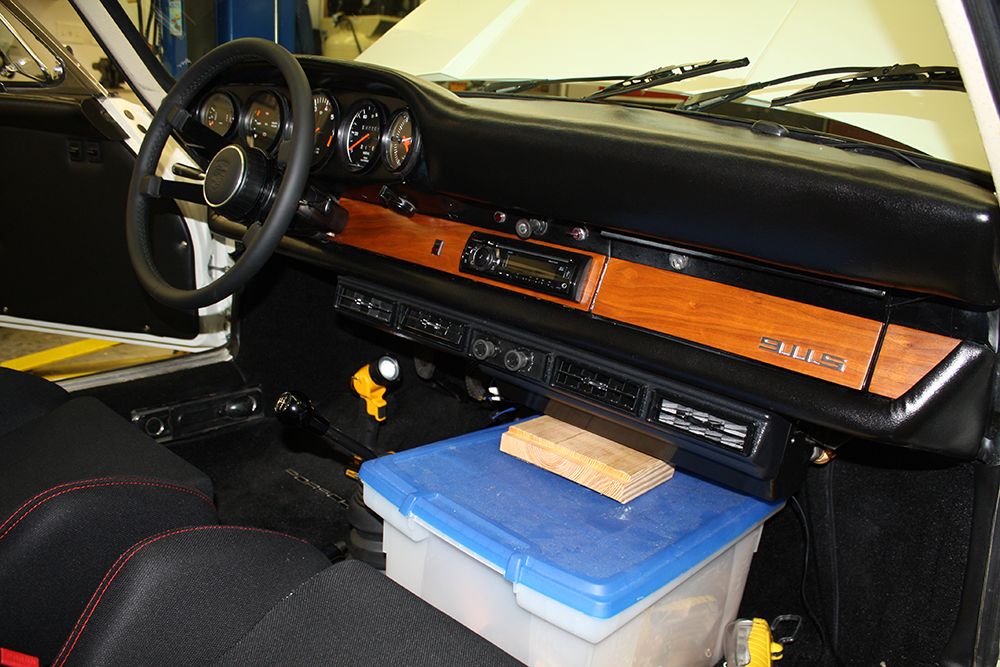
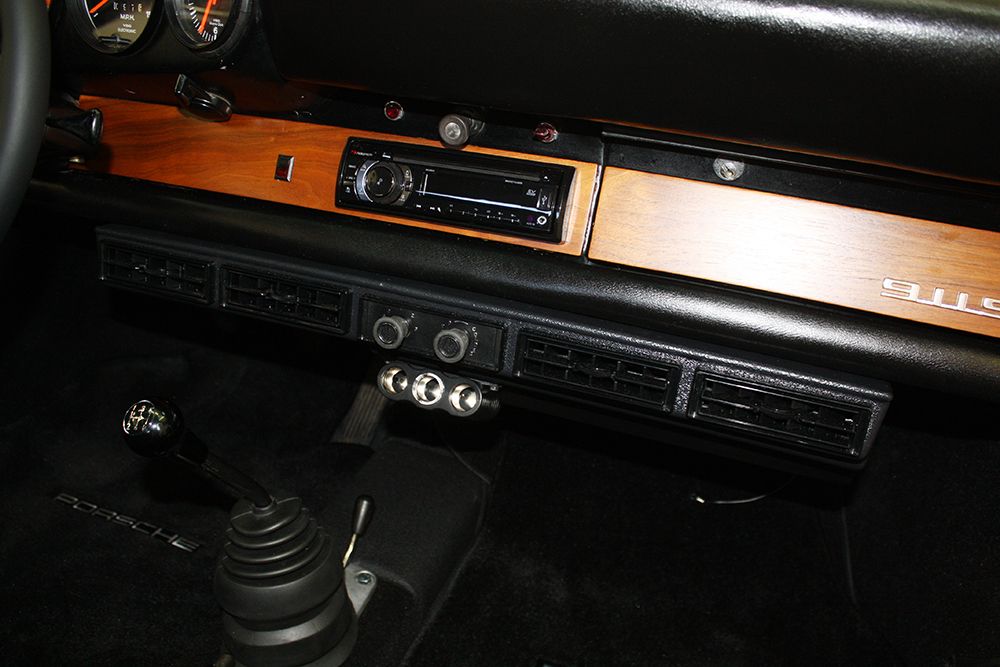
I plan on adding A/C but before I do that I needed to change out the radio as once the A/C unit is in place, it will be difficult to get to the back of the radio. I found a Nakamichi radio on Amazon for $117 that has two AUX inputs and a USB input to run my Iphone. I found some speakers on Ebay from Custom Autosound that are in an enclosure small enough to fit on the floor behind the seats. These speakers sound surprisingly good, especially for $119. So for less that $250, I have tunes.

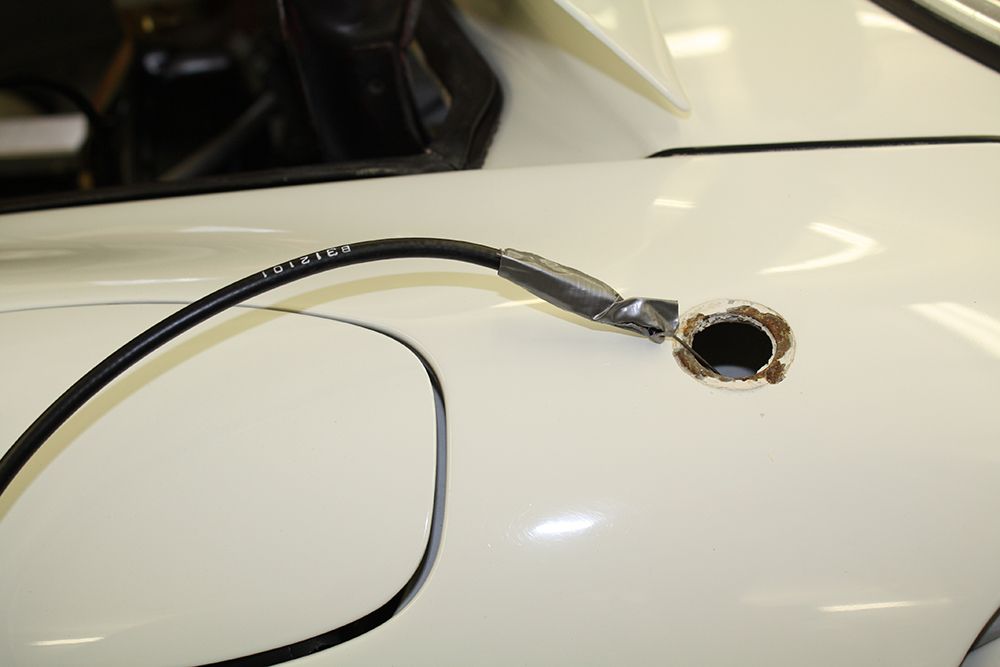
The antenna wire had been cut and there was no mast. I bought a Hirschman antenna for $20. It's a little tricky getting the old one out as it is in that area behind the door hinges. Once I had it loose, I used a magnet to grab it. The antenna wire on came out on the side of the antenna base with a plastic cover. This made it a little bit too big to fit into the hole so I used a file to ground down the plastic. Once that was done, I now had to feed the antenna wire into the interior through a hole in the hinge area. I used a piece of wire that I fed into the hole from the interior and then up to the hole into the fender. Once I taped the antenna wire to the guide wire, I pulled it through.
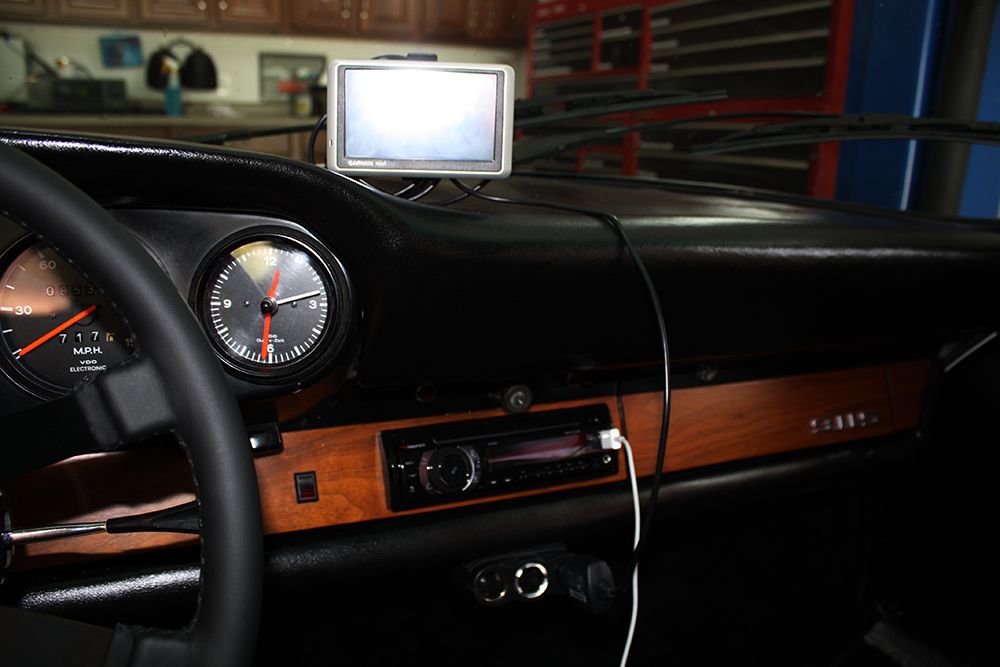
Next up was installing a three outlet for 12V for my GPS, phone, etc. I mounted it temporarily with velcro under the dash but will permanently mount it once I have installed the A/C unit.
When washing the car, I had water in the trunk area. Today I installed trunk seals as well as a new rear deck lid seal. I also removed the fresh air vent, bead blasted it, and painted it to freshen it up. I also re-installed the freshly painted steering rack protection plate. If I continue to freshen everything I take off the car, eventually it will be looking much better.

www.jerryforthofer.wordpress.com


I plan on adding A/C but before I do that I needed to change out the radio as once the A/C unit is in place, it will be difficult to get to the back of the radio. I found a Nakamichi radio on Amazon for $117 that has two AUX inputs and a USB input to run my Iphone. I found some speakers on Ebay from Custom Autosound that are in an enclosure small enough to fit on the floor behind the seats. These speakers sound surprisingly good, especially for $119. So for less that $250, I have tunes.


The antenna wire had been cut and there was no mast. I bought a Hirschman antenna for $20. It's a little tricky getting the old one out as it is in that area behind the door hinges. Once I had it loose, I used a magnet to grab it. The antenna wire on came out on the side of the antenna base with a plastic cover. This made it a little bit too big to fit into the hole so I used a file to ground down the plastic. Once that was done, I now had to feed the antenna wire into the interior through a hole in the hinge area. I used a piece of wire that I fed into the hole from the interior and then up to the hole into the fender. Once I taped the antenna wire to the guide wire, I pulled it through.


Next up was installing a three outlet for 12V for my GPS, phone, etc. I mounted it temporarily with velcro under the dash but will permanently mount it once I have installed the A/C unit.

When washing the car, I had water in the trunk area. Today I installed trunk seals as well as a new rear deck lid seal. I also removed the fresh air vent, bead blasted it, and painted it to freshen it up. I also re-installed the freshly painted steering rack protection plate. If I continue to freshen everything I take off the car, eventually it will be looking much better.


www.jerryforthofer.wordpress.com
Last edited by jerhofer; 01-28-2014 at 12:41 AM.
09-24-2013, 08:18 PM
#20
Racer
Thread Starter
Finally got the car back on the ground Sunday and tried out the cruise control. It would try to engage but would not hold the speed. On Monday I called the manufacturer Rostra and they said I had one of the DIP switches set incorrectly. Made the change and it worked. Today I had to drive to Mooresville and Davidson. The cruise held the speed within two MPH according to my GPS. Can't get much better than that. The only issue is that the switch that is attached to the turn signal lever is heavy enough that when I put on the right turn signal, it doesn't want to stay in the up position. The radio also worked great.
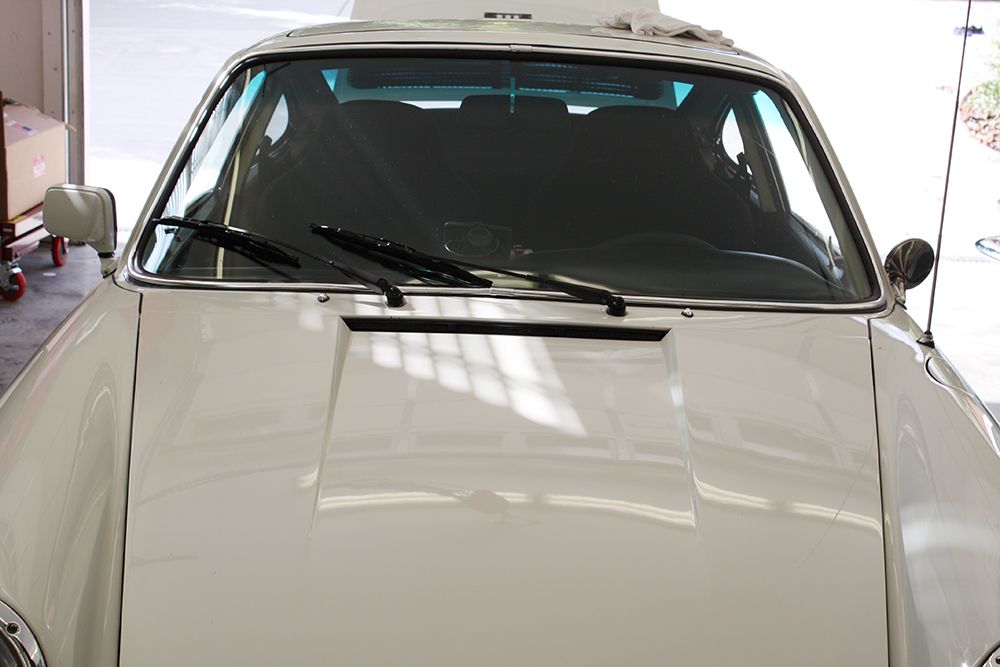
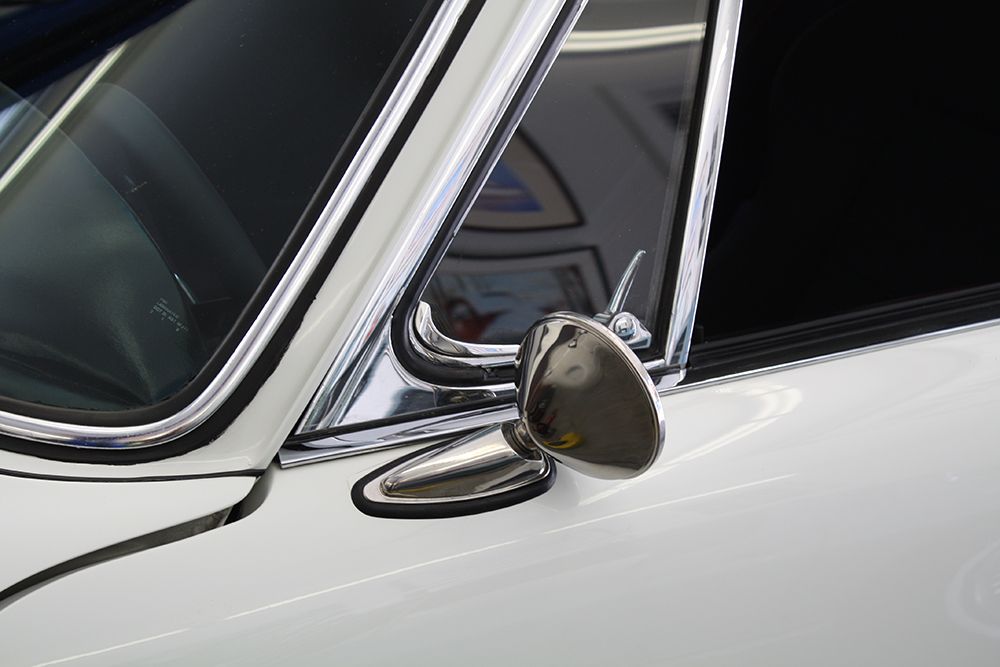
Got tired of the engine lid conking me on the head so I replaced the pneumatic strut. I also got around to installing the Durant style mirrors. The left one is complete and I hope to do the other one tomorrow.

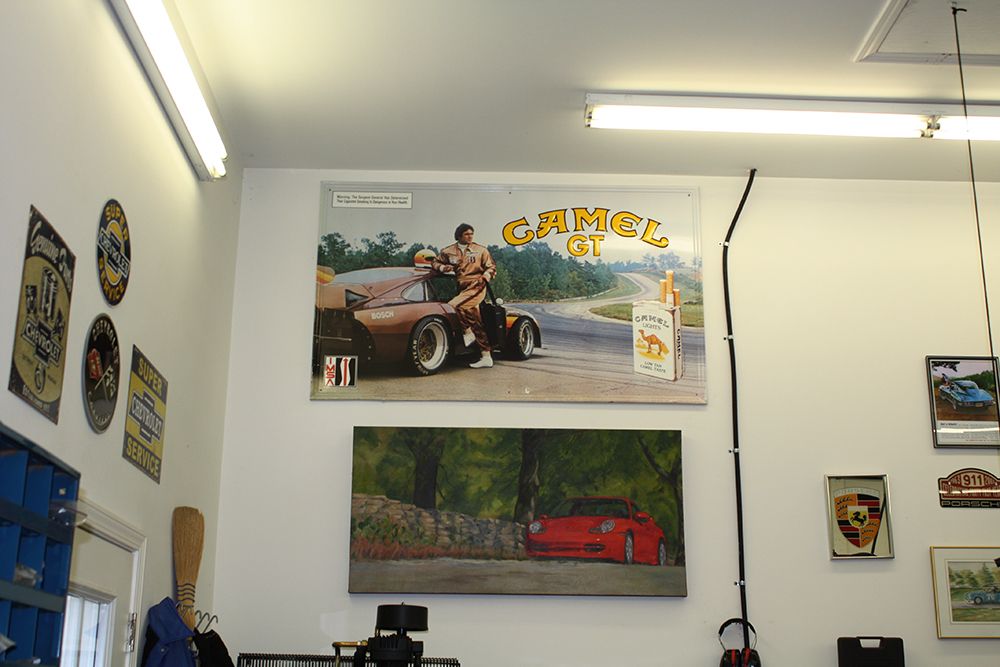
Recently I attended a cruise-in with the Corvette in Pilot Mountain, NC. Those of you familiar with the Andy Griffith show will recognize that they were always going to Pilot Mountain. It is a very nice small town which has one of the most popular cruise-in's in NC. While browsing an antique store, I came across a Camel GT sign showing a 935. Brought back memories of when we were attending those races back in the late '70's and early '80's. It is now displayed in the garage.
www.jerryforthofer.wordpress.com


Got tired of the engine lid conking me on the head so I replaced the pneumatic strut. I also got around to installing the Durant style mirrors. The left one is complete and I hope to do the other one tomorrow.


Recently I attended a cruise-in with the Corvette in Pilot Mountain, NC. Those of you familiar with the Andy Griffith show will recognize that they were always going to Pilot Mountain. It is a very nice small town which has one of the most popular cruise-in's in NC. While browsing an antique store, I came across a Camel GT sign showing a 935. Brought back memories of when we were attending those races back in the late '70's and early '80's. It is now displayed in the garage.

www.jerryforthofer.wordpress.com
Last edited by jerhofer; 01-28-2014 at 12:41 AM.
09-25-2013, 08:21 PM
#21
Racer
Thread Starter
Finished up the other mirror today.
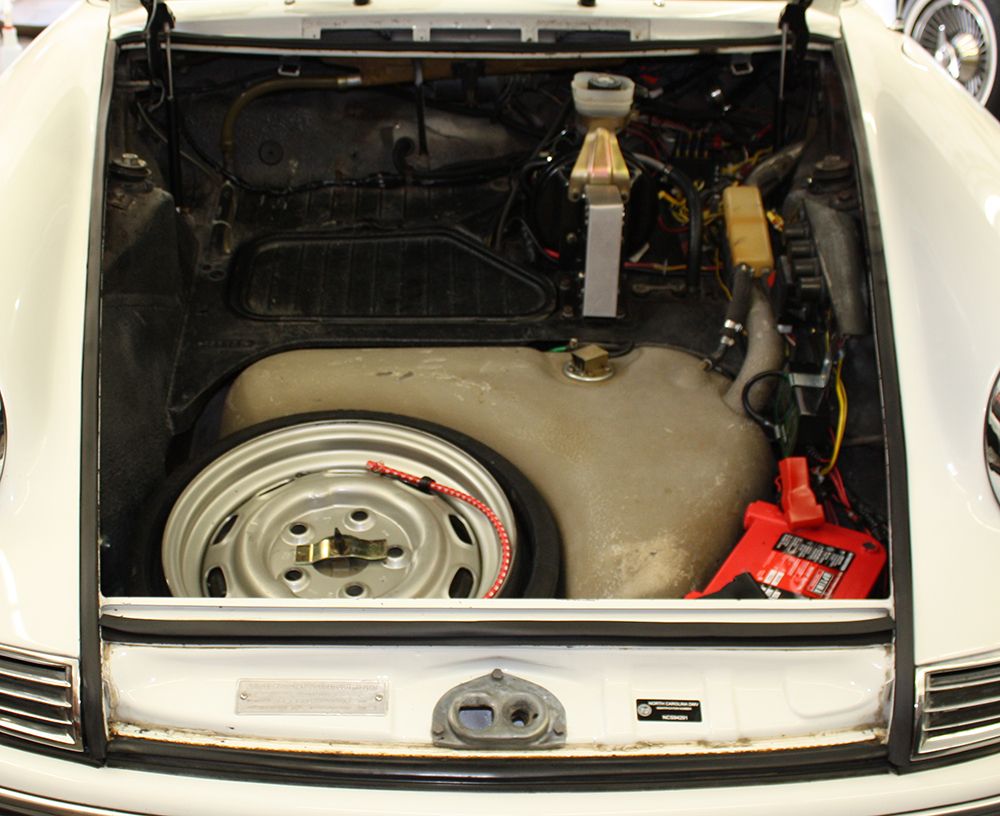
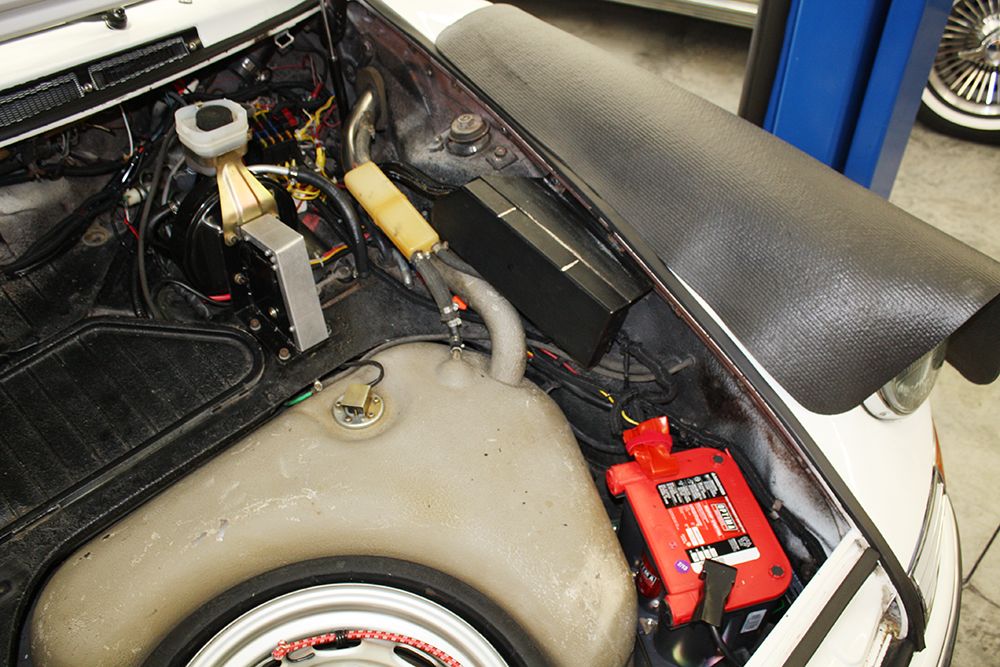
The relay/fuse box in the trunk did not have a cover. It arrived yesterday. I had to move some things around and took the opportunity to clean up some of the wiring.
Once everything was done I washed the car and the new hood seal worked as the trunk was dry.
www.jerryforthofer.wordpress.com

The relay/fuse box in the trunk did not have a cover. It arrived yesterday. I had to move some things around and took the opportunity to clean up some of the wiring.


Once everything was done I washed the car and the new hood seal worked as the trunk was dry.
www.jerryforthofer.wordpress.com
Last edited by jerhofer; 01-28-2014 at 12:41 AM.
09-26-2013, 09:23 AM
#23
Racer
Thread Starter
www.jerryforthofer.wordpress.com
Last edited by jerhofer; 01-28-2014 at 12:42 AM.
10-01-2013, 10:07 PM
#24
Racer
Thread Starter
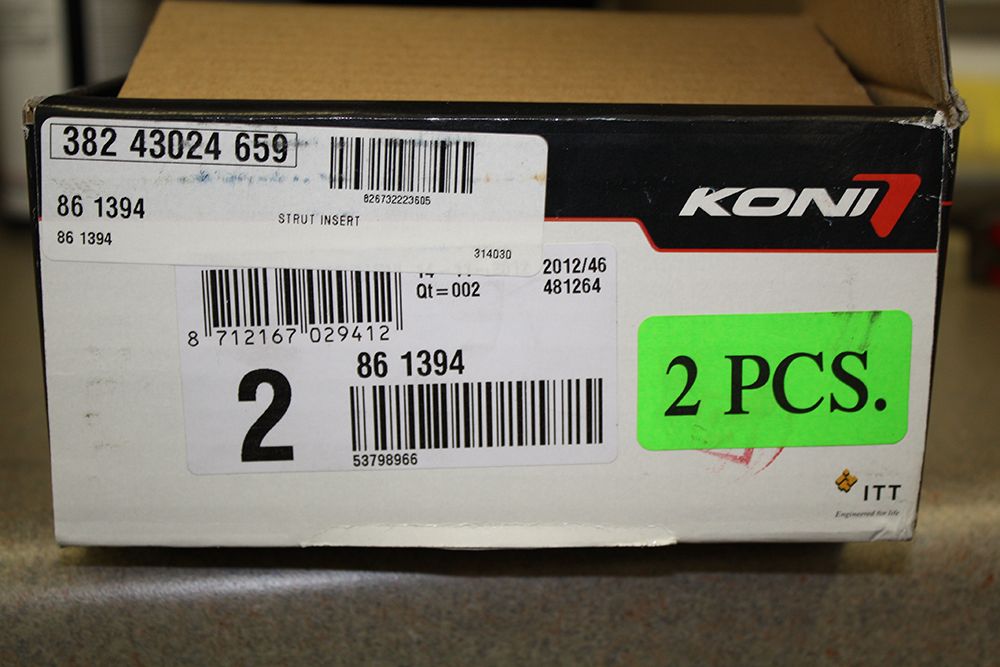
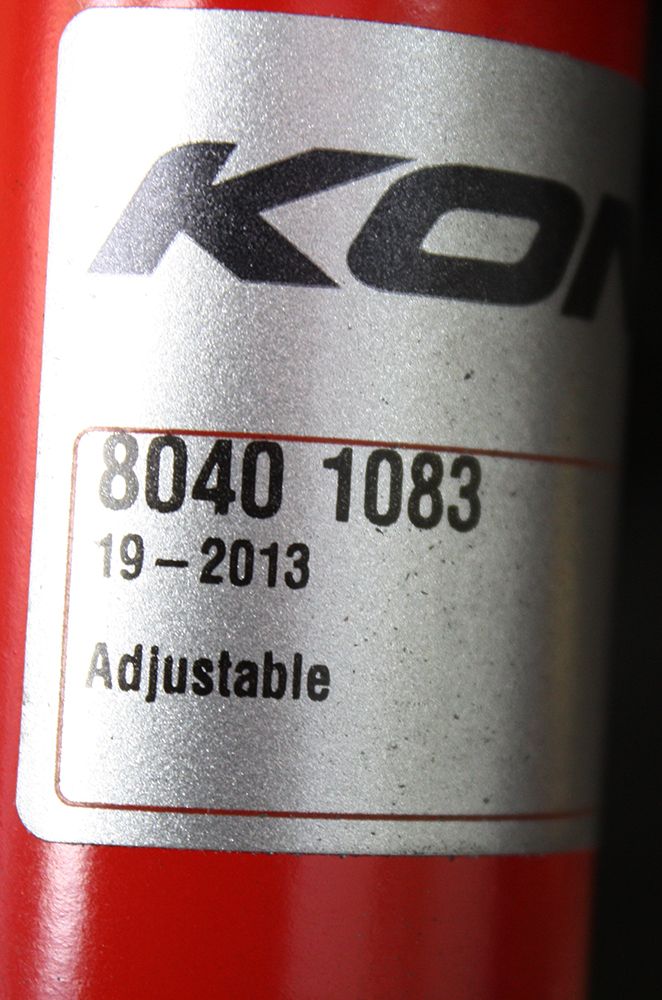
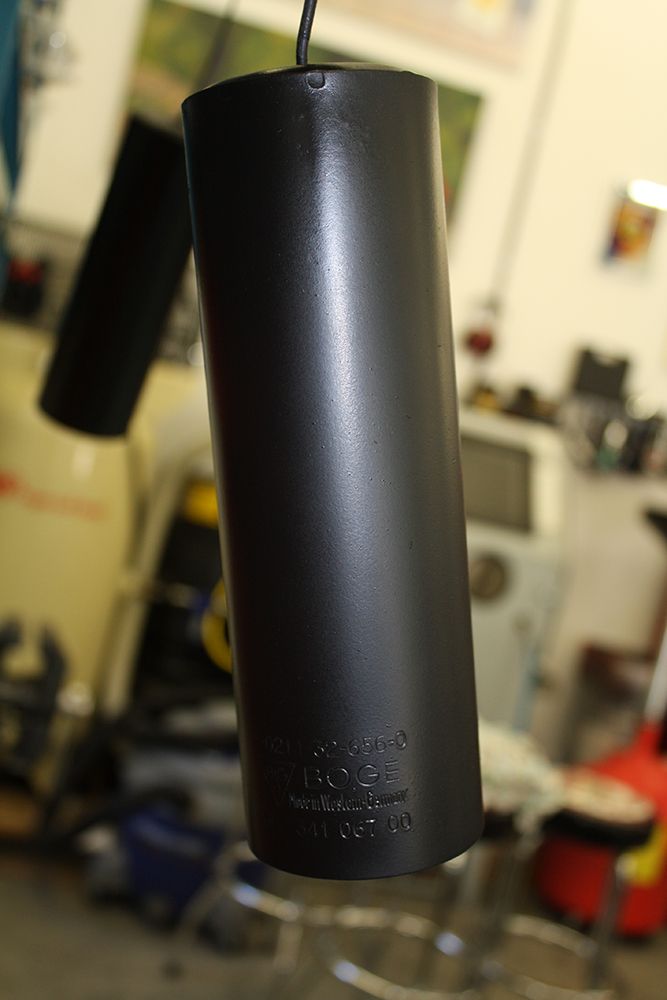
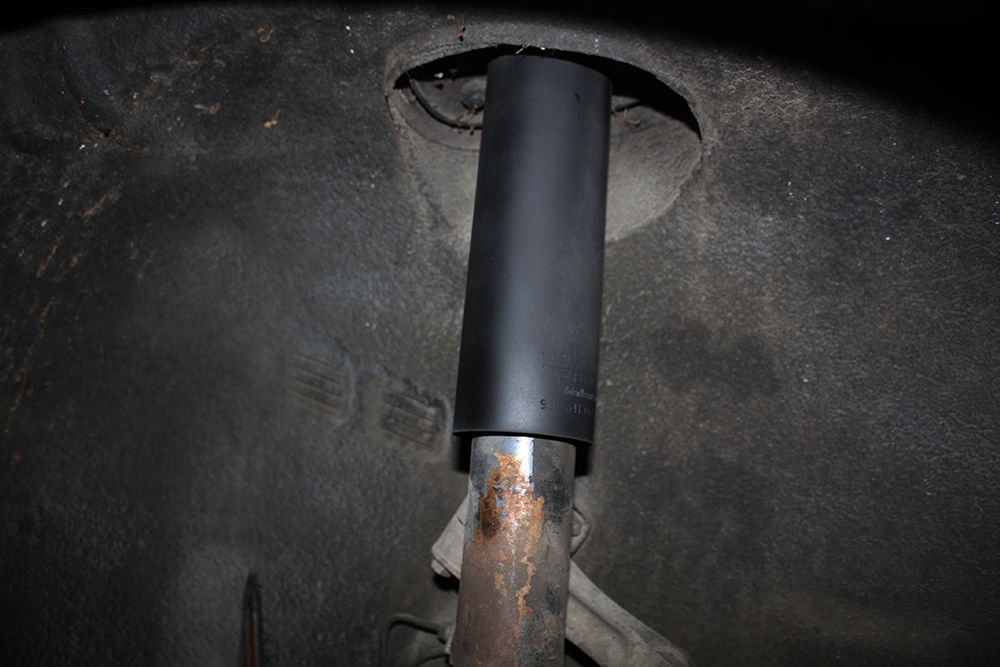
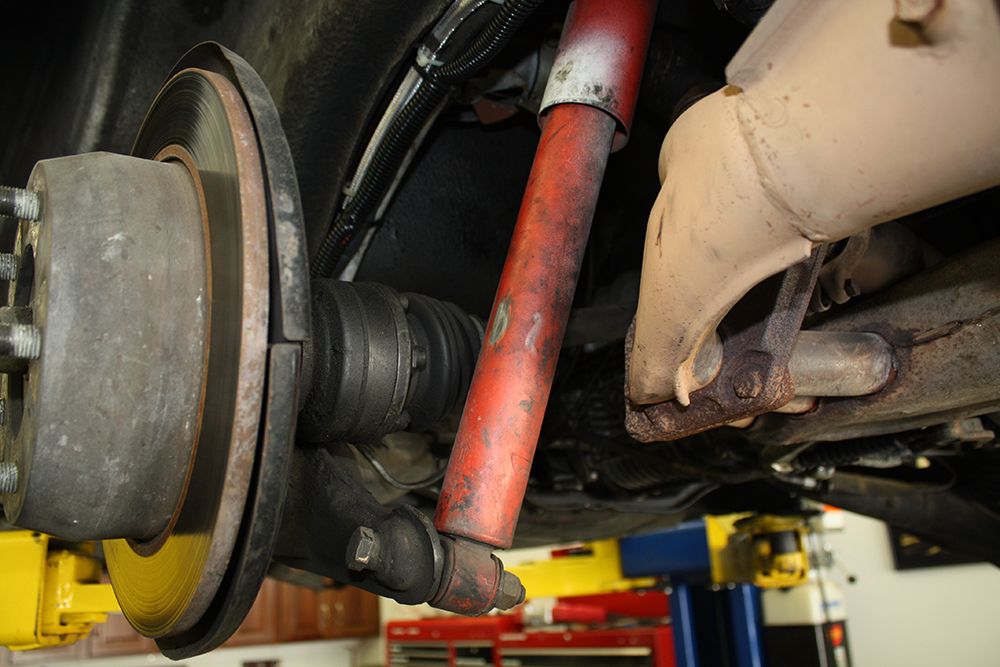
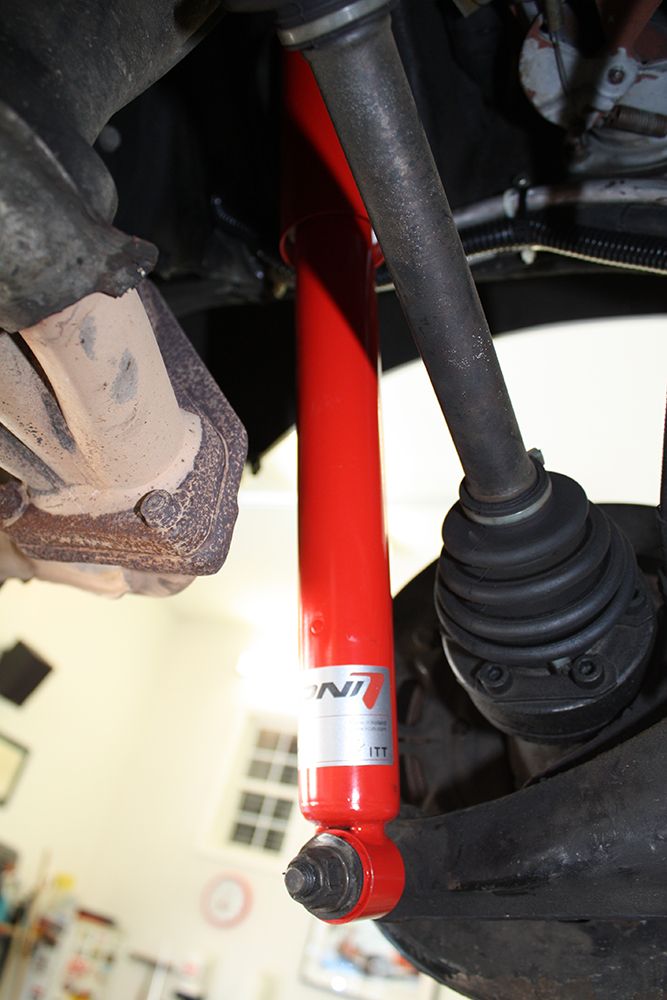
My son is an expert in tires and suspension. After driving the car, he said the front shocks were worn out. I talked with the previous owner and he installed the rear Koni's 30 years ago and had never replaced the front strut inserts. I ordered a set of Koni Classic's and installed them today. The front inserts turned out to be Kontrolle's. The car felt much better afterwards with the front end being more planted than before. Well worth the effort.
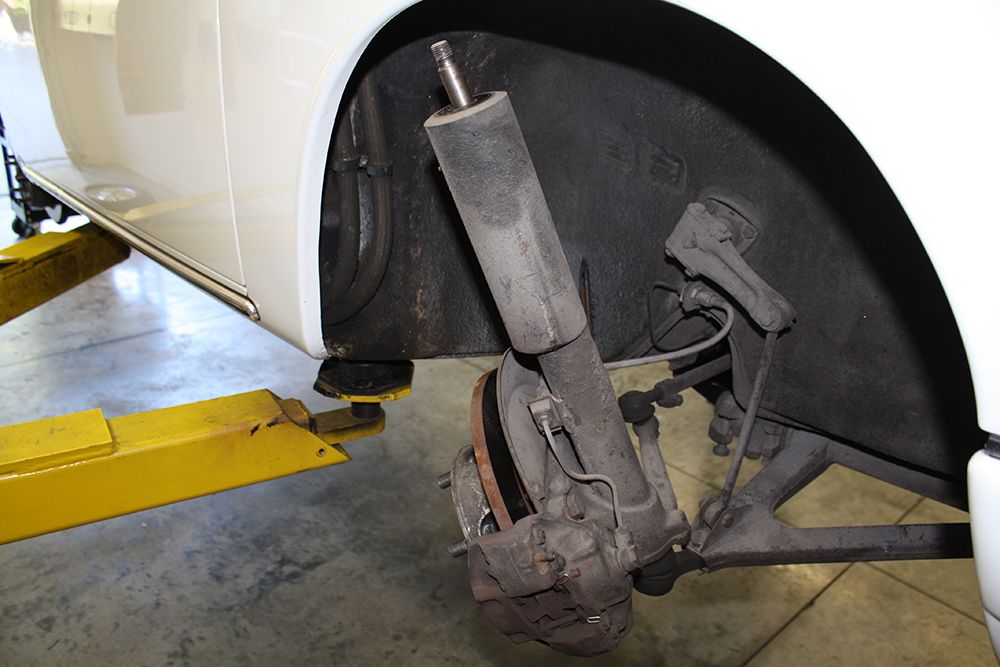
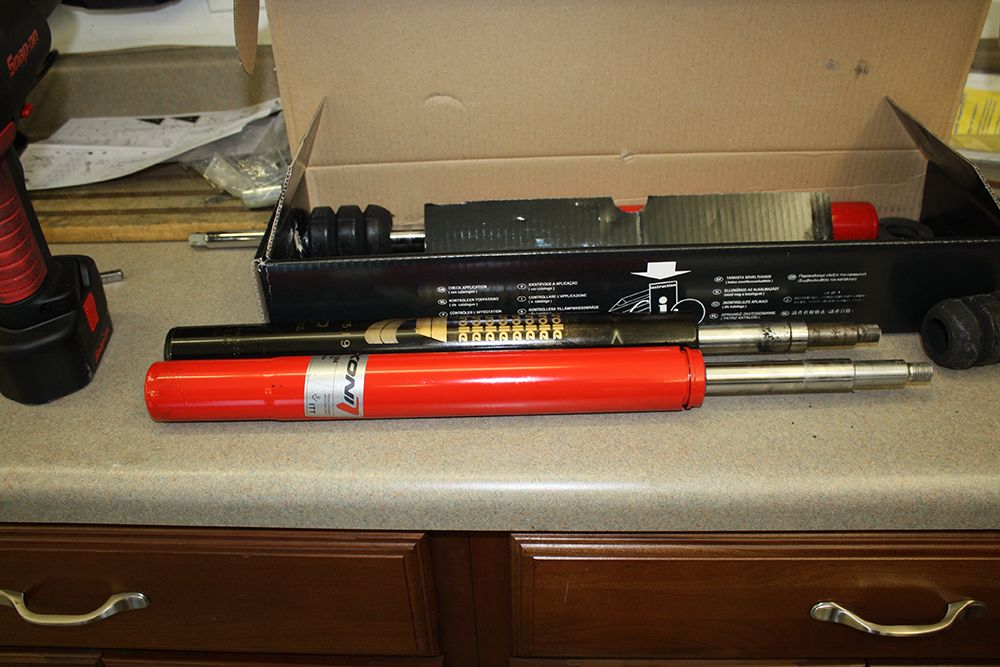
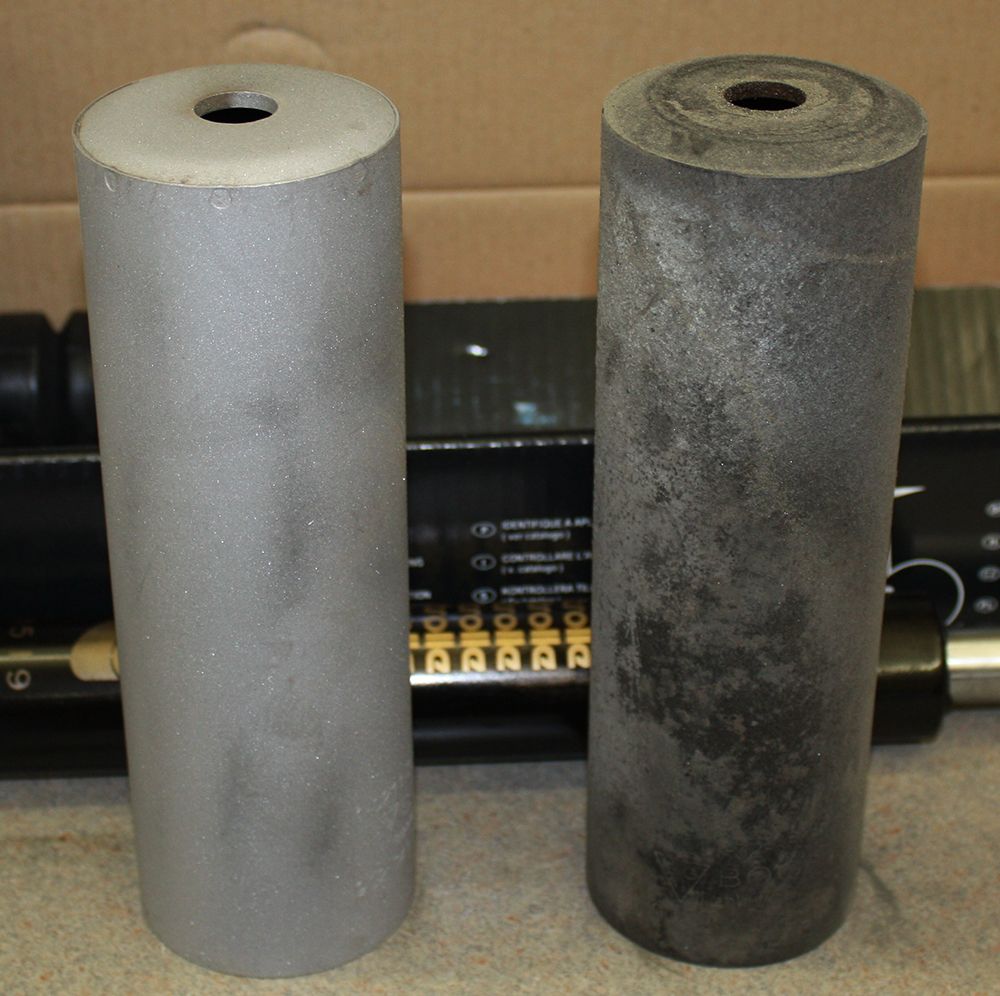
After removing the dust shields, I bead blasted and painted them.
www.jerryforthofer.wordpress.com


After removing the dust shields, I bead blasted and painted them.


www.jerryforthofer.wordpress.com
Last edited by jerhofer; 01-28-2014 at 12:42 AM.
10-02-2013, 01:09 AM
#25
Oh, missed that....makes sense.
10-02-2013, 07:38 PM
#26
Burning Brakes
Wow great job Jerry, I have only now caught up with your progress!! Those IMSA Camel 935s are some of my earliest memories from the track in the late 70's
10-06-2013, 11:02 PM
#27
Racer
Thread Starter
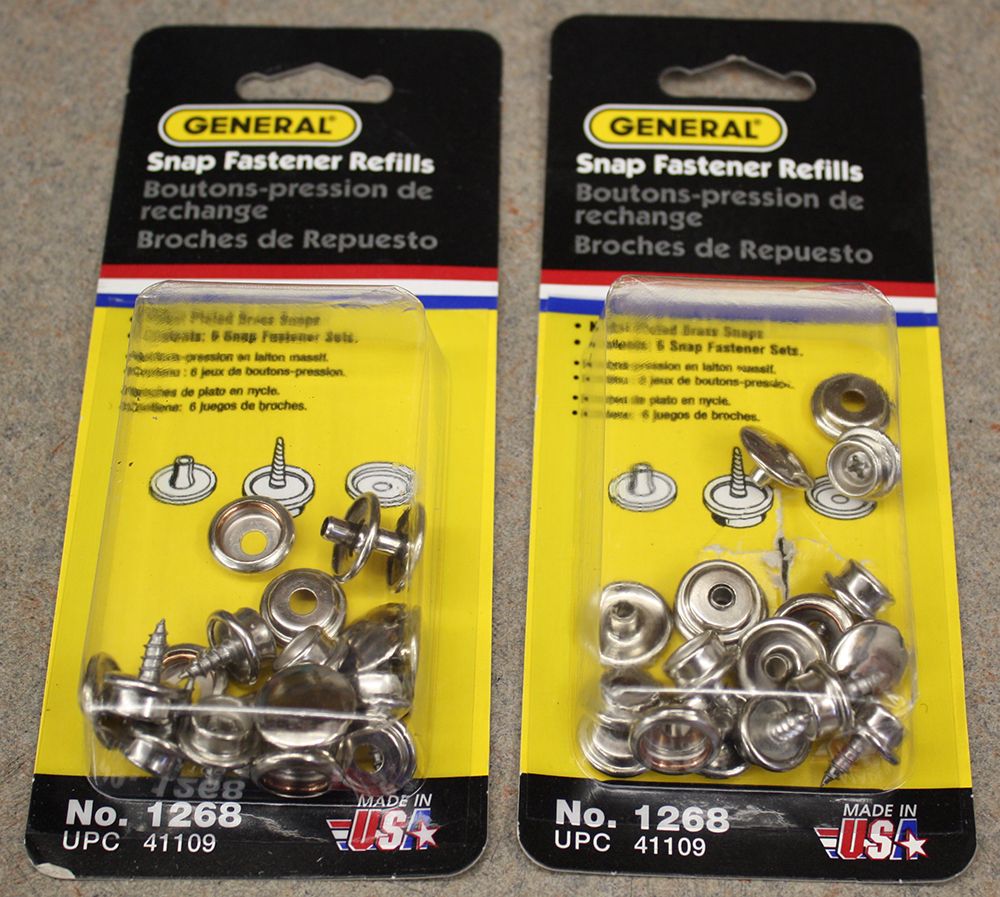
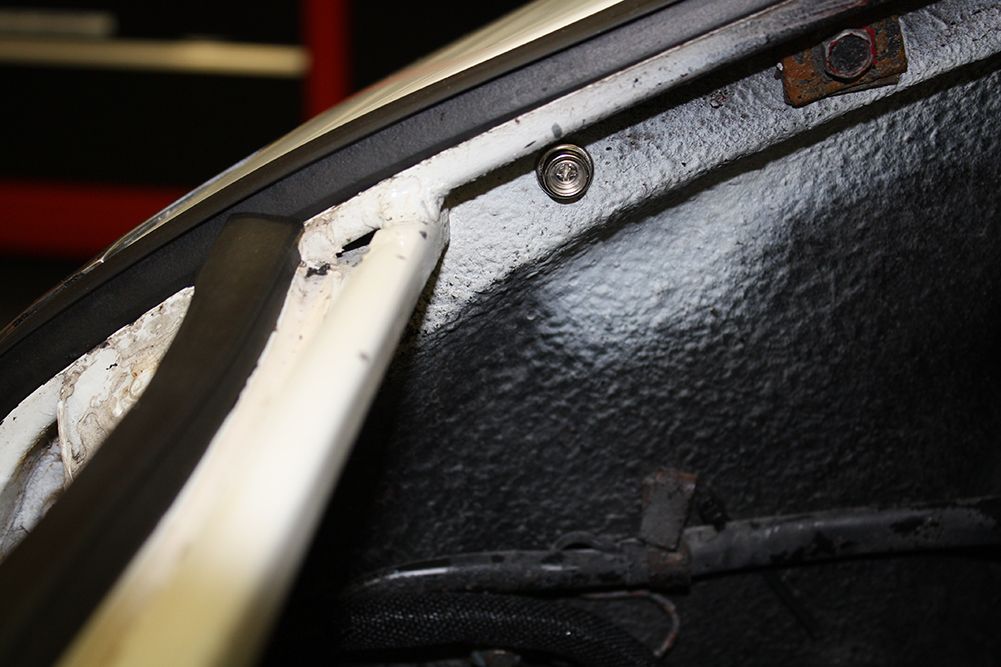
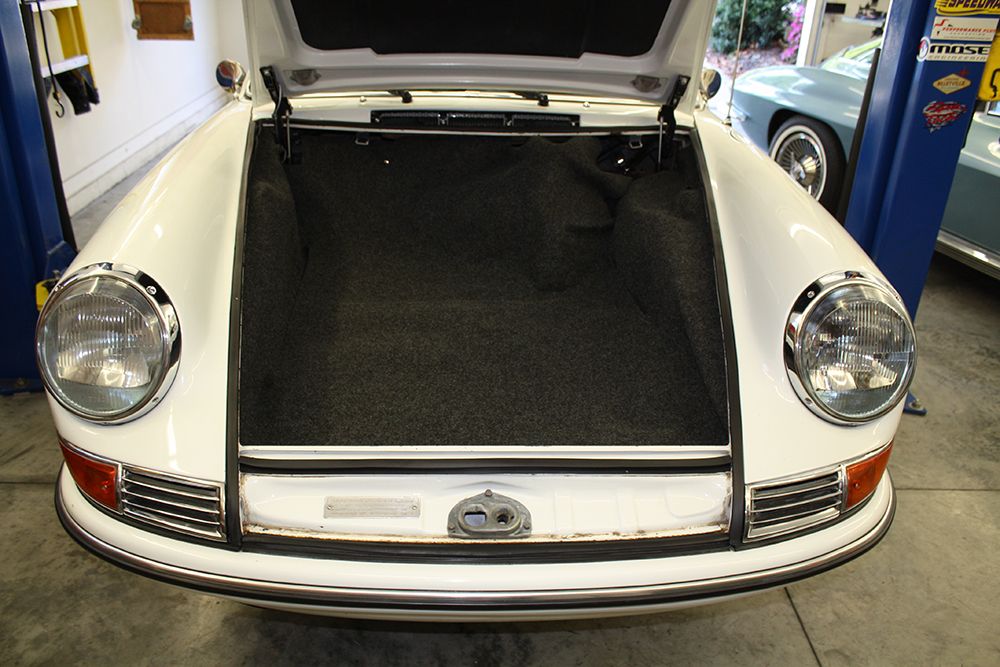
My trunk carpet finally arrived last week. Because of the brake booster, I ordered a set for a later car which was fastened with snaps. Since there were no male snaps in the trunk area, I hit the local Ace Hardware and found some nickel plated brass snaps that perfectly fit the snaps on the carpet. Installing them was a simple matter of drilling a small hole and using a phillips screwdriver to mount them. I am waiting for the part that goes across the rear of the trunk area to prevent things from hitting the dash. I will have to modify it to clear the brake booster. Once it is in I can complete the carpet installation.
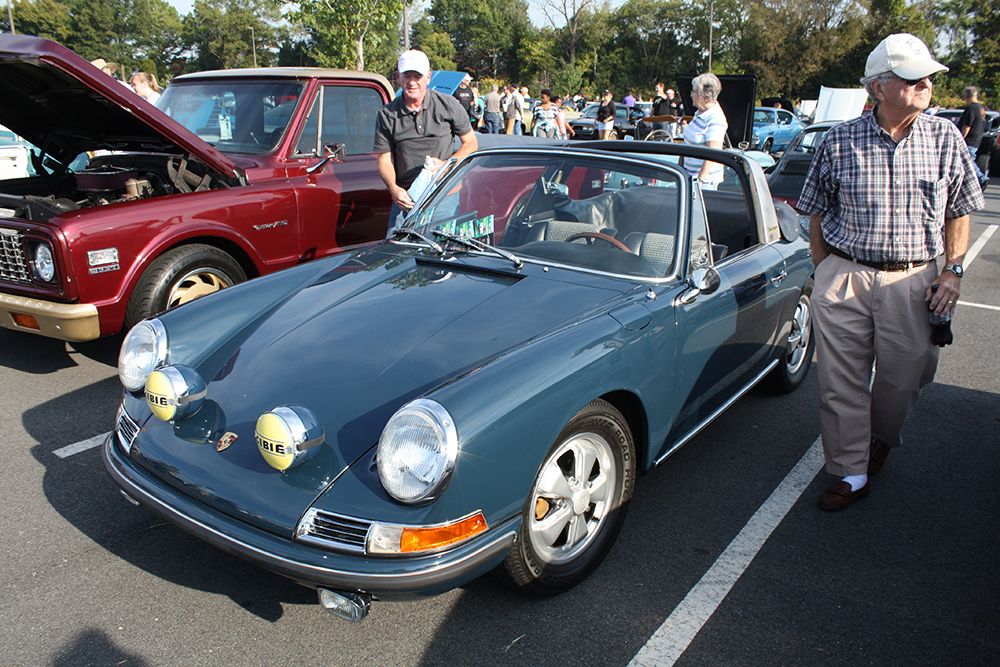
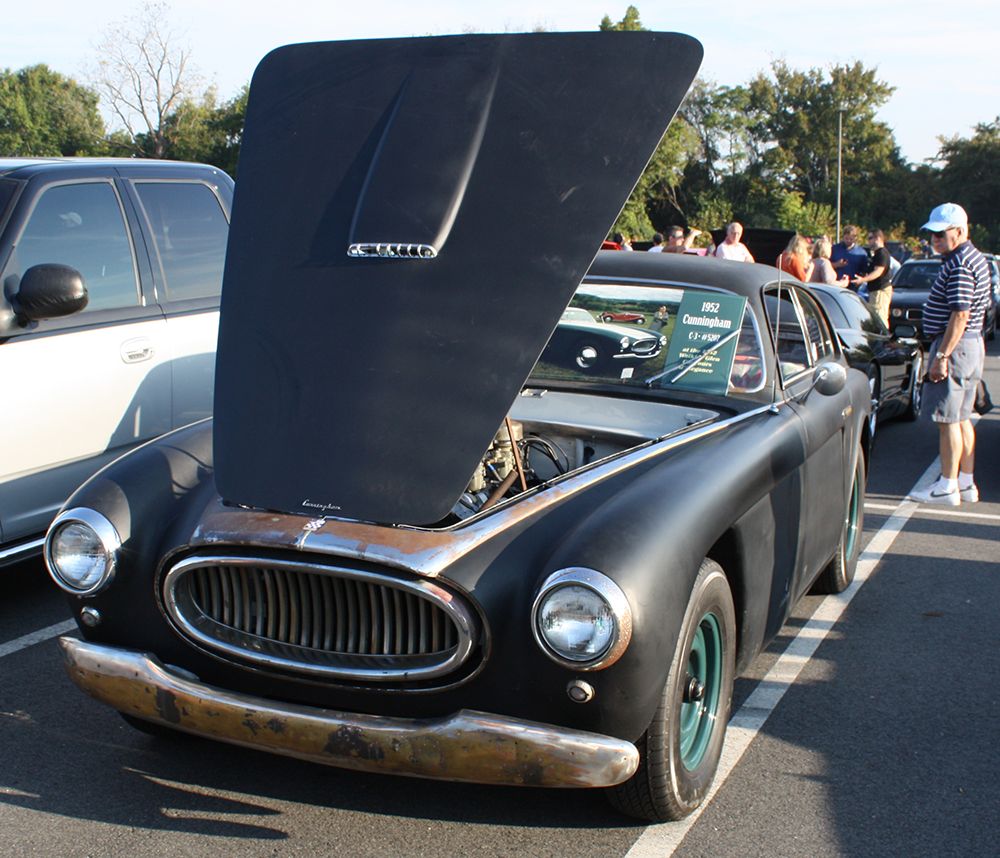
On Saturday the 6th I found my way to the Charlotte Cars & Coffee again. Two cars caught my attention. One was a '67 911S Targa. Beautiful car and well preserved.
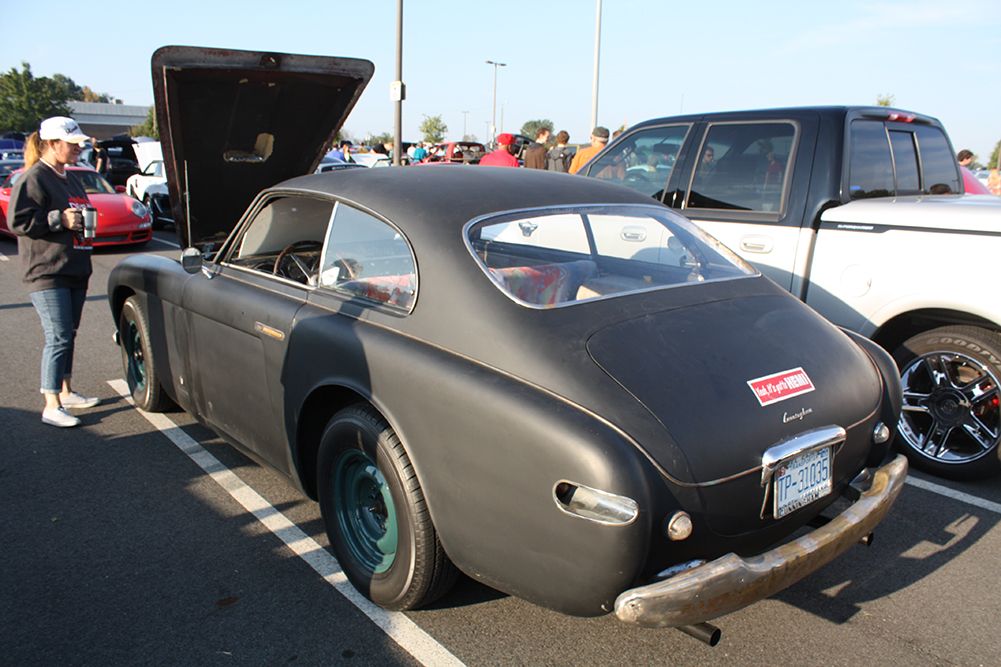
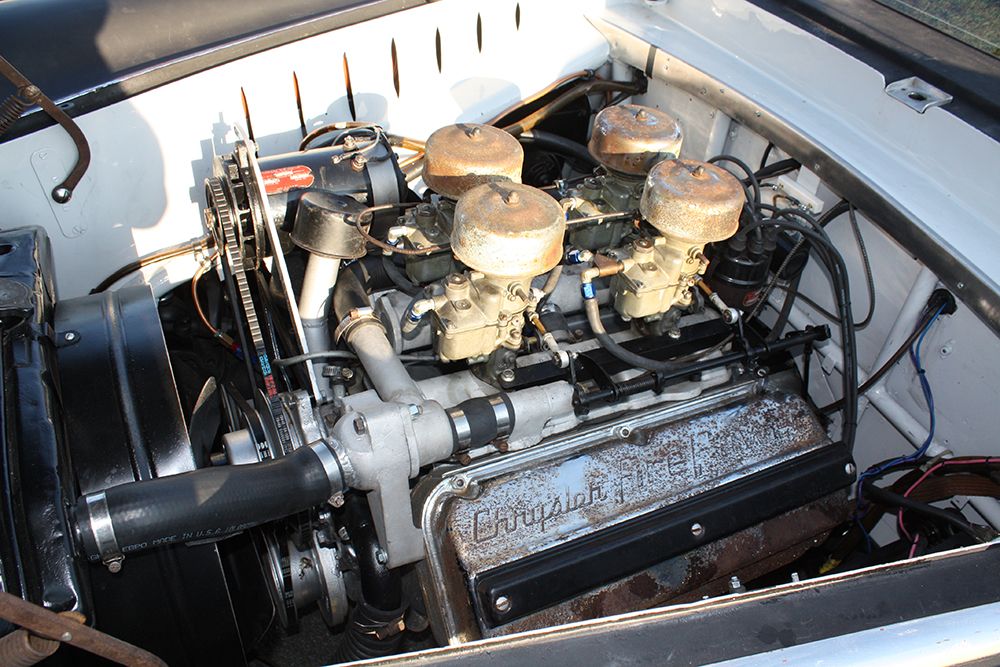
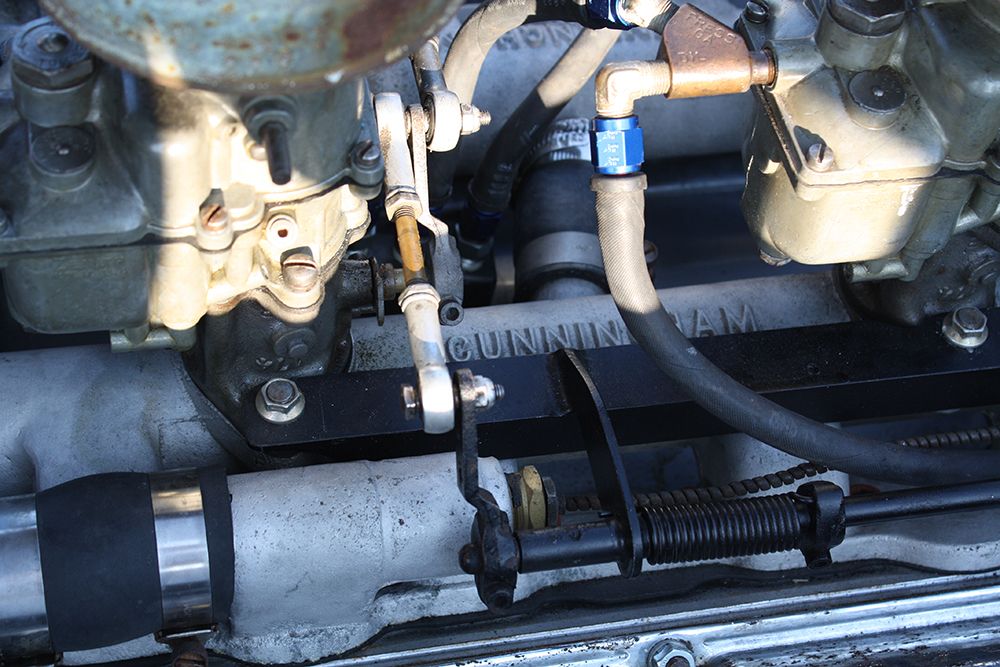
The other car was a 1952 Cunningham. It had a coat of primer but the patina on the rest of the car was my main attraction. The rear trunk sported a sticker saying that it had a hemi!! I had never realized that Cunningham had made their own intake for the hemi motor. And the gauges were outstanding.
www.jerryforthofer.wordpress.com


On Saturday the 6th I found my way to the Charlotte Cars & Coffee again. Two cars caught my attention. One was a '67 911S Targa. Beautiful car and well preserved.

The other car was a 1952 Cunningham. It had a coat of primer but the patina on the rest of the car was my main attraction. The rear trunk sported a sticker saying that it had a hemi!! I had never realized that Cunningham had made their own intake for the hemi motor. And the gauges were outstanding.


www.jerryforthofer.wordpress.com
Last edited by jerhofer; 01-28-2014 at 12:43 AM.
10-07-2013, 08:17 PM
#28
Racer
Thread Starter
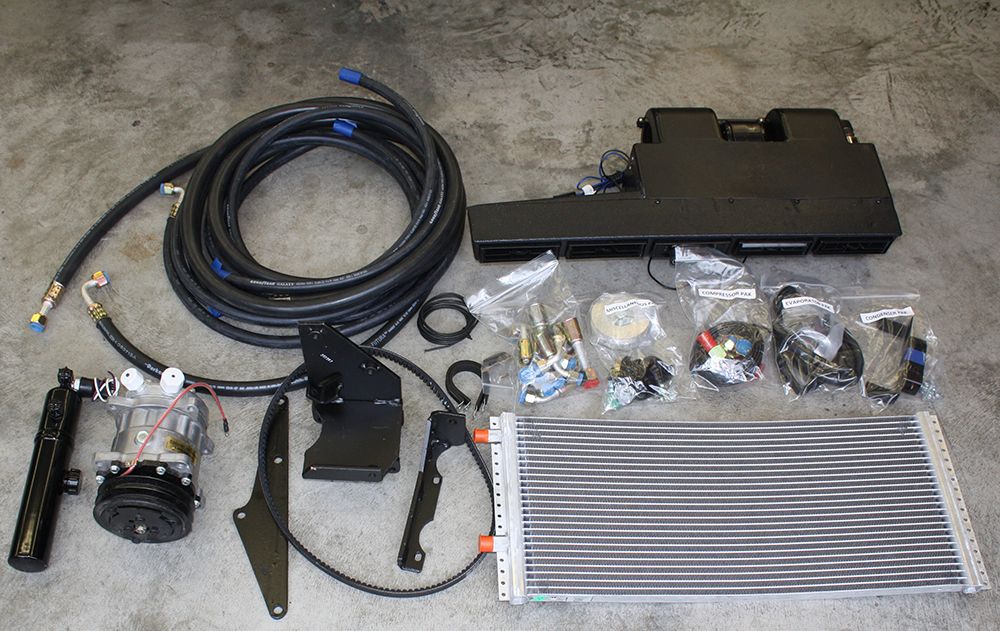
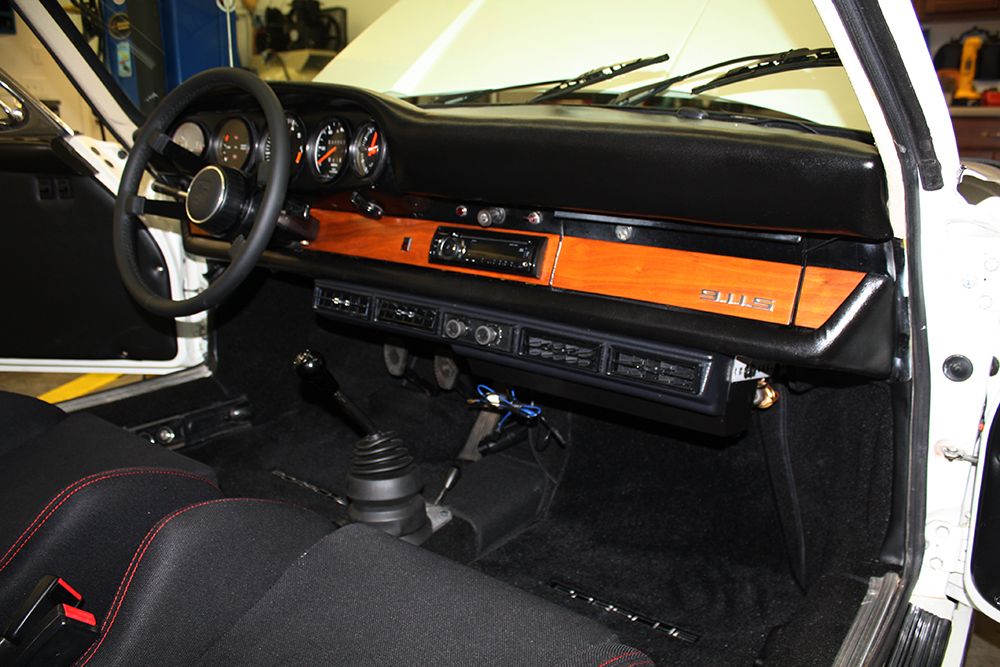
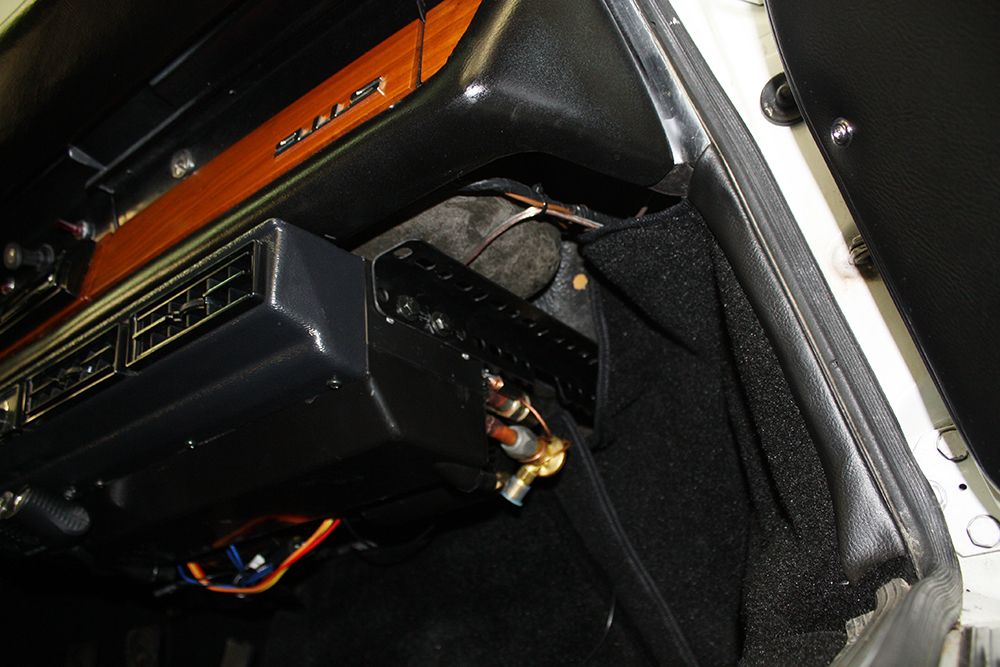
Started installing the AC today. I bought my kit from Retroair in Texas. They have a kit specifically for air cooled 911's. However their standard kit would not work on my early car. In their standard kit the evaporator is installed in the smuggler's hole. That hole was enlarged in 1969 along with many other changes and the evaporator will not fit in my hole.
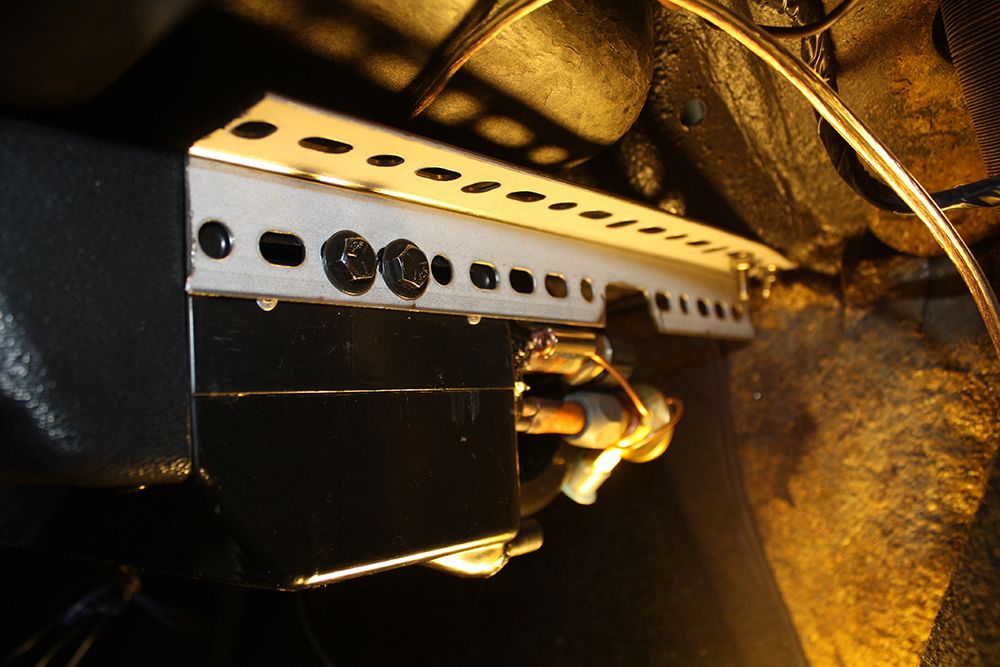
So they came up with a modified kit. Everything is the same except for the evaporator. As mentioned, the standard kit places the evaporator in the smuggler's hole and then has an air hose run inside the car to vents mounted on the bottom of the dash. Their 914 kit has the evaporator and the vents all built into one piece and that is what I am using. Since it was designed to be mounted in a 914, the standard brackets did not work. I had to make both brackets. I used some steel angle iron with multiple holes that is designed to be used as a mounting source. After doing some cutting, filing and shaping I ended up with a couple of sturdy brackets. I could have cut off more of the bracket to make it cleaner looking but I did not want to give up the strength. Besides, unless someone wants to lay on the floor on their back, no one will ever see them. I did take them off and paint them.

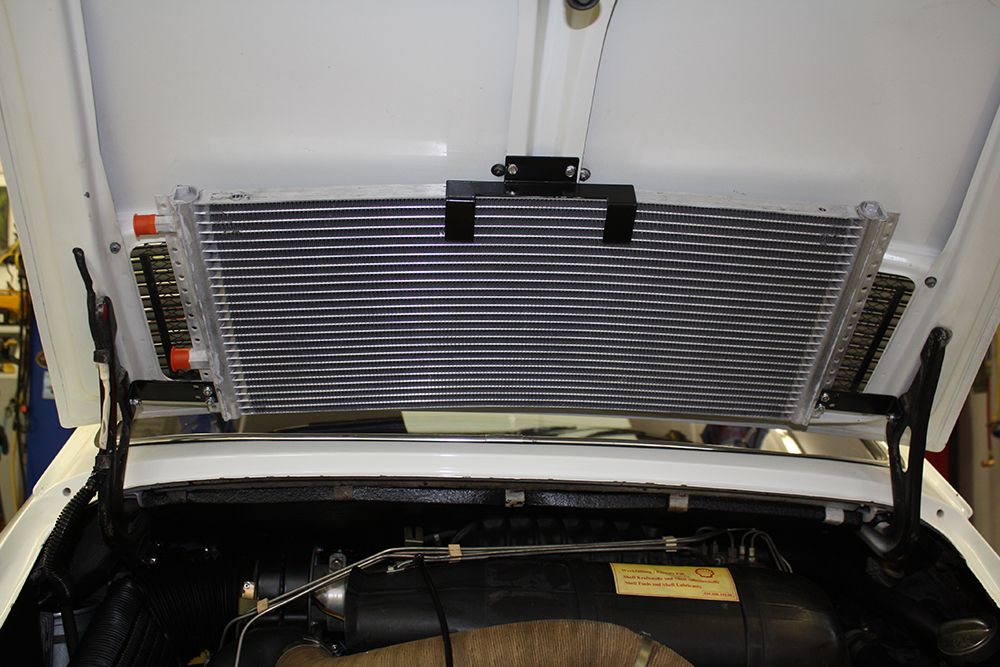
I also had time to install the condenser. It mounts in the standard location on the engine lid.
www.jerryforthofer.wordpress.com
So they came up with a modified kit. Everything is the same except for the evaporator. As mentioned, the standard kit places the evaporator in the smuggler's hole and then has an air hose run inside the car to vents mounted on the bottom of the dash. Their 914 kit has the evaporator and the vents all built into one piece and that is what I am using. Since it was designed to be mounted in a 914, the standard brackets did not work. I had to make both brackets. I used some steel angle iron with multiple holes that is designed to be used as a mounting source. After doing some cutting, filing and shaping I ended up with a couple of sturdy brackets. I could have cut off more of the bracket to make it cleaner looking but I did not want to give up the strength. Besides, unless someone wants to lay on the floor on their back, no one will ever see them. I did take them off and paint them.


I also had time to install the condenser. It mounts in the standard location on the engine lid.

www.jerryforthofer.wordpress.com
Last edited by jerhofer; 01-28-2014 at 12:43 AM.
10-08-2013, 06:06 PM
#29
Racer
Thread Starter
Hate it when chores like mowing the lawn get in the way of working on the car. I did get the painted evaporator brackets installed and mounted the 12V outlet device to the bottom of the AC vents. I tried to attach the compressor mount but could not figure out where all of the pieces went. After placing a call to Retroair, I decided that mounting the bracket will wait until I drop the motor. One of the pieces goes through the sheet metal and mounts towards the center of the motor. Will be much easier to do when the motor is out and the muffler is off. Don't need air this time of the year anyway.
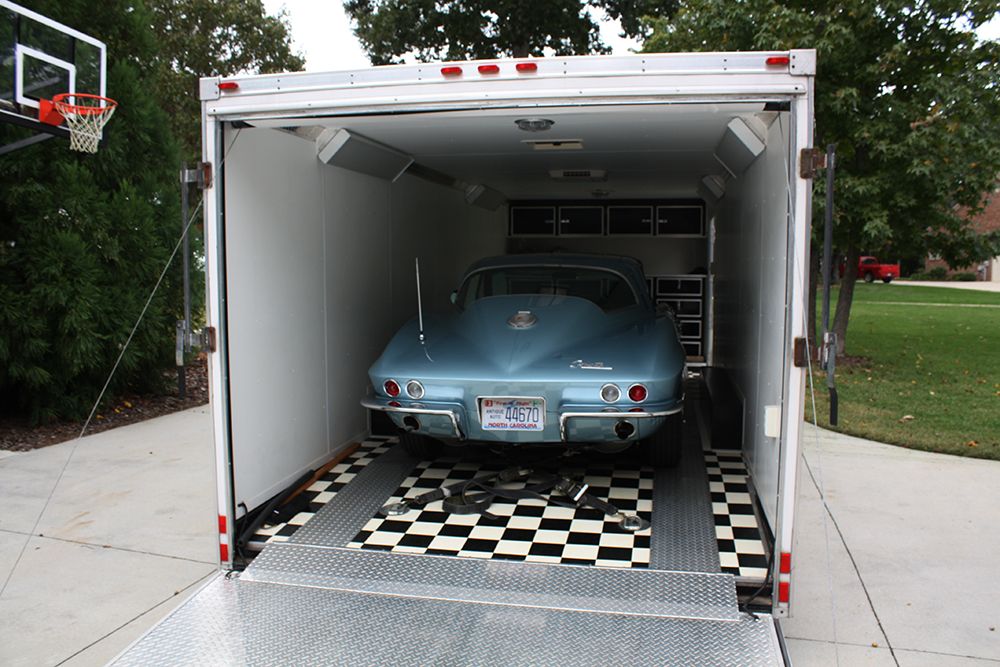
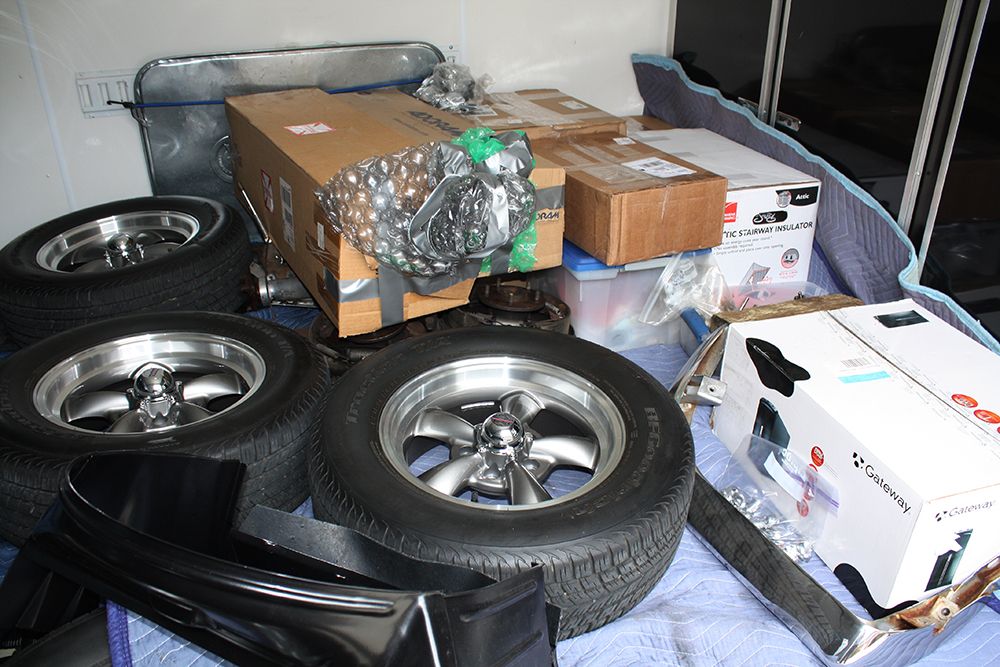
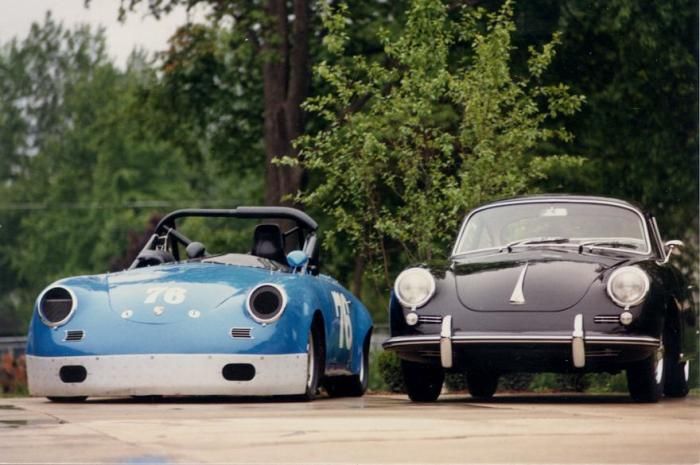
I spent a good part of the afternoon loading my '64 Vette and a ton of parts on my friend's enclosed trailer. Thursday we are taking the car to Augusta, GA where a fellow is trading me a pristine '57 Chevy 150. Assuming we are both happy with each other's cars, I will be hauling the '57 back. I plan on selling it as well. The parts are the original ones I removed from the car during the restoration, including the original matching number four speed. What is interesting about this guy is that he once owned the same E-Production 356 race car that we once owned. He bought it from the guy I sold it to. I had the race car and a '62 B coupe at the same time.
www.jerryforthofer.wordpress.com


I spent a good part of the afternoon loading my '64 Vette and a ton of parts on my friend's enclosed trailer. Thursday we are taking the car to Augusta, GA where a fellow is trading me a pristine '57 Chevy 150. Assuming we are both happy with each other's cars, I will be hauling the '57 back. I plan on selling it as well. The parts are the original ones I removed from the car during the restoration, including the original matching number four speed. What is interesting about this guy is that he once owned the same E-Production 356 race car that we once owned. He bought it from the guy I sold it to. I had the race car and a '62 B coupe at the same time.


www.jerryforthofer.wordpress.com
Last edited by jerhofer; 01-28-2014 at 12:43 AM.
10-09-2013, 05:51 PM
#30
Racer
Thread Starter
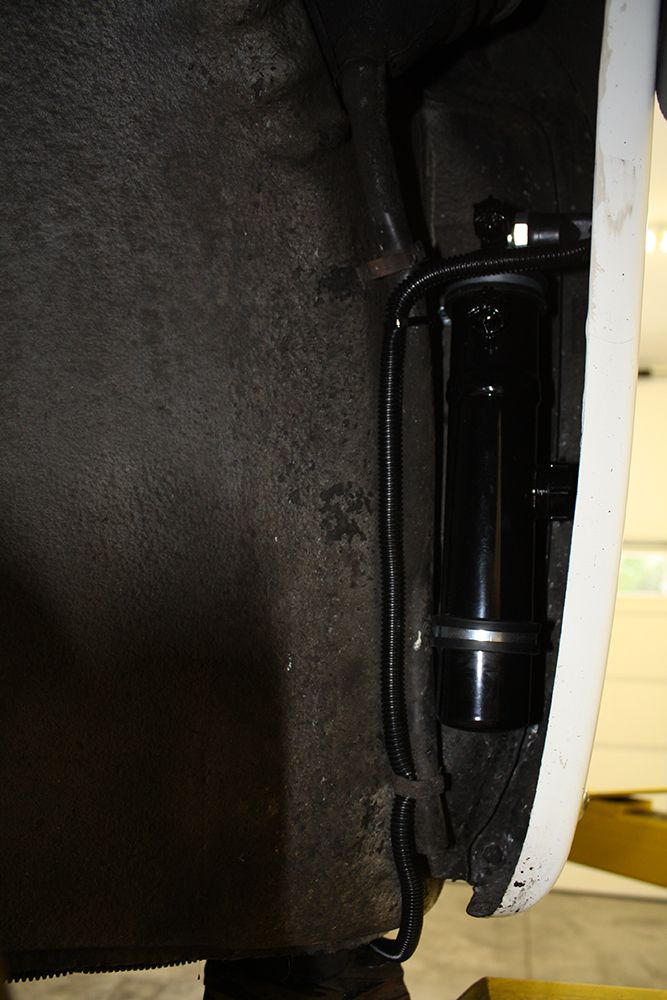
Even though I am going to wait to install the compressor once I have the motor out, since the car was already up in the air I decided to install the drier and all of the wiring for the AC. The only wire not hooked up is the one going to the compressor. I did run that wire to the engine bay where I can easily access it once the compressor is installed. The drier is located in the same place as factory air on later Porsches in the left front wheel well.
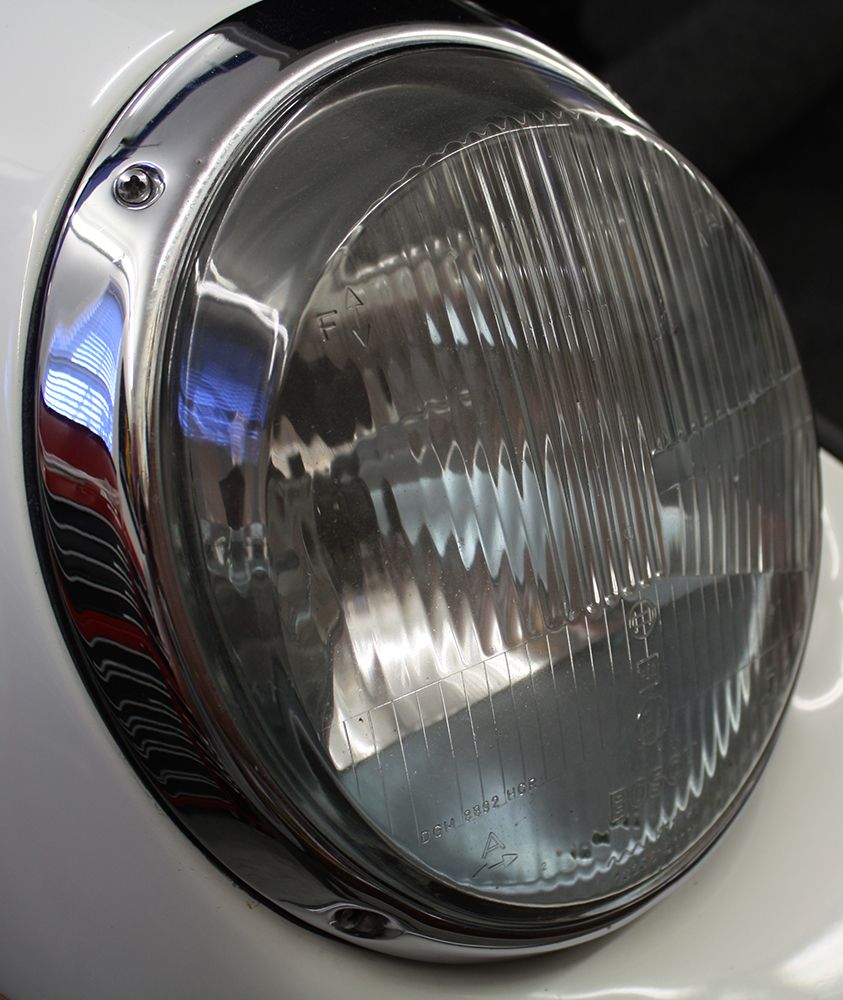
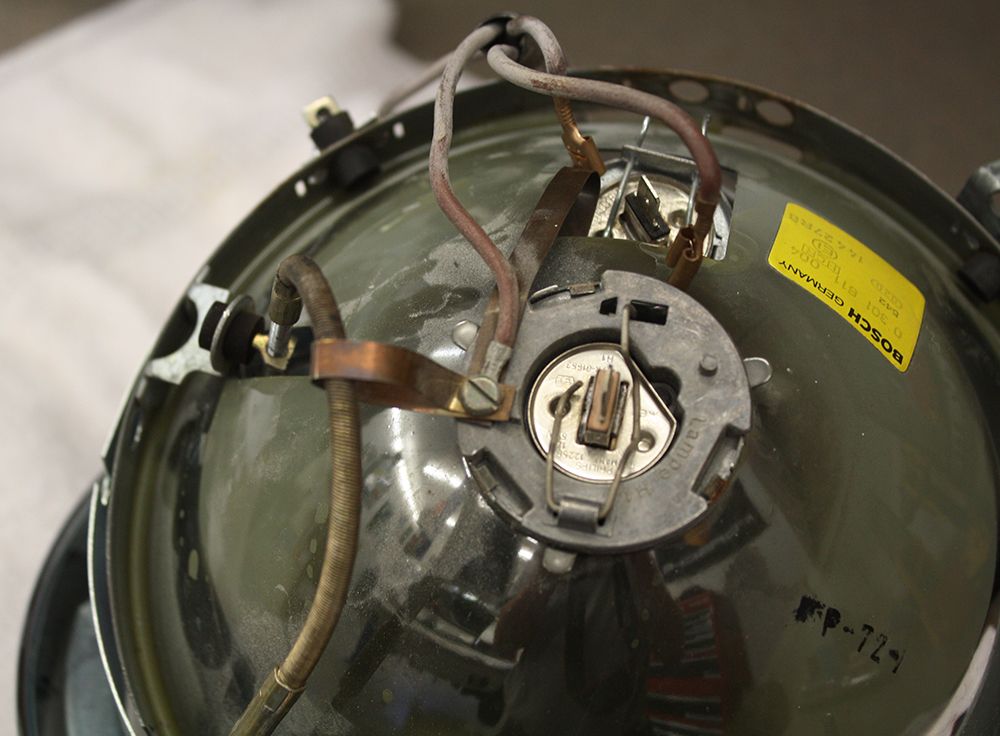
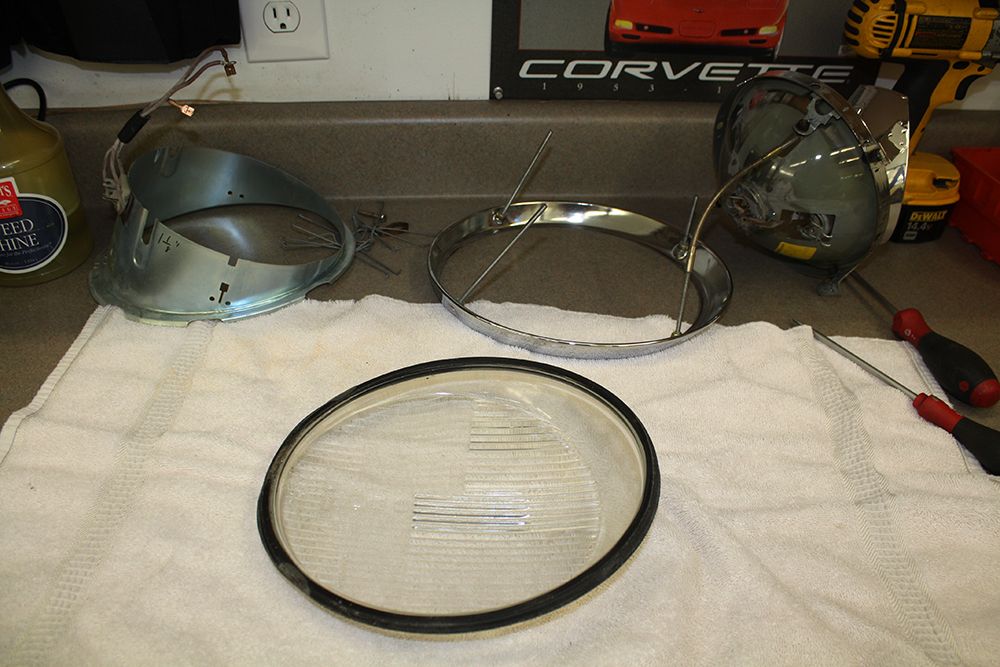
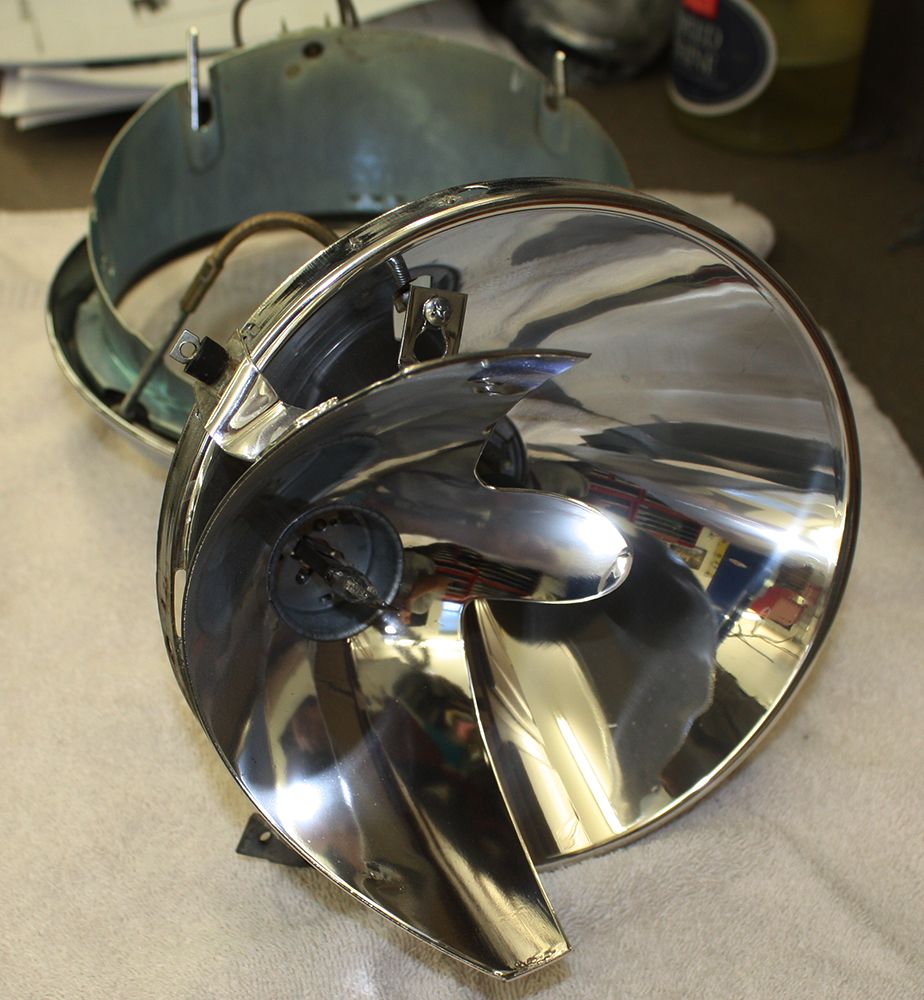
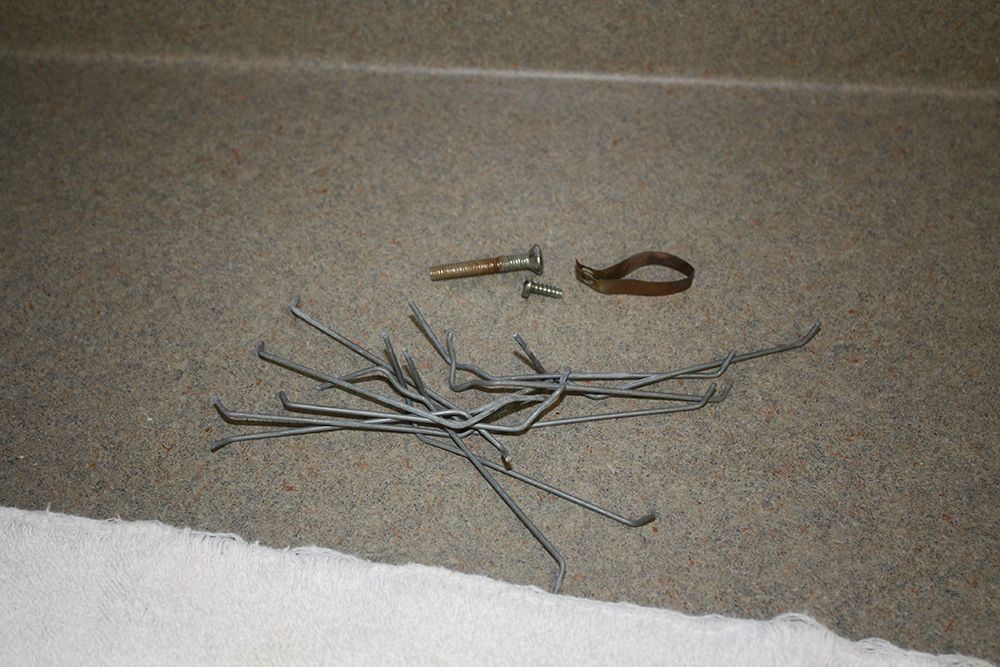
I have H1 headlights on the car. I noticed from the beginning that the right headlight looked cloudy compared to the left one. While I was at Cars & Coffee last Saturday, I happened to notice the reason why it was so cloudy. It was very dusty on the inside of the lens. Today I removed the headlight and took it apart so I could clean the lens and the reflectors. This is the first time I have ever had one of these on the bench and the number of parts was high. There are four adjusting screws as you individually adjust both the low beam and high beam lenses. I measured the amount of threads showing on the adjusters so when I put it back together, they would at least be close. There are also many pieces of wire that are installed with tension to hold the entire assembly together. Cleaning it made a huge difference and I now know how these lights work.
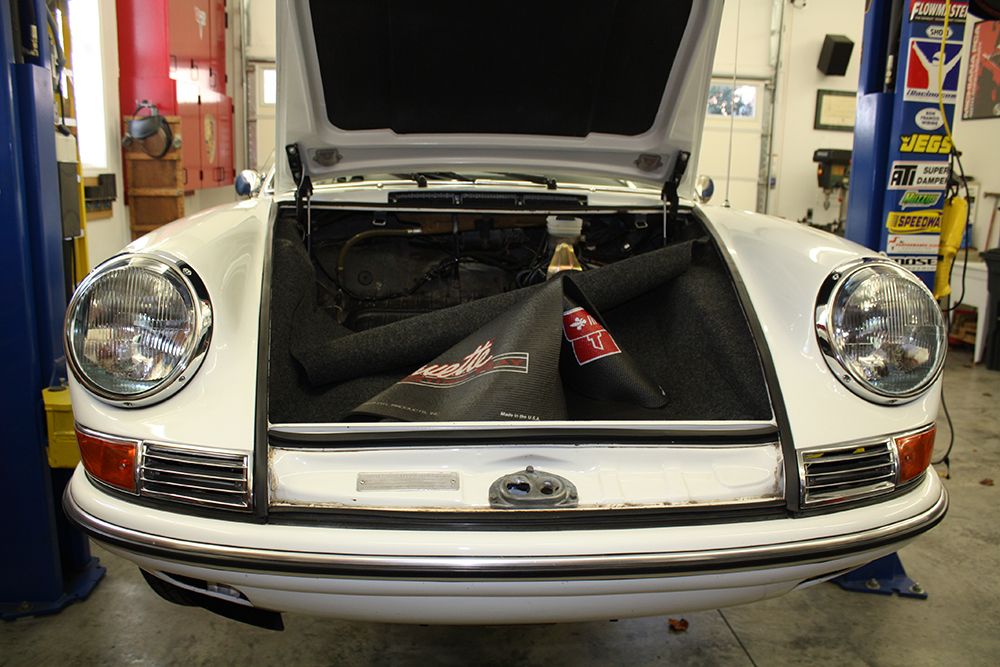
Left headlight

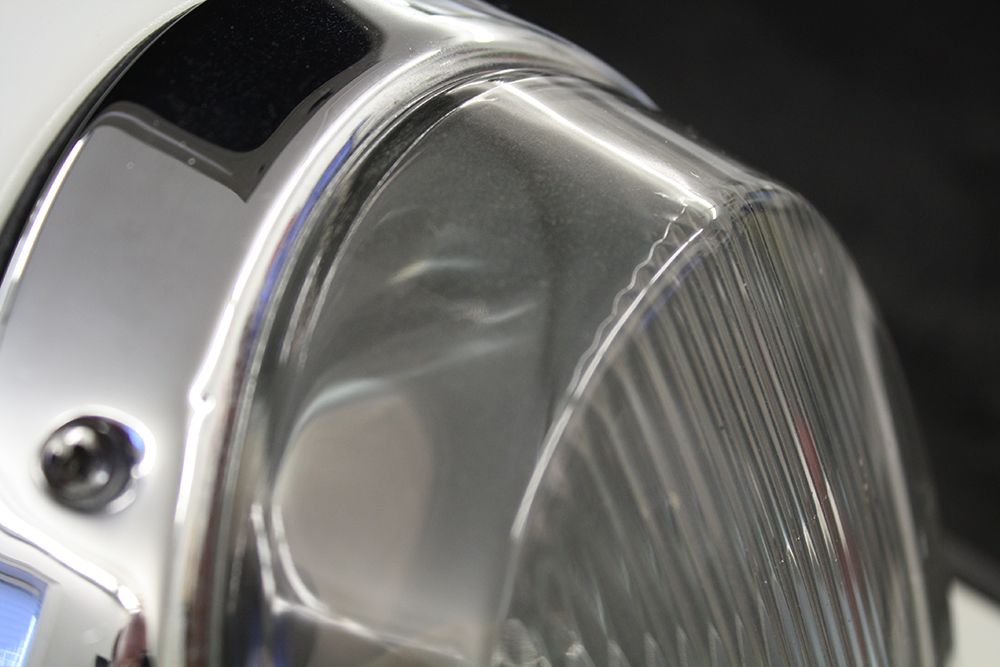
Right headlight before cleaning

www.jerryforthofer.wordpress.com

I have H1 headlights on the car. I noticed from the beginning that the right headlight looked cloudy compared to the left one. While I was at Cars & Coffee last Saturday, I happened to notice the reason why it was so cloudy. It was very dusty on the inside of the lens. Today I removed the headlight and took it apart so I could clean the lens and the reflectors. This is the first time I have ever had one of these on the bench and the number of parts was high. There are four adjusting screws as you individually adjust both the low beam and high beam lenses. I measured the amount of threads showing on the adjusters so when I put it back together, they would at least be close. There are also many pieces of wire that are installed with tension to hold the entire assembly together. Cleaning it made a huge difference and I now know how these lights work.
Left headlight

Right headlight before cleaning


www.jerryforthofer.wordpress.com
Last edited by jerhofer; 01-28-2014 at 12:44 AM.