Porsche 993: Why is My Car Hesitating?
It's very frustrating to drive a Porsche 993 that won't go when you mash the gas. Learn how to diagnose a hesitating 993 here.
This article applies to the Porsche 993 (1993-1998).
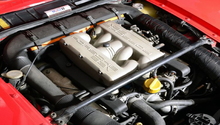
Owning a Porsche 993 is one of the biggest thrills that life has to offer. But what do you do when your beautiful 993 hesitates when you stomp on the accelerator? There are quite a few paths you could follow to figure out what the problem is. This equates to a lot of money being spent on qualified mechanics searching for a solution. In many cases, the culprit isn't readily apparent, so many parts are replaced that may not need replacing, resulting in a lot more of your hard earned cash being spent on false positives. You stop the bleeding by doing some of your own sleuthing to narrow the issue to one or more faulty components and possibly even fixing them yourself. Bring back that high-performance car to your high-performance expectations by reading some of the more common causes and solutions here and keep a ton of that hard earned money in your own pocket.

Materials Needed (all optional)
- Metric socket set and ratchets of varying sizes with extensions
- Phillips head and flat blade screwdrivers
- Hydraulic floor jack
- Multimeter
- Techron fuel system cleaner
Step 1 – Check the O2 sensor
A bad sensor will signal the ECM to send the wrong fuel:air mixture to the engine.
The O2 sensor tells the ECM to deliver the correct amount of fuel and air to the engine. When this is bad, too much fuel can flood the engine and incomplete combustion occurs. This can result in some back fires and sputtering. Injectors will gum up with heavy carbon deposits, and this will definitely cause some hesitation upon acceleration. This may or may not cause your CEL to come on; so in the absence of a warning light, don't assume that all is well with the O2 sensor. It is a fairly easy and relatively inexpensive fix, so if it hasn't been changed ever, go ahead and change it. This may solve your problem entirely.
(Related Article: Porsche 993: How to Replace Oxygen Sensor - Rennlist.com)
Pro Tip
Before you start, spray some lubricant on the sensor bolt at the bunghole the night before to make it much easier to remove.
If the O2 sensor didn't solve the problem, move on to the cylinder head temperature sensor.
Step 2 – Replace the CHT sensor
The wiring harness may have a short and is telling the ECM that the engine is warmed up when it is not.
When the CHT tells the ECM that the engine is up to operating temperature, increased gas flow is sent to the engine. When the engine isn't warmed up enough for it, this will cause incomplete combustion which, again, can create excessive carbon buildup on the injectors and pistons. This can result in too much air and not enough gas, causing hesitation when the throttle is stomped. The CHT should have thrown a code indicating a problem.

If the CHT is good or no CEL codes were present, pull and clean the ISV.
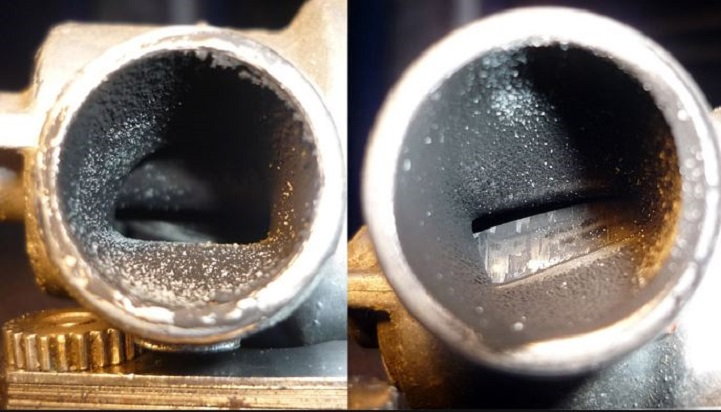
Step 3 – Pull and clean the idle stabilizer valve
The ISV is a butterfly-type valve that can become gummed up or heavily clogged with carbon buildup.
The ISV valve is easily removed with a Phillips head screwdriver. Pull it off and use a lot of carb cleaner to clean it out real well. The butterflies should easily spin with just a flick of your finger.
If the car still hesitates, you may have a vacuum leak.
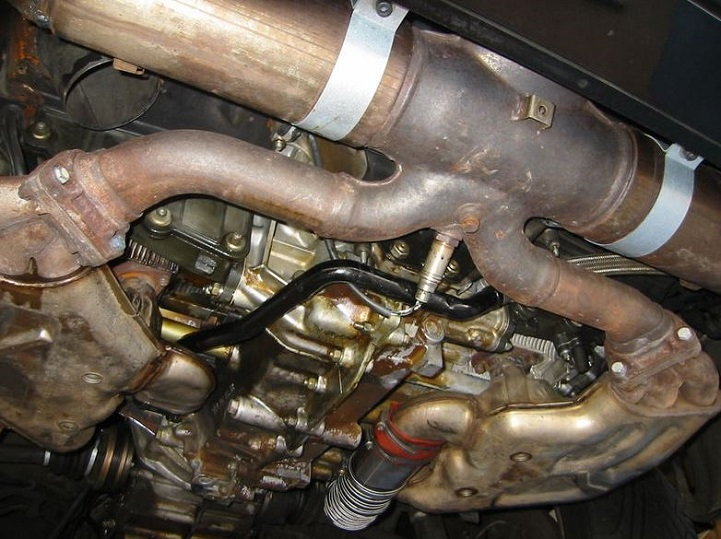
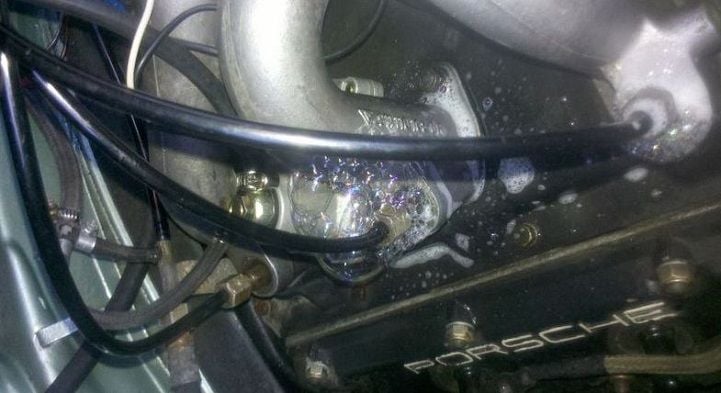
Step 4 – Check for a vacuum leak
A vacuum leak will cause rough idling as well as hesitation when you are ready to go.
The vacuum hoses are prone to leaks with age. There are four of them that connect to a "T" joint which is also susceptible to cracking. The junction where all of these connect is a tight area, and the hoses themselves can become kinked. These are fixed rather easily; however, discovering that this is the problem is a little more difficult. The traditional method of discovery is to take the car to a qualified professional who can perform a smoke test which will show where any leaks are present. That is not a cheap test, so some owners have tried their hand at a home-made test using a vacuum with a reverse setting and charging the system with air at the air-meter throttle assembly. Once the system is charged, spray the hoses and surrounding area with soapy water and watch for bubbles. If no bubbles, visually inspect if the lines are kinked. Replace if needed.
If the vacuum hoses were not at fault, try a new DME before digging further.
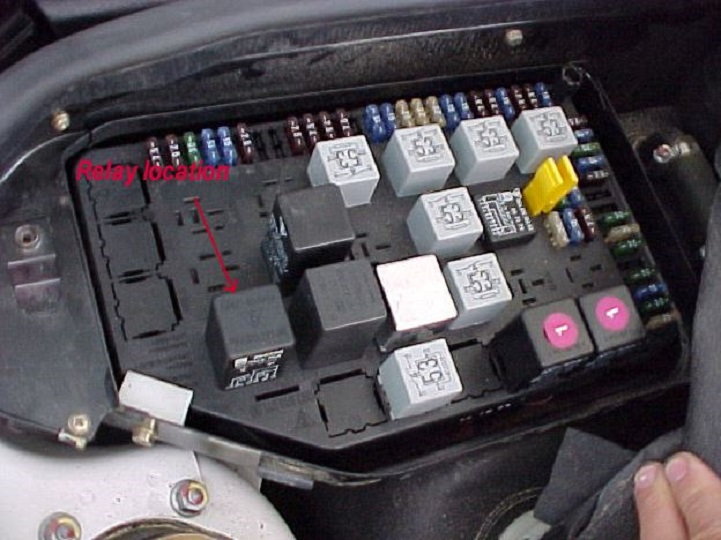
Step 5 – Swap the DME relay and use some fuel line cleaner
It may be a simple fix by changing the DME relay which is often times the cause of the problem.
A faulty DME relay will have too low volts and will cause rough idling and possibly the hesitation you are experiencing. Change the DME relay and add a bottle of Techron to your tank. Run the car hot and pretty aggressively. Get the RPMs up to near red line to get the heat up there to burn off any carbon that could be built up on the cylinders and the injectors. If this does not help, then a more invasive approach will be needed.
If the DME and Techron additive was no help, it's time to start testing your injectors.
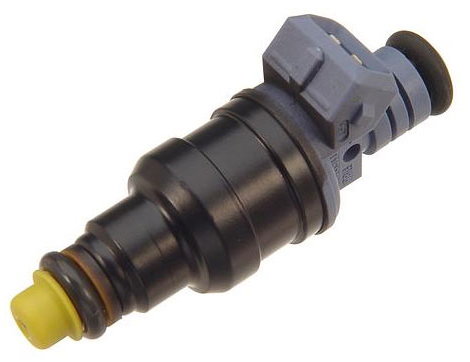
Step 6 – Check the injector valves
Normally, bad injector valves will throw fault codes 51-56 depending upon which injector is bad.
If you are unsure or cannot definitely pinpoint the particular injector valve, remove them all and have them tested. Make sure you send them to a qualified technician who can determine if one or more is bad and can be reconditioned or needs flat out replacing. However, in many instances, the injector valves are fine, but the fault codes are the result of an electrical issue with those injectors. Check the wiring to each injector via the harness. The #2 pin and the ground should have normal battery voltage, and the connectors themselves and the coil wires should read about 16 Ohms.
If the injectors seem fine, check your air flow.
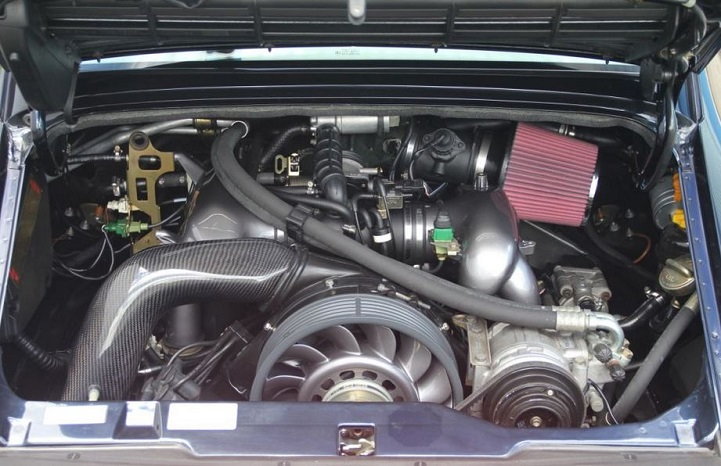
Step 7 – Check the air filter and intake system
If the original air box and filter was replaced with a cone filter and system, the MAF may not have been adjusted accordingly.
Check your air filter system. If the original filter and air box are installed, check the filter and replace if it is dirty. If it is clean, check the air box for holes, leaks or a bad seal. If you have an aftermarket system with a cone-type filter, consider swapping back to the OEM style with the original air box and see if this solves the problem. If you don't have the original equipment, check the MAF and replace/adjust the settings to be in tune with the current cone filter.
If the air flow and MAF connections are good, the last step is to check both coils.
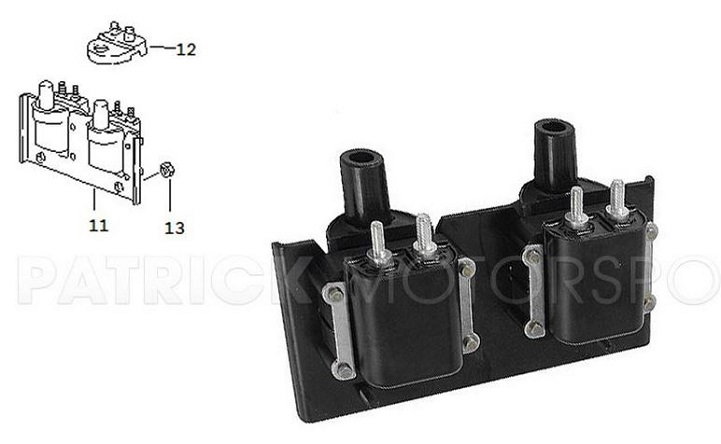
Step 8 – Check the coils
The coils are really susceptible to corrosion.
Find both coils and disconnect the low voltage clip on each (located under the coil). Start the car and it ought to run independently on either one. If not, replace the coils. This is likely the problem you are experiencing.
Related Discussion and Site
- New Symptom: Hesitation at Acceleration - Rennlist.com
- Turbo Hesitation - 6speedonline.com