Porsche 928: How to Replace Brake Pads, Calipers and Rotors
Don't skimp on maintenance; save money by replace the brakes yourself. Read on to learn how to complete this job.
This article applies to the Porsche 928 (1979-1995).
Whether on the track or on the streets, few things are more important than your brakes. Having good rubber and better stopping power can mean the difference between a great run and a very bad day. Do not neglect your brakes and let them get worn before changing them out. The professional cost of having your brakes done should not be cause for your neglect of having these important pieces of equipment maintained properly. It is not an easy job, but it is a job that you can do yourself, saving you a very large amount of dollars over having them professionally done. Some specialized equipment such as a hub puller will be needed, but these ought to be able to be rented or borrowed to get this job done. Give yourself plenty of time and space, and you can do this job yourself in your own garage.

Materials Needed
- 19mm socket
- Breaker bar
- Torque wrench
- Hub puller
These instructions apply to all wheels.
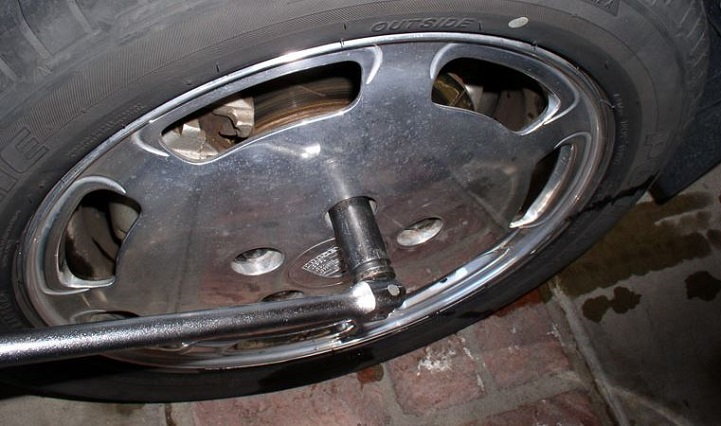
Step 1 – Loosen the lugs
Before you jack up the car, loosen all the lugs with a 19 mm socket and ratchet. If you are using an impact wrench, you can jack the car up first. Once the lugs are loosened and before jacking, open the hood and open up the brake master cylinder. Stuff shop rags around the base to collect any spilled fluid.
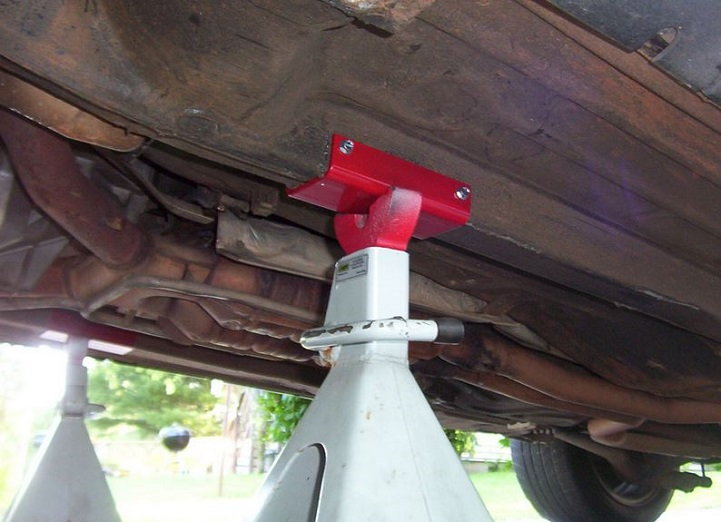
Step 2 – Jack the car, remove the tires
Lift the car and place on jack stands, unless you are lucky enough to have access to a lift. Use the correct lift points for both the hydraulic floor jack and the jack stand positions as well. Once in the air, continue with removing the lug nuts and tires.
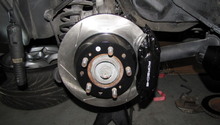
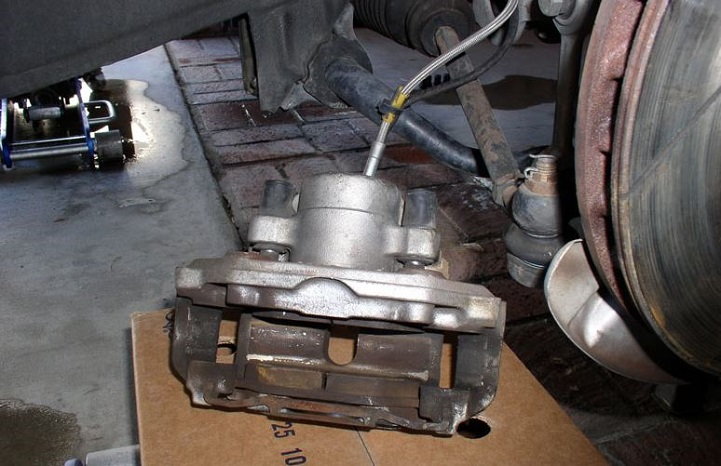
Step 3 – Remove calipers
Remove the two caliper bolts and pull the caliper. For most 928's, these are a 19mm bolt. If the caliper hangs on the outer edge of the rotor, you'll need to compress the caliper pistons in order to make enough room to pull it entirely off the rotor.
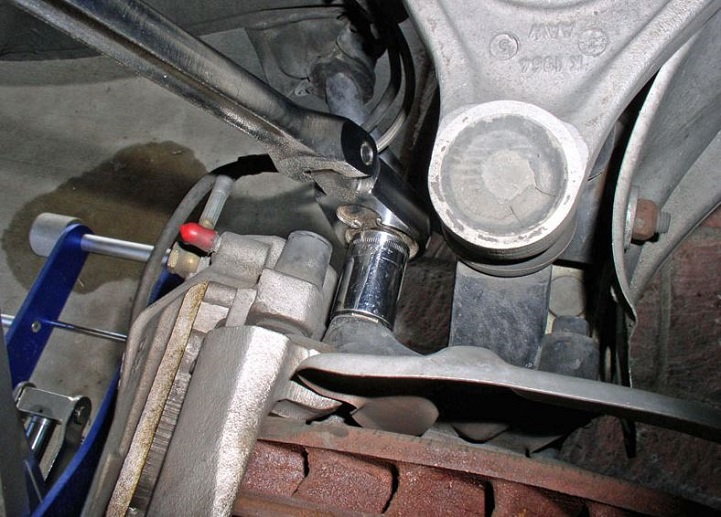
Step 4 – Disconnect brake line from caliper (if needed)
If you need to replace the calipers, you will need to disconnect the brake line from the caliper. One easy method is to use a small set of vice grips and slide some thick tubing over the teeth of the grips. Pinch the brake line just slightly above the bleeder valve to stop as much brake fluid loss as possible when you disconnect the line from the valve. This also prevents air from backfilling into the brake line.
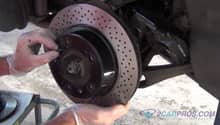
Step 5 – Remove the dust cover
Remove the dust cover from the wheel in order to get to the rotor. A special tool is highly recommended to do this job, although several work-around methods exist. The tool may be an extra cost, but it is well worth it, making this job much quicker and easier.
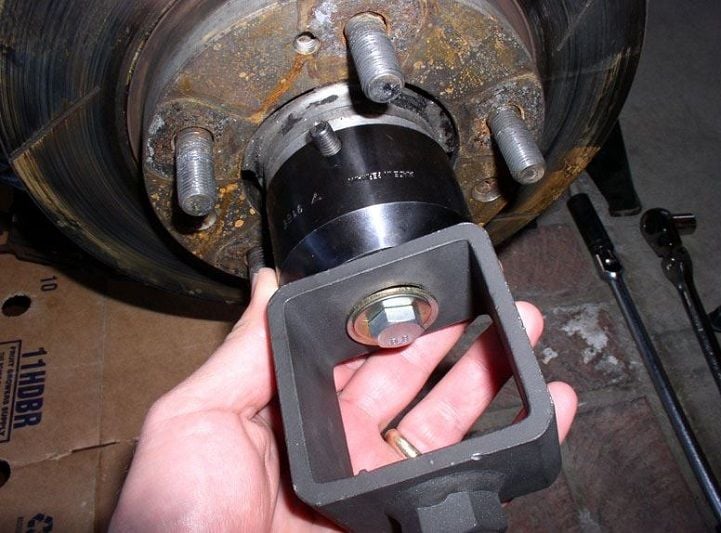
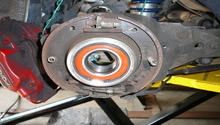
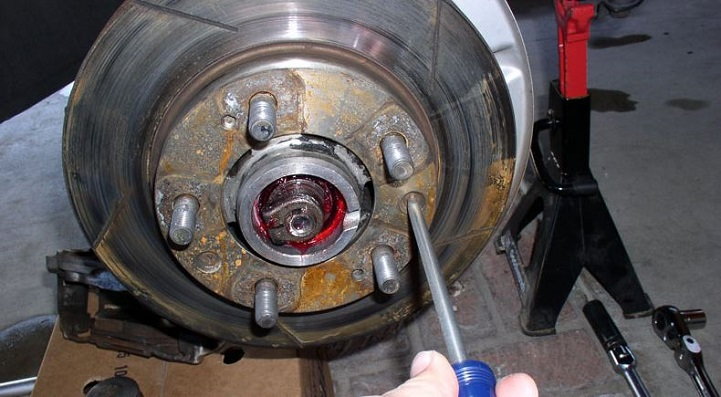
Step 6 – Remove the rotor
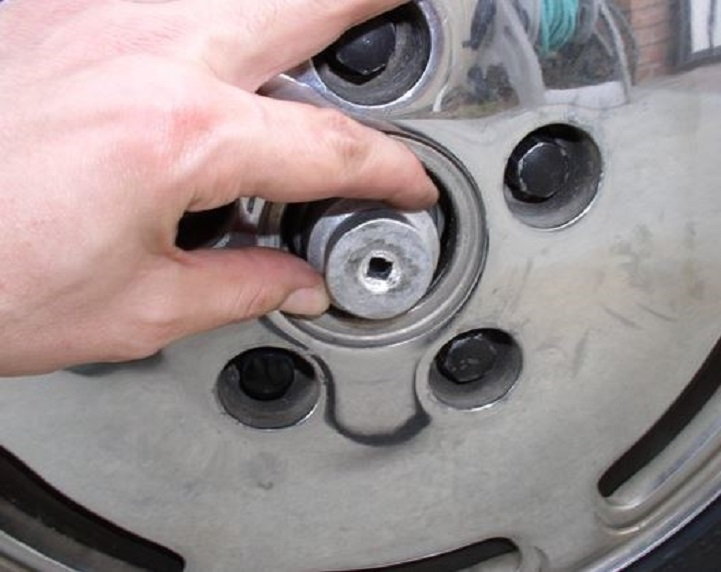
If you are lucky, the rotor will remove easily once the two Phillips-head screws are removed. They are normally torqued to only 7 pound-per-foot, but they can be real stubborn to get out. In a perfect world, once these screws are out, the rotor will pull right off of the hub. As things are rarely this easy, the Porsche engineers thought ahead and created two port holes that fit an M8 bolt. In the picture below, they are the small holes just to the left of the bolts at the 11 and 4 o'clock positions. Insert the bolt into one of the holes and start tightening. This method will break the rotor free from the hub, and then the rotor will come right off.
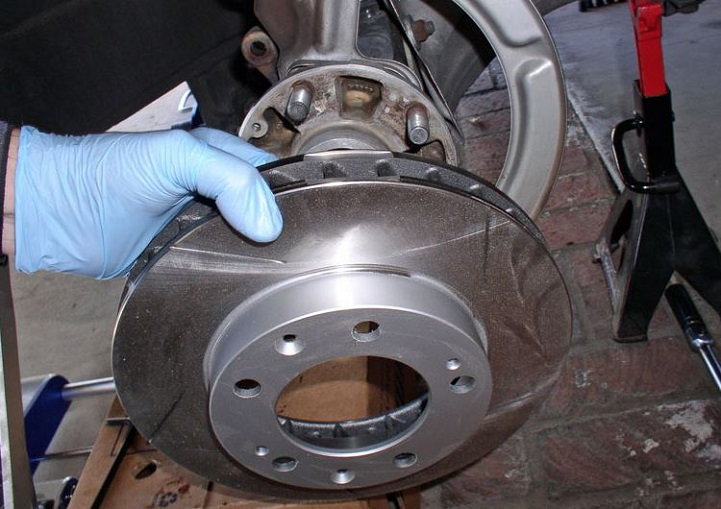
Step 7 – Install the new rotor
Be sure that you take a close look at the part numbers for the rotors. At the end of the run of numbers, there will be an "R" or an "L" for right or left. Make sure that you put the correct rotor on the correct side of the vehicle. Also make sure that you are not putting the rotor on backwards. Keep it as clean as possible while installing to make it go on easier and to avoid damage once reassembled and the brakes are applied. Be sure to only apply 7 foot-pounds-per-inch of torque onto the two Phillips-head screws that hold the rotor onto the hub.
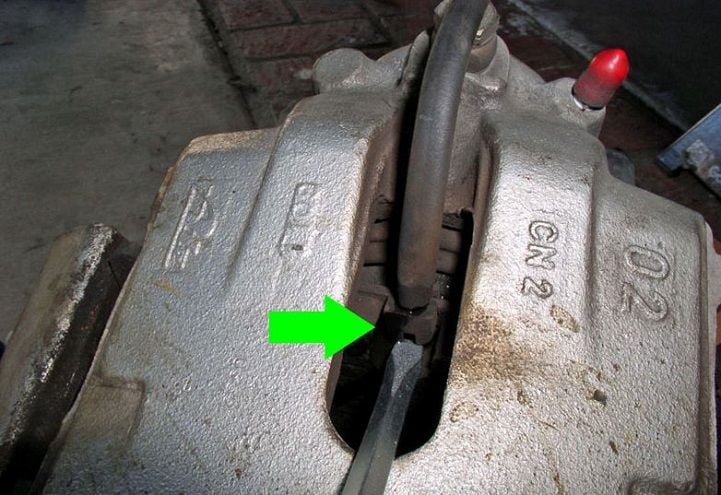
Step 8 – Remove the brake pads and replace the calipers
Turn the old caliper over and use a flat head screwdriver to remove the wear sensor. This is just a small piece of plastic, so take care when removing. You will re-use this if you are not replacing the calipers or if you are but the replacement set may not have come with these. If you are using the same calipers, simply replace the brake pads now. You may need to use a C-clamp to compress the caliper piston to get both pads installed and then fit over the new rotor. Otherwise, install the new calipers, re-attach the brake line, and install the new brake pads.
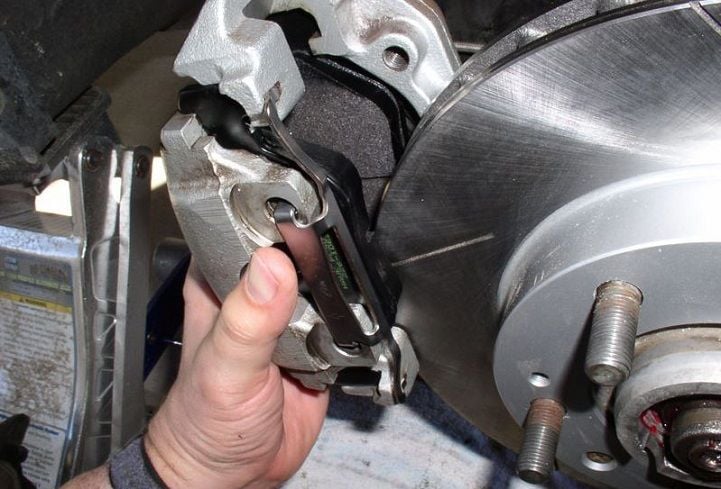
Step 9 – Re-install the calipers onto the rotor
The new rotors are going to be much thicker than the old, so the calipers will have a heck of a time fitting over the new rotors. You will need to use a C-clamp and really compress the caliper piston to make a wide enough gap that will fit over the rotors. Once on, slide them into place, re-install the upper and lower caliper bolts, and tighten to 62 foot pounds.
Step 10 – Install the tires back onto the car
Put the tires on the car and hand-tighten the lugs. Lower the car and then tighten the lugs to 95 foot-pounds. Once the tires are on, tap the hub dust cover back into position. Press the dust cover in by hand until it will stay on its own. Use a socket that is large enough that it will cover most of the dust cover, and then smack the socket with a hammer until the dust cover is completely seated. Install the wheel center cap.
Step 11 – Take a test drive
Once the brake job is done, pump the brakes several times to get the caliper pistons to push the pads against the rotors to the appropriate position. The brake pedal should feel really mushy at first and for the first couple of pumps before feeling normal again. Be cautious when taking the car out for a test drive. With the radio off and windows down, listen and feel for anything out of the ordinary. The brakes should be babied for 125 miles before they are considered to be properly baked in.
Related Discussions
- 1984 Front Wheel Bearings and Brakes Procedure - Rennlist.com
- 928 Brake Service - Rennlist.com
- Brake Trouble Shooting - Rennlist.com