Porsche 928: How to Replace Brake Line
Changing out old brake lines can often times be overlooked as a cause for soft pedal feel. Putting on a new set can be a great way to revive a brake system in an older vehicle and get it to feel new again. Brake lines can wear out over time which can lead to failure.
This article applies to the Porsche 928 (1979-1995).
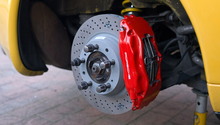
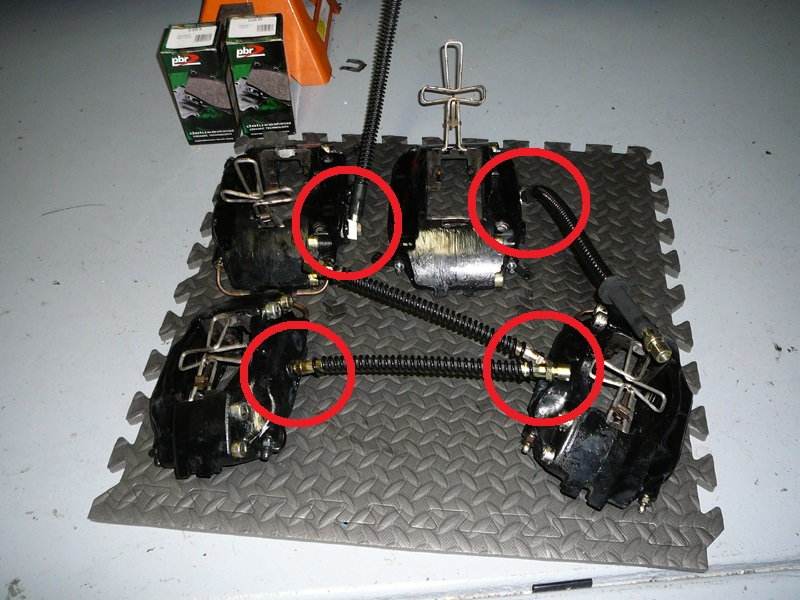
Brake lines are critical components in the proper operation of your car's braking system. They carry the fluid from the master cylinder down to the brake caliper when the pedal is pressed. A hard metal line is used to bring the fluid from the master cylinder down to each wheel, and then a rubber line is used to connect the brake caliper on the wheel to the hard metal line. This allows the wheel to move independently and not tug on the hard metal line. Over time, these rubber lines wear out and can develop cracks. This can cause a leak or, in extreme cases, can cause the line to rupture when the brake pedal is pressed. Due to this, these lines should be checked often and replaced when necessary.

Materials Needed
- 18mm, 17mm, 14mm, 11mm wrench
- Flat head screwdriver
- Vacuum pump for bleeding brakes (Only required if doing job without the help of another person)
- Jack
- Jack stands
- Drip pan
- Brake fluid (DOT 4)
- Gloves
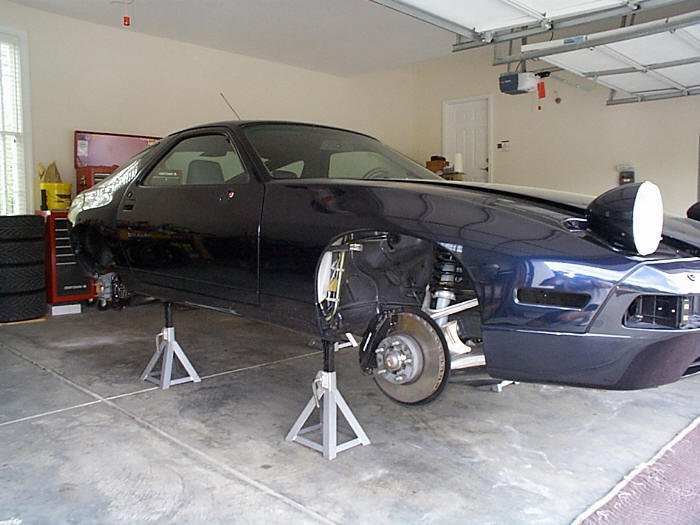
Step 1 – Put car securely on jack stands
Using a jack, raise car off the ground. Be very careful to find a suitable jacking point that is strong enough to support the weight of the vehicle. After car is elevated off the ground, place jack stand in a position that will also support the weight of the vehicle and at the same time will give you access to where you will be performing the work and not get in the way.
(Related Article: How to Jack Up Your Porsche - Rennlist.com)

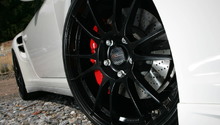
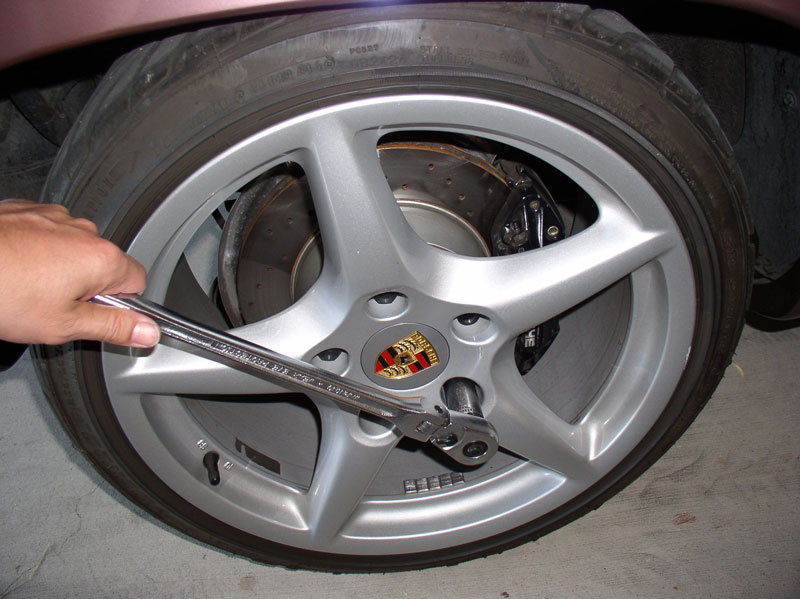
Step 2 – Remove wheels from car
Do this by removing the wheel lug nuts first. After you have removed a wheel, set it out of the way. This will expose the brake caliper and rotor and make it accessible to get to the brake line.
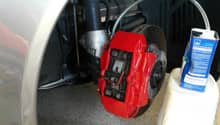
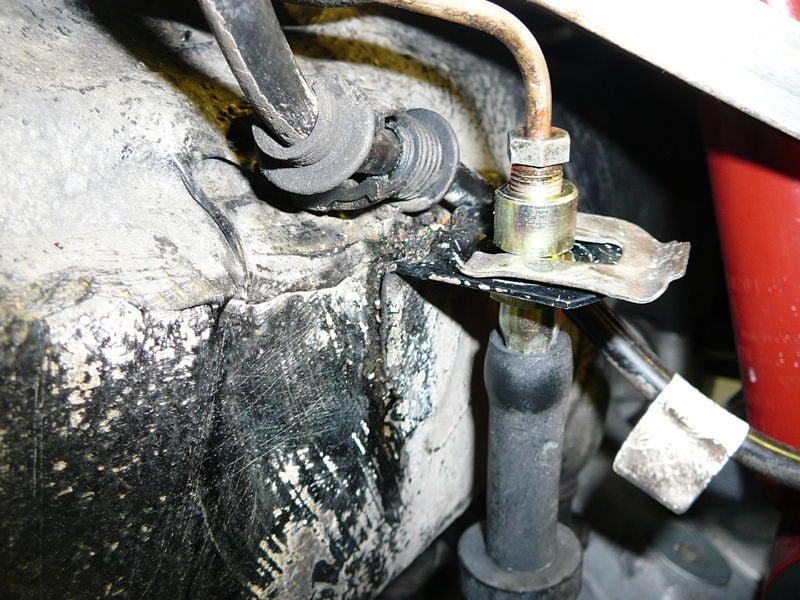
Step 3 – Locate where the rubber line connects to the metal hard line and loosen the fitting
The easiest way to do this is by locating the caliper first. The rubber line will be connected to the brake caliper. Follow the rubber line away from the caliper to the point where it connects to the chassis of the car. It should be secured to the chassis by a metal clip that holds it into a bracket. There will be a fitting that threads it into the metal line. Loosen this fitting. It is always a good idea to wipe away any grease or road grime before loosening the fitting. This will keep unwanted debris from getting into the brake system. Also, this will be one of the places where brake fluid will pour out. Make sure to place a drip pan or container beneath it to catch it and keep it from getting on the ground. You might need a wrench to use as a backing wrench when loosening the fitting. This will keep the metal line from twisting. Once you get the fitting loose you will have to use a flat head screwdriver to remove the metal clip securing the line to the bracket on the chassis.

Step 4 – Loosen the fitting on the caliper
Once the fitting on the chassis side is completely loosened, you can loosen the fitting on the caliper. Again, fluid will pour out, and you will want to place a drip pan under this area to catch the fluid. It is also a good idea to keep the fluid from possibly getting on the brake pads and rotor.
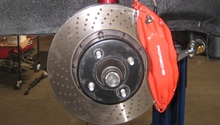
Step 5 – Attach new brake line to the caliper
Starting with the caliper side, attach new brake line by threading the fitting into the caliper and tighten. It is much easier to attach this side first. Ensure that when tightening the fitting, you follow the proper torque spec and do not over tighten or under tighten the fitting.
Step 6 – Attach new brake line to the metal hard line on the chassis
Locate the metal hard line again and attach the new brake line by threading the fitting into the metal hard line. Again, it might be required to use a backing wrench to fully tighten the line and not twist the metal line. Once you have it tightened, place the metal clip that was removed earlier back into place securing the lines to the bracket on the chassis.
Step 7 – Bleed the brake system
There are a few different methods for bleeding a brake system. Always do the one that you are most comfortable with. Most methods require two people unless you have a vacuum hand pump. Always make sure to keep an eye on the brake fluid level in the master cylinder when bleeding the system. If it gets too low, air can be sucked into the brake system and you will have to make sure you remove it, which will require you to start the bleeding process all over.
Step 8 – Re-install wheel back on car
Attach the wheel back onto the car making sure to install all lug nuts back in place. Tighten down lug nuts. You will want to make sure to torque lug nuts back to proper torque spec but do not do this until the car is back on the ground and off of the jack stands.
Step 9 – Place car back on ground
Once all of the wheels have been installed back on the car you can take the car off of the jack stands and place it back on the ground. This is when you will want to torque the wheel lug nuts to their proper torque spec. Test the brake pedal before moving the car, if it feels firm, then go for a test drive. If everything checks out, then the job is done.
Pro-Tip
To improve the braking performance of your Porsche braking system, you might want to consider going with a set of stainless steel braided brake lines.
Related Discussion and Site
- Bleeding Porsche Brakes - PelicanParts.com
- Replacing Brake Lines - Rennlist.com