Porsche 928: How to Replace Air Filter
A Porsche 928 is a classic sports car that needs routine maintenance to maintain optimal performance. Quick and easy procedures like replacing the car's air filter can lead to greater horsepower and longer engine life. Here's a quick how-to on replacing the air filter in a Porsche 928.
This article applies to the Porsche 928 (1979-1995).
A Porsche 928 is as classic of a sports car as they come. If you own one of these vehicles, then you want to make sure it runs just as well as when it first hit the road. That means you need to perform routine maintenance on the vehicle — and it doesn’t get more routine than replacing the car’s air filter.
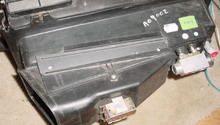
For those unfamiliar, the air filter filters the car’s air intake using a screen made of paper or cotton. Its purpose is to reduce the chance of dirt or grit from getting into the car’s cylinders. In terms of location, a Porsche 928’s air filter housing unit is located right next the car’s intake manifold.
There are plenty of benefits to changing an air filter. For one, modern-day air filters are specially designed to optimize horsepower and acceleration, the two qualities a Porsche 928 owner probably cares about most. Also, today’s filters come with exceptional filtration designs within them to not only last longer, but also maintain the car’s performance at optimal levels for a greater duration of time. As a whole, it’s recommended you replace an air filter every 30,000 to 45,000 miles. A couple of things impact how soon it needs to be done, like driving conditions and driving style. It never hurts to take the filter out every now and then and give it a quick cleaning with your vacuum.
Replacing an air filter is a task most car owners can do themselves, Porsche 928 owners included. The filters themselves are fairly inexpensive and can be purchased at any auto parts store or easily ordered online. If, of course, you’re more so interested in just driving the vehicle and not concerning yourself with maintaining the components that make it (consistently) run well, then you need not read on. Any auto body shop can take care of this job for you, but you’ll pay for it. If, on the other hand, you have 10 minutes to spare and want to learn how to do this task yourself, then read on.

Materials Needed
- Air filter
- Screwdriver
- Mini vacuum
- Dirt rag
- Plastic scrubber
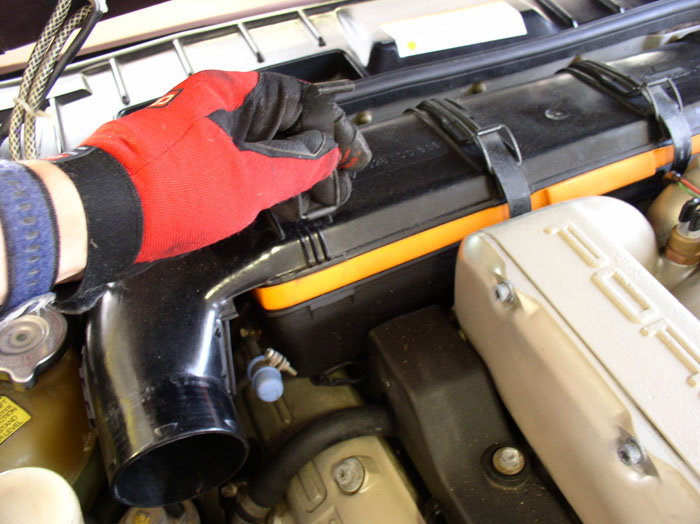
Step 1 – Release compartment straps
To replace the existing filter, release the compartment’s four straps and take the housing unit’s cover off.
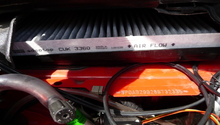
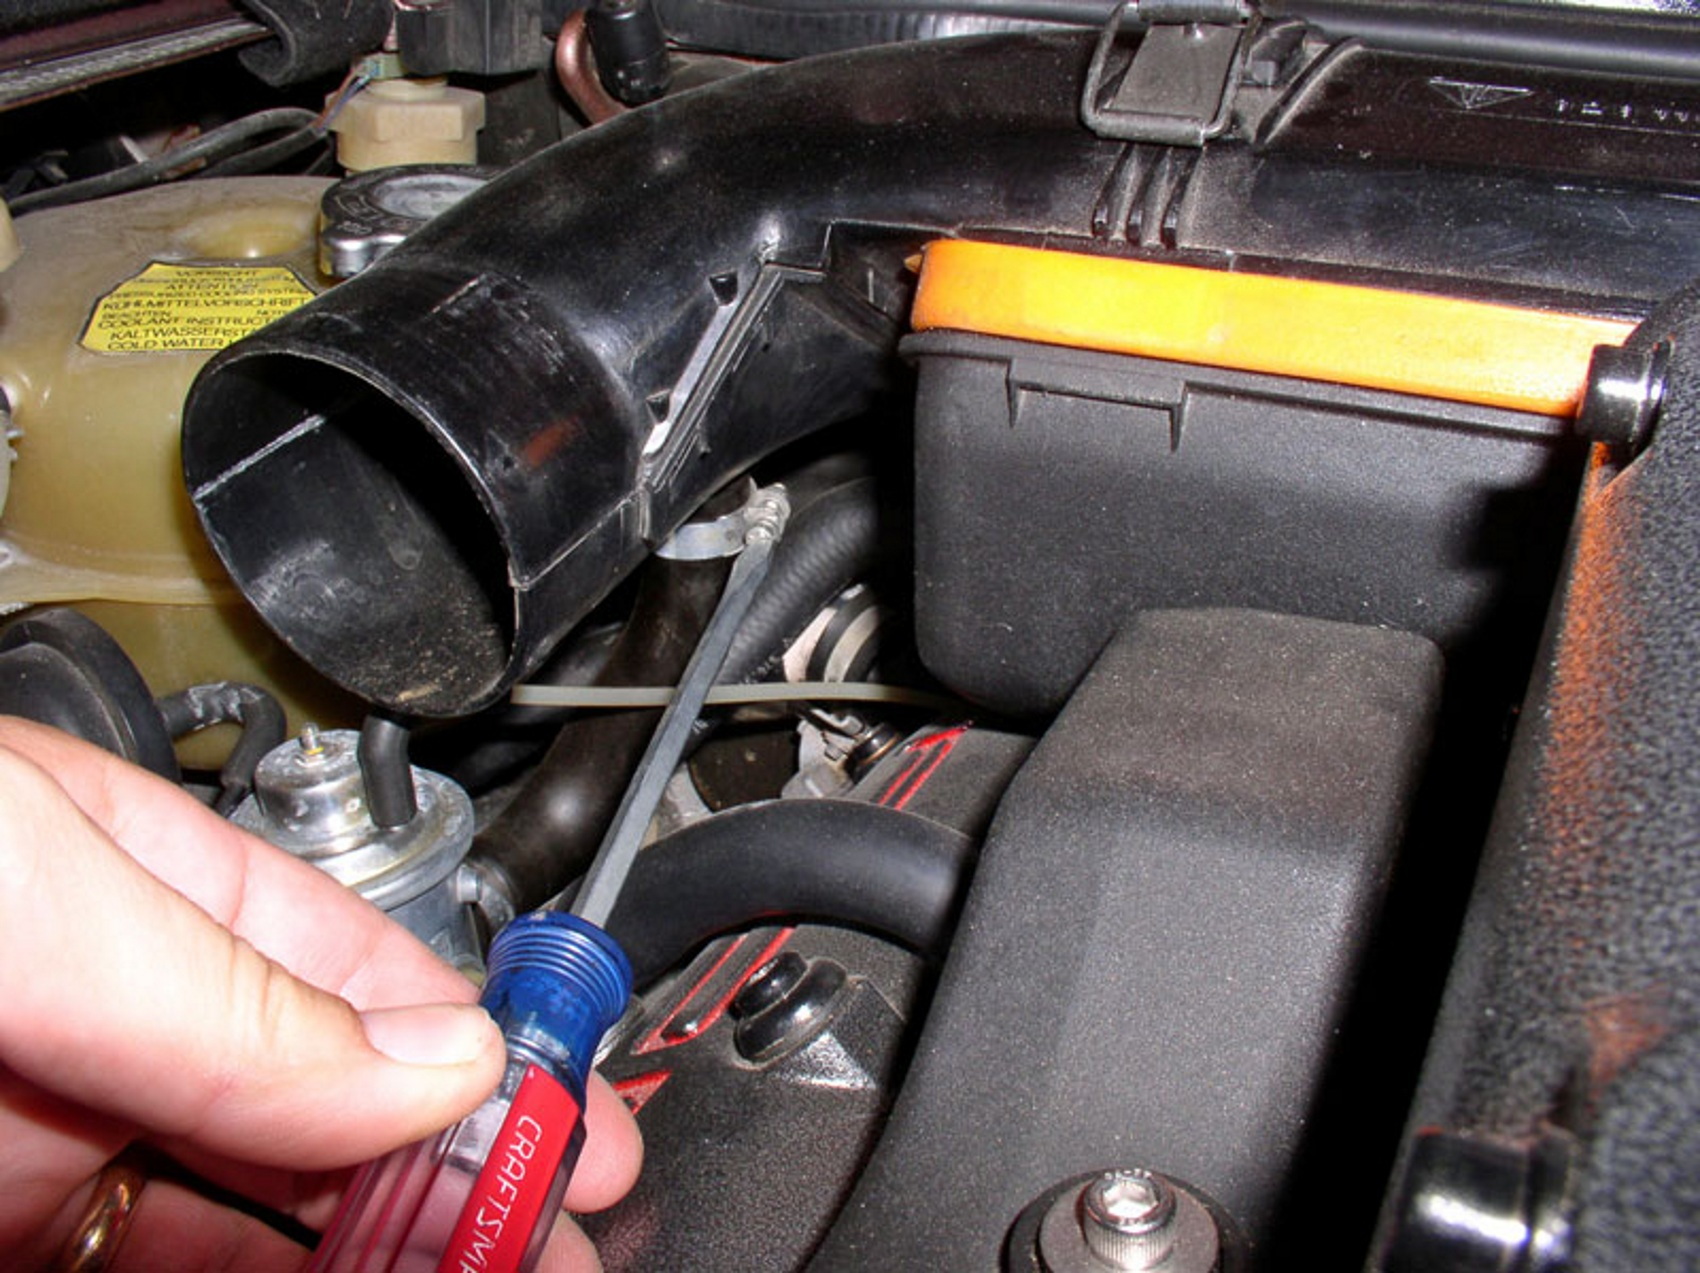
Step 2 – Remove the filter
Once filter is removed, unscrew the nuts under the filter (they’re located on the interior of the compartment, near the bottom of the actual housing).
Once the nuts are removed, you’ll note the rest of the compartment will pull apart with relative ease.
Step 3 – Check for dirt and clean
At this point, check the area for any build-up of dirt and/or debris that could sully your new filter and impact its — and the car’s — performance. Clean the area with a safe plastic scrubber.
Step 4 – Replace with new filter
Done cleaning? Great! Now begin reversing the steps you took to get to this point. Slide the housing unit back on, screw the nuts back in place, place the new air filter in, put the cover back on, secure the four straps, and place the unit back into its appropriate housing unit.
Related Discussion
- Air Filter Maintenance - Rennlist.com