When you click on links to various merchants on this site and make a purchase, this can result in this site earning a commission. Affiliate programs and affiliations include, but are not limited to, the eBay Partner Network.
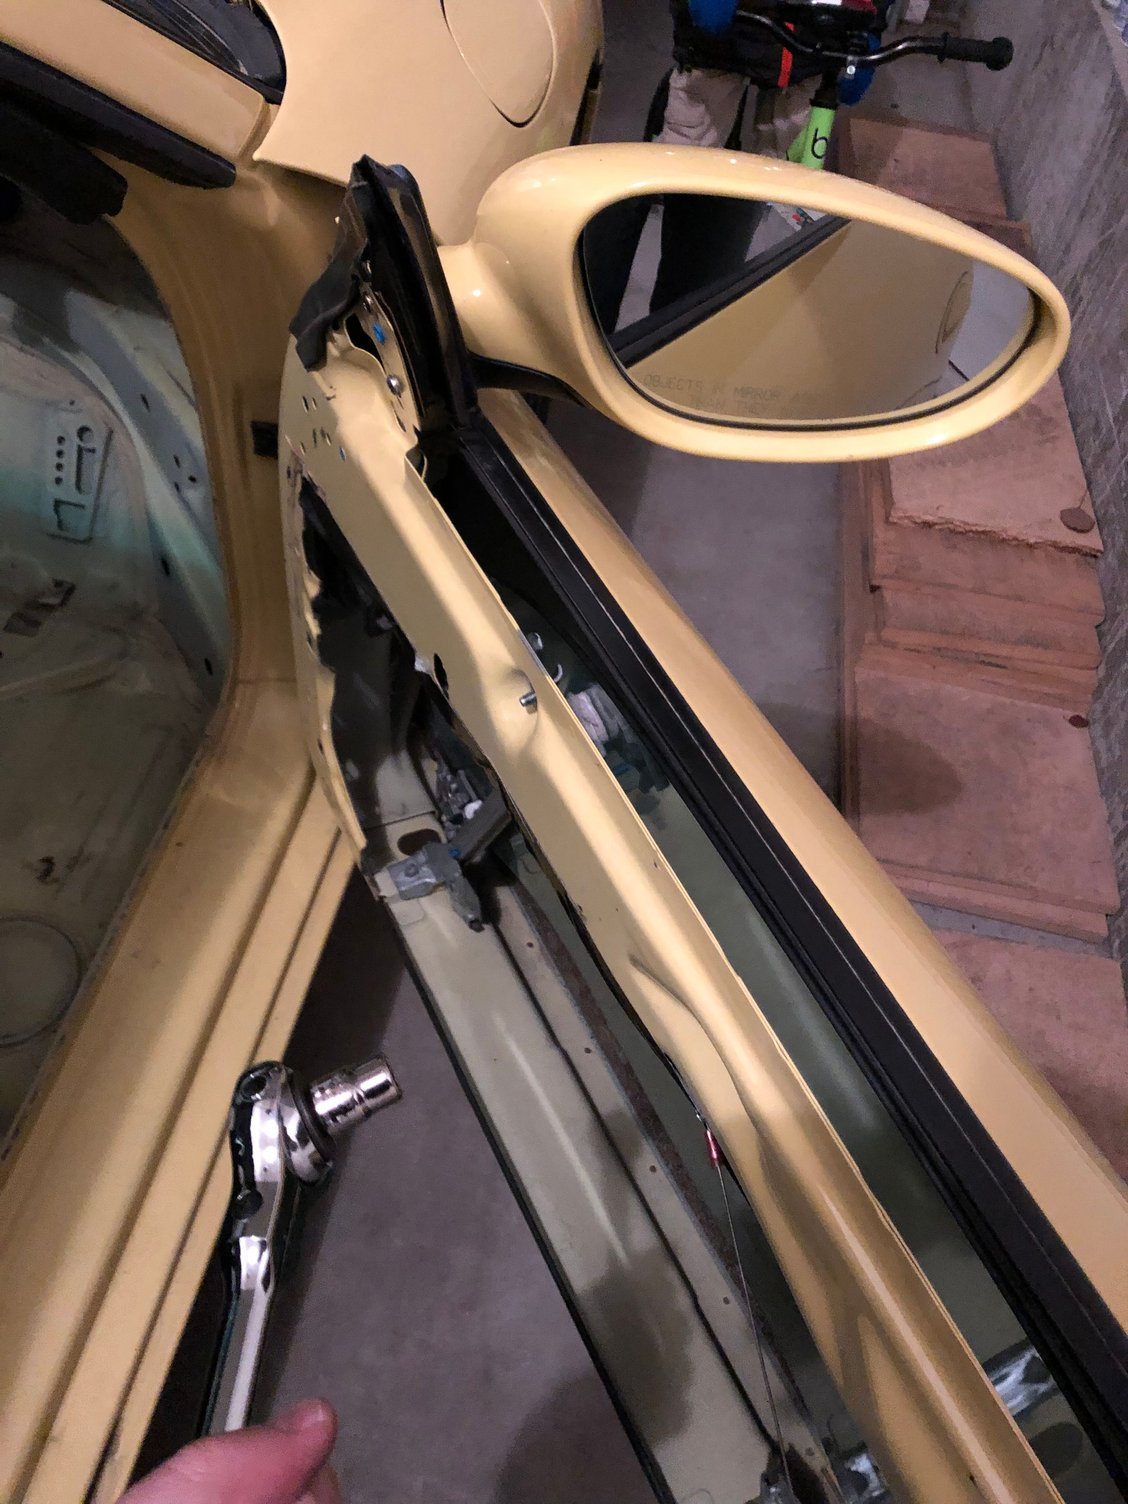
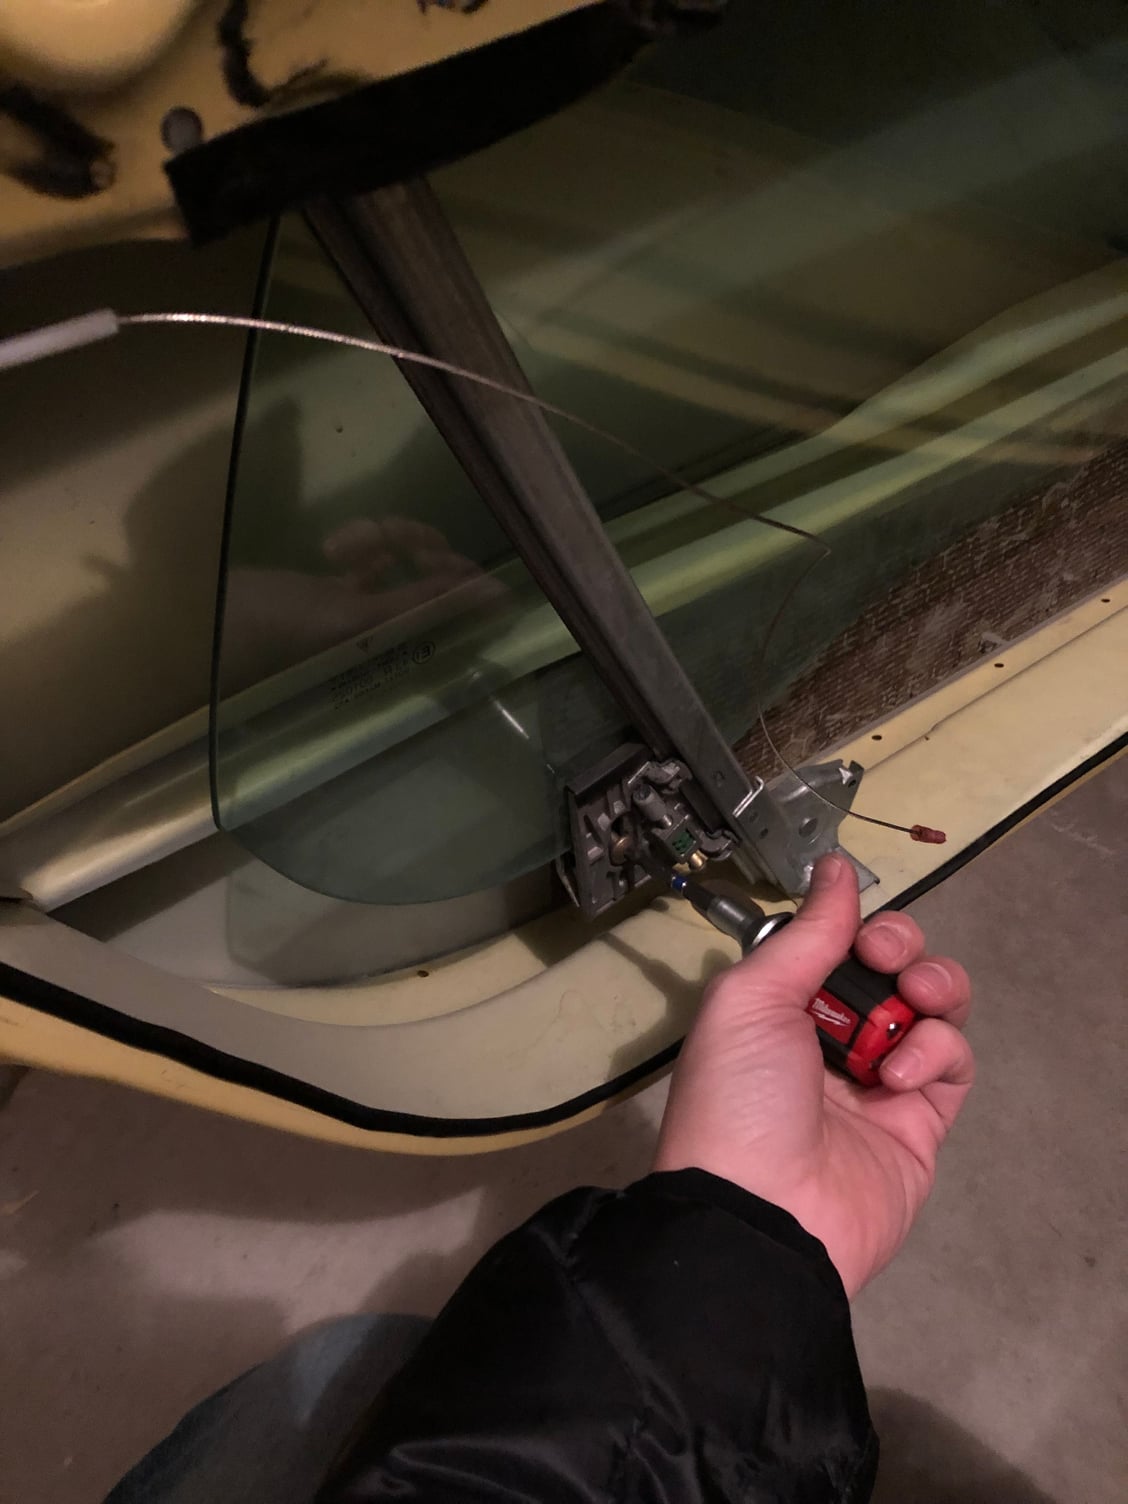
Pulled the car out of the trailer and spent about 5-10 minutes to remove the windows... with what I had removed it was really trivial. Four bolts and two screws per side and they just lifted out. I just chucked them. Are windows generally considered a recyclable thing? I assume so and put them in the recycle bin.
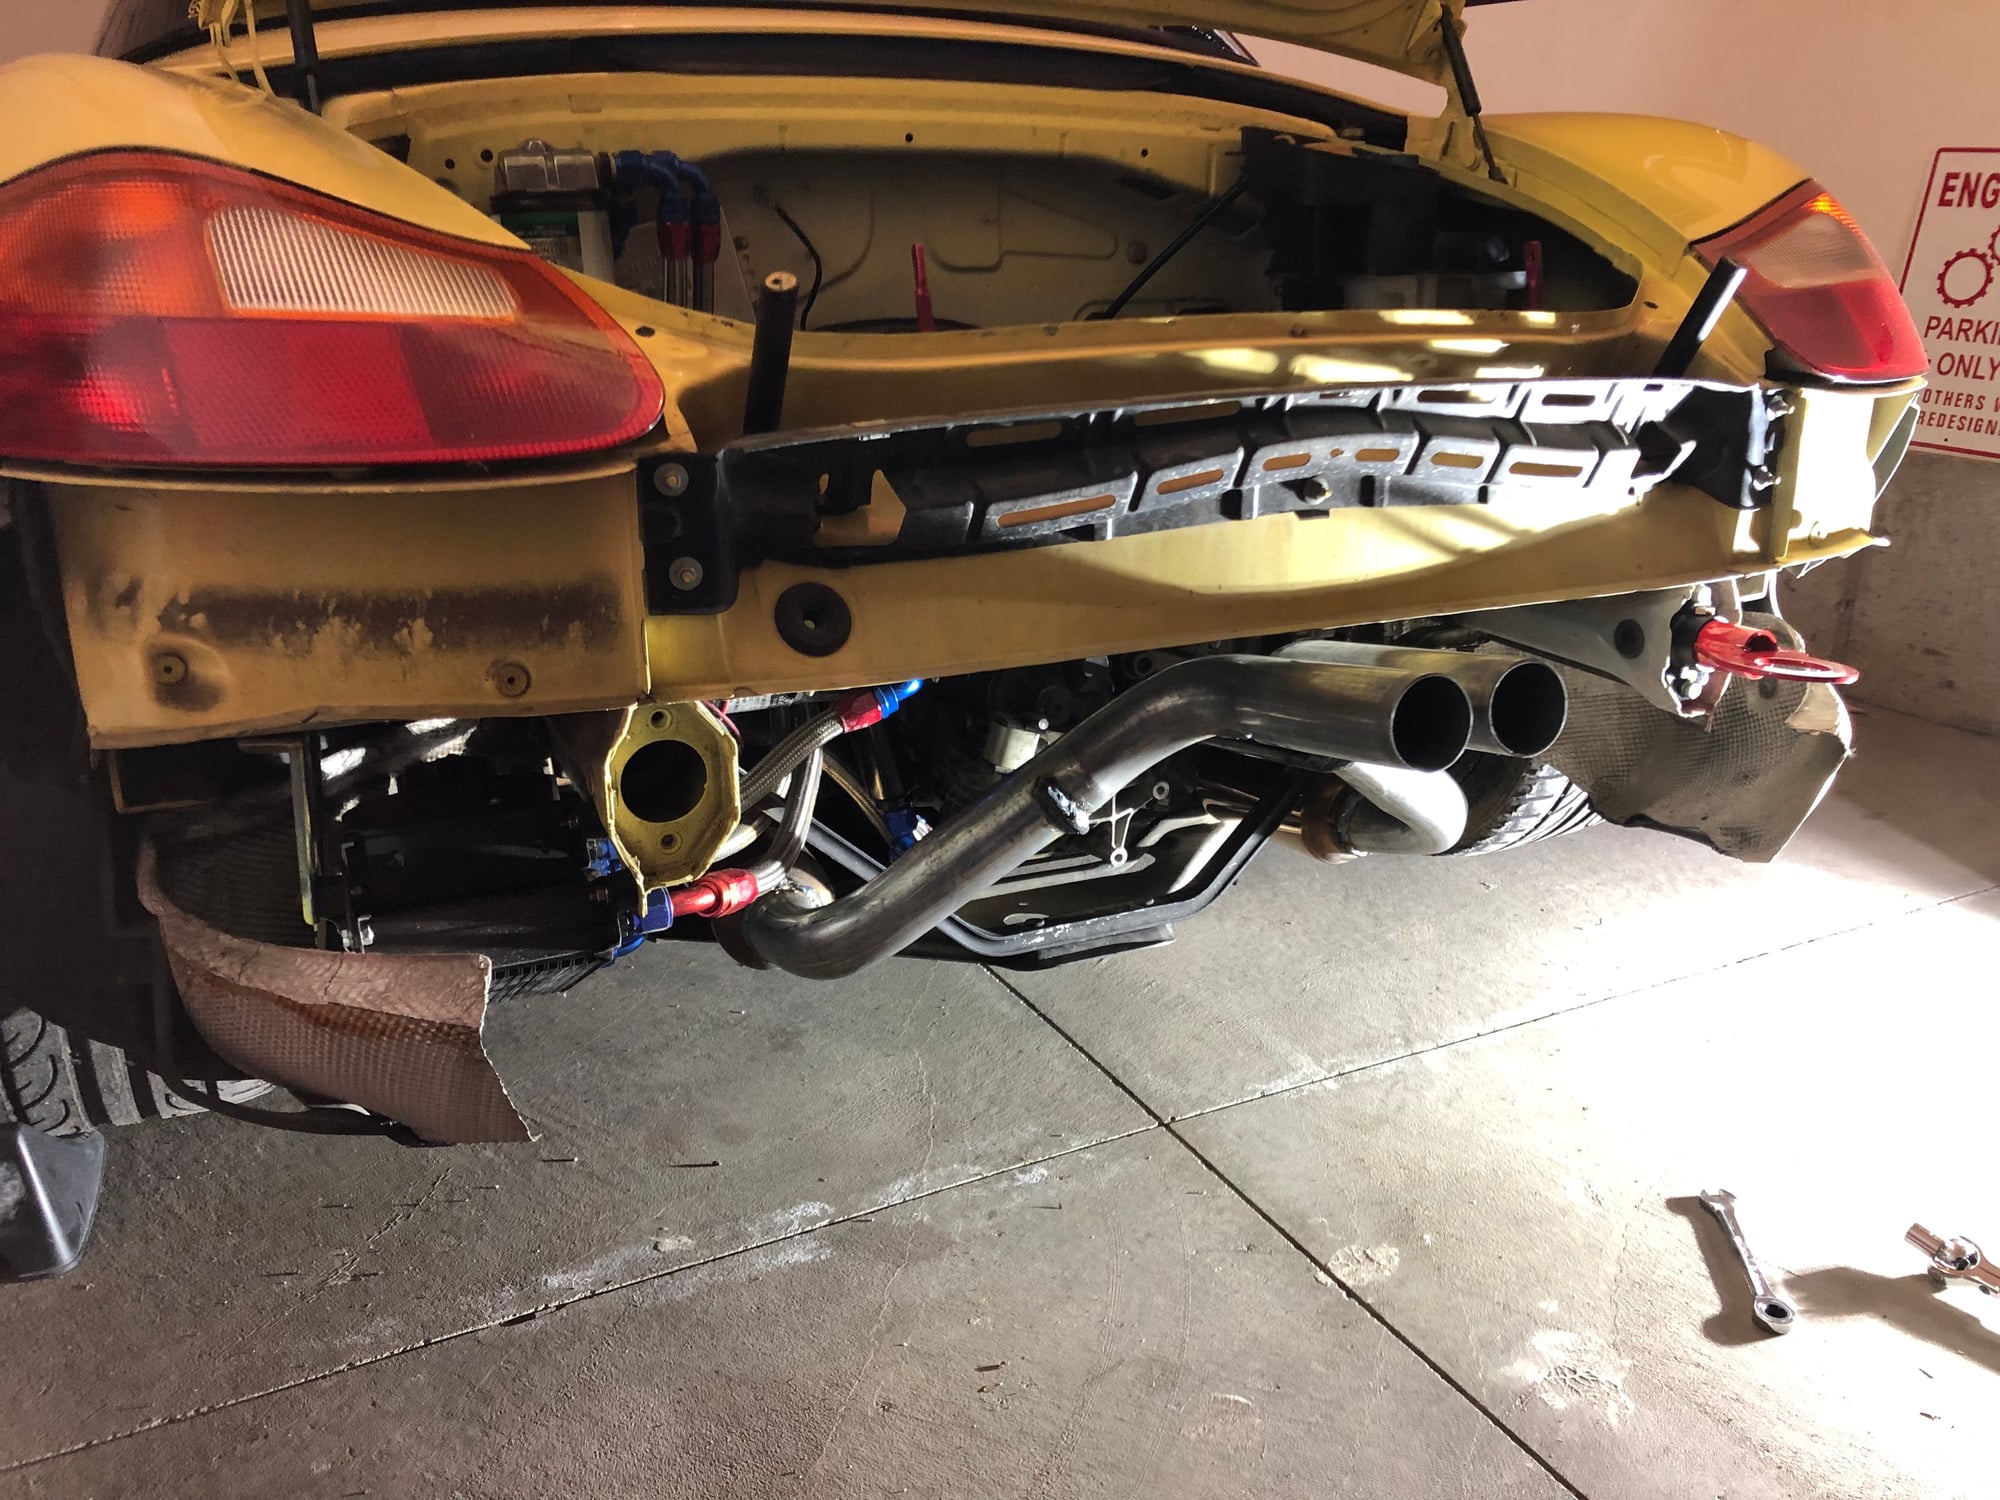
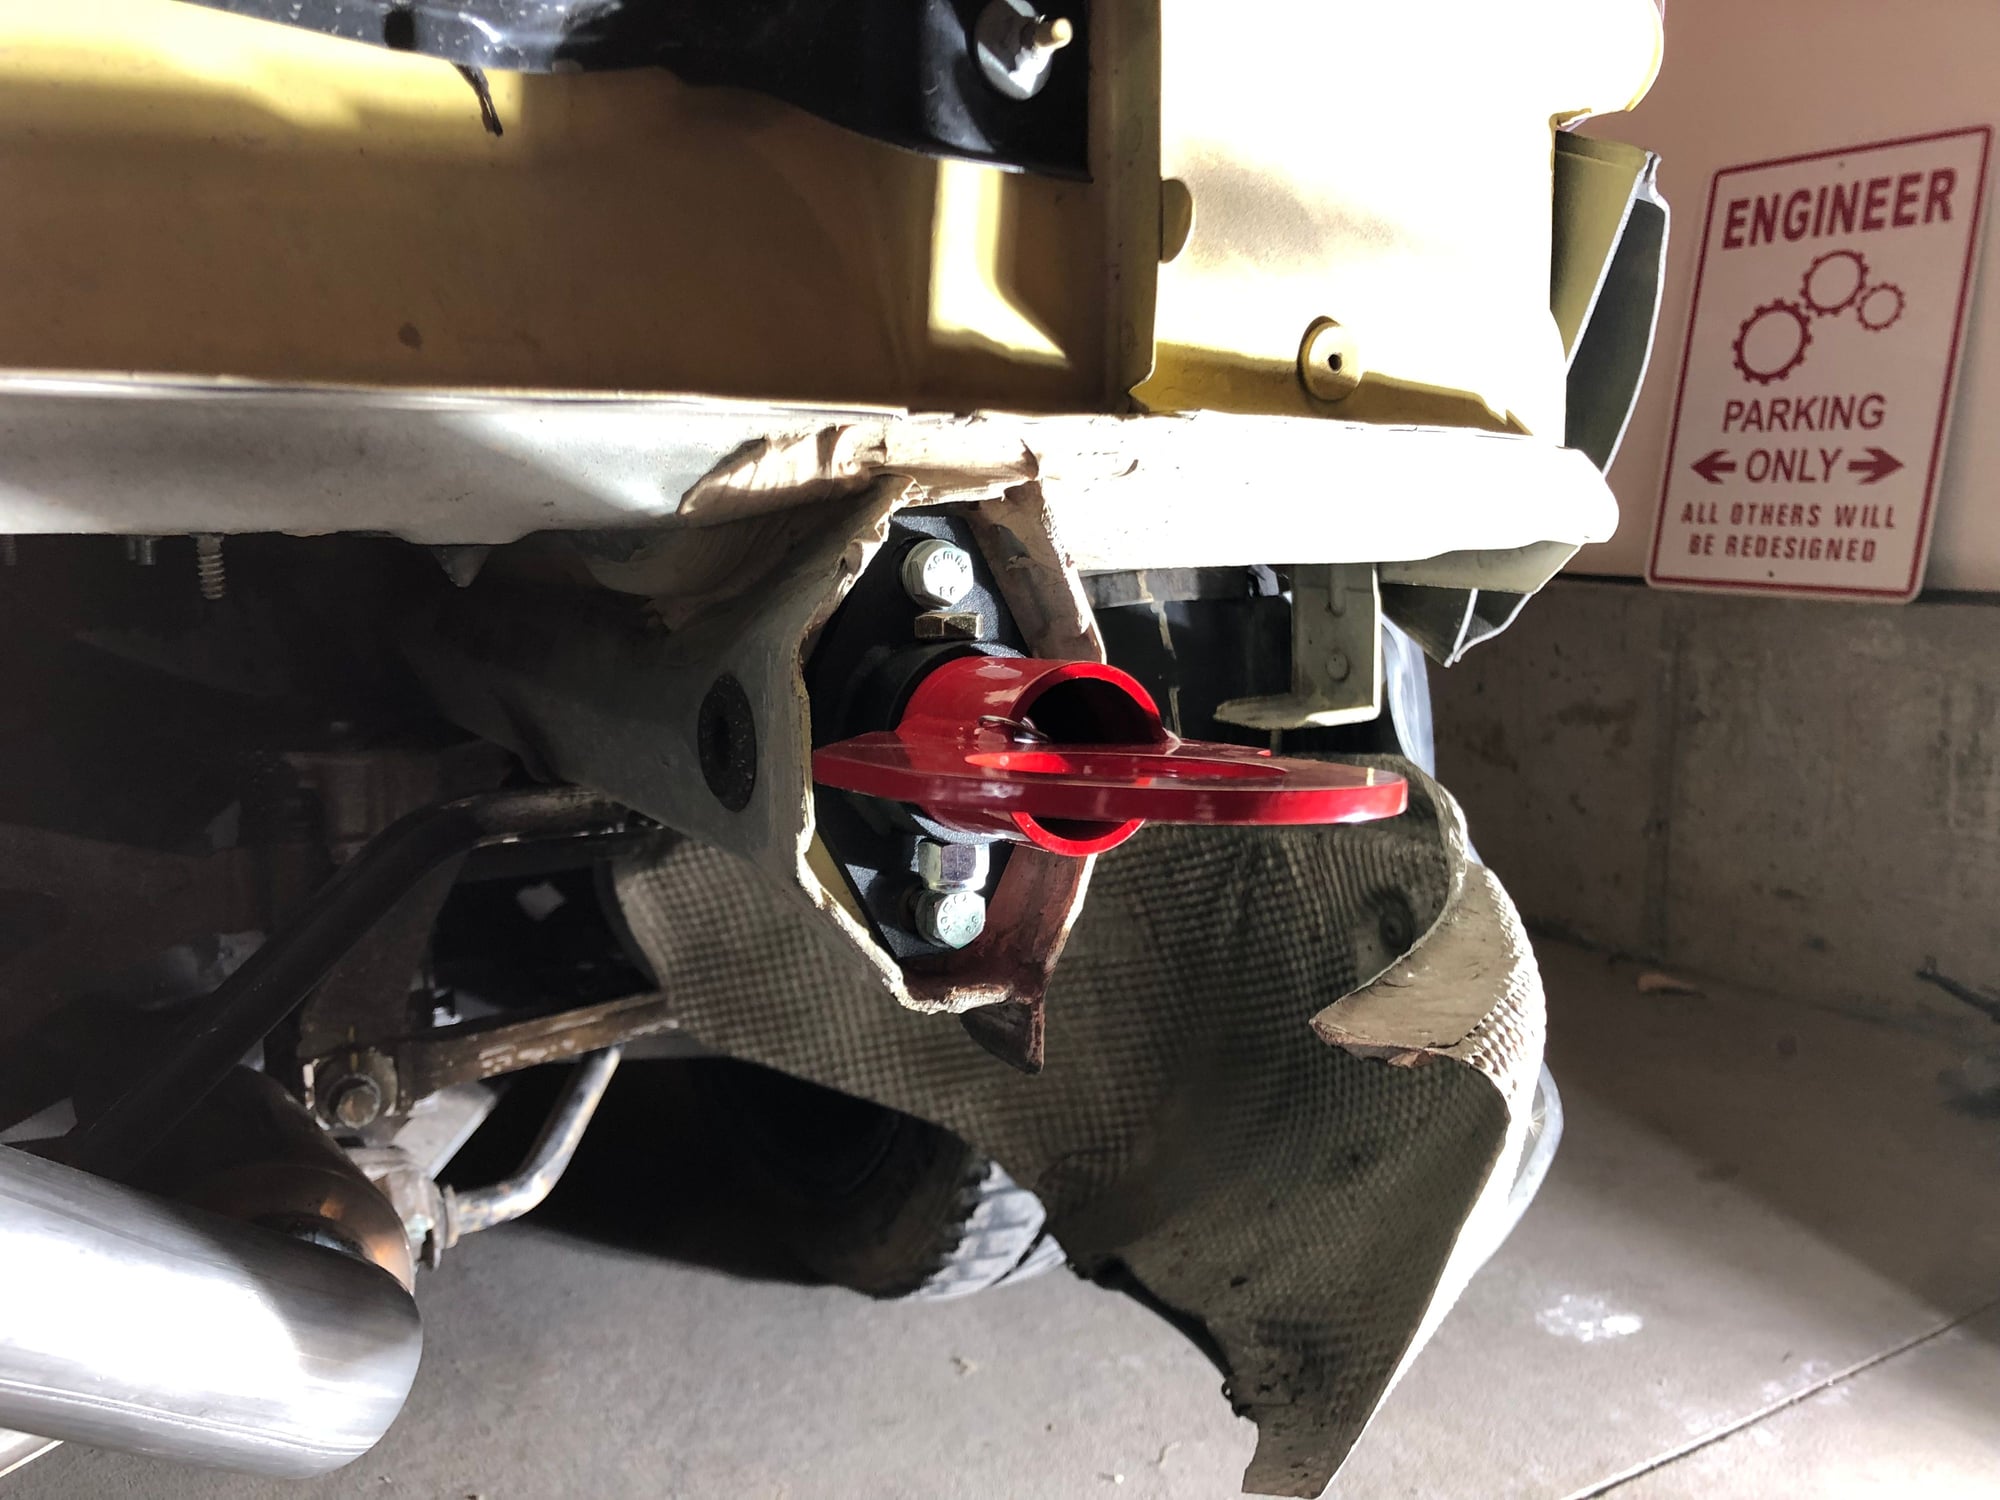
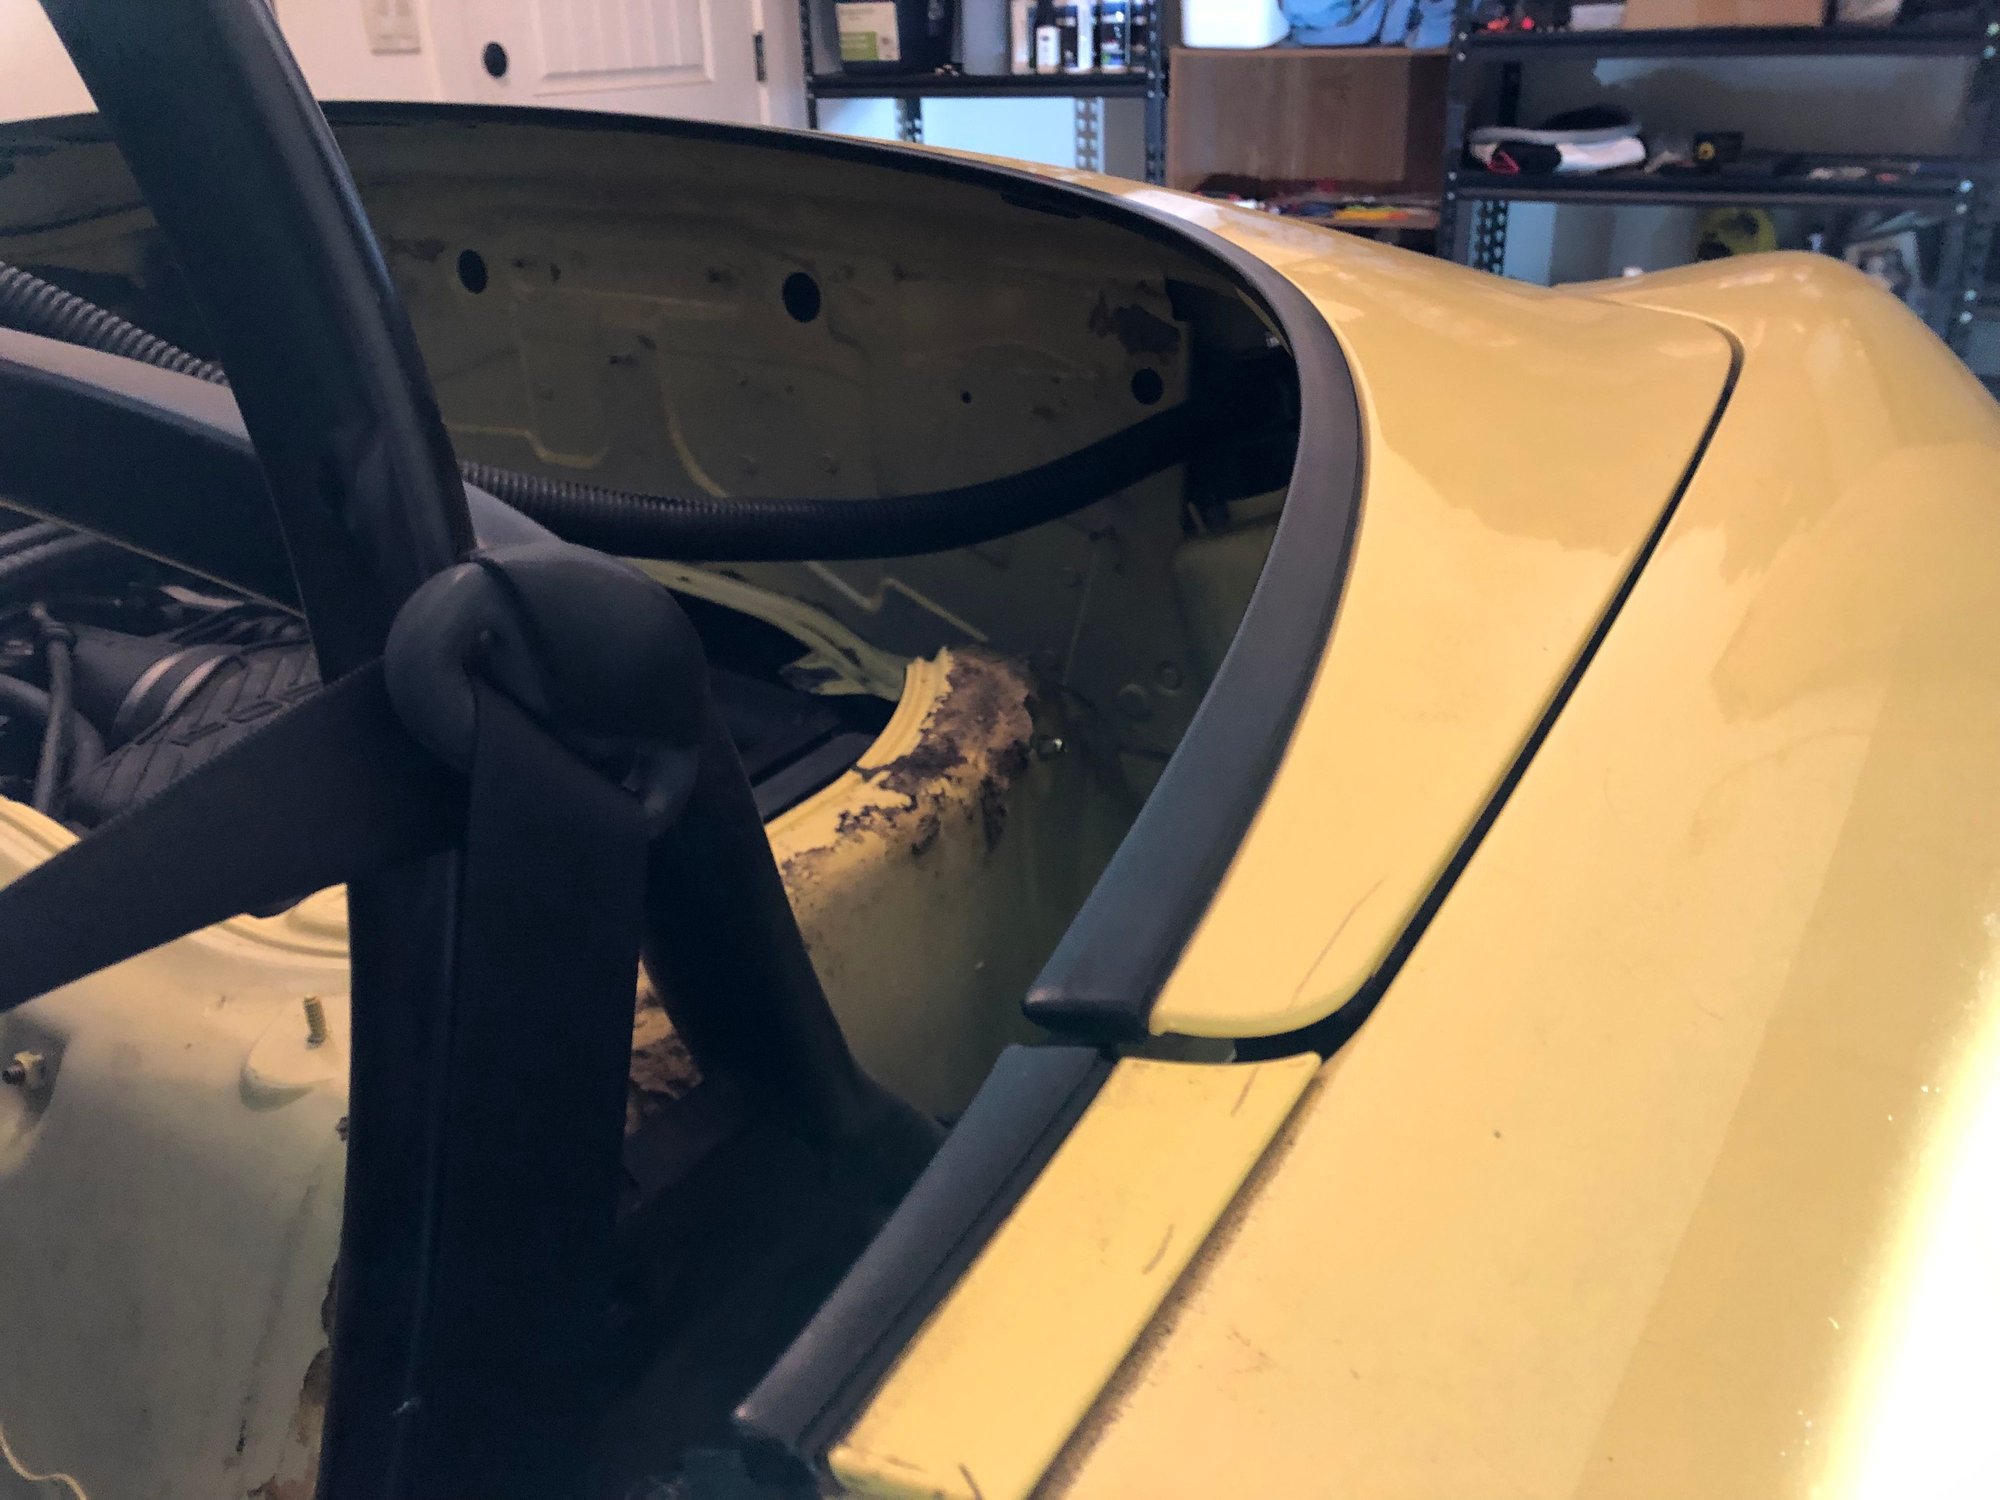
Today I did another easy thing. I pulled the rear bumper cover to add a Patrick Motorsports retractable rear tow hook. The tow hook vertical bolt nearly interferes with the frame mounting bolts so I needed to use a hand wrench instead of a socket for about half of the turns to get it installed but it seems like it will work well.
After these photos I removed the catalytic converter area heat shields on both sides by pulling the clips and then using some wire snips to trim it. I briefly tried to drill the rivet and it just spun so I left it. The justification to remove the heat shielding is the rules clarifications here: https://rennlist.com/forums/racing-a...l#post15179630
Originally Posted by SPB rules clarifications:
The following clarifications of the SPB rules are effective immediately
1) Where "bumper" is used in 6.C. and 6.D., change to "bumper cover."
2) One or both side radiator fans may be removed.
3) Electrical wiring for parts which may be deleted may be removed.
4) Seam sealer, undercoating, weather stripping, and tubing for water drainage may be removed.
5) The windshield washer tank and the washer mechanisms may be removed.
6) The plastic fender liners may be removed, or holes cut in them.
7) Thermal insulation and shielding may be removed.
8) The clamshell piece over removed convertible top components may be attached to the body in any secure manner.
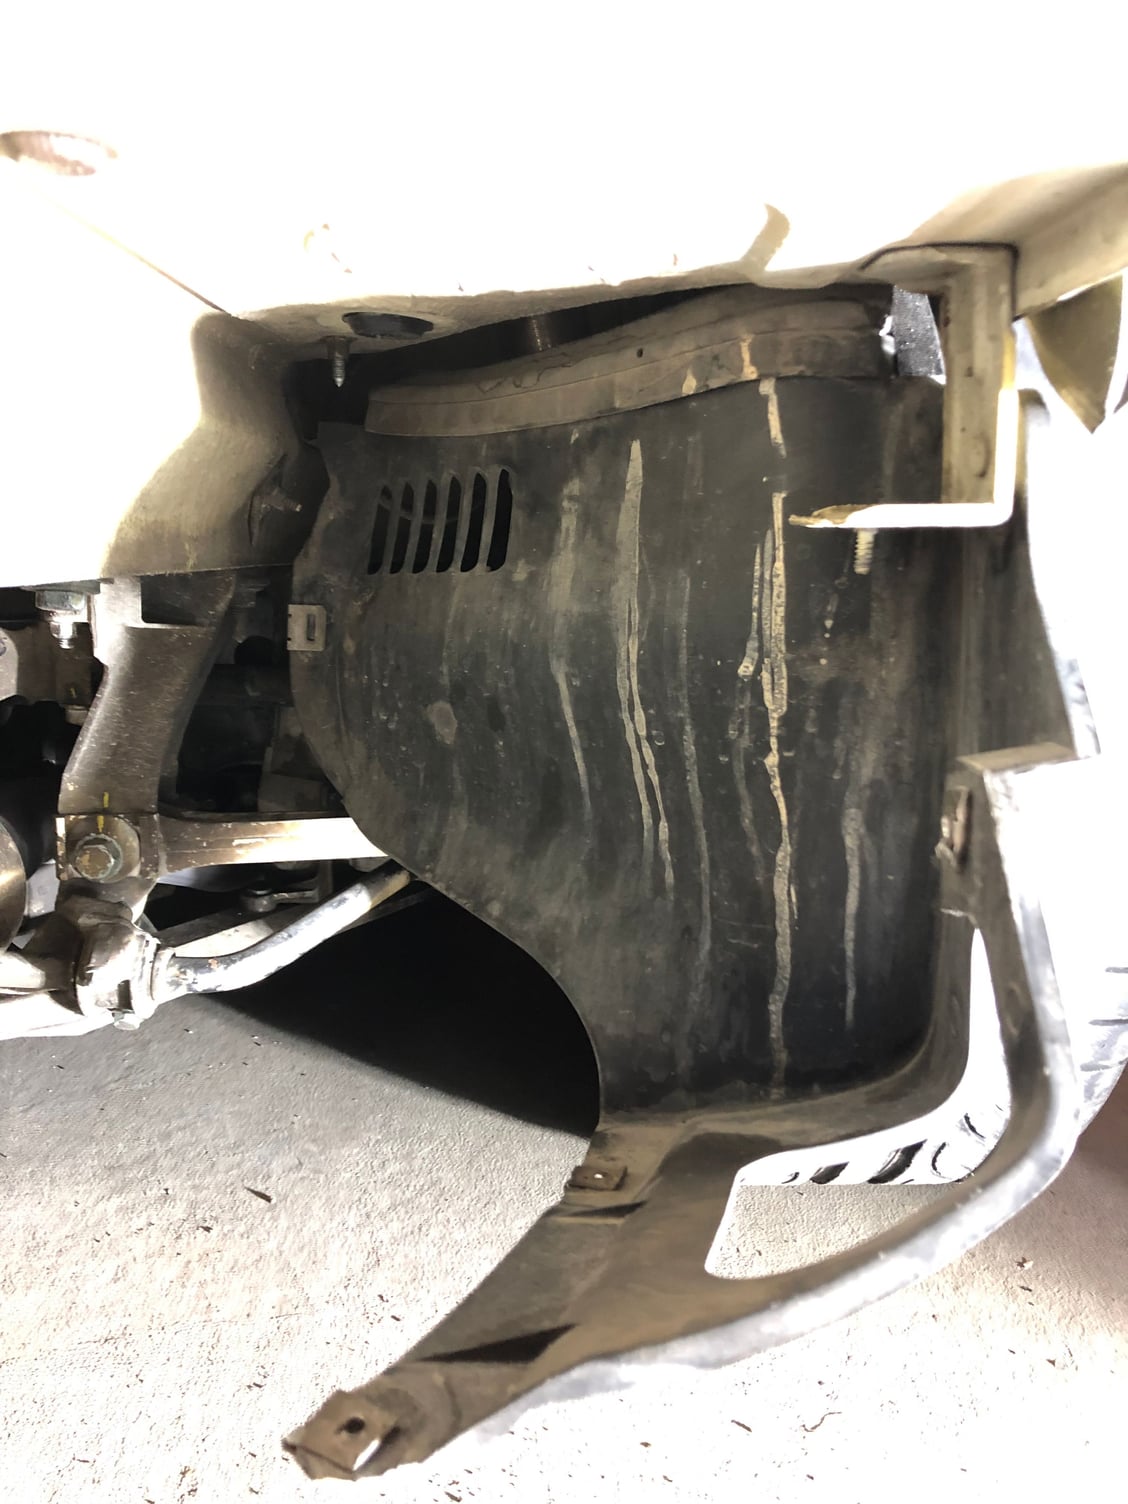
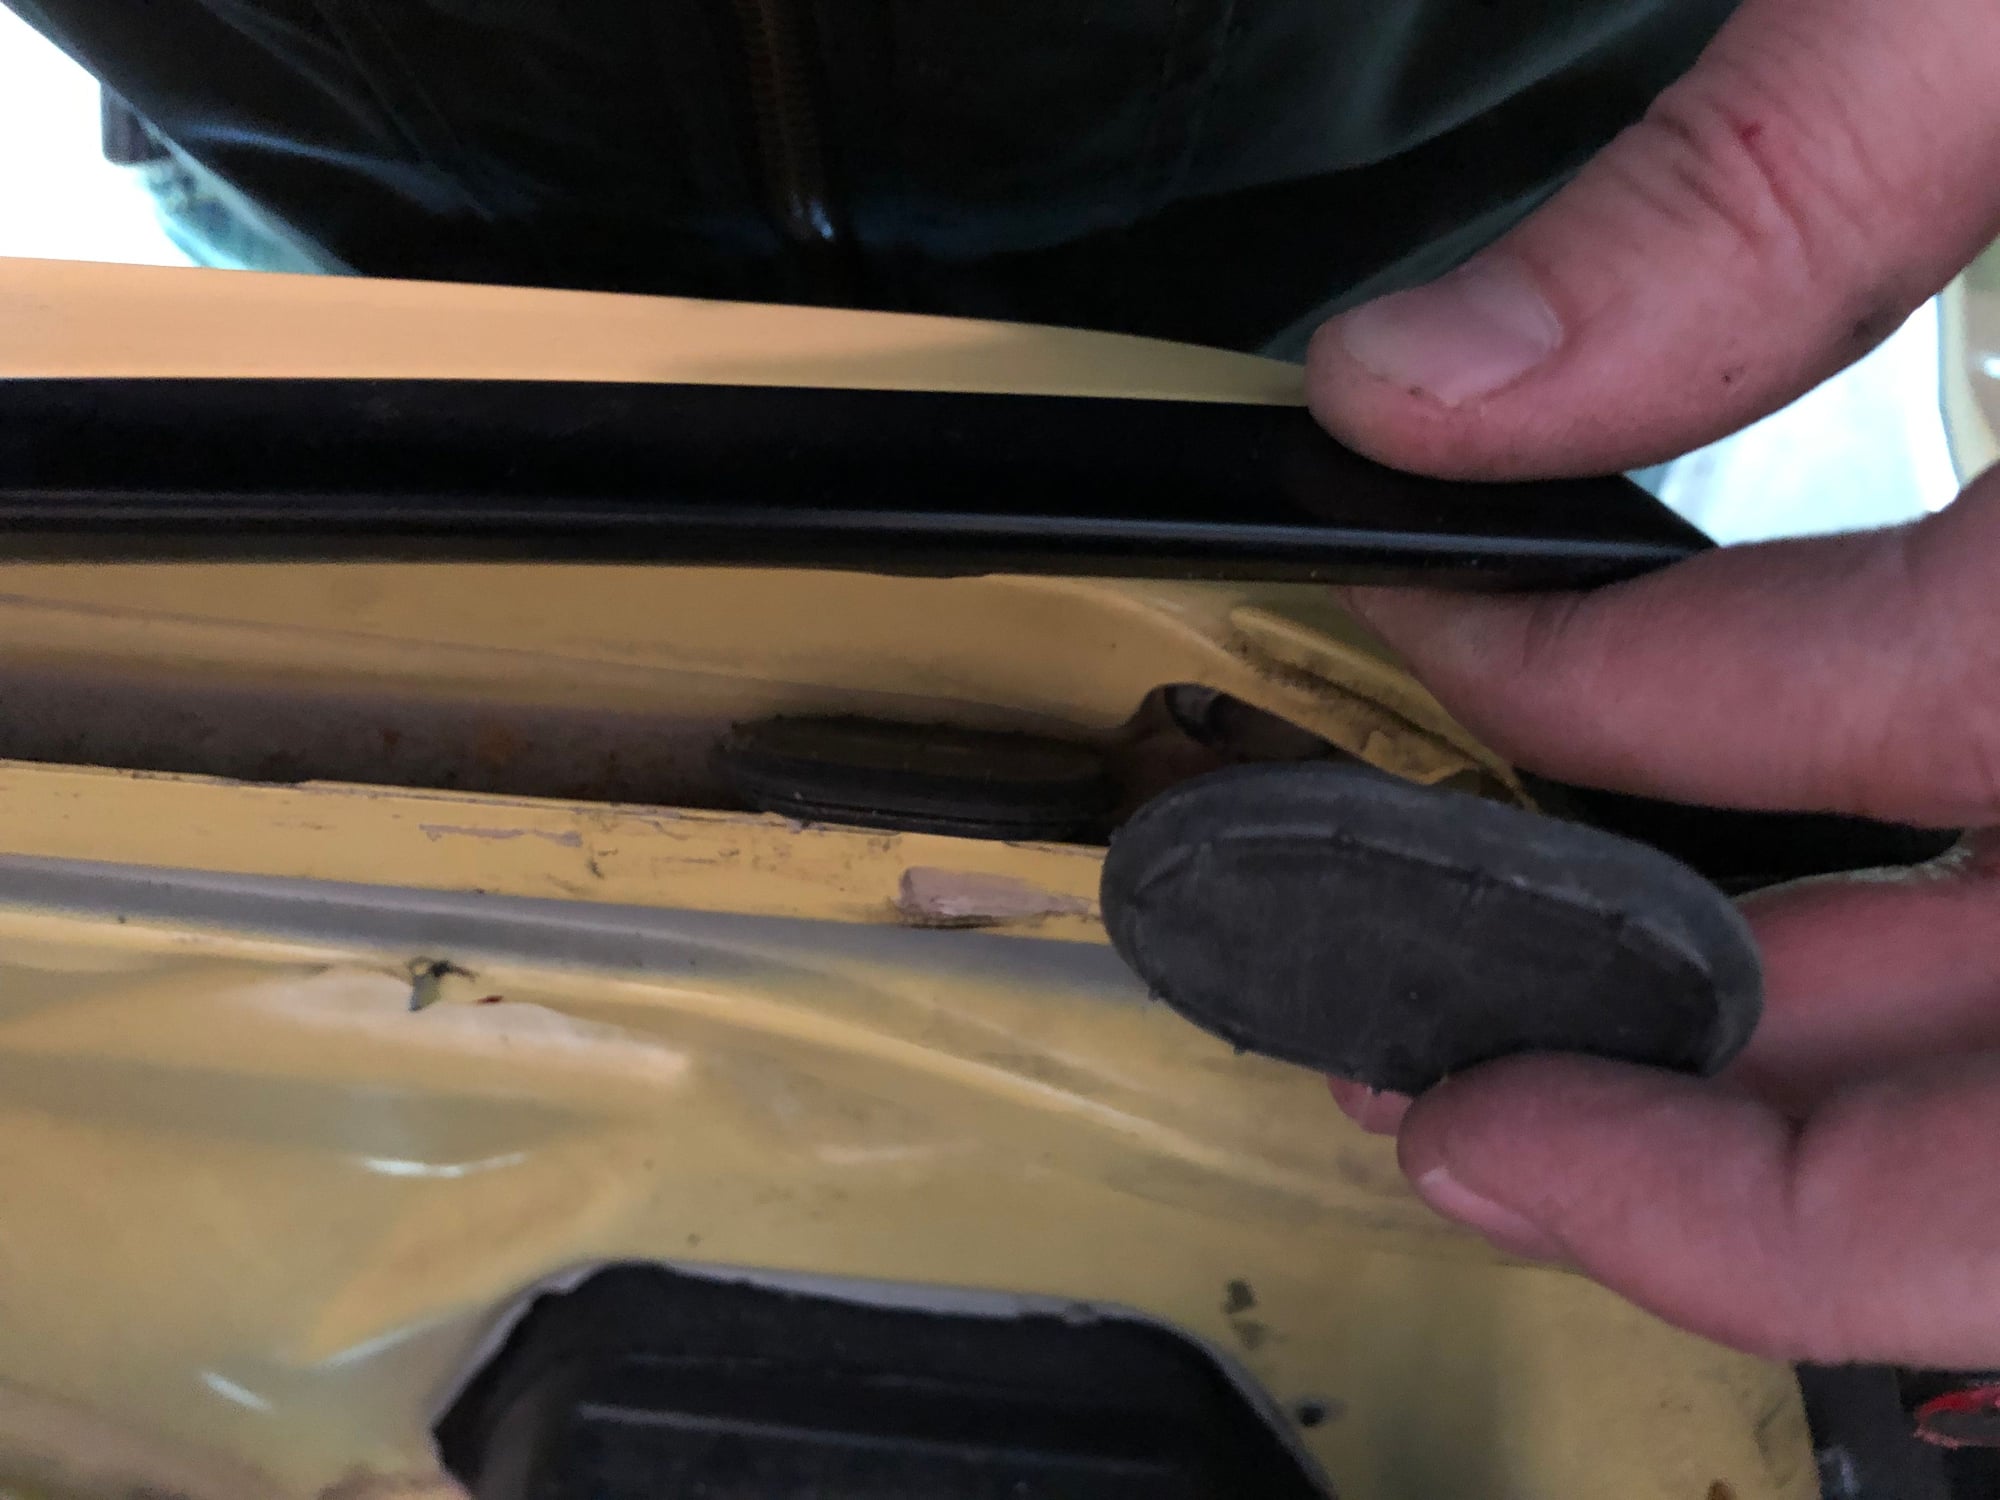
I noticed my right rear tire splash shield isn�t attached at the forward end as the plastic sheared off near the fastener. One of these days I'll grab some scrap metal and make a little clip (just bend and drill it) to reattach the splash shield bolt. Not anything urgent but once I run out of things to do...
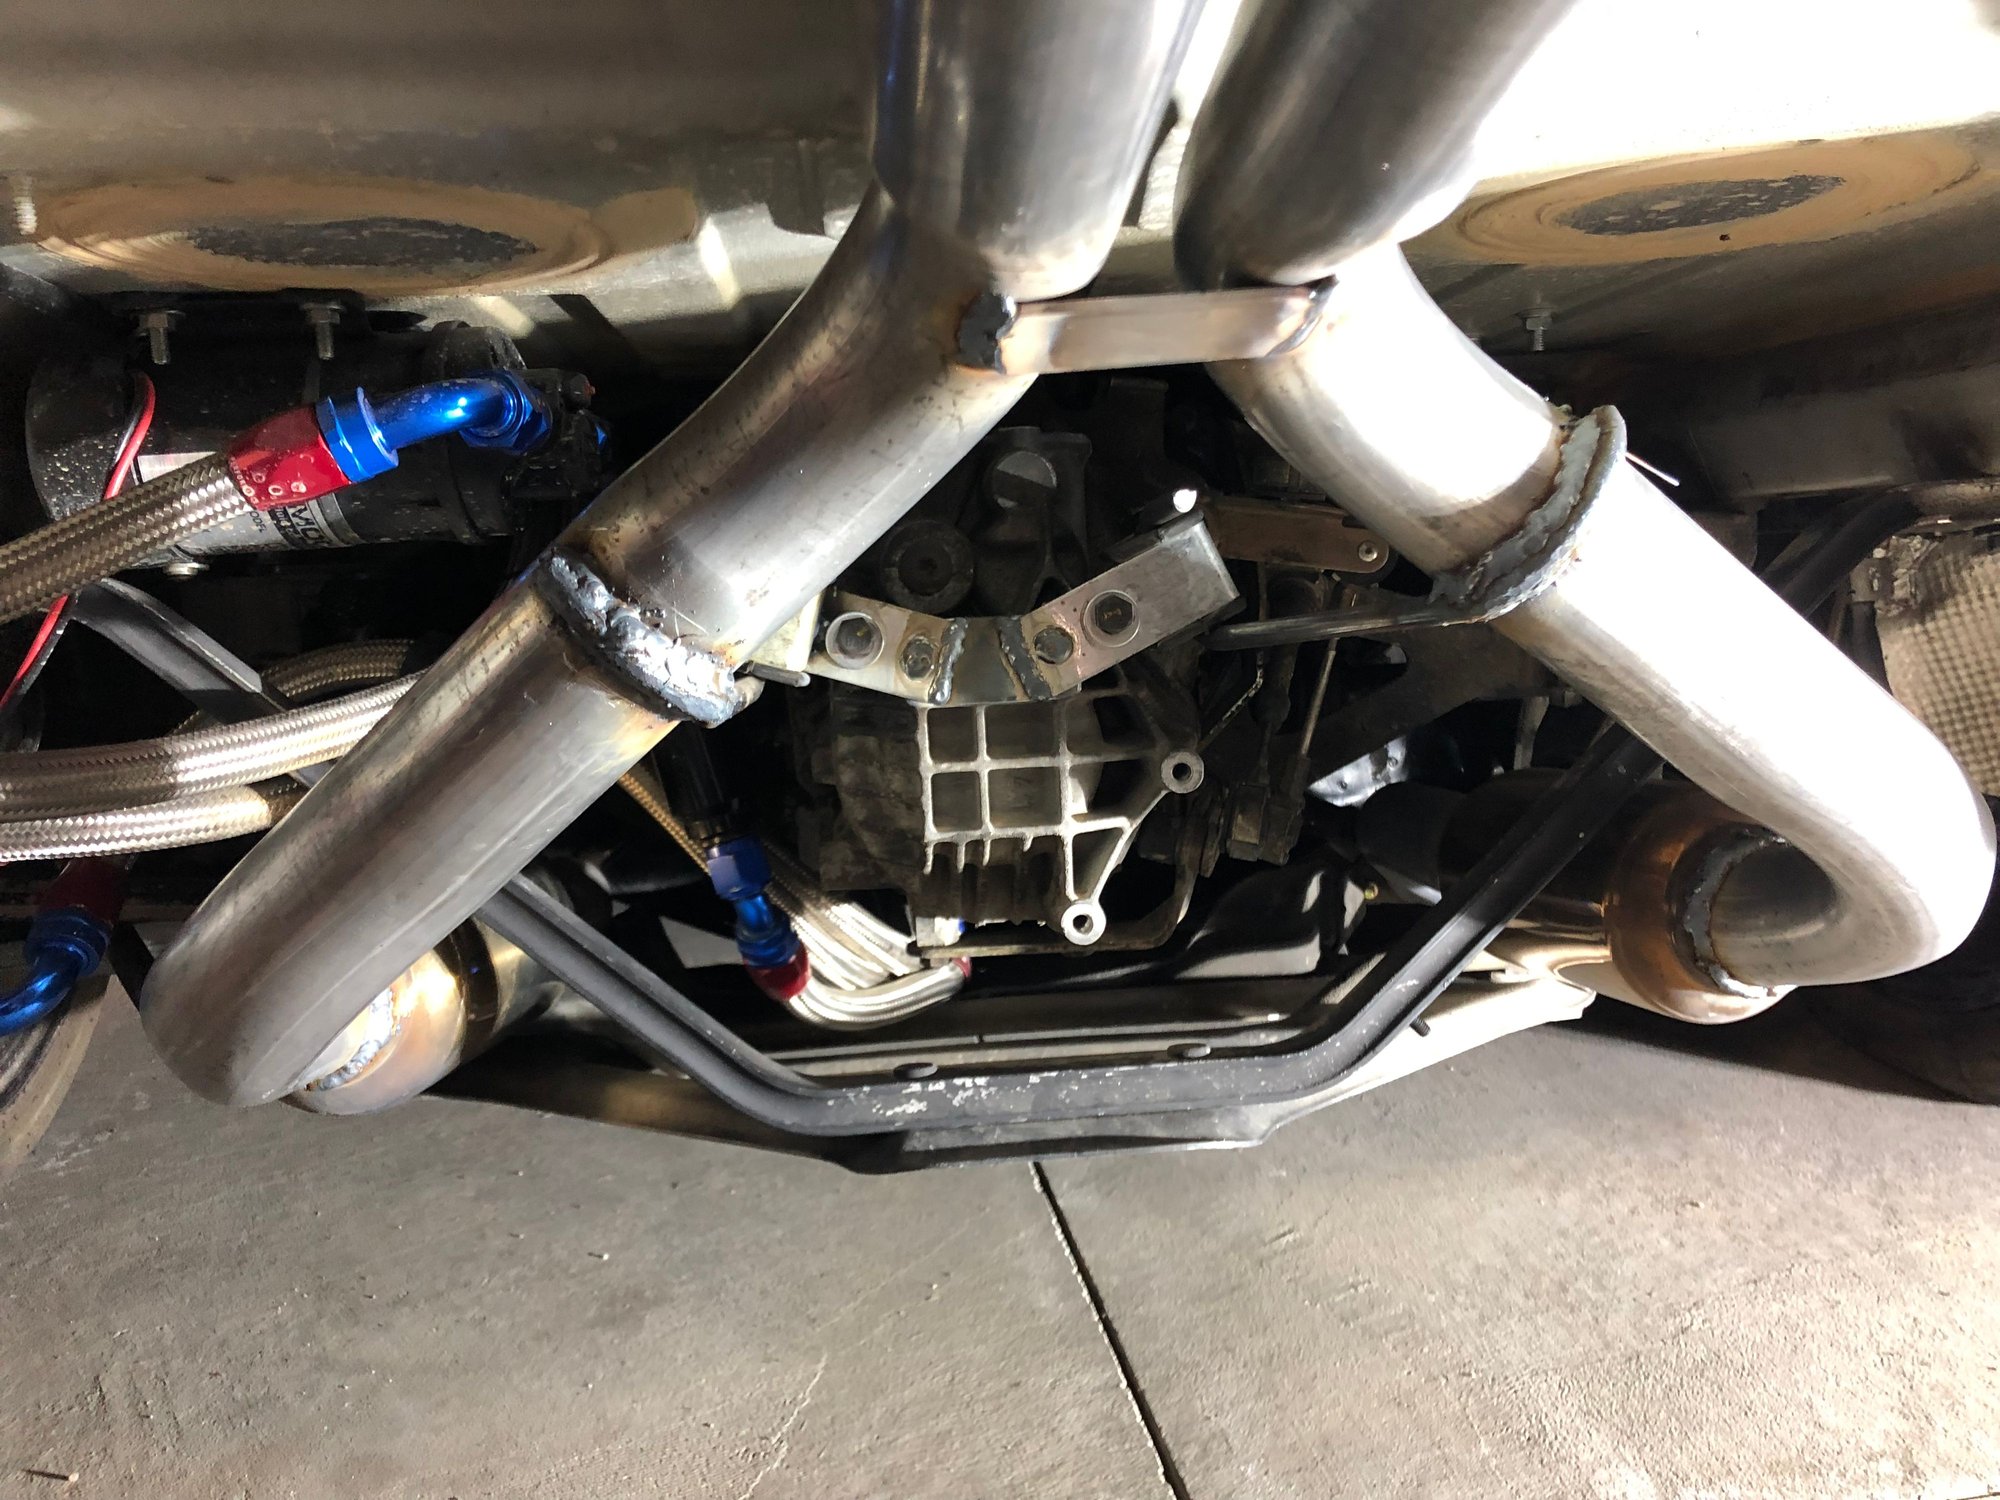
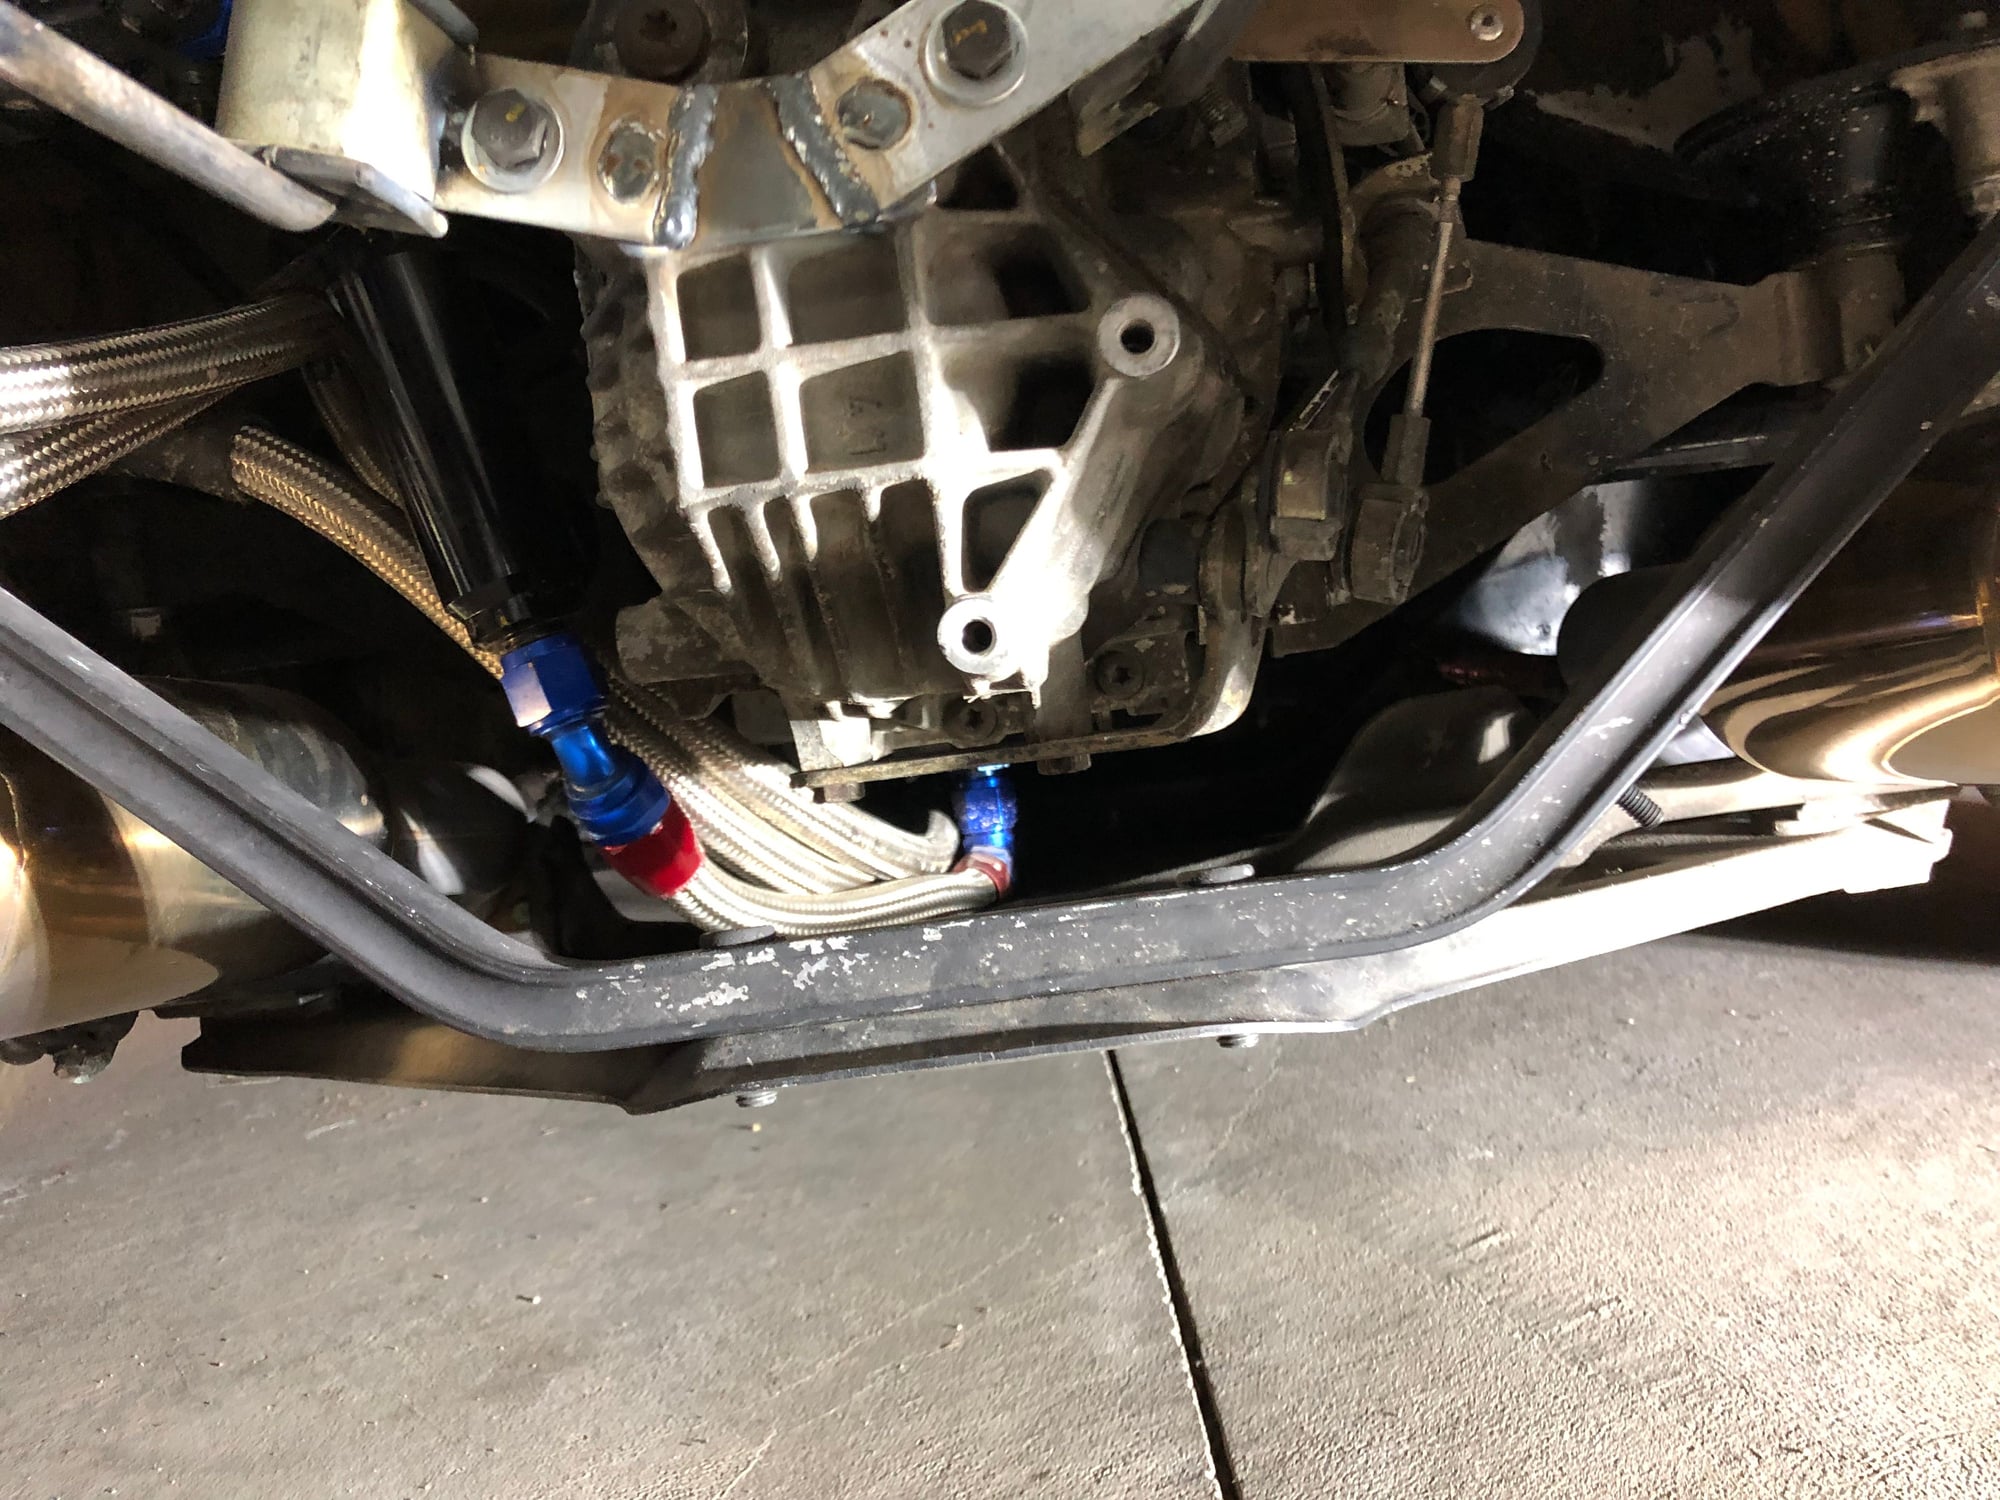
I�m kicking around wrapping some fiberglass around the exhaust just to help keep it from warming everything up in that area. Also thinking it could help reduce the risk of fire (or delay it at least) if oil were to leak onto it. Not sure yet as it may be unnecessary for heat and I know it would be a magnet for dirt. As you may notice, when the transmission fails I�m going to have to redo the center exhaust mount. Not sure why they bothered to add weld to the attachment if bolts could have done the trick but if you have a hammer everything looks like a nail. I may just need to make a plate and cut it up when that happens. The exhaust sounds great and overall like I said before I feel I got value for my money.
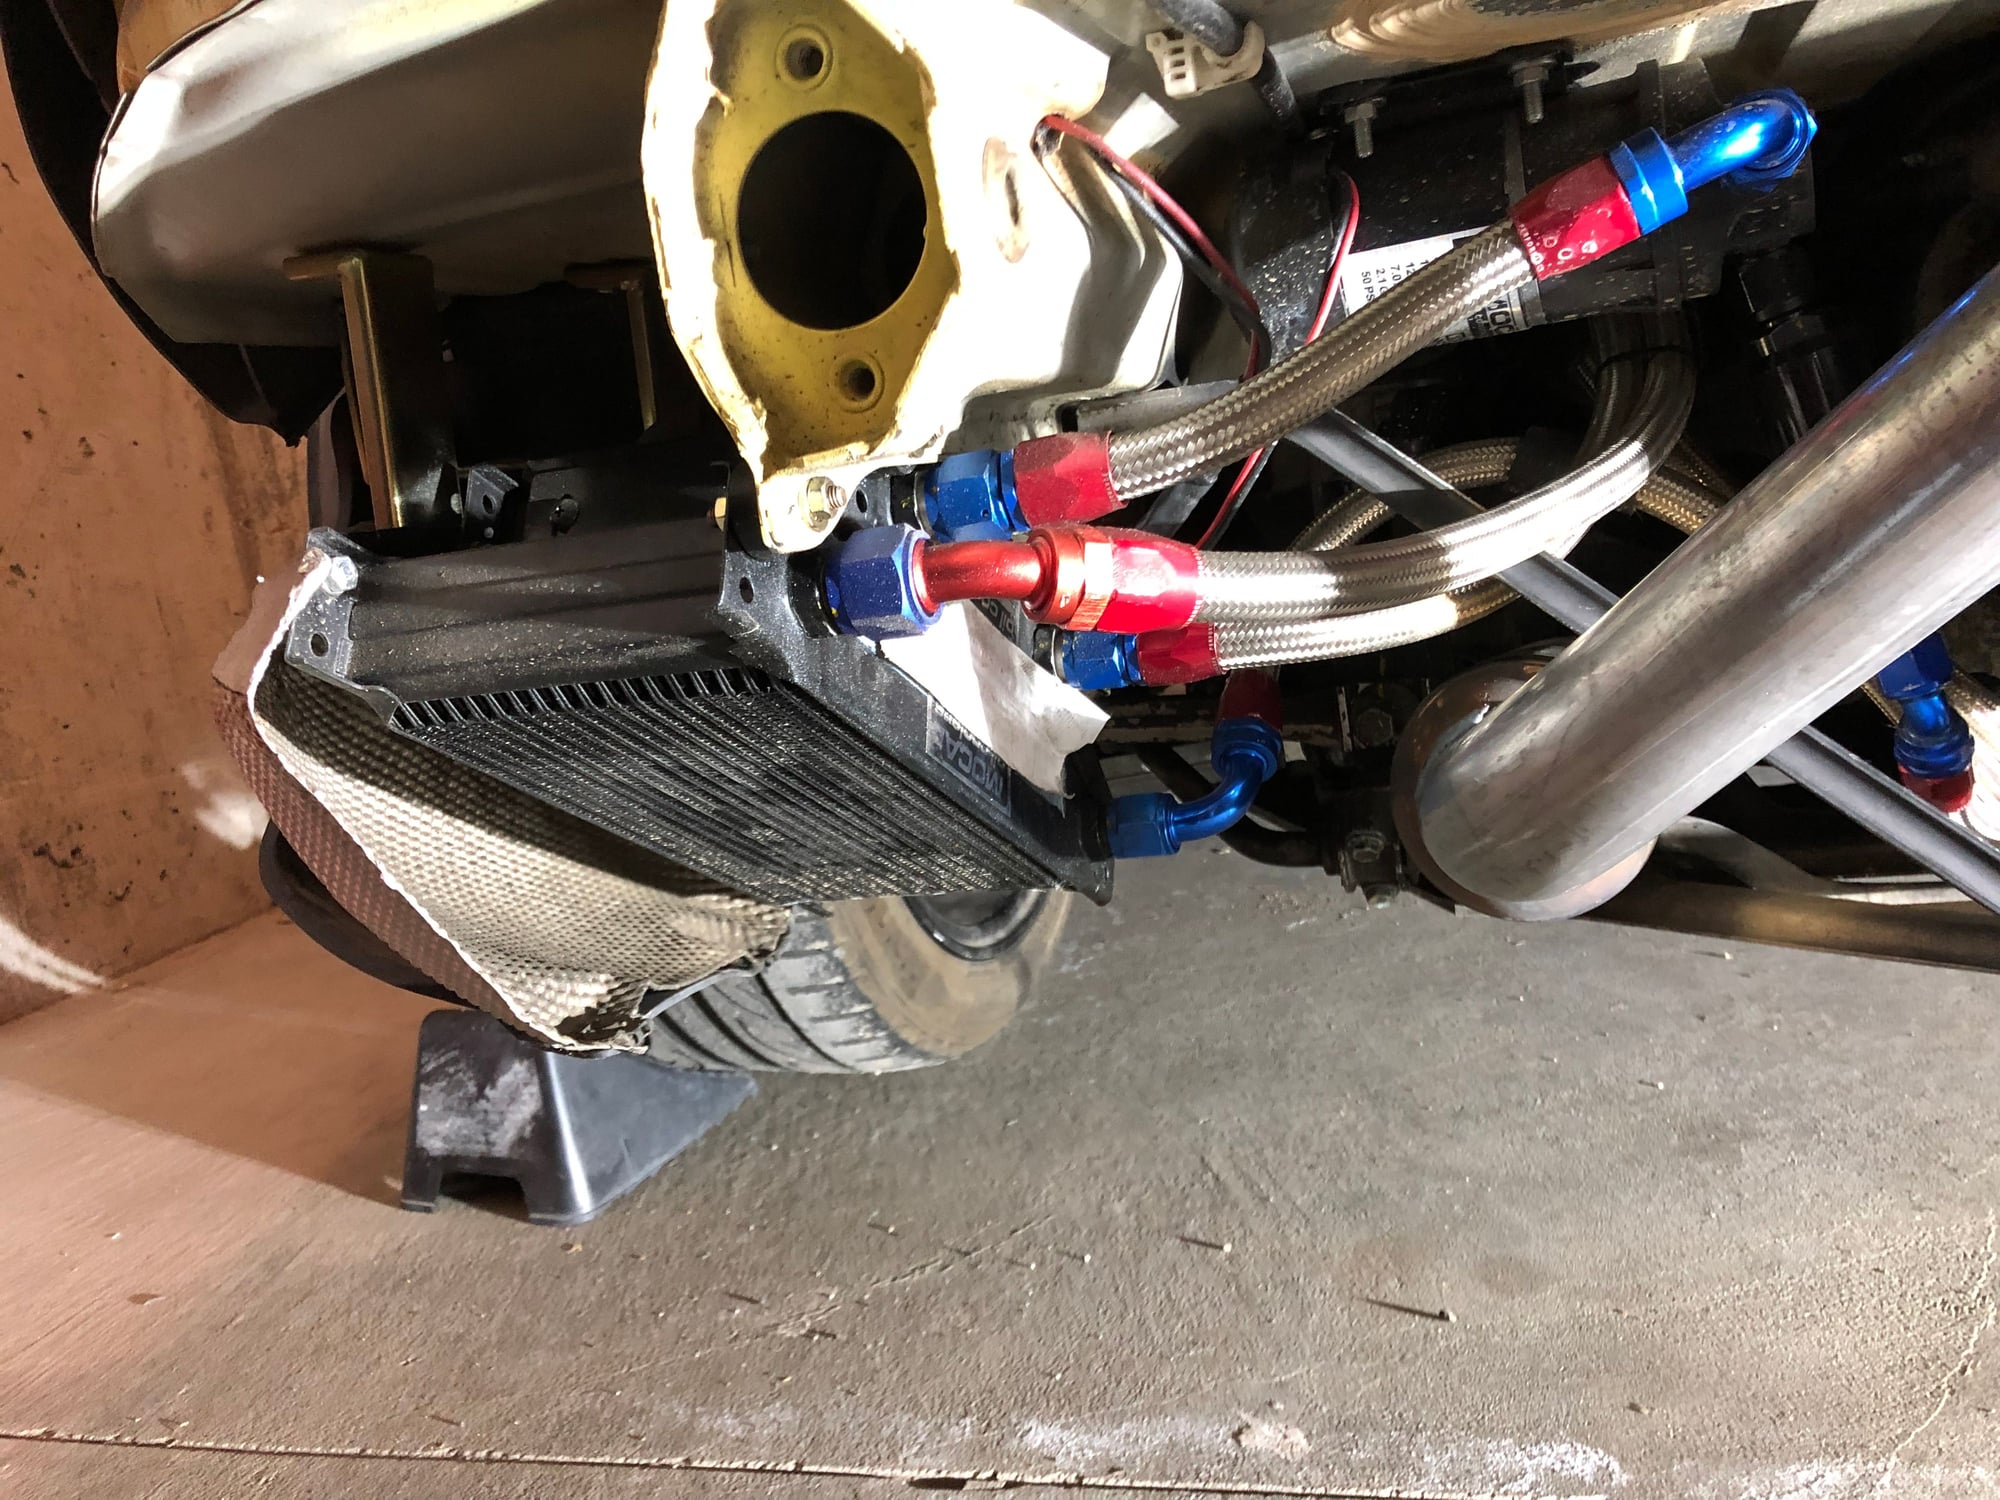
Here are the oil and transmission coolers. From memory I believe this is the TuneRS kit. Nice looking hardware and a lot of plumbing. I actually have a bit of trouble getting enough heat into the oil right now. I have a third radiator but haven't installed it, and at this point I don't think I will install it.
Well, looking at how the cross bar would interfere with the new coolers I�m just going to put that on hold for a while.
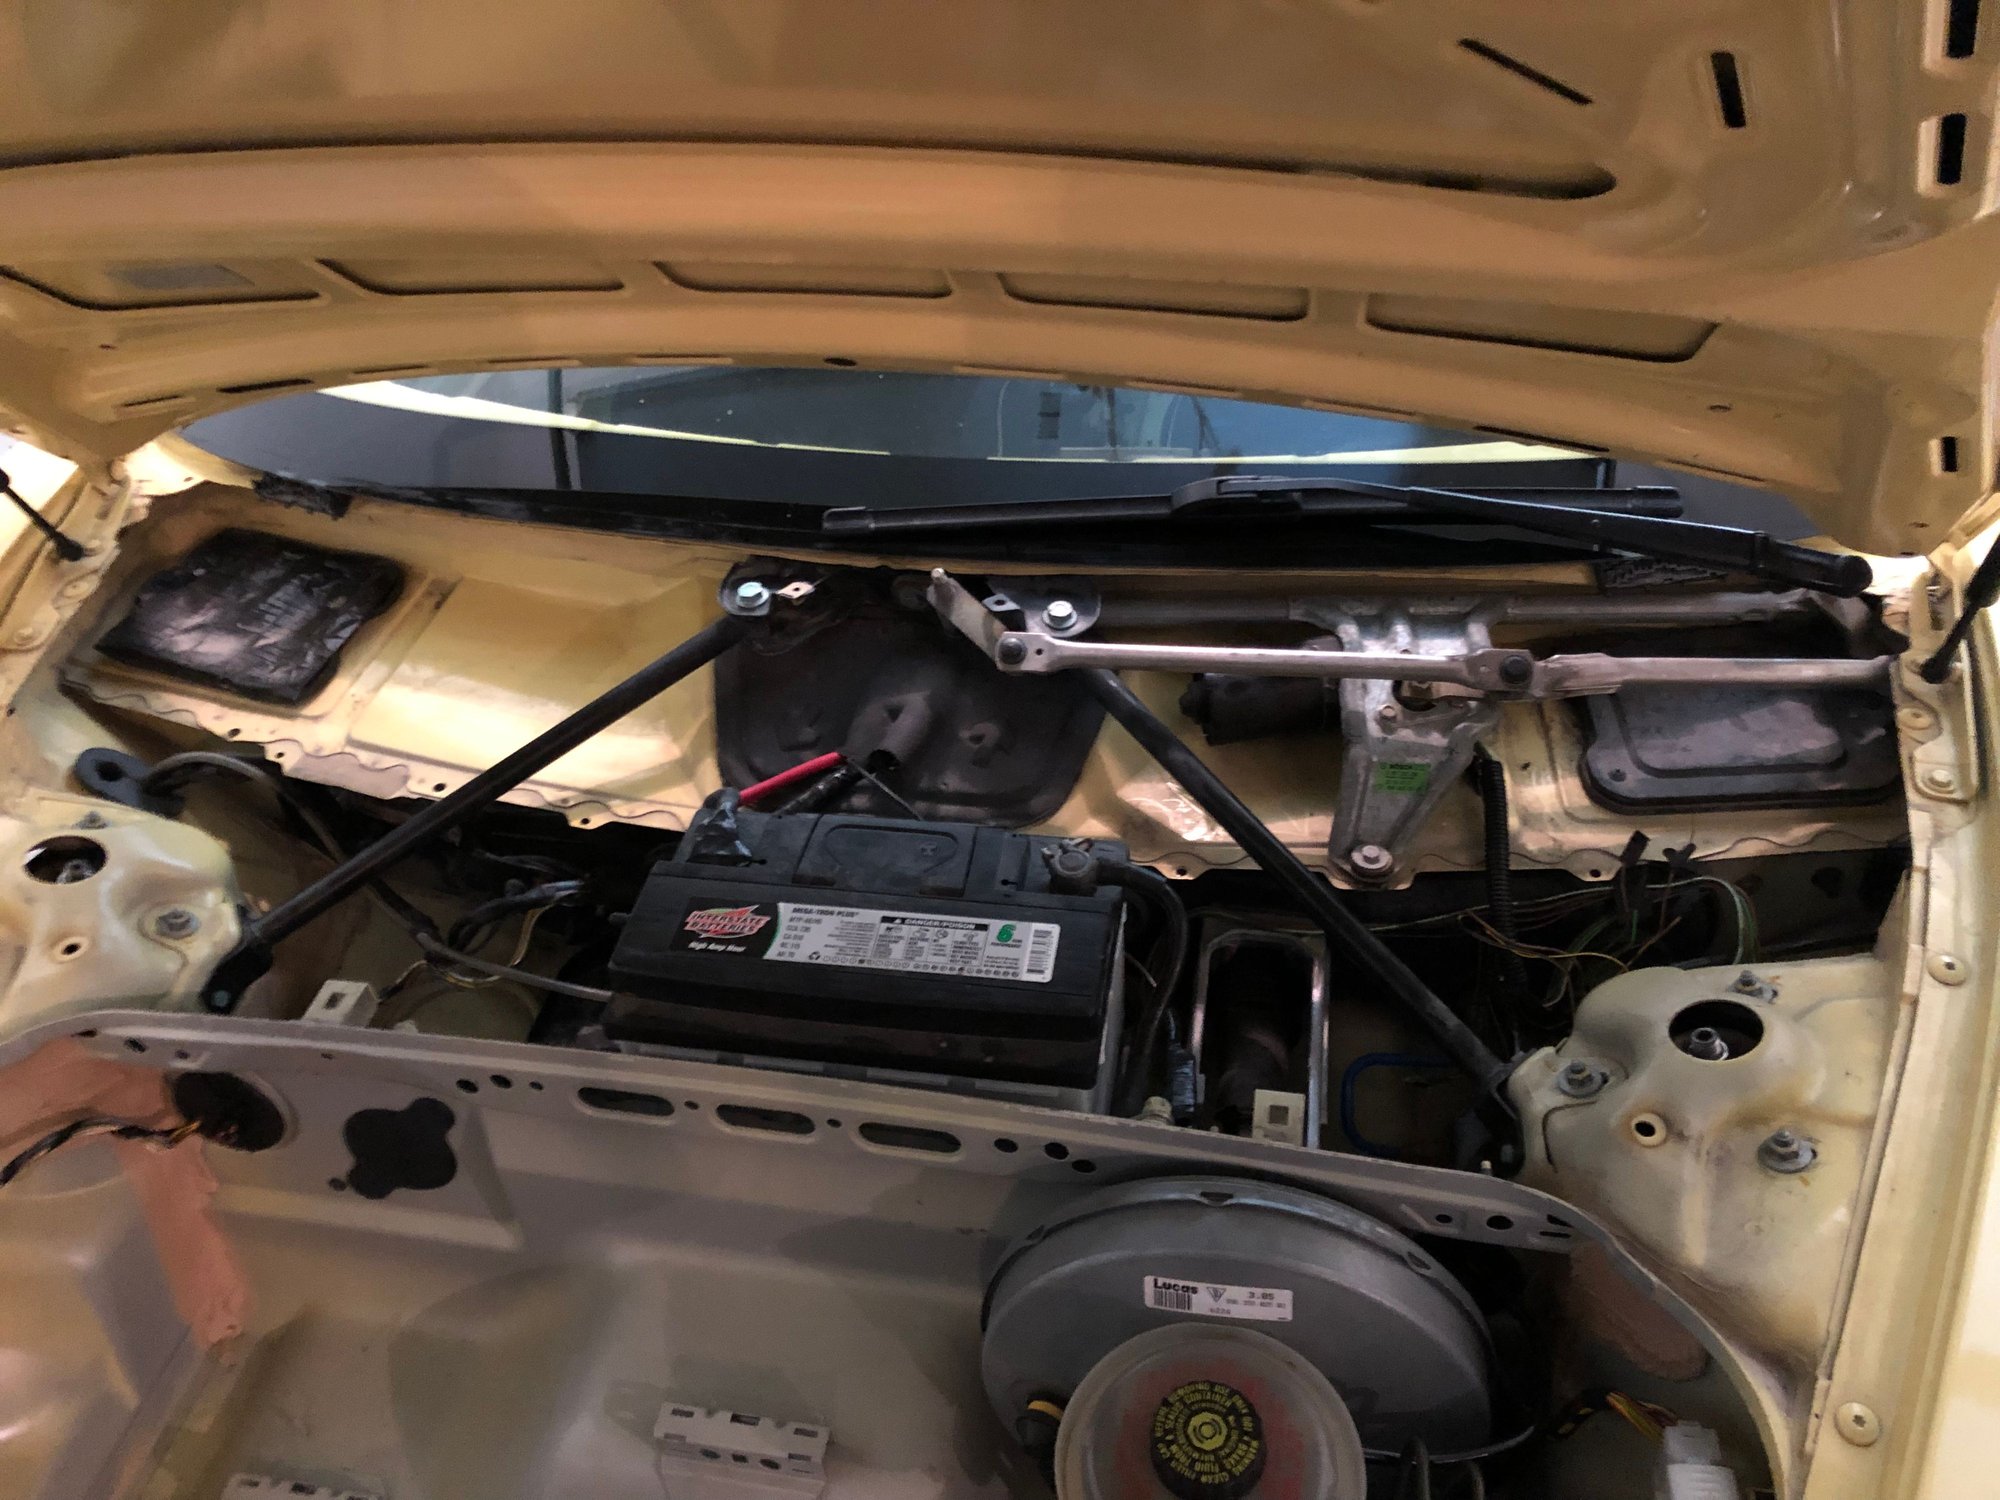
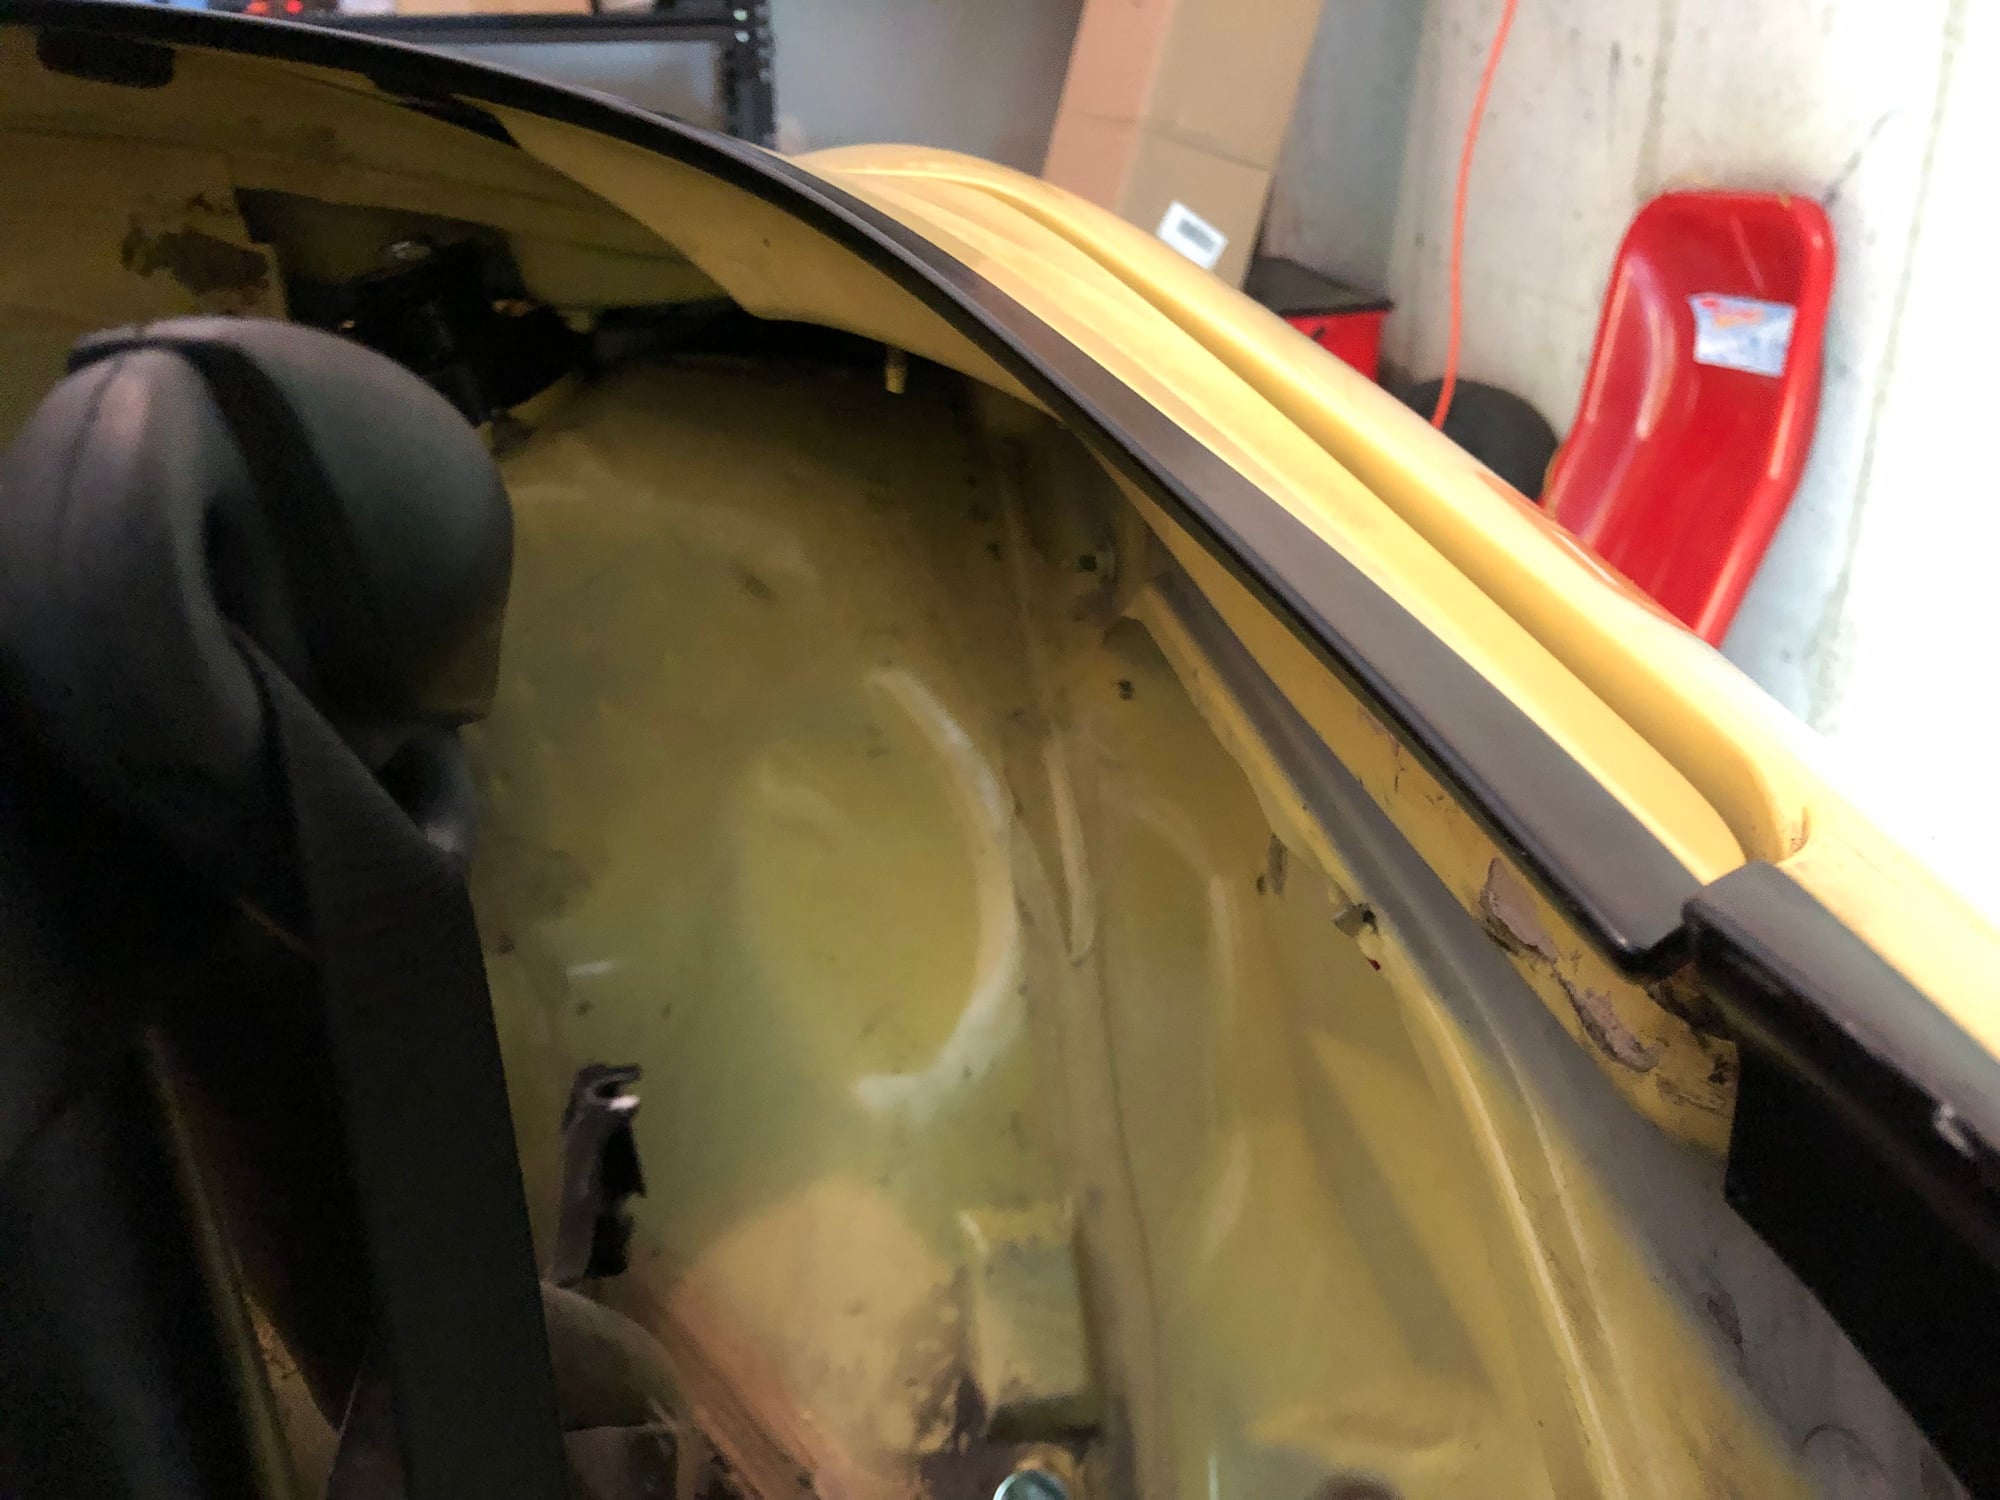
I reinstalled the windshield wiper braces as Walt told me in an email they were reqired. At the same time I pulled the weatherstripping material to throw some black paint on it. I just did a single spray coat of enamel since that�s what was around. I wasn�t looking for perfection, I just wanted to get the sun faded grey to look black again. I�ll give it some time and put it back in.
After that I checked the rear tire mudguard more closely and I�ll see about just replacing the pair.
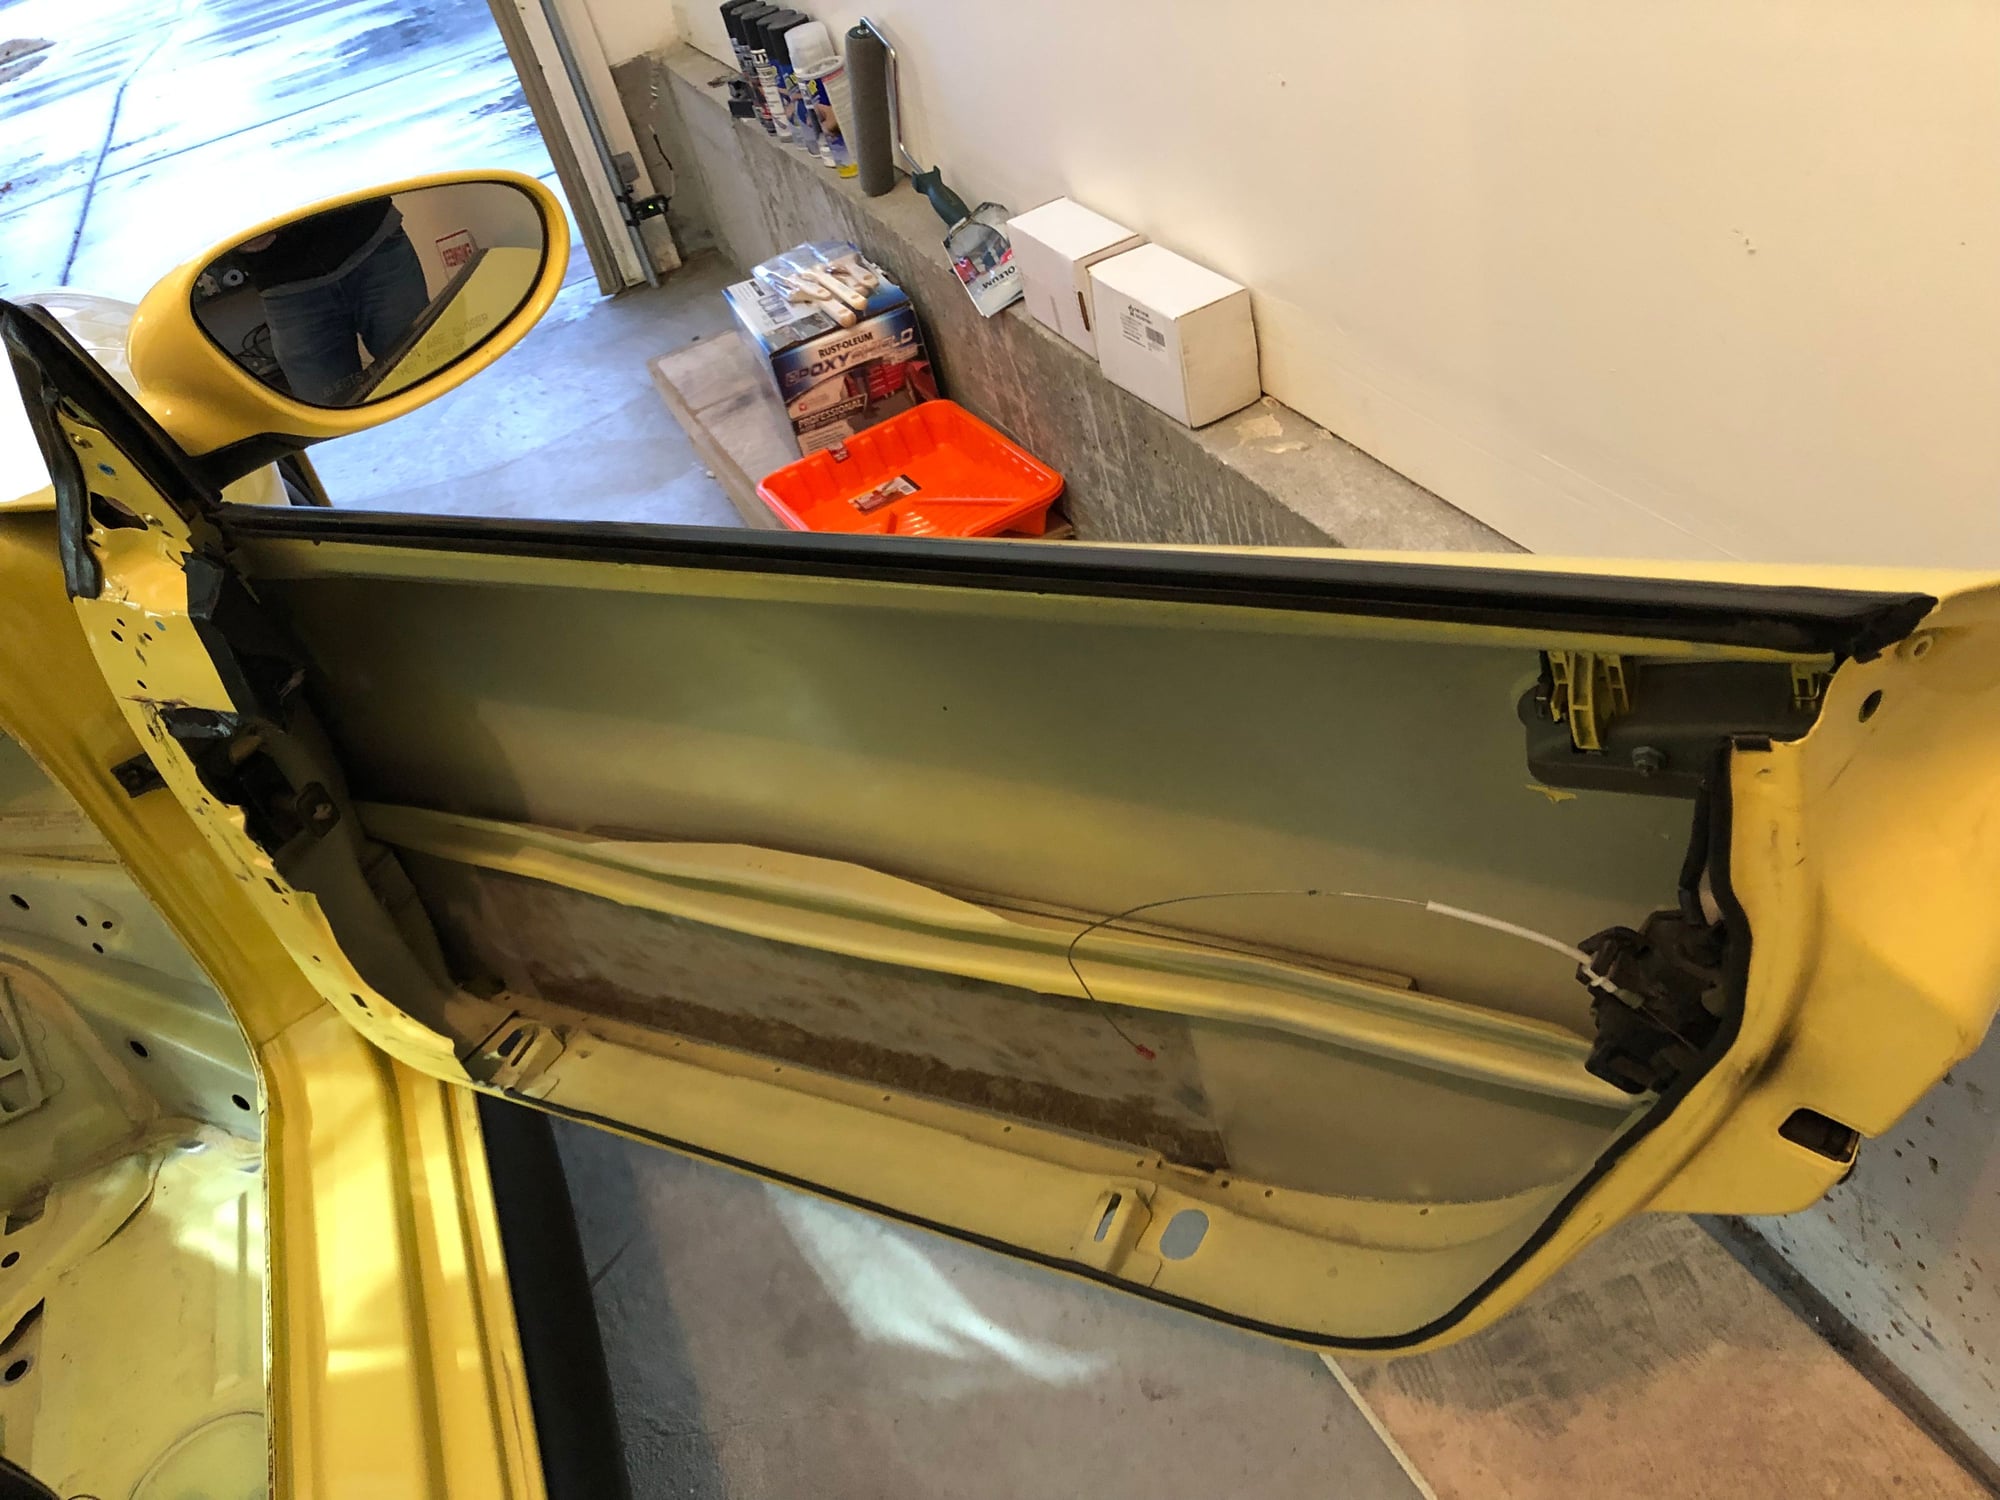
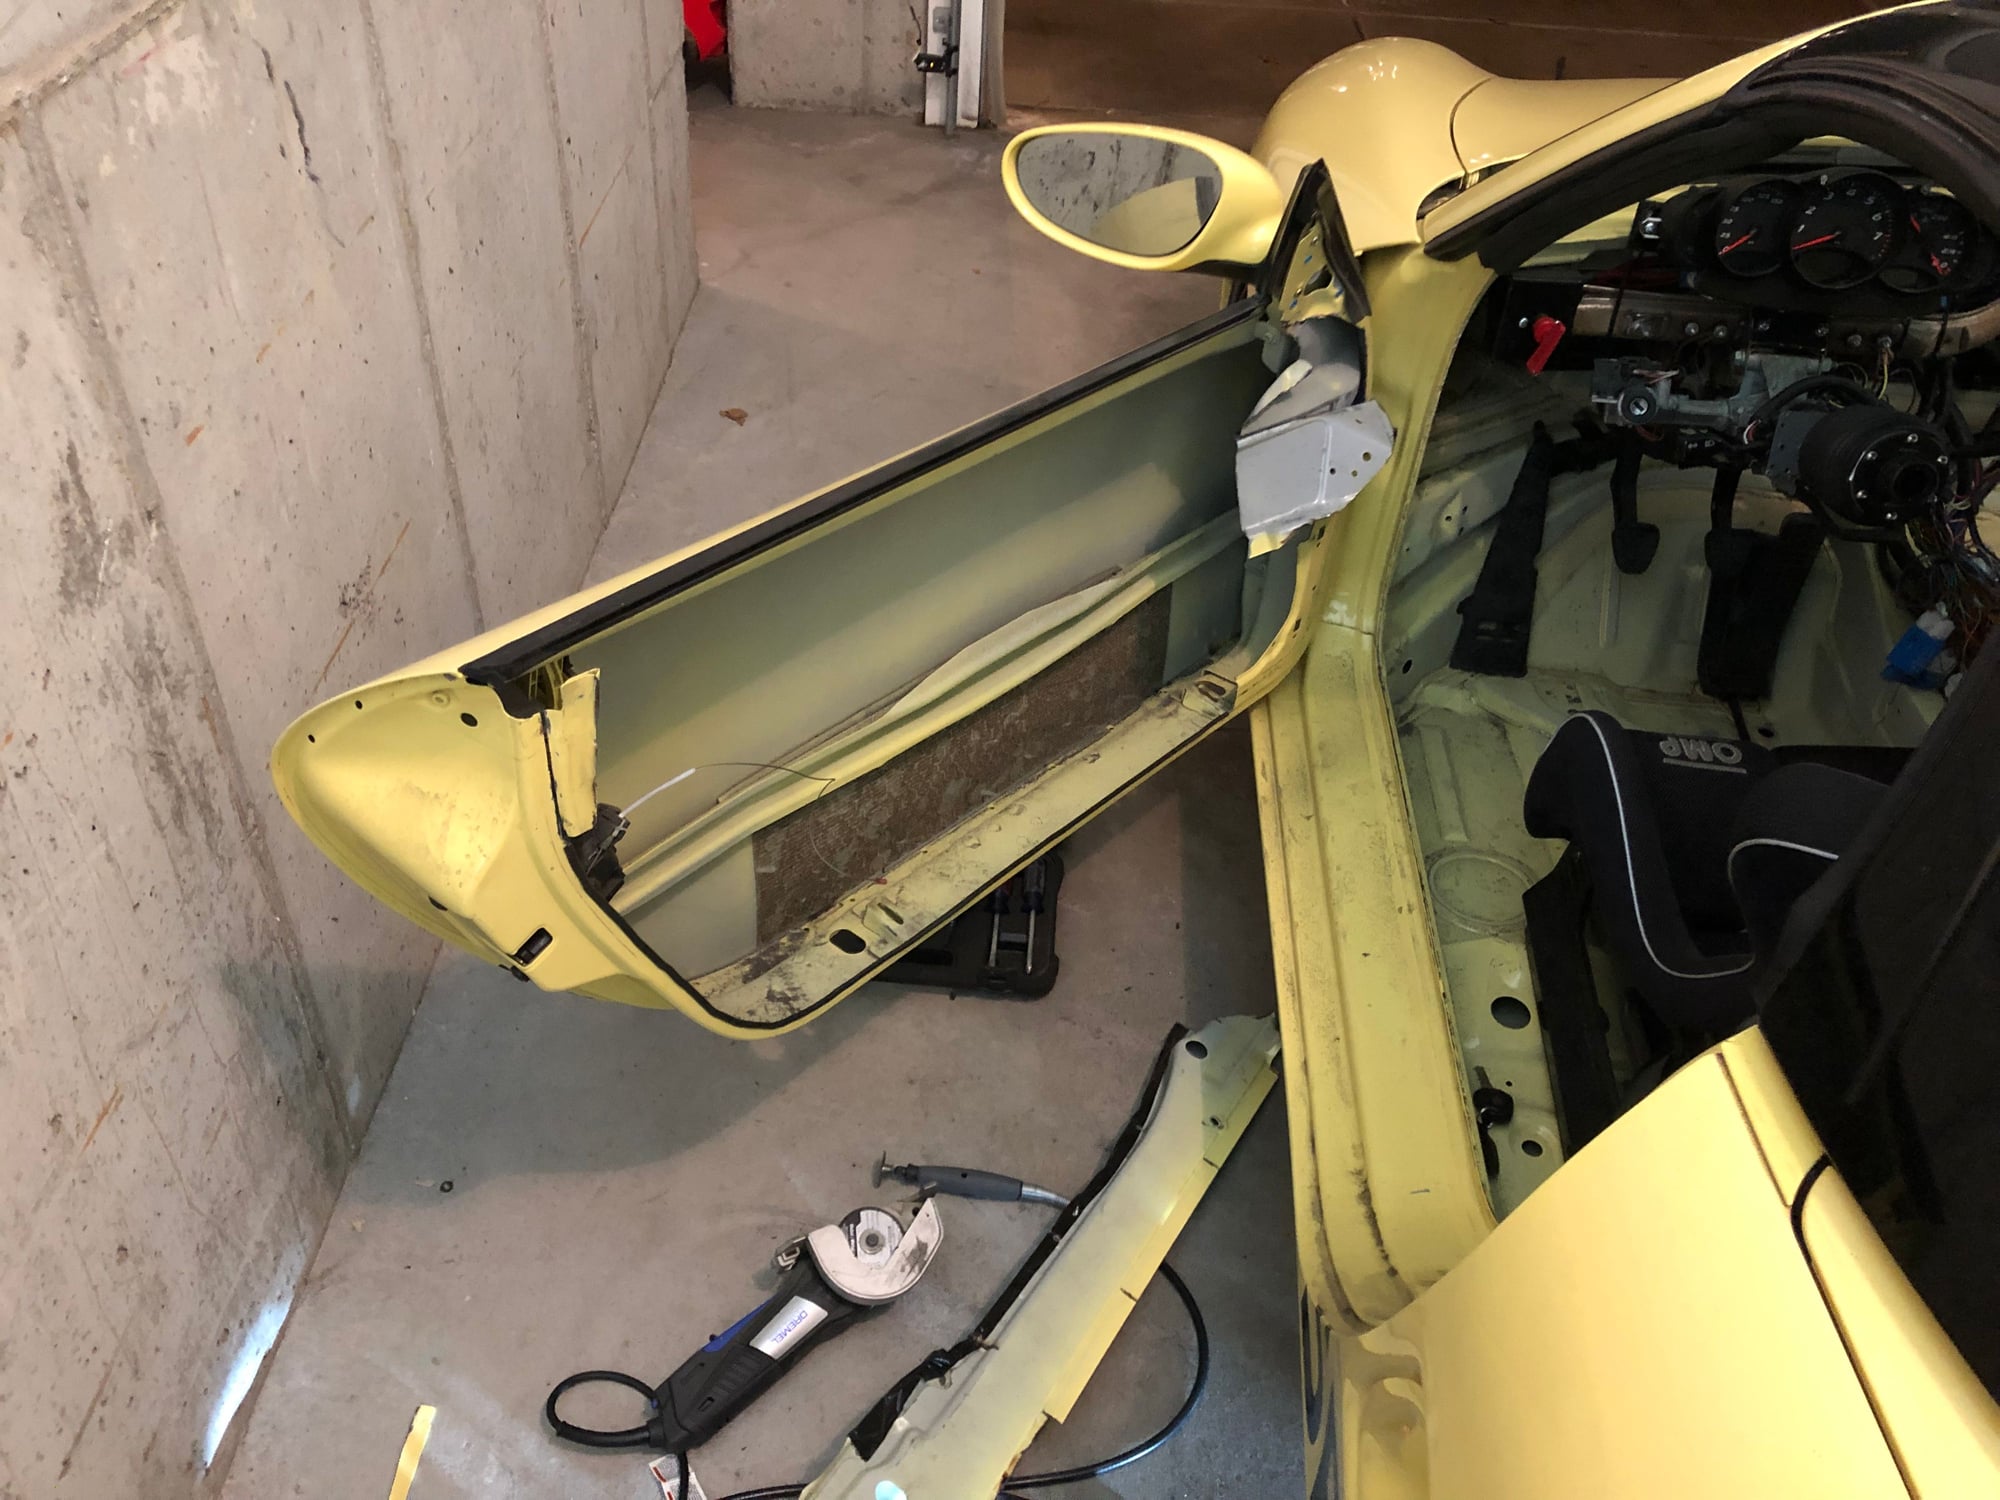
Finally I had a bit of fun making sparks with the cutting wheel and dremel. I very inefficiently removed most of the driver door upper steel sheet metal. I should figure out a good way to break the spot welds. Instead I just made cuts around them, then split the inner and outer door skins once the spot welds weren�t holding it fast. I�ll obviously have to do it again better but it was kind of fun.
I installed the rear tow hook and trimmed the rear bumper for it.
I added a rennline front tow hook and sprayed the two lower factory radiator grilles black. I just masked it with painter�s tape and sprayed them black in place for minimum effort. I�d say for the very low level of total effort on the trim, the front end looks noticeably nicer.
I just received a set of rennline pedal covers and ordered the SPB legal side skirts. I�ll probably spray them black and see if I can just use VHB tape to attach them to the sides of the car. I also ordered a small spot weld removal drill bit set.
I have one but at this point am not sure I�ll install it. I have an oil cooler, tranny, and PS cooler and a lot (~20L) of oil in the car. The temp sensor location may be a culprit but I struggle to get the oil to show much of any heat in a 20 minute session on a cool day. I�d rather save the weight and cooling drag if I can comfortably do so.
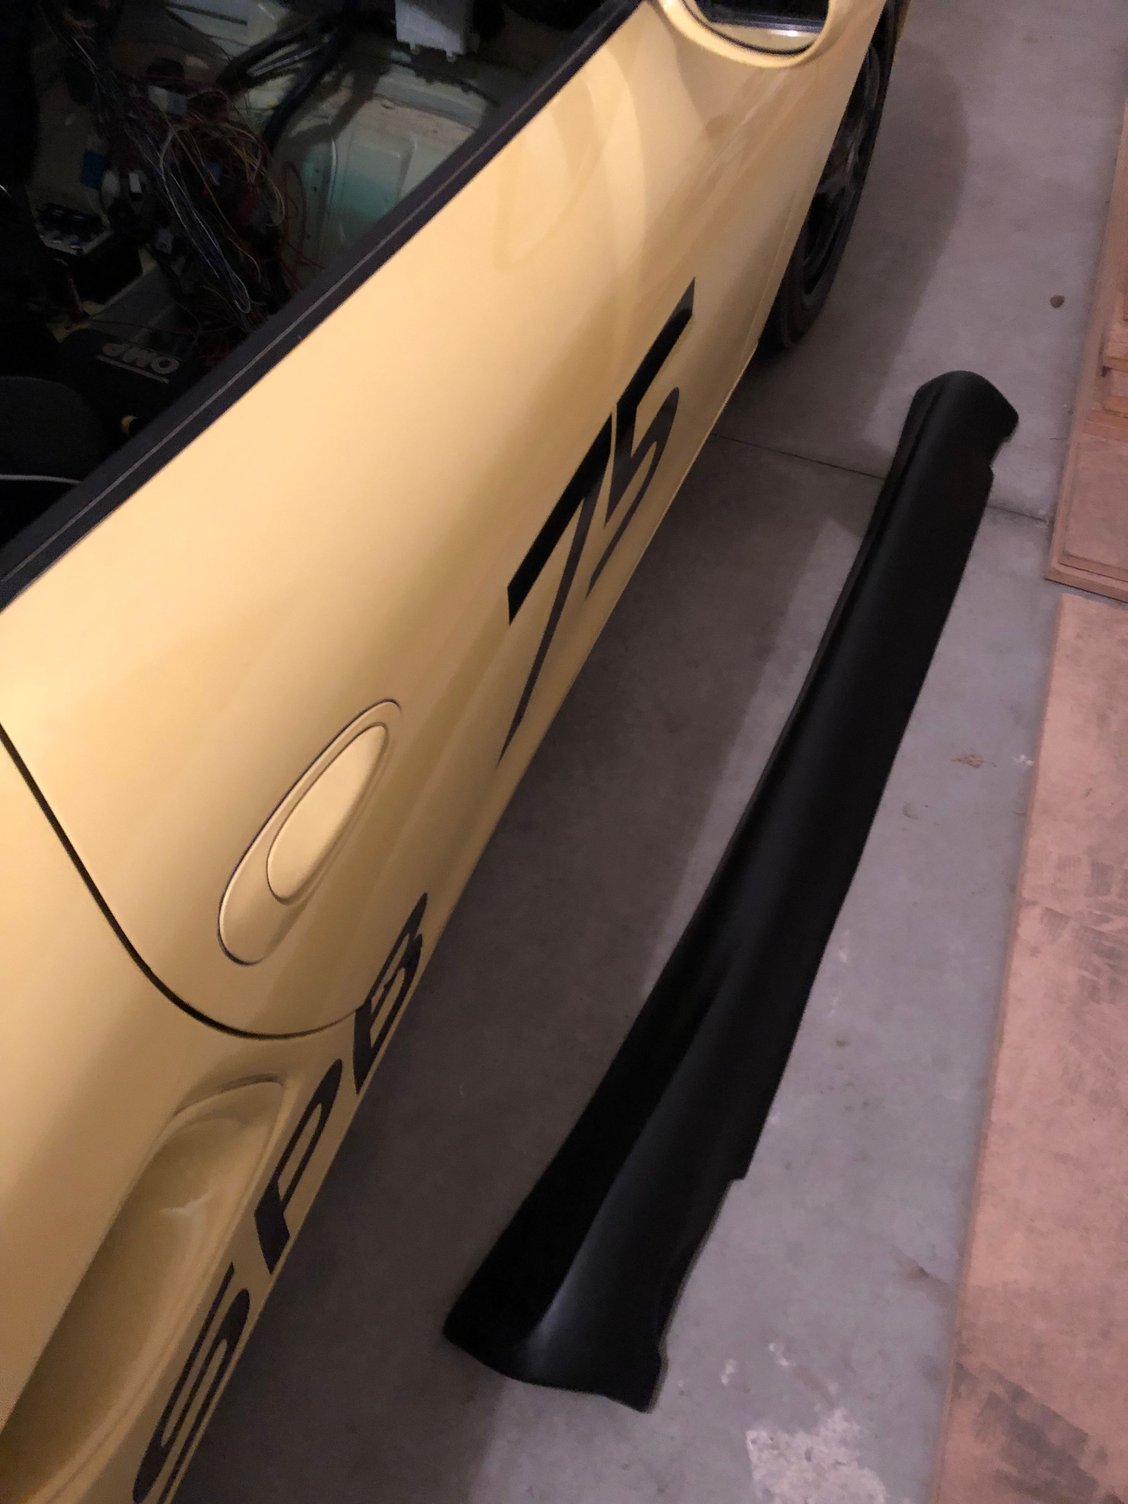
The side skirts came in. I bought some gloss black spray paint and some clear that should be here early next week. I’ll scuff them, spray them black with 2-3 light coats (I’m learning, slowly!), then a spray a light coat or two of clear. I’ll bolt the ends and then the bottoms with self tapping screws and then use the double sided VHB tape to fix the upper longitudinal edge. It would need minor trimming to line up perfectly but I don’t think I’ll bother.
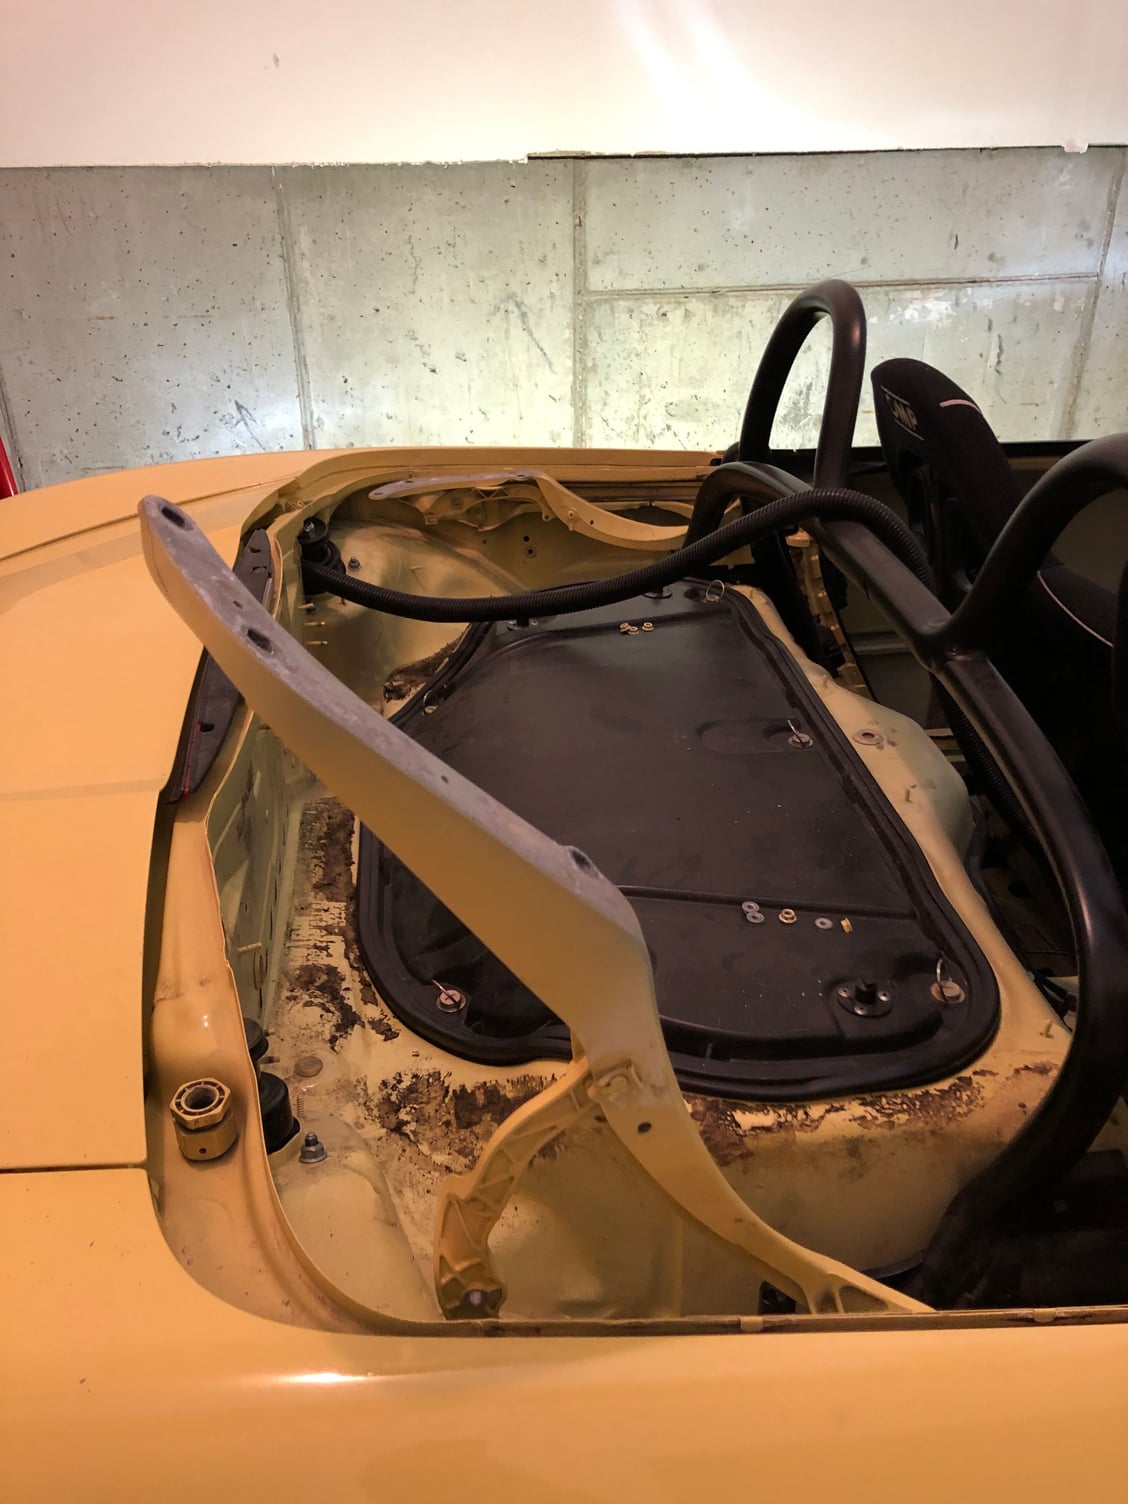
I removed the clamshell mechanism. Because I have an OEM hardtop it will be pinned down and the two pin and socket joint pieces will keep it from flying away. I’ll probably also use some of the old stud and bolt pairs to connect a bracket near the front at each side but not today. I don’t think these weighed a lot but weight is weight and it didn’t take long to remove.
Initially the front dips down about 1/2”.
I grabbed two plastic grommet-like covers from earlier (I hold on to most small hardware) and used them as spacers.
With those simply dropped into place it sits about right.
After that I quickly trimmed off a bunch of naked interior studs from earlier removal steps using a dremel. They weigh next to nothing but it takes hardly any time to clean up the car a bit and make it less likely I’ll catch a finger or tool on one later on.
Oh, one other thing. I'm seeing (1) oil seep from the oil cooler radiator attachment where the steel mesh meets the connector and (2) power steering fluid is doing a bit more than seeping down from the lines (I didn't trace it up) and dropping off from the bottom of the PS cooler.
Since the shop did the installation work with parts that they sourced I'll give them a call and see if they're willing to just resolve it for me. I believe they got the oil, PS, and transmission cooler kits from TuneRS, and earlier while the shop had the car they struggled to stop an oil leak at the new remote filter joint and worked with TuneRS to get one of the parts replaced. The shop lead wasn't real happy about how it was going but on my end as a customer of their shop they took good care of me.
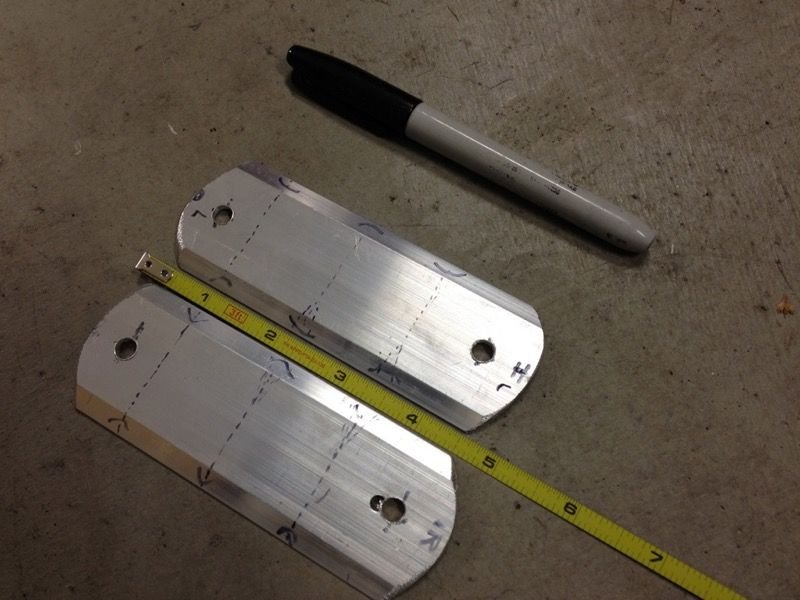
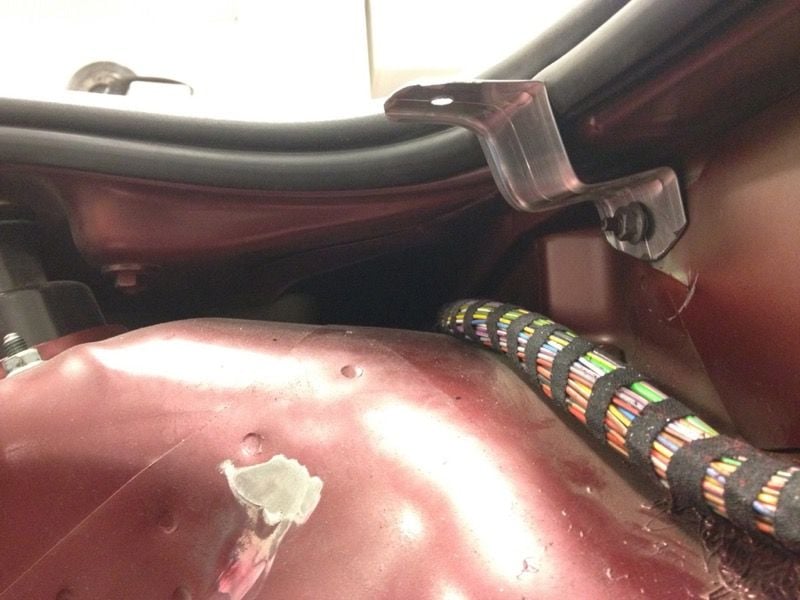
I also removed the clamshell slider/mount/arm things. To secure the clamshell I cut and bent two little pieces of aluminum (one each side) to form brackets attaching to the existing studs that stick out of the clamshell and the car; existing 10mm nuts (2 per side) complete the attachement. For an aftermarket fiberglas top, I don't think the top on its own would hold the clamshell in place; maybe the factory top would but I'm not so sure.
In retrospect, for me I think it would be better to just have just kept the stock clamshell hardware! It really does weigh almost nothing, and doesn't take up any needed space. Plus, it allows the clamshell to be easily swung up and mostly out of the way when accessing the engine. Undoing the clamshell from the brackets I fabbed (or rather, re-attaching it) is a small hassle each time. Of course, it does allow for totally removing the clamshell, which I guess in some cases could make access to the engine bay a little easier.
Ah, here are a couple of old photos of my hokey but functional diy fabbed clamshell mounts. Seeing this I remember that I actually used a strip of aluminum that was meant for a door sill or to attach weatherstripping to a door sill. (i.e. from the Home Depot weatherstripping aisle )
Don't forget rule 6.E. wherein it states "The rear metal bumper may be removed, and a steel reinforcement added in its place".
I see quite a few SPBs at the track with no rear bumper, which I believe is technically against the rules. I have a piece of angle iron for my bumper, much less weight, but still some protection from a hit.
Yeah, you�re right, I haven�t really got that sorted yet. I sent you a PM as I�m also not quite sure what is required/permitted by the rules. It seems the way I�d read it is not how other racers interpret it.
That said, I don�t plan to stay this way when I run wheel to wheel. I will want to add something to protect my rear cooling radiators and transmission.
I checked with Walt and stand corrected, you do not have to replace the stock bumper with steel, that is optional. Walt may rewrite that paragraph to make it clearer to us newbies who are building their own cars.
I started stripping some of the sealant with a wire brush drill attachment. I haven't taken a photo, what a messy job. There is a lot of sealant though. Might be worth it but it reminds me of the wiring removal, not a lot of fun.
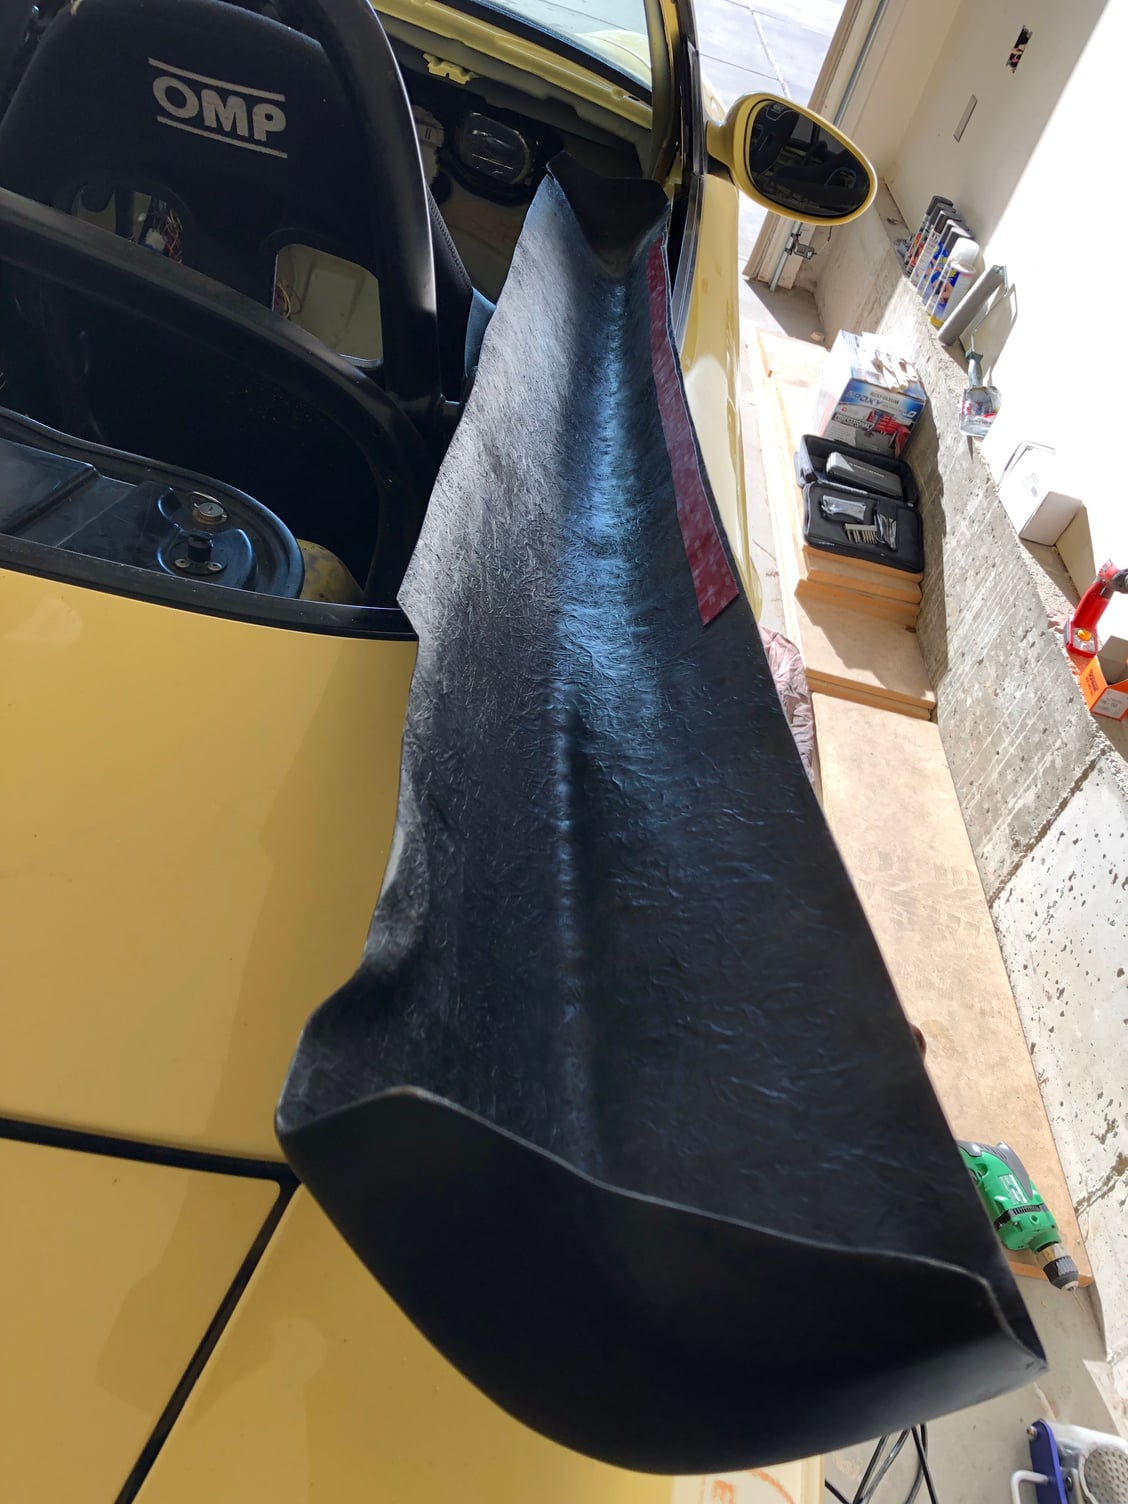
I installed the side skirts. I cleaned the area with 99% alcohol and then used VHB tape. Initially I thought it would be helpful but I wouldn't bother if I were to do it again. I used self tapping screws and ended up just relying on those to keep it attached. I punched holes and used 3 screws in the front, one in the middle, and two in the rear on each side. It feels quite secure. Broke two small drill bits - that VHB tape got tangled and I thought I was making a hole.
Painting these was rather pointless as it never got a gloss to the black and it already had a black gel coat. My lack of skills are probably the issue but that’s ok.
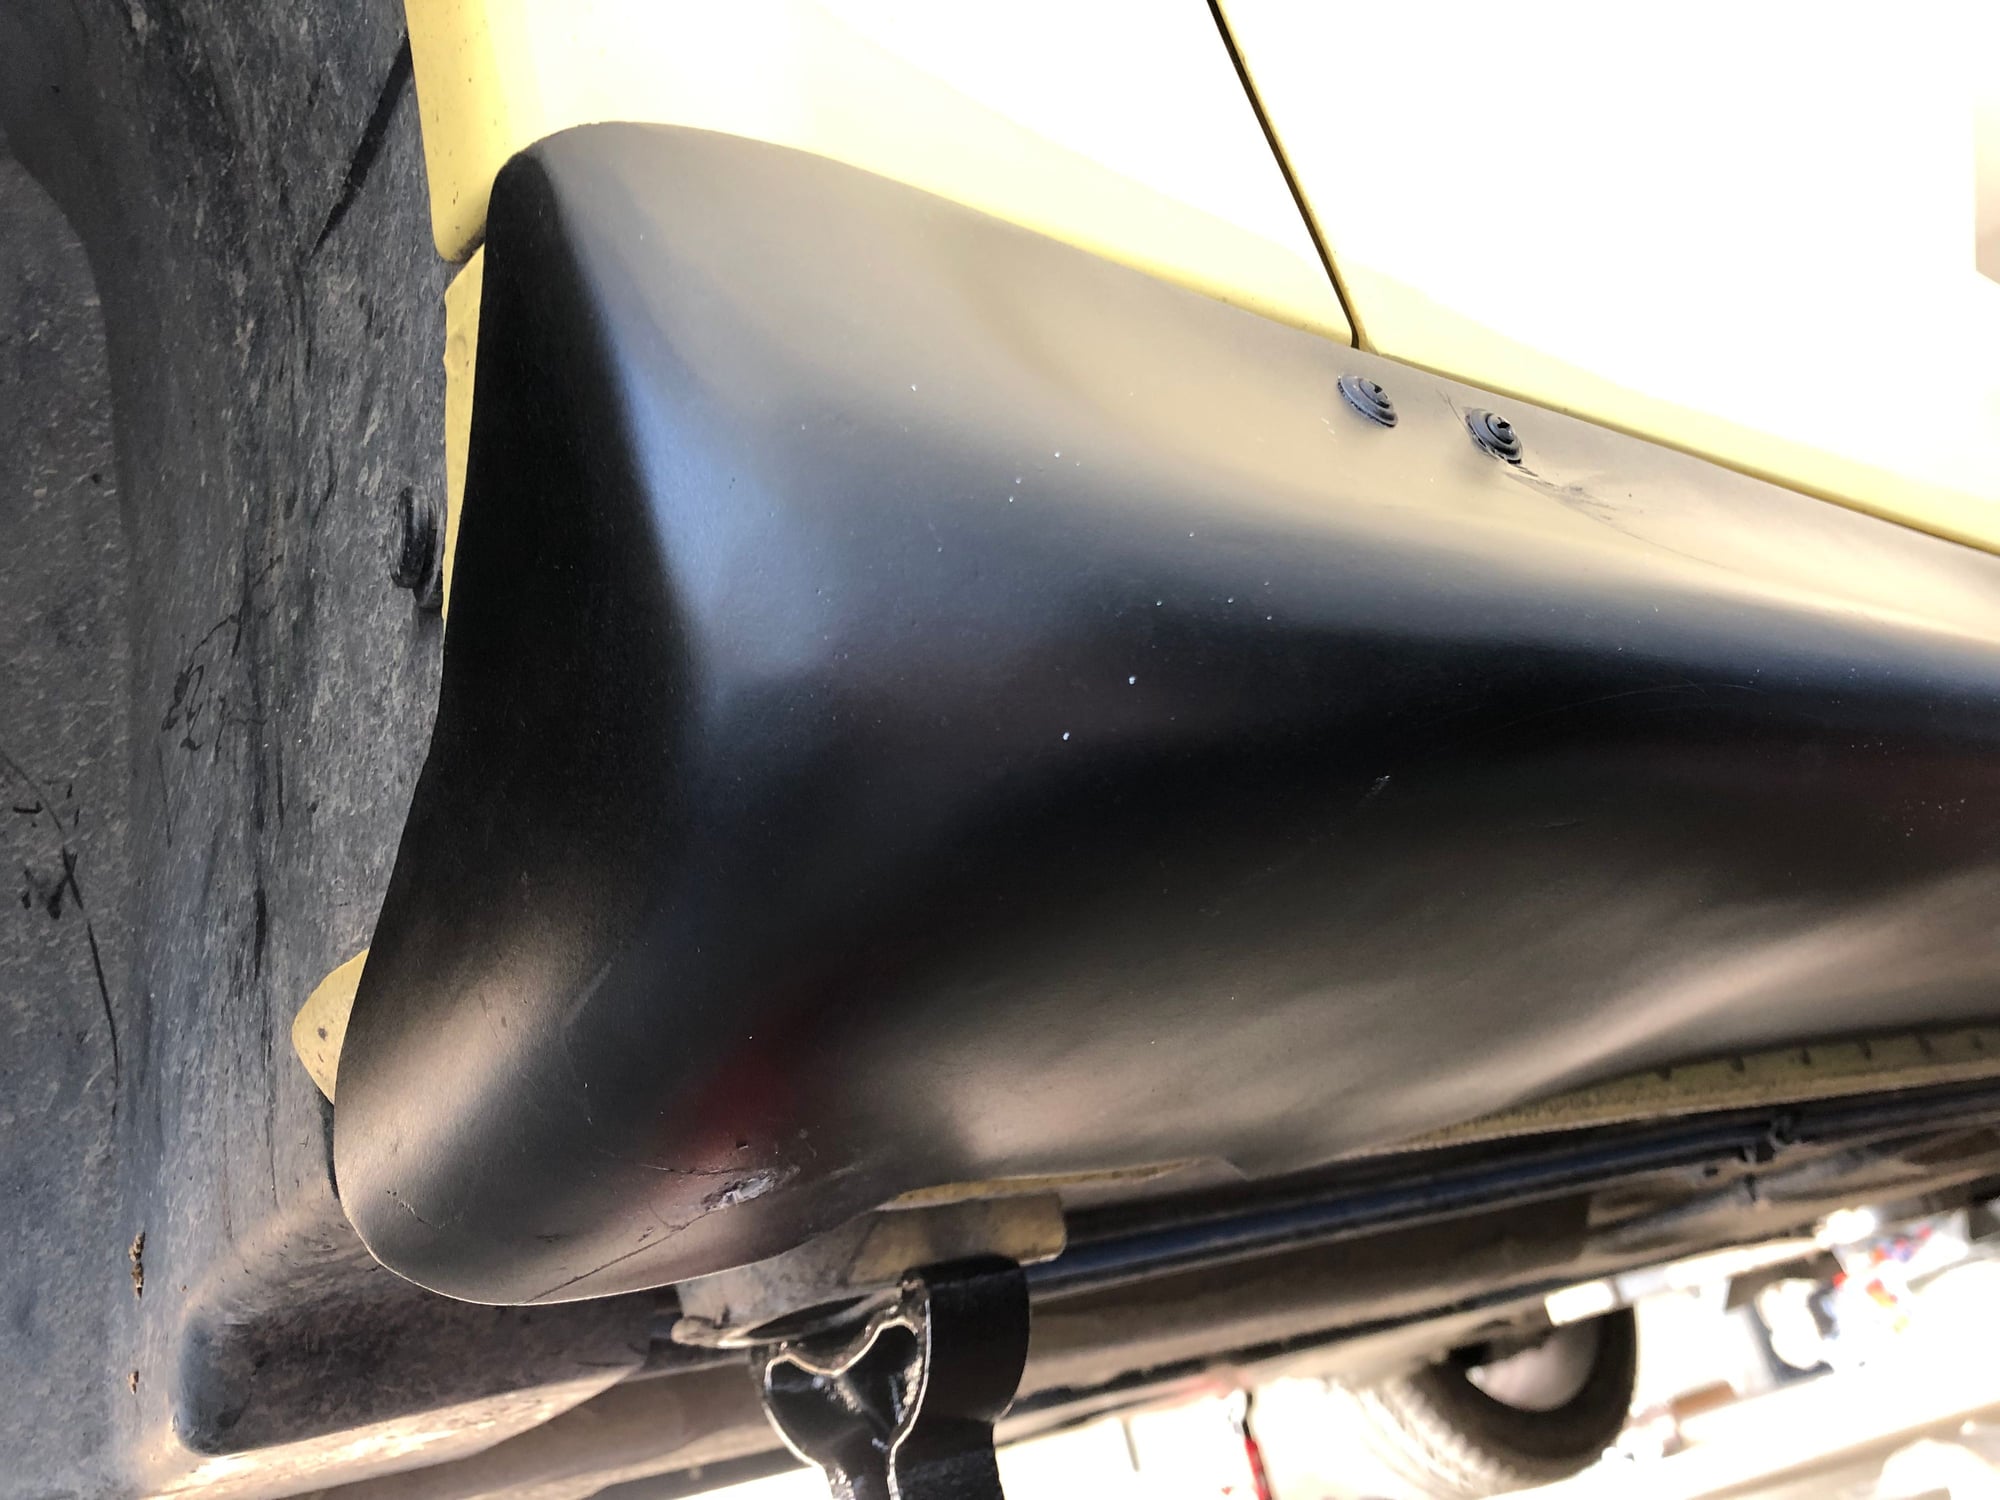
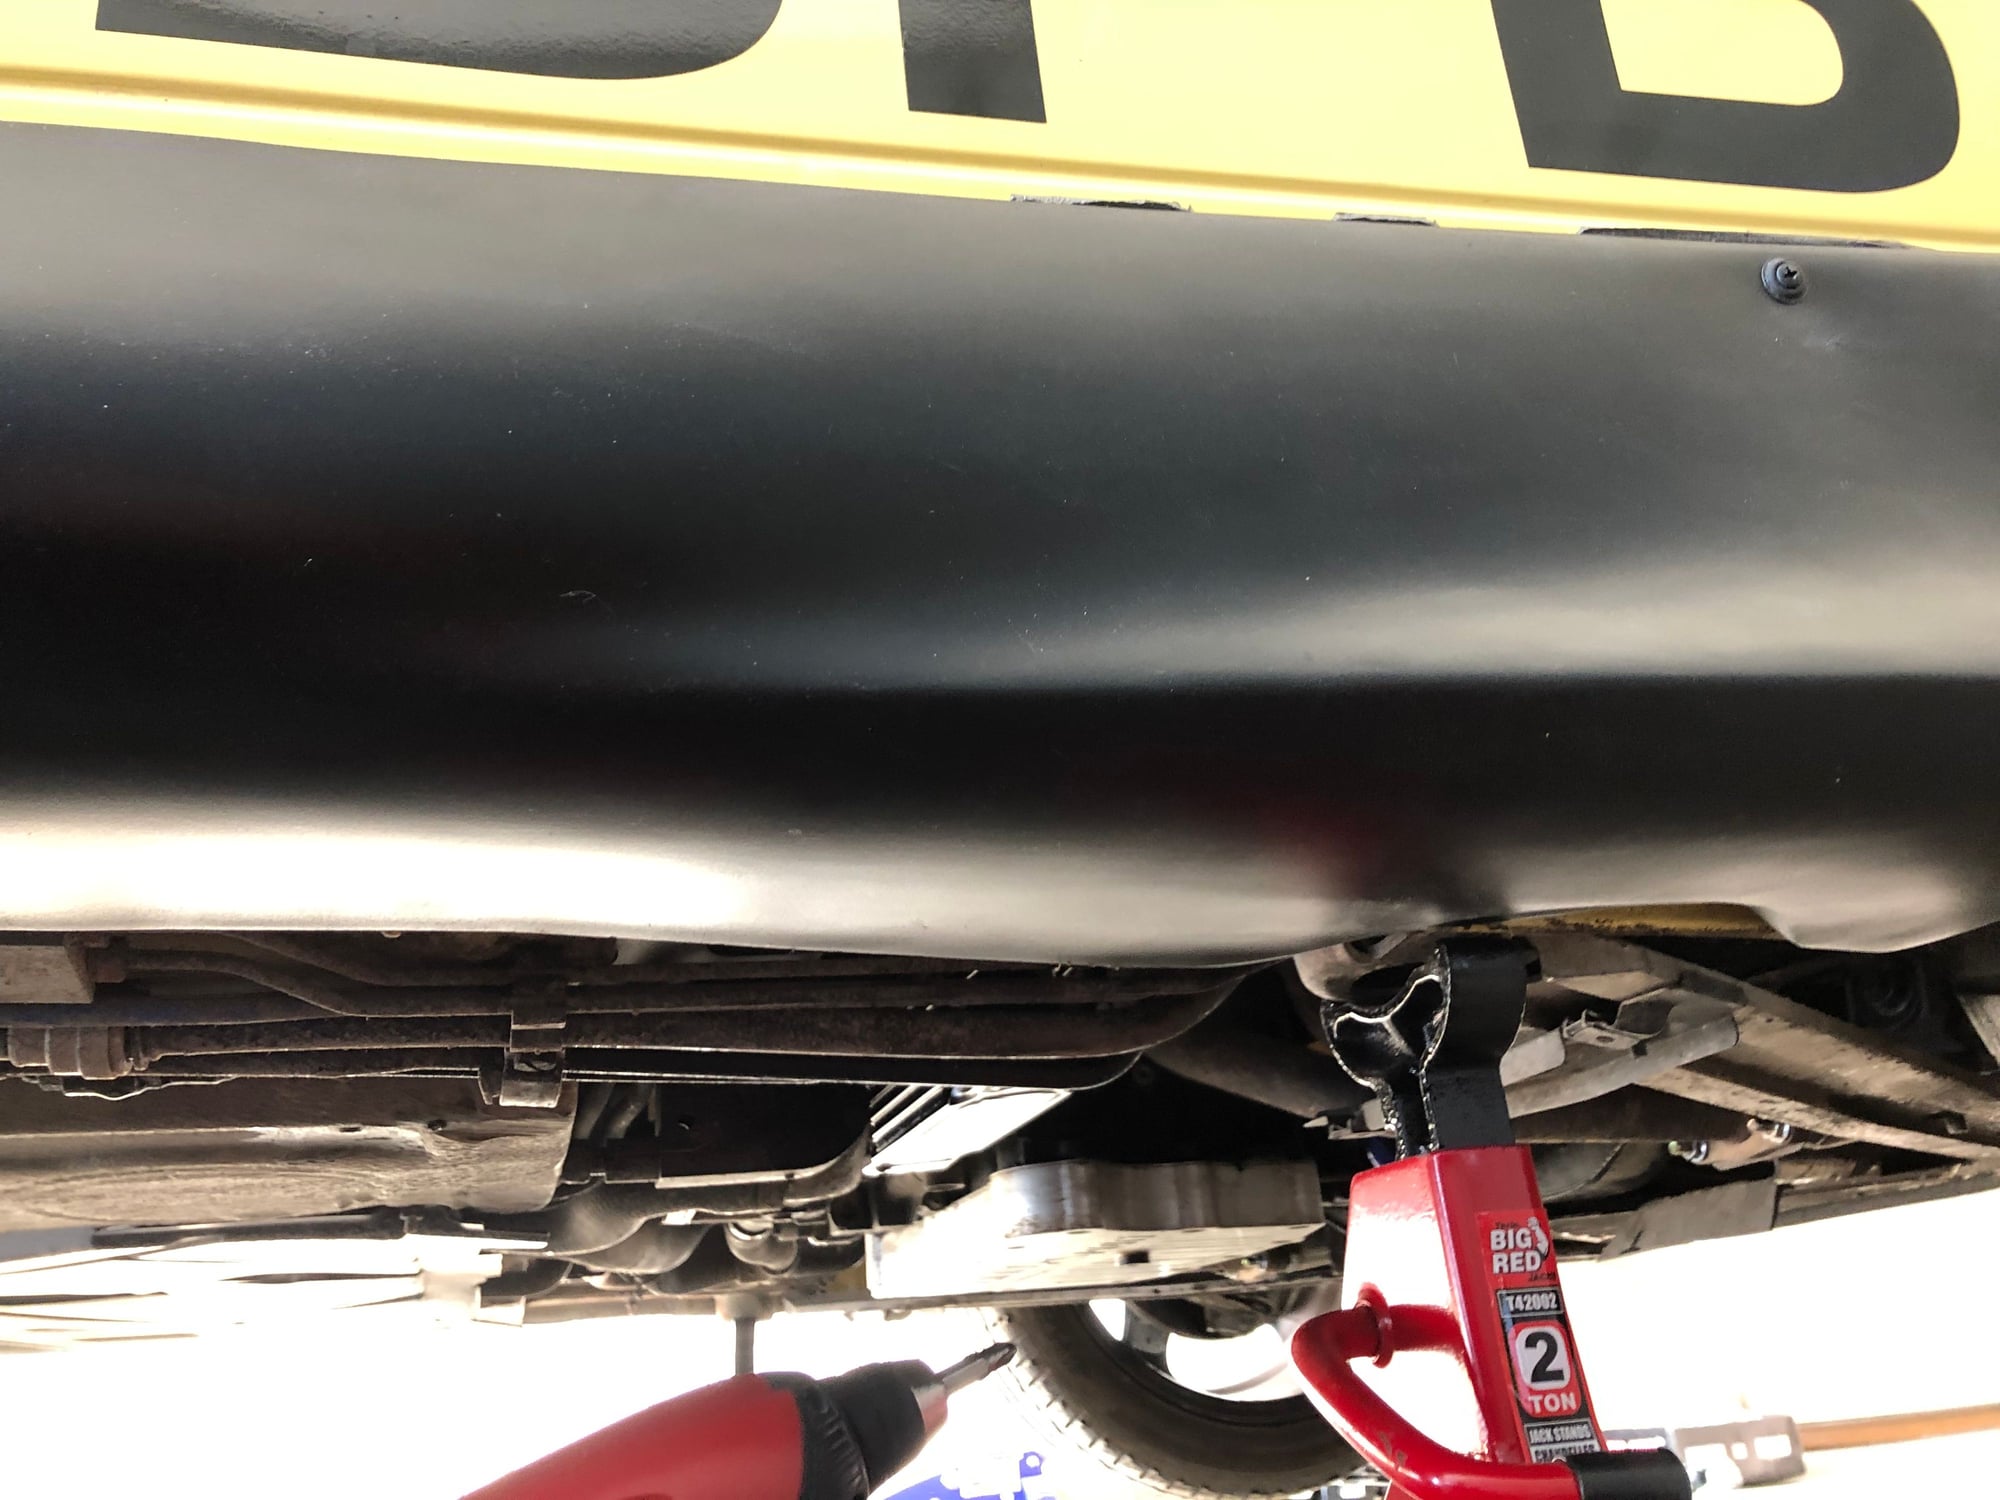
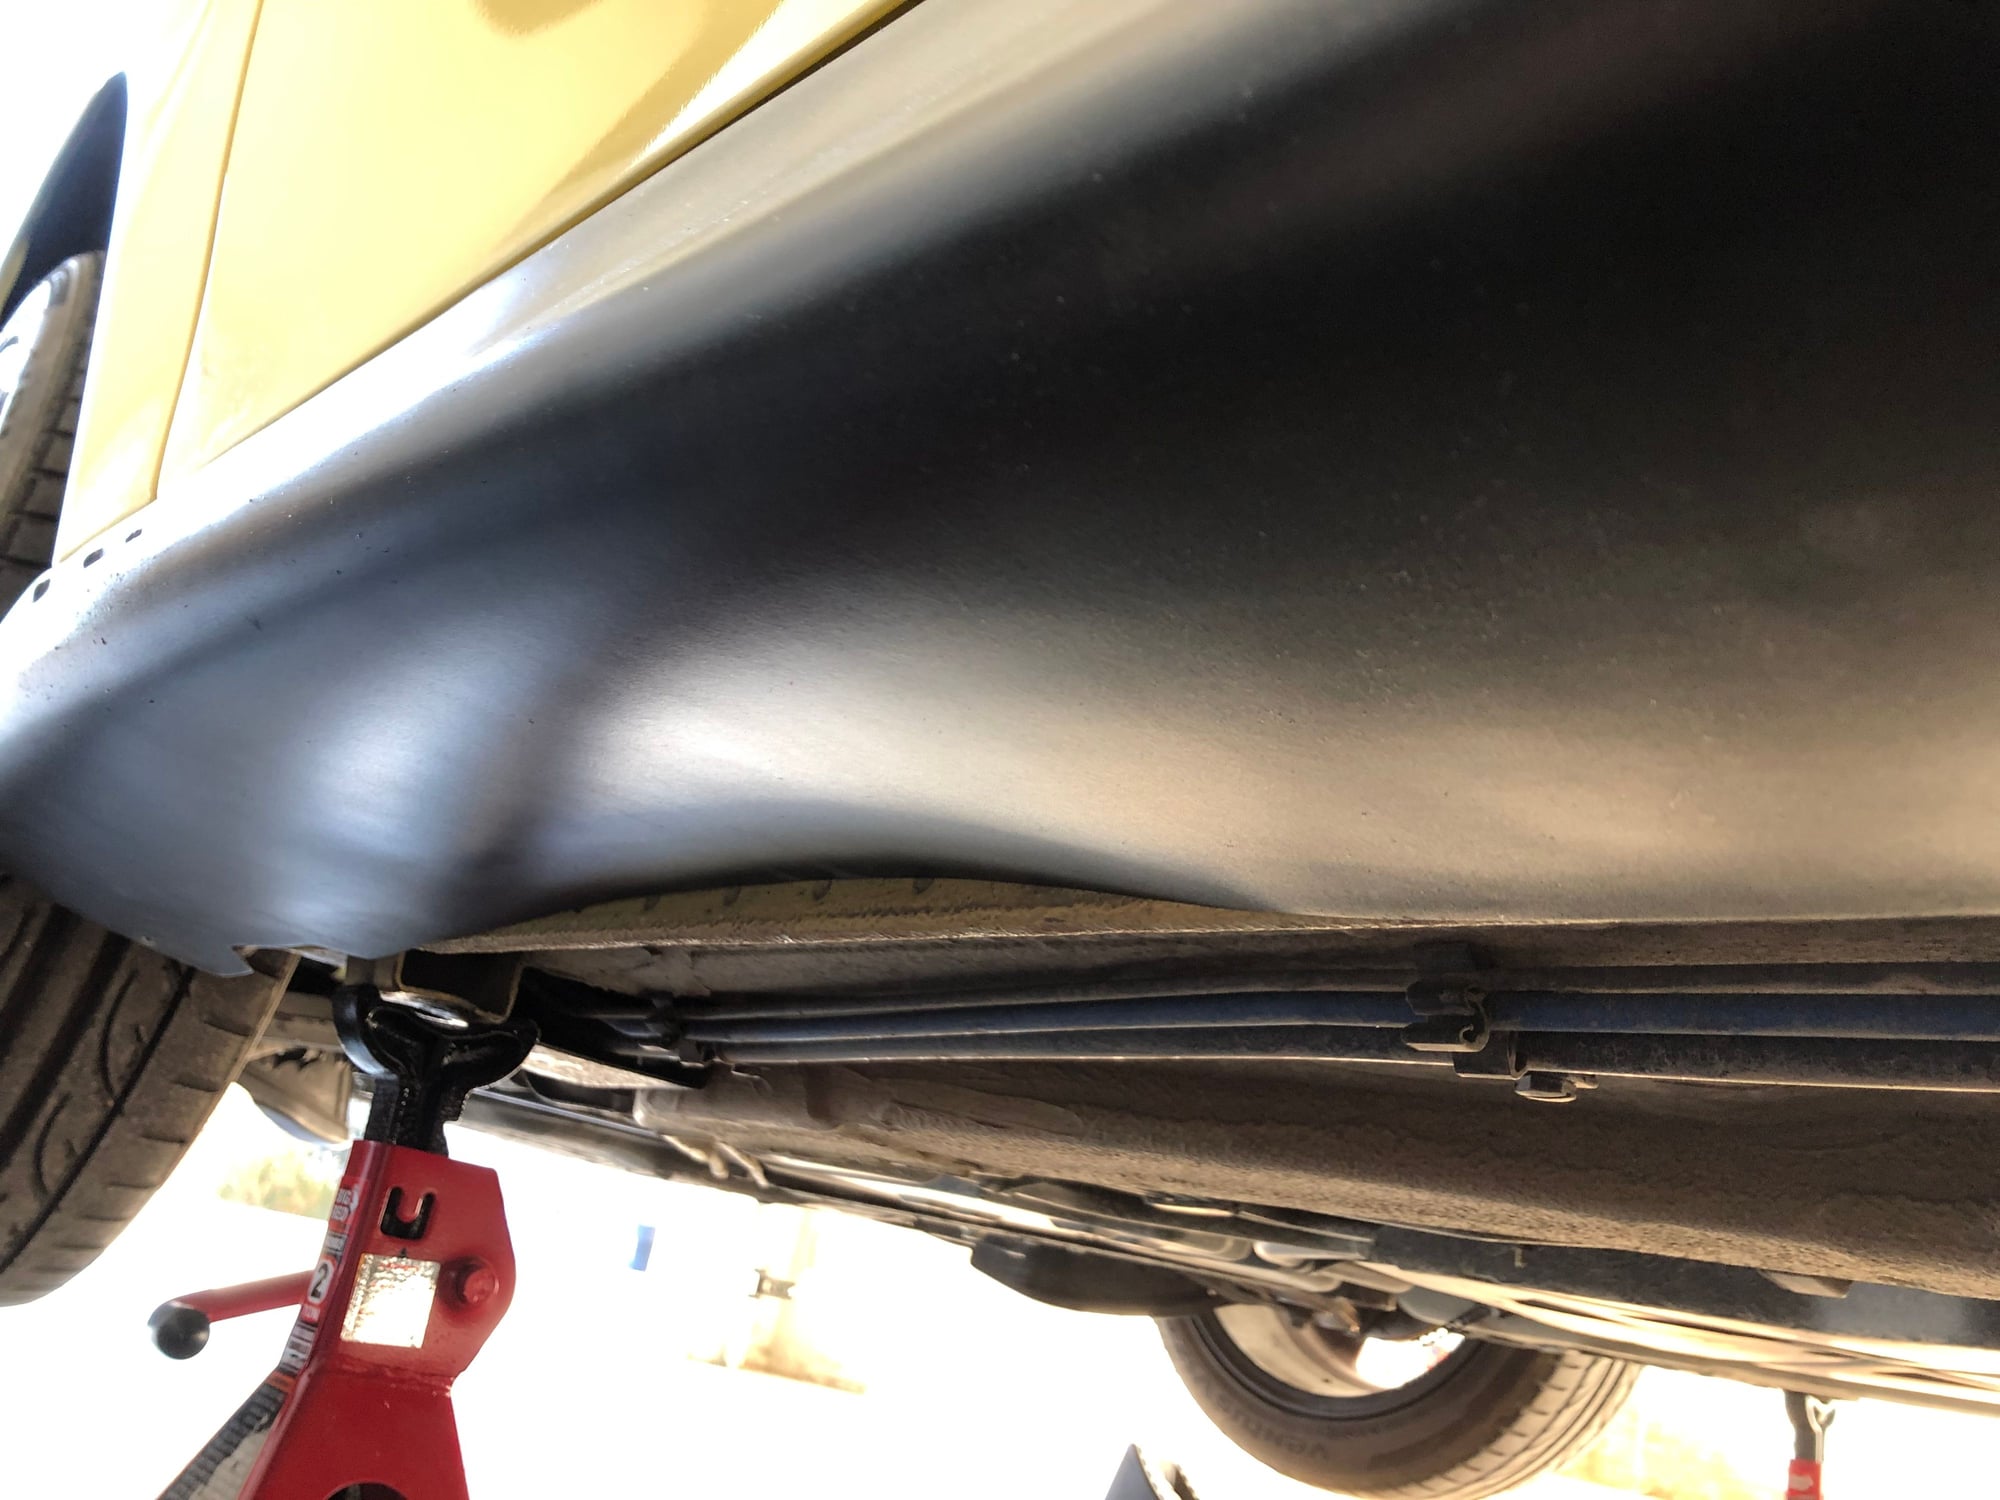
Some shots from below so you can see how the bottom fitment works (or doesn't work perhaps). Also you'll notice I have two screws there because I managed to mangle the fiberglass for the aft one. Initially I tried to screw in the bottom (see the hole near the jack stand) but it stressed the skirt like crazy so I ended up removing it. I added another screw in the front after taking the photo. I was originally expecting to put a screw in each wheel well but I didn't see a good way to do that and figured one more screw in the side would do more good than an end screw so why bother. They feel quite secure.
Here's a look at the work in progress a bit farther back. you can see some of the VHB tape was stretched when I tightened the screws. Ah well. I have a few of the underbody panels off right now as I was trying to figure out what was going on with the power steering fluid leak. I'll leave them off when I take it to the shop, one less thing for them to do.
Less VHB tape the second time around.
I ended up not bolting the bottom as I like how it gives more of a flat floor when mounted the way it is. Instead I pulled the side skirt to stand just proud of that frame seam and tightened down the screws on the side of the car. I’m fairly sure the fiberglass would crack if I forced it to hold that tight curve by bolting both the bottom and the sides. It would almost need a spacer on either the bottom or the side to get it to all work. You can see what I mean below. I pulled all of it down and it sits just on the floor seam along the full length. The jack points are separate and not affected.
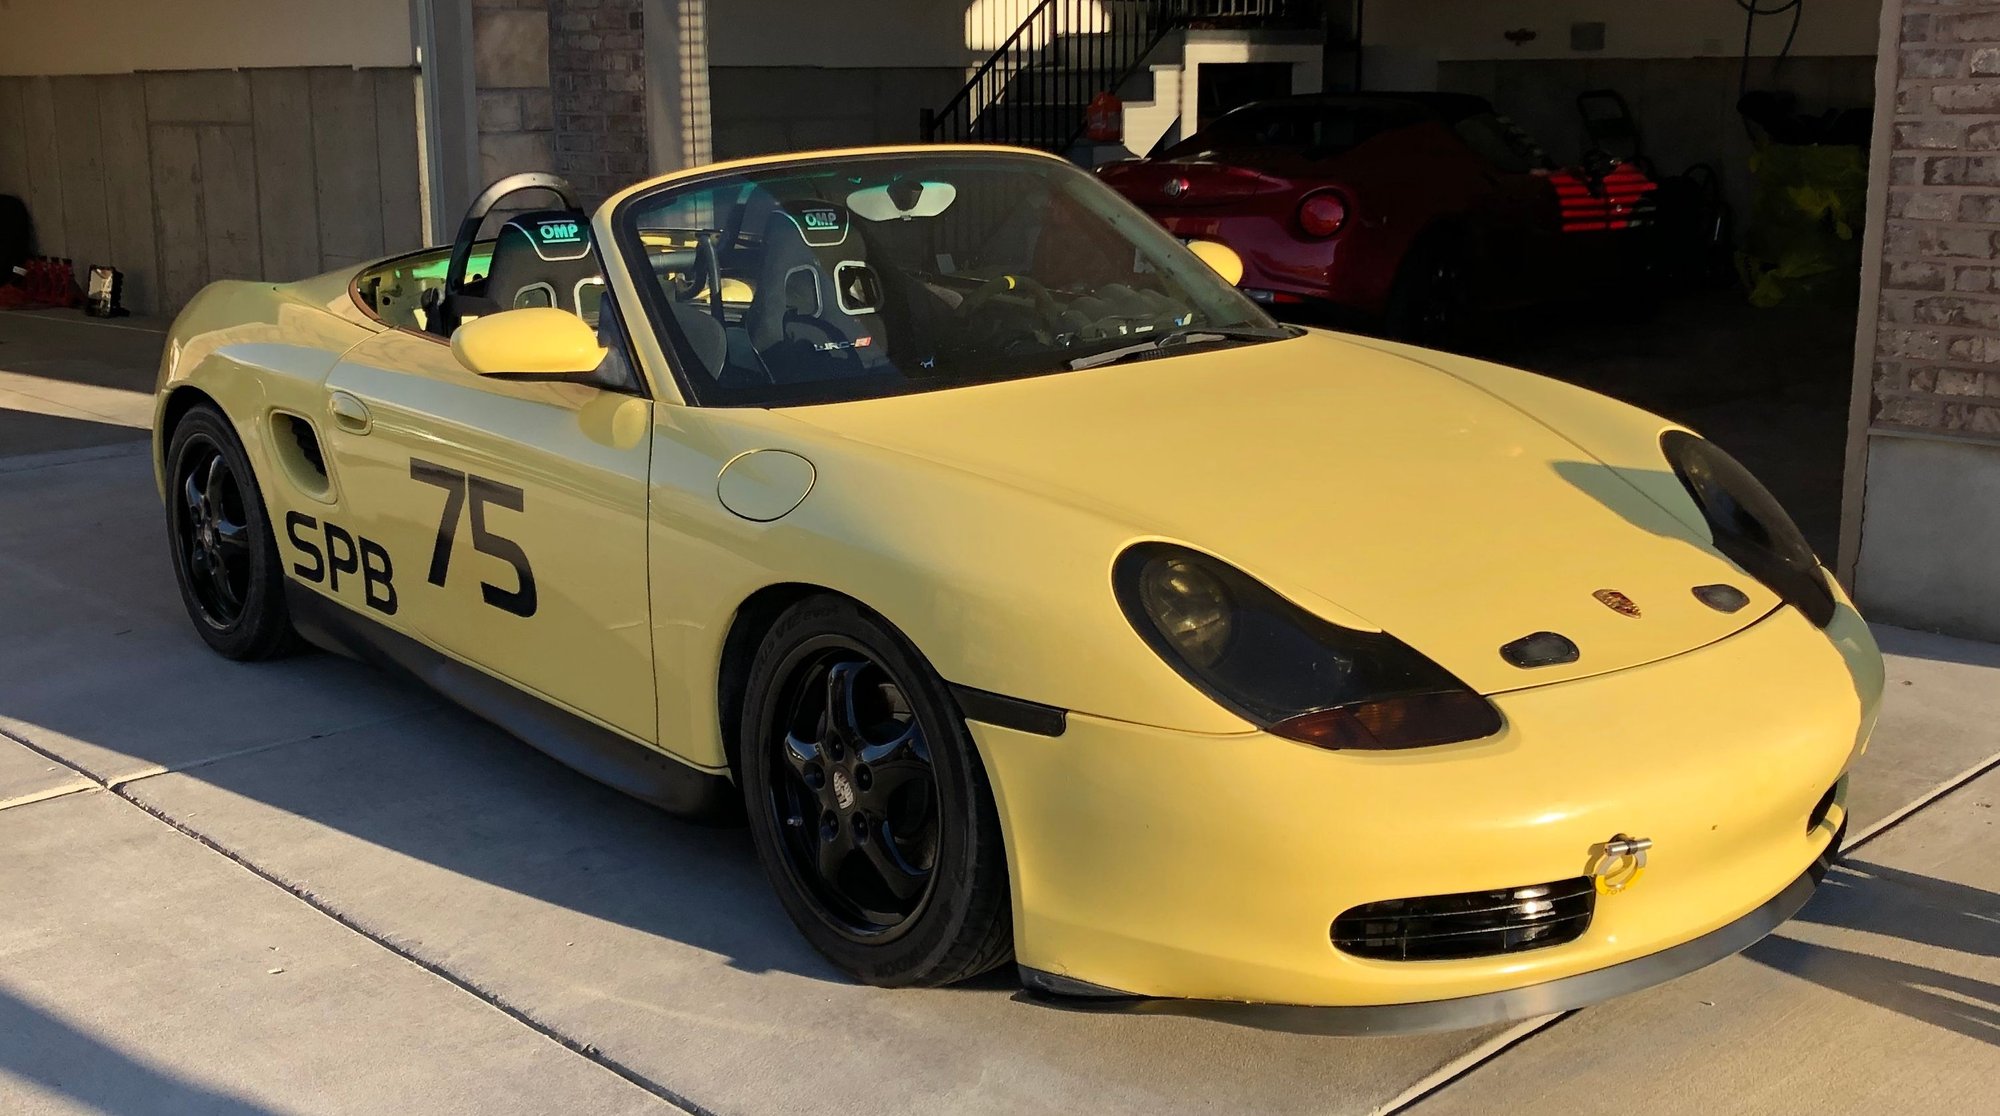
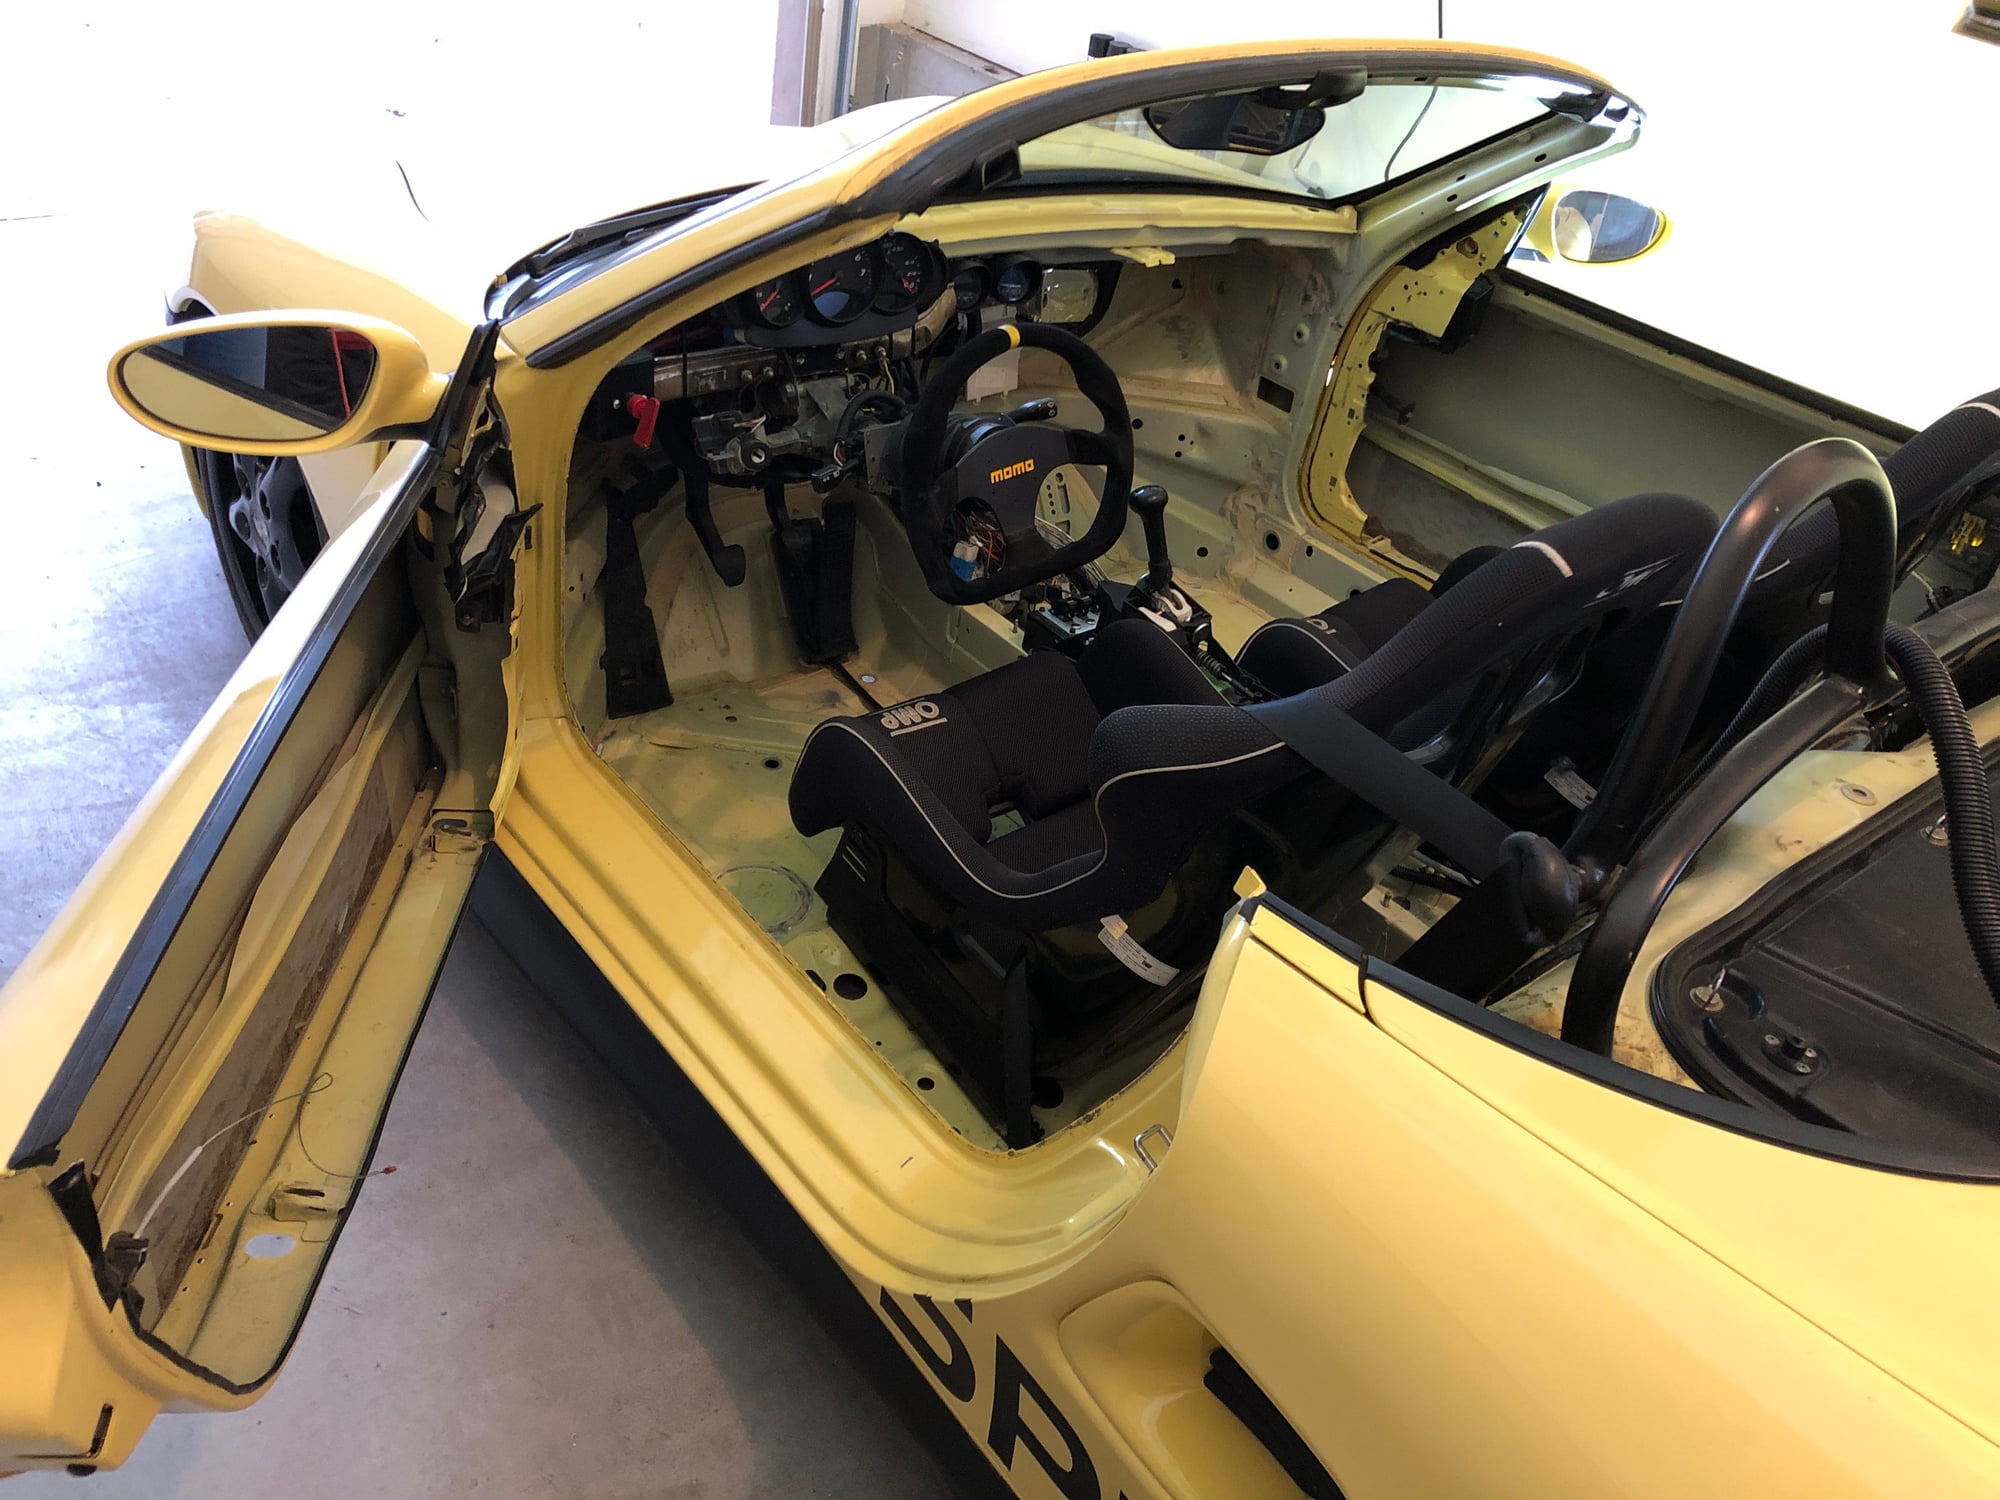
Here's a quick look at it from a distance with the top still off. I may pull the passenger seat out for a while too just to make it easy to work in the cabin.
For anyone wondering, these side skirts are the Duraflex set (105412) on Amazon. The polish ones that are typically offered on eBay are cheaper. They weren't expensive though, they came quick enough, and I felt like I got about the quality level that I paid for. Not great fitment but not bad, and it's basically just a large floppy cheap fiberglass aero part. Great for a race car application.
Trygve, I have some sheet metal titanium (unalloyed) that I may do something like that with. Making the bent sheet metal is really easy but I want to try to use a quarter turn or other quick release type attachment to connect it. Haven�t thought too hard yet but I�m sure there�s a really slick solution out there.
I picked up a reciprocating saw and made short work of the upper inner door beam. I then deburred the edges and used that McMaster neoprene edge guard. I may further gut the doors but this looks better than it did last week.
 01-15-2019, 12:16 AM


 )
)