When you click on links to various merchants on this site and make a purchase, this can result in this site earning a commission. Affiliate programs and affiliations include, but are not limited to, the eBay Partner Network.
Looks like Sunset has better prices on the shift linkage parts. My dealer will match Sunset and can usually get parts from ATL in 1 day, YMMV.
Good to know, I�ll have to start checking more sites for parts when the prices are a bit higher.
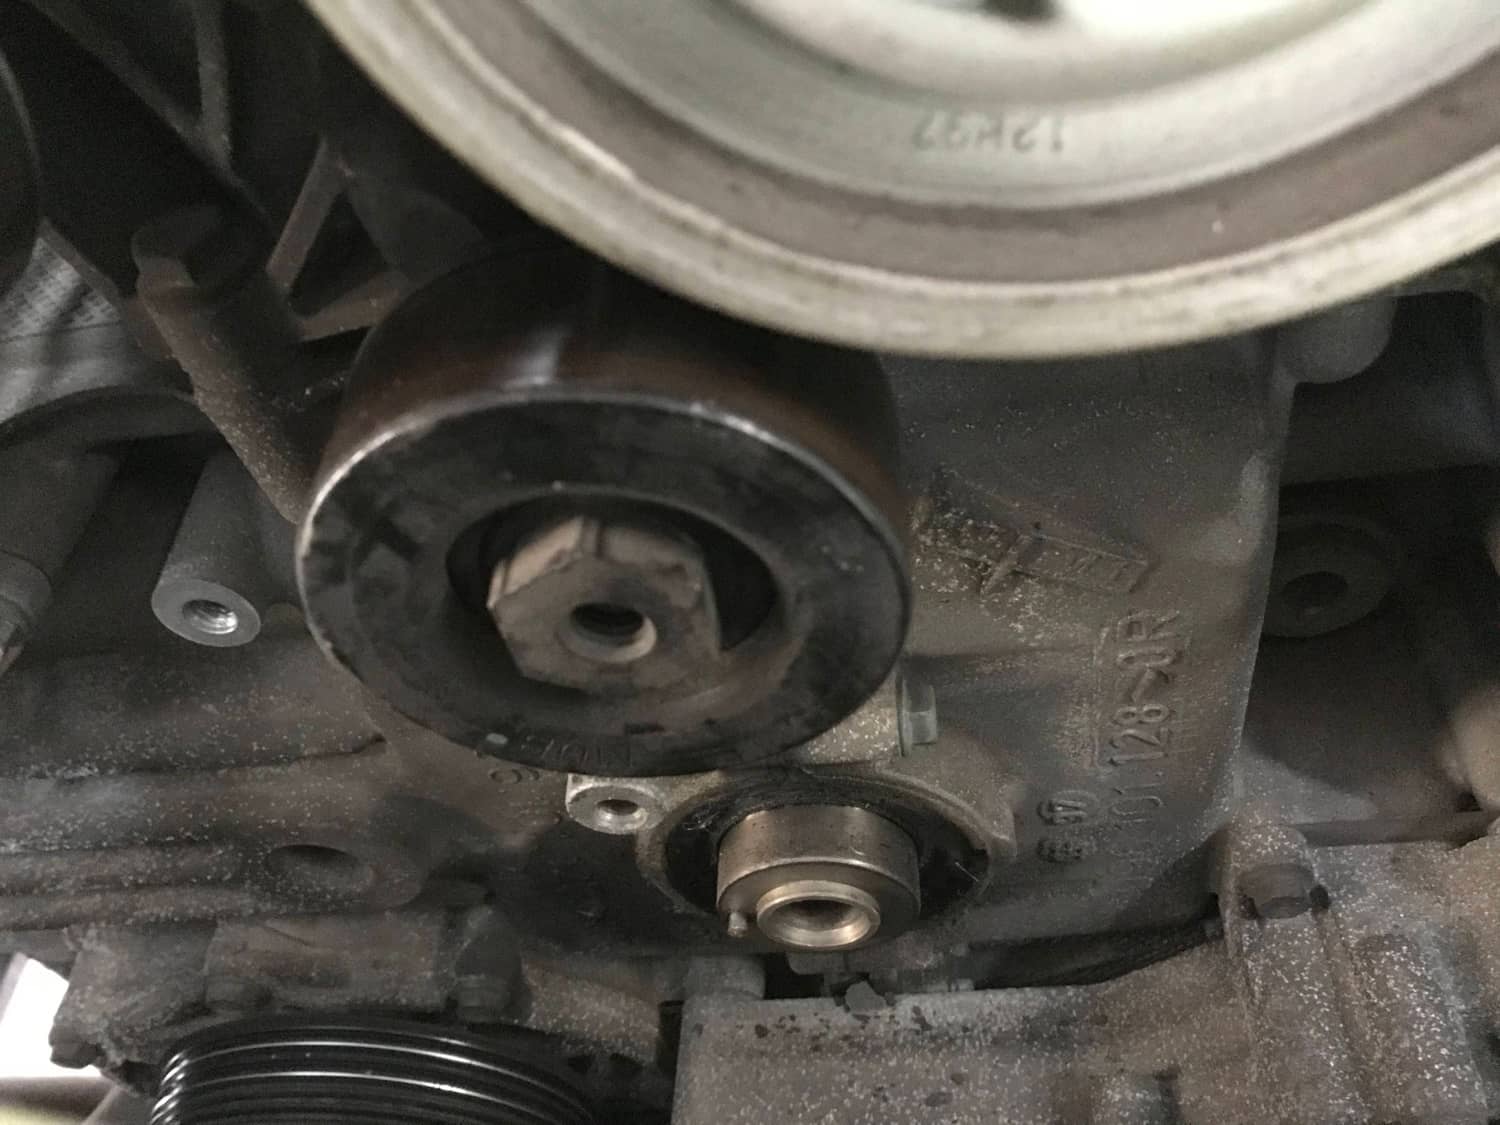
In this case though I was very happy to find I was completely wrong. I had checked the parts in twilight after reading about degradation so I saw what I was trying to see. I got under there to look again and snapped a photo - the �crack� is the intended shape of the bushing. It�s a little worn but seems like it�s going to be perfectly serviceable. Glad to scratch one more thing off my list!
After looking in there again I left the little metal pan between the exhaust system and transmission off the car. I haven�t seen that part on any SPB race car photos so I think most consider it a part of the exhaust. I wonder if the aft heat shields just ahead of the bumper are also considered part of the exhaust and can therefore be removed. I could see that either way and just want to do what most do.
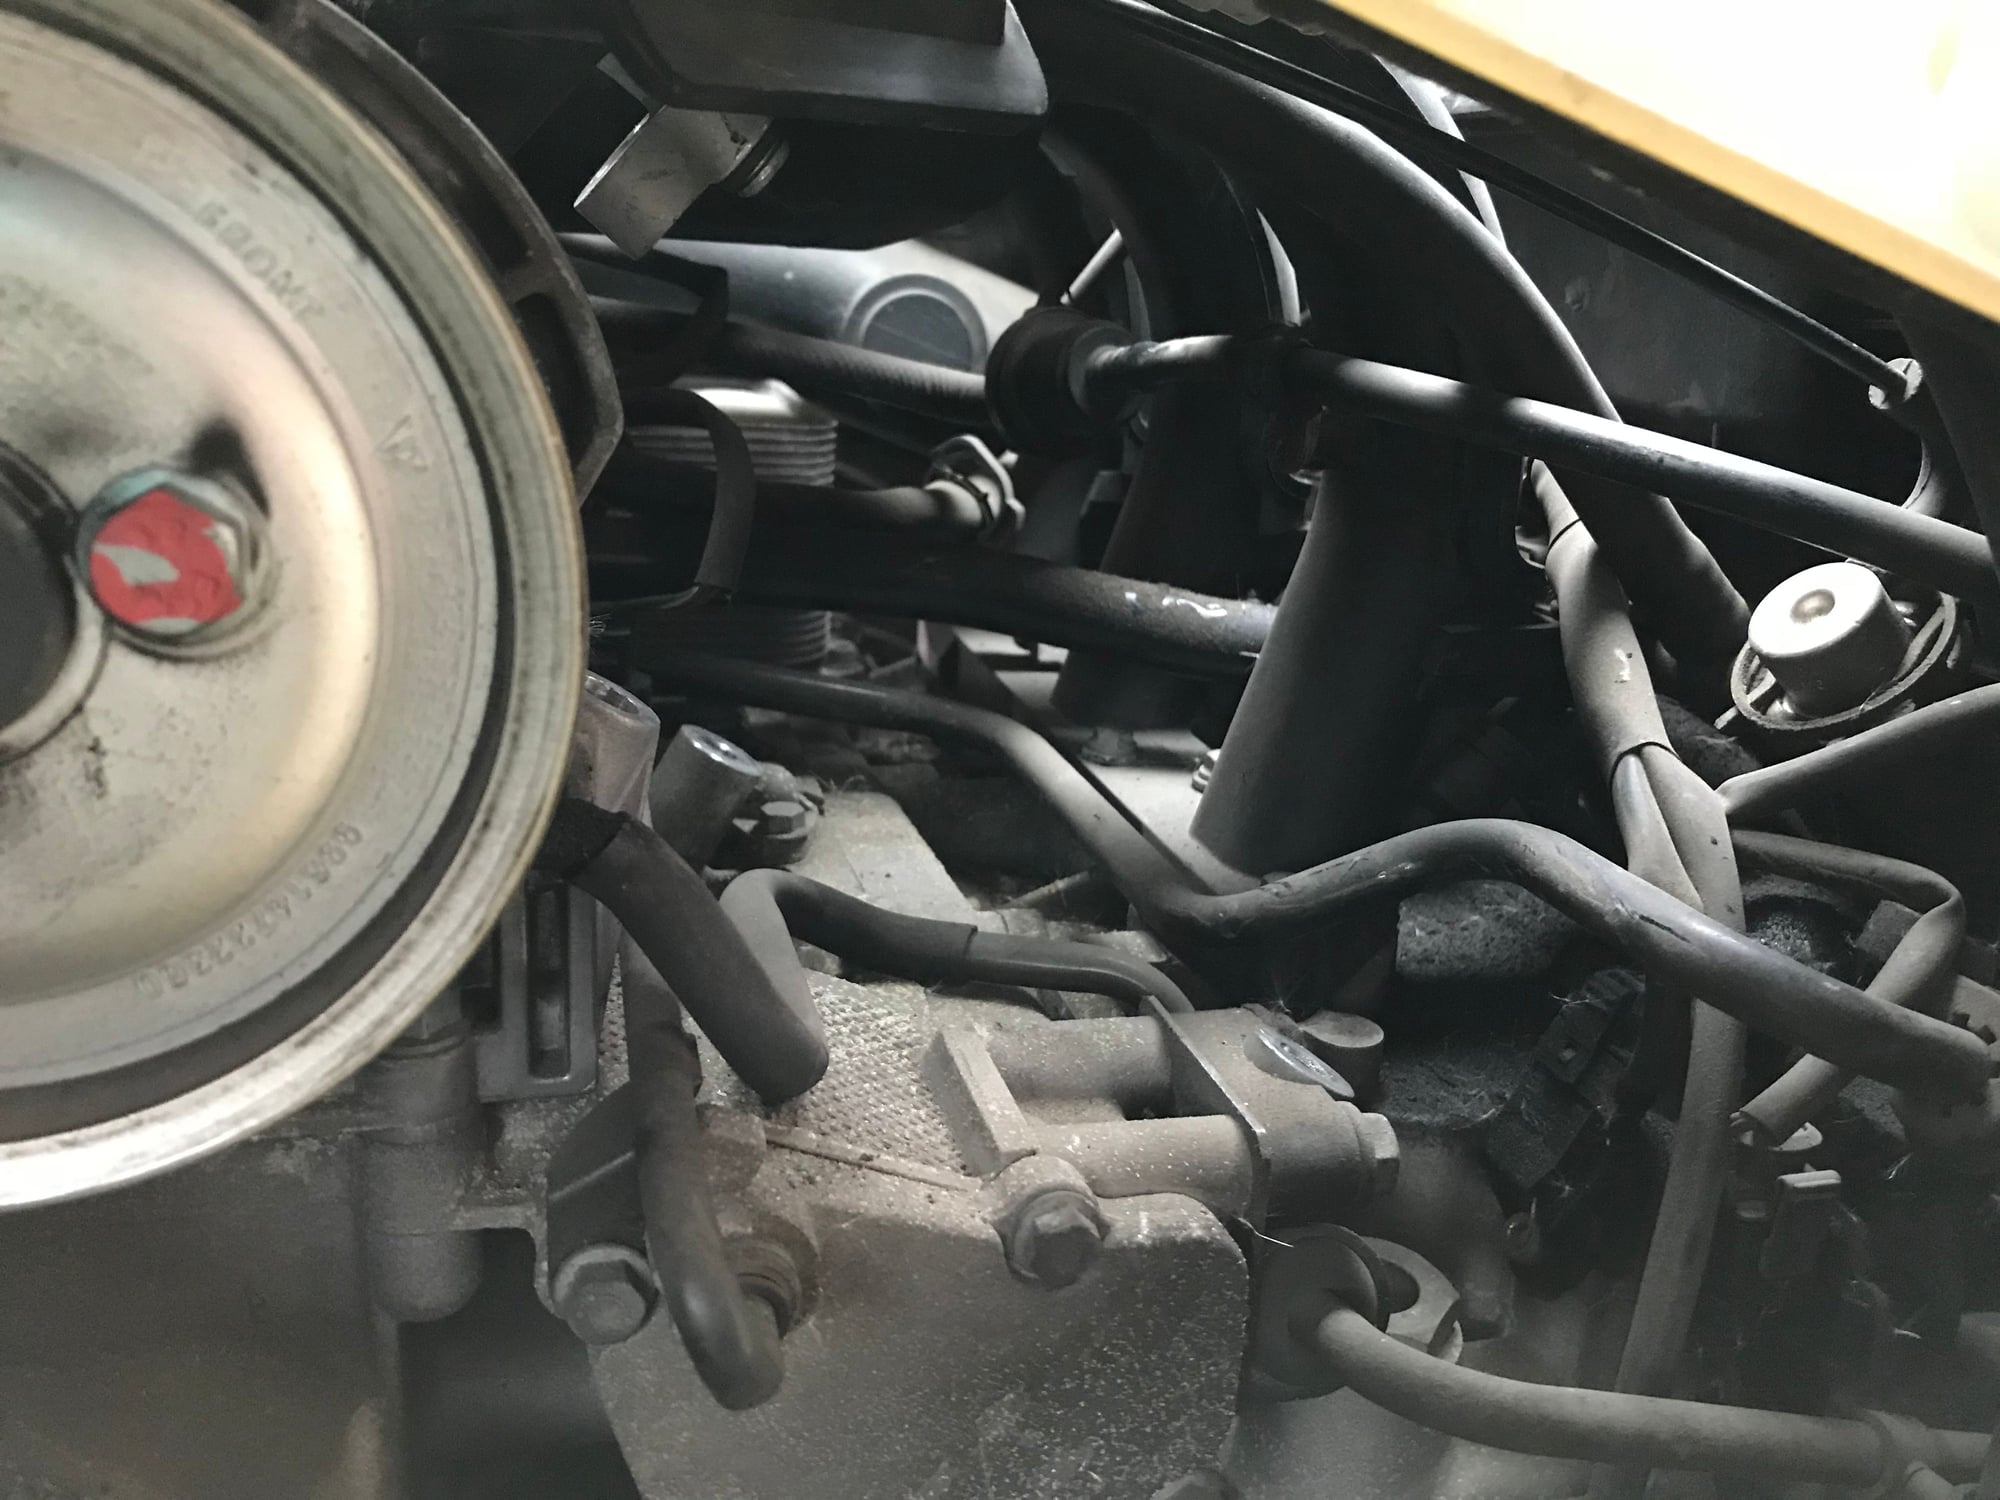
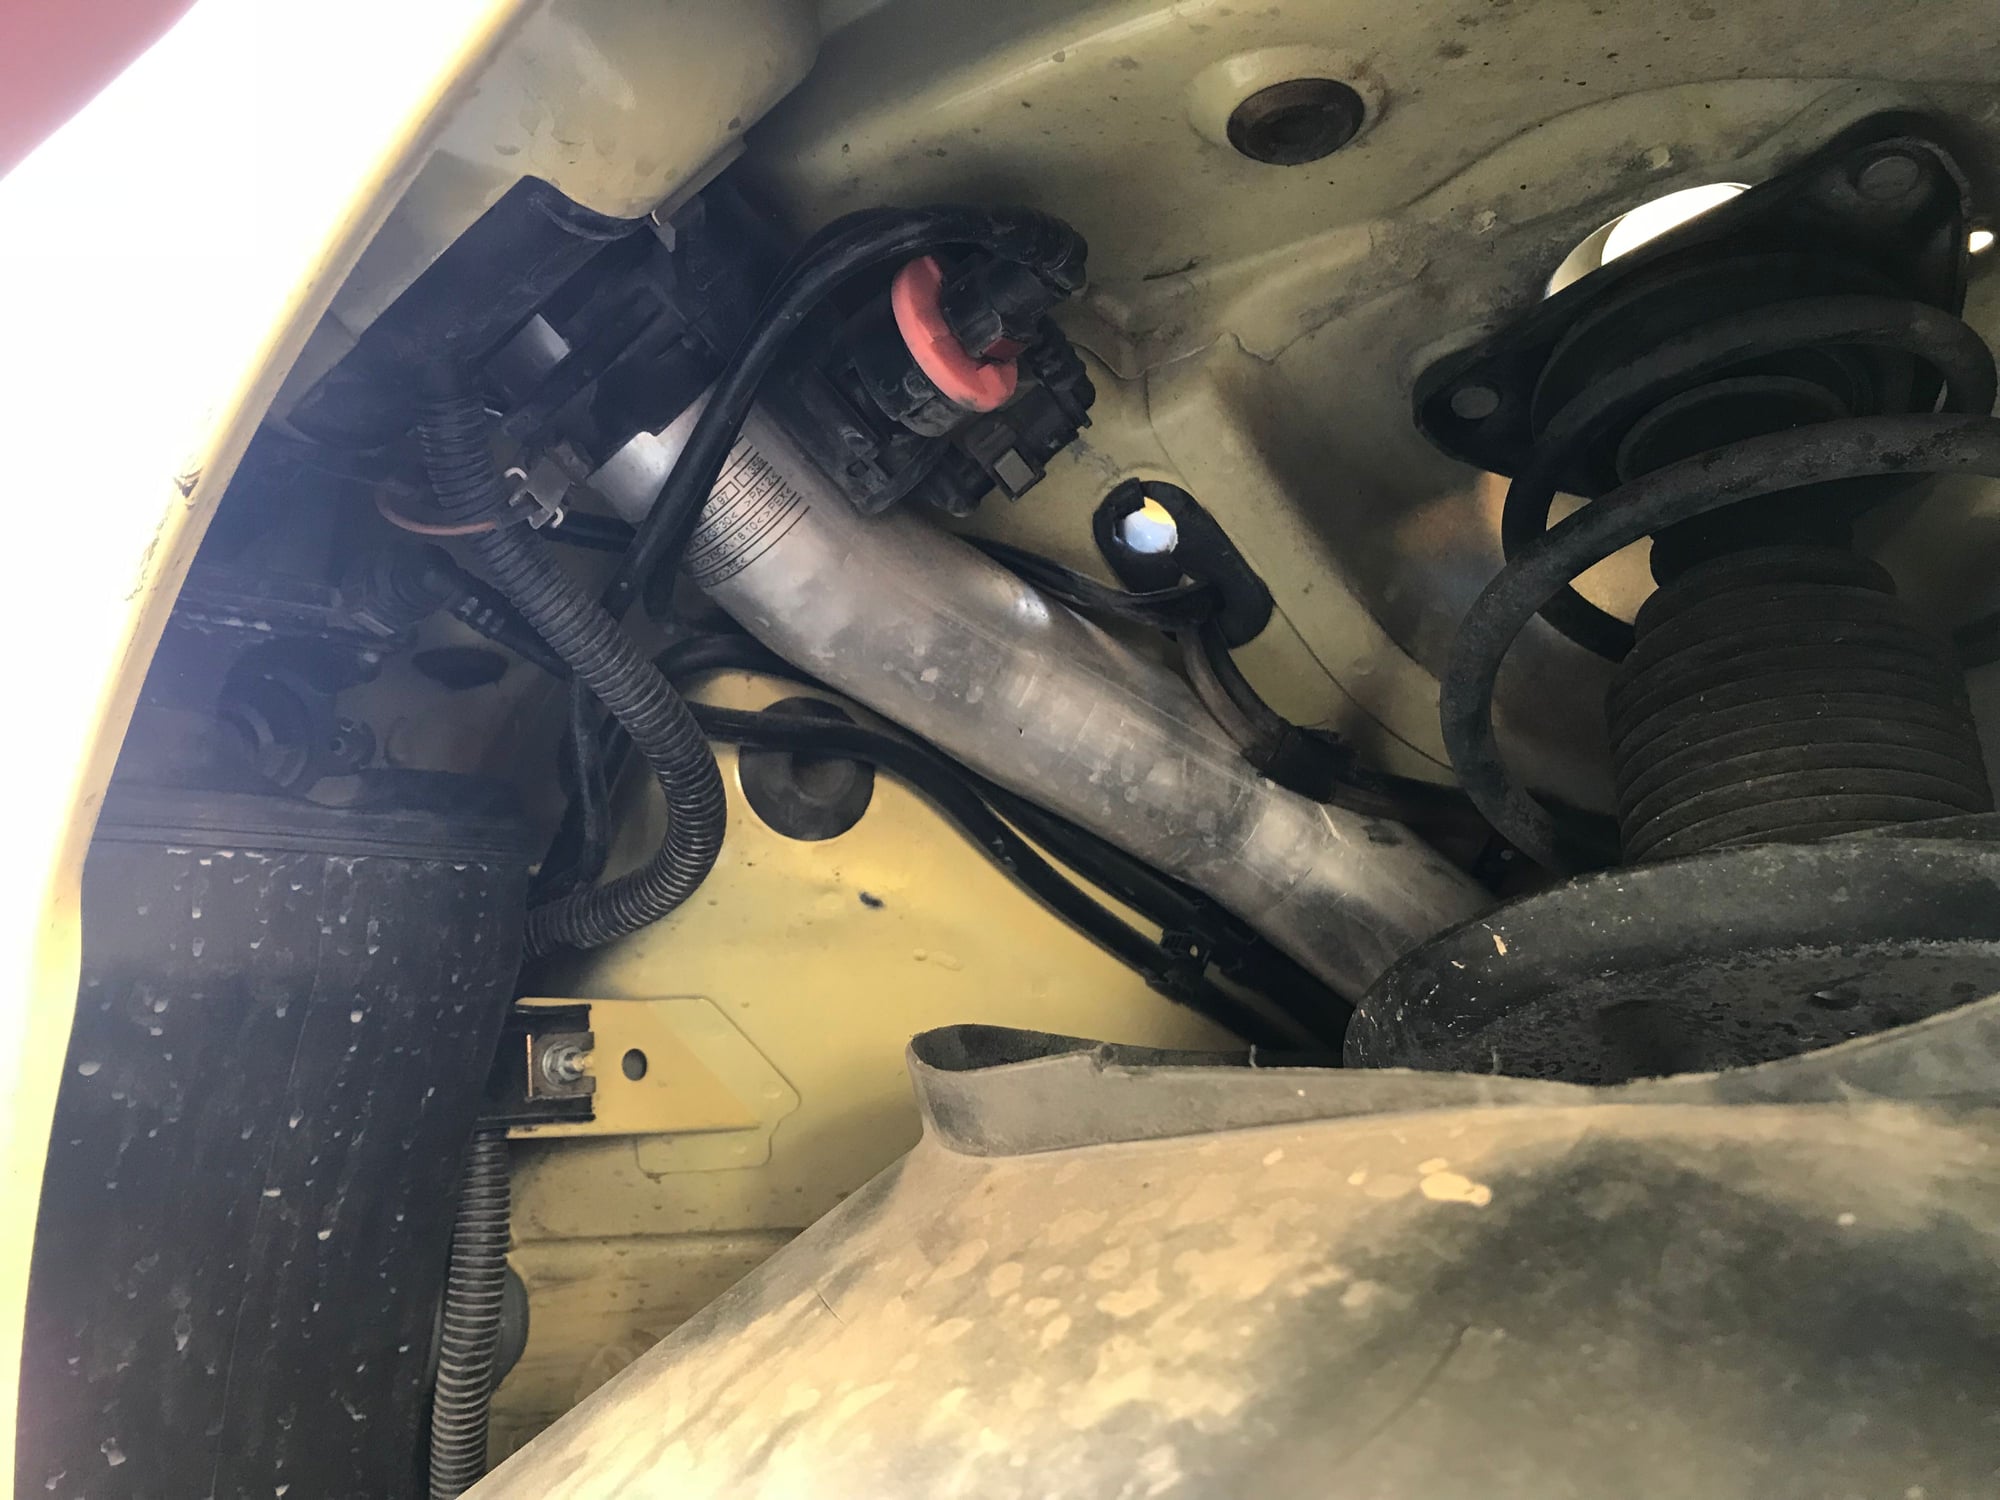
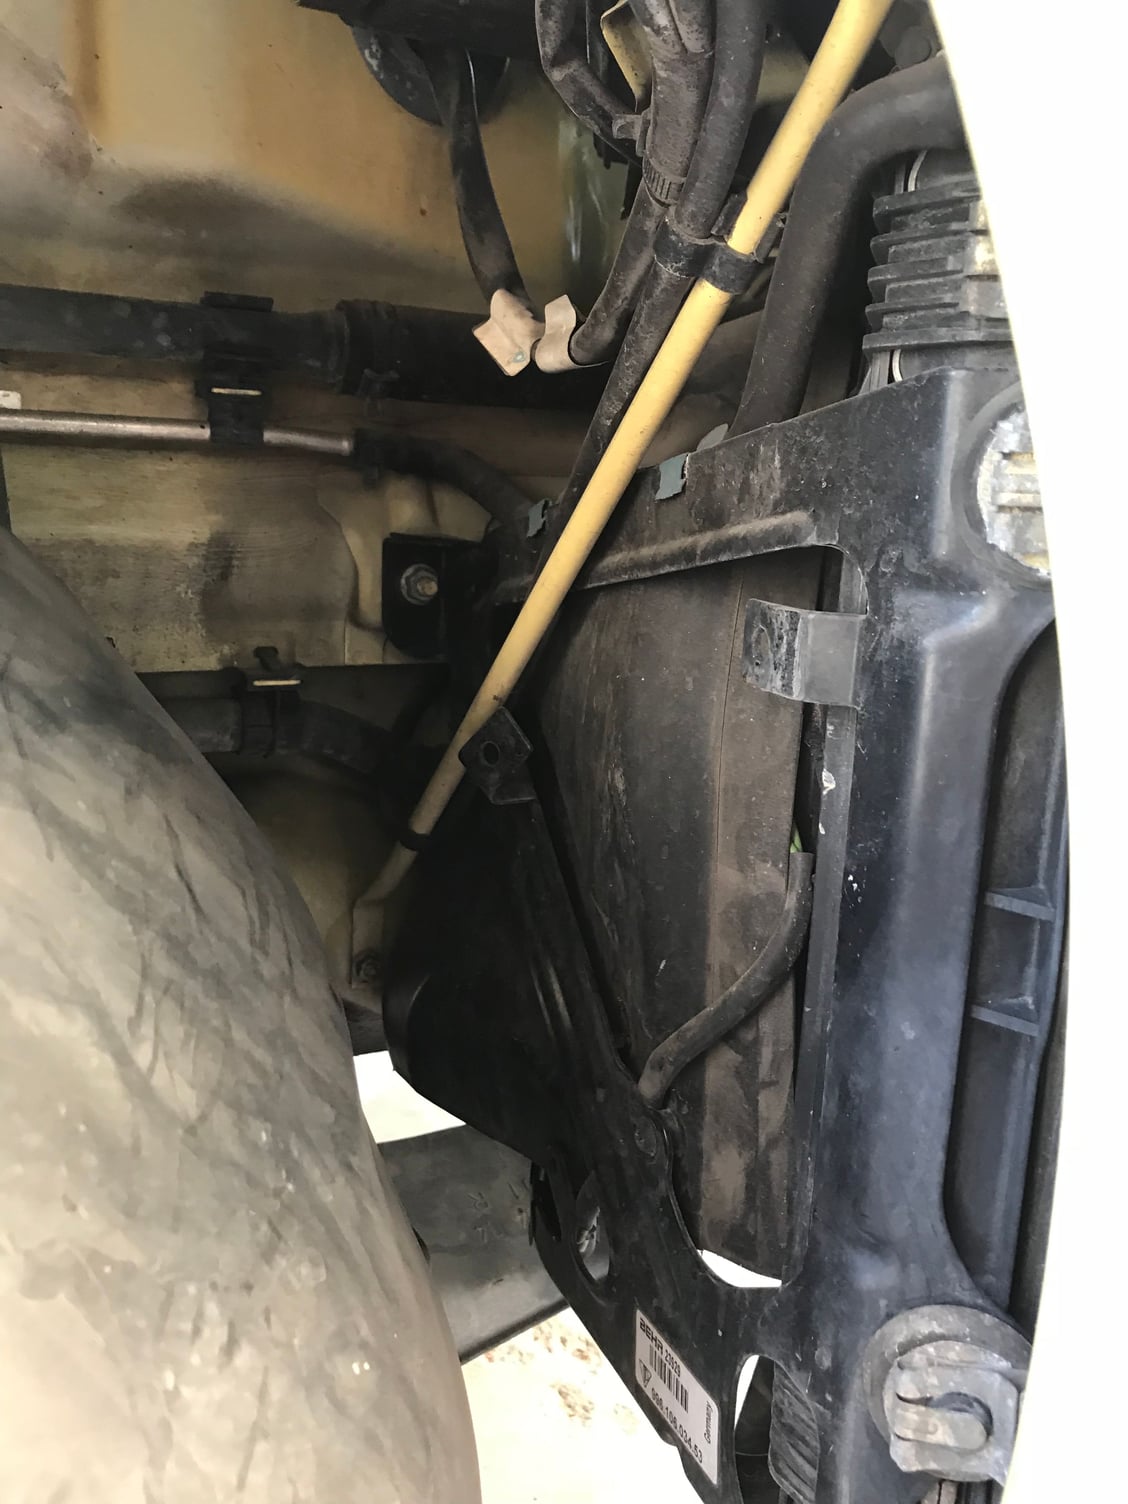
I took off the two engine covers for the underdrive pulley install (part is still incoming) and took a look at the AC condenser. I guess I need to get a bit of power steering fluid to top it off after temporarily removing the PS reservoir to pull the AC condenser. Since I was looking around I removed one of the two front bolts, loosened the other, saw where the parking brake cables go and remembered I need to get to that, and then my wife got home and we needed to get going.
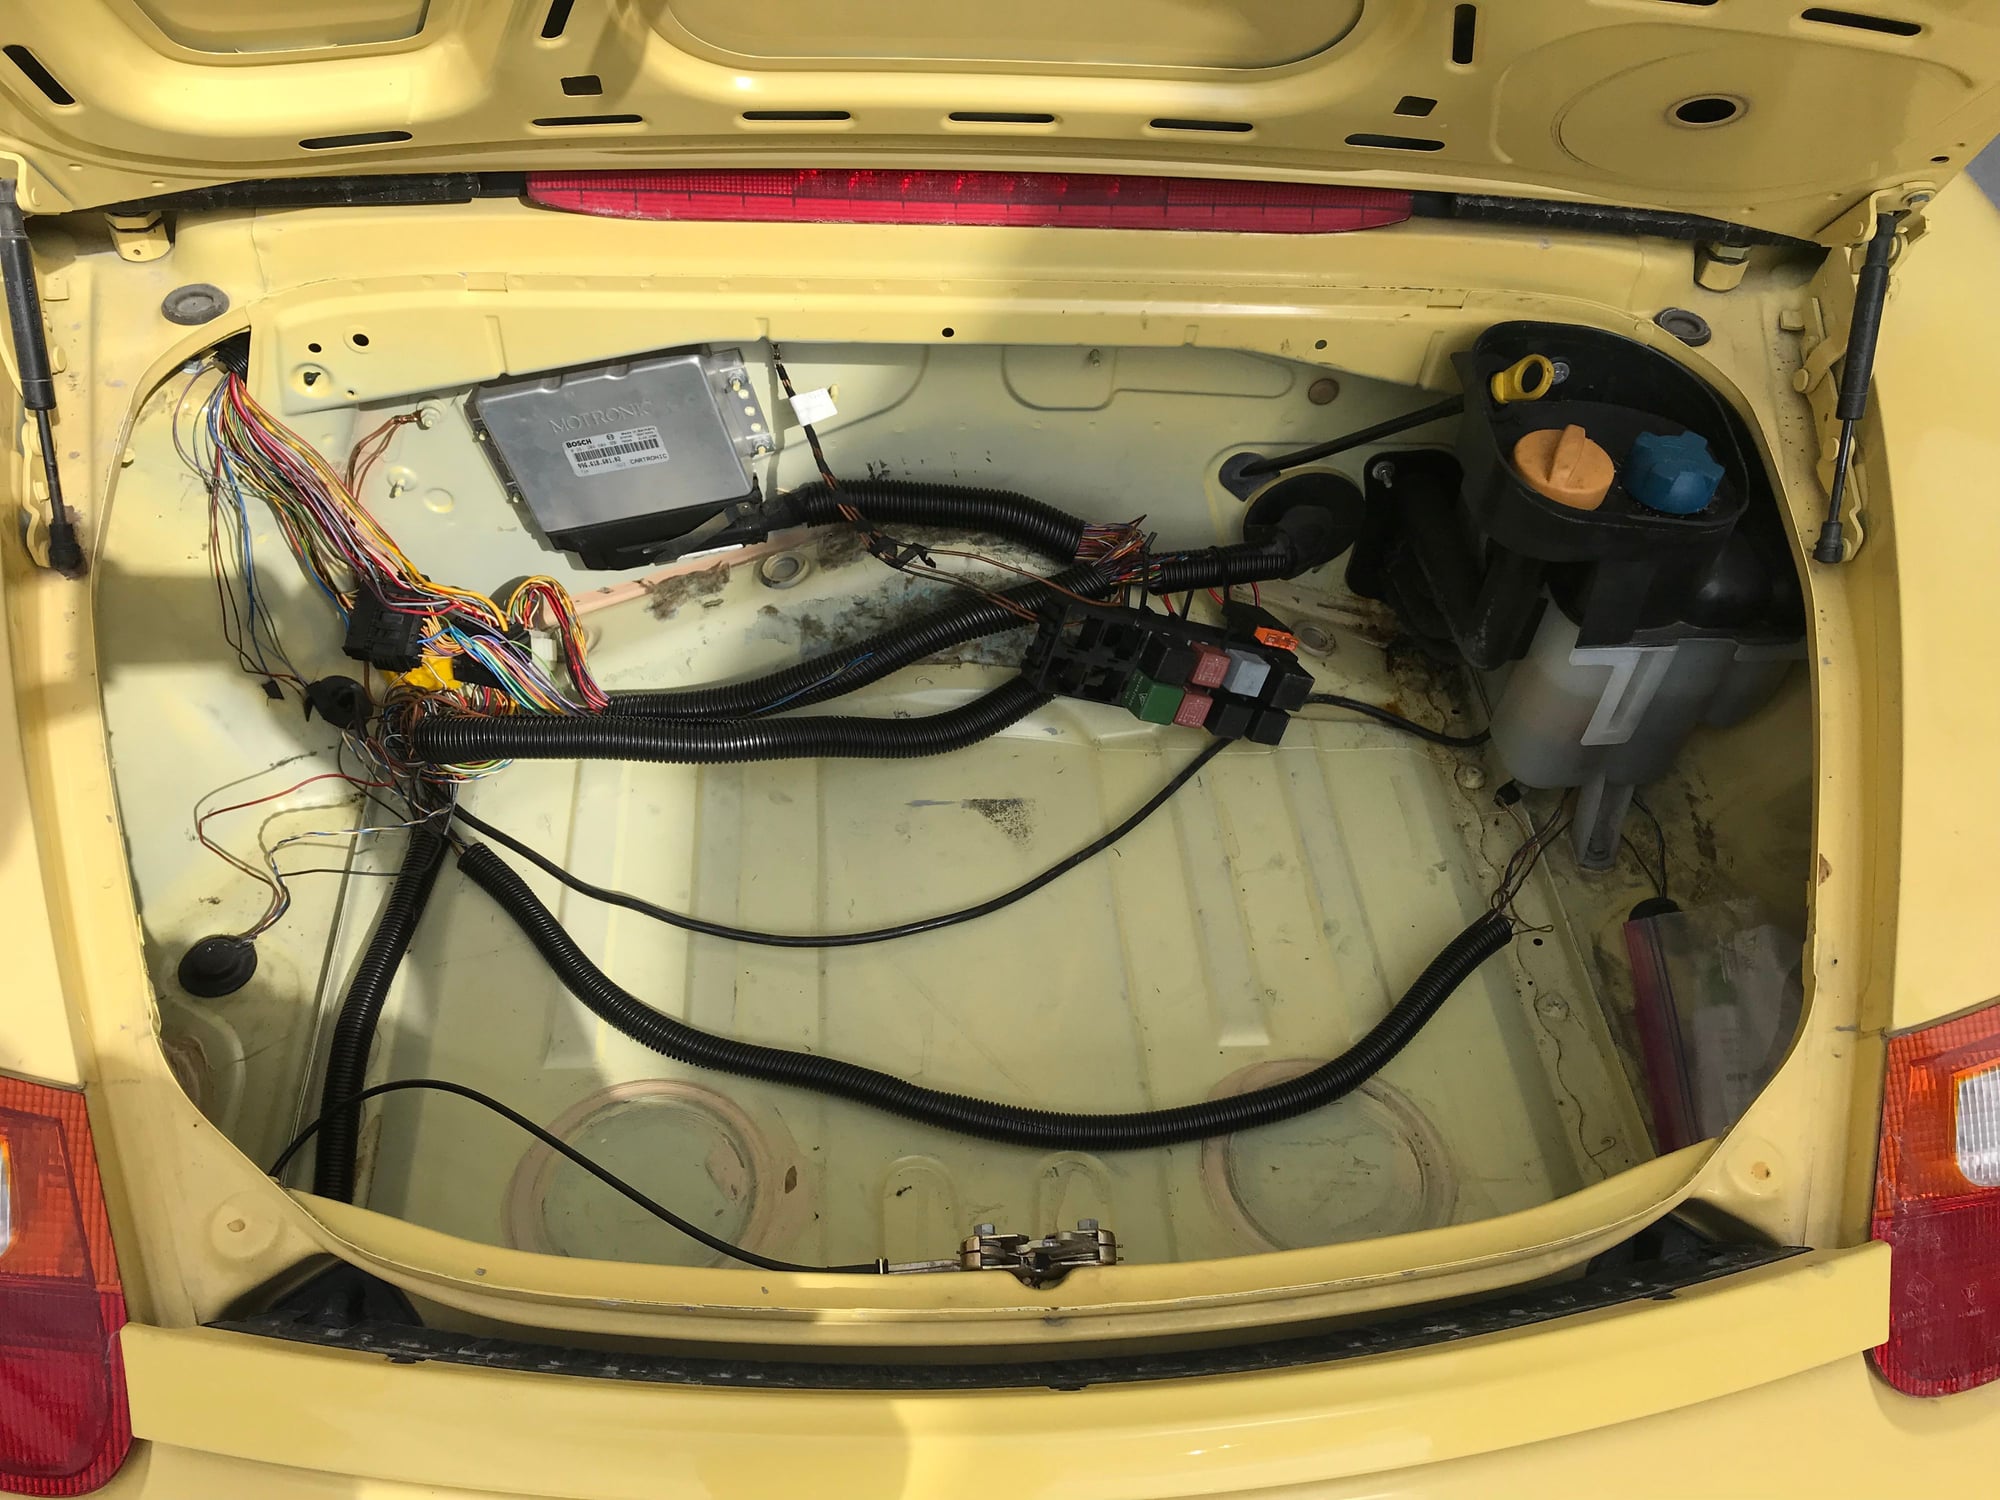
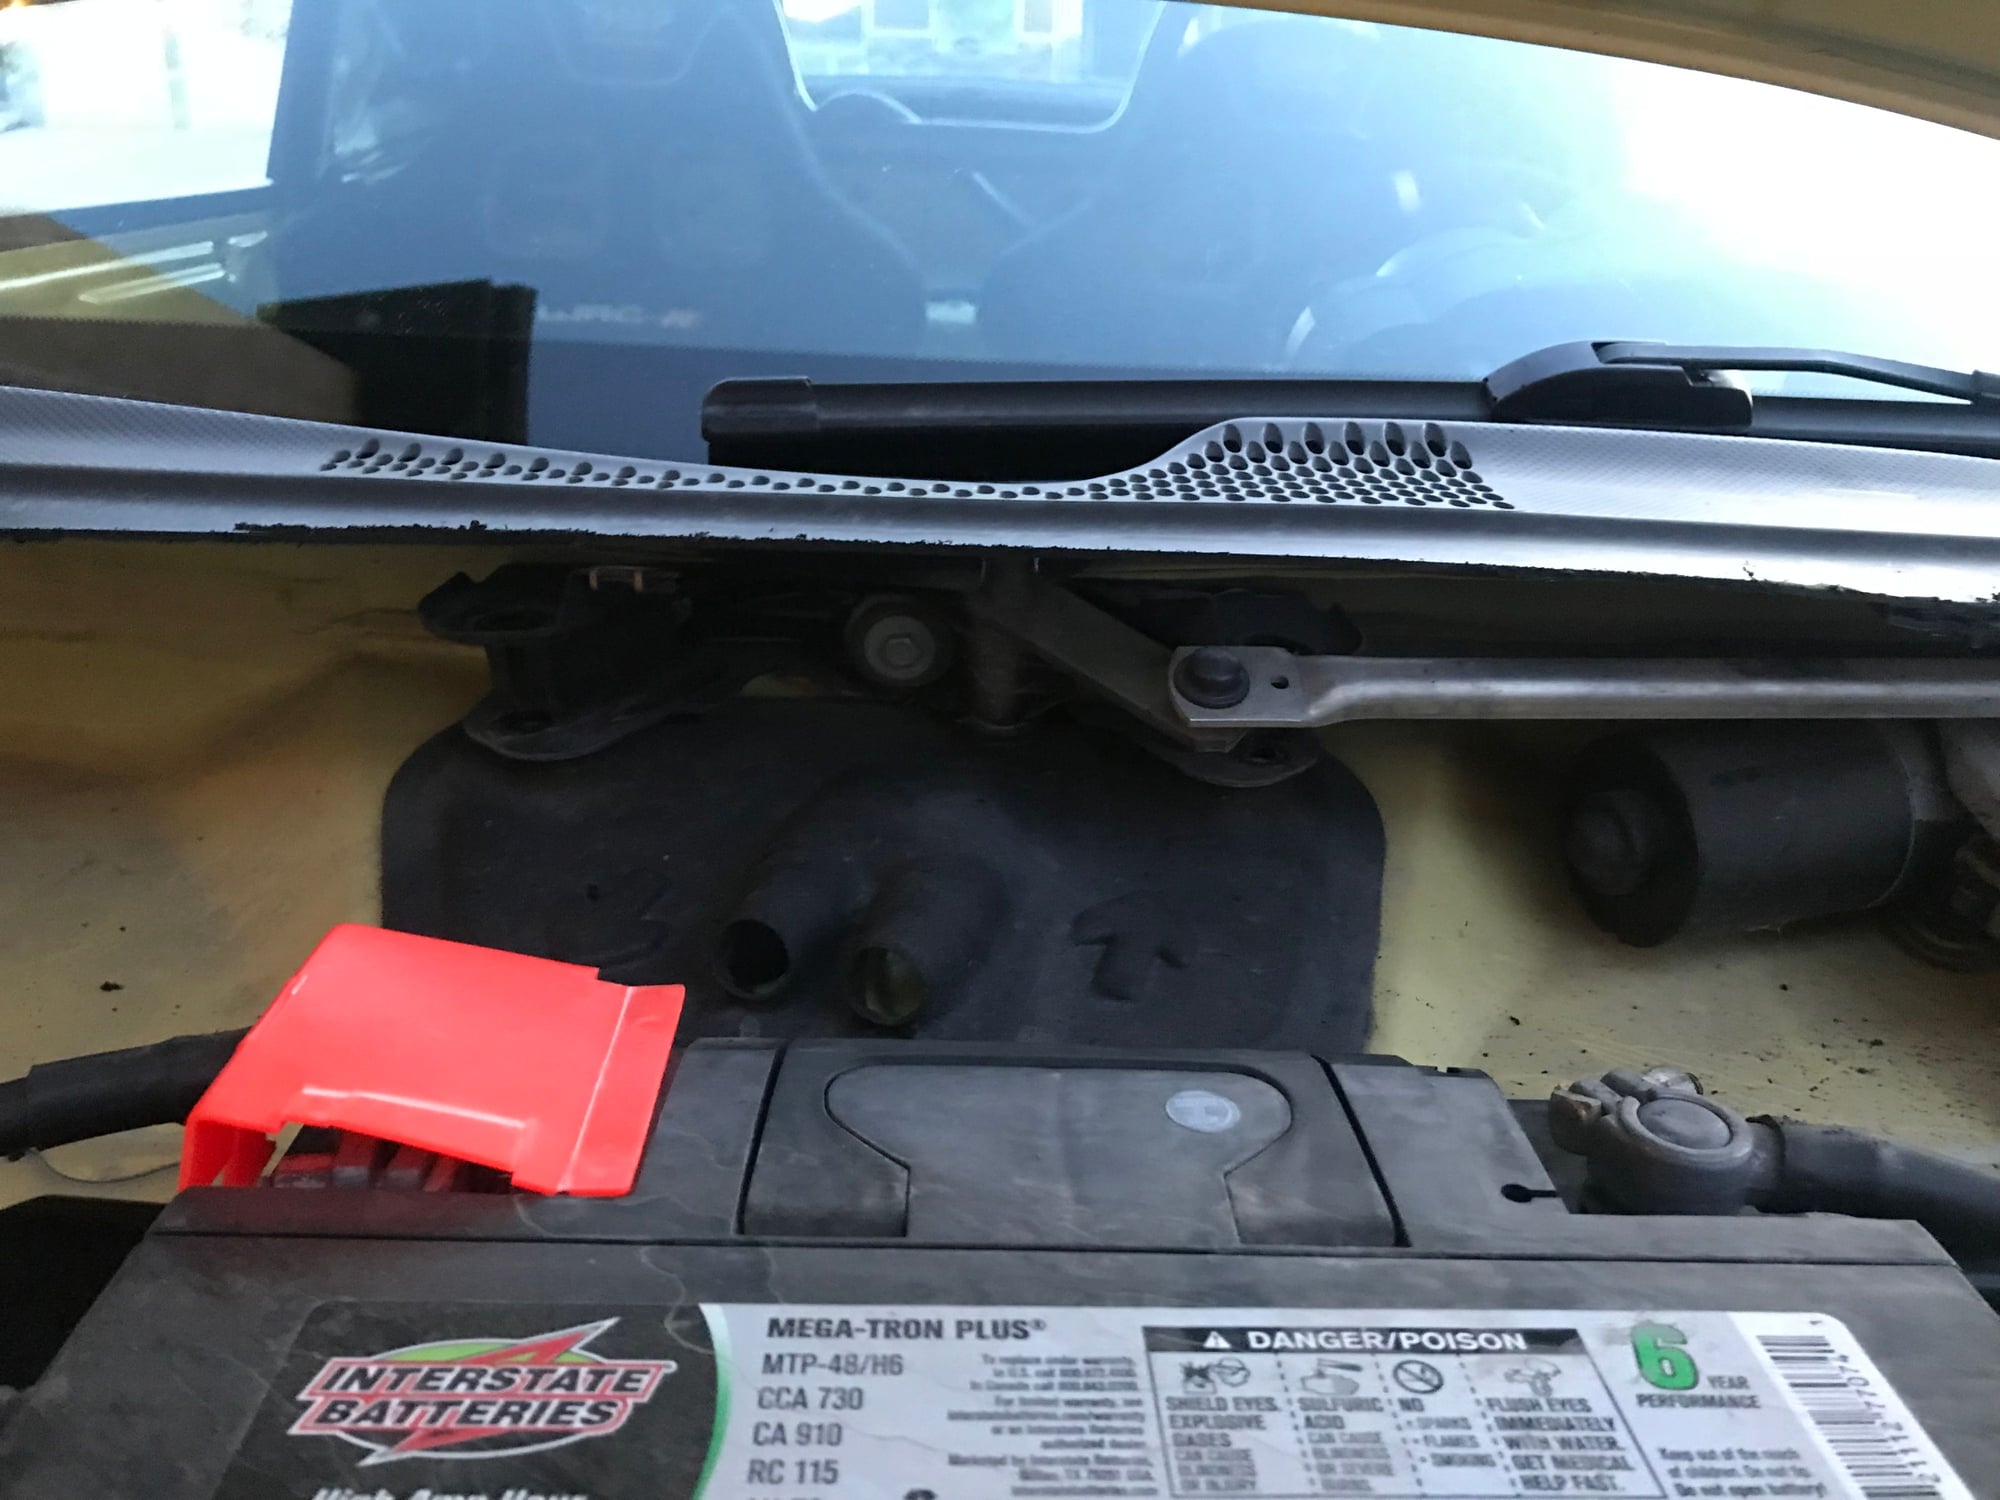
I removed the wiring support bracket to the left of the ECU. I see I have a lot more wires I can remove when I feel up for that again.
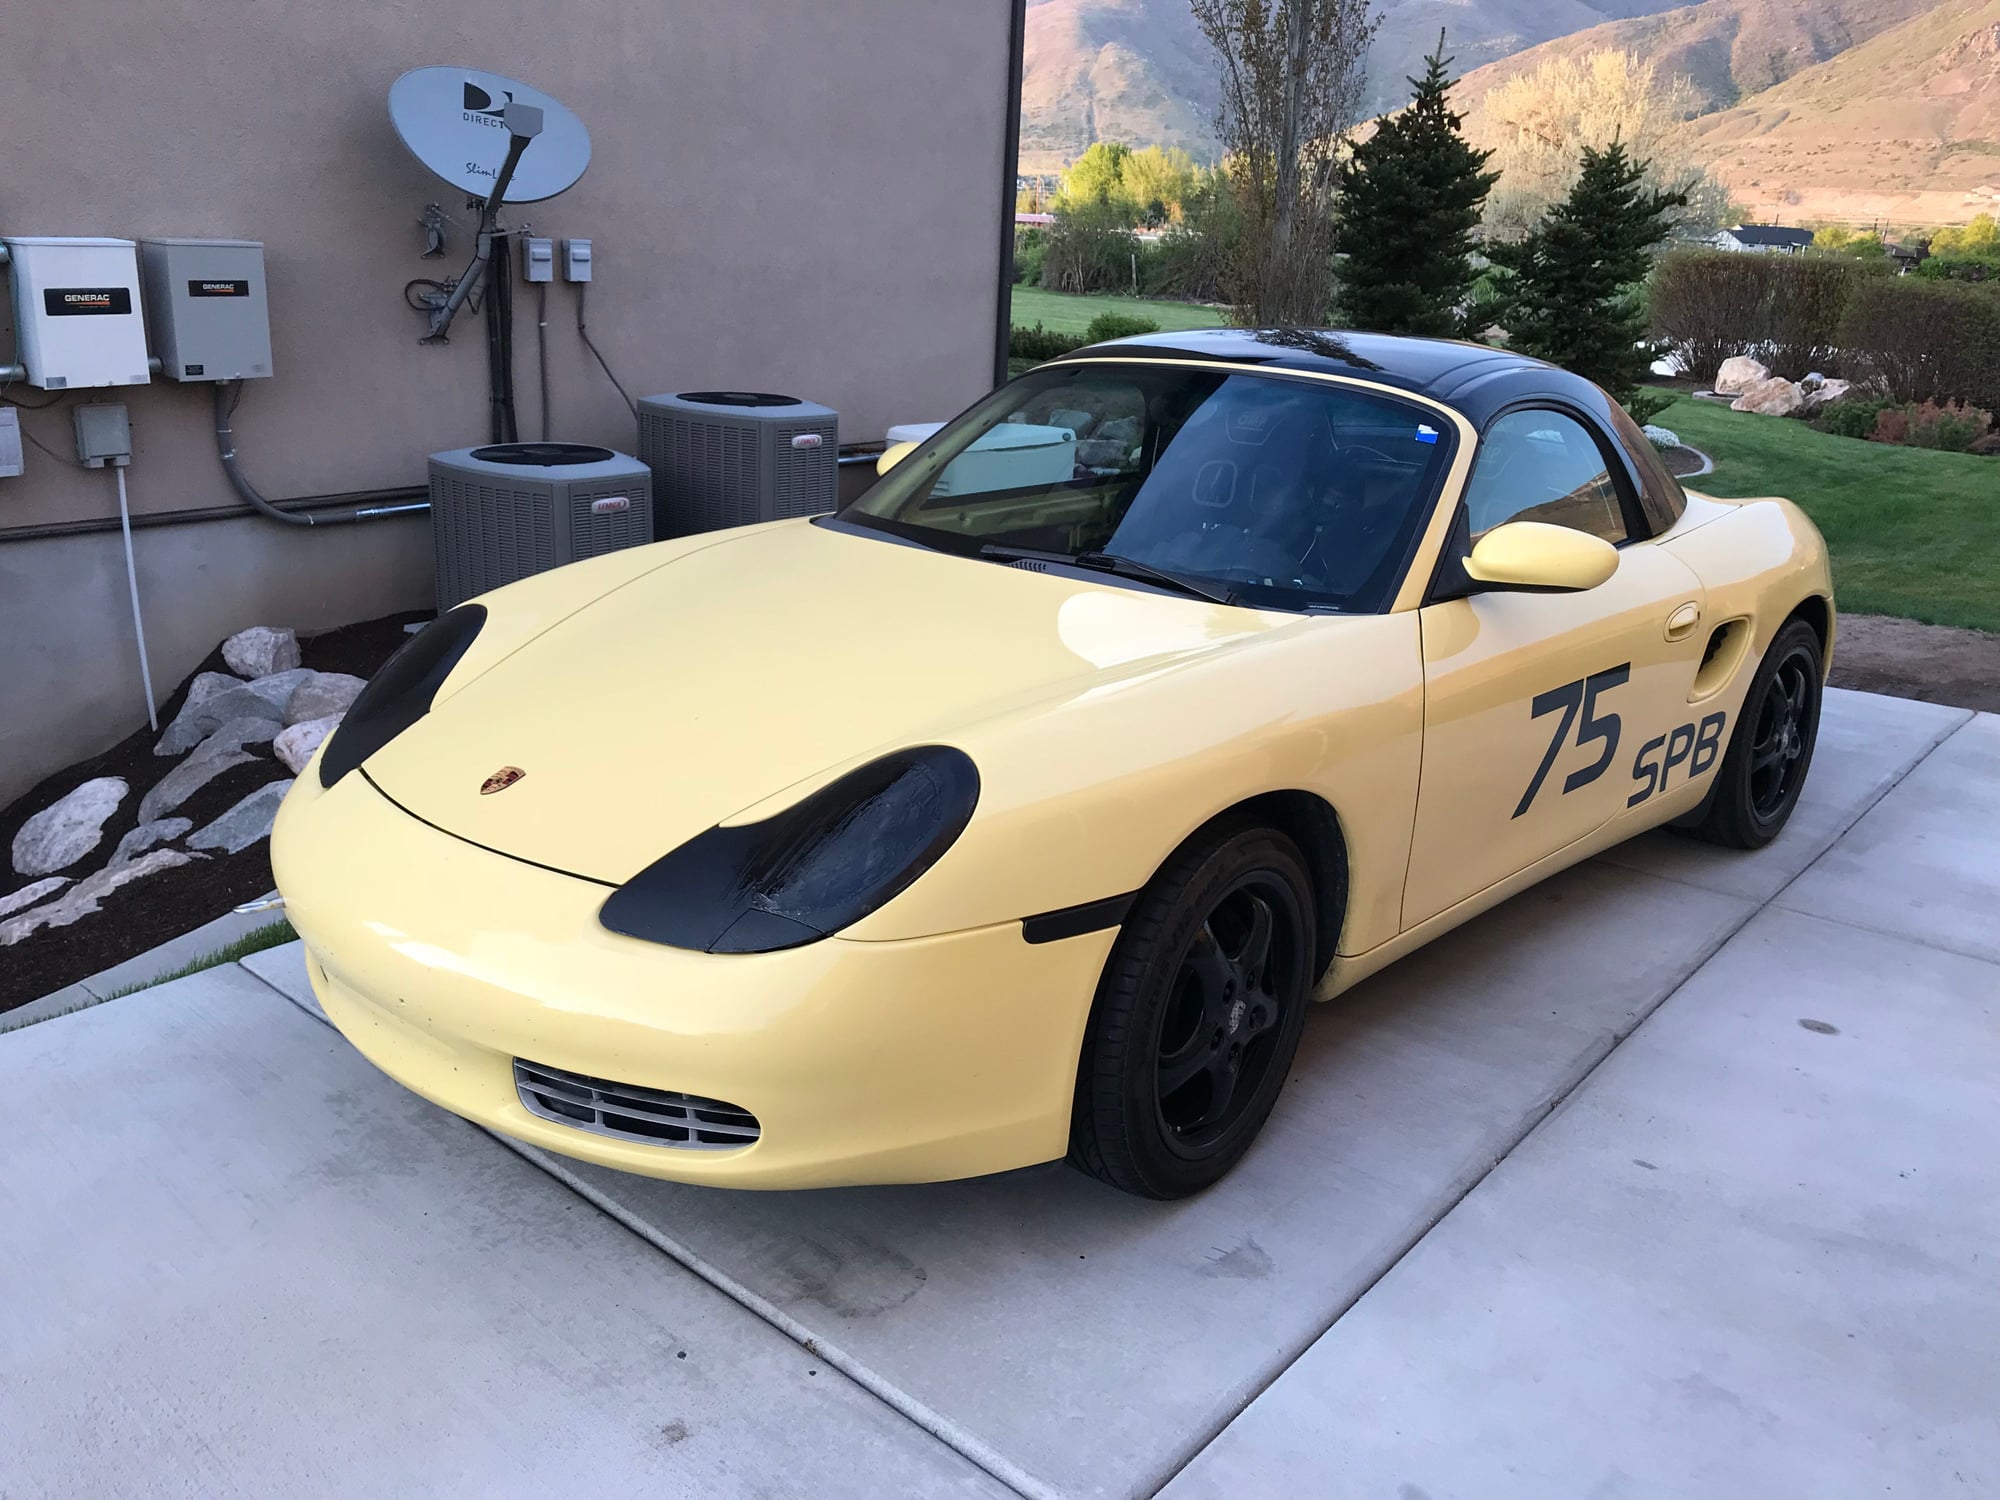
Spent a bit of time on the car this morning. Had the two year old helping so progress was slow, but at the same time it's nice to have the boy around. He likes putting sockets on his fingers and had a good coat of grease on his face by the end.
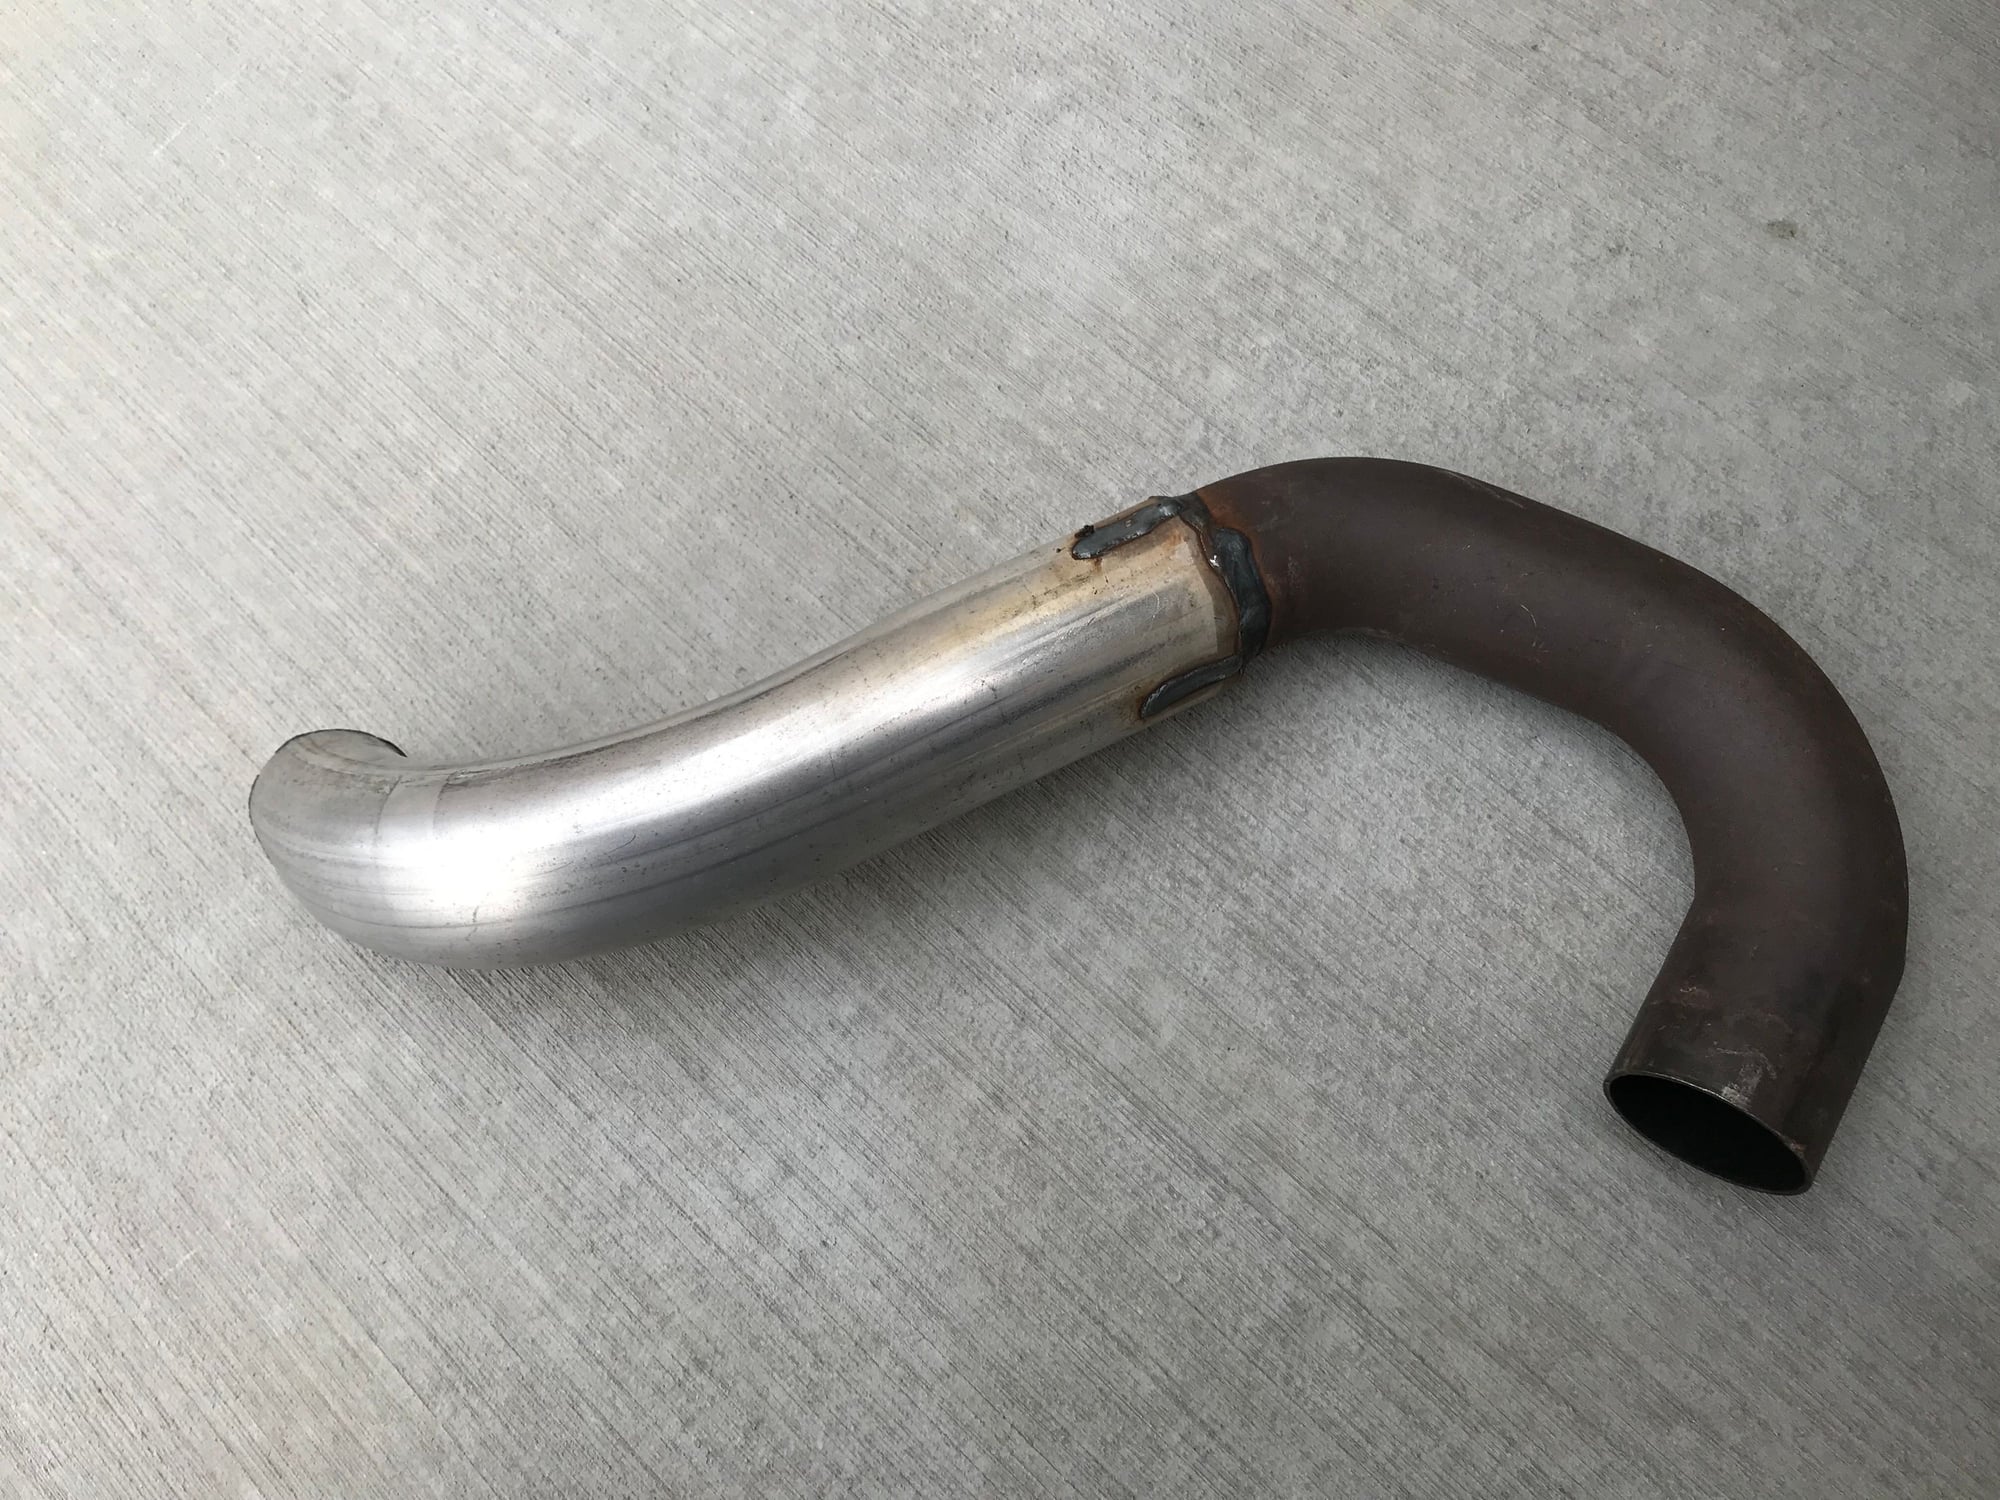
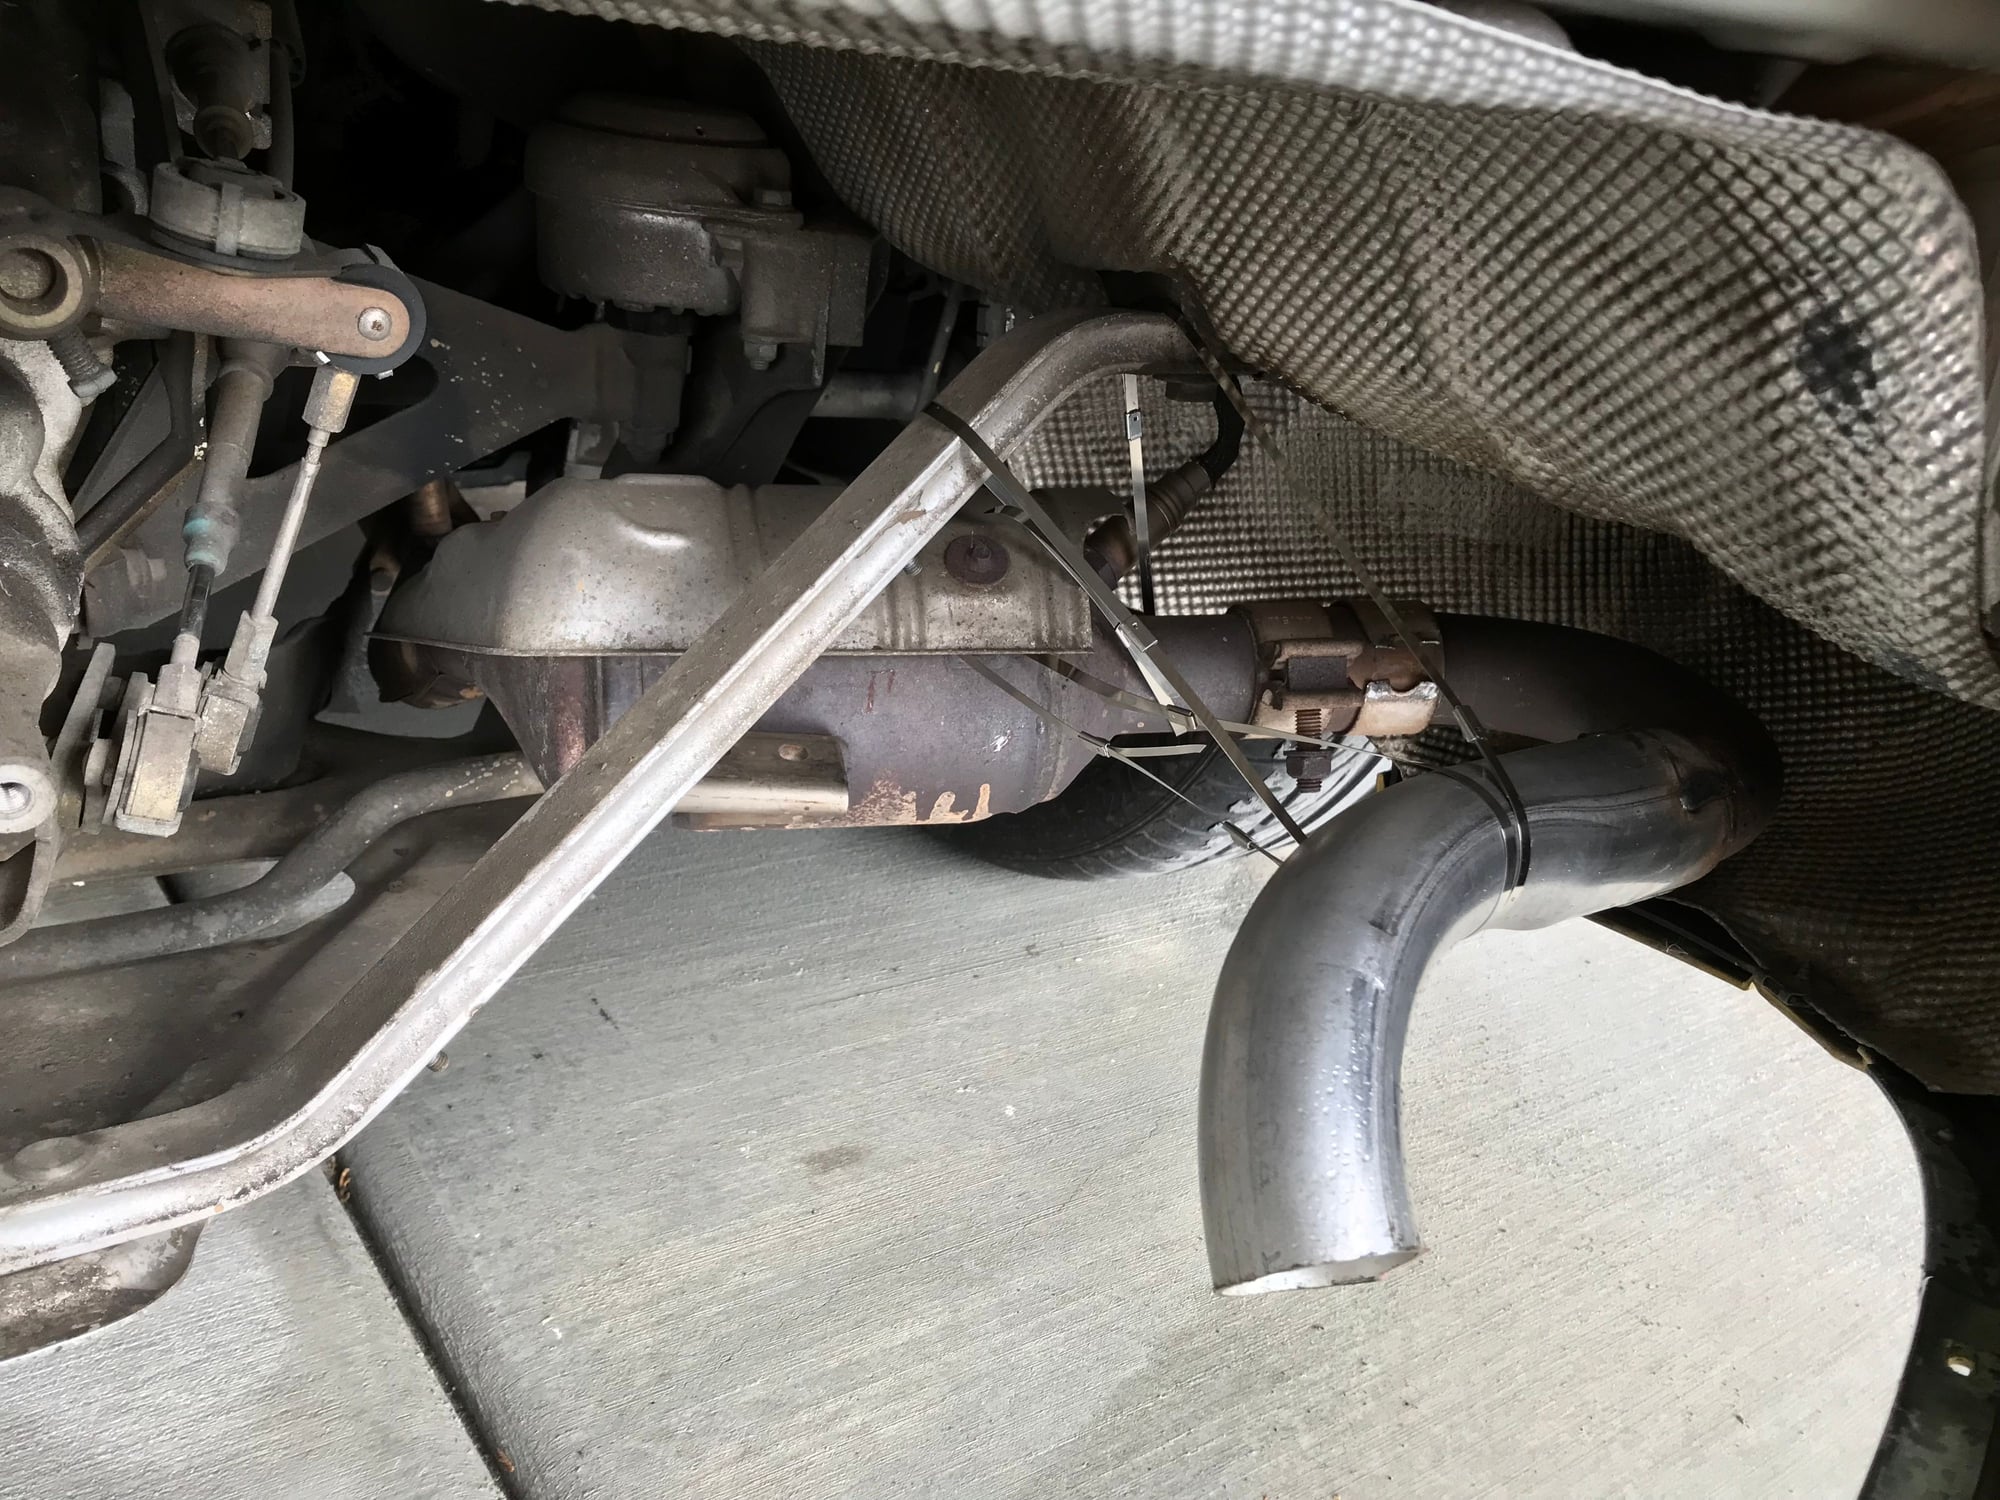
I pulled off the main muffler and left the cats for now. I need to drop by a muffler shop to pick up a pair of short 90 degree bends I can clamp on the end to get the exhaust air pointed the right way. Nice to get rid of all the weight.
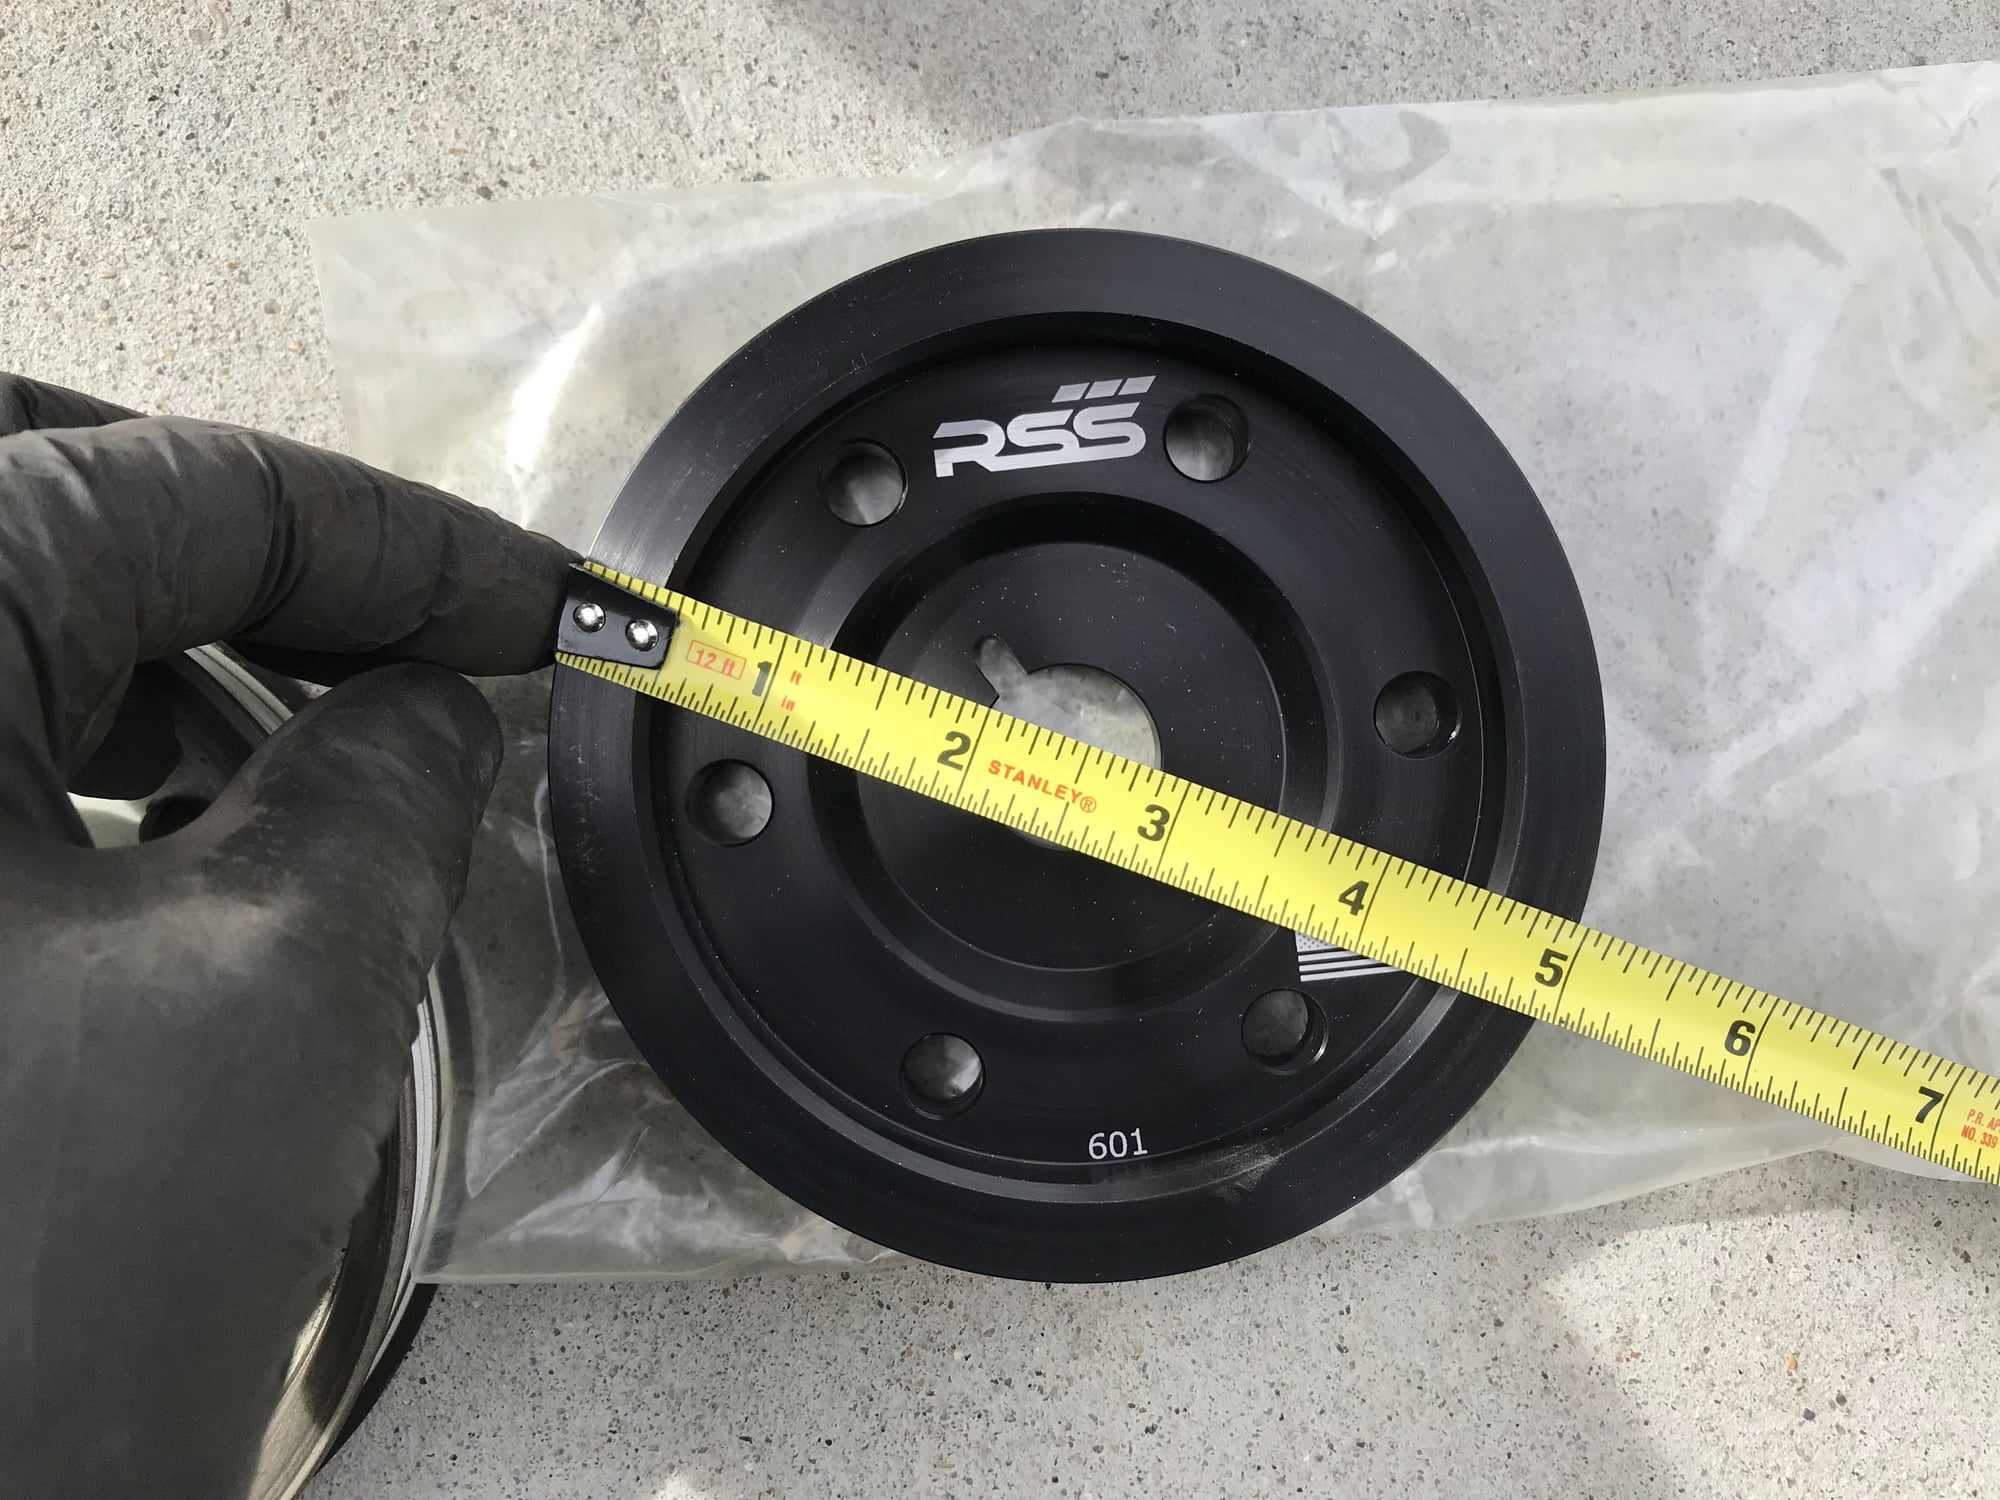
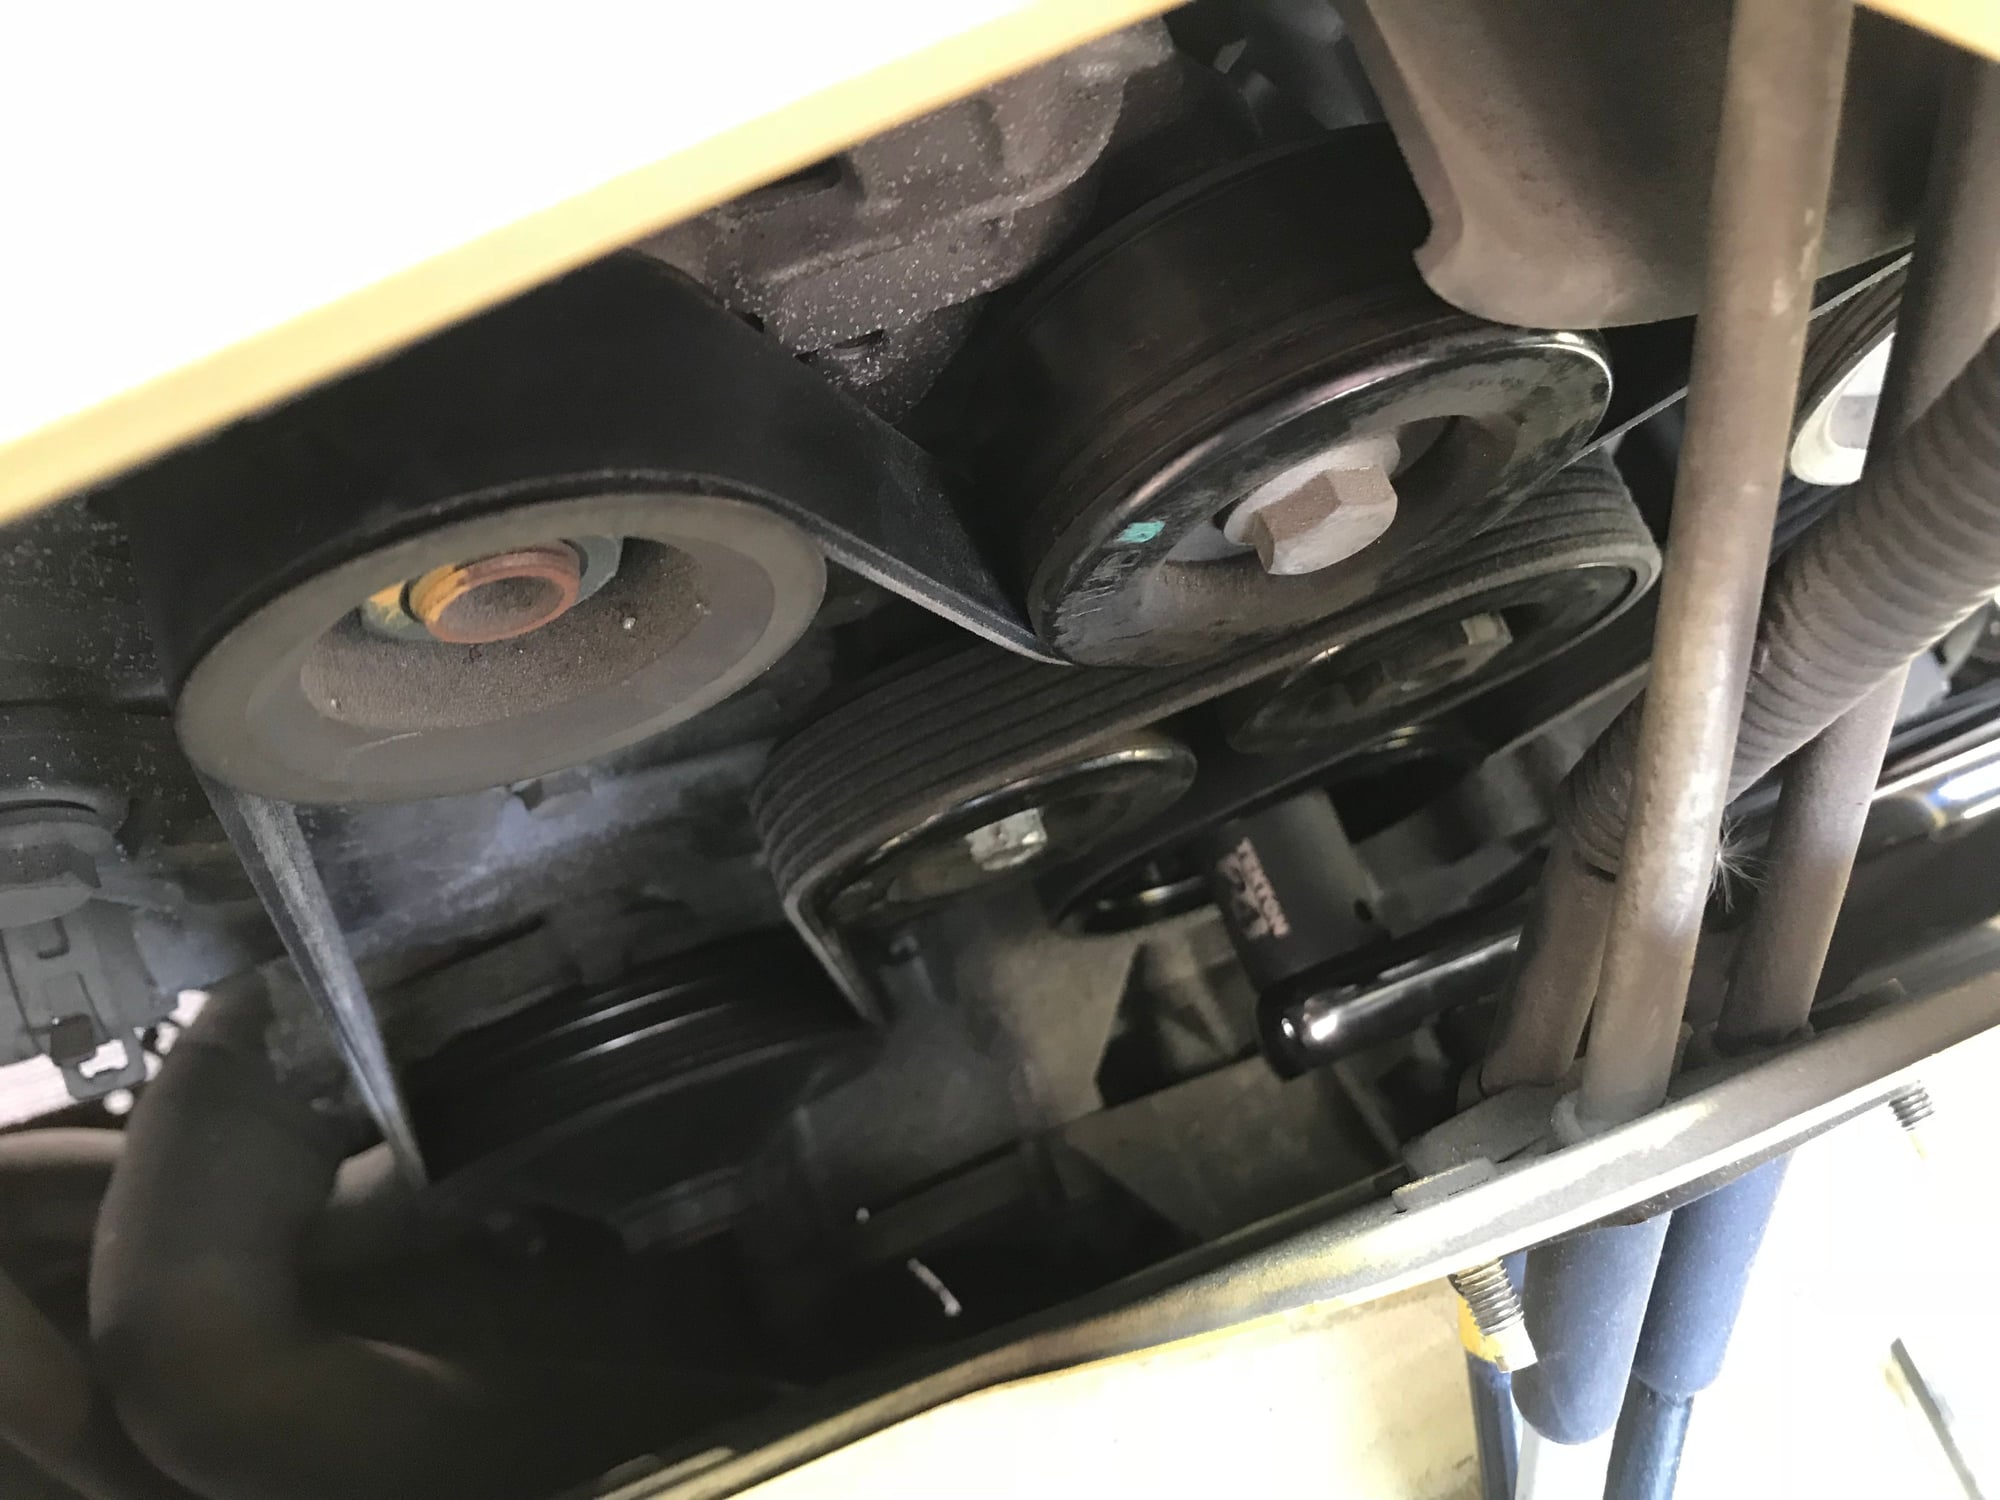
I was planning to replace the crank pulley but ended up stopping short. I ordered the RSS 601 underdrive crank pulley. Once I had it in hand and was getting ready to install it I found myself thinking this must be larger than the 4 inch minimum allowed by the rules... I measured it and found it's 4 15/16" if we include the lip flanges. The stock pulley by the same measure is about 5 7/8" and the 2017 SPB rules (2D) allow a 4" UDP. So I won't be installing the RSS pulley. I ordered a 4" pulley from Tarett and will install that instead. The crank pulley and belt are out of the car for now.
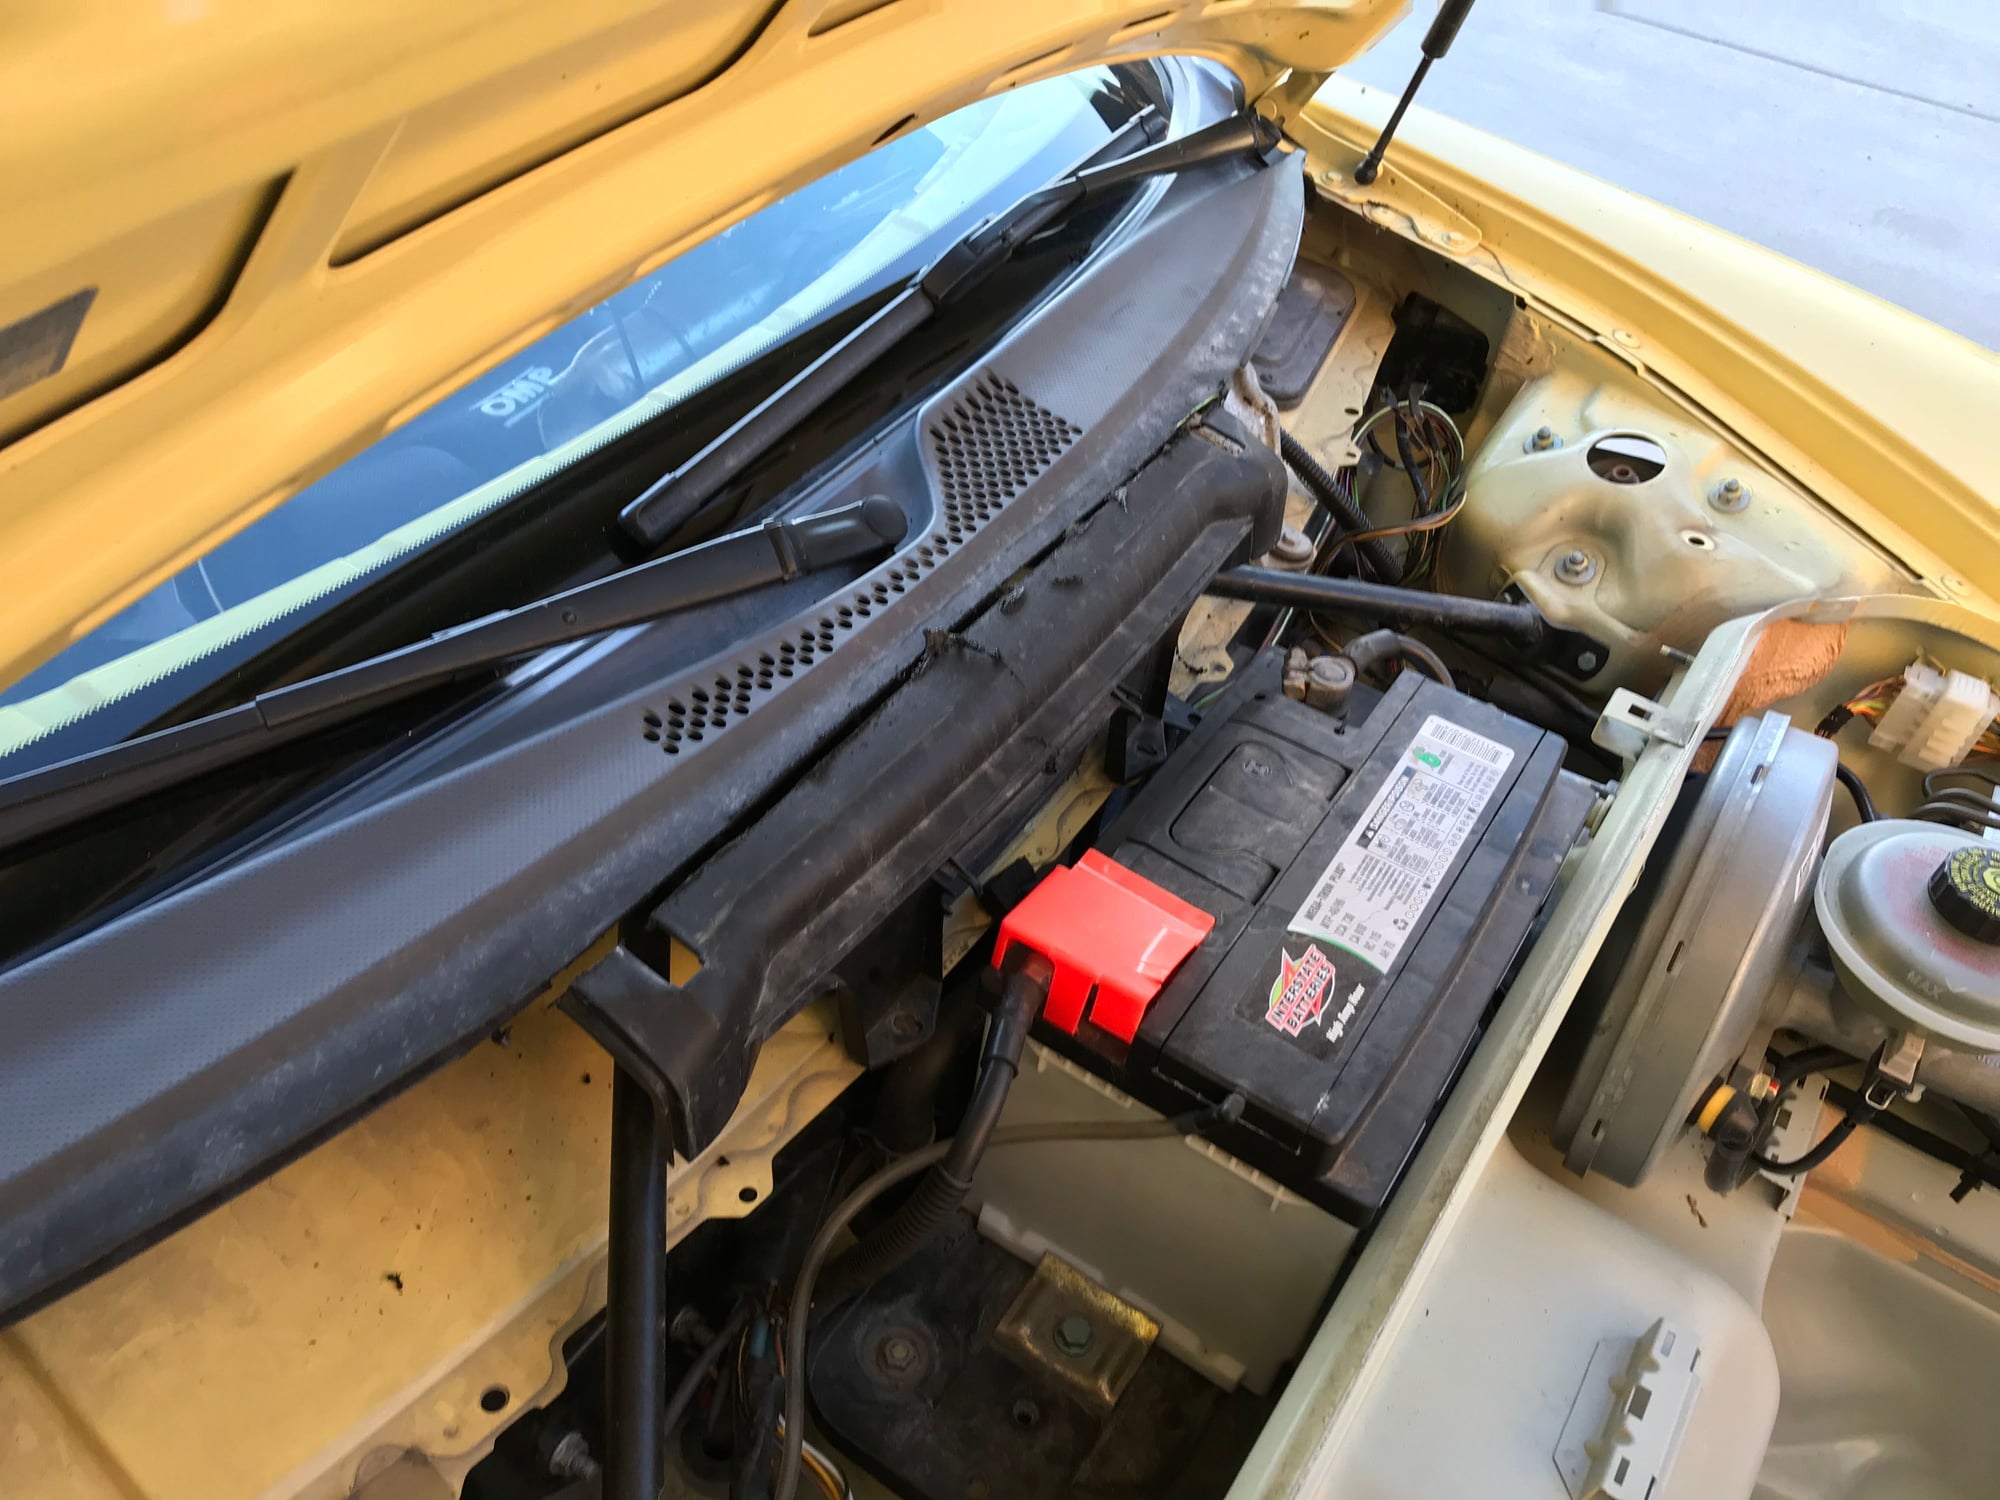
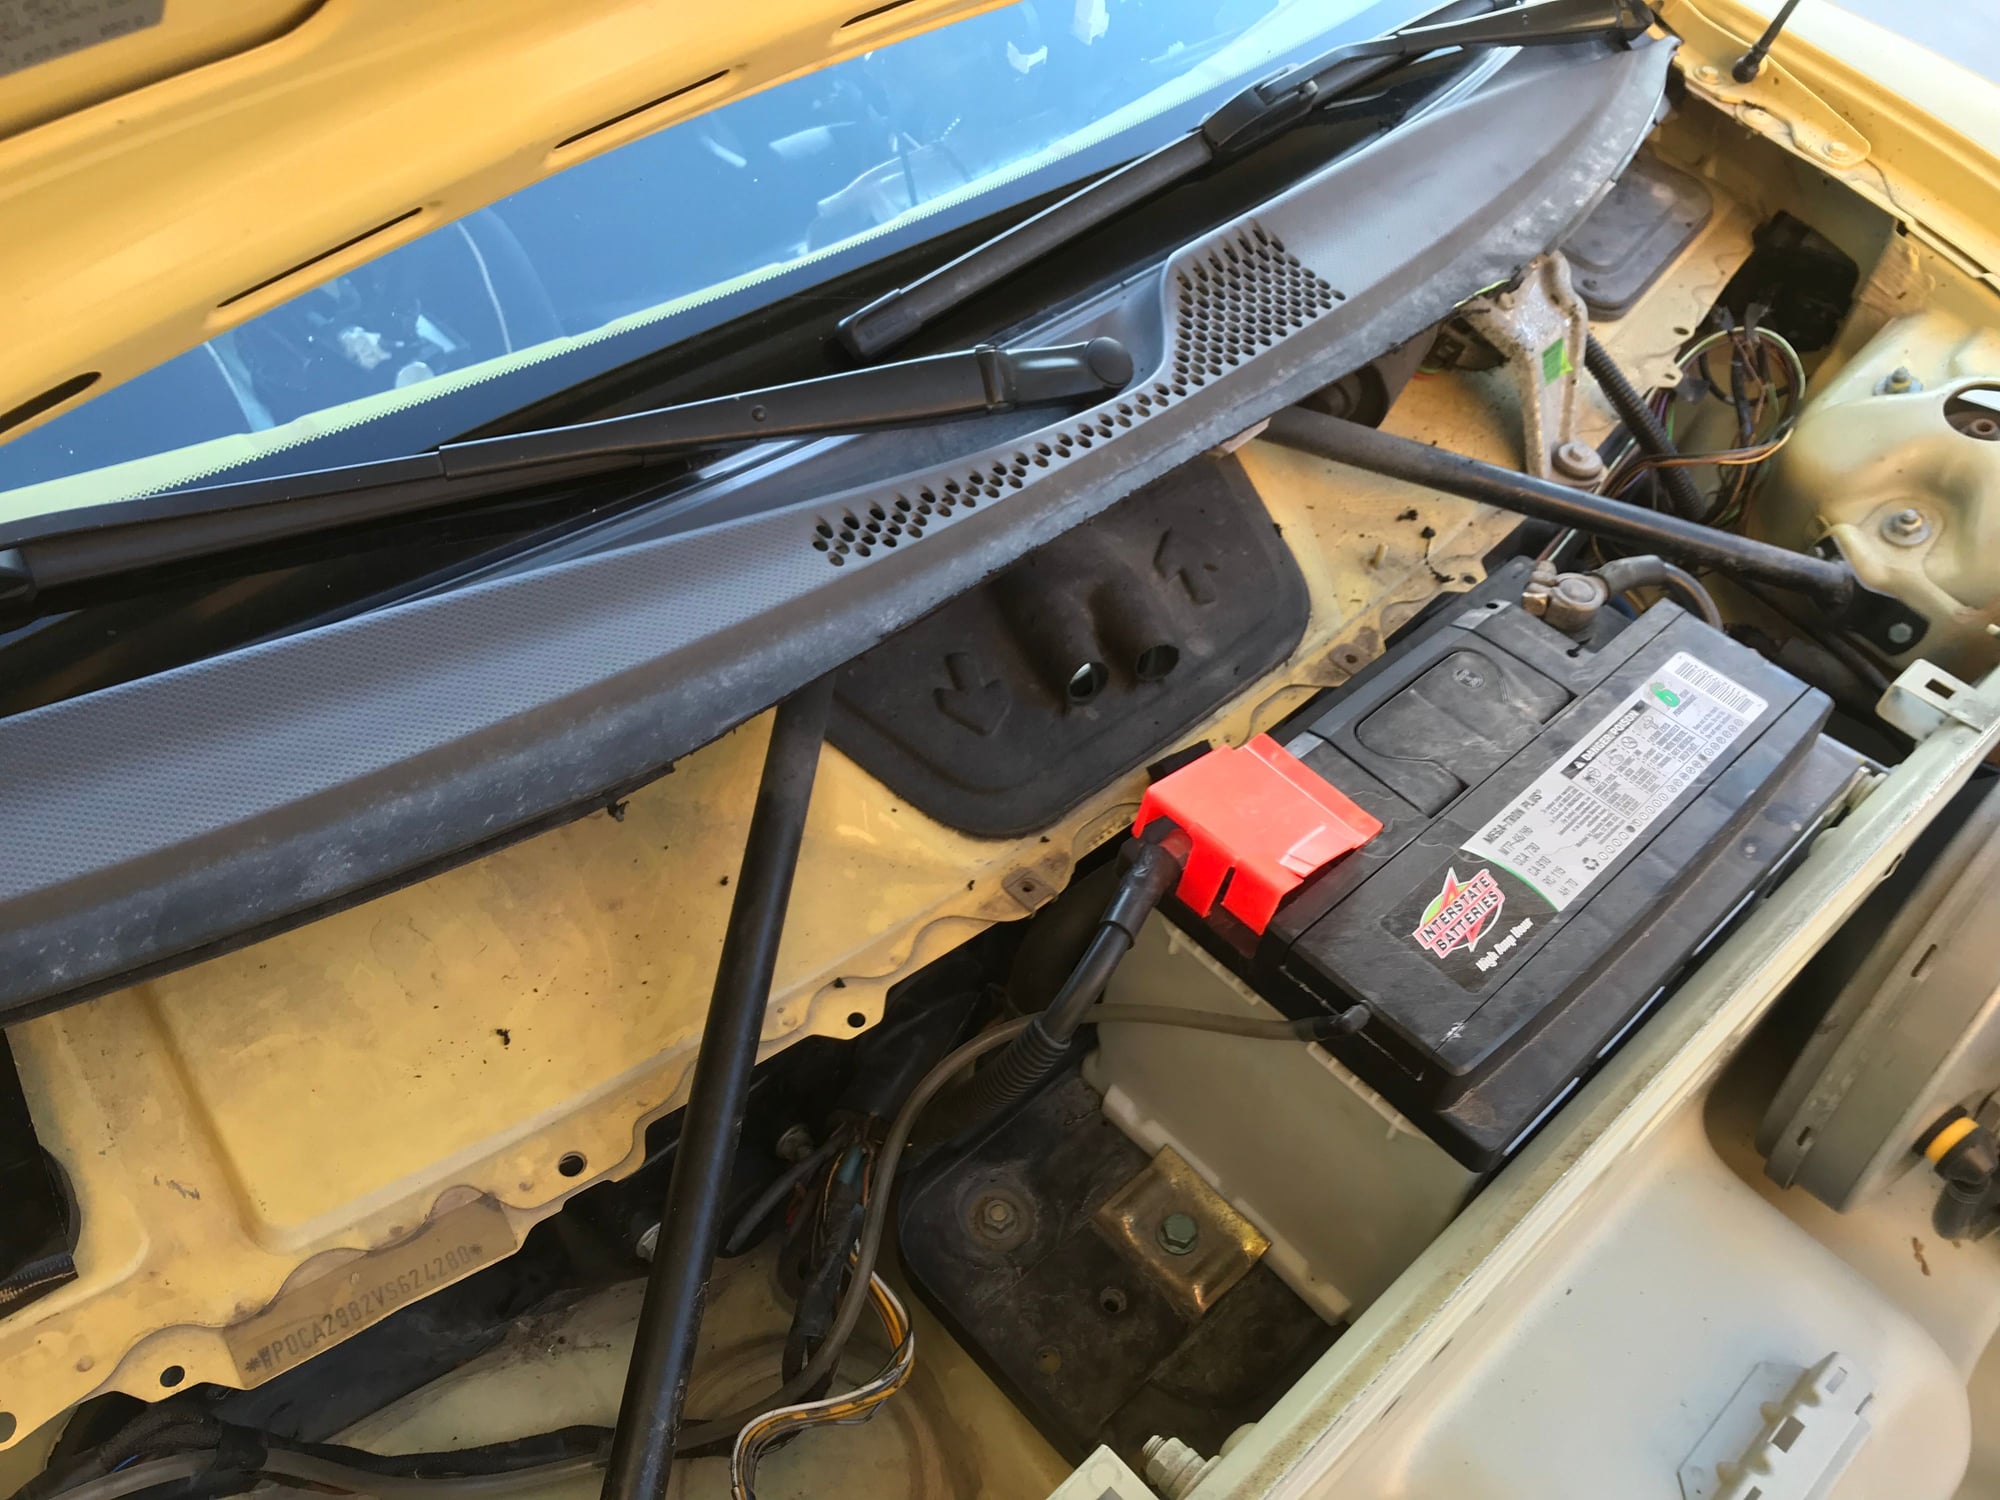
I'll have to run out to get some power steering fluid to top it off after the AC compressor comes out.
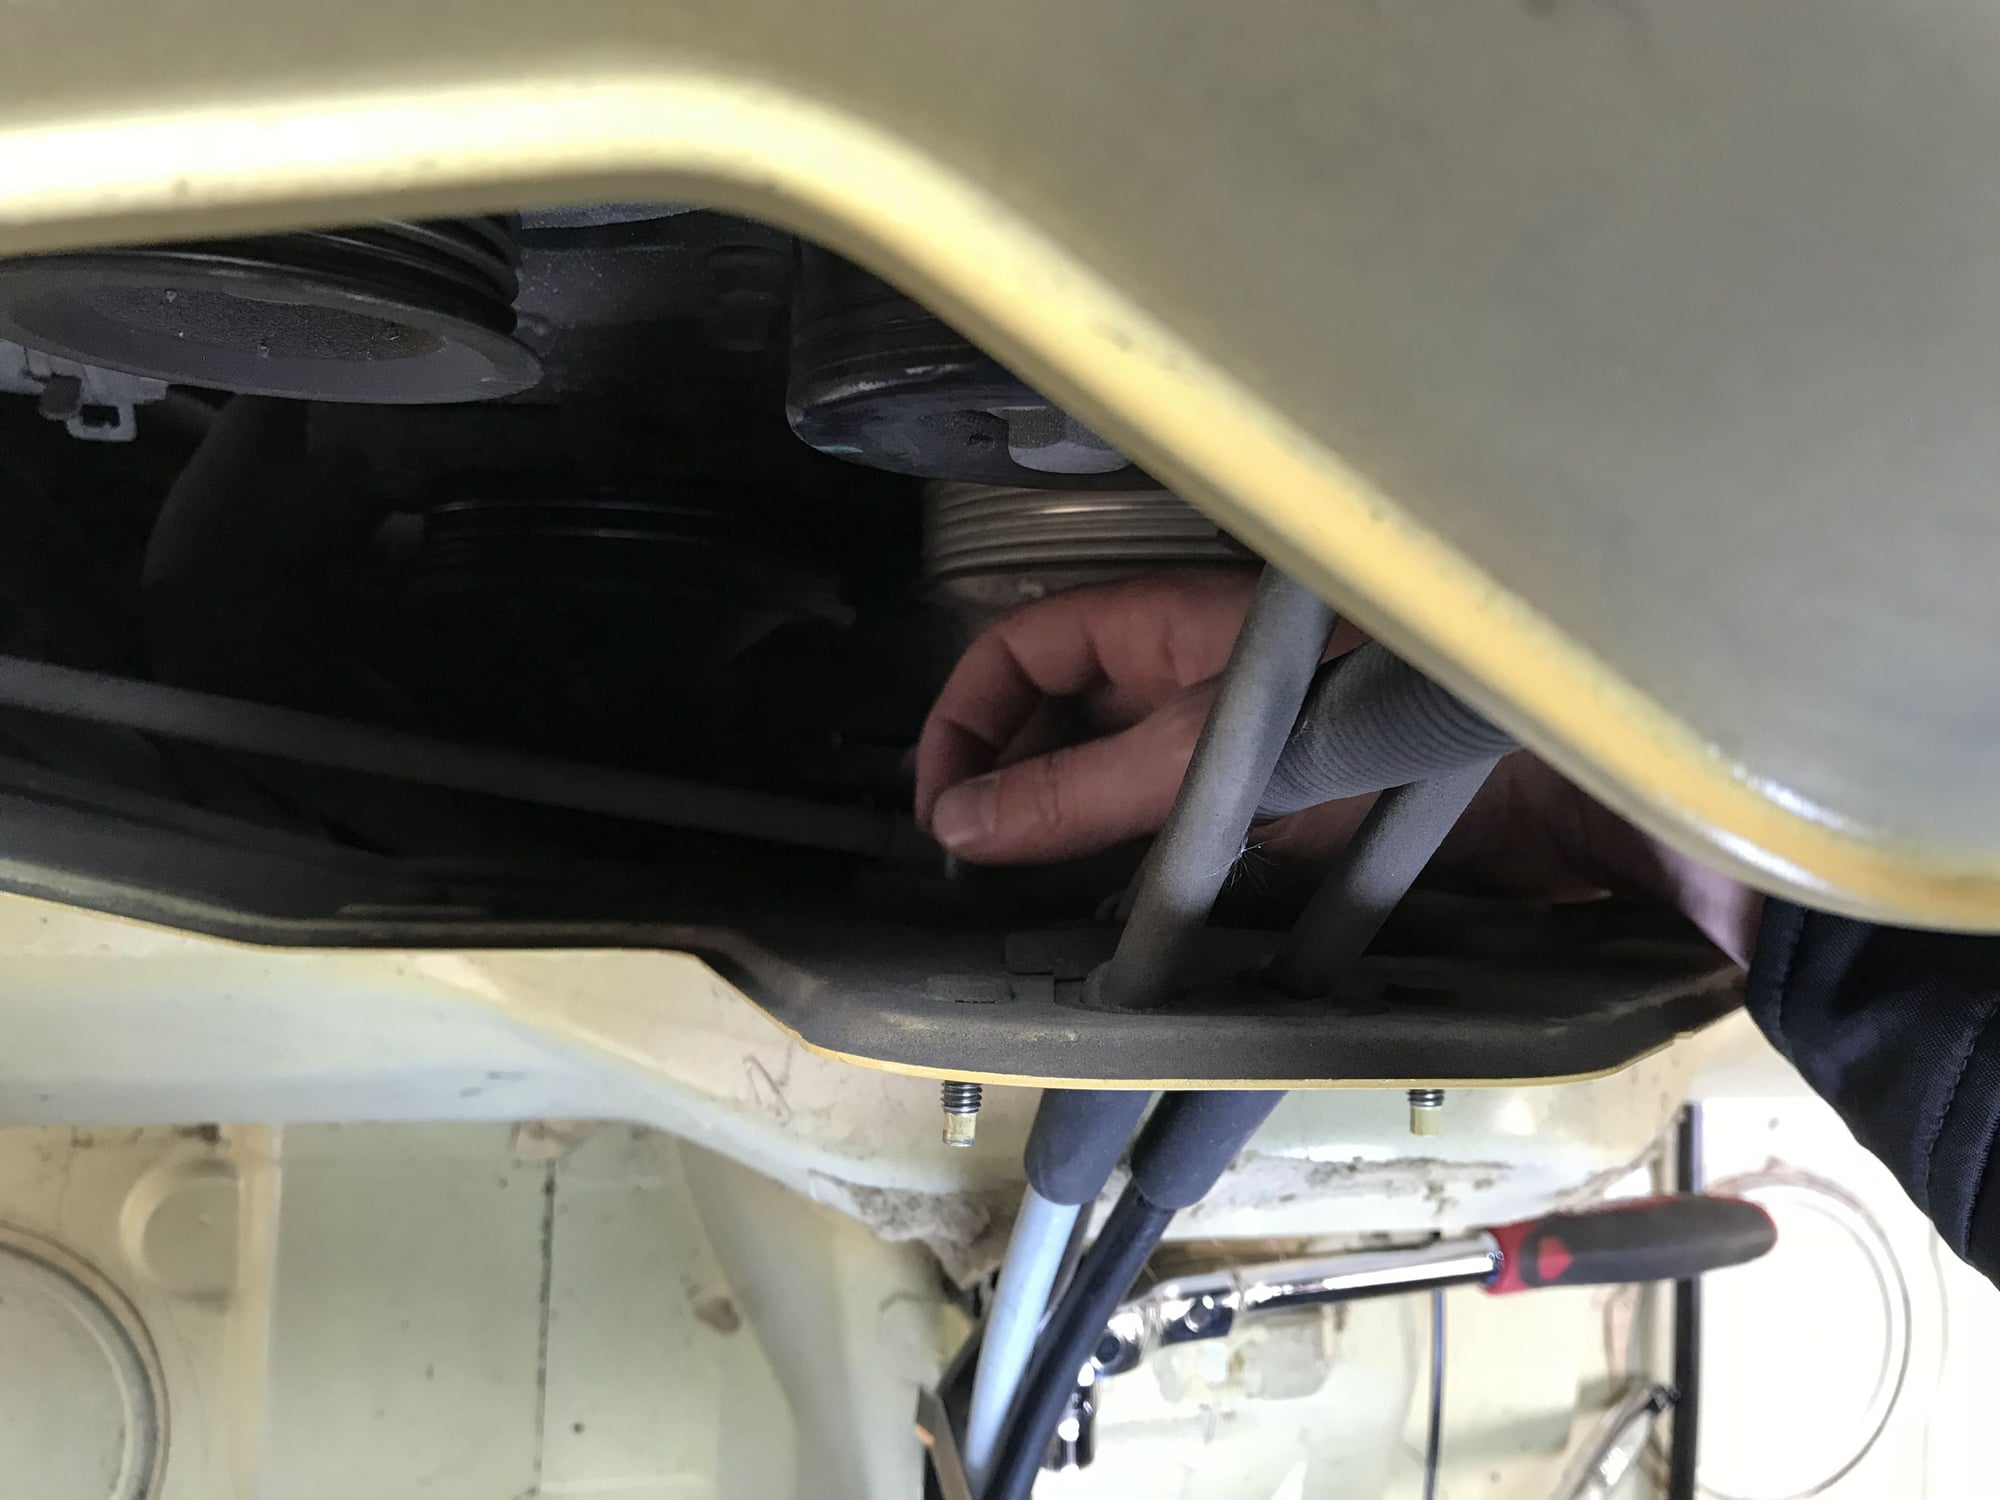
When accessing the crank pulley bolt I found the parking brake cable mount was in the way. I unbolted the mount just forward of the engine to get better pulley access, and it was just dangling in the air asking to be removed. I took off the rear wheels and cut the cables at the wheel carrier and removed them from the car. I didn't want to take off the rear calipers today so I'll pull the wheel carrier parking brake hardware another time.
AC compressor is out. With the engine cover off it’s quick and easy with just a few things I didn't expect.
- The power steering fluid reservoir bayonet fitting is dirt simple in principle but reasonably hard to reach/access if your hands are shaped like mine. My power steering fluid was low so no fluid leaked out. It’s been refilled. And the power steering cap pretty much rolls and falls down no matter where you put it, so for goodness sake don’t put it on top of the engine above the AC compressor or you might end up missing it for a bit!
- The two AC lines were so tight that my socket hexes, which are 3/8” sockets extended to maybe 5” via long hex lengths (so the socket steel is short and the hex portion is long), visibly twisted by about 30 degrees before the bolts cracked free. I was wondering if I was going to break the socket hex.
- You’ll want decent length socket extensions for the AC lines as well as the aft 13mm AC compressor bolt that sits between the manifolds.
NASA Utah did a promo for six single day events for $1099 so I signed up for it. The first DE is 3/17. I'm excited! I'm hoping to develop my skills well enough to progress to TT this year. And if not, no big deal - I'll have loads of fun out there anyway.
I'm still waiting on that UDP - it was backordered for a week and then they had some kind of mechanical issue, so hopefully things will be resolved and it will ship out shortly. Any new PSS9s I can find that are priced near $2000 are also out of stock at the moment. Pity as I was looking forward to improving the car before the first track day - at this rate I wonder if I'll have to reinstall the stock pulley... I did get a set of swift springs for $300 shipped (kamispeed was my source), and I plan to get front GT3 LCAs with the PSS9s. It would be better to get the rest, but again the job change slowed things down compared to the original plan. I've really been enjoying seeing my wife at home instead of having her away at work all the time!
Haven't done much on the car this last few weeks since the UDP hasn't come and we've had a stretch of cold weather that kept me in the warm house. I trimmed out and removed a few rear trunk wires, checked and adjusted the PS fluid level (I had overfilled it), and removed a small section of AC line off the car - I cut off the section under the car near the passenger door sill. I need to pull the AC lines from the engine bay, from the passenger wheel well, and trace and pull the AC wiring.
A part of me keeps wanting to take the pressure washer to the engine bay - I'm not sure if that would have potential to do damage so instead I just keep thinking how dirty it is in there. I'll have to figure something out one of these days.
I�ll be using a temporary (and very ugly!) exhaust solution for now - I removed the muffler and will retain the cats with a turn down added to the factory U pipes.
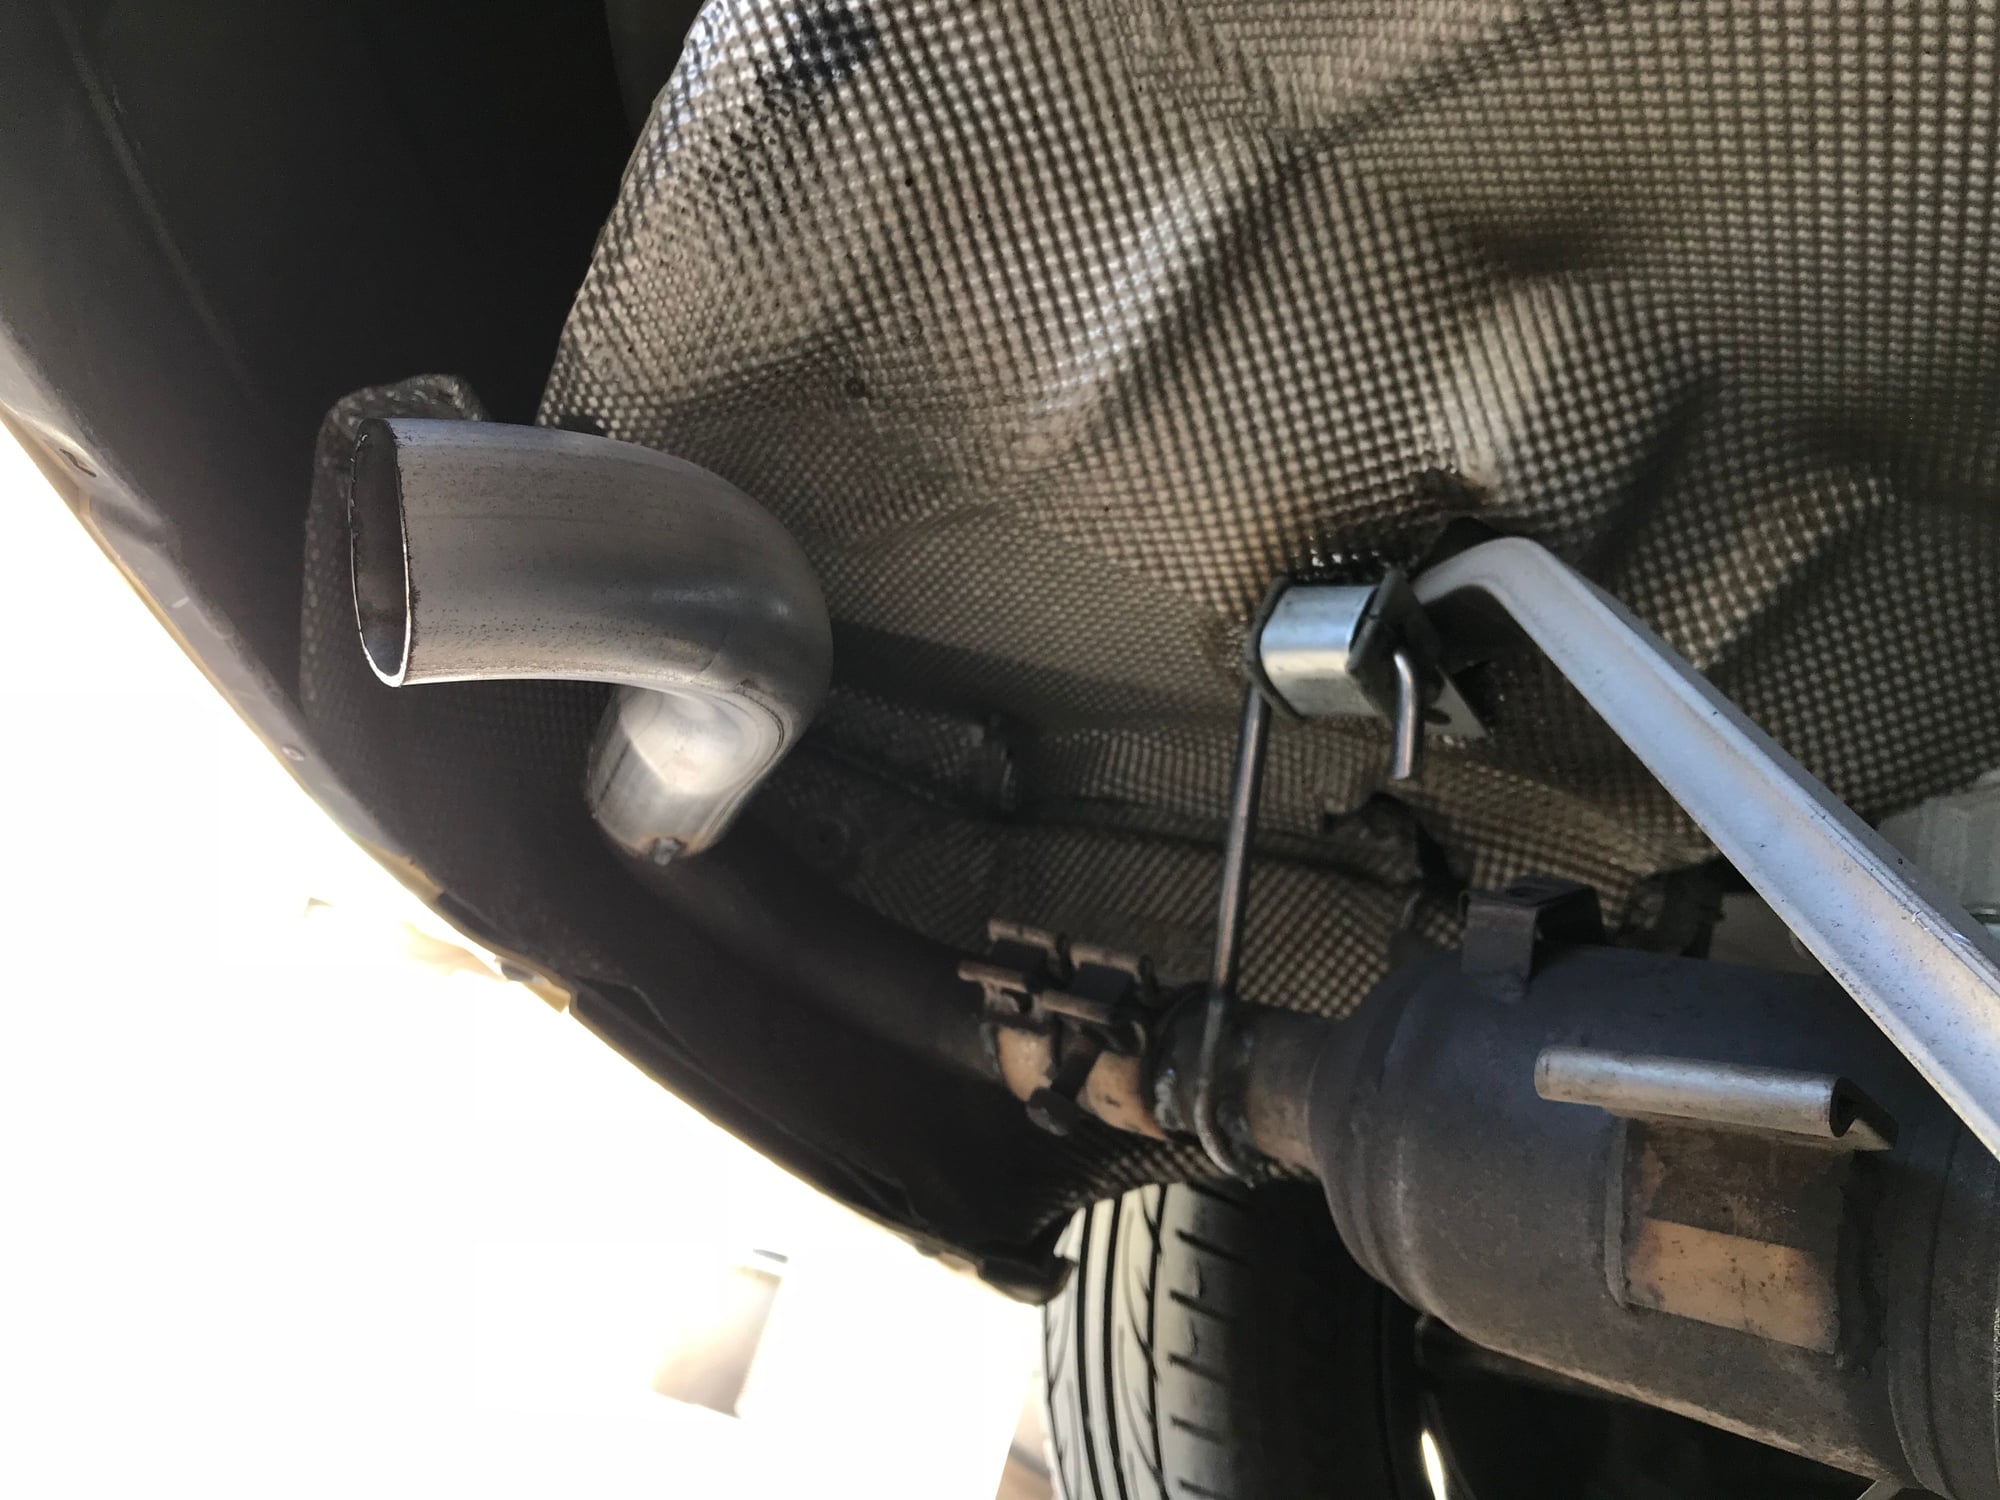
I had a local muffler shop weld these on for me. They gave me the scrap bends earlier and now they had a young tech do a quick weld at no charge. The unexpected fill lines are from cuts in the metal - I had originally cut slots in the scrap pipe to get it to bend a bit more and see if I could make a clamp work. In the end nothing I had around would work so I figured rather than buying clamps I may as well just have it welded on. Again, ugly, but for now it was all about dropping the weight of the mufflers off the car. Success there!
It�s loosely in place in the photo to show what I�m doing.
So the exhaust won�t clamp. I guess 20 years of heat cycling and the bands stretched enough that it just can't get tight again. I ended up breaking the outer catalytic converter clamps as they just wouldn�t tighten enough to keep the pipe from rotating freely - the steel failed before it clamped tightly. I�ll try to run by that exhaust shop Friday and see if they have an answer for me. If not I can just pull the bumper off for now (the cats point outward to it so I suspect over a little time the bumper would be damaged / melt) and I can figure something out in a week or two.
I took a minute to throw wiring sleeves on most of the unwrapped wires in the trunk to keep things tidier. Also used Meguiar�s spray on car wash to quickly clean the car up a bit.
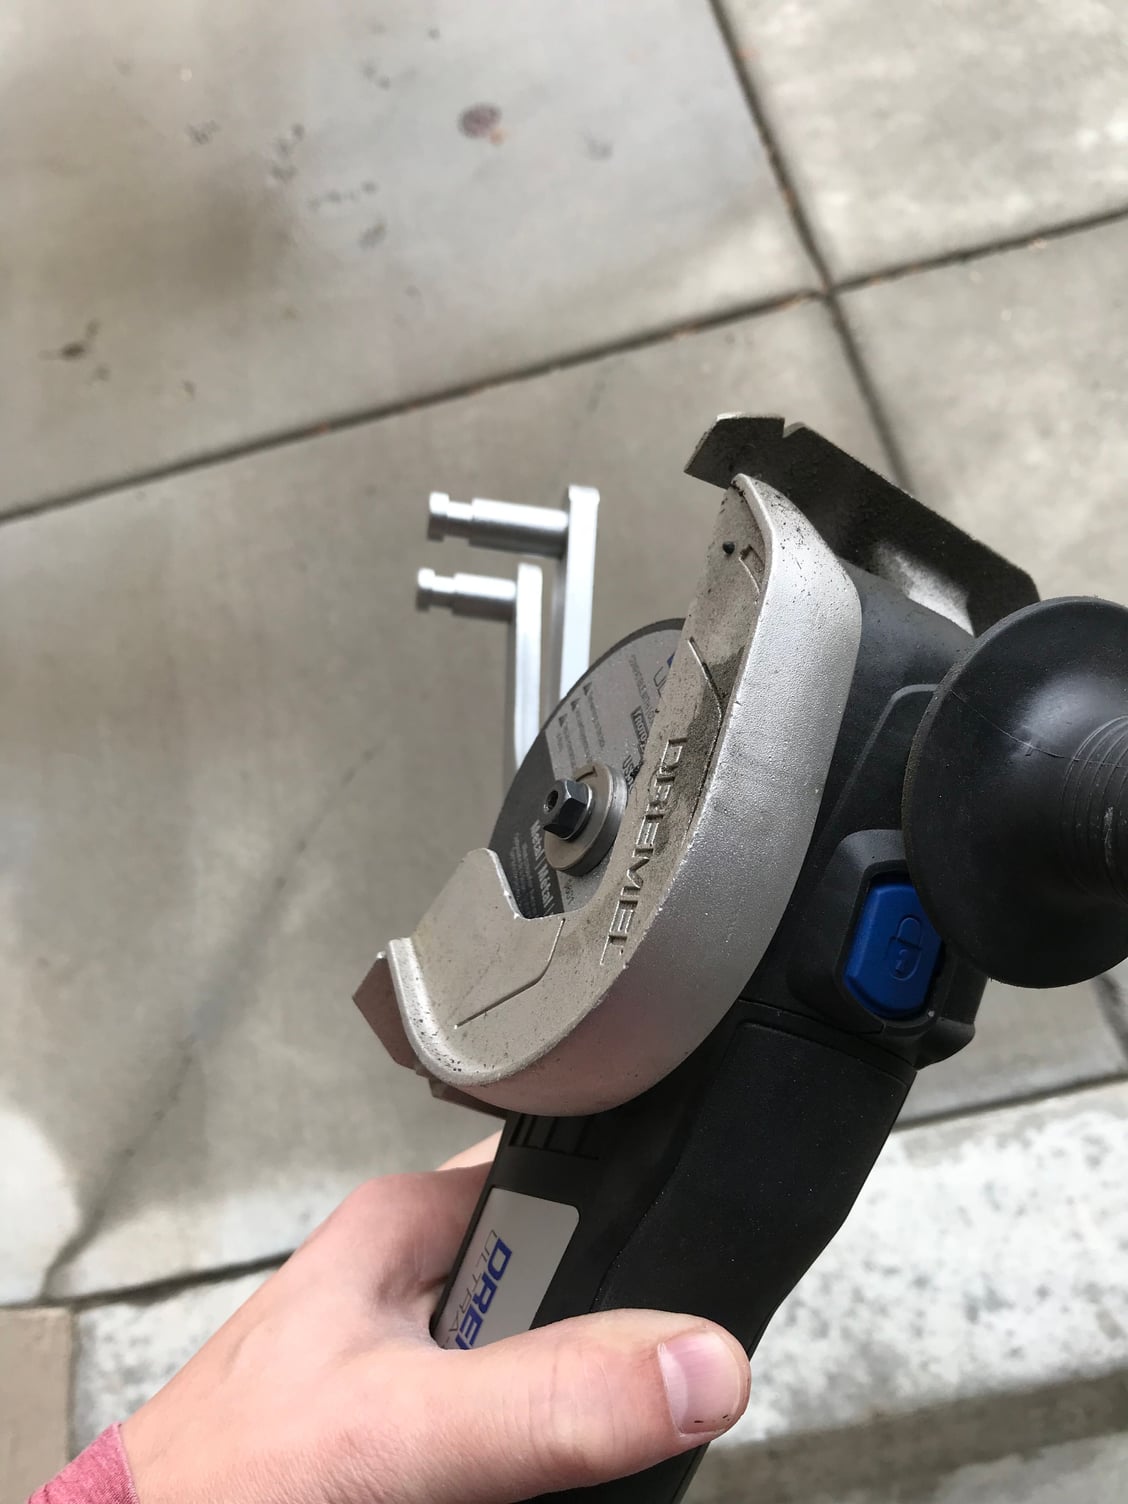
I removed the timing boss to do the pulley install. Ended up removing it the tedious way with a hacksaw. I�d recommend planning to do it that way to anyone doing the job. I looked for tools at Lowe�s and Home Depot and the Dremel with the flex extension was the best general purpose tool I could find that I thought had a good chance of succeeding at this very tight job. (I didn�t want a one time use tool and figured I'd use this one again.) I ended up putting the flex cable piece into the transmission cable cavity to get a bit of room and got about half of the boss cut down, but I had to fall back on the hacksaw anyway. Which is why my recommendation is, unless you have a great tool and get lucky, just plan to use a hacksaw.
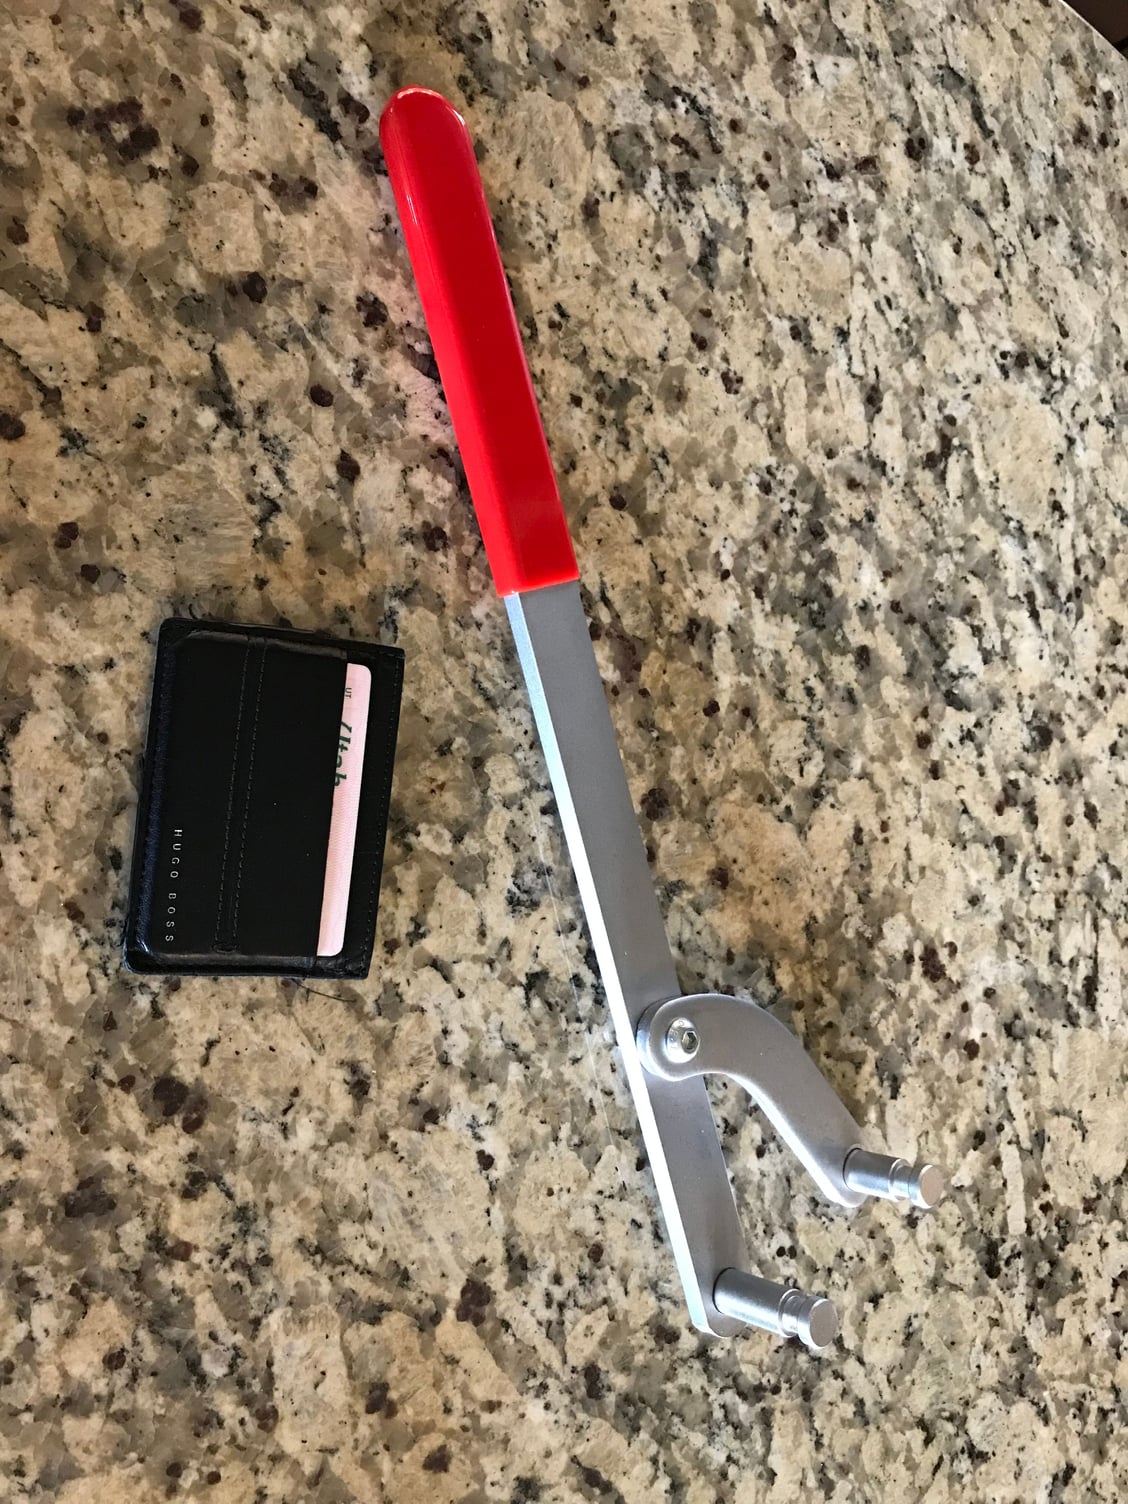
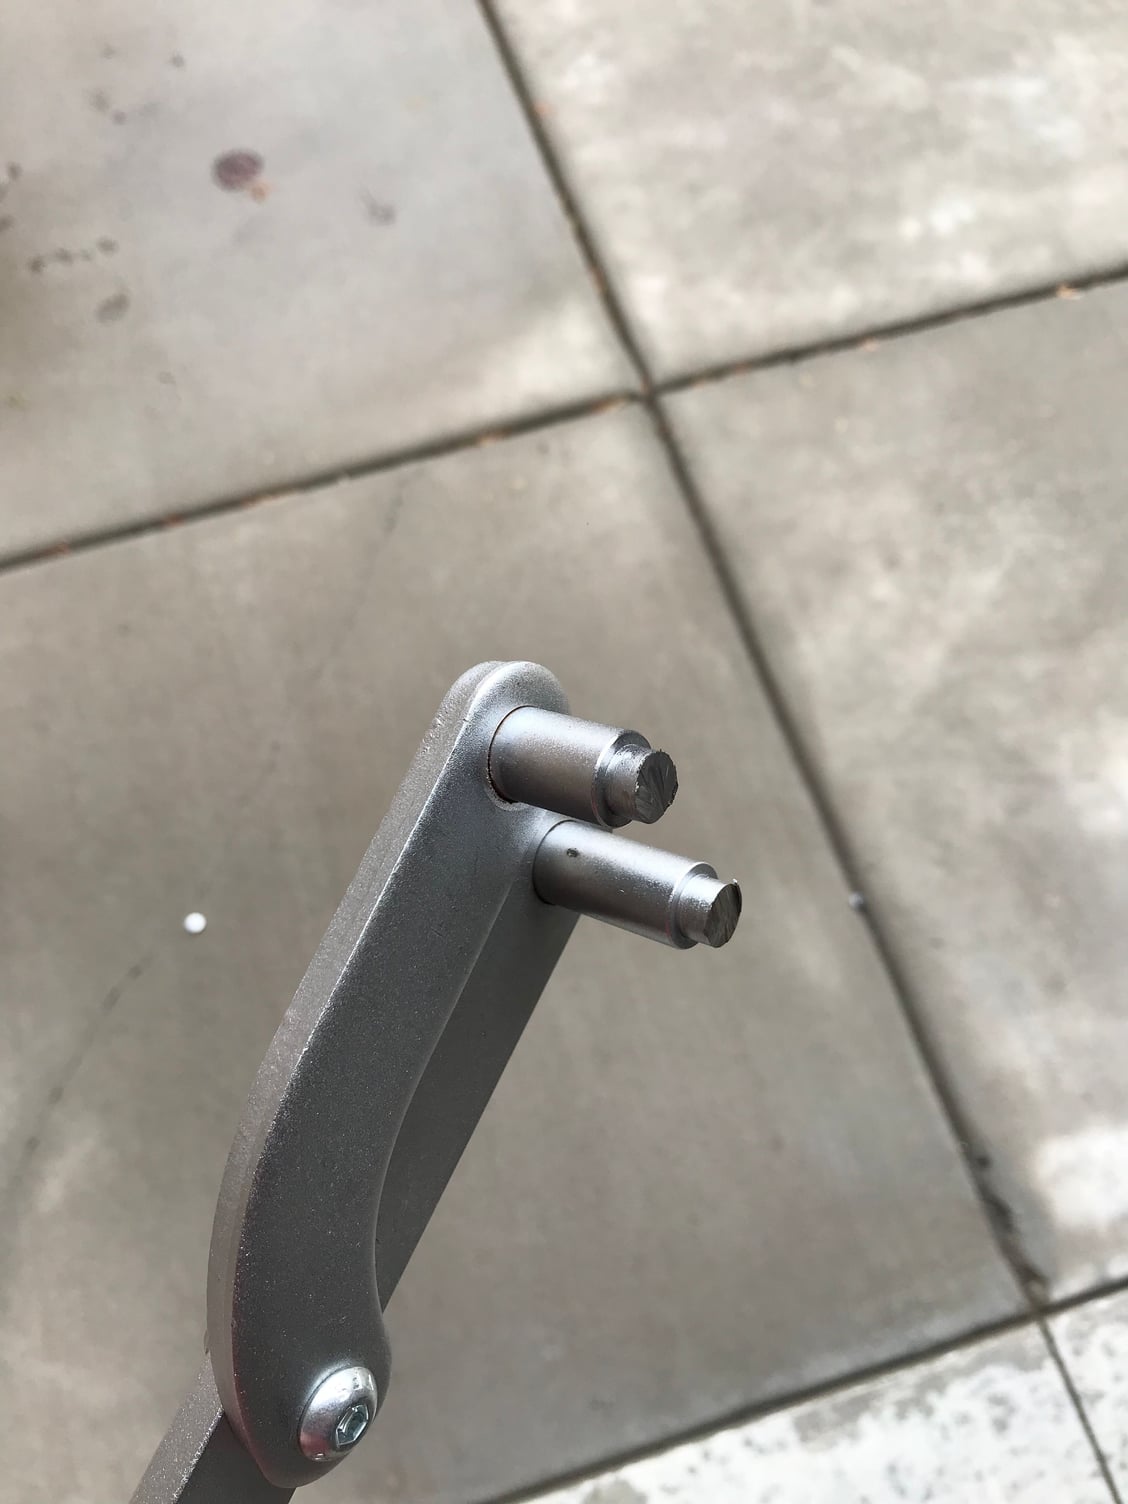
Once that was done I hit it with the shop vac to clean up shavings and then put the pulley back on and couldn�t tighten it down to spec. I thought of a few ways to make something with my available scrap hardware but the best idea I could come up with would have been a few hours of messing around with a big piece of wood, some bolts, and a big center hole for the socket. That might work, but it wasn't quick or certain so I thought forget it and ordered a cheap pulley holder tool on amazon and paid extra for "one day" shipping. It should be here Thursday. Then I can tighten it properly, test start the car, and button it up for the DE Saturday.
By the way, most of these posts are edited - I typically post the pictures from my phone. Between the phone's occasional autocorrect creating a mistake, me often creating a mistake, and the forum's general bugginess when doing long mobile posts with inline images I almost never get it right the first time. If it's bad I'll typically edit it later on the computer to clean it up.
I also wanted to get the temporary exhaust system done for now. I grabbed a few stainless zip ties and loosely hung the pipes in place with them. For a short trip this should be fine.
I figured if I drive the car with the catalytic converters pointed to the exhaust heat shields I'd melt the bumper. So I'll hang the pipes in place instead and try to get it welded tomorrow.
I drove it out, got gas, and ran around in the car for an hour or so to get everything warmed up. It's been parked for several months so I wanted to get some fuel through it, charge the battery, and find out if I needed to do anything else before the DE. Once the oil had time to warm I ran through the first few gears a few times. With factory cats and no muffler, the car has a horrible resonance that builds until a very boomy 3000 RPMs. By 3200 RPMs the resonance is essentially gone and has a pretty good sound to the end of the powerband. I'm happy to have the weight of the stock muffler gone!
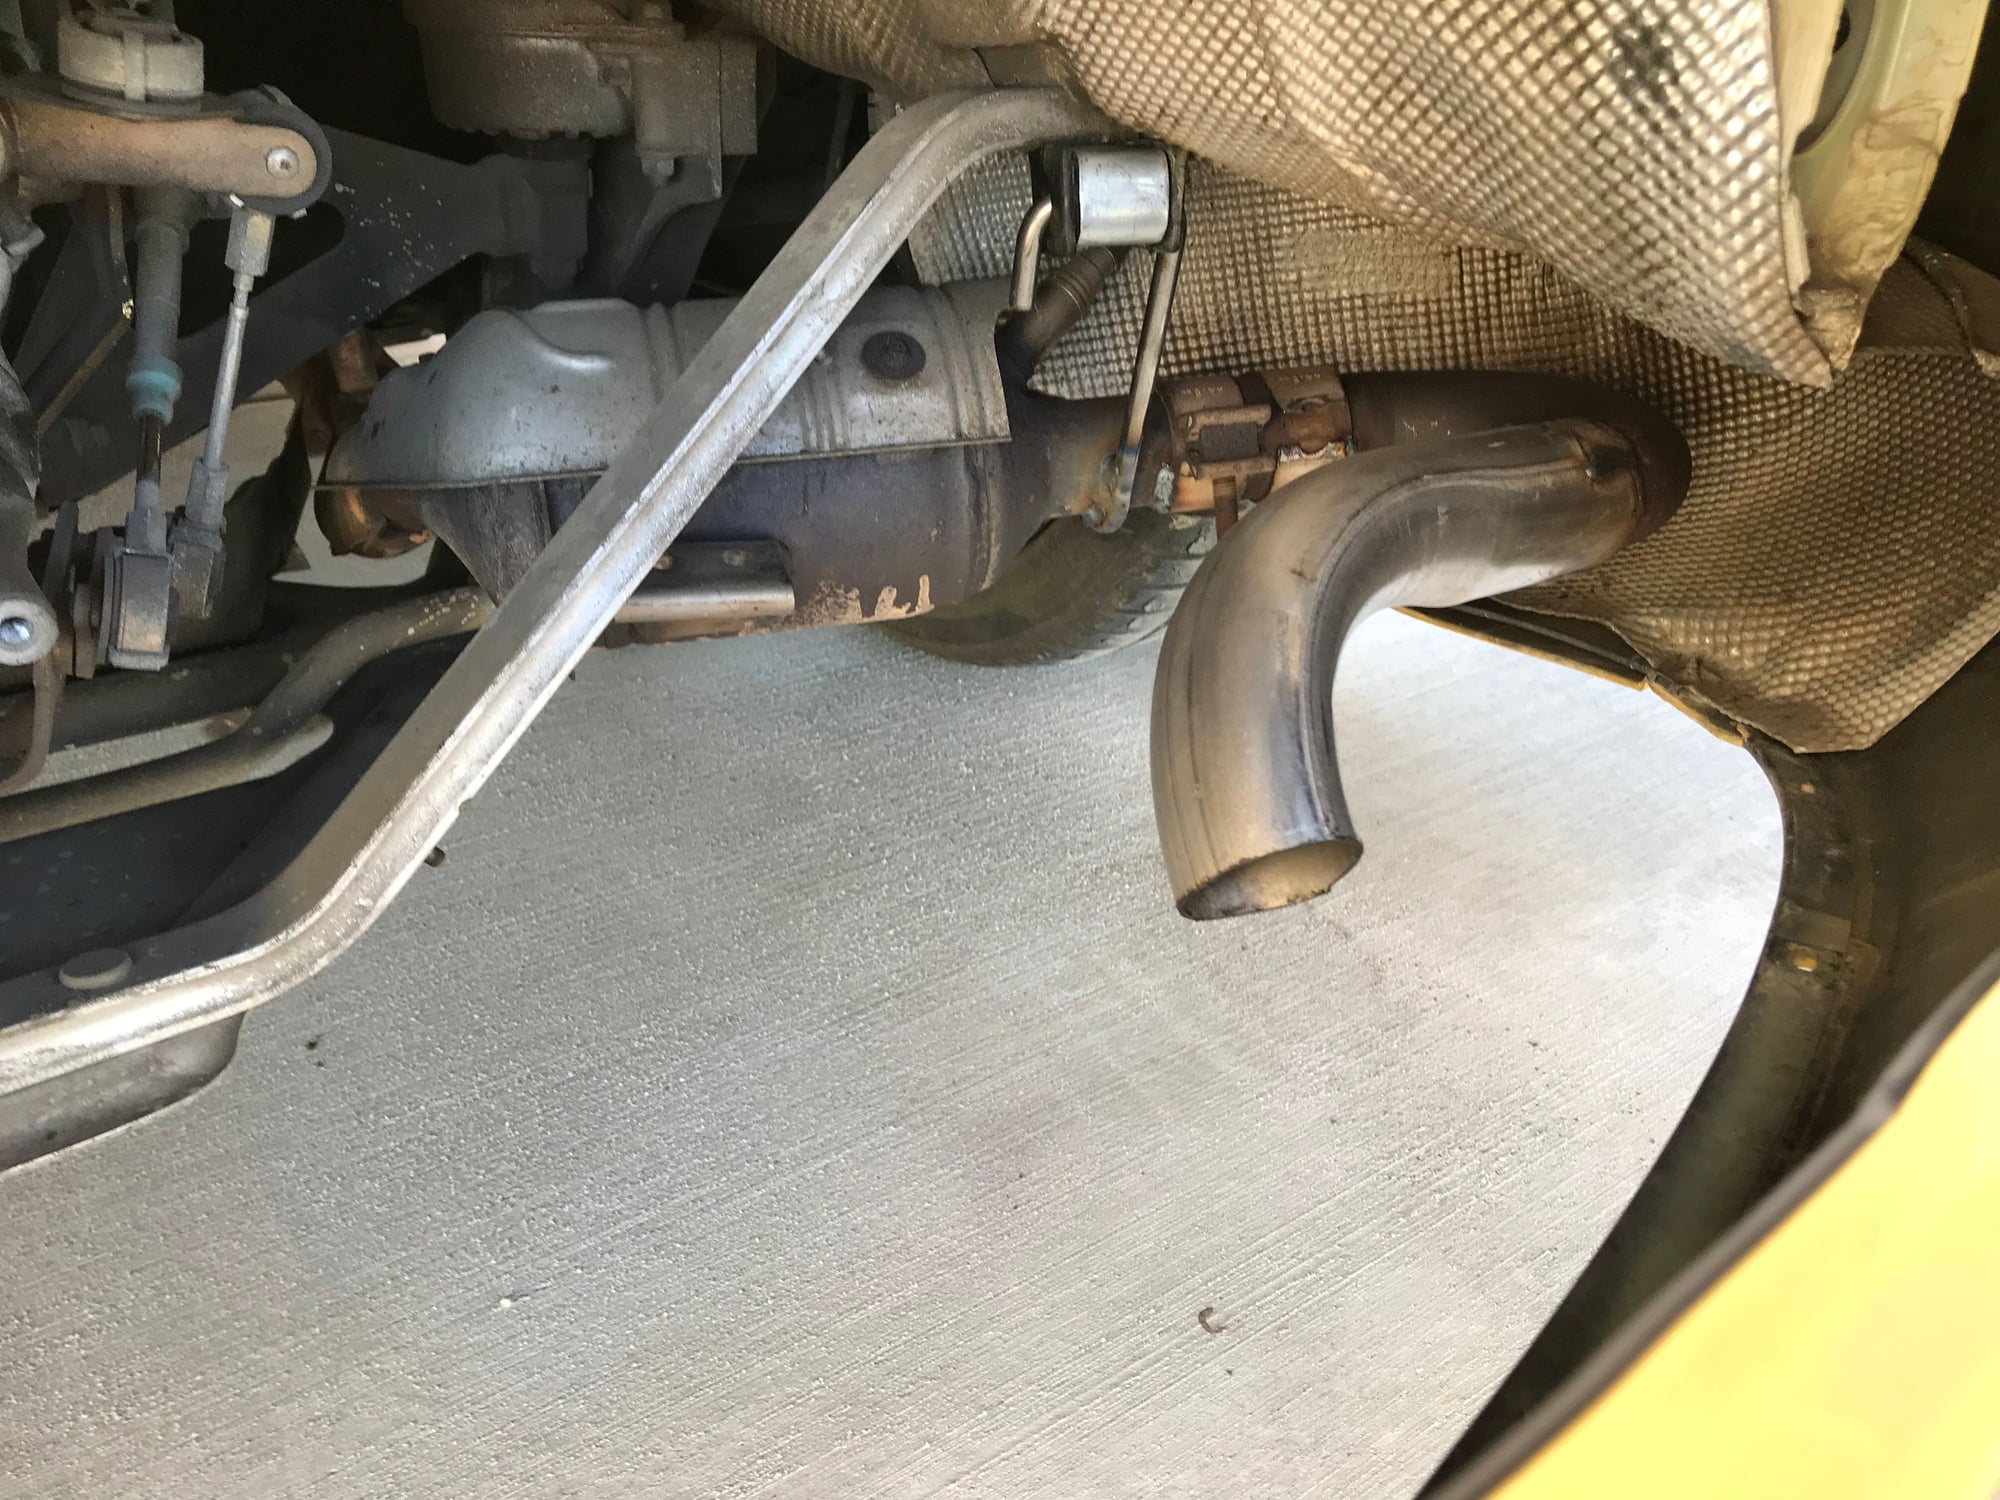
Ran to the muffler shop. Told them I wasn�t concerned about aesthetics or anything, just wanted the parts secured to the catalytic converter. They added a pair of hangers at the cats and enough weld to keep the pipes permanently in place, charged me $40. I�m happy with this. I also passed emissions so I can keep a plate on the car longer.
The first DE of the season was last Saturday. I had a lot of fun and the car did well and had no issues. It’s much easier to shift based on sound when you’re immersed in it.
We had snow falling on a cold and wet track in the first and last session - pretty slippery! The street summer tires were better than slicks for a lot of the event.
Im looking forward to getting the suspension upgraded. I believe they’re still out of stock on the spec PSS9s at places that offer competitive prices (close to or at $2000). I plan to get those and front LCAs when the shocks are available. From what I hear that should be next month. I ordered the spec cup front front lip and should receive that Monday.
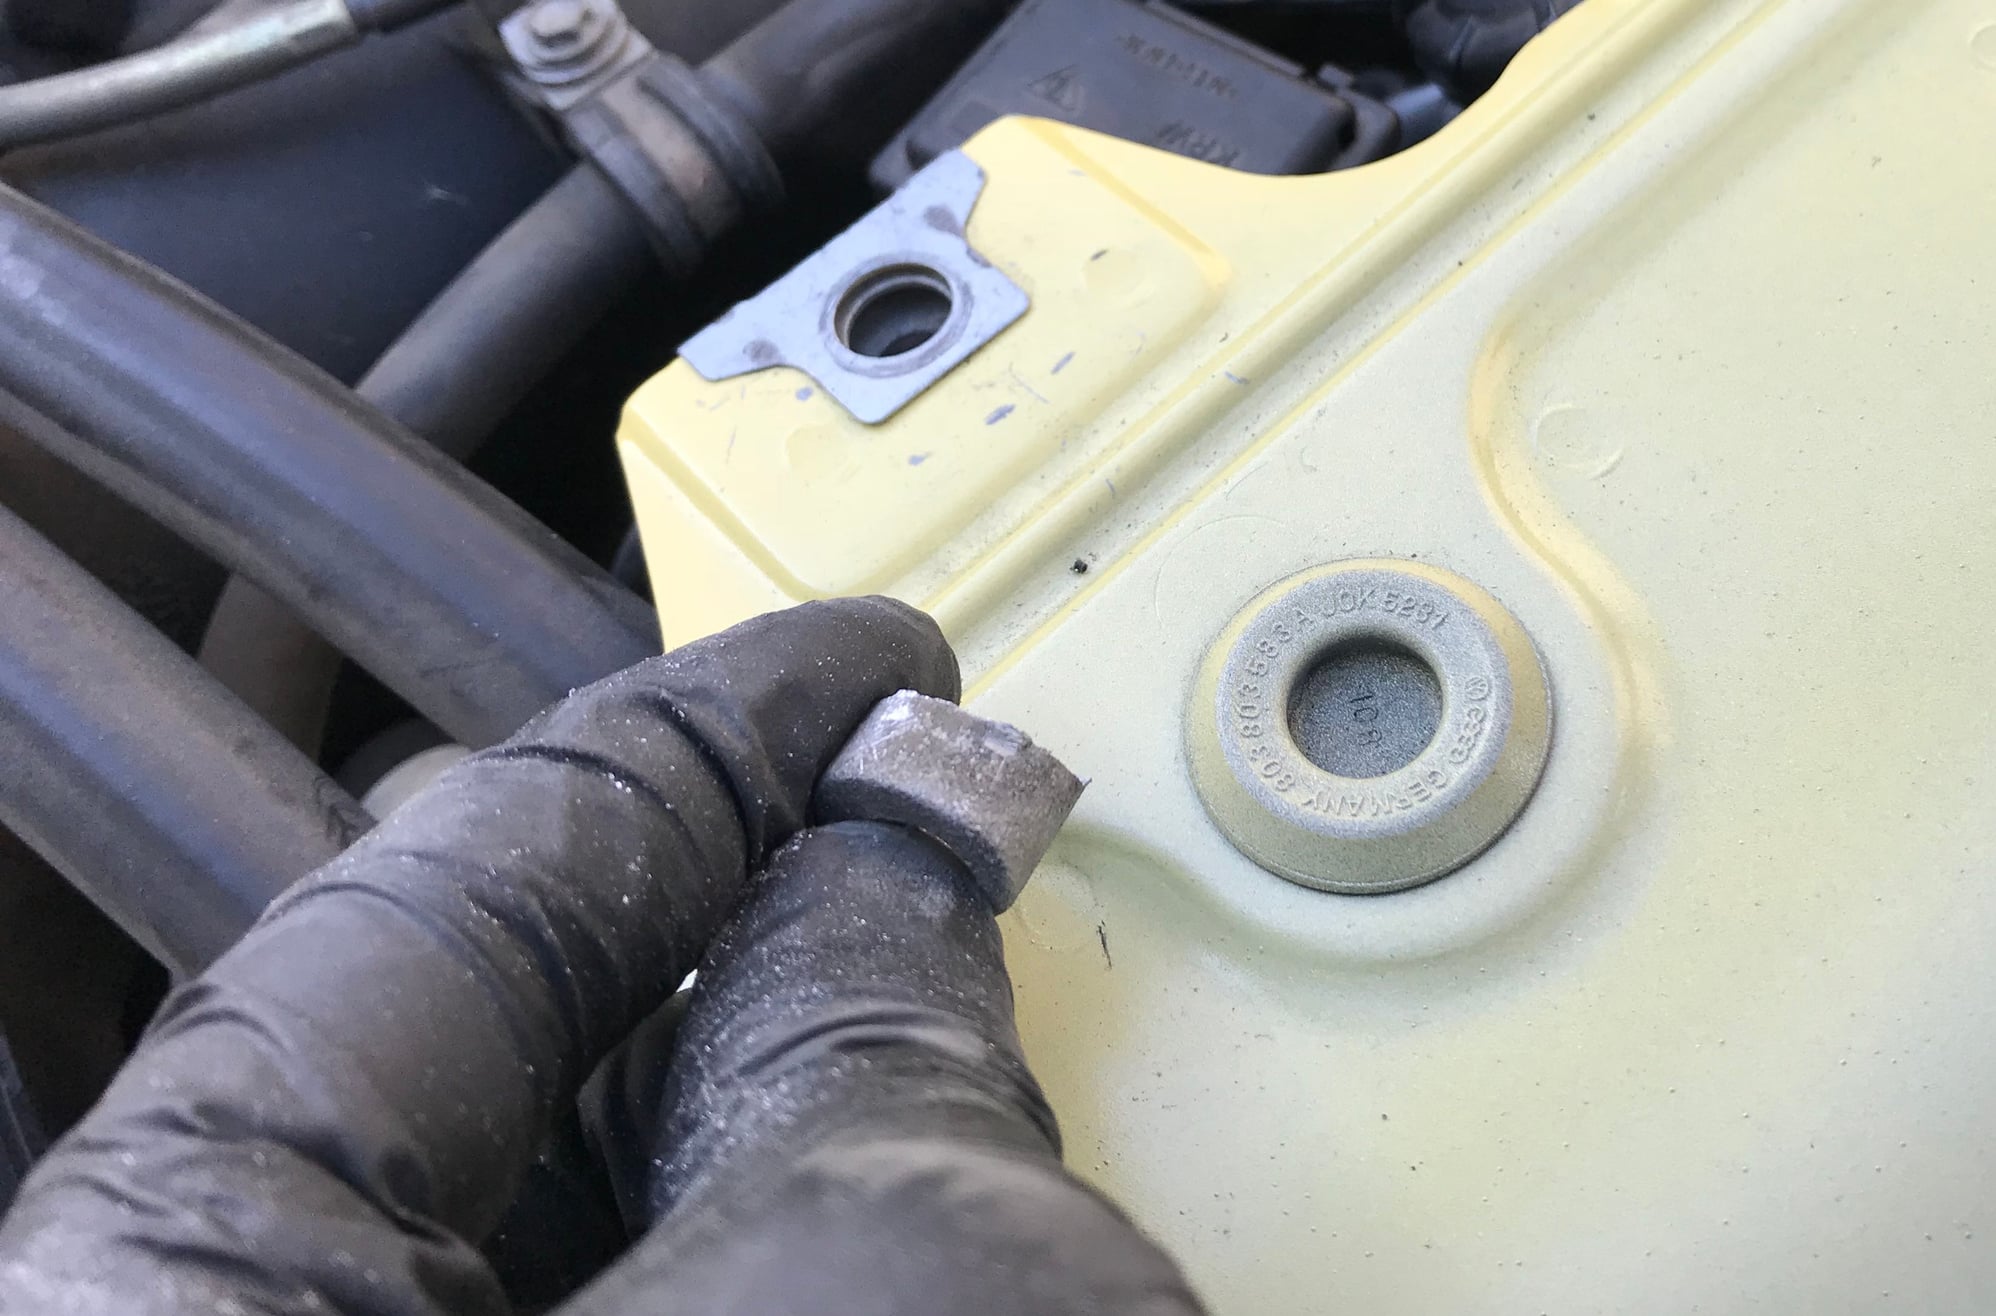
I measured the thickness of the door and trunk area sheet metal with a micrometer. I wanted to size a foam. I wasn't trying to be super precise but with my quick checks the thickness of each sheet appeared to be 0.036". That's right about 0.9mm. Some areas are double thick when two layers of sheet metal come together. I checked two cut places on the lower inner door lip (which had jagged edges), the metal surrounding the trunk lid (which was two sheets together so about double the thickness in total) and the aft trunk... firewall would you call it? I have some wires touching sheet there and need to put something on it. I was looking to go on McMaster and buy a long run of thin and light foam U-channel push-on trim edging to cover the sharp edges in areas where I might put my hand or skin.
The smallest width they have in foam rubber is 1/16" = 0.0625". That's probably too wide. They do have neoprene rubber to suit a sheet of 1/32" = 0.031" thickness, and the part number 8507K11. (https://www.mcmaster.com/#8507k11/) I might order some but I'll probably try to order a few more things at the same time. Plus I'll probably retrim or at least break the edges off of a lot of the cuts before I consider it finished since many of them are pretty coarse and it wouldn't take but a few minutes to knock the sharp edges off.
Separately, just out of curiosity, I wanted to see what the weight of sheet metal would be. For a single layer of sheet metal of 0.036" thickness, a typical estimate for the density of steel is 0.284 lbs/in^3, so the areal weight is just over 0.01 lb per square inch. So for this sheet thickness, it takes about a ten by ten piece to save a pound, and for a double layered section a seven by seven piece saves a pound. A square foot will be just shy of a pound and a half.
So I missed the last NASA DE after getting sick. I�ll go to a PCA DE this Saturday instead. I got to spend a bit of time on the car today and a few days back.
I bought that McMaster neoprene edge guard and put it on a sharp-ish sheet metal edge in the rear trunk where the wiring comes in through the drivers side firewall area. I was really thinking to use it for the door sharp edges more than anything else. I trimmed six individual wires from the rear trunk forward to the cabin wiring nest, and I retrimmed the rear bumper cover license plate area cutout to make it more straight. Not sure I succeeded but I tried.
Today I had a bit more time so I decided to get rid of the AC lines in the passenger fender area. I removed the wheel and weatherstripping and snipped and pulled the lines out. The fuel filler neck was in the way but it wasn�t a big issue.
I noticed that ducting the side radiators to the wheel wells as a brake cooling change will be a bit more involved than taking a zipsaw. There�s an electrical wire and some plastic supports that need to be considered and worked around. That�s a project for another day but it�s good to know what will be involved.
I did a real quick start on the windshield wiper system. I unbolted the passenger wiper and removed it and used a zipsaw to trim the plastic support. I ran the wipers a bit to watch the motion, and I removed the two big black wiper system support bars. I�ll remove more of the system later but I ran out of time. Another day, a bit more work done!
Well, had a spot of lousy luck at a PCA DE today. In the first session on about lap three at a Sunday drive pace I got a CEL and started to hear a tapping or knocking sound. I slowly and gently got the car off the track. The sound got pretty loud and I parked the car in a nearby area where it could be towed home. The car showed no leaks, but the oil light came on right before I shut it down. Two guys that are mechanics and heard the sound from a close distance said they suspect one of the cylinders has let go and I'll need a rebuild or a new motor. This will be too big a job for me so I'll just have the local shop do the work. Guess we'll find out shortly.
New plan is the suspension will go on hold for now and I'll be doing the engine and the parts that make sense to swap while the motor is out. Thinking a fresh IMSB, oil and tranny cooler, clutch and flywheel, swap over my deep sump, crank pulley, and maybe the plugs/coils. Maybe there's something else I'm not thinking of - I'll have to check the SPB rules and see. I may add an accusump at this point just in case it makes a difference. While it seems to not help/matter at some tracks perhaps it's helpful at others (or mine).
The car is just sitting by the side of the house while we locate a motor. I talked with the shop and gave them a long list of things that have shared labor and will probably end up getting a lot done on the car. May as well make the most of it.
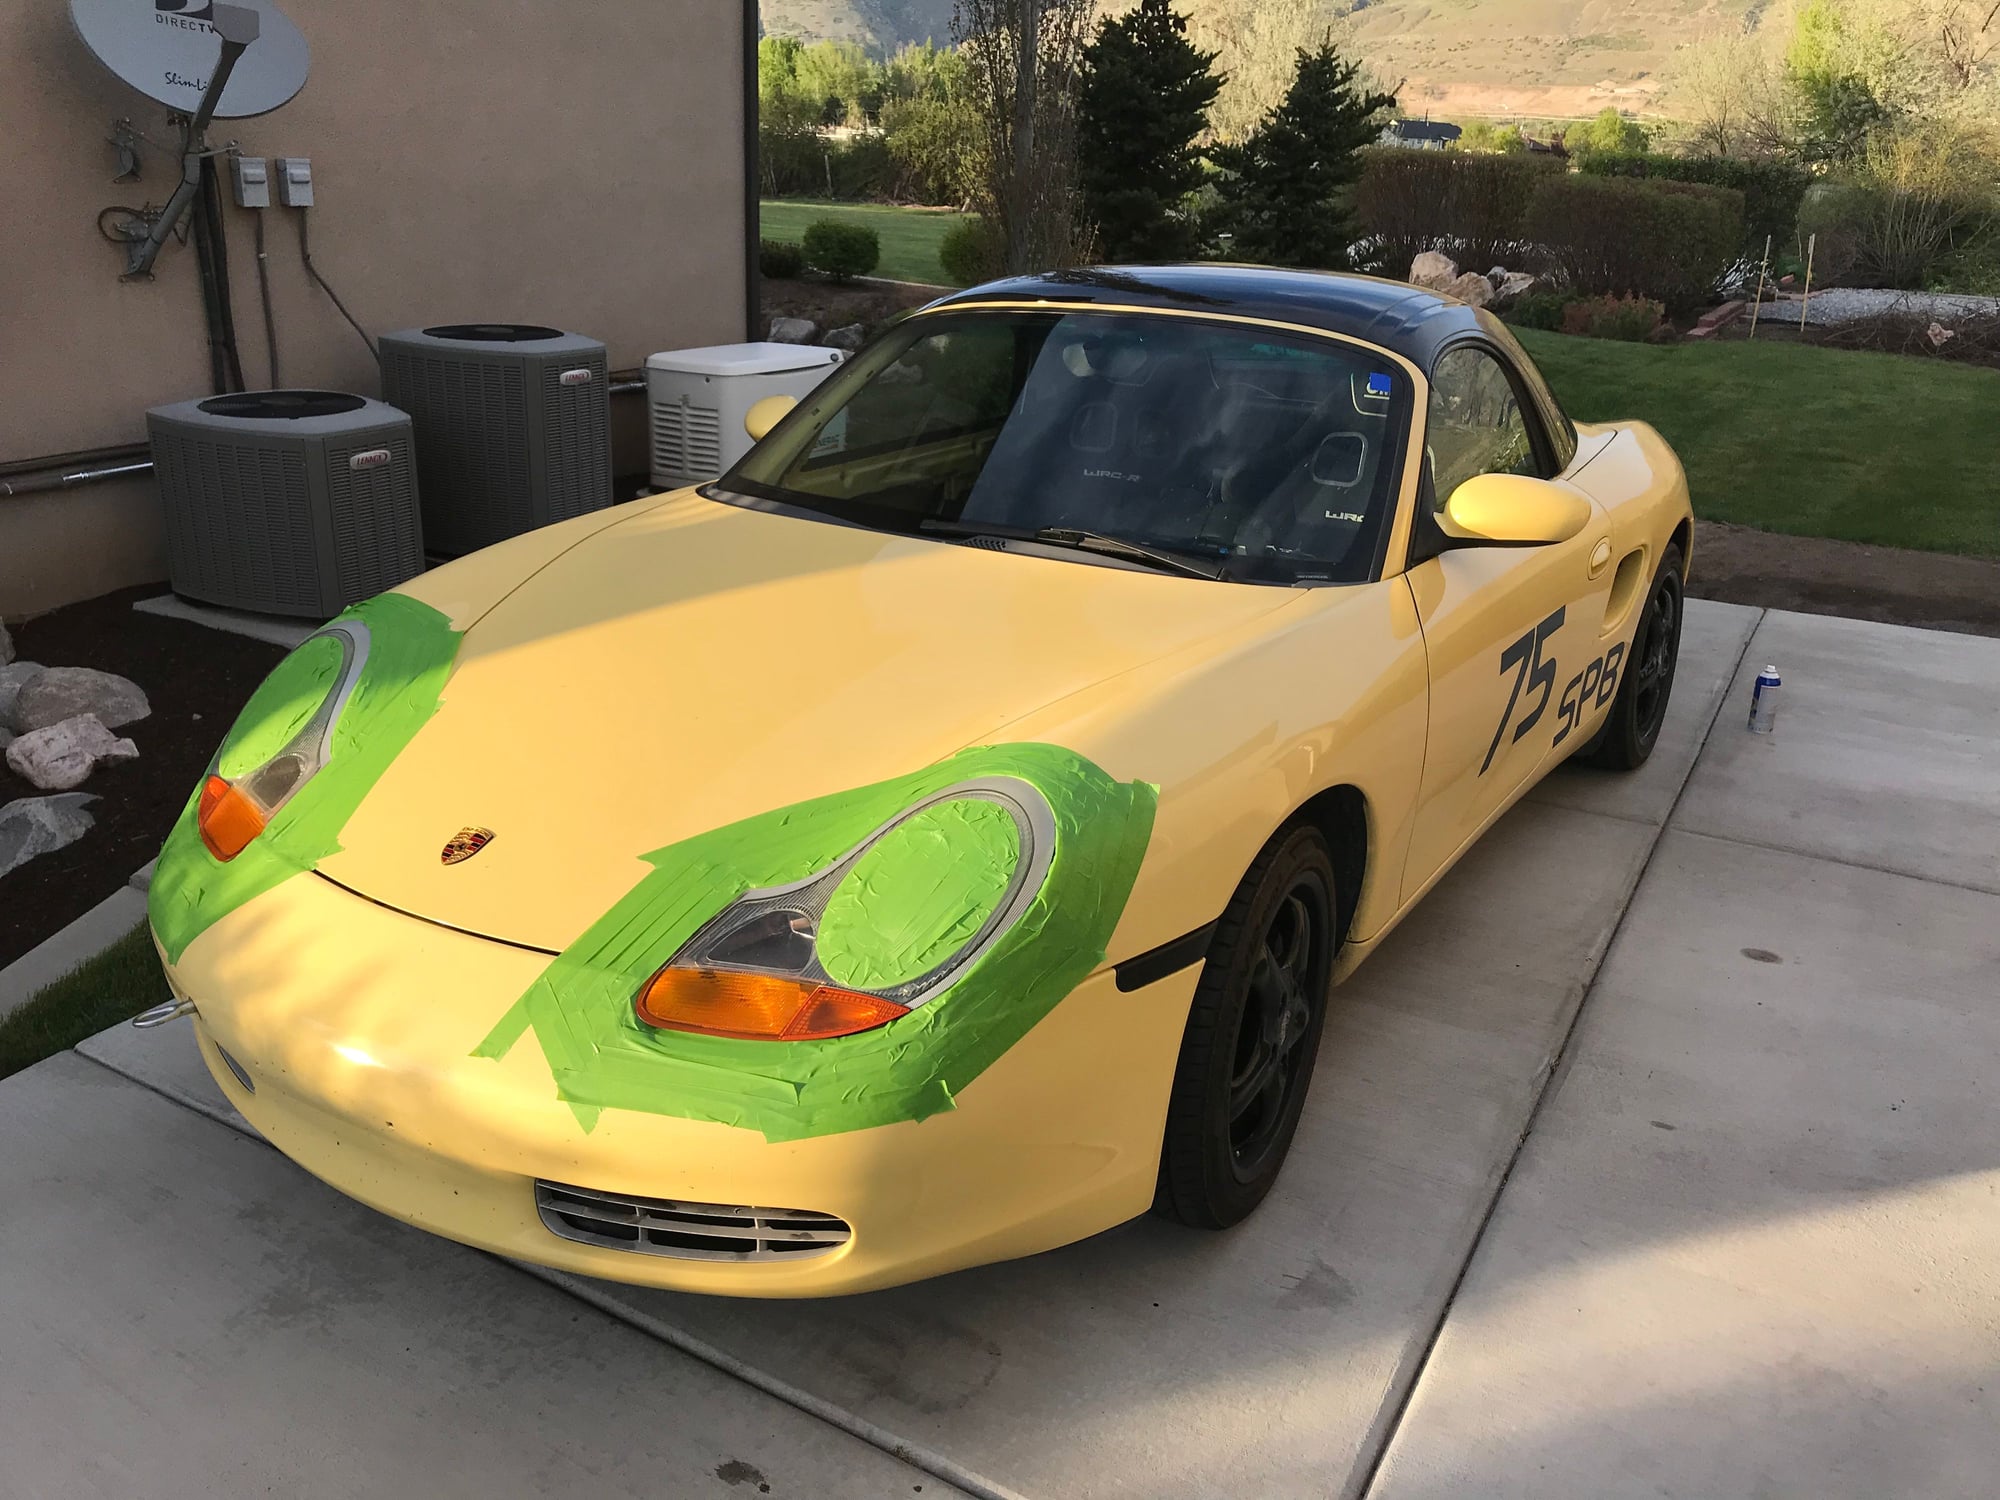
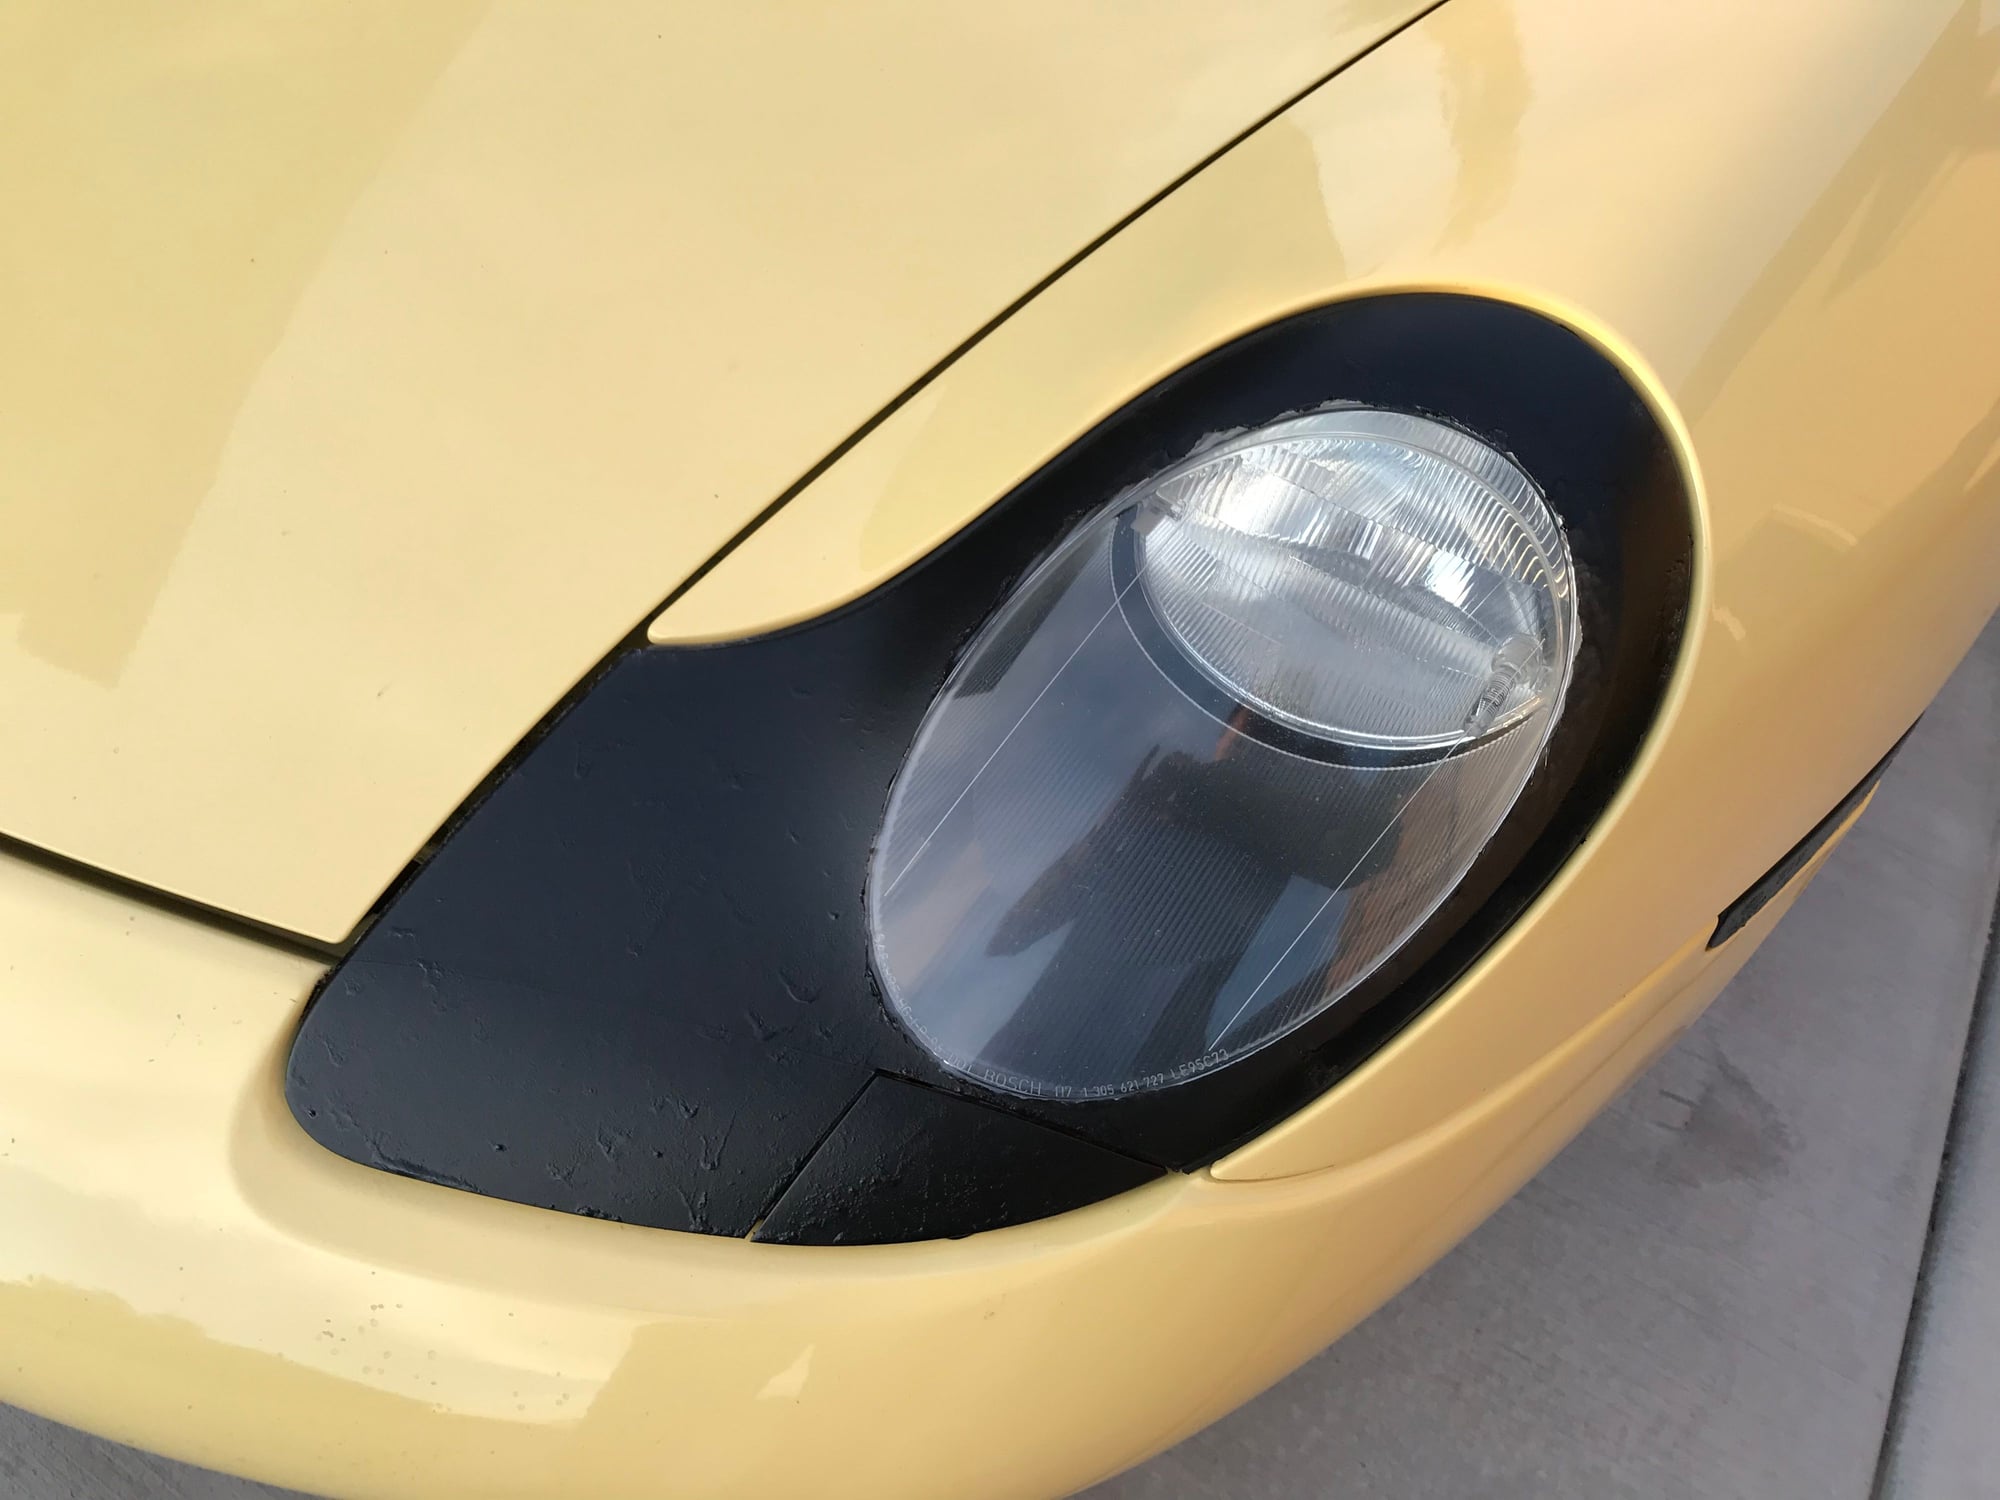
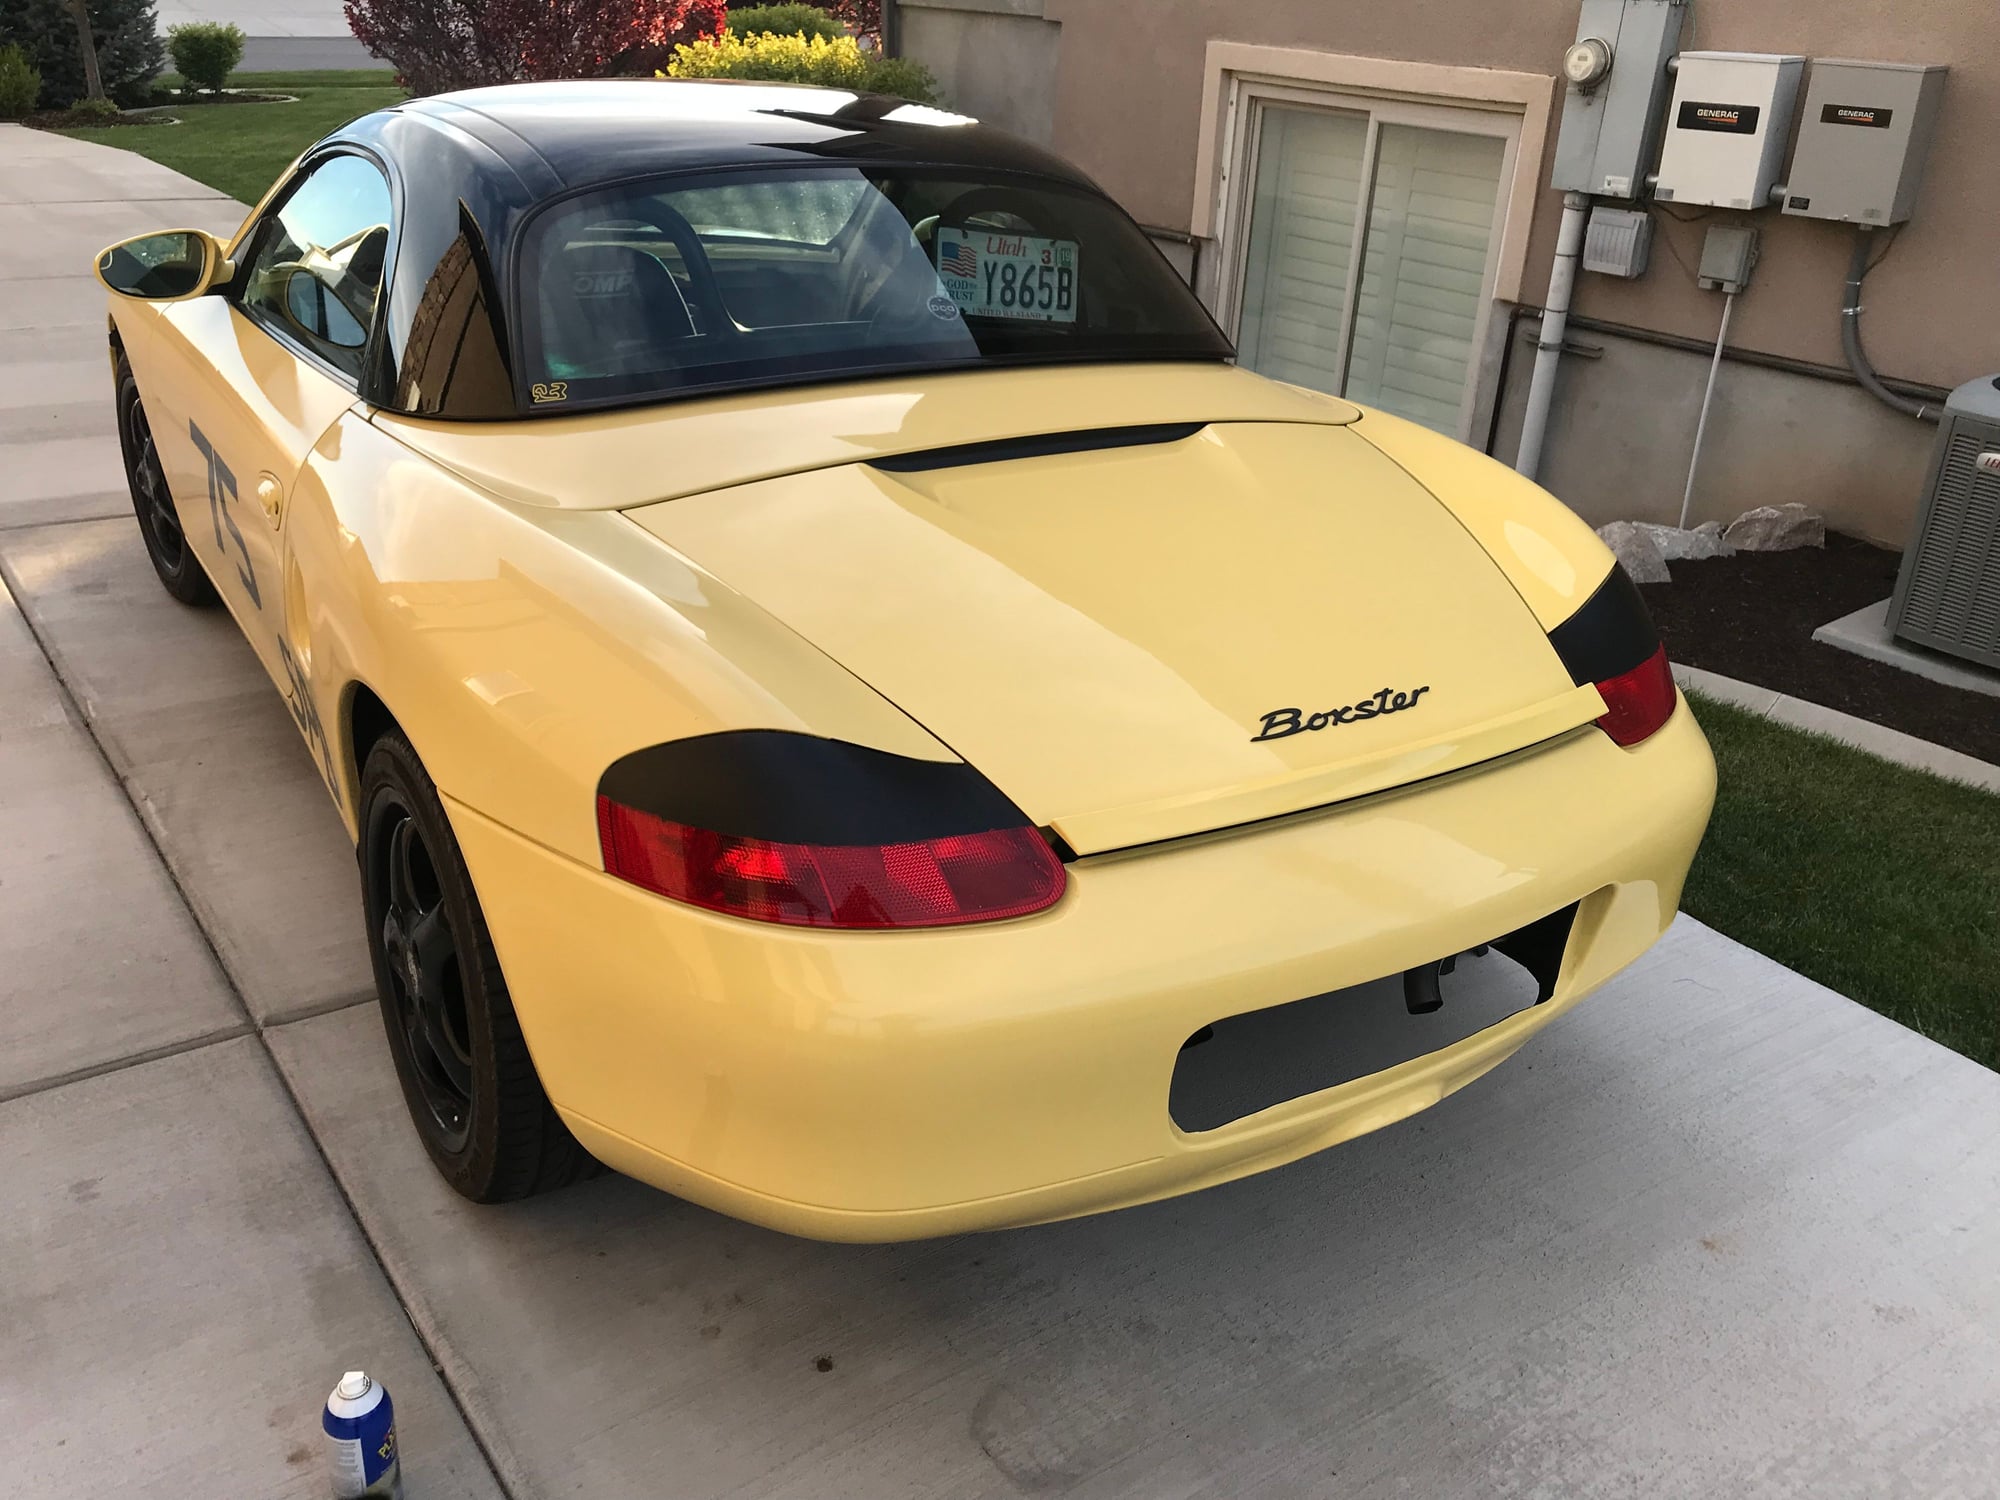
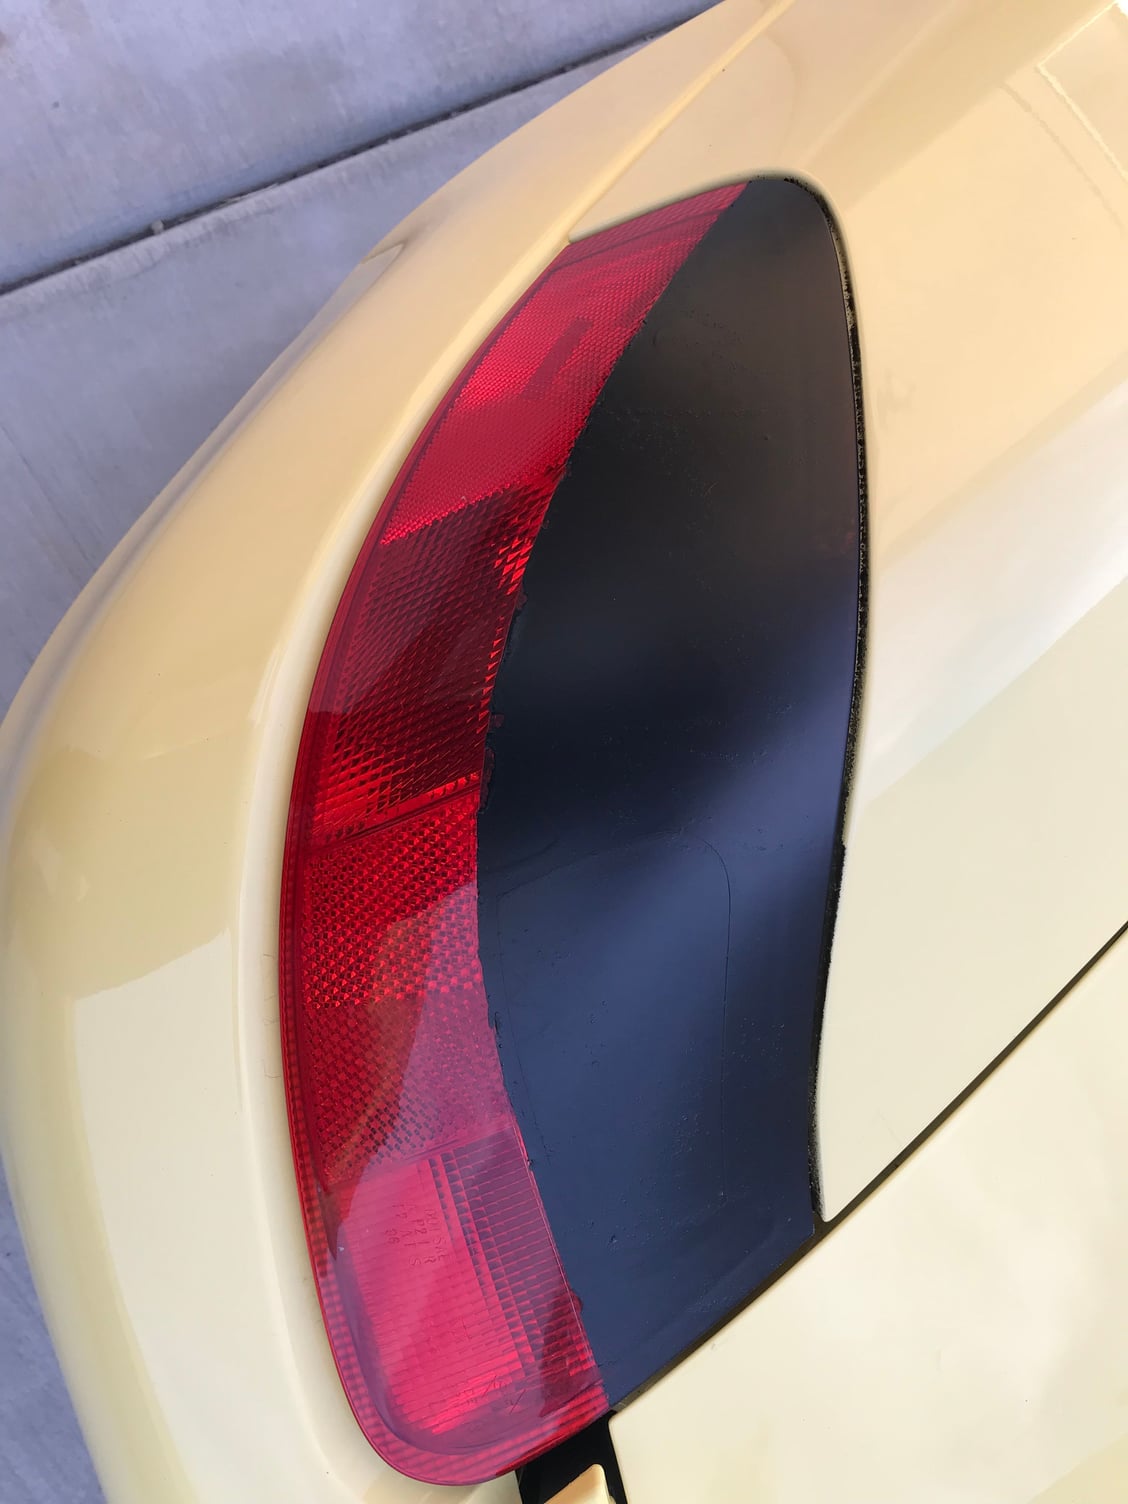
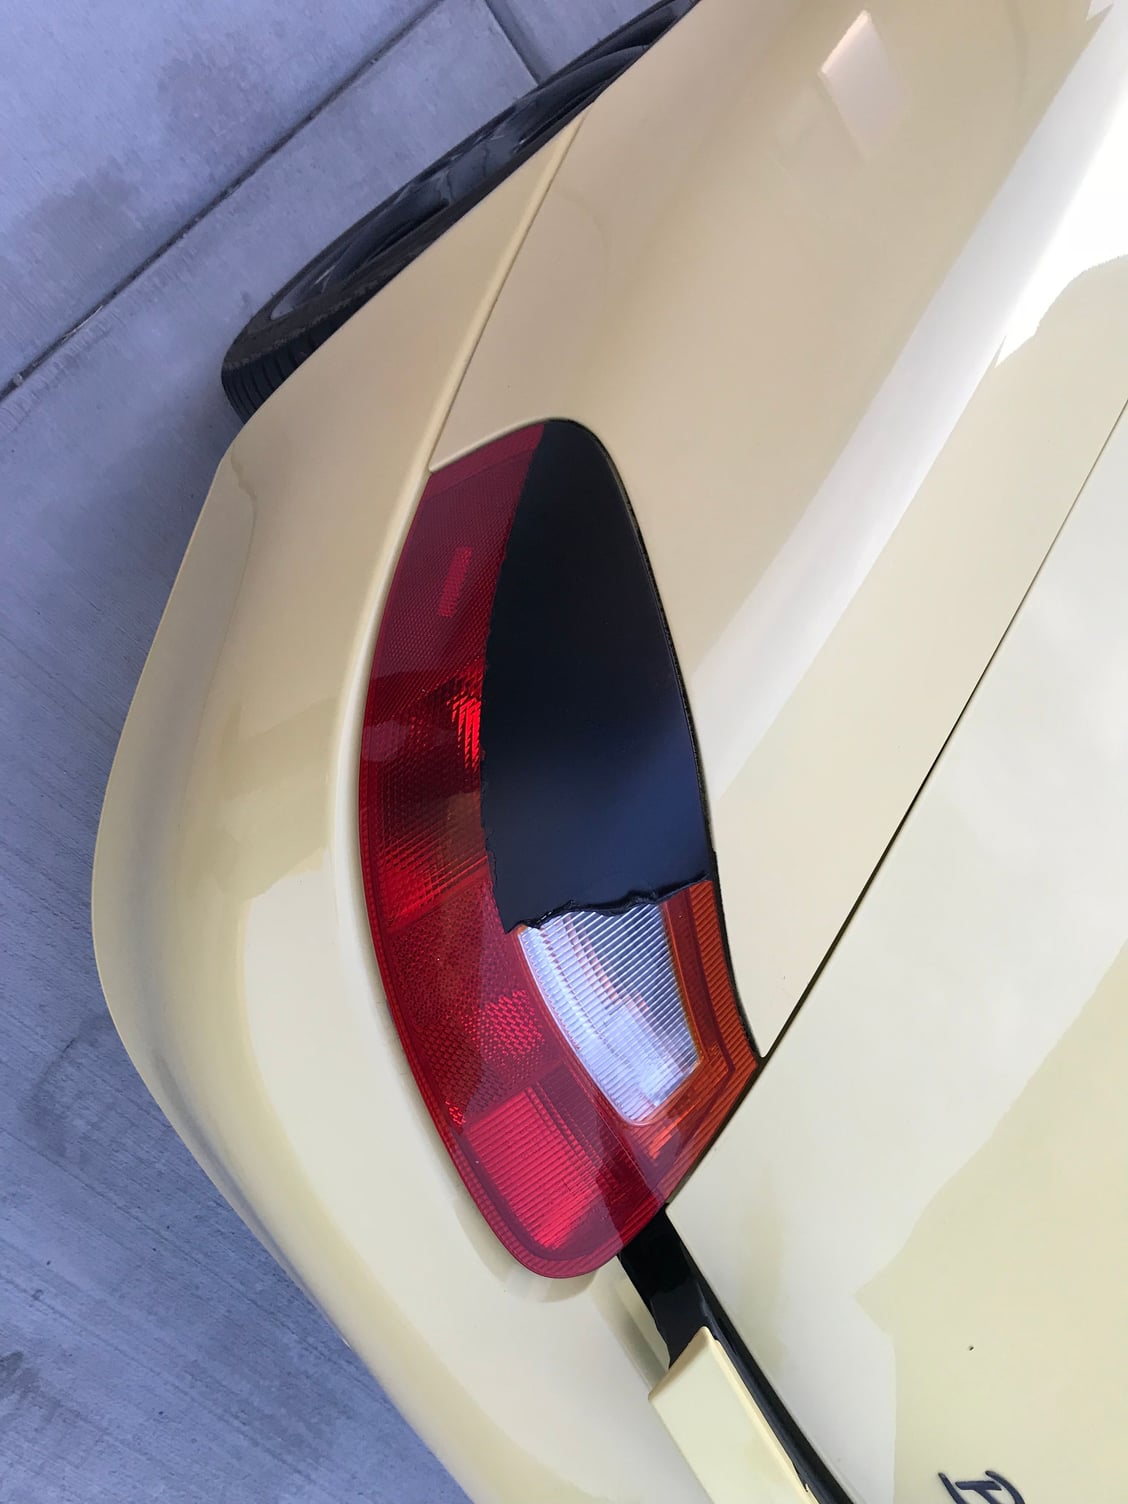
I decided to use black plasti-dip to try out light covers and see what I thought of them. If anyone hasn’t heard of it, it’s basically a spray on plastic peel coat. The surface texture is usually rough and ugly because it clumps up and goes on thick enough that it’s easy to make it runny. But the upside is it applies as easily as spray paint and you can simply rub or peel it off at any time. It will also last a year or more if it’s undisturbed. I think for getting ideas and trying out a paint scheme it’s great. And since it always looks kinda bad and it rubs off, you can do hardly any prep with no real consequences - it just has an even-worse texture and you have to rub away any overspray.
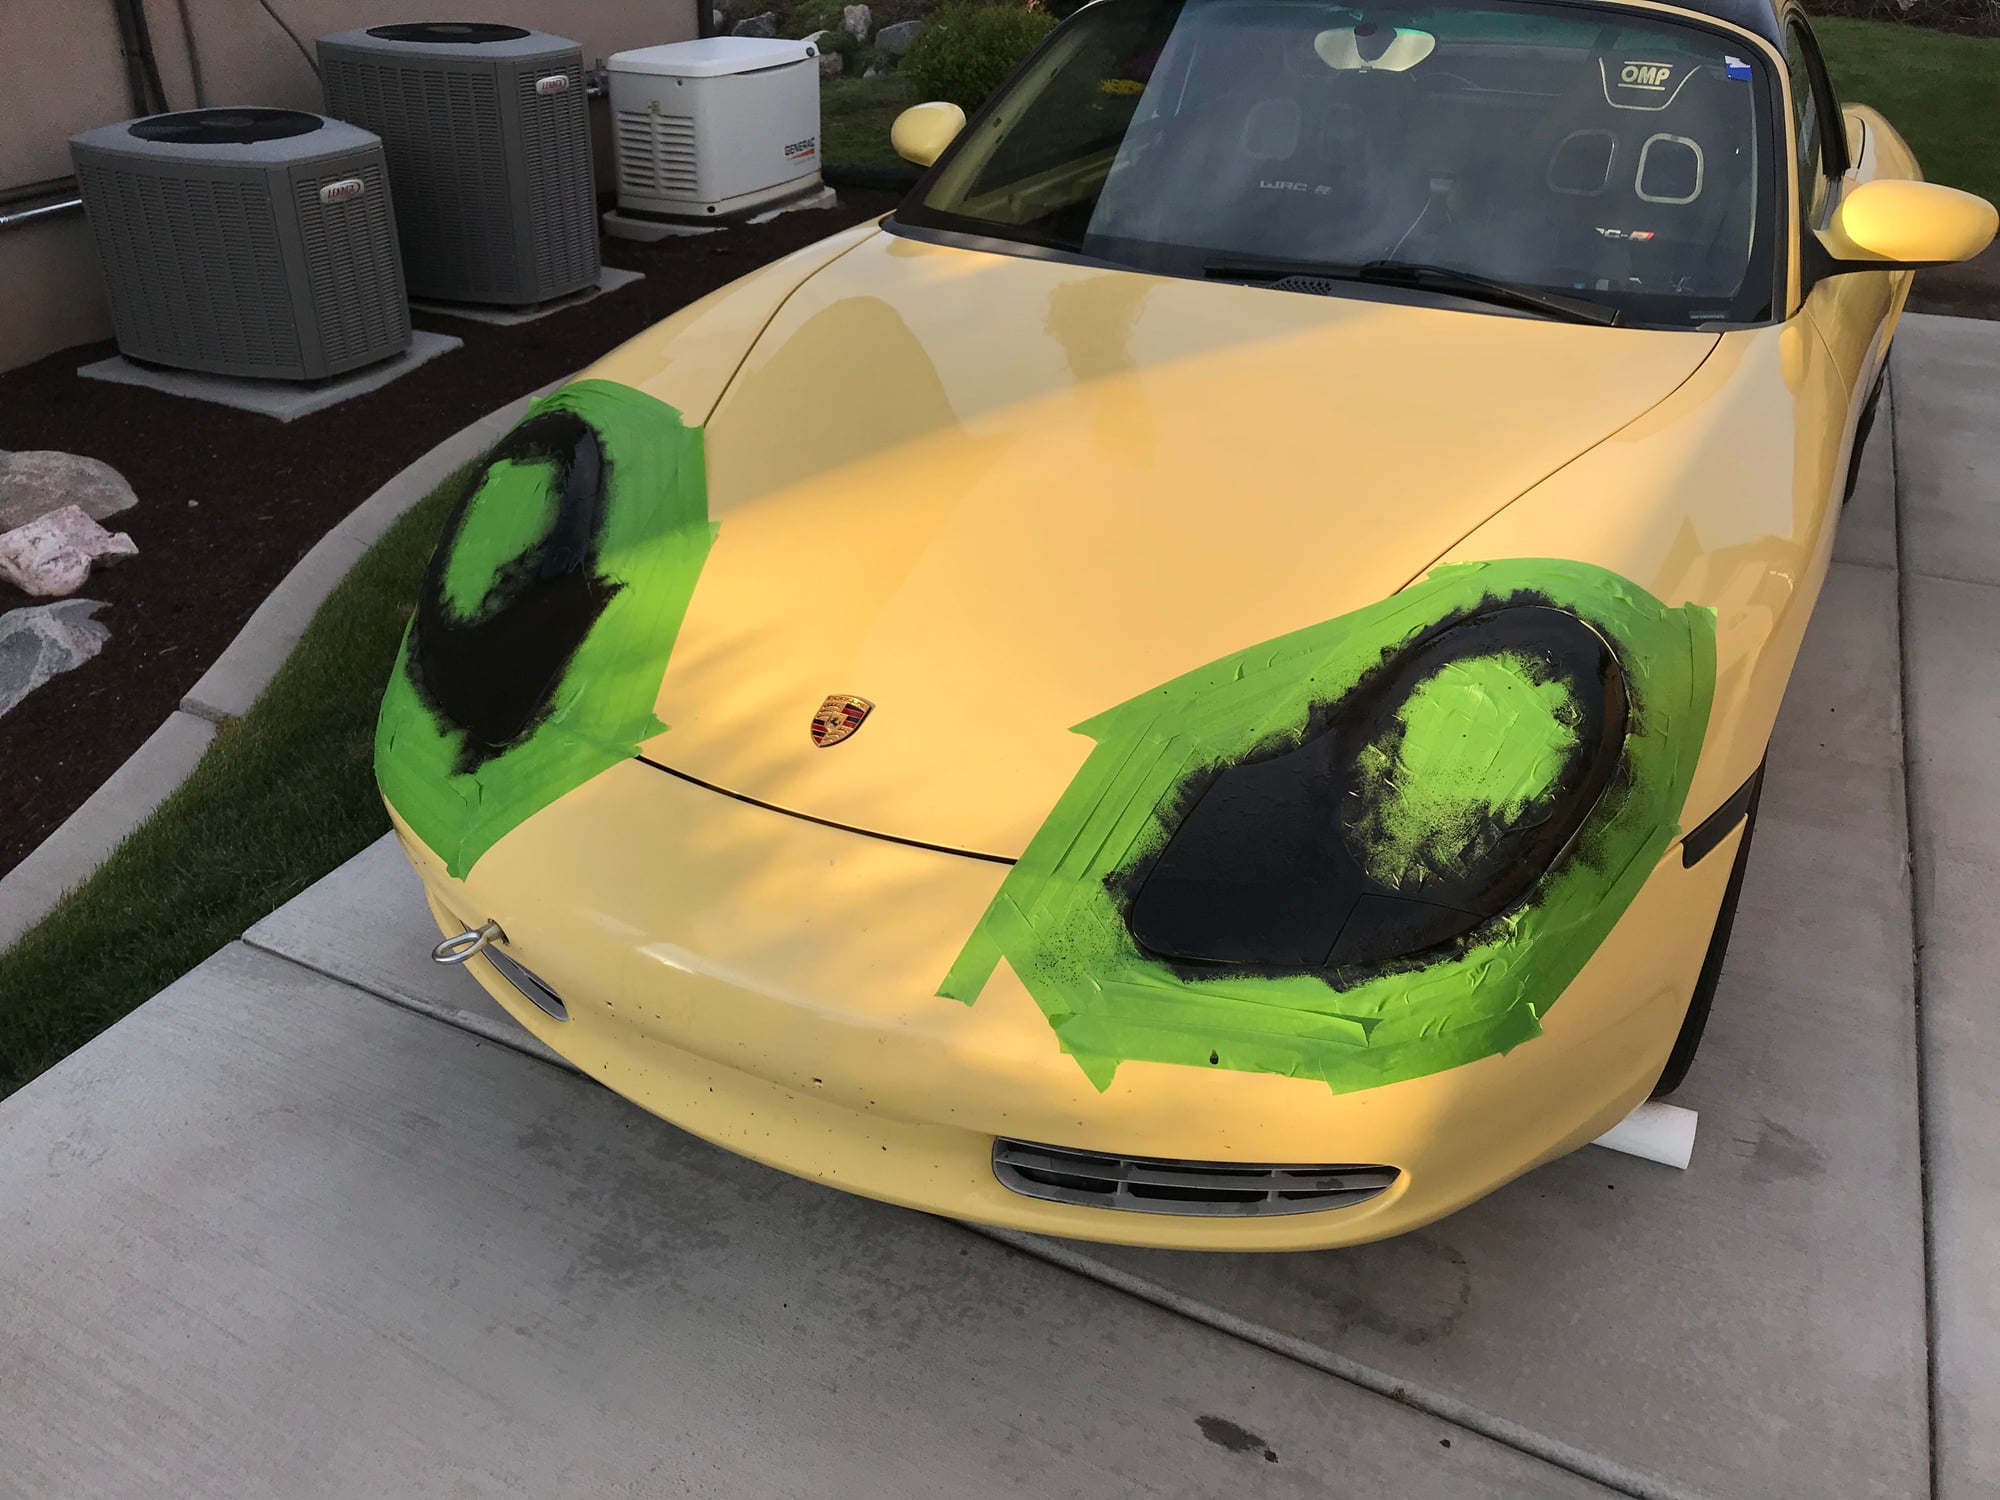
I coated the upper half of the rear taillights, the rear center light, the side markers, and the outer majority of the headlights.
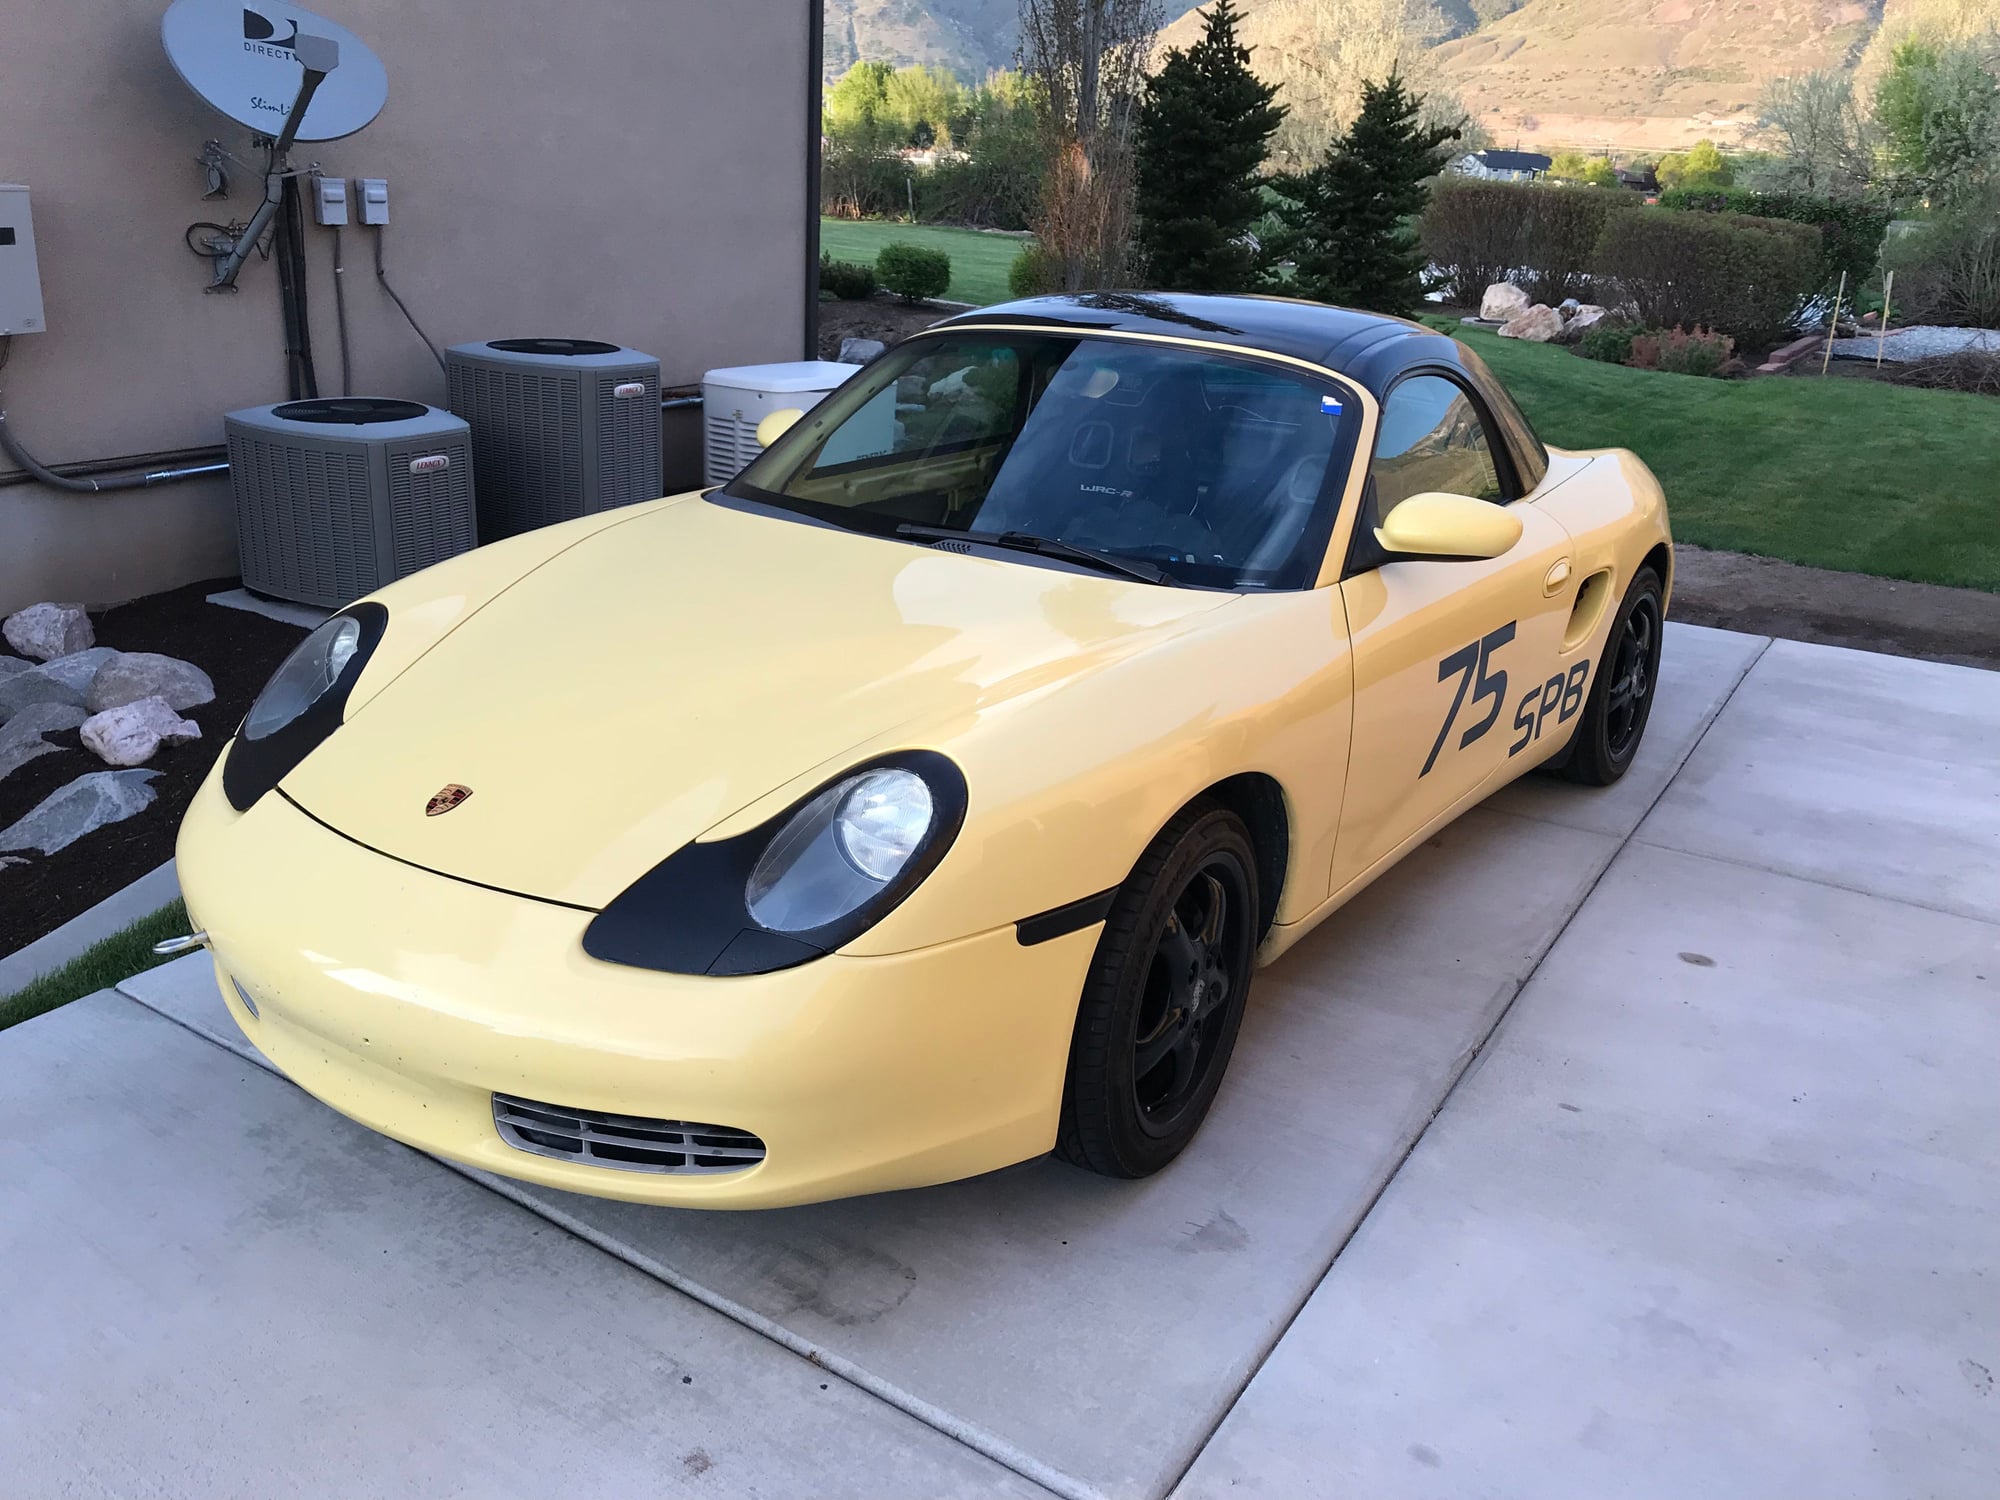
After seeing it, I really didn’t like the upper taillights in black so I peeled it off. I also didn’t love the headlights. I figured why not see what black covers would look like so I just sprayed the center of the headlights without any tape. I don’t mind the look on the front but on the street it might be asking to get pulled over. I like the side markers dark or clear, and the center tail light in black is subtle and I don’t much care.
Maybe I’ll just try to get rid of the yellow in the headlights and side markers. I think that’s what I don’t care for.
 01-31-2018, 10:53 AM