When you click on links to various merchants on this site and make a purchase, this can result in this site earning a commission. Affiliate programs and affiliations include, but are not limited to, the eBay Partner Network.
Yeah that will all come off the car. Maybe I'll get lucky and be able to trade it for a set of test pipes or something. The exhaust bolts are (as usual) pretty rusted so I'm not sure how much I want to mess with it until I have the permanent exhaust in hand. I'll probably try a wire brush and a deep socket and see if it gets free but if not I'll just wait until I have the new exhaust in hand and use a cut off tool or drill them out.
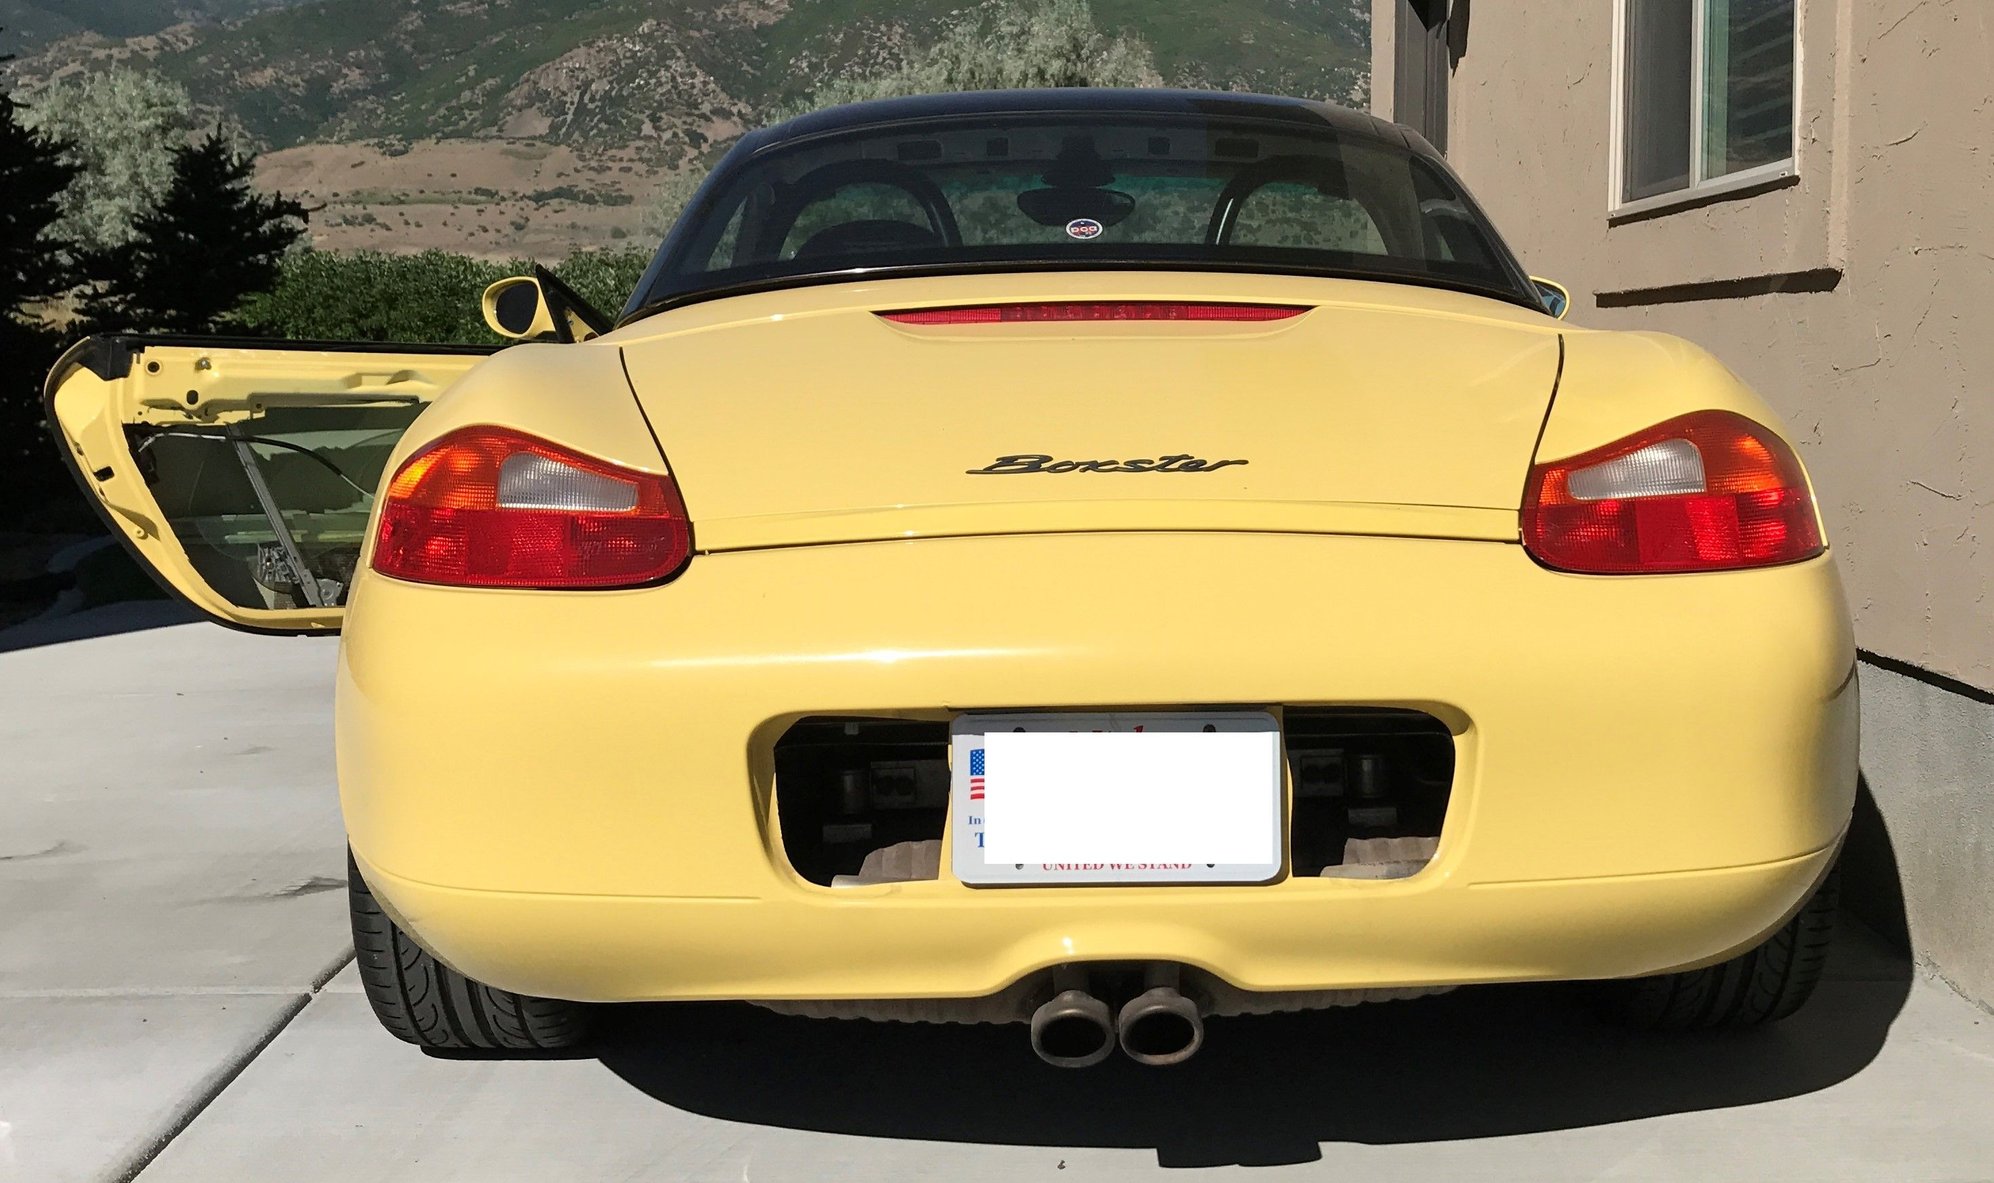
I put the rear bumper cover back on and cut a pair of sloppy holes in it with a box cutter. Since I removed the bumper assembly, the large portion of the heat shield isn't in there anymore. I figured I'd need some venting to keep the bumper from melting. Hoping I did enough - if not I'd better take the muffler off or put the heat shield back. Might do a test.
I'm thinking I'll wrap the final exhaust just to keep things cooler back there.
I also pulled the e-brake handle out. One less thing in the cabin. I have a pair of cheap plastic wheel stops that I'll use from now on.
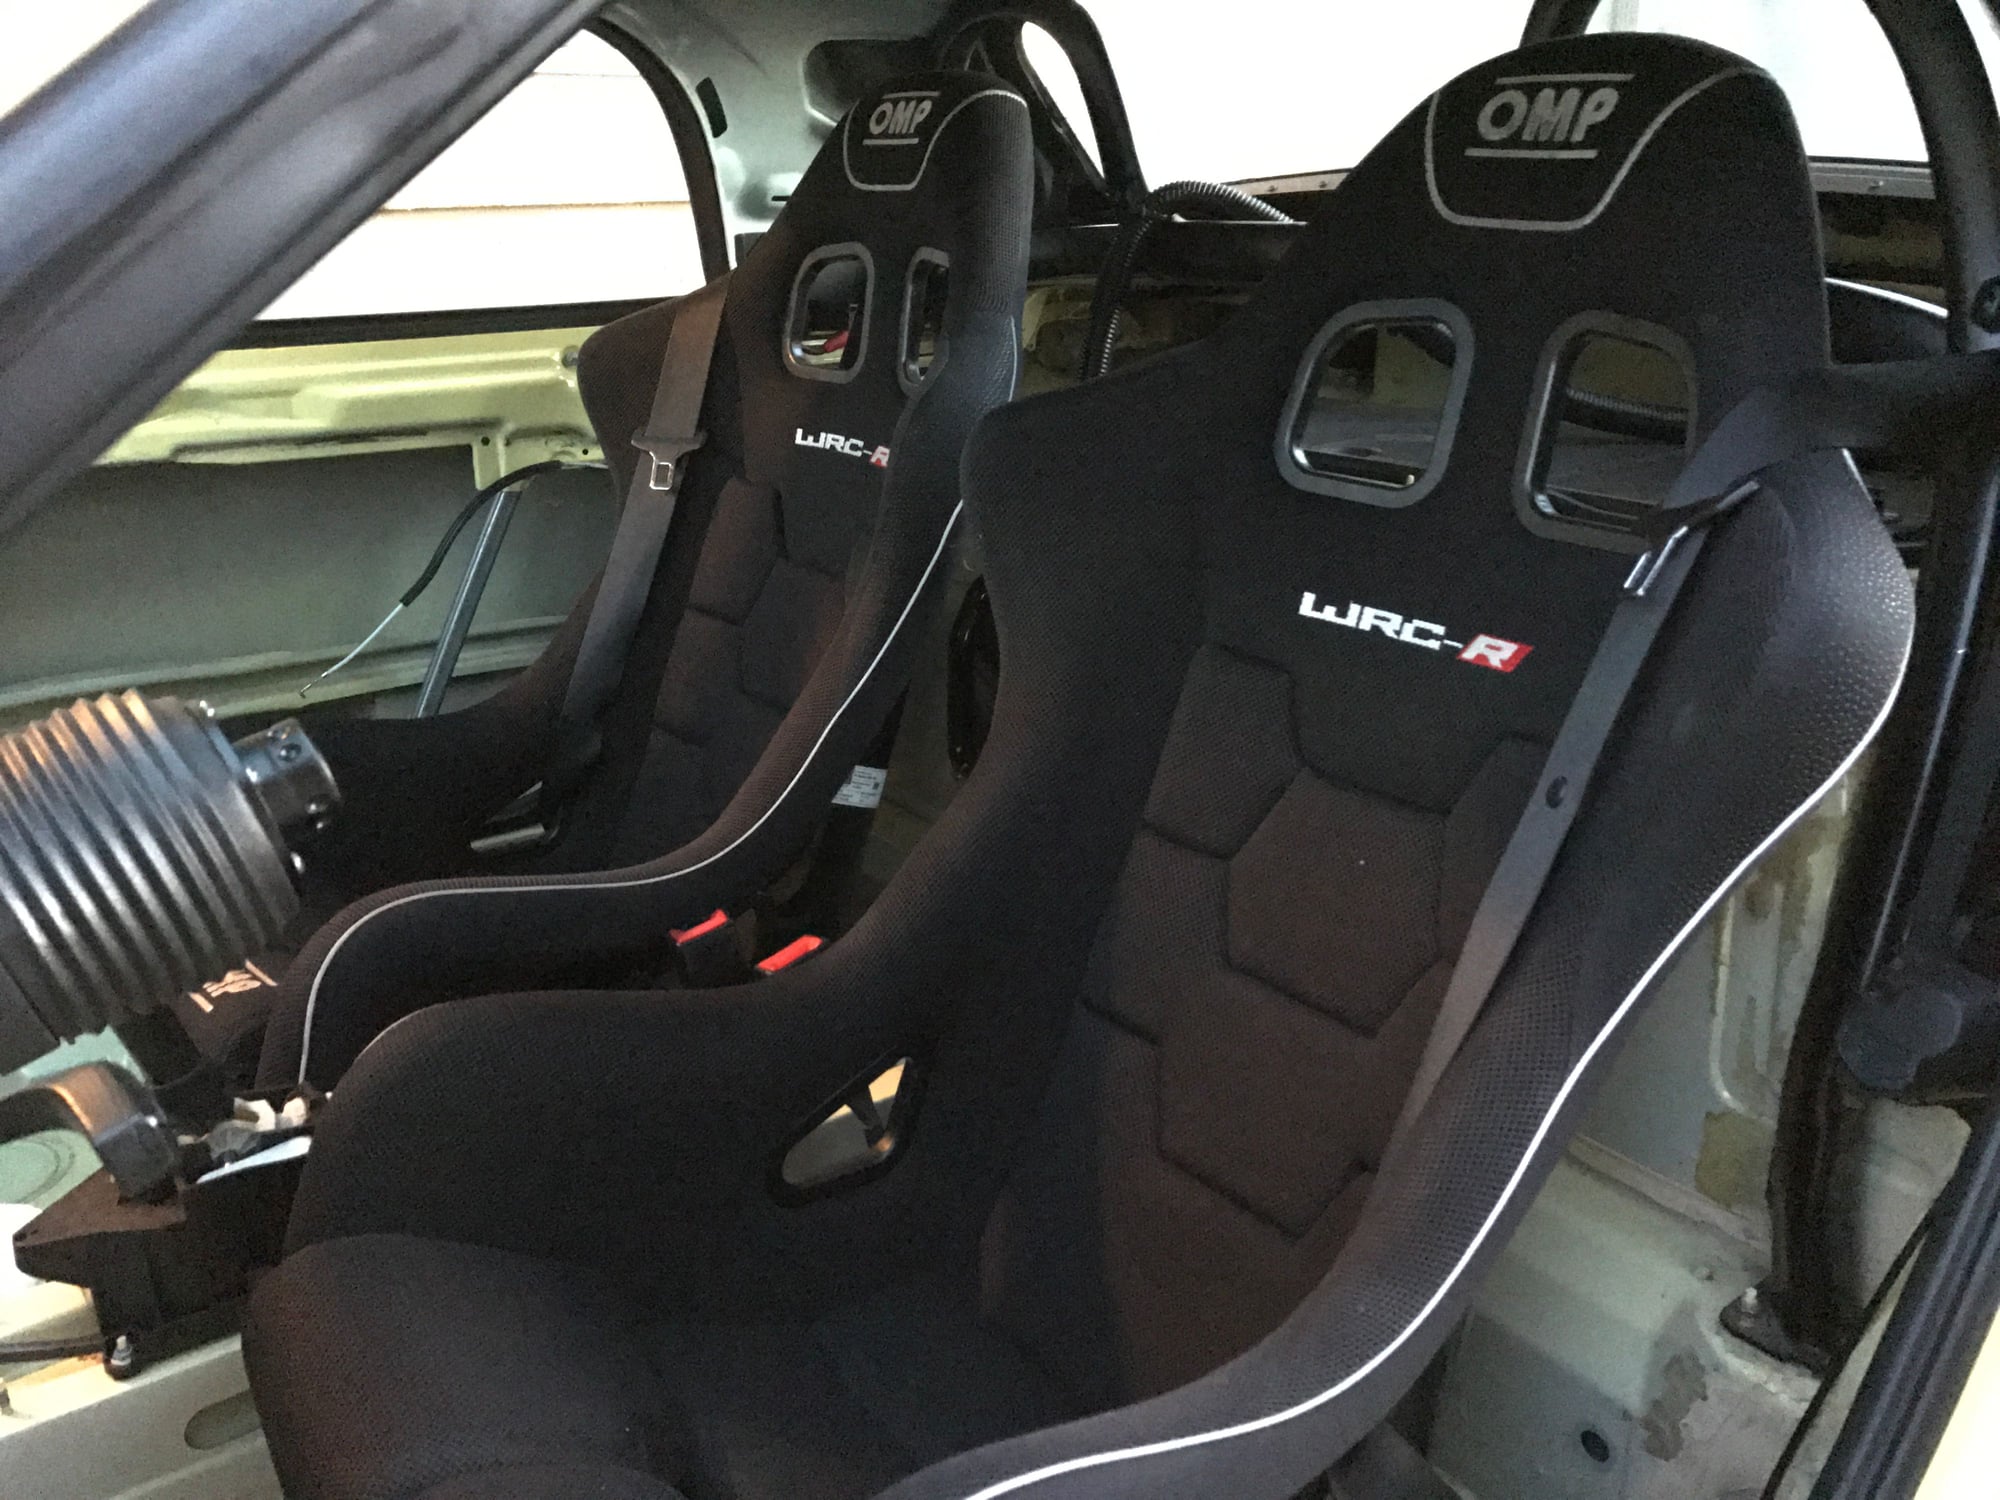
The Planted seat floor mount came in today, so I went ahead and installed the passenger seat. Using the factory three point belts for now.
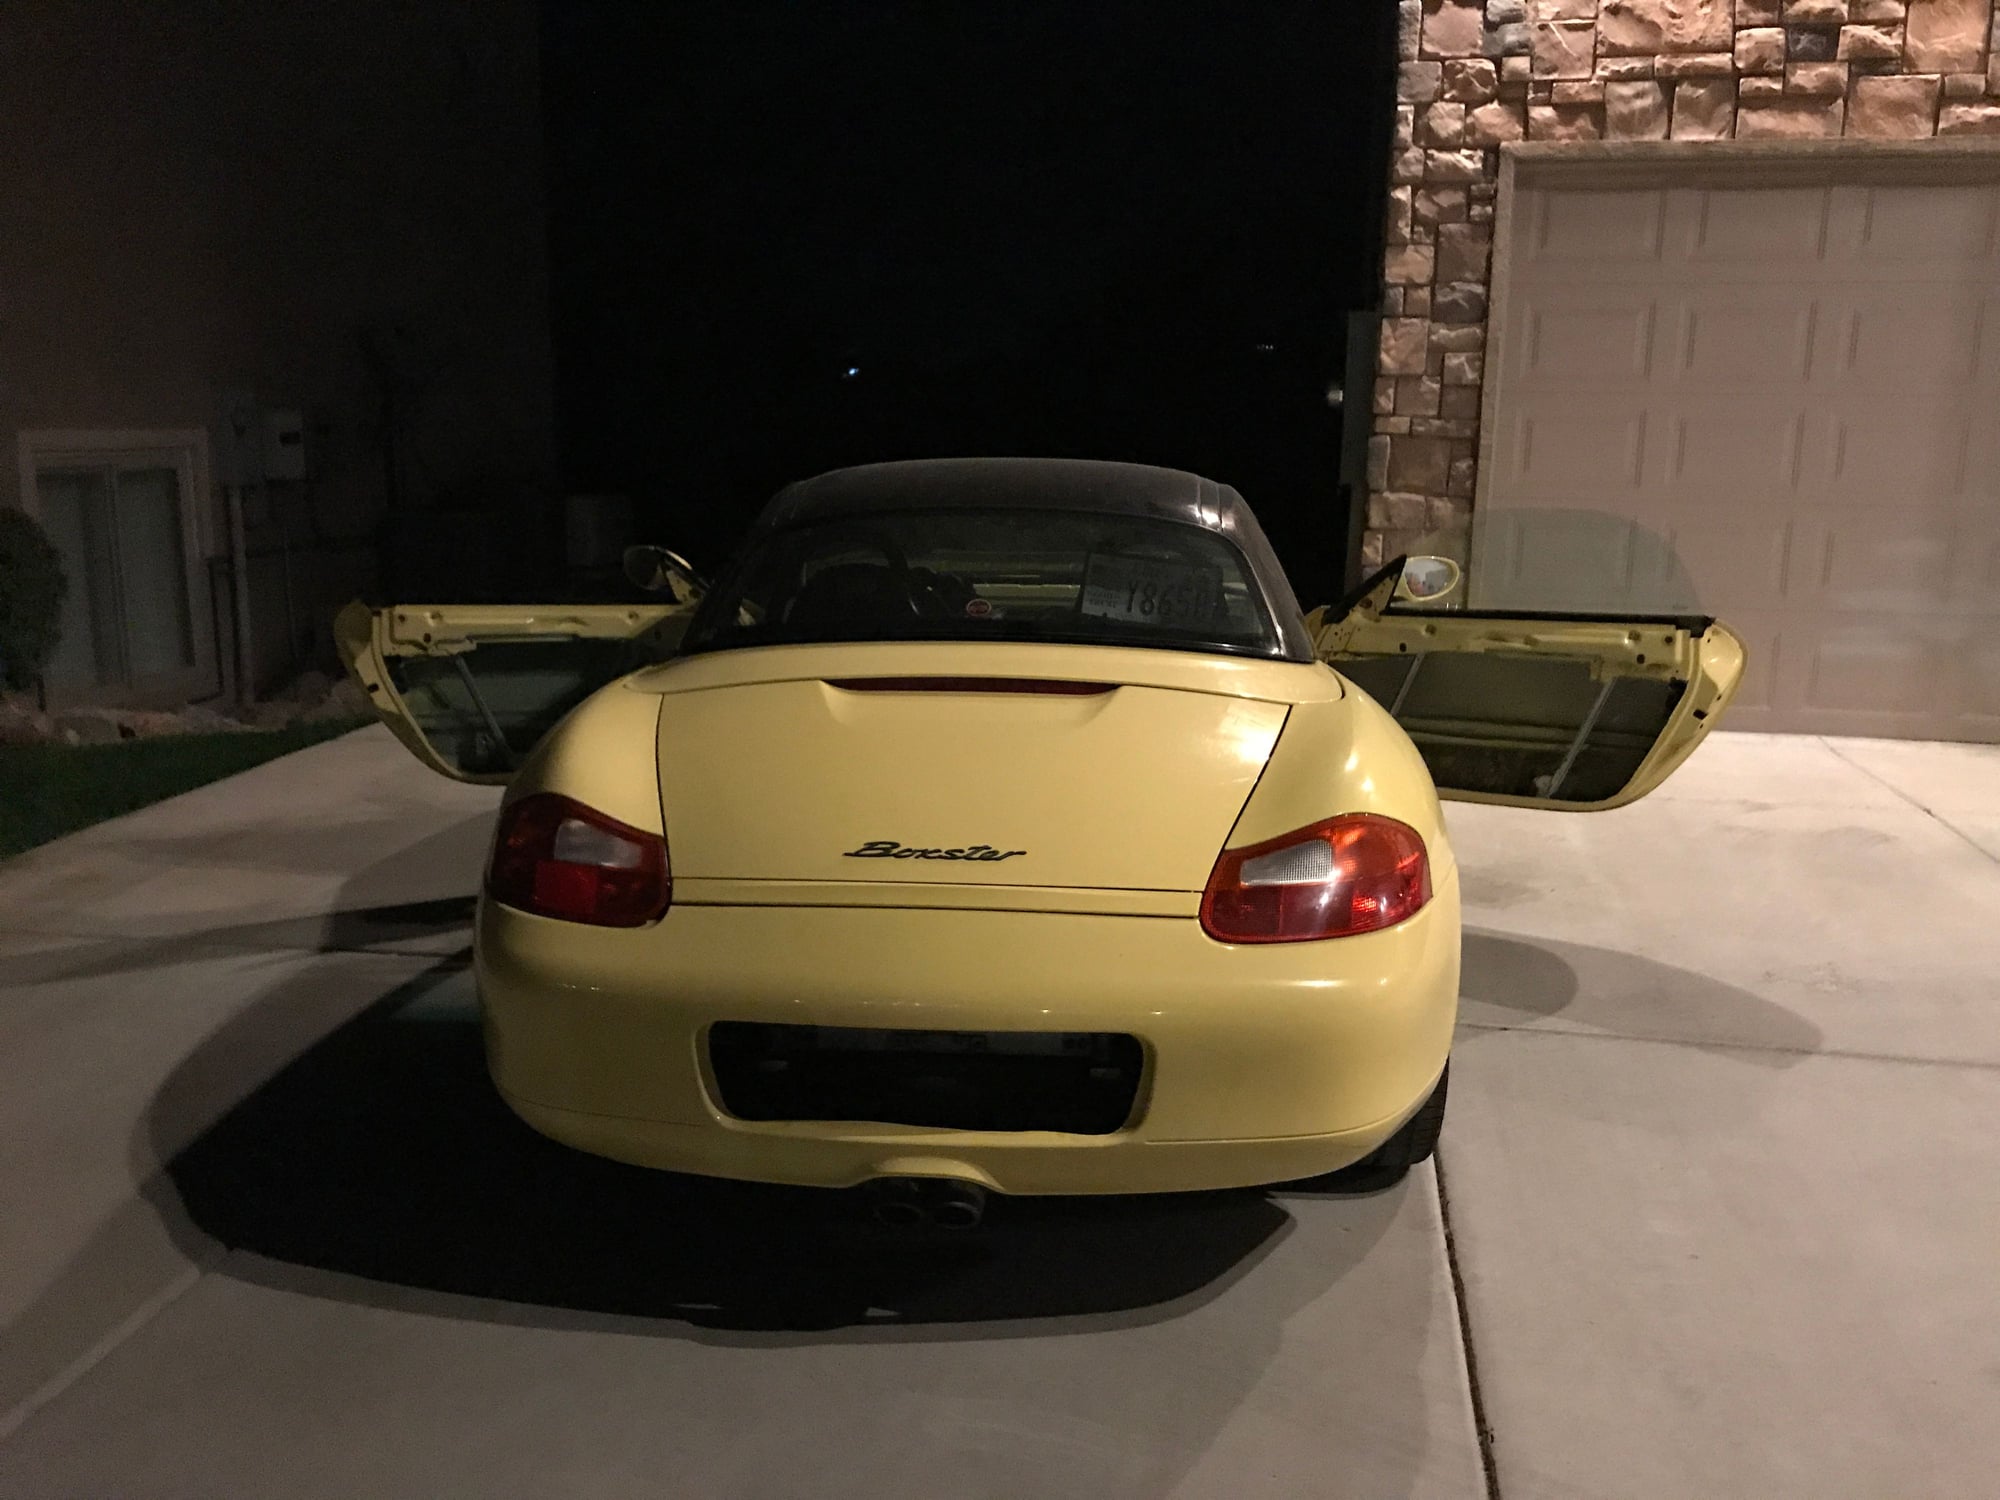
(The photo was taken late at dusk on an iPhone so the image is pretty noisy.)
Today while the kid was napping I took off the driver's front wheel well and removed the windshield washer tank. Also pulled the partial AC line from the strut tower to the front of the car and realized I never removed the alarm horn so I pulled that as well.
Today while the kid was napping I took off the driver's front wheel well and removed the windshield washer tank. Also pulled the partial AC line from the strut tower to the front of the car and realized I never removed the alarm horn so I pulled that as well.
Wheel bolts suck, the car needs studs.
Need to add that to my car's FS list, I had ECS wheel studs installed.
Today while the kid was napping I took off the driver's front wheel well and removed the windshield washer tank. Also pulled the partial AC line from the strut tower to the front of the car and realized I never removed the alarm horn so I pulled that as well.
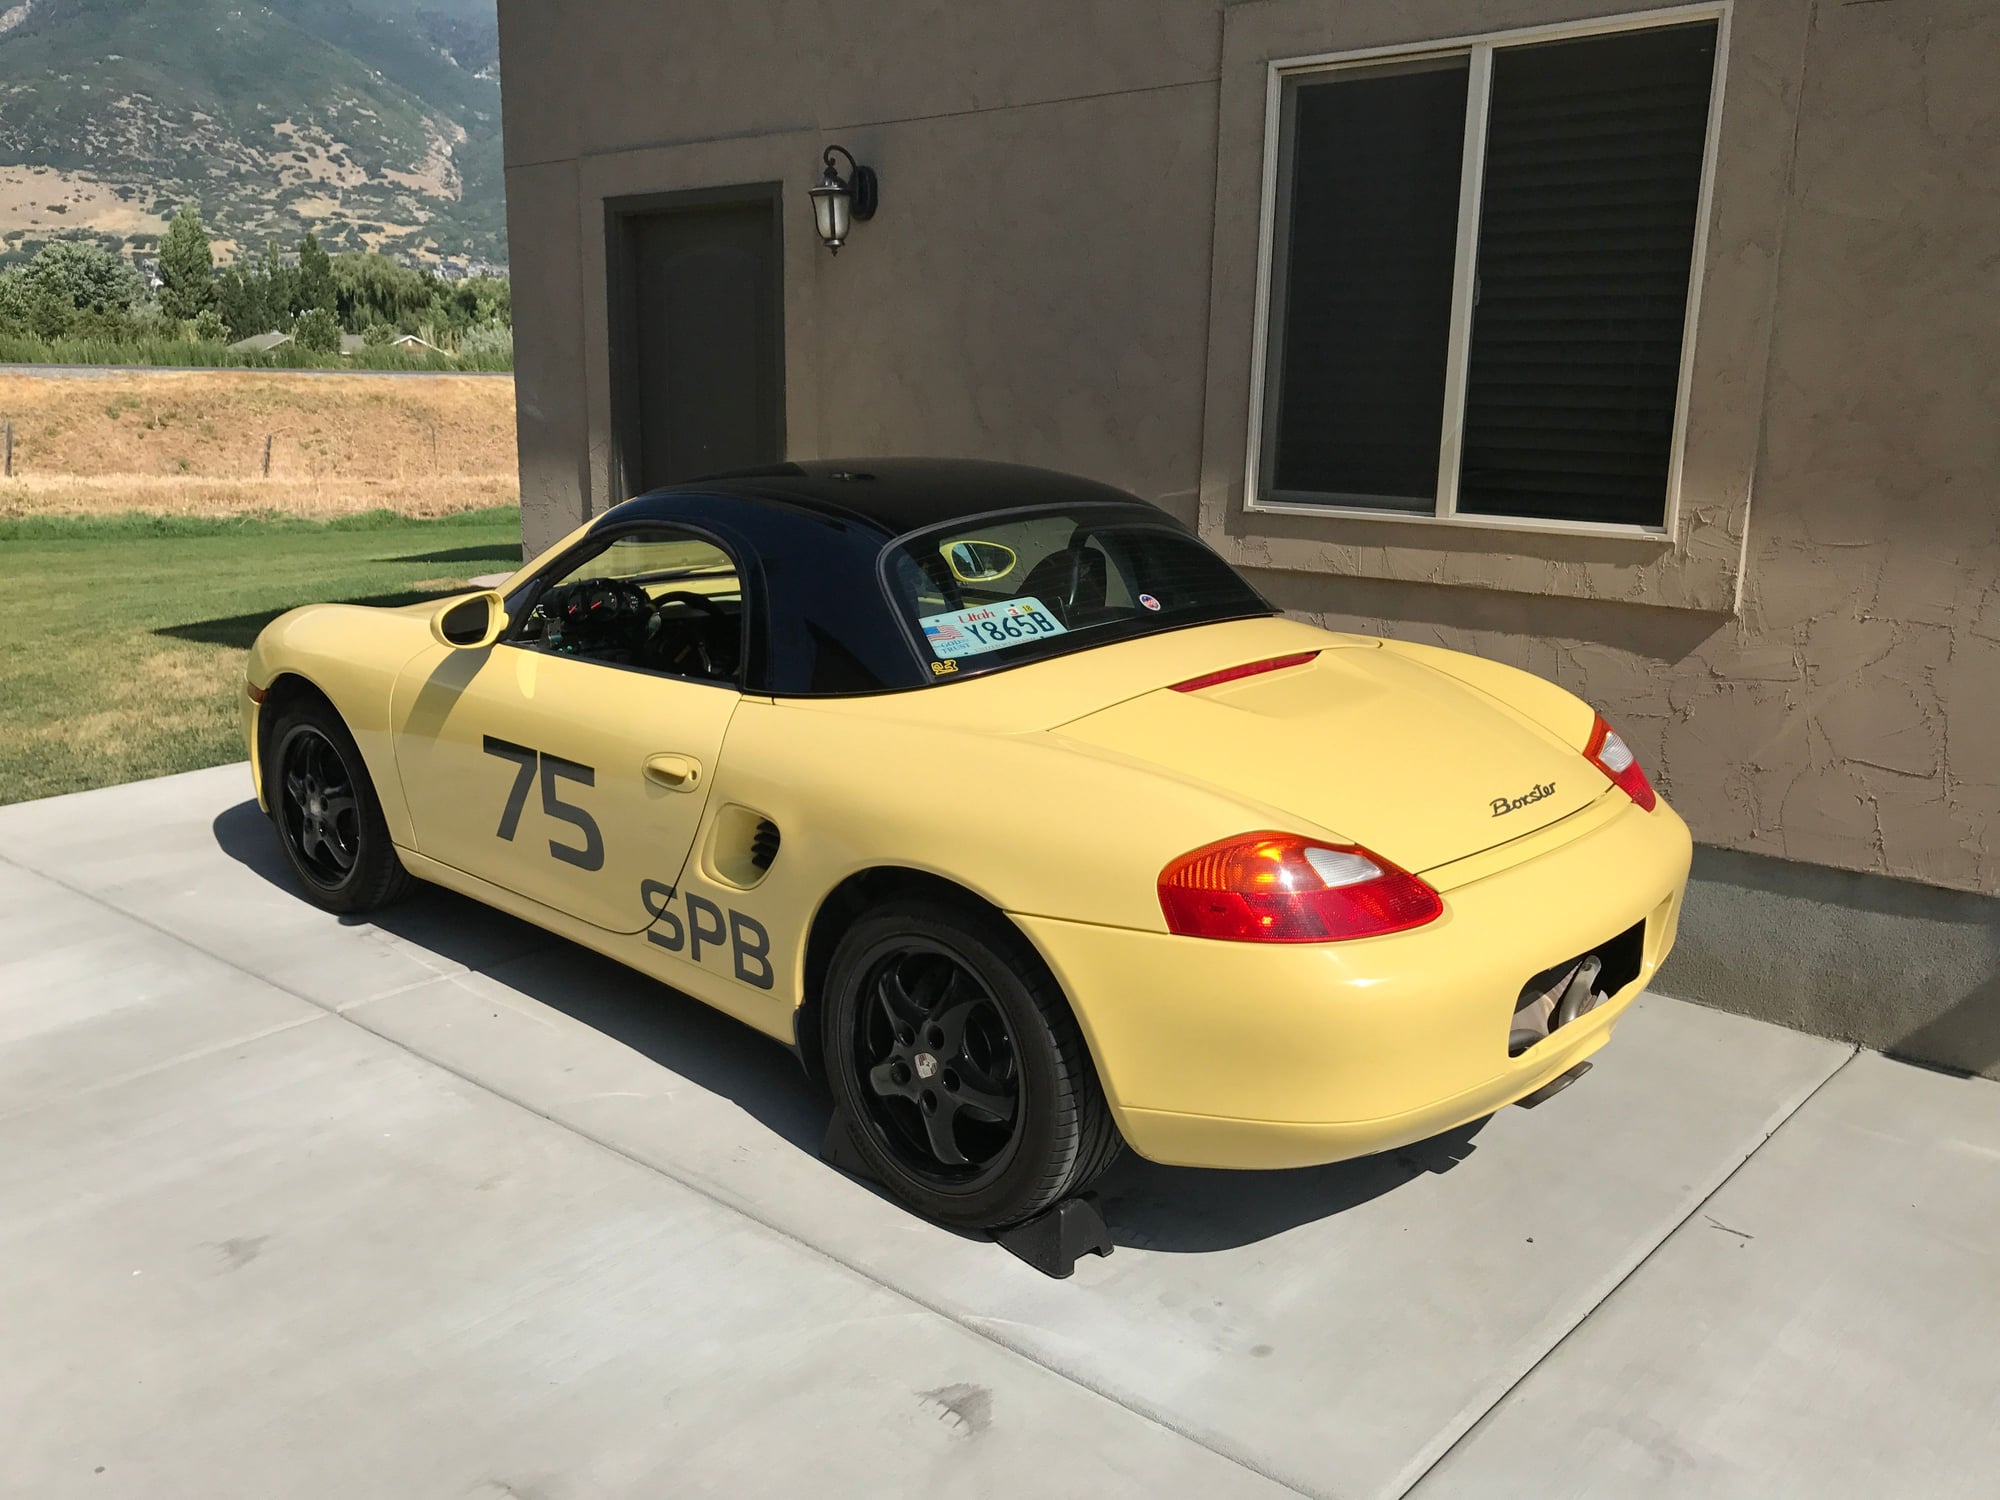
I threw on the vinyl stickers - number 75 on each door, SPB labels forward of each rear wheel, and a tiny yellow map of my local track on the hardtop. Either I've forgotten how many air bubbles reside in freshly laid vinyl or my technique sucks, maybe both. While today the SPB class label is just aspirational, perhaps this winter I'll get enough done to have the car at the class legal minimums. I probably need to see about getting a NASA GTS2 sticker set.
After applying the stickers I took about a minute with a box cutter to enlarge the rear bumper cutout a bit more and ensure it doesn't melt without the rear bumper heat shield. I'll open it up more when I decide on a good mesh to put there but I haven't looked yet. My license plate is now in the back of the hardtop against the glass instead of on the rear bumper. I'm getting closer and closer to the point where I need to get a trailer.
Looks good. For vinyl, remember to apply water to both the car and sticker before applying, then work from the middle out to remove water and air. Leave dry for an hour, then remove transfer tape.
Looks good. For vinyl, remember to apply water to both the car and sticker before applying, then work from the middle out to remove water and air. Leave dry for an hour, then remove transfer tape.
Ah, water, yeah that was the issue. I did it dry. Not recommended.
Well, I'll give it a few days and see if it looks good enough to leave or if I need to remove and redo it.
My wife has been terribly busy with work related issues lately so I've missed a few DE days that I had expected to attend - at the eleventh hour I needed to stay home to take care of the kid. Ah well, that's what we need to do for our family and there are always more events to go to next time.
The NASA guys have been great. On the worst of these I sent an email at 3AM the day of the event to one of the organizer/volunteers saying I wouldn't make it... they told me no worries and they'd just credit the entry fee to the next event I can get to. The fee wasn't a big deal especially since it was my fault but I felt pretty nice about that.
First Mechanical Issue
I had my first mechanical failure in the car this week. The fuel pump and relays failed. It actually happened on the street. I hadn't driven the car in 2 months and the weather was nice. I pulled the hardtop off and spent 15-20 minutes running around town with the one year old picking up dinner and getting the oil up to temperature. (side note: car seats fit just fine in racing seats) Well, heading back I revved it out in first gear, shifted to second, and once I got on the throttle there was nothing. I rolled to the side of the road and shut the car down. I checked and thought I heard the relay making noise when I switched the ignition but can't be sure. I then got to walk home with the kid in my arms - he's getting heavy. About half a mile down the road a kind lady gave me a ride the rest of the way. I had it towed to a shop I've used and asked them figure it out. I really enjoy being able to work on it when I feel like it and pay a shop when I don't!
I think the fuel system is using the original 20 year old parts so I didn't feel bad getting a new pump in there and went ahead and had the filter replaced at the same time. They said it was hard to say if the fuel pump killed the relays or the relays killed the pump but both were shot. They broke open the relays, took a look at the pump, and checked the wiring for any obvious shorts and in the end they said it really could have been either way. So I've done my due diligence. I never had gotten around to changing the transmission fluid so I had them do that at the same time.
Ordered 2L Oil Sump
Last week I ordered a 2L deep sump for the car and will probably install that in the next month or so. (It's been 90-100F all summer and my garage isn't cooled!) I ended up going with the latest design Mantis system - I was on the fence about theirs or the LN kit. After reading up I figured either one would probably work well enough and neither one would fully resolve the oiling issue so it didn't much matter - either would be reasonable. If it becomes legal Chris's dry sump is really interesting, but with the cost of it (order of $5k) compared to the currently modest prices of used 2.5L motors I decided to just do the standard fare oiling mods and have fun out there.
The transmission fluid was overdue - it shifts noticeably better now.
I drove it around today and then removed the lower door weatherstripping (inner and outer). The little trooper slept through it. I was surprised at how heavy that weatherstripping is!
Later I'll have to get rid of as much of the weatherstripping as I can from the hardtop. Until I remove the windows though I want them to do a decent job at keeping rain out.
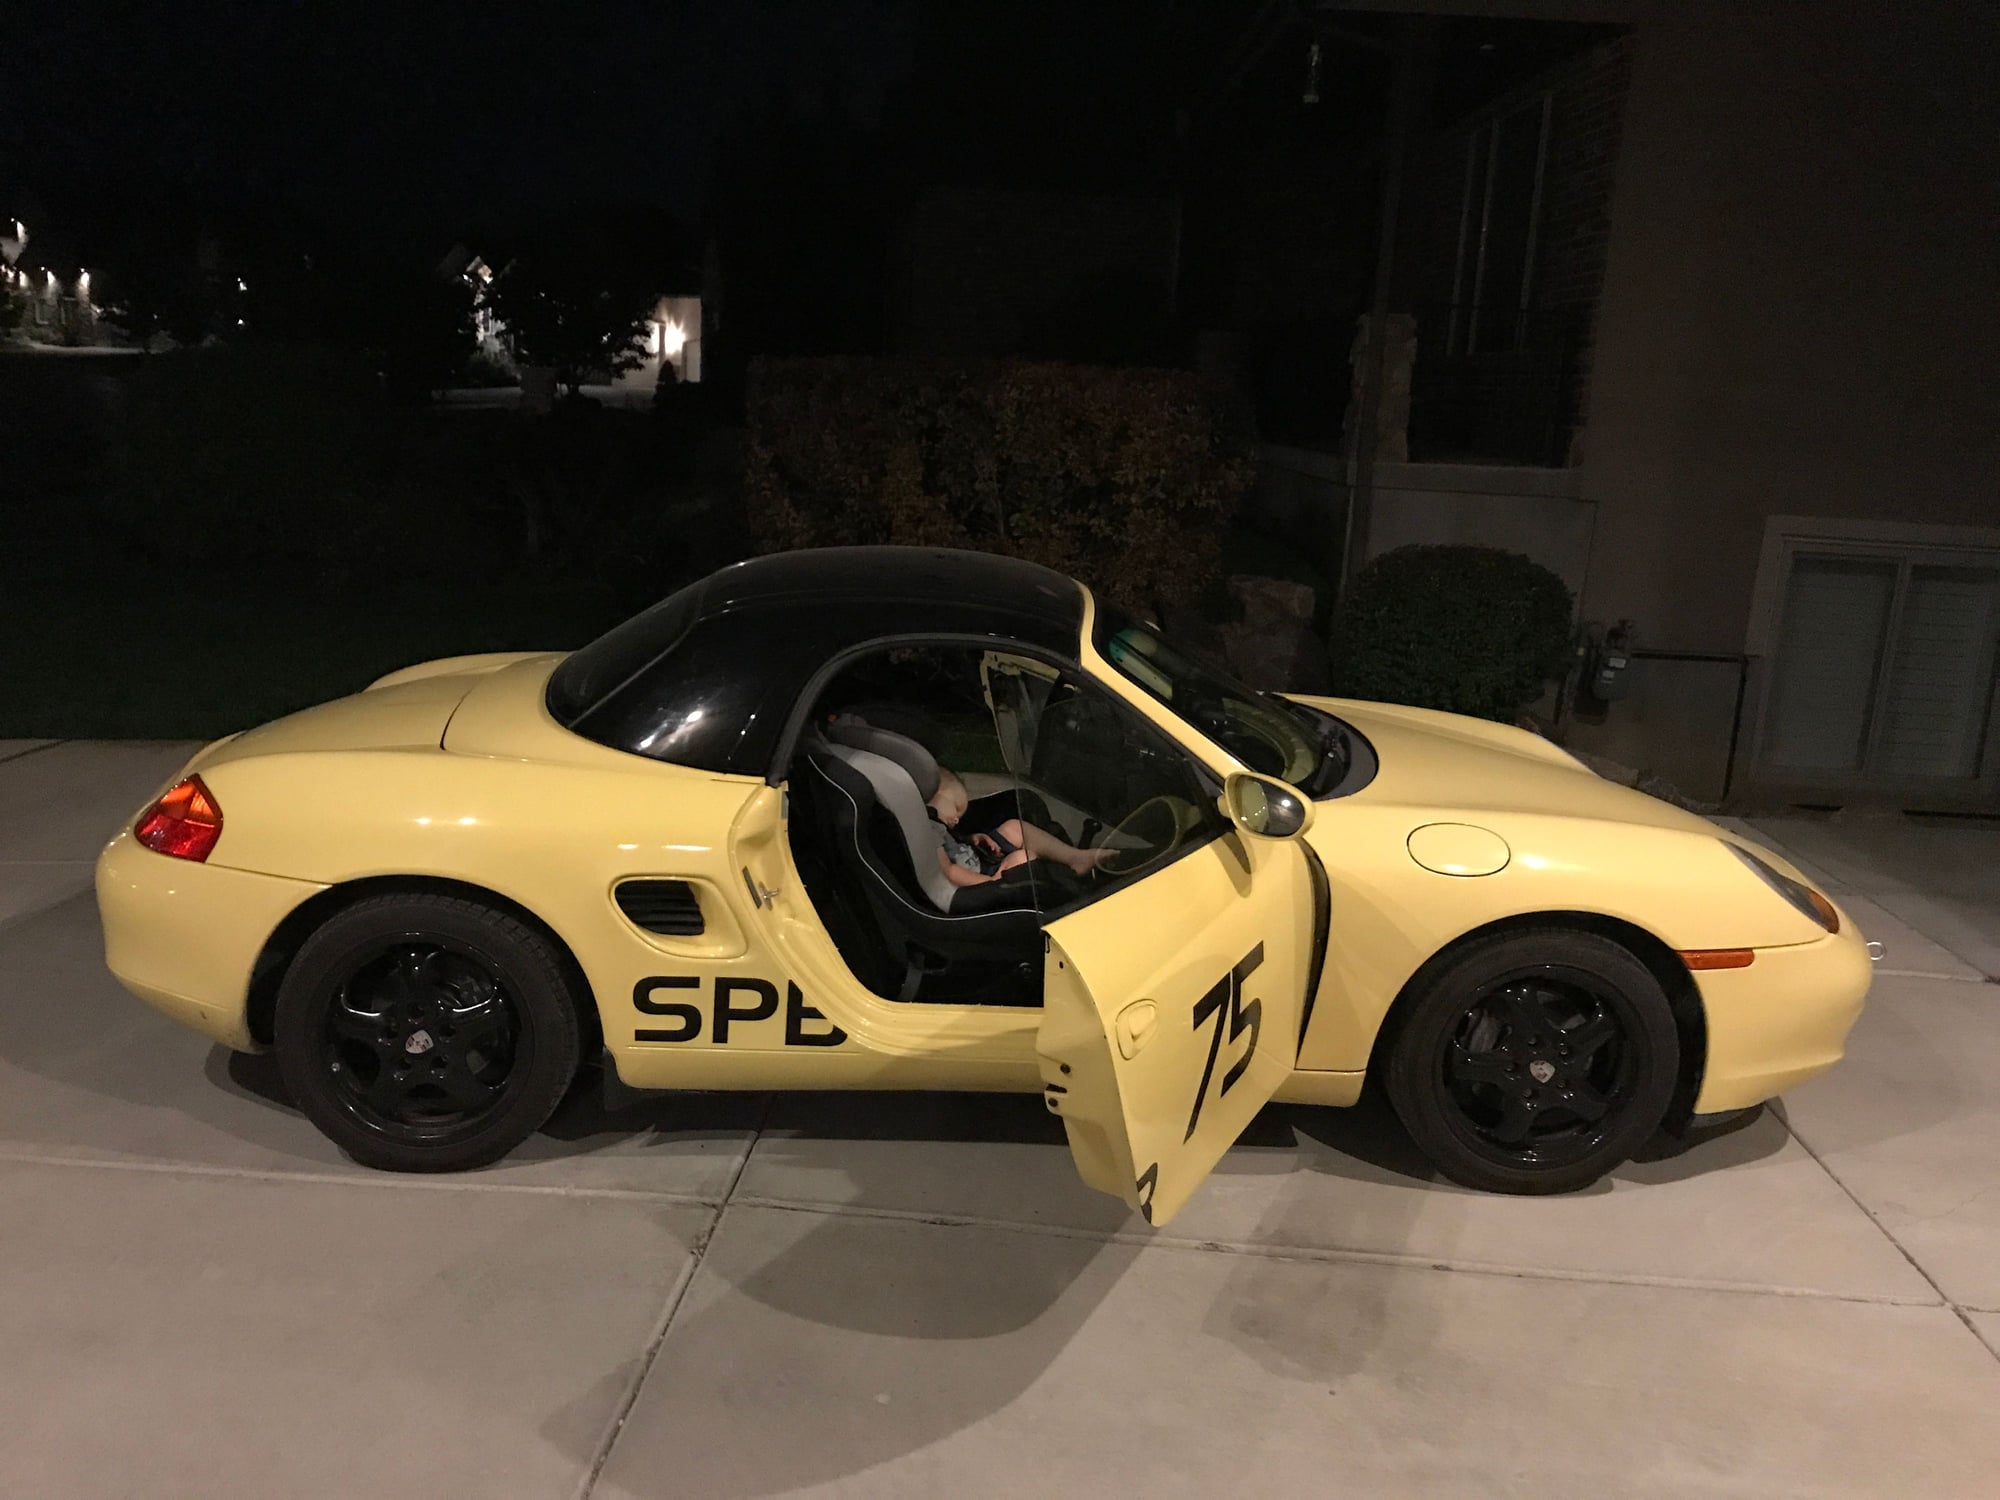
I zip tied the license plate to the passenger roll bar after duct taping the edges. This is getting farther and farther from street legal.
Took the car out to a PCA DE and it started out great.... but at the end of the first session I got a CEL and had to pull off. I drove it to a trackside race shop (Tatum). Nice guys there. They read the codes, random misfire on 1 and 4, and they reset the CEL. I took it out to the road behind the track and drove it easy for a bit, then opened up the throttle. As soon as I got into third above ~5k at wide open throttle the CEL came back. Ok, guess the car is done for the day... they cleared it once more and I drove it home gently and the CEL stayed off.
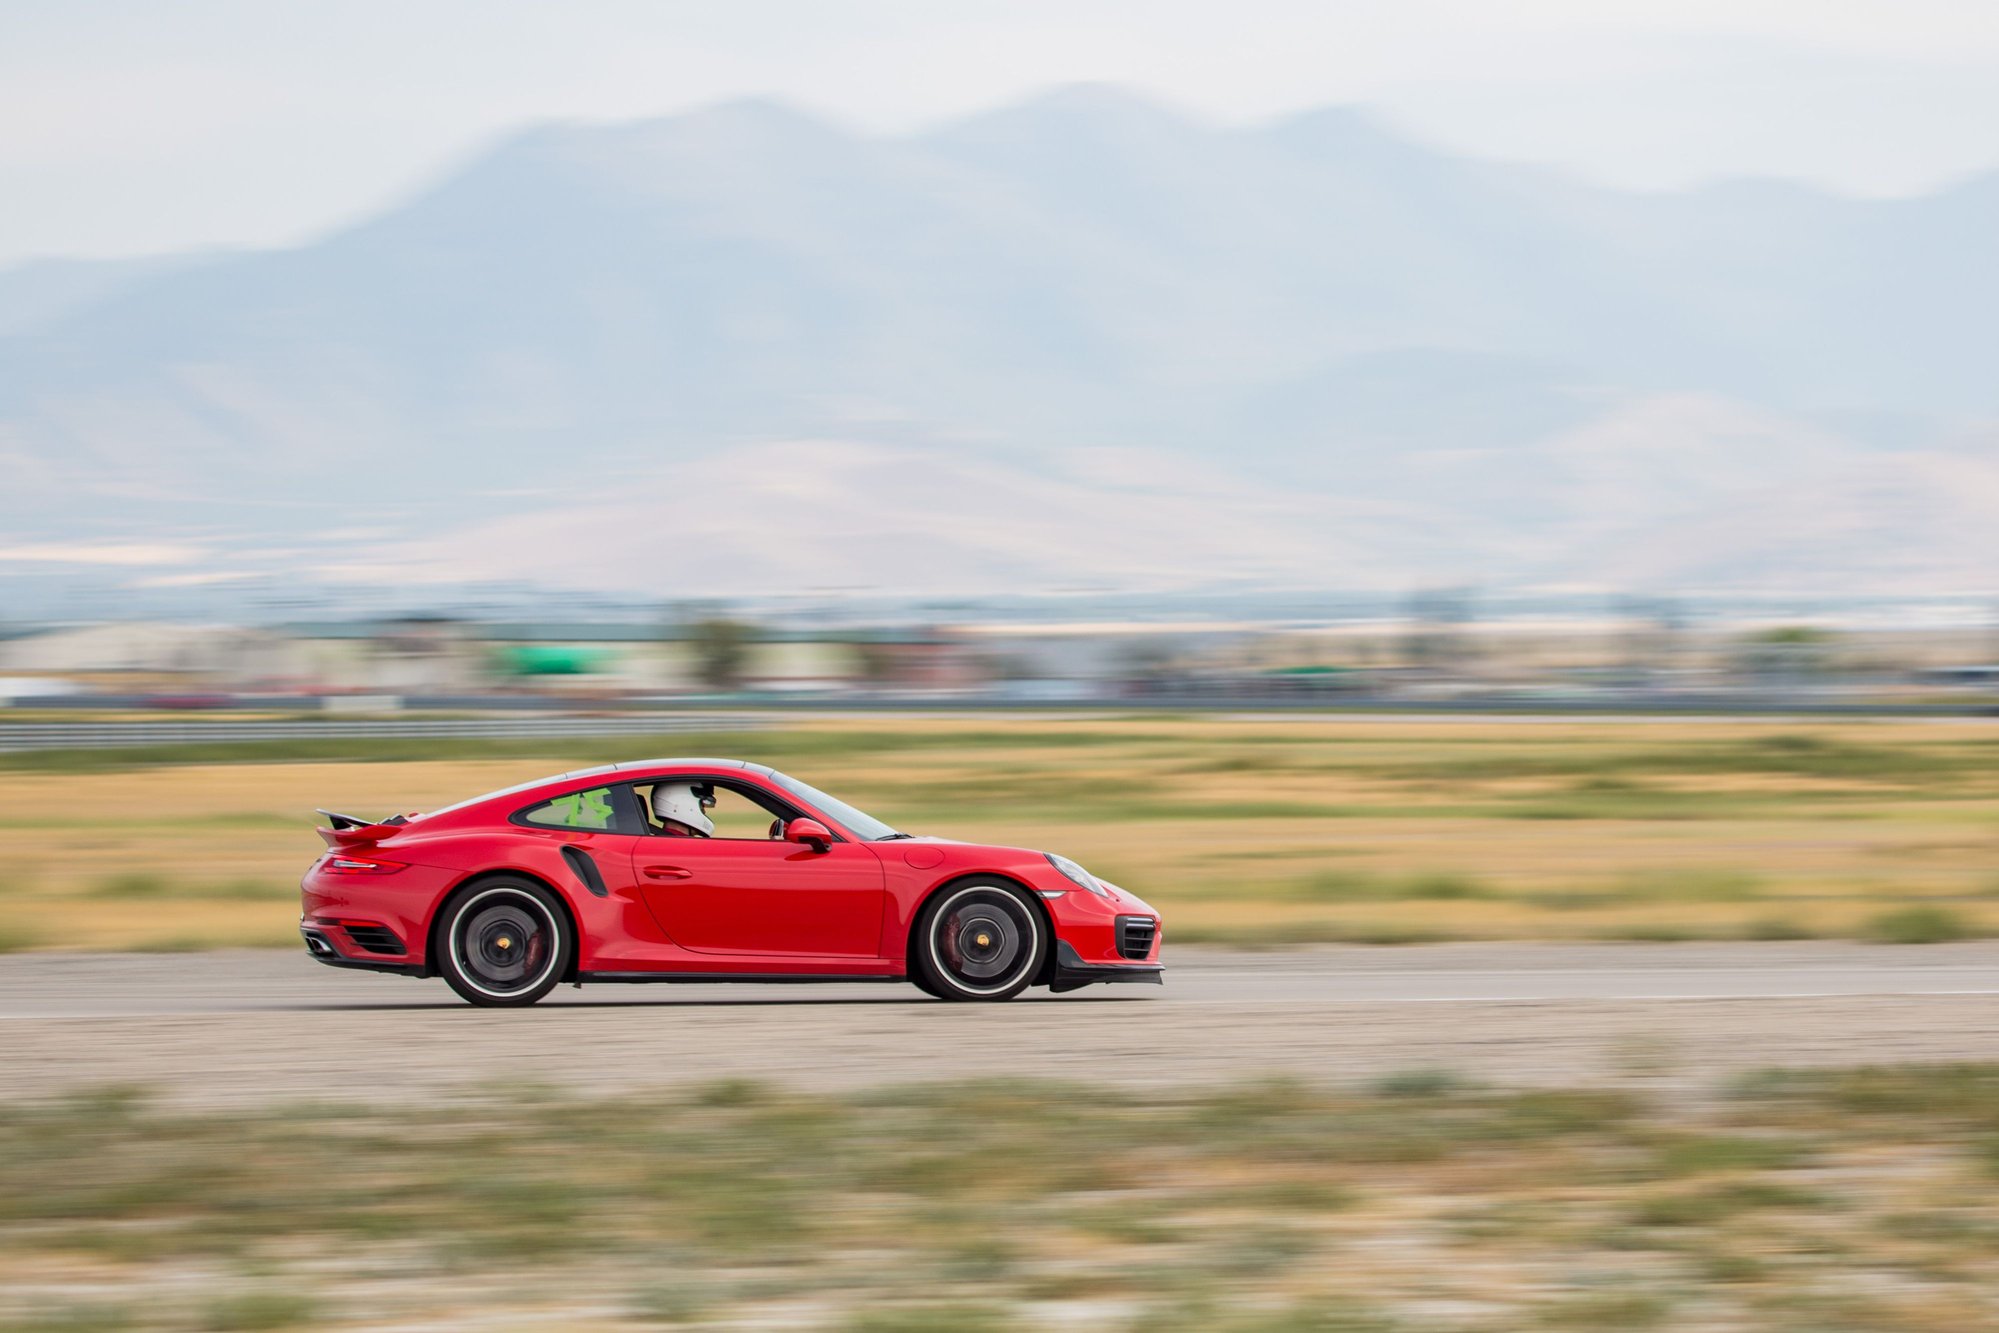
I wanted to make lemonade out of lemons, so I just dropped the car off at home and grabbed the keys to the 911 and went right back... first time with that car at the track. I don't have plans to take it out as this one is a street car for me but I did want to get it out to the track once. Today was looking to be a good day for it! A local photographer took and sold photos so I got a few cool ones. This one is neat because of the visible airflow off the rear of the car.
After the event I got home and googled a bit to see what might be the problem with the Boxster. With the new fuel pump and relay the coil packs seemed to be a likely suspect. I got on Pelican and figured I'd throw the parts at it and see if the problem was resolved - I wouldn't mind giving the car a tune up anyway. I got plugs, coil packs, and the associated rubber bits (O rings and boots). When they came in I put them in the garage. At this point I realized I had gathered a pretty large pile of parts for the car since the Mantis 2L deep sump, 12 liters of XP9, and the wheel studs were in a pile there already.
Well... I got lazy. Took it all to the shop and just had them install everything. I could have done it but it's been hard to find time. What can you do. The Boxster seems to be running really well, and the shop did try to run it hard enough to see if the misfire came back and it didn't. No guarantees but you can only do so much on the street. They gave me the old plugs to inspect and they looked pretty haggard so I was really happy to have replaced them.
Since I don't have my race license I'll probably be doing DE/TT for a while yet. Because of that I might just do the suspension (and tires) next. Might need to do the underdrive pulley right away if I go that route. But with the deep sump installed I'm not afraid to run R comps. I think I've figured out what I want for Christmas this year...
I ran the last DE of my season today, NASA's Tresduro event where they run multiple configurations of the large track here, Utah Motorsports Campus. The car was flawless and I had a lot of fun. I have noticed that it can be a bit cold when it's below 40F in the morning and you don't have a heater core!
I finally feel like I'm starting to be able to use intuition to anticipate weight transfer and the influence on traction/handling/cornering rather than feeling out the car and hearing the tires yell at me when I'm too ham fisted. I'm far from good at it but at least I'm understanding the language the car is speaking. I think the soft suspension exaggerates it so I'm looking forward to upgrading to the spec suspension.
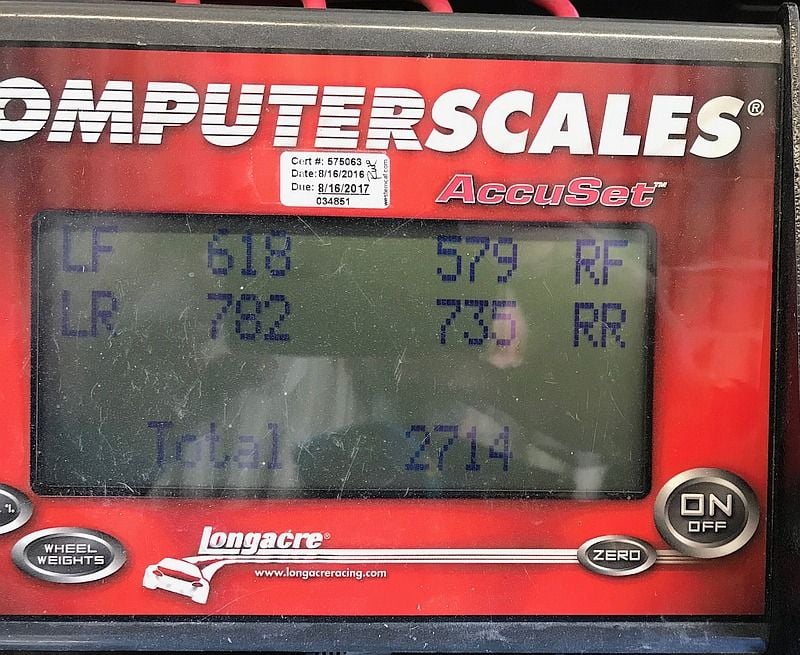
Our local NASA group had their corner balance scale set up today, so out of curiosity I pulled the car up on it. I weight 185 lbs, and the car is at 2714 lbs with me, both seats installed, and a little over half a tank of gas indicated. Without me (185) or the passenger seat (31 lbs) the car weights 2598 lbs at the indicated fuel level. Google says the gas tank is holds 15 gallons = 94.5 lbs of gas when fully fueled. So with an empty tank I'm somewhere around 2550 lbs... not nearly light enough but I've at least moved in the right direction.
So now I got thinking to myself and typed this out....
Areas where I will remove weight:
Delete: AC compressor, air pump, finish gutting the doors, get rid of the interior sealant gunk, remove the glass windows, remove the rear clamshell support brackets, the driver's side radiator fan, the passenger's side wiper, factory roll bar when cage goes in, and random small things here and there. PITA option: pull more wires.
Replace: OE exhaust including catalytic converters, battery, windshield with lexan, and some miscellaneous smaller stuff. Optional: LWFW, change rear glass to lexan
Finally, I can save more by trimming the metal and changing glass to lexan in my OE hardtop or just replace it with a flimsy fiberglass one that weighs next to nothing. At the moment without a cage in the car I don't mind the hardtop being a bit beefy.
Areas that might change weight a little either way: tires, suspension, and other replaced parts.
Areas where I will add more weight to the car:
Add: Full cage (!!!), fire system, and the many small items required for safety.
Optional: Coolers for motor oil, transmission oil, and power steering fluid. I'll probably skip the Accusump for now due to the mixed reviews and weight penalty.
I may develop a rough cage weight estimate to see how far I'll have to go in parts removal to meet the minimum weight with my car. I'm thinking to just guess at the linear feet of tube, then multiply that by the weight per foot and a weld joint factor (say 20%) to get a rough idea. This part is far easier for the 130 lb jockeys among us!
A Little Progress: Shifting Assembly
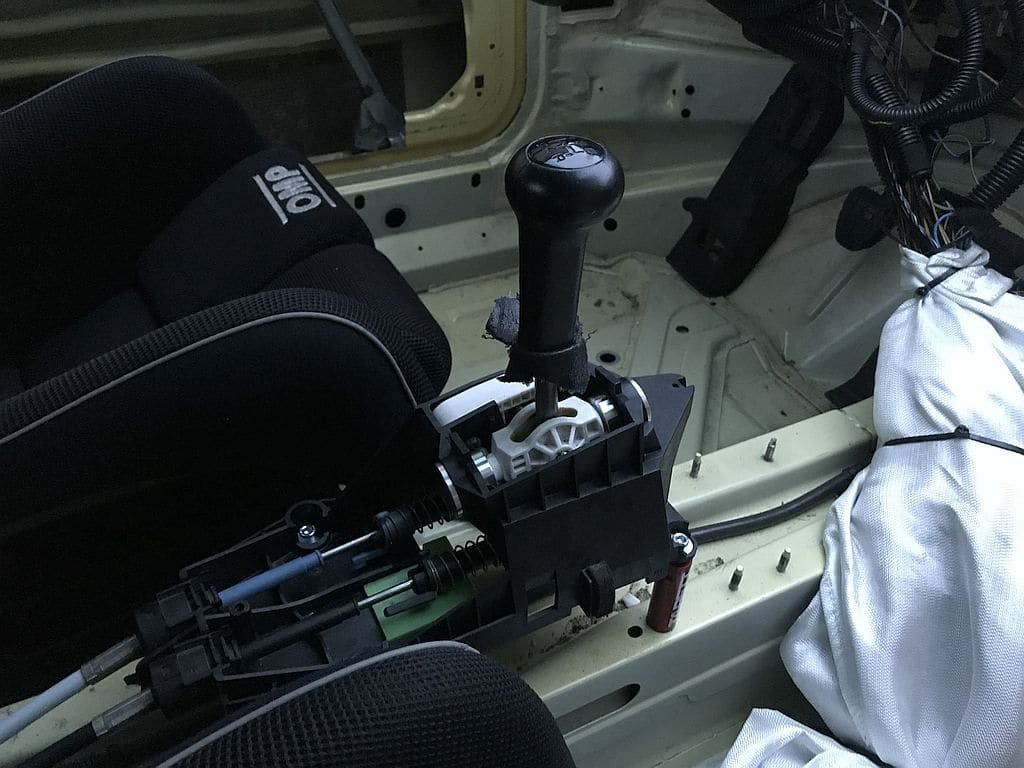
Been working on the car just a bit. Got a couple little things for christmas from extended family - shifter risers, shifter bushings, and a low temp thermostat. The thermostat will wait, but I put in the shifter risers and bushings in a few odd minutes here and there over the last few days. I pulled off the trunk weatherstripping and deleted the front and rear trunk cabin latch (the two trunk latch pulls on the driver's left side) and just have cables only now. They're a hard pull and frankly don't work as well but that's how it goes. I'll probably install aerocatches at some point but I'm not super brave with a jigsaw at this point.
I was looking at the shifter assembly on the transmission side and found the bushings were cracked. Load is being transferred through shear primarily. I might take and upload a picture later on. Checking pelican, the shift rod is $100 but the full set of shift linkage parts runs $500. The main rod is reasonable to just replace, but for the other shift linkage bushings I'm inclined to look for rod ends or to try to repair the bushings.
Shift rod, part 986-424-931-06: https://www.pelicanparts.com/More_Info/98642493106.htm
Shift linkage, part 986-424-913-06: https://www.pelicanparts.com/More_Info/98642491306.htm
Overall Car Development
I had planned to allocate $10k to car development this winter, but we were surprised to find we need to send the IRS a pile of money and at the same time my wife is looking at changing to a job with a much better lifestyle and somewhat less salary. To mitigate the impacts I'm going to scale back my car development plans and keep the car development this winter closer to the $3-5k range instead.
Component Part Numbers
I spent a bit of time looking for part numbers for some of the required items that aren't specified in the PCA rules. For anyone else who might be looking, here is what I've found.
I believe I've identified the correct 996 GT3 lower control arms part numbers. I'd need shims as well but figured I could just reach out to one of the race shops for those.
2x 996.341.121.90 996 GT3 LCA Outer Section (RHS)
2x 996.341.122.90 996 GT3 LCA Outer Section (LHS)
4x 996.341.441.90 996 GT3 Inner Control Arm
And for the swift springs that mate to the PSS9s, I found these part numbers:
450# - Swift Z70-152-080
500# - Swift Z70-152-090
This came from an old related rules set: https://boxsterspec.files.wordpress....pec-rules5.pdf

 06-23-2017, 09:13 PM