When you click on links to various merchants on this site and make a purchase, this can result in this site earning a commission. Affiliate programs and affiliations include, but are not limited to, the eBay Partner Network.
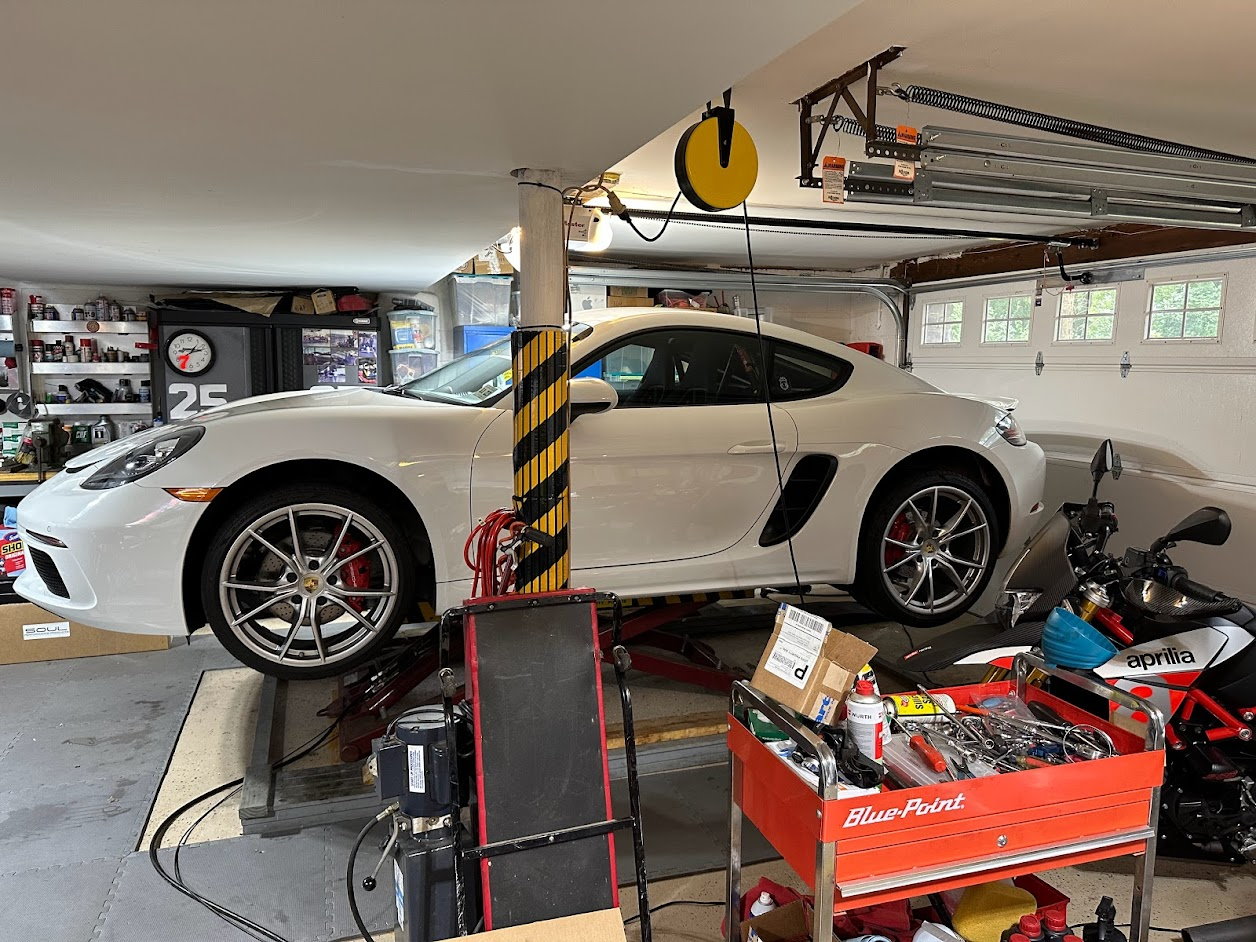
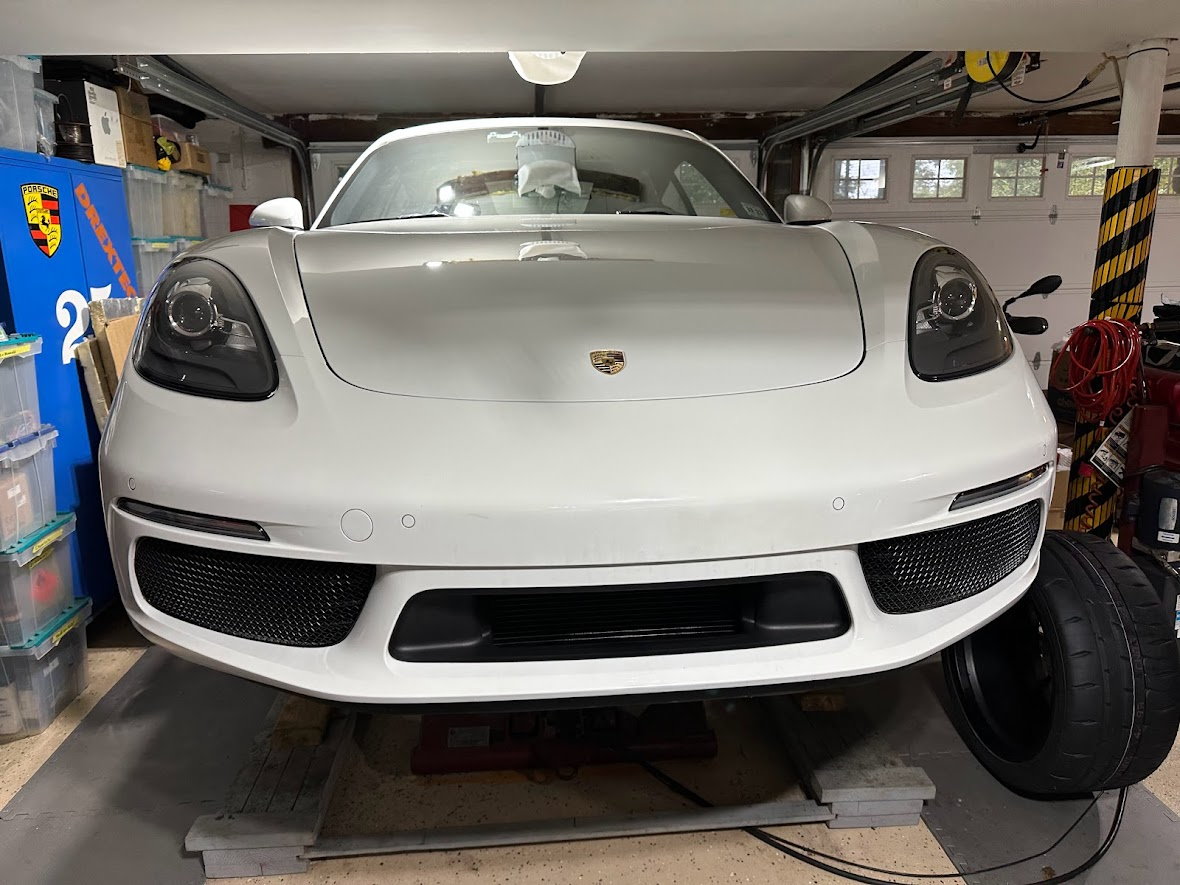
After trying to find a good explanation of how all the myriad of parts in the Suncoast Third Radiator Retrofit kit are used, I wanted to share my experience, and one big "gotcha" that you need to respect (ask me how I know). So here is a DIY on putting this third radiator in the 718.
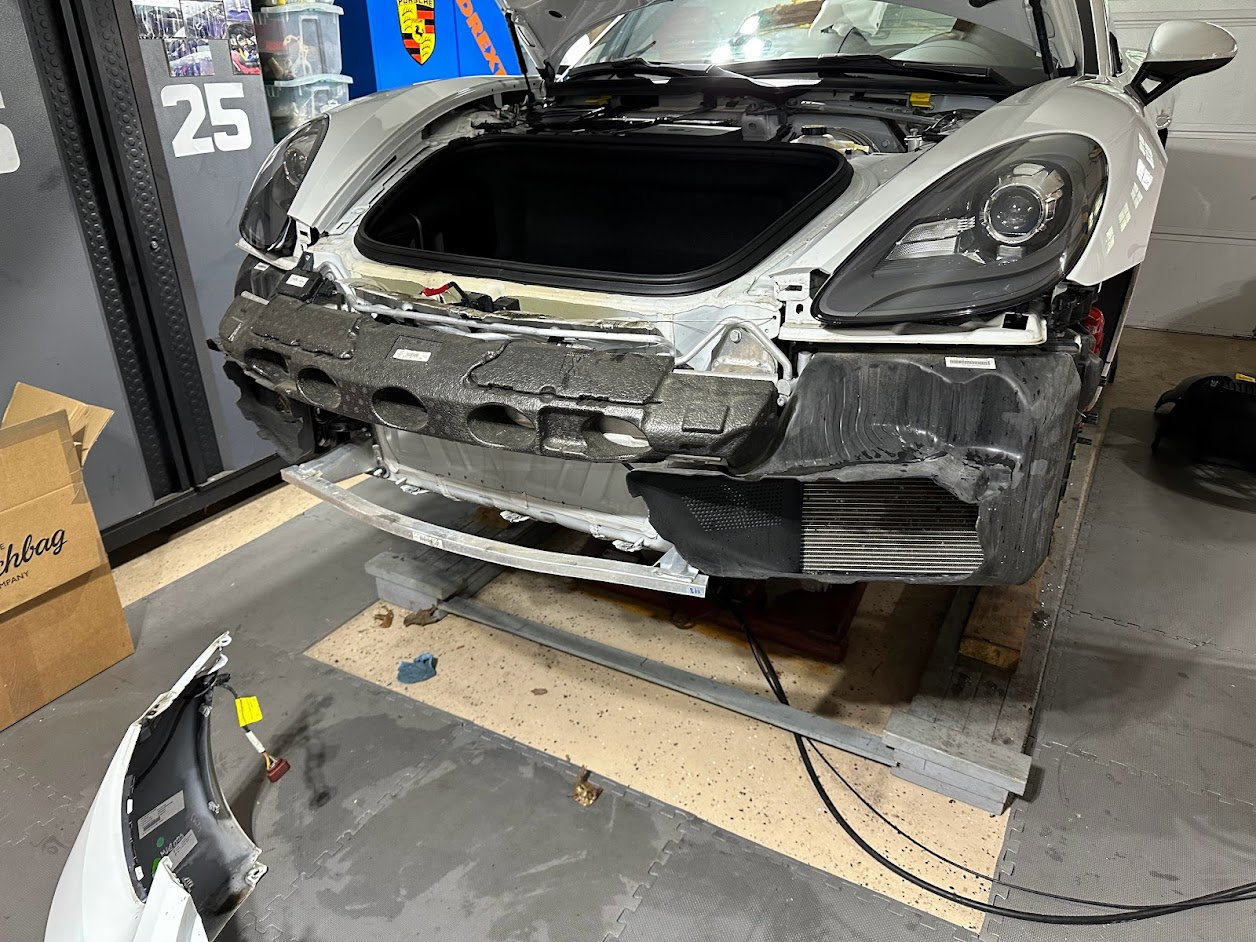
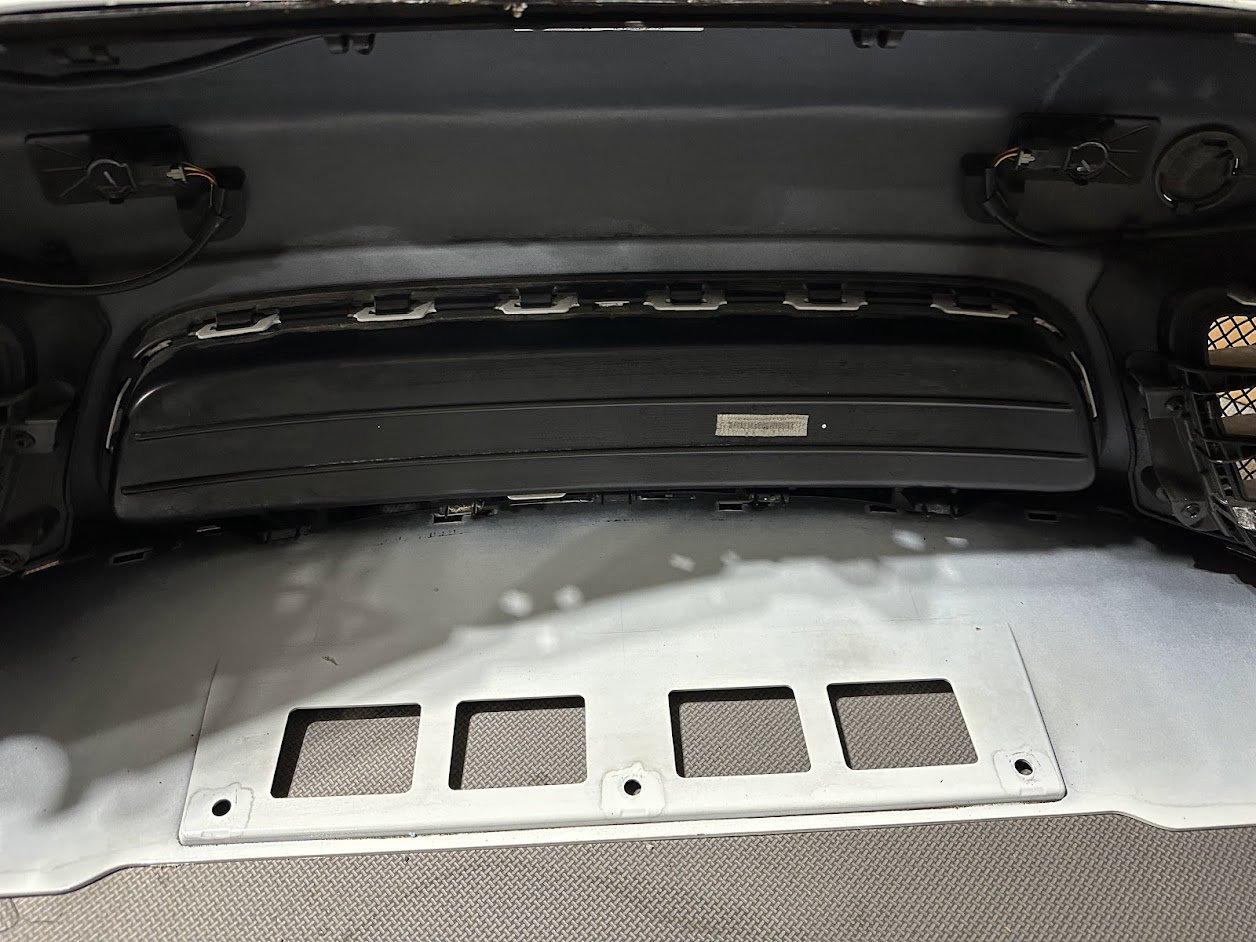
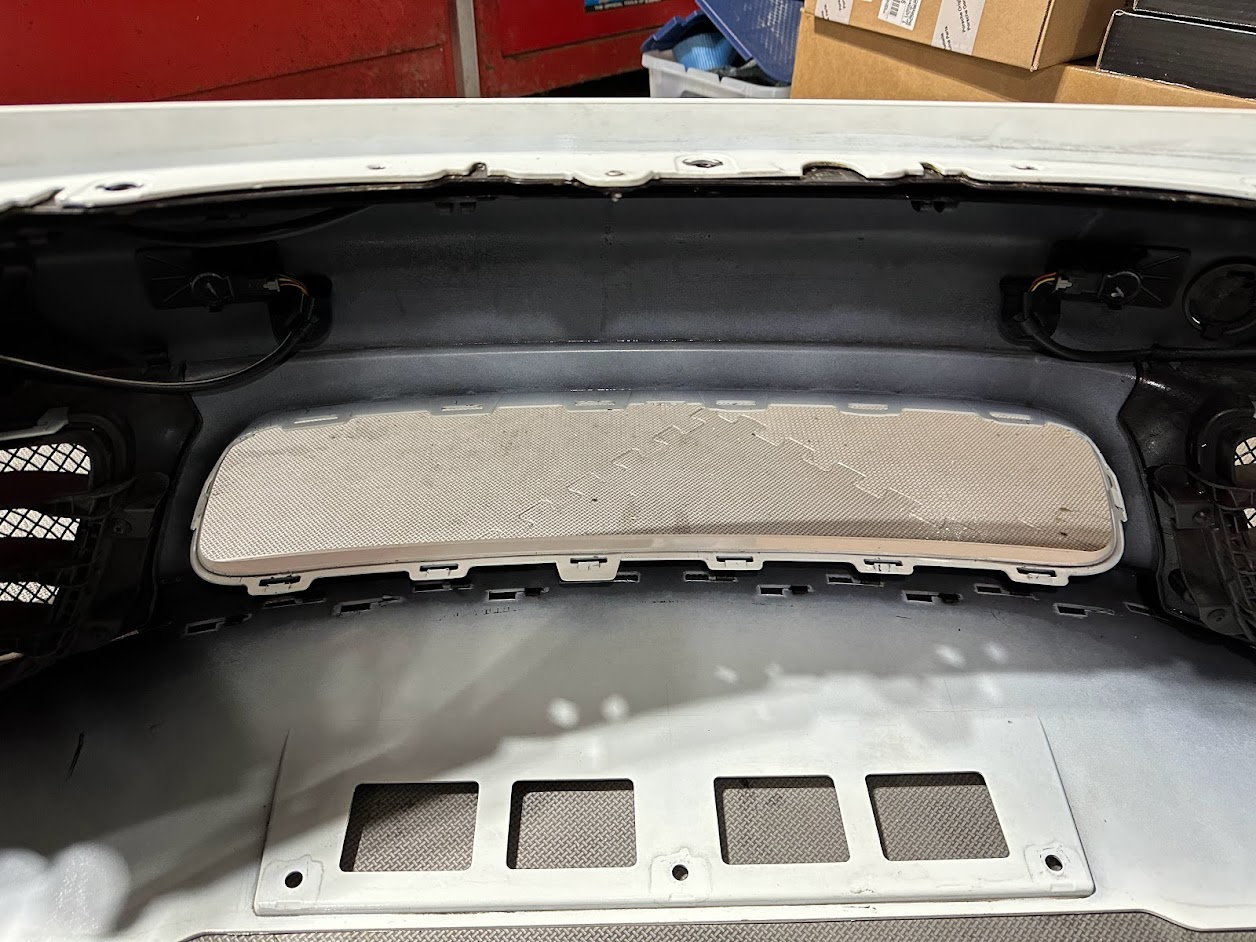
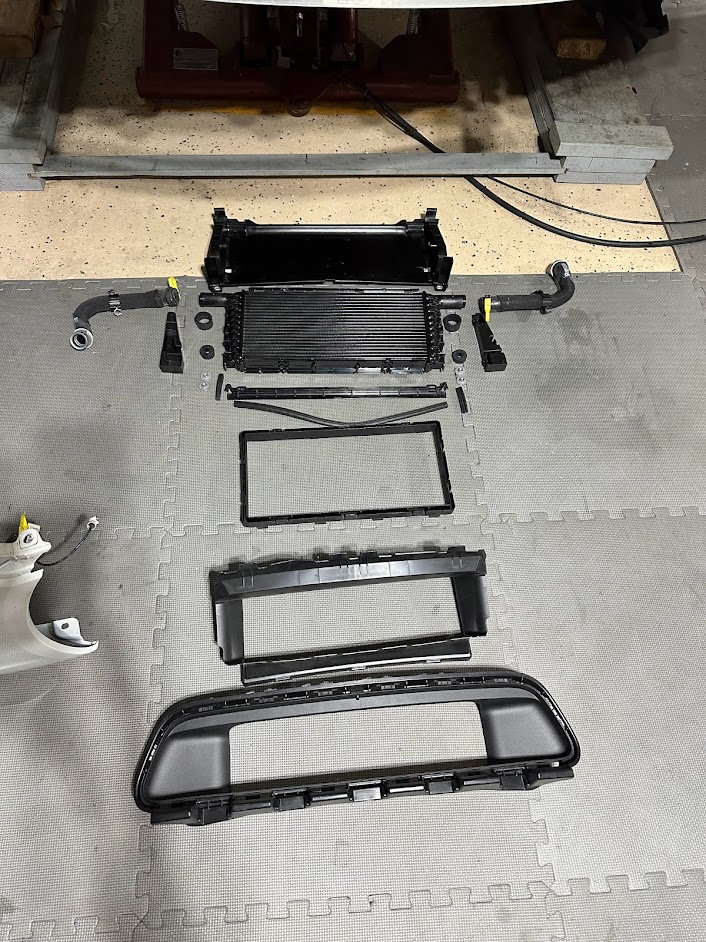
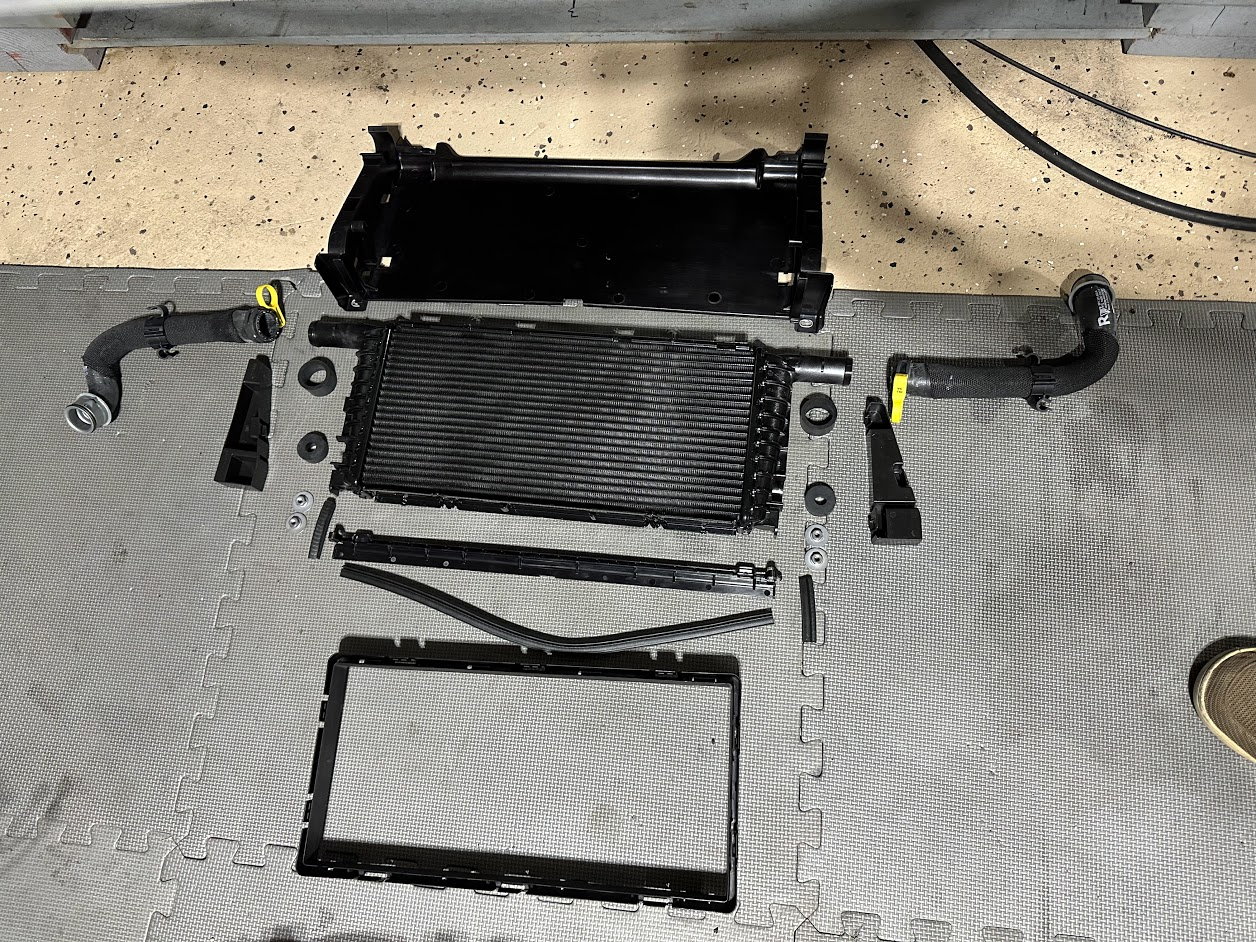
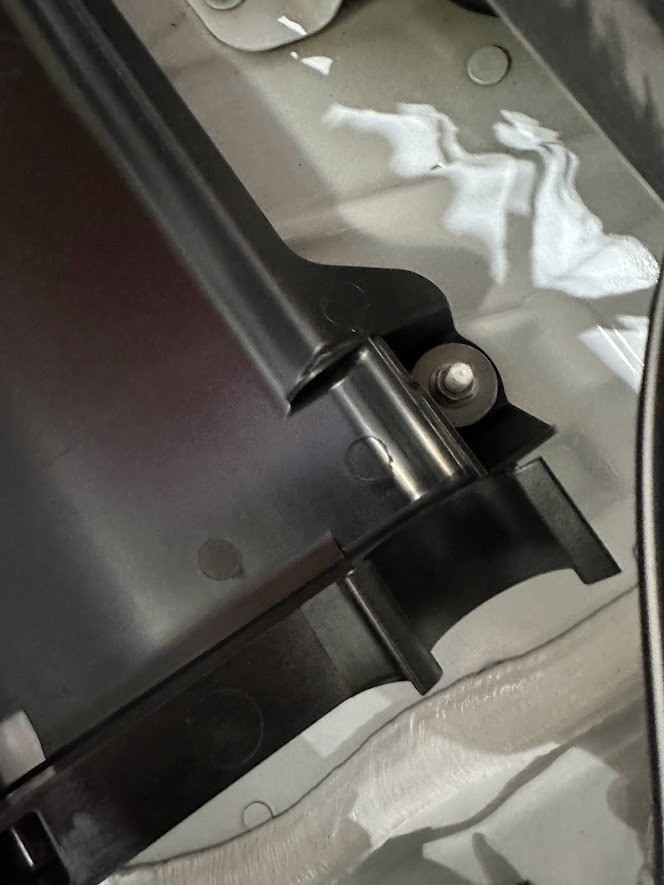
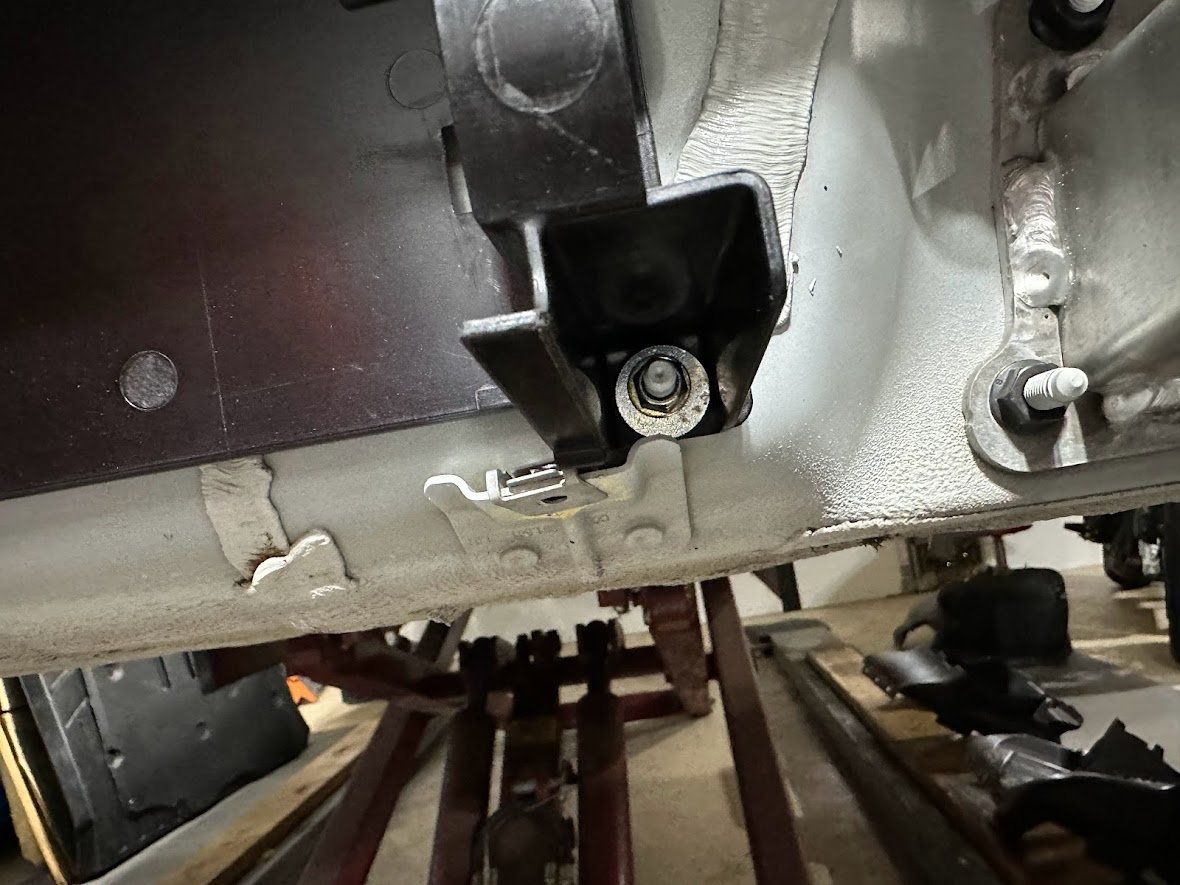
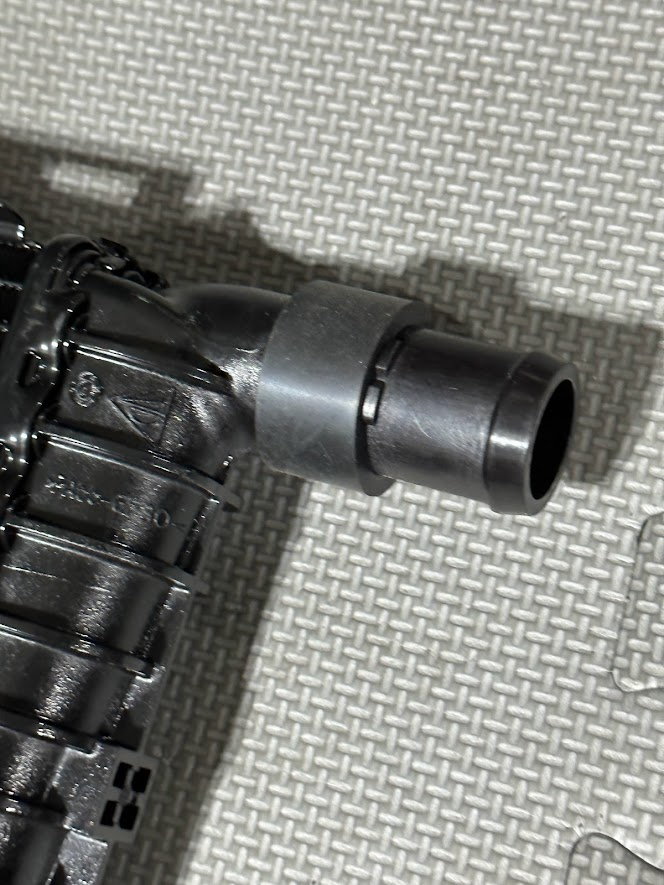
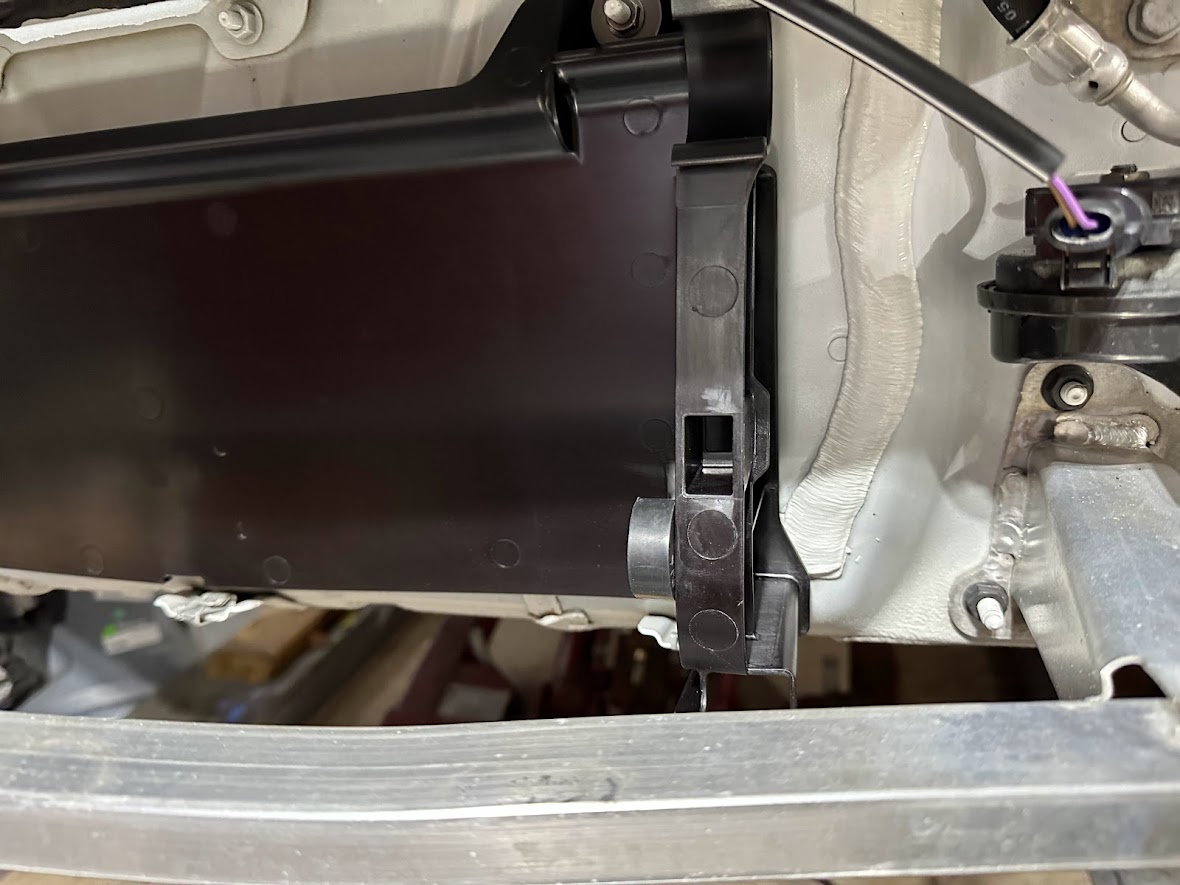
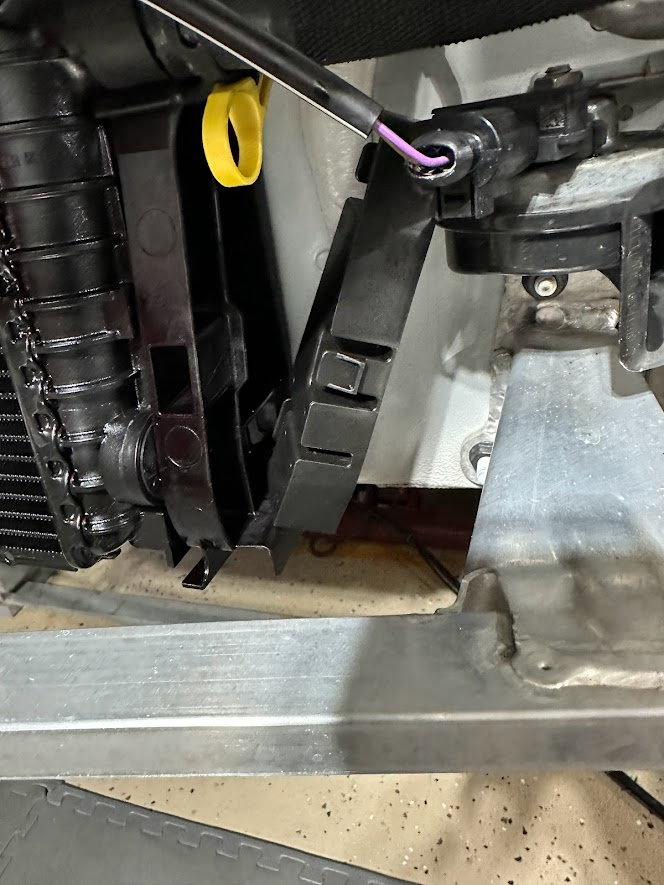
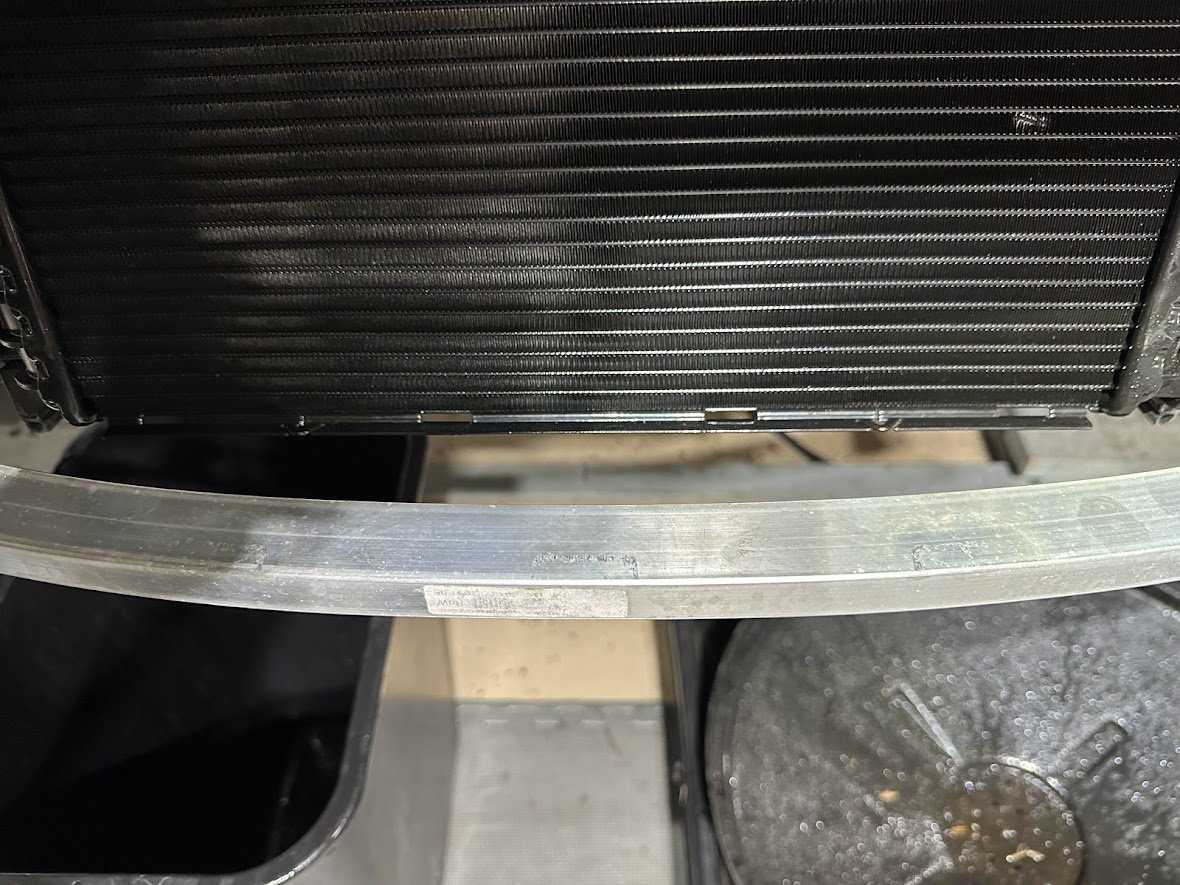
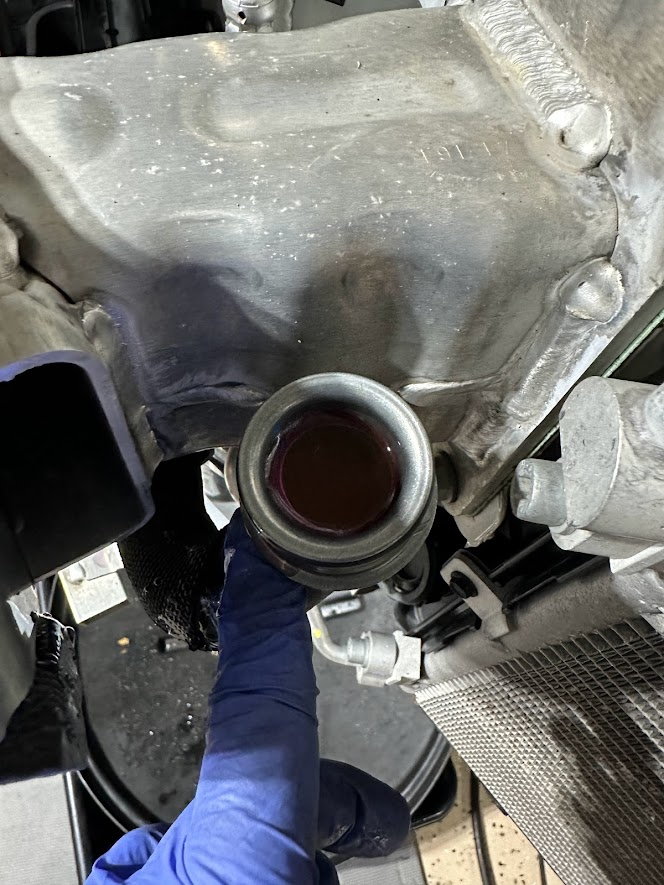
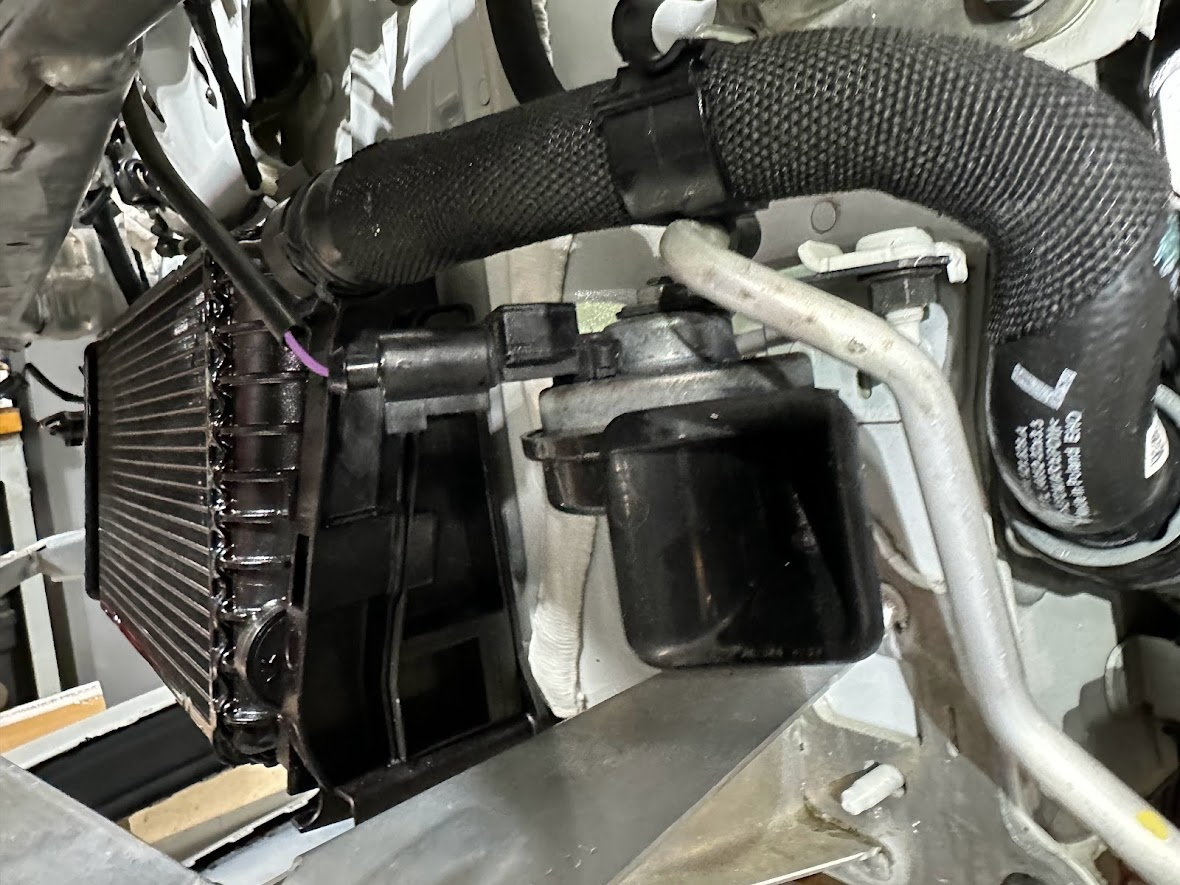
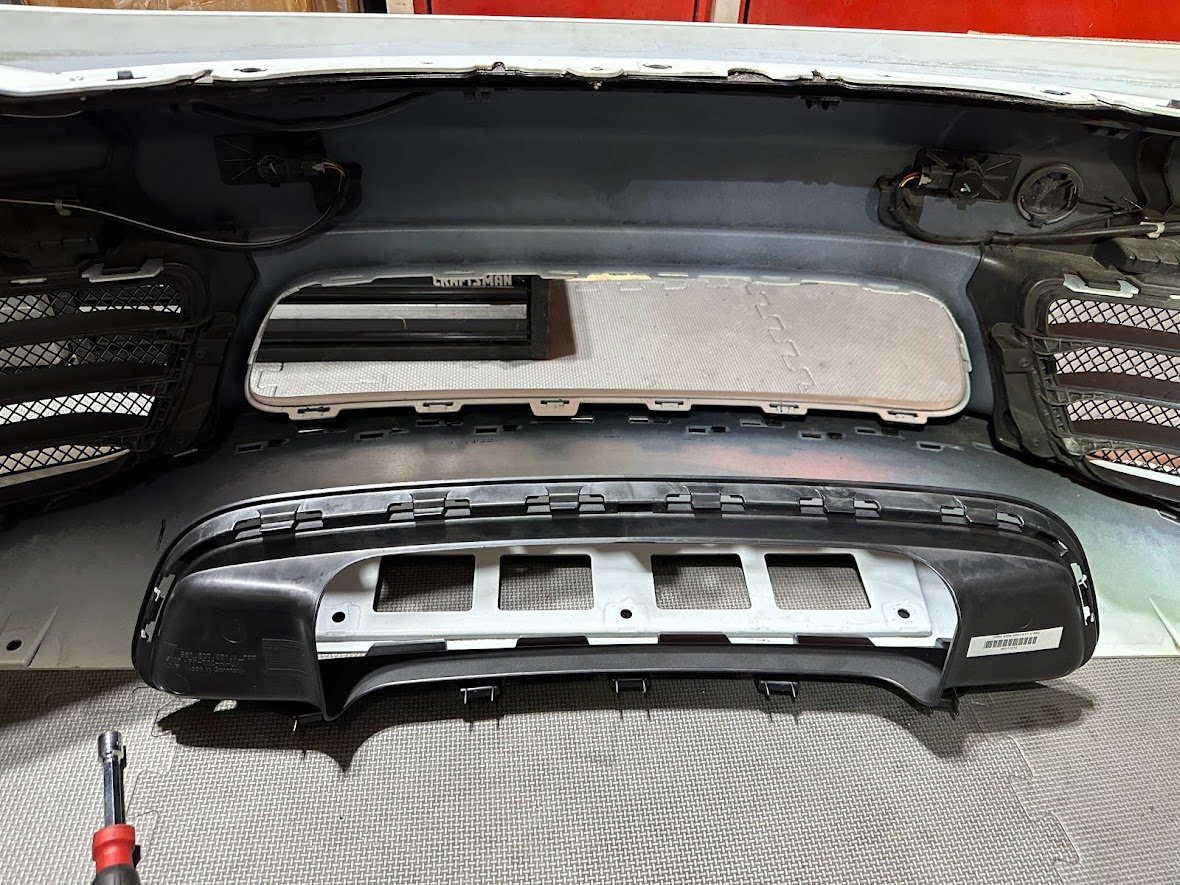
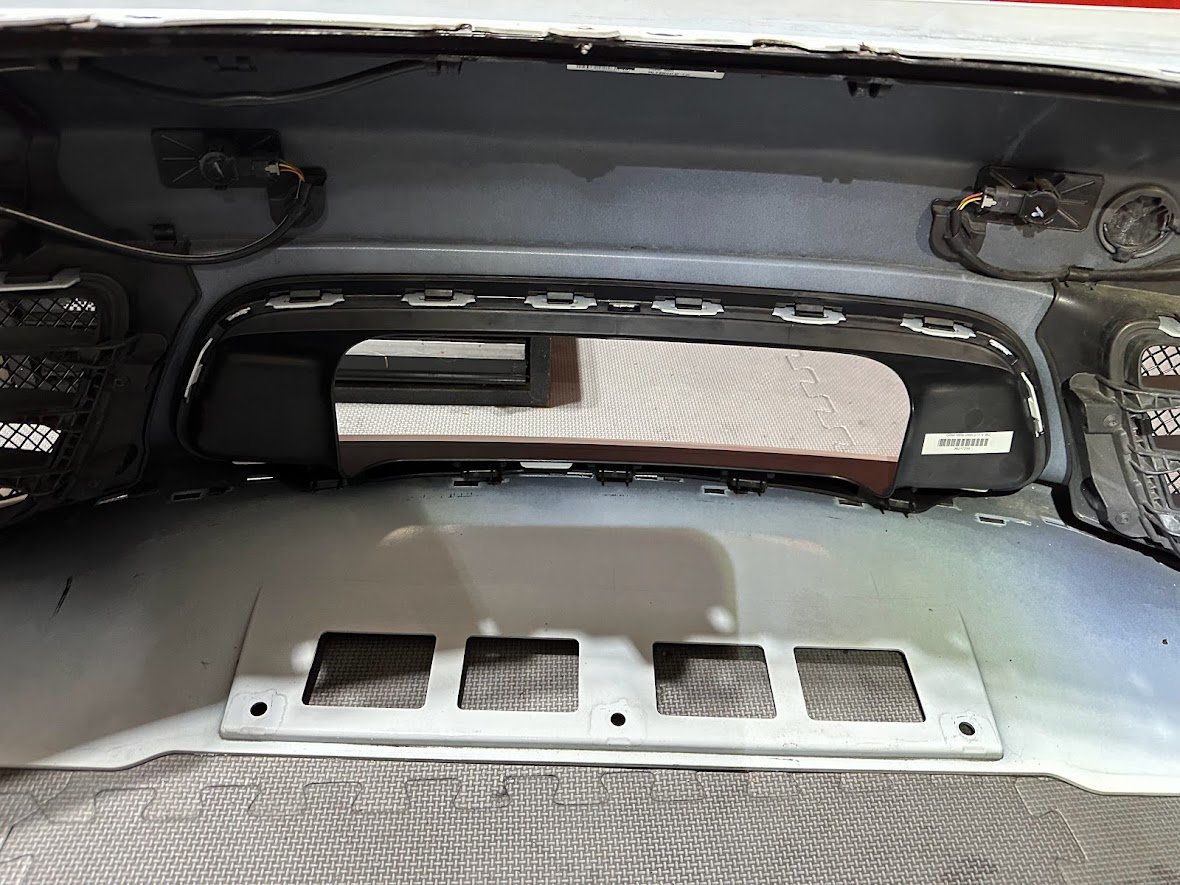
Raise the front of the car Remove the front bumper cover. See this thread - https://www.718forum.com/threads/diy...removal.19316/ Then remove the radiator ducts and clean up what you find there. The stock blanking plate needs to be removed Plate removed, I found this tricky until at the end of the removal I realized you must use the black tab on the plate to release the lock by levering away from the opening. Lift each tab to release lock and pull that part of the plate away so it doesn't (*&^@#% lock again on you! This is how the parts will all be installed. Make sure you have them all! A closer look at the parts to be installed. Coolant not included, so make sure to get the correct Porsche branded stuff for the 718 Use the supplied nut with washer to fasten the upper flange of the radiator housing For the lower flange, the supplied washer was too large, so I had to reach into the Wurth hardware drawer for a better fitting approach Slide upper support onto rad house "barb" This is the location of the lower support (rubber washer) but I ended up putting it on the radiator for the install and just gently spreading the support apart to install it. Attach the hoses but don't release the yellow clamp tensioners just yet. Get some suitable hose pliers to prevent fluid leaking from hoses, and dilute your coolant with distilled water. Insert the side support braces (these click in) Take note of the radiator flanges where the air guides will clip on. They are NOT the same on front and back (and I installed backward at first and connected the hoses.... GOTCHA!) Learn from my trial and error. Mount the radiator and fill it with diluted Porsche coolant while the hoses are oriented openings up Clamp off both hoses close to the end, rotate the hoses down then remove the blanking cover from one radiator and quickly attach the hose. Fluid loss will be very minimal. Remember to remove and replace the wire locking retainer on the side radiator. Click on the two part air guide. I had to remove the foam bumper support to get this in. The foam just clips on and off. Release the yellow hose camp tensioners and you are done with this bit! Top off the coolant and start the car and bring to temp - checking for leaks. No leaks? Good! A bit more to do. Note the orientation of the bumper cover insert. Insert the insert... from the front of the bumper cover and click all the fastener locations in place. Reinstall the front bumper cover. That's more like it. Enjoy the cooler coolant
nice work. i did this myself last year as well. fwiw i sourced all the parts from the suncoast kit for about 20% less total from my local dealer. like everything in life best to check around for pricing from multiple sources before buying.
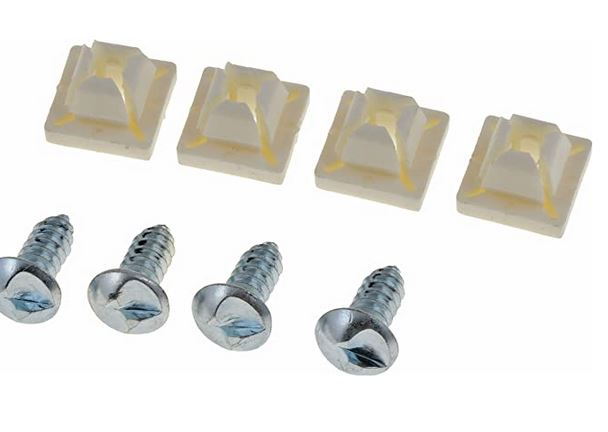
only issue i had was the new center grille install. ended up using the plastic square inserts (like for license plate screws) in the plastic plate (after making the opening) and then using screws with spacers to hold the grille out in place. i used the zunsport version.,
nice work. i did this myself last year as well. fwiw i sourced all the parts from the suncoast kit for about 20% less total from my local dealer. like everything in life best to check around for pricing from multiple sources before buying.
only issue i had was the new center grille install. ended up using the plastic square inserts (like for license plate screws) in the plastic plate (after making the opening) and then using screws with spacers to hold the grille out in place. i used the zunsport version.,
Good idea on the inserts. I have the center Zunsport also and after the car comes back from the PPF install I was going to do something better than just screwing right into the plastic (shudder).
i drilled holes just big enough to get the plastic inserts in. all was well until my first track day... after that i used a little 2 part epoxy prior to re-inserting the plastic bits to hold them in place
the plastic is really not very thick and those are almost an inch deep on the receiver side, so not sure if those would work. i suppose you could drill the hole and push them forward from behind using the lip built into them but then you would have the ugly big **** on the outside of your grille. also would have to consider the overall depth. if i recall it was over 2" total at the end and i believe i used a 2.5" or maybe 3" screw.
great post. i just bought the suncoast kit and was not sure if it was a diy or dlr/indy shop type of project.
i'm pretty good with a wrench but there's always a little bit of uncertainty when it's something you've never done before.
i got a quote from an indy shop and they wanted $1600 to install.
from the looks of your post, this is about a 3-4 hour job?
did you have issues with air getting into the system with the added radiator?
Now that I have done one on the 718 I could do another in 4-5 hours. Using the approach above I have not had any issues with air in the cooling system.
Now that I have done one on the 718 I could do another in 4-5 hours. Using the approach above I have not had any issues with air in the cooling system.

 10-04-2022, 05:30 PM