When you click on links to various merchants on this site and make a purchase, this can result in this site earning a commission. Affiliate programs and affiliations include, but are not limited to, the eBay Partner Network.
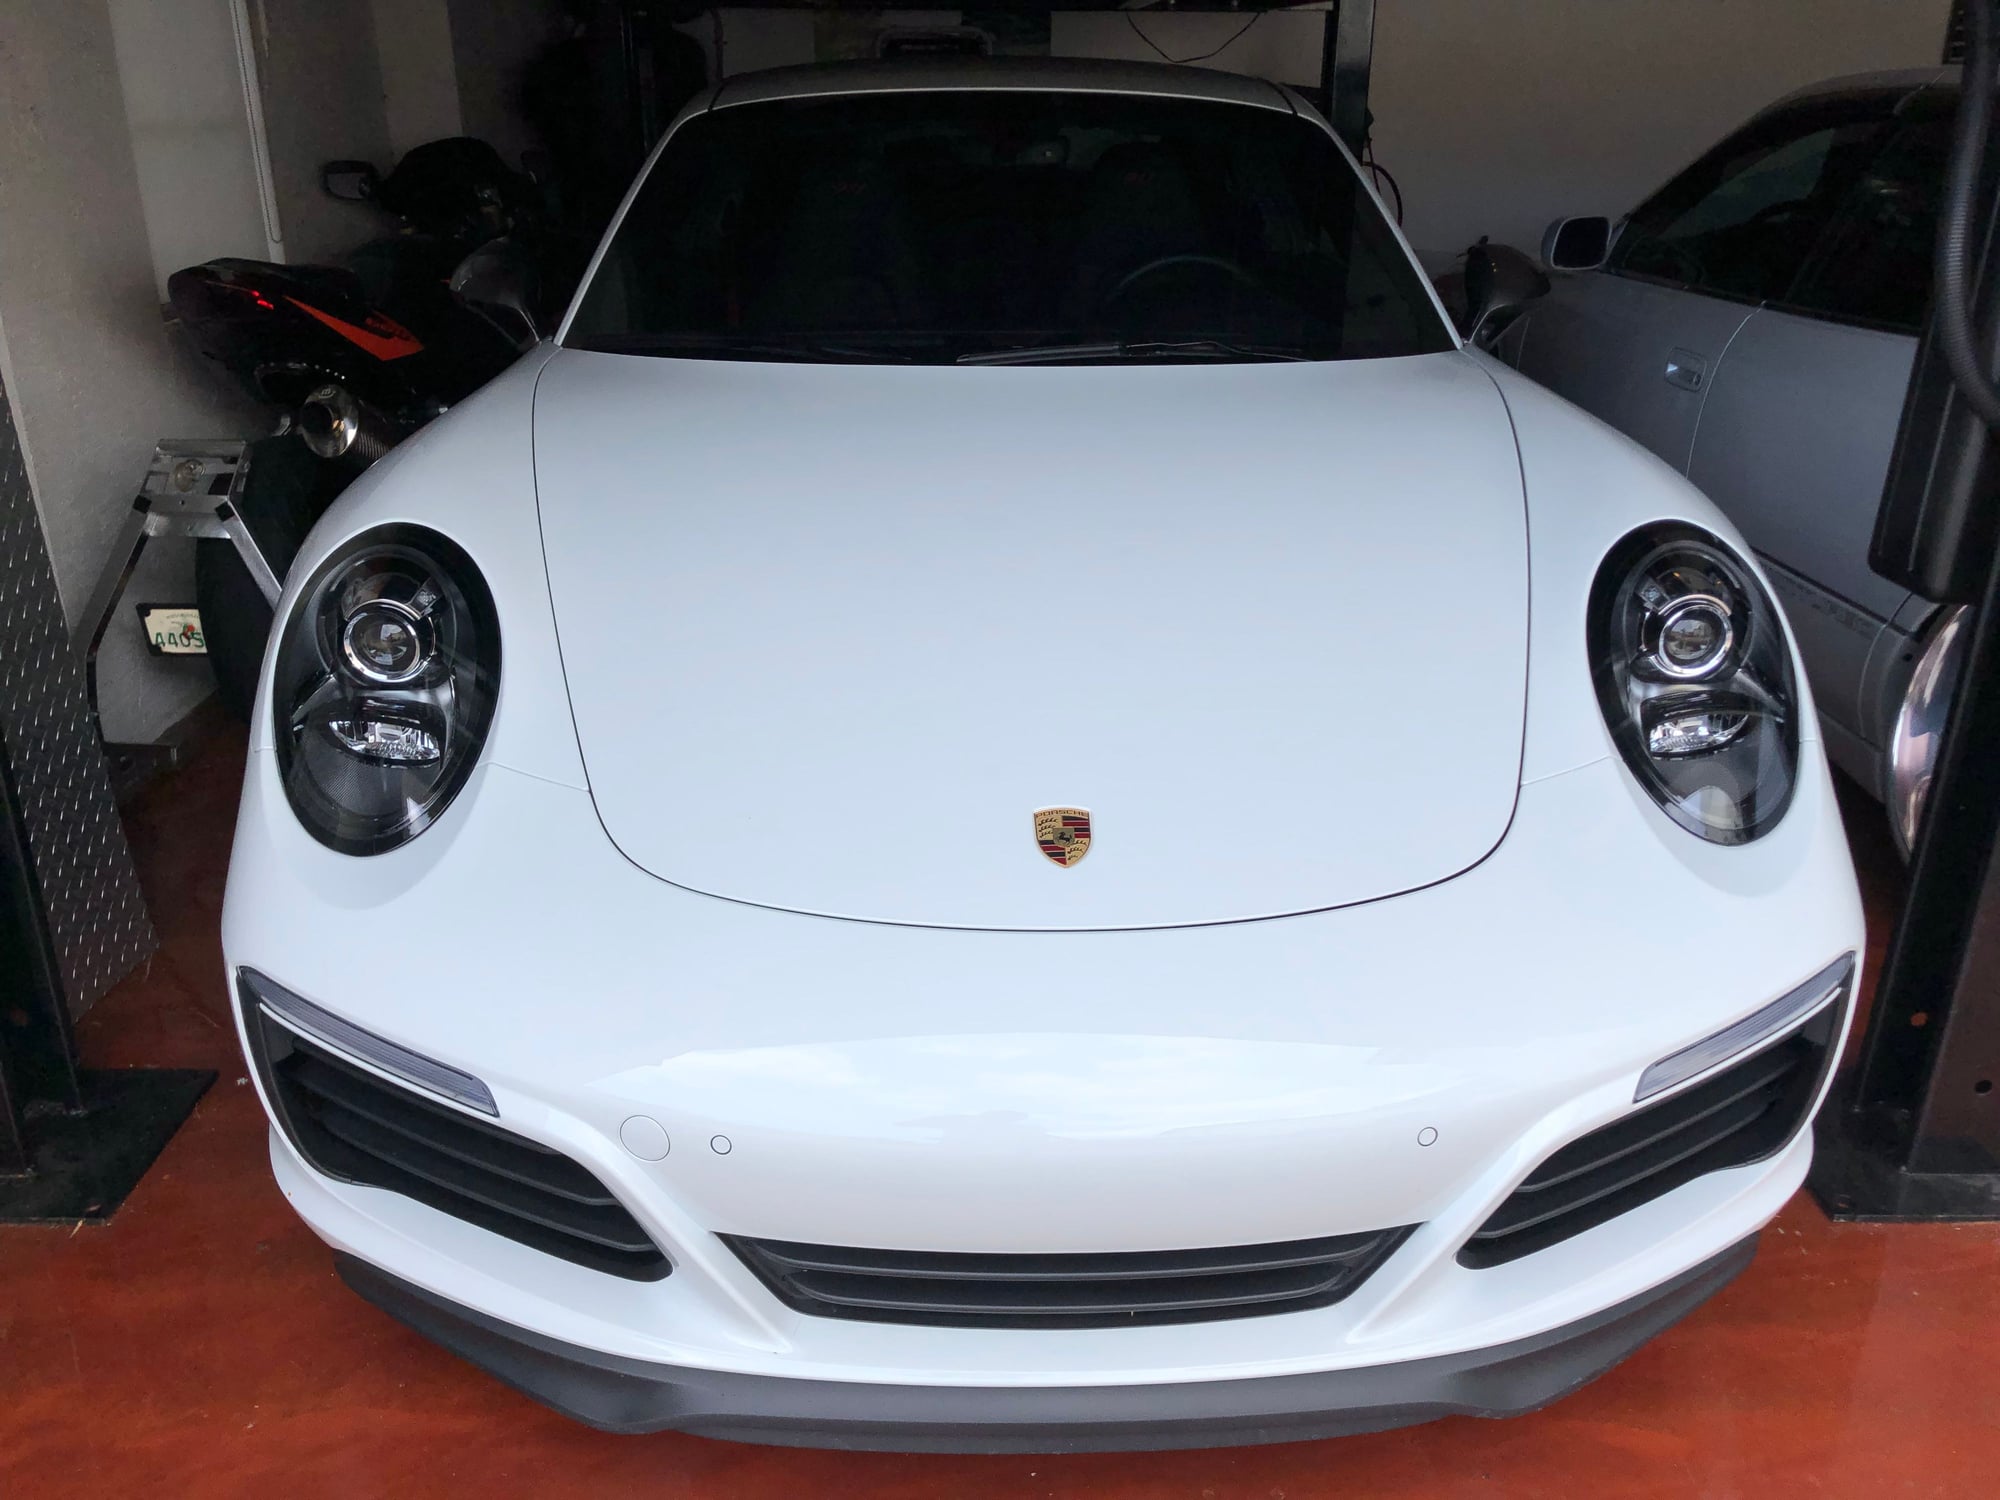
Whats up team-wanted to share one of my diys that I just wrapped up. One thing about my car that I wanted to change since I got it was the silver headlamp trim. My car has Pdls-which makes most of the interior headlamp bits black, but the ring on the outermost edge is still silver. There is a kit selling online for around $70 to black it out in vinyl-but I know I can do it on my own for a lot less. Here�s what I used:
Gloss black vinyl of your choice (or any color really). I went with vivvid air release gloss black. I got a piece that was 1.5 ft x 5ft long on amazon for $13. Really you only need about 1/2 foot x 3 ft to get the headlamps done but I have some other projects to do with the excess.
3m knifeless tape. I had some left over from another project but this is a must in my opinion. No need to cut the vinyl with a blade-the tape does it for you from underneath with no chance of damage! It�s about $15-20 on Amazon depending on the size you get.
A heat gun or hair dryer
A razor blade
A microfiber to clean the headlamp beforehand.
Clean the headlight and lay out your knifeless tape where you want the vinyl to end/be cut. I laid mine about 1/32nd over the silver line because the vinyl May shrink over time. Be sure to leave some in the middle of the light so you can grab it once the vinyl has been applied.
Next up is to cut the vinyl into 2 inch wide strips that are about 3 feet long. 2.5 feet long works as well but I like to have a little extra to play with. From there lay the vinyl strip on the edge of the light and start to apply it dry. As you move along, heat the vinyl on low heat with a heat gun or hair dryer if you don�t have a heat gun available and curve the vinyl around the edge of the light. Be sure to stretch and smooth the vinyl to get rid of any wrinkles as you go along. Don�t use too much heat-it can put a hole in the material. If you mess up-slowly pull it back and heat it again with the gun-it will go back to the original shape!
Work your way around the light and overlap it where you started by about 1/8 of an inch. You want to overlap it as the vinyl will shrink a bit and pull back in that spot. Not going to lie-getting around the top of the headlamp curve with no wrinkles is a pain!!! Be patient here and don�t be afraid to do it again until you get it right (I had to do one light 3 times until I was satisfied)!
Close up of knifeless tape Tip: towards the top of the light, overlap the vinyl onto the body and the other end just over the knifeless tape. That�s the only way I was able to get the wrinkles to lay outside of the knifeless tape. That looks better!
Once you have the vinyl laid-go around it one more time with the heat gun to �post heat�/shrink the vinyl. Doing this will leave less chance of it shrinking on its own. From there-pull the knifeless tape (you may have to start it with a blade through the vinyl)-otherwise it�s hard to get a clean cut to start. Pull it all around and remove the green sections of tape. When you are done-it should look like this:
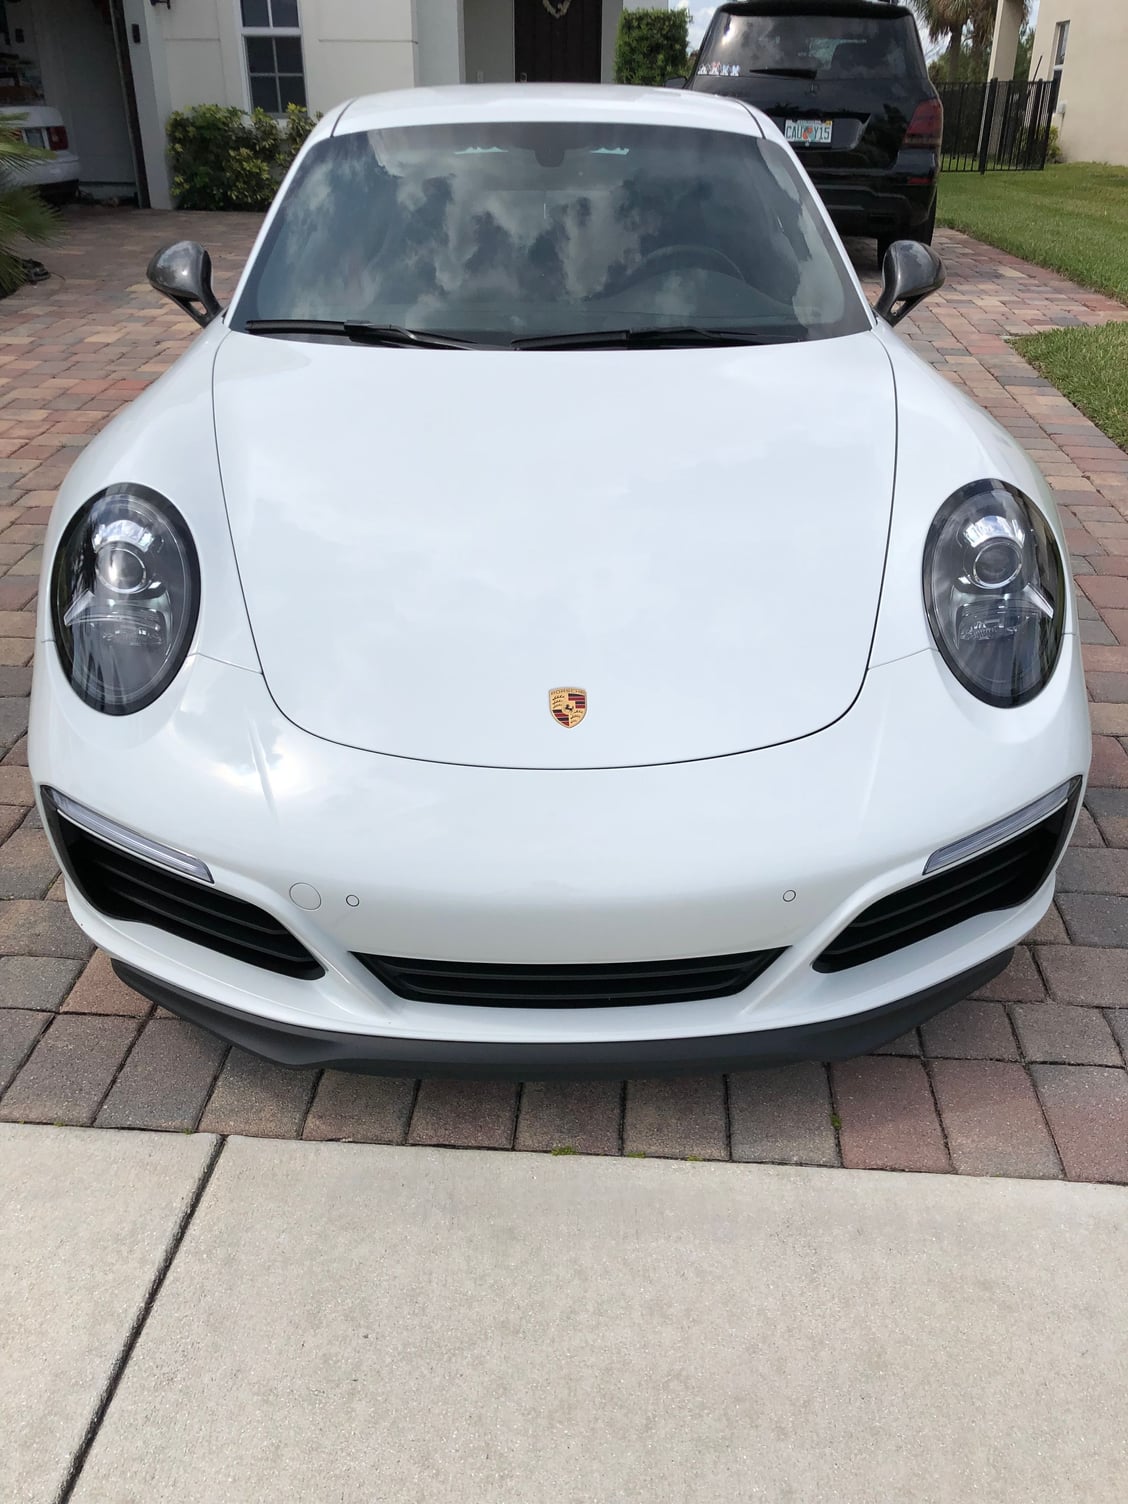
After tape is pulled Done! In the light!
i hope you guys find this helpful-looks way better than the silver to me!
"Danger! Will Robinson" ... placing PPF on top of the headlamps is counter-indicated in the owner's manual ("Headlights" page) although some go ahead anyway.
"Danger! Will Robinson" ... placing PPF on top of the headlamps is counter-indicated in the owner's manual ("Headlights" page) although some go ahead anyway.
A well known detailer on this forum does PPF headlights and people have actually sent theirs to him to do so it can be done, but I digress. Love the Black trim and that is why I ordered my car that way, which I liked much better than the Silver on Miami Blue albeit some colors do look ok with Silver.
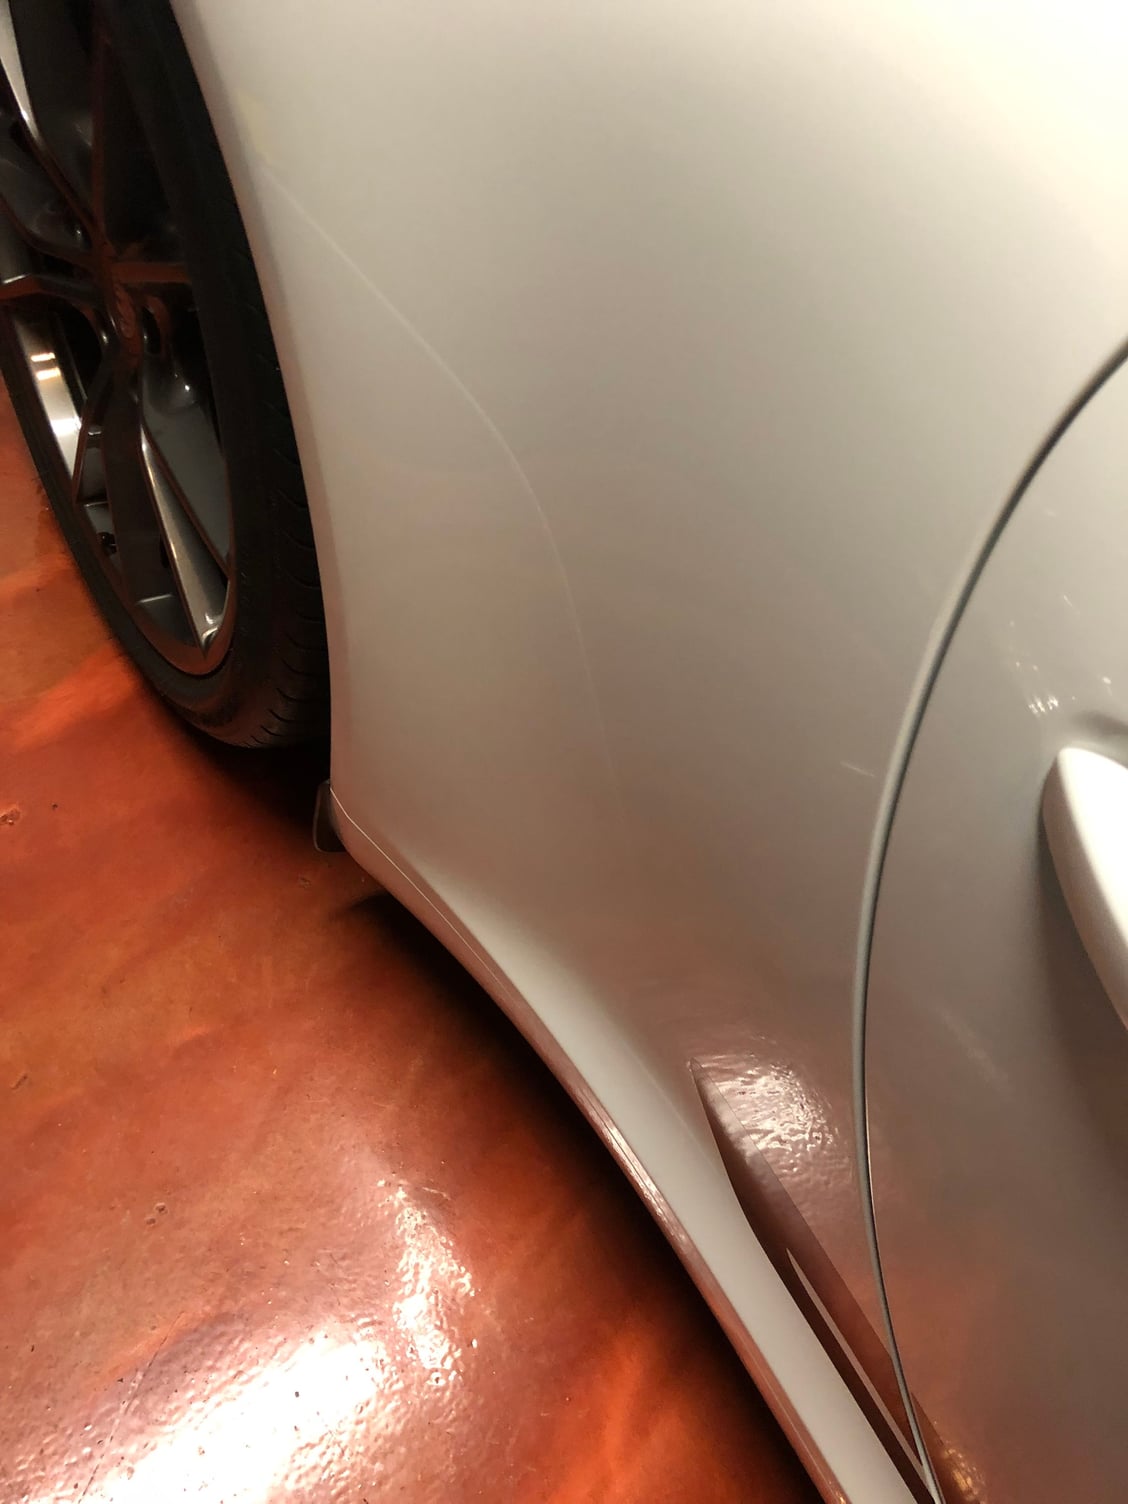
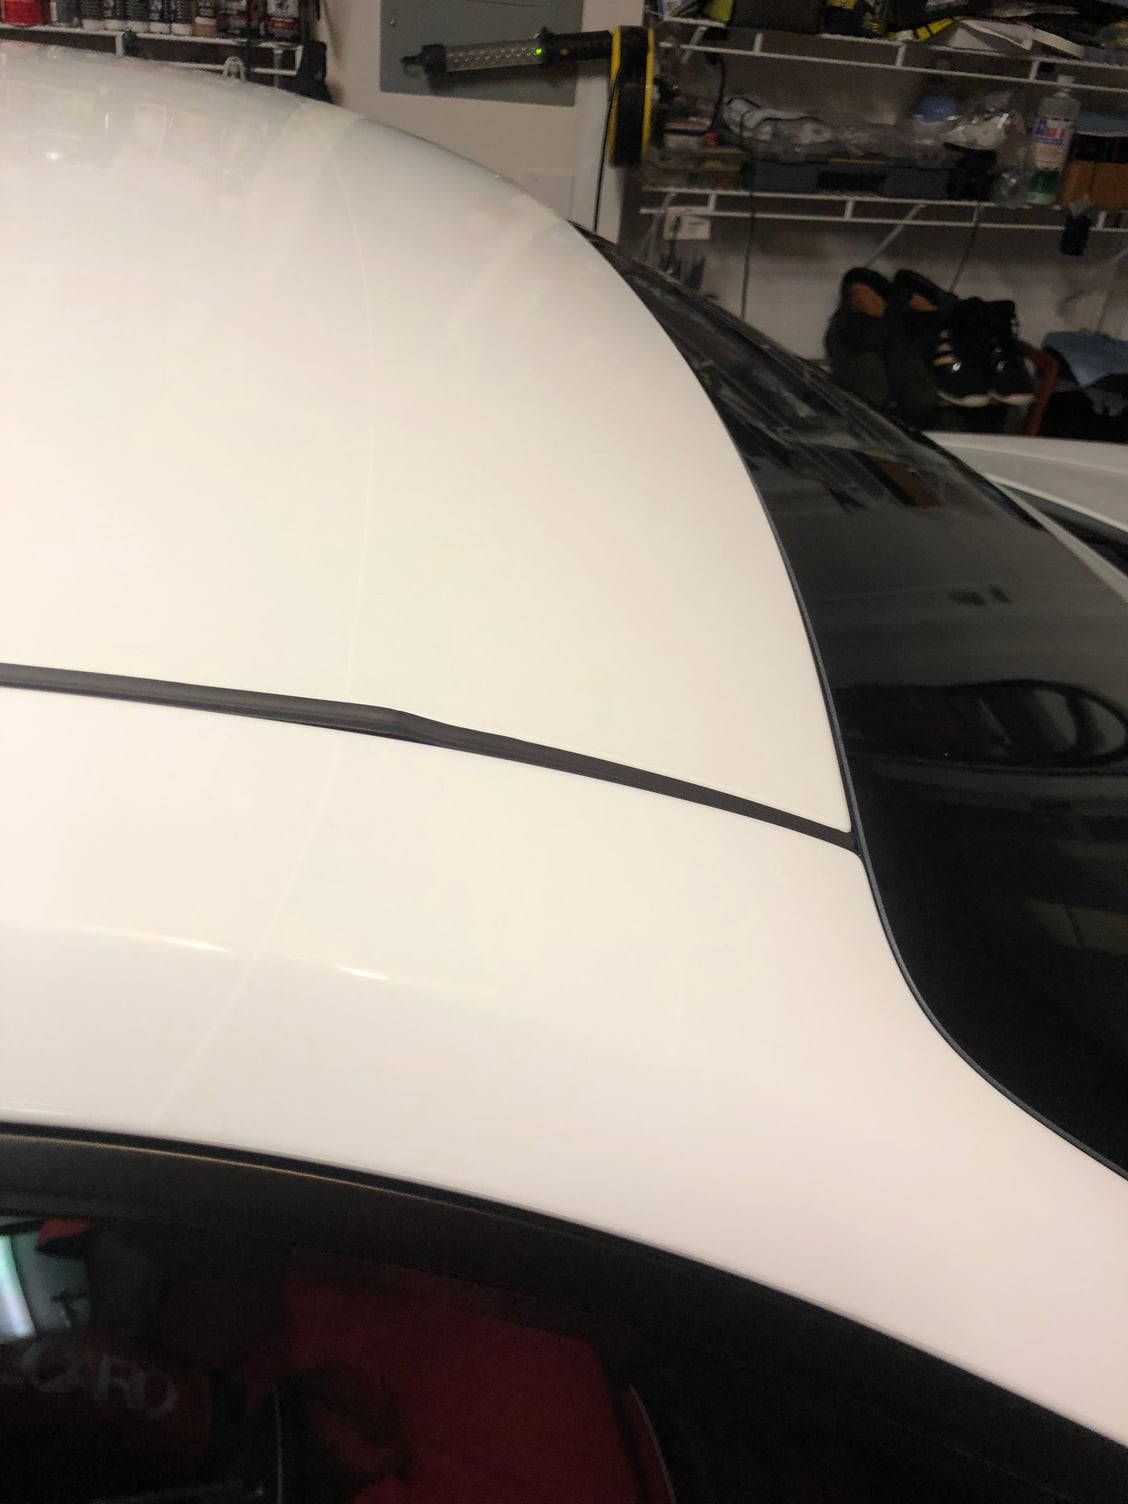
Just wanted to update that I had the headlamps/indicator lamps wrapped in xpel yesterday as well as some other pieces (a pillars and partial roof) as well as replaced the factory yellowing stone guard with xpel. Came out awesome to me!! Partial roof and pillars in xpel Replaced yellowing factory stone guards Another **** of the roof Passenger headlamp Drivers headlamp

 03-18-2019, 08:46 PM