When you click on links to various merchants on this site and make a purchase, this can result in this site earning a commission. Affiliate programs and affiliations include, but are not limited to, the eBay Partner Network.
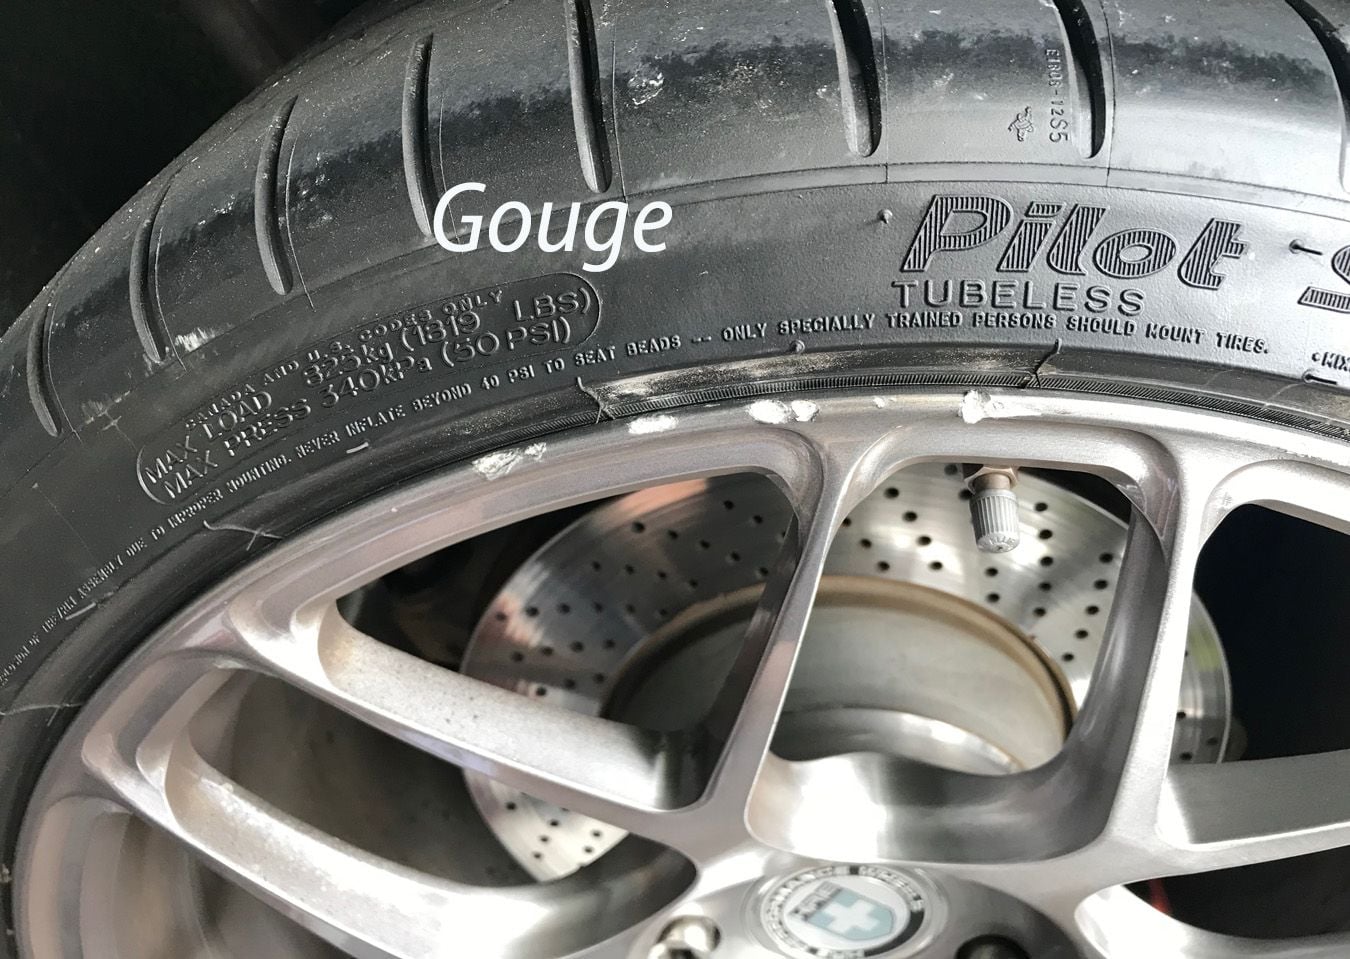
Caught a curb today with my right rear HRE wheel (lightly tinted). I felt it and heard it. ANNOYING. Oh well, they've been on the car four years now and it was bound to happen sooner or later. I know HRE will re-finish the wheel if I send it to them, but I think they charge $ 200 (correct me if I'm wrong), then there is two-way shipping ($ 100) and dismount/remounting the tire ($ 100). There are local guys that can do it as well for around $ 175 or so, but I have to go chase them down....all that. How about I fix it myself for about $ 15 in materials? I can get a pretty good repair this way - its not perfect - but it will be 90 to 95 % when I'm done. Most you guys here on the forum won't do this, I know - but a few of you will so here's how if you are interested. I'm a bit OCD when it comes to my car, so as soon as I got home I jumped on it.
1) Get a Dremel Tool with grinding stone and remove the gouged metal from the impact that is bulged out Don't "Dig" into the wheel, go gentle.
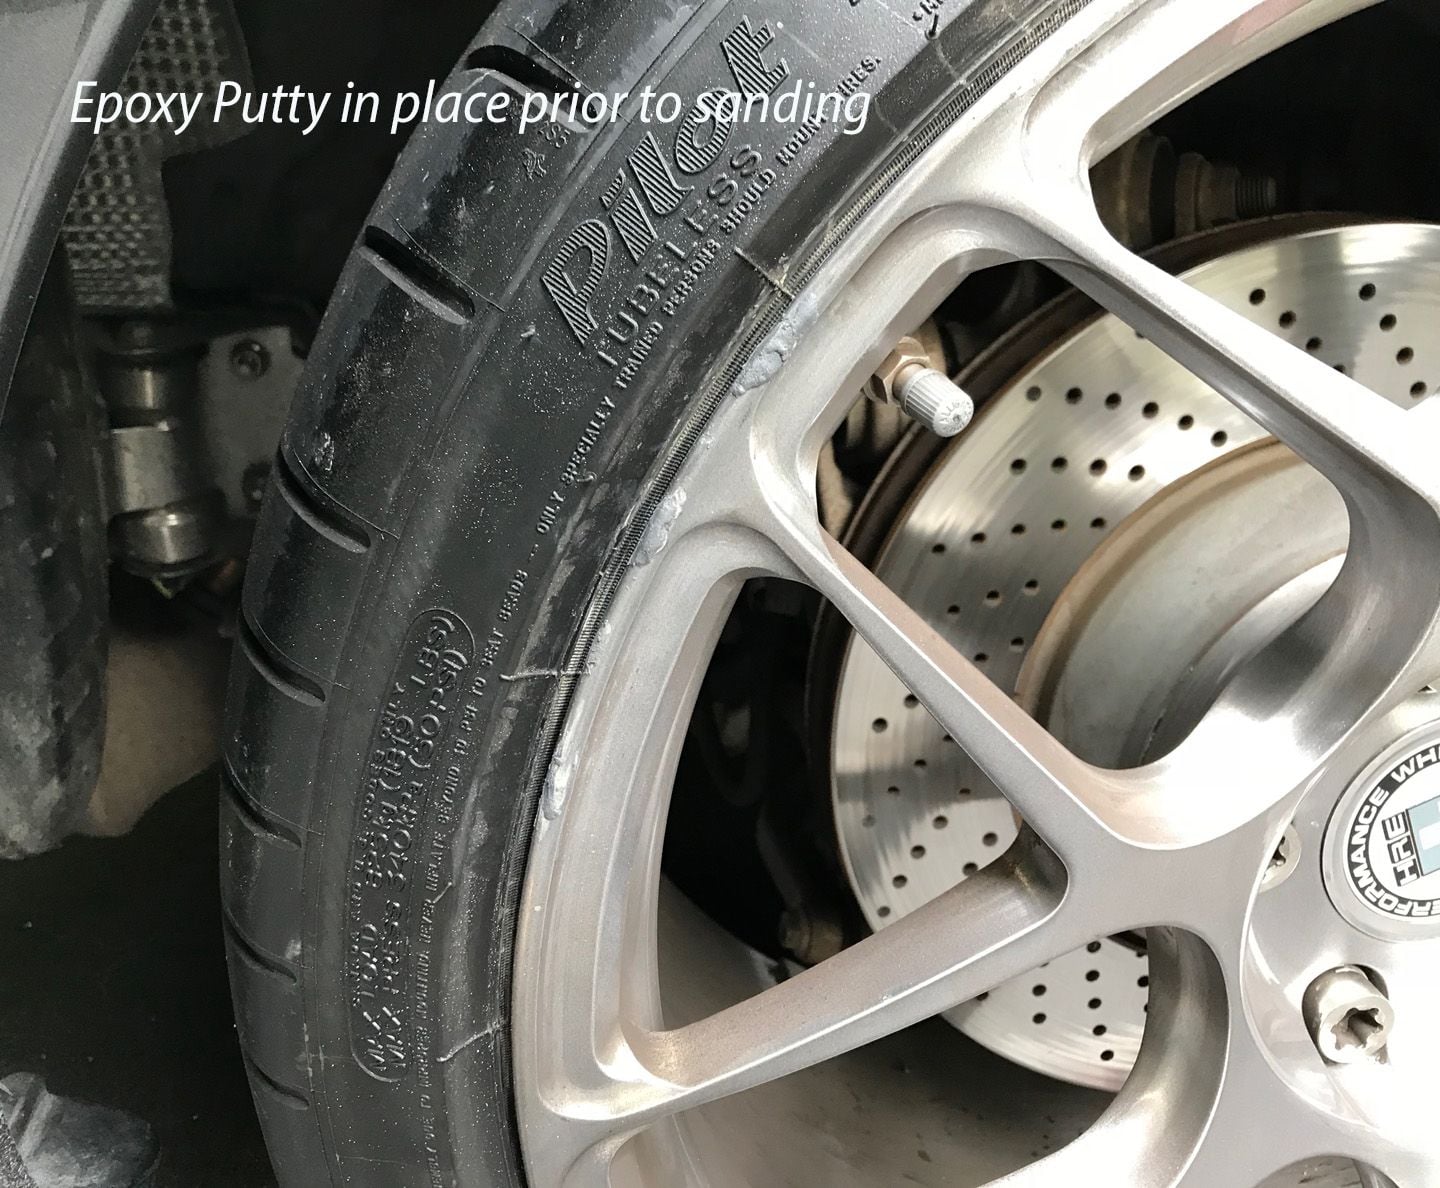
2) Get JB WELD Steelstick Putty. Its under $ 6 at Home Depot. Knead it up, and keep your fingers wet, then mold it onto the wheel in the gouges. You have about 2 1/2 minutes working time per batch. Go slightly higher than the gouge, but not much. Use a plastic door trim tool to shape.
3) Wait one hour. Then get 150 Grit Sandpaper and knock it down close to flush. Finish with 400 or 500 Grit wet sand.
4) Get some model airplane enamel paint, silver and black. Use the cap from one to blend your mix, its easy to do - eyeball it. Mine is roughly 70% silver, 30% black. Then paint it with a fine brush.
5) Wait a few days for the paint to cure, then follow up with Rubbing Compound (I will do this next weekend).
One more photo...this shows the epoxy putty in place and before I began sanding it down.
No, actually I own and operate a furniture store and have since 1986. I've learned how to make repairs to new furniture as a result of that so all that changes here is I'm working with aluminum instead of wood and leather. Different materials, same procedures. Just wanted to share that this ia good DIY project that took no more than an hour to do (plus one hour cure time for the epoxy) and was inexpensive to accomplish. Probably should have been a dentist - then I could upgrade to a GT3RS !
No, actually I own and operate a furniture store and have since 1986. I've learned how to make repairs to new furniture...
That explains it! Shaping epoxy putty is tricky and takes patience. I've done similar repairs using Bondo to repair stucco molding on our home. There's a certain element of sculpting skill required to get it right.
Did you scrape the side of your car as well or is that just a weird reflection?
Just reflections or perhaps dust from the sanding.....there was some water on the driveway that reflects onto the panel making the paint look odd. Swissvax shows EVERYTHING....lol

 06-17-2018, 09:32 PM


