
Projects on my new, to me, 1974 914-6
 06-16-2018, 11:36 PM
#1
Racer
Thread Starter

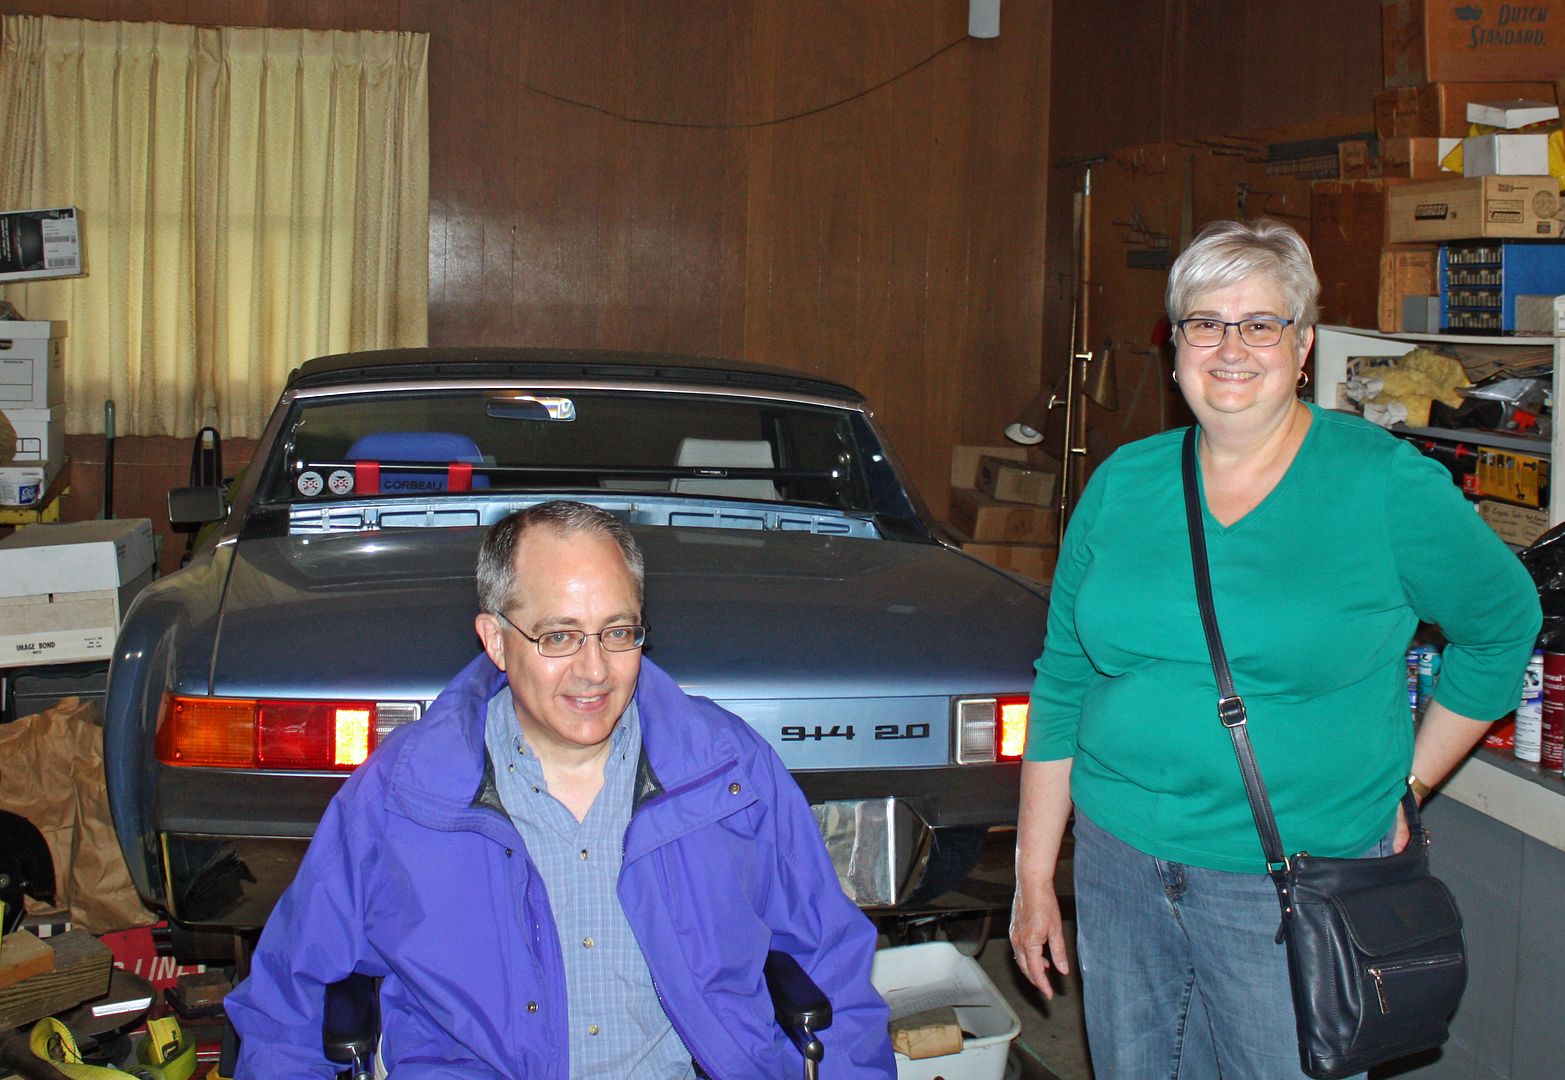
Forty years ago this past April, I joined PCA with the Michiana (Michigan-Indiana at that time) region in the South Bend area. One of the first people I met was a fellow name George Scott, a true southern gentleman living in the north. Not long afterwards I met his son Ed who was all of twenty years old and still in college. George passed away some years ago but Ed and I have remained friends ever since.
At twenty years of age he had already owned his 1965 356SC for five years!! And still has it!! His father brought him up right! A few years ago Ed began having some problems with his legs. The diagnosis was a neurological disease that has affected his lower body. I had heard about his early issues some years ago but just before Christmas last year, I heard he was in a wheelchair.
So I called him to see how he was doing and discovered that his attitude towards life was still way on the positive side. As usual the conversation turned to cars where I discovered that he had recently sold the turbo-look 911 that he had inherited from his dad. He had also sold a real 914-6 to one of his best friends that he had worked with for many years.
But he had another 914-6, the one I bought from him. As you all know, being a 1974, it was a conversion. The motor began as a 3.0 euro Carrera motor that now is a 3.2 with PMO carbs. The car was built for John Swanson by Perry Kiehl. Perry added the reinforcement panels to the rear wheelwells and to the rockers. He also added the GT flares that were butt welded so well that you cannot feel a seam inside the wheelwell. They began with a car that was rust free.
While John was building the motor at Perry's shop, Perry built a box in the front trunk for the oil cooler. Brad Mayeur built the 901 tranny with a Quaife differential. Since John was moving to Texas, he had the interior done in a light gray so it would be cooler as AC was not in the plans.
All of this happened in 2001-02 ( I have tons of records). John was an avid autocrosser who trailered the car to events with his Cayenne. In 2005 John decided to retire. His wife wanted a more modern Porsche with an automatic so they bought a 996 with Tiptronic and put the 914 up for sale. Which is where my friend Ed came into the picture.
Ed likes to autocross as well as do track events so the car was perfect for him. Unfortunately, at the second track event in 2005, he broke the transmission. Out the motor and tranny came with the tranny sent back to Brad for a rebuild. This time he changed out the intermediate plate from magnesium to aluminum for additional strength and did some other tweaks. The motor and the freshly rebuilt tranny never made it back into the car.
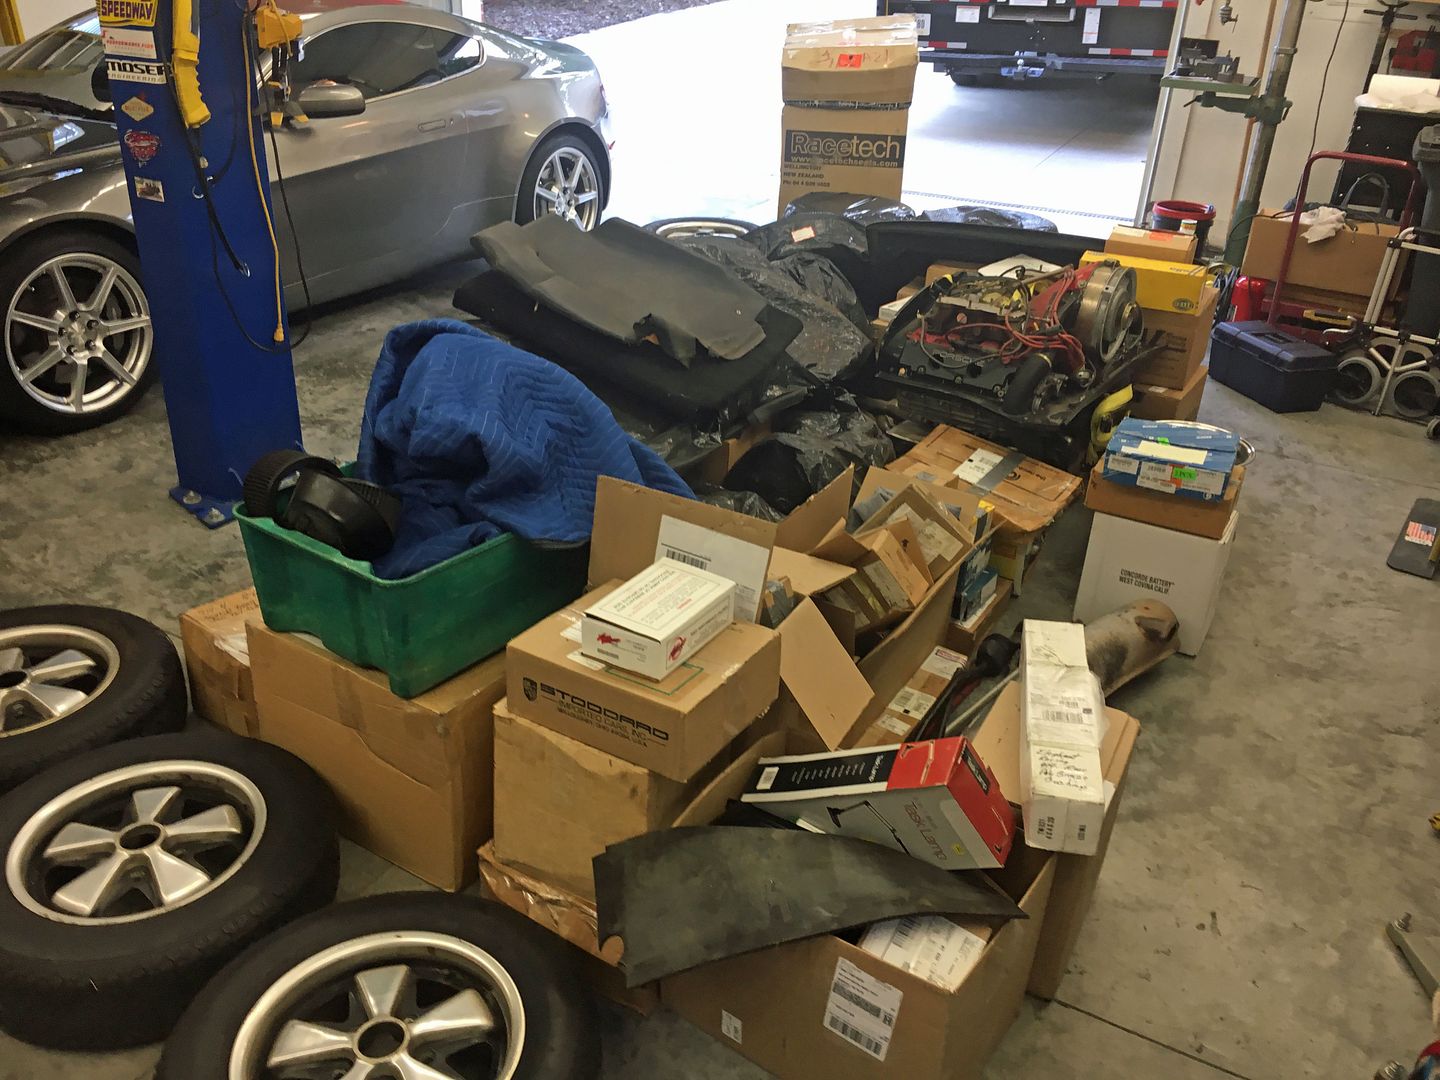
Ed and his wife have lived in their Michigan house for over 30 years. Because it is a tri-level, they purchased a ranch so that Ed could get around better. They want to sell their old house but it was full of their lifelong belongings as well as various cars and car parts. The deal I made with Ed was to buy the car and to take all of his car parts as well, as a way of helping to clean out their garages. Among many other parts, I now have an additional twenty-three wheels w/old tires, a couple of racing seats, an extra transmission, etc.
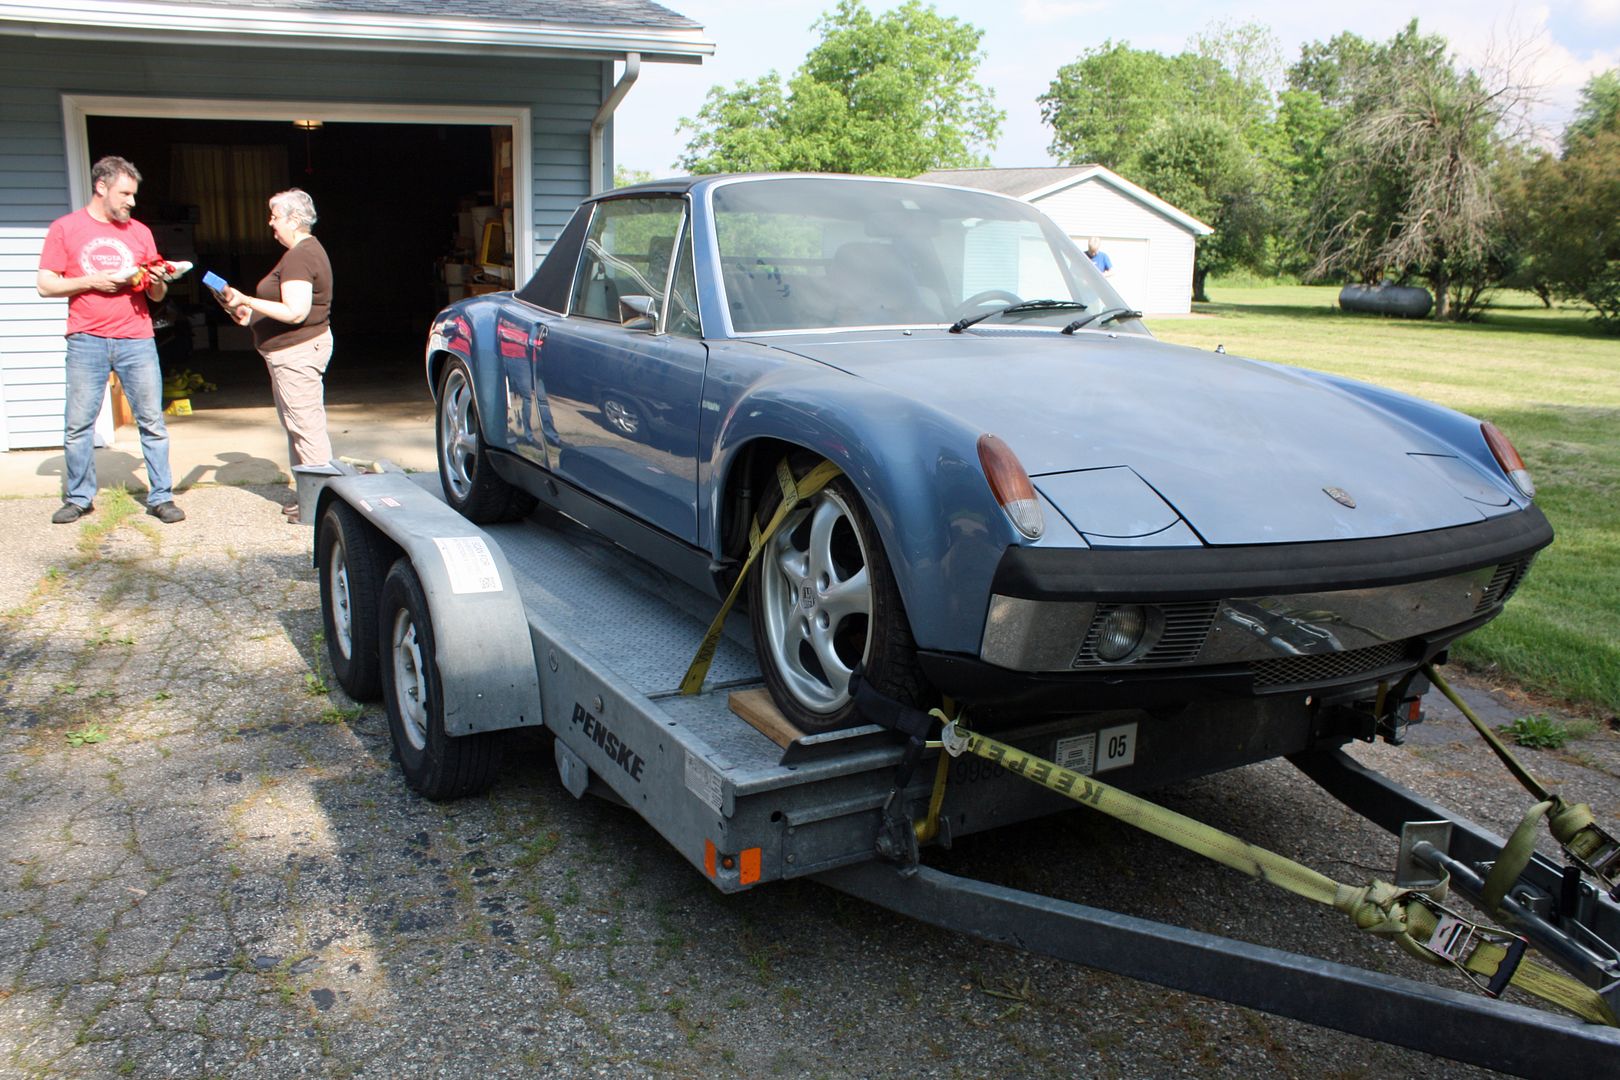
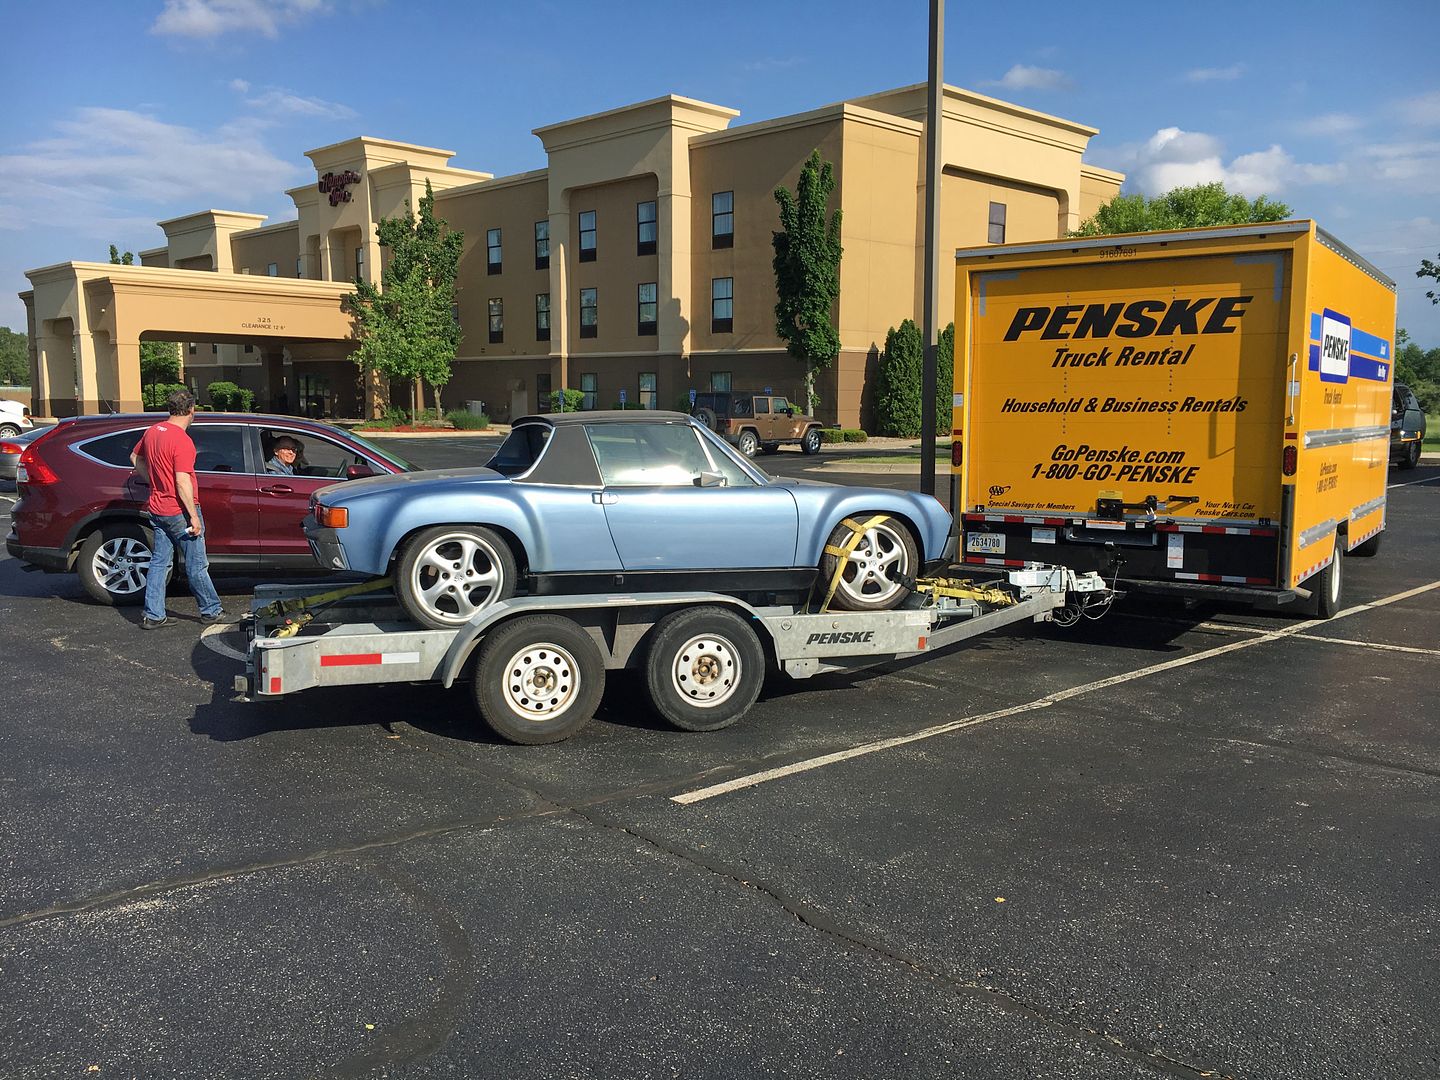
In mid-May i traveled to Michigan from my North Carolina home to get everything ready so my son and I could come up a couple weeks later with a small moving truck and a car trailer. My good friend Dave drove over from South Bend, Indiana to help at that mid-May gathering. We spent about six hours going through everything and getting the wheels back on the car to get it off the jack stands where it had been setting for thirteen years.
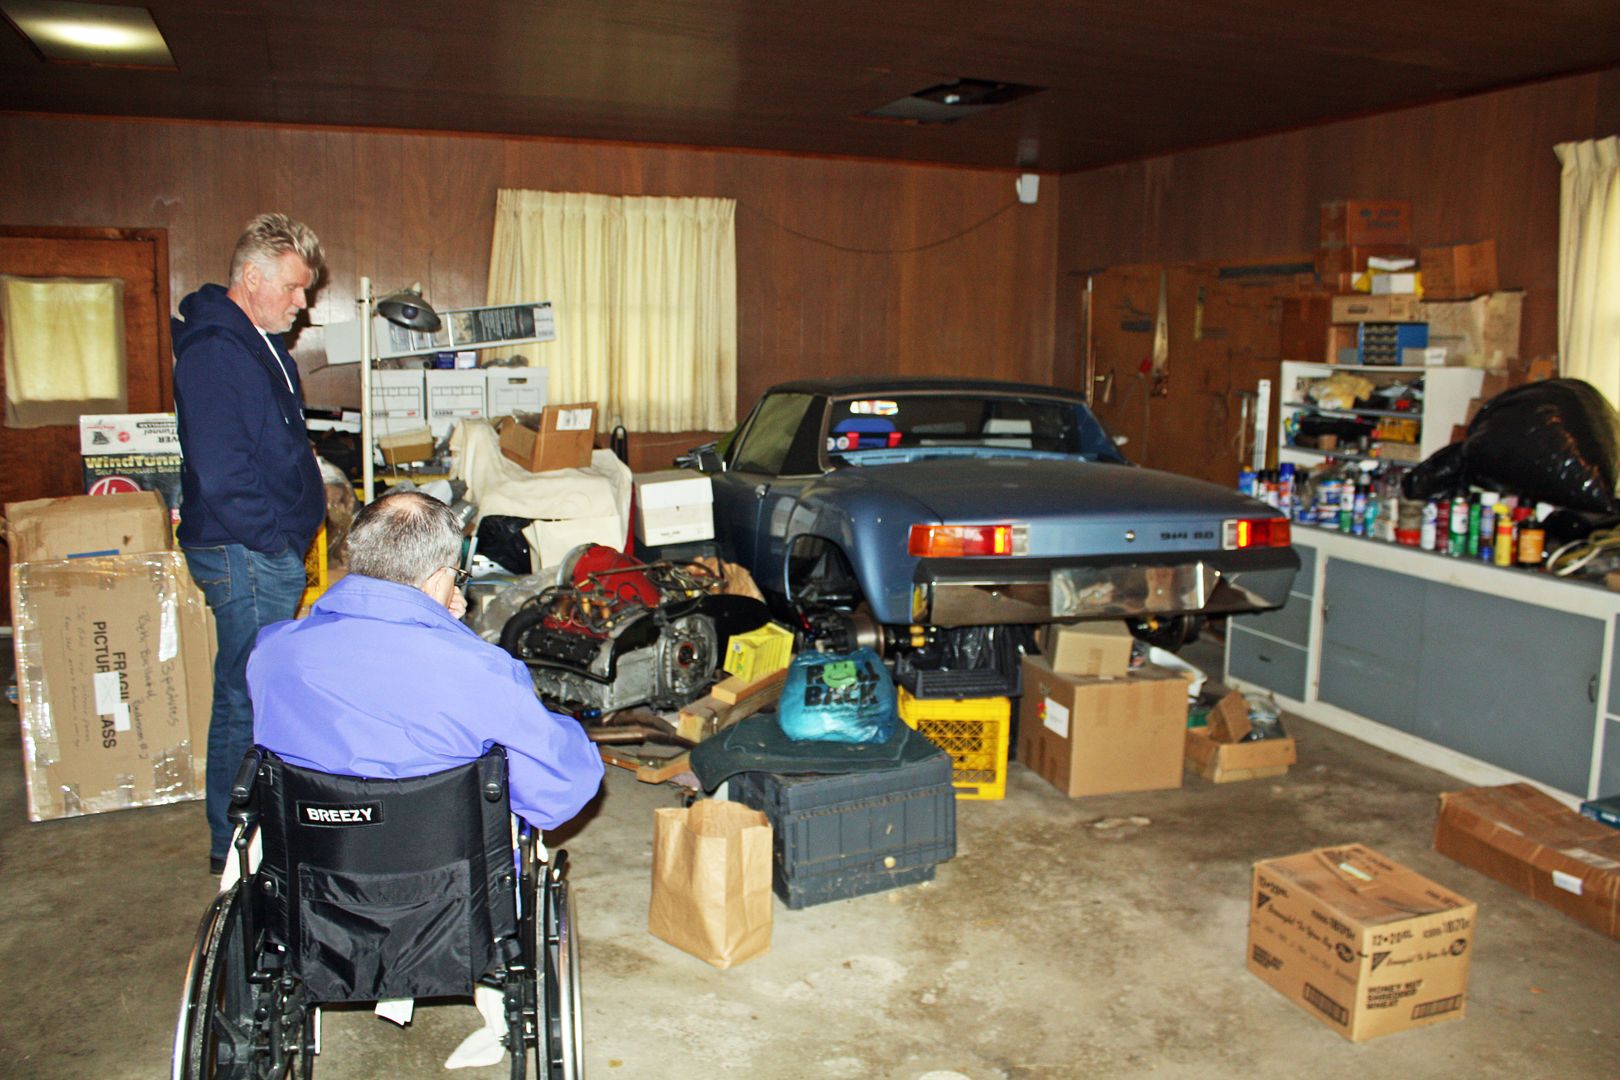
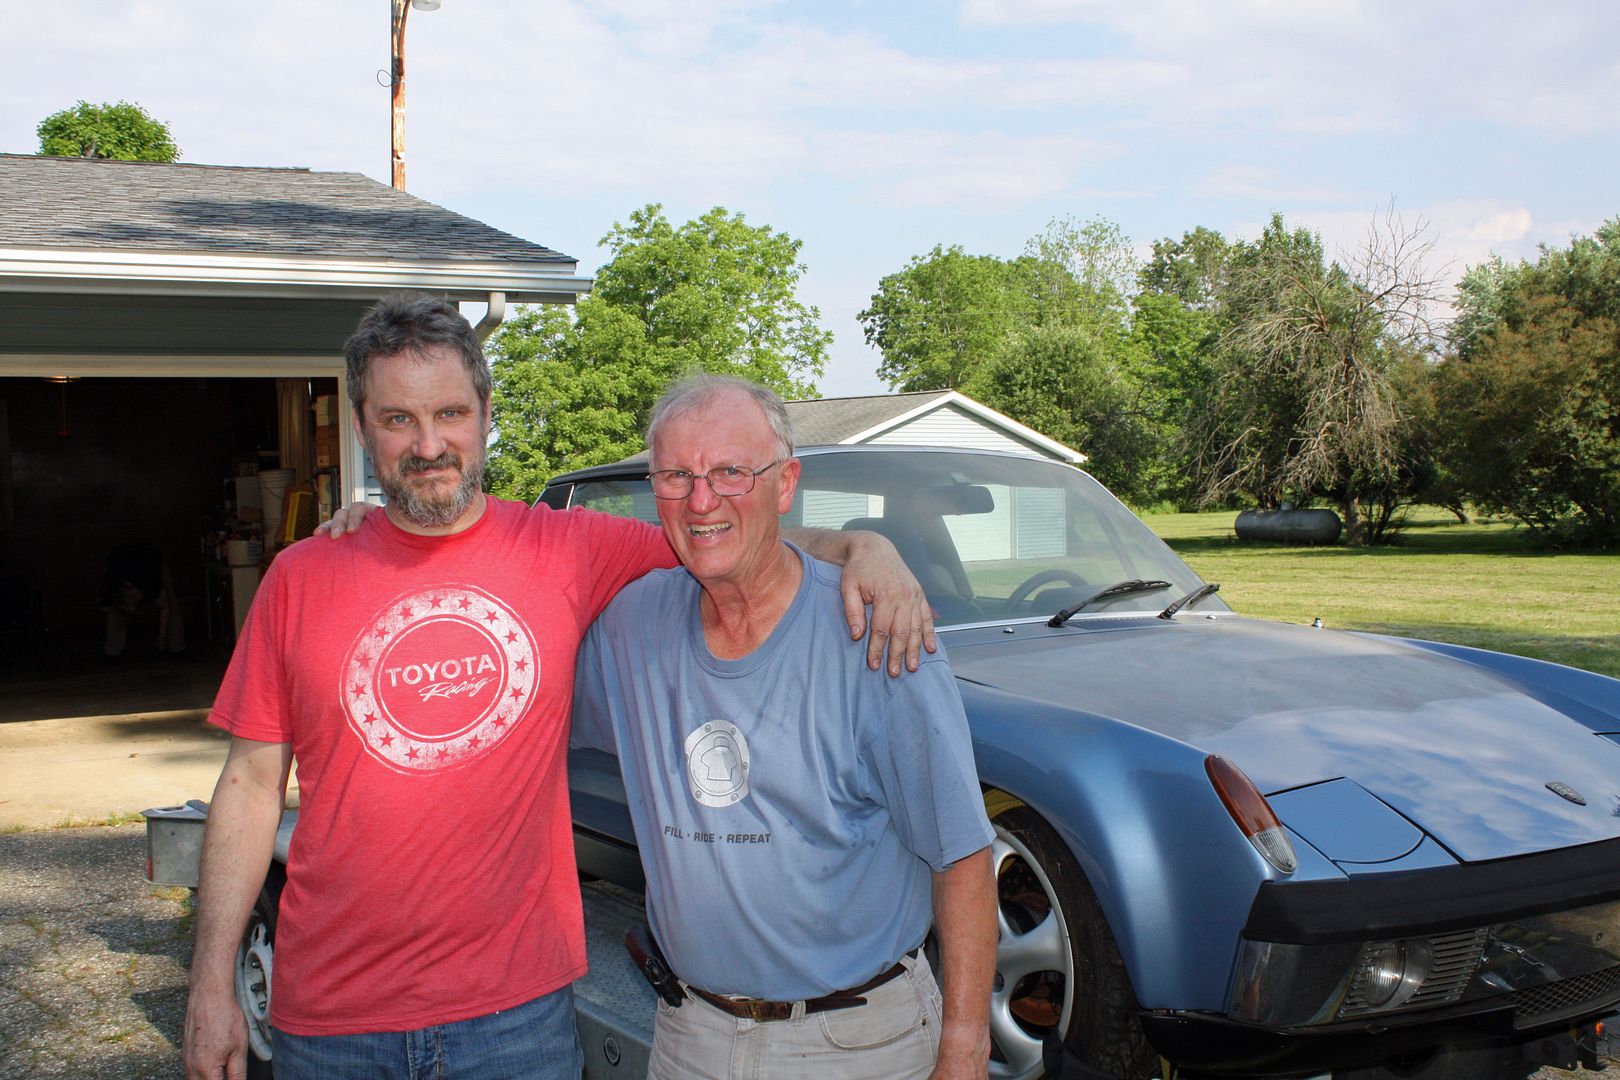
Ed is an engineer as is my son. While they are about ten years apart in age, they have always had this friendship based on their mutual love of figuring out things. My son was very pleased to see Ed again. Because of Ed's condition, it takes him a while to get going so they gave us the key to the outbuilding and the garage door opener to their garage so we could begin the loading process. We began loading around 3:00 and finished up by 6:00. After a quick shower, we all met for dinner which was spent reminiscing about past PCA event as well as my son talking about some of his experiences with his job at Toyota Racing Development. It was a long, pleasant dinner and the perfect end to the day.

Now the car is in my garage, the parts have been stowed and I am ready to put it back together.

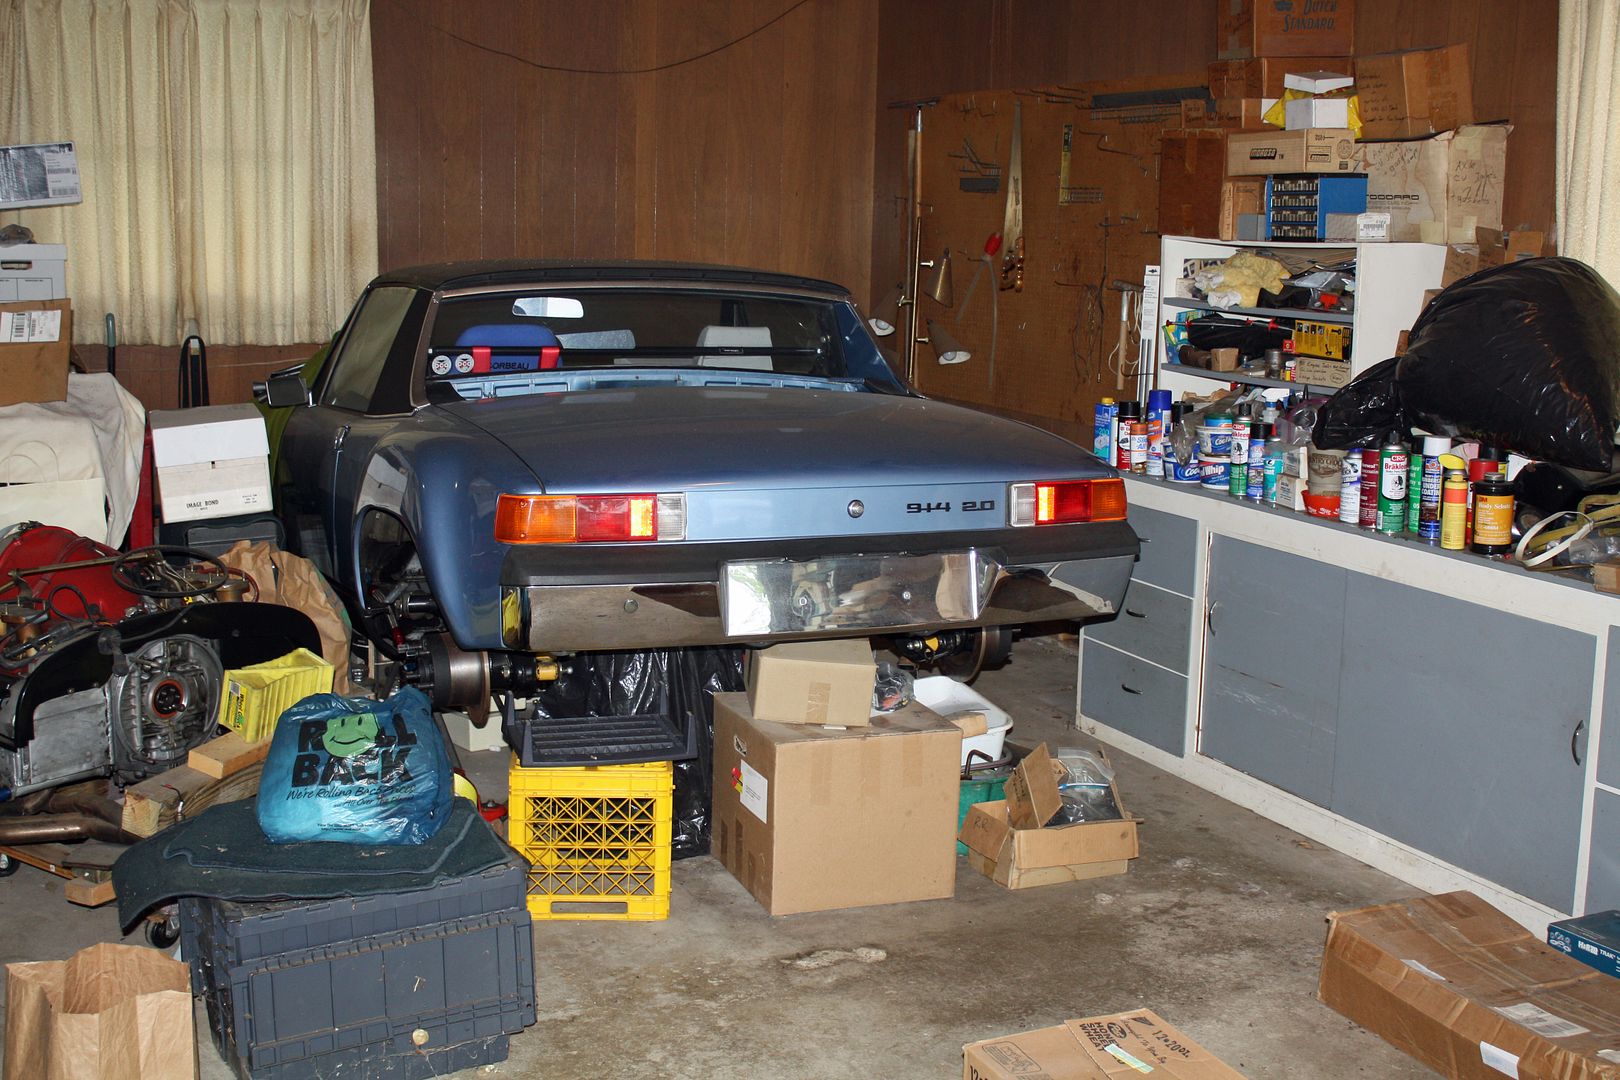
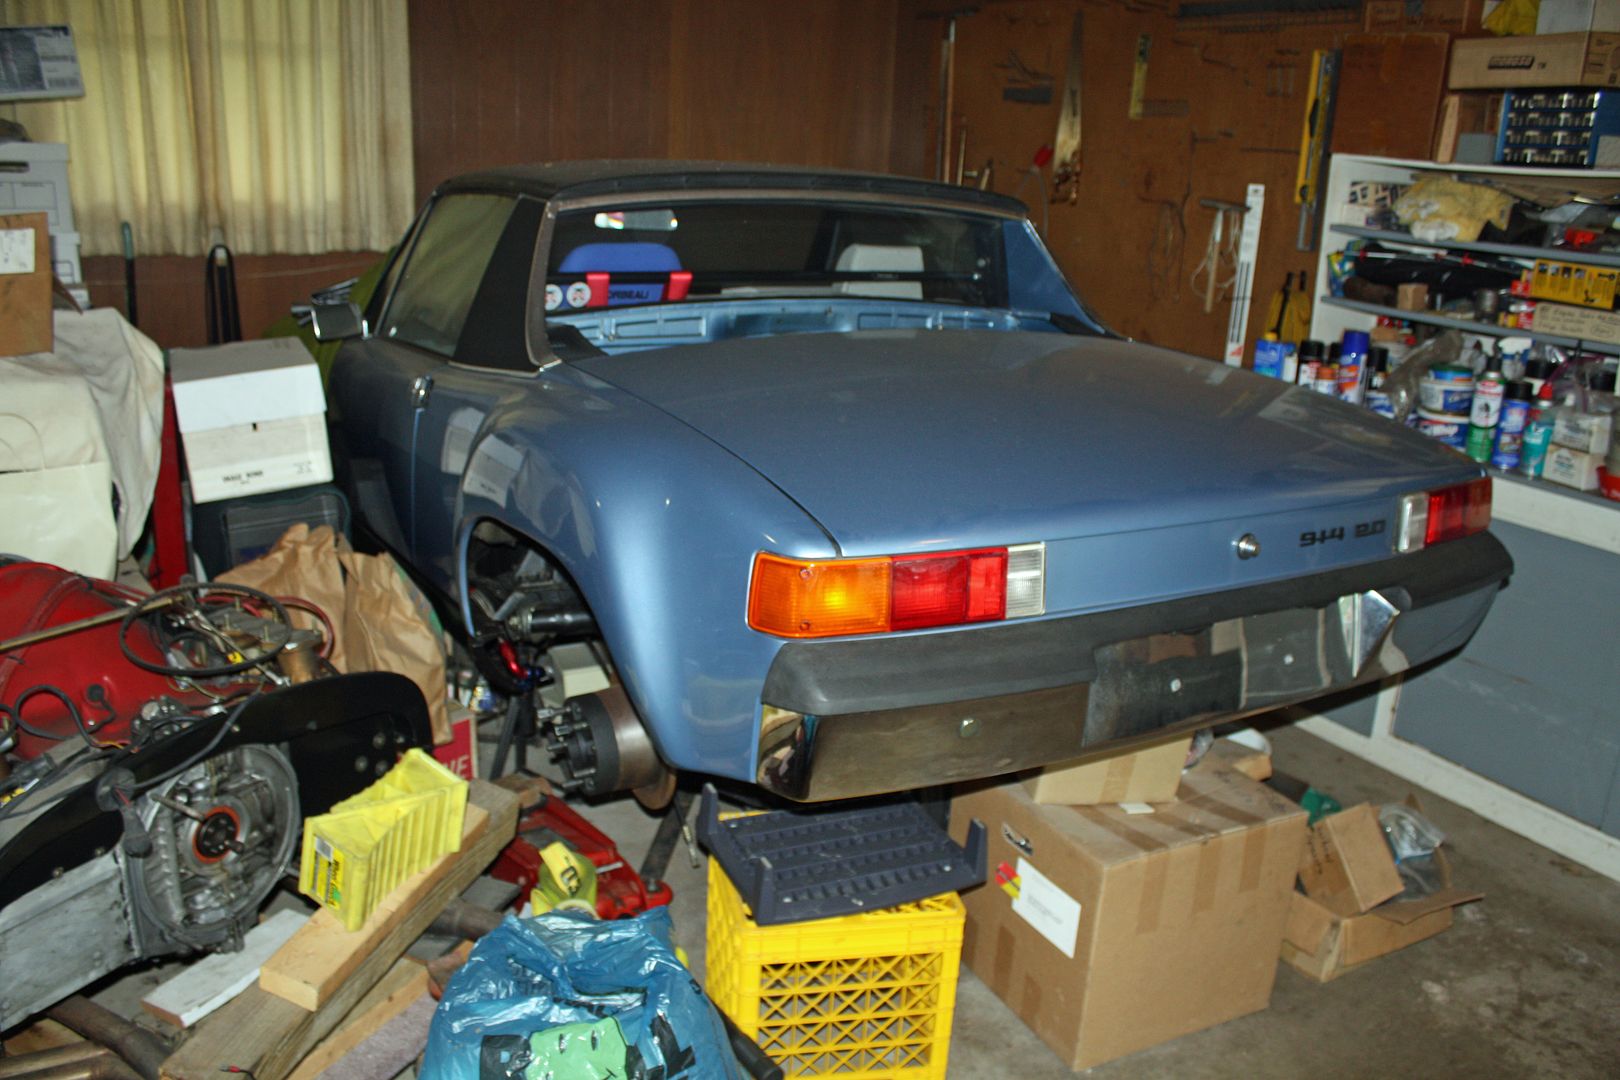
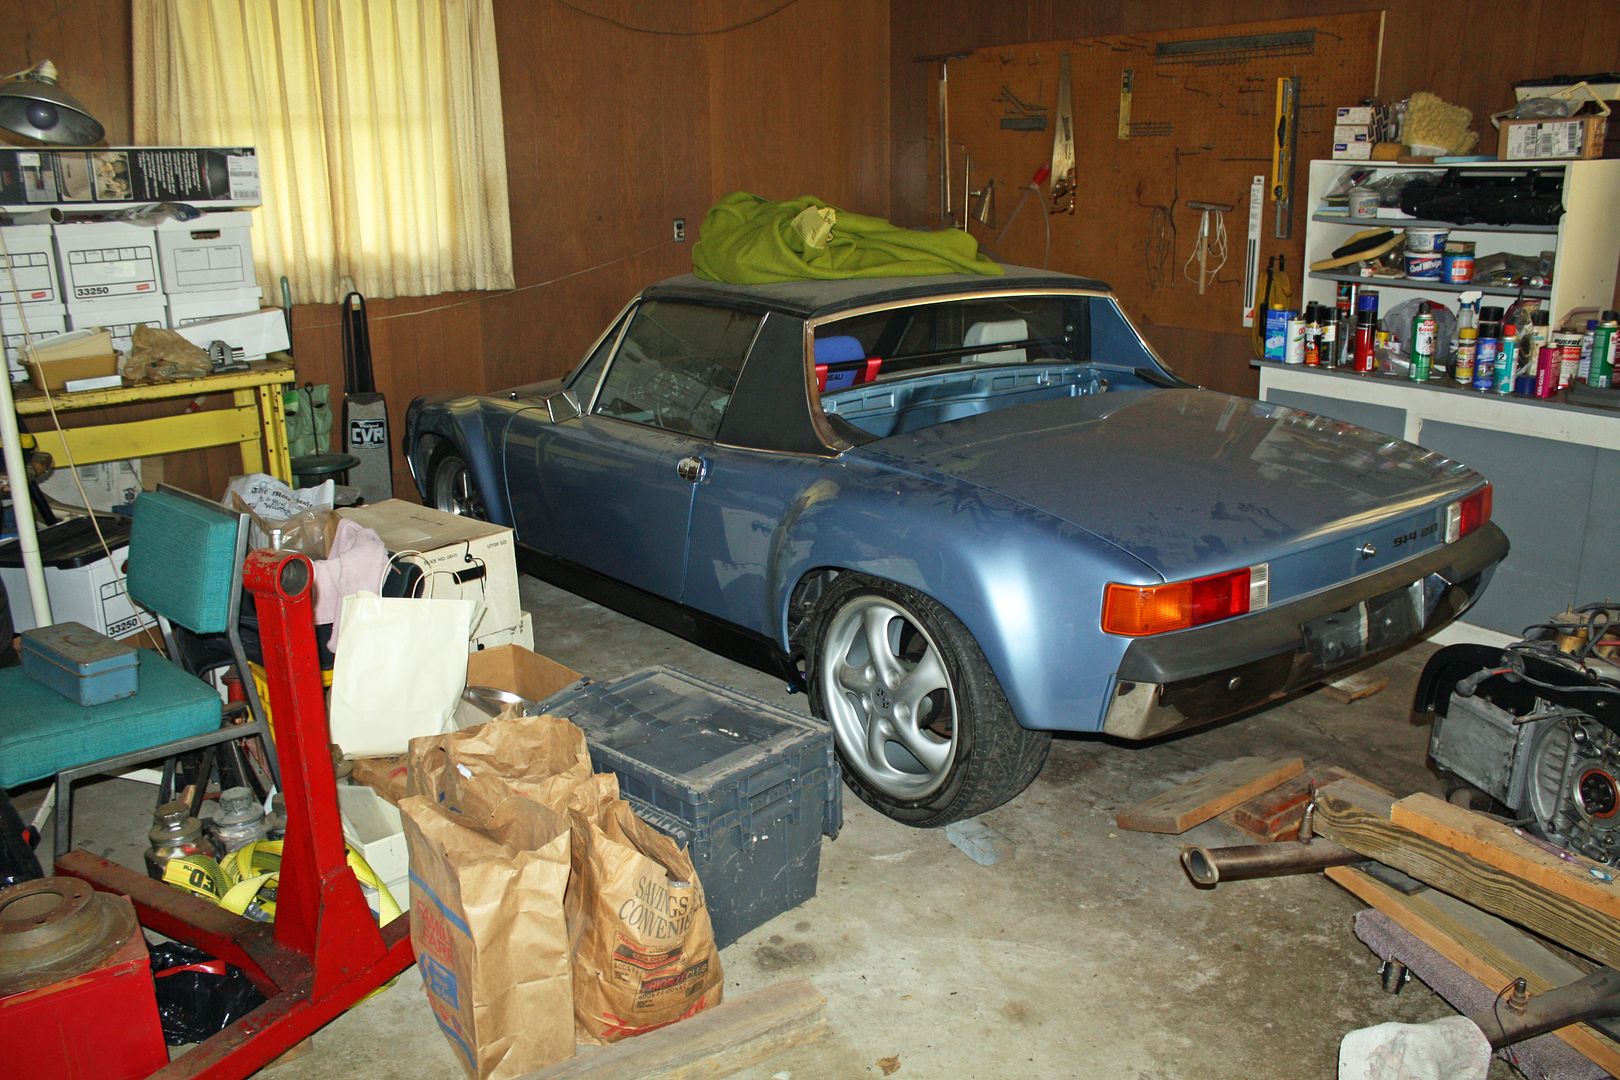
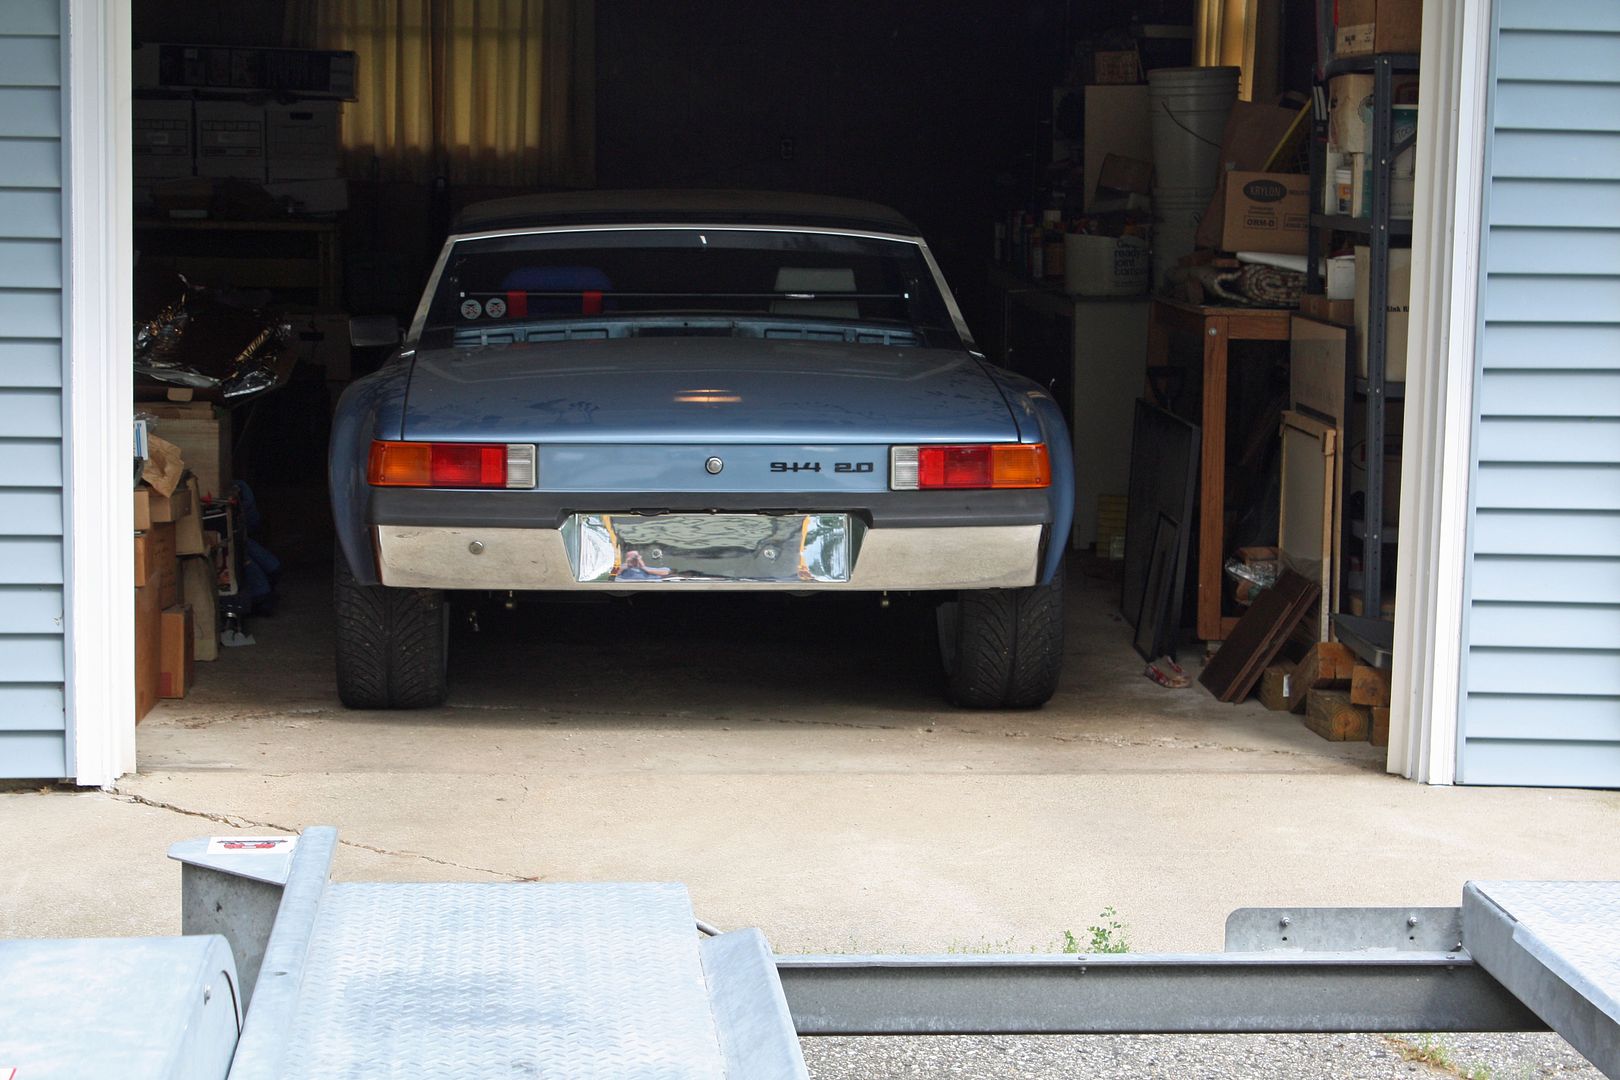
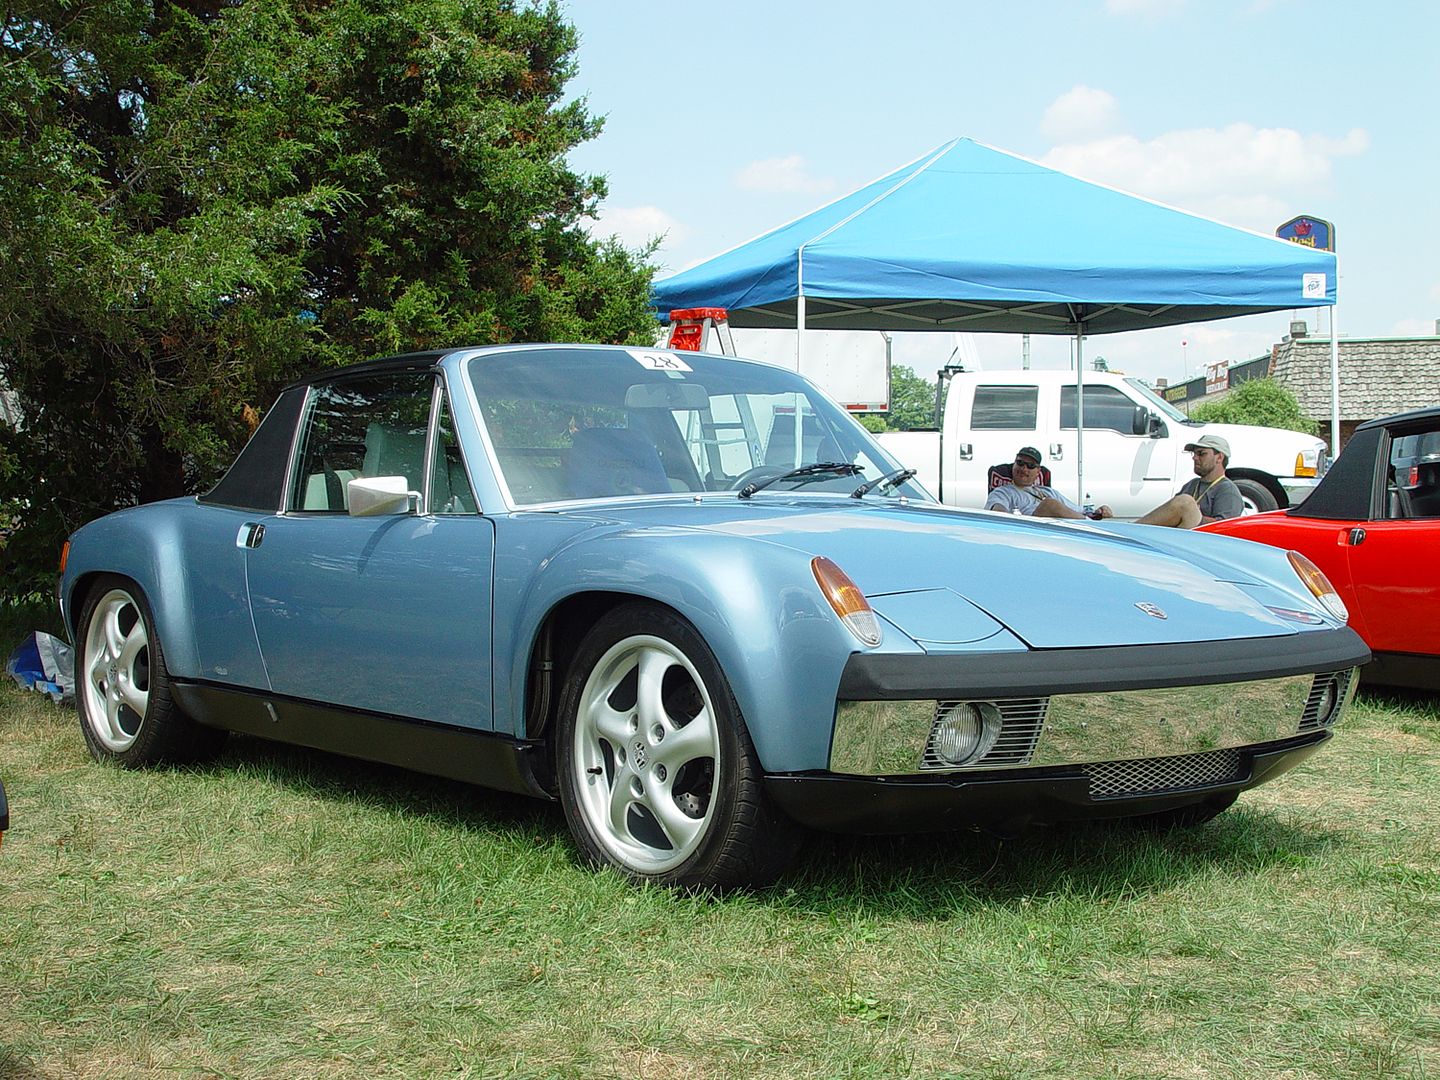
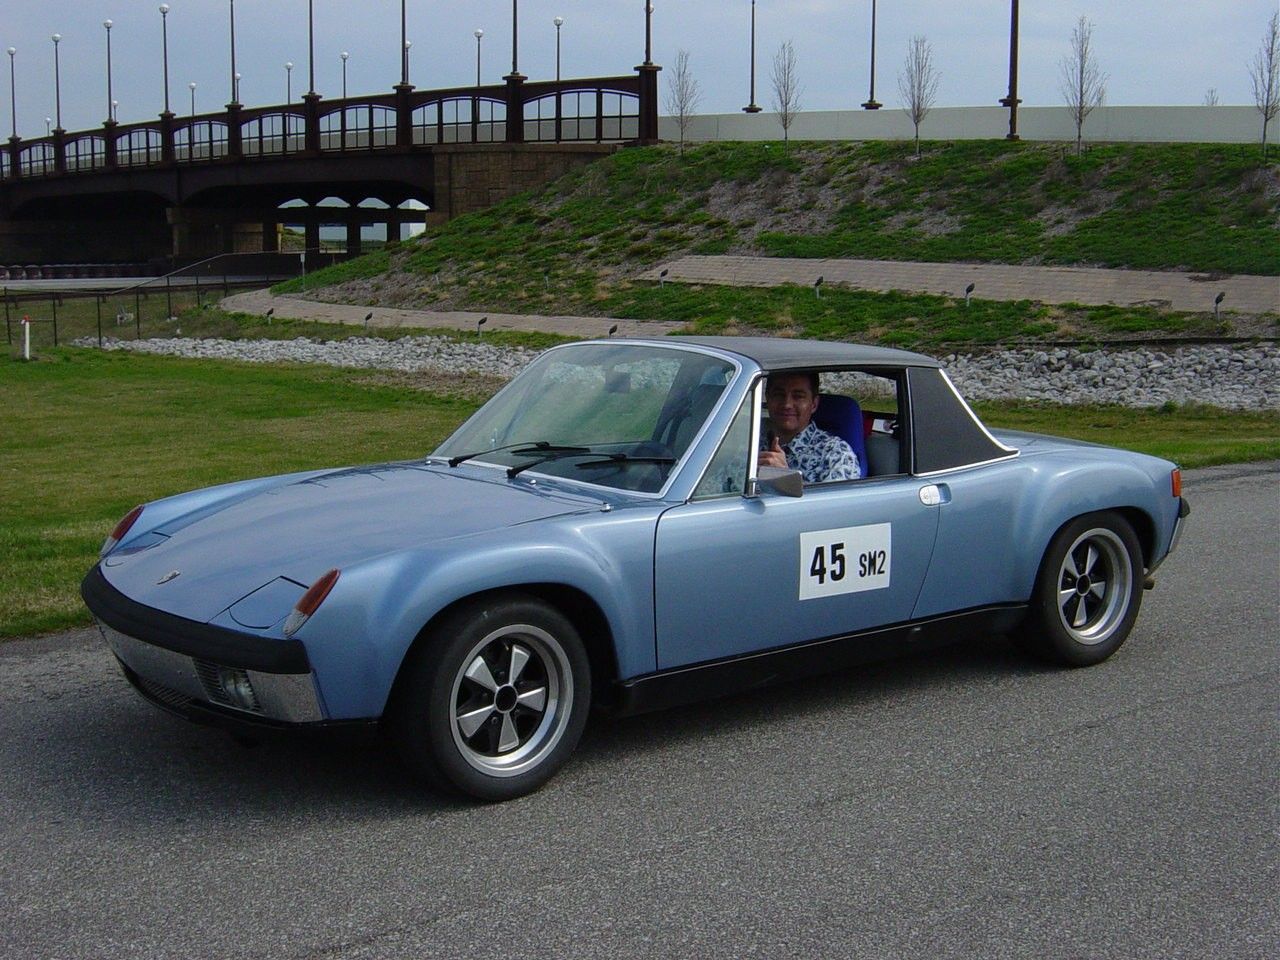
The photos below were taken soon after Ed had bought the car, which will give an idea of what it will look like once it is back on the road.
At twenty years of age he had already owned his 1965 356SC for five years!! And still has it!! His father brought him up right! A few years ago Ed began having some problems with his legs. The diagnosis was a neurological disease that has affected his lower body. I had heard about his early issues some years ago but just before Christmas last year, I heard he was in a wheelchair.
So I called him to see how he was doing and discovered that his attitude towards life was still way on the positive side. As usual the conversation turned to cars where I discovered that he had recently sold the turbo-look 911 that he had inherited from his dad. He had also sold a real 914-6 to one of his best friends that he had worked with for many years.
But he had another 914-6, the one I bought from him. As you all know, being a 1974, it was a conversion. The motor began as a 3.0 euro Carrera motor that now is a 3.2 with PMO carbs. The car was built for John Swanson by Perry Kiehl. Perry added the reinforcement panels to the rear wheelwells and to the rockers. He also added the GT flares that were butt welded so well that you cannot feel a seam inside the wheelwell. They began with a car that was rust free.
While John was building the motor at Perry's shop, Perry built a box in the front trunk for the oil cooler. Brad Mayeur built the 901 tranny with a Quaife differential. Since John was moving to Texas, he had the interior done in a light gray so it would be cooler as AC was not in the plans.
All of this happened in 2001-02 ( I have tons of records). John was an avid autocrosser who trailered the car to events with his Cayenne. In 2005 John decided to retire. His wife wanted a more modern Porsche with an automatic so they bought a 996 with Tiptronic and put the 914 up for sale. Which is where my friend Ed came into the picture.
Ed likes to autocross as well as do track events so the car was perfect for him. Unfortunately, at the second track event in 2005, he broke the transmission. Out the motor and tranny came with the tranny sent back to Brad for a rebuild. This time he changed out the intermediate plate from magnesium to aluminum for additional strength and did some other tweaks. The motor and the freshly rebuilt tranny never made it back into the car.
Ed and his wife have lived in their Michigan house for over 30 years. Because it is a tri-level, they purchased a ranch so that Ed could get around better. They want to sell their old house but it was full of their lifelong belongings as well as various cars and car parts. The deal I made with Ed was to buy the car and to take all of his car parts as well, as a way of helping to clean out their garages. Among many other parts, I now have an additional twenty-three wheels w/old tires, a couple of racing seats, an extra transmission, etc.
In mid-May i traveled to Michigan from my North Carolina home to get everything ready so my son and I could come up a couple weeks later with a small moving truck and a car trailer. My good friend Dave drove over from South Bend, Indiana to help at that mid-May gathering. We spent about six hours going through everything and getting the wheels back on the car to get it off the jack stands where it had been setting for thirteen years.


Ed is an engineer as is my son. While they are about ten years apart in age, they have always had this friendship based on their mutual love of figuring out things. My son was very pleased to see Ed again. Because of Ed's condition, it takes him a while to get going so they gave us the key to the outbuilding and the garage door opener to their garage so we could begin the loading process. We began loading around 3:00 and finished up by 6:00. After a quick shower, we all met for dinner which was spent reminiscing about past PCA event as well as my son talking about some of his experiences with his job at Toyota Racing Development. It was a long, pleasant dinner and the perfect end to the day.


Now the car is in my garage, the parts have been stowed and I am ready to put it back together.


The photos below were taken soon after Ed had bought the car, which will give an idea of what it will look like once it is back on the road.


 06-16-2018, 11:58 PM
#2
Rennlist Member
REALLY nice 914. My first PCar was a '74 914 when I was in my 20's. The backstory is worth $1m so kudos to you for keeping your friends legacy living on 
06-17-2018, 02:33 PM
#3
Official Wednesday AM Red Bull F1 test driver
Rennlist Member
Rennlist Member
Great story! And nice Aston there too!
You should share this over at 914world too.
(surprised it has an early rear bumper as the car is a '74)
You should share this over at 914world too.
(surprised it has an early rear bumper as the car is a '74)
06-17-2018, 02:46 PM
#4
Racer
Thread Starter
Drove the Aston to Charlotte (about 45 miles from my house) to the Cars and Cappuccino this morning. Lots of interesting cars there. Lots of P cars and two more Astons besides mine. And one McClaren 720S.
06-17-2018, 02:47 PM
#5
Racer
Thread Starter
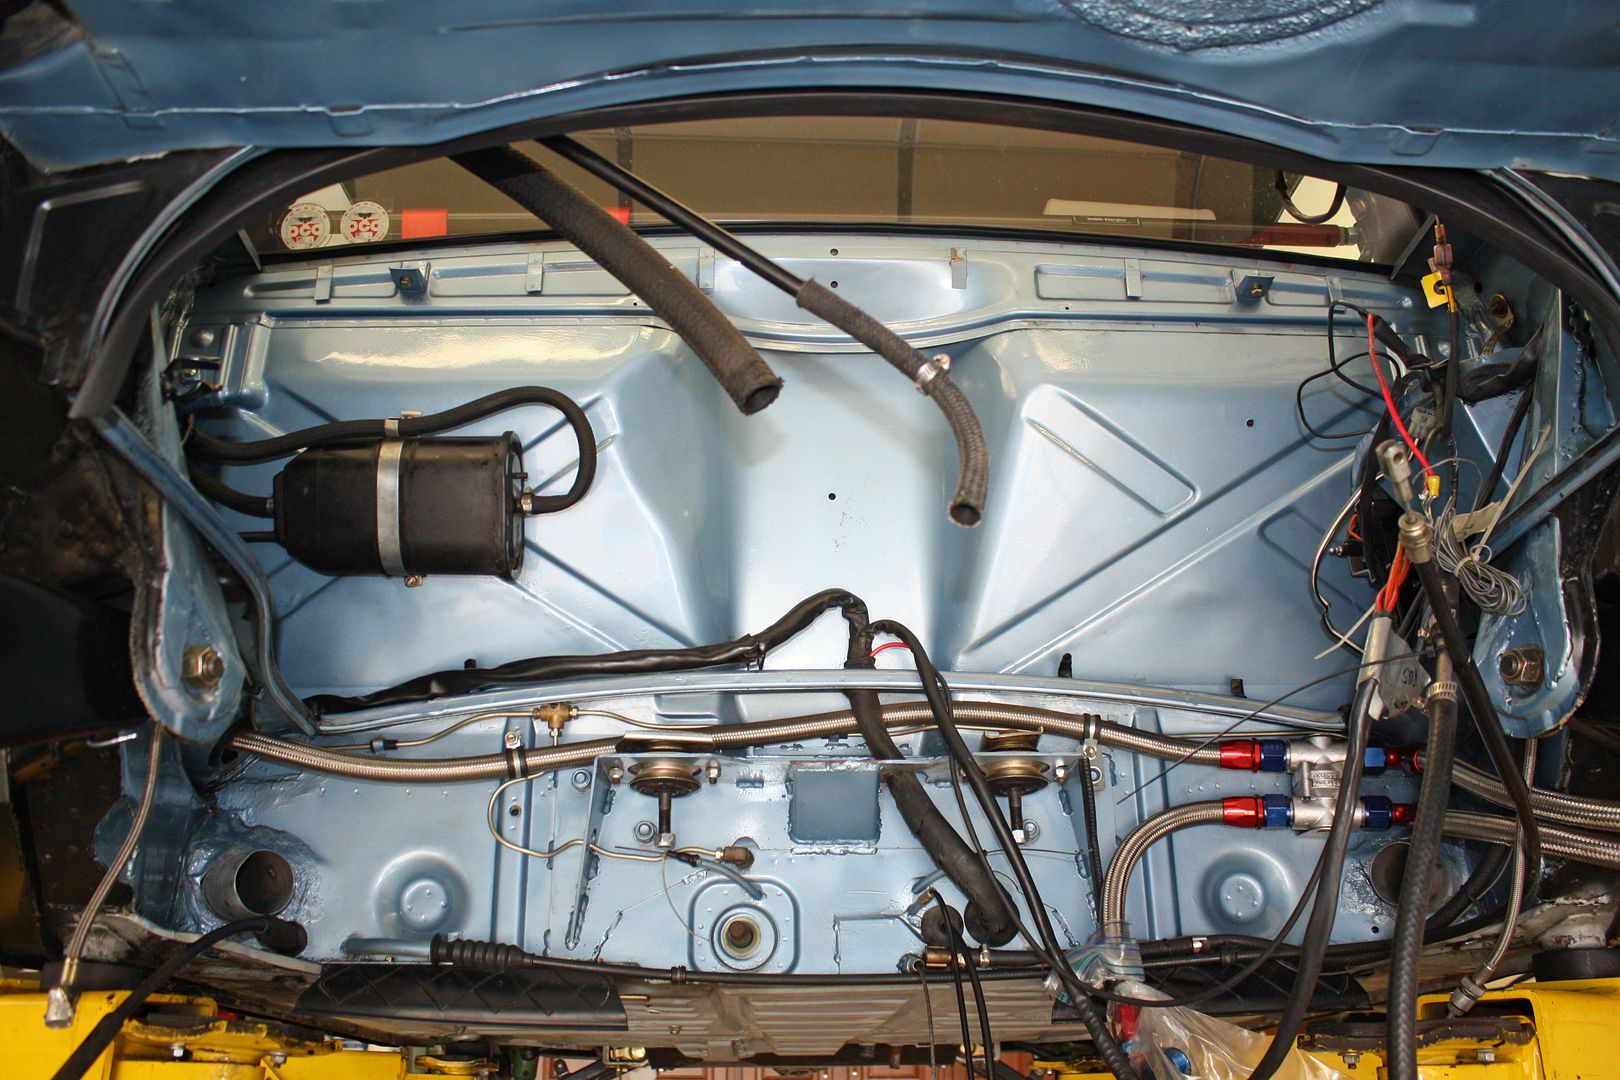
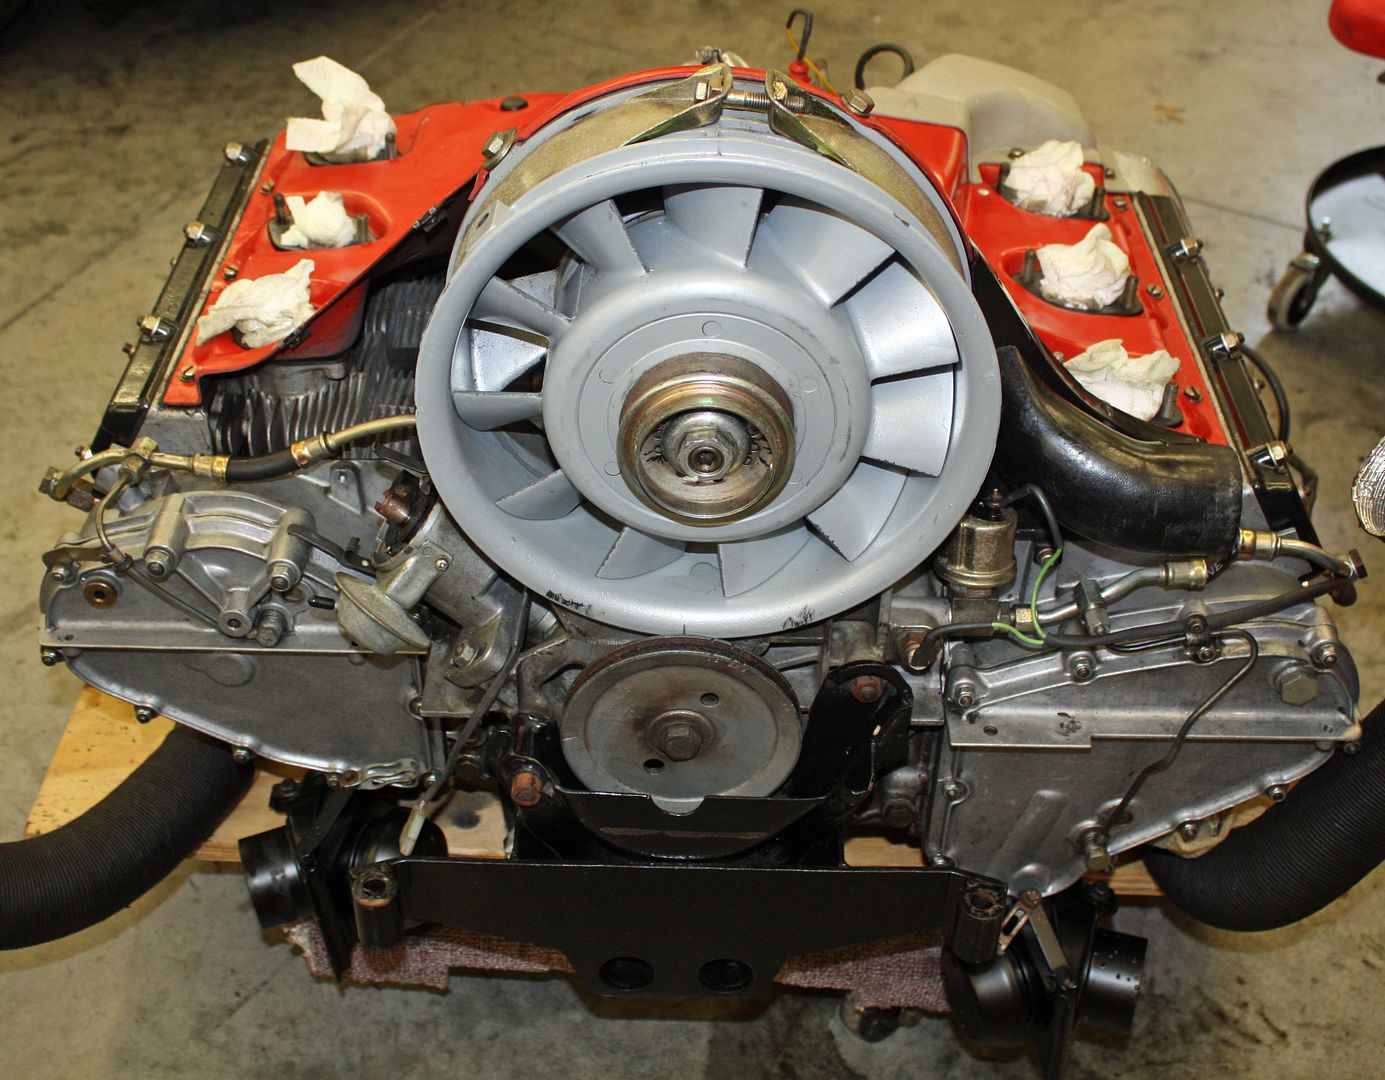
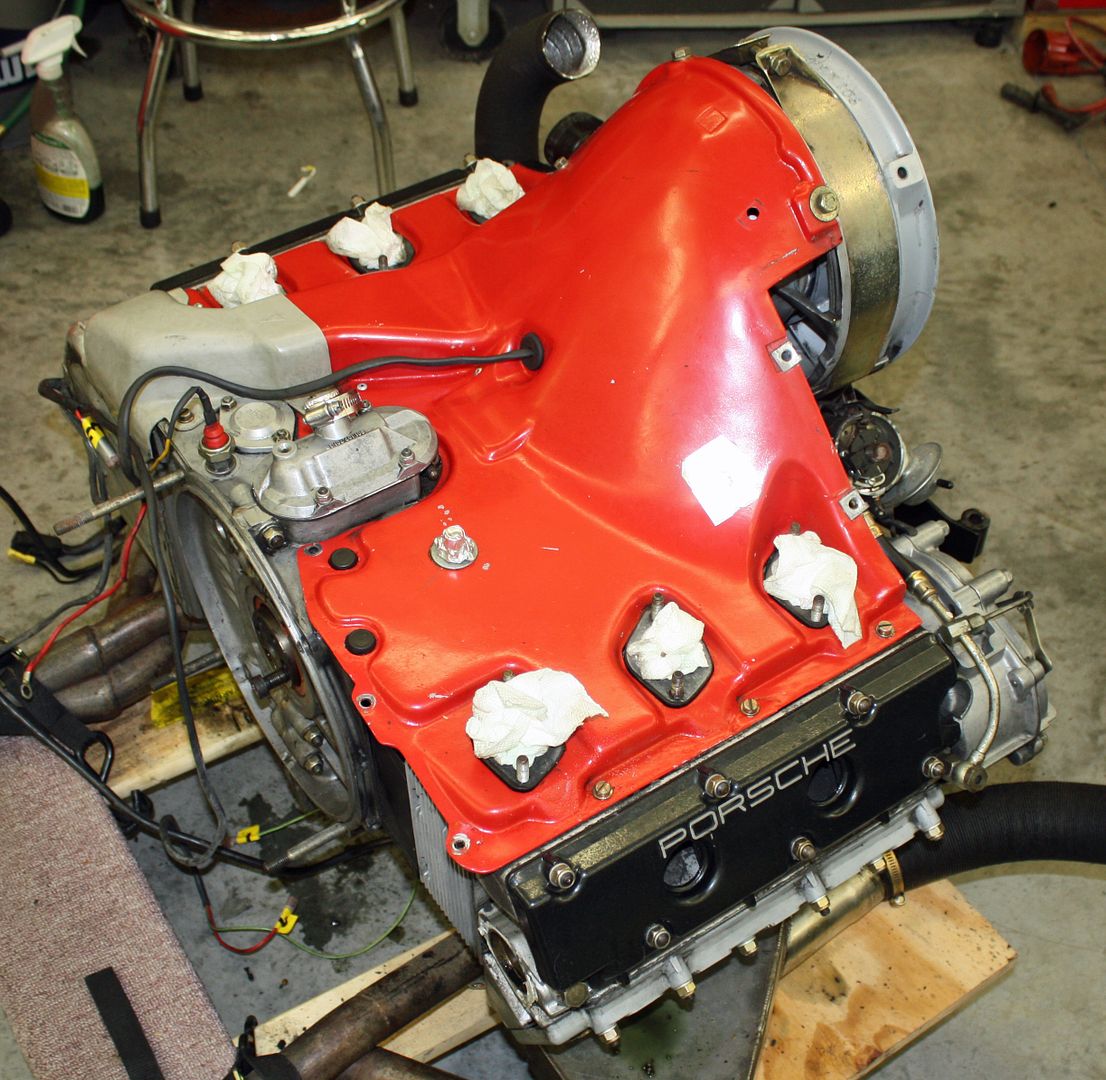
One of the first things I did was clean up the engine bay. Ed said the engine was blowing some oil so there was a film everywhere. I will need to make sure I have the engine properly vented.
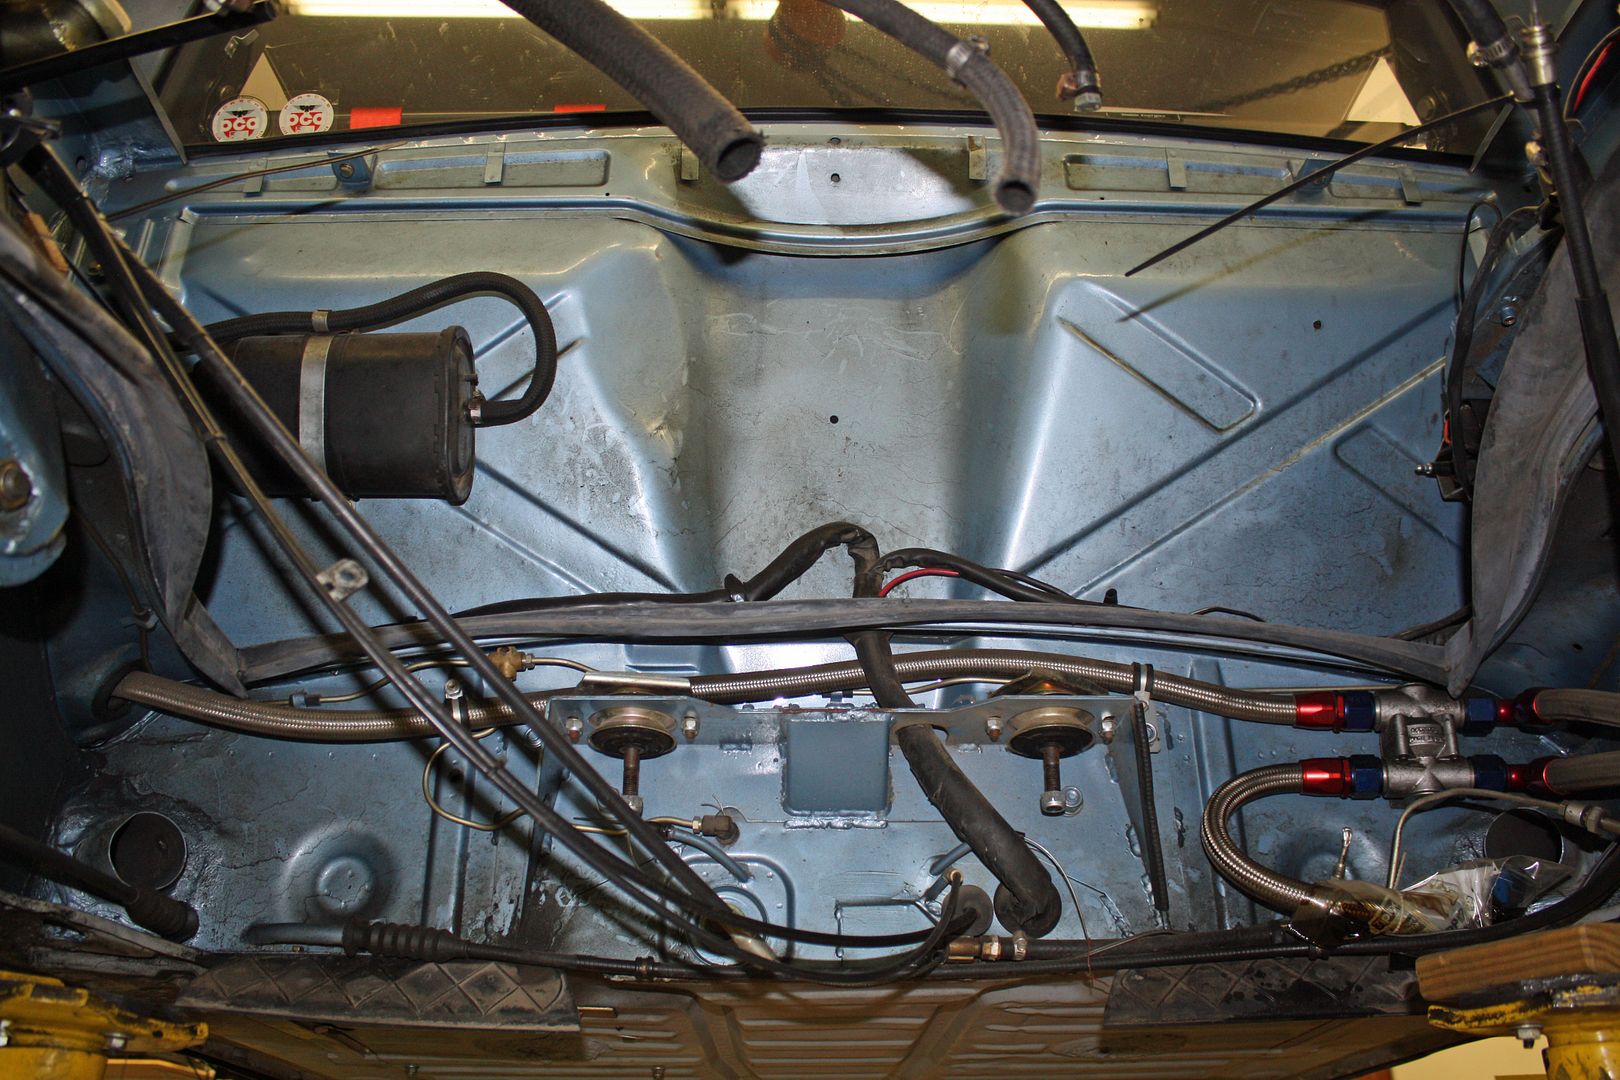
The engine bay cleaned up nicely.


The engine bay cleaned up nicely.


 06-17-2018, 03:09 PM
#6
Racer
Thread Starter
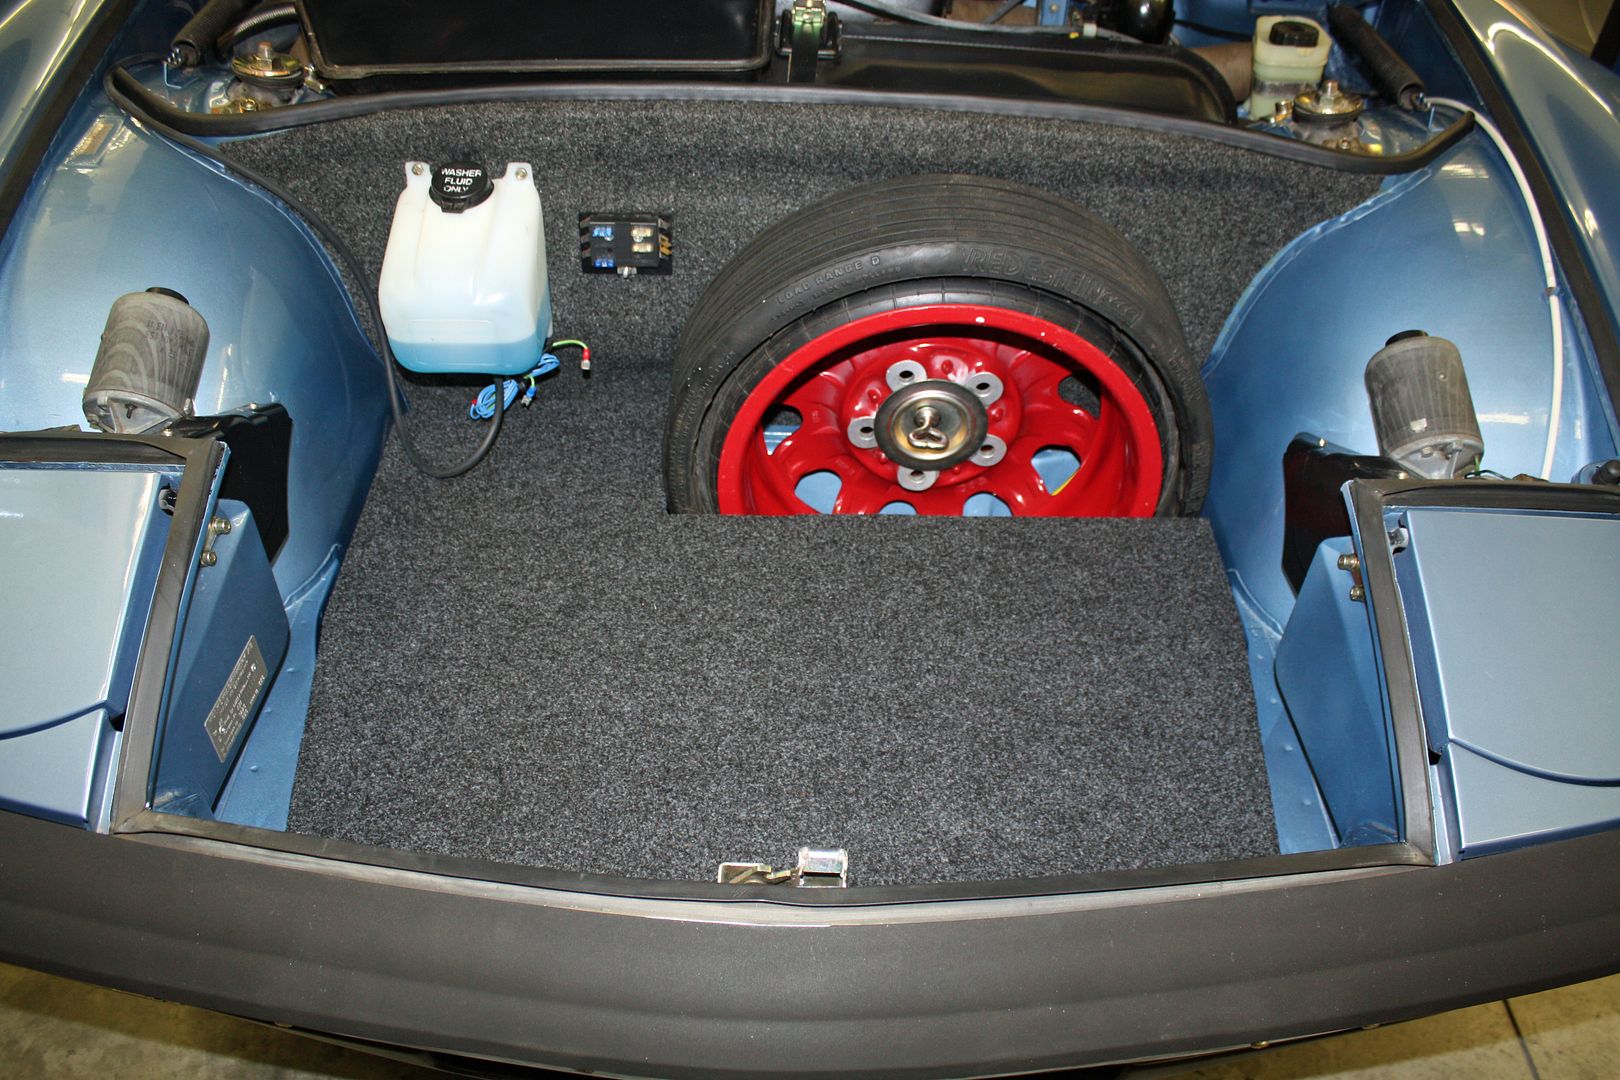
Perry built in an oil cooler box in the front trunk and mounted a collapsible spare vertically.

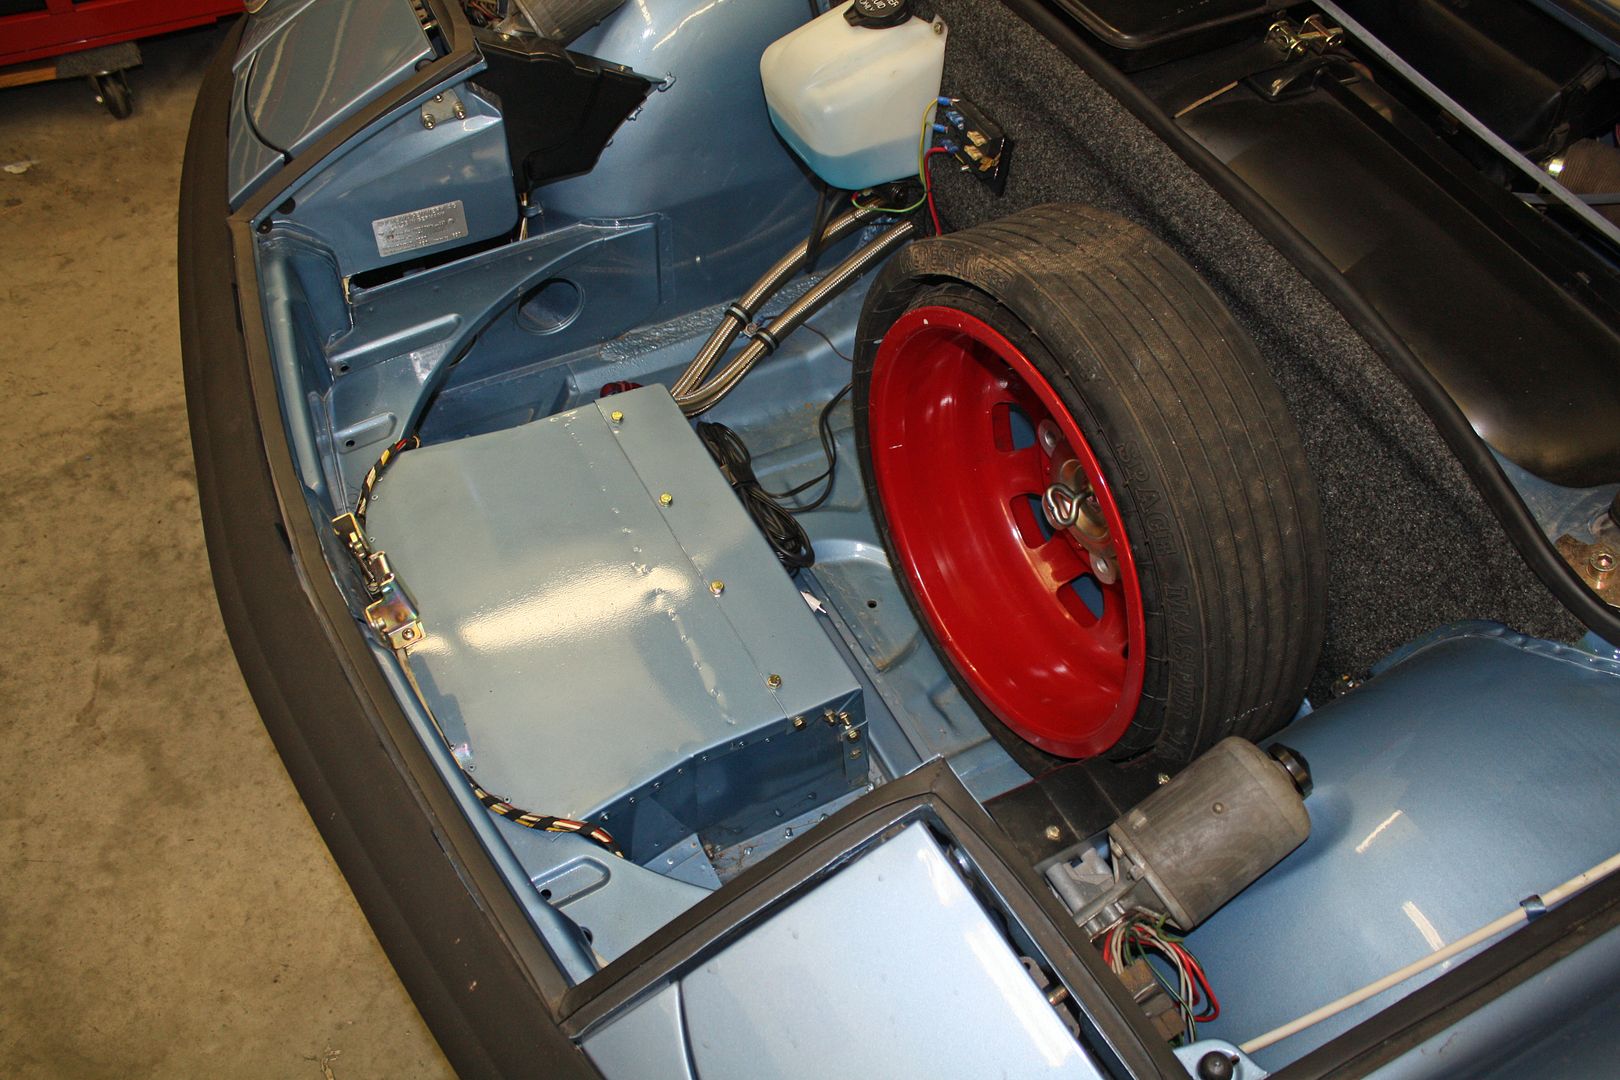

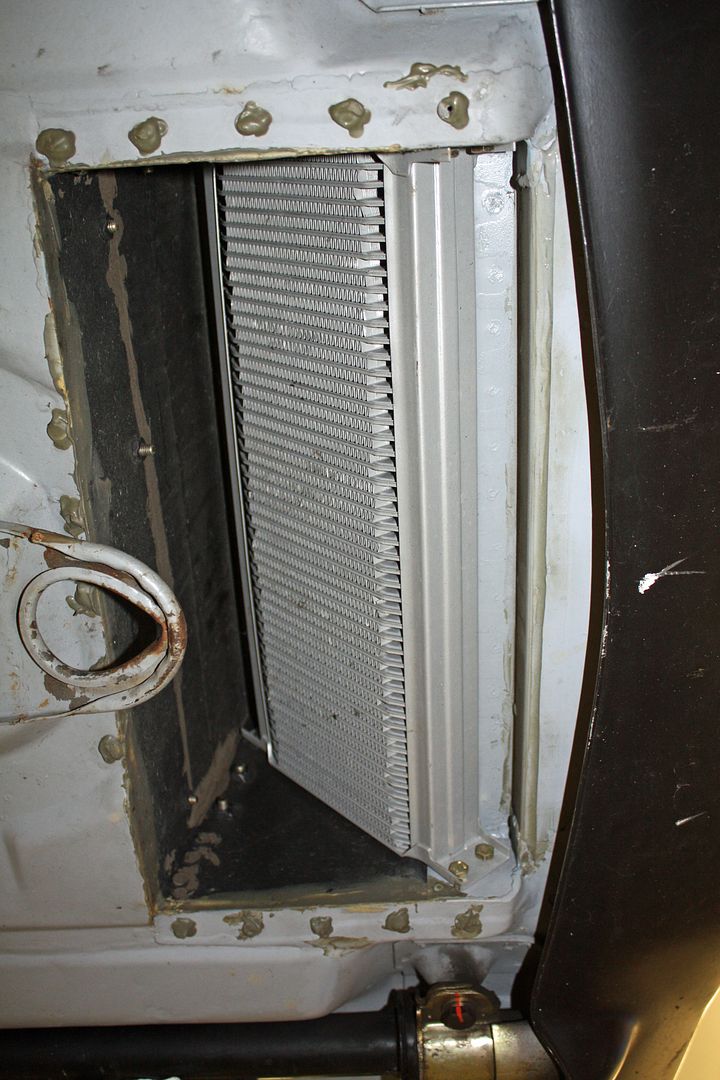
To make the front trunk more usable, I modified the stock carpeted board that normally lies on top of the stock spare tire. I traced the board on a piece of cardboard and then cut a notch out of that cardboard to allow for the vertical spare. After using that template to modify the original board, I found that the rear of the board was floating in air. To make it solid, I mounted some vertical 2 x 4's for support. I painted the back side and then installed original style carpet on the board.
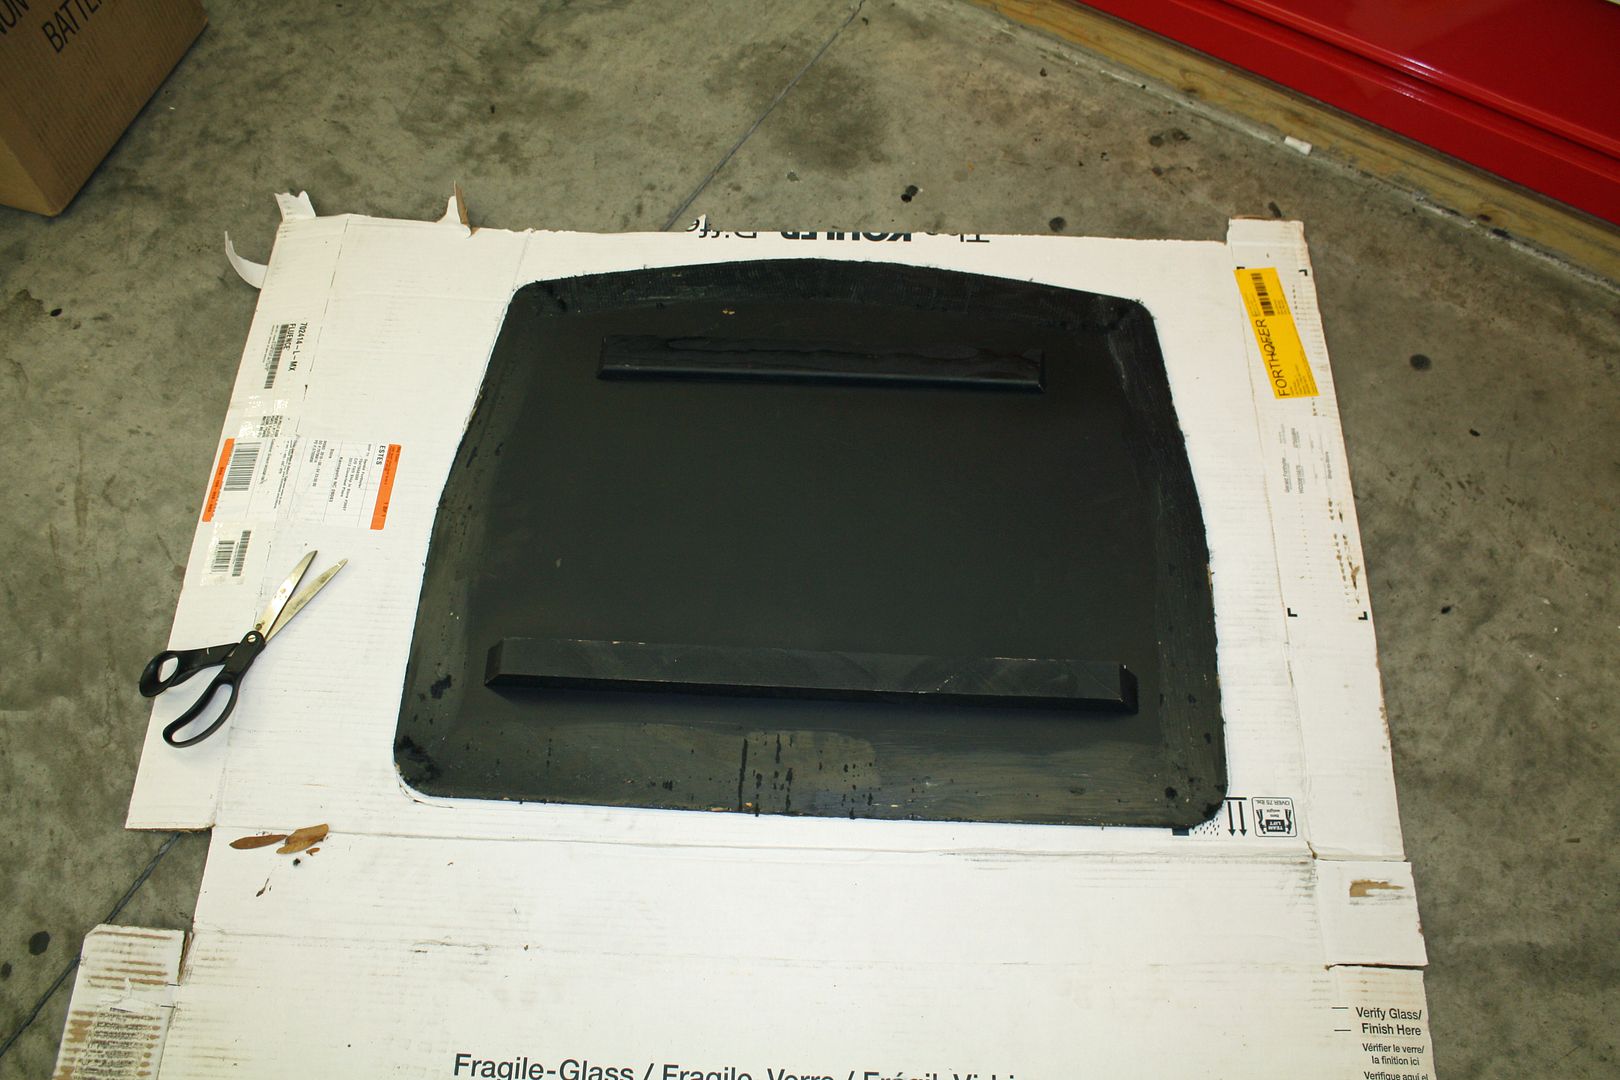

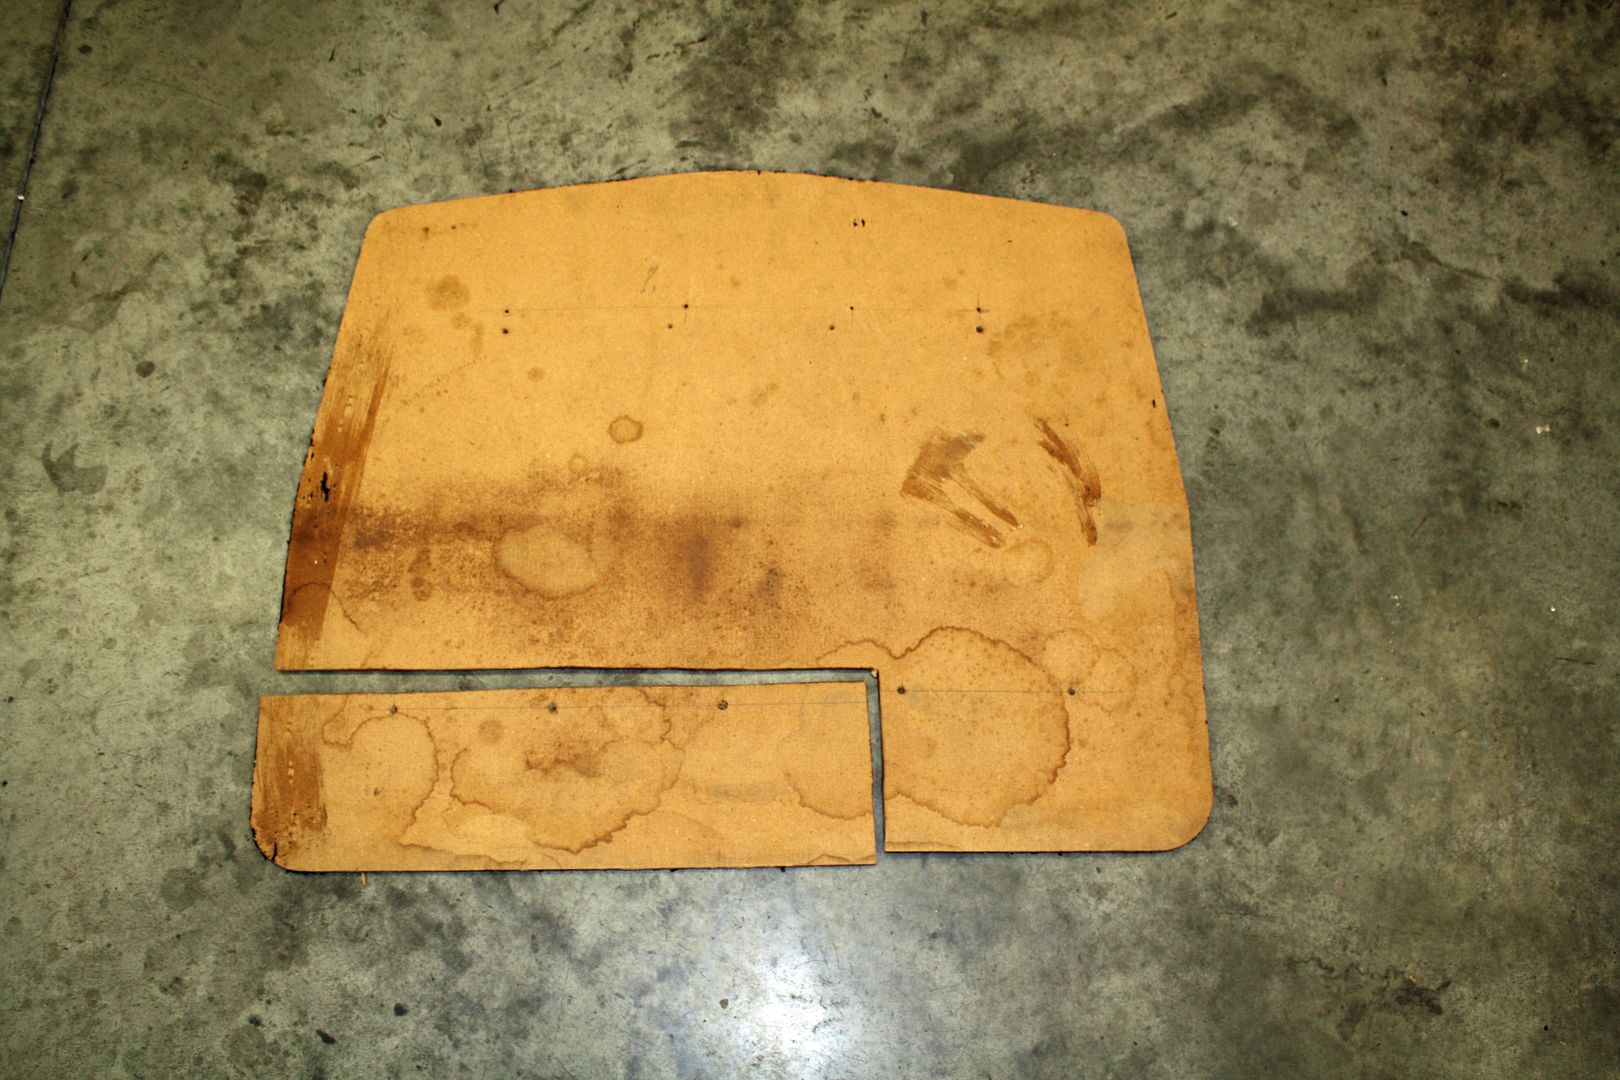
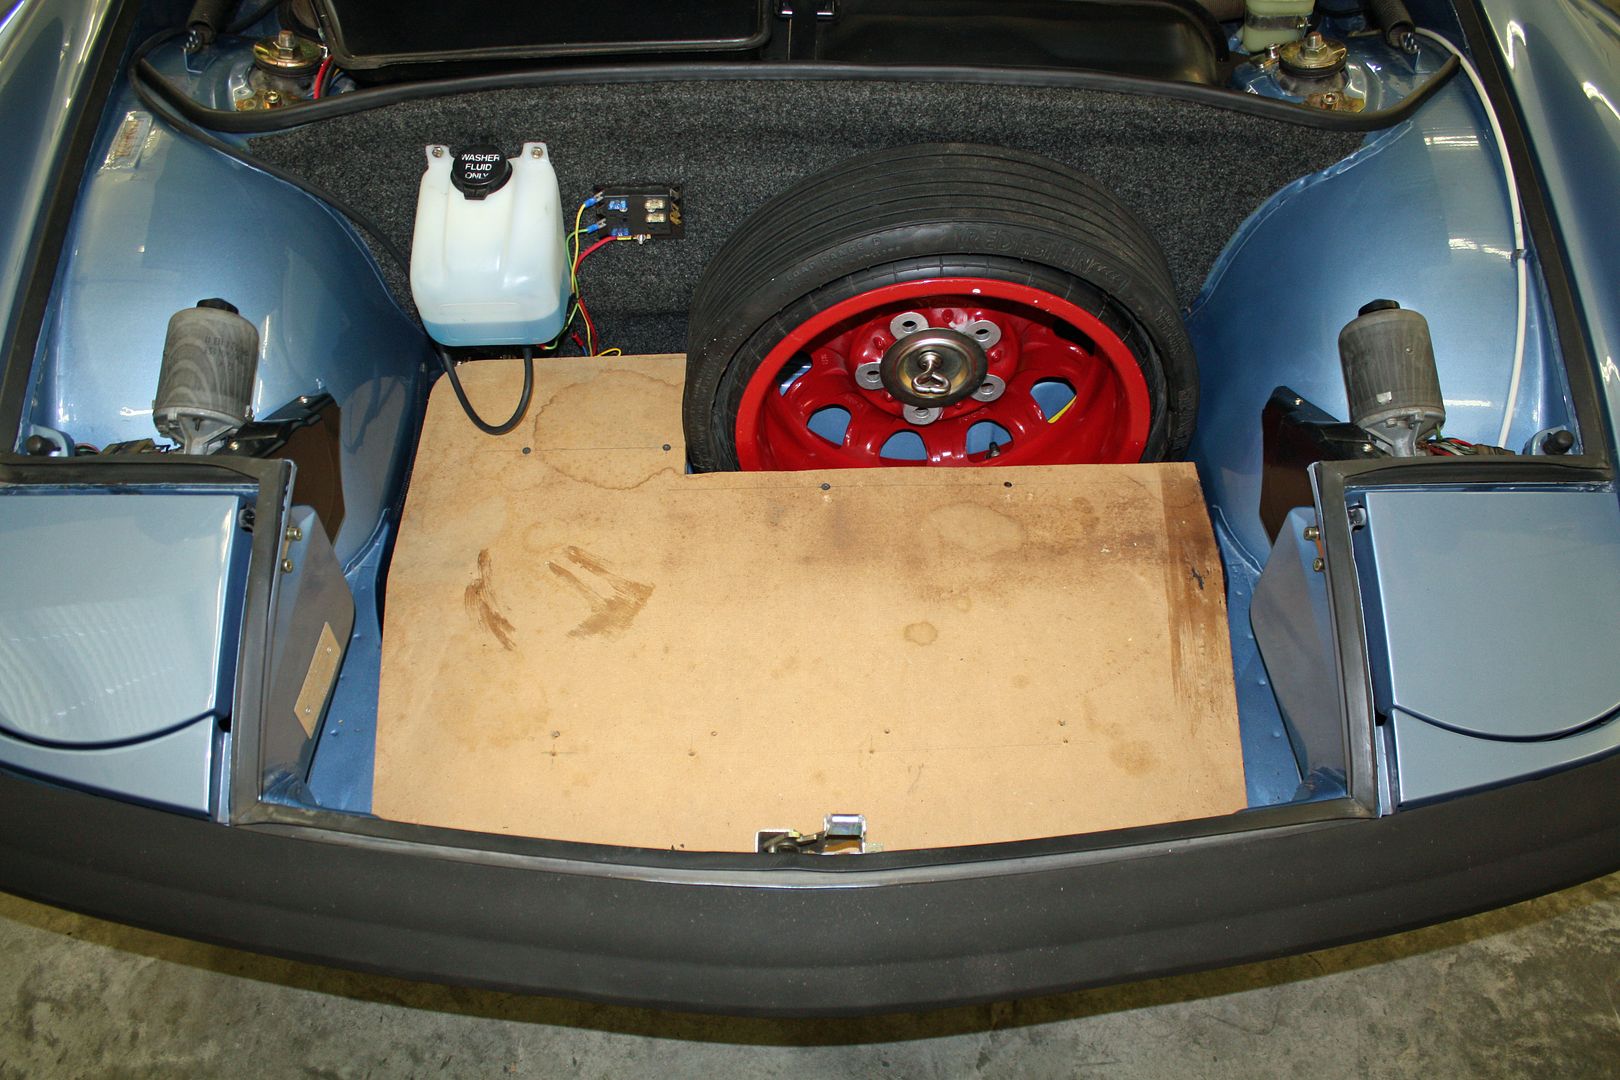
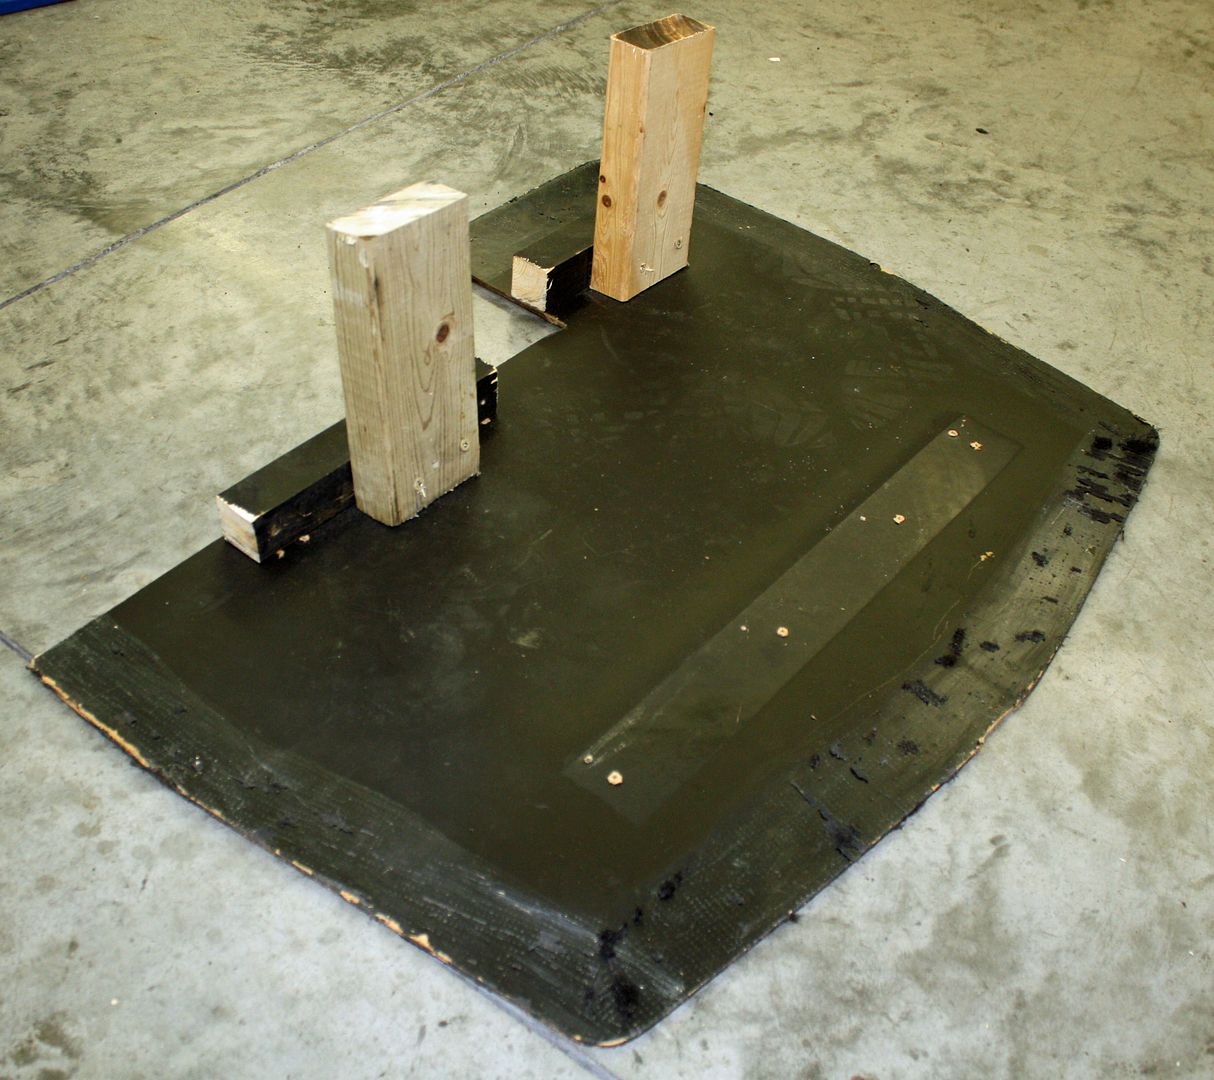
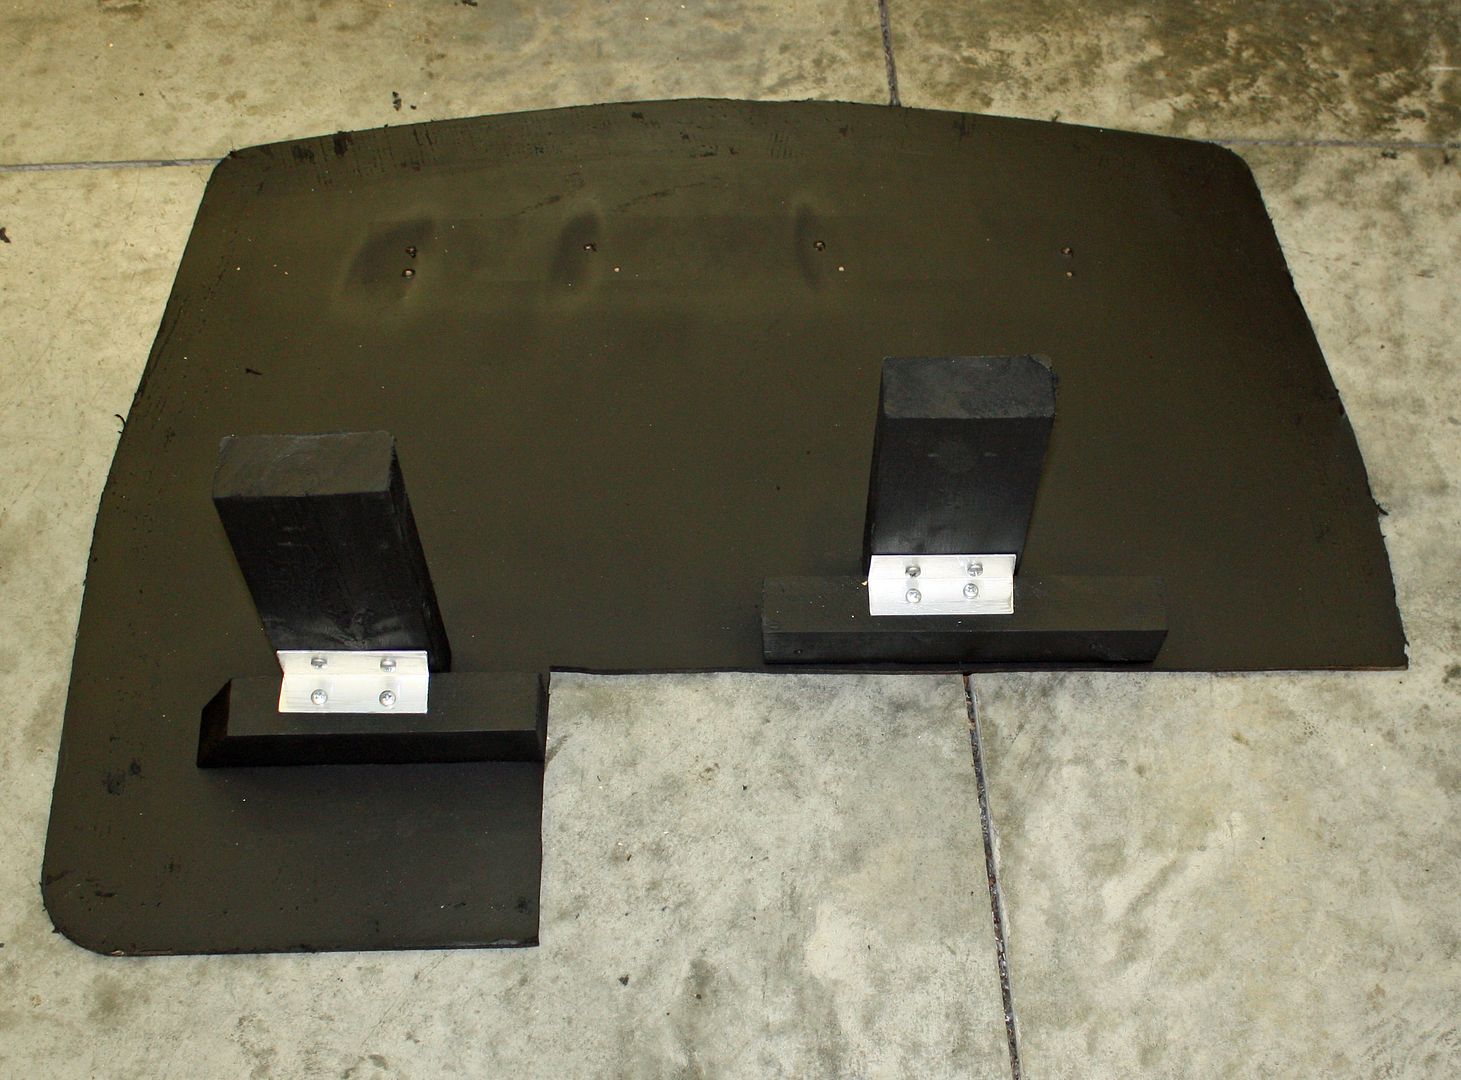
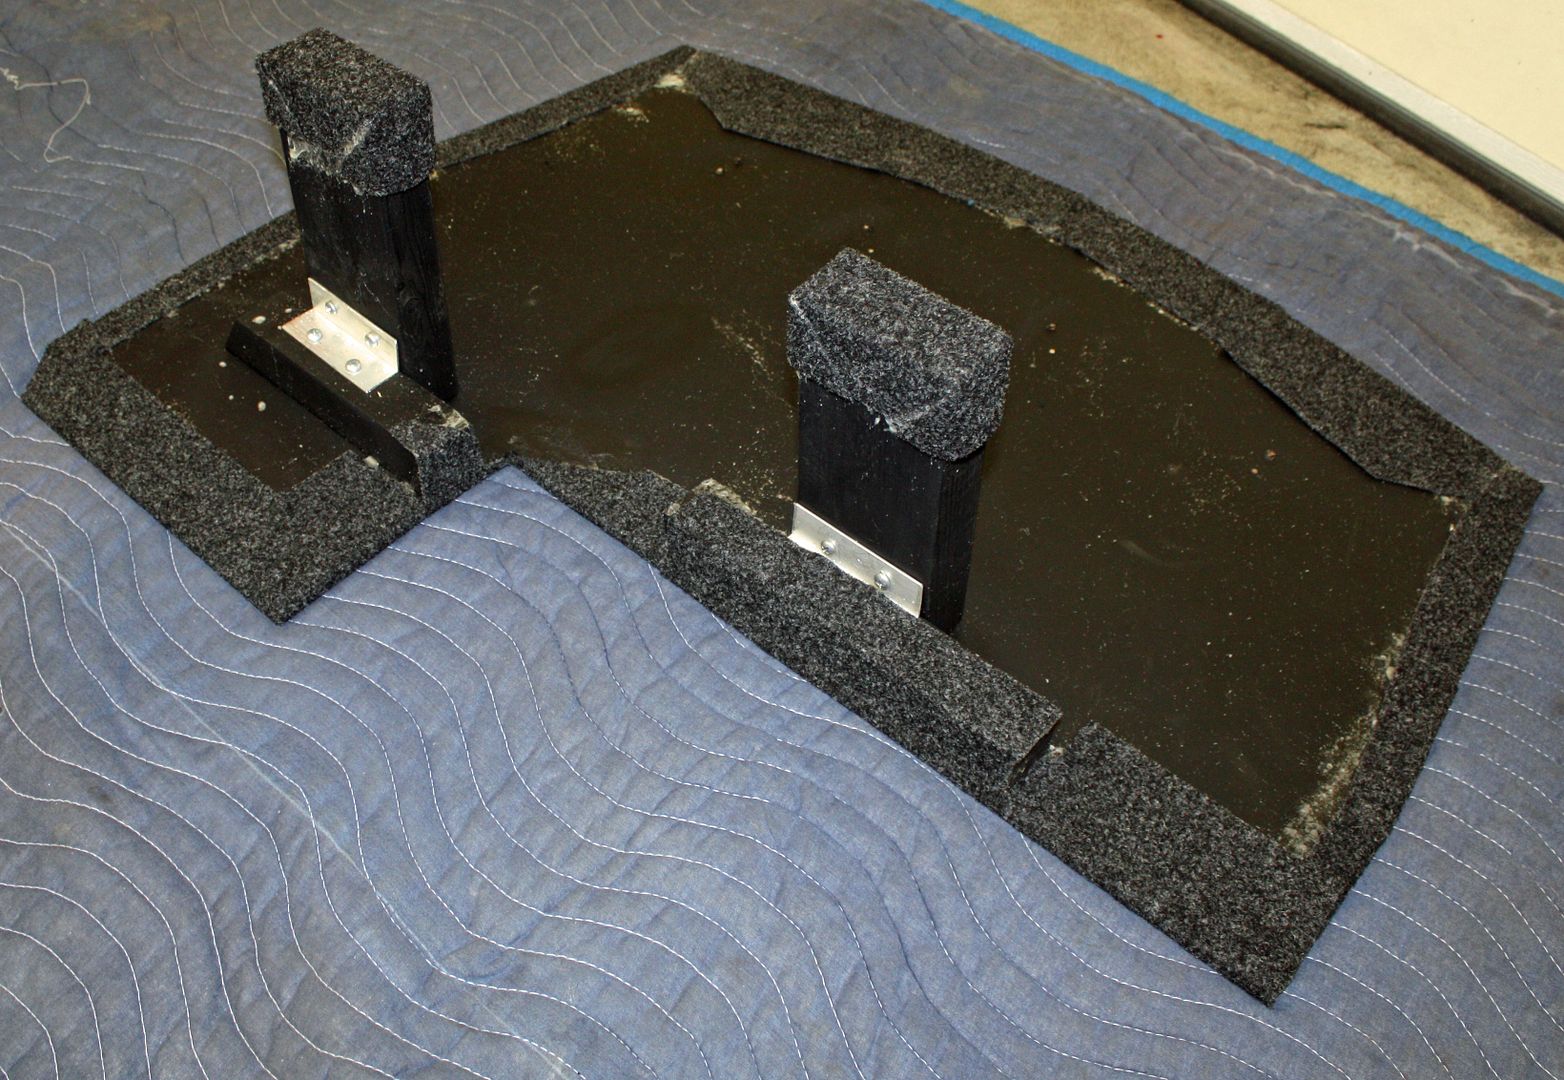


To make the front trunk more usable, I modified the stock carpeted board that normally lies on top of the stock spare tire. I traced the board on a piece of cardboard and then cut a notch out of that cardboard to allow for the vertical spare. After using that template to modify the original board, I found that the rear of the board was floating in air. To make it solid, I mounted some vertical 2 x 4's for support. I painted the back side and then installed original style carpet on the board.


 06-17-2018, 03:23 PM
#7
Racer
Thread Starter
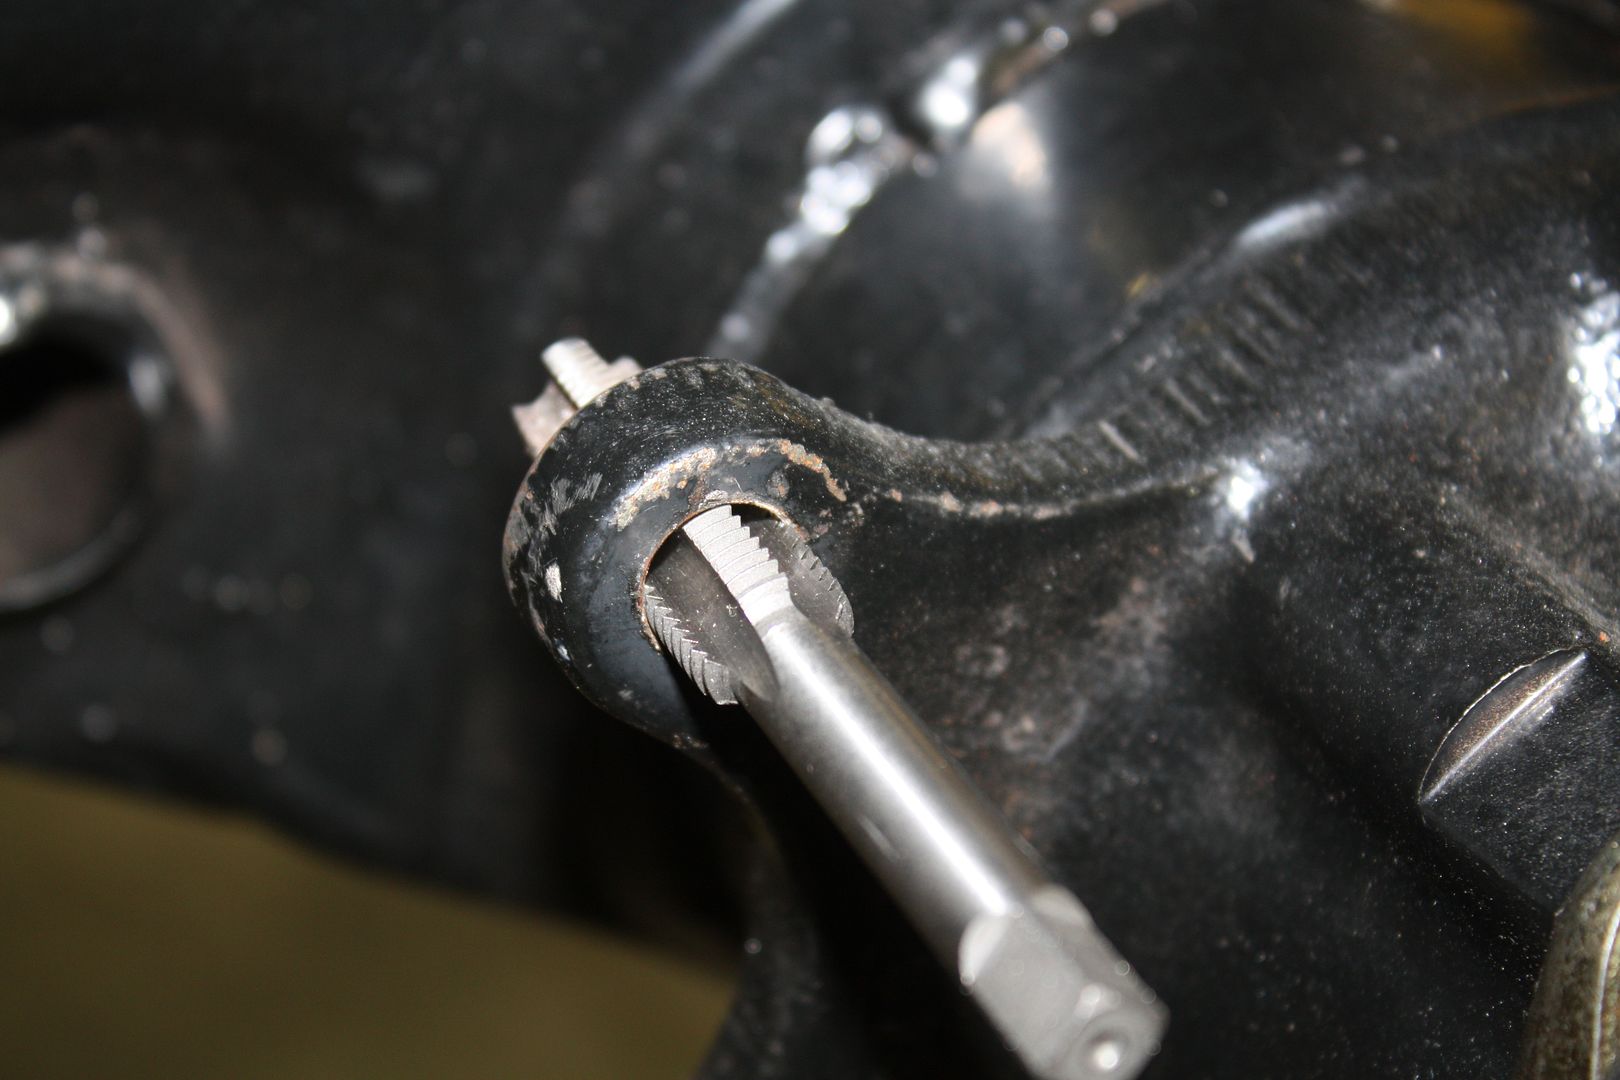
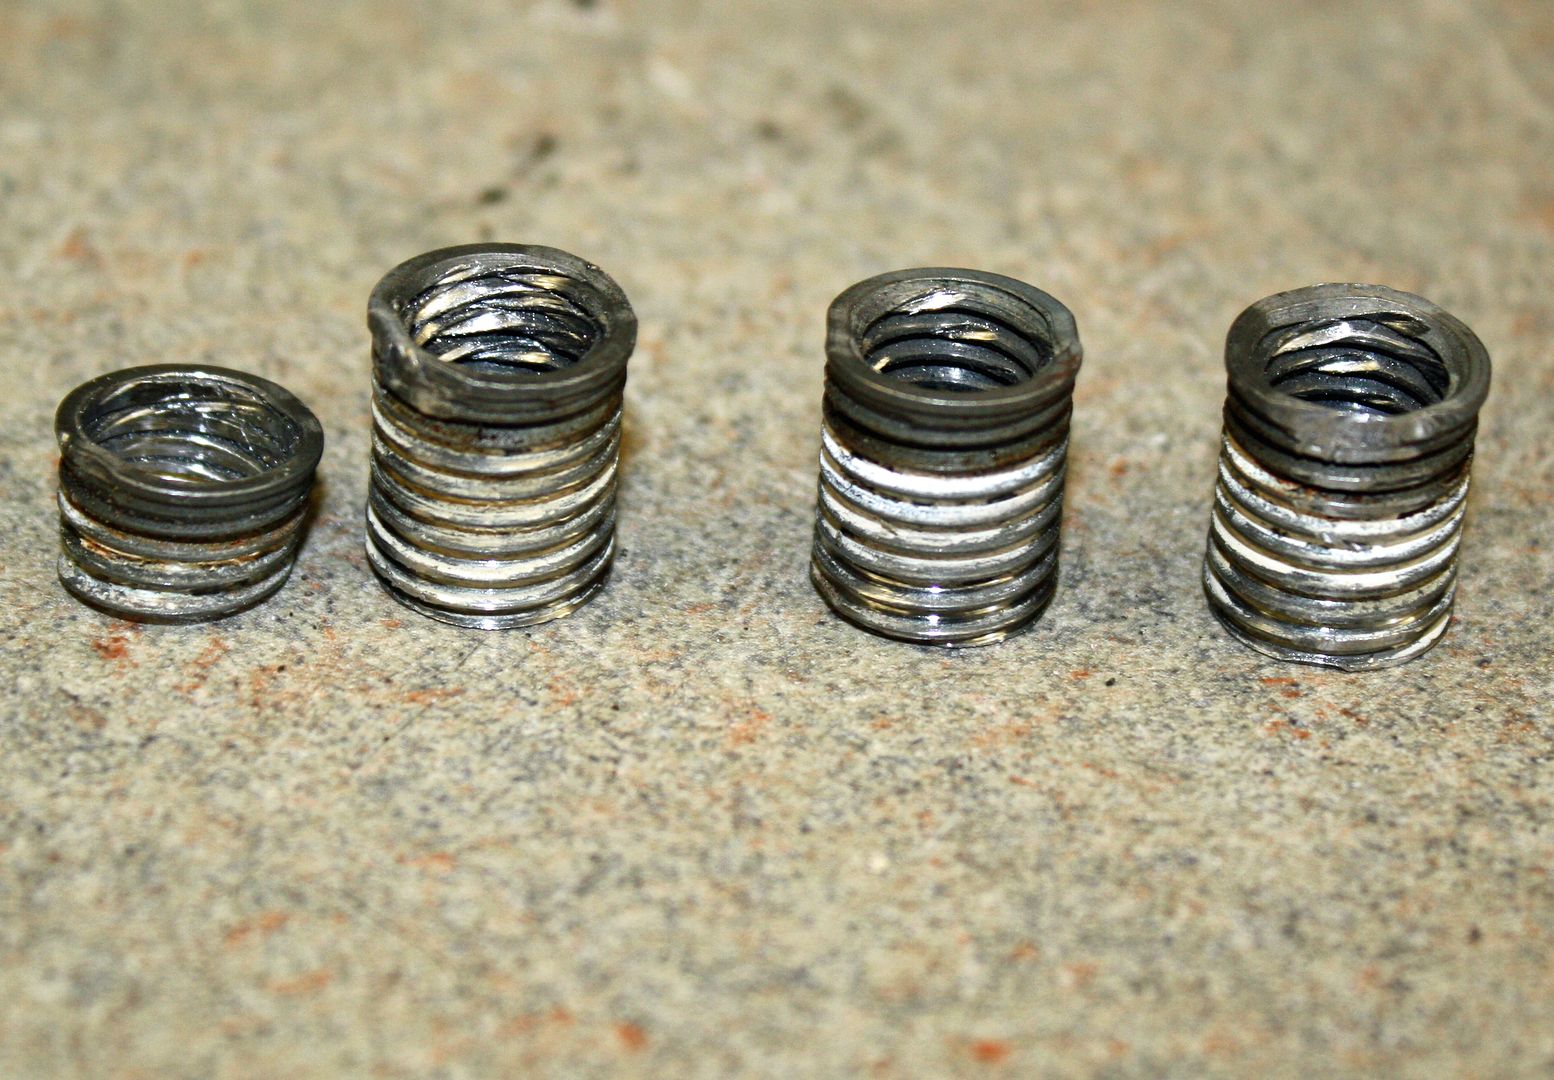
Ed was going to run 13" wheels on the car to get lower gearing for autocrossing. To that end, he was in the process of modifying the brake calipers so they would fit inside a 13" wheel. Part of that process was to use time certs where the rear brake calipers mount to the hub. Since I am going to use stock 914 rear calipers (It has 928 front calipers.), those time certs had to come out.
Time certs's website recommended using an "easy out" for removal. When the first one I tried refused to budge, I drilled it out some and tried the "easy out" again. This time a little less than half of it came out. I used a drill and a file to make the remaining time cert thin enough so I could tap the hole. Once I saw that Ed has used a thread locker on the time cert, I applied heat for about a minute to each one which made them easy to remove.
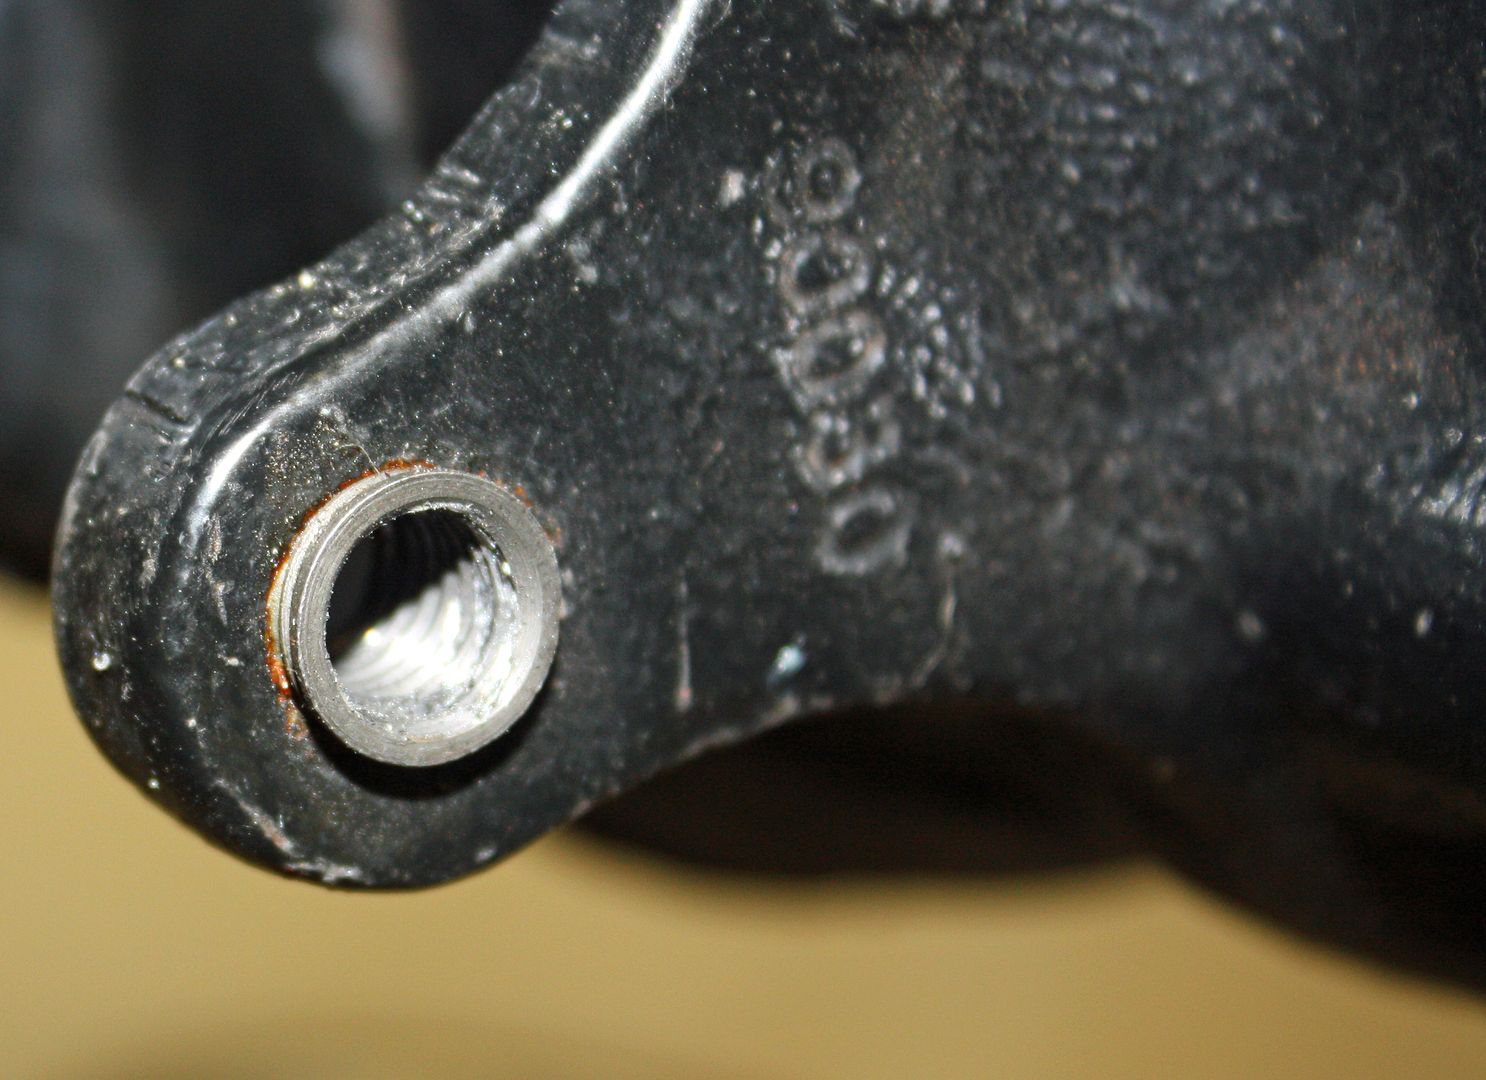
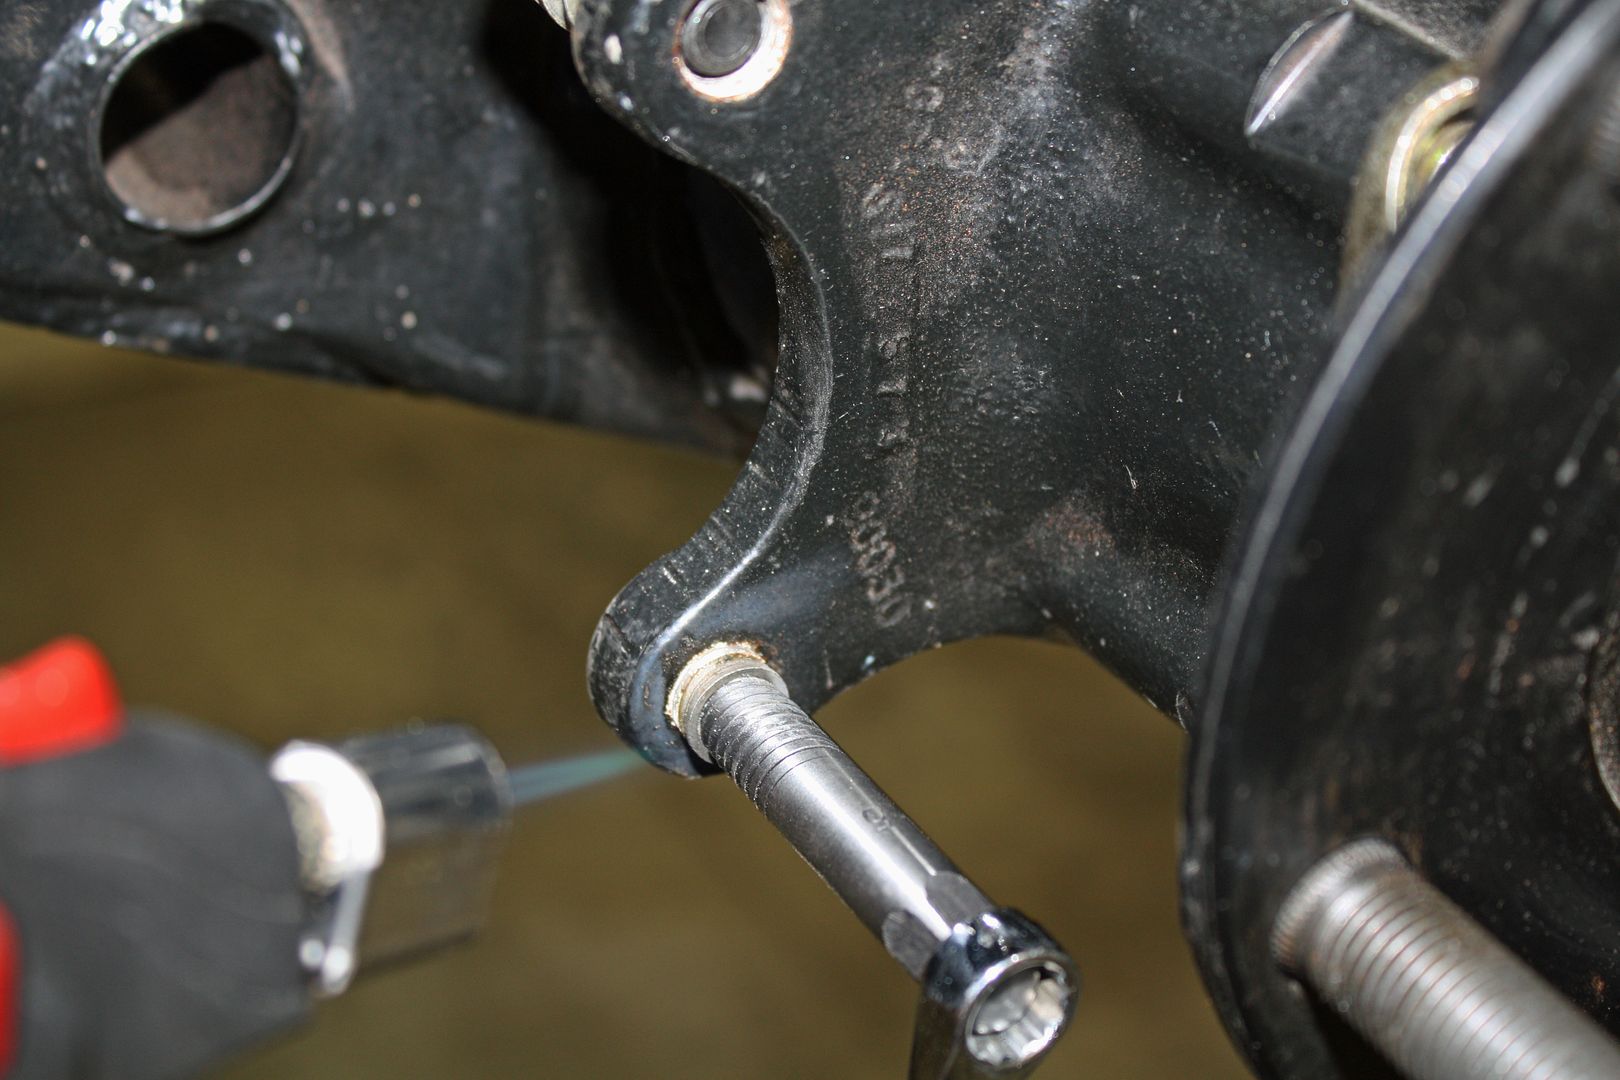
Time certs's website recommended using an "easy out" for removal. When the first one I tried refused to budge, I drilled it out some and tried the "easy out" again. This time a little less than half of it came out. I used a drill and a file to make the remaining time cert thin enough so I could tap the hole. Once I saw that Ed has used a thread locker on the time cert, I applied heat for about a minute to each one which made them easy to remove.


Trending Topics
06-18-2018, 06:11 PM
#8
Racer
Thread Starter
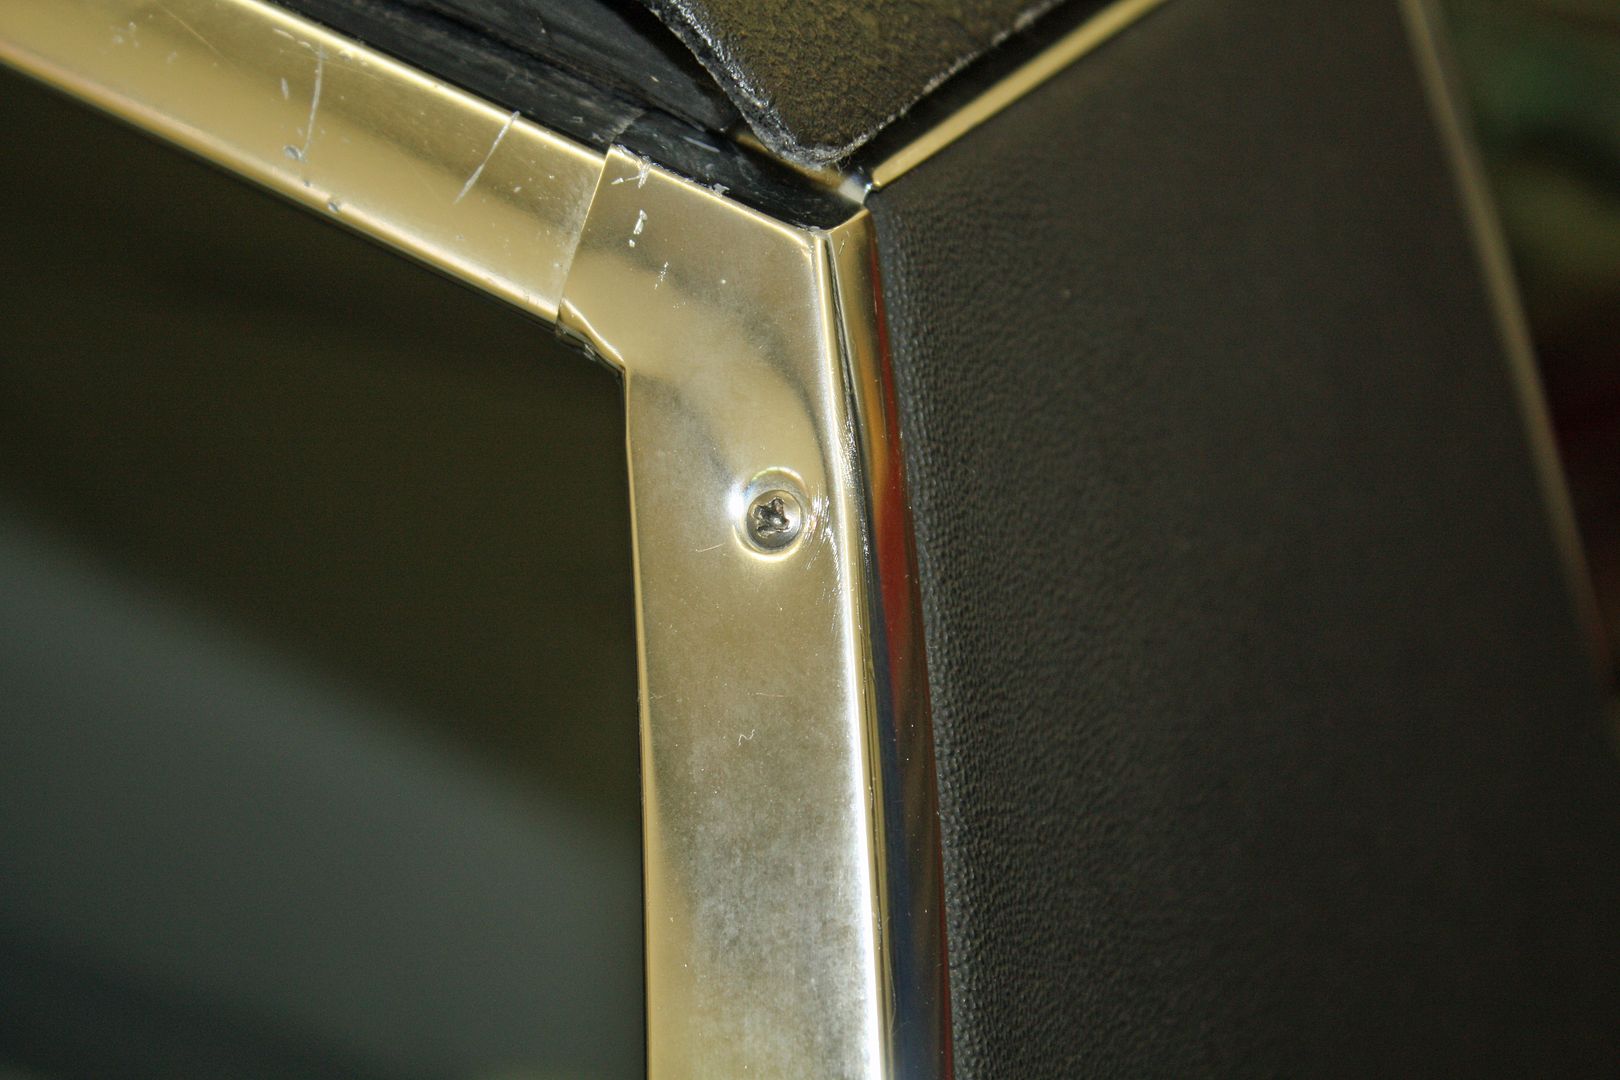
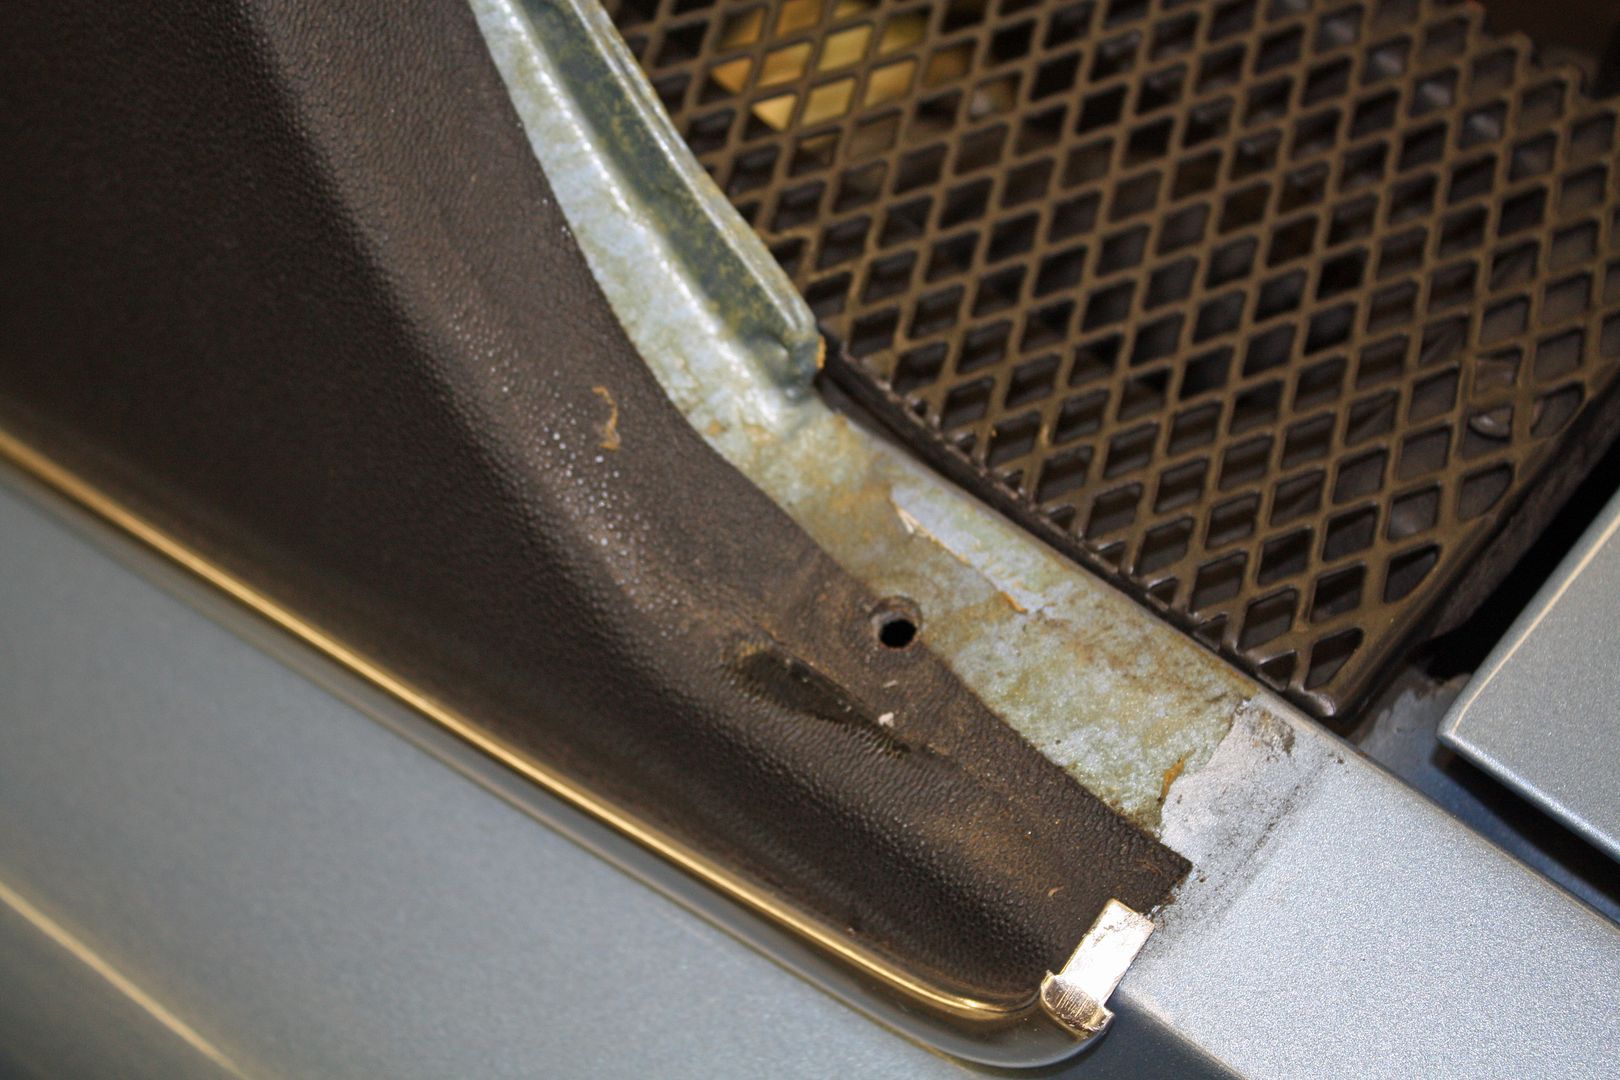
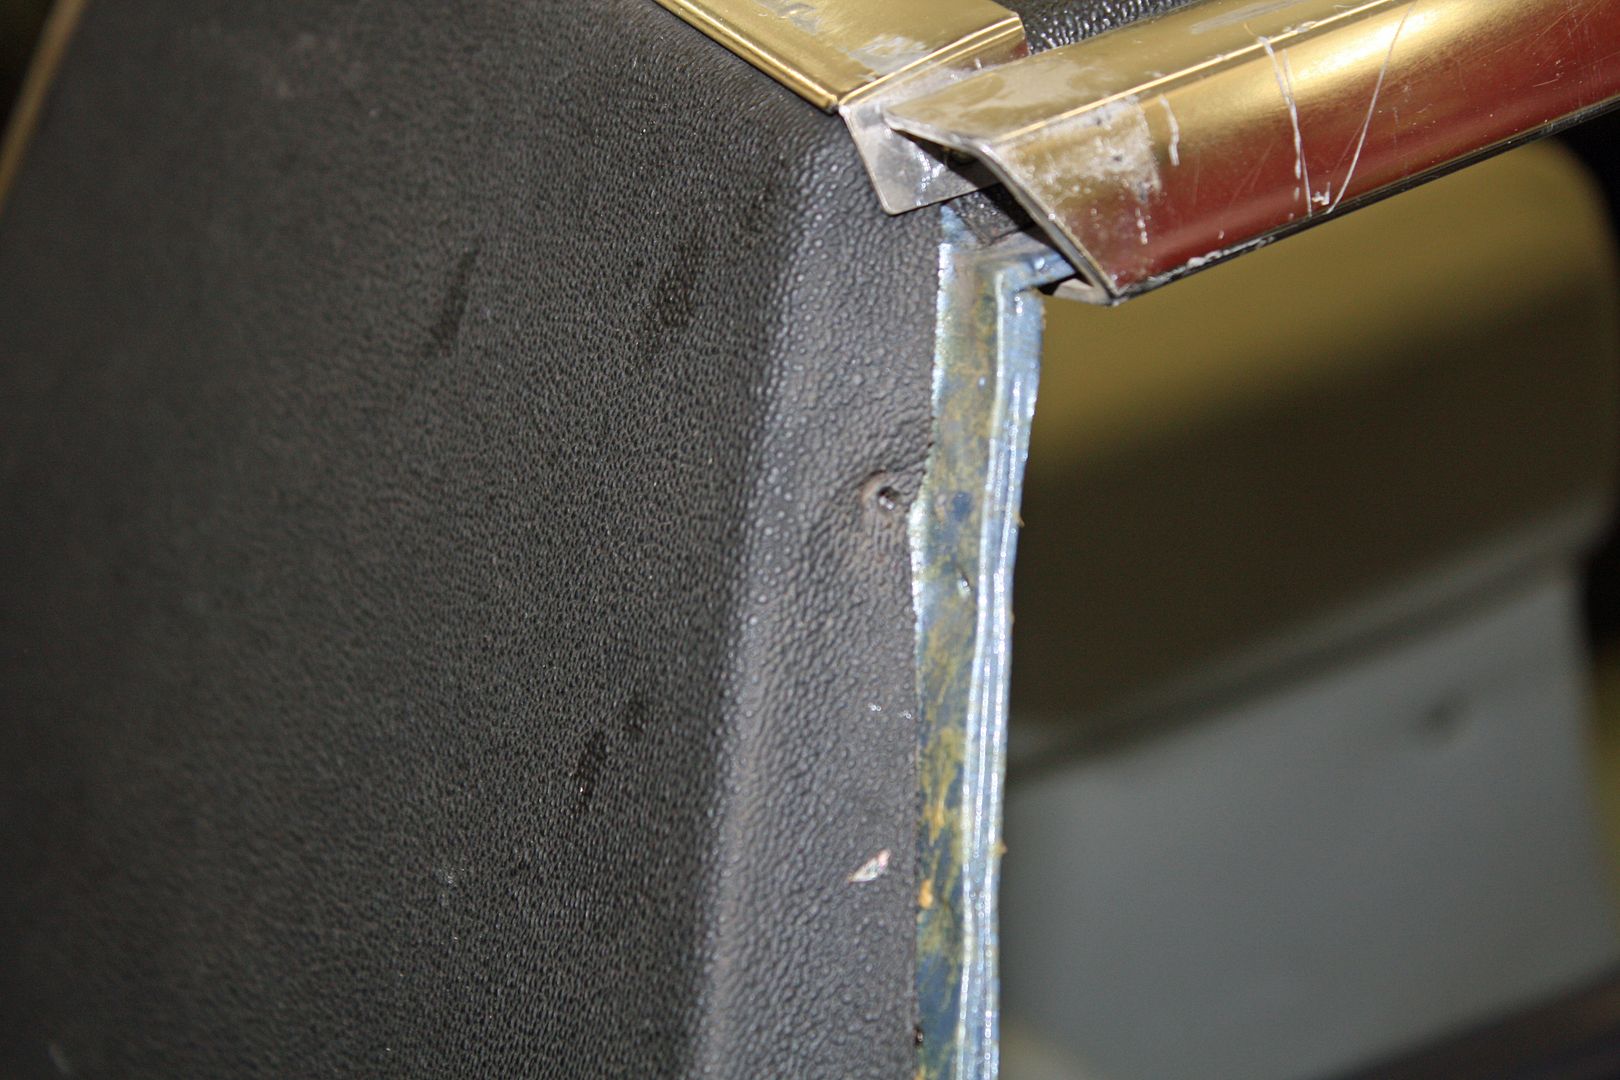
The sail panel trim and the long trim pieces across the back show some wear.
About six years ago I did a body off restoration on a 1964 Corvette. The original windshield trim had some dents in it, so I ordered some replacements. We could never get the repo trim to fit. I mentioned this one day to a Corvette vendor and he said the repo stuff never fits. He asked if I had the original trim. When I said I did, he gave me the name of Dell Metal Polishing in Hubbard, OH. He said this guy would make the original trim look like new. I sent my trim to Dell's and it looked better than new when I got it back.
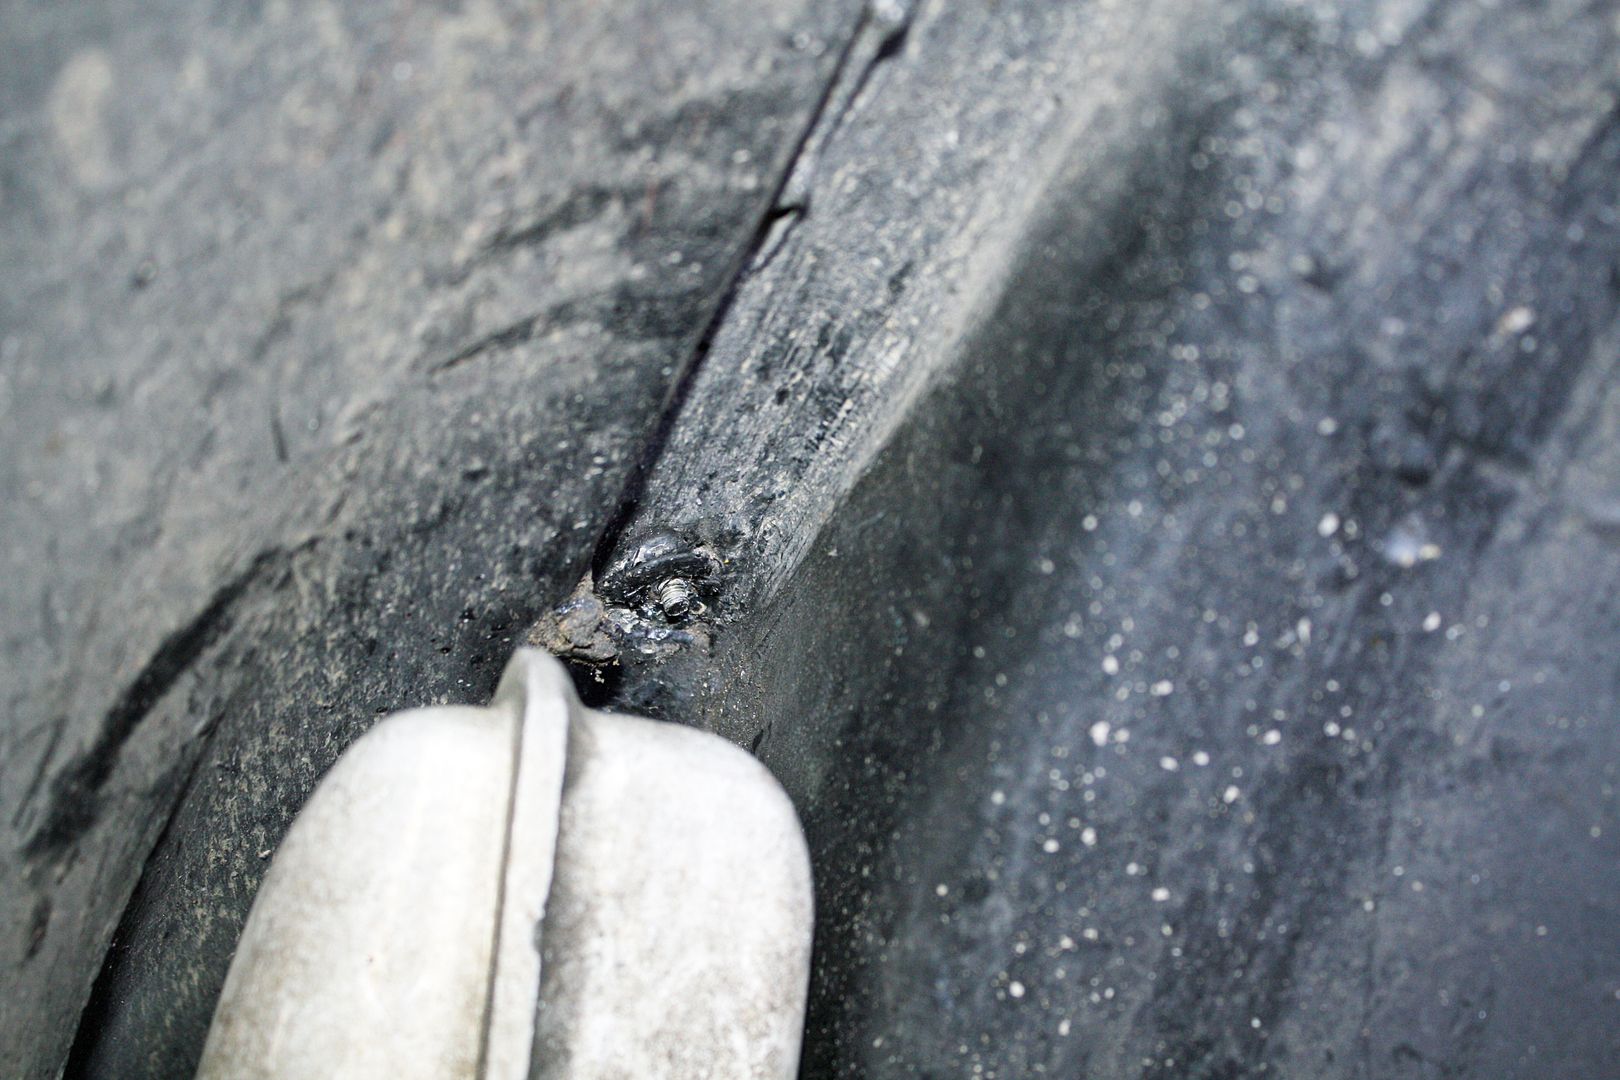
I called Dell's recently and he said he could work on the 914 trim as well. Today I removed the trim pieces. First the vertical curved pieces have to be removed. There is an 8mm nut inside the wheelwell that must be removed. The right side was fairly easy but, since there is a 911 motor in this car, the dry sump oil tank is in the left side wheelwell, directly below this nut. I finally got a small ratchet wrench on it. With those nuts removed, the only remaining screw is a small phillips. With both sail panels off the car, I could remove the center trim piece. It is held in by three clips. Some gentle persuasion with a plastic pry tool broke it loose.

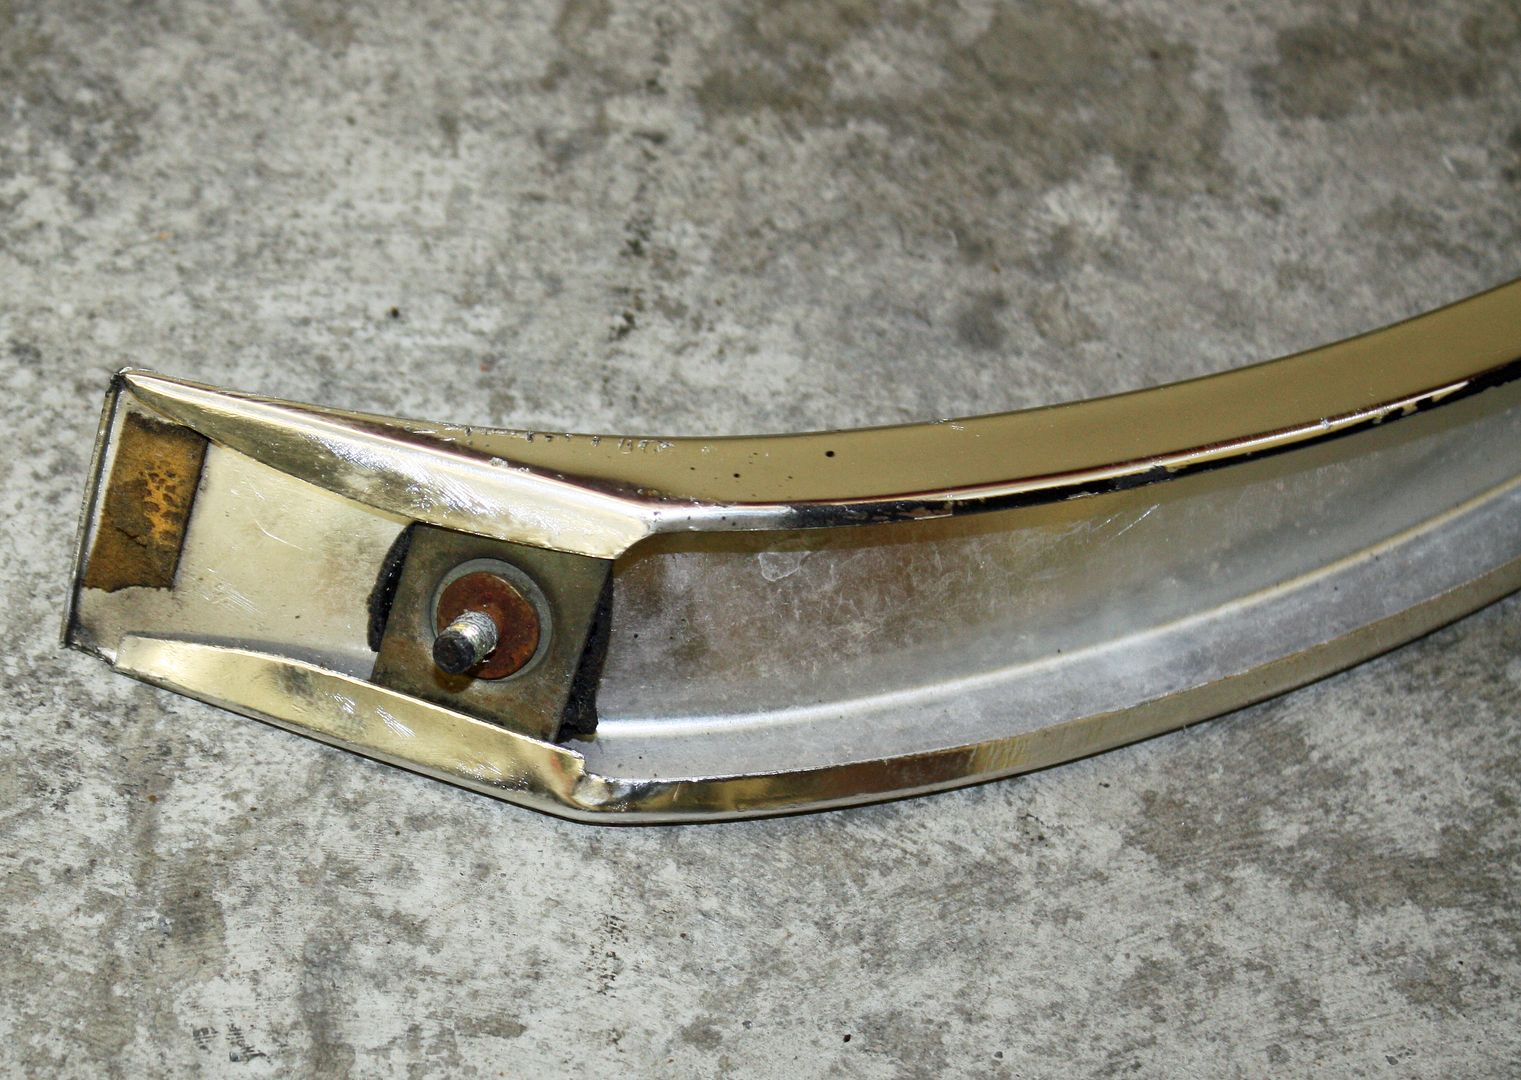
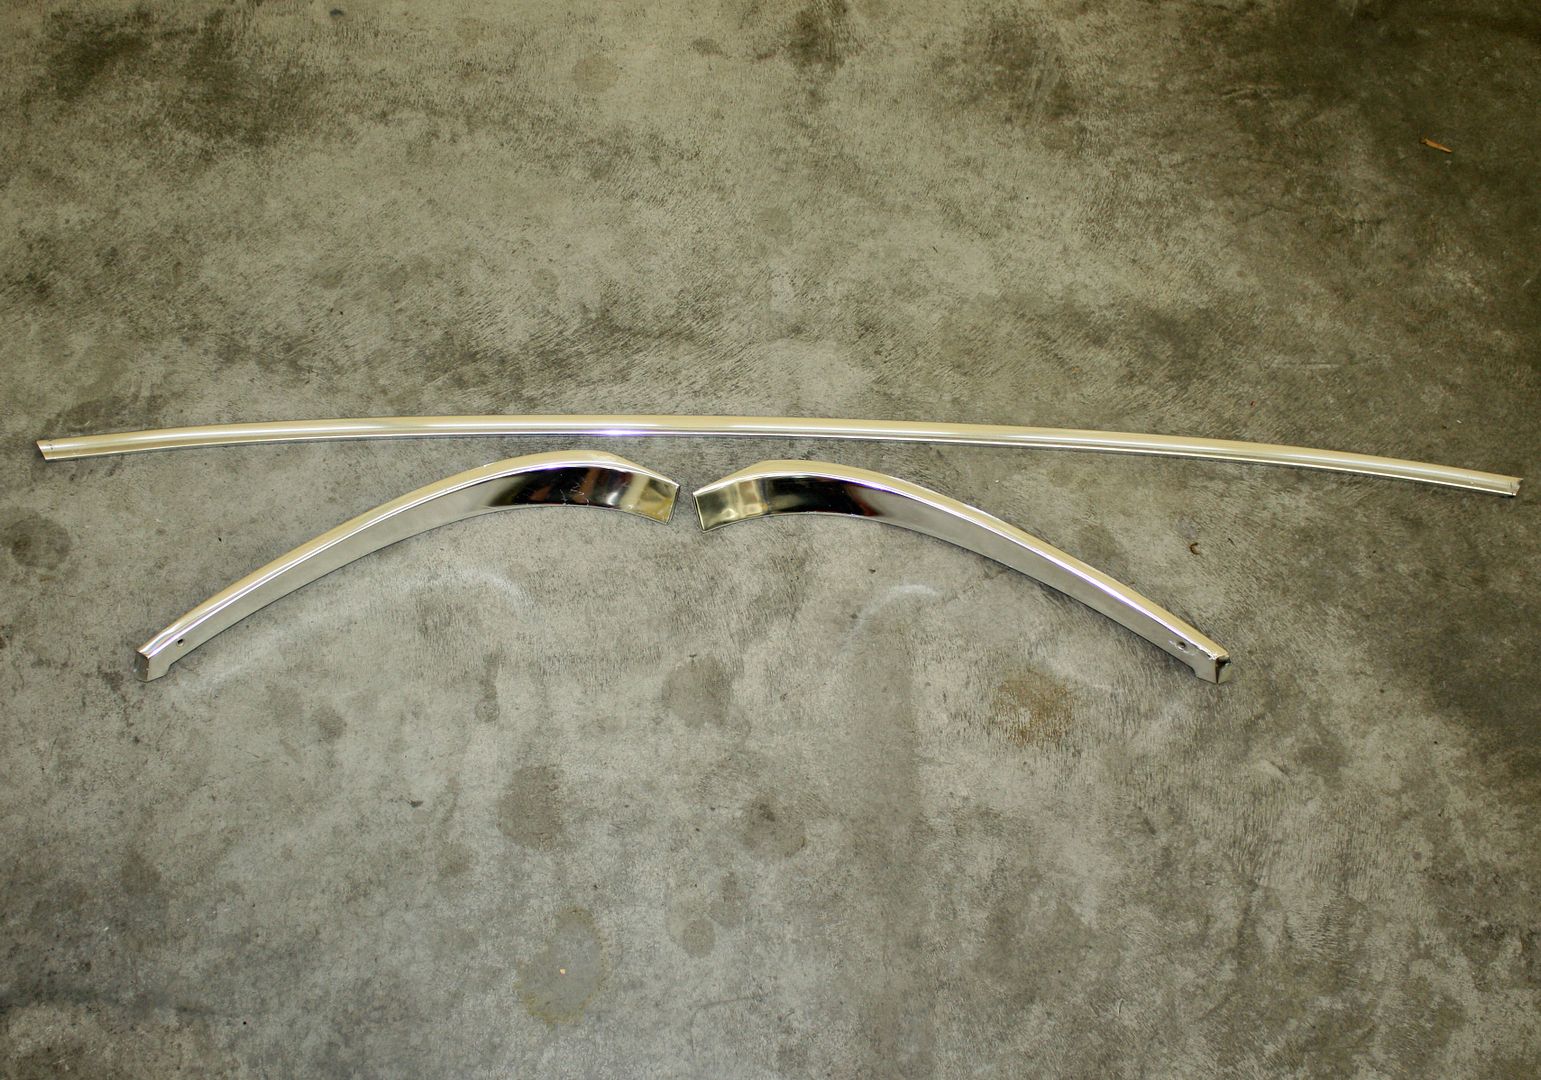
About six years ago I did a body off restoration on a 1964 Corvette. The original windshield trim had some dents in it, so I ordered some replacements. We could never get the repo trim to fit. I mentioned this one day to a Corvette vendor and he said the repo stuff never fits. He asked if I had the original trim. When I said I did, he gave me the name of Dell Metal Polishing in Hubbard, OH. He said this guy would make the original trim look like new. I sent my trim to Dell's and it looked better than new when I got it back.
I called Dell's recently and he said he could work on the 914 trim as well. Today I removed the trim pieces. First the vertical curved pieces have to be removed. There is an 8mm nut inside the wheelwell that must be removed. The right side was fairly easy but, since there is a 911 motor in this car, the dry sump oil tank is in the left side wheelwell, directly below this nut. I finally got a small ratchet wrench on it. With those nuts removed, the only remaining screw is a small phillips. With both sail panels off the car, I could remove the center trim piece. It is held in by three clips. Some gentle persuasion with a plastic pry tool broke it loose.


 06-18-2018, 06:24 PM
#9
Racer
Thread Starter
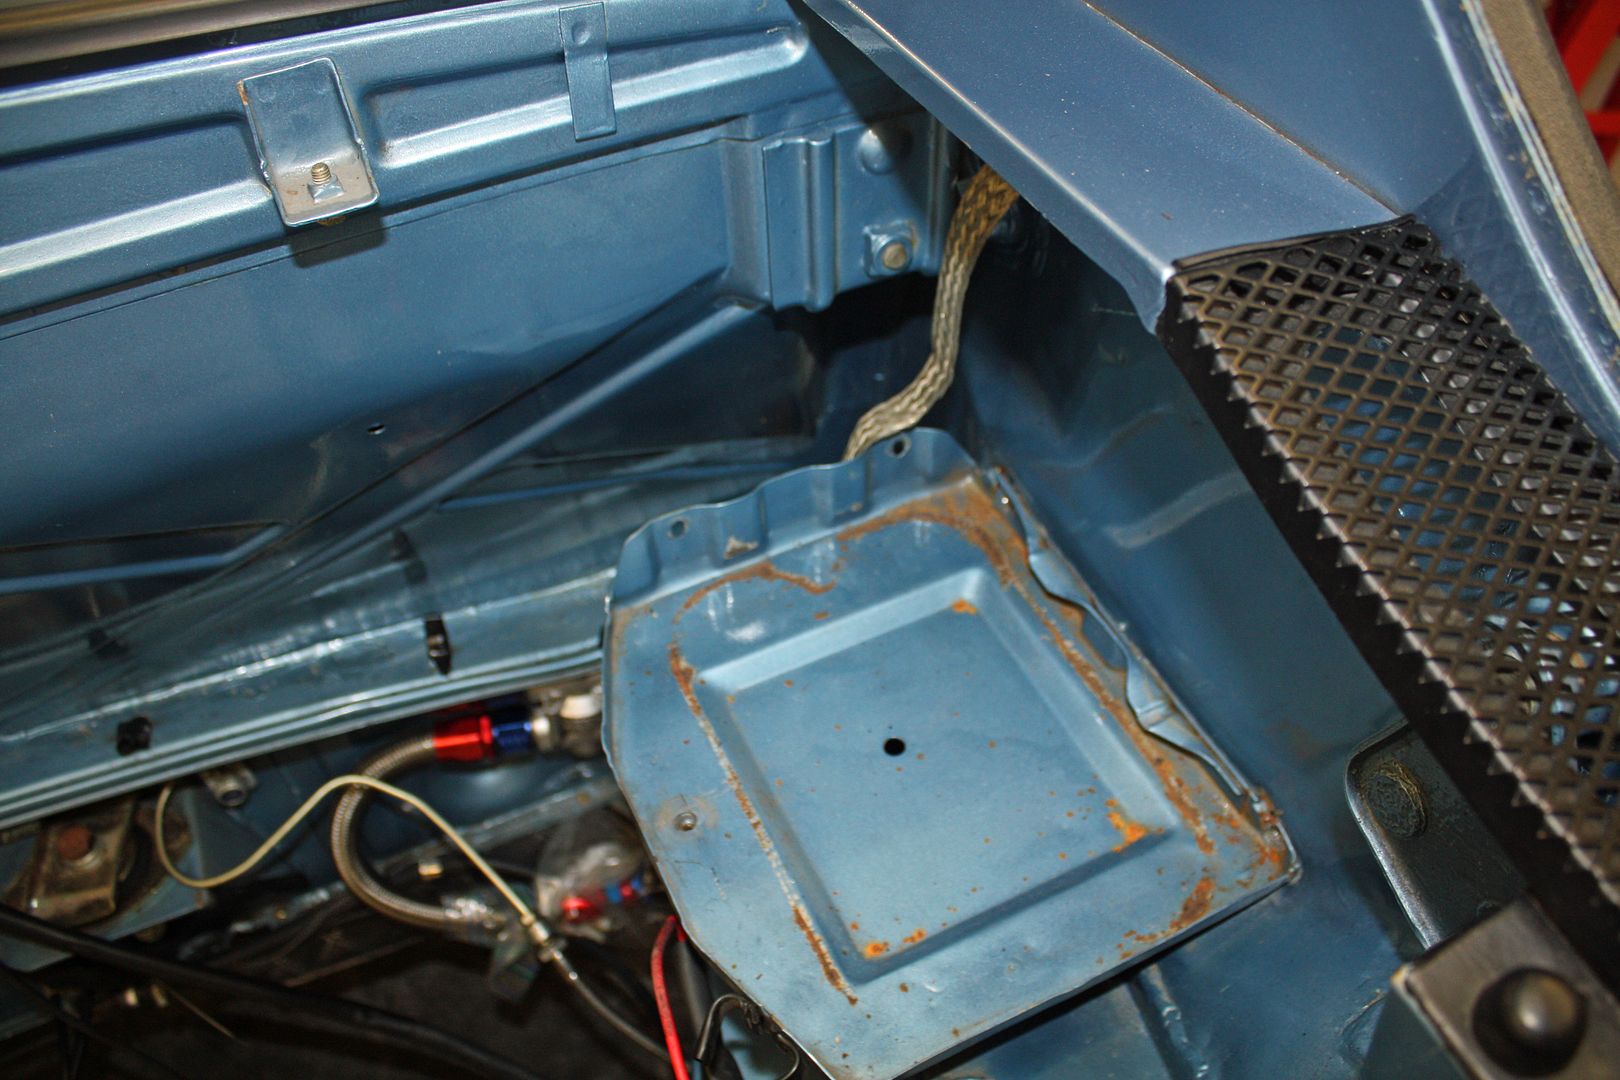
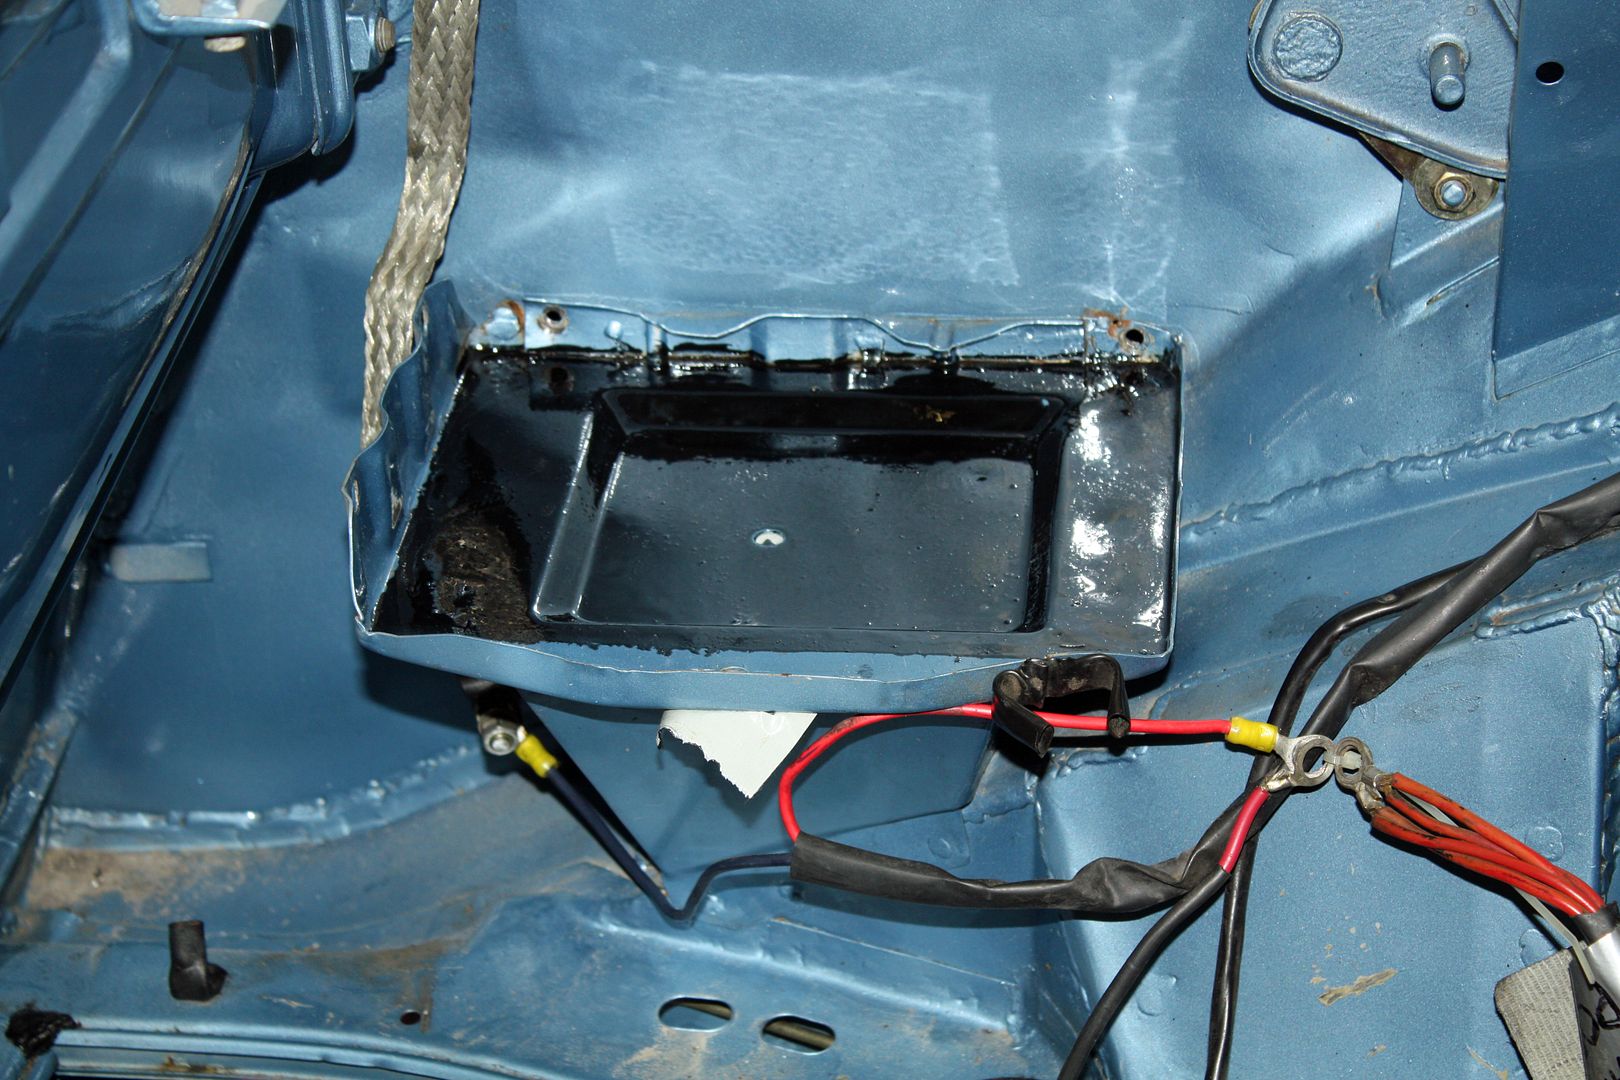
There was some surface rust in the battery tray. I don't understand why it was rusty as you can plainly see the outline of the Optima battery. I used a wire brush and some light sanding on the affected areas. I then applied a coat of POR15 to the area where the battery sits. This stuff dries as hard as a rock and is to be used directly over rusty areas to prevent further rust. I plan on using a sealed battery as well and this treatment should prevent future issues.
With that done, I spent the remainder of the afternoon cleaning the engine. I removed the intake manifolds so I could do a better job of cleaning them separately. Looks better but I still have a ways to go. I need to order the seals for the "holy trinity" of oil leaks at the rear of the motor. Now is the time to make sure it doesn't leak. When I adjust the valves, I will be installing new seals on the valve covers.
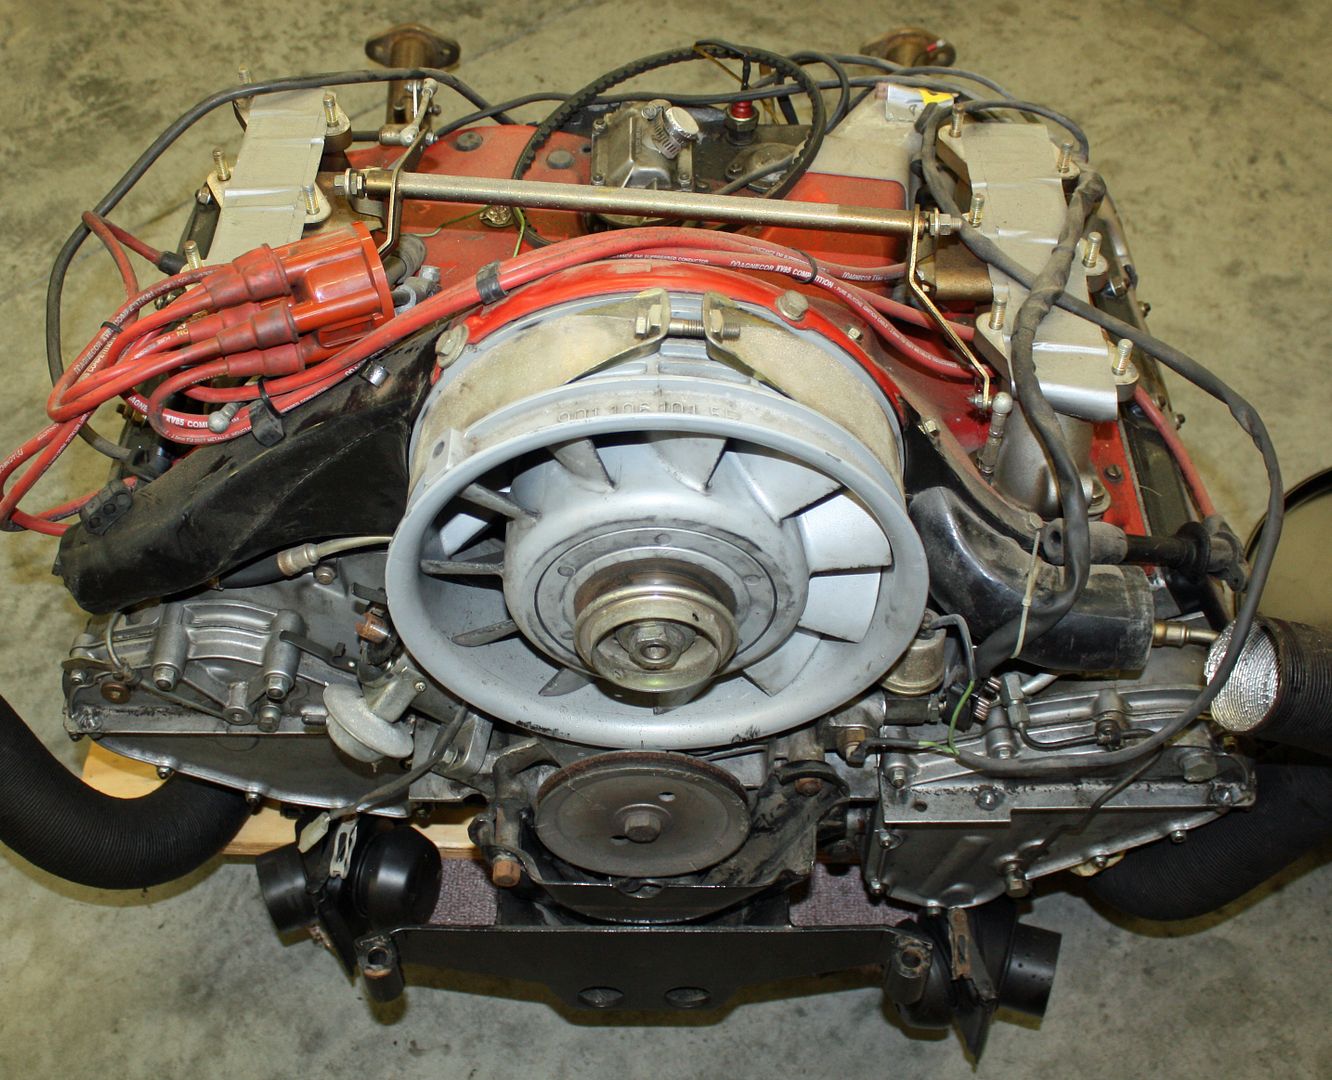
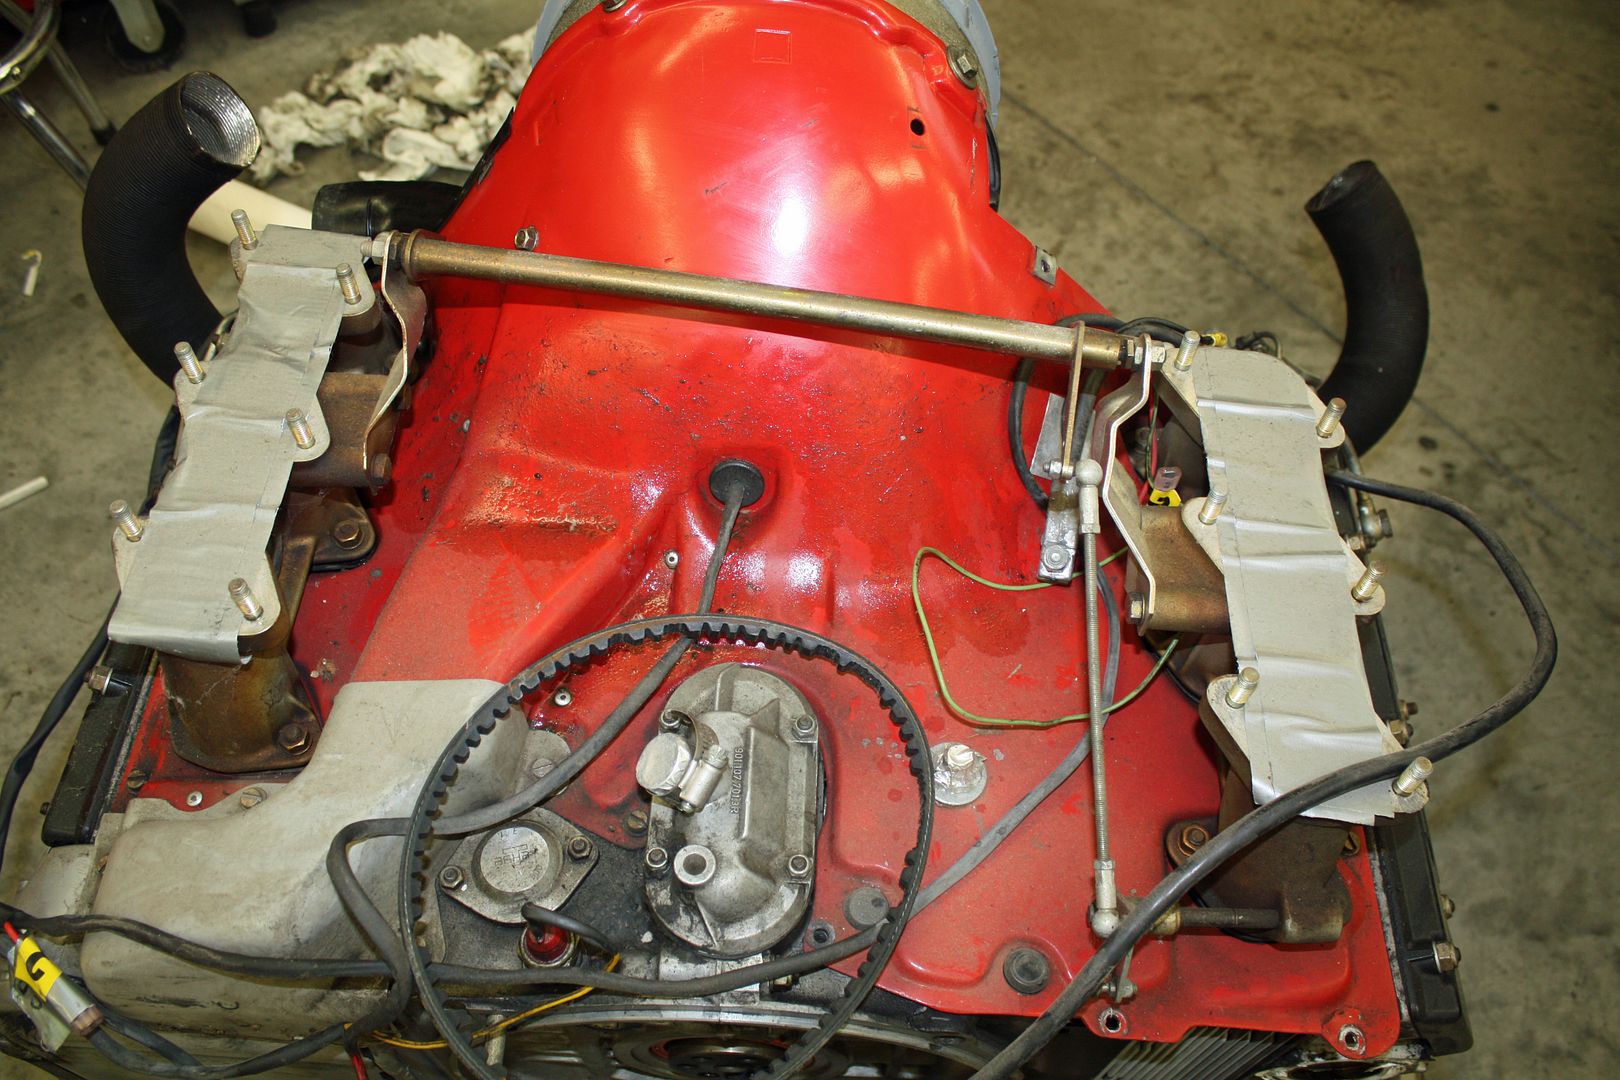
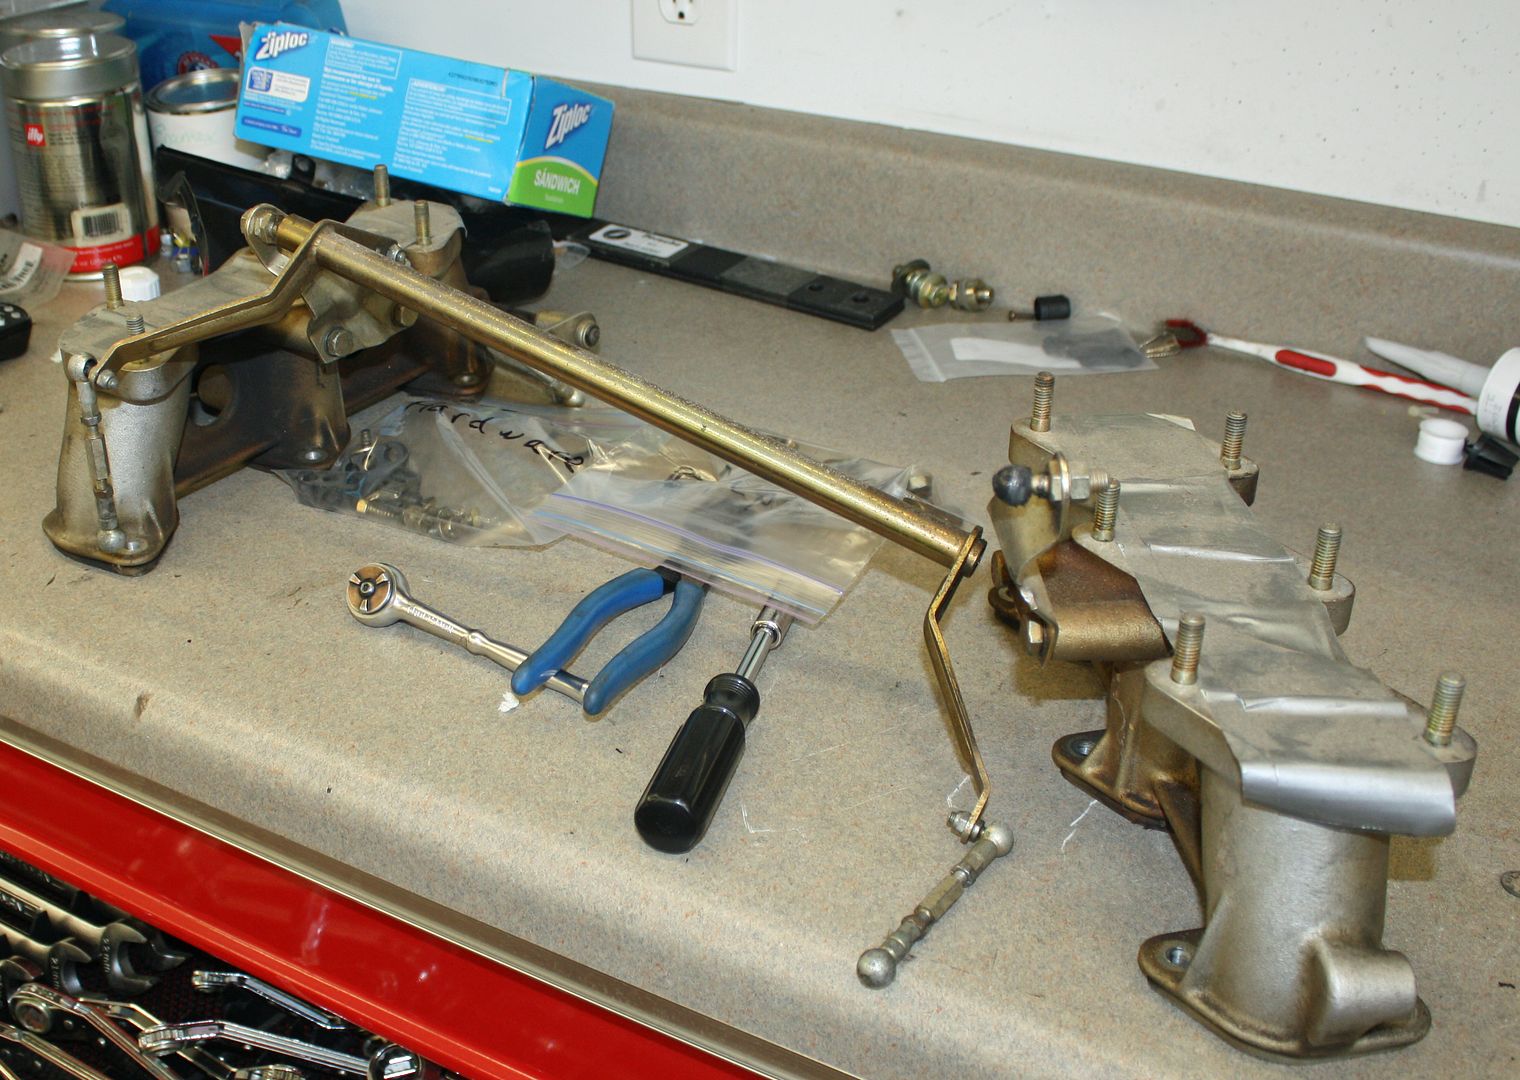


With that done, I spent the remainder of the afternoon cleaning the engine. I removed the intake manifolds so I could do a better job of cleaning them separately. Looks better but I still have a ways to go. I need to order the seals for the "holy trinity" of oil leaks at the rear of the motor. Now is the time to make sure it doesn't leak. When I adjust the valves, I will be installing new seals on the valve covers.


 06-21-2018, 06:59 PM
#12
Racer
Thread Starter
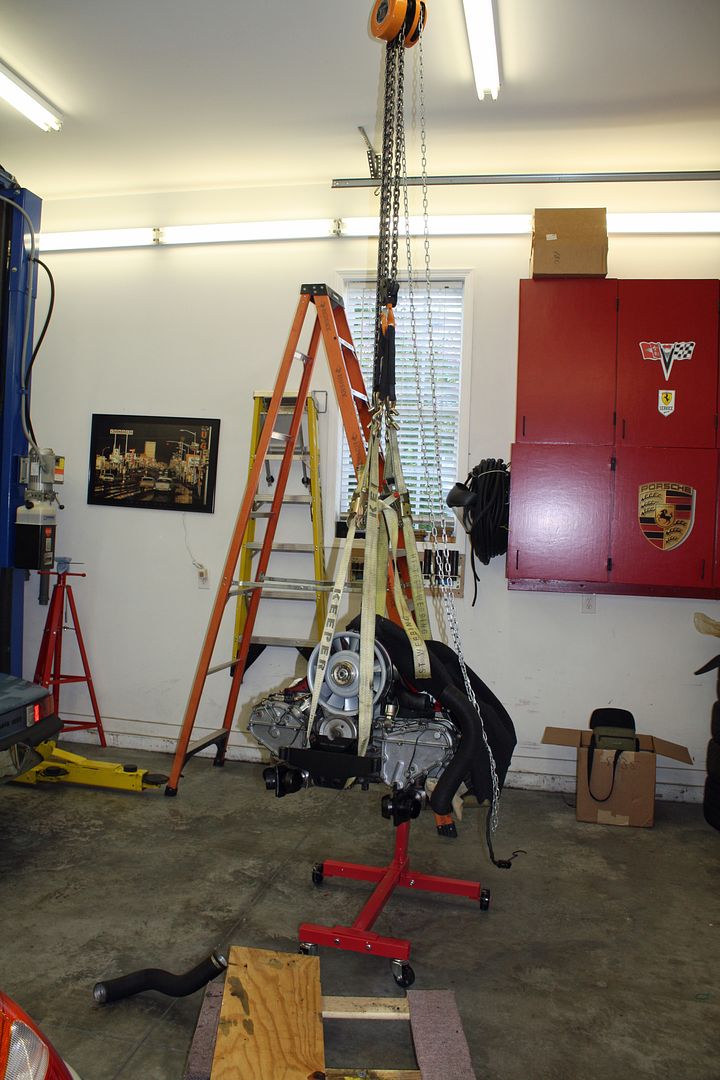
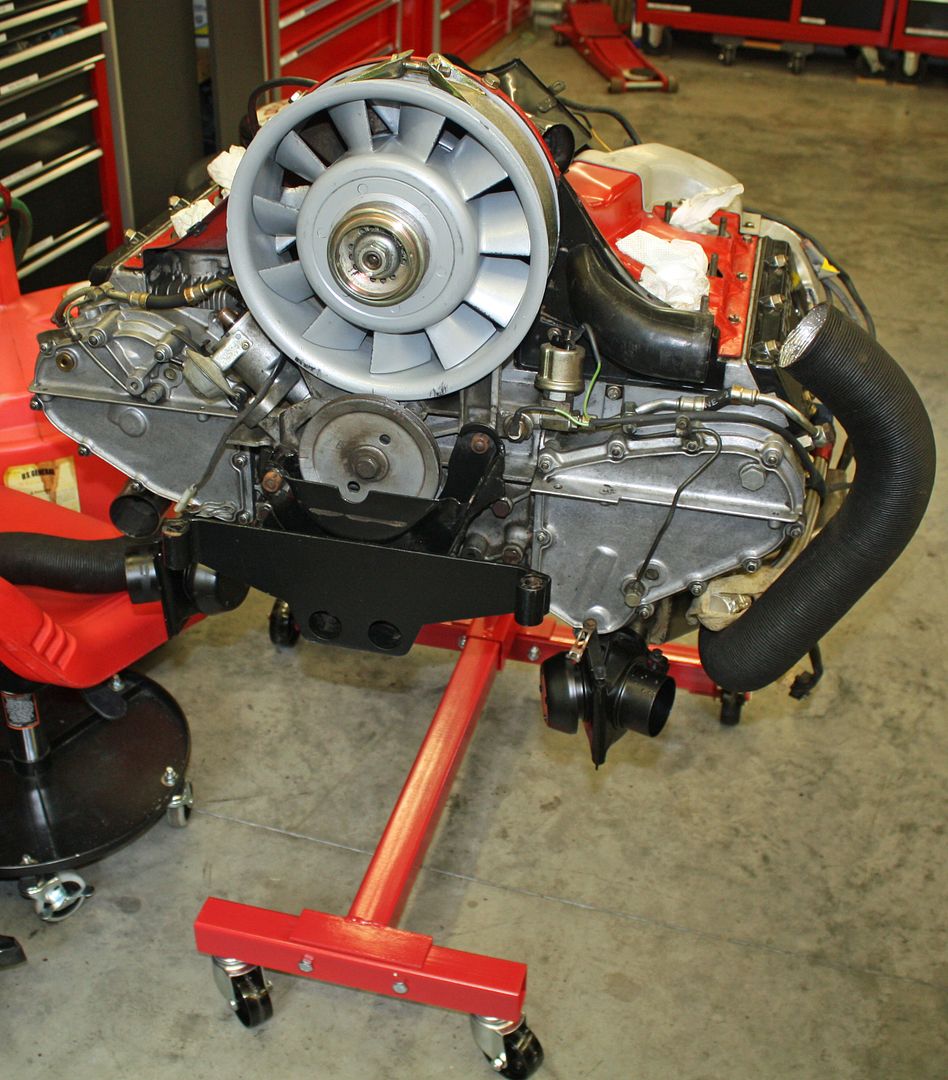
I used my overhead hoist to lift the motor so I could get it on the engine stand. Lots easier to work on it at that height.
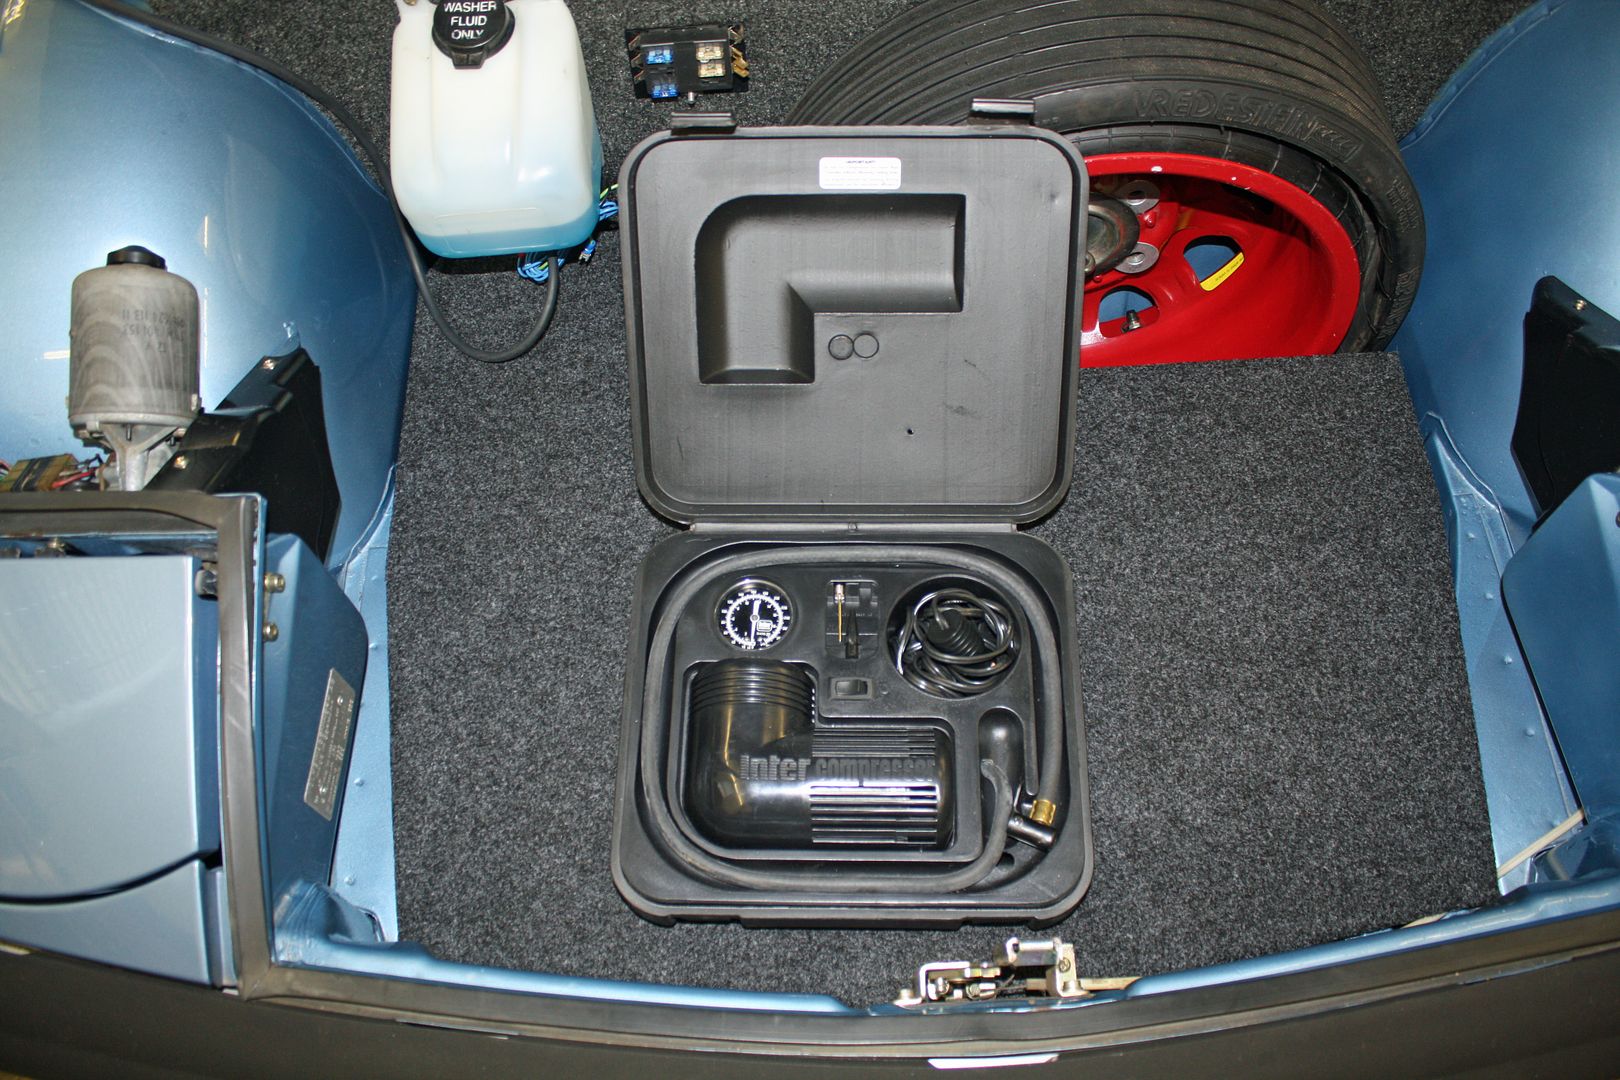
I found an air compressor to inflate the spare tire on eBay.
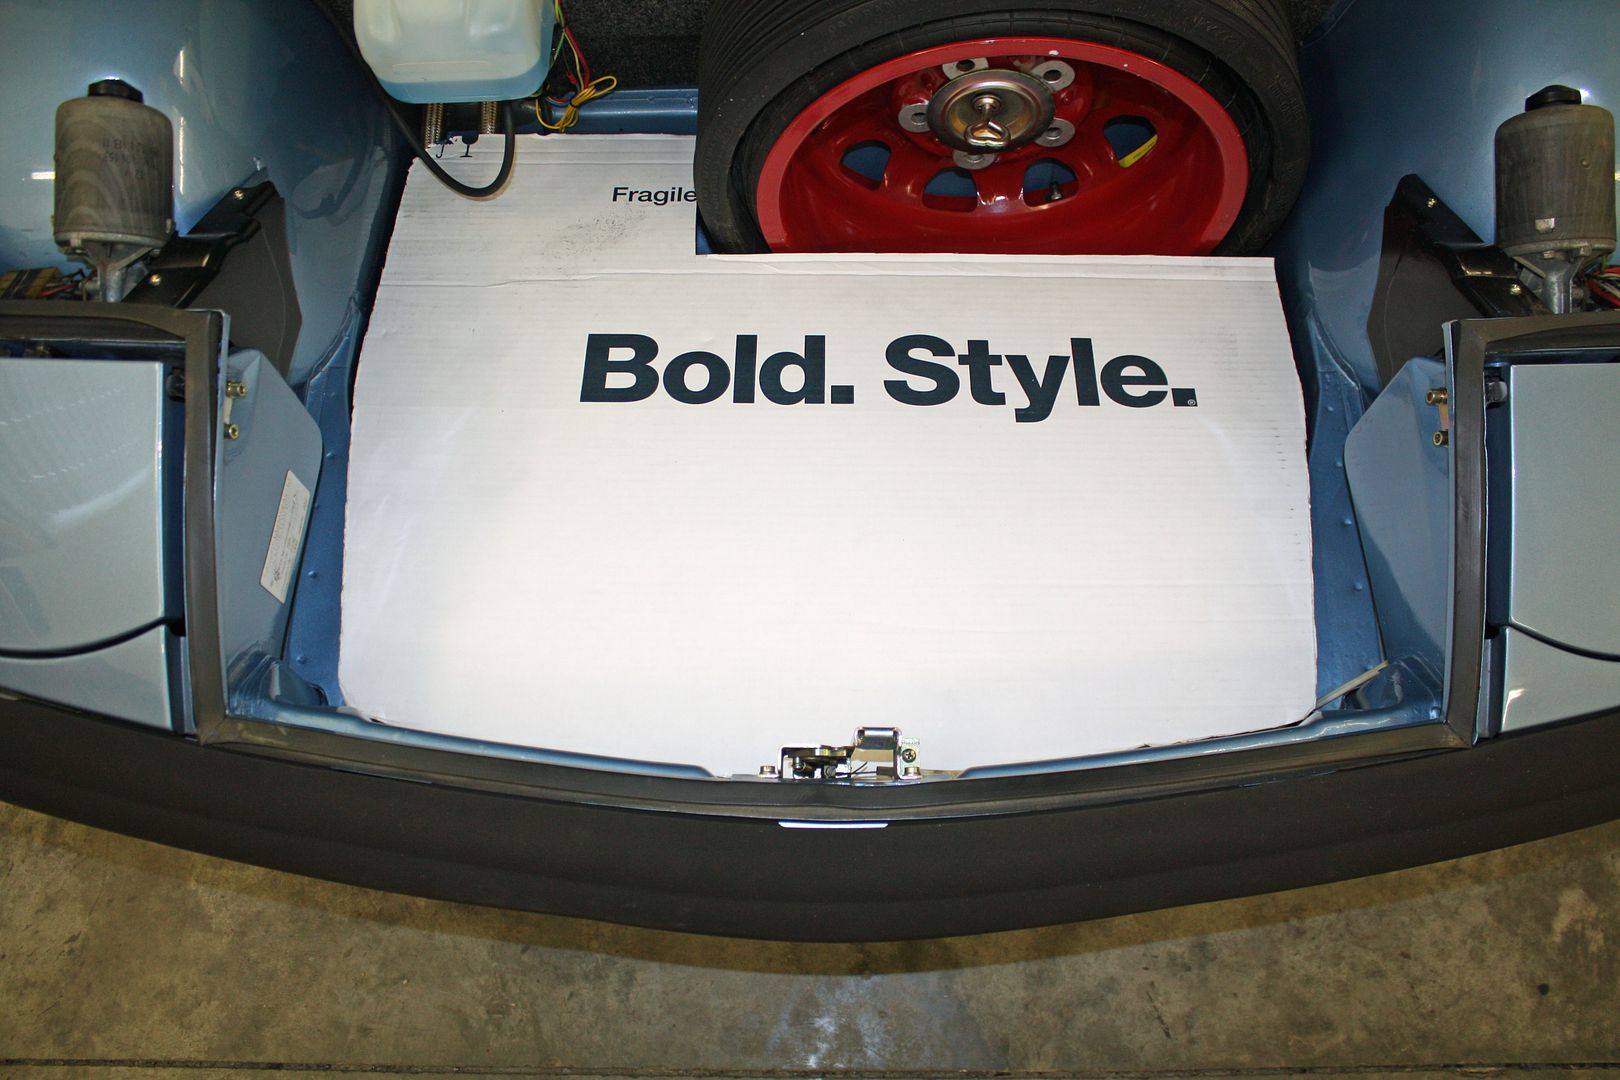
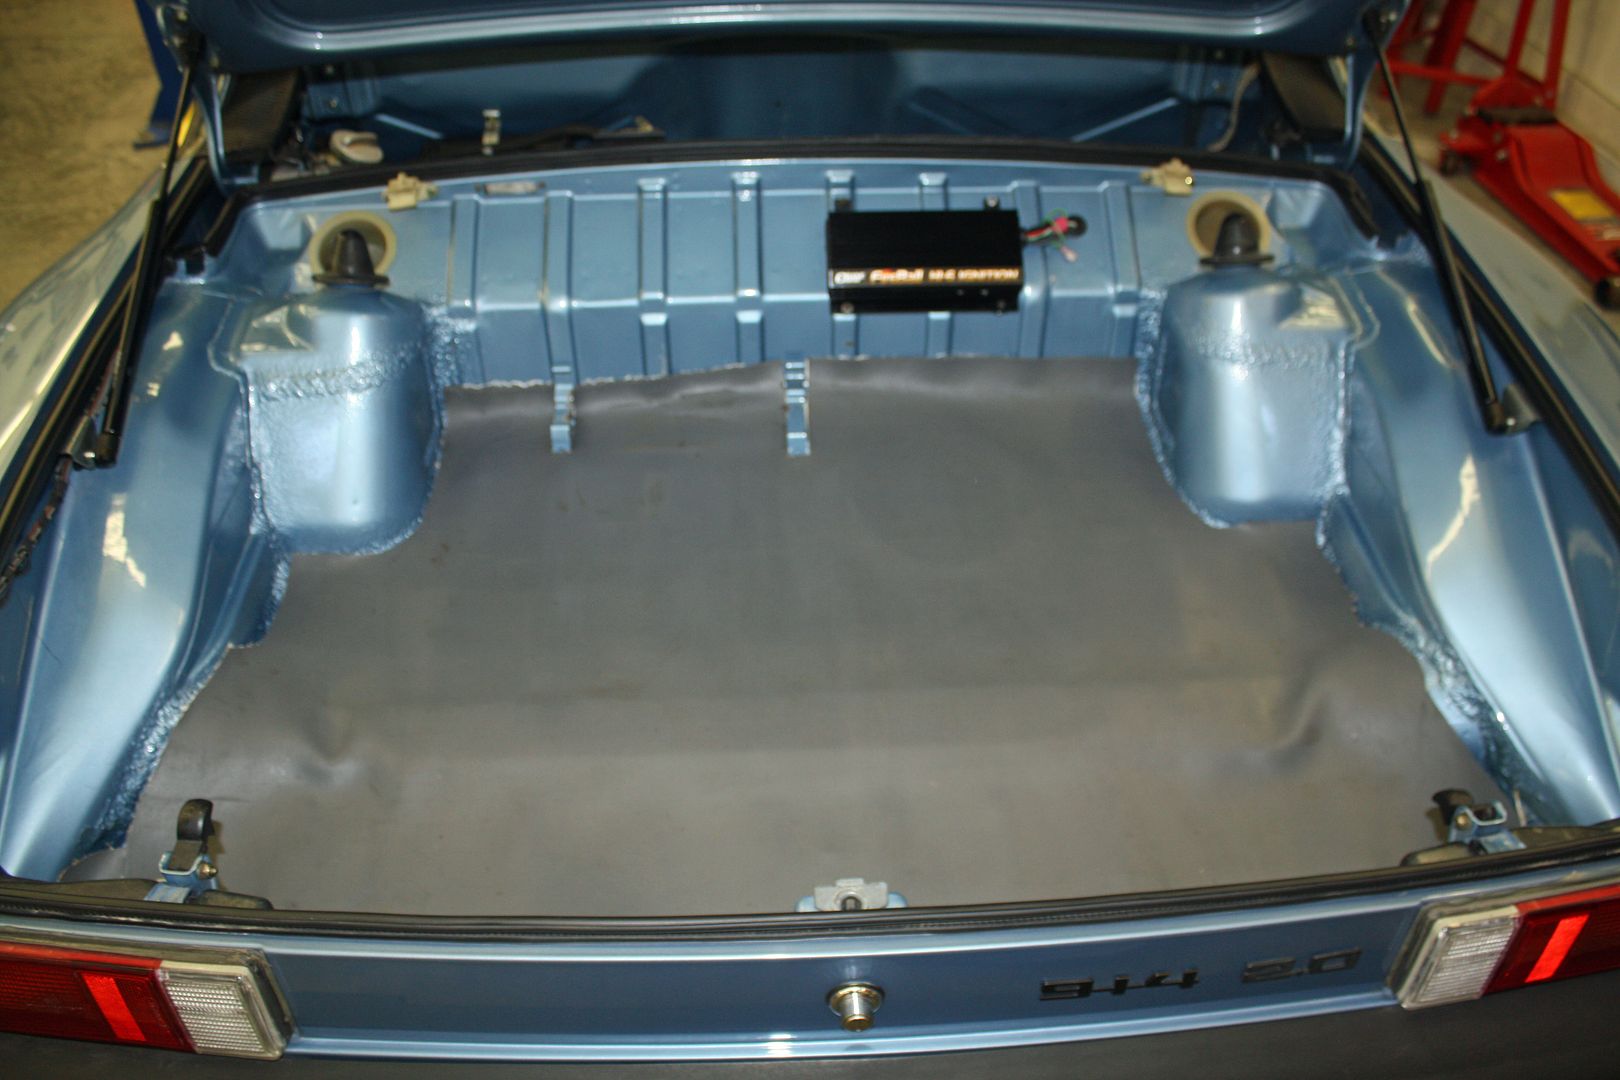
During the build back in 2002, Kool-Mat had been installed in the rear trunk. This is good stuff that I also used when I did the restoration of a 1964 Corvette a few years ago. However, it is not meant to be seen. I found a carpet to make the trunk look somewhat better.

The EFI kit arrived as well. Lots of wiring to do!!!
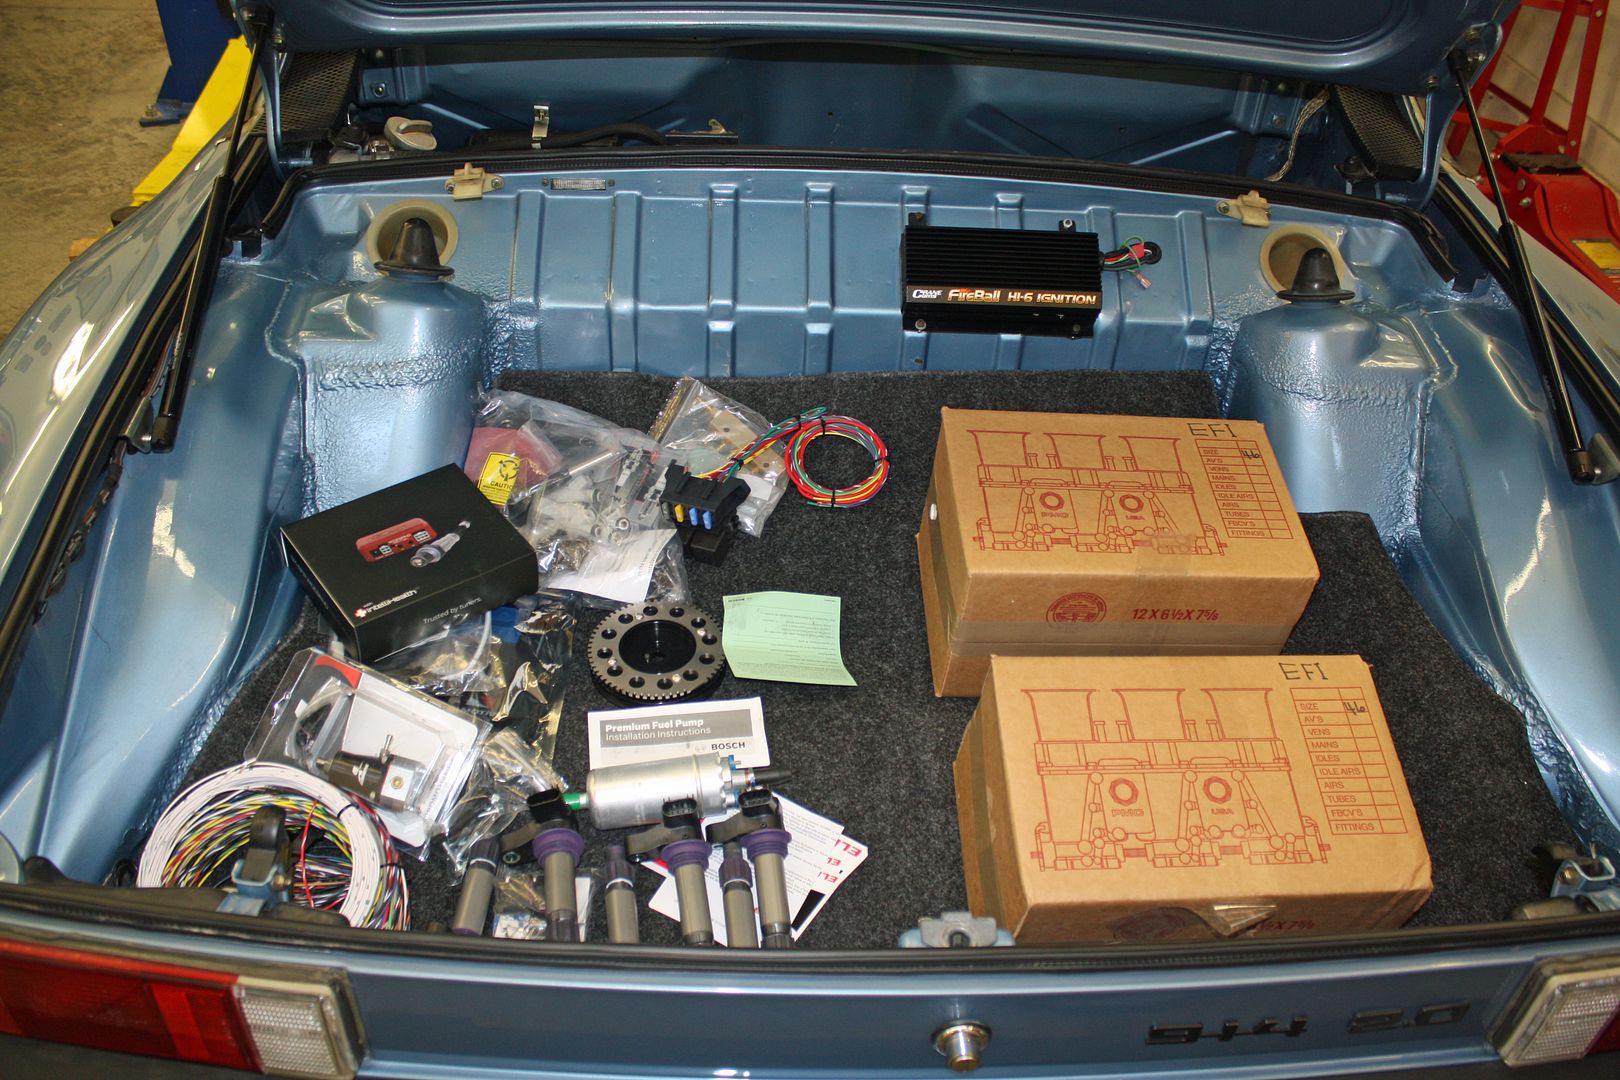
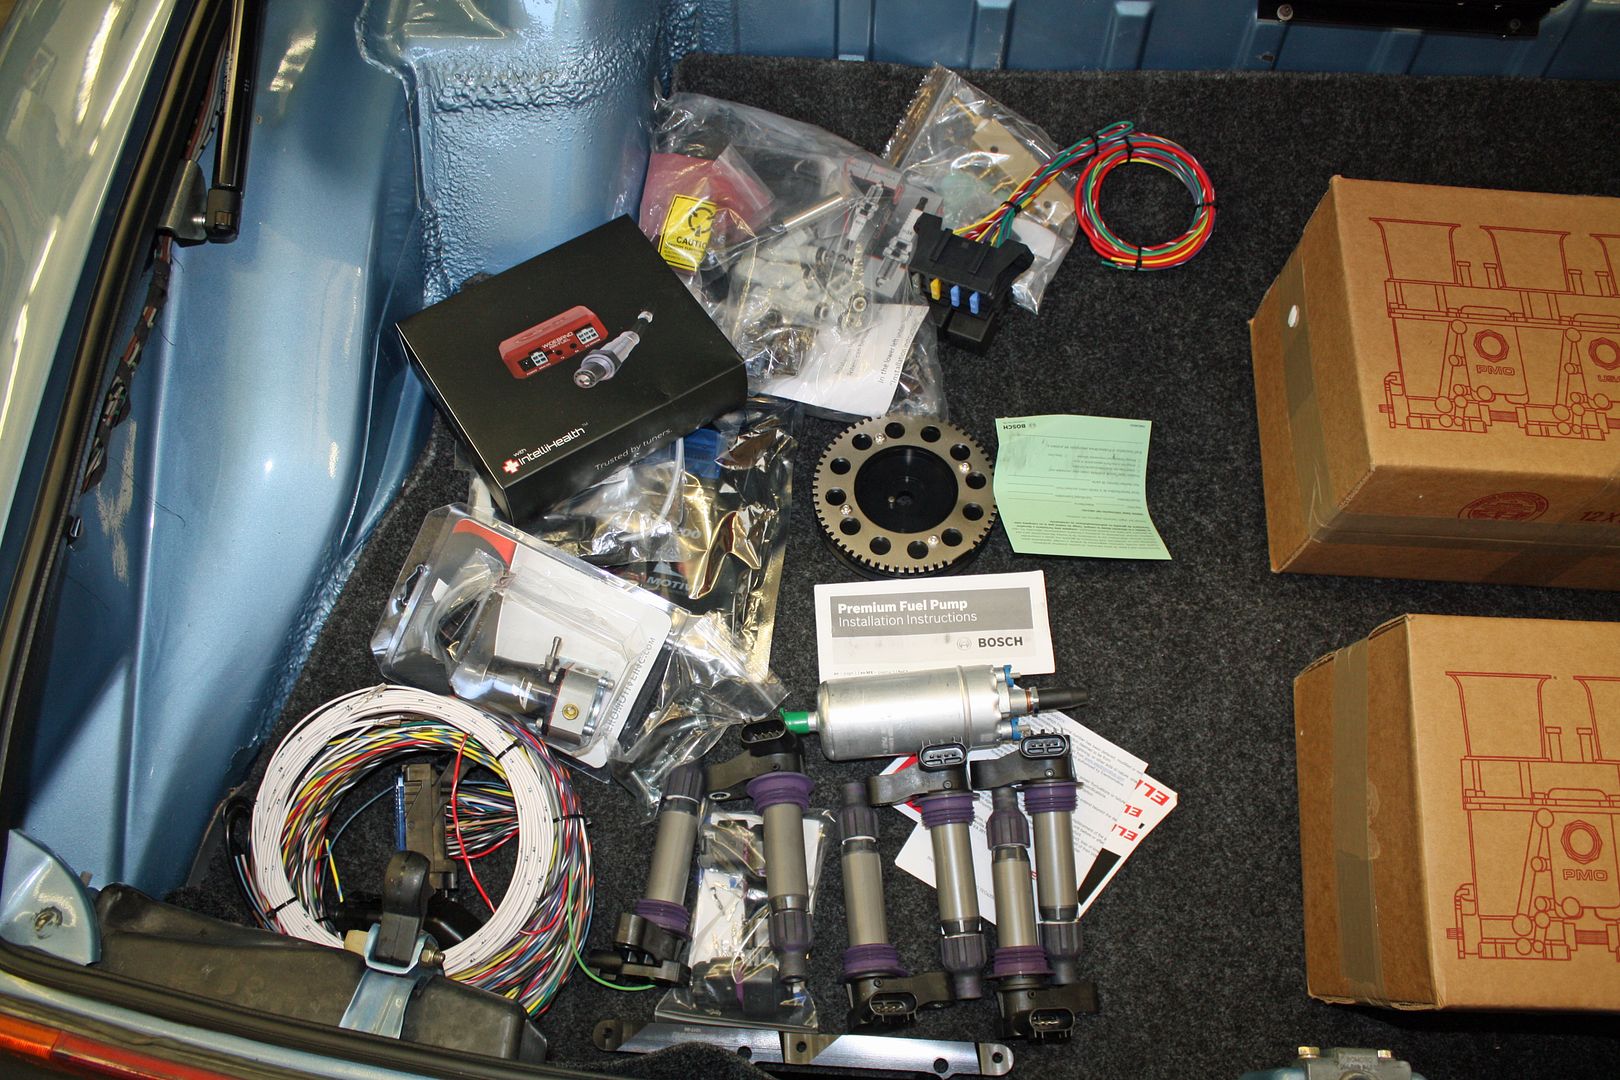
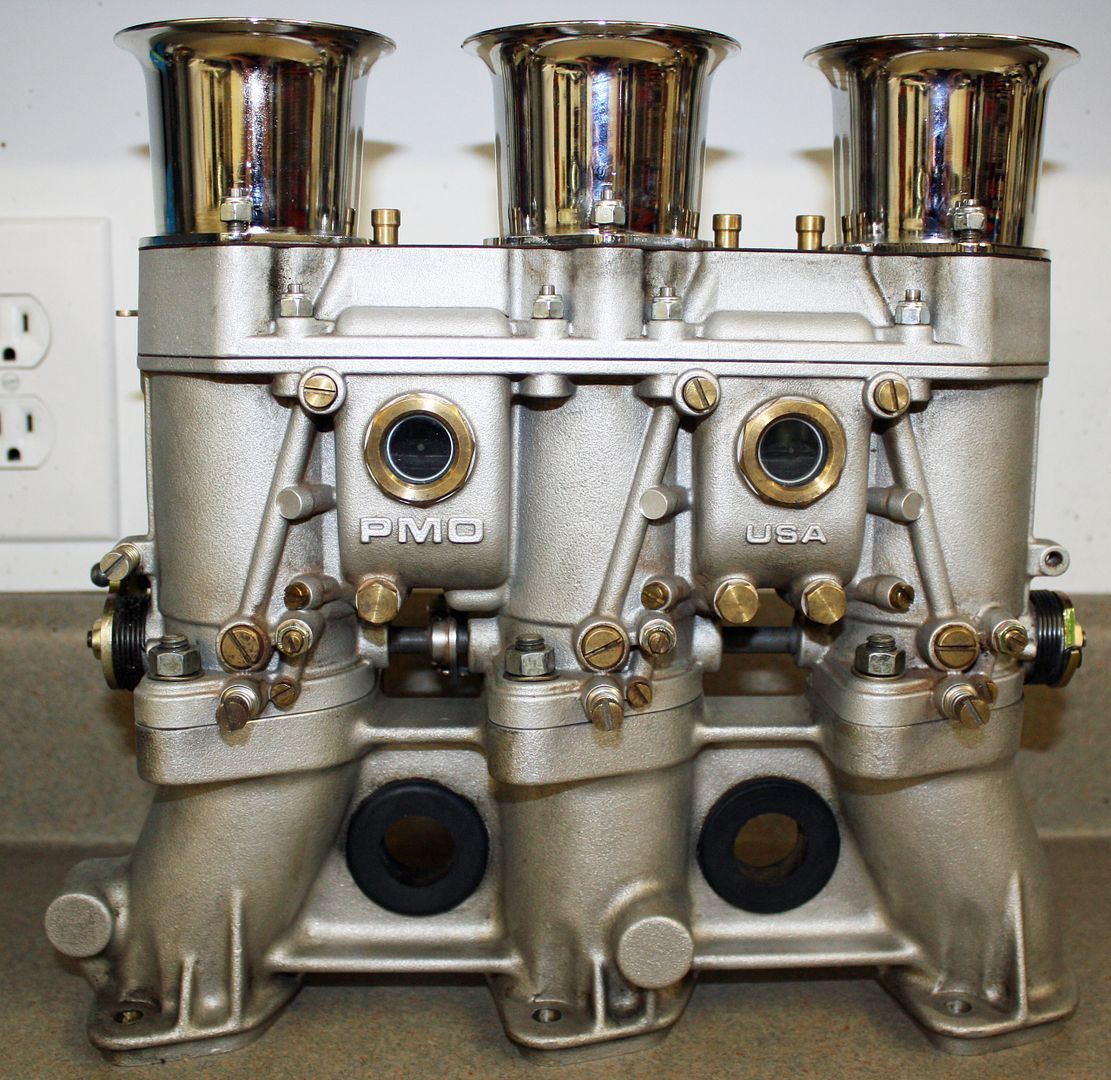
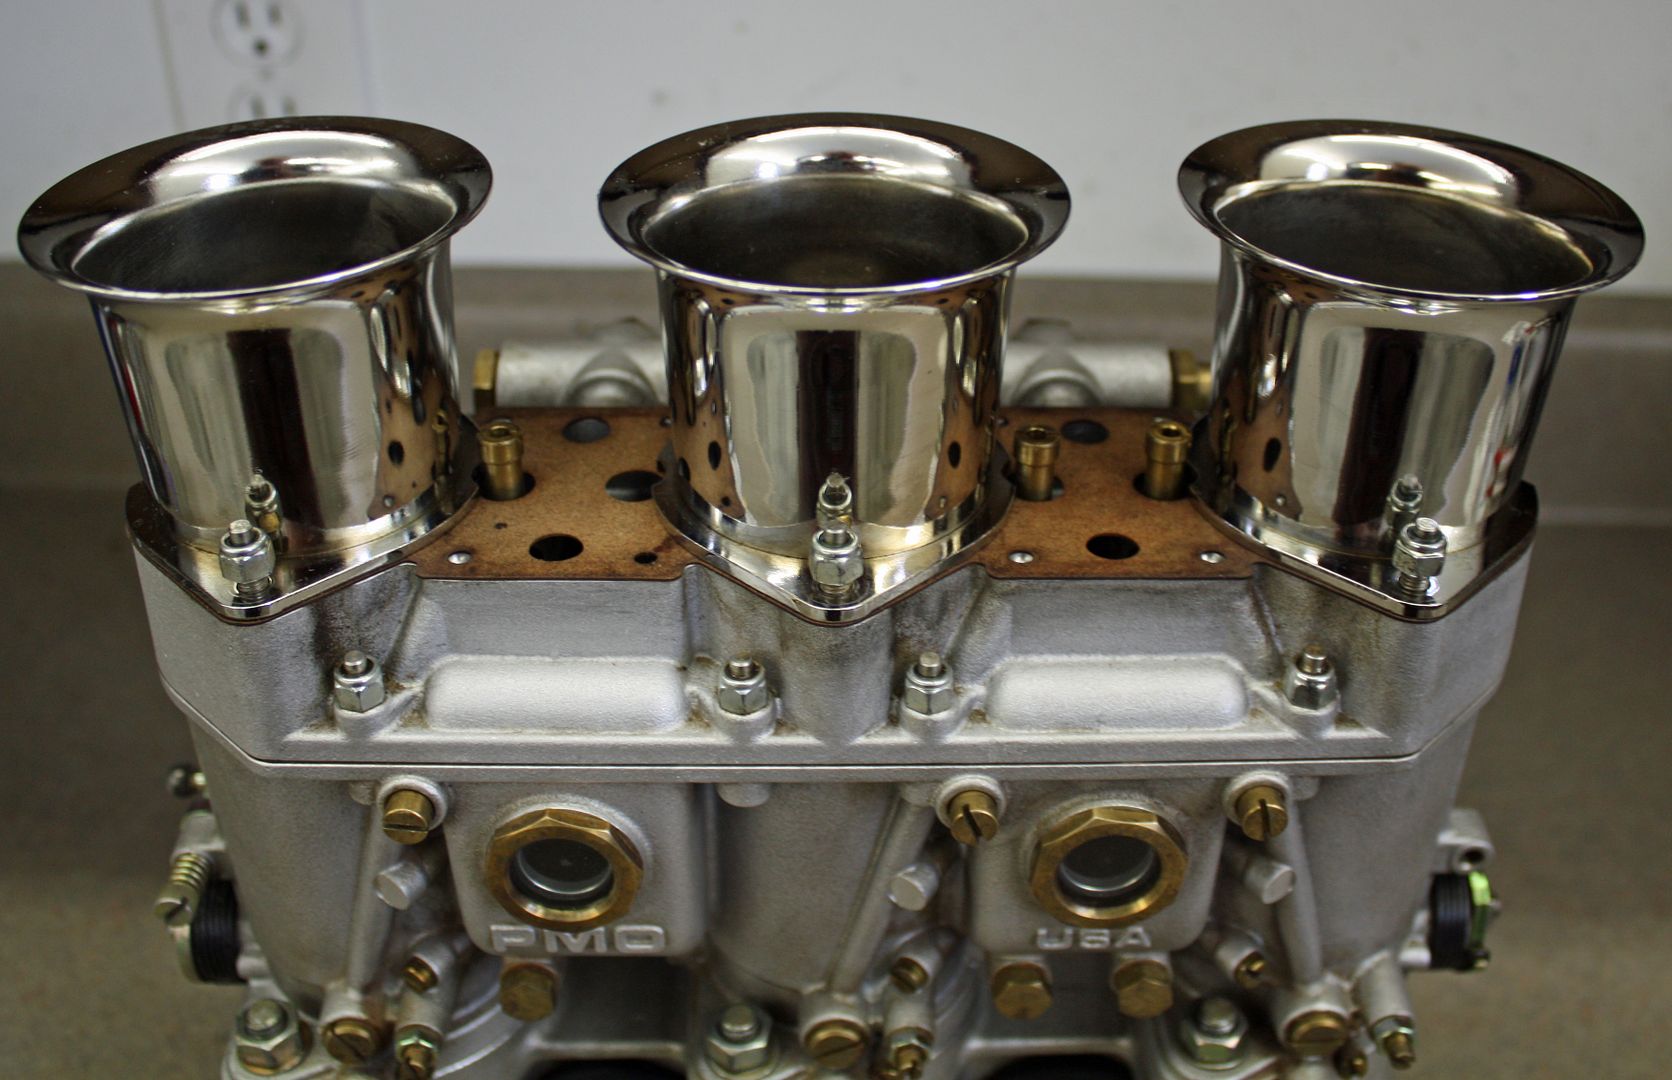
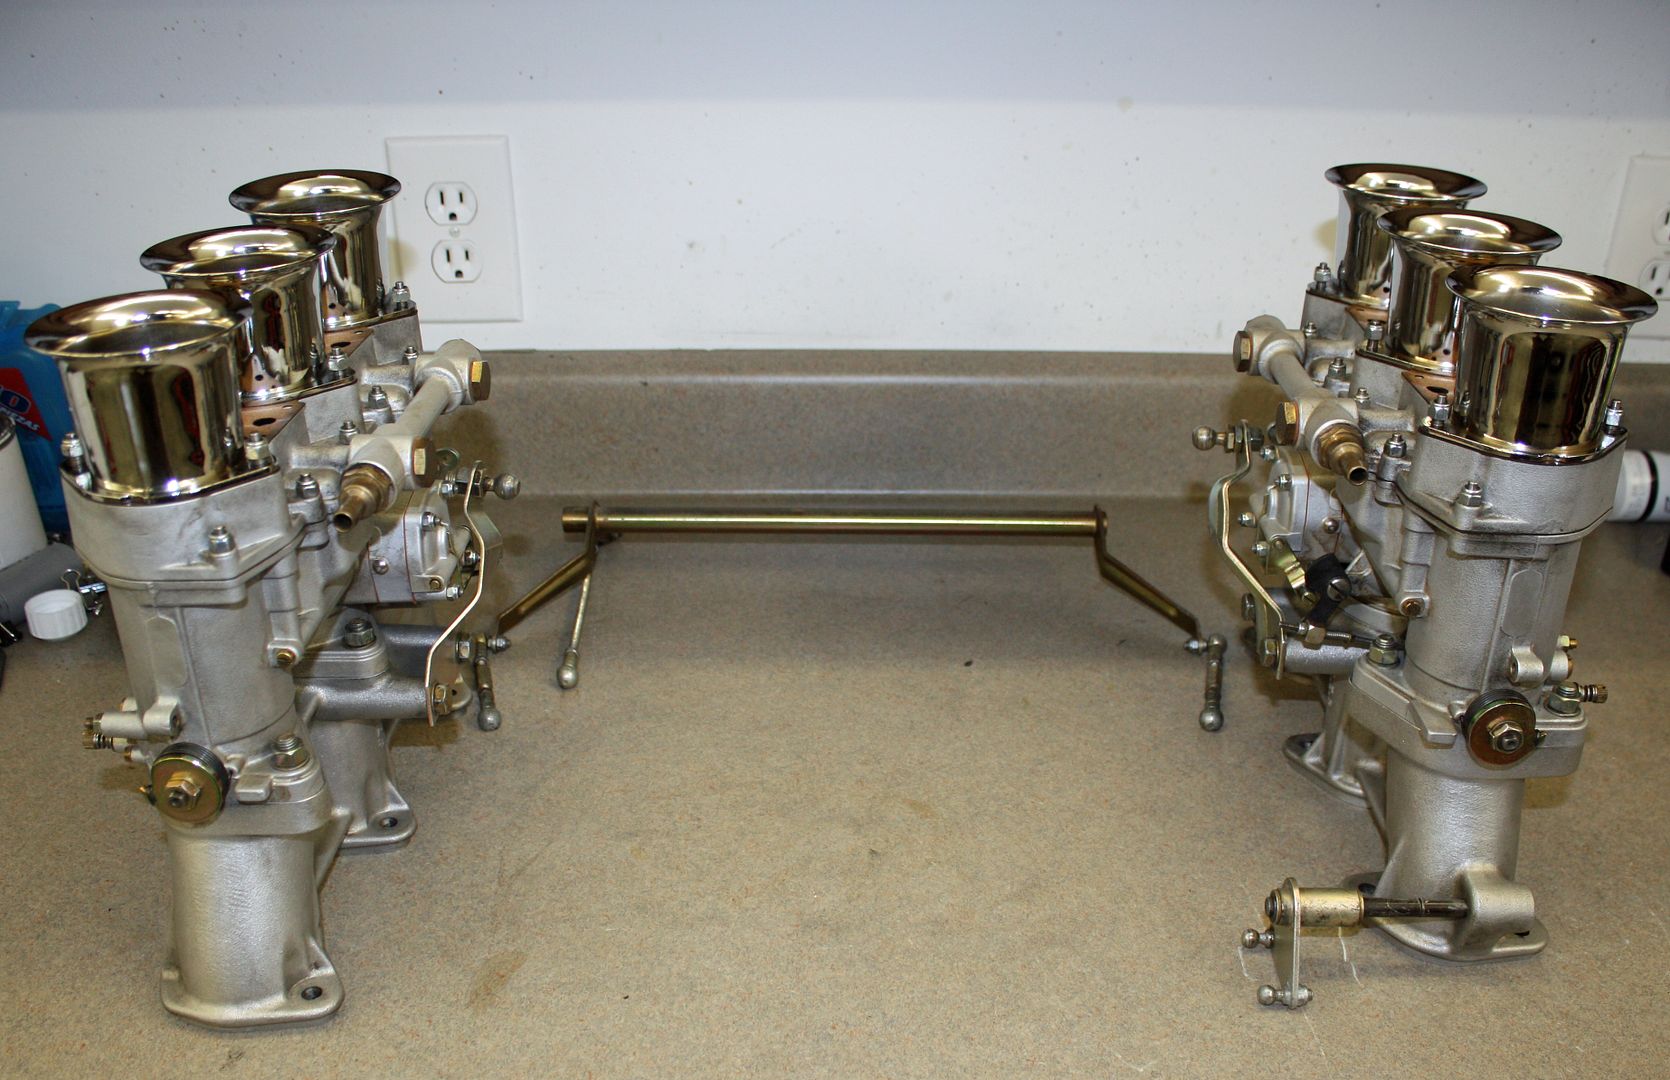
Since the EFI parts have arrived, it was time to clean up the PMO cars and get them ready to sell on eBay. I already have a bid.


I found an air compressor to inflate the spare tire on eBay.

During the build back in 2002, Kool-Mat had been installed in the rear trunk. This is good stuff that I also used when I did the restoration of a 1964 Corvette a few years ago. However, it is not meant to be seen. I found a carpet to make the trunk look somewhat better.


The EFI kit arrived as well. Lots of wiring to do!!!


Since the EFI parts have arrived, it was time to clean up the PMO cars and get them ready to sell on eBay. I already have a bid.


 06-21-2018, 07:11 PM
#13
Racer
Thread Starter
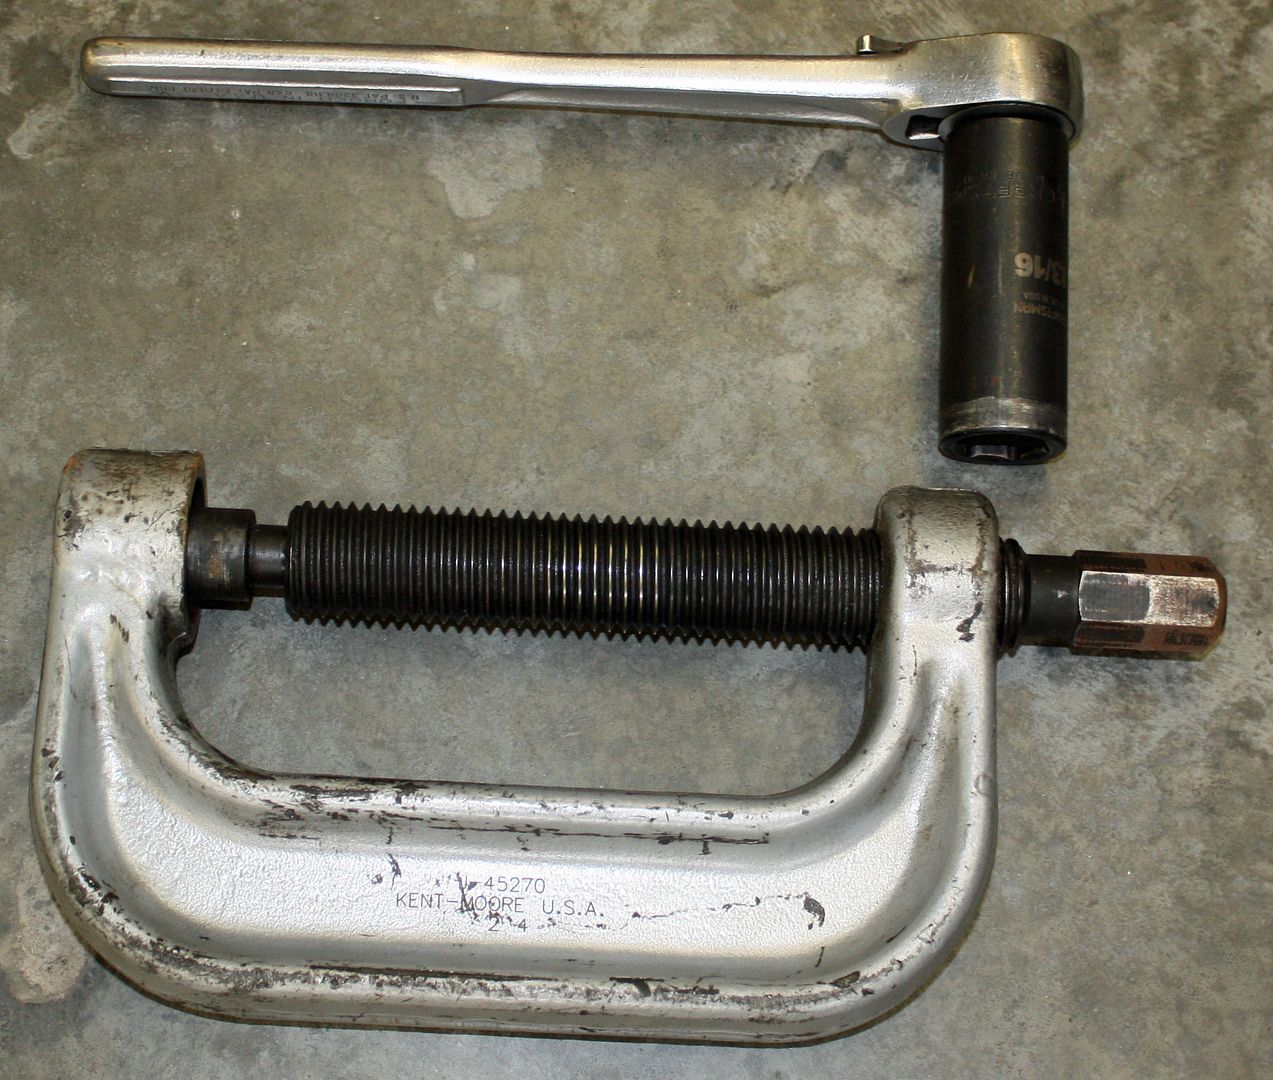
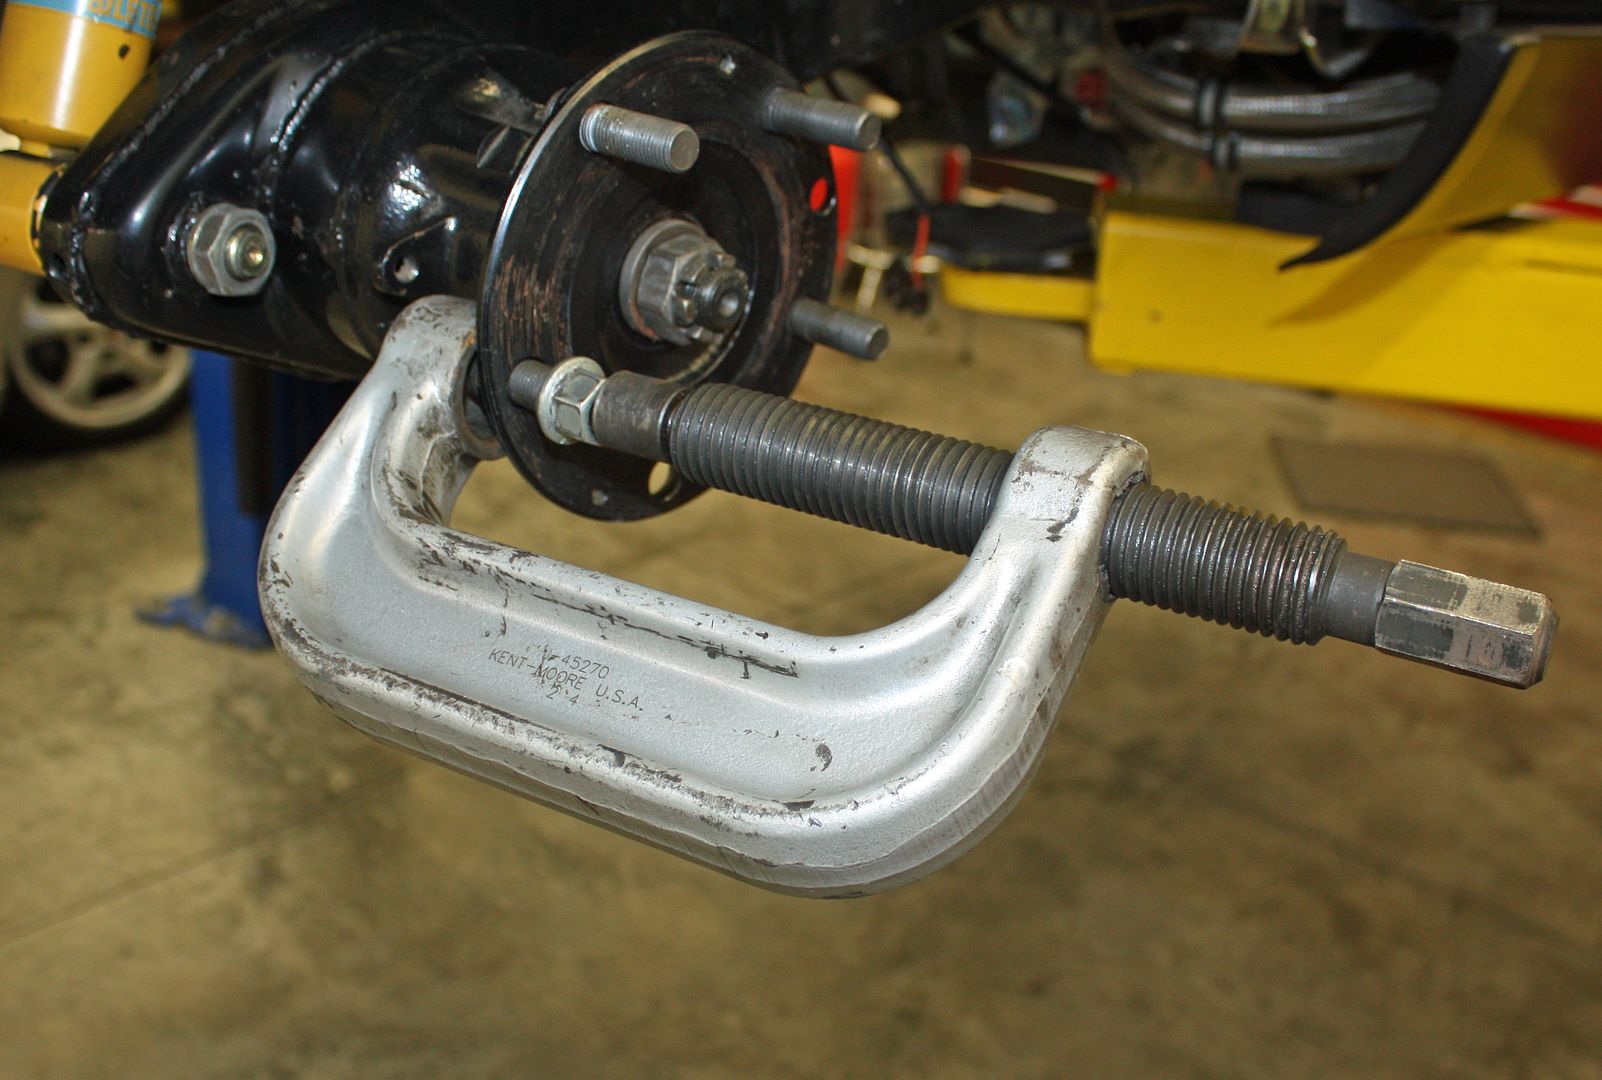
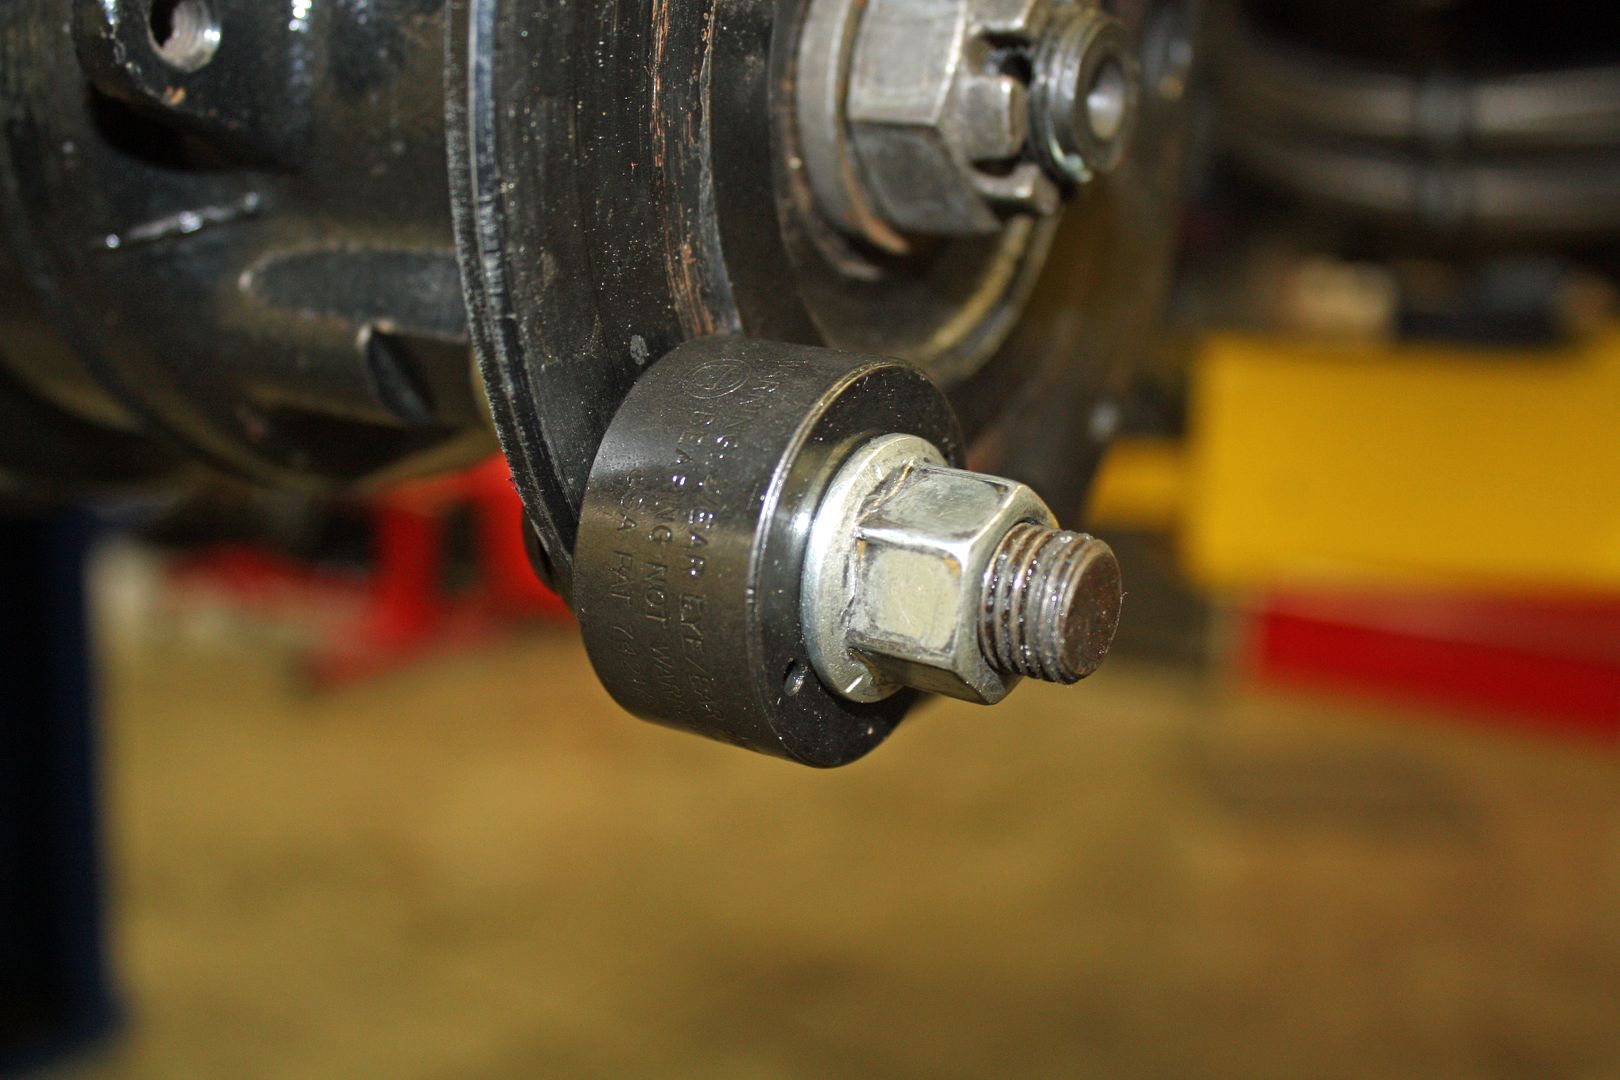
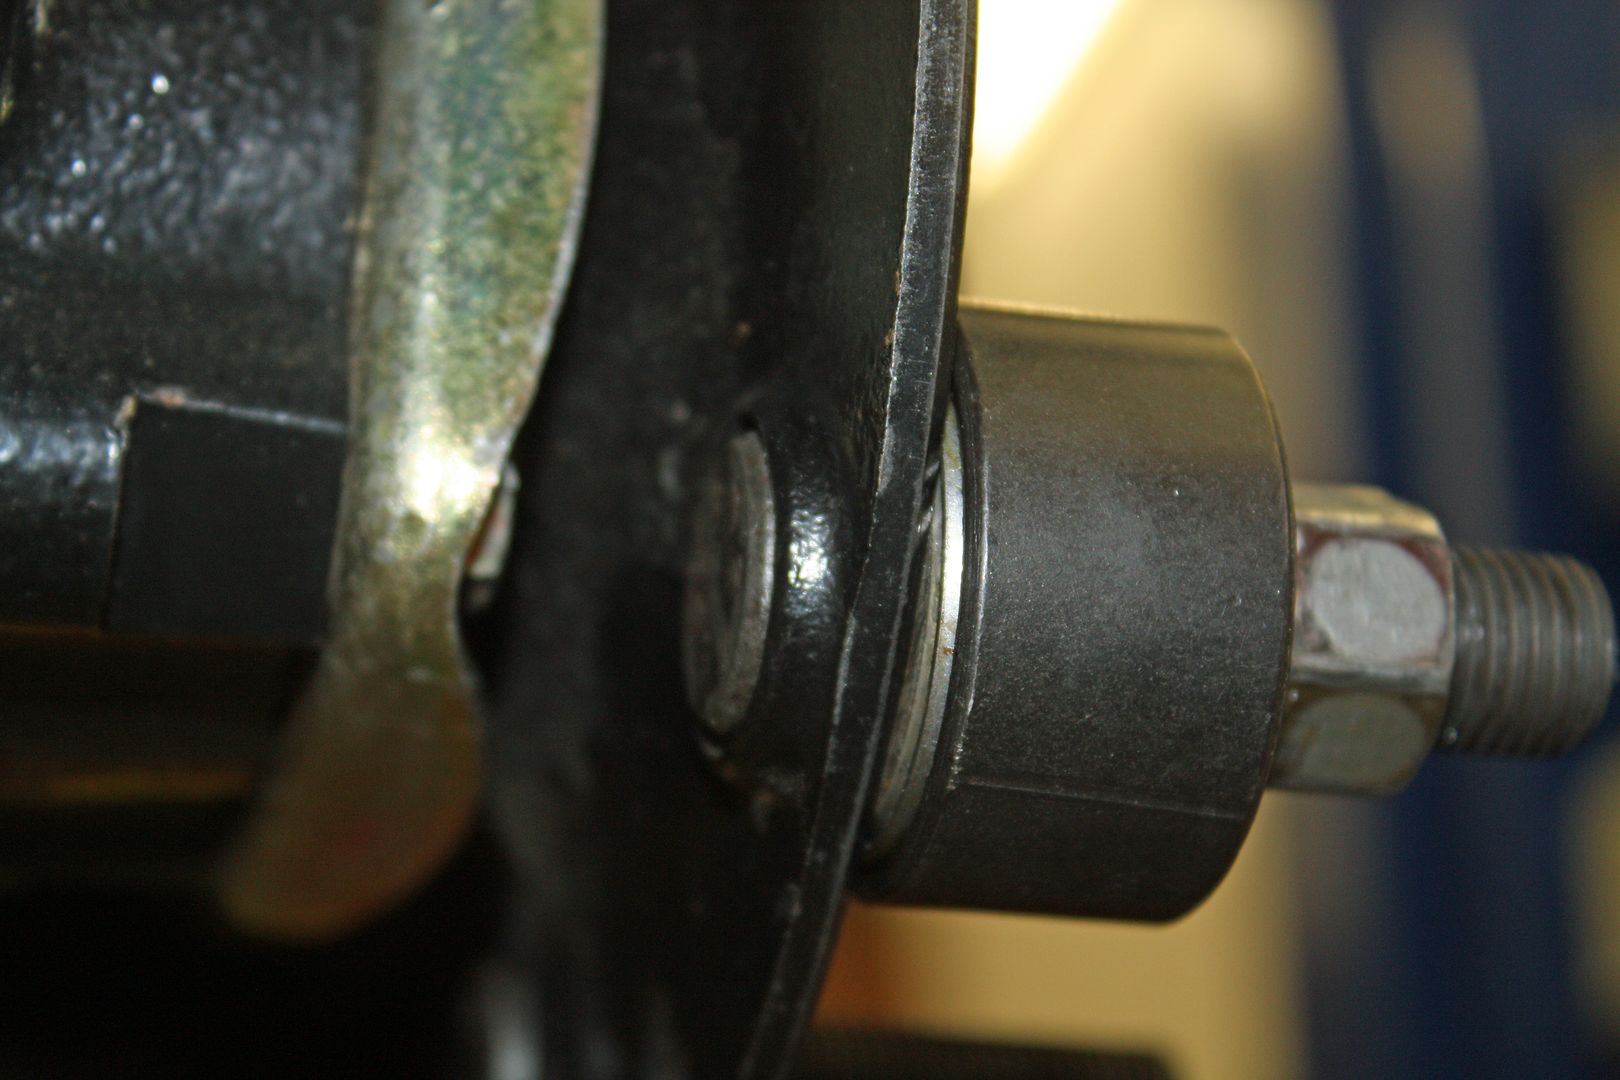
To make the 9" wheels work on the rear, I needed to install longer wheel studs. First I had to remove them. I found a stud remover on eBay. It is huge but worked great.
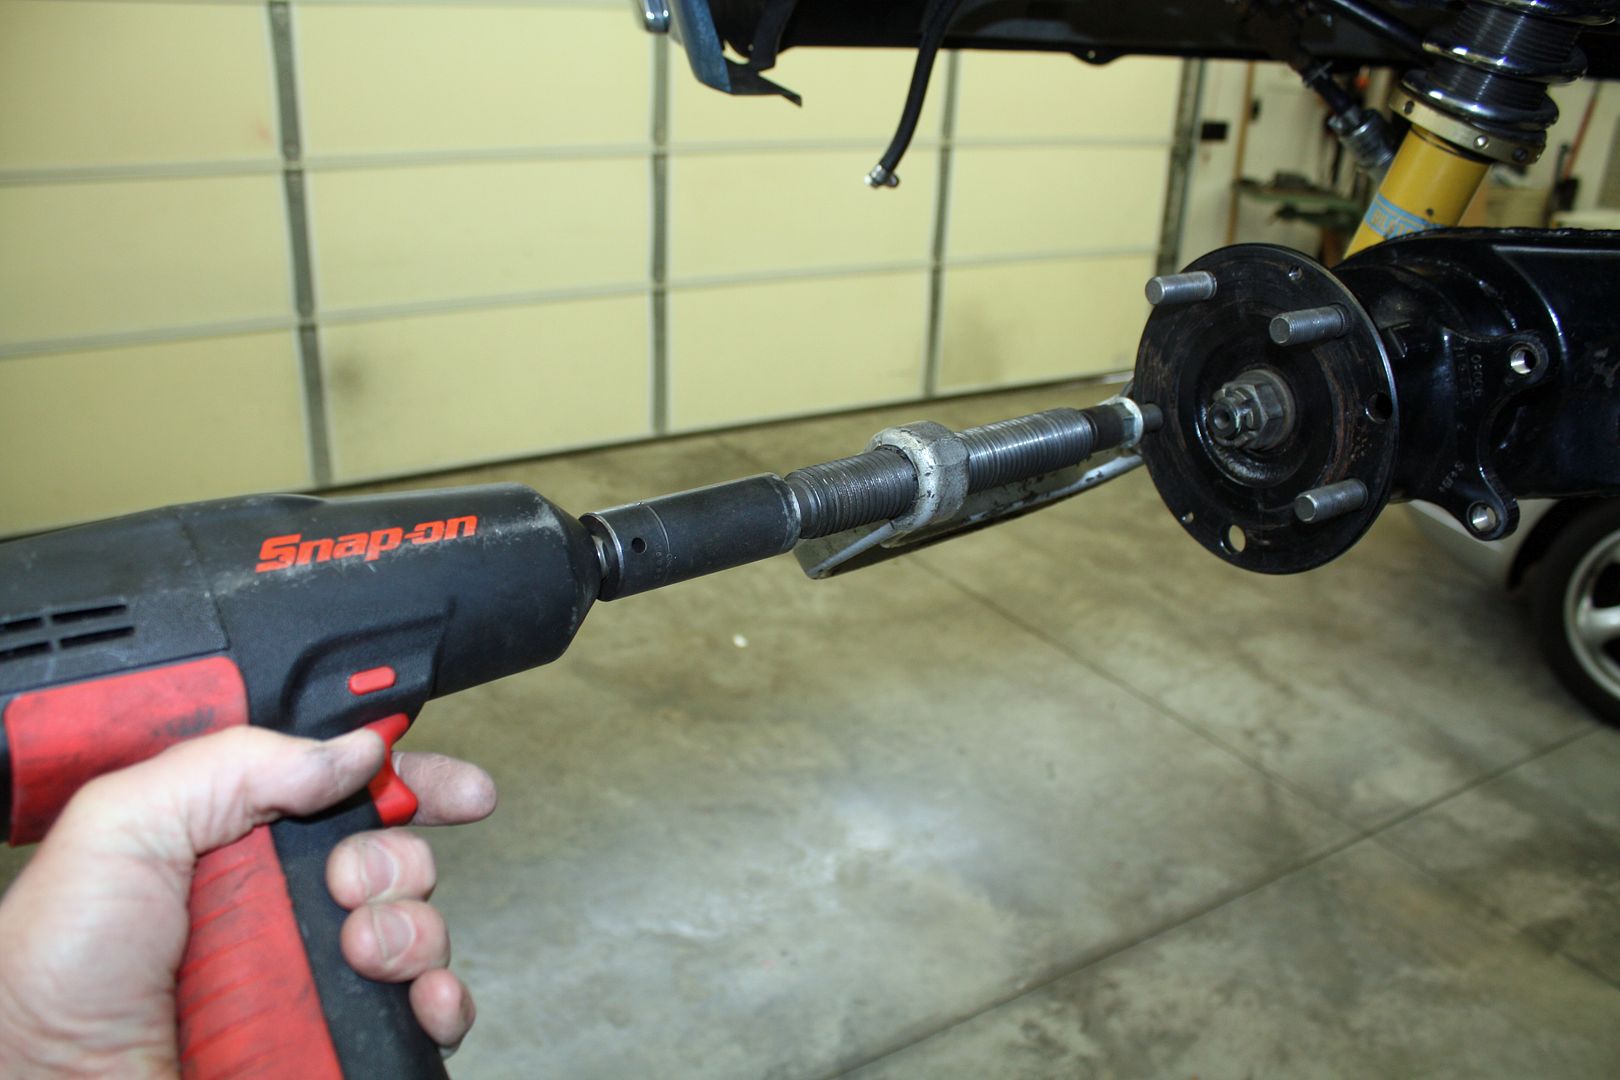
Because it is so heavy duty, I could use my impact wrench.
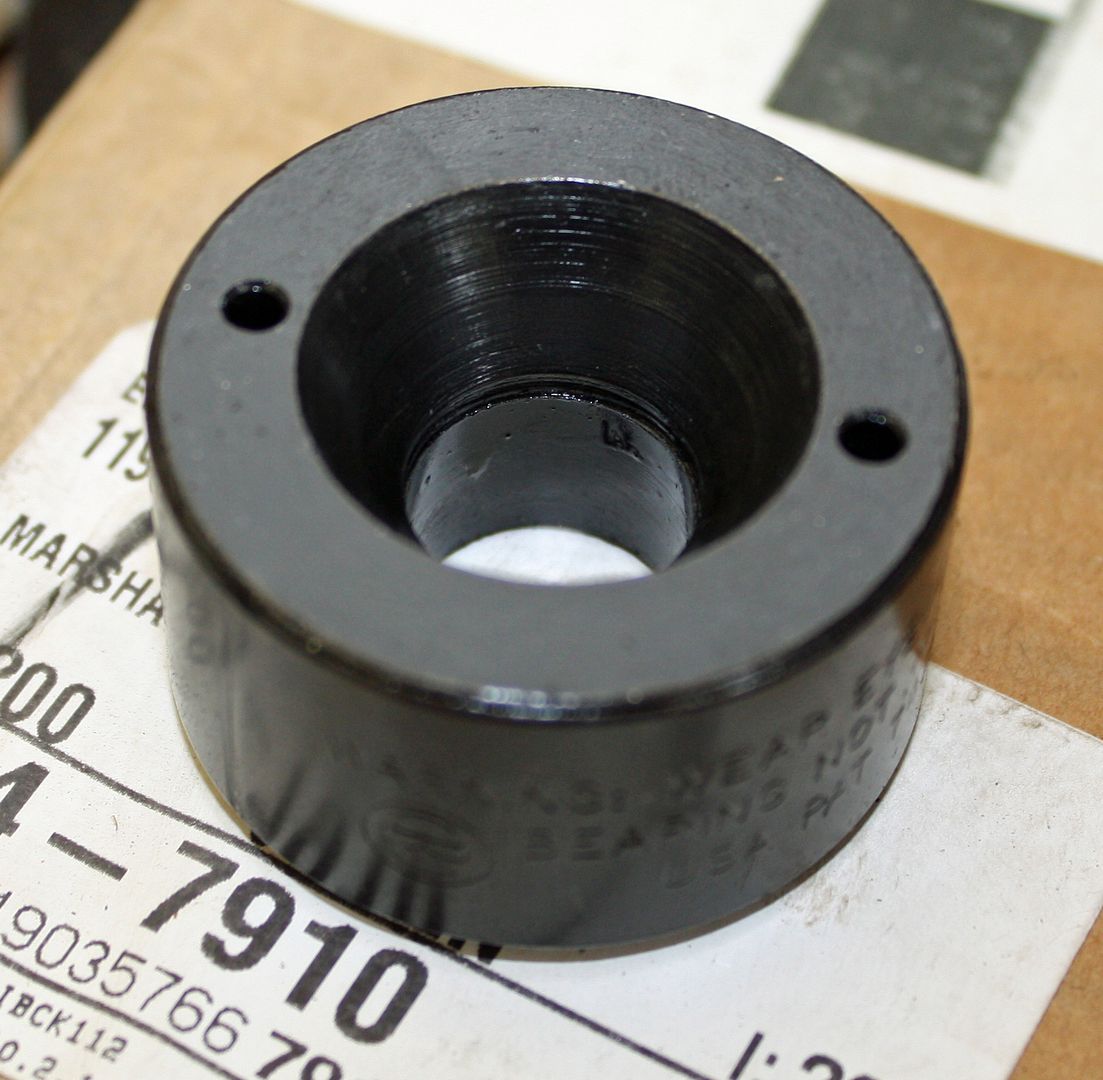
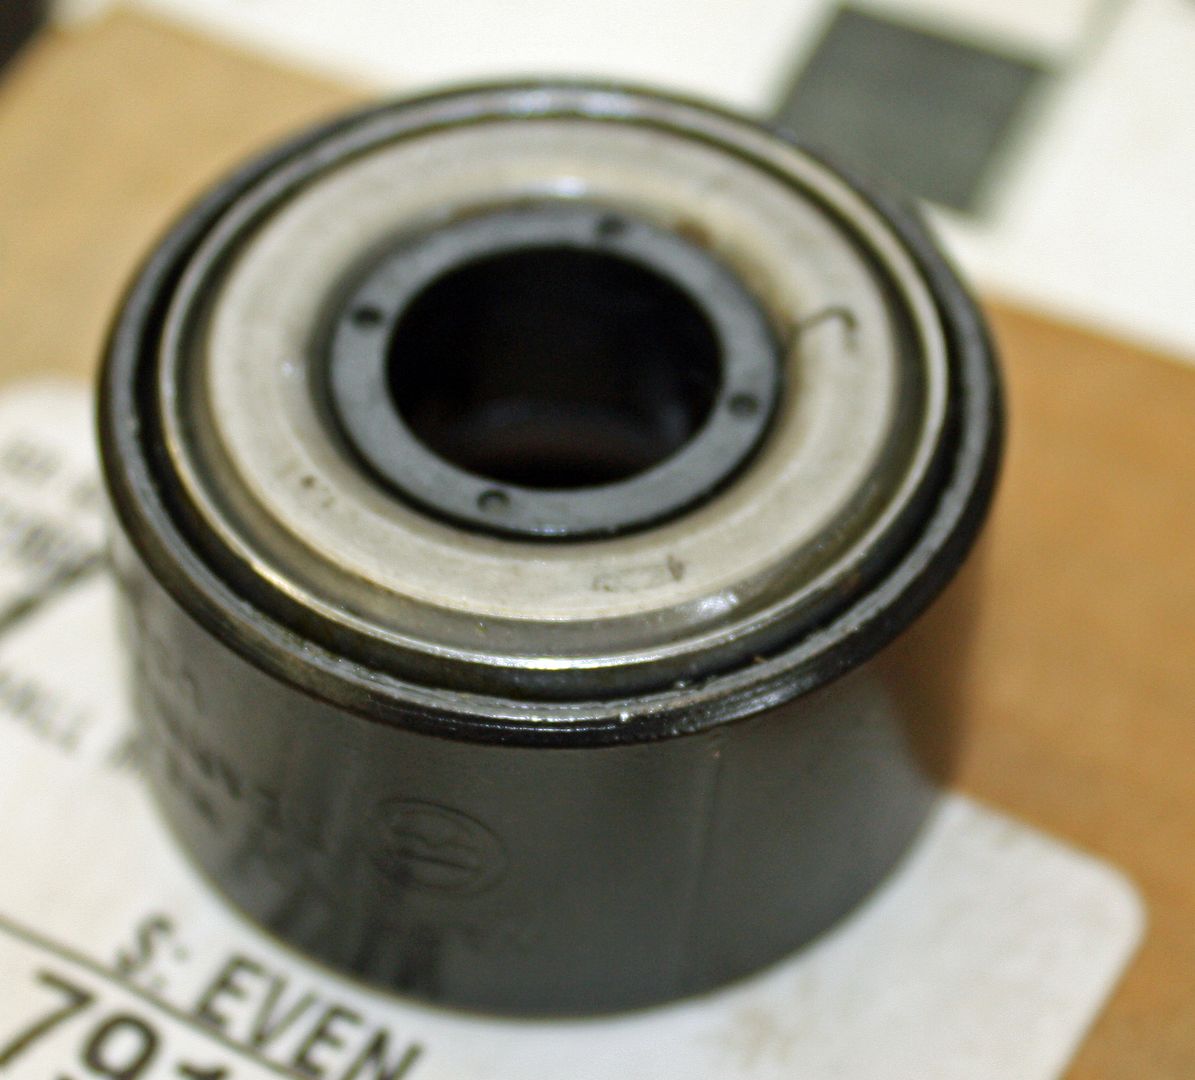
I found a tool at O'Reilly's for installing studs. It has a ball bearing that rests against the flange. This allows it to turn when you are tightening down the stud rather than have the nut dig into the flange or a washer. It also worked very well and could be used with the impact wrench.
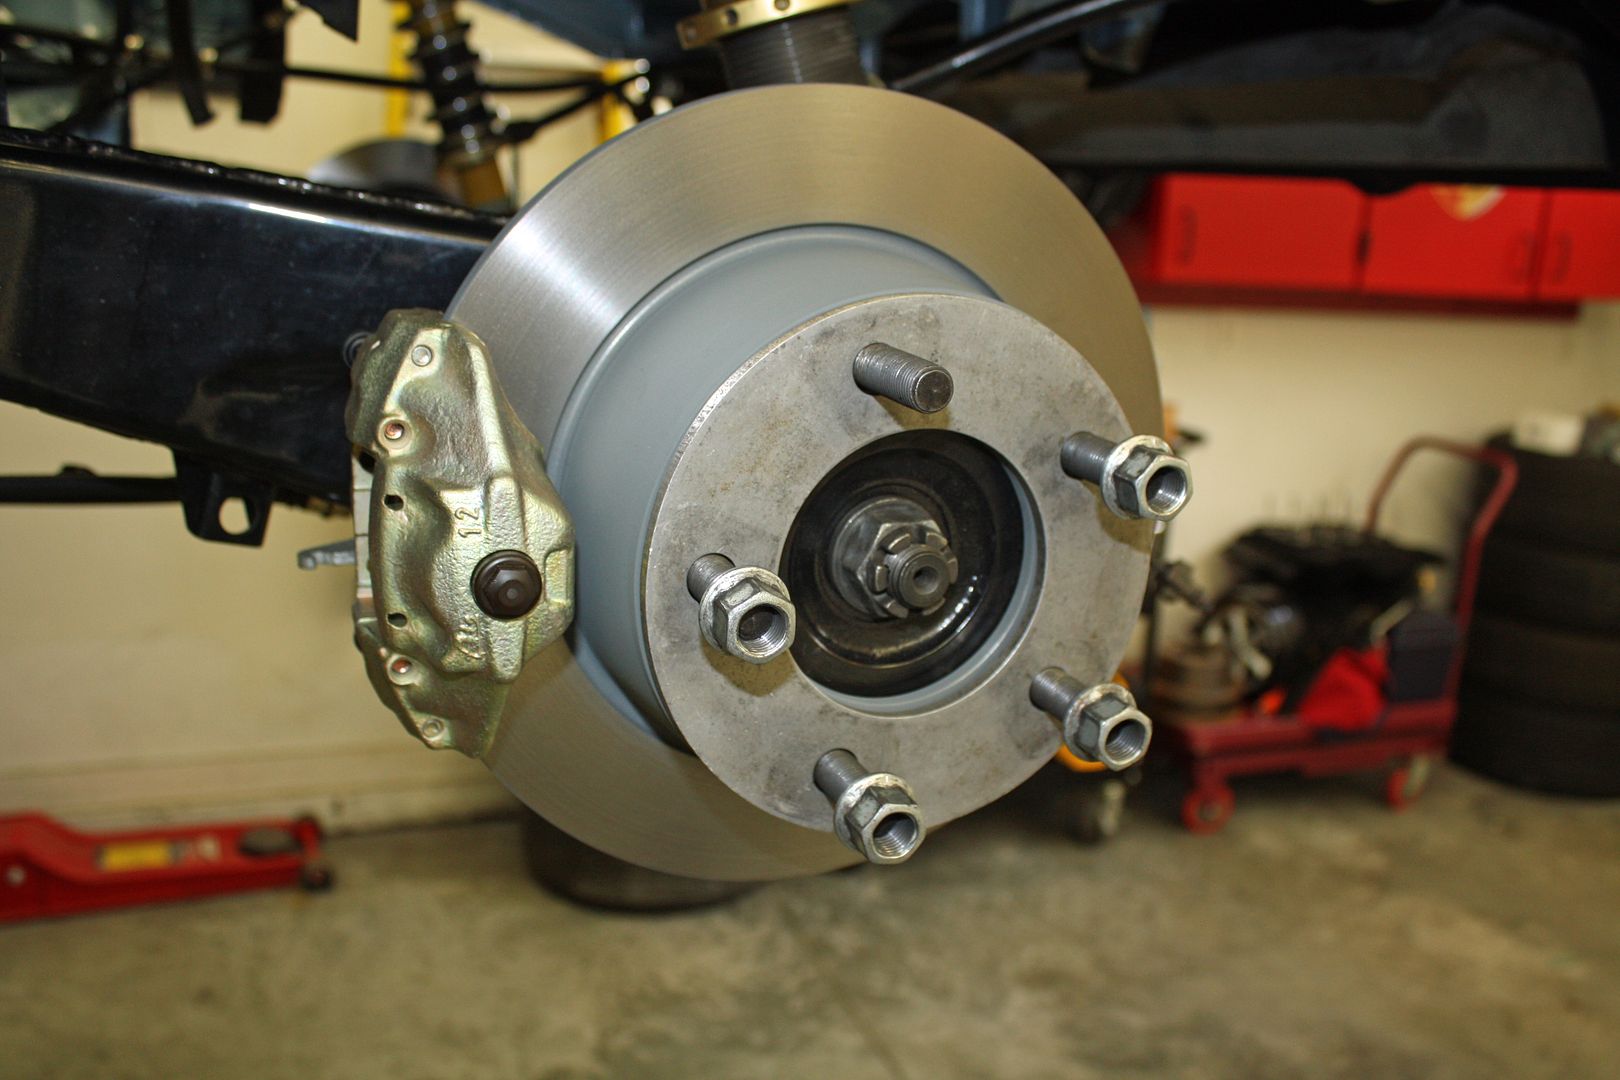
With the studs in place, I could install the new 914-6 rotors and the rebuilt 914 calipers. I am missing one hard brake line so I will have to do some digging through the tons of parts that I got with the car to see if it is there.
Because it is so heavy duty, I could use my impact wrench.


I found a tool at O'Reilly's for installing studs. It has a ball bearing that rests against the flange. This allows it to turn when you are tightening down the stud rather than have the nut dig into the flange or a washer. It also worked very well and could be used with the impact wrench.


With the studs in place, I could install the new 914-6 rotors and the rebuilt 914 calipers. I am missing one hard brake line so I will have to do some digging through the tons of parts that I got with the car to see if it is there.
 06-22-2018, 06:07 PM
#15
Racer
Thread Starter
I finished up the rear brakes by installing the pads and the hard brake lines.


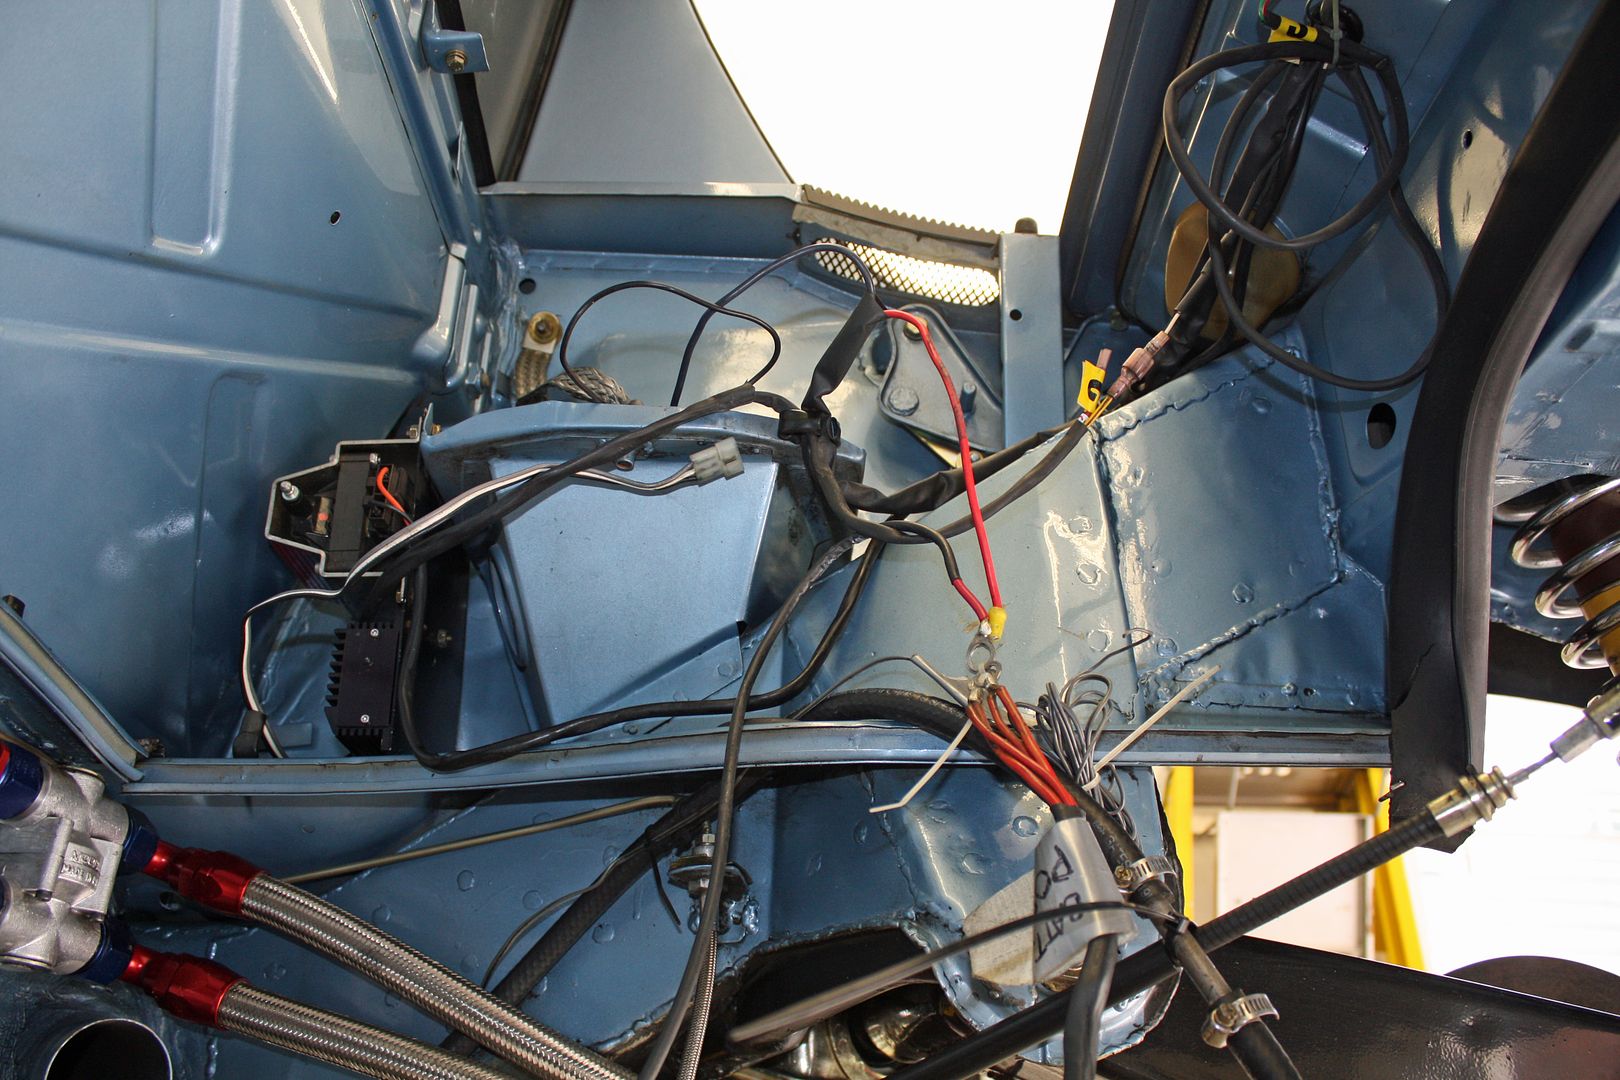
Next up was hooking up the parking brake. I attached one side but I could not get the other side to extend far enough to reach rear brake caliper.

After consulting Ed and the internet, I discovered that removing the boot at the firewall where the brake cable tubes are, there were adjusting nuts. Just behind the parking brake lever inside the car, there is a plate which covers the cables. Each cable attaches to one side of the lever. As you can see in the photo below, the lever was at an angle which meant one parking brake would be applied earlier, and probably with more force, than the other side. By adjusting the cables at the firewall, I was able to hook up both cables and to make the lever straight across inside the car. Once I adjust the brake pads on the calipers, the parking brake should now apply equal pressure to both rear brakes.


Now I have to try to convince my wife to help me bleed the brakes. Back when we were both doing track events, this was a regular routine prior to each event. It was a pain in the rear for her, but we never had our brakes go soft at the track.