Successful in recommissioning S4 AC
#1
Pro
Thread Starter
As part of my restoration on my 89 S4 I wanted to get the AC working.
It had never worked since I got the car as the R12 had long since leaked out and there was next to no pressure in the system
Is
So I did my homework on Reenlist and figured a good starting point would be to do the R12 to R134 conversion, replace the condenser, drier and both low pressure / high pressure sensors which would hopefully allow me to fill the system with a view to testing all the other components in a live situation. I had no idea if the compressor was good or the HVAC controller/ relays was any good.
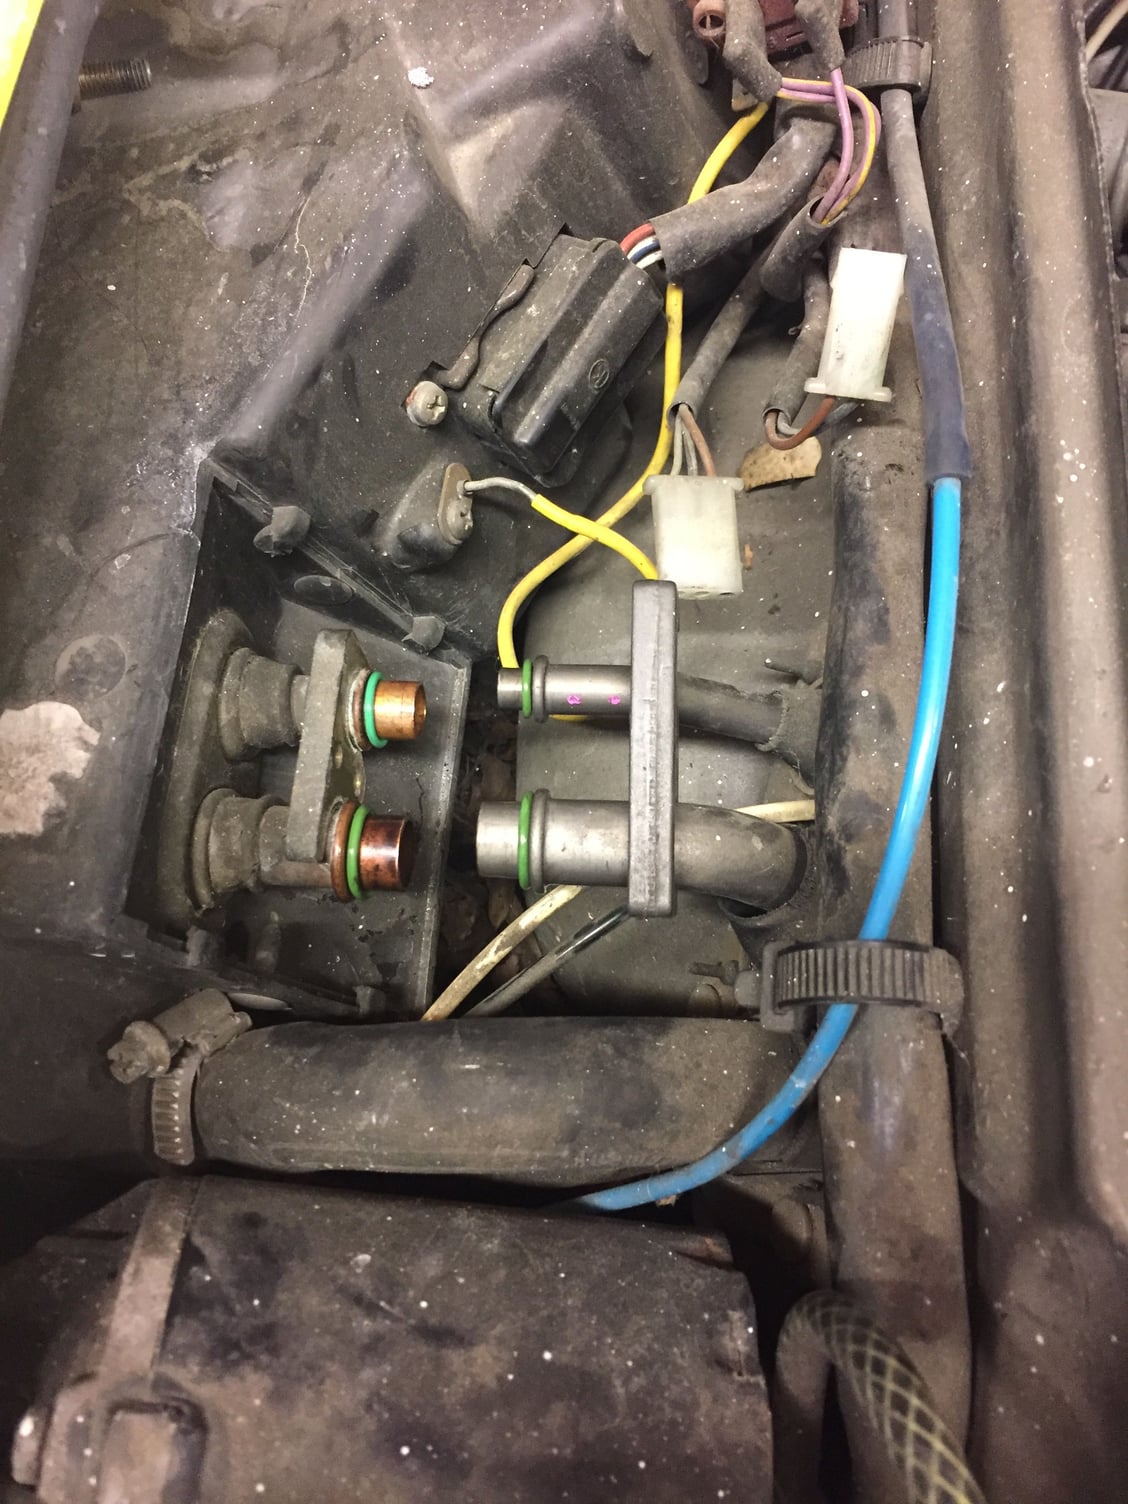
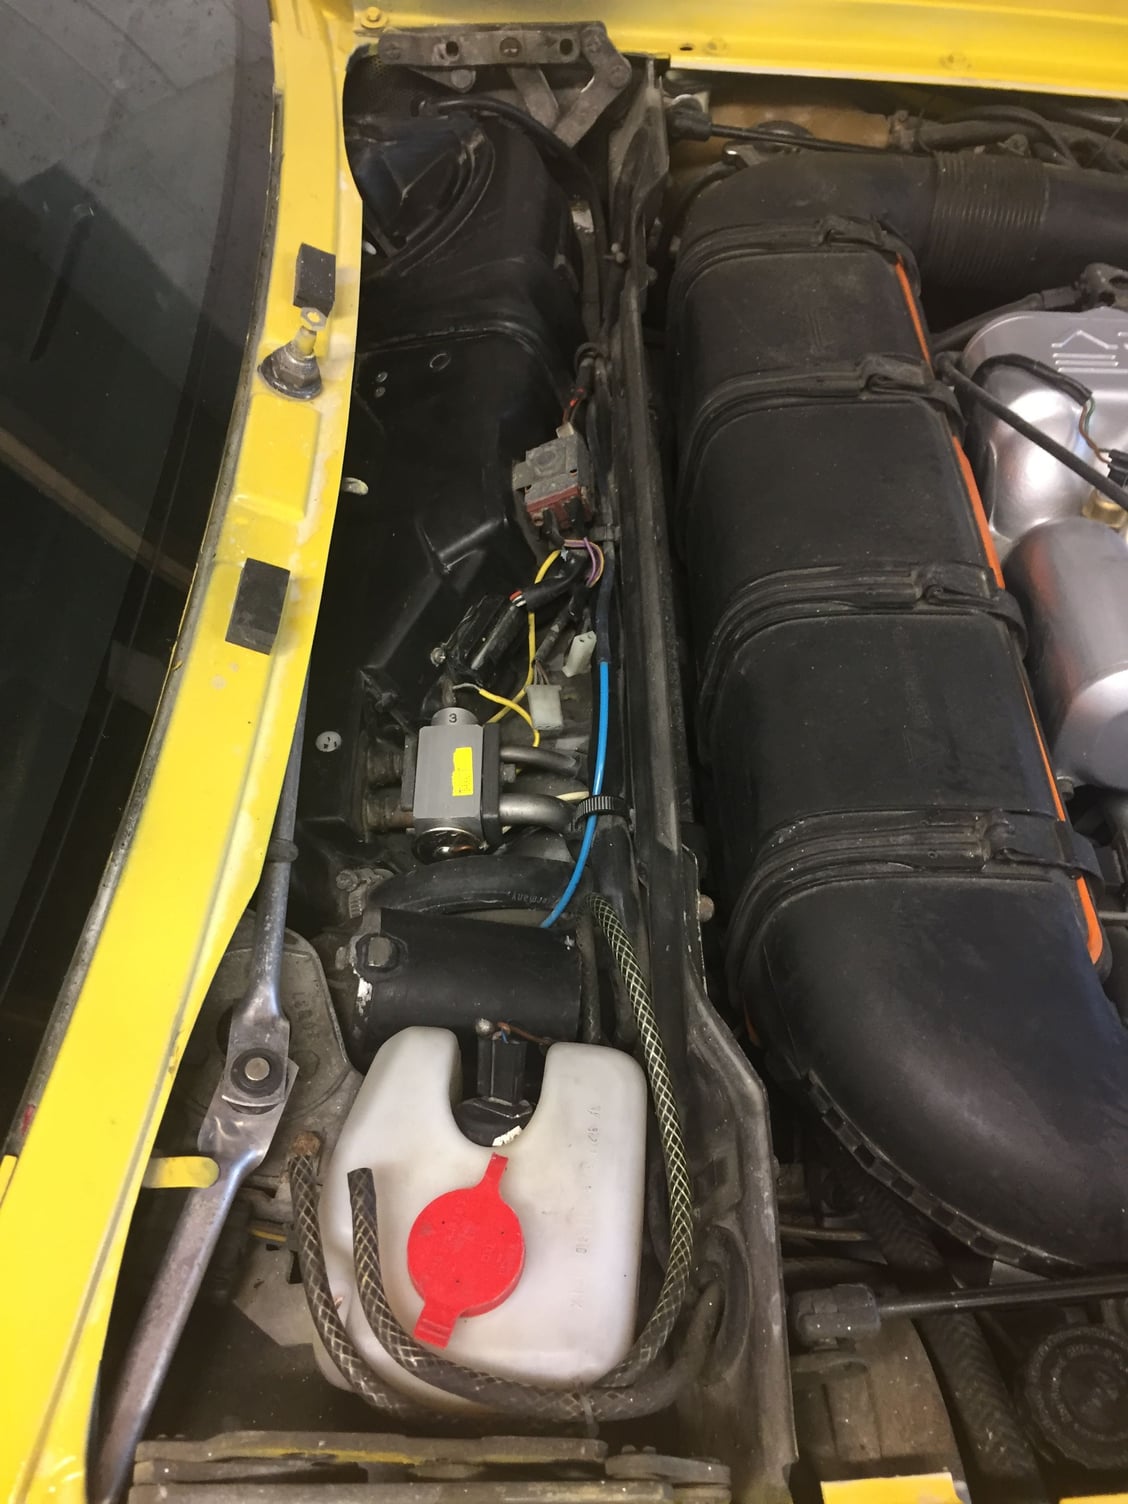
The R12 / R134 conversions was surprisingly straightforward, I got the seals from Roger and when I worked out the part number to understand which seals go where I made good progress.
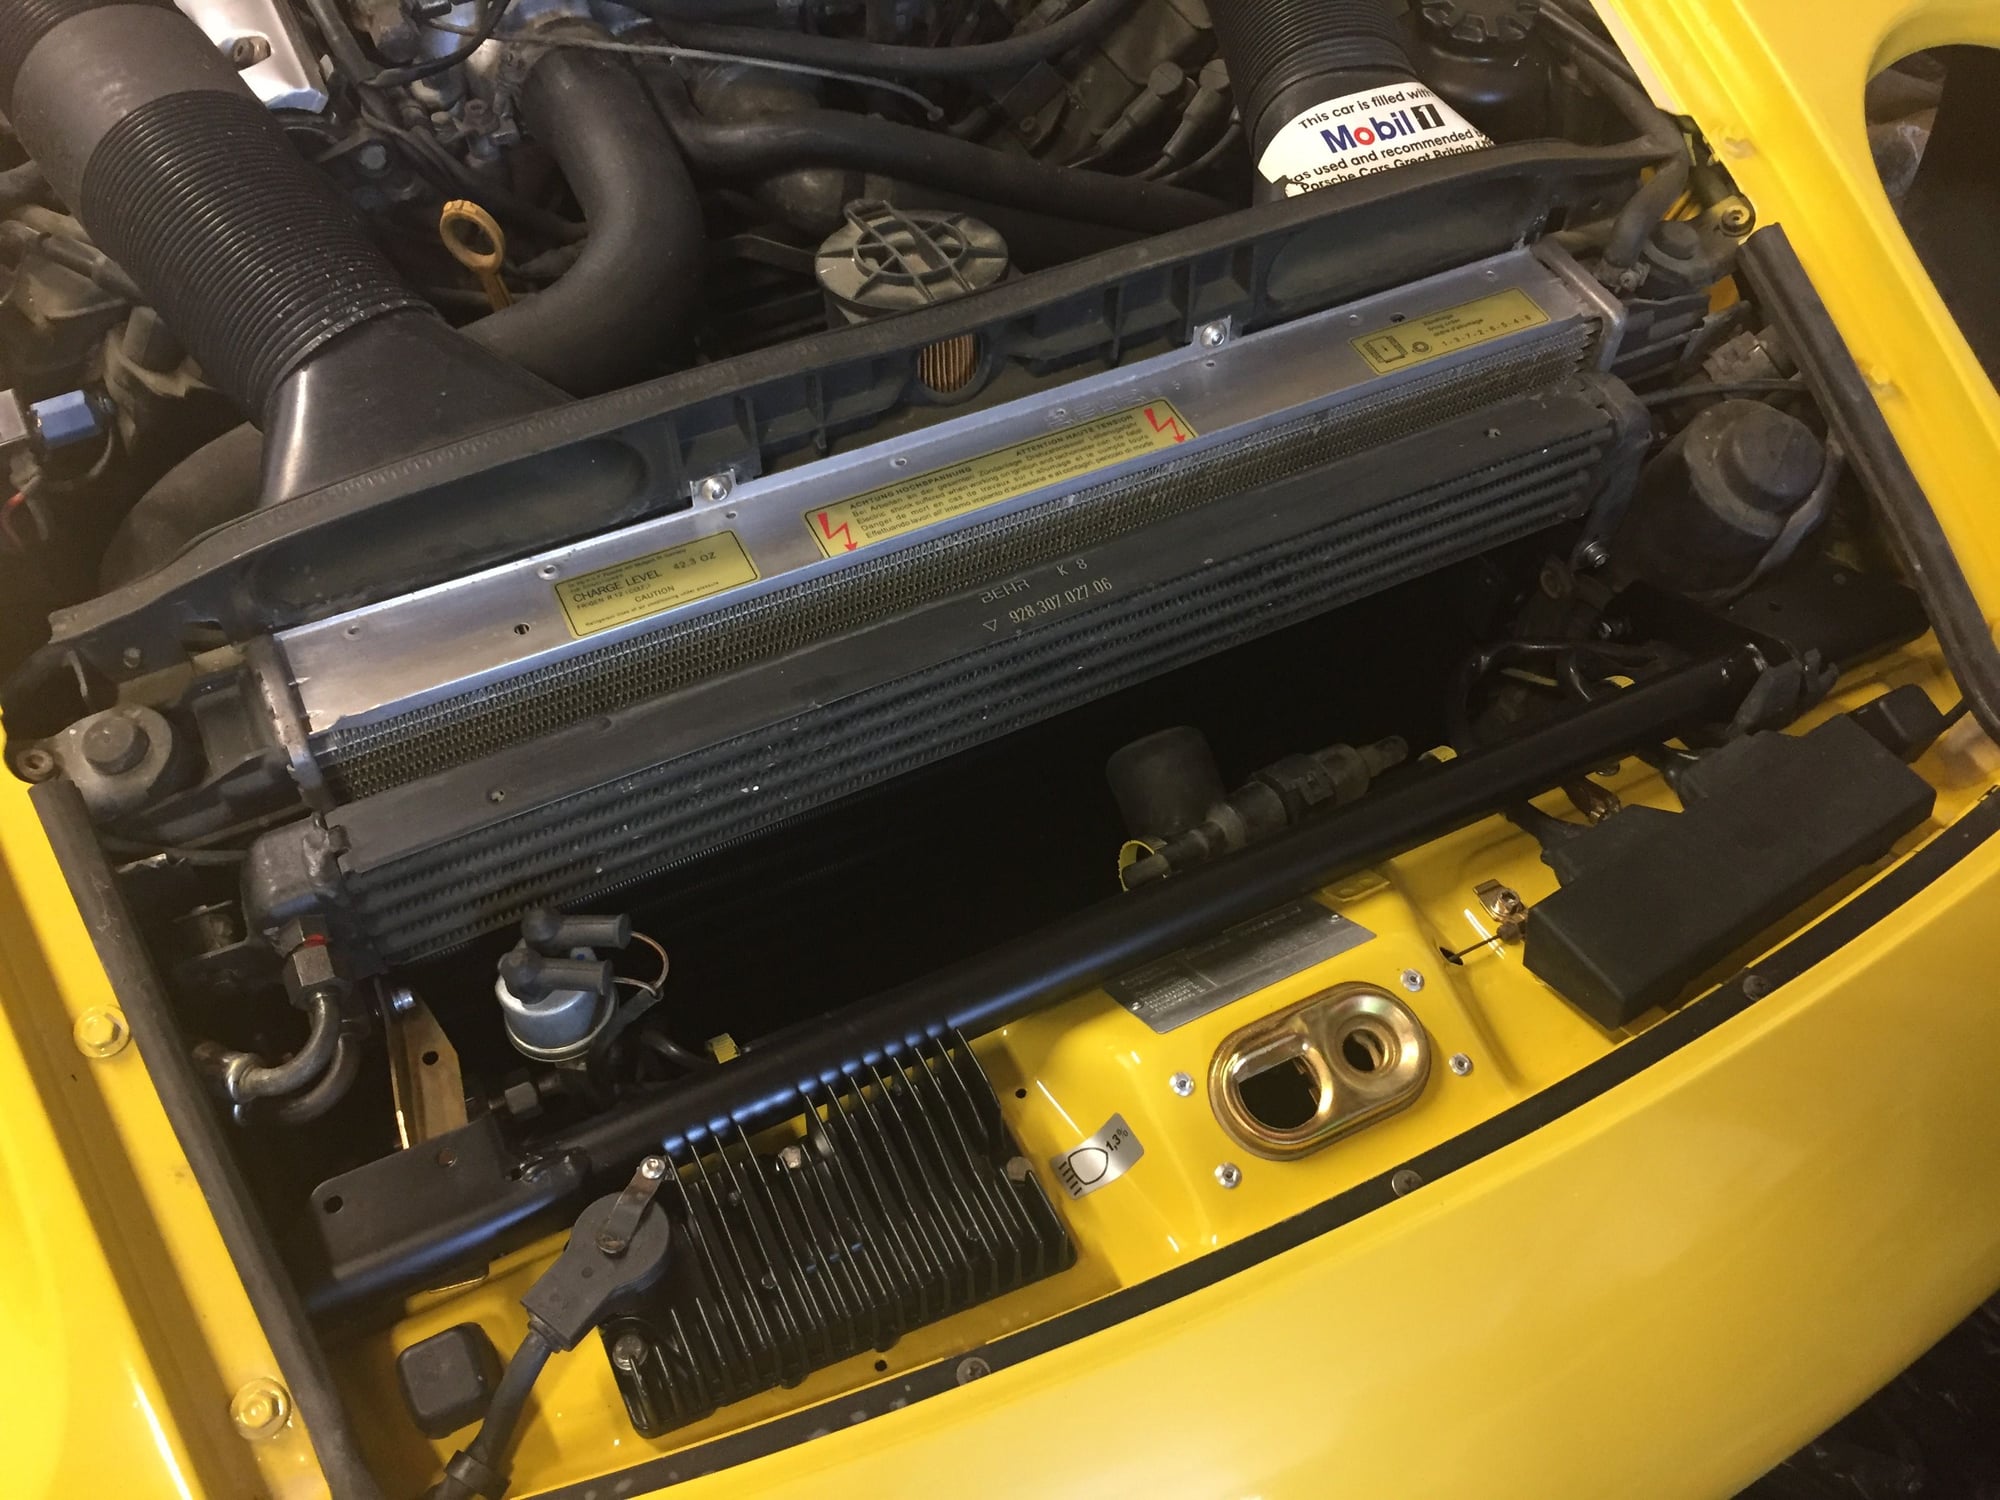
Replacing the condenser and driers was also relatively straightforward when you find the lower bolts hidden by the rubber grommets.
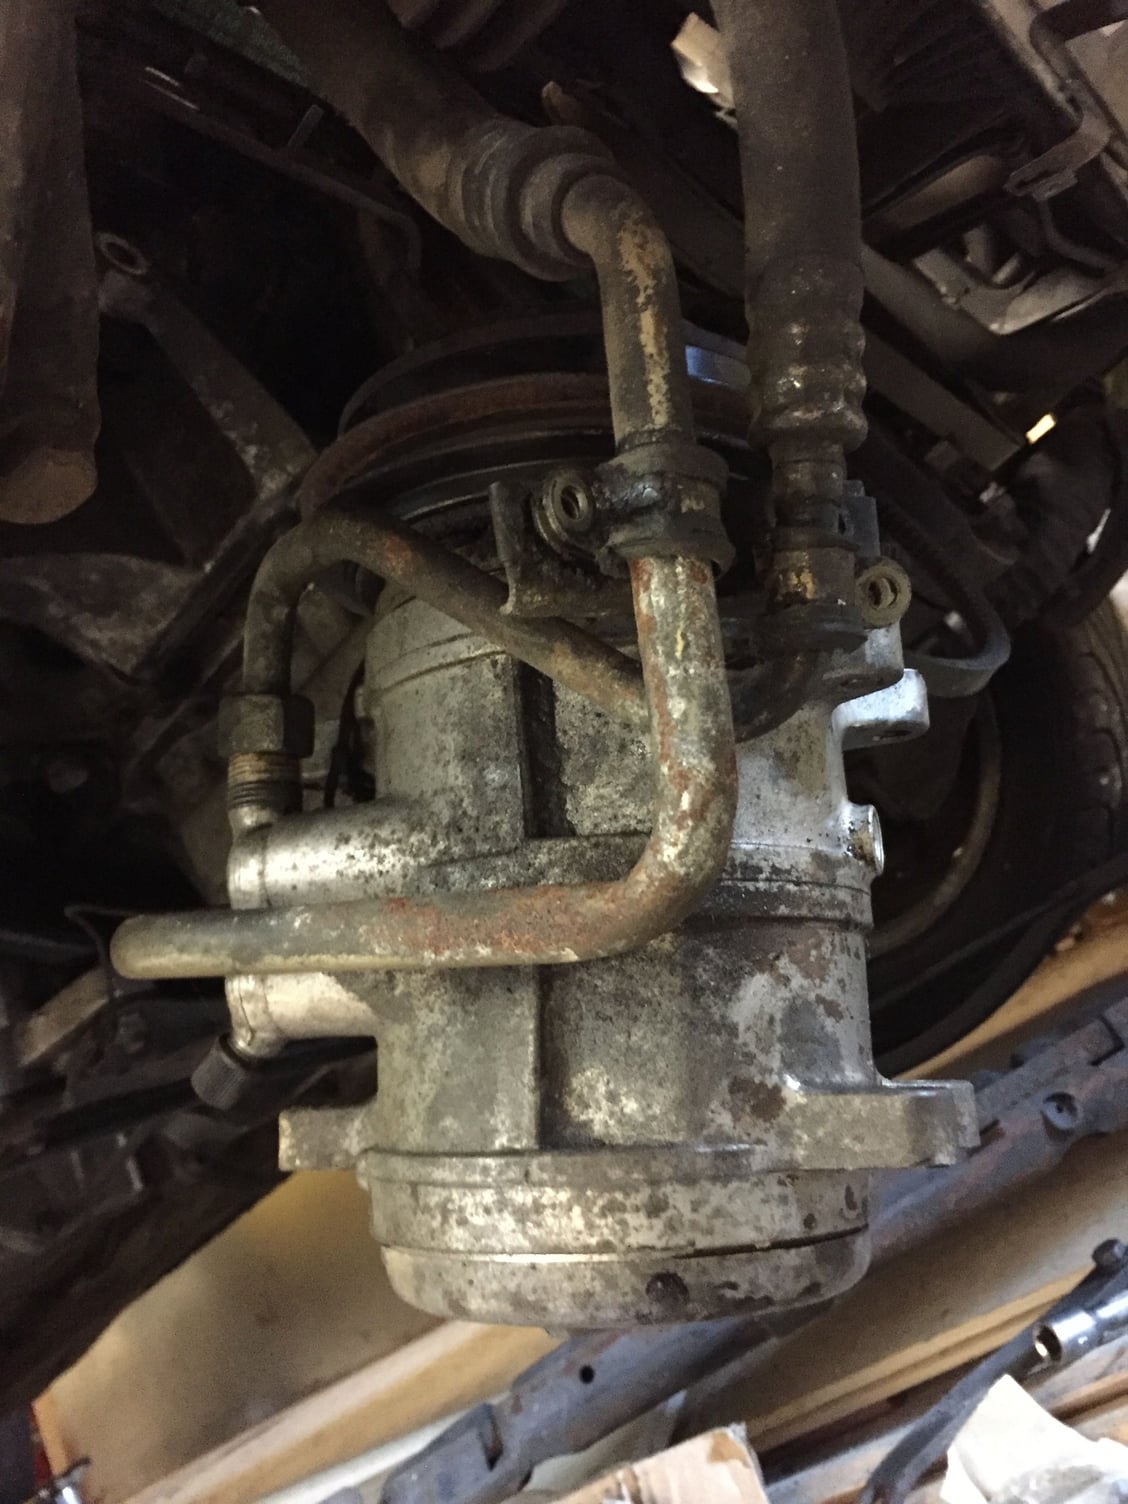
Once all that was done I emptied the old oil out the compressor and put the new PAG oil into the compressor. I inspected the metal lines for any corrosion to make sure I could eliminate these from any leaks if it turned out that I had leaks in the system.
I put it all back together and fitted the converting fittings between R12 and R134 and then started to fill it up with R134
As the system started to fill with R134 the size clutch engaged, the fans started and I could see some activity in the sight glass on the drier.
As I continued to pump in the R134 I could see in the sight glass in the drier the bubbles starting to clear.
The system is running fairly nice with fairly cold air coming through.
I now need to test the system properly to ensure it is functioning properly. I will provide feedback on this stage in due course. Once the testing is done and I am happy there are no leaks I will go through a full evaluation and refill to get the maximum performance out the system.
Probably the first time in 10/15 years that the system has pumped cold air!
Last edited by Marti; 07-26-2017 at 08:13 AM. Reason: More details
#2
Advanced
Well done! It's quite satisfying having the A/C working. The previous owner degassed my S4 so I set about converting it to R134a. It may not perform as well as the stock R12 but in NZ temps rarely get above 30C in summer and below zero in winter. I replaced the compressor and used POE68 oil (as it's R12 & R134a compatible), replaced all the seals I could, expansion valve, receiver etc and it still works like a charm over a year later. I give the A/C a run each time I take the car for a run to keep the seals lubricated.
#3
Pro
Thread Starter


#4
Pro
Thread Starter
Well done! It's quite satisfying having the A/C working. The previous owner degassed my S4 so I set about converting it to R134a. It may not perform as well as the stock R12 but in NZ temps rarely get above 30C in summer and below zero in winter. I replaced the compressor and used POE68 oil (as it's R12 & R134a compatible), replaced all the seals I could, expansion valve, receiver etc and it still works like a charm over a year later. I give the A/C a run each time I take the car for a run to keep the seals lubricated.
I found a few helpful pages which I used while doing the work which I will post for others who are considering the job.
I still have to look at the flap settings in the cabin to ensure they are doing the correct things for maximum cool/hot etc as well as ensuring all electrics work and there are no leaks. As part of my work I also had to replace a couple of the flap actuator diaphragms which fixed them. I will also post a link which I used for that job.
Happy 928ing
Marti
Last edited by Marti; 07-26-2017 at 08:16 AM.
#5
Rennlist Member
Marti,
It is pretty much a std approach to change the hoses to the correct barrier spec when converting to R134 - no idea whether you considered this or not. The other issue for consideration would have been why the R12 gas leaked out in the first place- quite common with these systems. Having sat for however long will have done nothing good for the compressor dynamic seal assuming it was OK in the first place [the most common leak path?] and I would politely suggest that changing out the seal while the system was down would have a wiser path as would a dismantle and re-seal of the body gaskets- easy to do in my part of the world as a/c repairs are a huge cottage industry in my part of the world.
That being said I sure hope it all holds together for you but if the original leak path was in either of the above items for sure time will not have improved matters so do not be too disappointed if you find the gas leaks out over the next few days. If nothing else you will at least know the main elements of the system are working [relay, switches etc].
Rgds
Fred
#6
Pro
Thread Starter
Hi Fred
I didn't post any details on what I believed to be the source of the system ending up in a discharged state, my approach was to introduce new components and new seals, charge the system and then diagnose any additional problems if the system did not work.
As as it happens a number of the seals were miss shaped and obviously aged, these could have been a source for leakage although my system had a low amount of pressure in it that could tie in with the seals not holding a high pressure.
I will monitor the charge pressure to see if there is any detectable drop due to the rubber lines or indeed whether the compressor could leak. I will post back whether I experience any change due to these for the approach I have taken. Hopefully that will help inform people as I am not convinced this addition work is necessary.
#7
Chronic Tool Dropper
Lifetime Rennlist
Member
Lifetime Rennlist
Member
Marti --
Missing from mention in your process description is evacuating the air out of the system before introducing the new refrigerant. It's probably part of the refill process someplace, but readers should be aware of that need. Casual DIY "conversions" often skip this step, and end up with systems that seriously underperform. They blame it on the R134a, when in fact it's all that air in the system preventing the system from cooling correctly.
Keep us up to date on the system performance. I did the R134a conversion on mine in 1998, and have no regrets. Black car in sunny Los Angeles, no window tint, etc, so somewhat severe service compared with Scotland.
Trending Topics
#8
Addict
Rennlist Member
Rennlist Member
Join Date: Jul 2002
Location: Edmonton, Ab
Posts: 2,286
Likes: 0
Received 0 Likes
on
0 Posts
Why is there no consideration for rejuvination of the a/c system with R12a rather than converting to R134a. This would be available as a top-up process for the old R 12 system as they are mixable, and in the refurbishment, the air evacuation process is not required with R12a.
#9
Rennlist Member
Why is there no consideration for rejuvination of the a/c system with R12a rather than converting to R134a. This would be available as a top-up process for the old R 12 system as they are mixable, and in the refurbishment, the air evacuation process is not required with R12a.
#10
Pro
Thread Starter
Marti --
Missing from mention in your process description is evacuating the air out of the system before introducing the new refrigerant. It's probably part of the refill process someplace, but readers should be aware of that need. Casual DIY "conversions" often skip this step, and end up with systems that seriously underperform. They blame it on the R134a, when in fact it's all that air in the system preventing the system from cooling correctly.
Keep us up to date on the system performance. I did the R134a conversion on mine in 1998, and have no regrets. Black car in sunny Los Angeles, no window tint, etc, so somewhat severe service compared with Scotland.
Missing from mention in your process description is evacuating the air out of the system before introducing the new refrigerant. It's probably part of the refill process someplace, but readers should be aware of that need. Casual DIY "conversions" often skip this step, and end up with systems that seriously underperform. They blame it on the R134a, when in fact it's all that air in the system preventing the system from cooling correctly.
Keep us up to date on the system performance. I did the R134a conversion on mine in 1998, and have no regrets. Black car in sunny Los Angeles, no window tint, etc, so somewhat severe service compared with Scotland.
Once I am satisfied that it is functioning correctly and is not loosing pressure then phase 2 would be a full evacuation and refill to get the maximum performance out the system.
3 days on and the system is holding exactly the same pressure and is providing reasonable cool air. I do need to hunt down details about how to test for normal operation - any suggestions?
Last edited by Marti; 07-26-2017 at 10:14 AM.
#11
Rennlist Member
Join Date: Aug 2014
Location: Adirondack Mountains, New York
Posts: 2,398
Received 309 Likes
on
161 Posts
For fellow AC-phobics, I'll add that a servicing kit with manifold and vacuum pump is cheap and easy to use. It is easy to find advice on some details, such as lubricant type and amount, but less easy to sort it out since it varies. I eventually went with a "don't worry, be happy" approach on these details.
I first thought I'd install a new compressor, drier and expansion valve, then take it to an AC shop. But I managed to handle it all myself a few months ago, and I'm still happy.
#12
I also just completed an A/C refurbishment. I removed the engine to remove the lines that run along the pass side. I had the rubber replaced on the two that attach directly to the compressor and the ones that I removed the engine to get to. I installed a new Denso compressor, drier, and expansion valves as well as all orings. Evacuated the system with a Yellow jacket 7cfm pump on 4 occasions to make sure all moisture is out of the system. I recharged with R12 and wow does it work well.
#13
Pro
Thread Starter
Did you mean "evacuation"?
For fellow AC-phobics, I'll add that a servicing kit with manifold and vacuum pump is cheap and easy to use. It is easy to find advice on some details, such as lubricant type and amount, but less easy to sort it out since it varies. I eventually went with a "don't worry, be happy" approach on these details.
I first thought I'd install a new compressor, drier and expansion valve, then take it to an AC shop. But I managed to handle it all myself a few months ago, and I'm still happy.
I had my eye on one of these kits as I have another car to do also so might end up easier that way
#15
Chronic Tool Dropper
Lifetime Rennlist
Member
Lifetime Rennlist
Member
Why is there no consideration for rejuvination of the a/c system with R12a rather than converting to R134a. This would be available as a top-up process for the old R 12 system as they are mixable, and in the refurbishment, the air evacuation process is not required with R12a.
-- Pulling a vacuum on the system lets you identify any massive leaks prior to adding refrigerant. If it won't hold vacuum (about 14.5 PSI differential pressure) then it won't hold refrigerant. Better still is a test pressurization with dry nitrogen prior to evacuation. Want to find --every-- leak? Pressurize with helium and use a helium detector to "sniff" every possible leak point.
-- Pulling an extended vacuum on the system will cause any moisture remaining in the plumbing and parts to boil off at a lower temperature. Do this on a hot day to get things inside completely dry. Moisture in the system, combined with refrigerants, makes a corrosive blend that will eat through the bottom of aluminum evaporator where it is most likely to condense.
-- Moisture travelling in the system will condense and ultimately freeze in the expansion valve, preventing it from operating correctly. It will quickly build to the point where it's obstructing refrigerant flow.
-- Air in the refrigerant doesn't condense in the condenser, so it can't expand across the expansion valve and subsequently evaporate in the evaporator. The AC in the car depends on a refrigerant that changes state between liquid and vapor at the right places in the system. Taking advantage of the extra heat that moves during these state changes is the heart of how the system works.
-- Air in the system confuses the expansion valve, which depends on having liquid upstream from the condenser.
-- Air in the system won't dry in the drier, which uses a dessicant to pull moisture from the liquid refrigerant and oil it receives from the condenser.
-- Air in the system doesn't carry the lubricating oil the way that the refrigerant does. The oil is "miscible", carried in tiny droplets through the system so the compressor can stay lubricated. That mist of oil drops out quickly on the walls of hoses and other components when air is in the mix.
-- Air in the system quickly raises the pressures, as the partial pressure of the air and the pressure of the refrigerant combine. The system depends on having the suction-side pressure in the evaporator low enough to boil the incoming liquid refrigerant using heat stolen from the cabin airflow. Raising that suction pressure raises the temperature at which the refrigerant boils, reducing the amount of heat taken from the cabin as that boiling temperature rises. It's easy to see a 15-30║ increase in center vent temp from the combined effects of air in the system. When air makes the center vent temp 65║ instead of 35║, it can make the system almost completely ineffective.

