When you click on links to various merchants on this site and make a purchase, this can result in this site earning a commission. Affiliate programs and affiliations include, but are not limited to, the eBay Partner Network.
While I had already replaced most of the rubber bits in the engine bay, seems my cylinder base gaskets were compromised, so we had to get that addressed. Oil was leaking down the side of the case after just driving 15 minutes. So that had to end !! I had already done most everything else, and there was no denying what the issue was.
I pulled the motor, stripped it to a longblock and delivered to Mayo Performance for their handiwork. I just don't have the space to do the engine build myself right now.
A bit of a slippery slope once you are to that point.
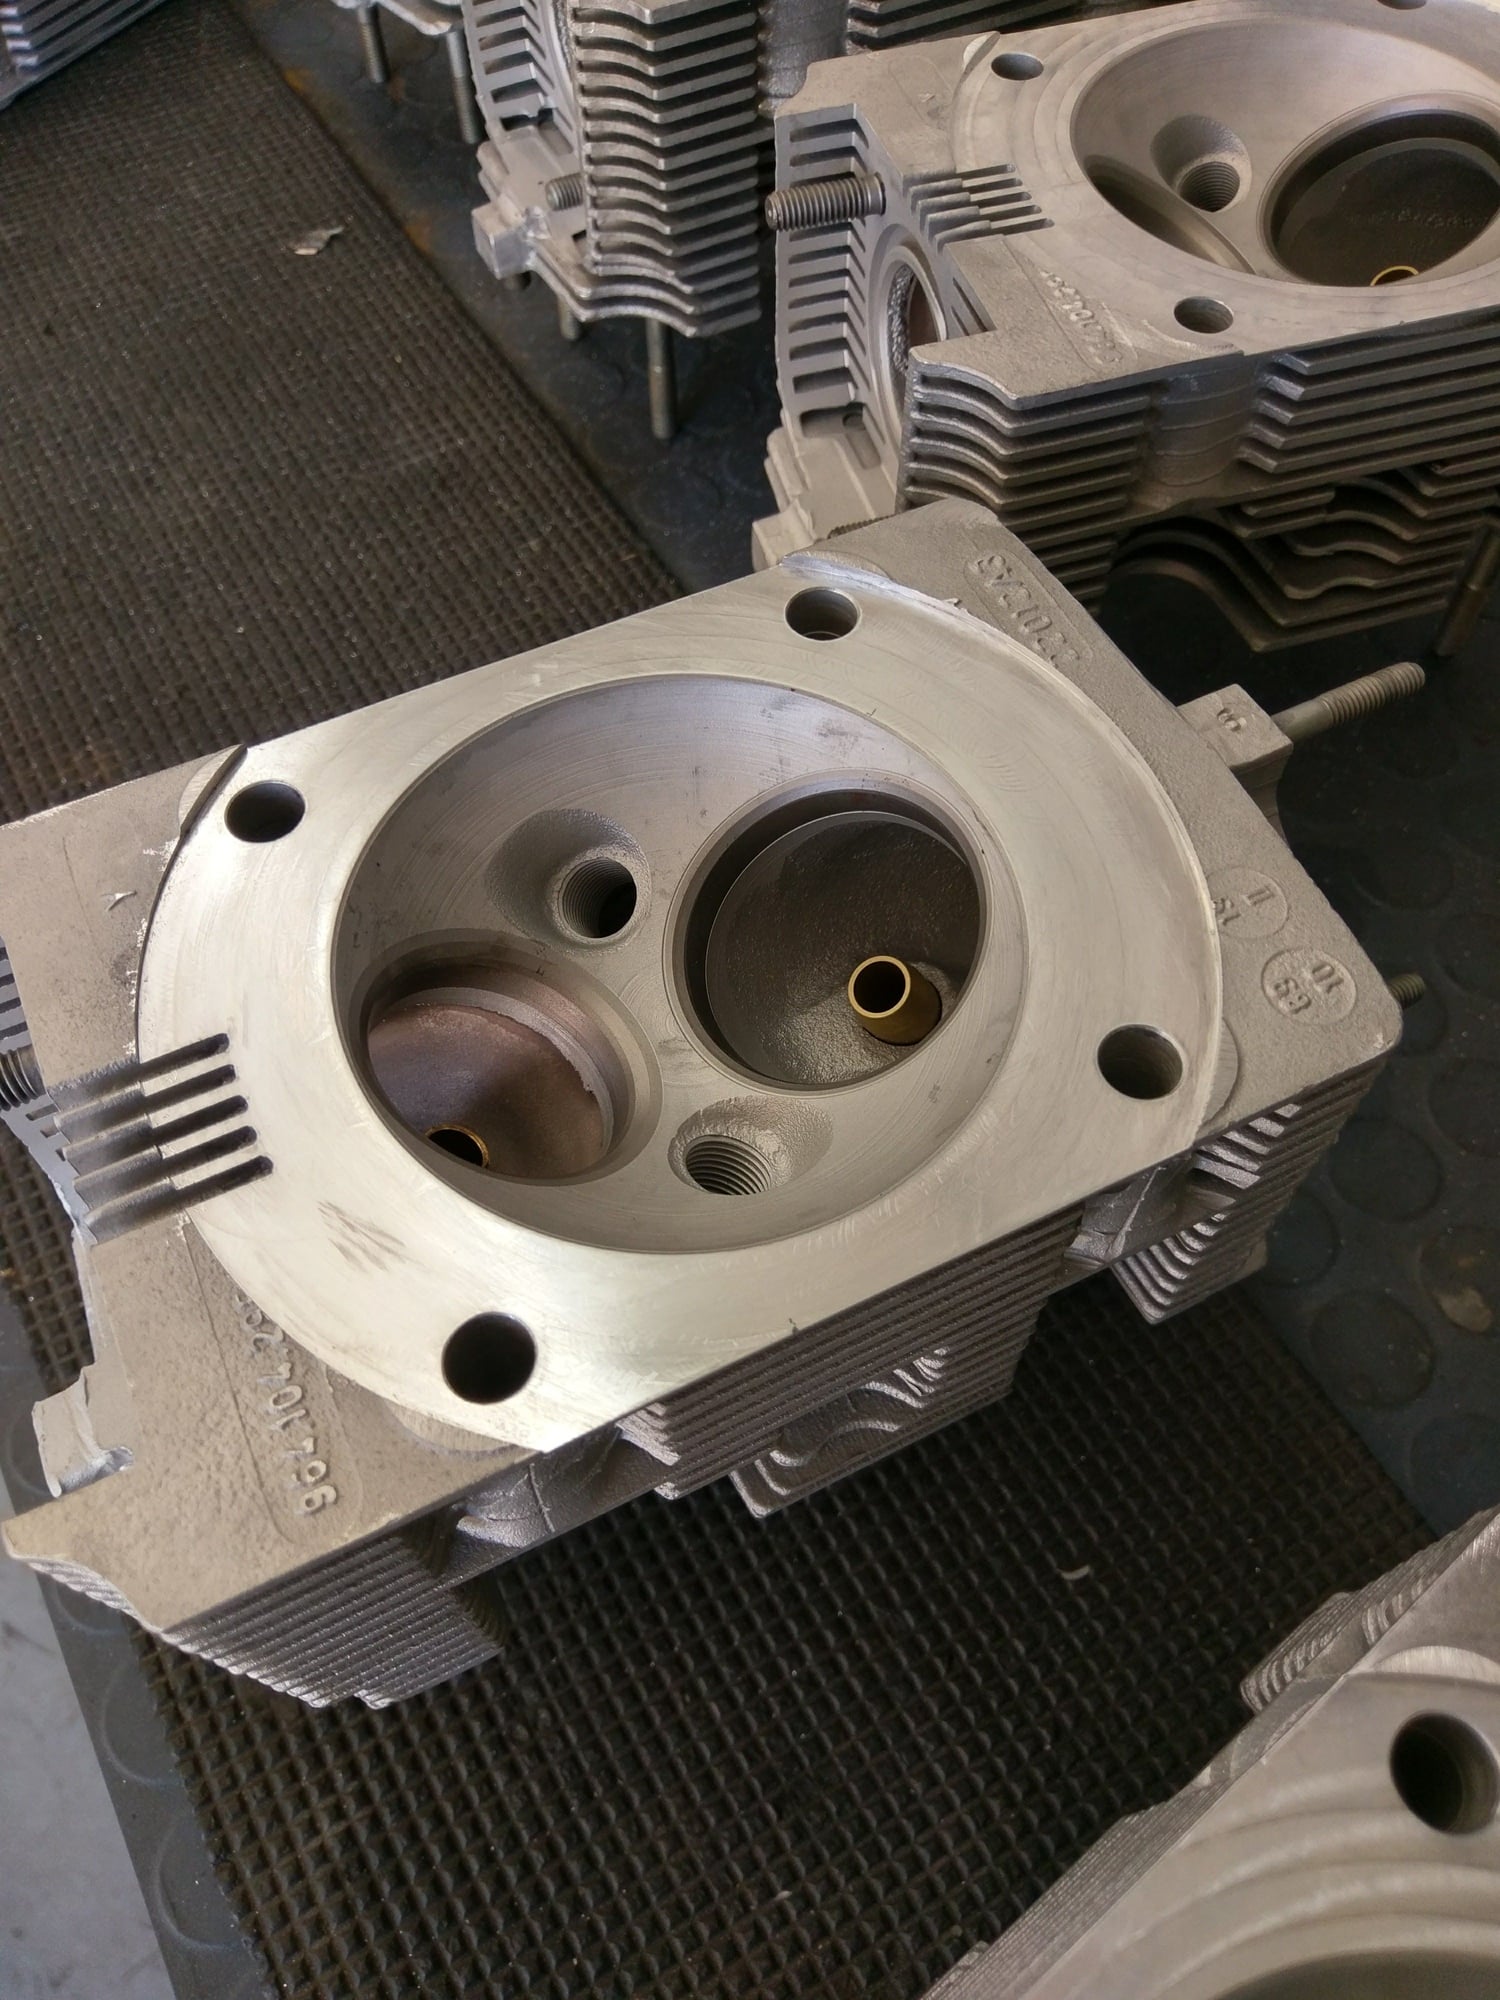
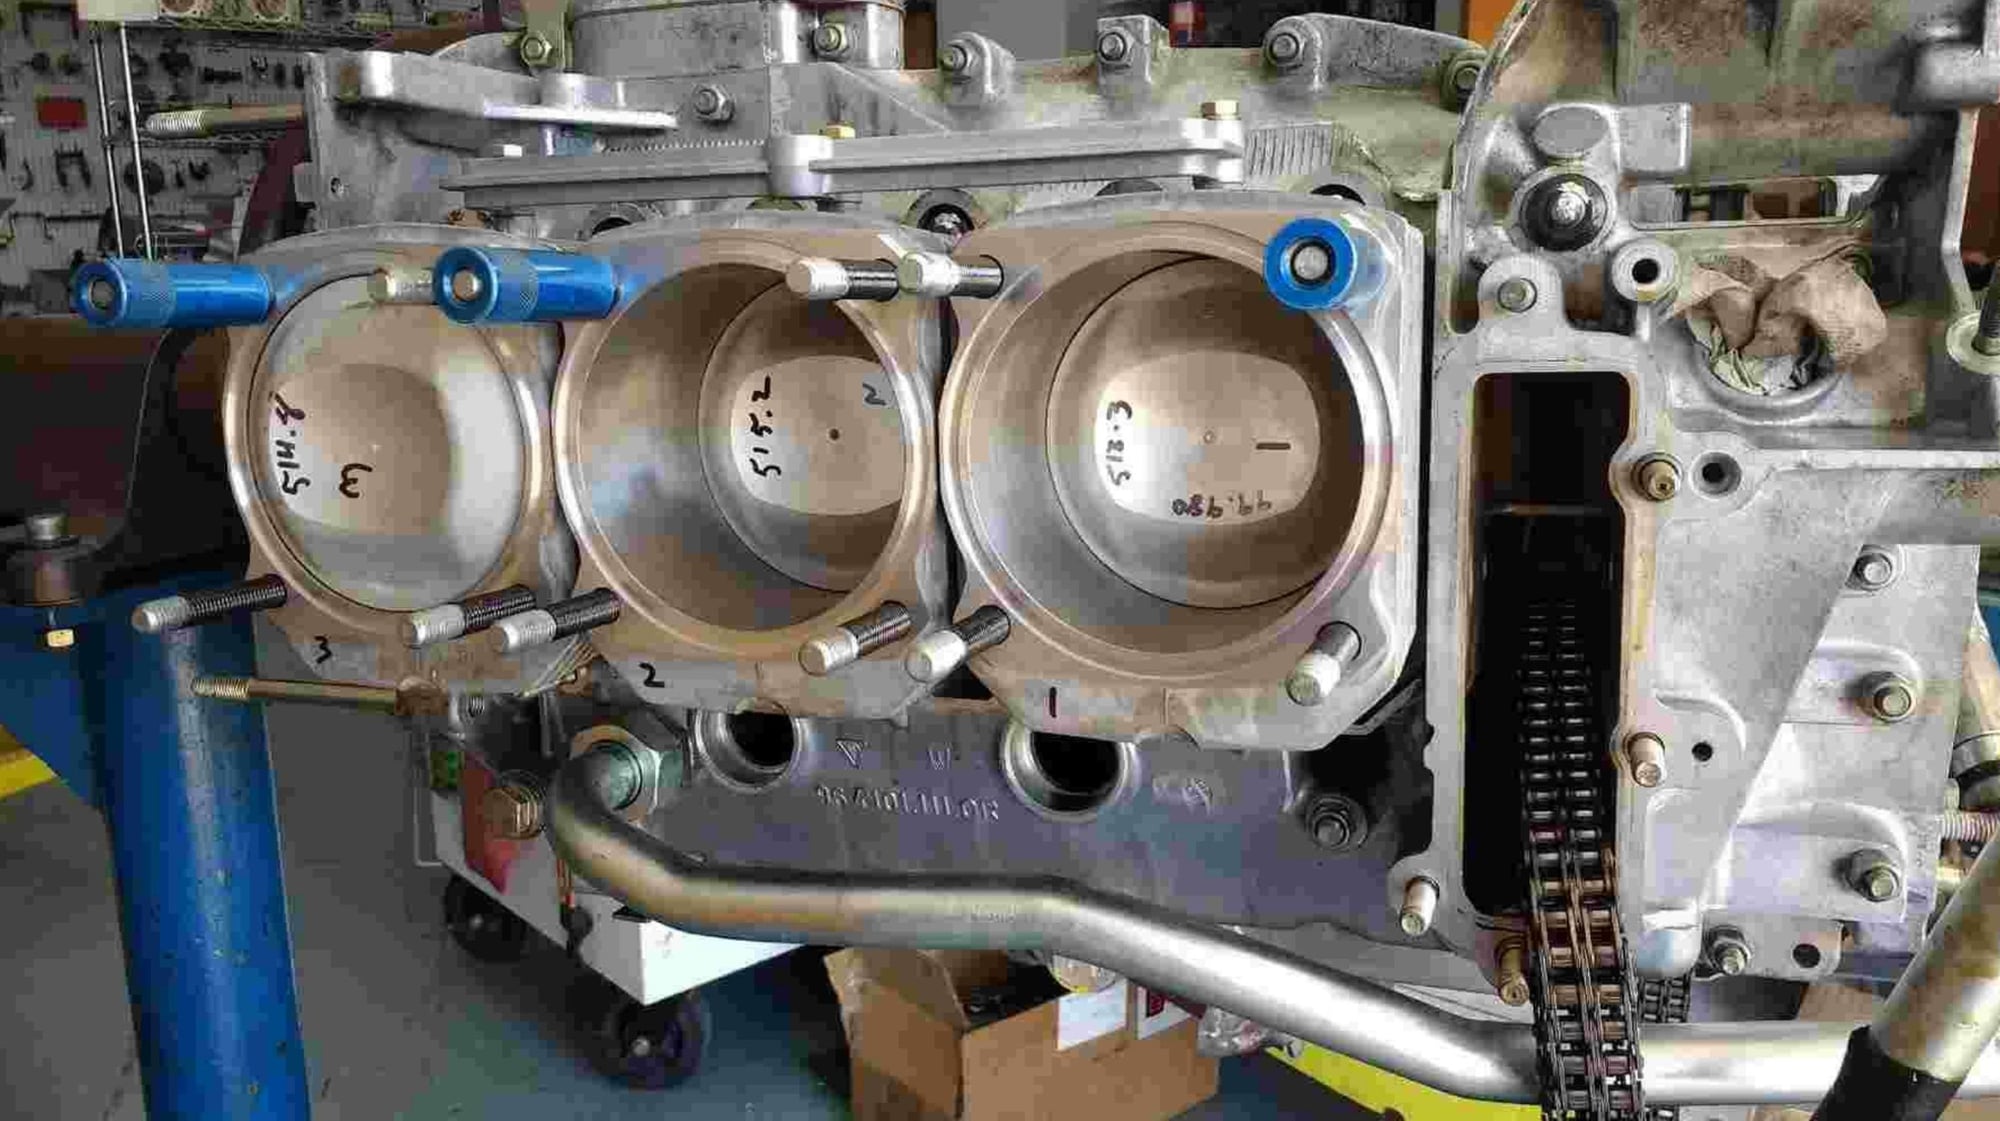
Once apart, here are the culprits.
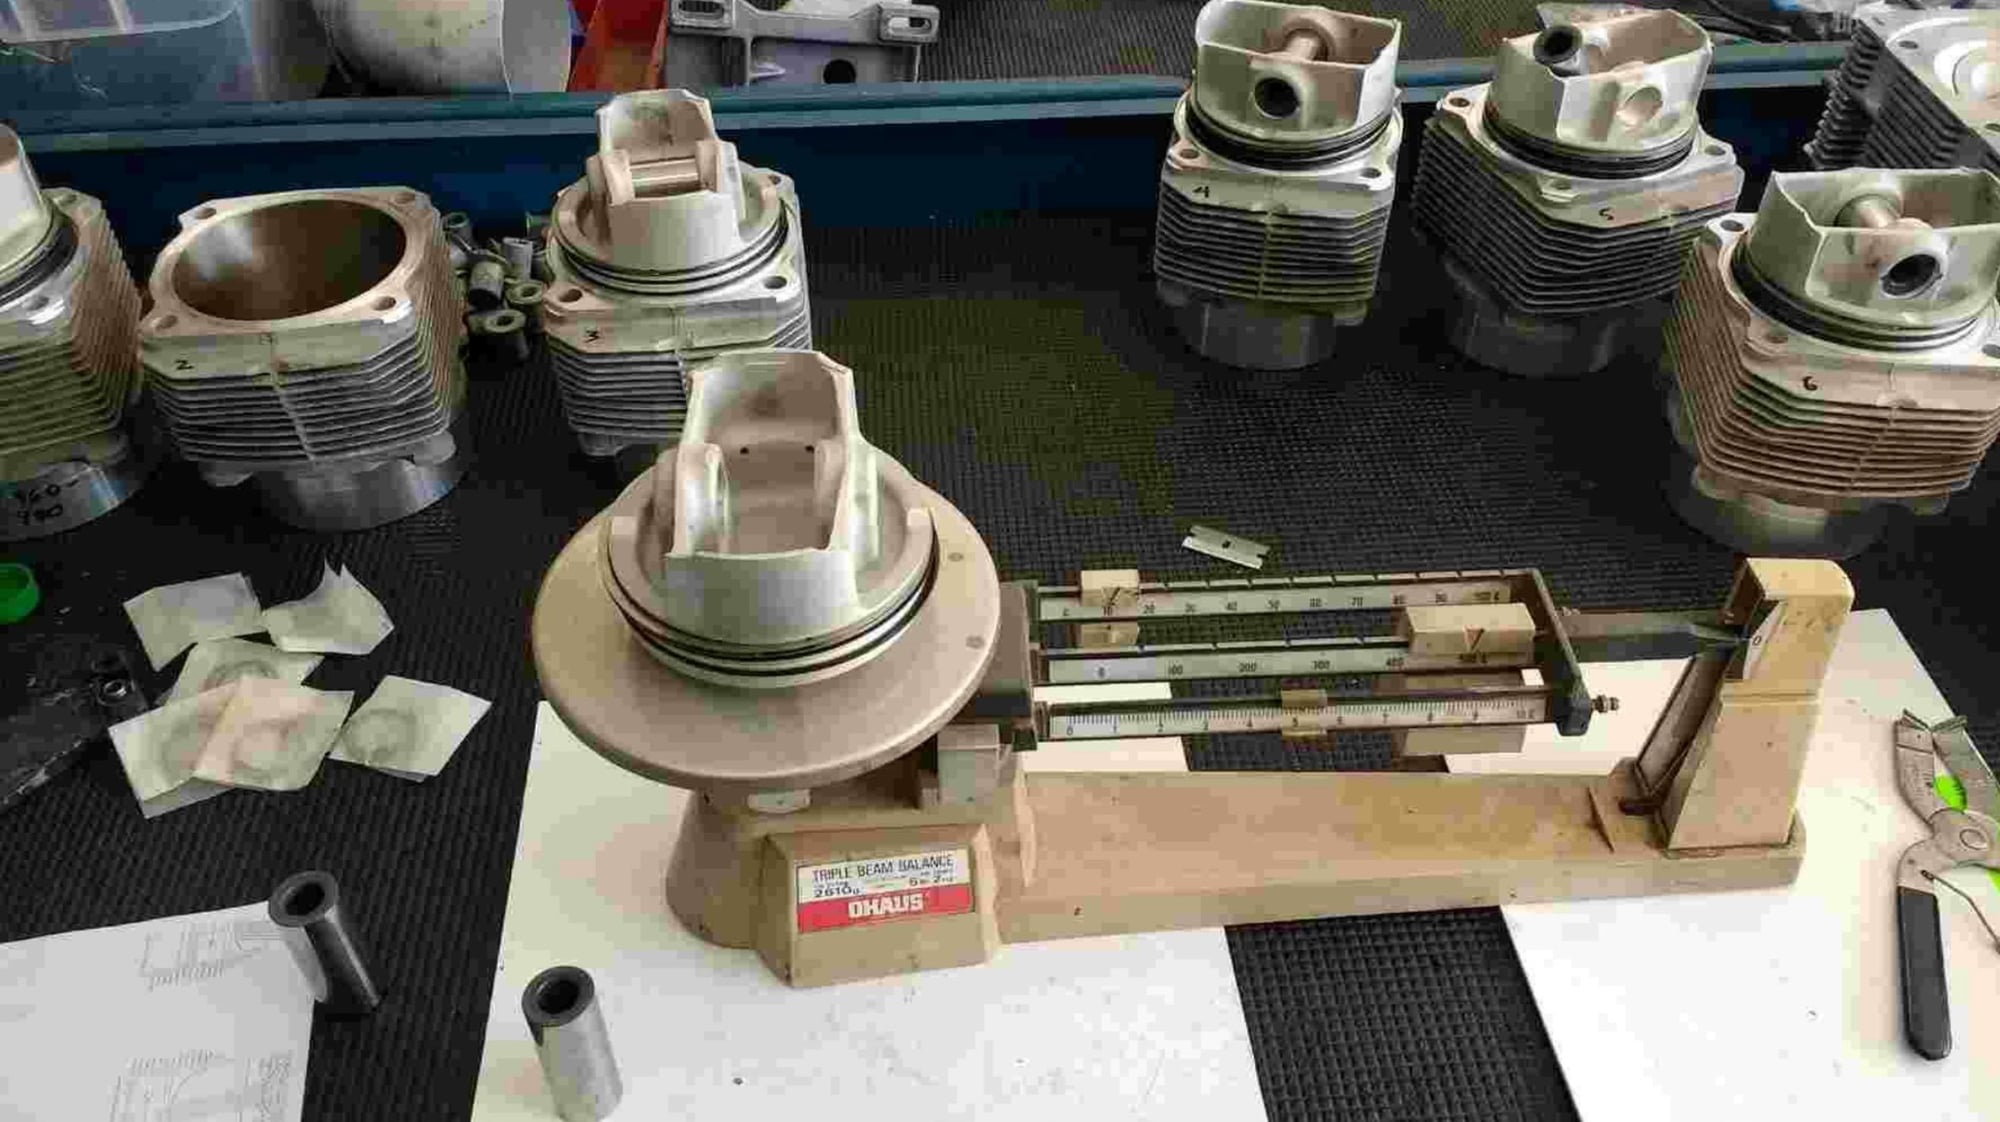
So, from there, we ordered a Wrightwood gasket kit, bought the updated 3.6 Mahle P/C's, milled the heads...
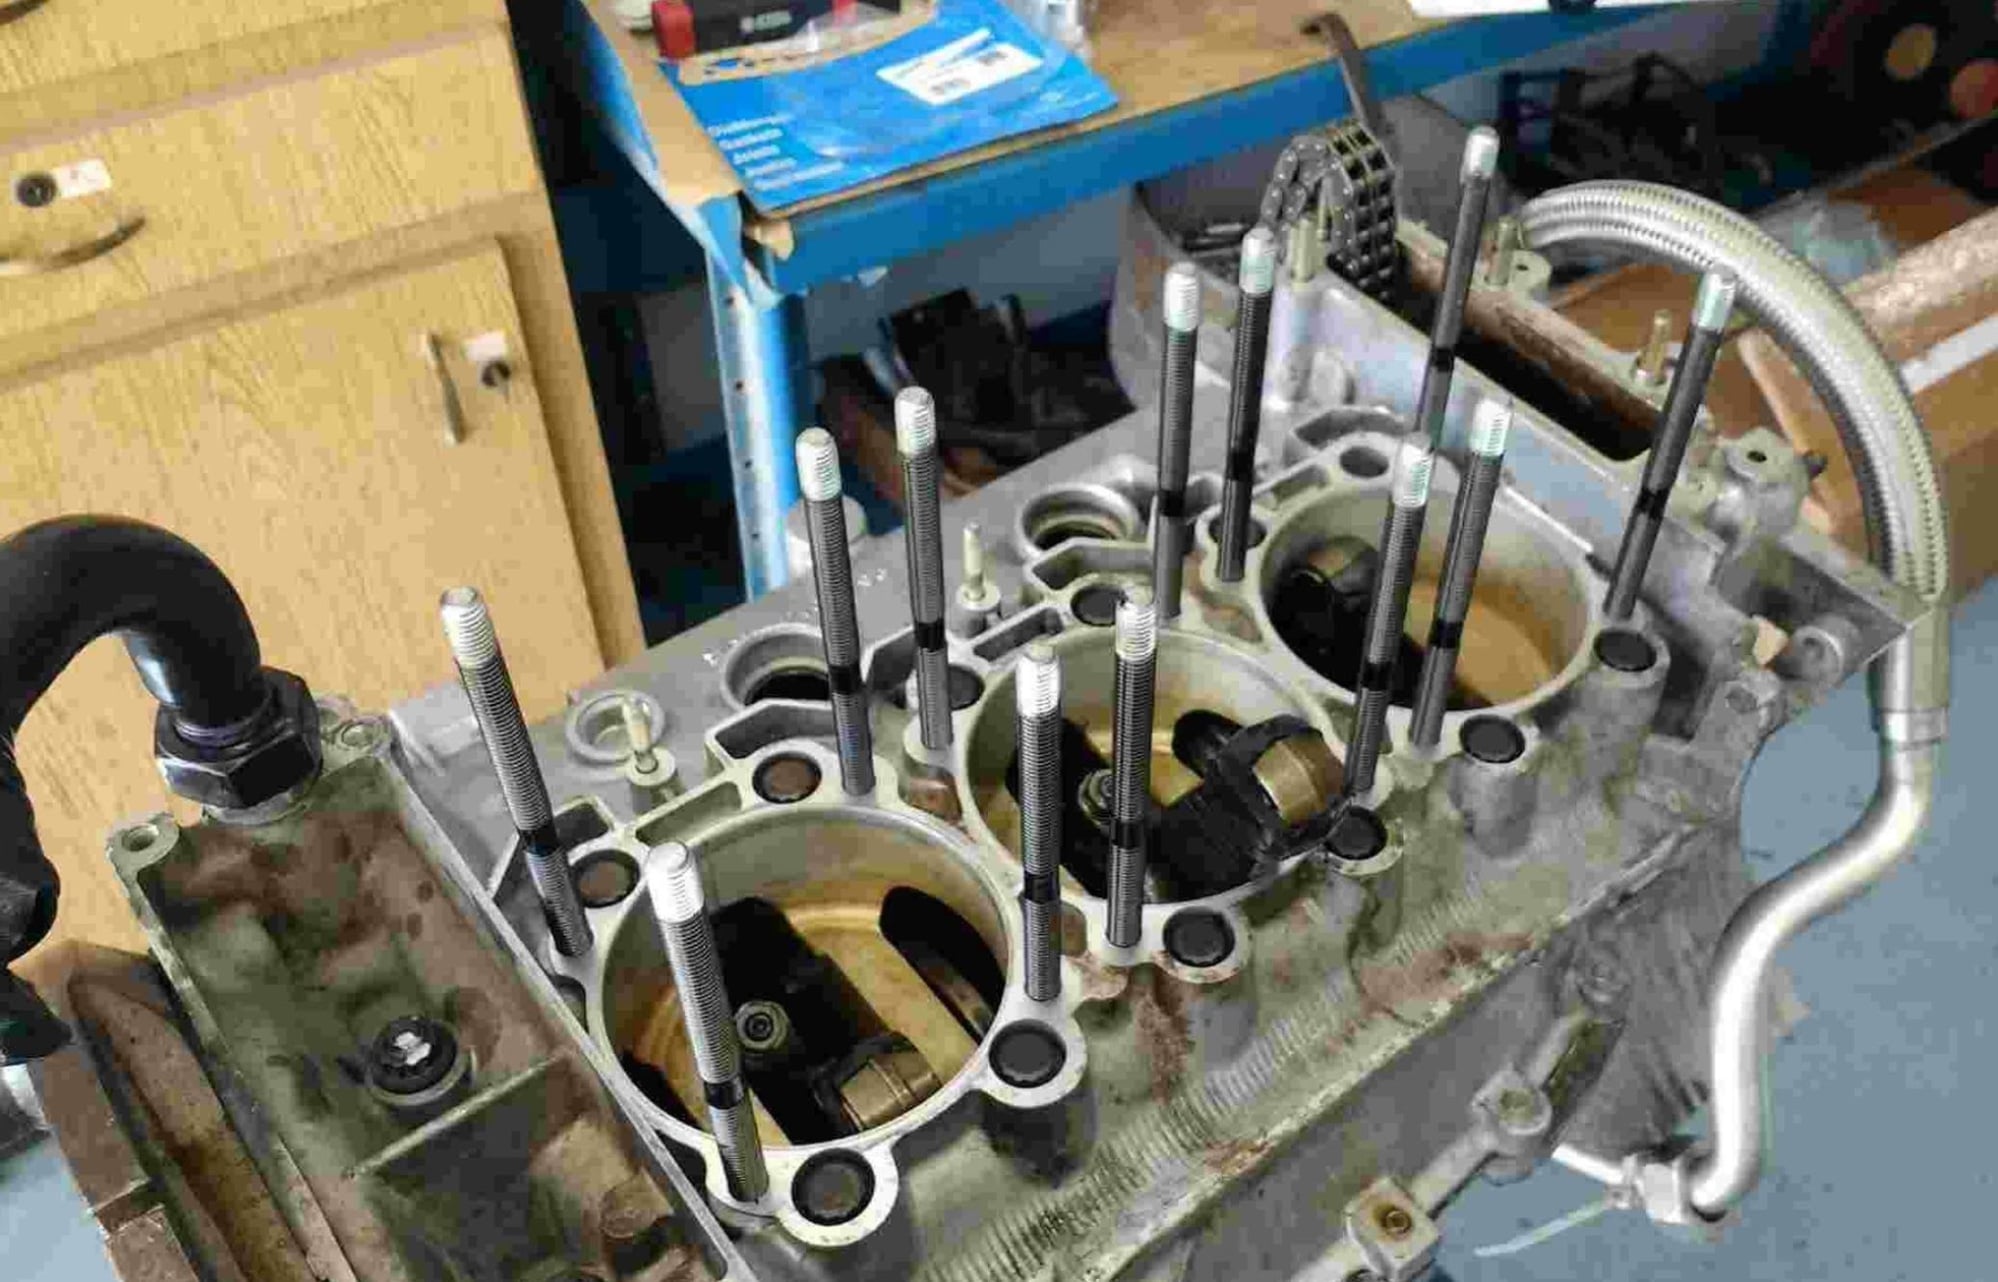
Add 993TT case studs.... (excuse the poor phone picture here, the case was cleaner than it looks)
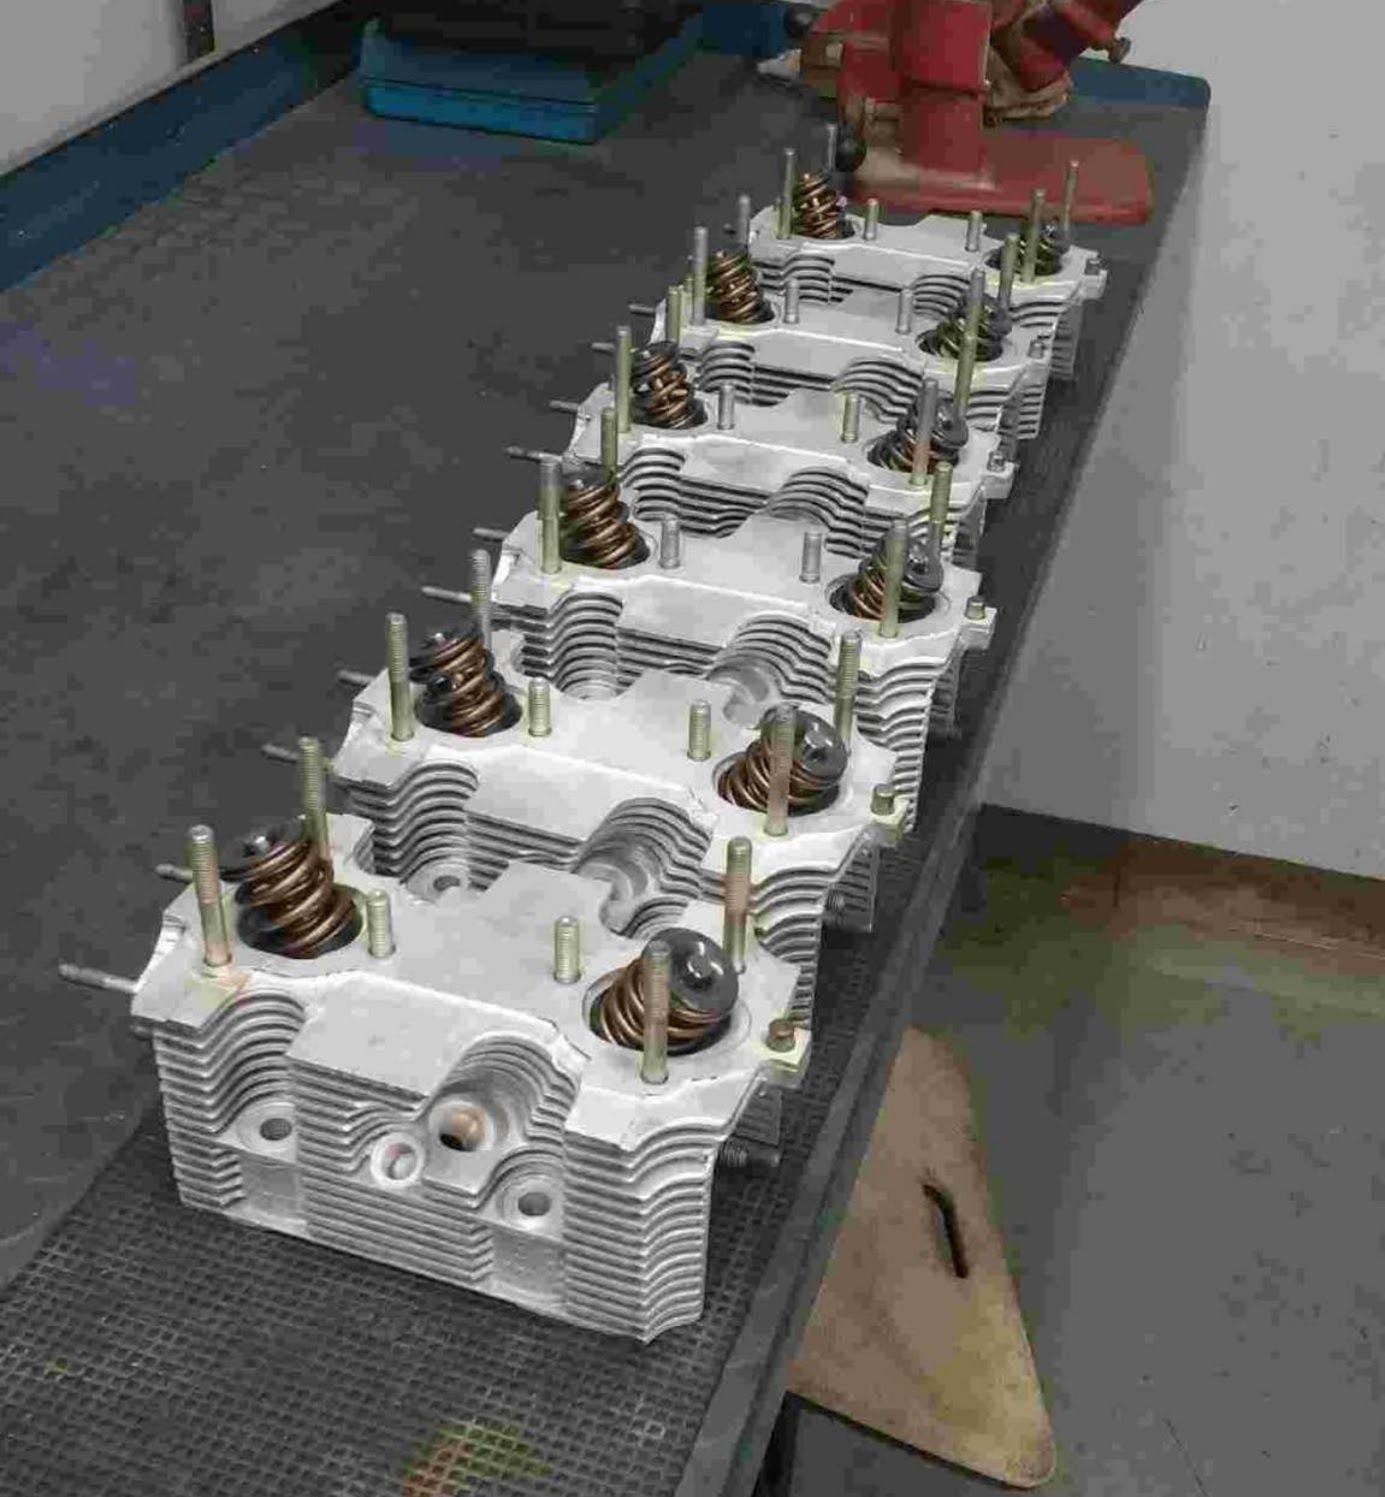
Heads reworked with VMax valve springs and chromoly lightweight retainers.
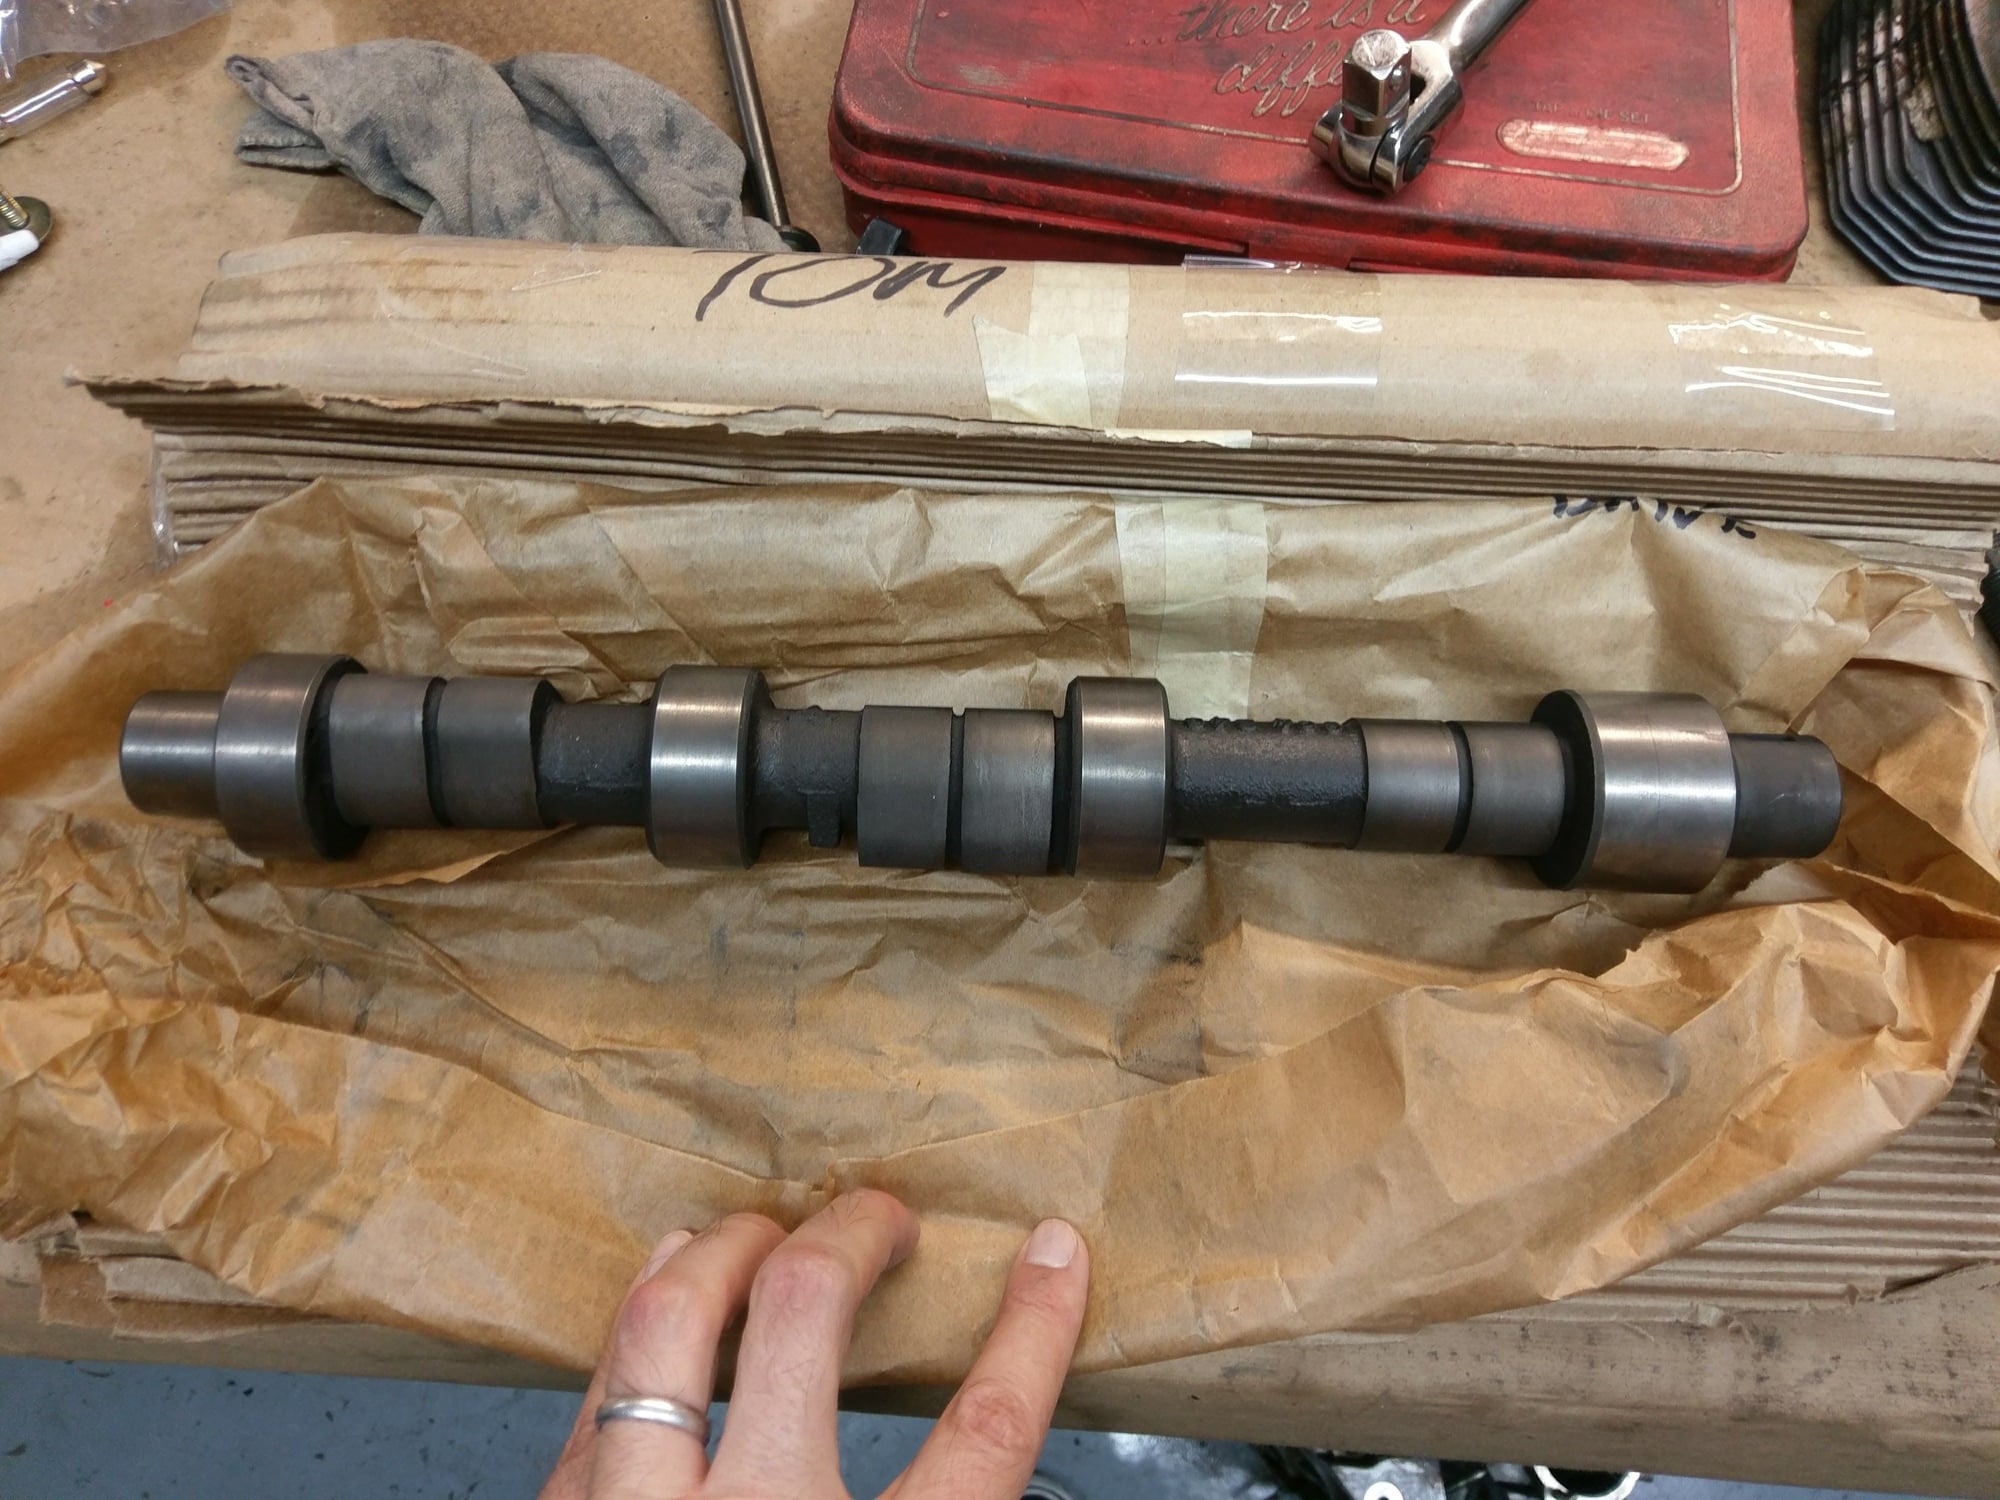
Cam timing procedure... Oh, and new non-mag timing boxes added too as the old mag ones were getting porous around the cam openings. I didn't want to be back in there within five years dealing with that...
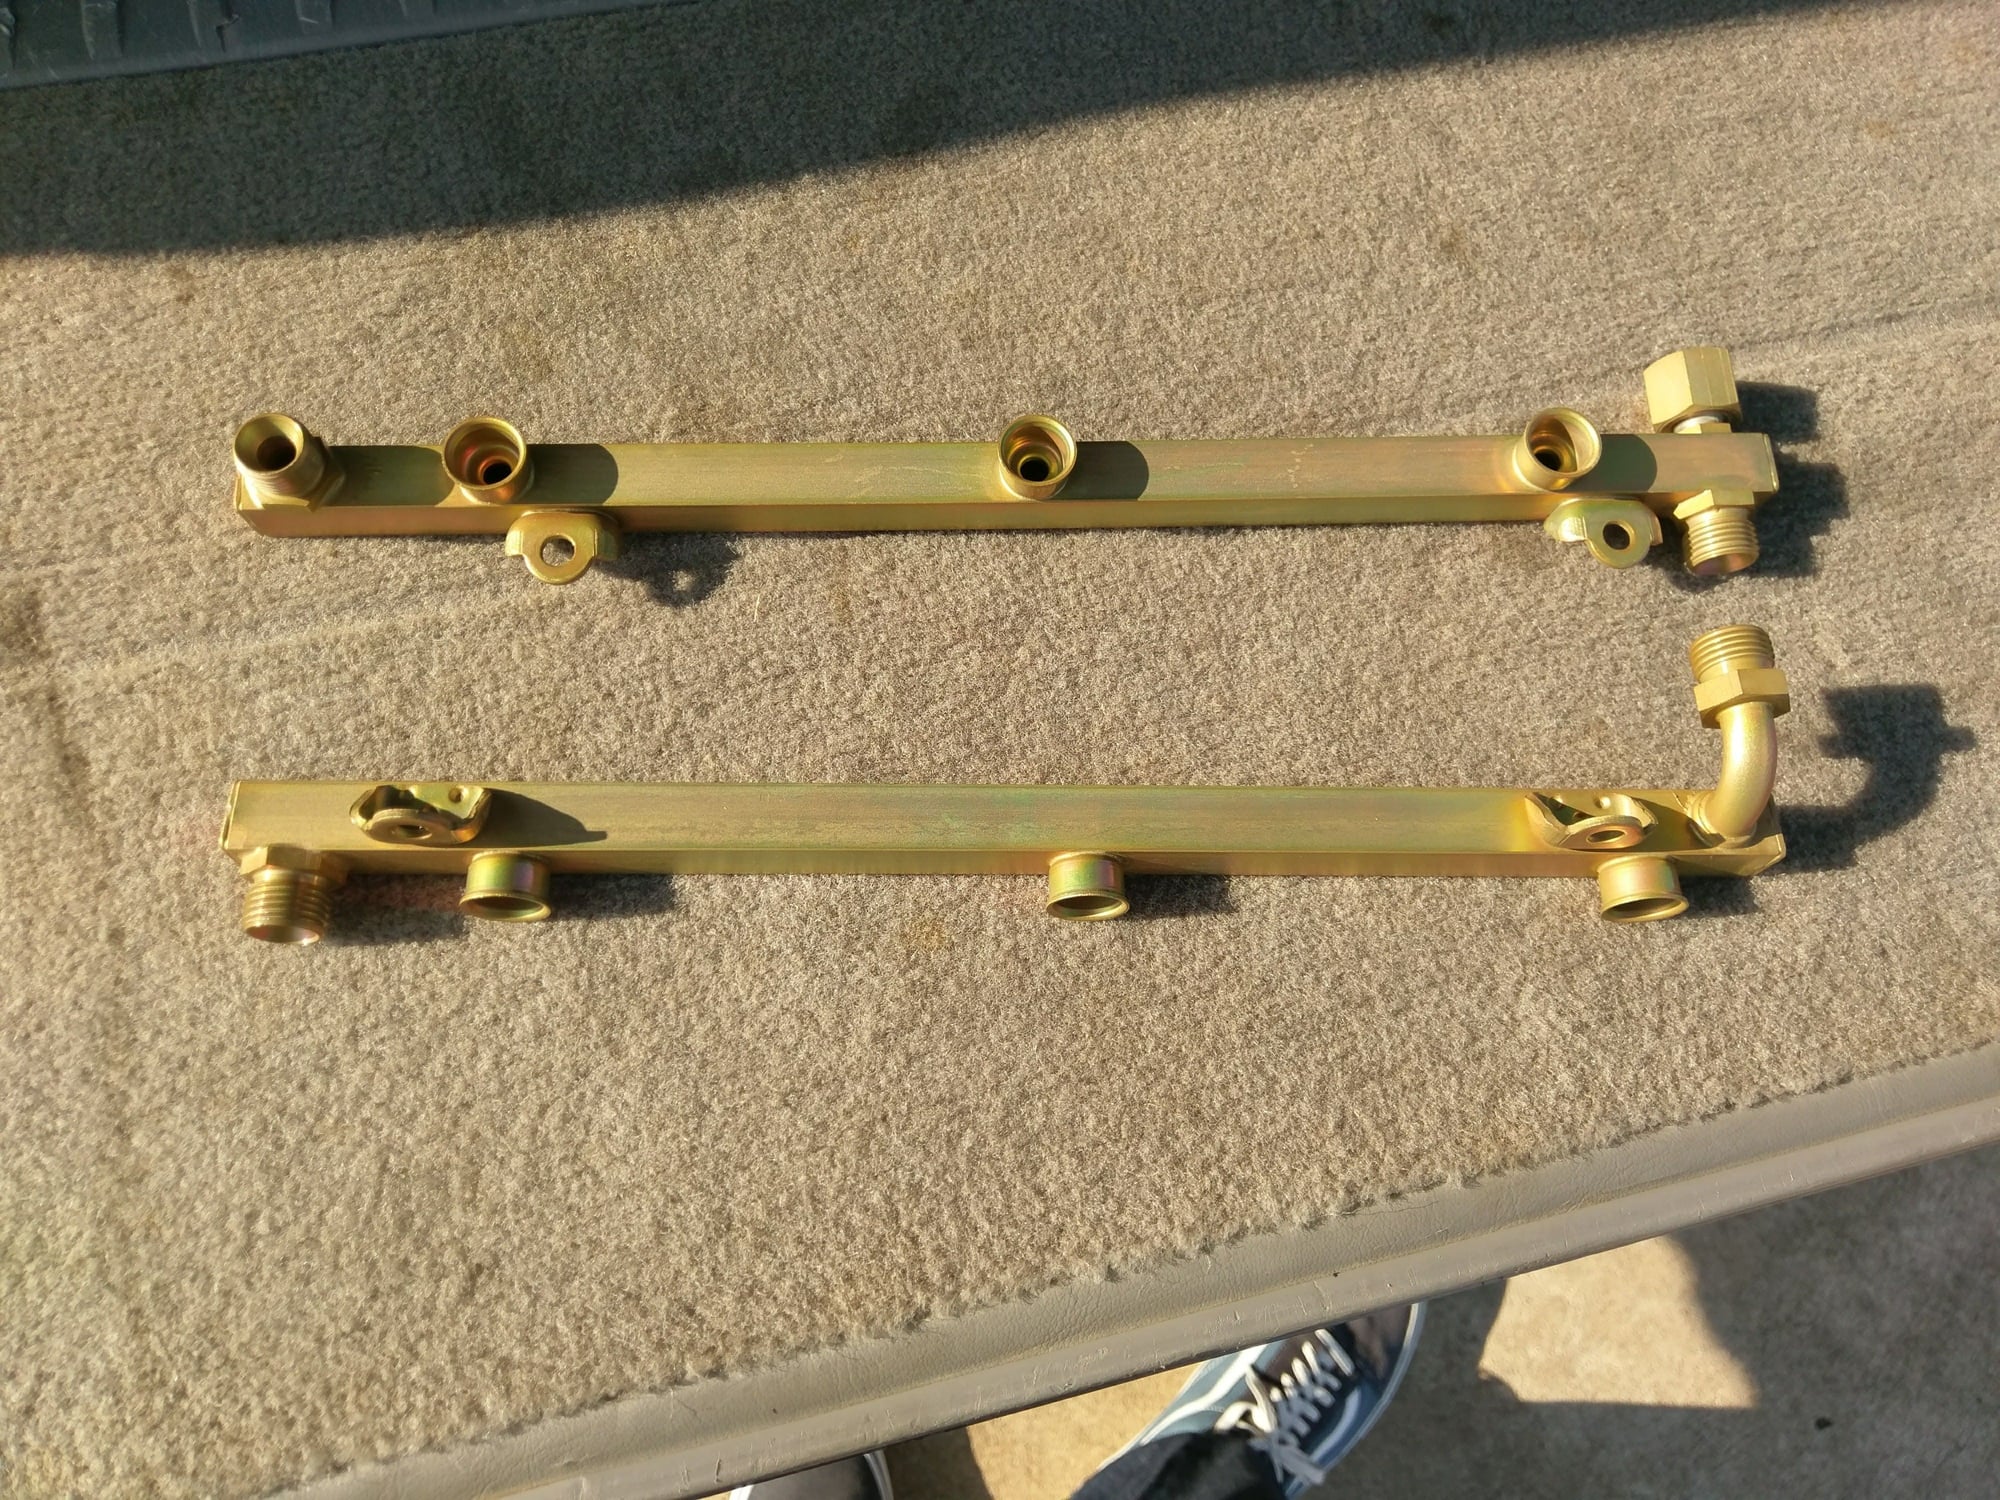
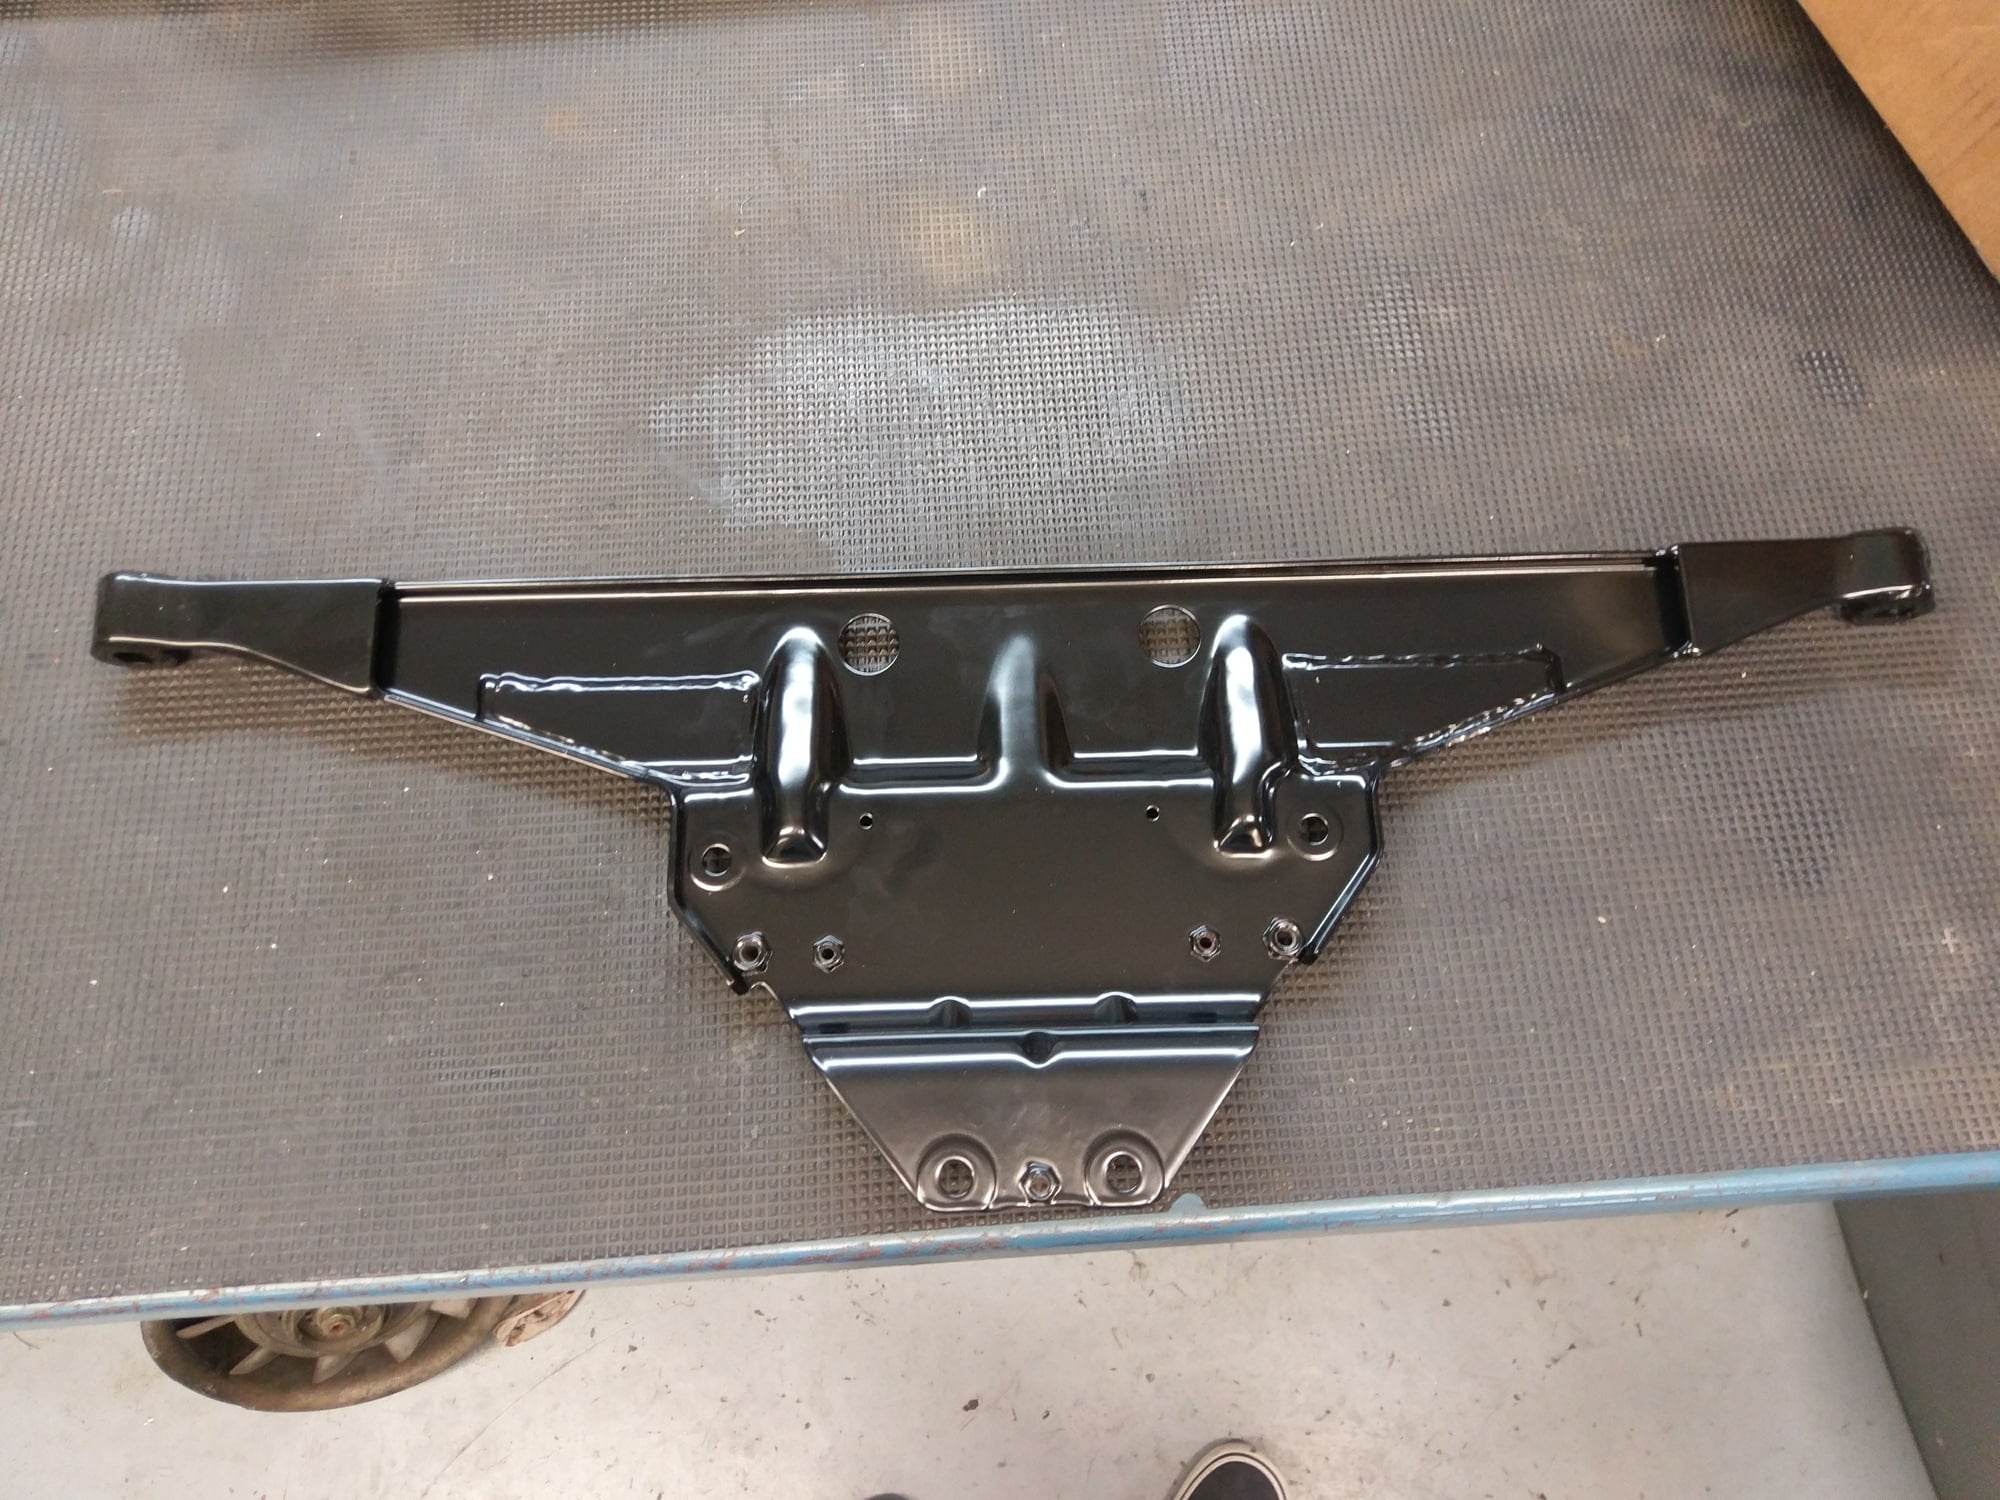
Lots of bits to the platers, and powder coating shop. We did reinforce the engine carrier too....
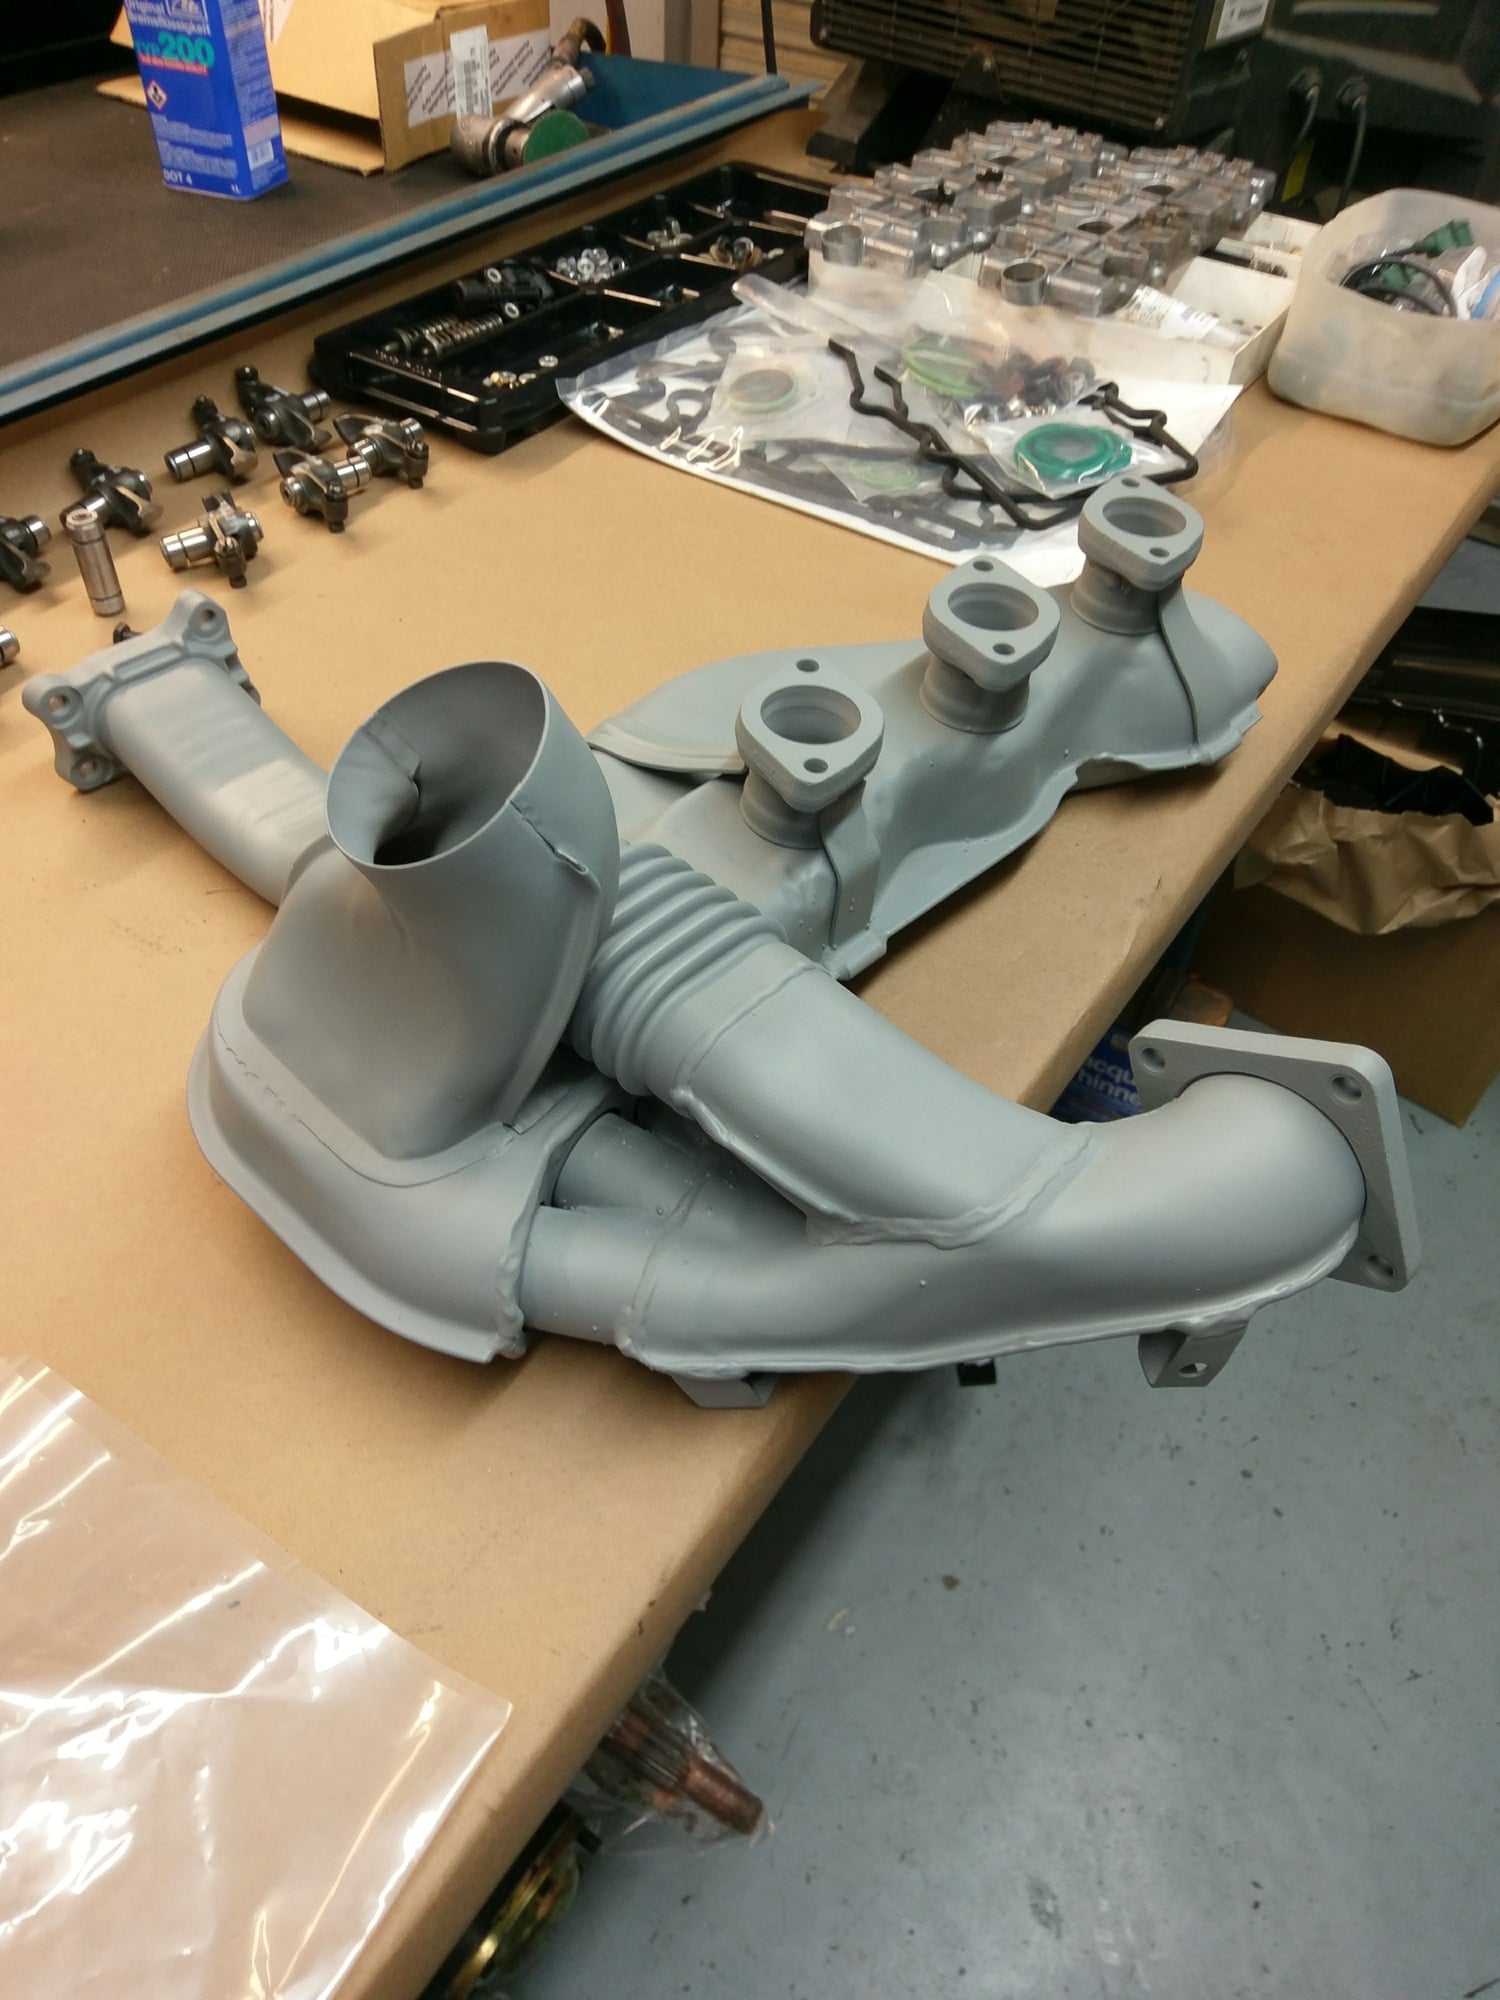
Ceramic coated heat exchangers....
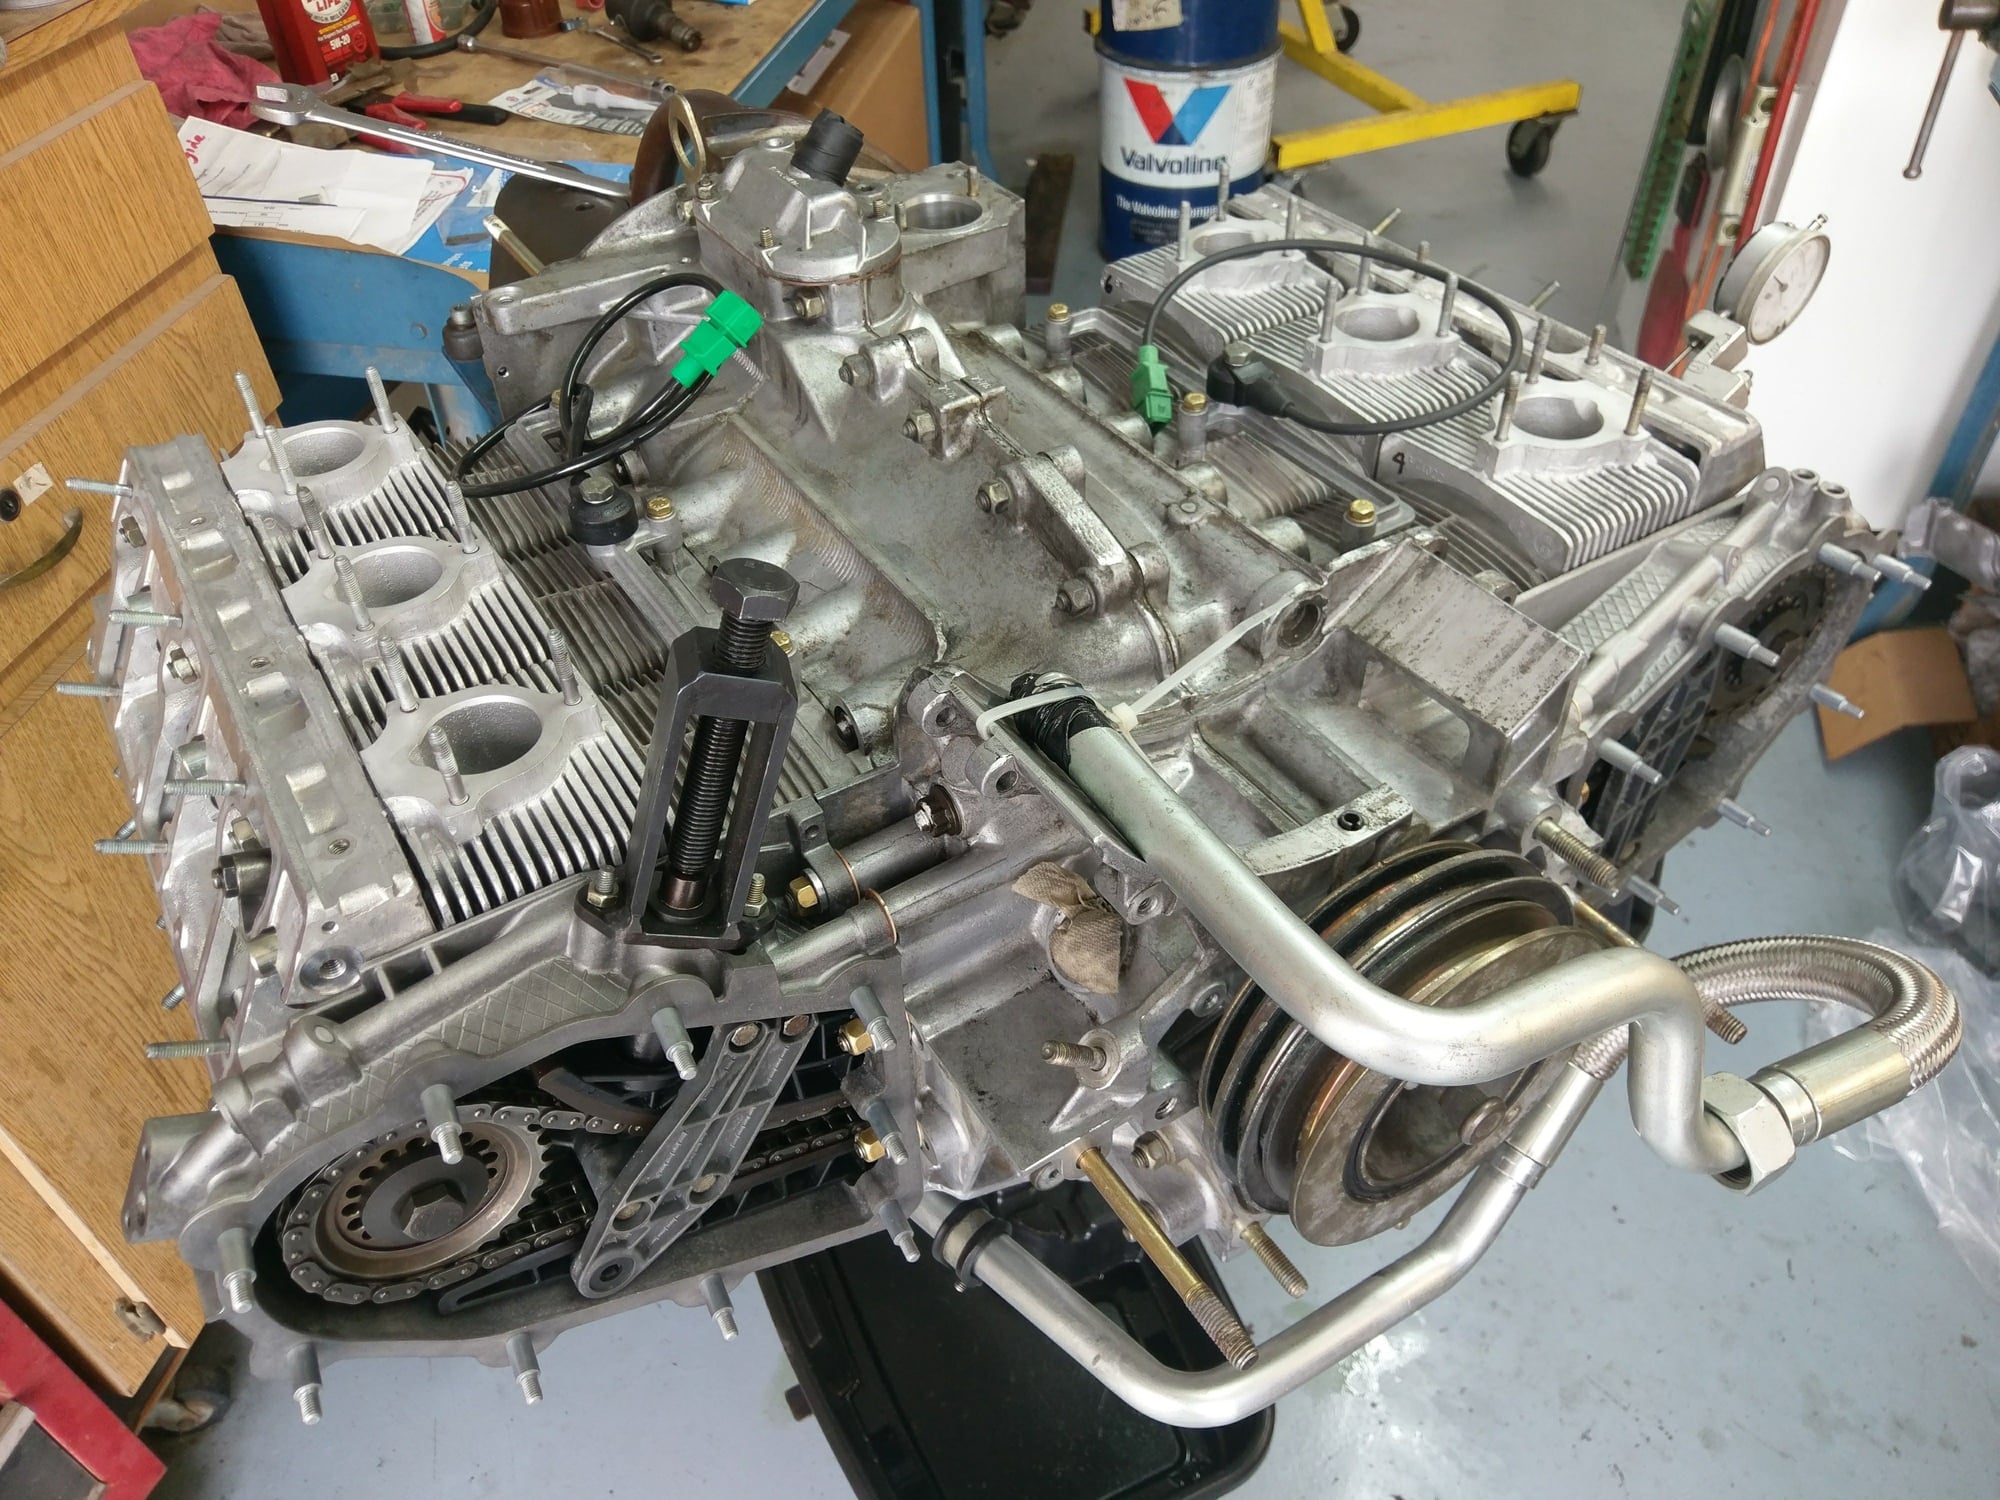
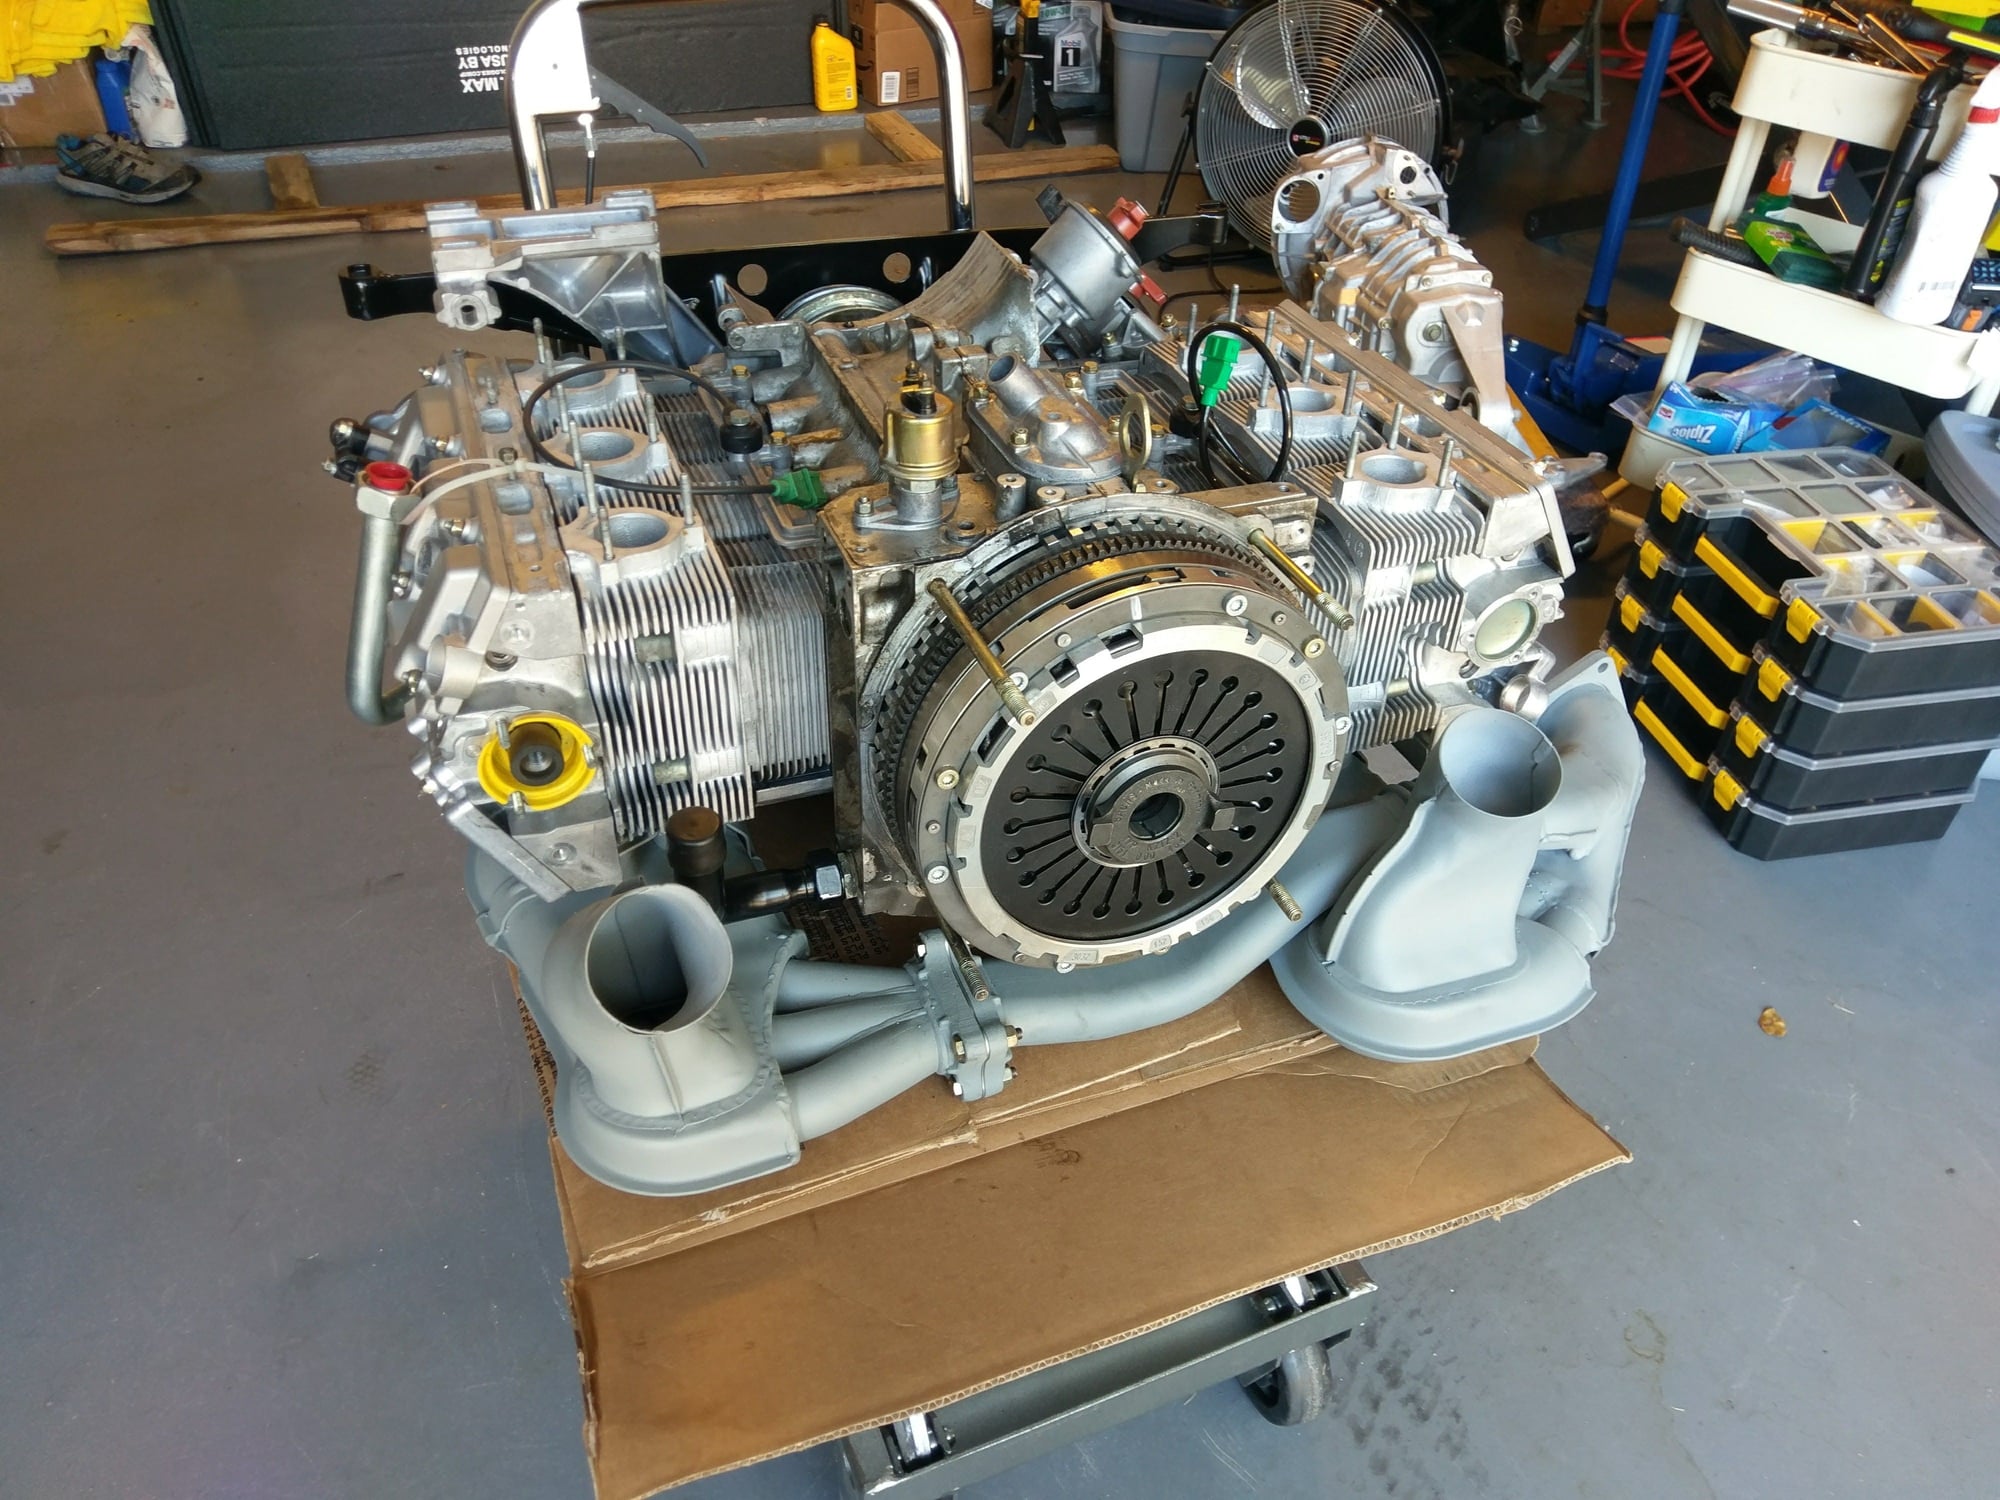
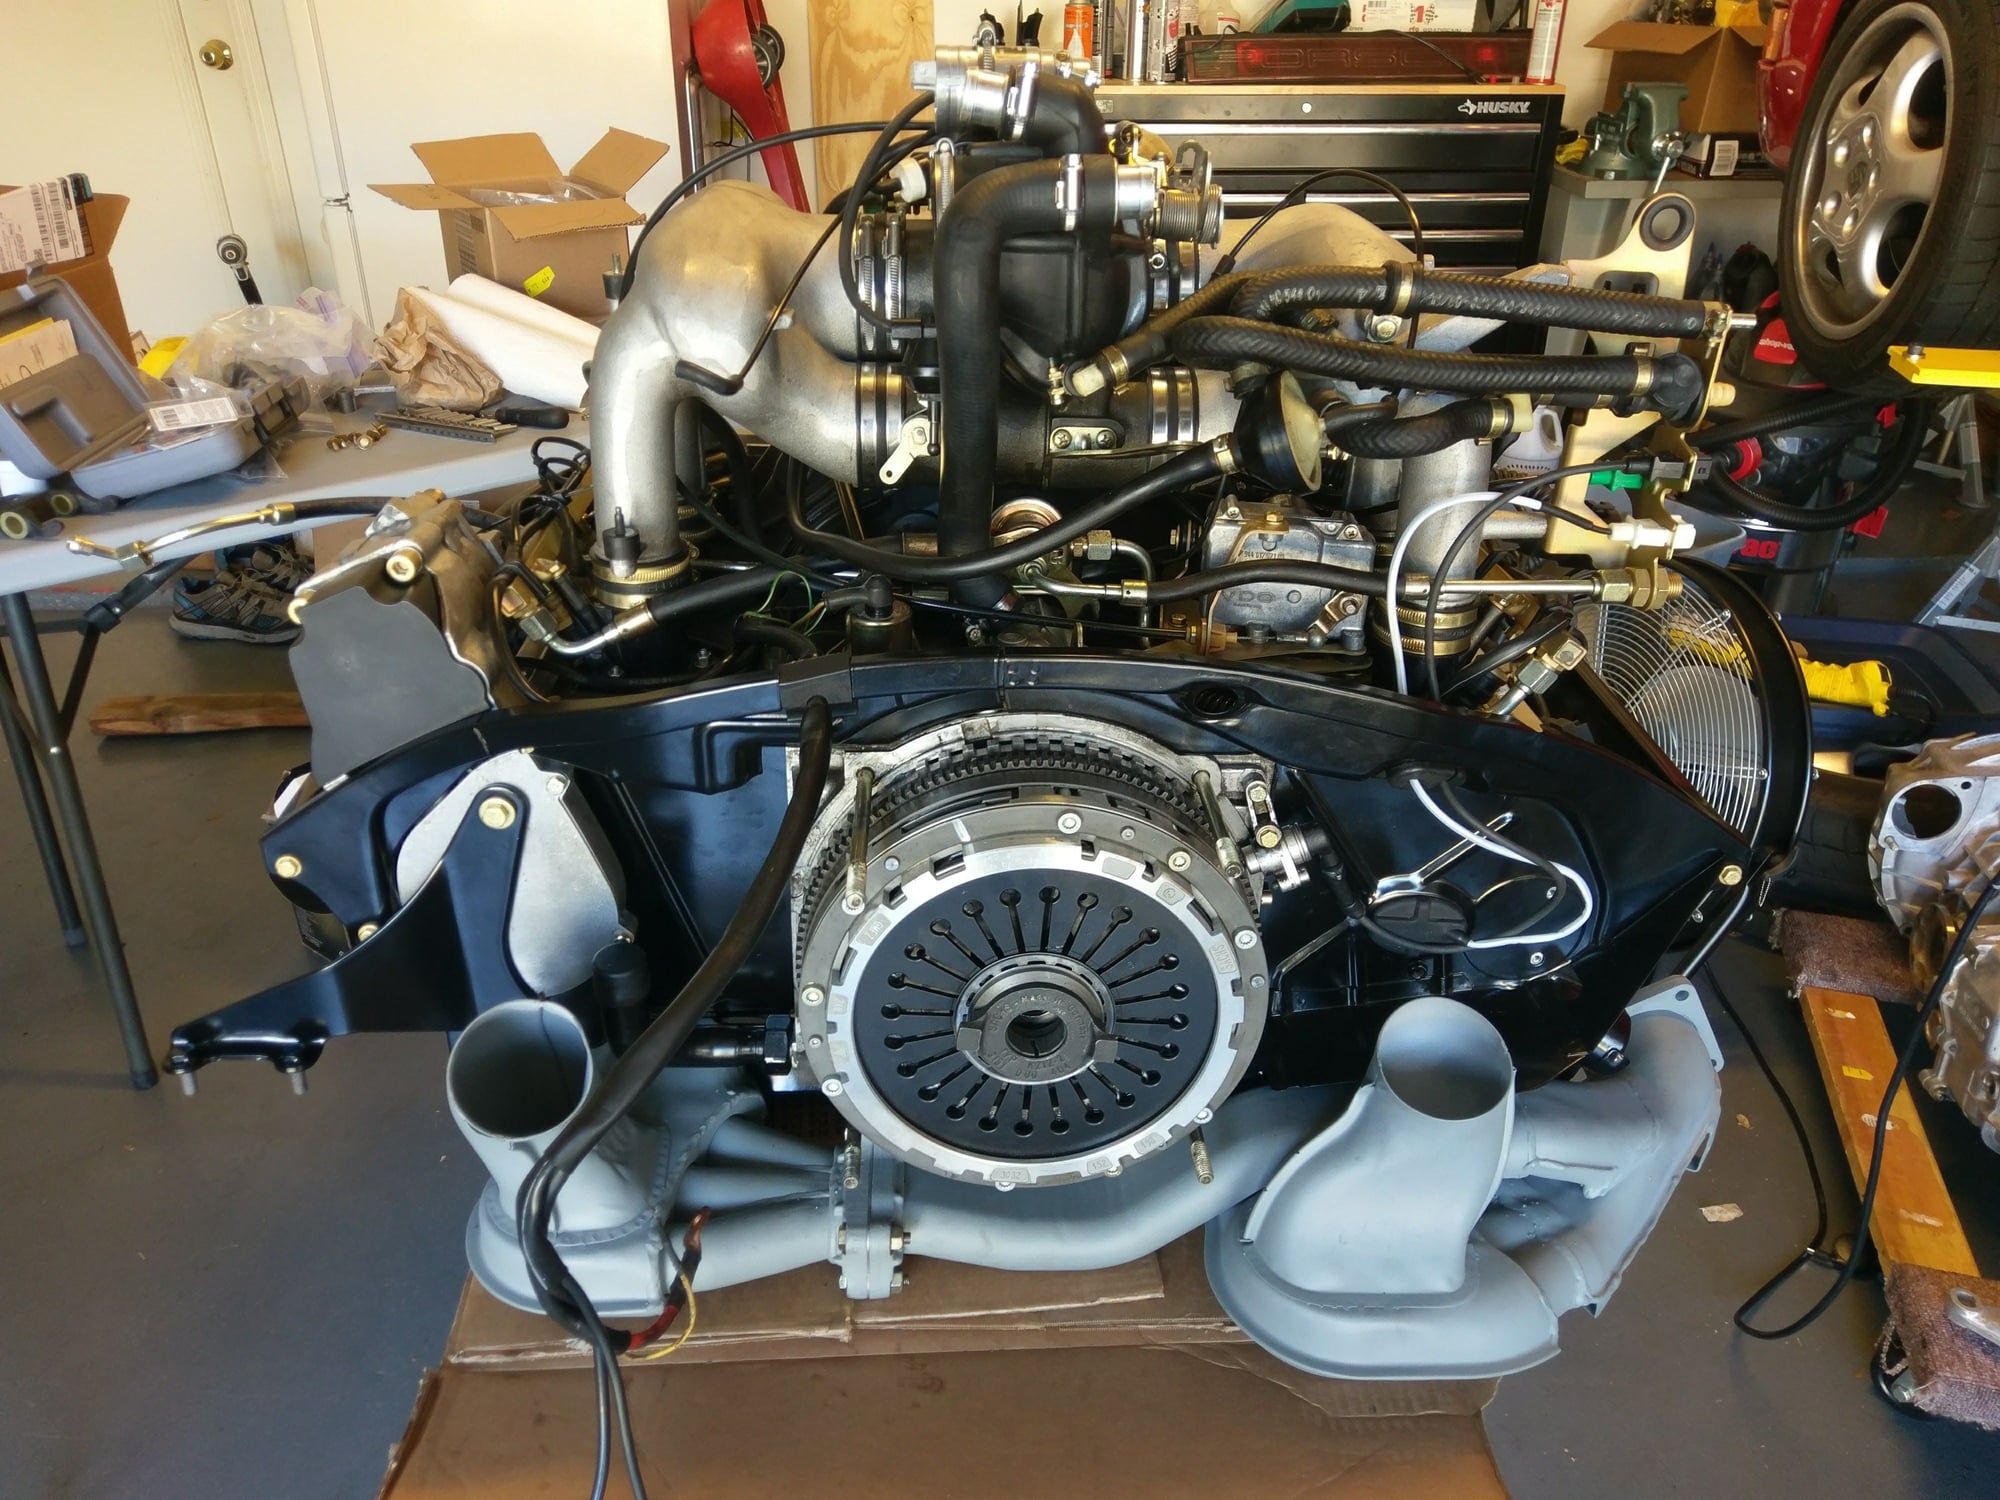
Long block comes home... Forgot to mention, new Sachs clutch, new LuK DMFW, new fork, shaft, bearings, new slave and flex hose...
I spent the next ten days building out the engine on the weekend and evenings....
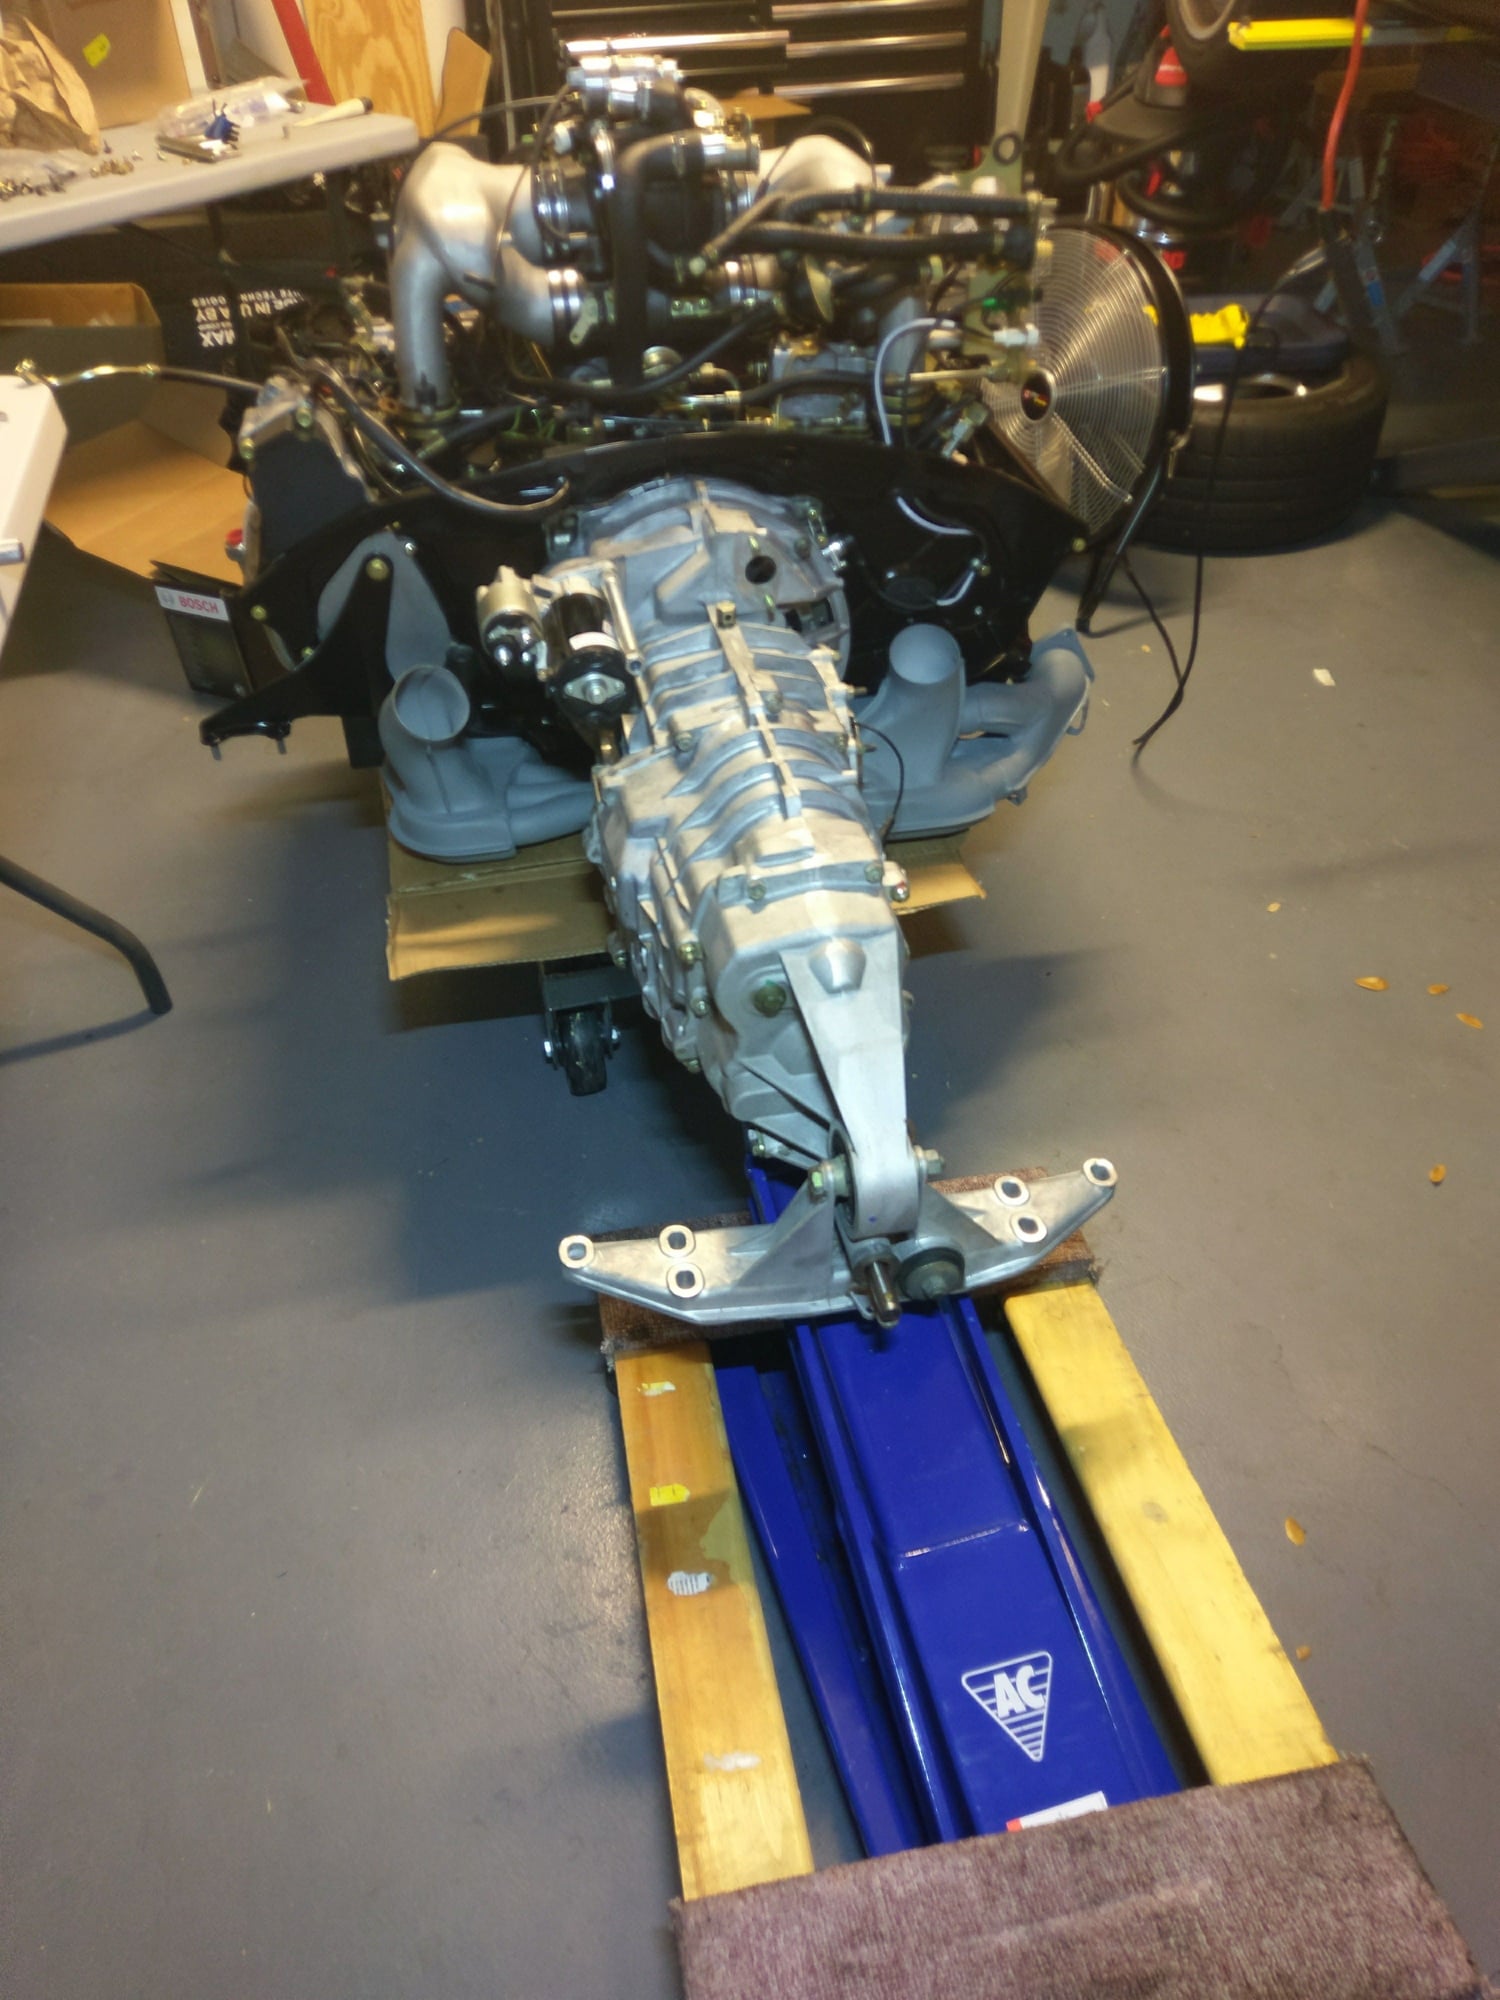
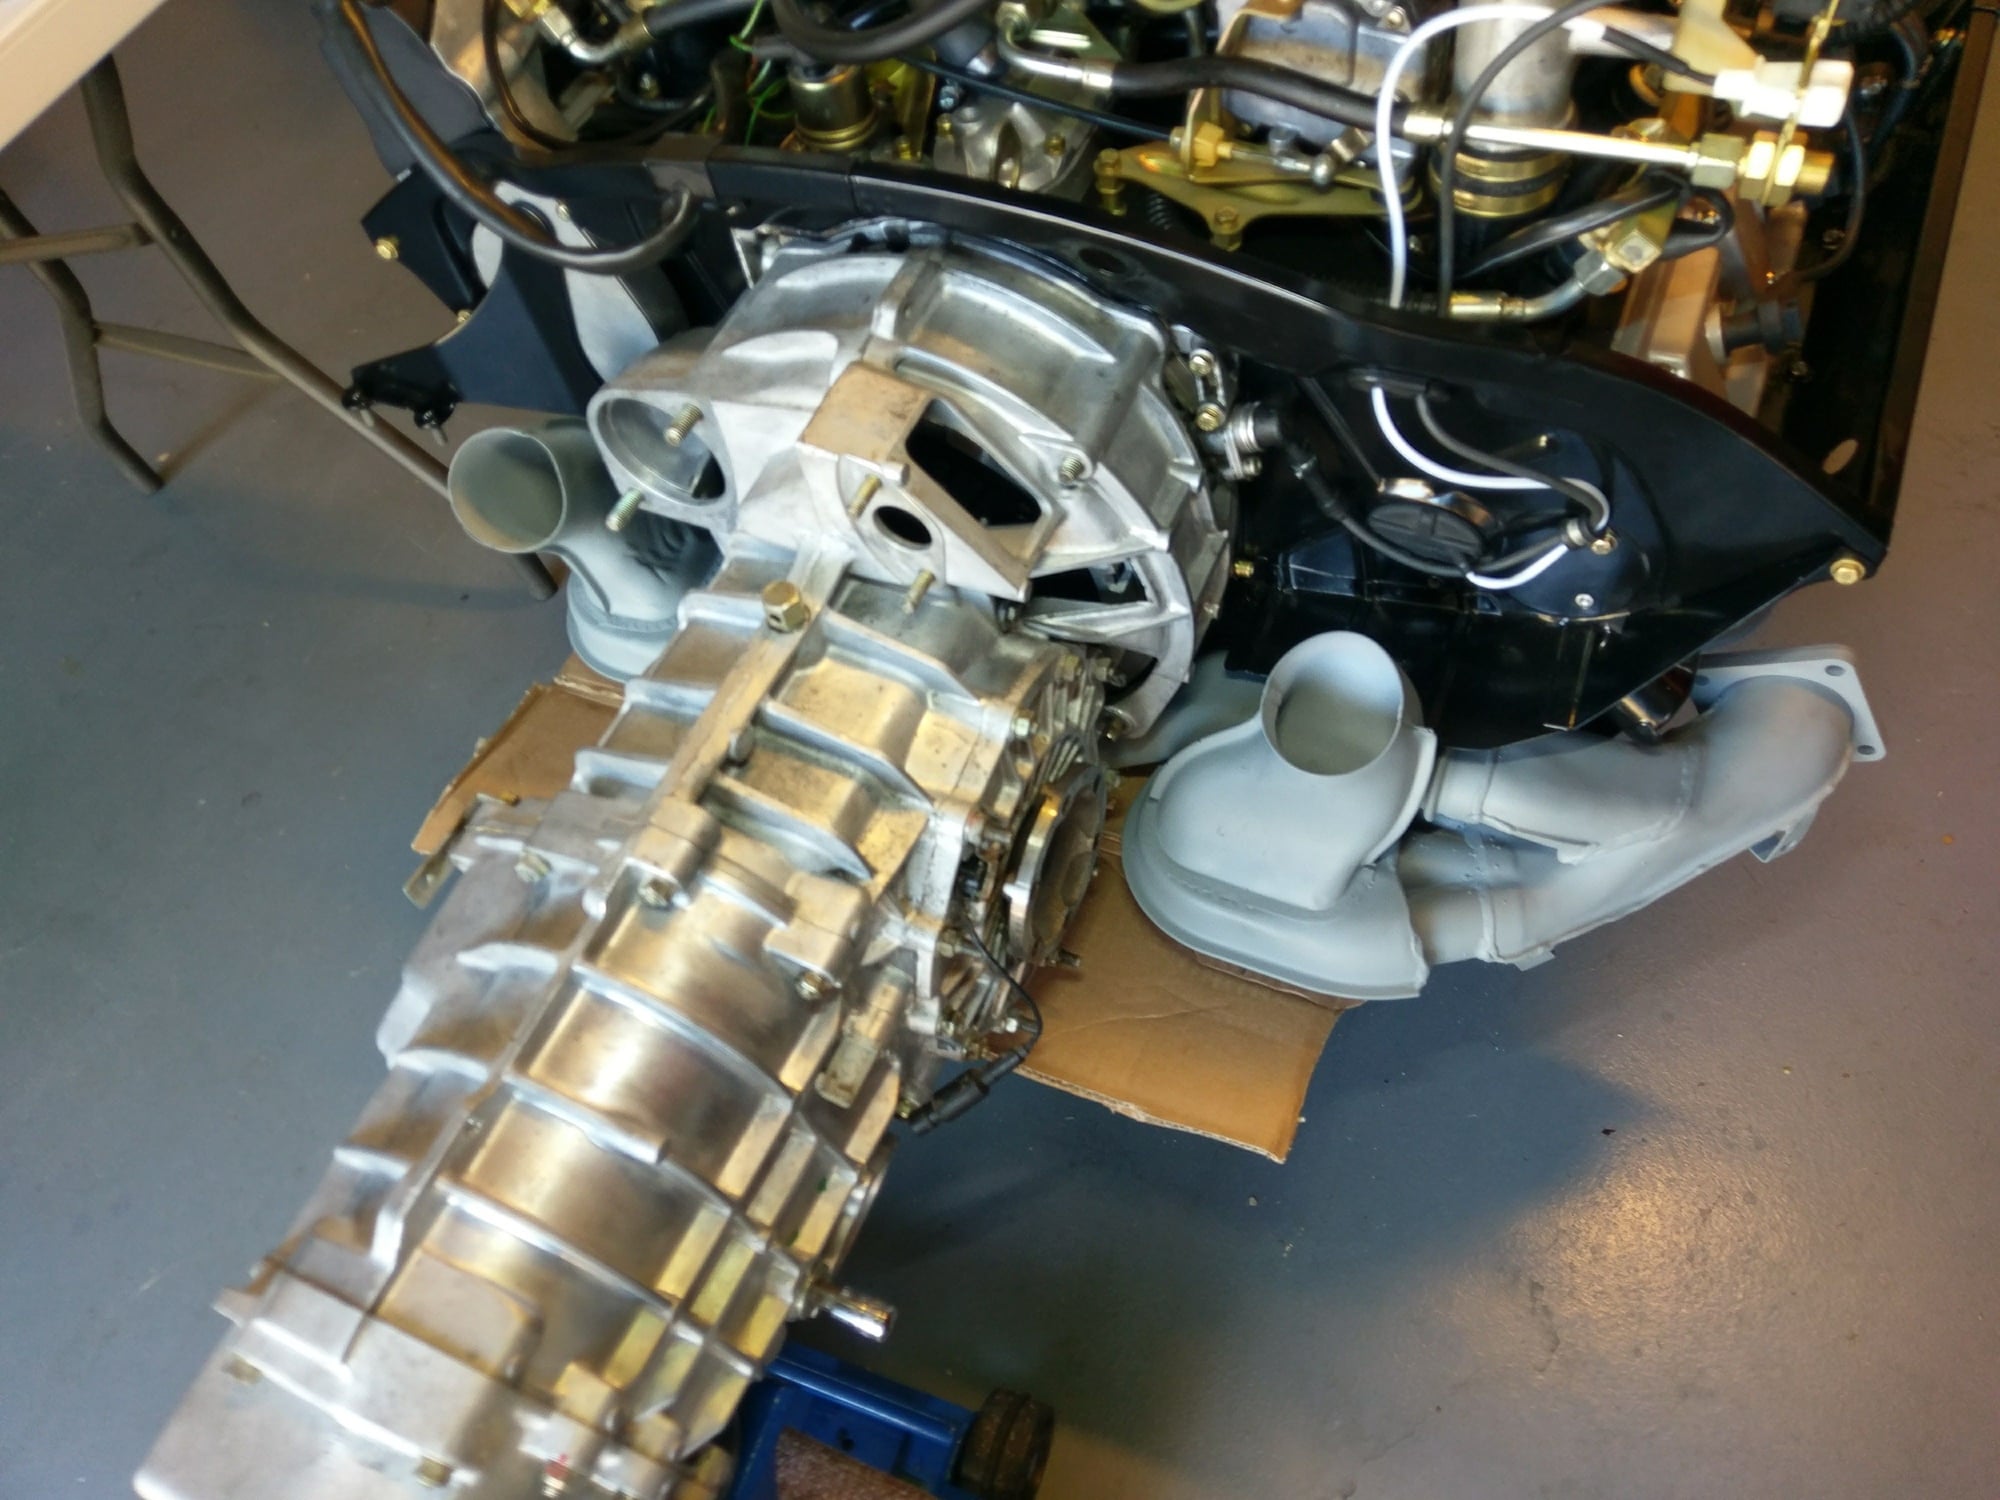
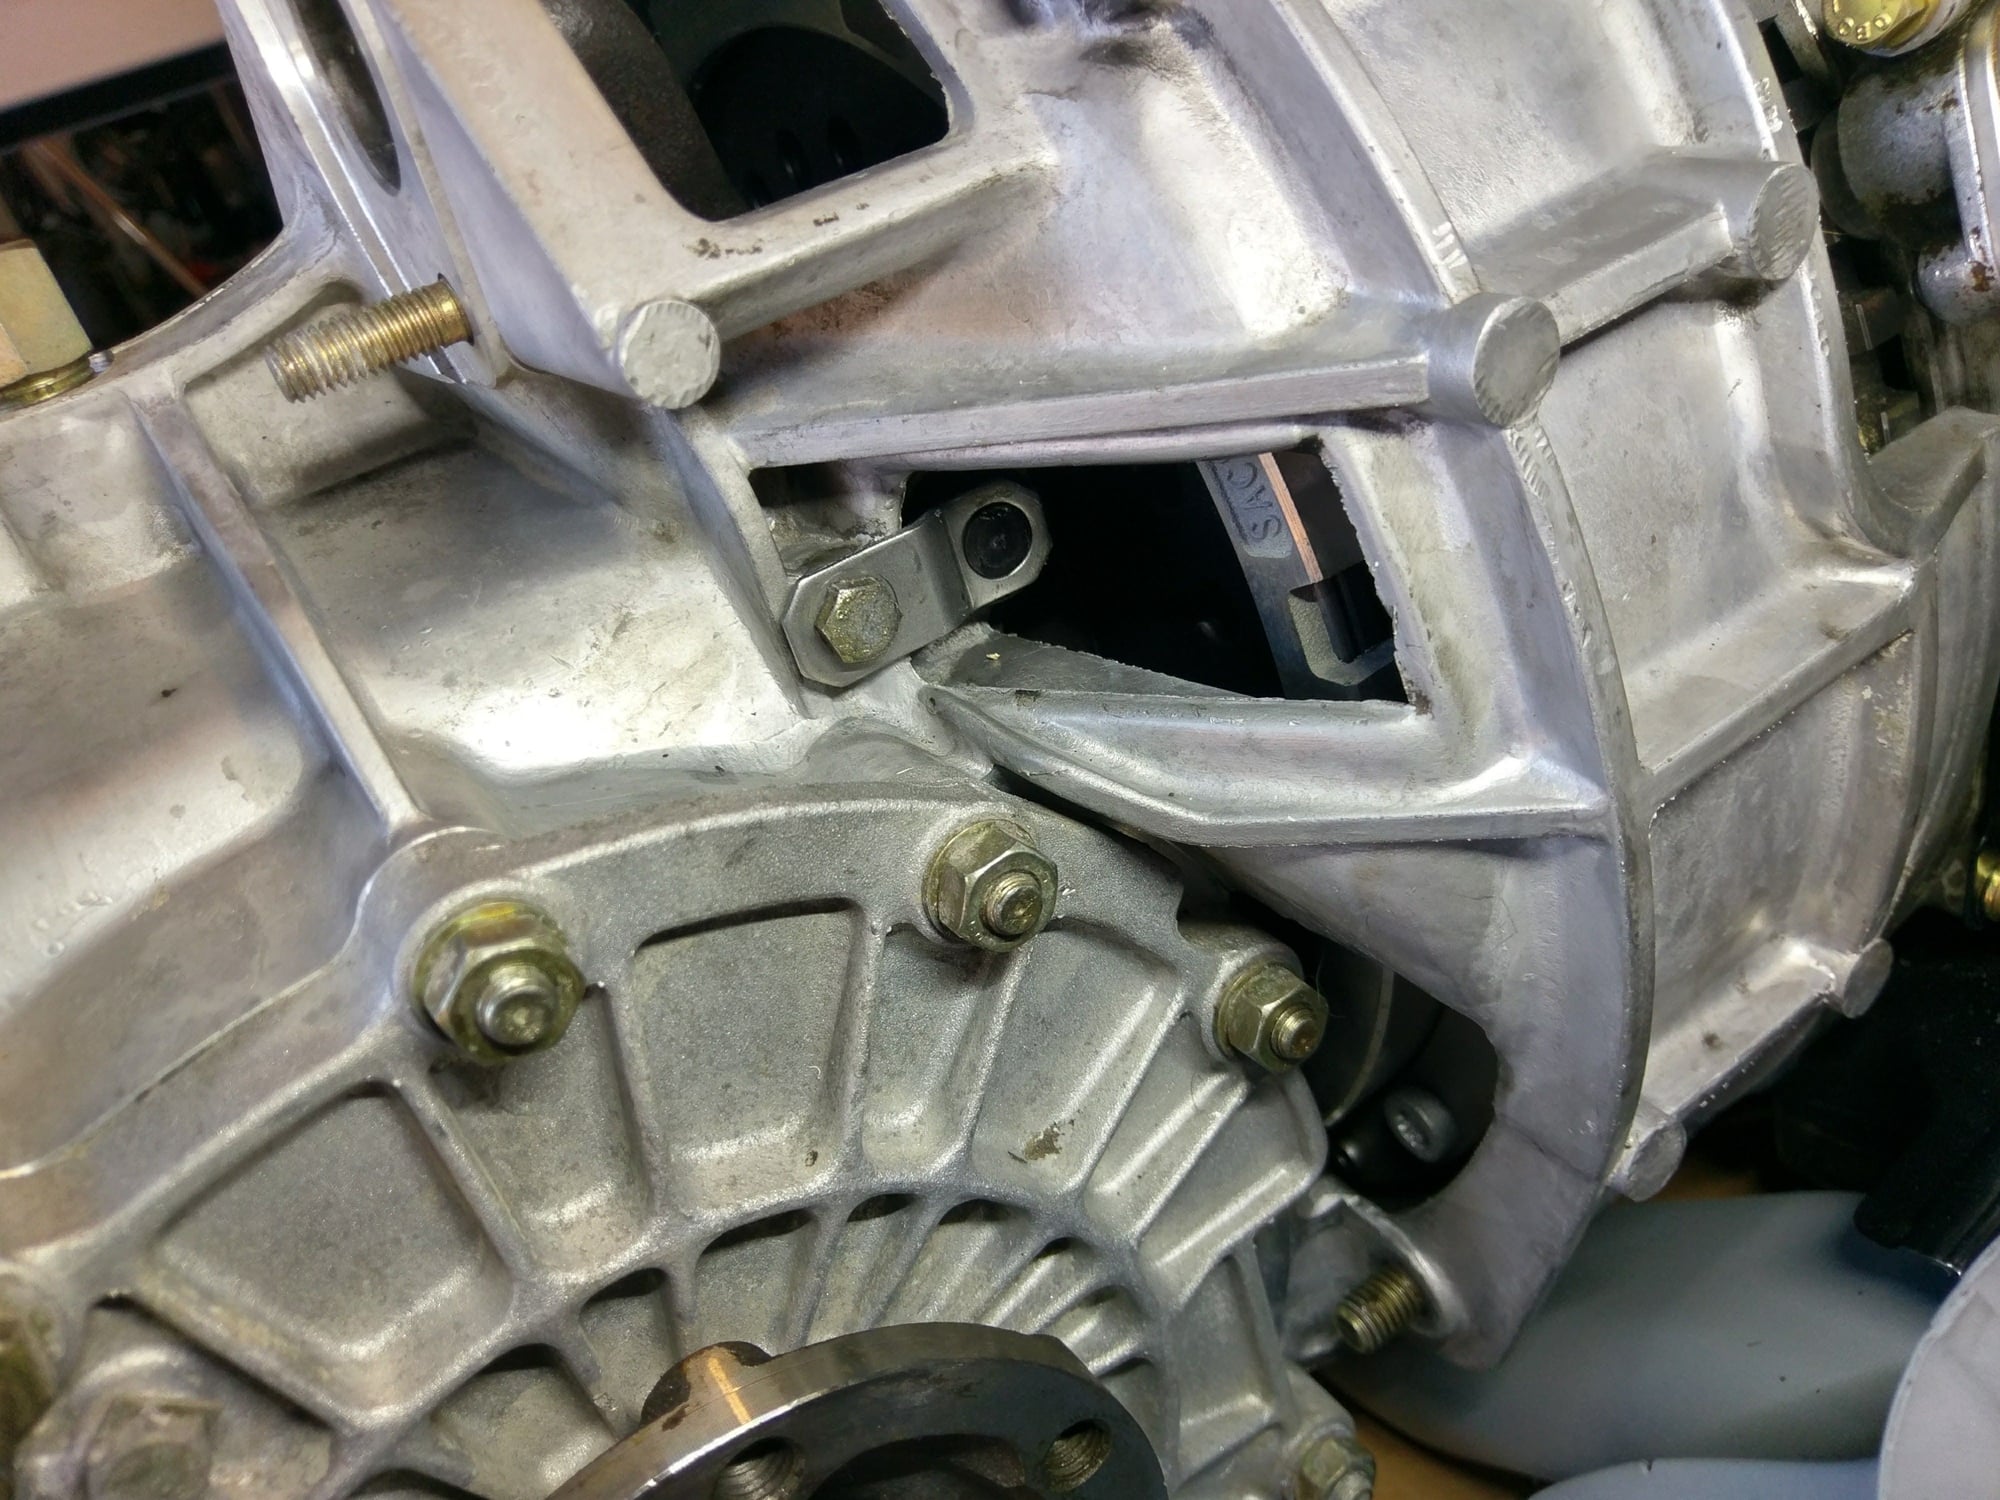
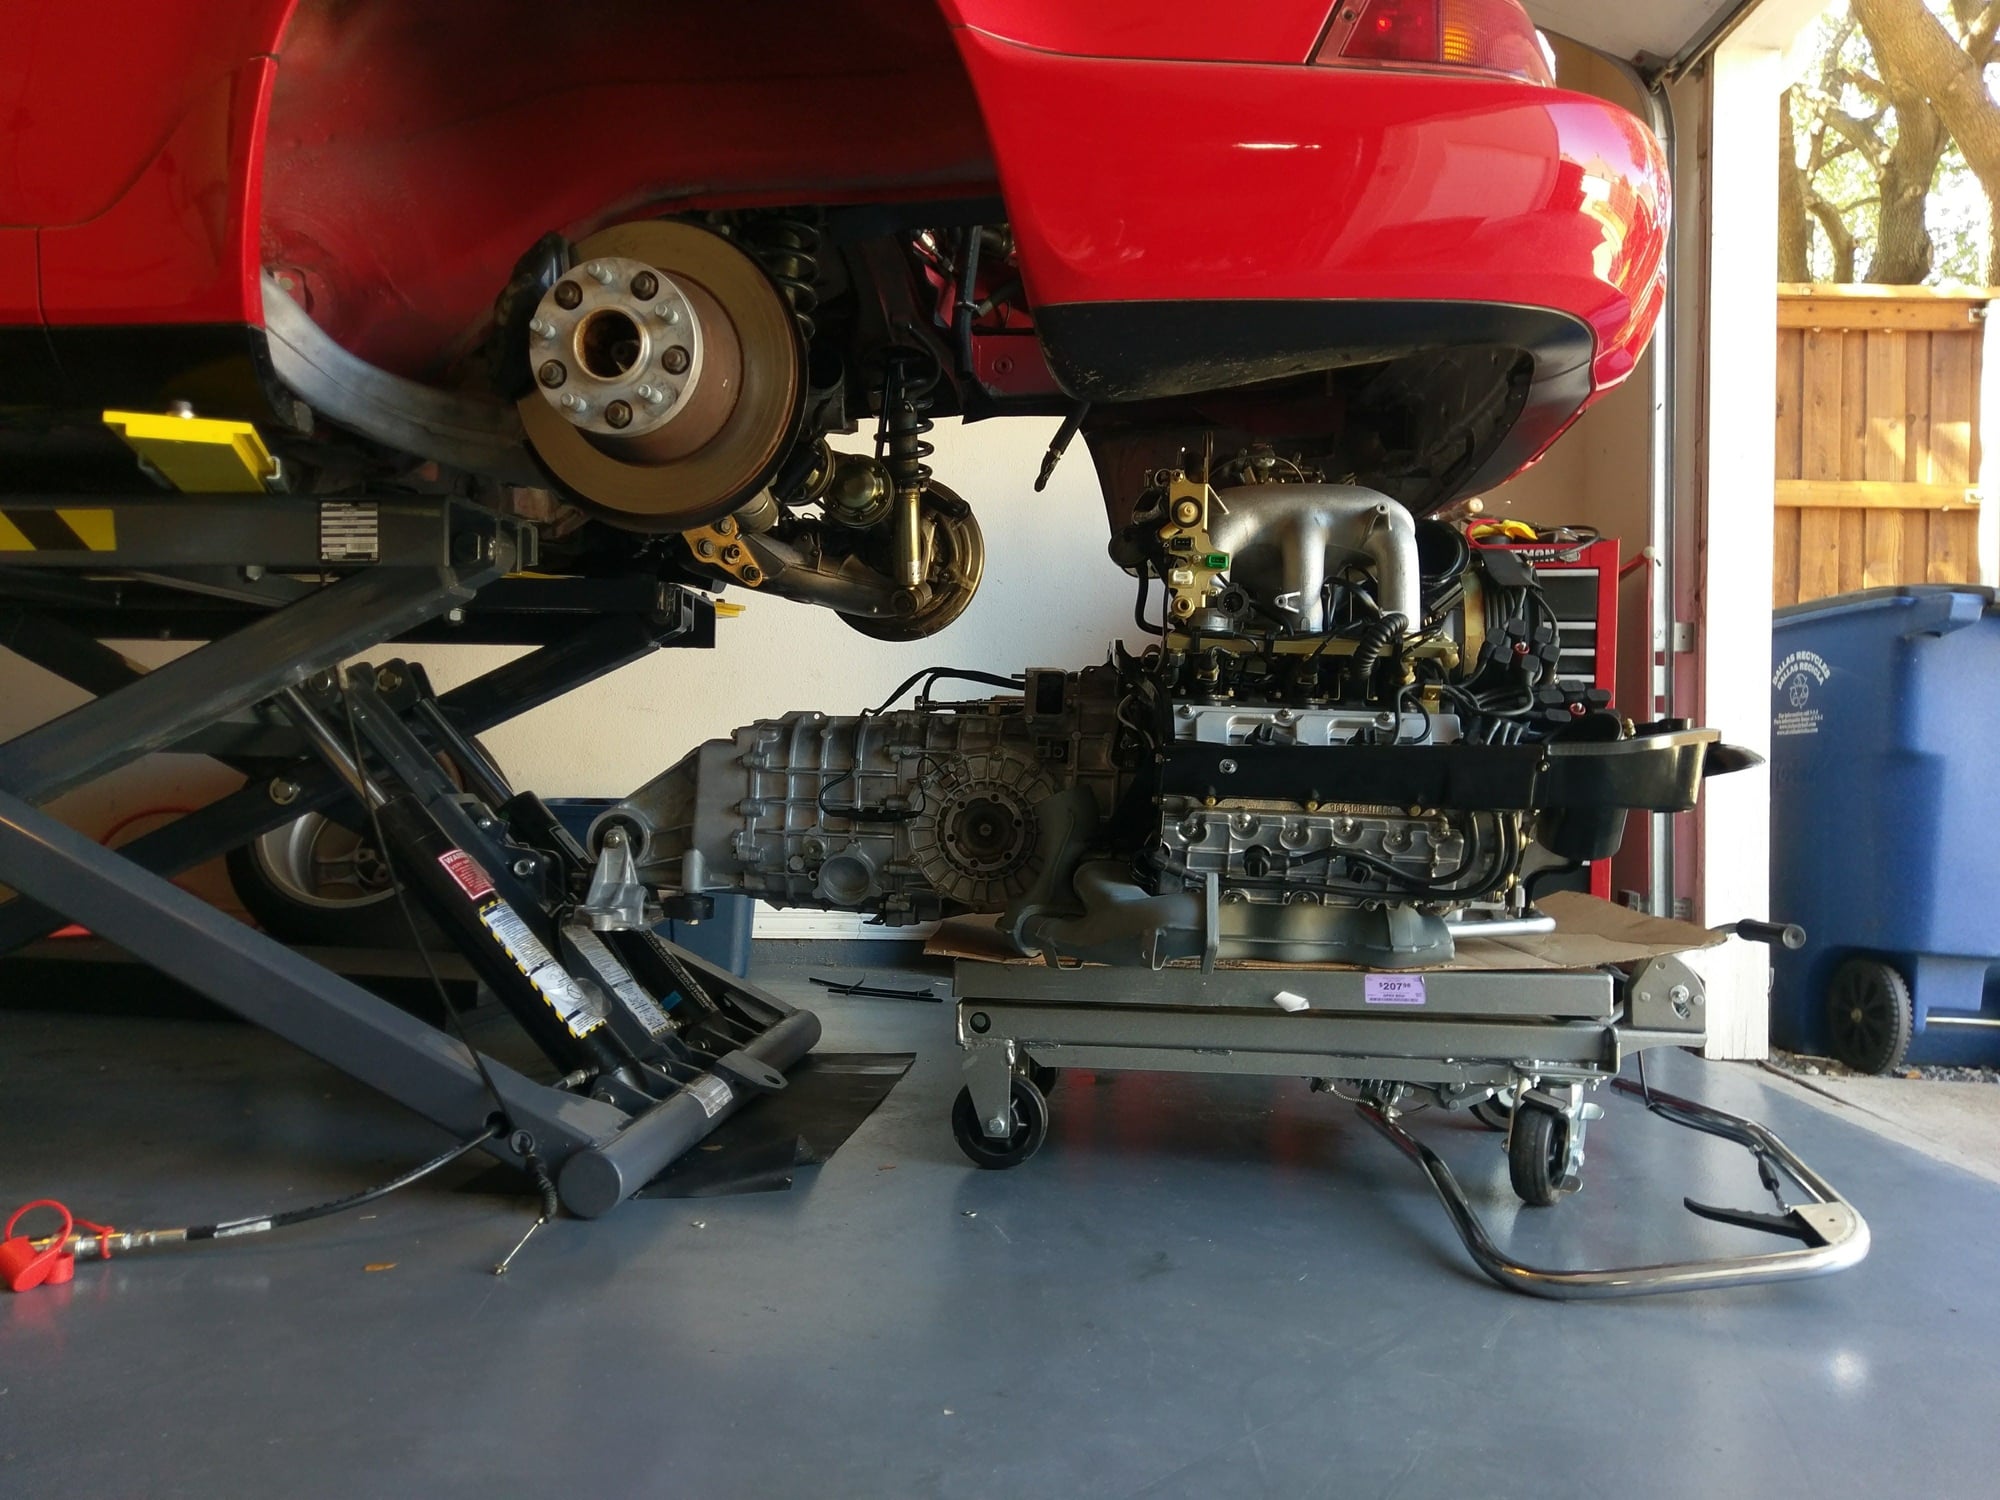
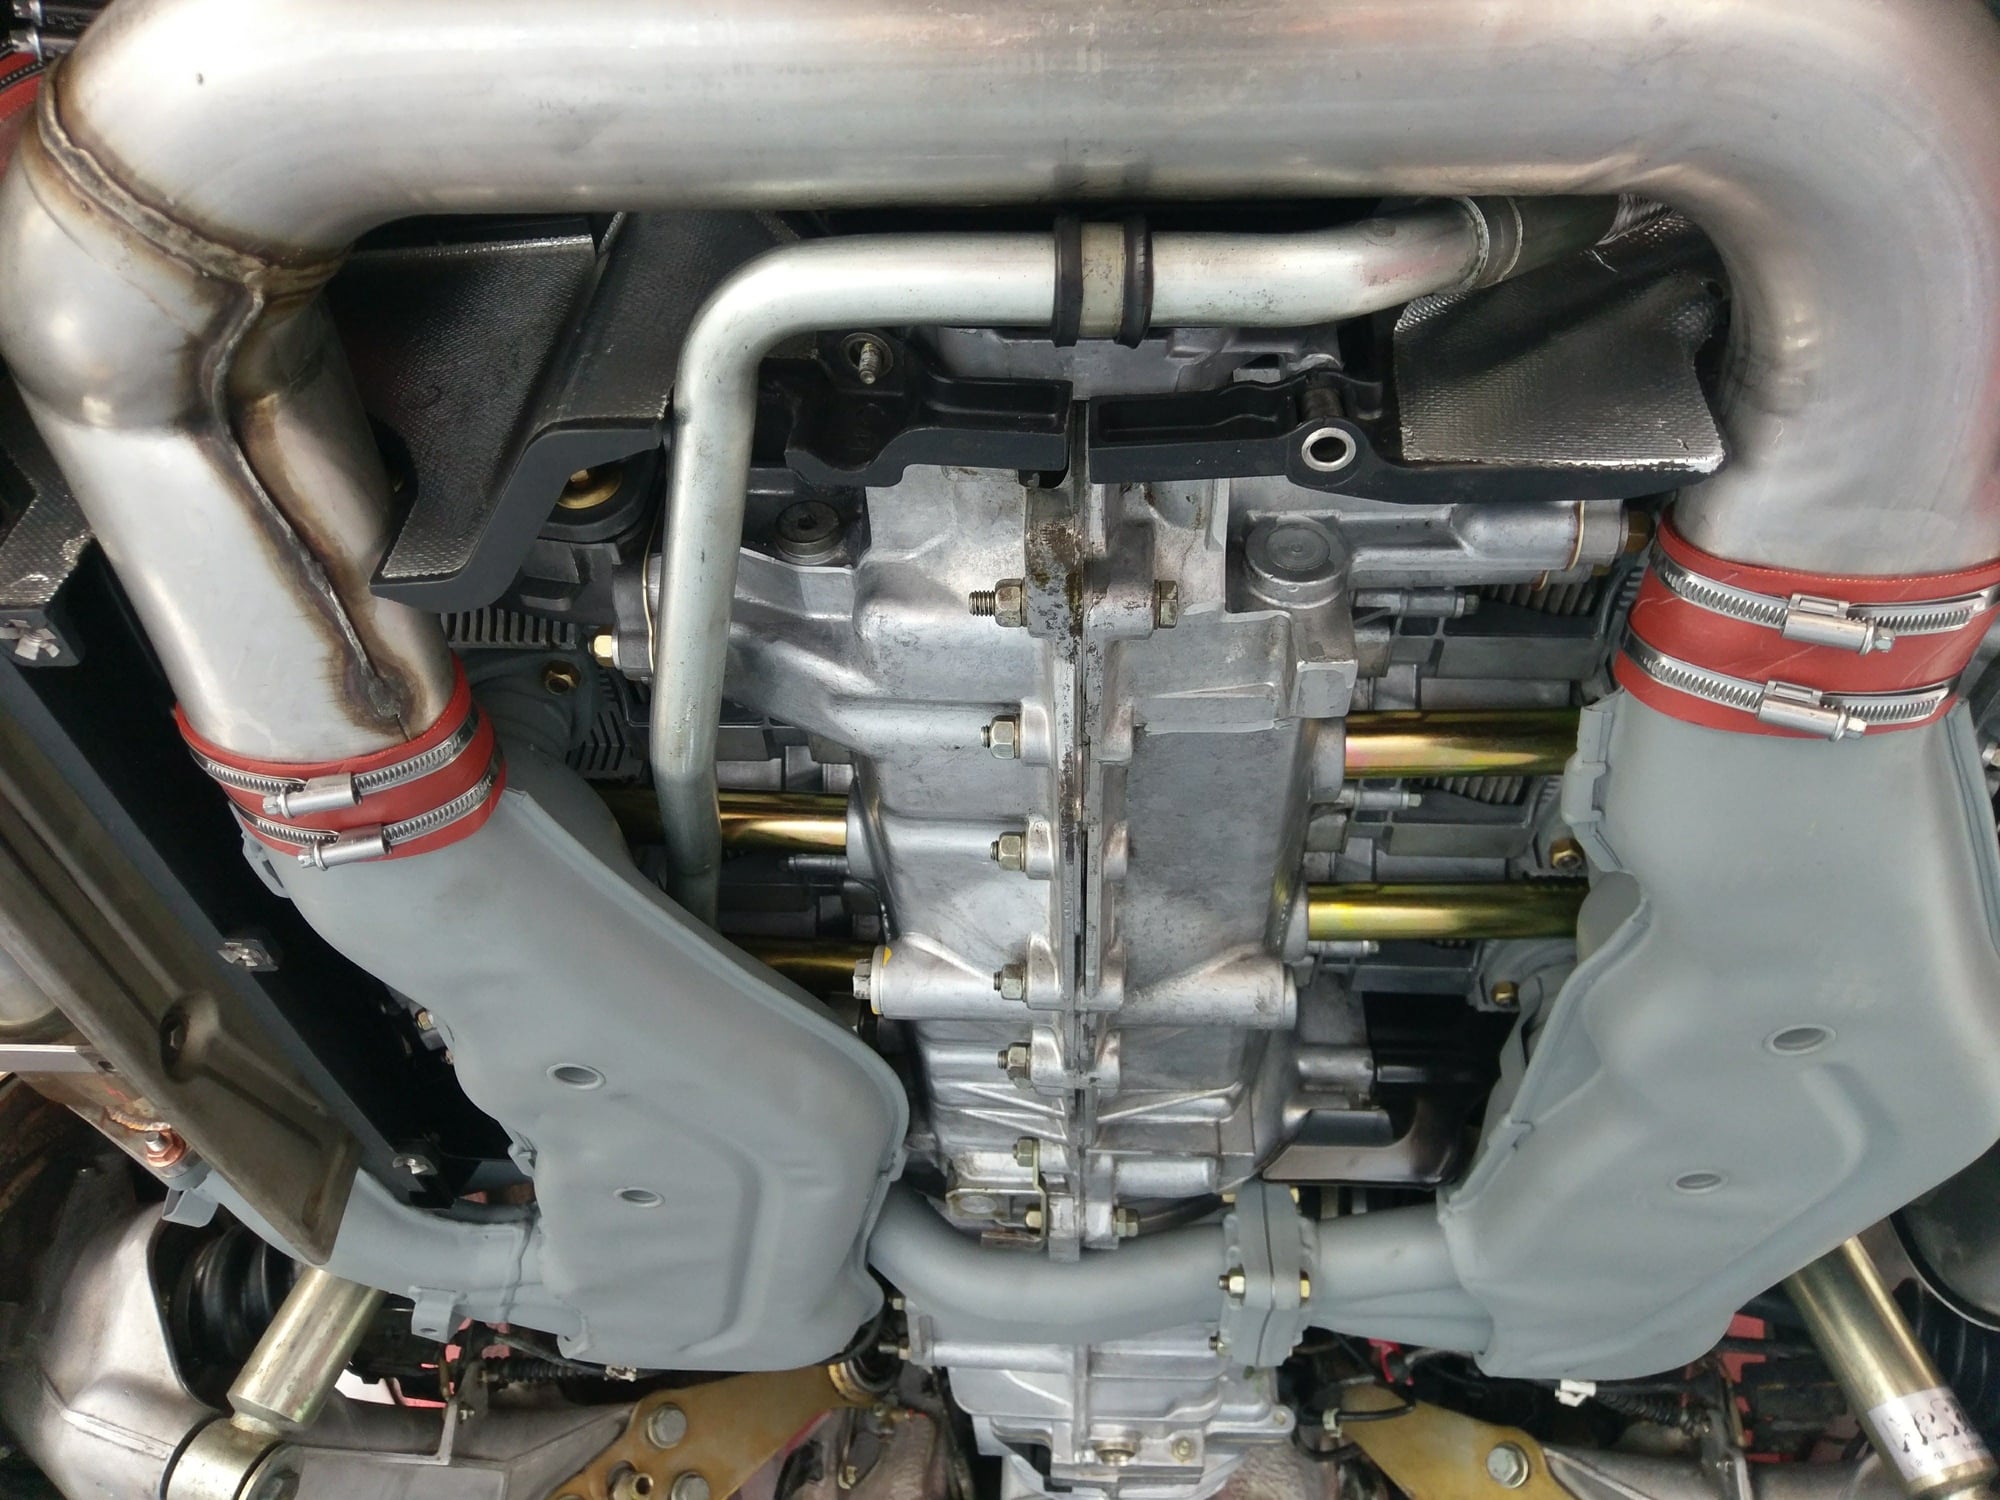
Mated the trans.... Learned a few tricks here from the Mayo's team and it was smooooth sailing. All buttoned up with the clutch fork shaft in within about 15 minutes. I was very excited !!
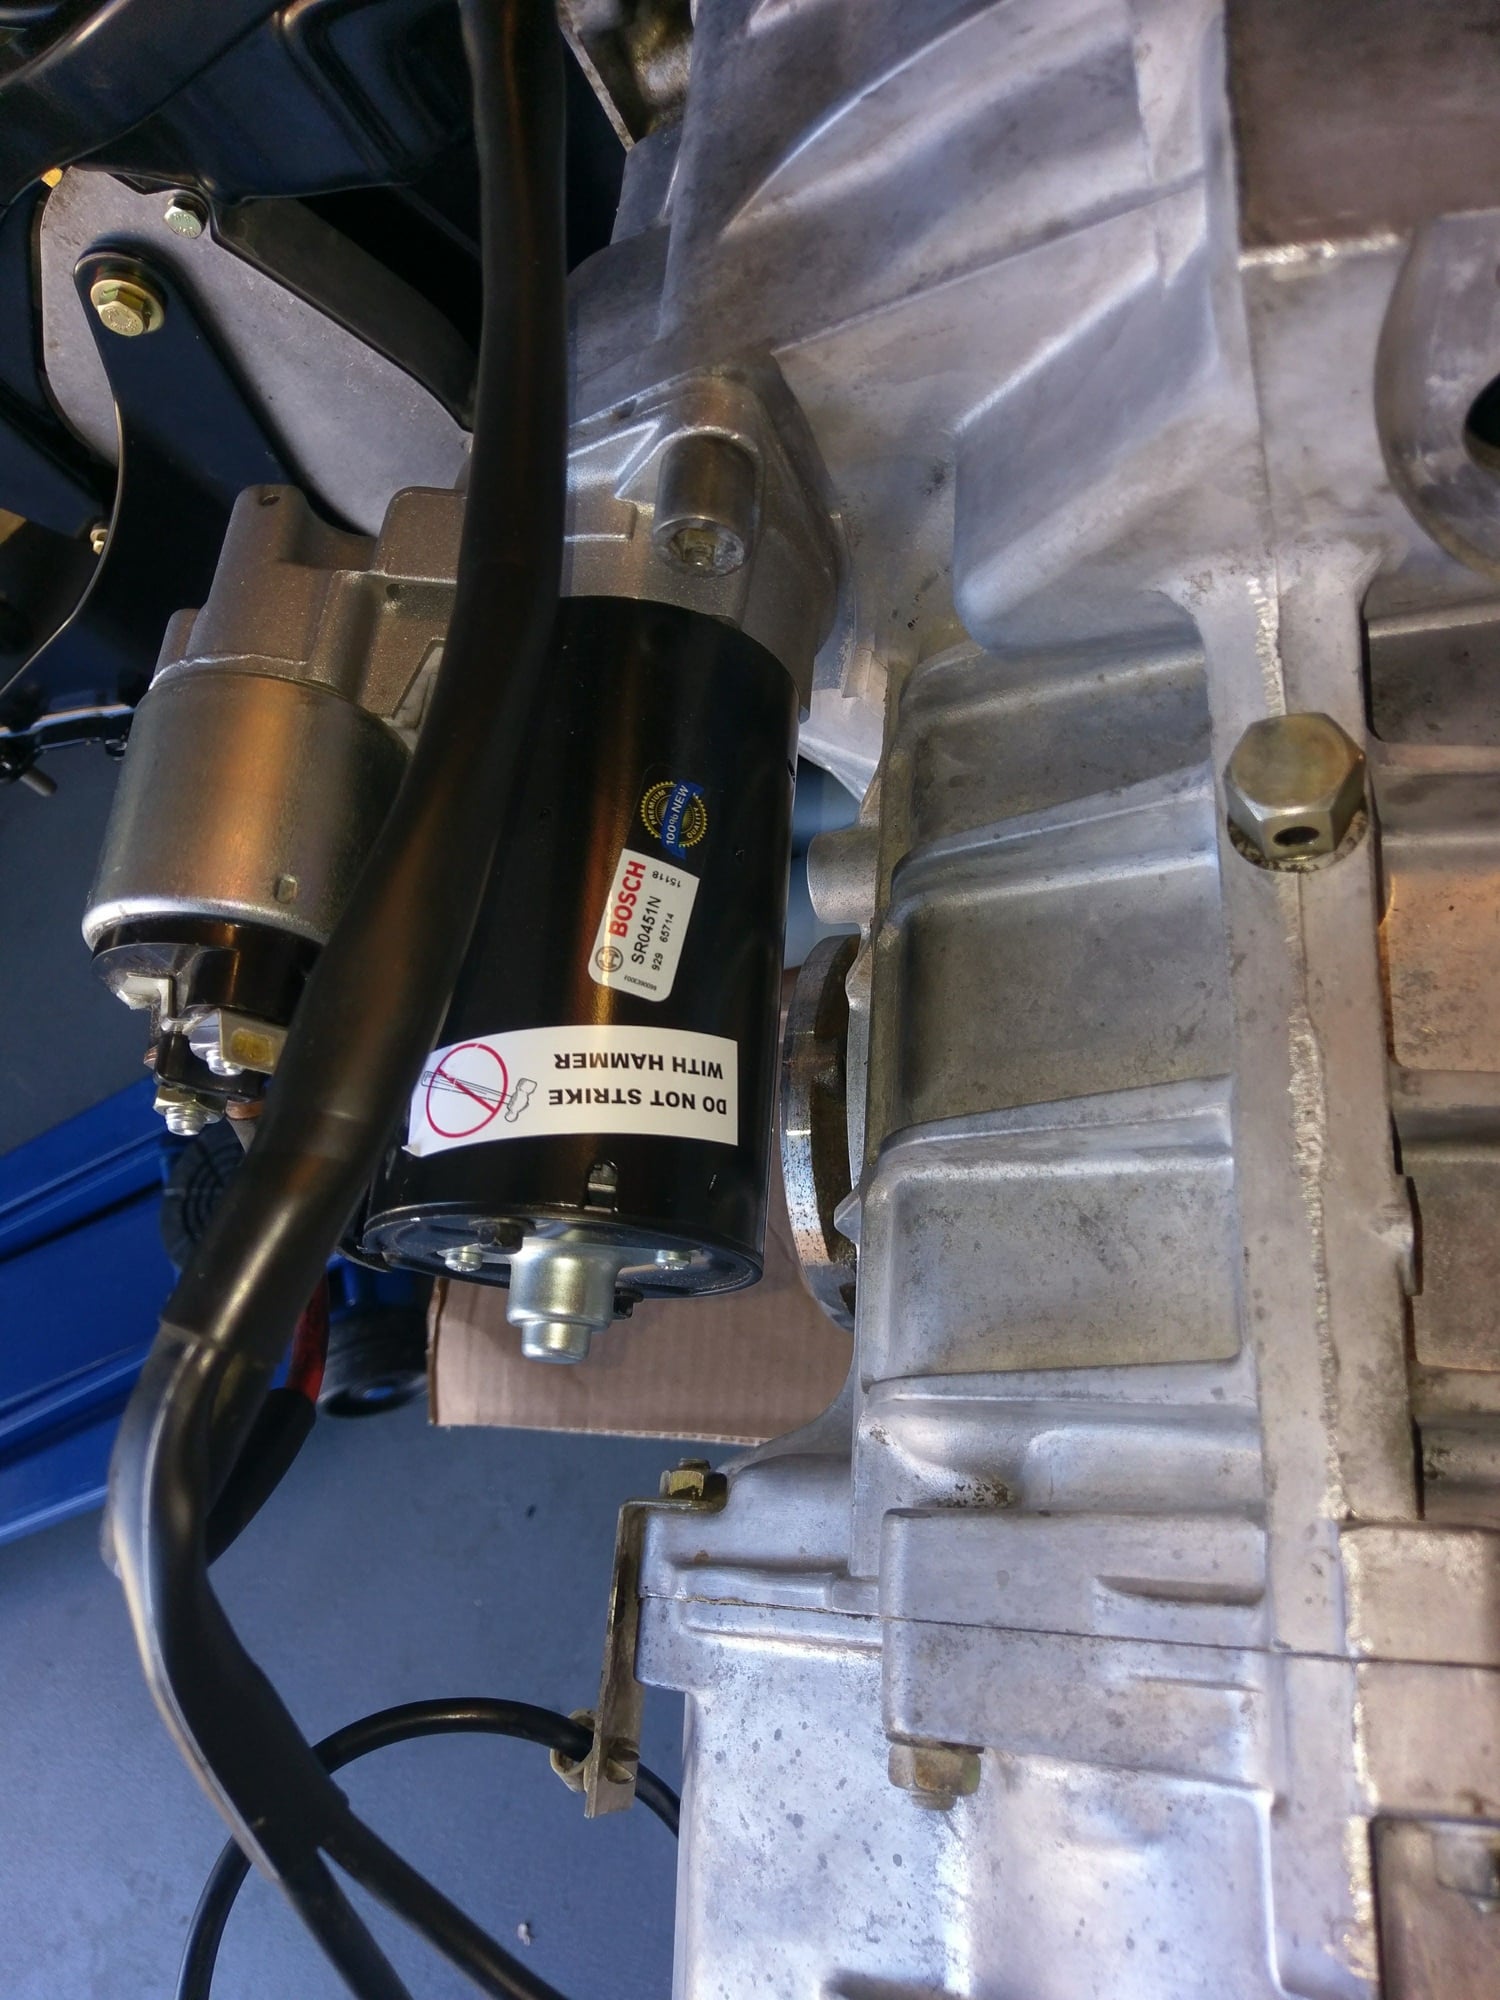
Installed new Bosch starter...
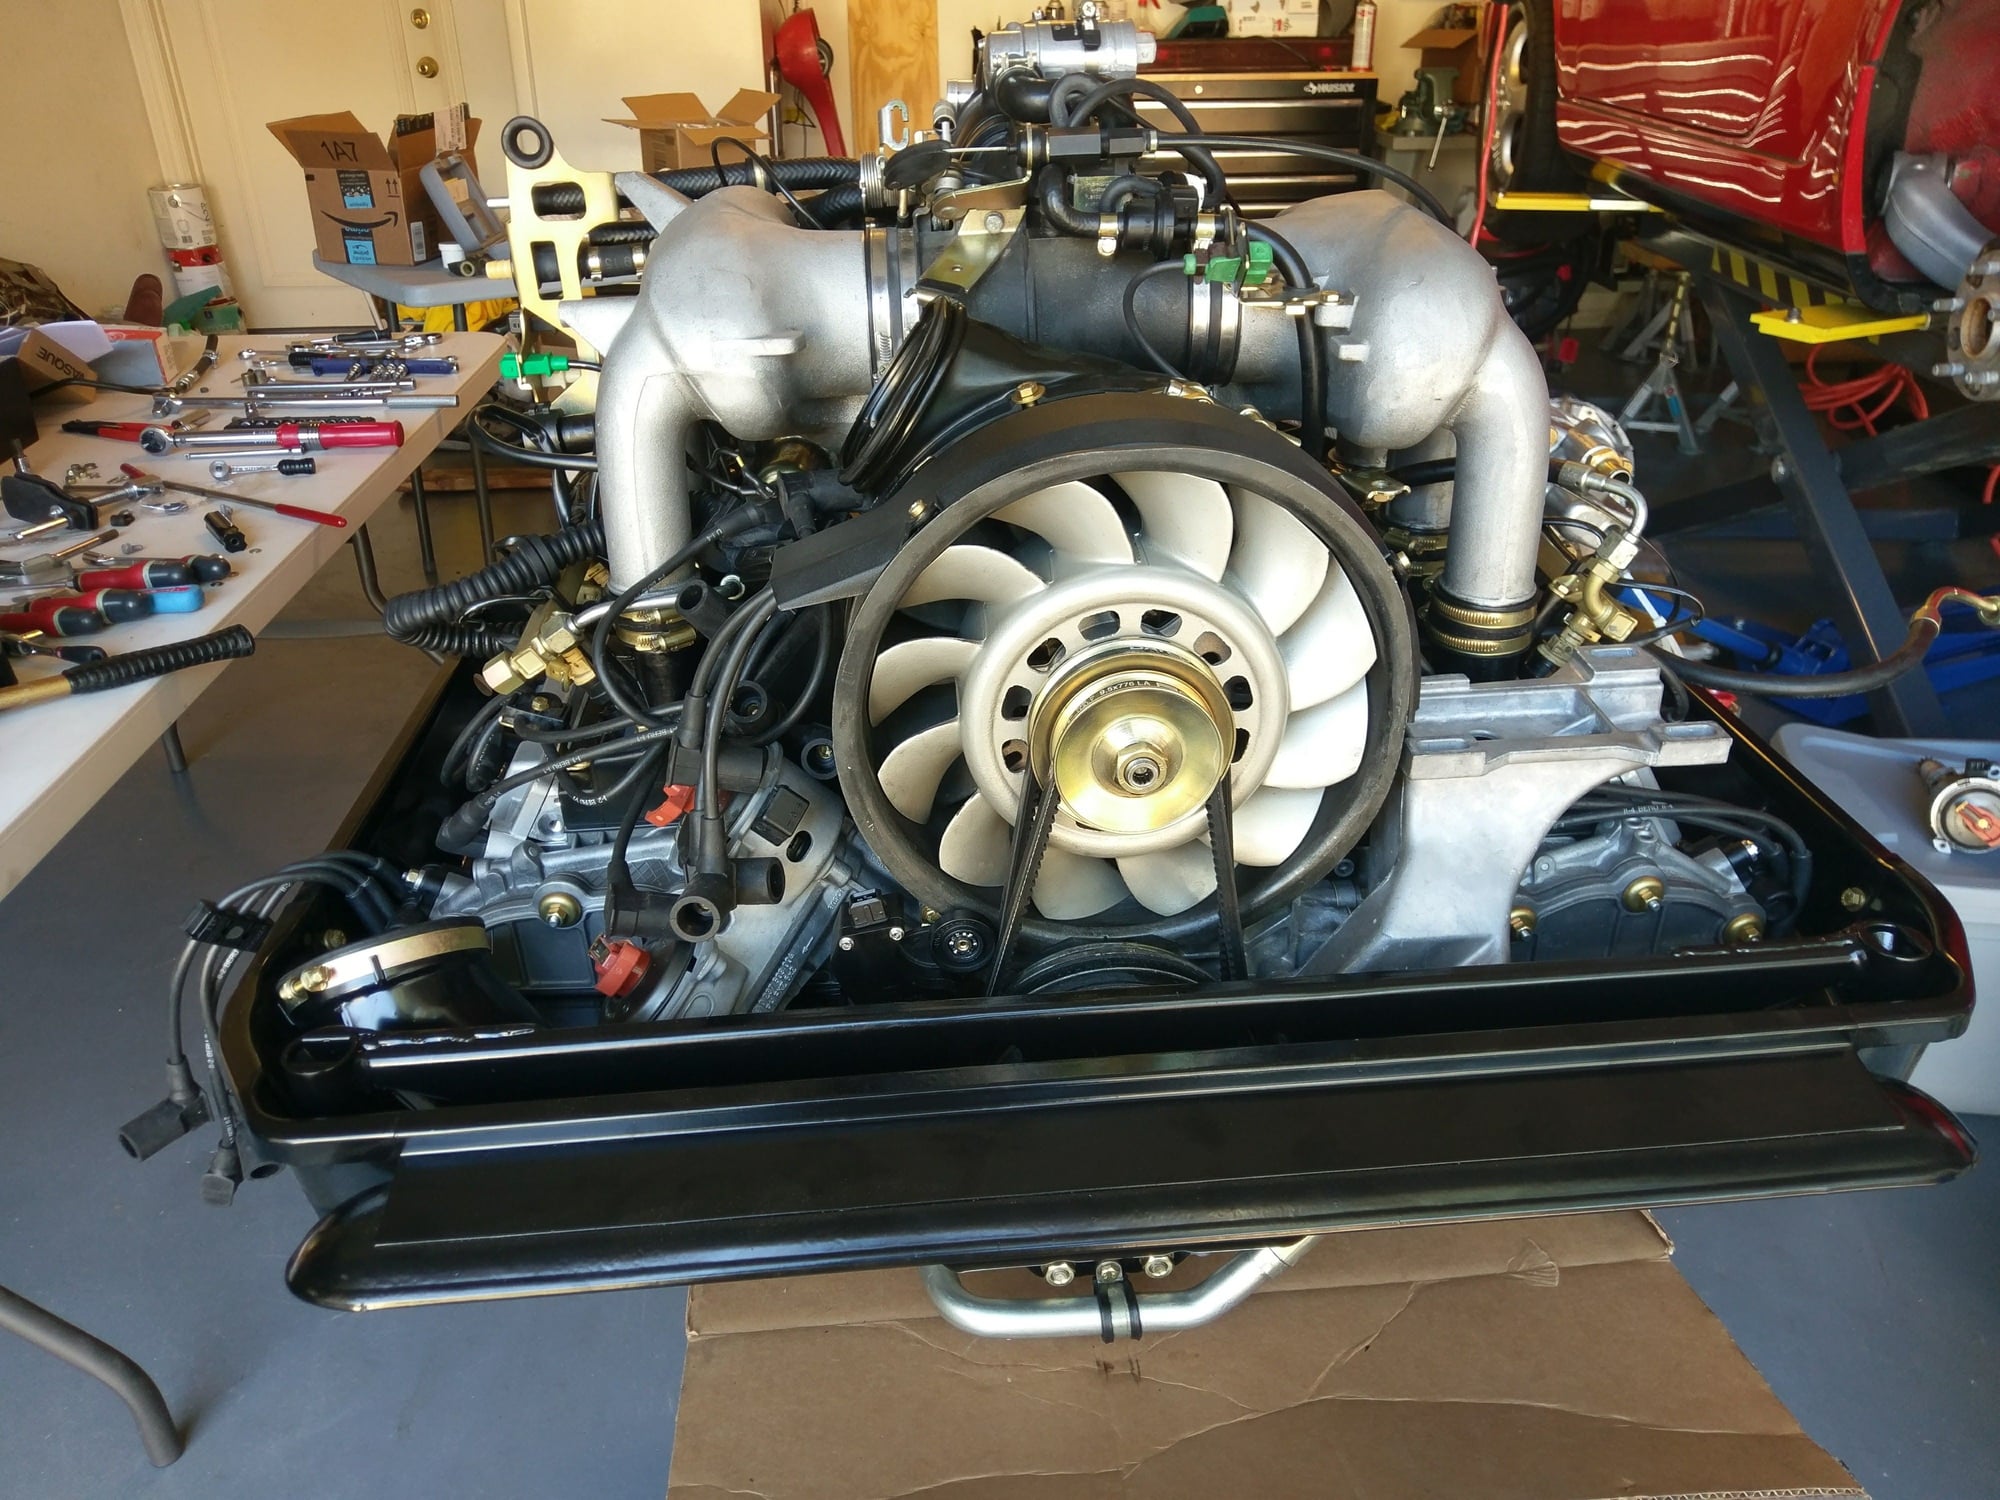
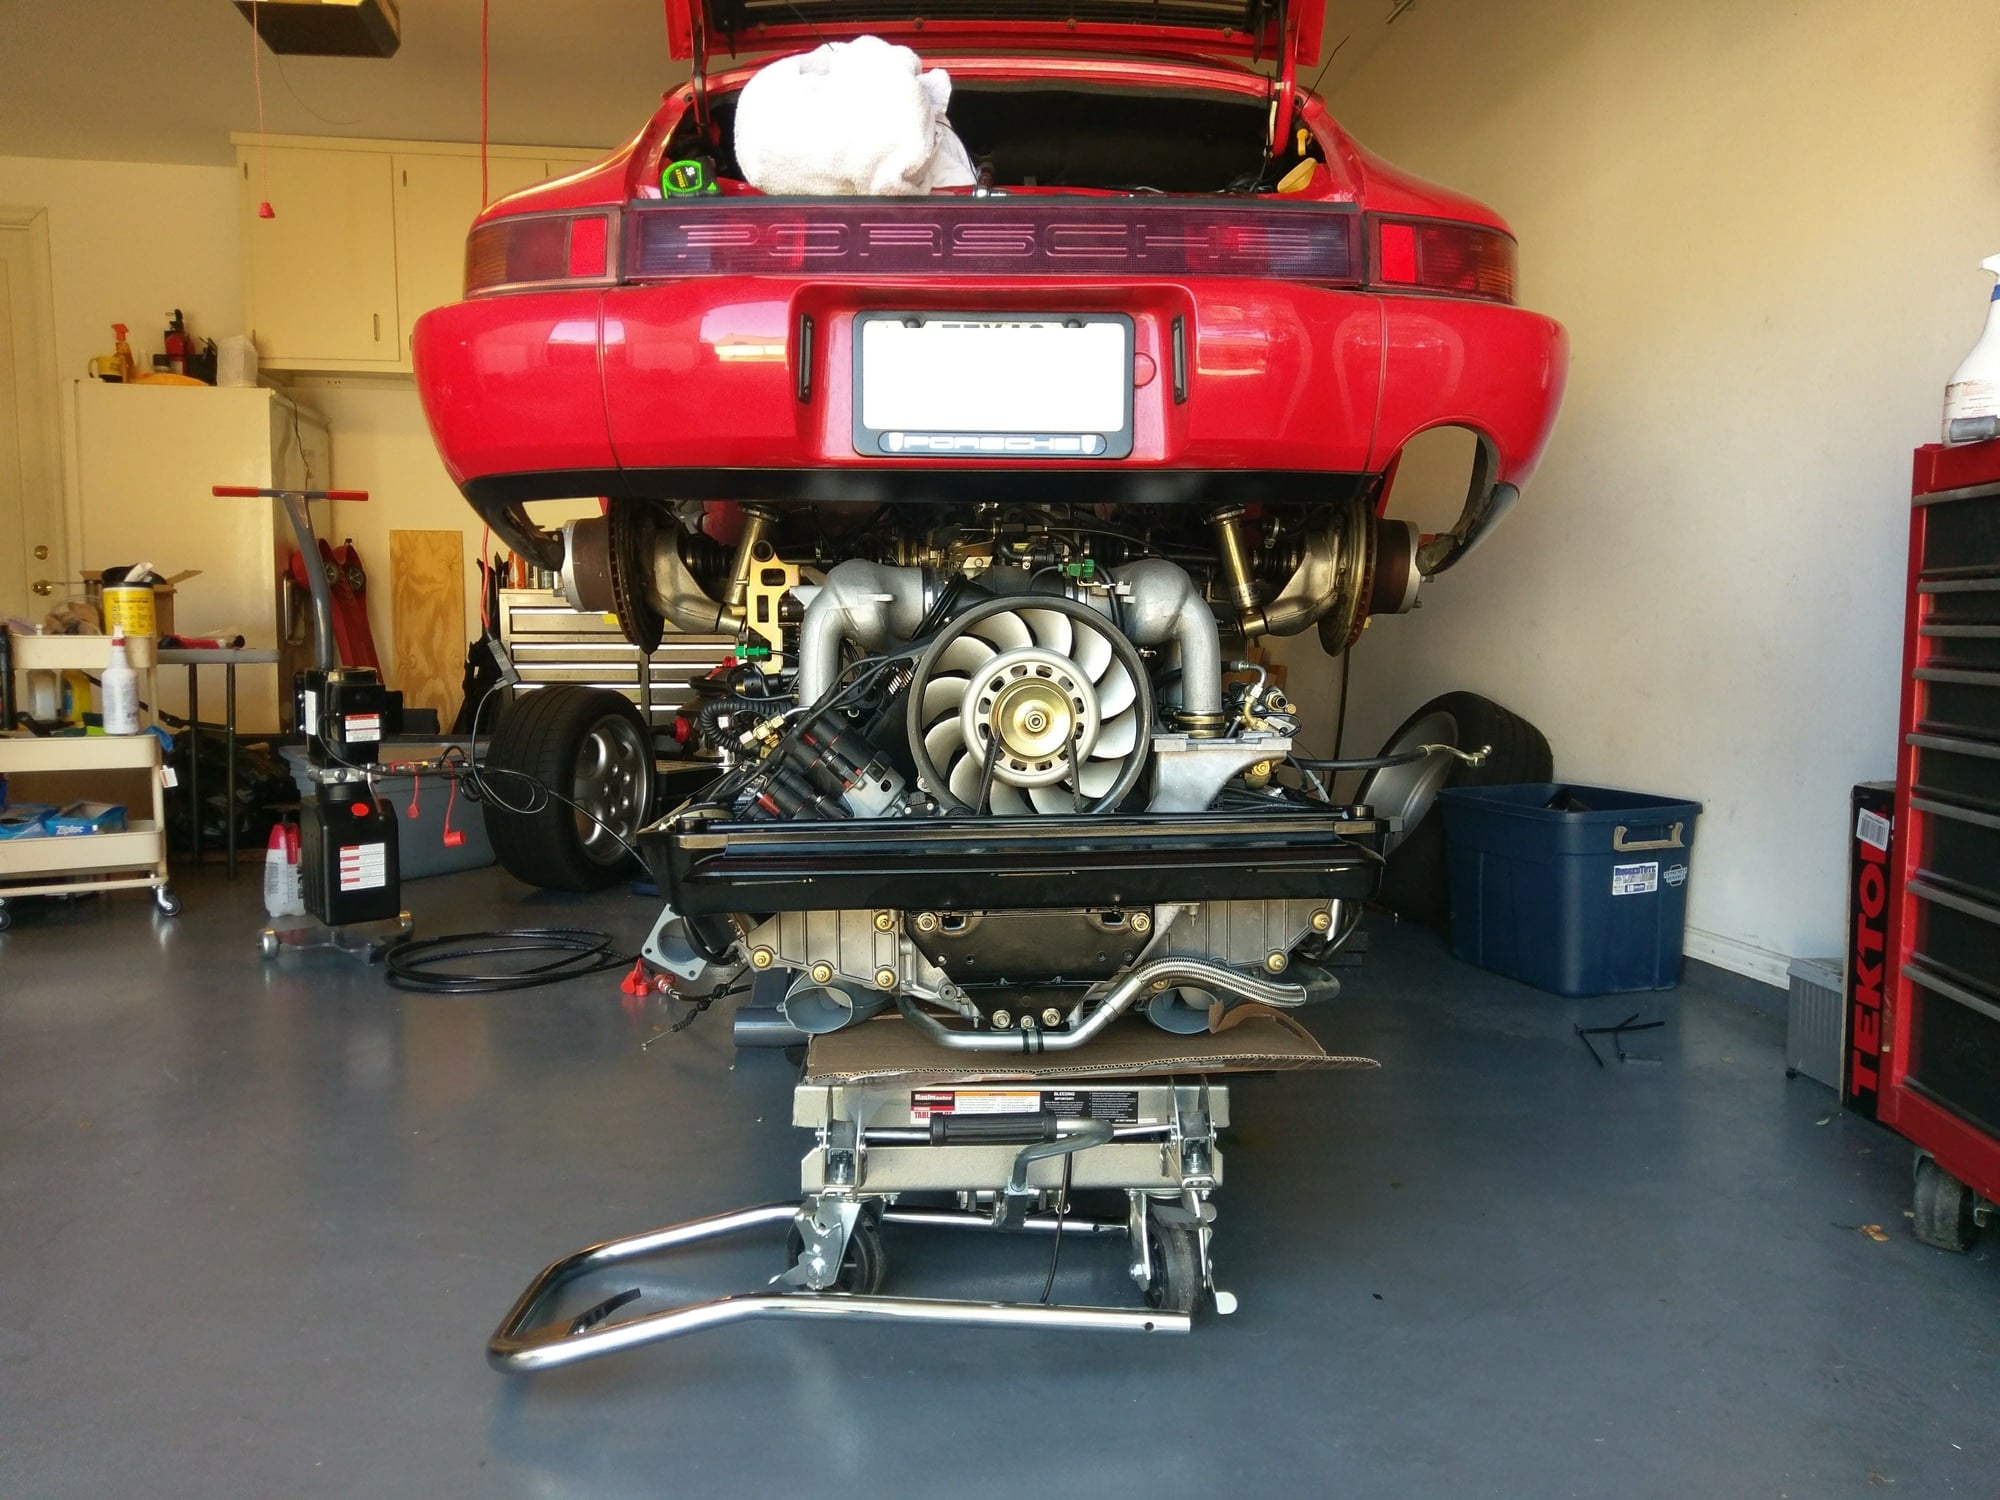
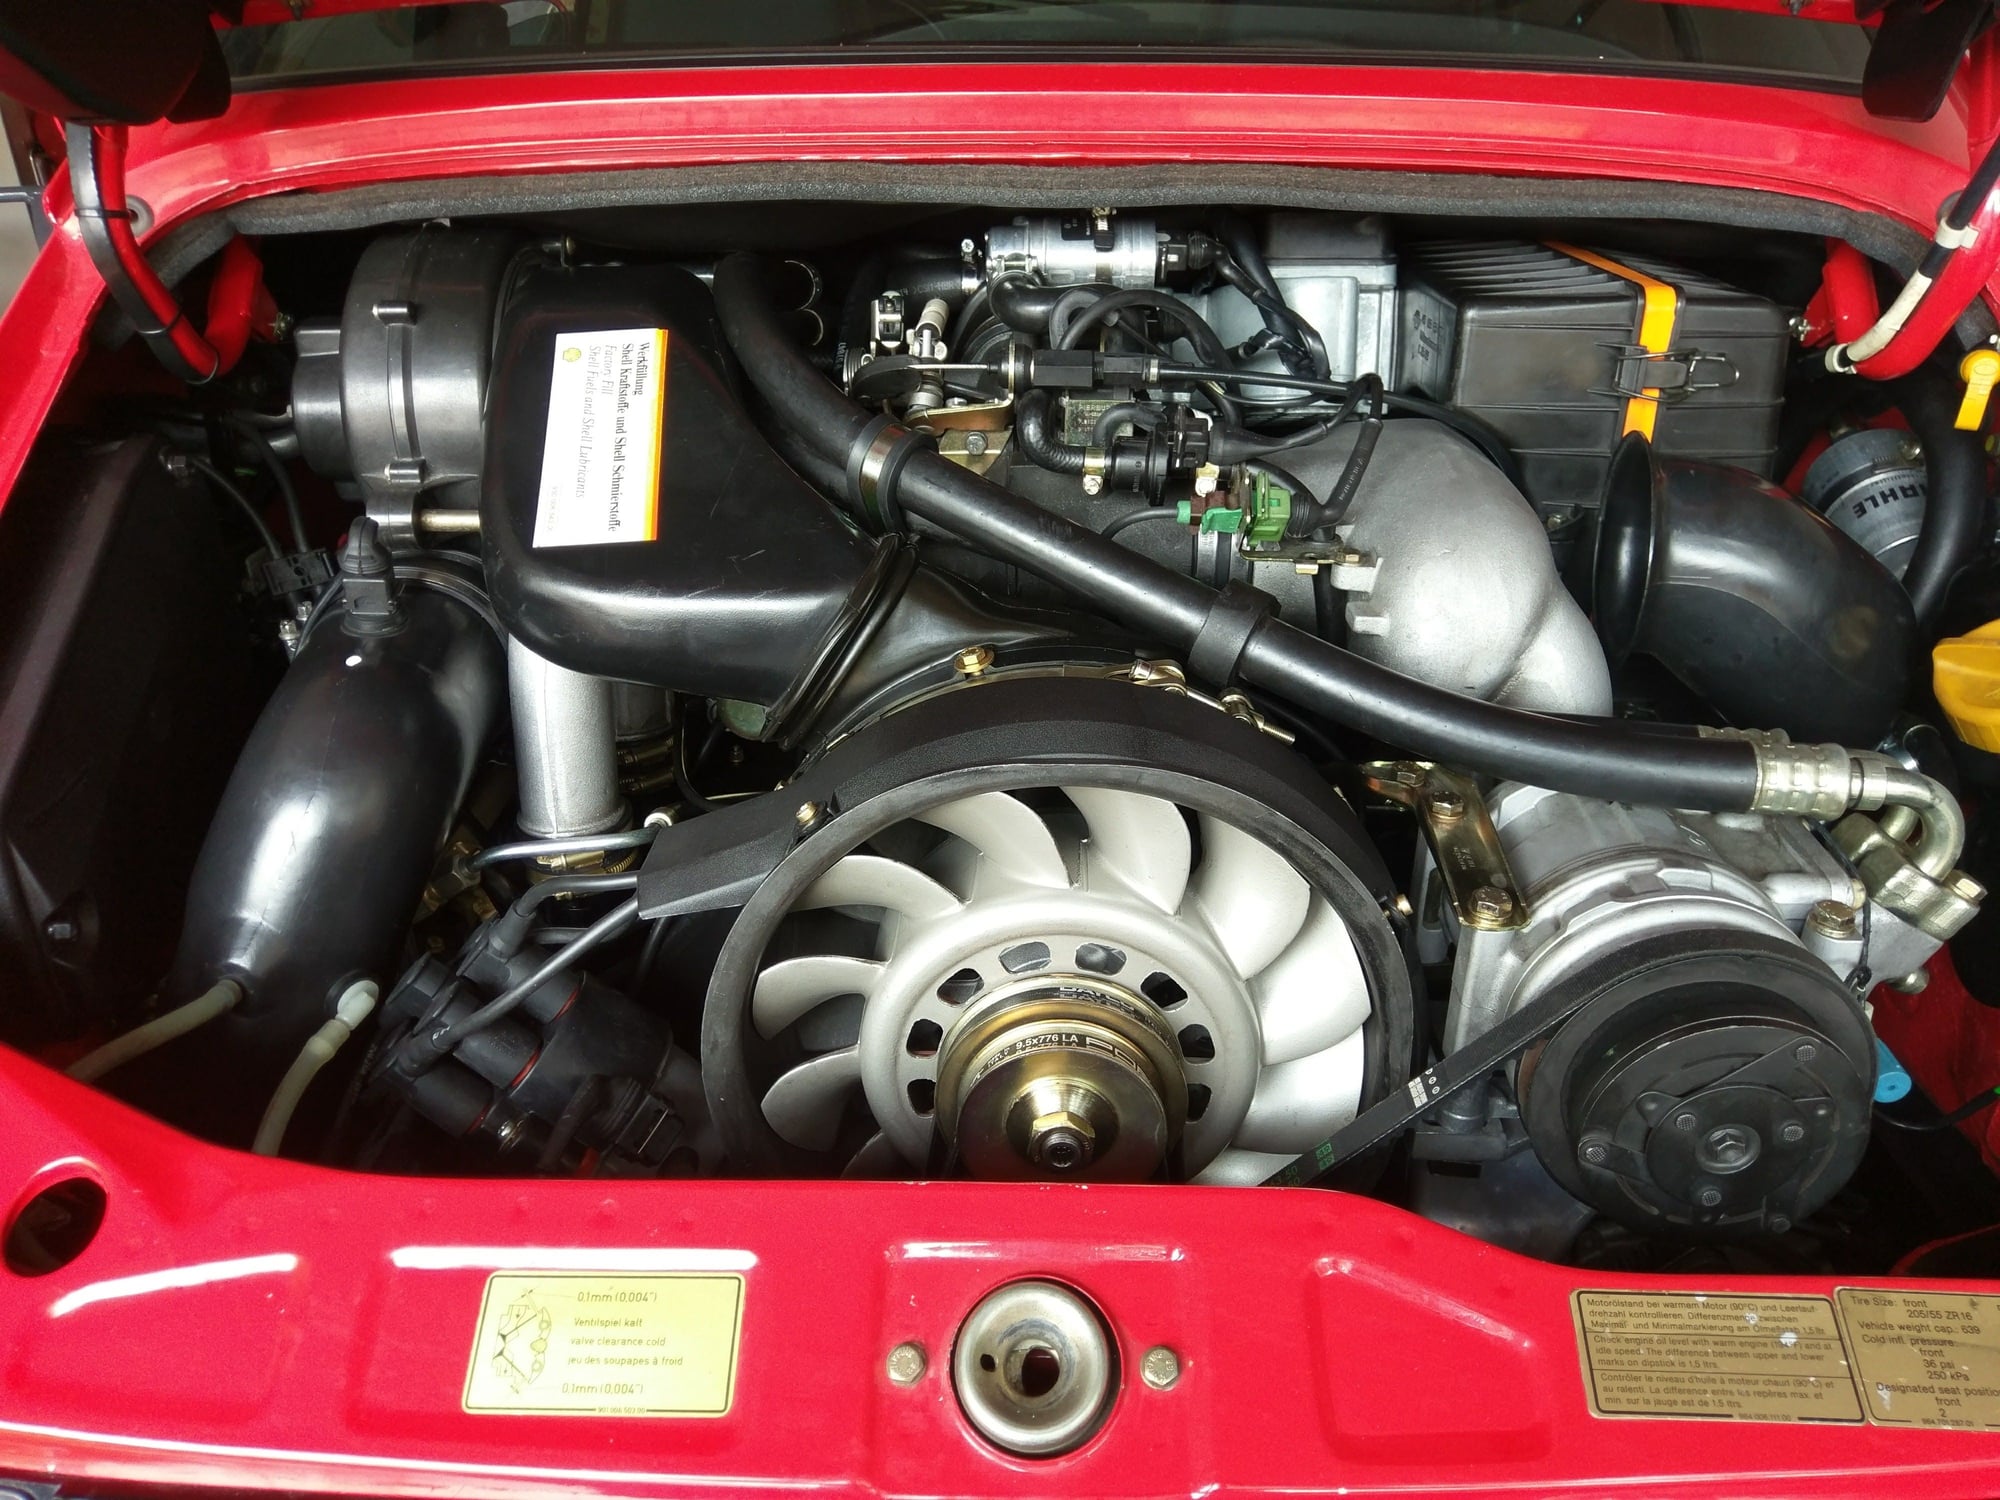
Then from there, it was basically up and in ...
I've been very happy with the result. Engine is much smoother. More power, etc. Adding a custom chip from Steve Wong shortly. He programmed for my setup, compression ratio, fuel, exhaust, etc. Just have not had time to put it in.
I almost don't know what to do with myself after work and on the weekend. Four months from start to finish, but that included a few weeks at the shop while they did their magic.
I will say, that in comparison, any other wrenching project seems simple and straightforward....
Robert, great pics. I'm going to rebuild my new-to-me 964 at some point. It has not been resealed. Only has had the valve cover gaskets replaced. Doesn't leak too bad yet.
Can I ask some clarifying questions?
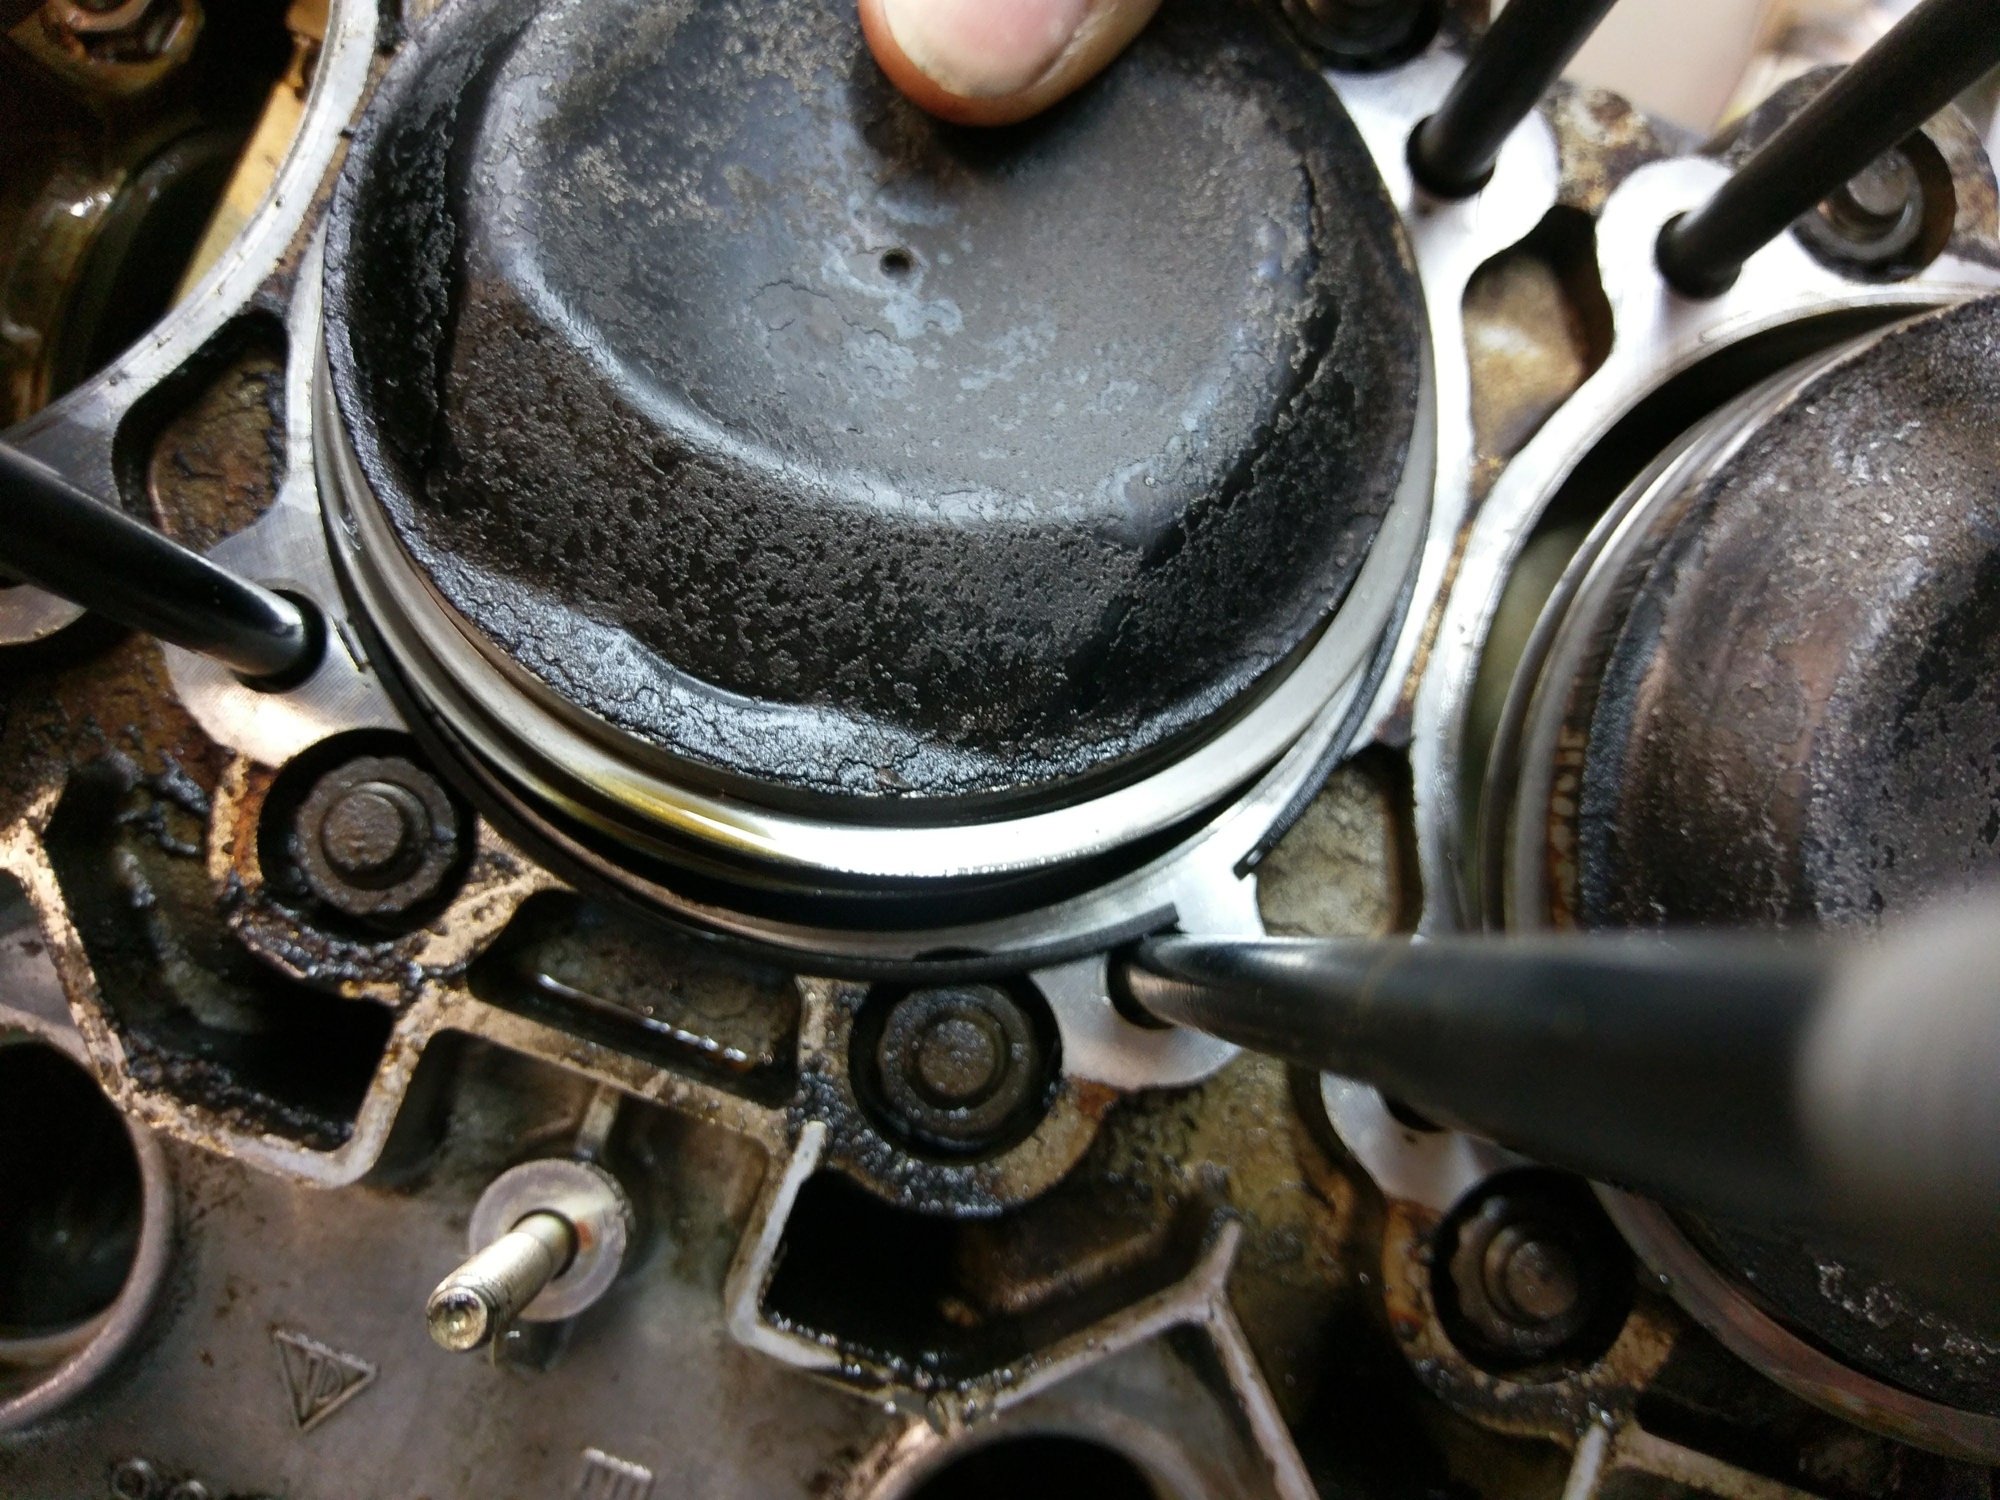
First picture shows the bottom of the old cylinder, right? I assume that black ring is a broken/worn out gasket sealing the cylinder to the crankcase, right?
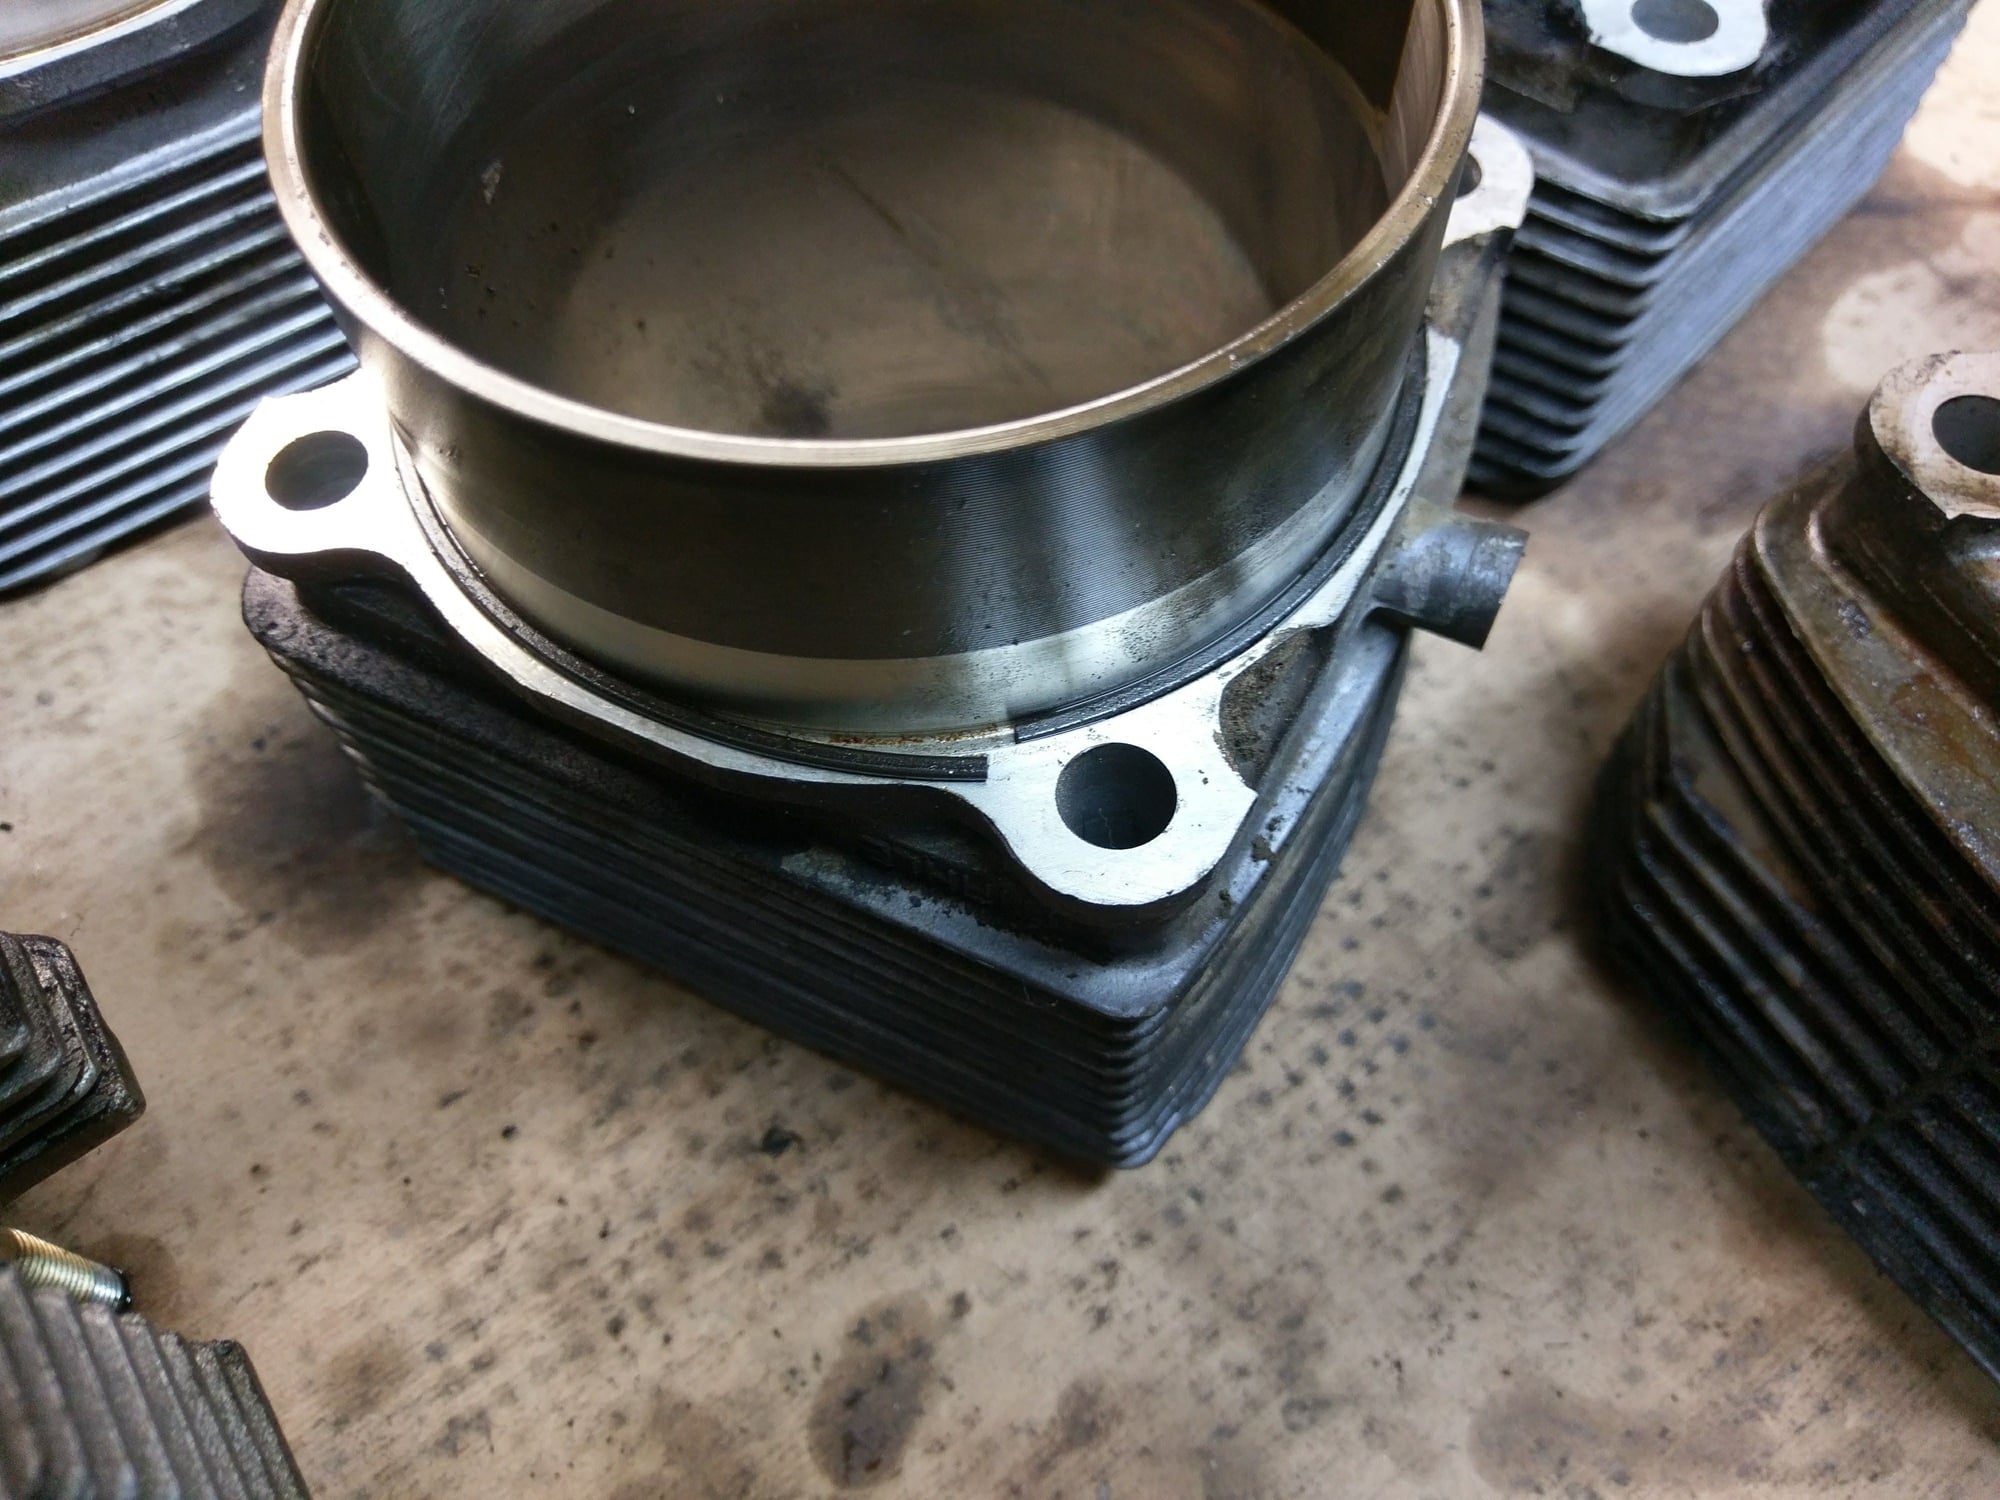
Second picture is the case, correct? Is that a piston ring hanging off the cylinder?
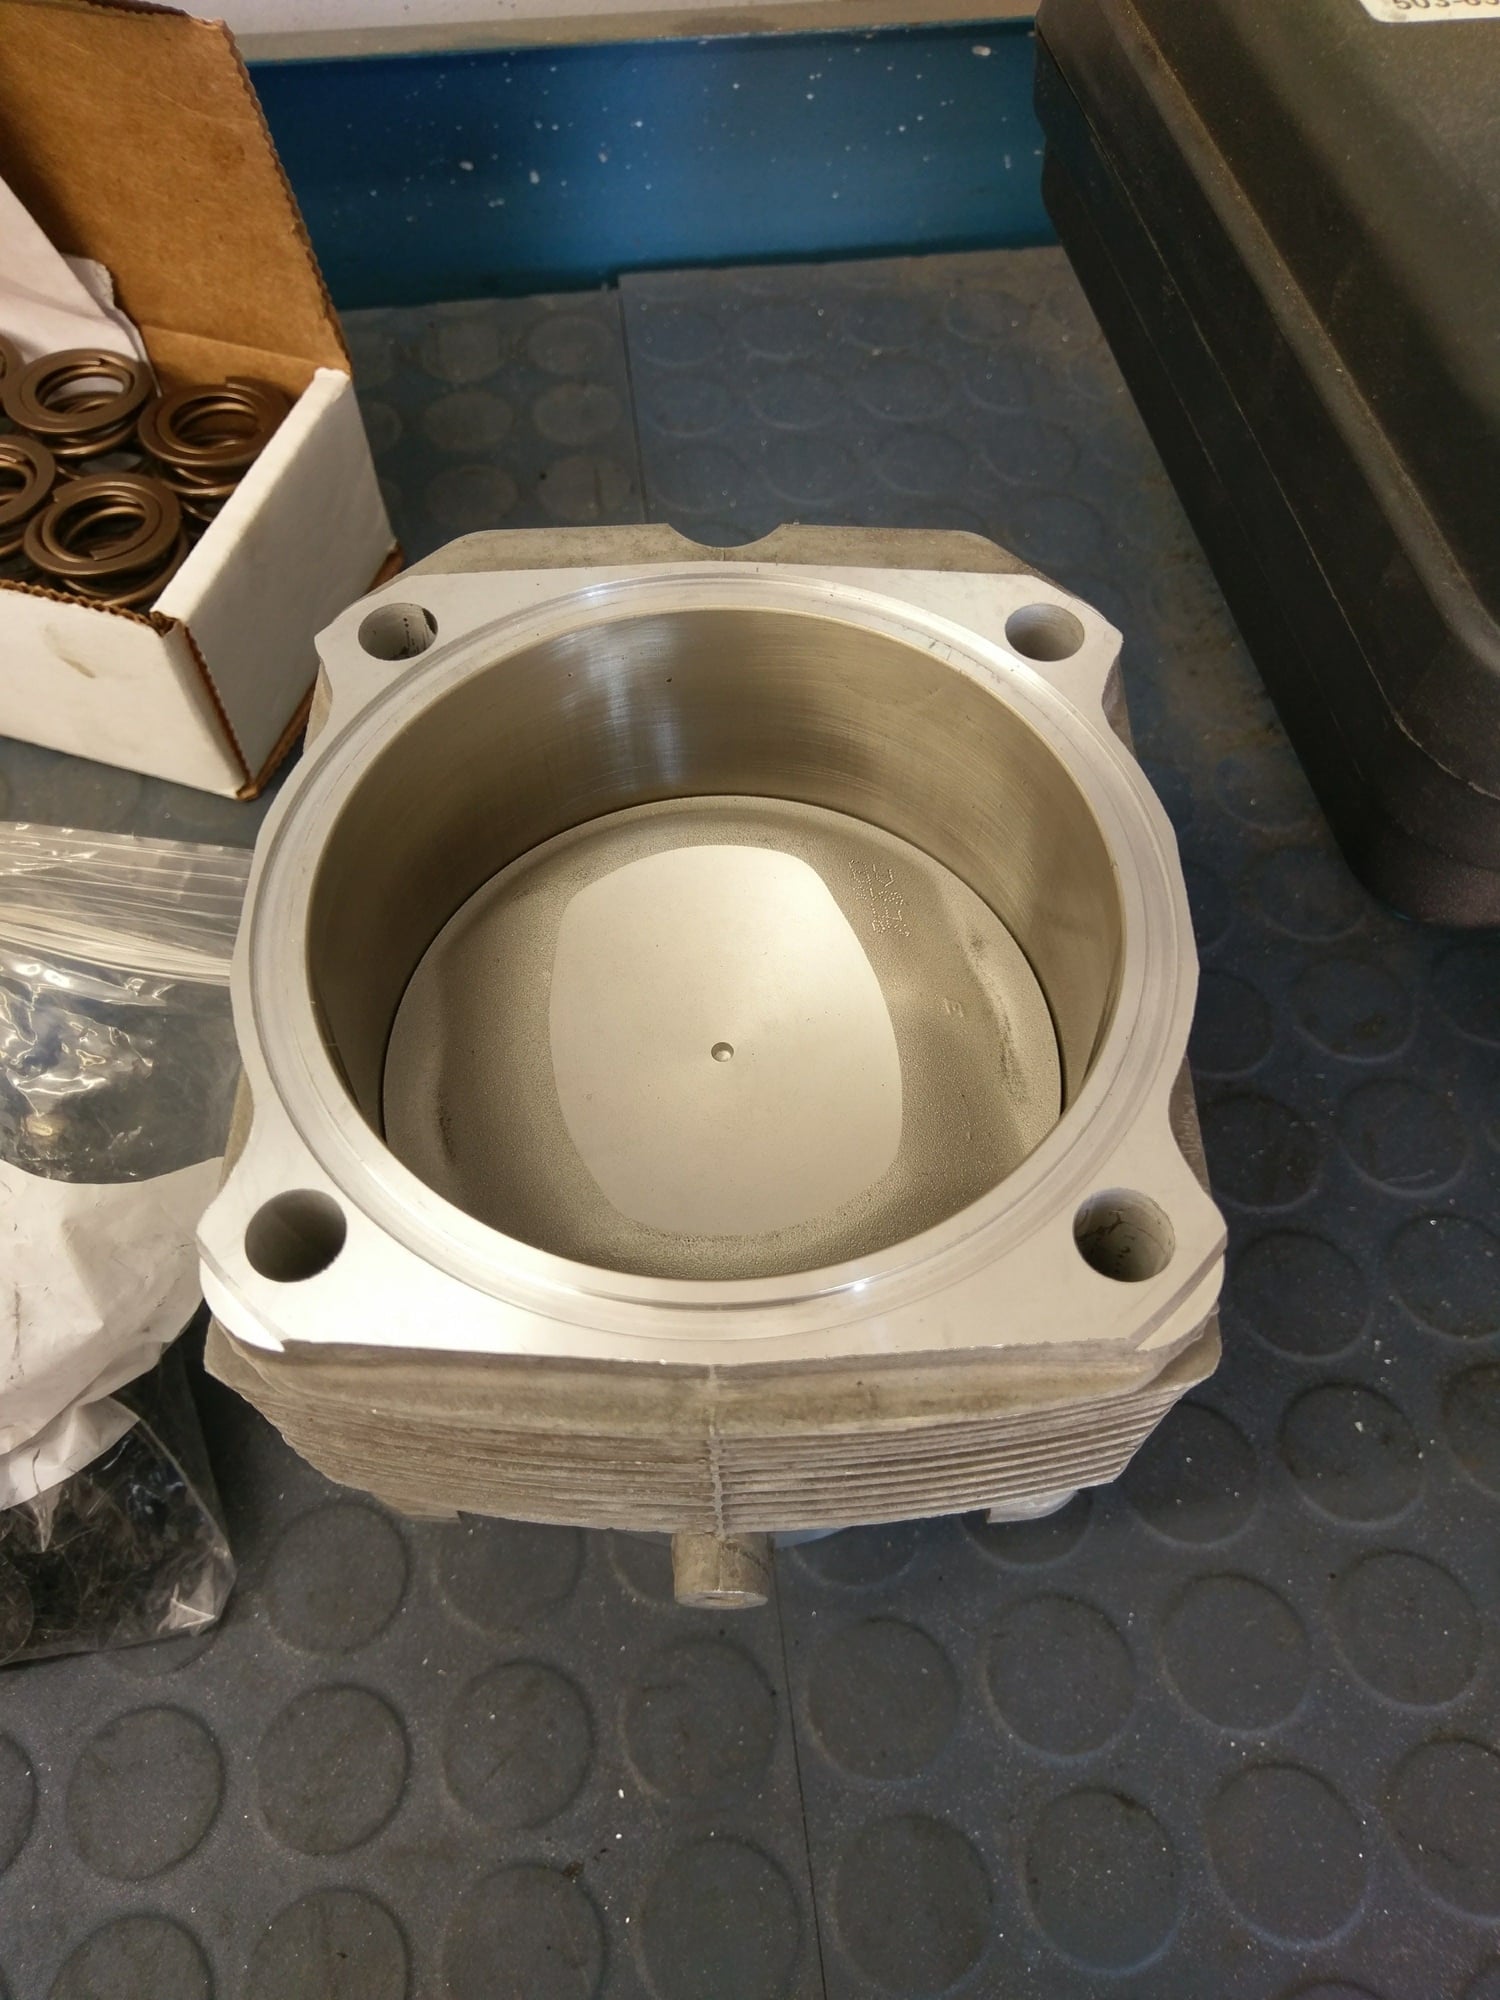
Third picture is the top of the new cylinder -- no machining needed on that since groves are already machined for a gasket, correct?
Fourth picture is your original cylinder head, machined to mate the new cylinder, right?
I went with Jet Hot on the ceramic coating. A few of the Early S members have used it and it is the correct "Porsche" color. At least I like it as it is the color exhausts were for all the earlier cars. It helps keep temps down too. I know several fellows in the aviation world that use it and swear by it.
I talked to a few local shops, but couldn't find anyone that had the right color, so we shipped it off. We'll see how it holds up.
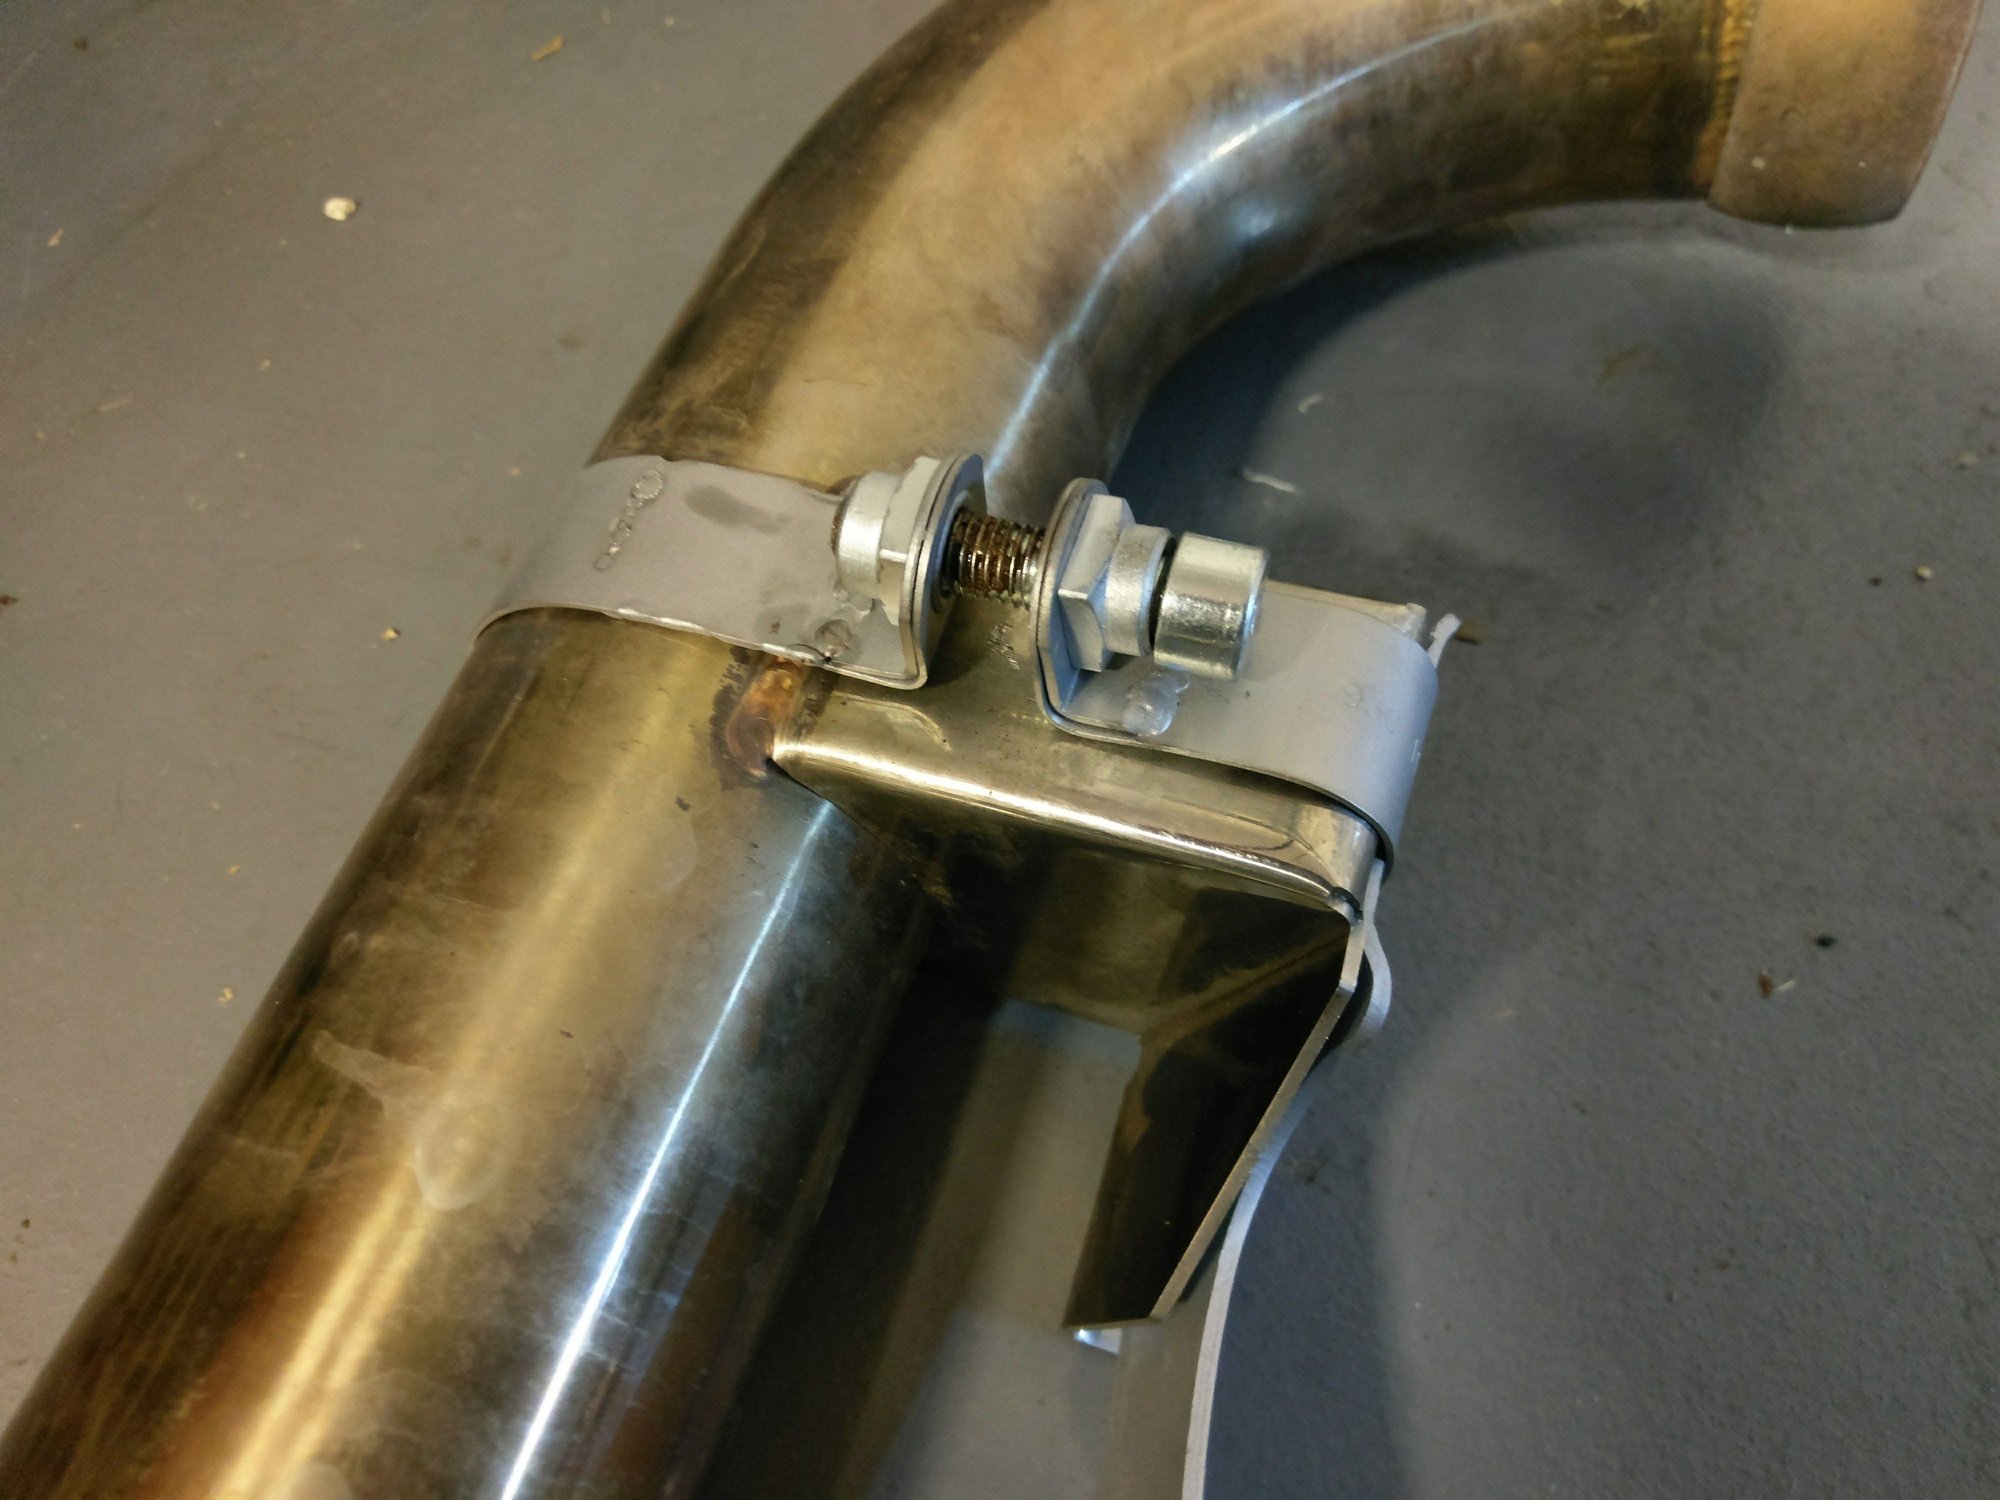
Also fabbed some new hold-down straps for the Cup Pipe. Used some exhaust straps from earlier cars, cut them and re-welded to the right length. Now they look much more "factory", and even have Porsche part numbers on them. : )
Couldn't decide on Cad plated cap bolts or stainless. These are stainless for now, and a little anti-seize on the threads.
Response in bold. These are typical issues and roaming through the archives, you can see several people have dealt with this too.
Originally Posted by johnsopa
Robert, great pics. I'm going to rebuild my new-to-me 964 at some point. It has not been resealed. Only has had the valve cover gaskets replaced. Doesn't leak too bad yet.
Can I ask some clarifying questions?
First picture shows the bottom of the old cylinder, right? I assume that black ring is a broken/worn out gasket sealing the cylinder to the crankcase, right?
That black ring is a nitrile o-ring, it seals the cylinder base to the crank case, it is crispy as can be, and failed. It is the source of my leaks, and a typical problem. New o-rings are Viton, green in color.
Second picture is the case, correct? Is that a piston ring hanging off the cylinder?
Same nitrile o-ring, different cylinder. It just fell off the bottom of the cylinder, whereas the other one stayed on when the cylinder was pulled.
Third picture is the top of the new cylinder -- no machining needed on that since groves are already machined for a gasket, correct?
Correct. That was the upgrade in the design.
Fourth picture is your original cylinder head, machined to mate the new cylinder, right?
I almost don't know what to do with myself after work and on the weekend. Four months from start to finish, but that included a few weeks at the shop while they did their magic.
I will say, that in comparison, any other wrenching project seem very simple and straightforward....
We set a new high bar for complexity.
Great attention to detail Robert and a fantastic result. I fully plan to install my engine in a couple of weeks when I�m finally back in Country.
Great job and congratulations! It feels great. Have you started it yet? I was very nervous when I started mine. Worried that I may have missed something. Turned out to be fine. Whew!
John, you know I'm just as excited to hear your progress !
I didn't bother documenting my efforts because you have done such a great, detailed job. Happy to share other key learnings as others get there. As you and I discussed via PM's, I talked to my shop often, and at times watched the P-Fix-it videos, and while their videos are very helpful, I found a few details in them that are not totally correct.
Yes, starting it was a bit nerve-wracking. I pulled the DME relay and hit the starter until I had oil pressure on the gauge. Then replaced the relay, and went to start. I know there is a way to bridge some terminals and get the fuel pump going by itself, to build pressure, but I did not do that.
Starter ran and ran, no start....wait, give starter a break......try again.....no start.....wait......again...pop..sputter....vroooommmm. Smooth and steady. It just took a while to get the fuel pressure in the system. It took a bit longer that I wanted. That bit of doubt creeps in and you wonder if you did everything correctly. It was all fine : )


 10-26-2017, 01:29 PM


 When can I drop mine off?