When you click on links to various merchants on this site and make a purchase, this can result in this site earning a commission. Affiliate programs and affiliations include, but are not limited to, the eBay Partner Network.
I watched the Eastwood video, and found it misleading in the sense that they breeze through the description and make it seem as if you just "pull the handle and make a brake line". I found that there's a lot more involved, inspection at each step is a must, and I had to add some extra steps to make a line comparable to a factory hard brake line.
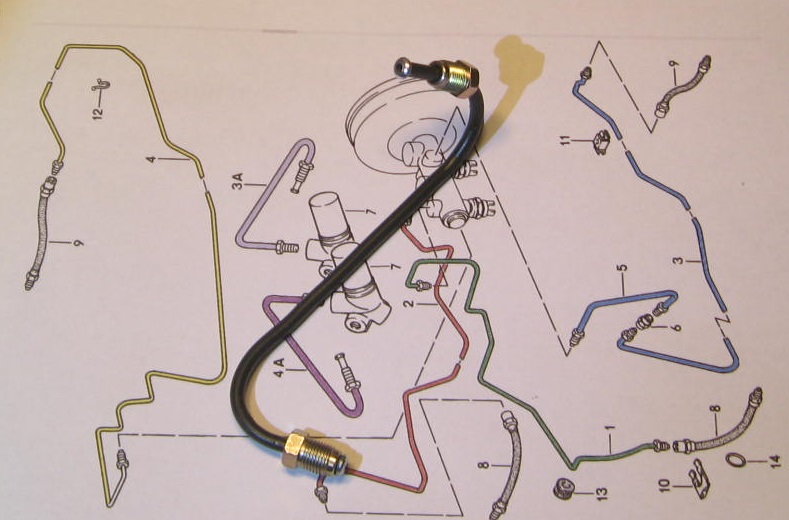
First, courtesy of the FEDHILLUSA website, here's a great diagram of the DIN brake flare dimensions.
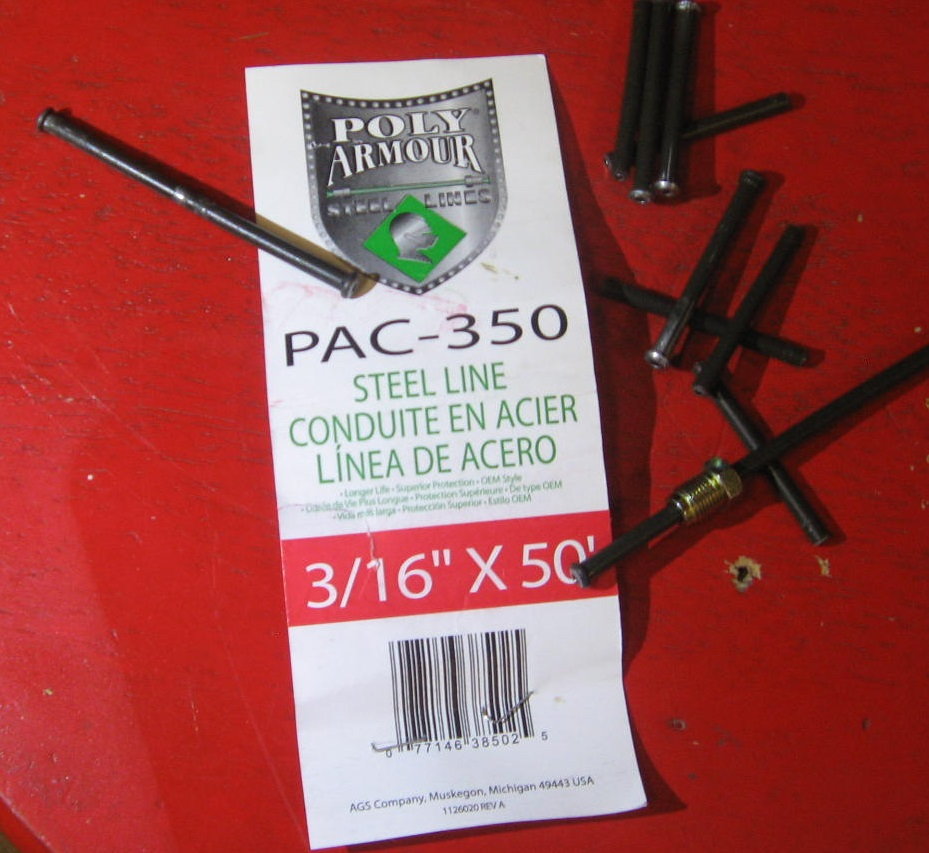
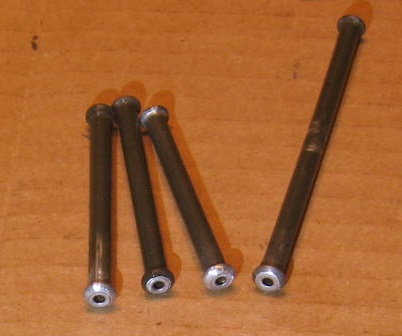
I decided to use POLY-ARMOUR line. I started by cutting about 20 pieces to use for practice. I learned a lot by practicing quite a bit before trying to make a "real" brake line, and I'd definitely recommend spending a few attempts to familiarize yourself with the flaring process.
Next, I used some copper wire as a length and shape template for the brake line I wanted to make...
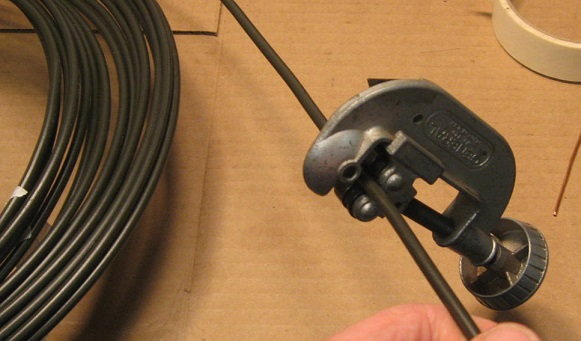
Use a sharp tubing cutter to remove your piece from the coil, this prevents crushing or kinking.
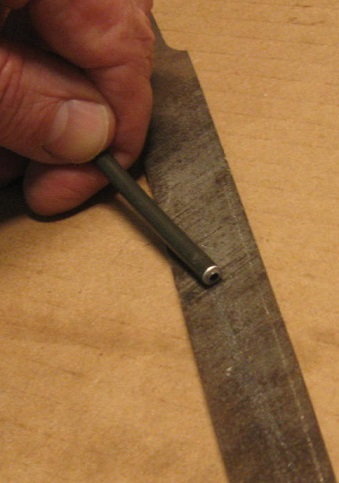
Next, you need to lightly chamfer the ends of the line.
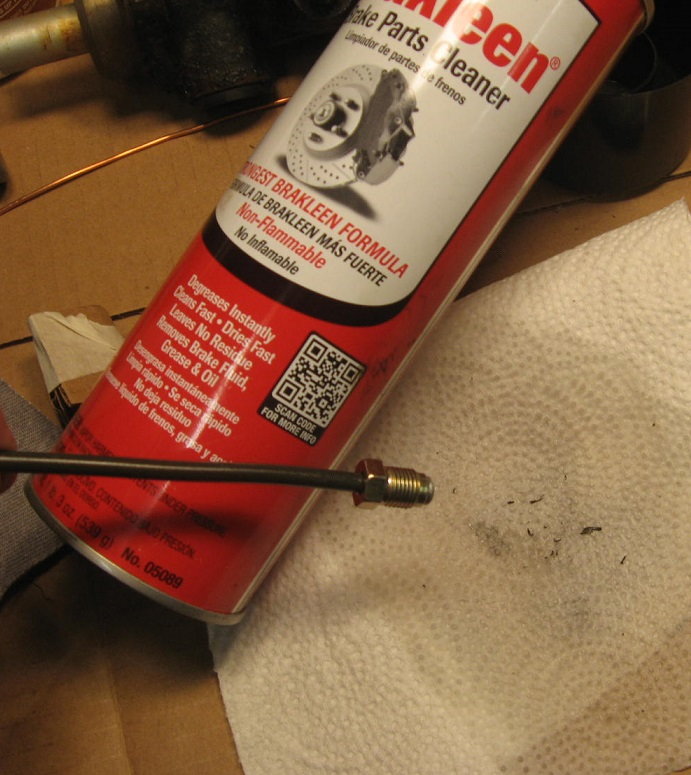
I also found that you need to clean away the dark green coating from the area to be flared.
If you don't clean this green coating material away, the flare is inconsistent and uneven. To clean, I used a fine grit paper and some cleaner.
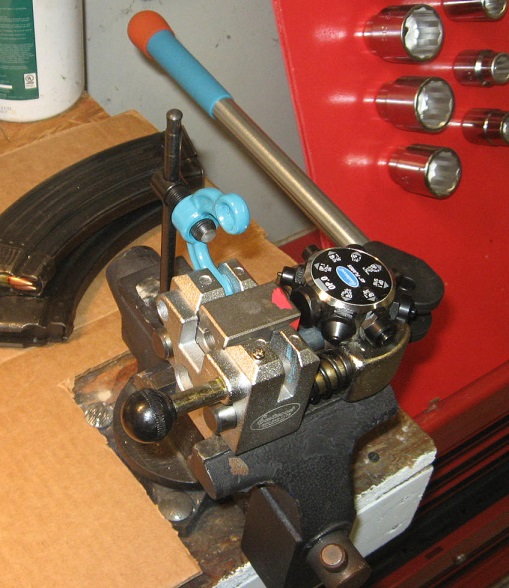
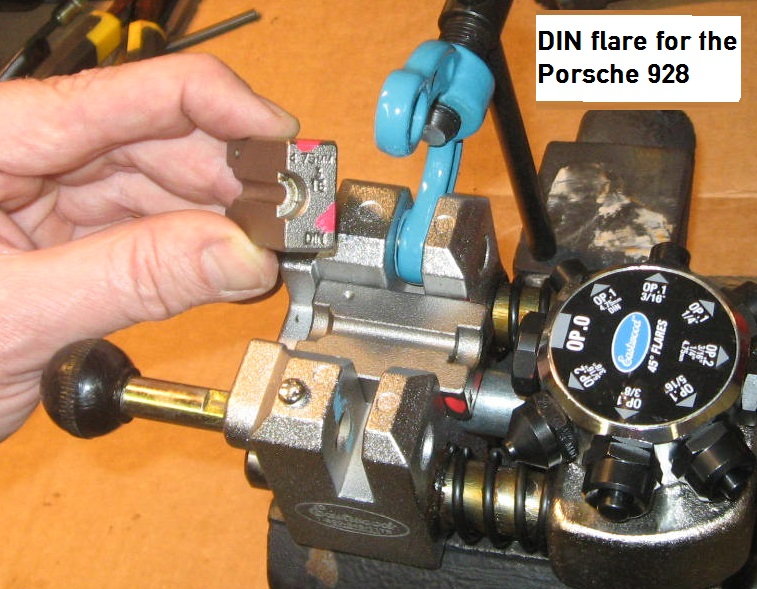
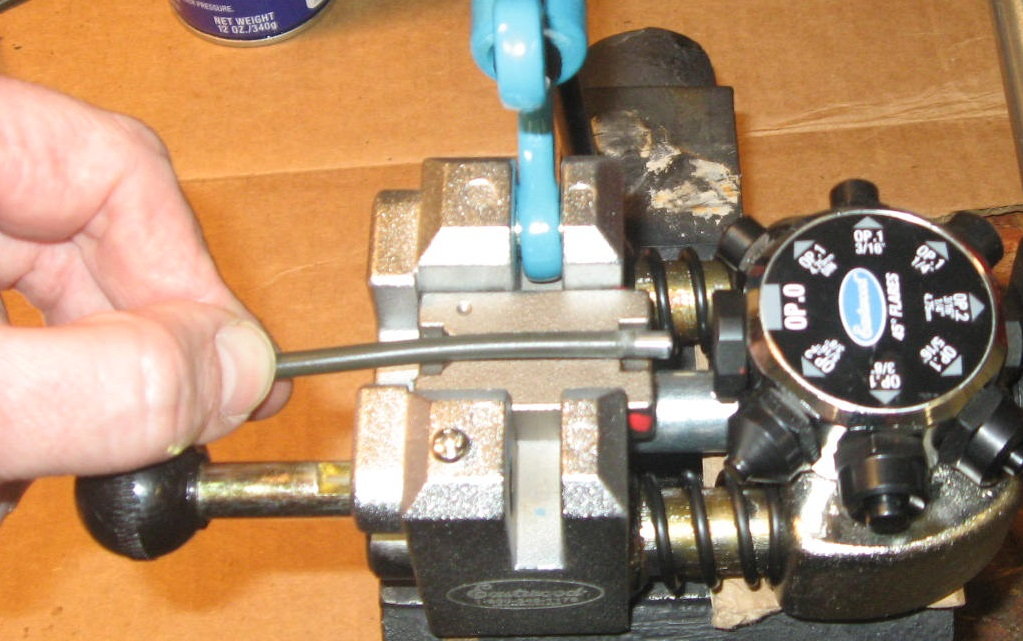
Here's the Eastwood flaring tool, and a close-up of the DIN flare die...
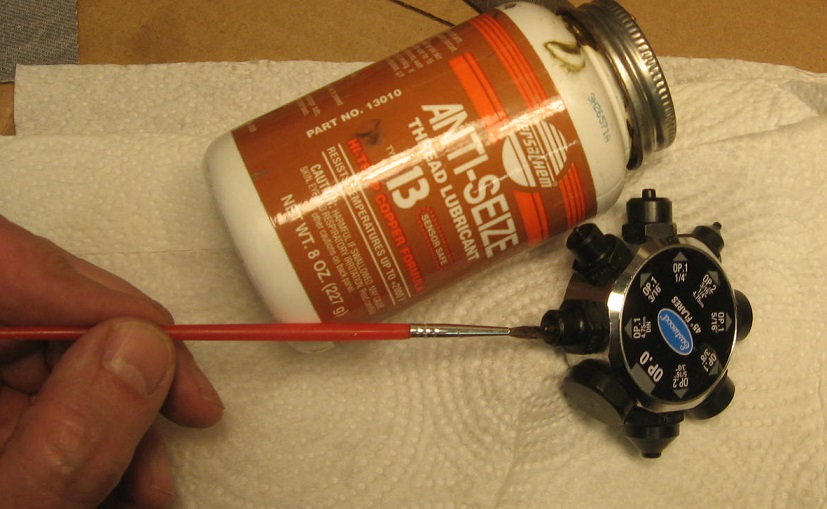
Proper lubrication is important for a nice even flare. Eastwood suggests AntiSeize for the die, seen applied here to the DIN flare head...
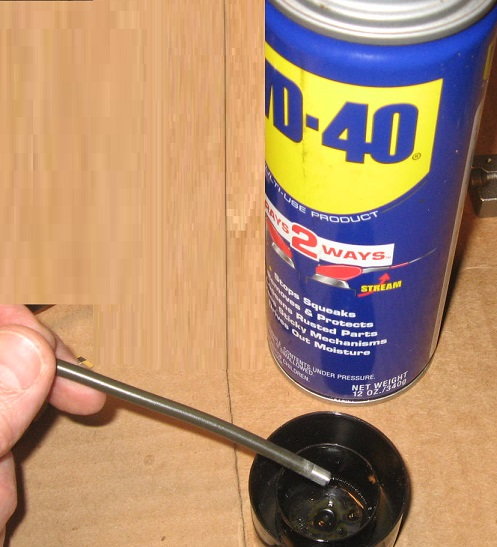
After several trials, I found that you can get much better flares by also lightly coating the line itself with a tiny amount of WD40 in addition to the copper-based AntiSeize.
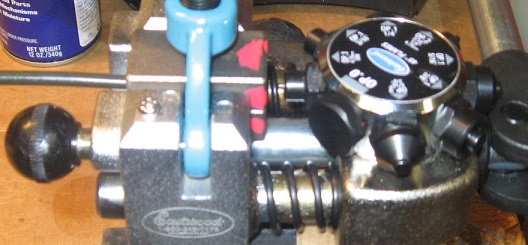
The line now goes into the DIN die,
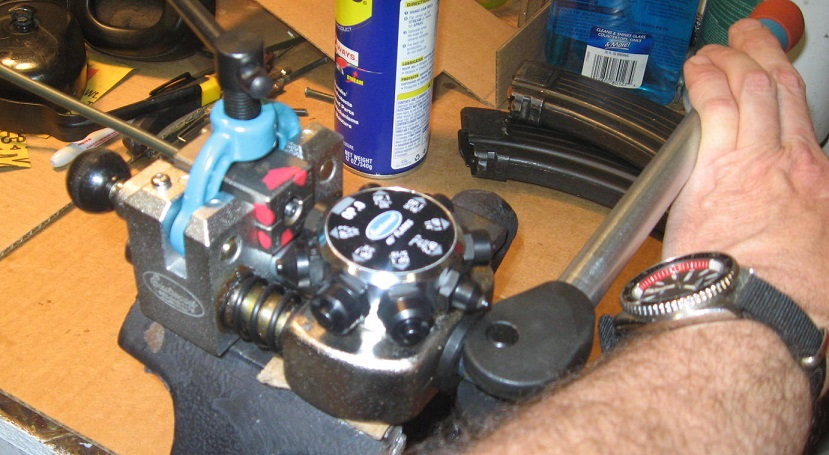
You then use the "Operation Zero" die head to true the line with the face of the die.
Now, you set the die head to the "DIN OPERATION 1" setting, one smooooth pull until the head seats home, and you have the beginning of a DIN flare.
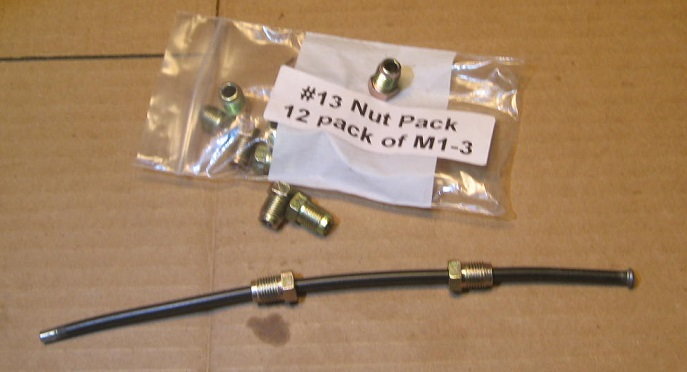
Make sure to put the fittings on the line before you create the second flare!
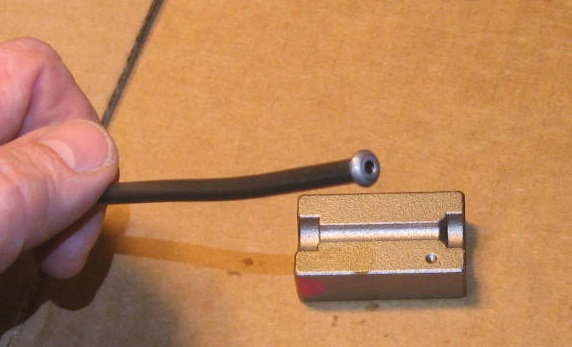
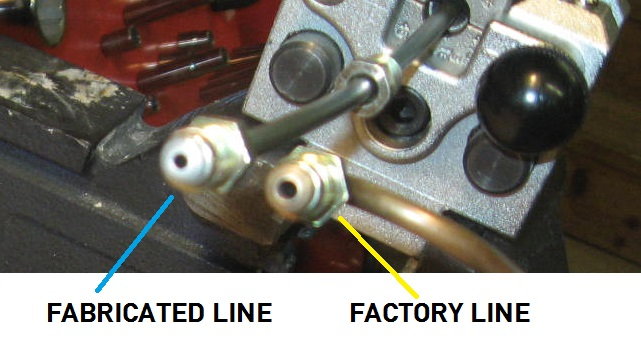
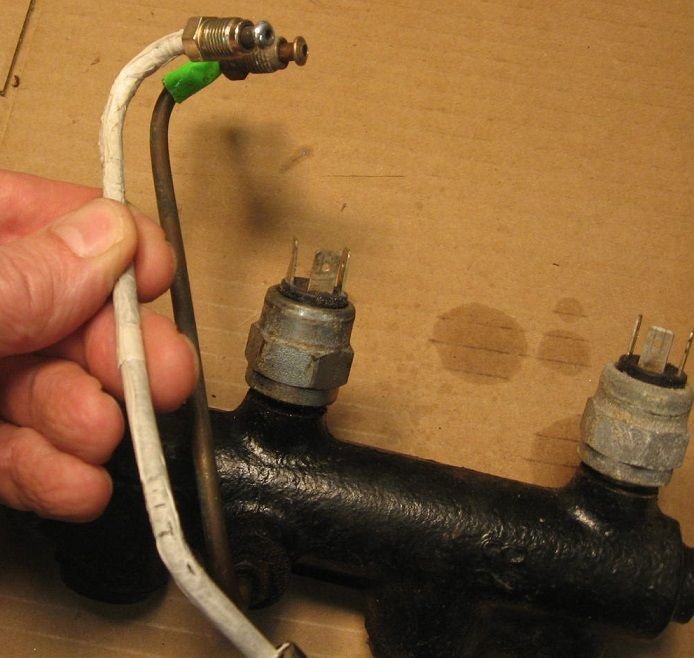
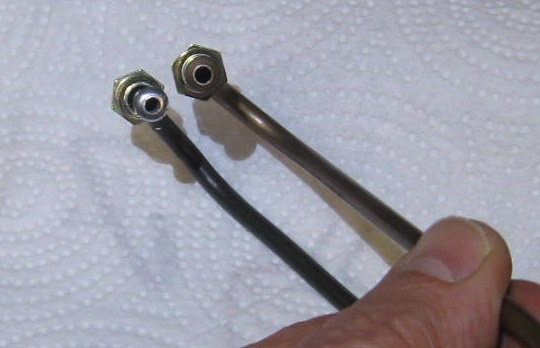
Referring to the intial DIN flare diagram and this comparison photograph shows that the Eastwood flare tool does not create an opening identical to the factory Porsche brake line. The Eastwood line has a smaller opening.
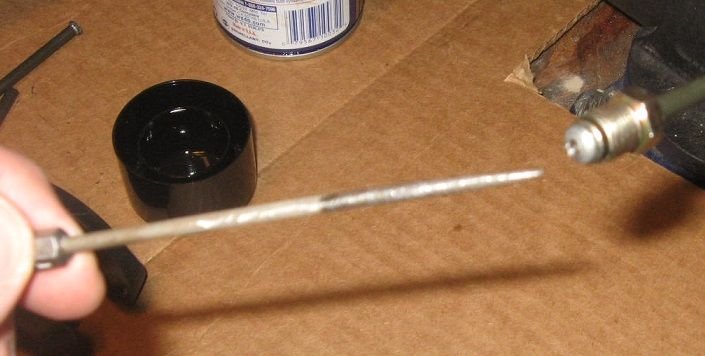
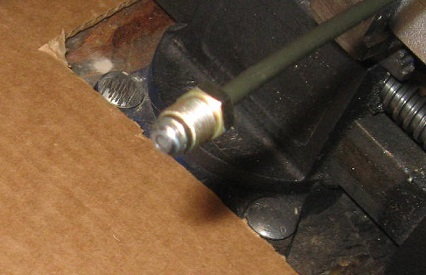
I used calipers to measure and identify a little file with the correct diameter to open up the line to the correct orifice size.
Also, another "cleaning step" follows the light filing work here...
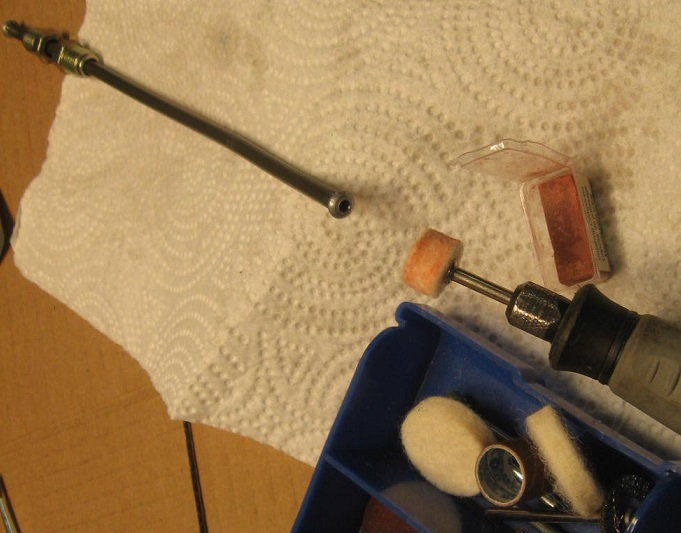
At this point, comparison of the Porsche factory brake line revealed that it was much smoother and more finely finished than the Eastwood line. I used a soft felt head, some jeweler's rouge, and a Dremel on low speed to dress up the mating surfaces of my flare. I really wish the photograph did a better job of showing the polished result.
Now for shaping the line. I wrapped it in masking tape to protect it from the line pliers, and took my time. It's really best to go super-slow, and bend with small, gentle moves. Don't rush, it doesn't help.
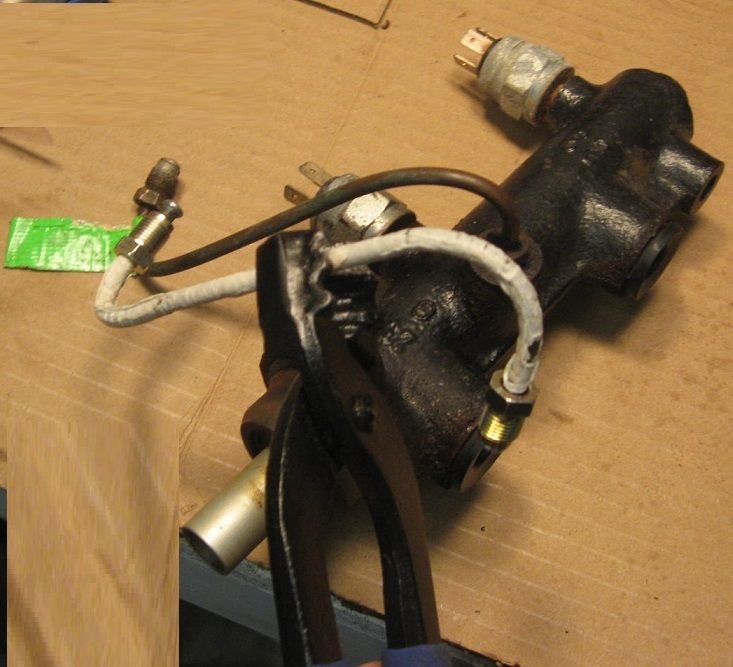
The finished product, and one final comparison shot.
This process is fun, but you really need to pay attention to how the line looks and feels as you go along. Preparation of the surface, staying insane about cleanliness, and repeatedly comparing "your work" to a "real brake line" is imperative.
Any observations, suggestions, improvements, or criticisms would be greatly appreciated.
Thanks,
Dan
Last edited by Daniel5691; 04-16-2017 at 11:12 PM.
I watched the Eastwood video, and found it misleading in the sense that they breeze through the description and make it seem as if you just "pull the handle and make a brake line". I found that there's a lot more involved, inspection at each step is a must, and I had to add some extra steps to make a line comparable to a factory hard brake line.
First, courtesy of the FEDHILLUSA website, here's a great diagram of the DIN brake flare dimensions.
I decided to use POLY-ARMOUR line. I started by cutting about 20 pieces to use for practice. I learned a lot by practicing quite a bit before trying to make a "real" brake line, and I'd definitely recommend spending a few attempts to familiarize yourself with the flaring process.
Next, I used some copper wire as a length and shape template for the brake line I wanted to make...
Use a sharp tubing cutter to remove your piece from the coil, this prevents crushing or kinking.
Next, you need to lightly chamfer the ends of the line.
I also found that you need to clean away the dark green coating from the area to be flared.
If you don't clean this green coating material away, the flare is inconsistent and uneven. To clean, I used a fine grit paper and some cleaner.
Here's the Eastwood flaring tool, and a close-up of the DIN flare die...
Proper lubrication is important for a nice even flare. Eastwood suggests AntiSeize for the die, seen applied here to the DIN flare head...
After several trials, I found that you can get much better flares by also lightly coating the line itself with a tiny amount of WD40 in addition to the copper-based AntiSeize.
The line now goes into the DIN die,
You then use the "Operation Zero" die head to true the line with the face of the die.
Now, you set the die head to the "DIN OPERATION 1" setting, one smooooth pull until the head seats home, and you have the beginning of a DIN flare.
Make sure to put the fittings on the line before you create the second flare!
Referring to the intial DIN flare diagram and this comparison photograph shows that the Eastwood flare tool does not create an opening identical to the factory Porsche brake line. The Eastwood line has a smaller opening.
I used calipers to measure and identify a little file with the correct diameter to open up the line to the correct orifice size.
Also, another "cleaning step" follows the light filing work here...
At this point, comparison of the Porsche factory brake line revealed that it was much smoother and more finely finished than the Eastwood line. I used a soft felt head, some jeweler's rouge, and a Dremel on low speed to dress up the mating surfaces of my flare. I really wish the photograph did a better job of showing the polished result.
Now for shaping the line. I wrapped it in masking tape to protect it from the line pliers, and took my time. It's really best to go super-slow, and bend with small, gentle moves. Don't rush, it doesn't help.
The finished product, and one final comparison shot.
This process is fun, but you really need to pay attention to how the line looks and feels as you go along. Preparation of the surface, staying insane about cleanliness, and repeatedly comparing "your work" to a "real brake line" is imperative.
Any observations, suggestions, improvements, or criticisms would be greatly appreciated.
Dan, Thanks for posting this!
I got lucky with the rear brake lines on the Red Witch. I was able to find pre-flared poly coated tubing in just about the right length at my local NAPA.
However, it has been in the back of my mind that I will have to figure something out for the fronts.
This is the info I need.
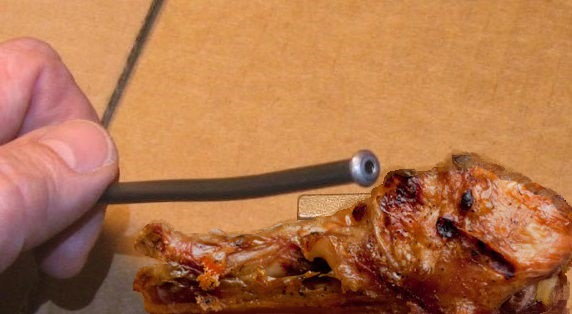
No brake work is complete without coating all components with chicken drippings. Sorry for the oversight. Sheesh can you imagine what might have happened ?
Very good work!
You new world guys are so lucky ppl! Here in Germany we have T�V. No messing around with safety relevant parts of the car.
All this parts need an certification from the supplier for use on the car.
Good job! Many people use copper tubing and make SAE double flaring to use on a Porsche. I once bought a brake line for my 928 at a local Porsche shop with these so called double flares. Never used them of course but how many cars are driving with improper brake lines (copper, SAE flaring)?
I eventually used a BMW set of brake lines from the same manufacturer as Porsche used. Different length off course but some extra curves took care of that.
Good job! Many people use copper tubing and make SAE double flaring to use on a Porsche. I once bought a brake line for my 928 at a local Porsche shop with these so called double flares. Never used them of course but how many cars are driving with improper brake lines (copper, SAE flaring)?
Yes sir. There are very definite differences in the 2 flare types....
just a tip having just fixed a leaking hard line on my subaru, don't need to "crush" the flare all the way into its shape, leave a little bit of "give" for the fittings to squeeze against/down when you are tightening the fittings into place.


 04-16-2017, 10:41 PM