When you click on links to various merchants on this site and make a purchase, this can result in this site earning a commission. Affiliate programs and affiliations include, but are not limited to, the eBay Partner Network.
After I long conversation with Mike last year, I think I'm going to go with their rings for the 87. Just have decided on if I want to go chromed. But to be honest since I don't race I think it would be Overkill.
I keep talking myself into and then it of doing the rings. But since I'm doing rod bearings, I think I might as well while I'm in there. That will make this a 100% rebuild.
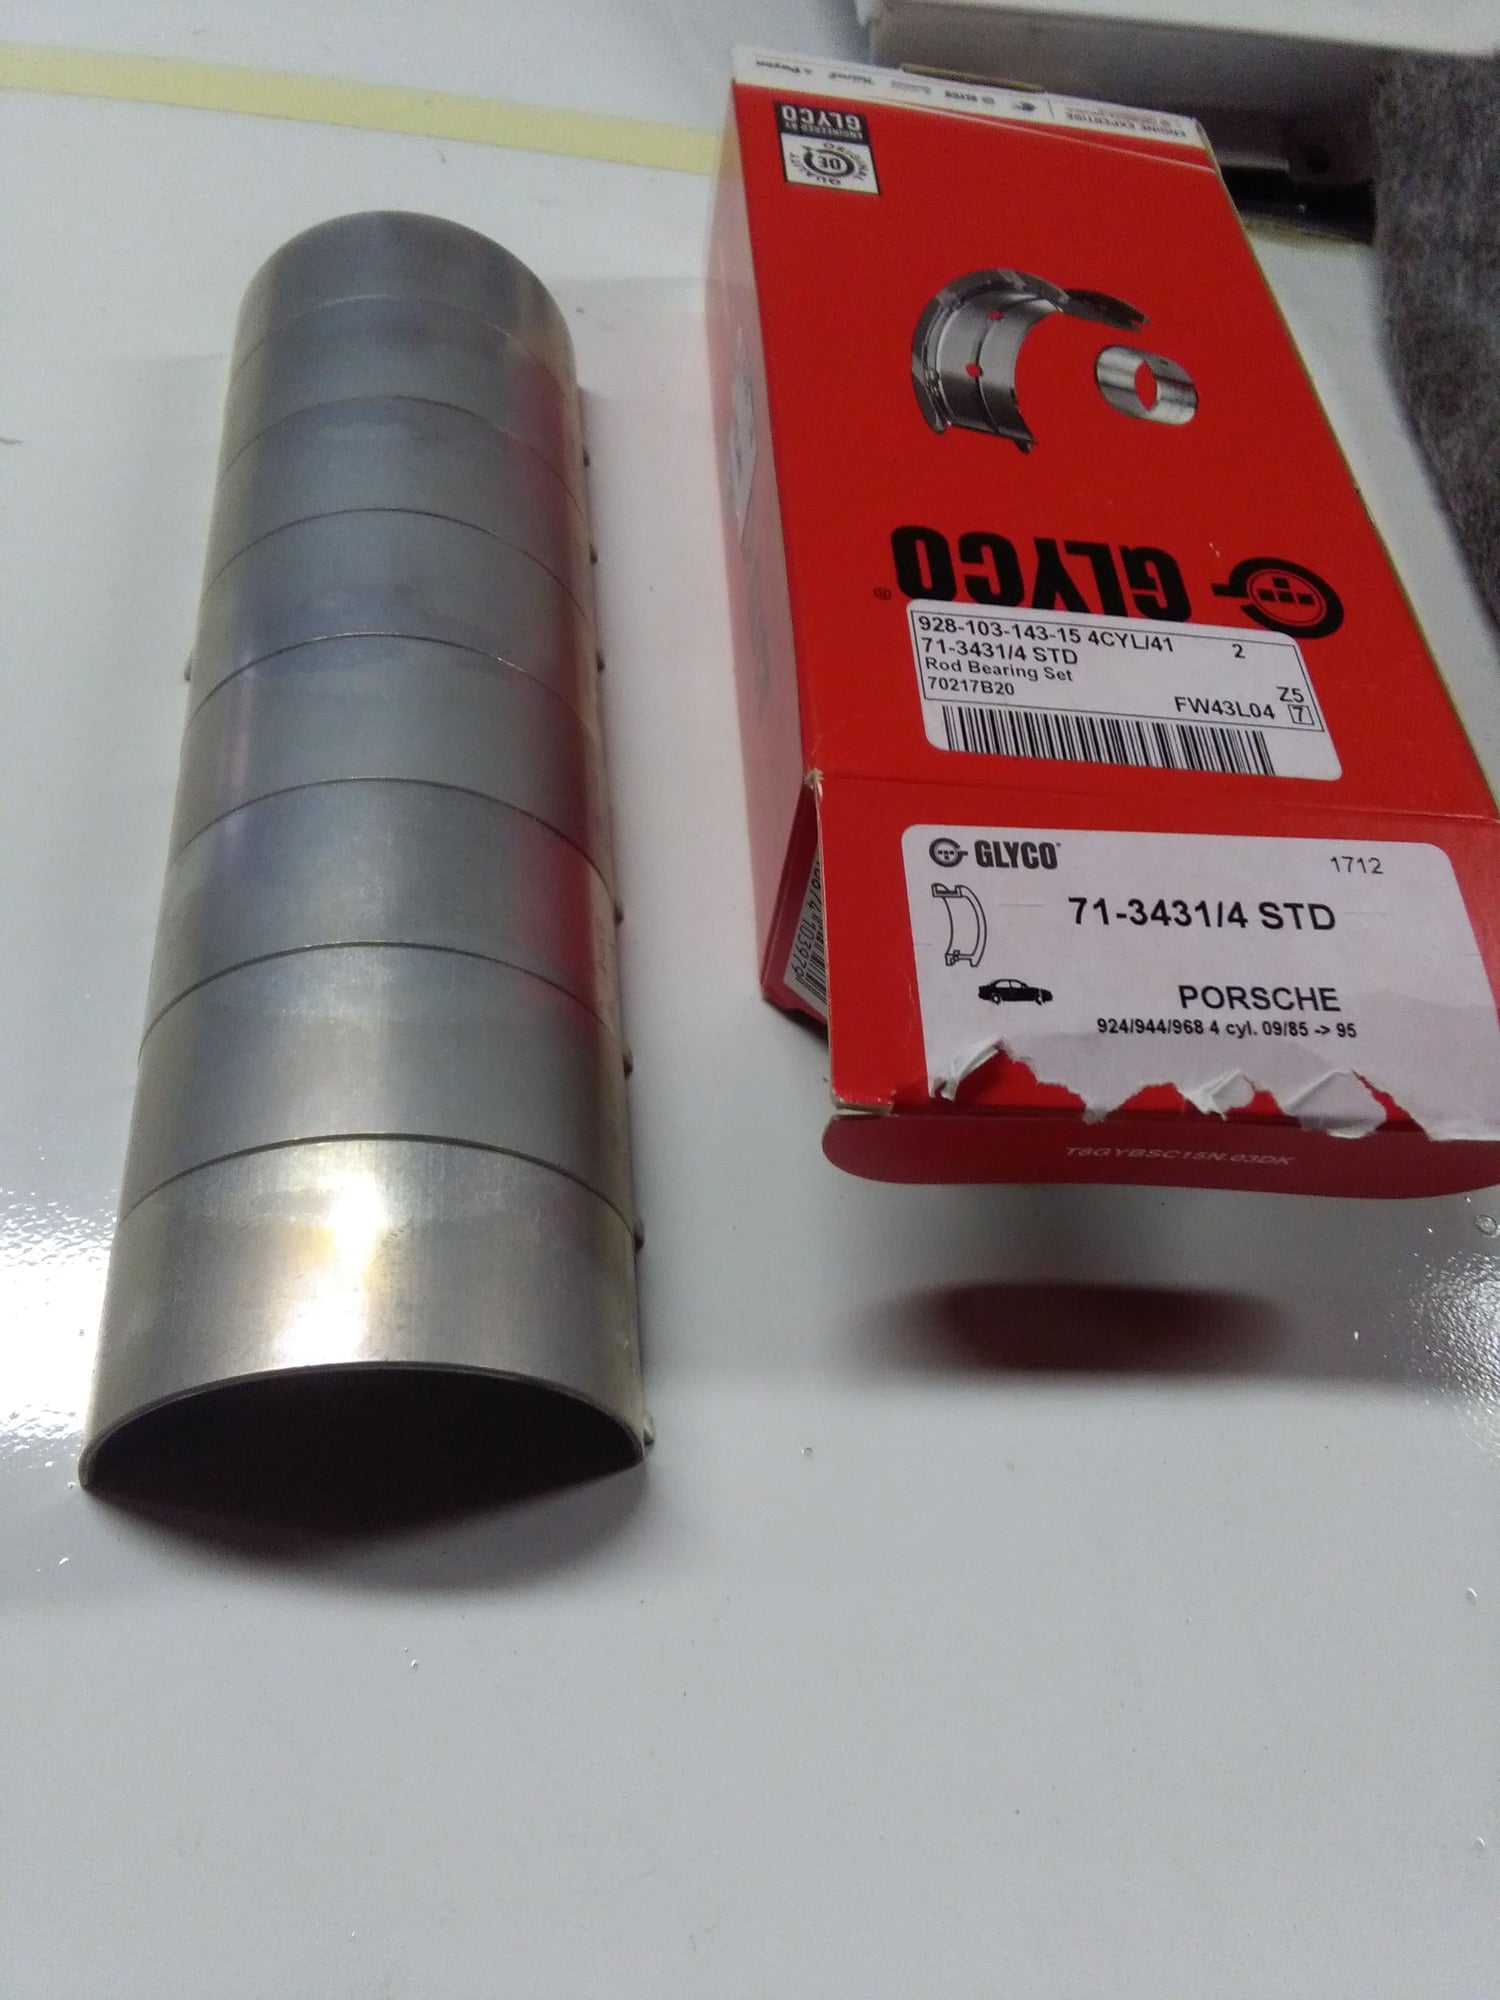
ROD BEARINGS. Okay, thought I'd take the time to research & post my findings on rod bearing measurements. There are many threads on the subject. I been reading reports on lack-luster Glyco quality unless it's a Porsche stamped product. I've seen photos of visually under sized bearings (more narrow than stock). That's scary.
Back story:
I bought my second ever Glyco bearing set to replace the ones I replaced 3 years ago.
Driving style: Mixed.
Miles on bearings unknown. 15,000+ probably.
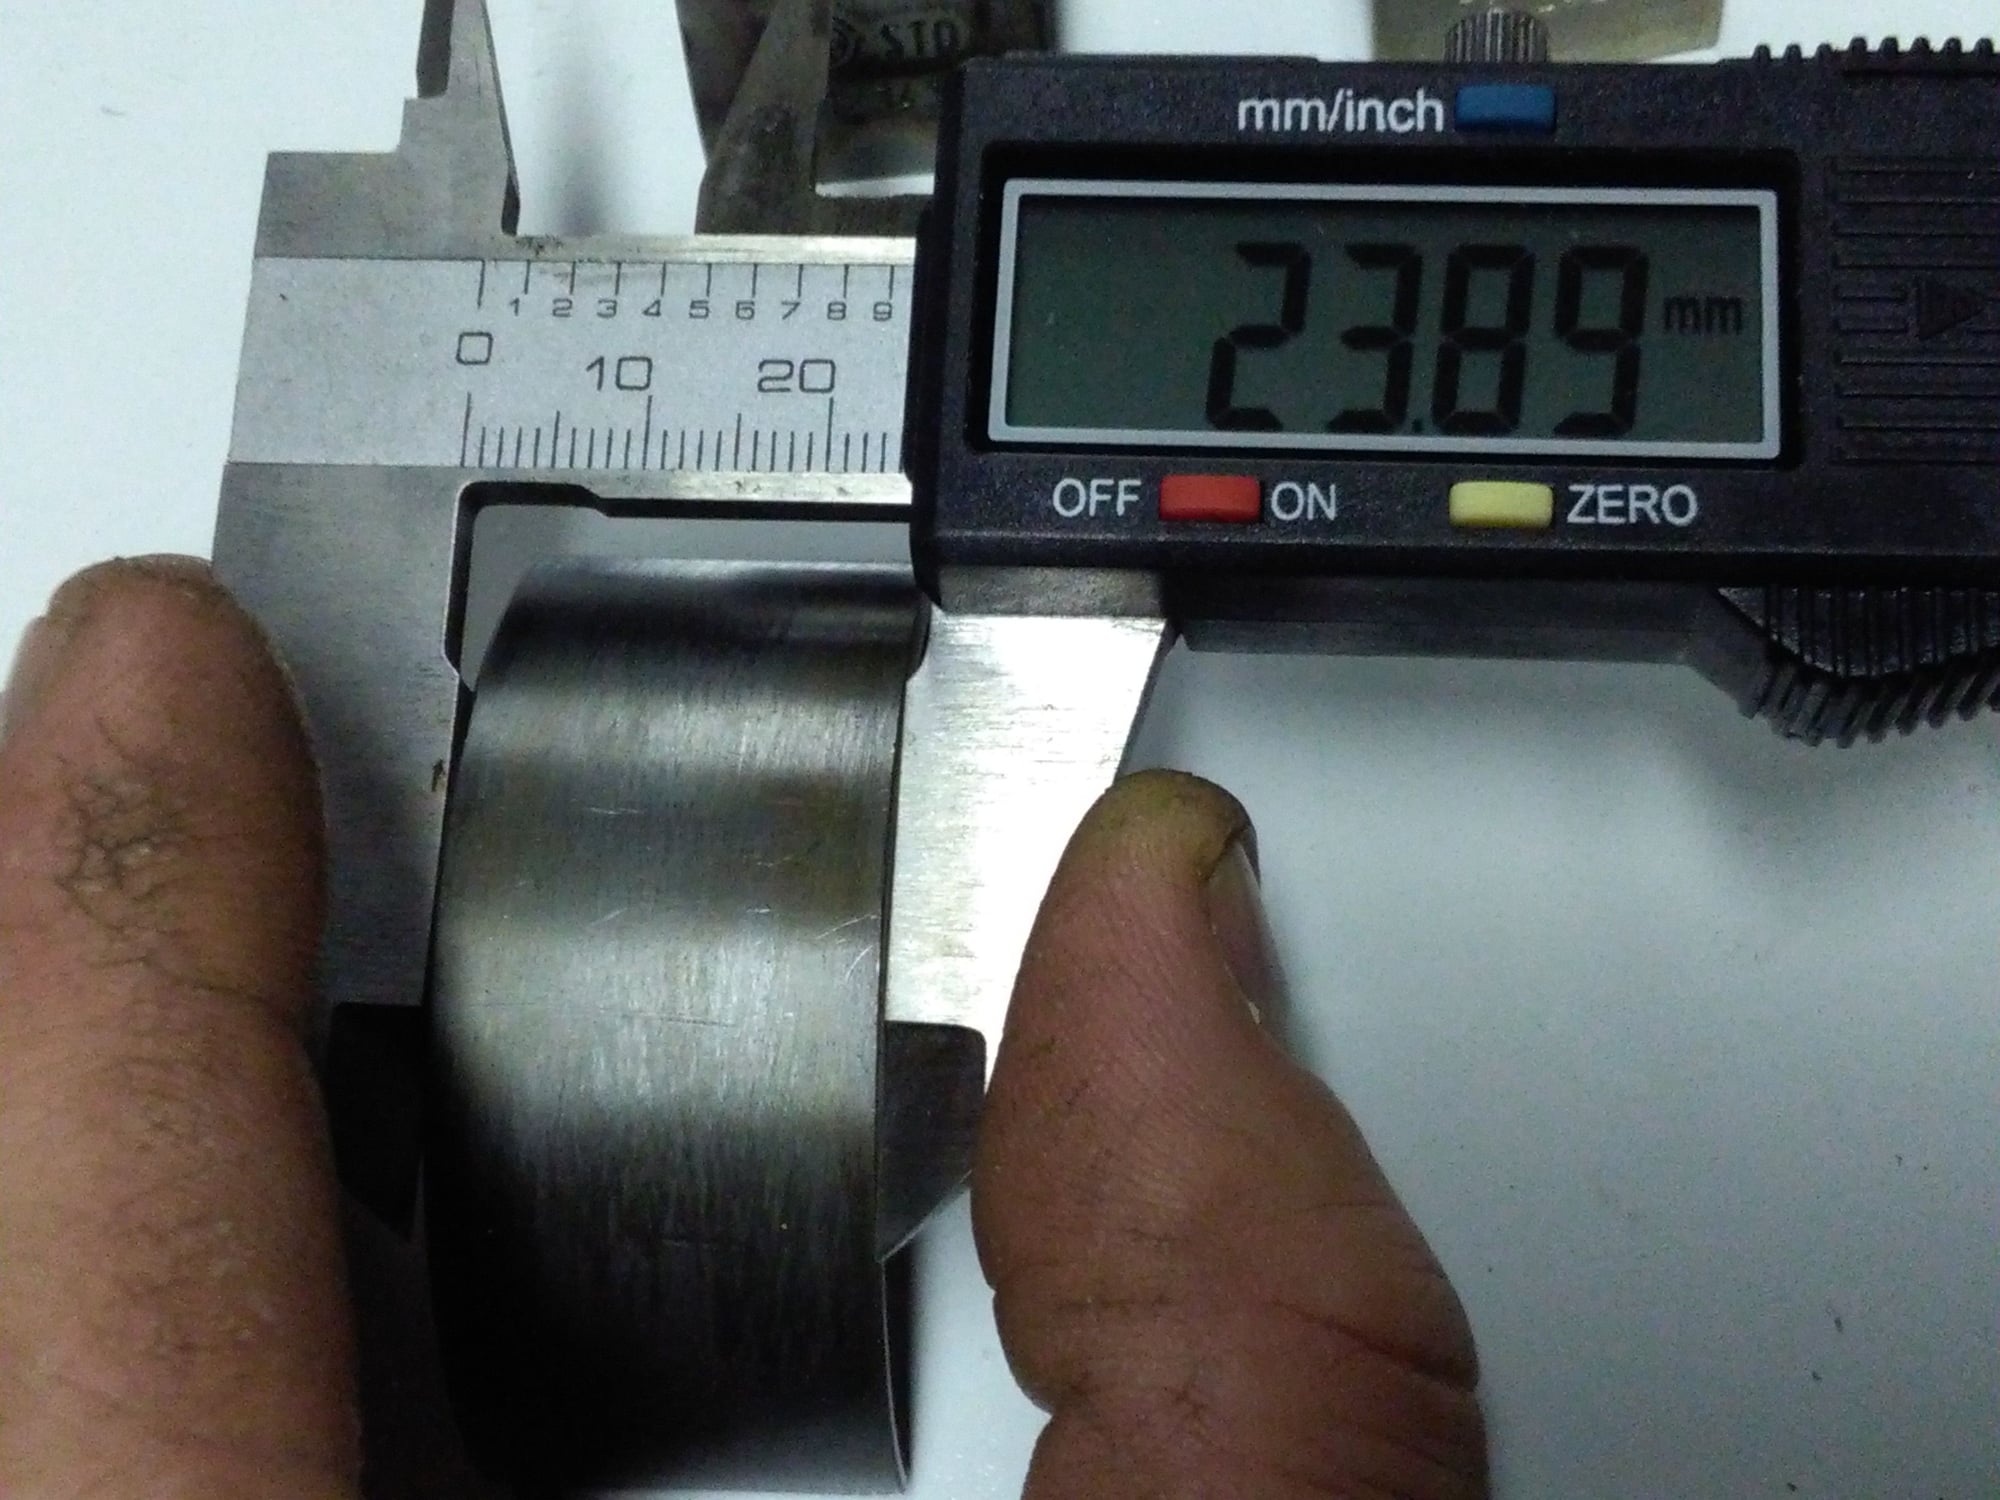
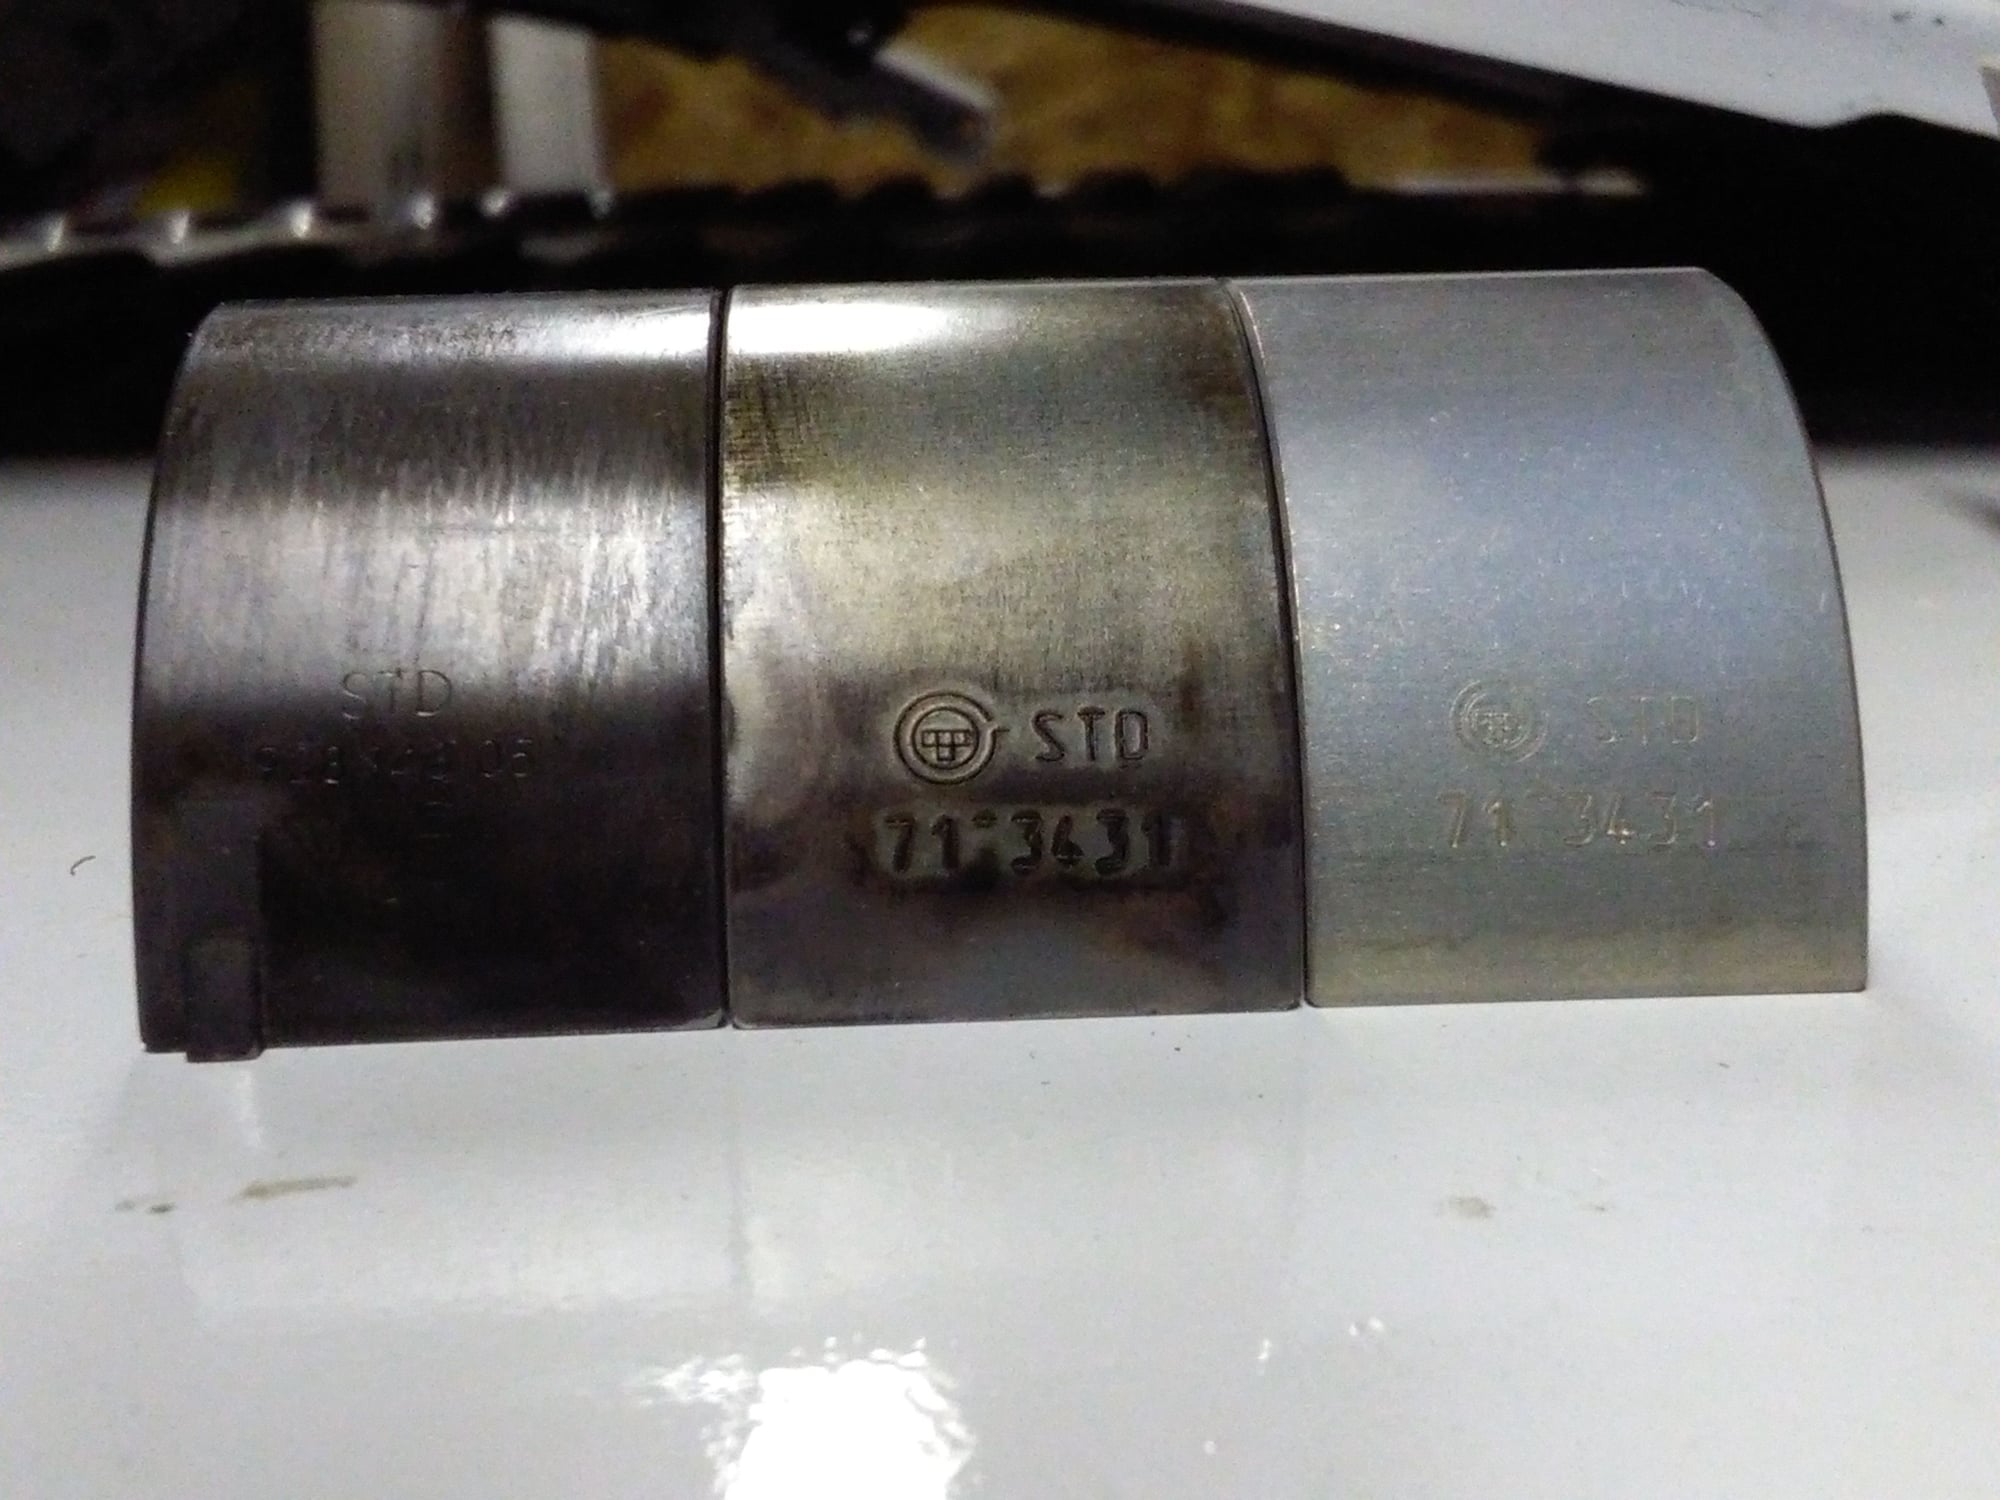
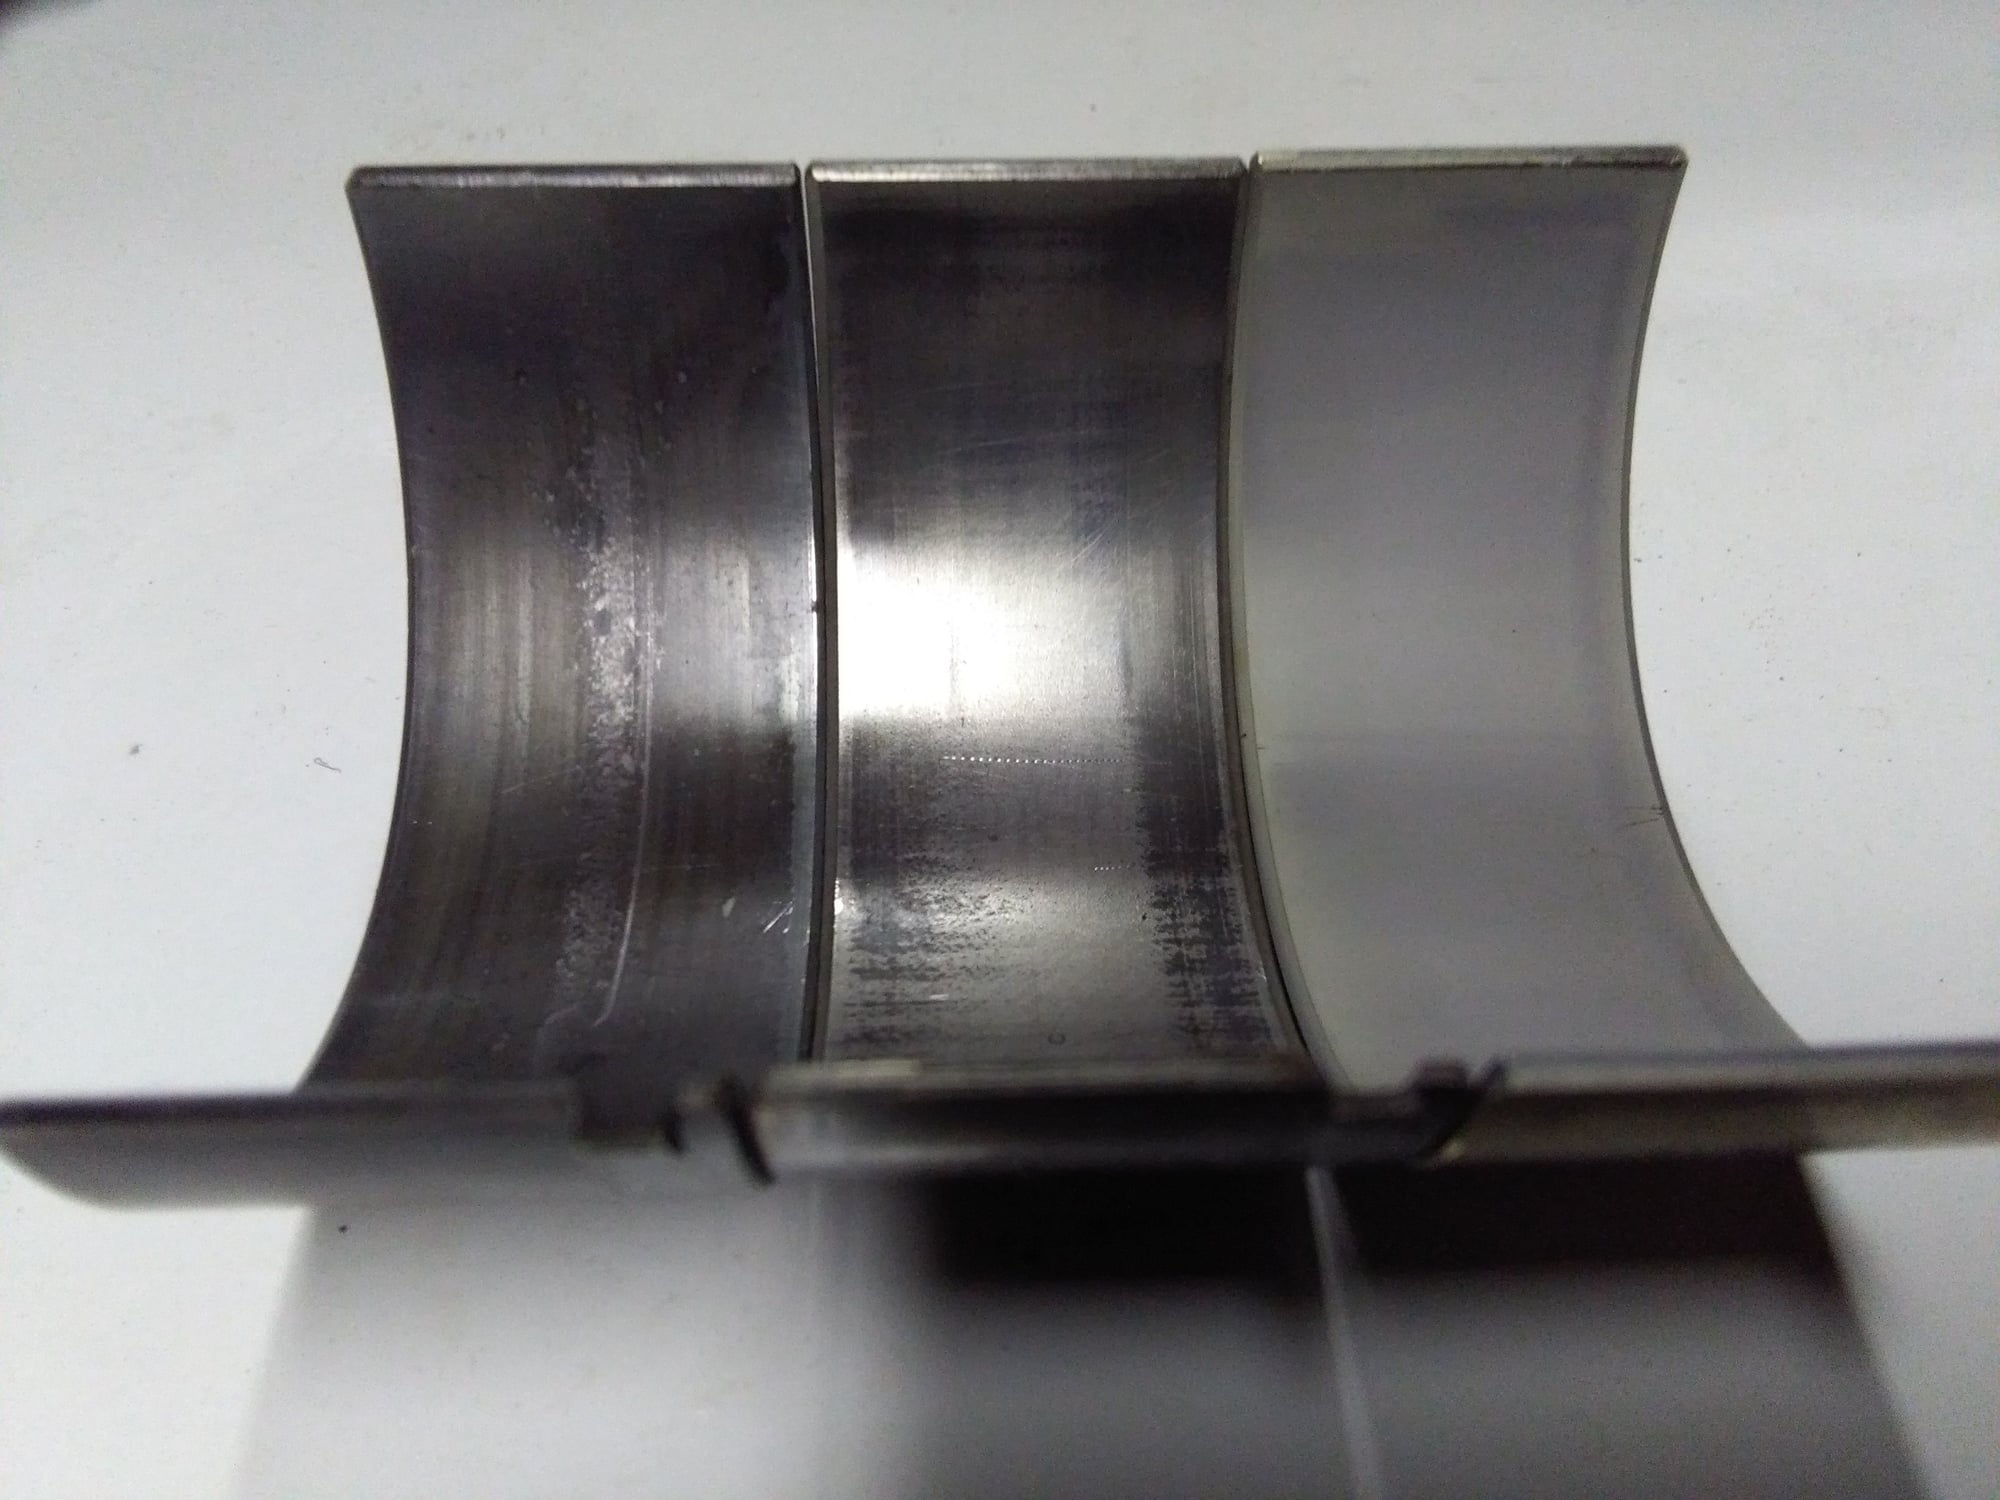
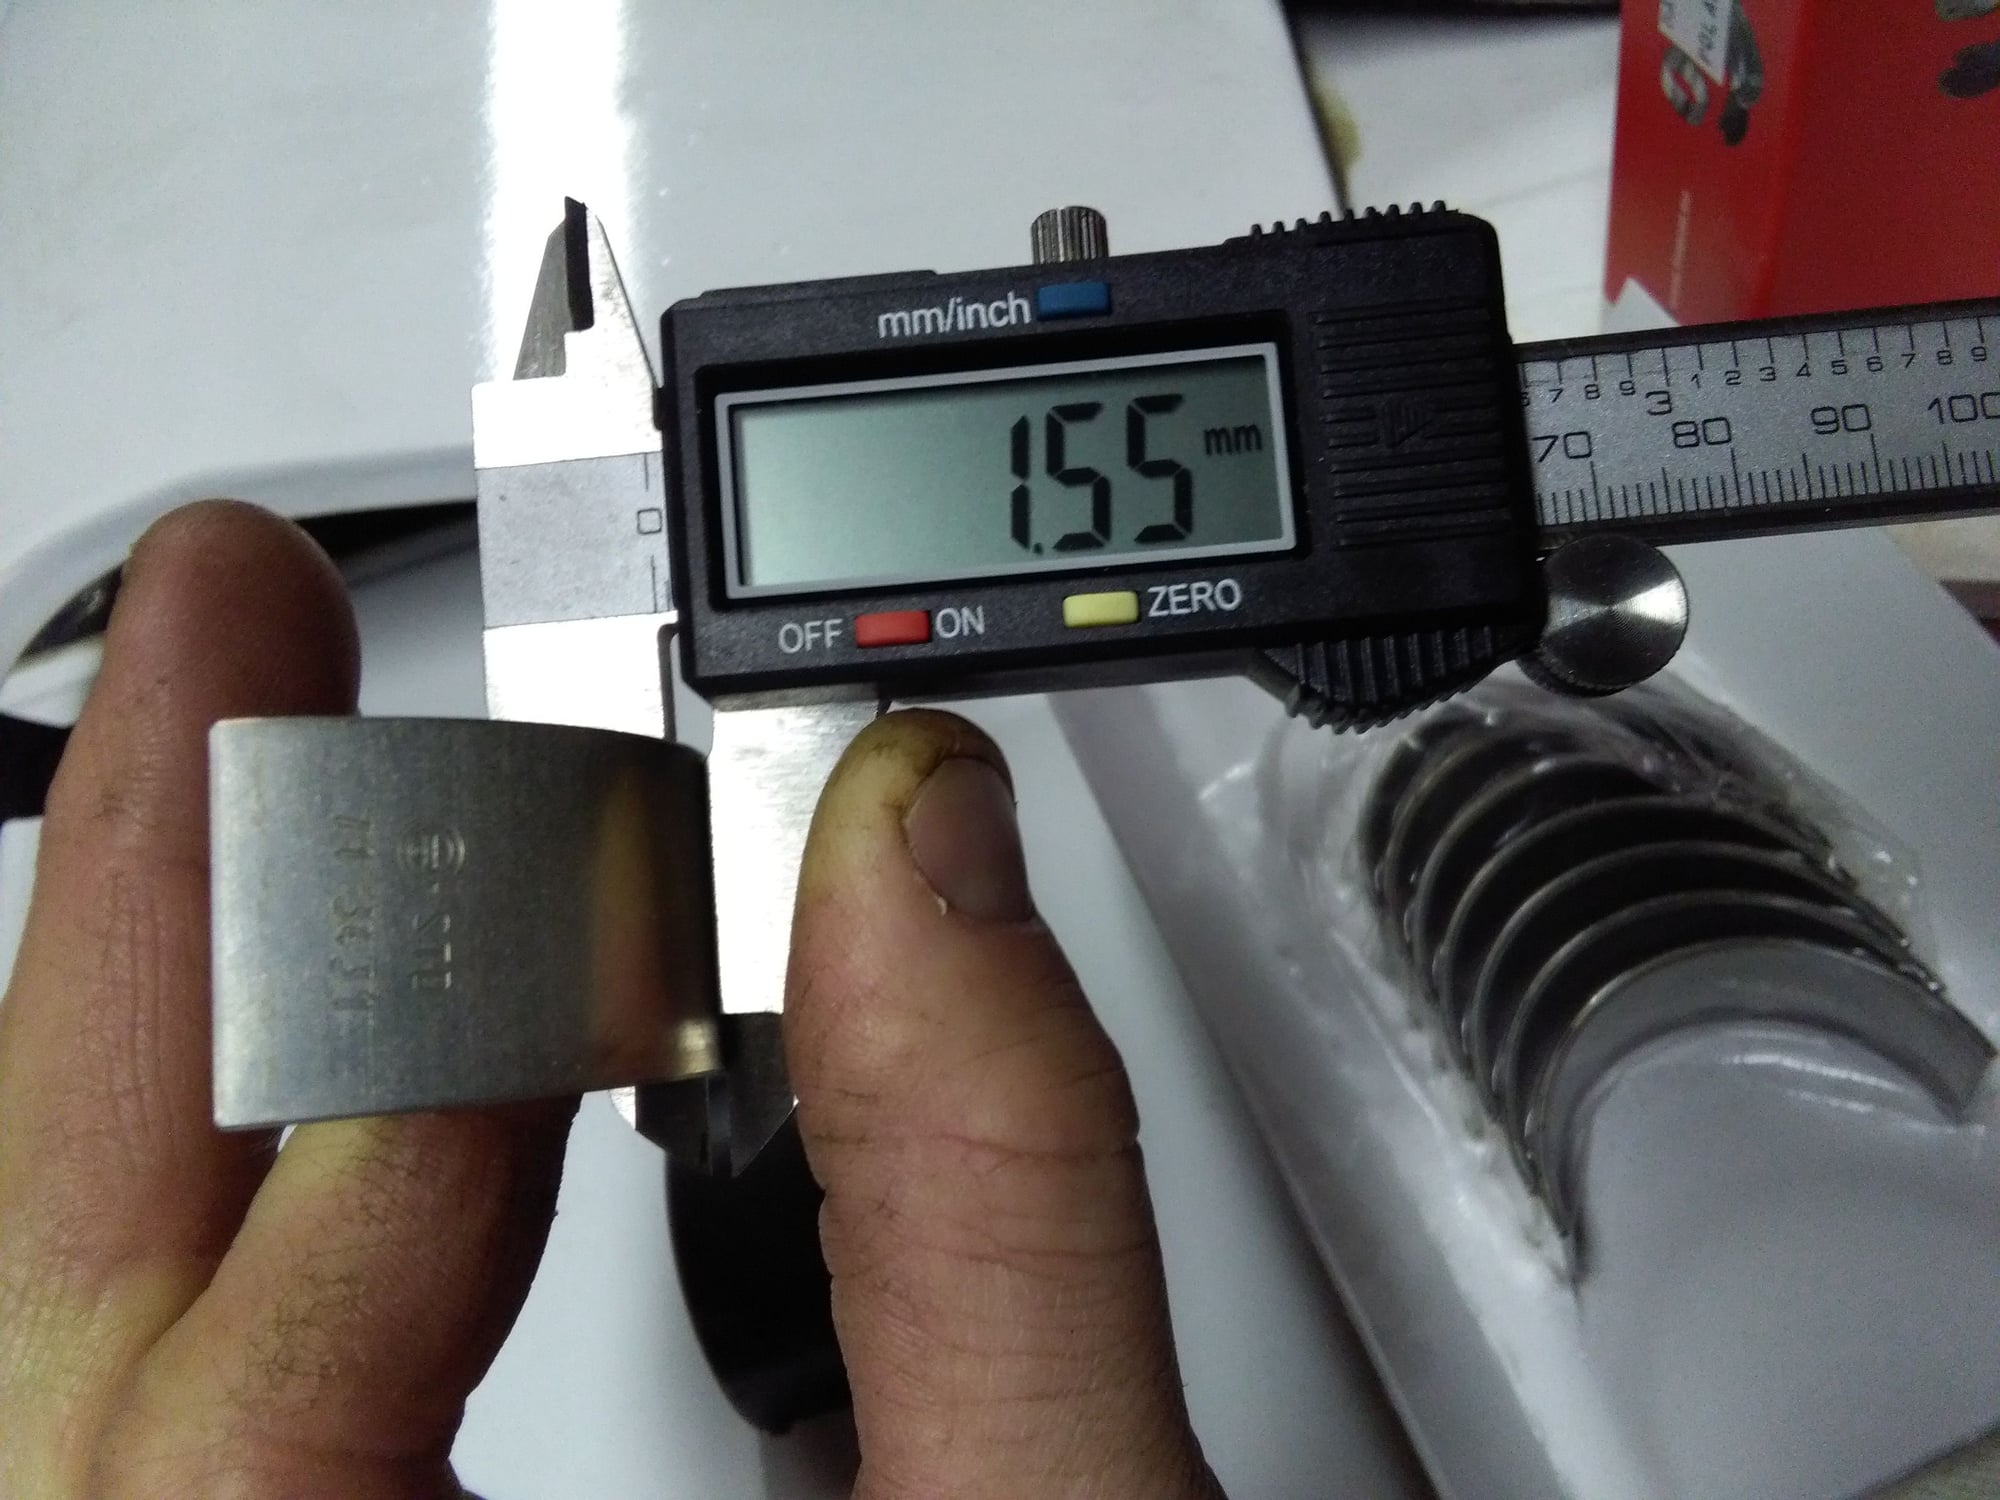
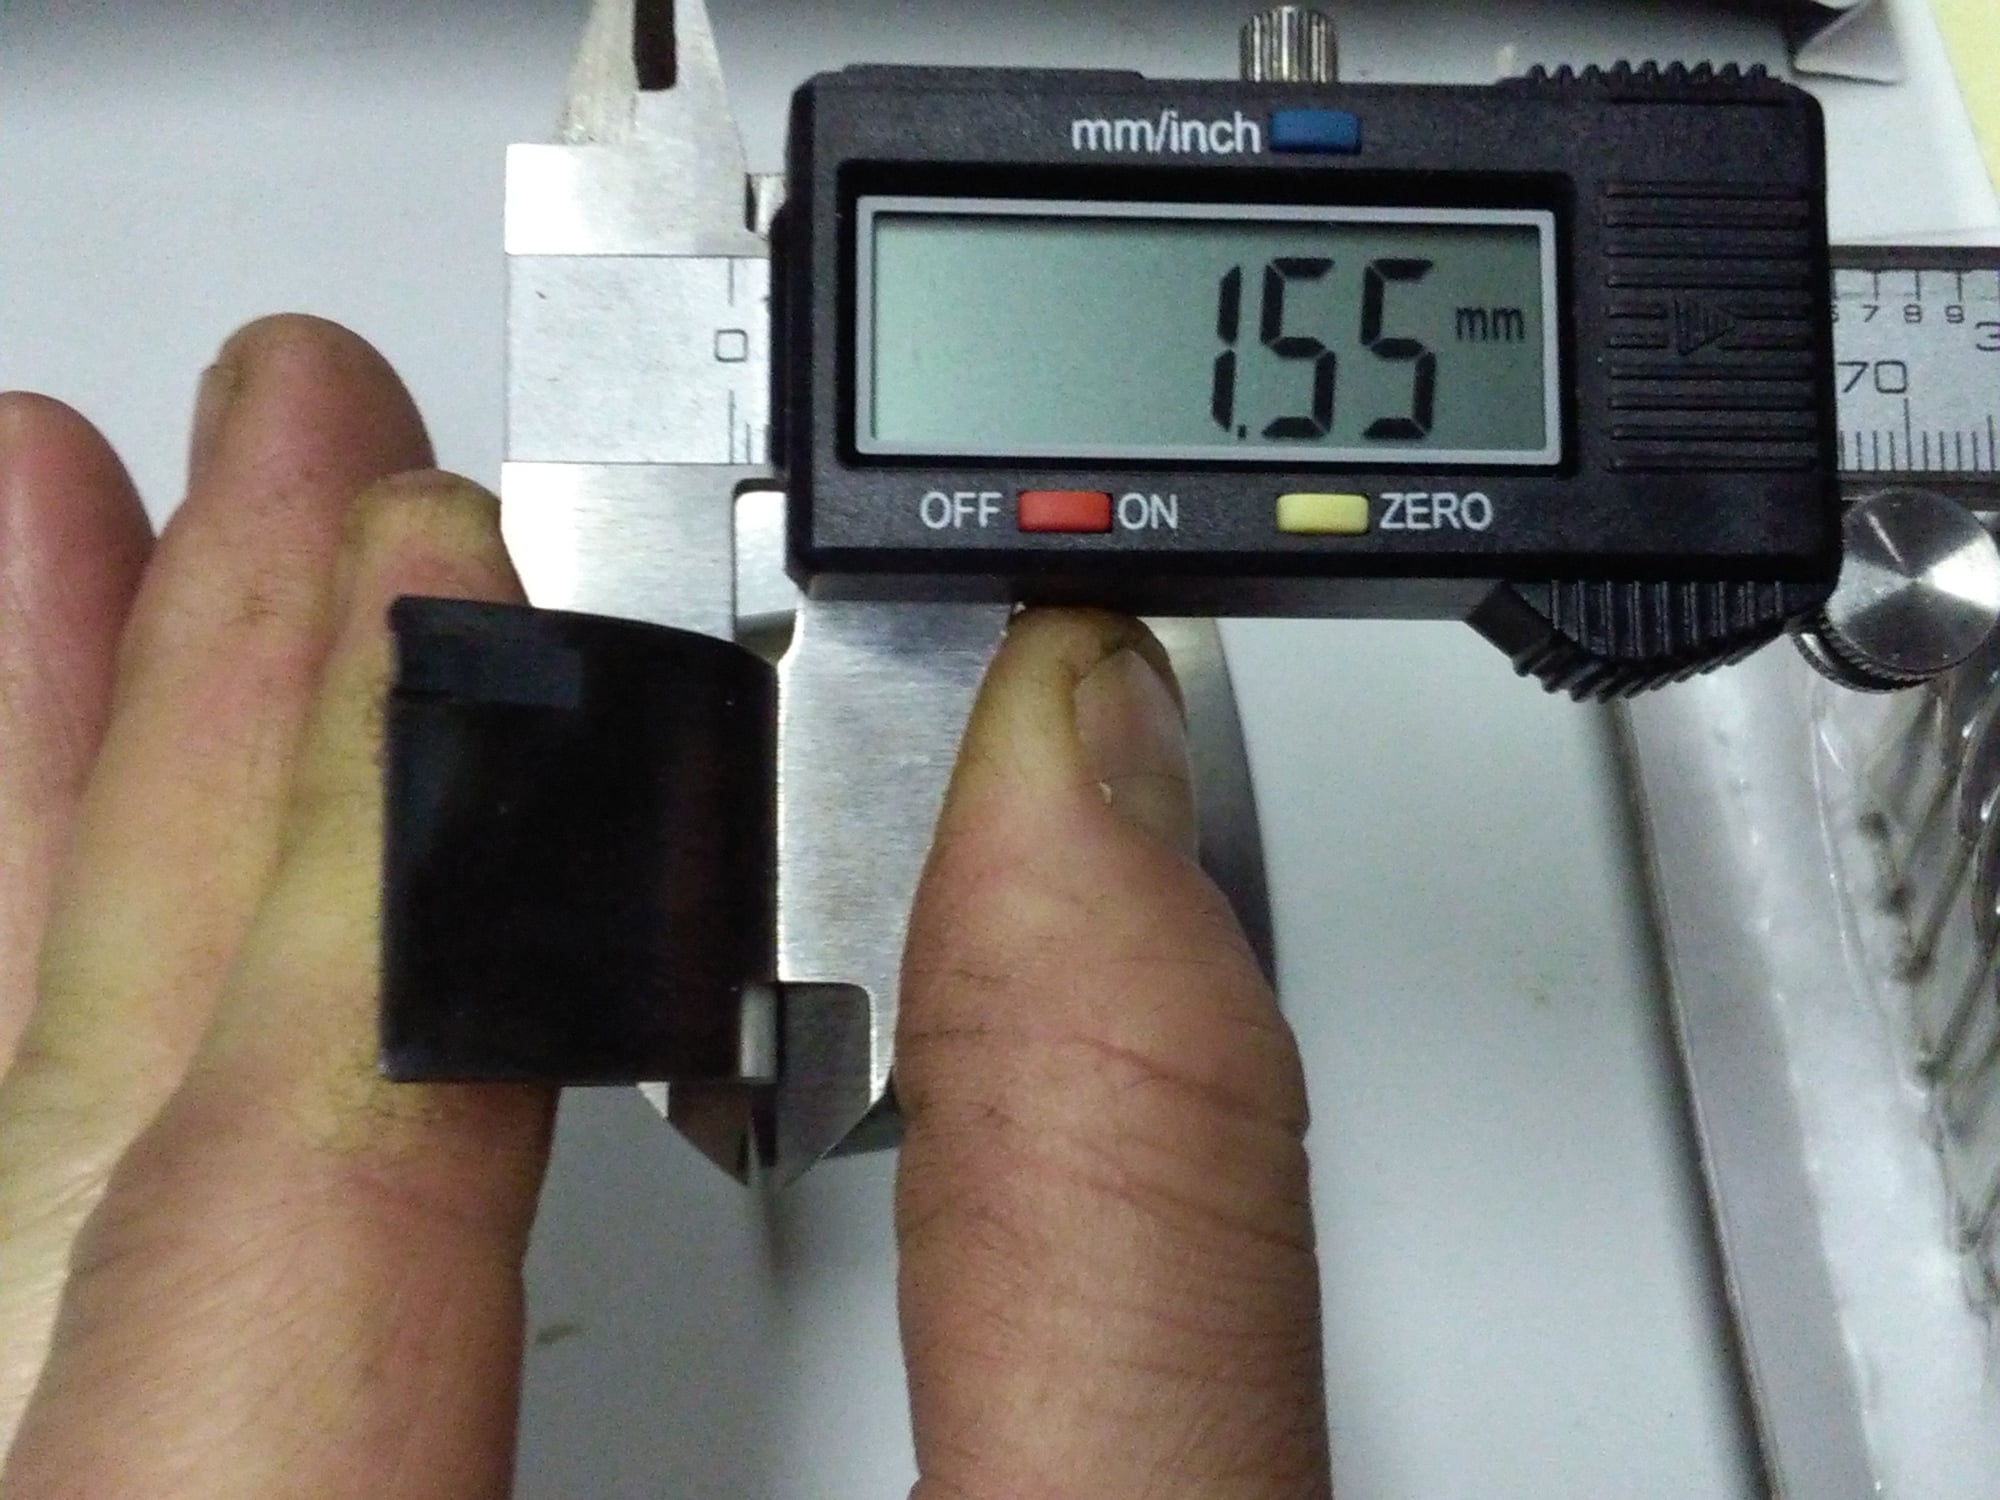
Below are photos comparing original 951 rod bearings taken from 1986 forged rods. The date "86" is stamped as is the Porsche triangle logo.
I am comparing the bearing width, length and thickness as well as showing bearing wear & tear (of the '86 P bearings (mileage unknown, driving style unknown), Glyco (3 years old, 15,000 miles) and Brand new Glyco (never mounted)...
See what you think.
86:
86/3 year old/new aftermarket:
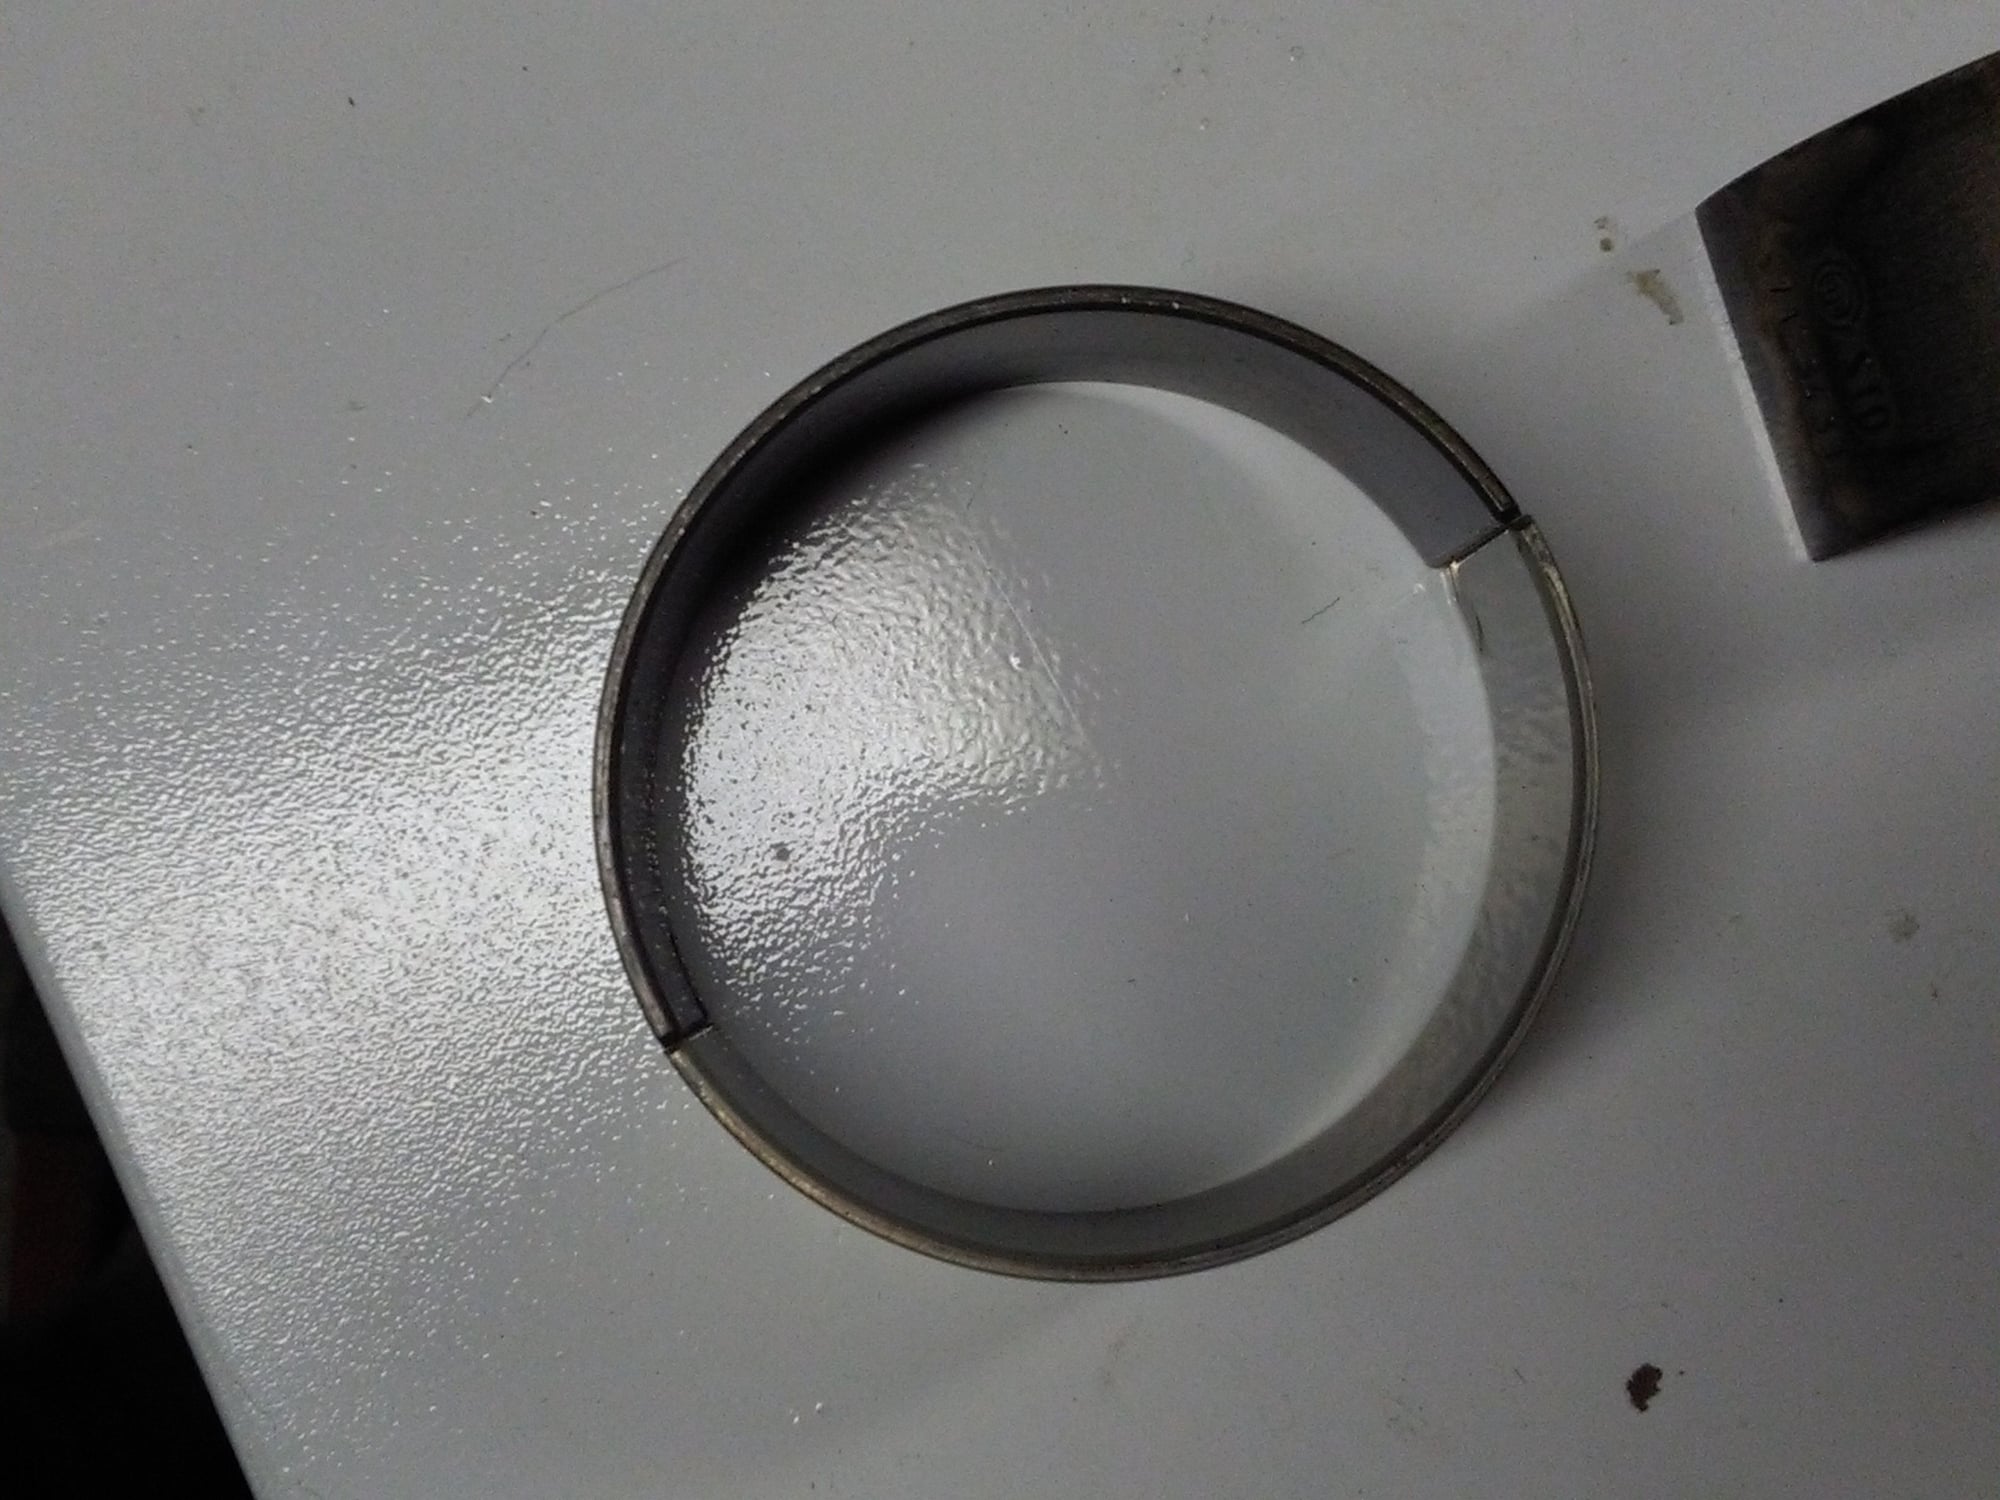
new obviously:
86/3 year old/new:
comparing 86 with uninstalled glyco:
Comparing brand new Glyco to 86. I measured the 3 year olds & they were identical.
Conclusion: THESE particular Glycos (p/n in the photo) are the damn same as the Porsche ones.
now would be the time to fly-cut the pistons to make them non-interference in the event of belt failure...
Double check your ring gap:
WSM says:
ring 1: 0.20-0.45mm
ring 2: 0.20-0.45mm
ring 3: 0.38-1.40mm
0.45mm is 0.0177"
Brother, "WSM"
Is this "workshop manual"?
Last night I thought it was Wossner specs you were posting.
But re-reading this, that is probably a wrong assumption on my part.
-----
YES my gap is larger than spec. My main concern was being under gapped, but Wilson has 200,000 kilometers on these piston rings & cylinders.
Blowby wasn't a problem with n/a in Wilson. He ran like a champ.
And at this stage I'll consider it a "safety margin", better being too tight than too loose, especially when over factory turbo pressure if and when I crank it up.
-----
In 5-7 years I when I rebuild the engine completely I'll put some LR rings in and gap them about .005" tighter.
-----
Yesturday when I was asking for the online 944 turbo manual it was to look for ring gap specs of a turbo as they might very well be different then a normal. I still haven't found the turbo manual but thank you for the link, as most things in that awesome manual apply.
Quality inspection and acetone rinse (Sheel Shoe's suggestion) of the bearings.
Realized I don't have a piston compressor, so I worked out a system with a hose clamp, rubber mallet & pocket screwdriver. This was very time consuming & required the top ring to be removed, then reinstalled once the lower rings were in the cylinder. Now just need to torque caps down with some new nuts and oil.
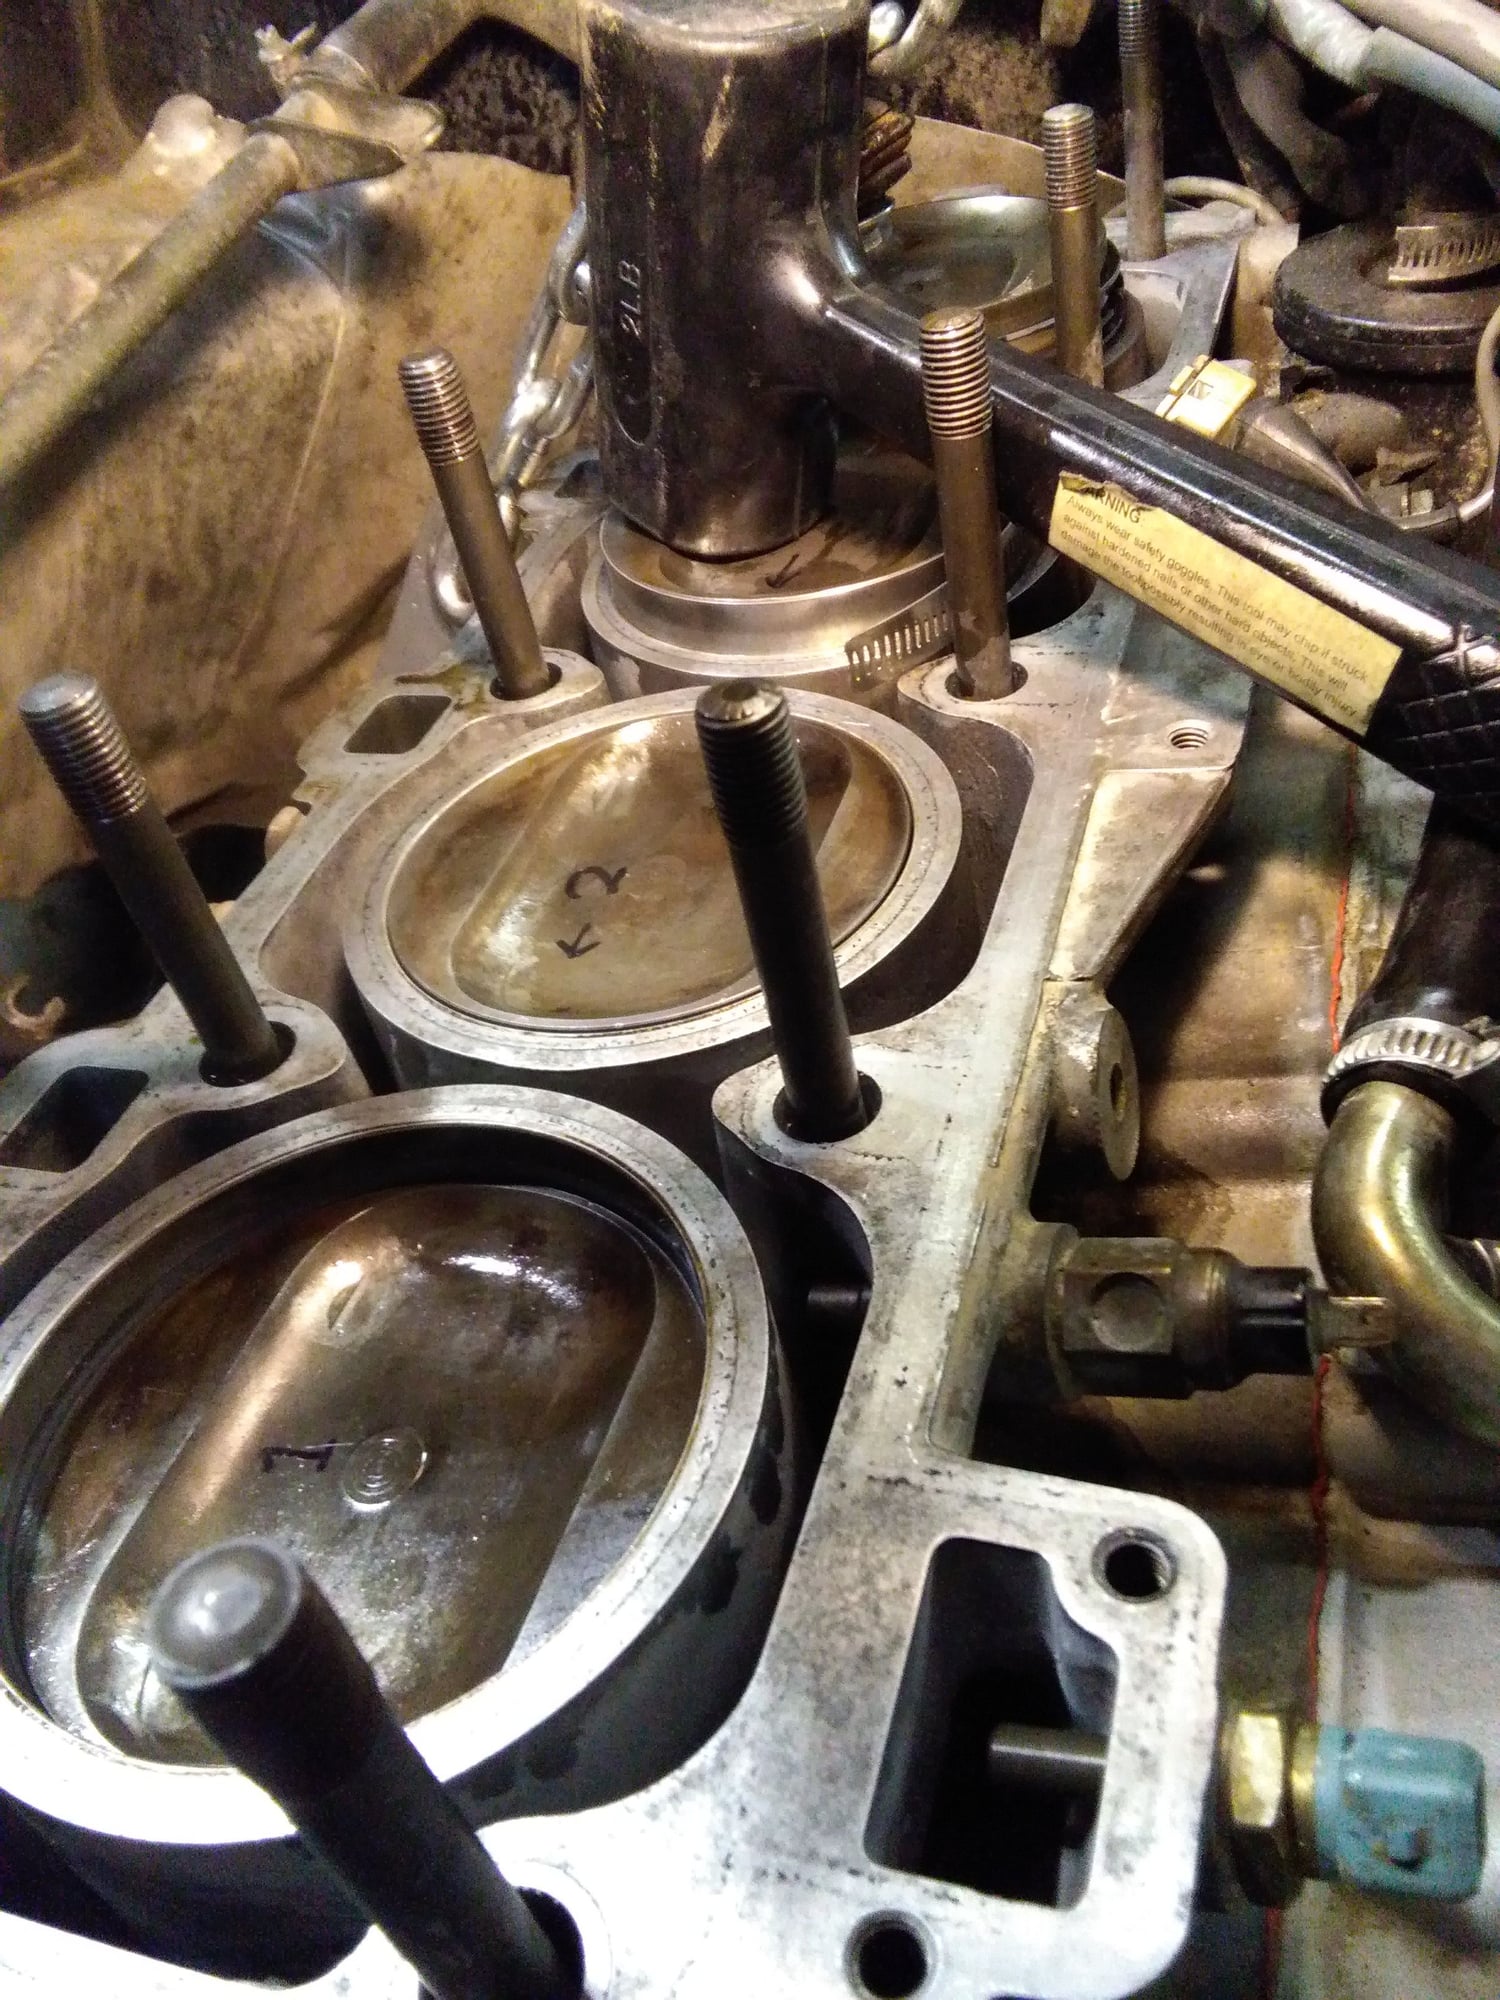
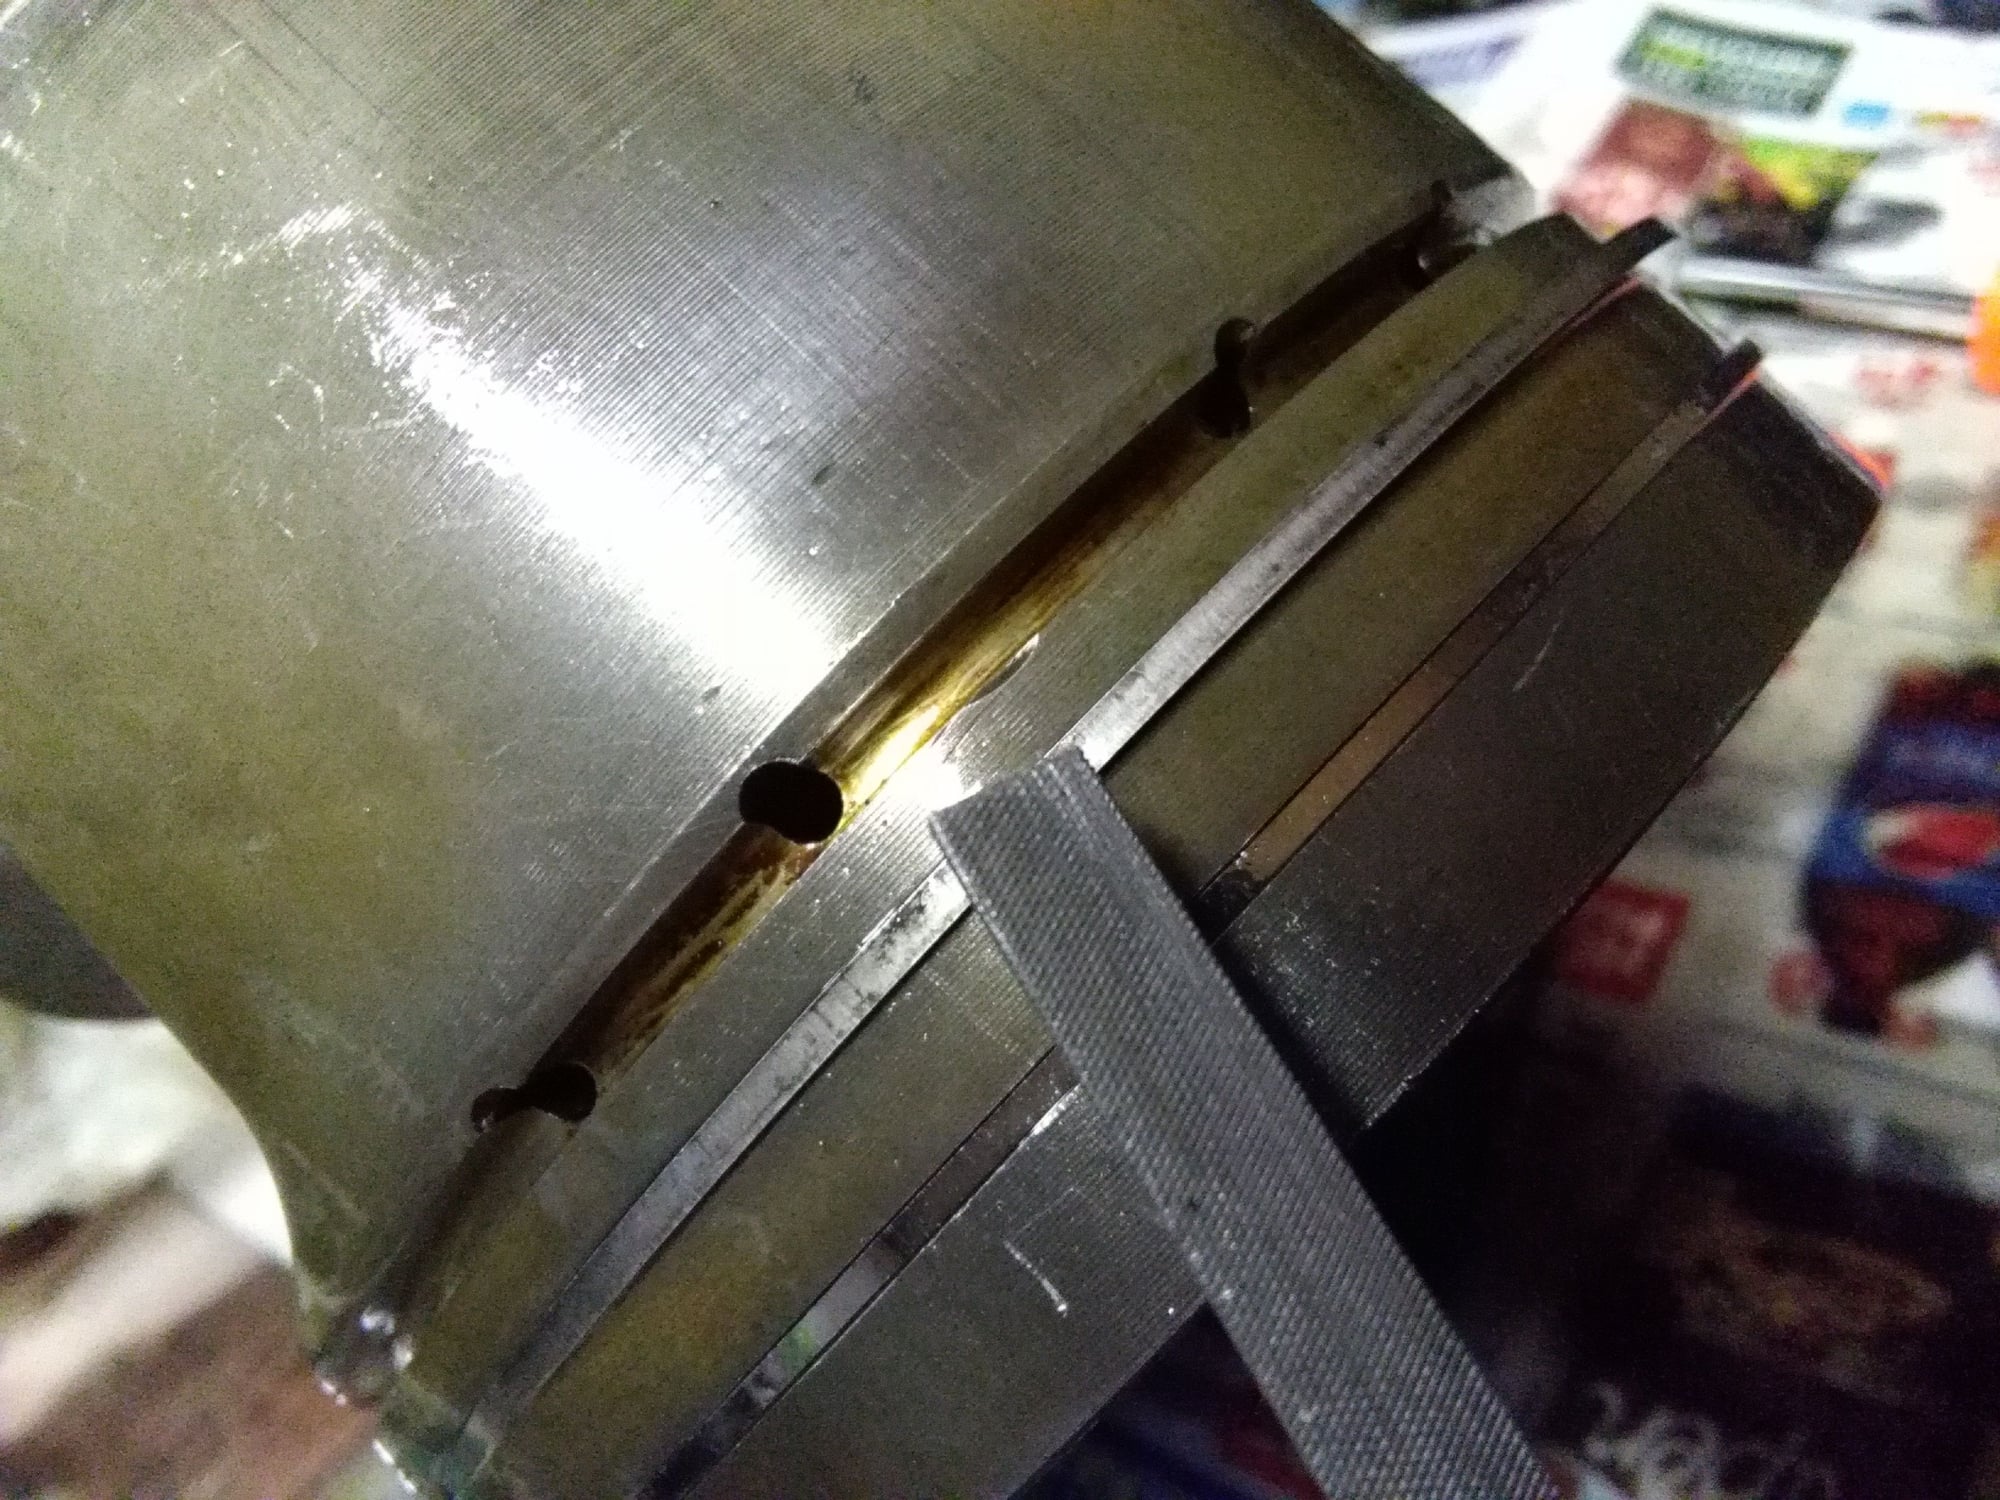
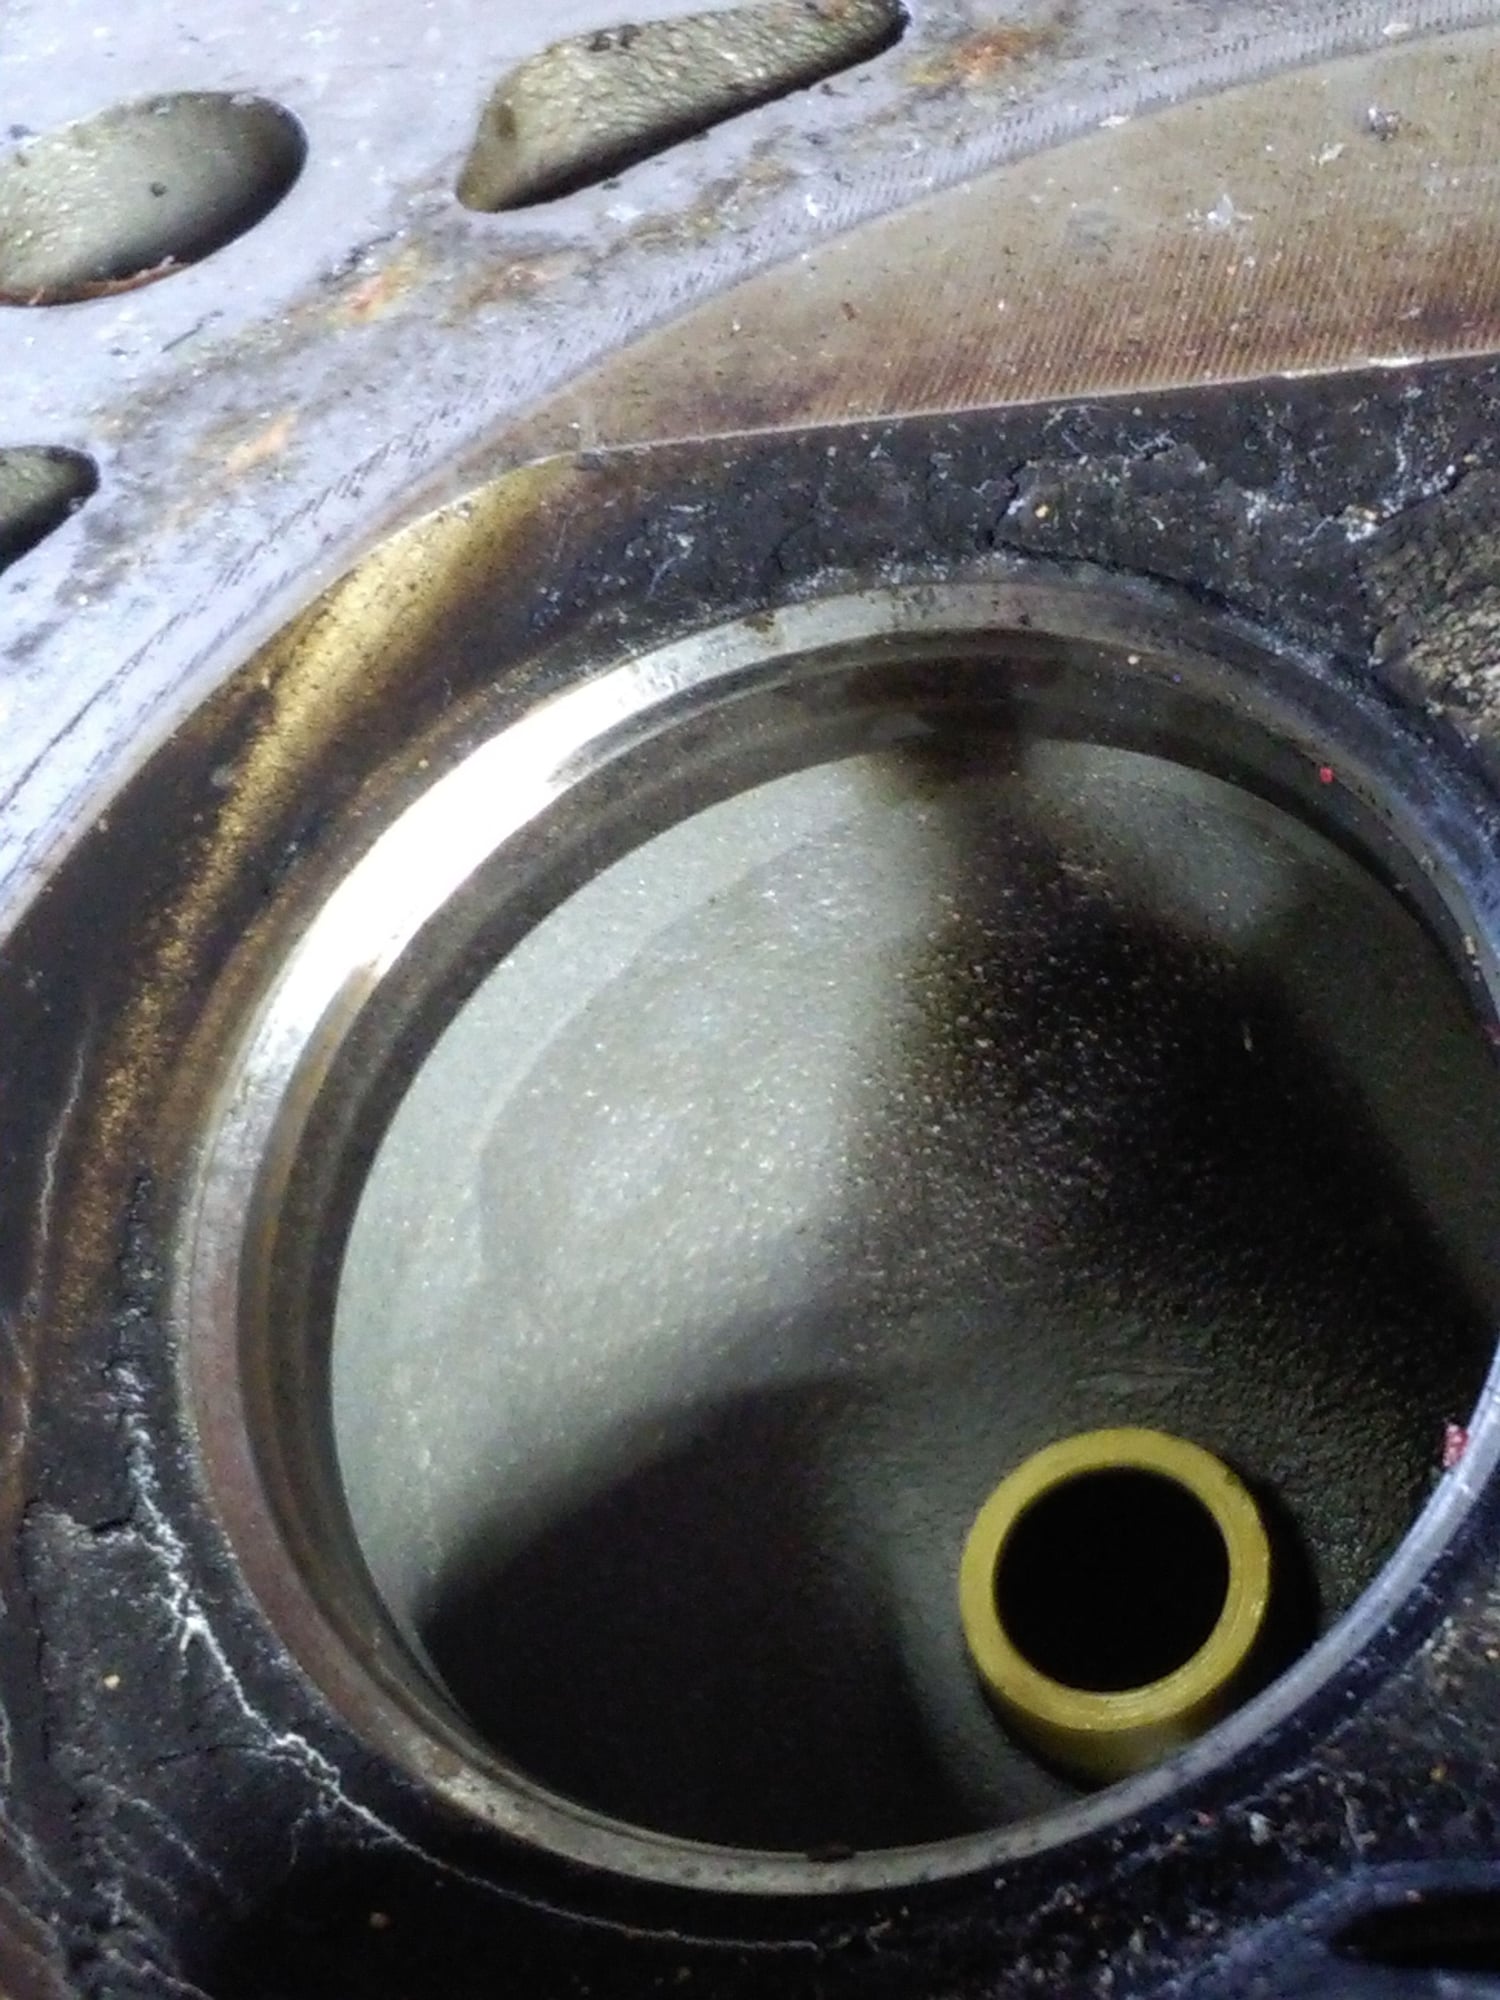
It pays to inspect your parts.
This seemingly innocent ding in the side of the piston is more than just a visual flaw.
The ring was binding in that area. Fixed in a minute with a small flat file, but very well would have cause damage if left un-repaired. After filing and cleaning the ring was free to rotate without resistance.
I"m kinda surprised with the deep depressions on the turbo's that they are still interference. Why not not just make the depression just a tad deeper and save us all the timing belt stress dance!!!!! Come on Porsche WHY??? WHY PORSCHE WHY???
Noah, do you guys not have harbor freight up there?? Course I think last I looked the ring compressor they sell might be too small for our monster pistons.
I"m kinda surprised with the deep depressions on the turbo's that they are still interference. Why not not just make the depression just a tad deeper and save us all the timing belt stress dance!!!!! Come on Porsche WHY??? WHY PORSCHE WHY???
Yeah, it is surprising.
I suspect they see no fault in the design. 30 years later we've seen a lot of carnage.
I kind of like the interference concept....
Living on the edge
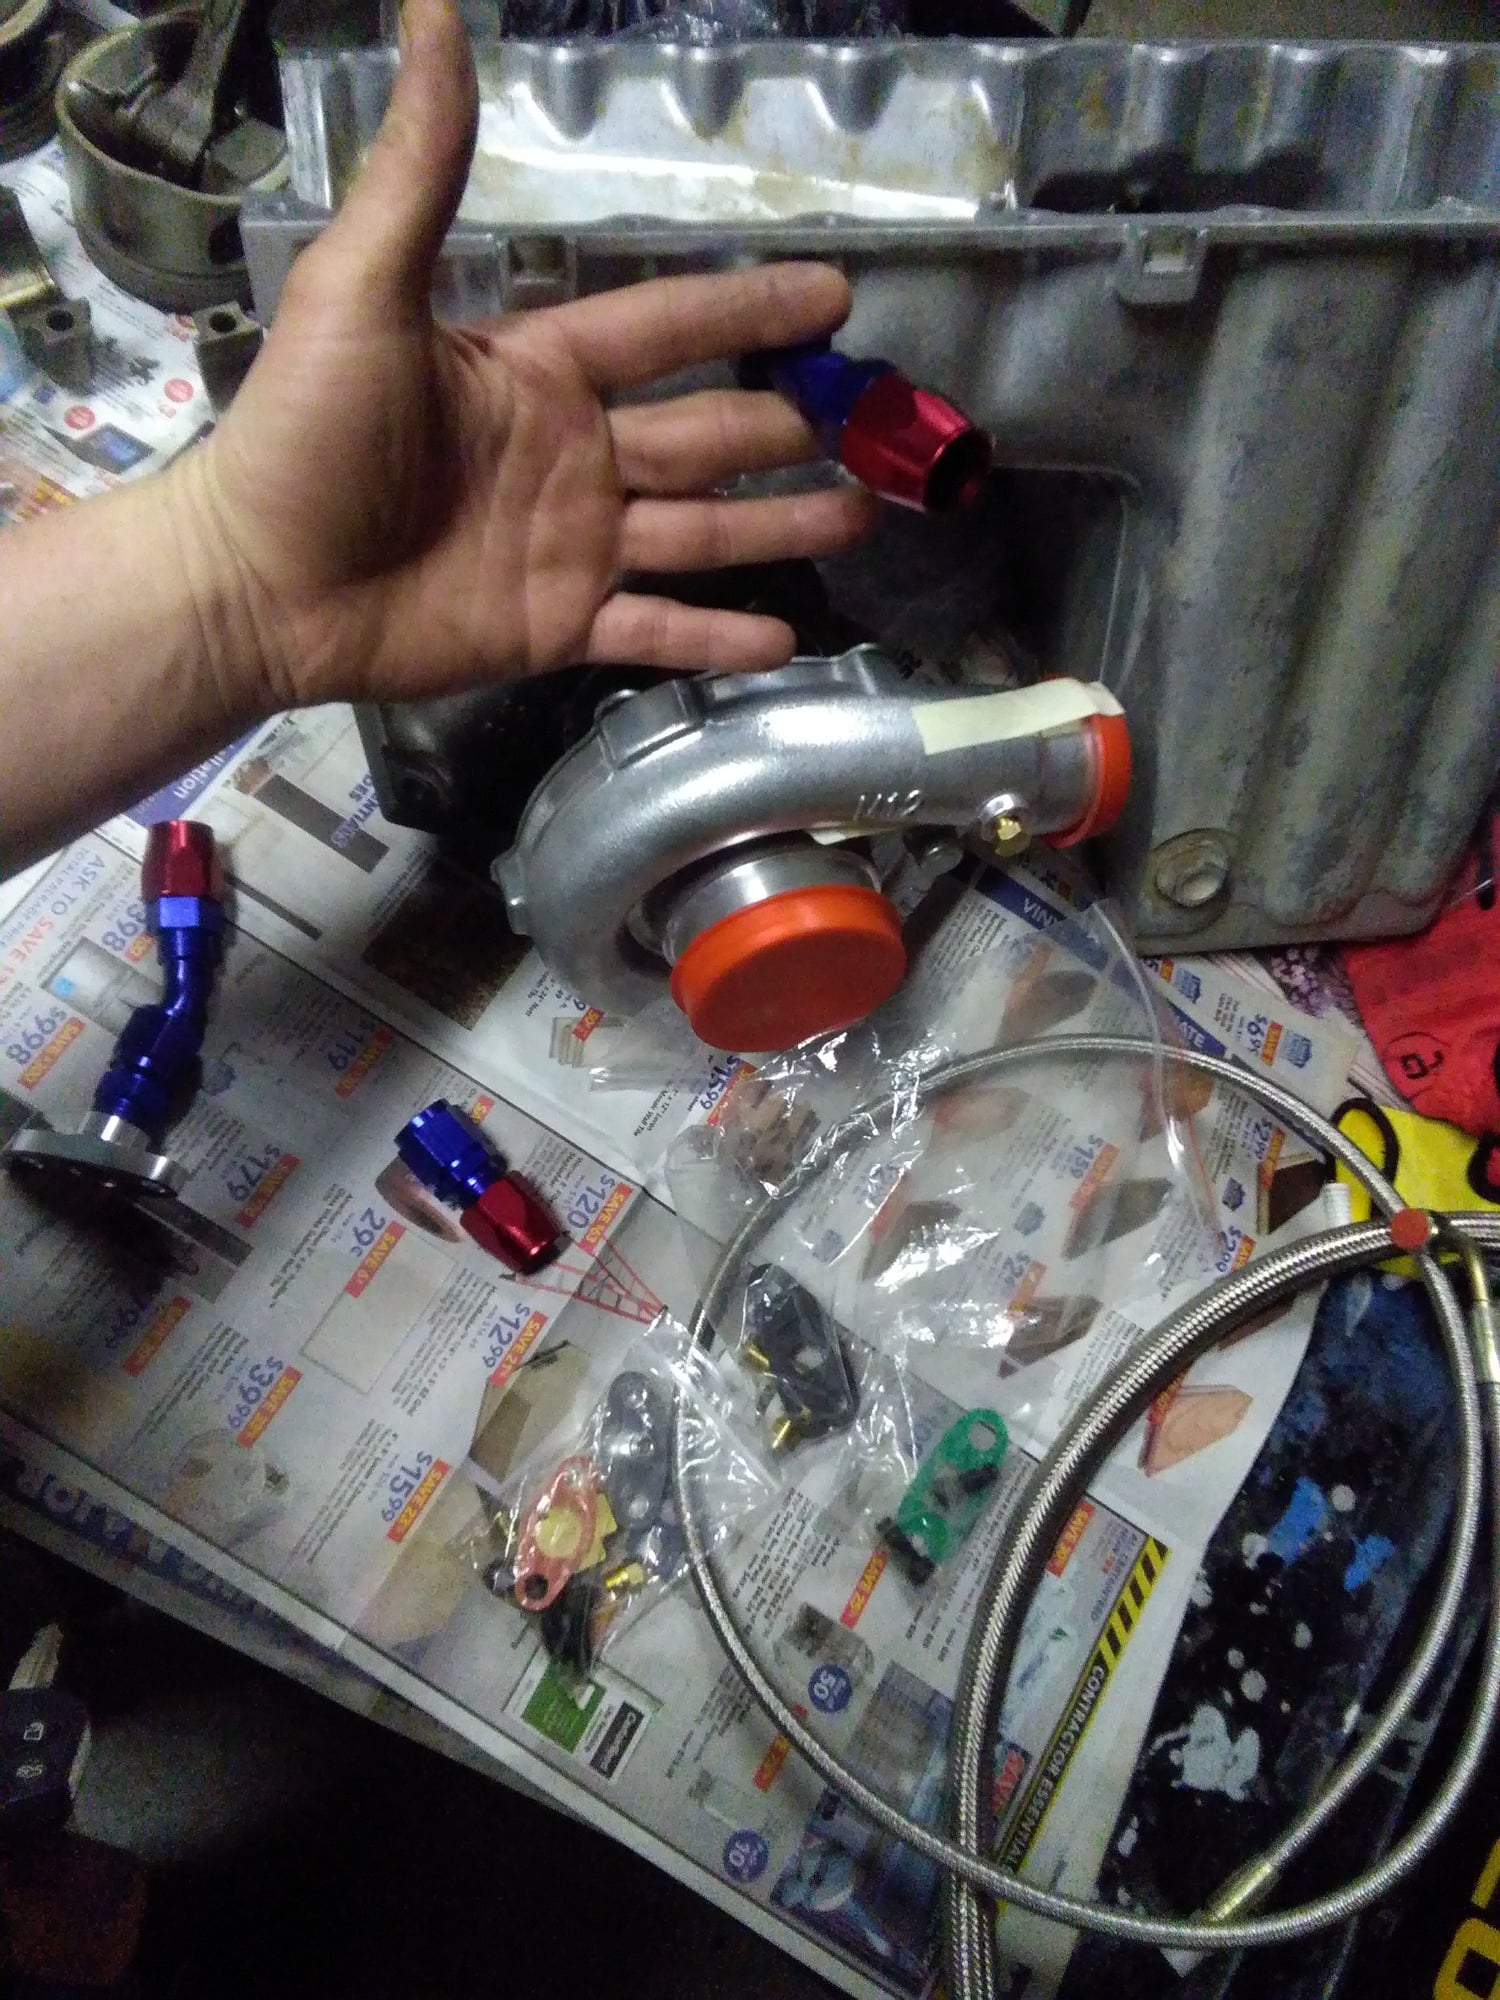
Plumbing the pressurized oil to the turbo & plumbing the turbo oil discharge.
The turbo kit came with some fittings & stainless lines.
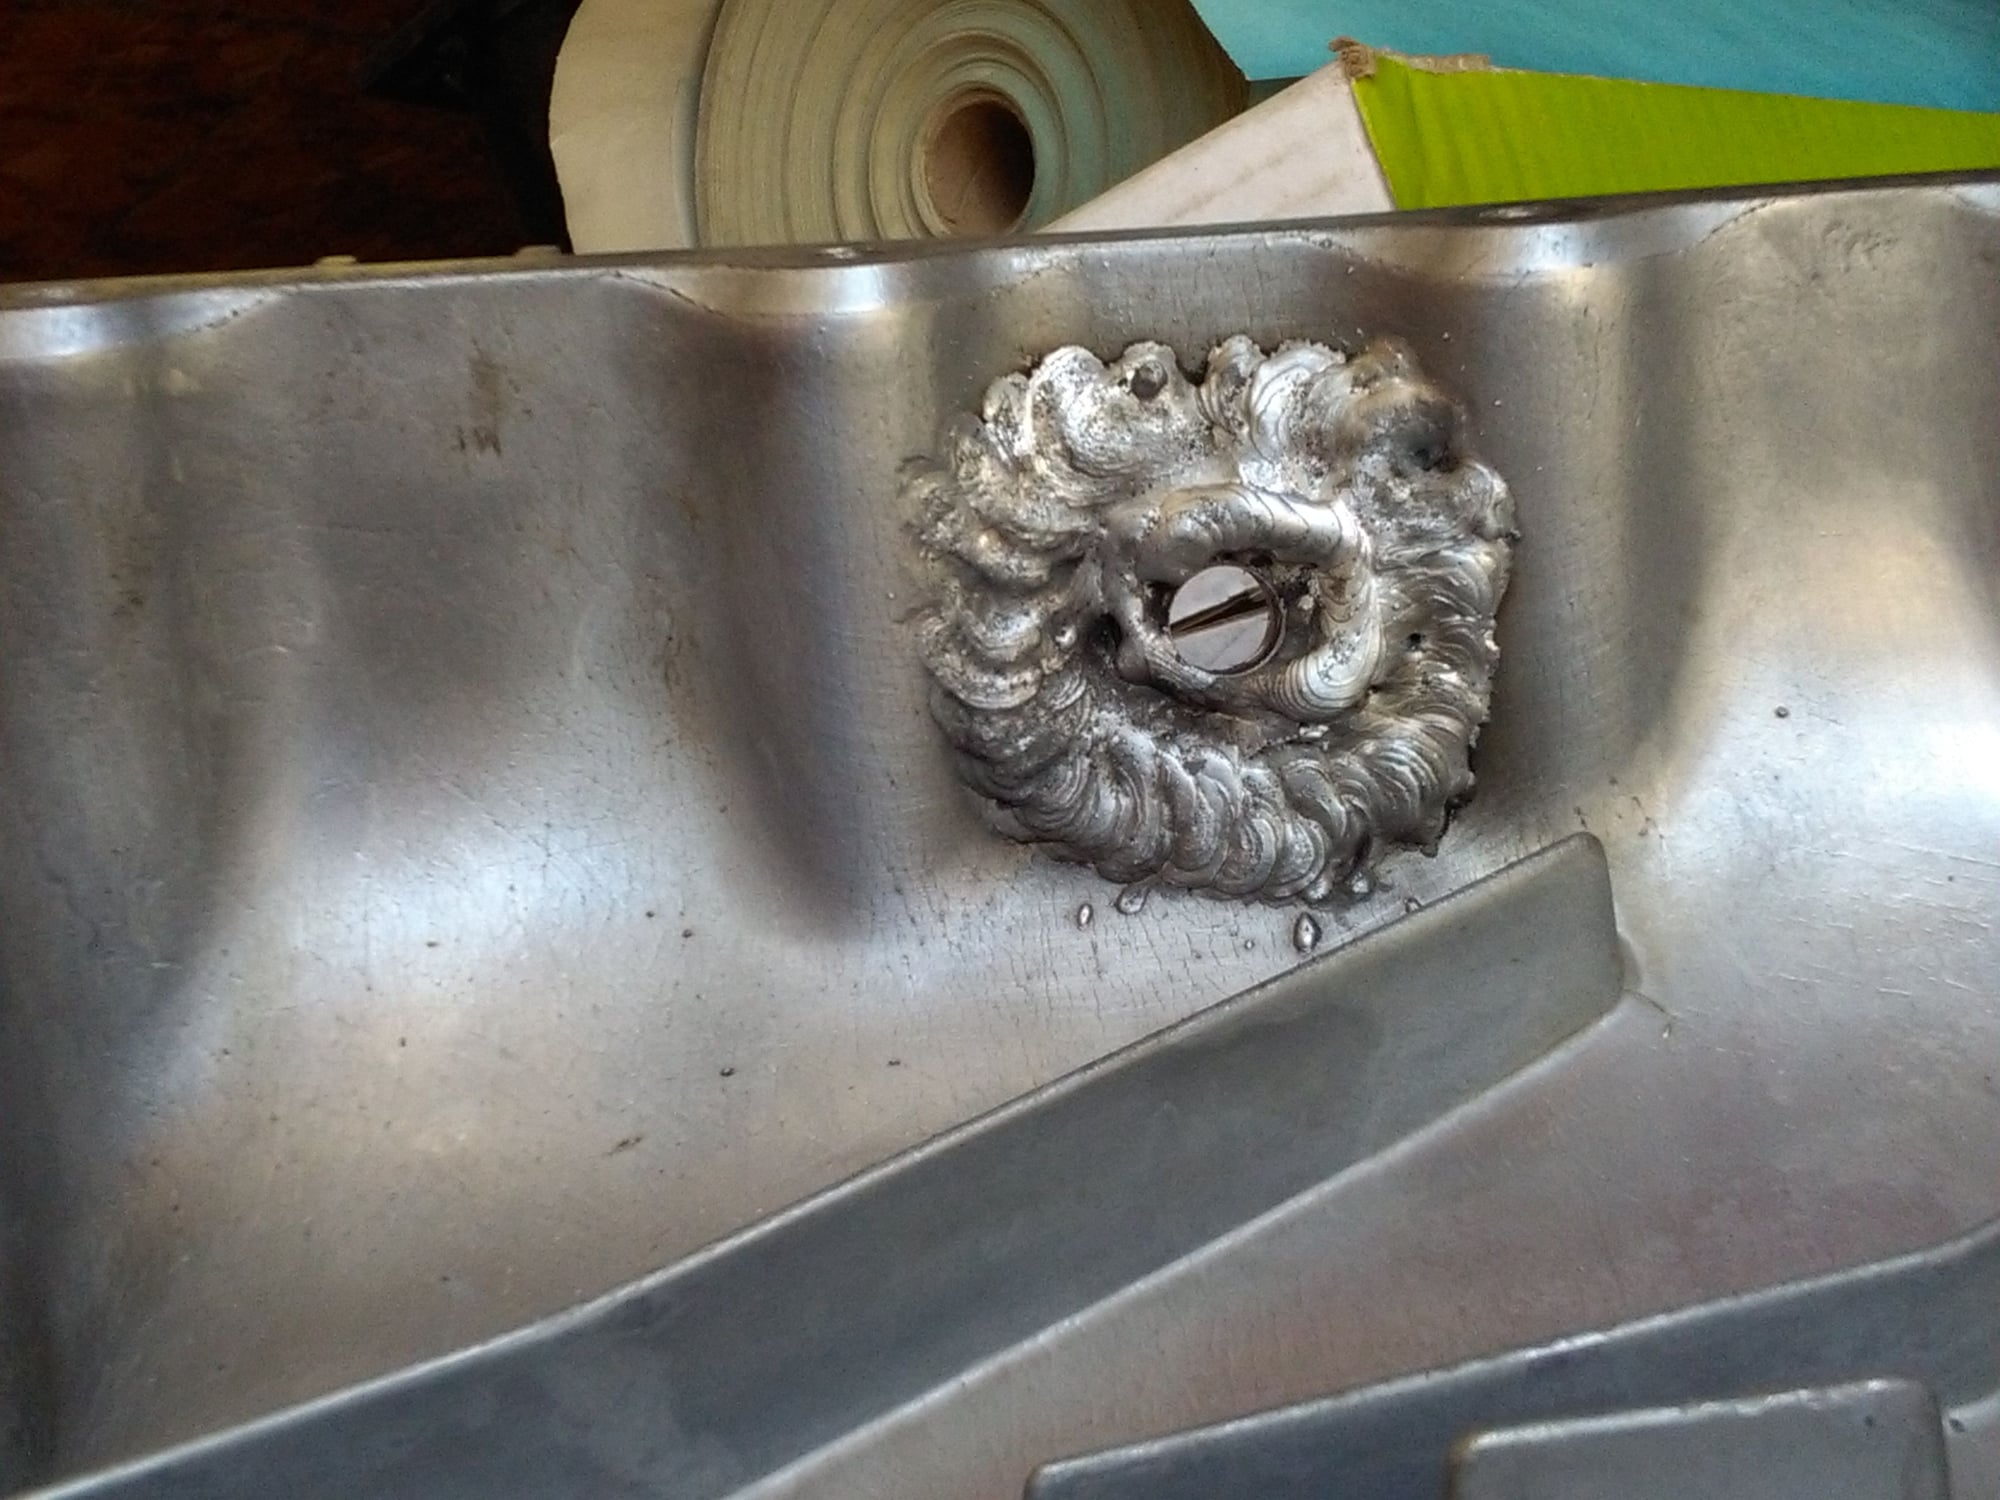
Many people dislike the oem 951 oil discharge location because it's possibly one reason for rod bearing failure. It's discharges hot aerated oil near the oil pick up tube. Mike Lindsey suggests "as high on the pan as possible" to allow cooling & separation of air. So I determined right around this point on the oil pan would be the place to install the discharge line fitting.
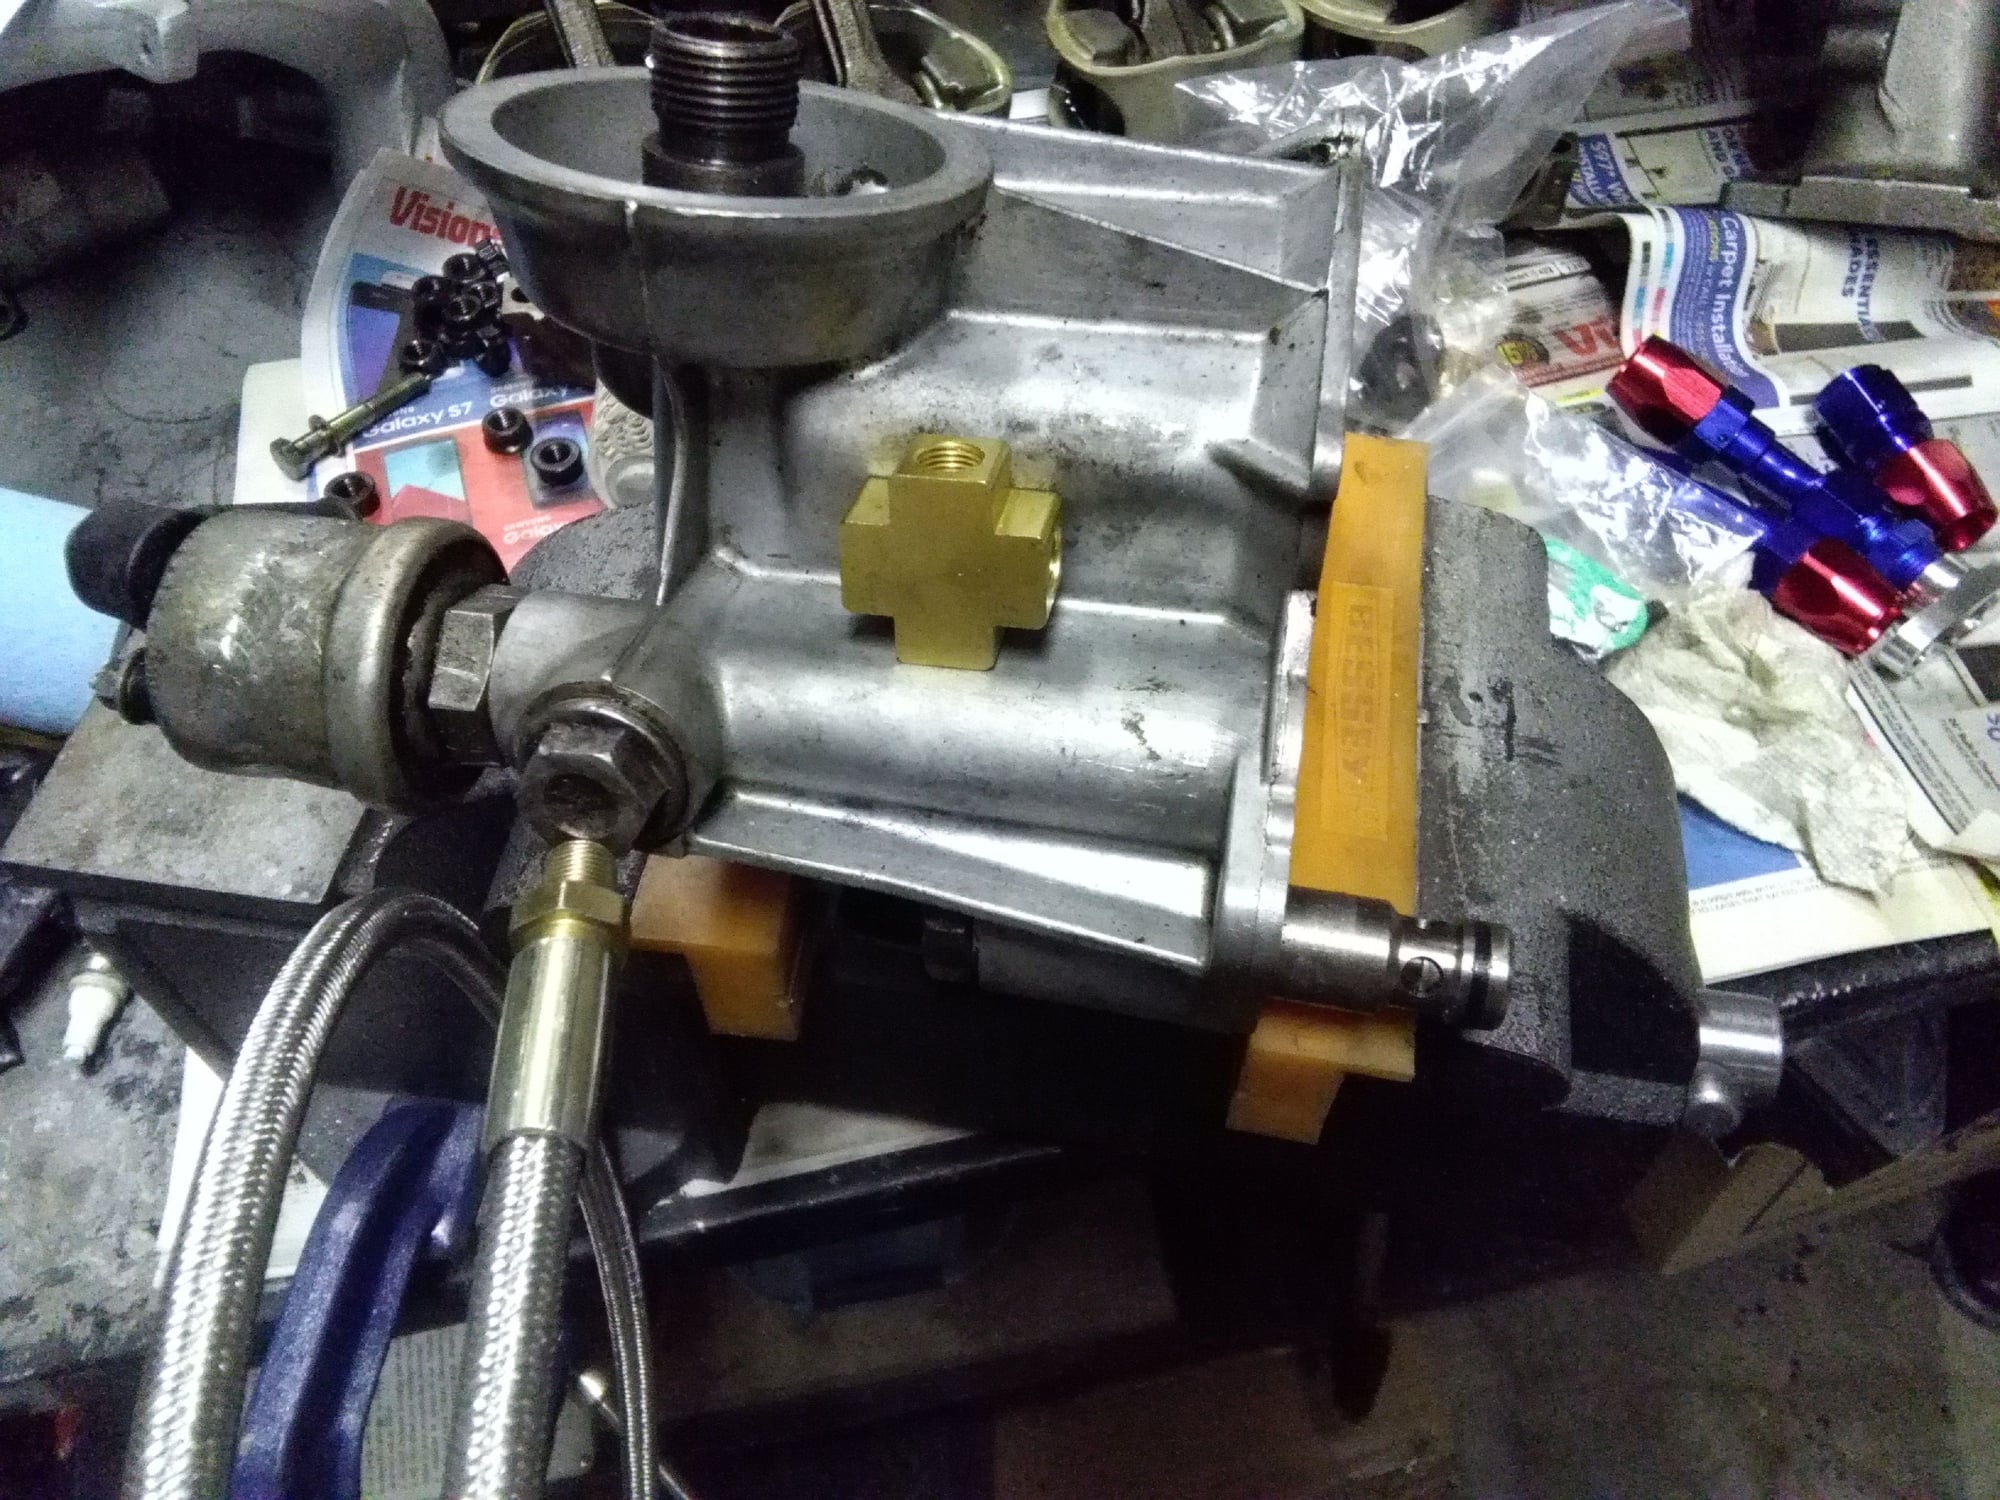
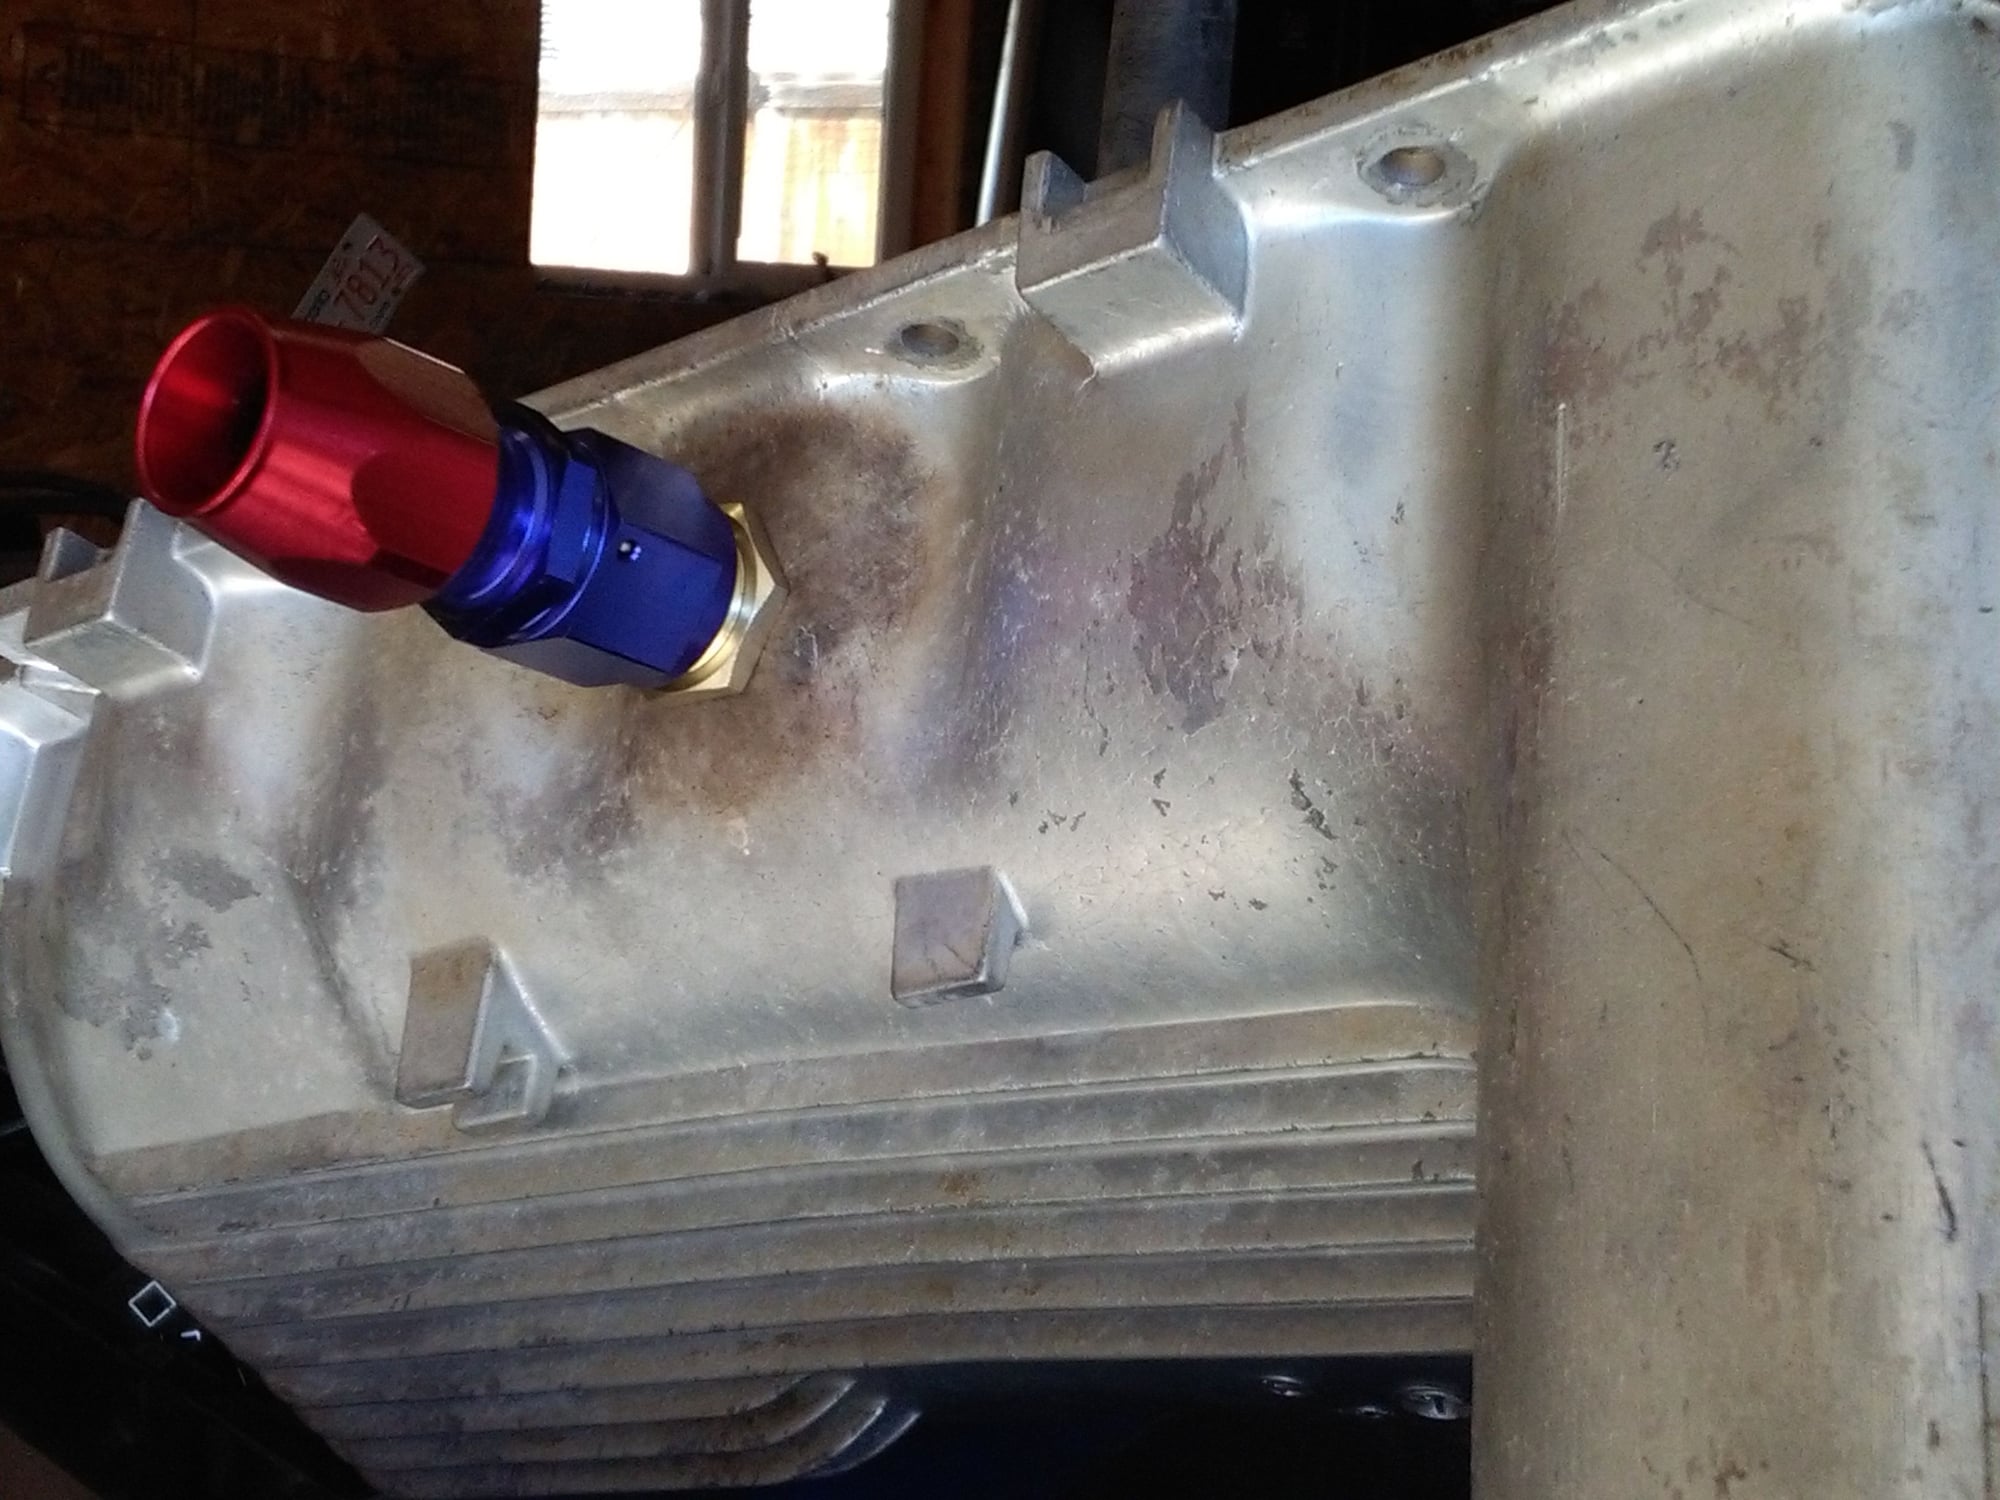
Now where to access the pressurized oil?
I dunno. Best place I can come up is the oil pressure test port, located at this plug on the oil cooler next to the instrument gauge sending unit.
If anyone has a better idea, lemme know.
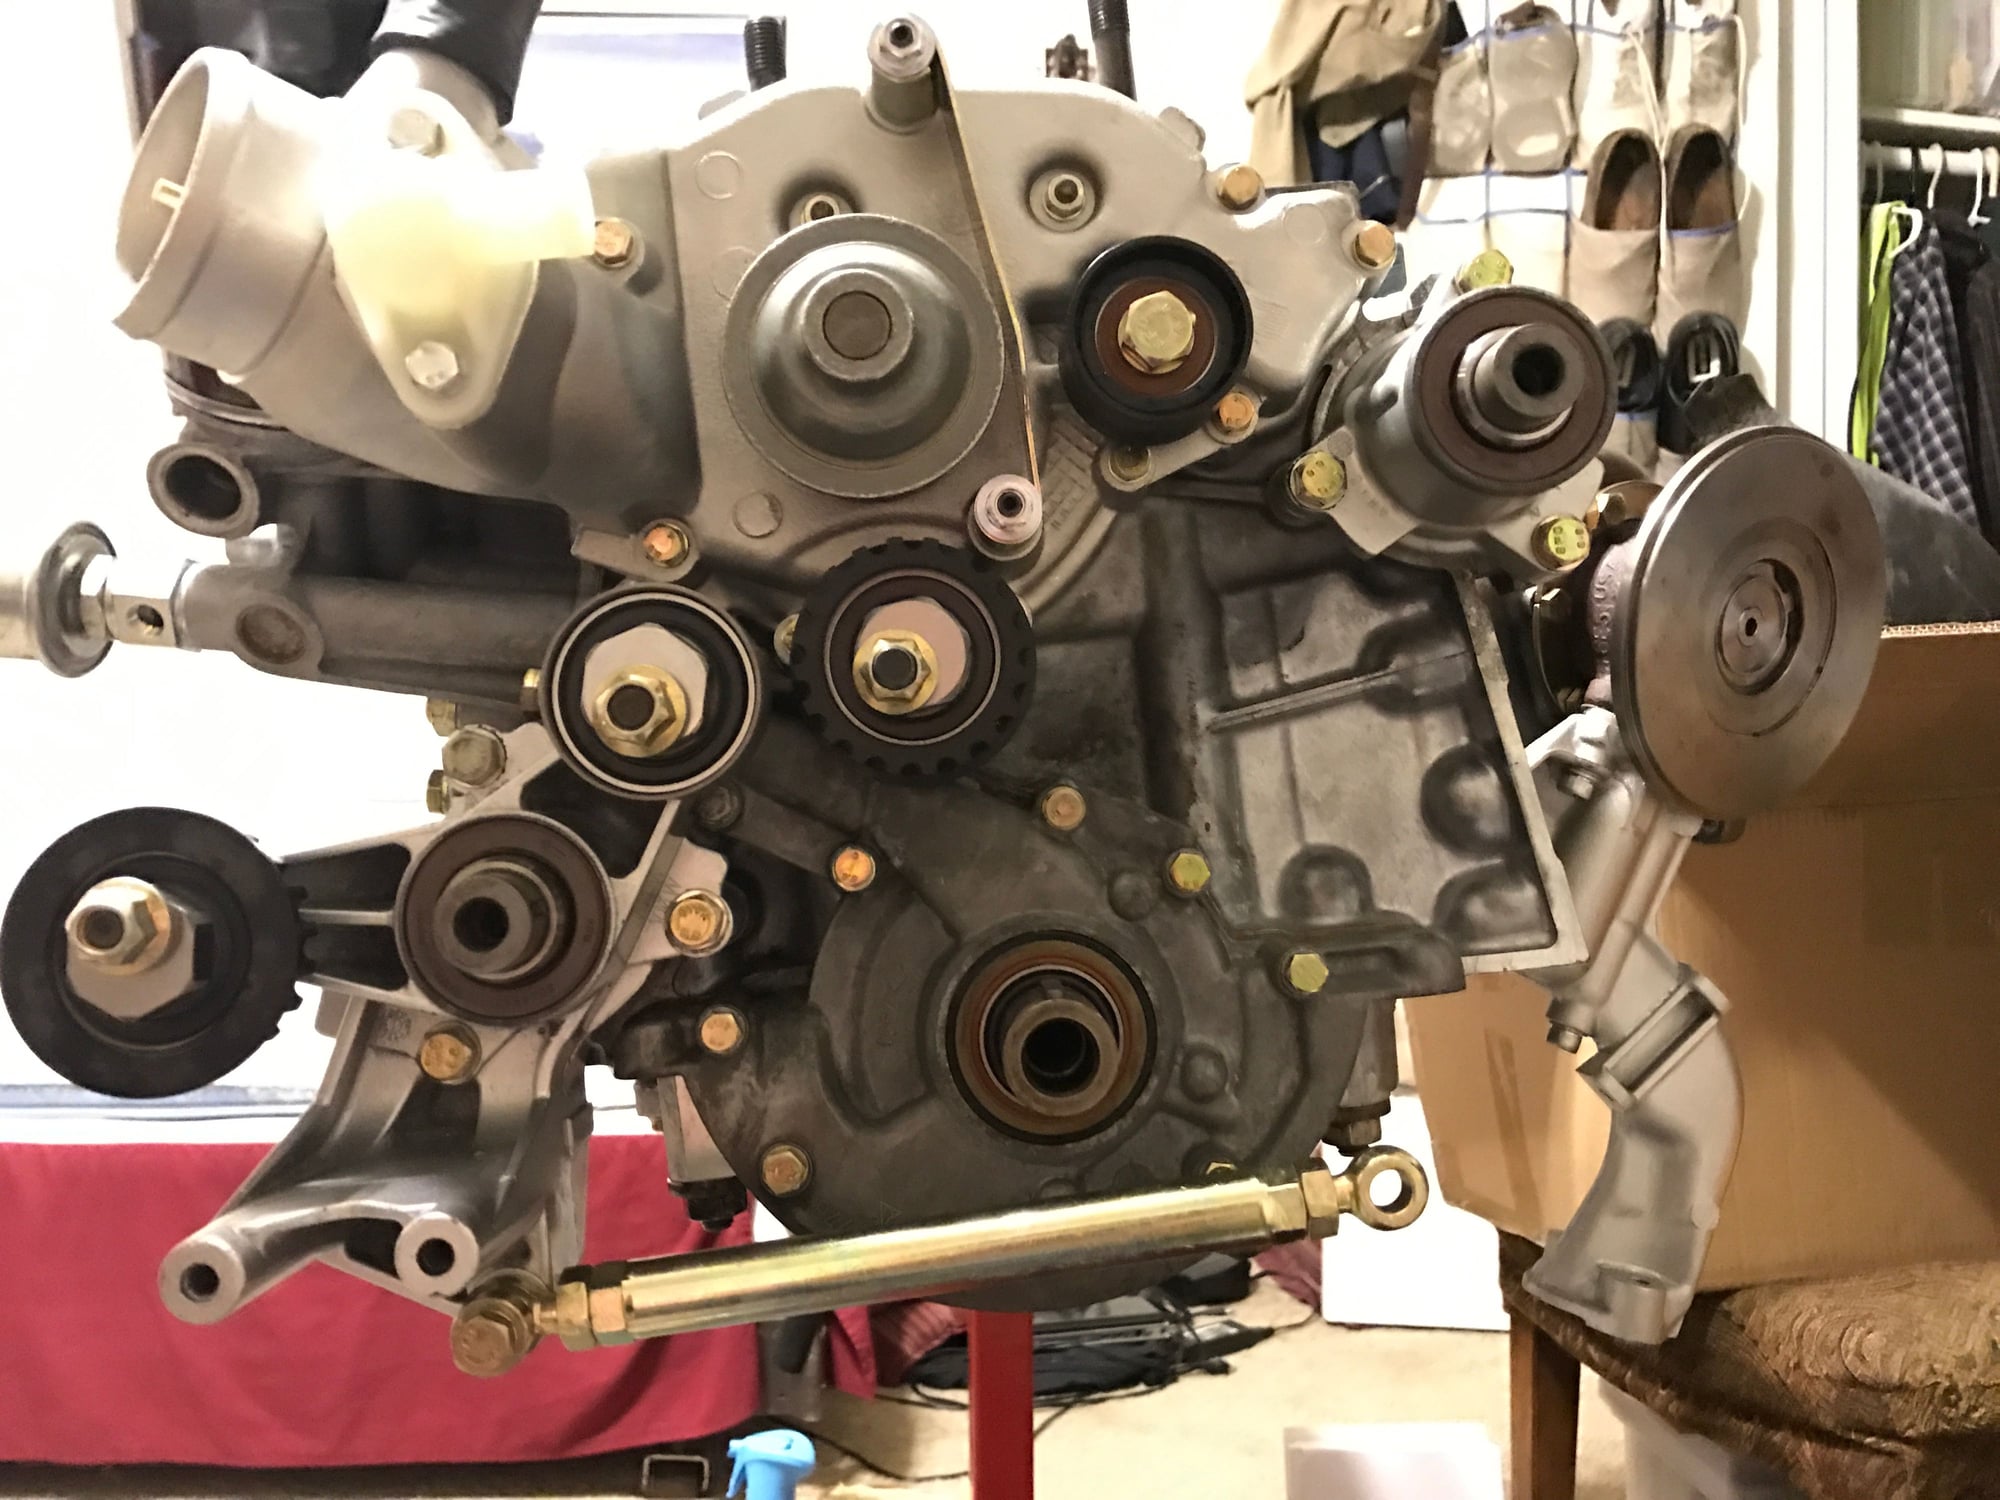
This is what I'm using on my turbo'd-NA'd-turbo. It goes between the oil cooler and the pressure sender. It's designed for use with a mechanical gauge but I don't see why it can't work to supply oil to a turbo.
It has a simple 1/8" NPT female fitting you can run to the turbo. I'd add a restrictor as well, you can get ones with NPT or AN nipples you can add at some point along the feed line.
Hey Michael. What you linked is totally the cats meow. It also answers the complaint I have about my proposed solution (using the other plug bung) because if a person wanted to test pressure with a mechanical gauge, I might have a problem if the turbo line is in that spot.... but the factory manual says to remove the sending unit for testing, so I *think* the plug will be okay.
Thanks for the great idea, it's a swell solution. Your engine looks super duper (I'm totally jealous).
Well, I was in a big hurry to use an aluminum welder I've never used & had a hard time adjusting to a cheap non auto-dimming helmet. Wish I filled the gap better, but I *think* the bung is sealed. Pan is painted Titanium Graphite (matte grey).
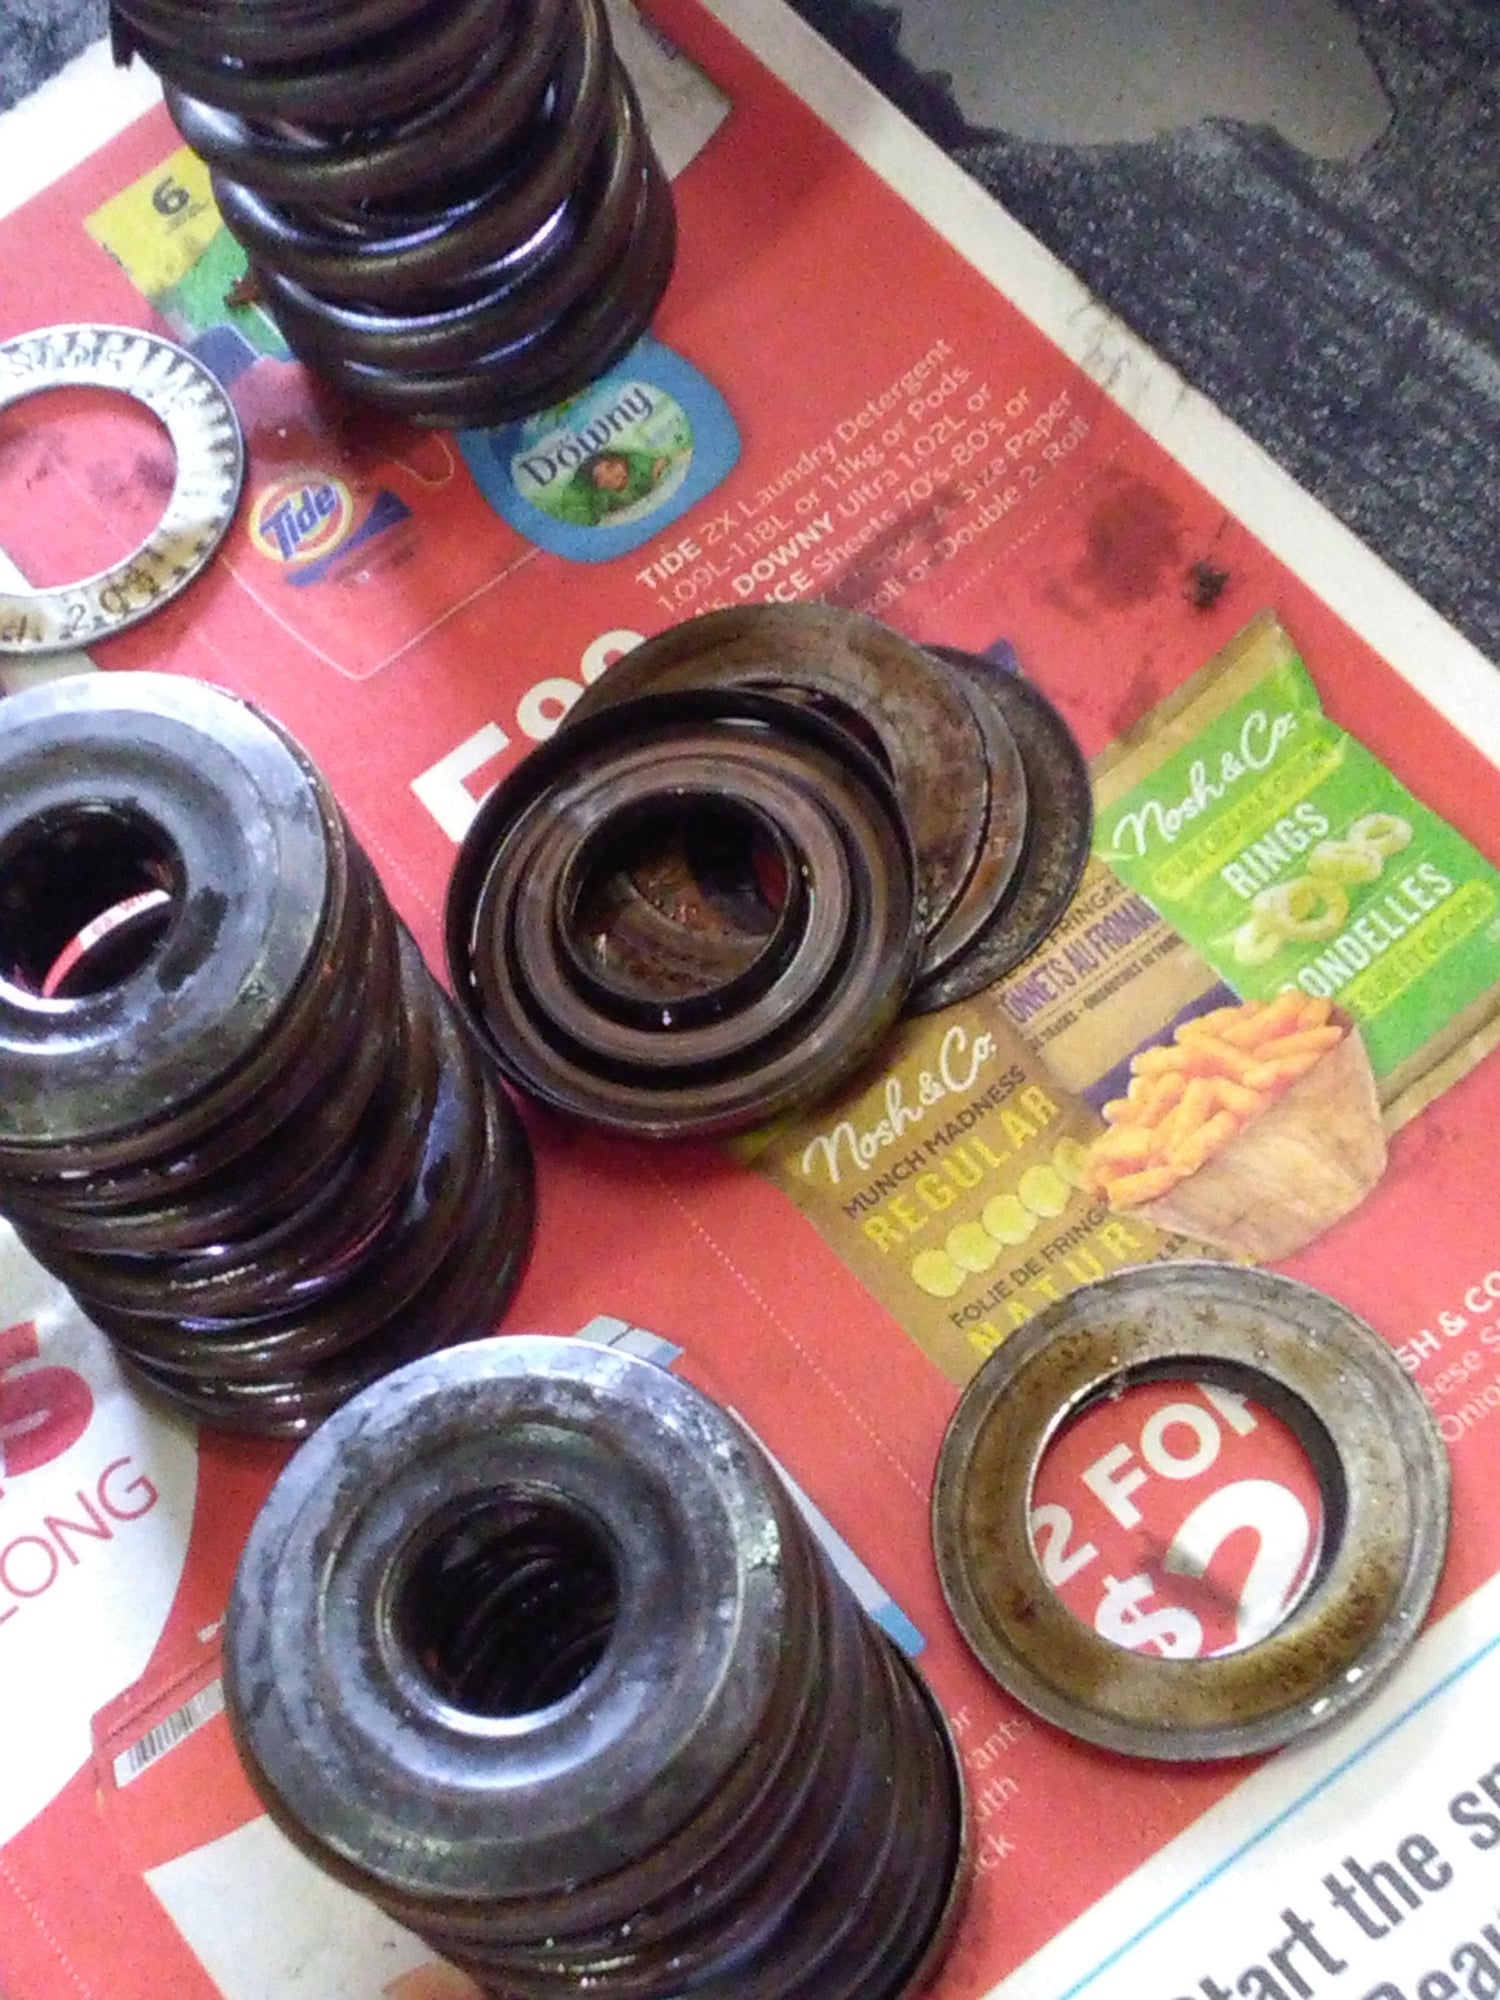
Valve springs. So apparently an important consideration when going boosted is the valve springs. You need a stiffer spring rate to overcome additional cylinder pressure because V.E. is much higher.
The cylinder head on Wilson is a rebuilt unit with around 10,000 kms on it. I was pleasantly surprised to find a 5 angle grind.
I was impressed (I think) but surprised to find 3 shims per valve in the head!!
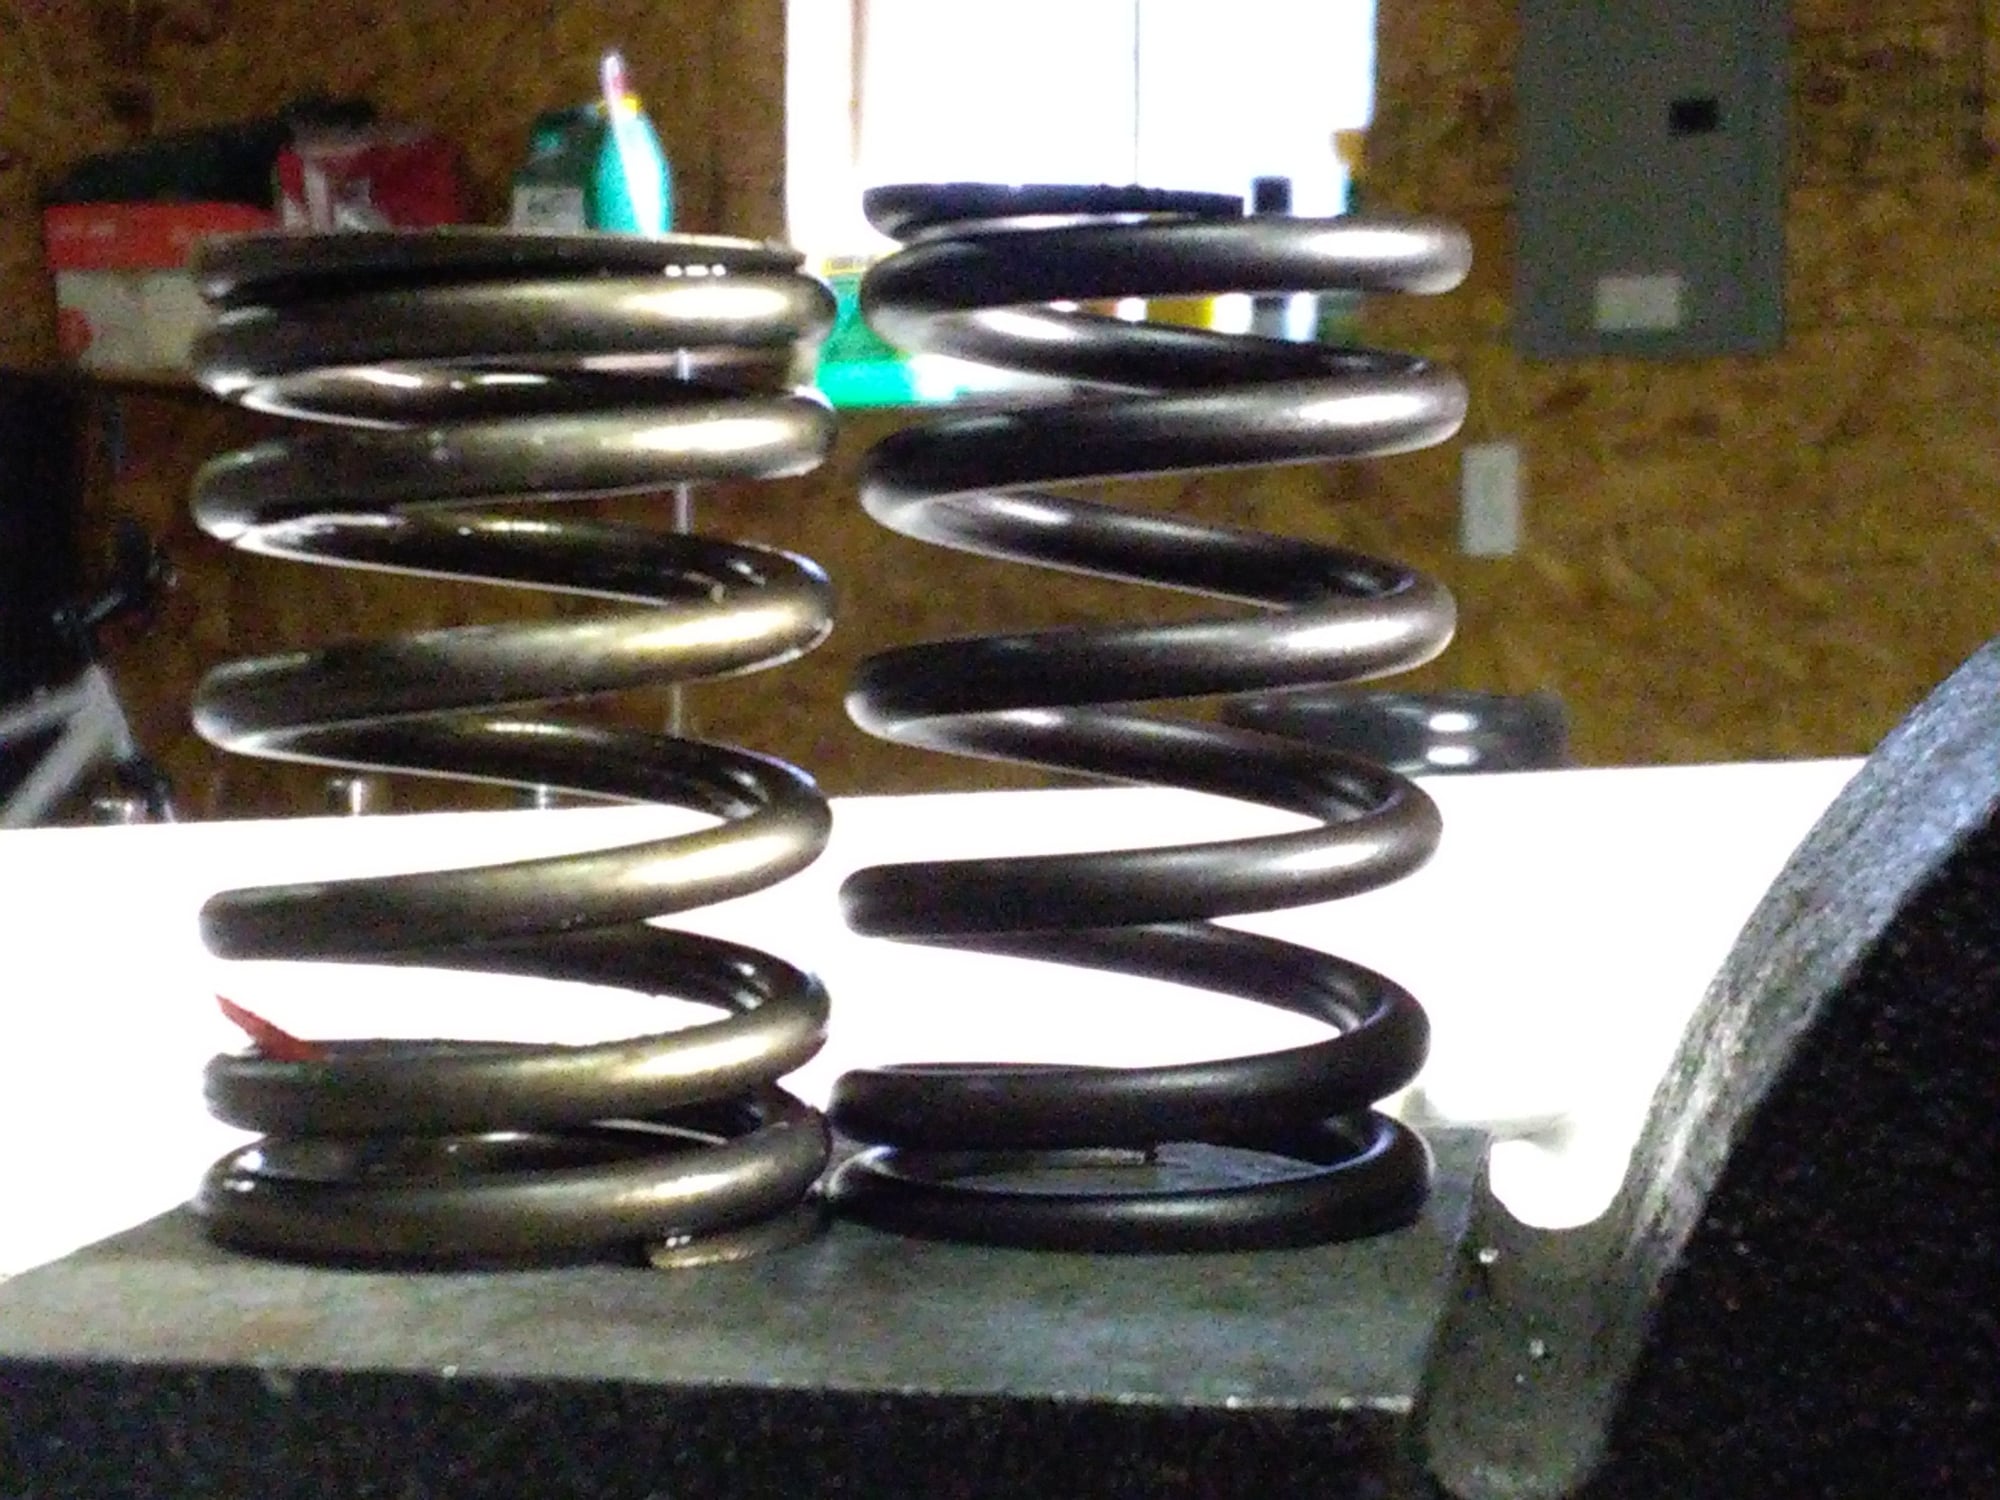
I compared the brand new valve spring height to the n/a springs in the head. Who knows how old the springs to the left are? The 951 springs are harder to squeeze in my hand. The head was rebuilt because timing belt broke. I dunno what was replaced.
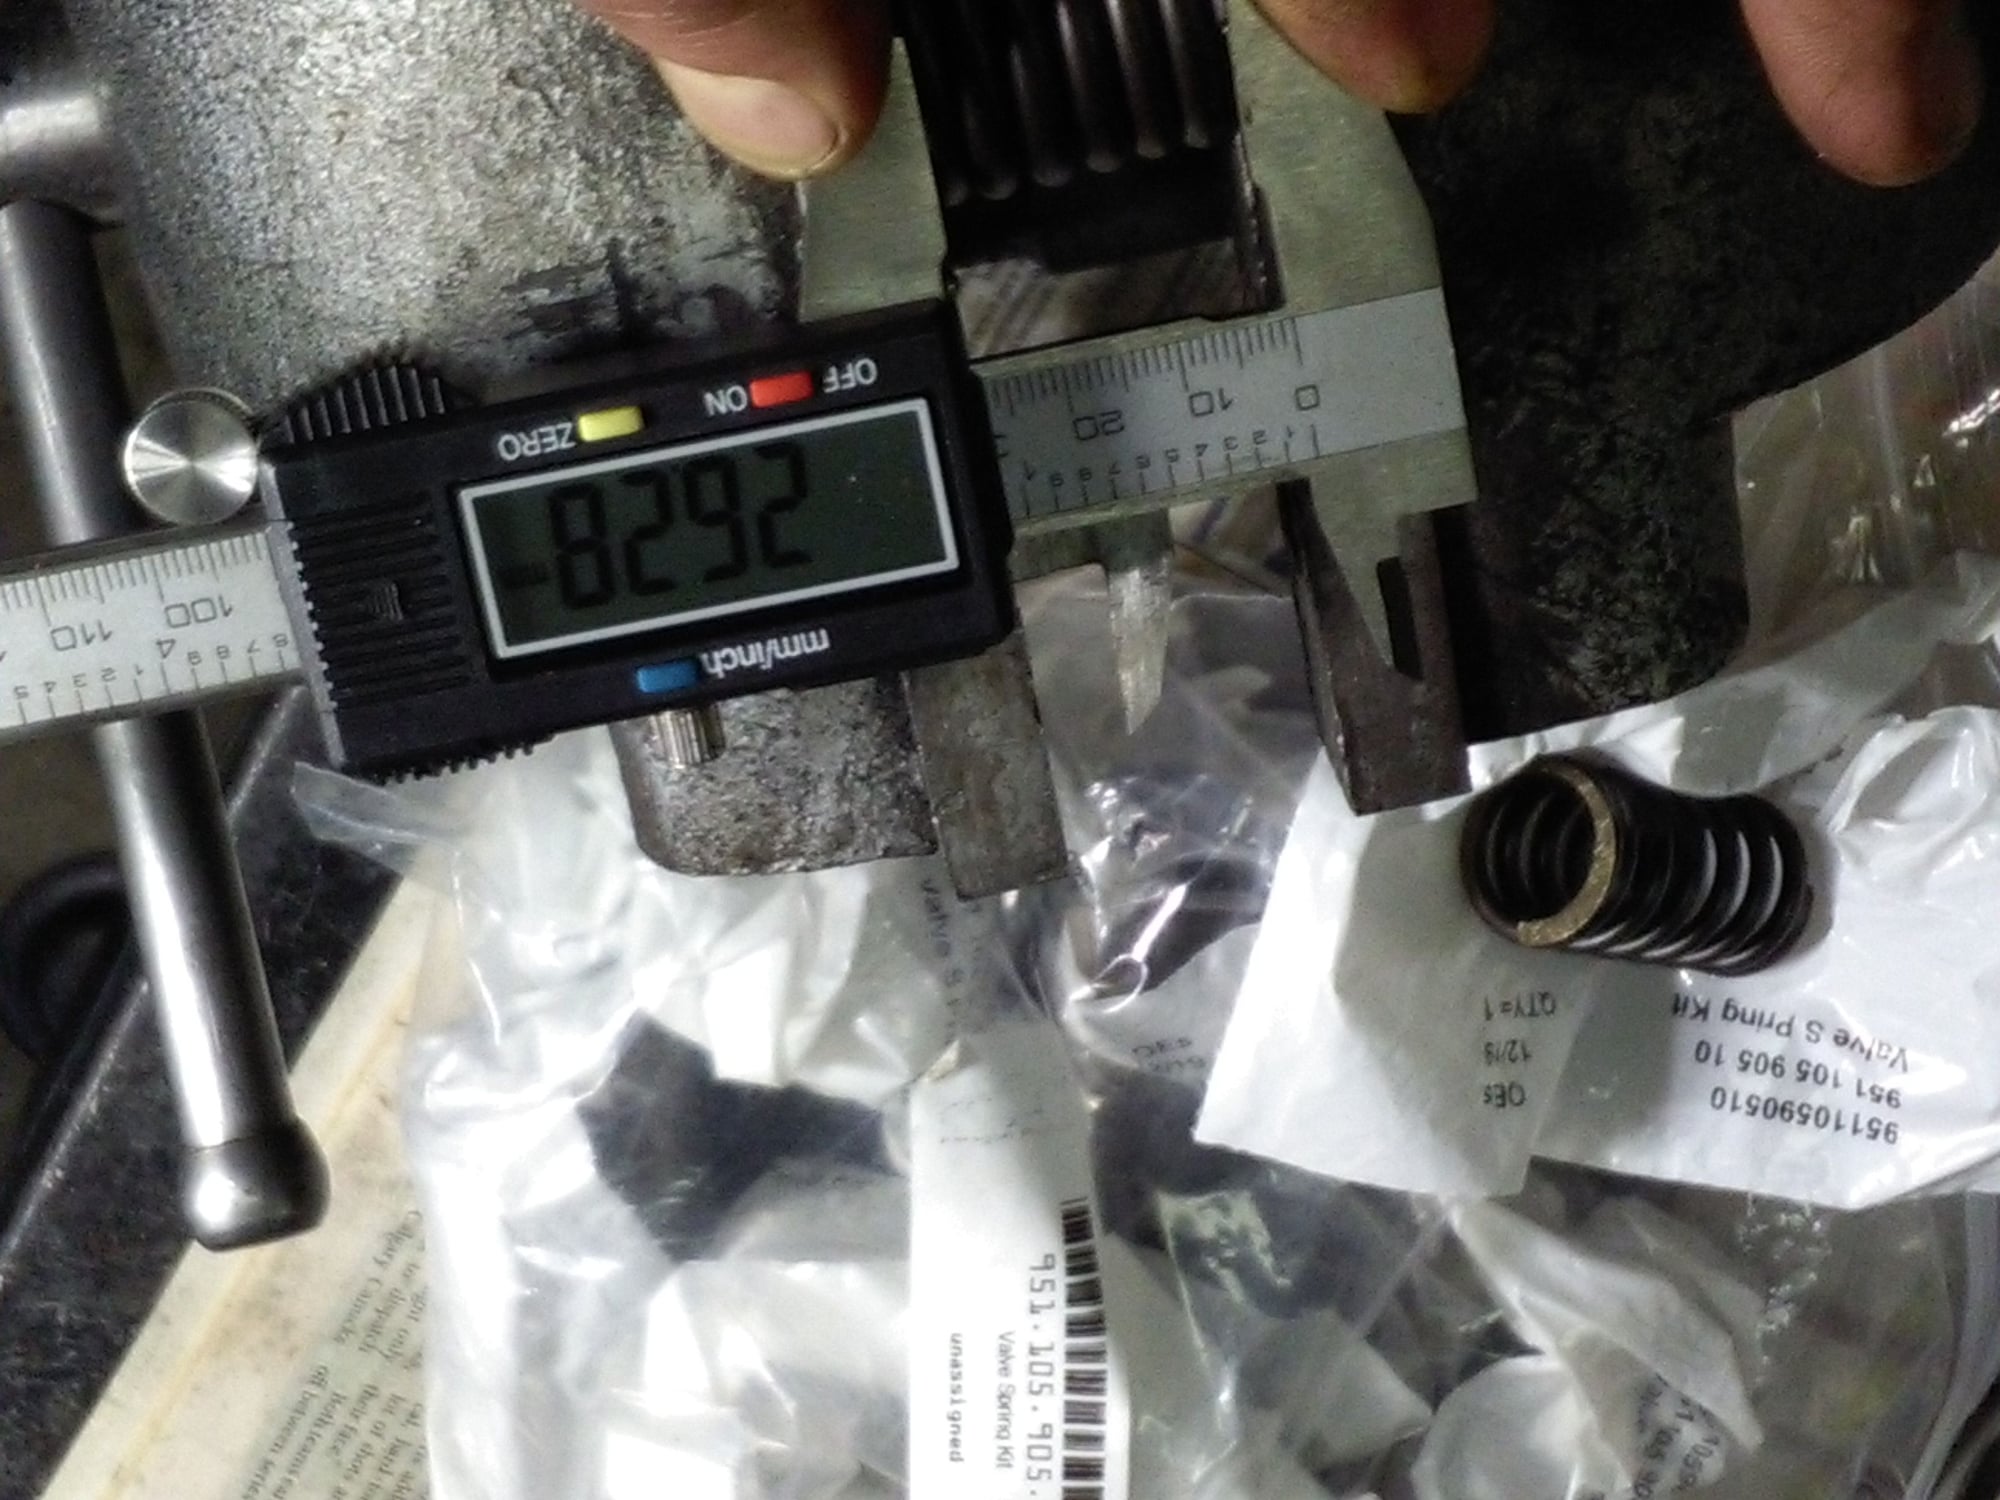
This got me worried about running out of clearance; at max valve lift what if the new spring and all those spacers becomes a solid piece of metal? I need to sort this out. So I measured the compressed valve of the n/a spring then measured the compressed value of the turbo spring.
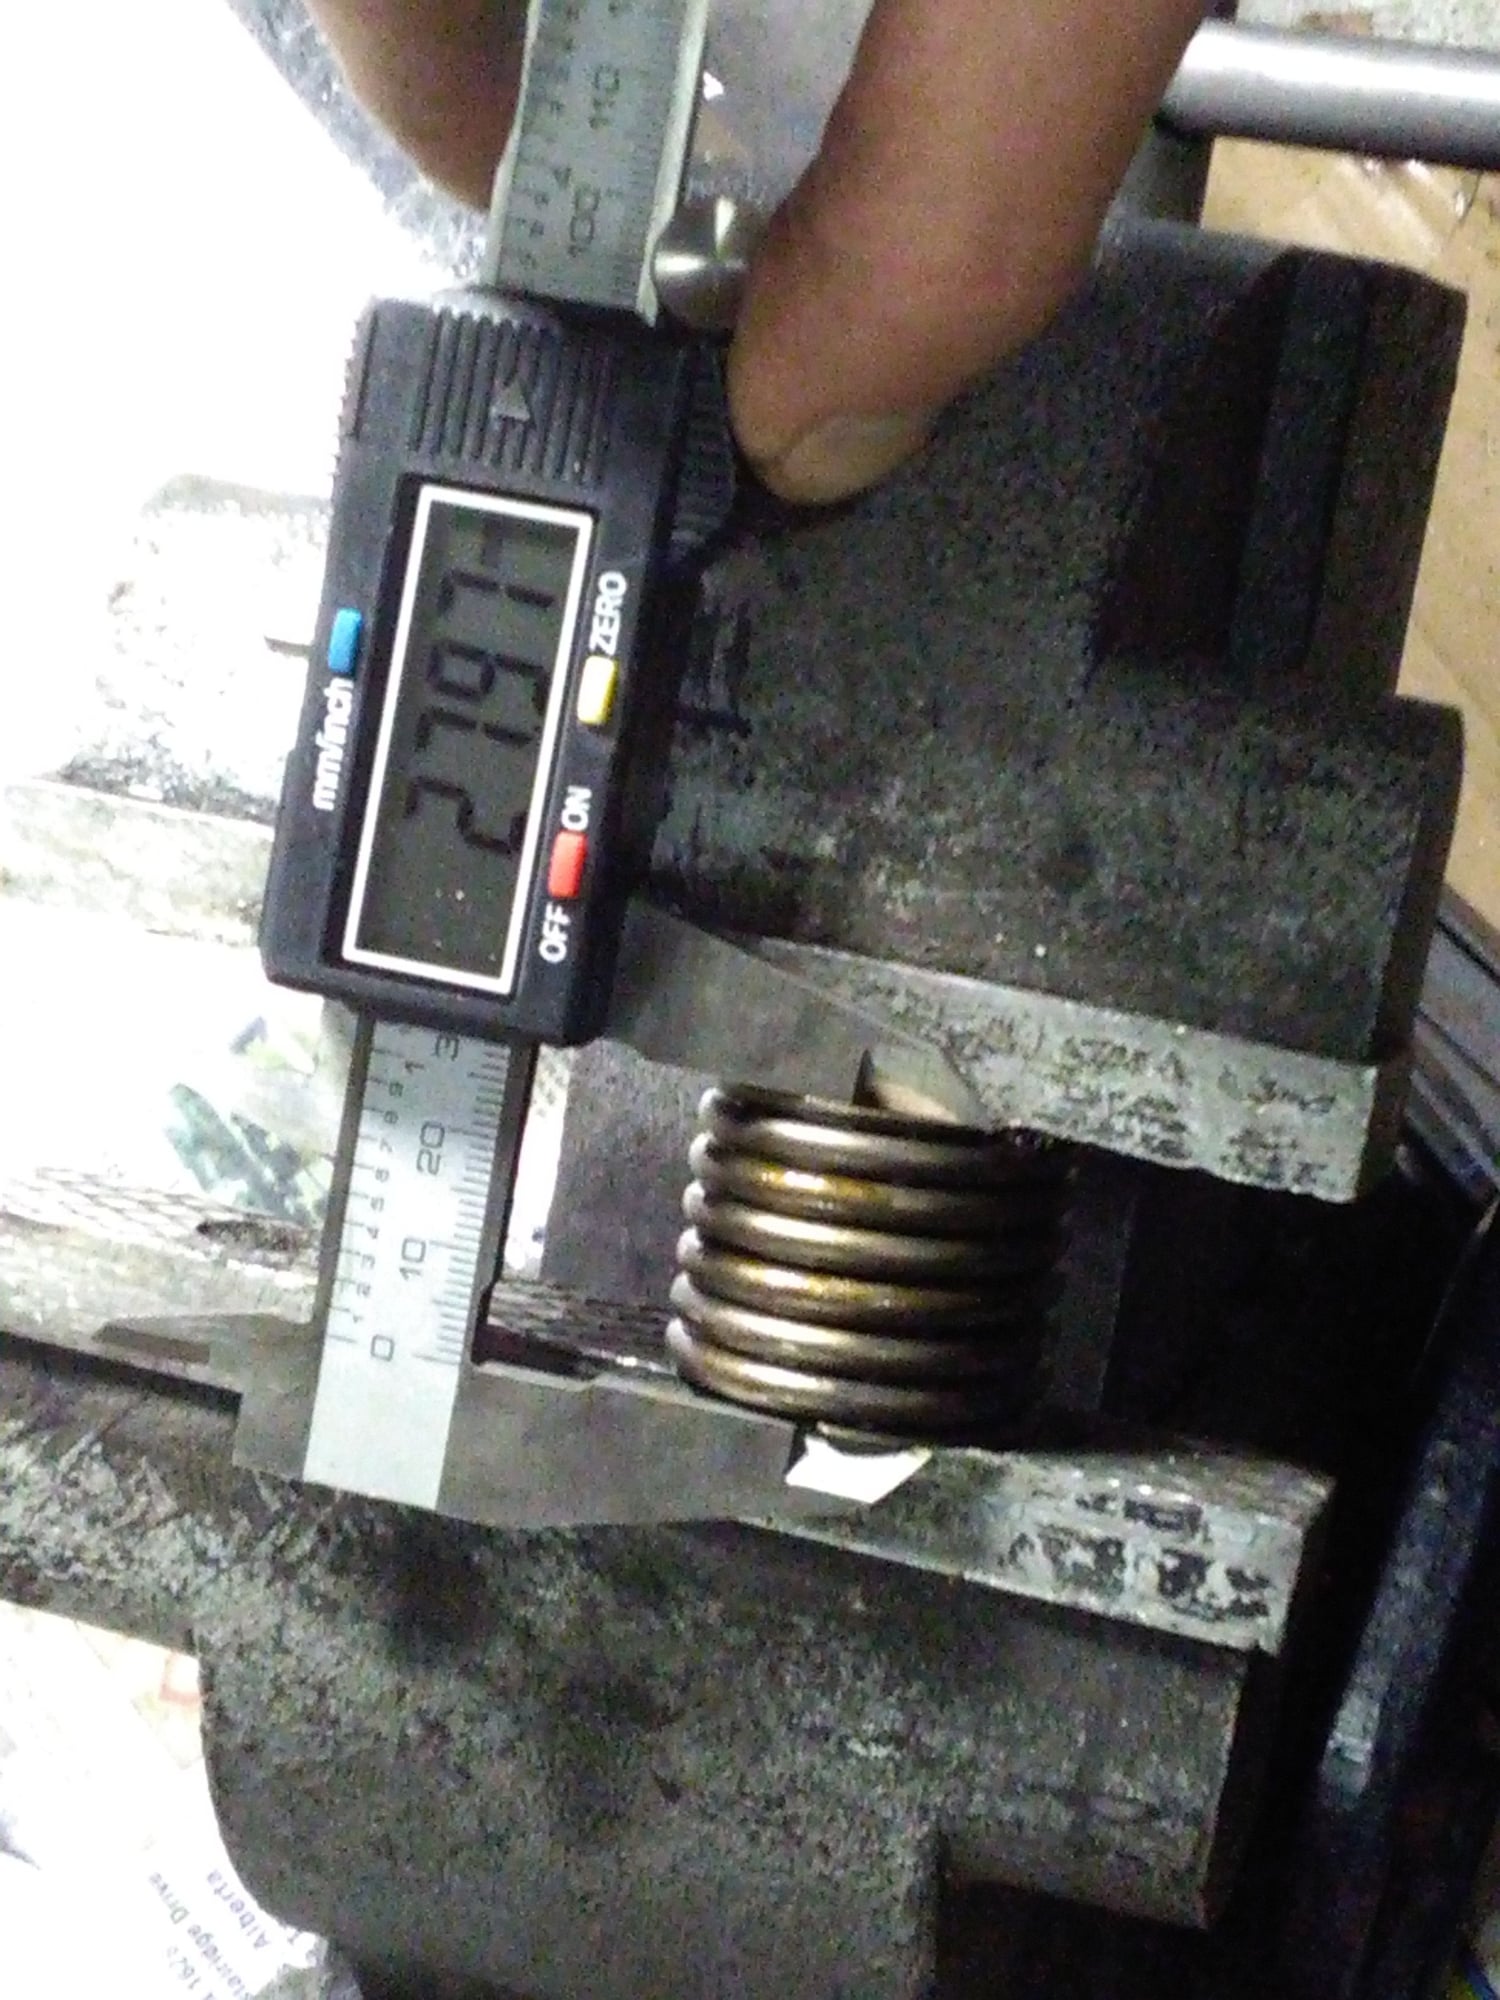
To my surprise the turbo spring (this is an aftermarket spring) compresses more (gets a lot smaller). So that means I can run with all the spacers that were installed with the na springs and this will help keep spring pressure.
This is the n/a spring. It's over 1mm thicker when squeezed then the aftermarket turbo. I also measured individual coils & founf the turbo coil to be .11 mm thicker, yet the coil spring design is a bit different, less junk & more efficient.

 04-02-2017, 12:25 AM