When you click on links to various merchants on this site and make a purchase, this can result in this site earning a commission. Affiliate programs and affiliations include, but are not limited to, the eBay Partner Network.
Hey can you make a video of the information you get while the car is in motion? Have seen it on Cup cars but wonder what's it gonna look like on a street car.
Thanks! The harness was 90% pre-made by Motec. They did high quality work. I had to match their quality with my 10% so only Deutsch connector will suffice.
__________________
PCA National Instructor
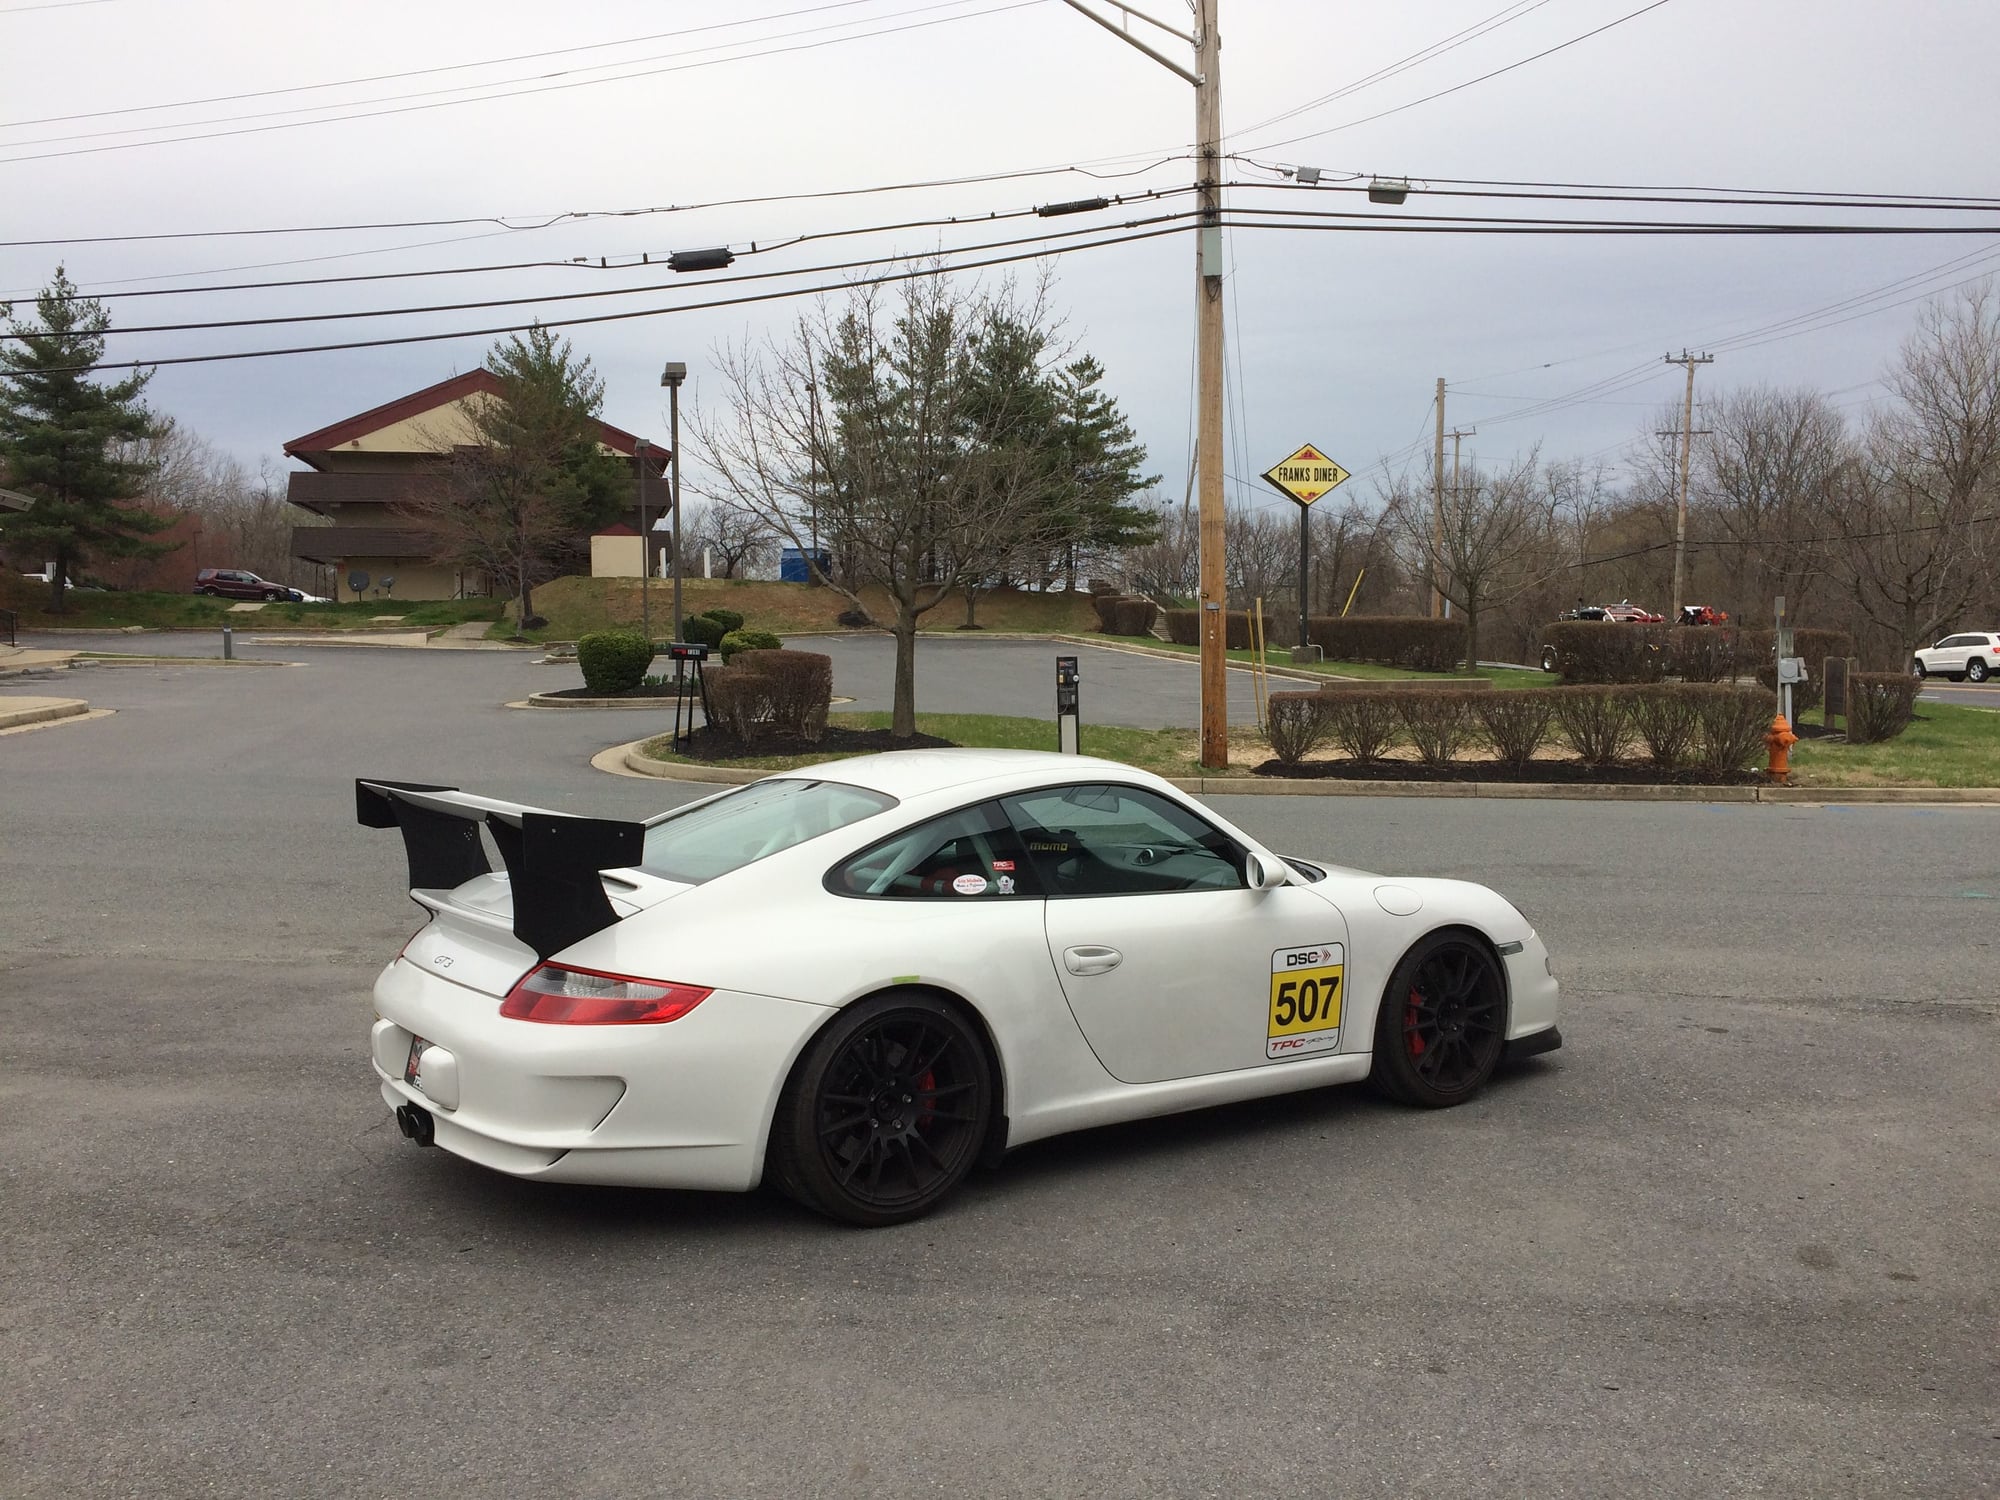
TPC Racing stats:
2023 Porsche Sprint Challenge 992 Cup Am Champion
2023 Porsche Sprint Challenge GT4 Pro-Am Team Champion
2022 Porsche Sprint Challenge 992 Cup & 991 Cup Champion
2020 IMSA GT3 Cup Challenge 2nd Championship
2018 IMSA GT3 Cup Challenge 2nd Championship
2016 IMSA GT3 Cup Challenge Champion
2013 IMSA GT3 Cup Challenge Champion
2006 Rolex-24 @ Daytona GT Champion
2004 Grand-Am SGS Class Champion
Hey can you make a video of the information you get while the car is in motion? Have seen it on Cup cars but wonder what's it gonna look like on a street car.
I've been wanting to do it so here it is, two videos.
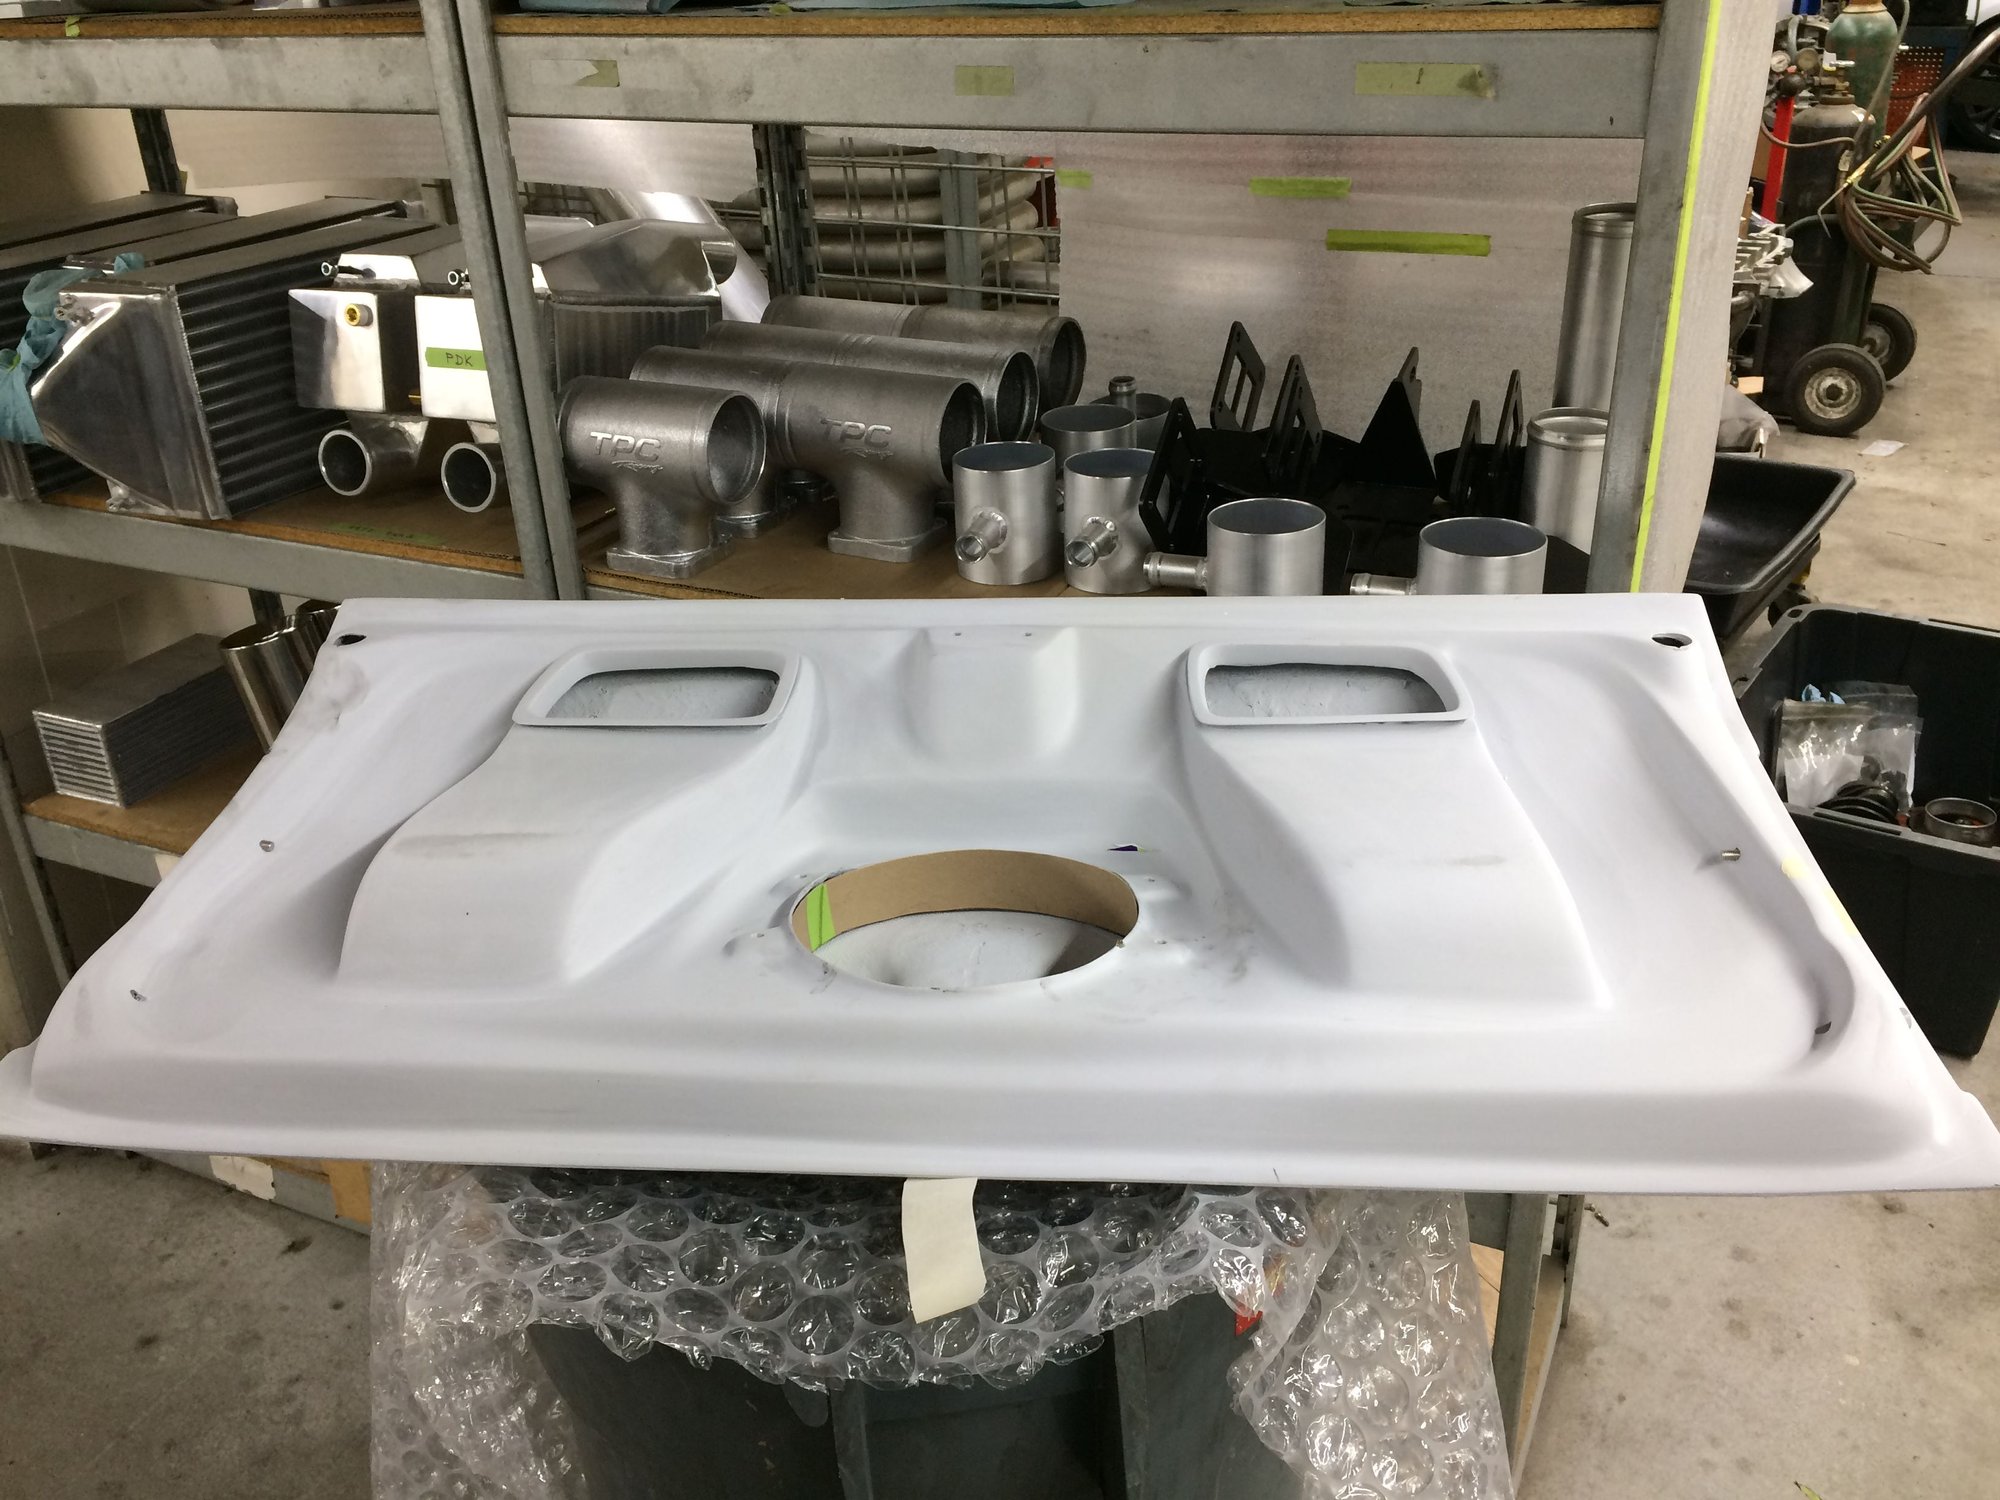
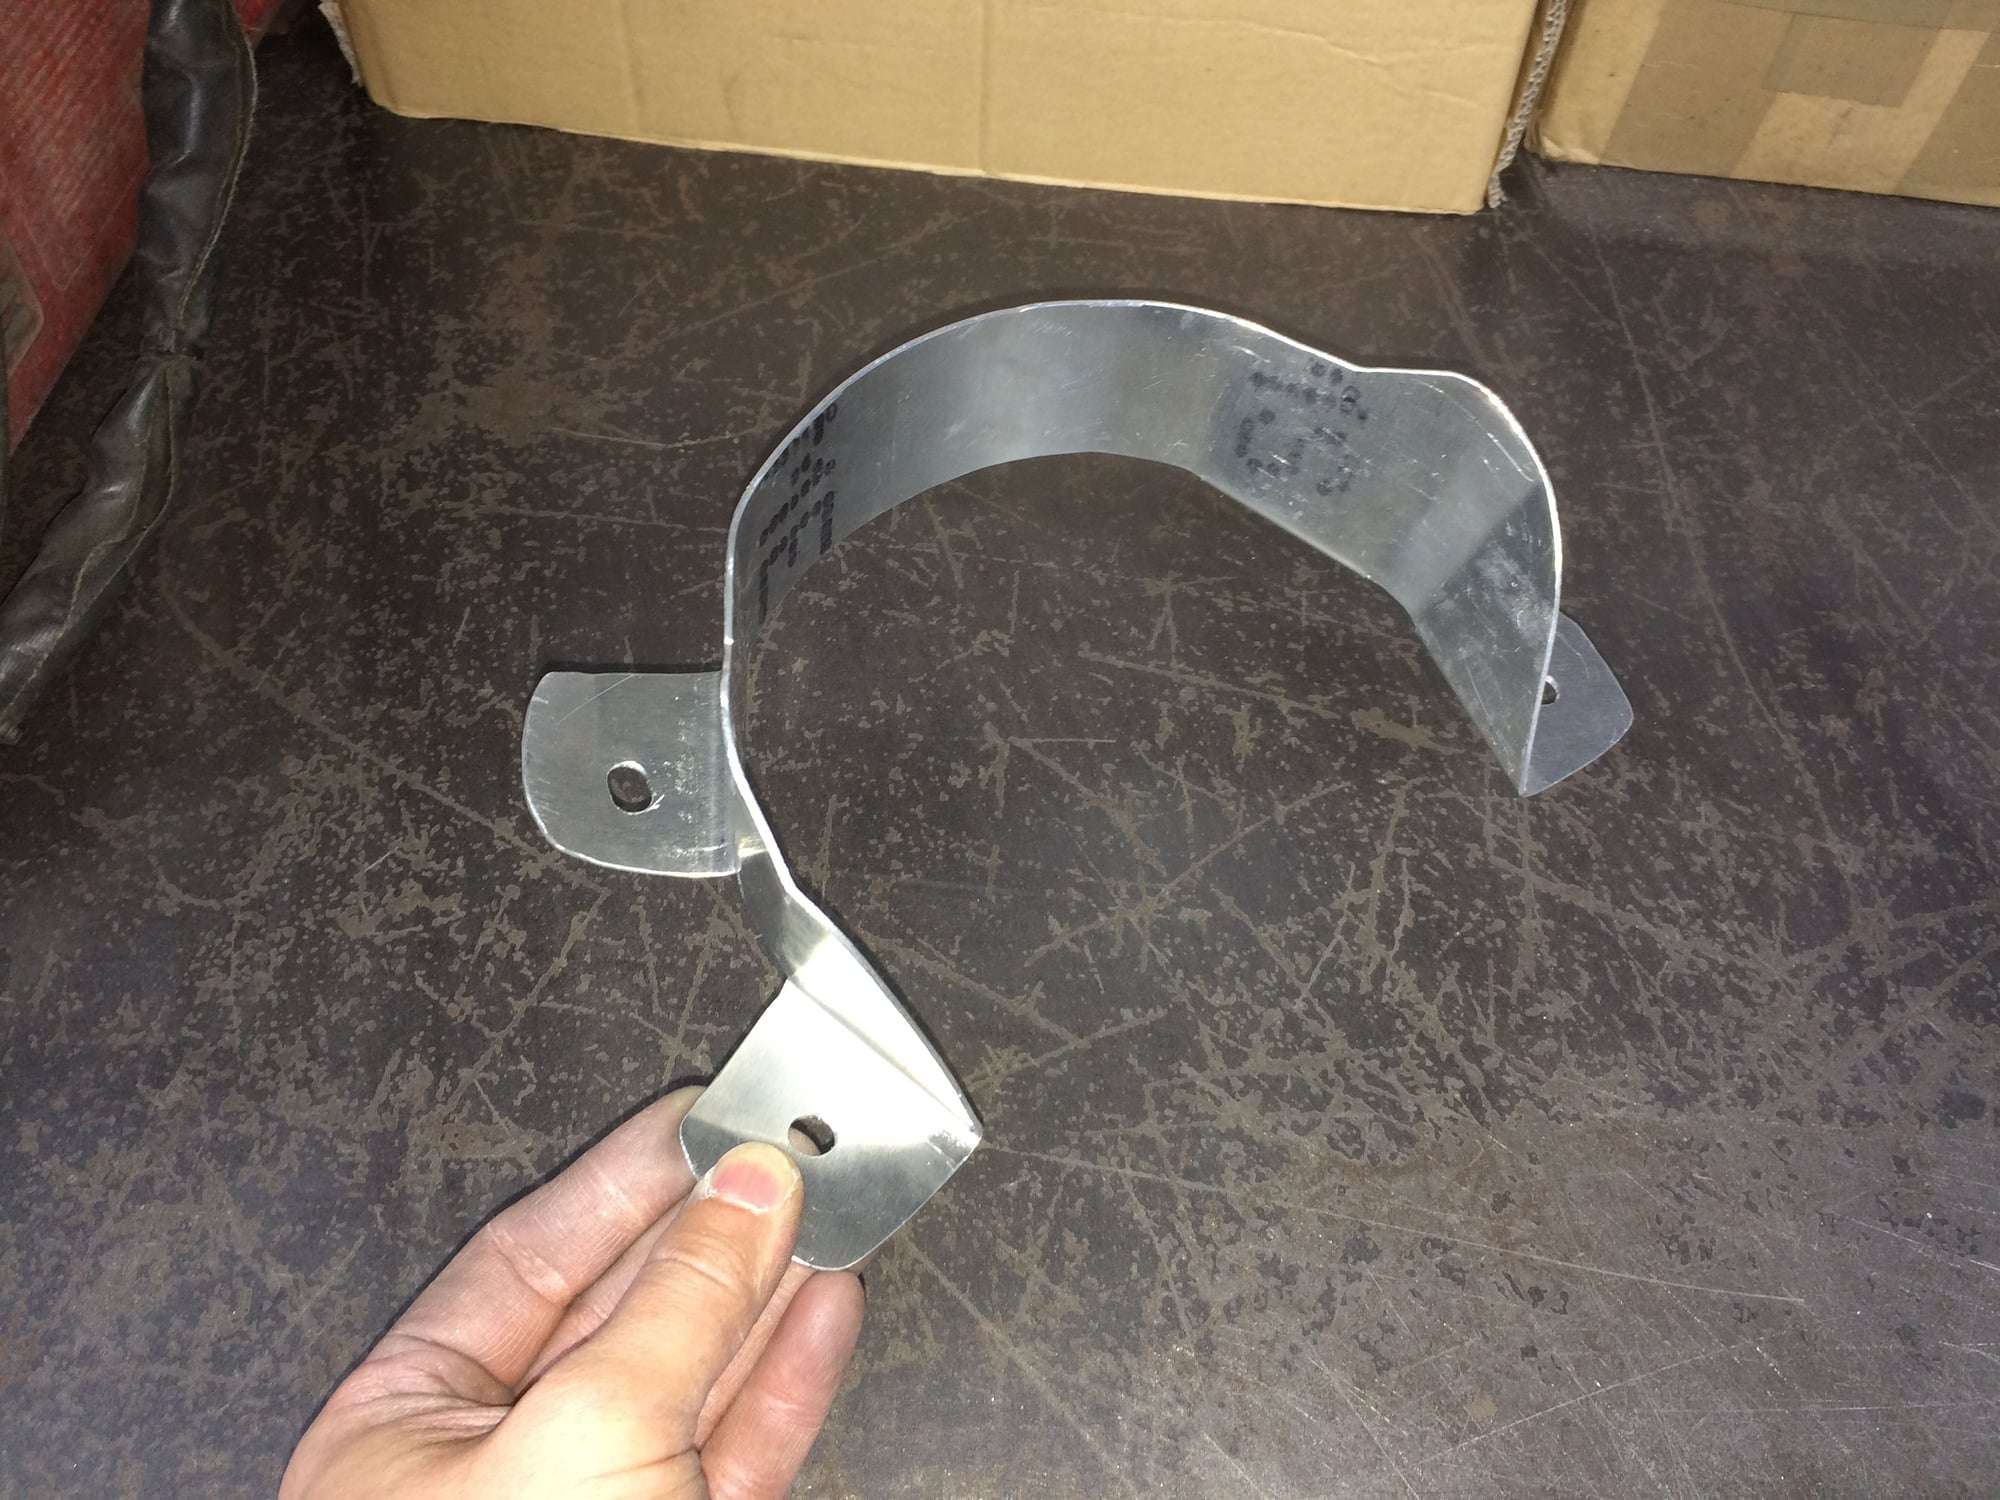
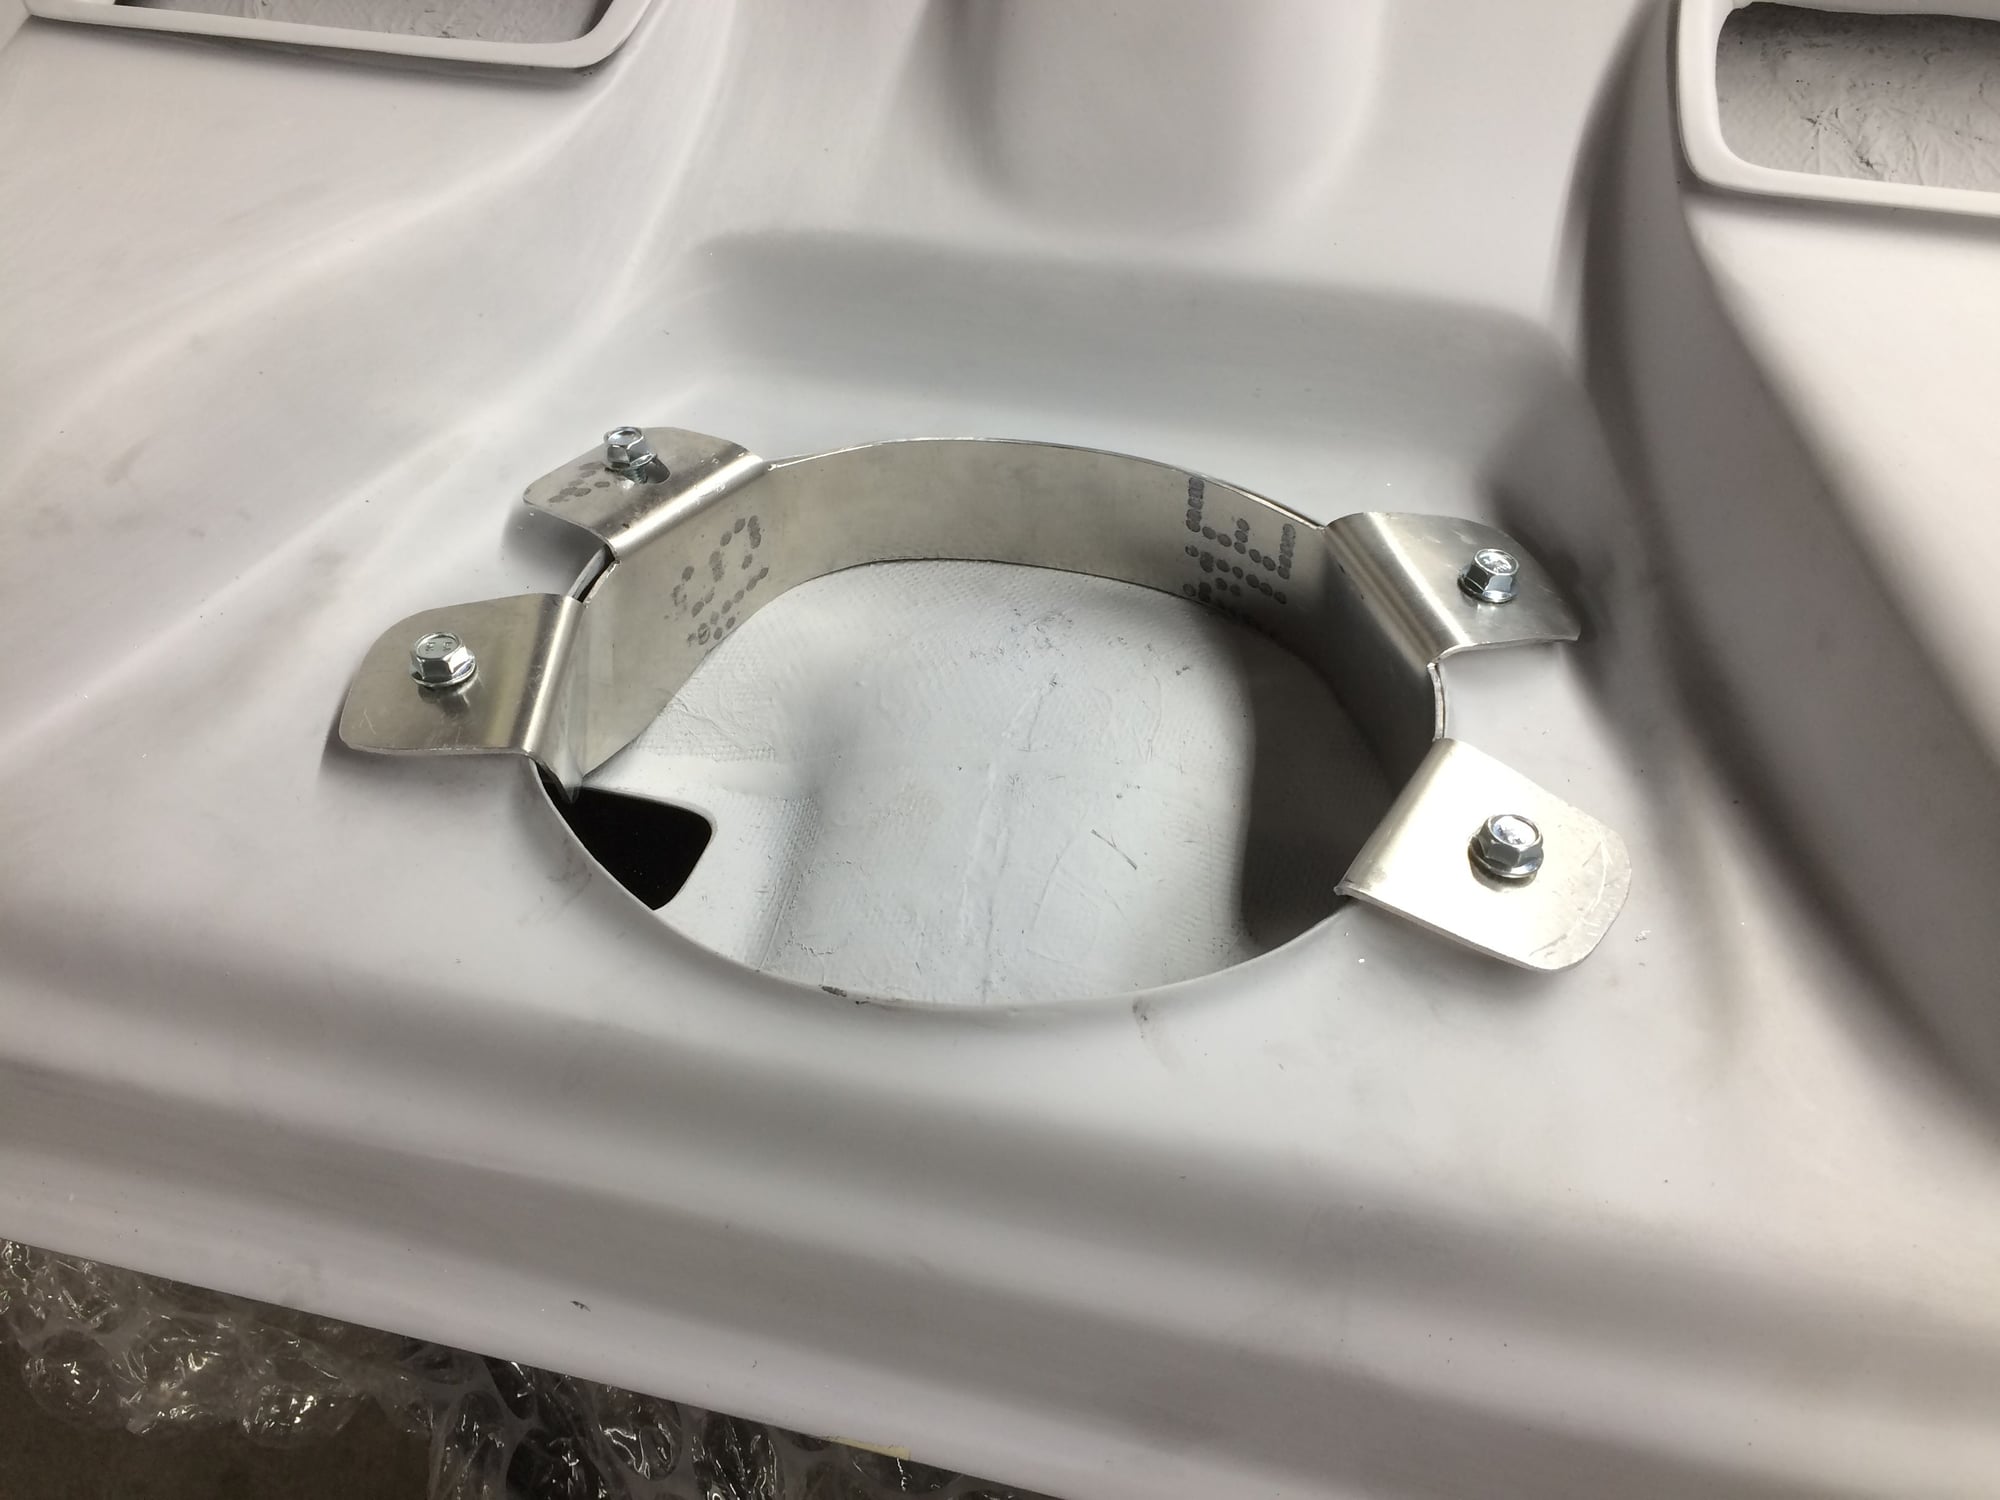
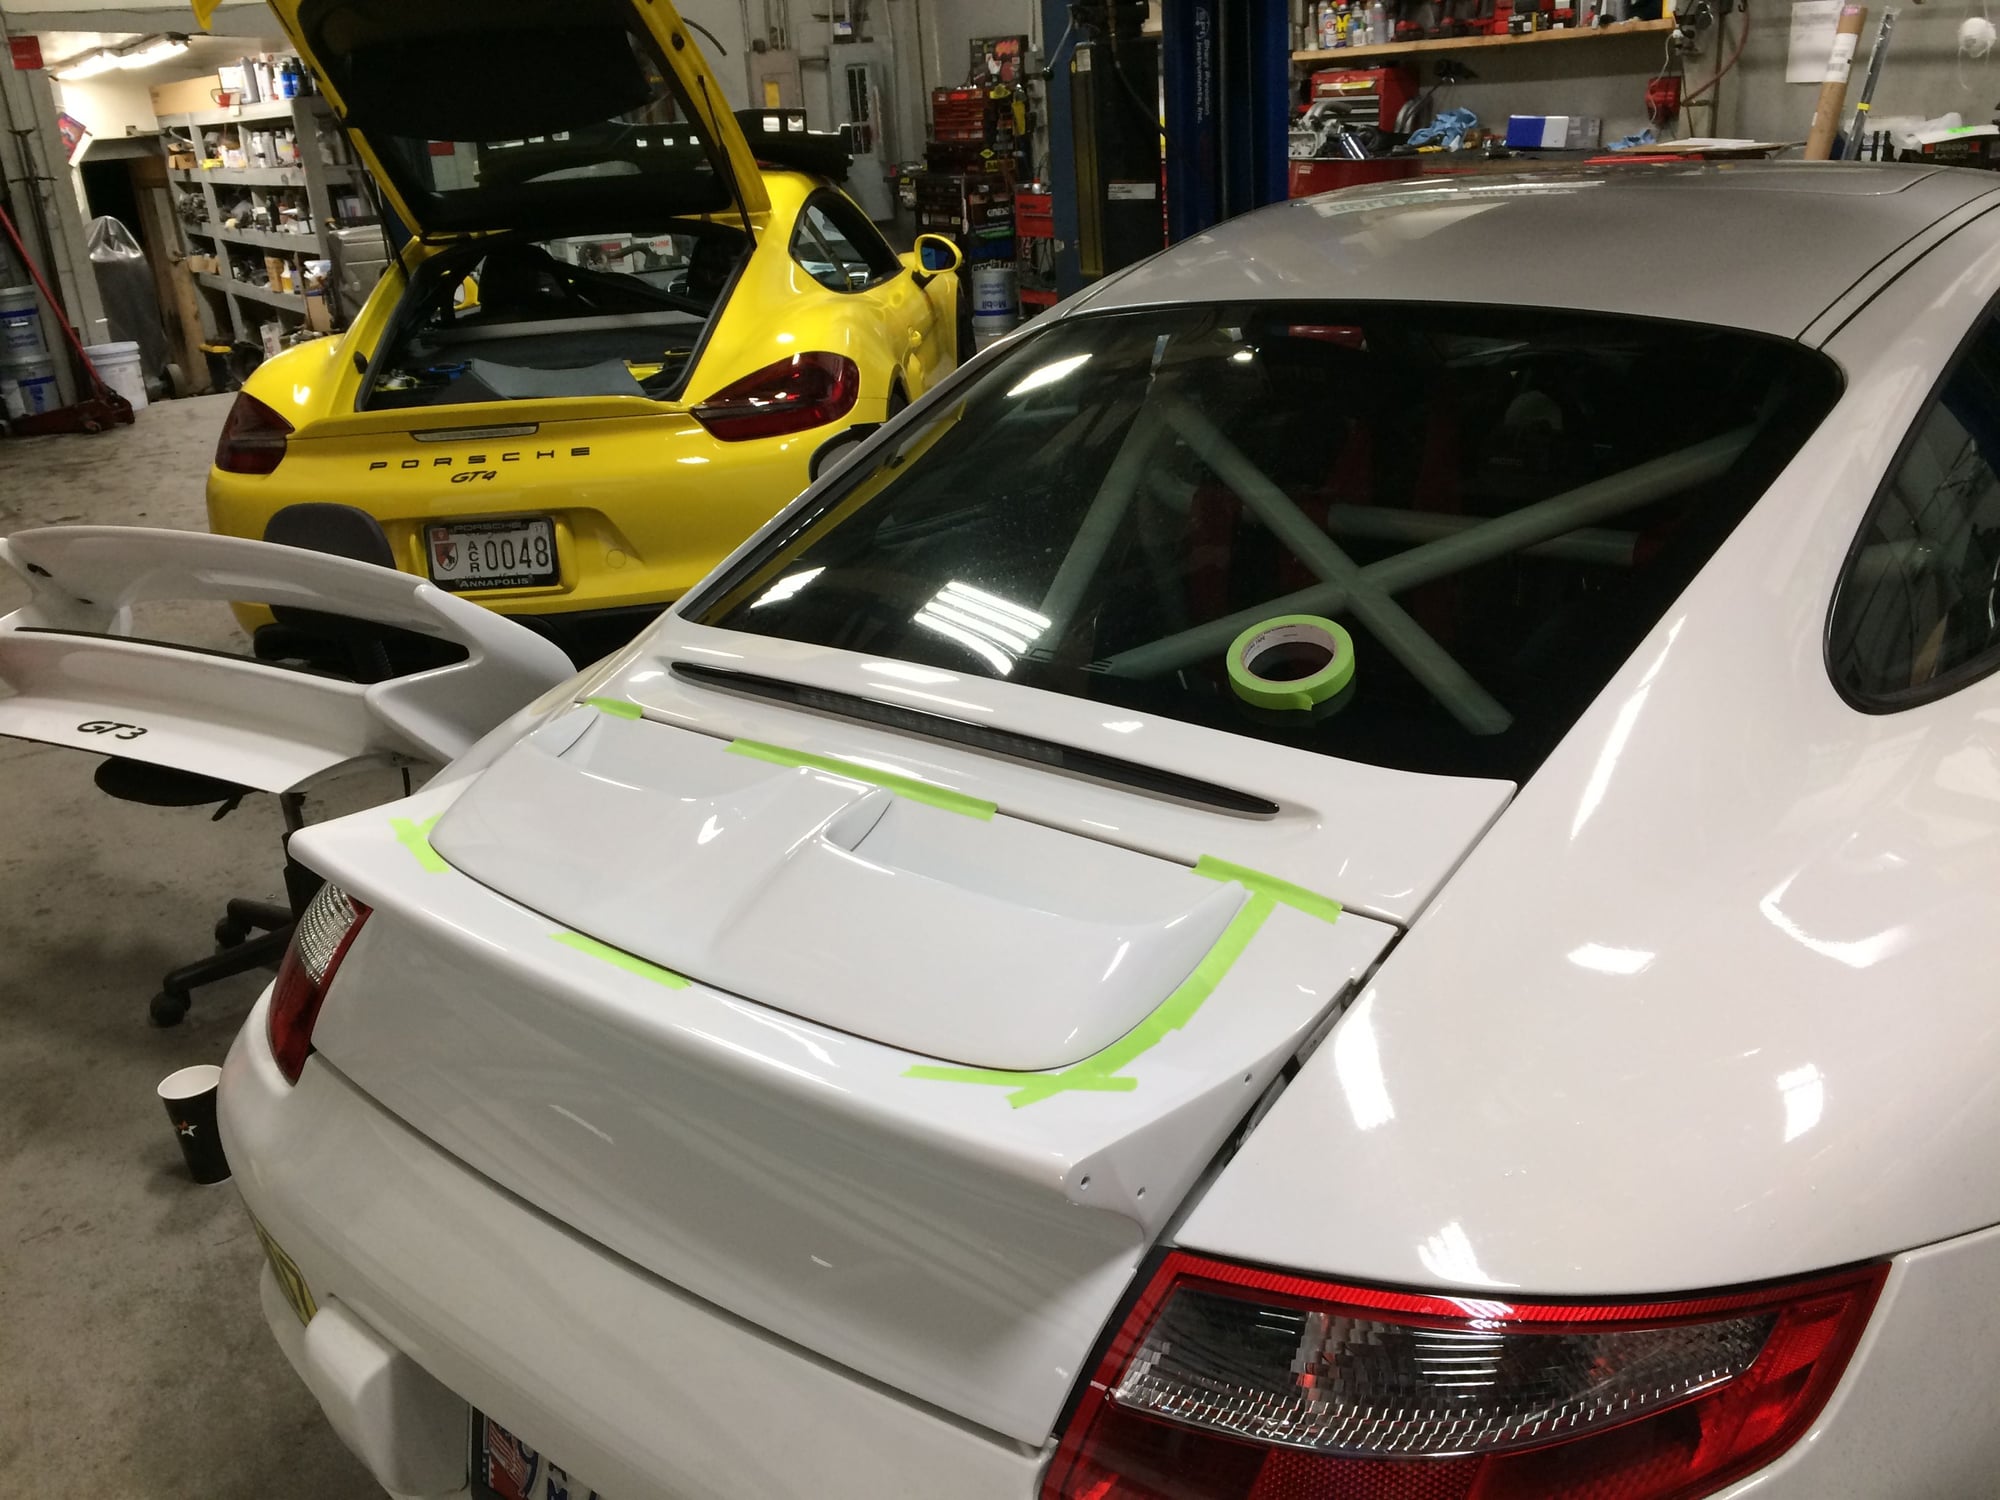
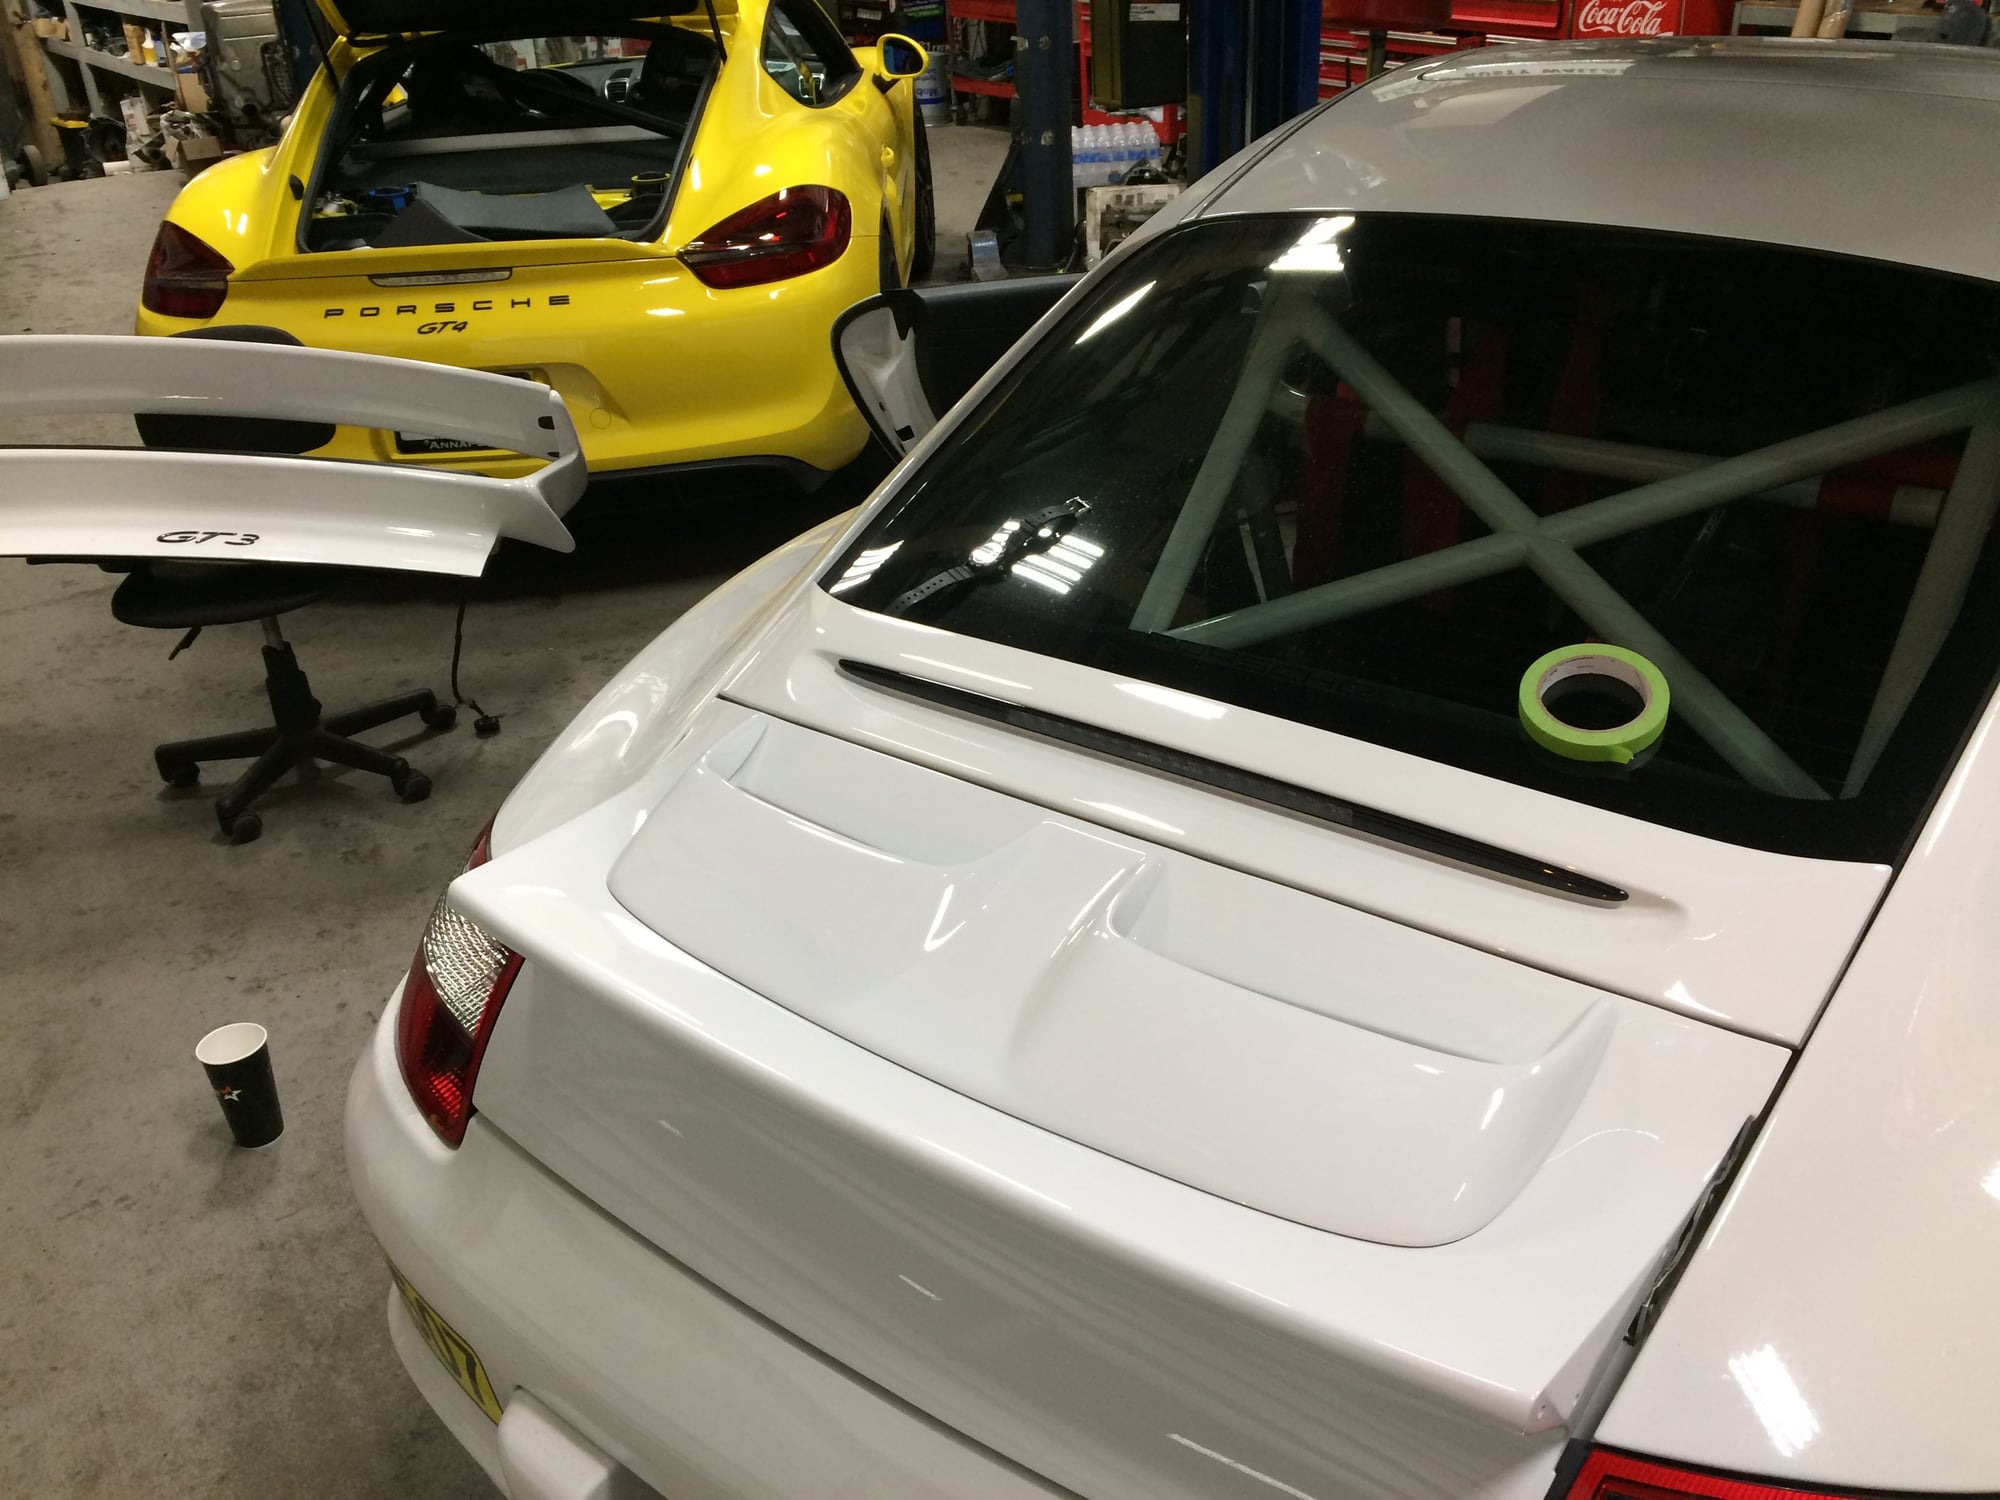
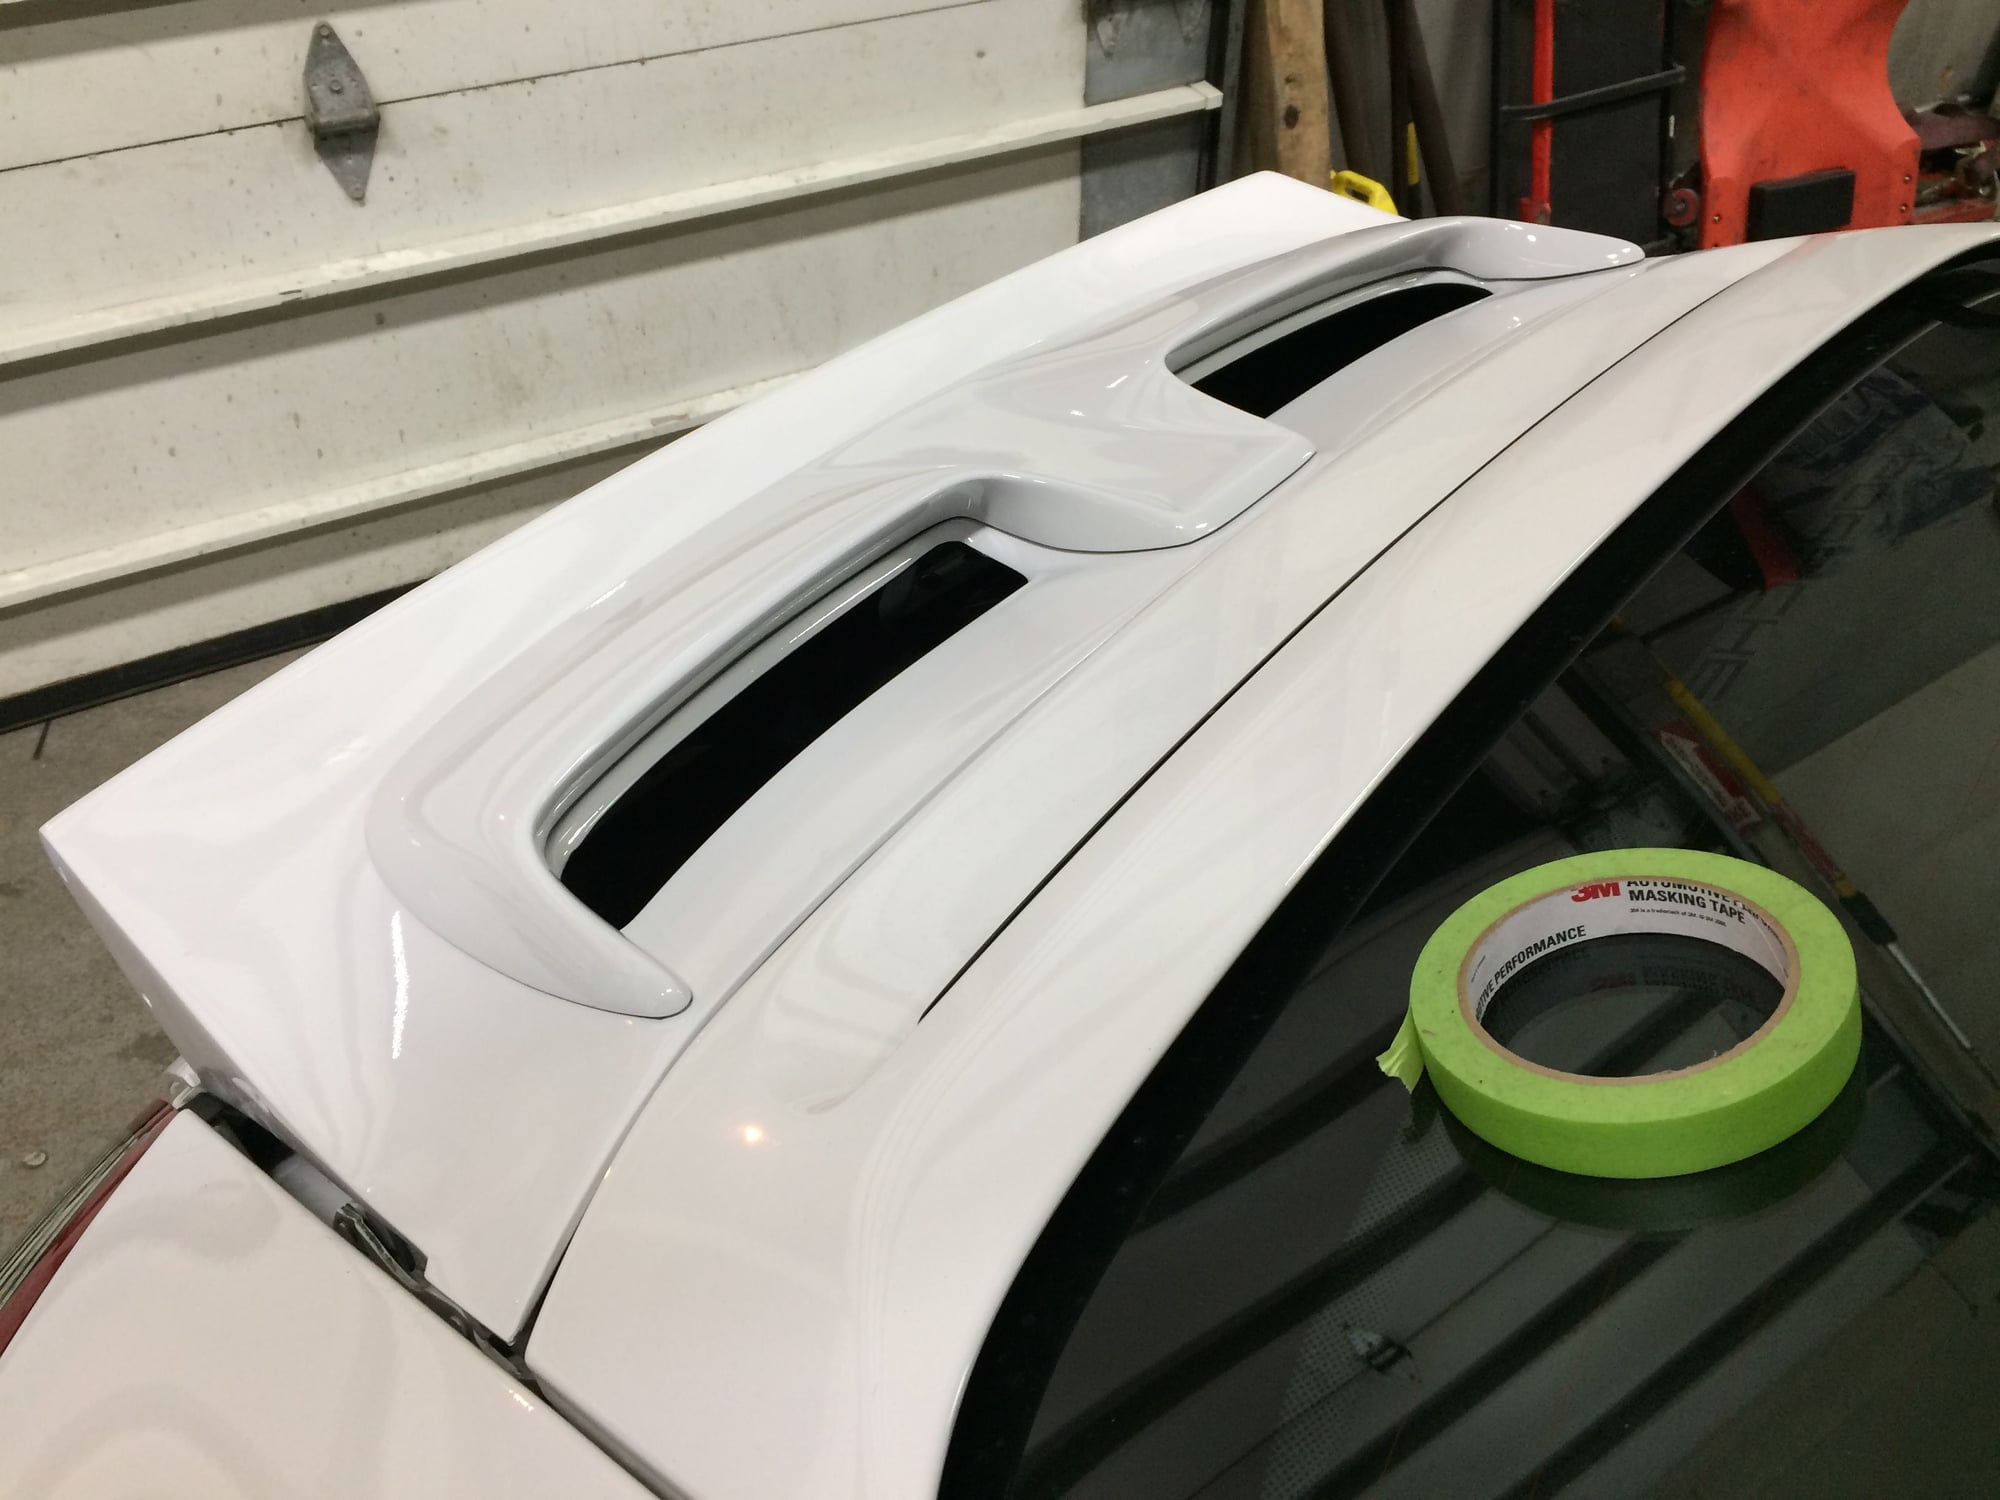
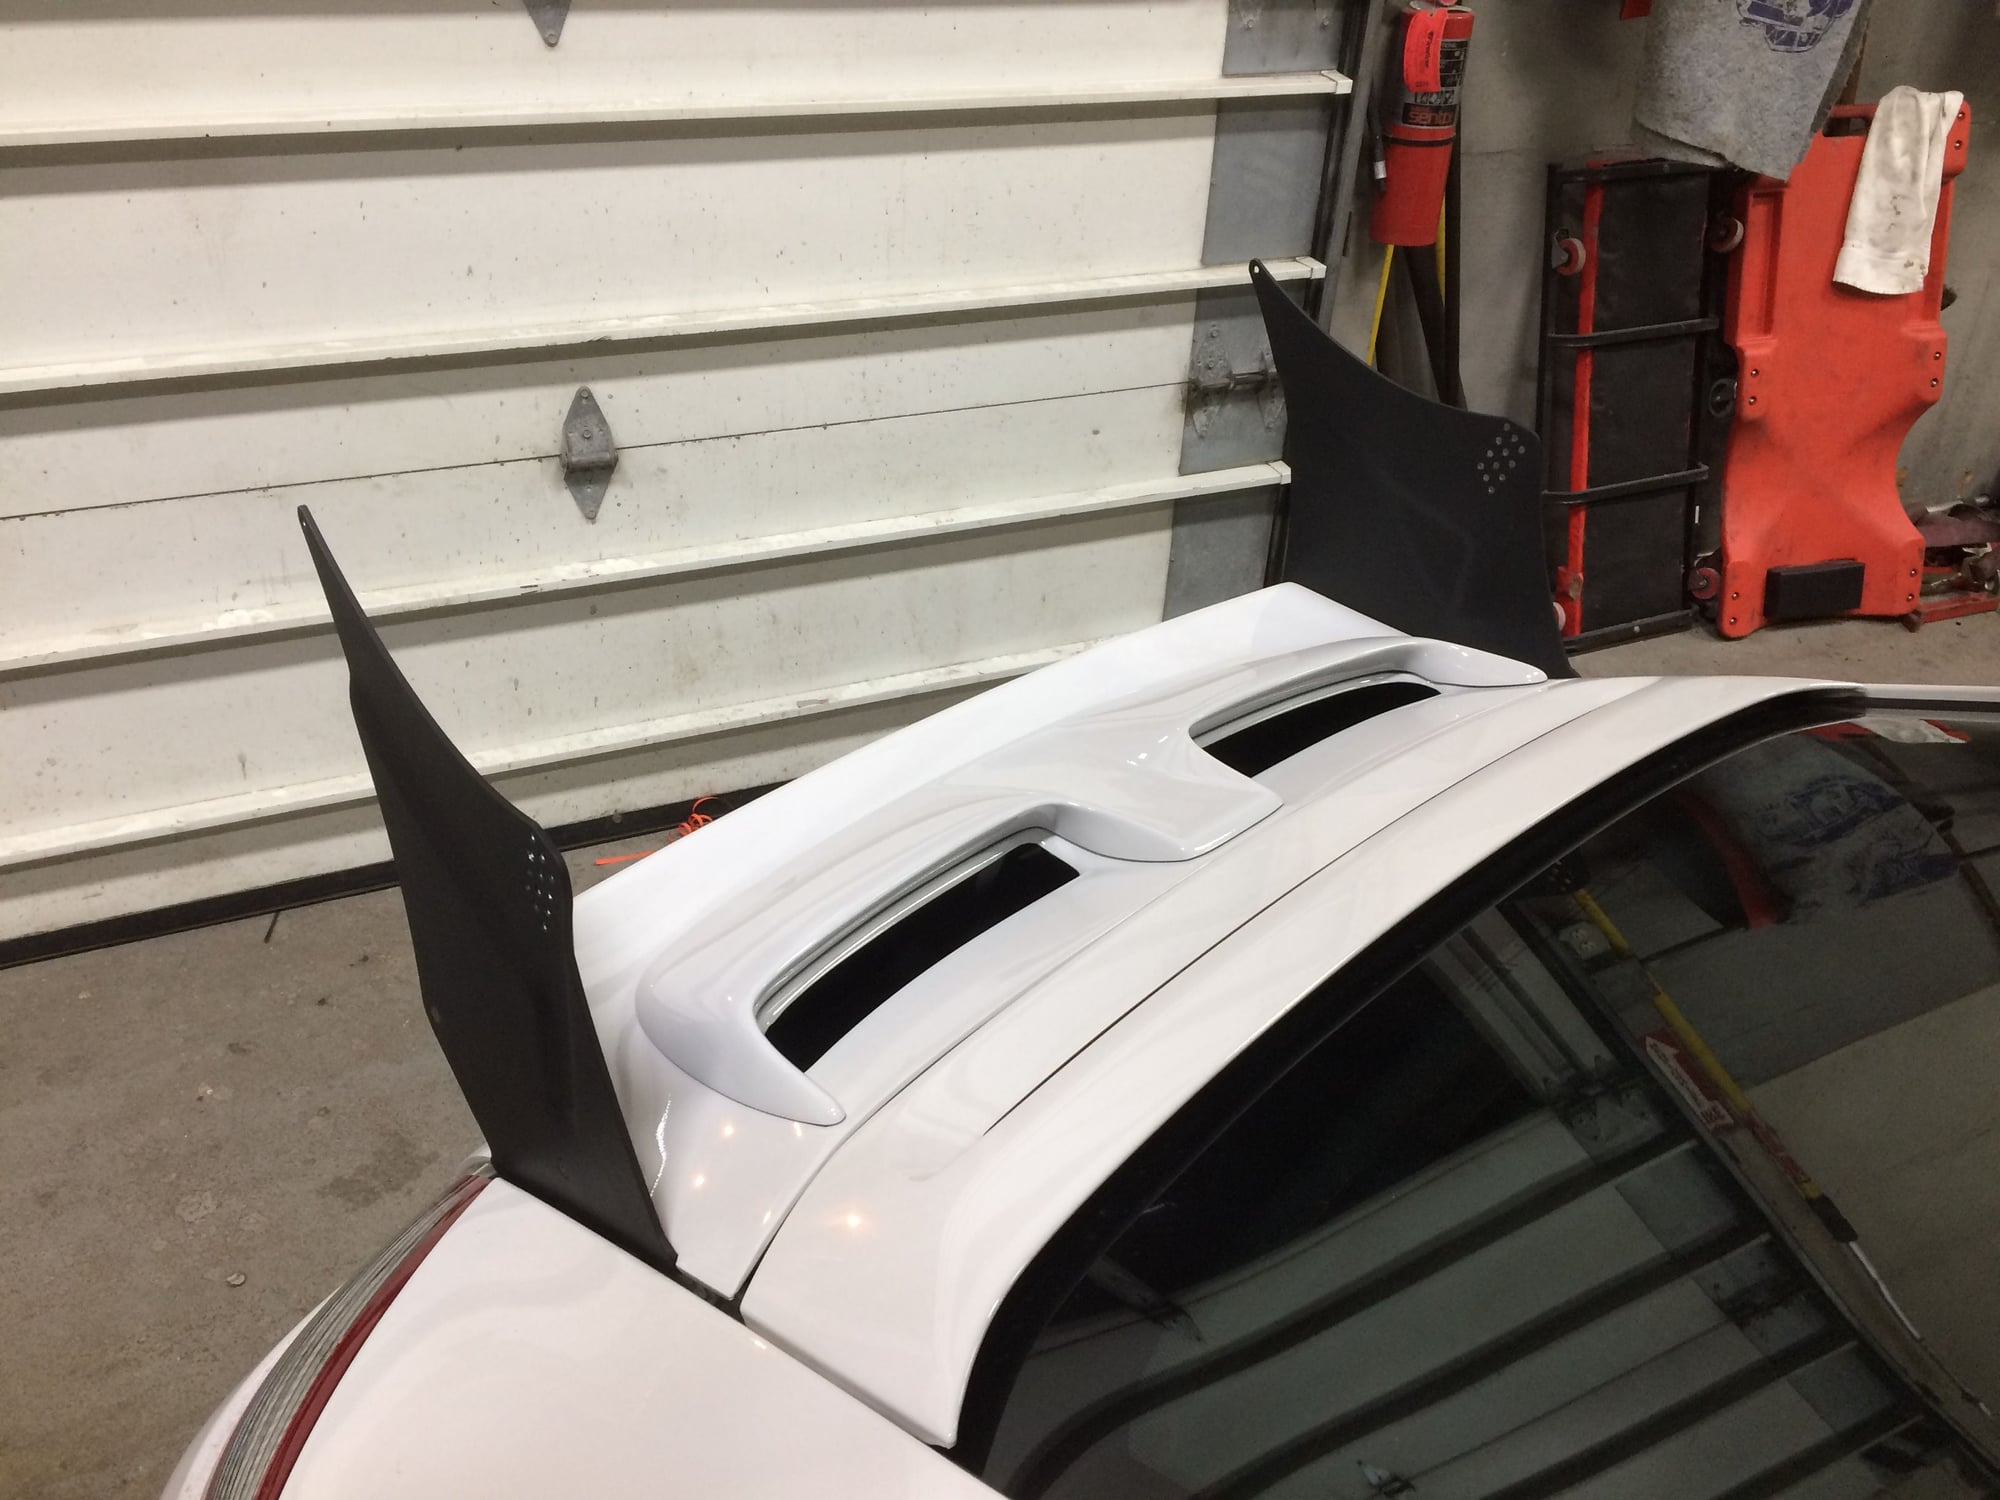
Let's do something adventurous by getting a custom decklid that has 997.1 GT3/Cup outter shape and Turbo/GT2 inner shape because I think the twin ram air ducts are way cool. The decklid came from Getty Design. They do custom inner/outter config to request. In theory the inner ducts will clear since Turbo/GT2 had Mezger engine. Just have to do something about the electric fan and make sure the airbox openings line up.
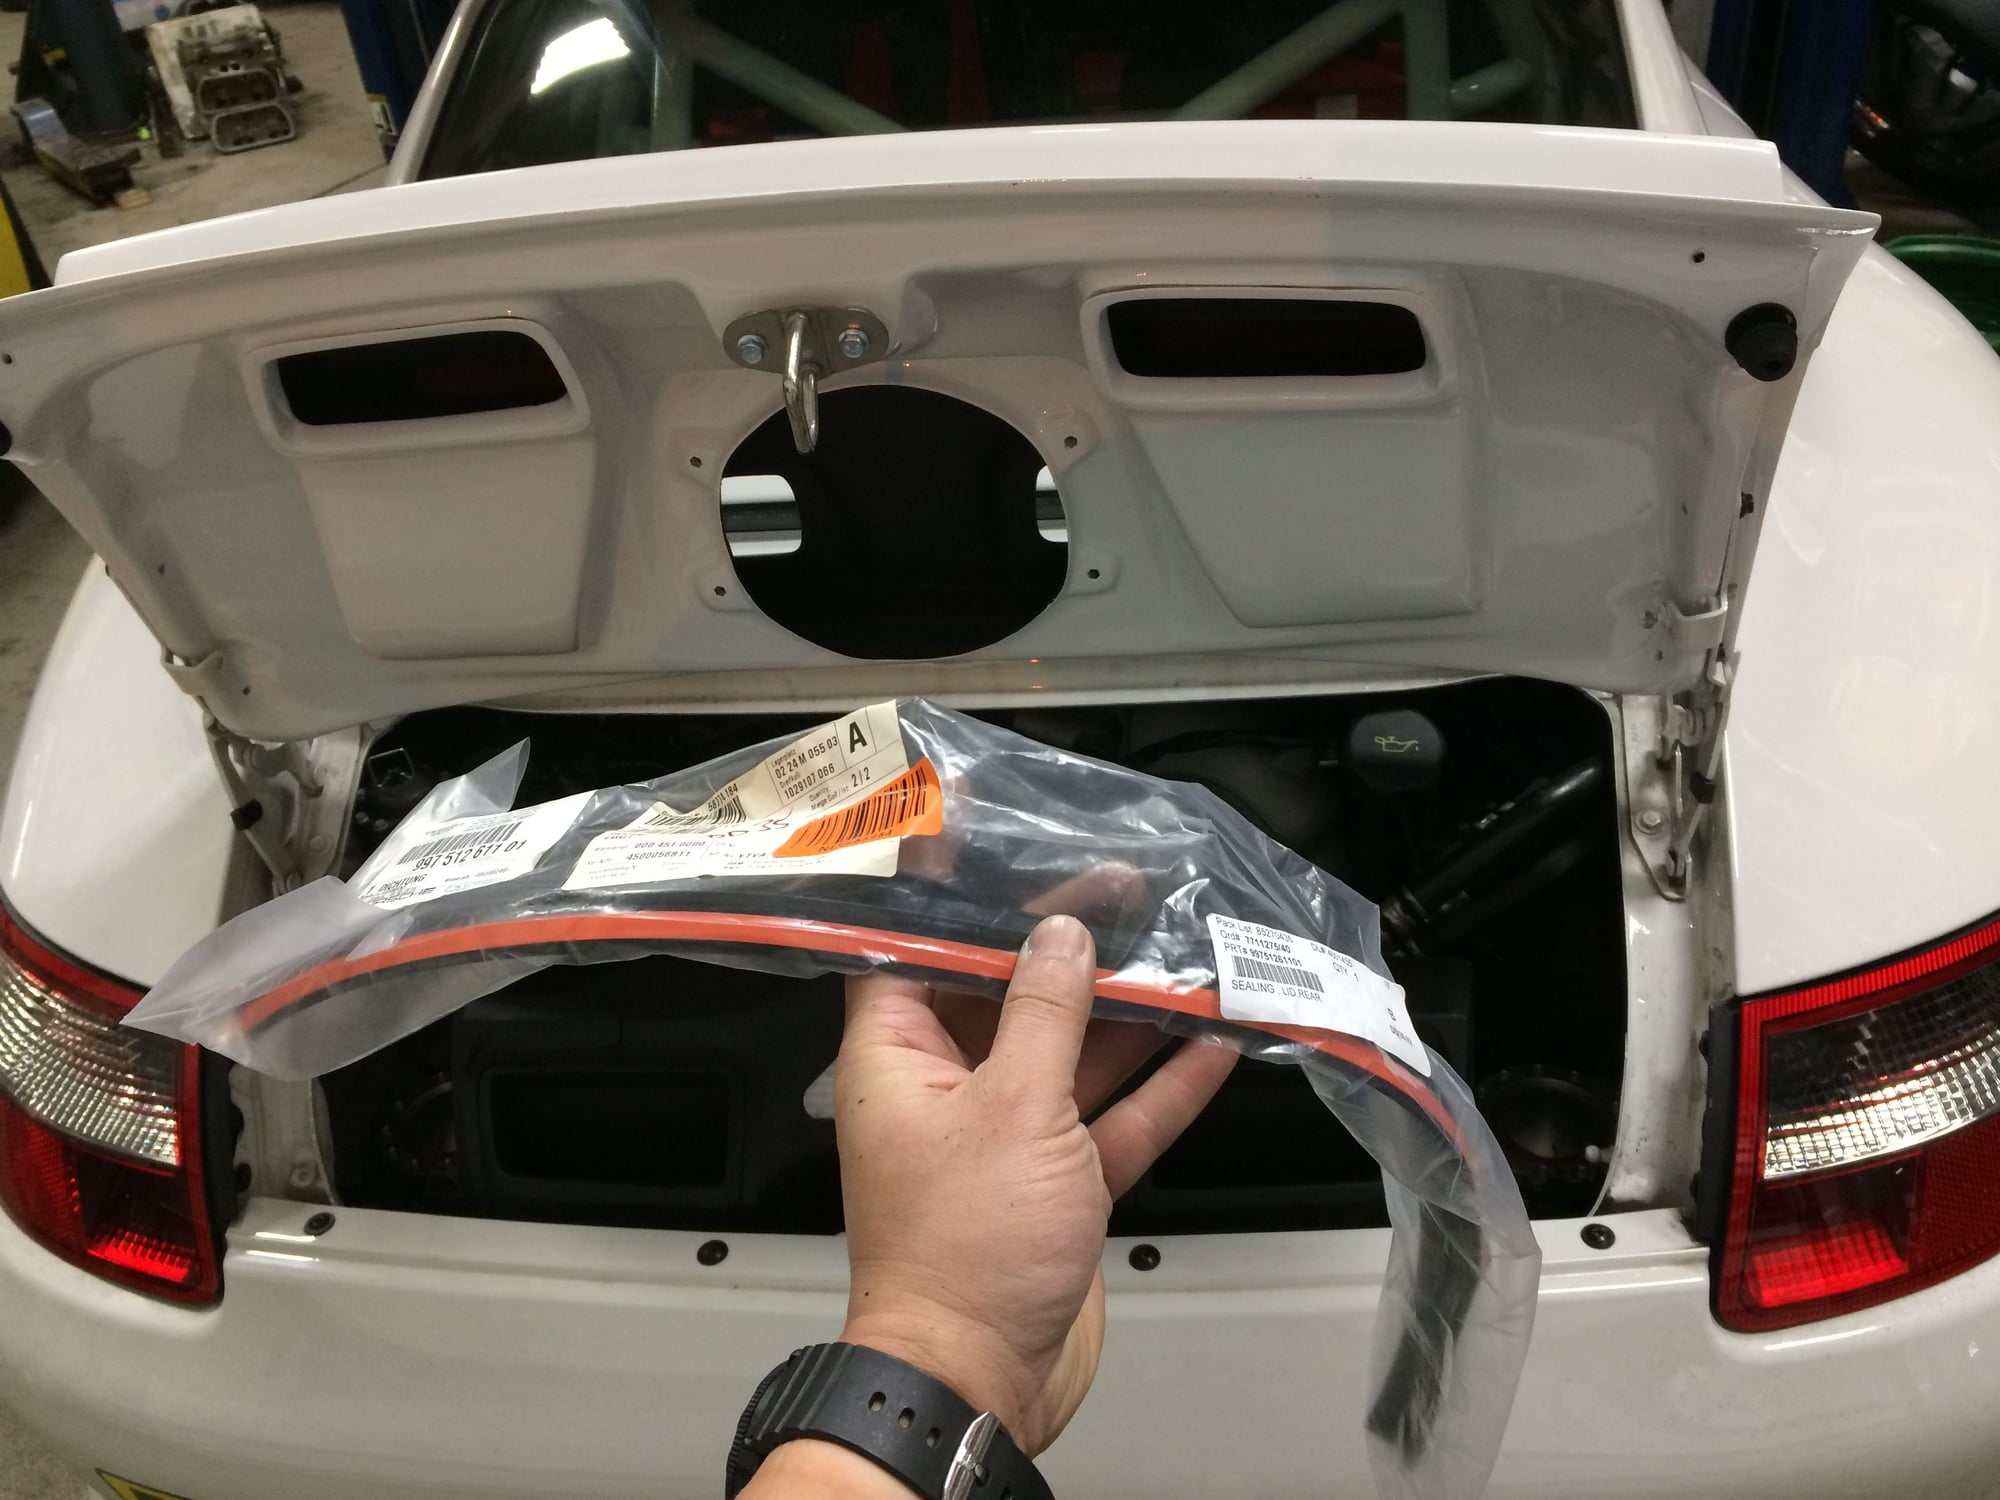
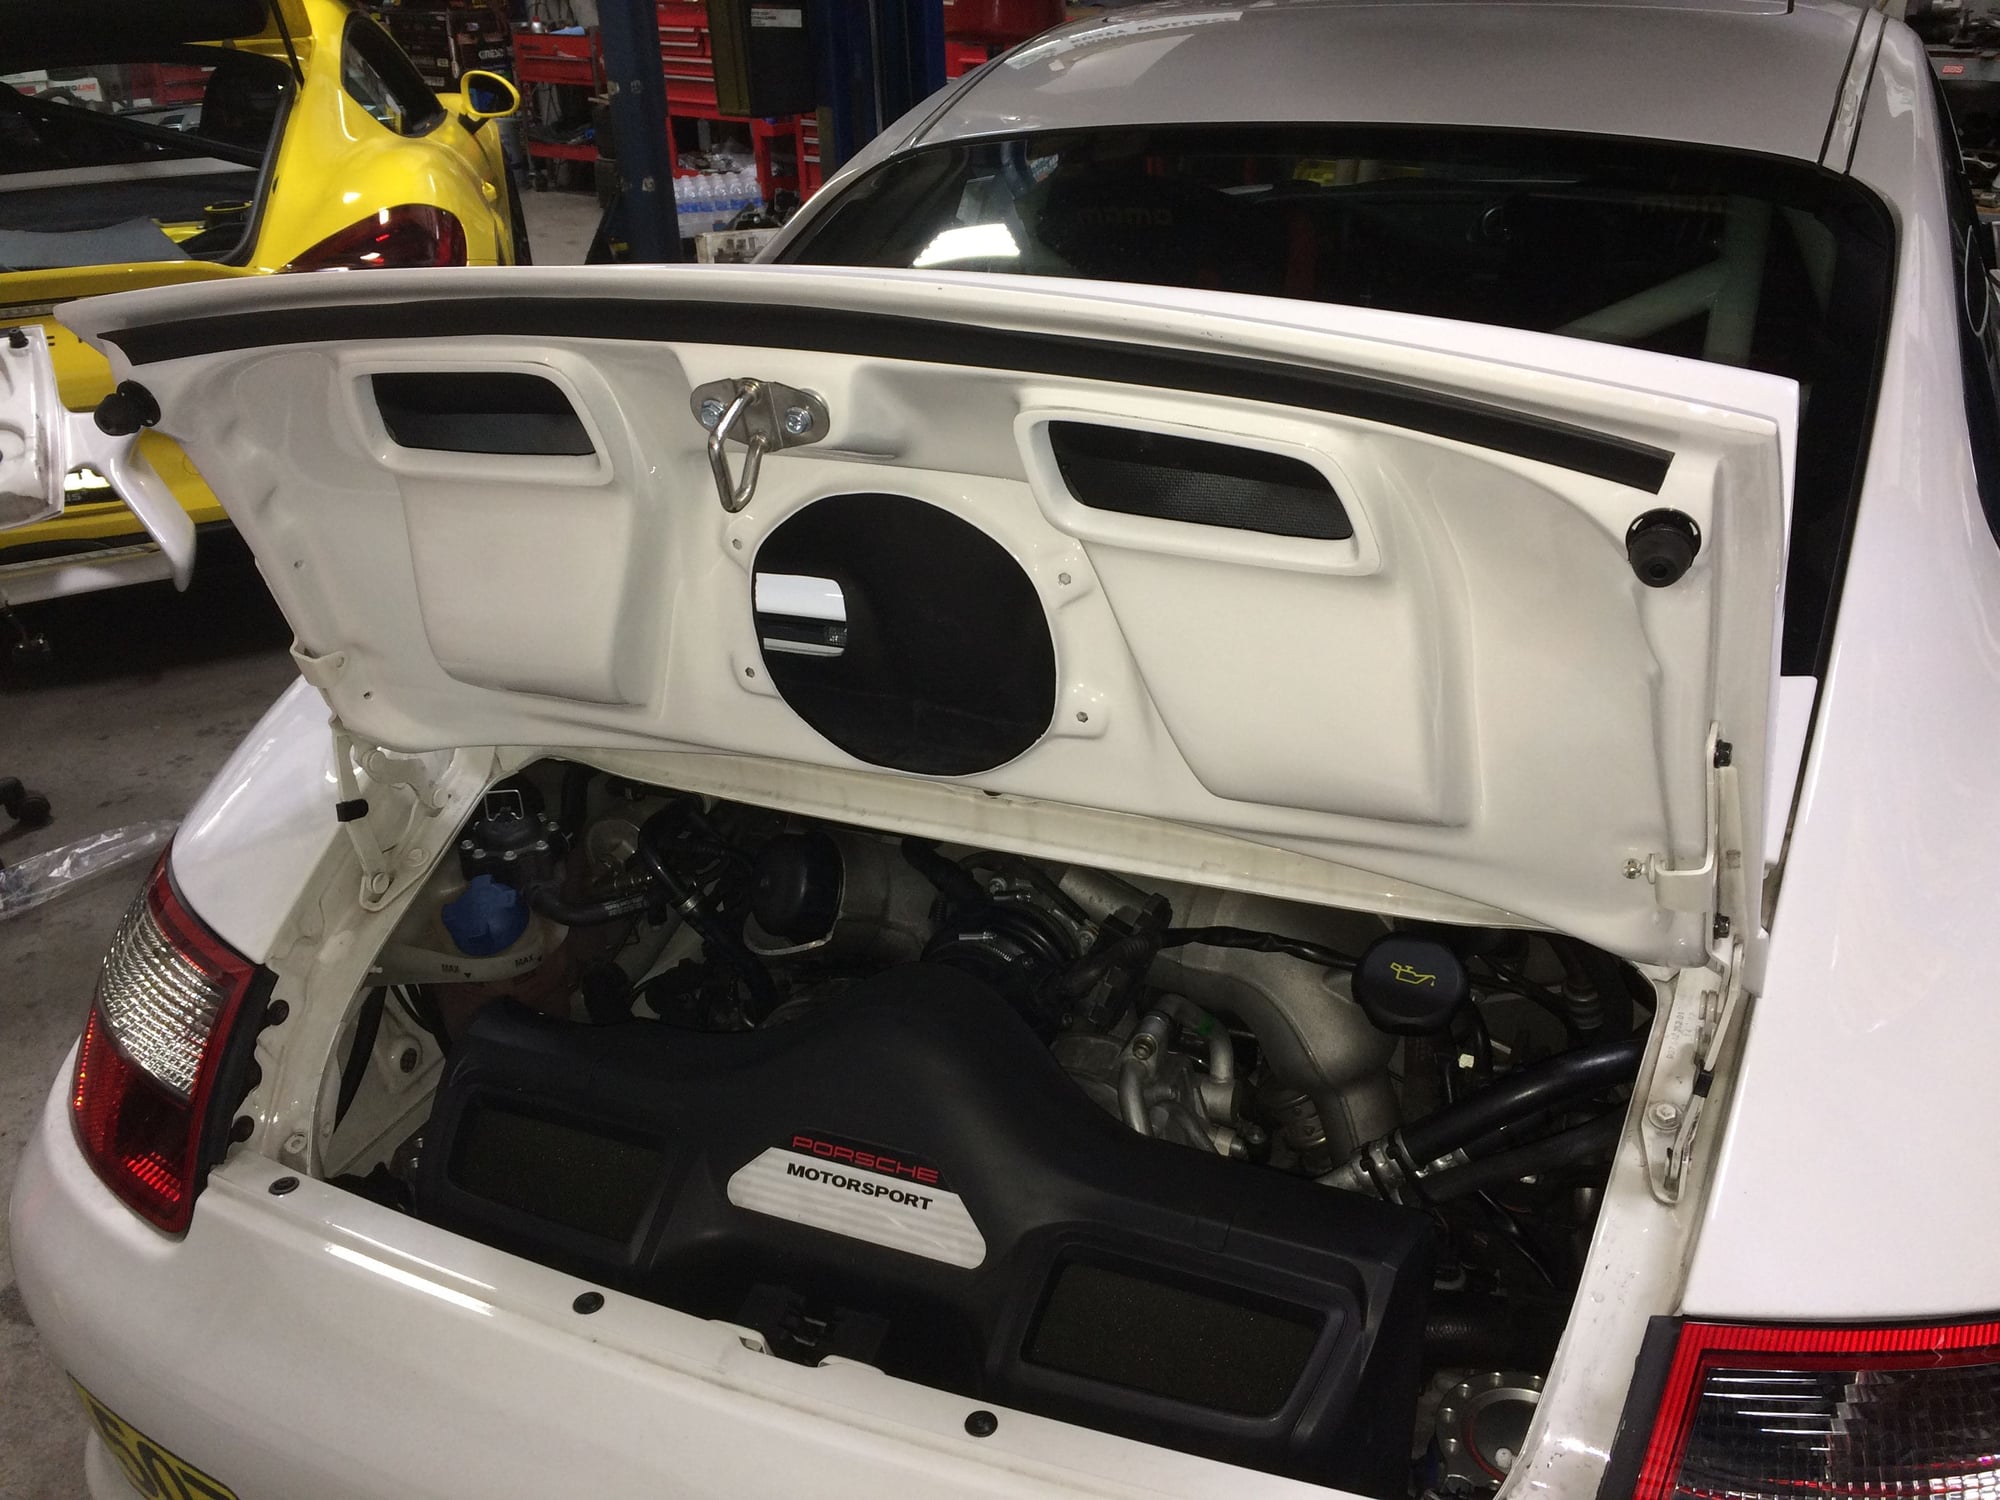
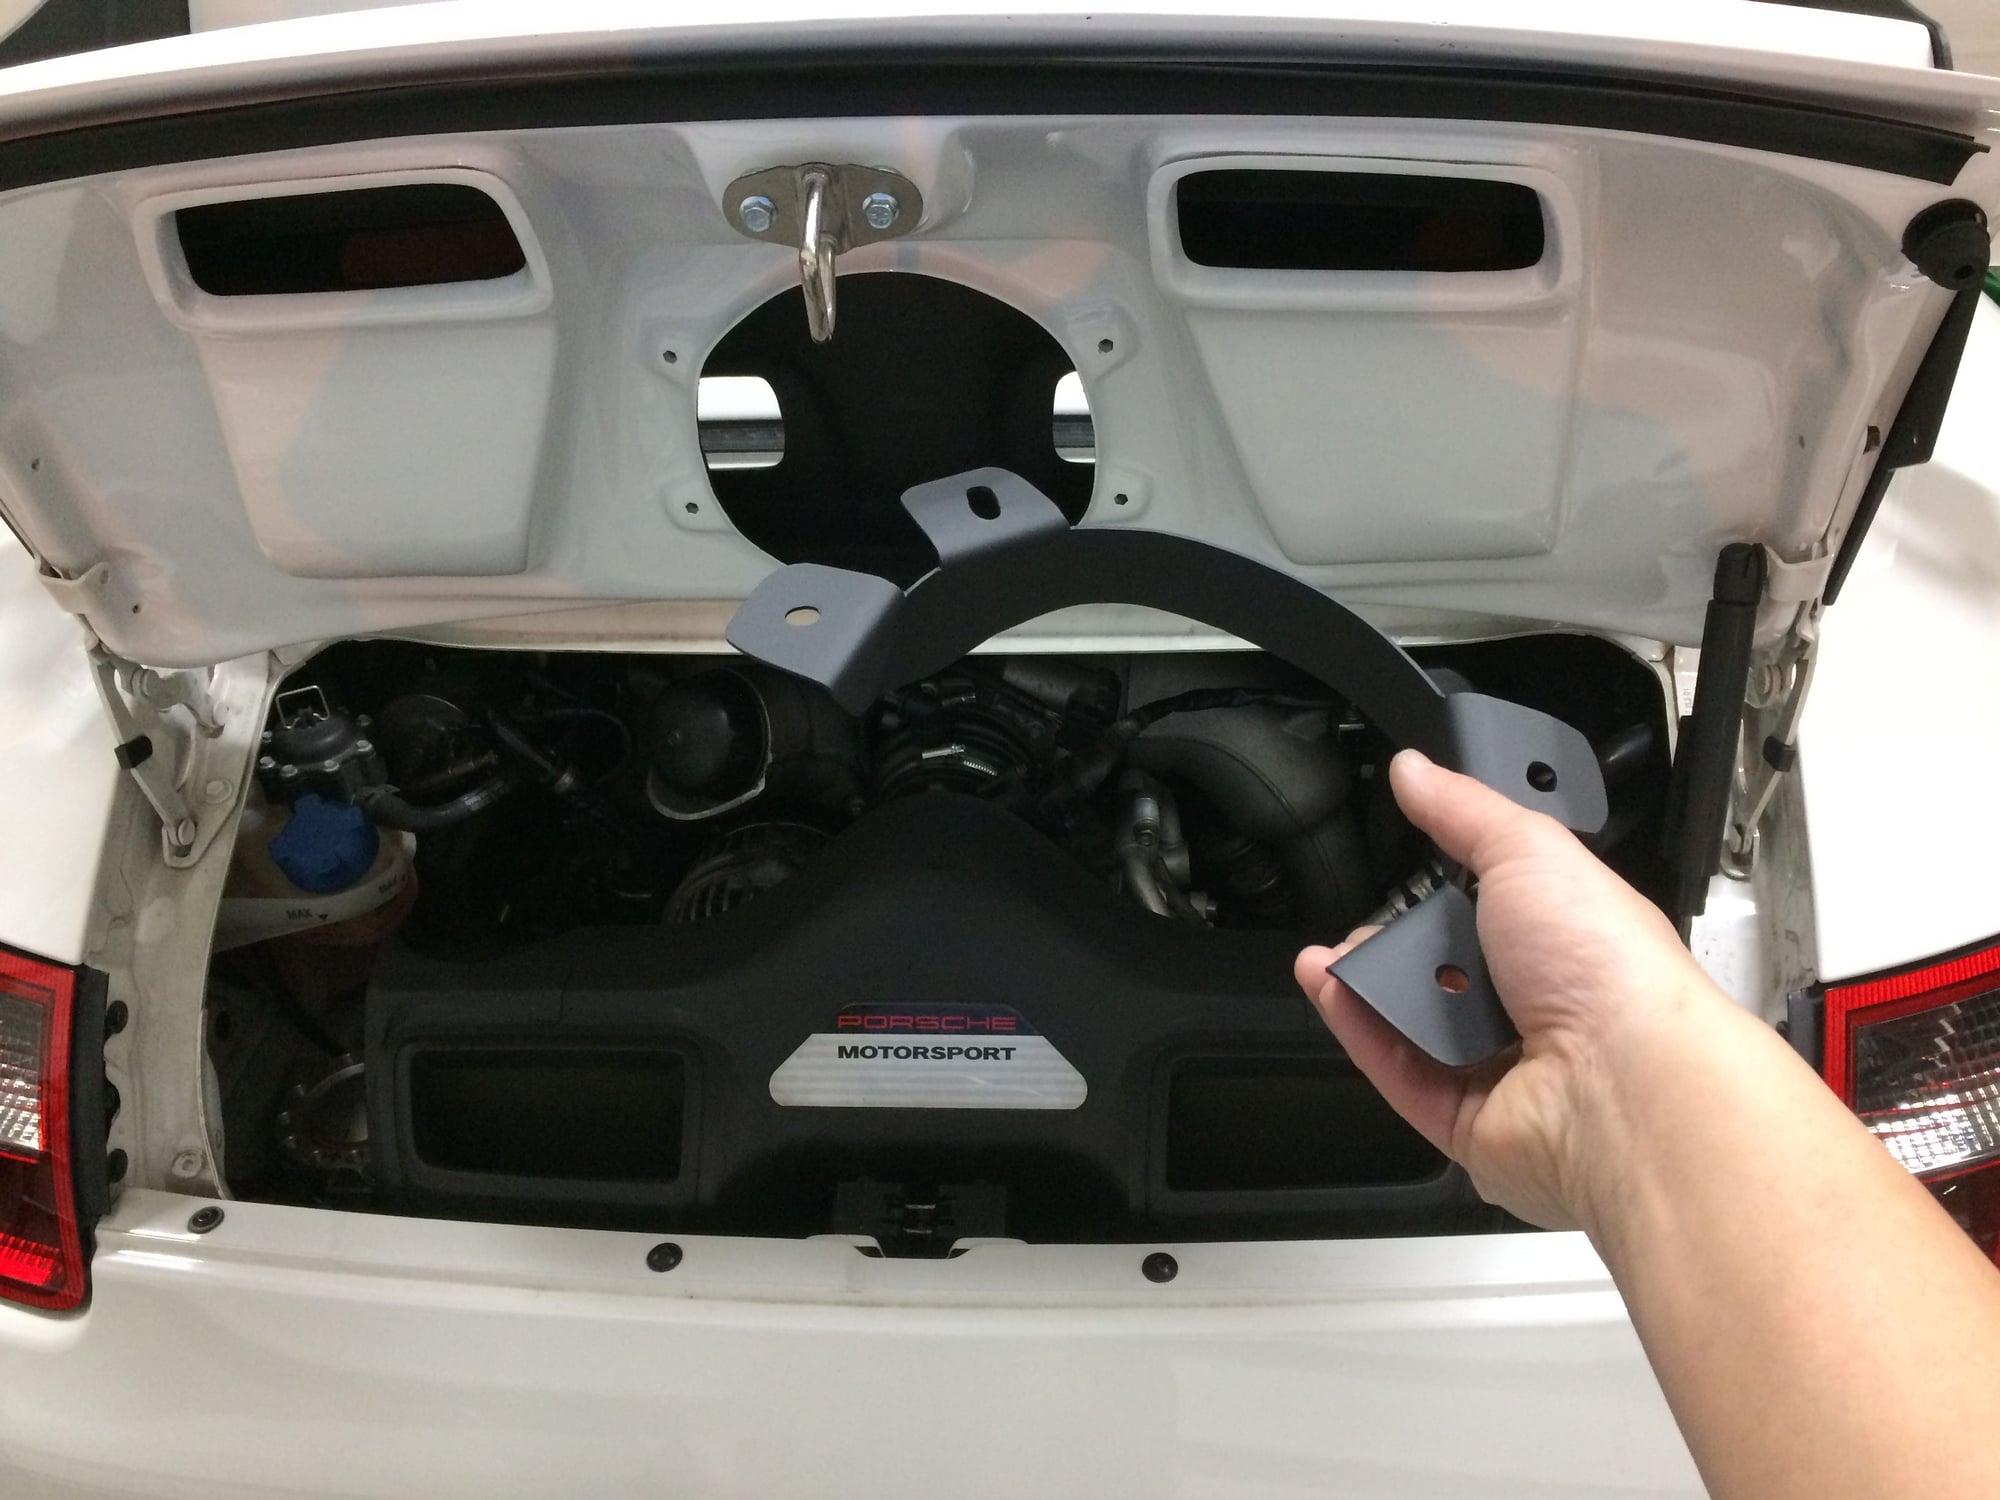
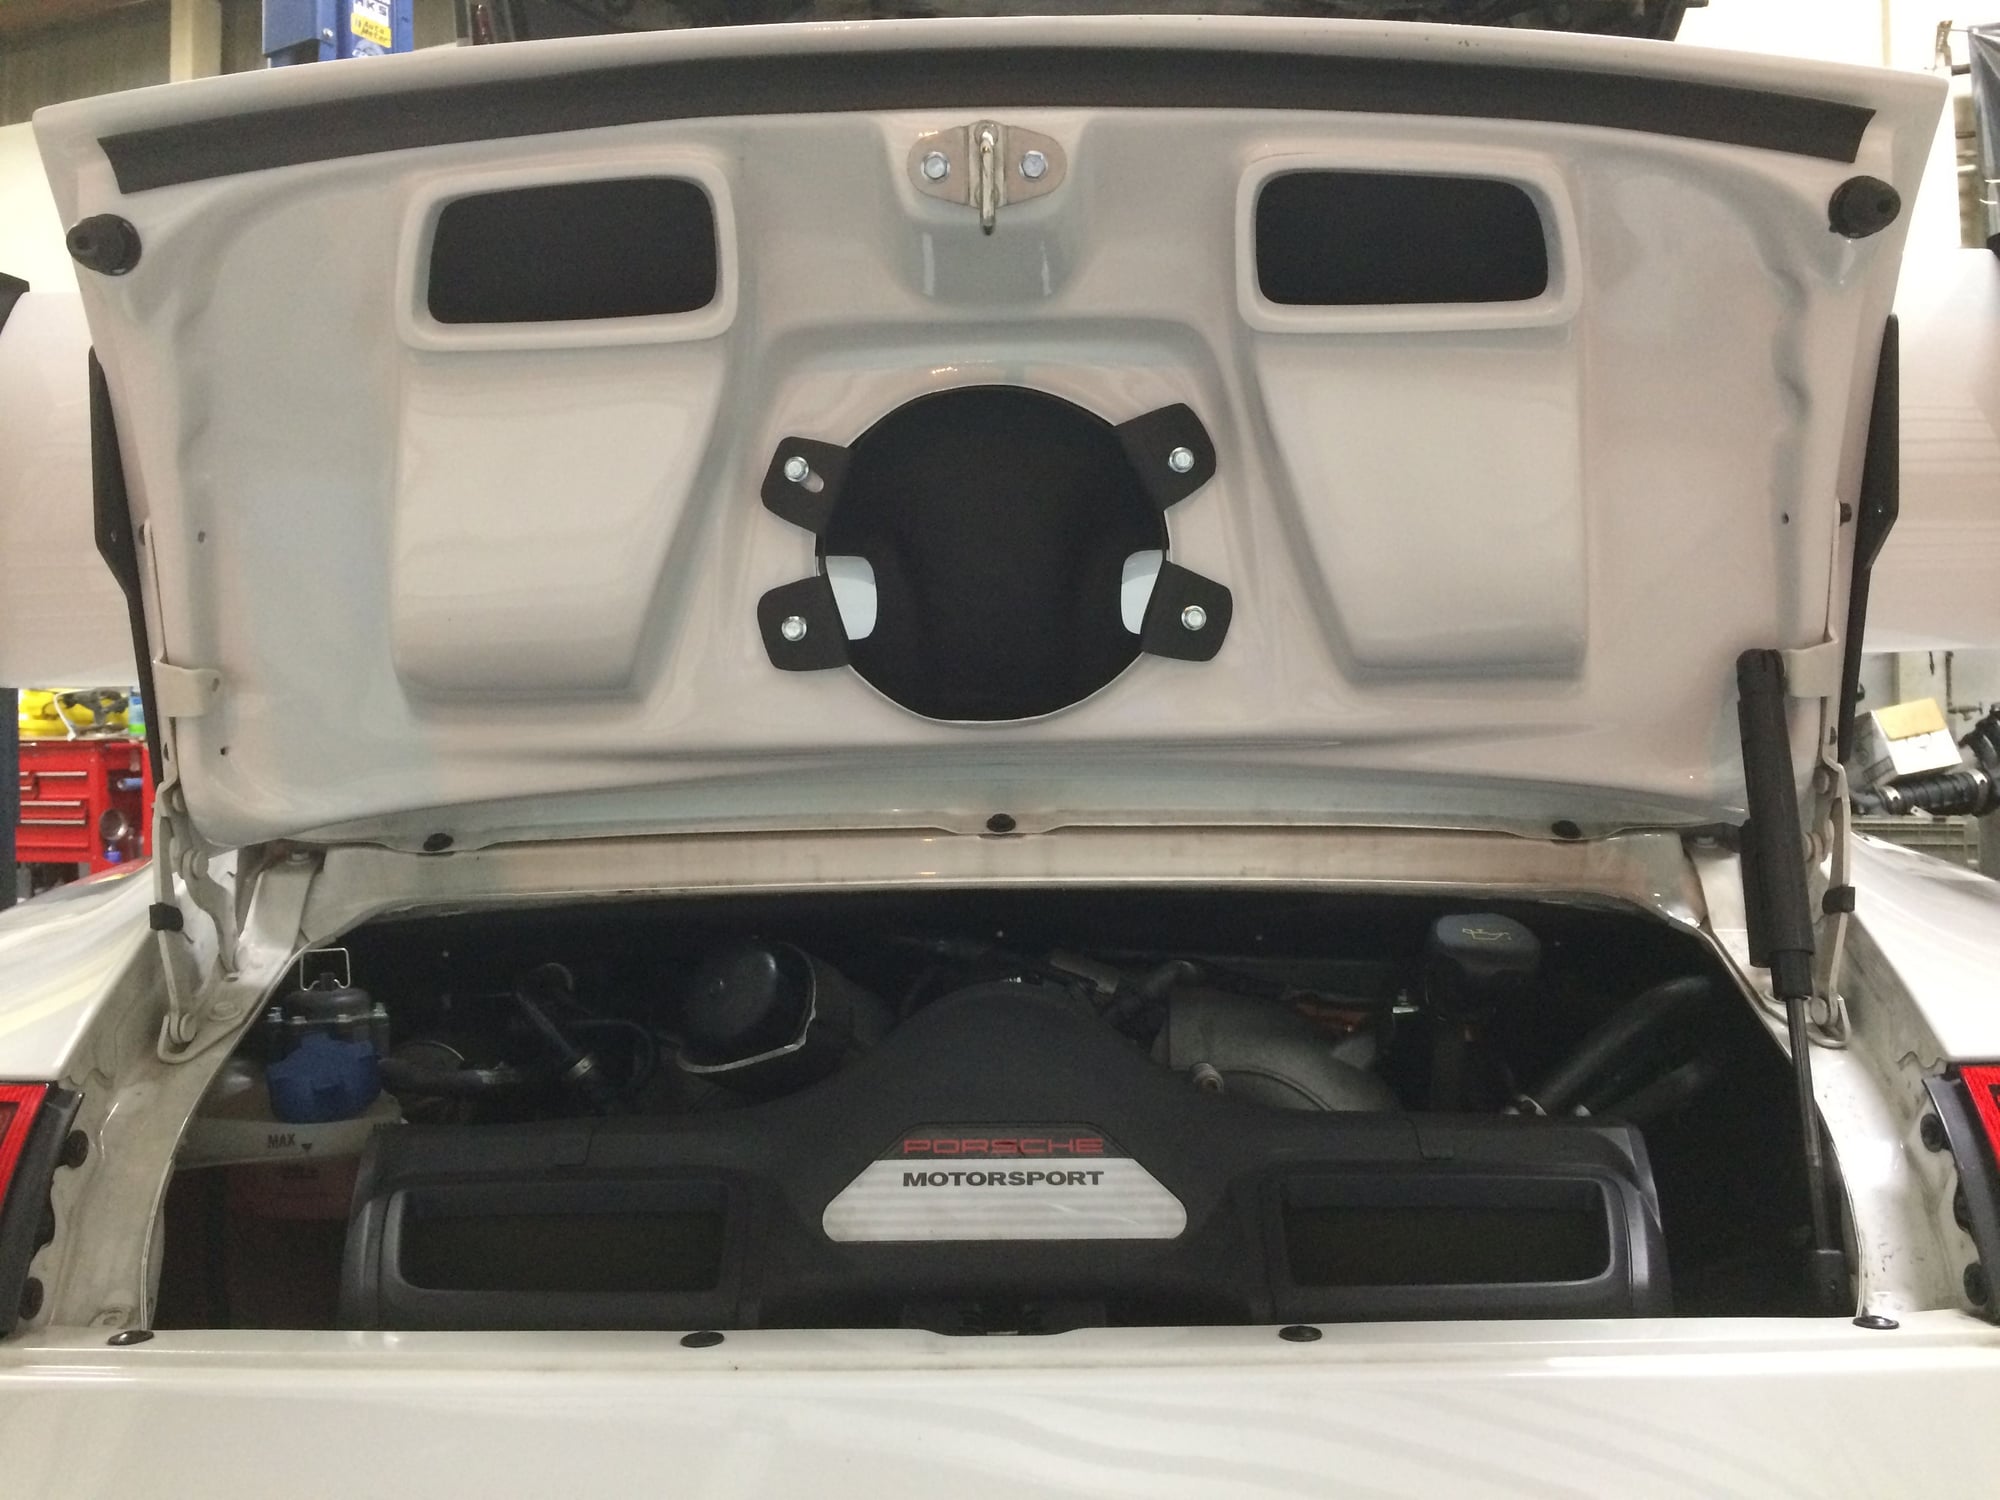
The factory lids do have separation wall inside so that engine compartment hot air doesn't mix with fresh air to the airbox. The aftermarket doesn't. The aftermarket does cost significantly less money and can be customized so just need to make my own separation wall.
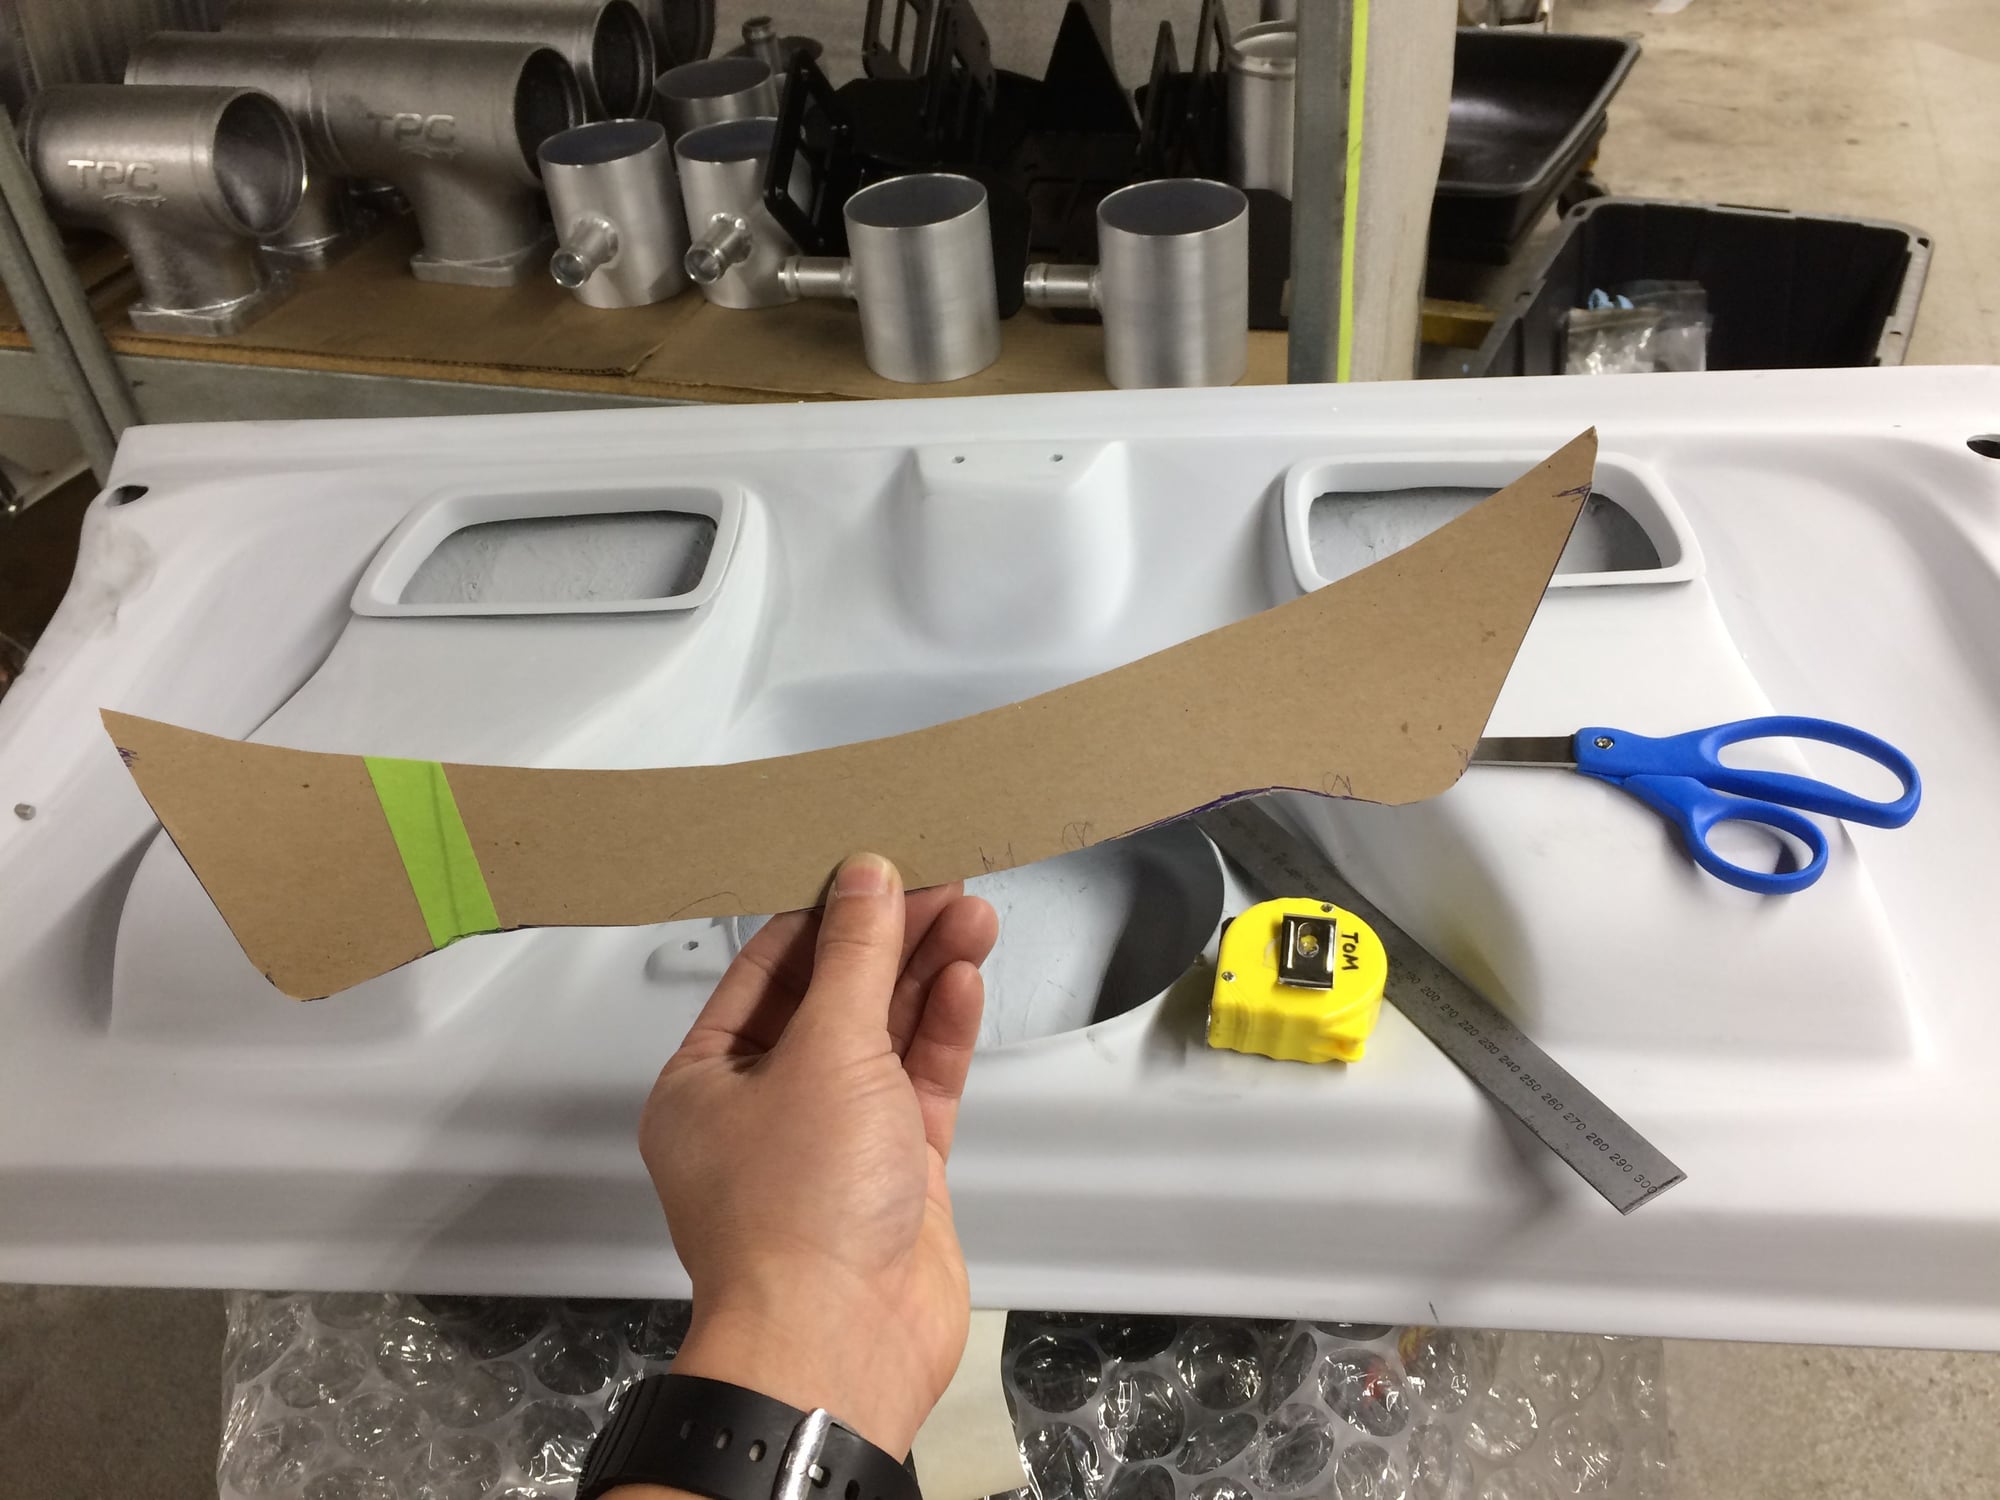
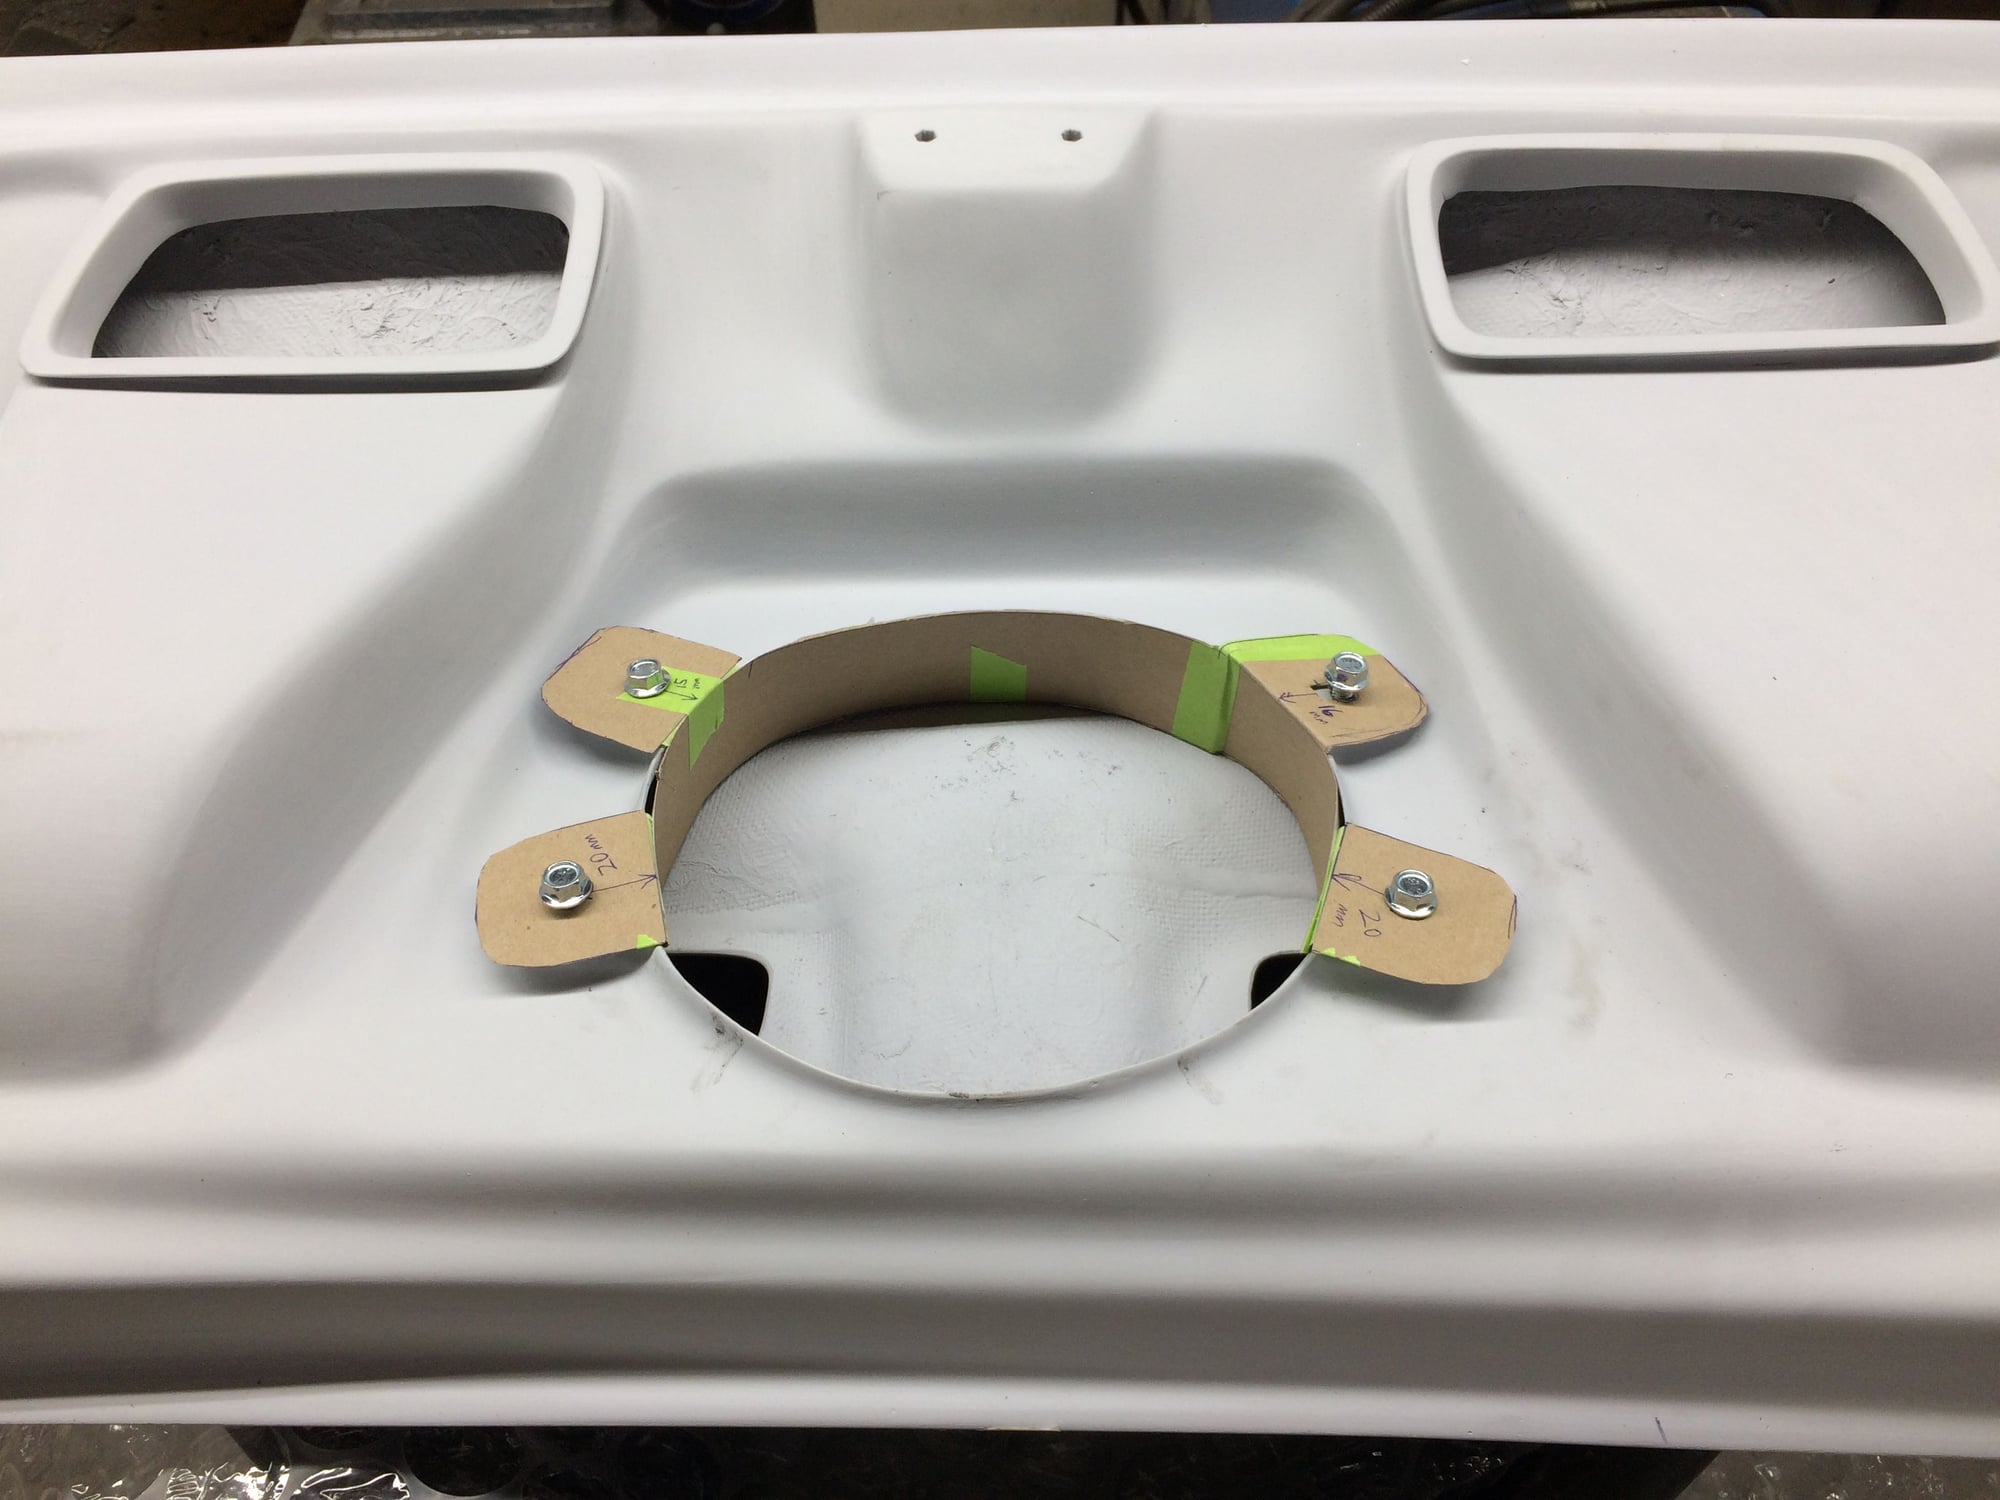
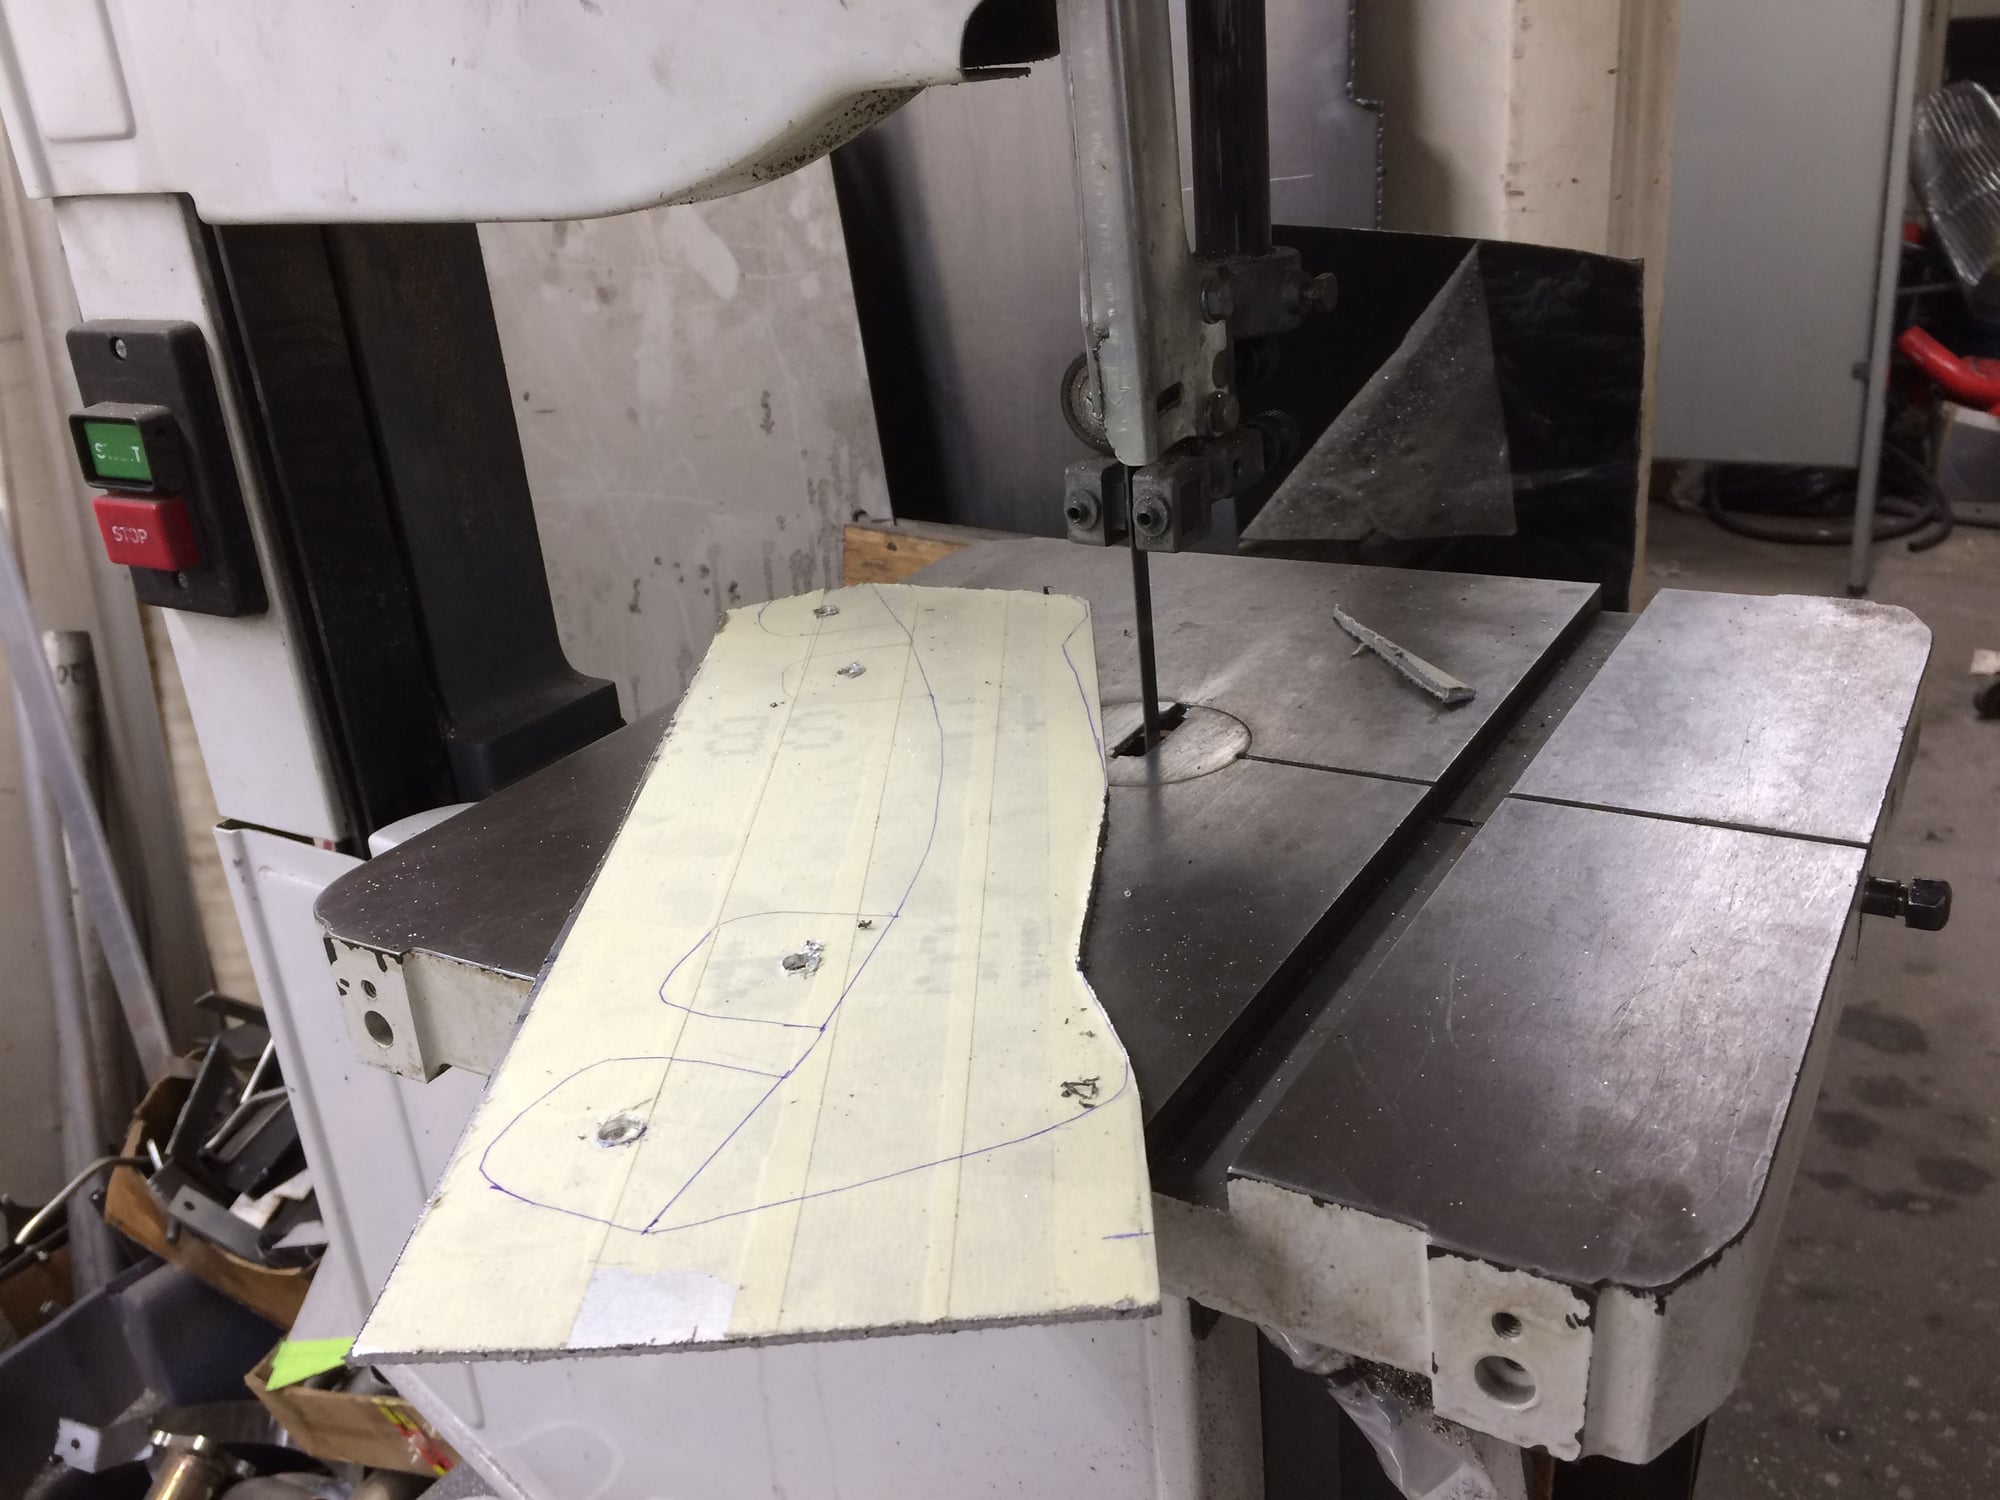
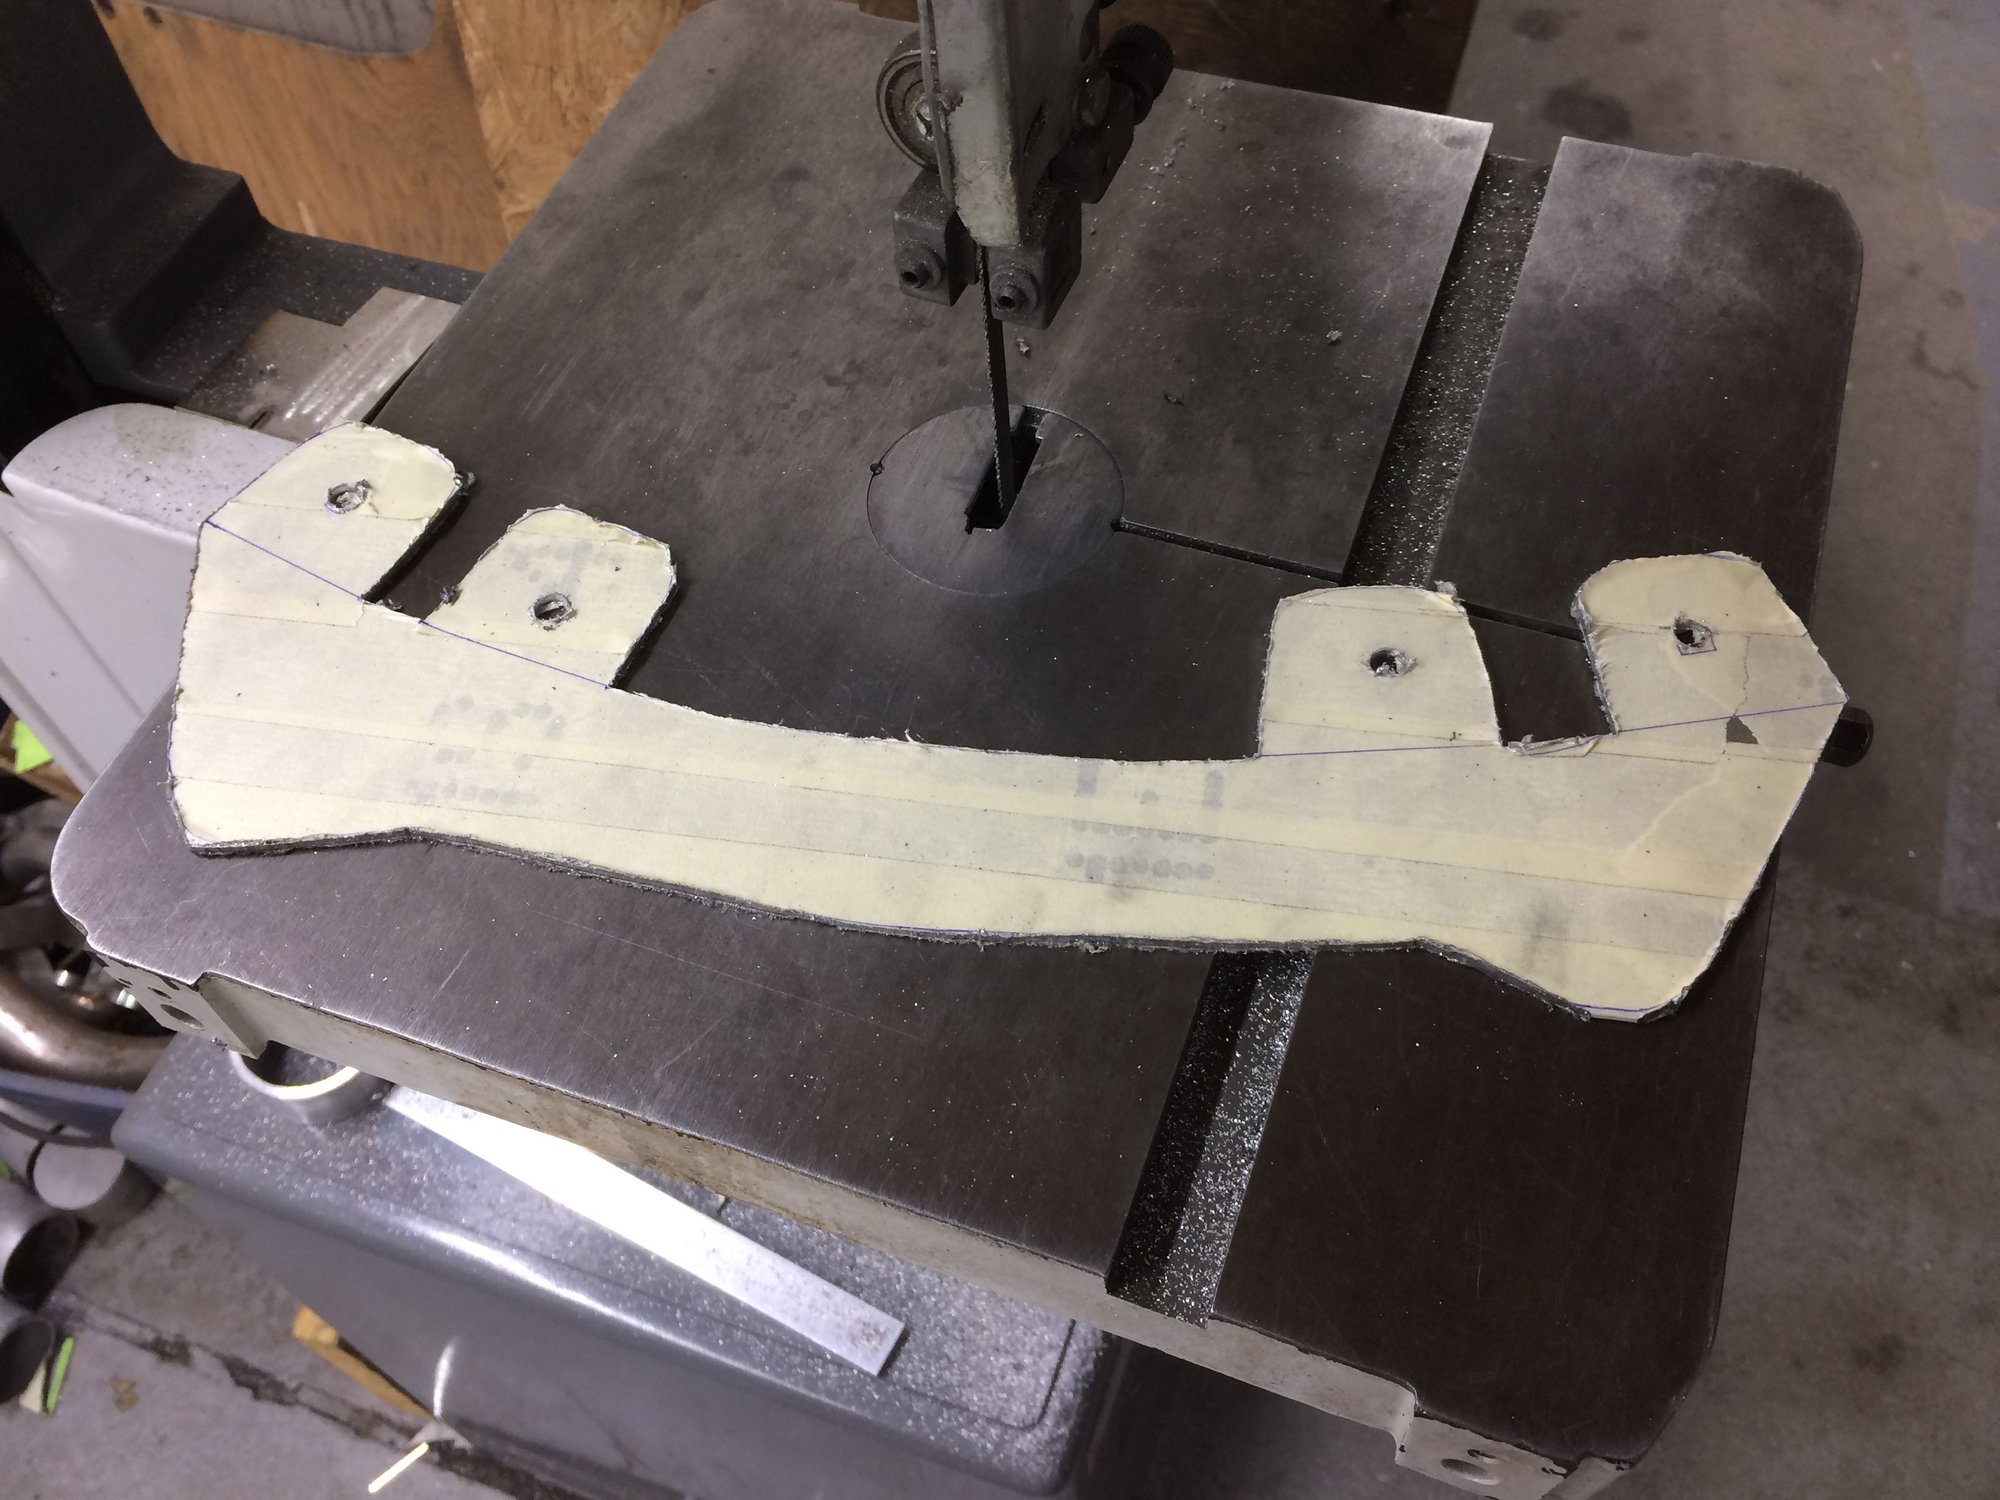
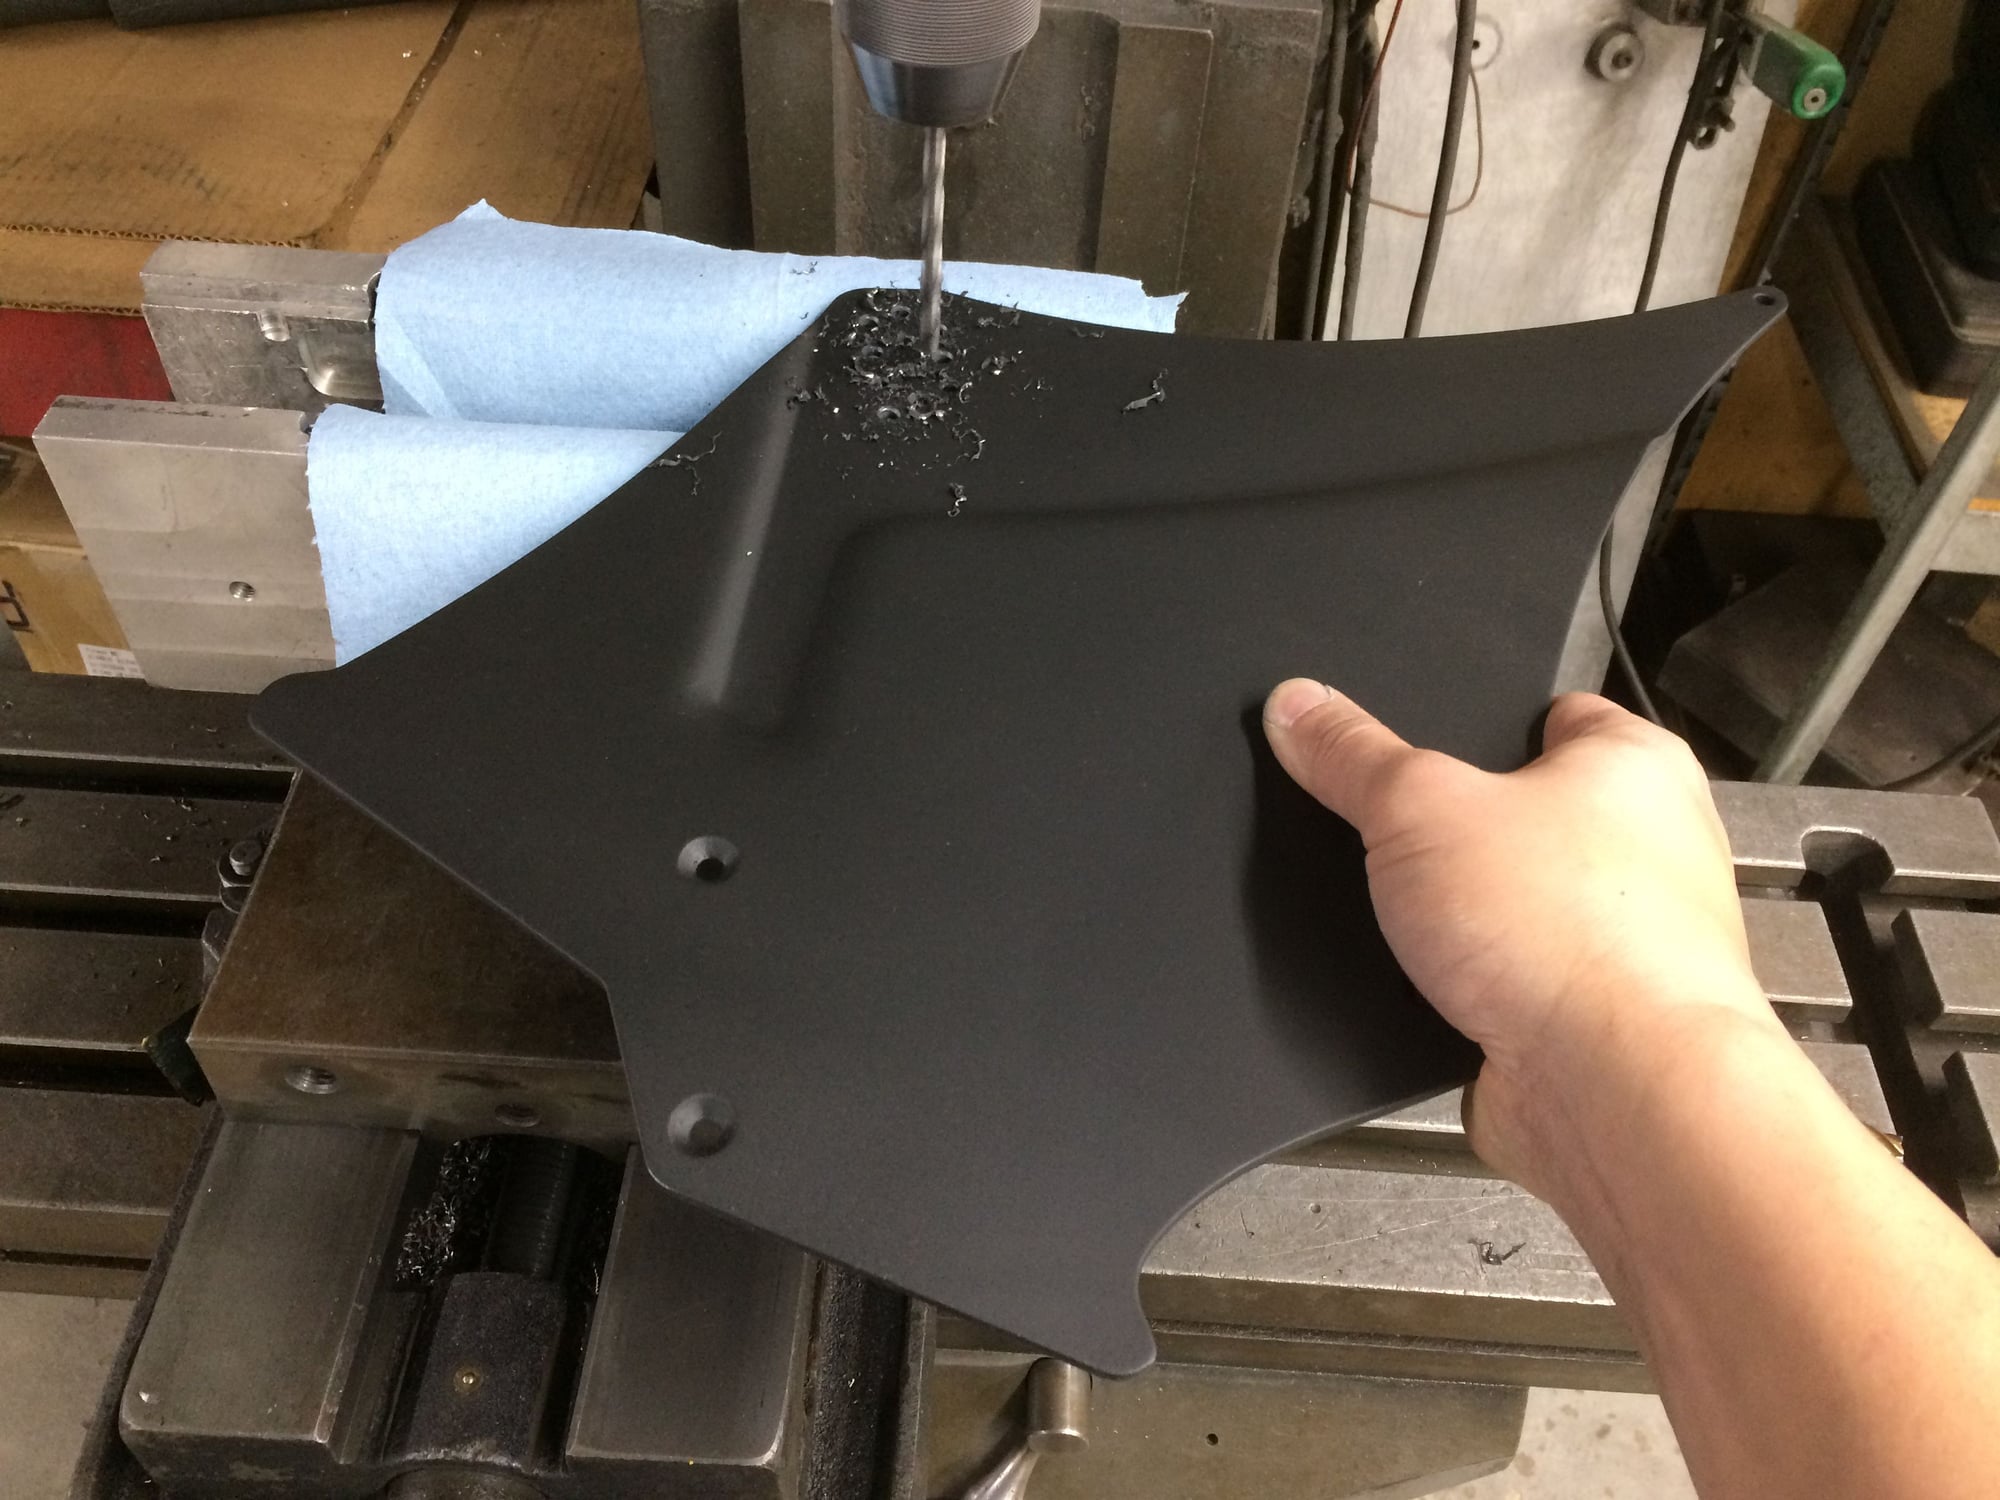
The cardboard prototype. I call it "Reverse Cowl Induction". Words from my American muscle car days...
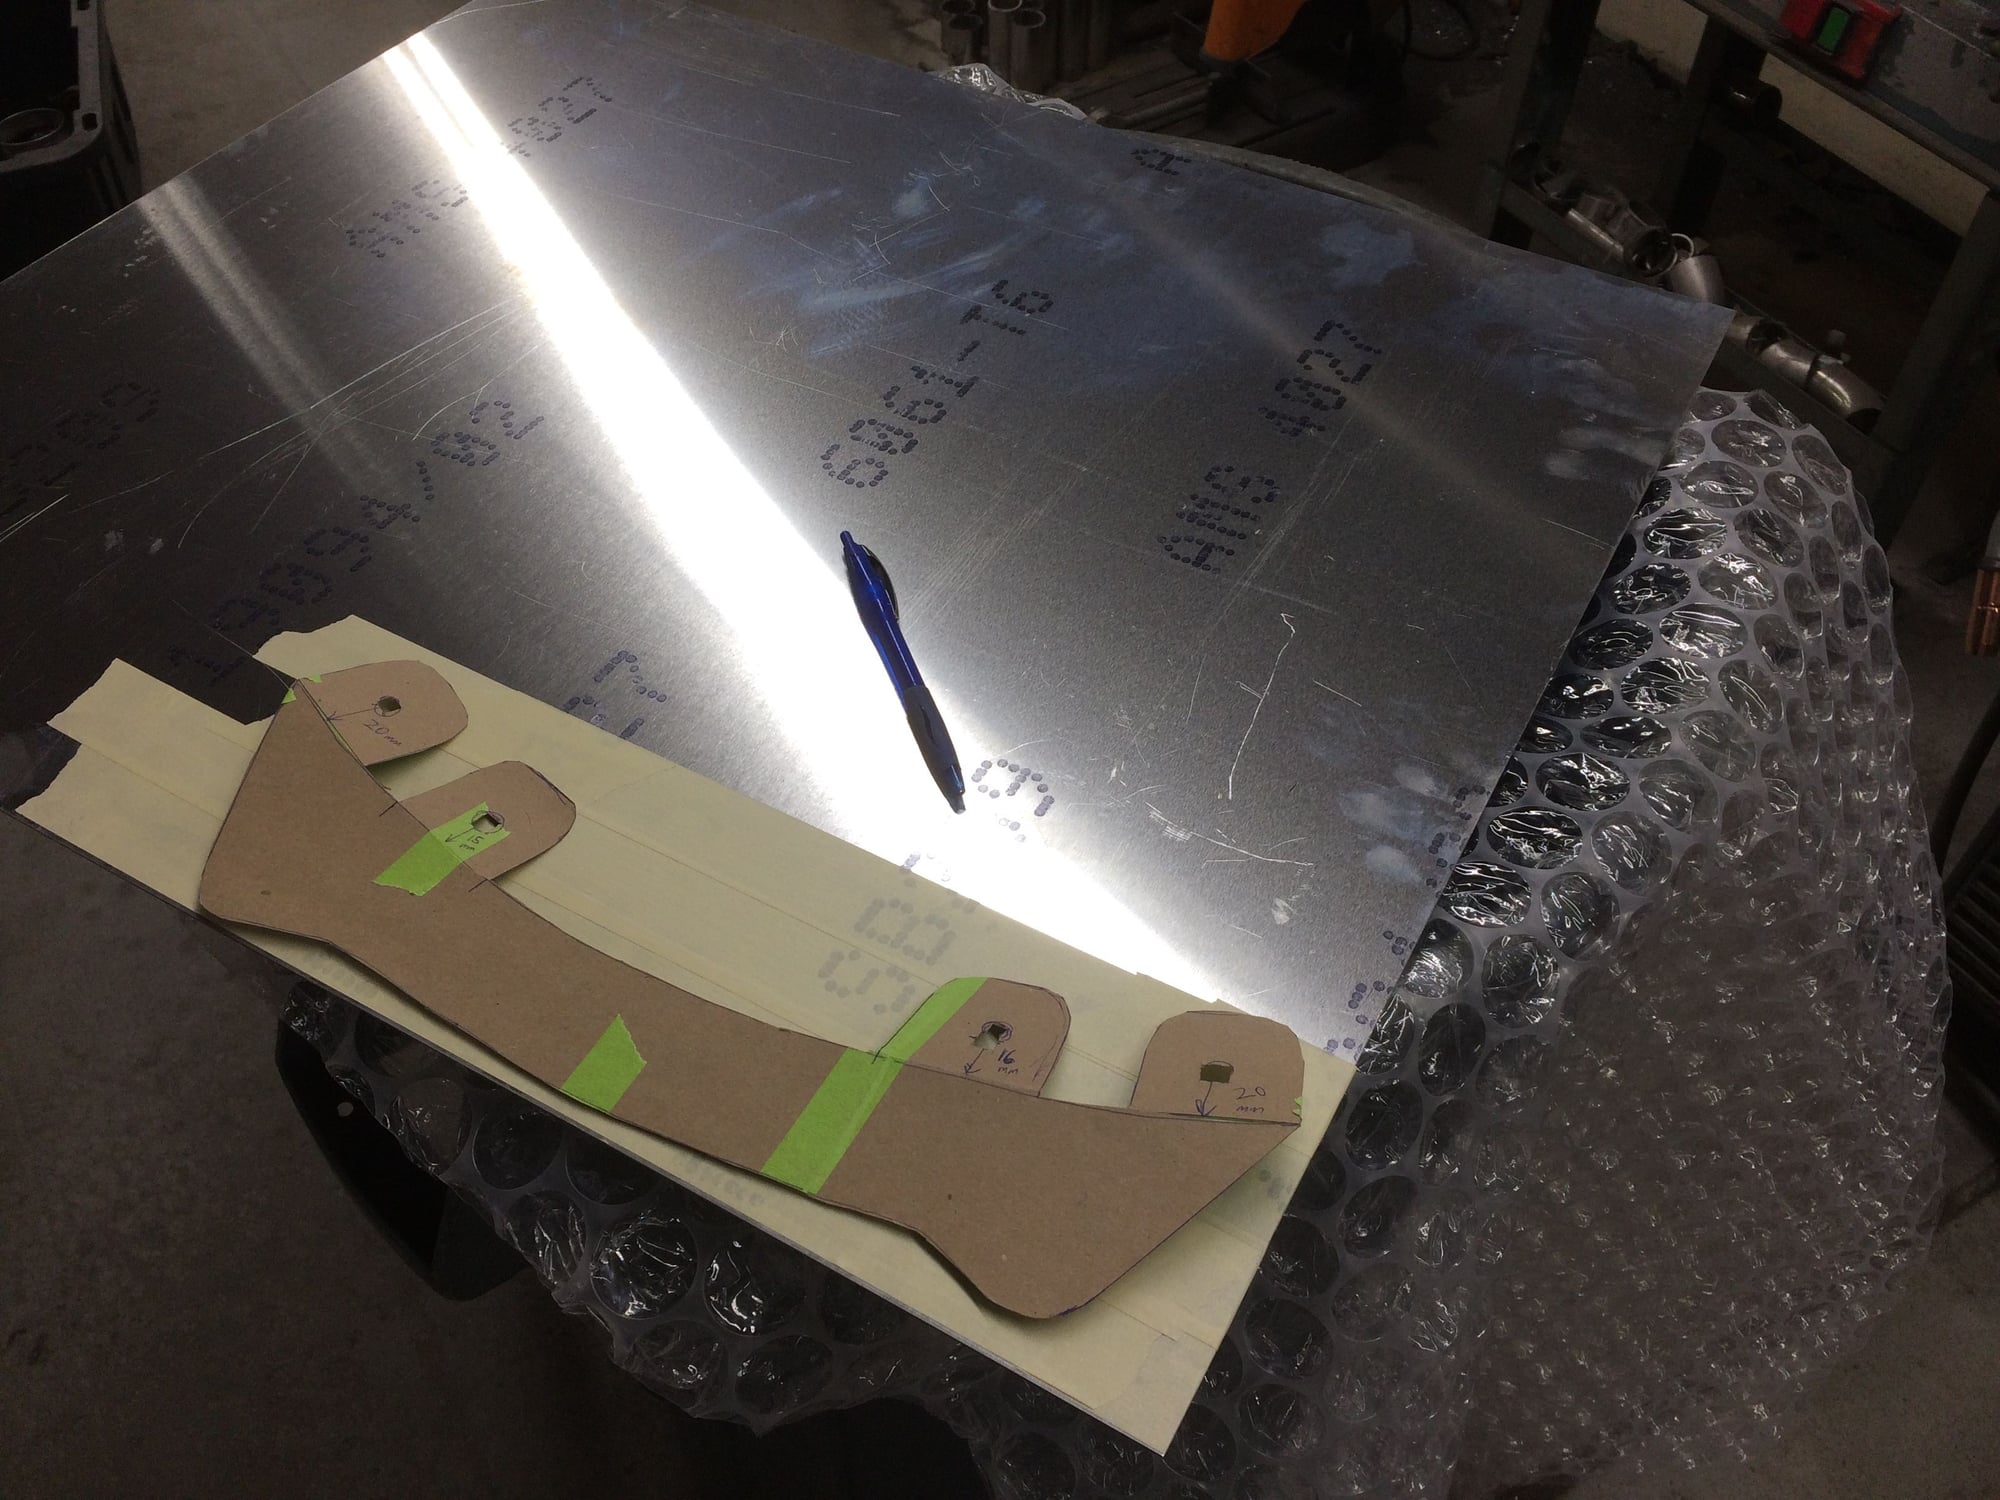
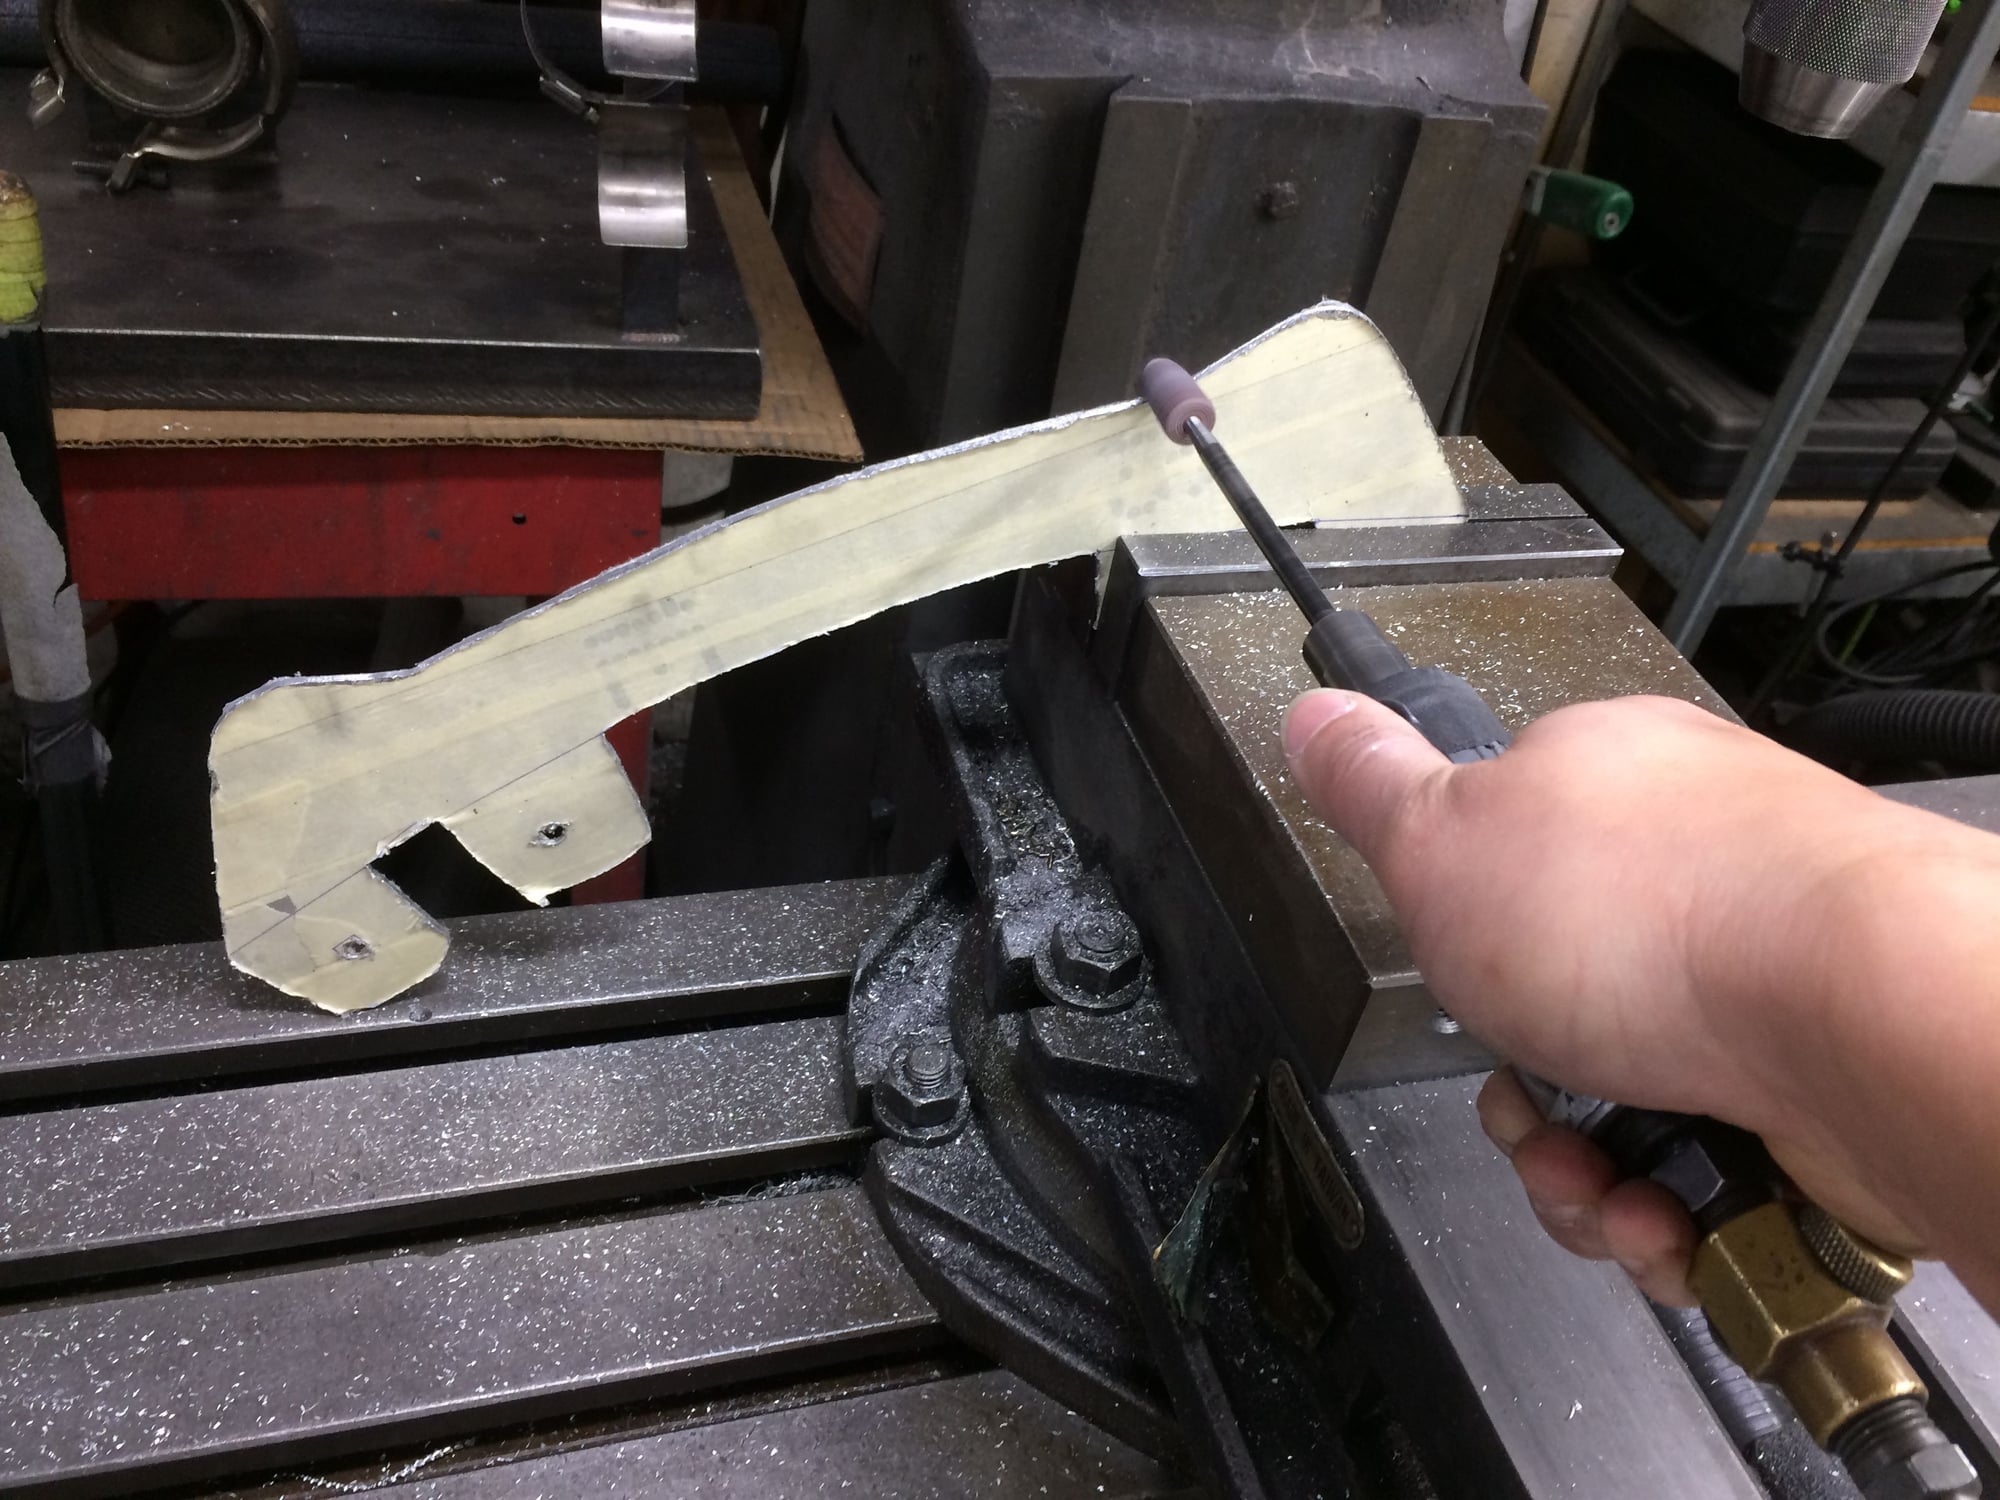
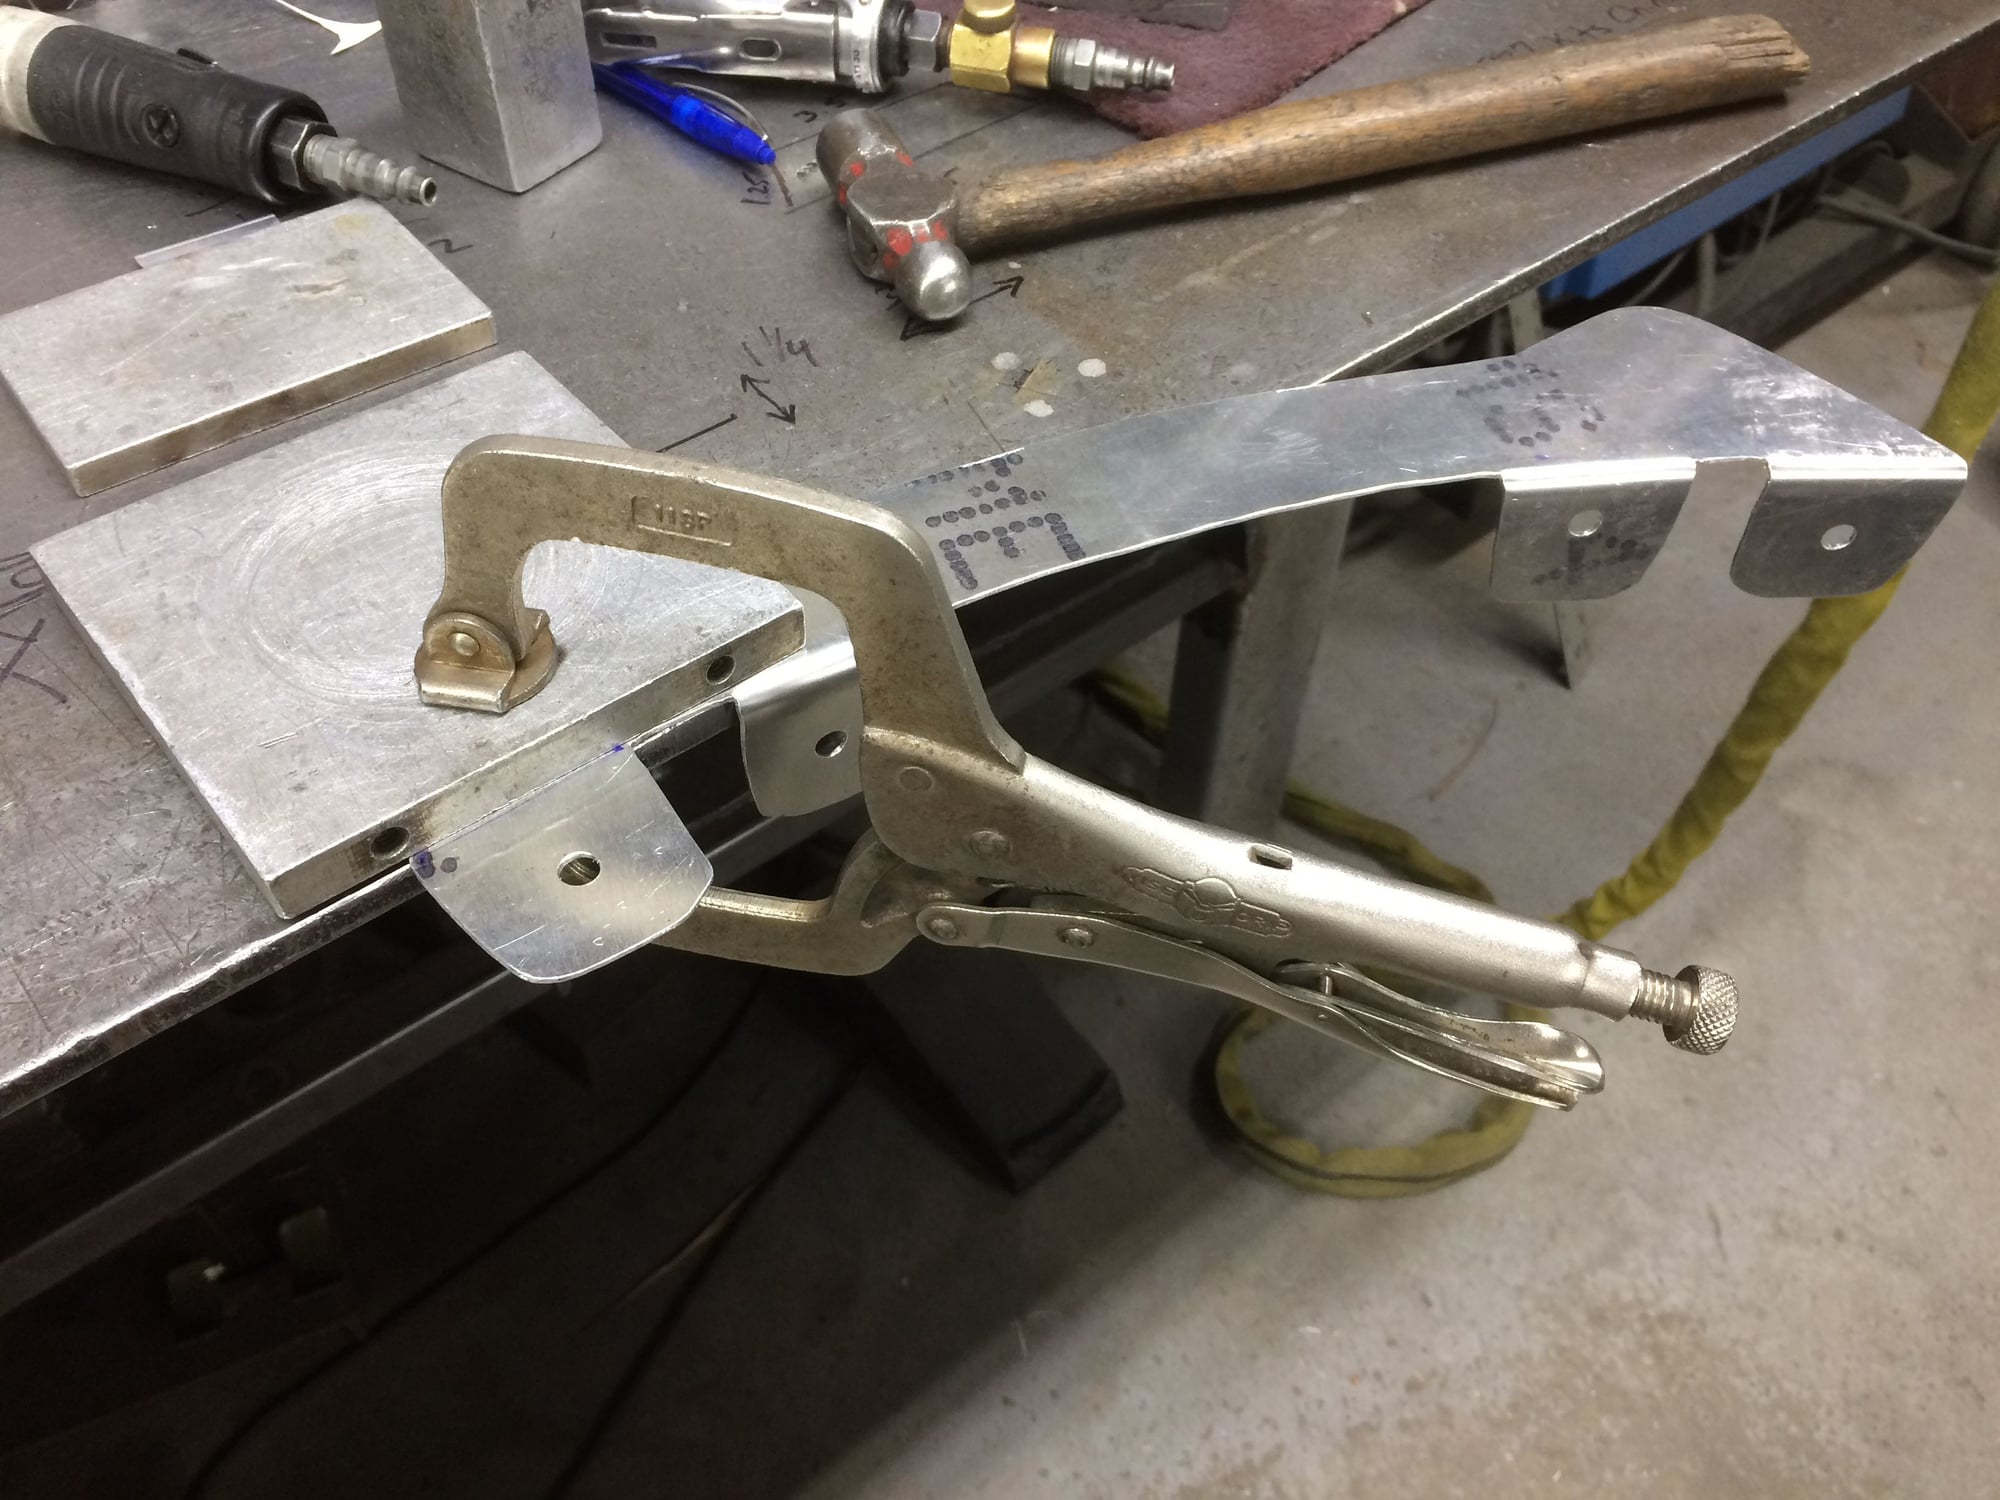
From cardboard to aluminum.
Was tricky to cut due to the odd shape and had to be creative with forming the different plains. No CNC, just good old fashioned hand fab.
There it is, my Reverse Cowl Induction device. I should trademark this. LOL
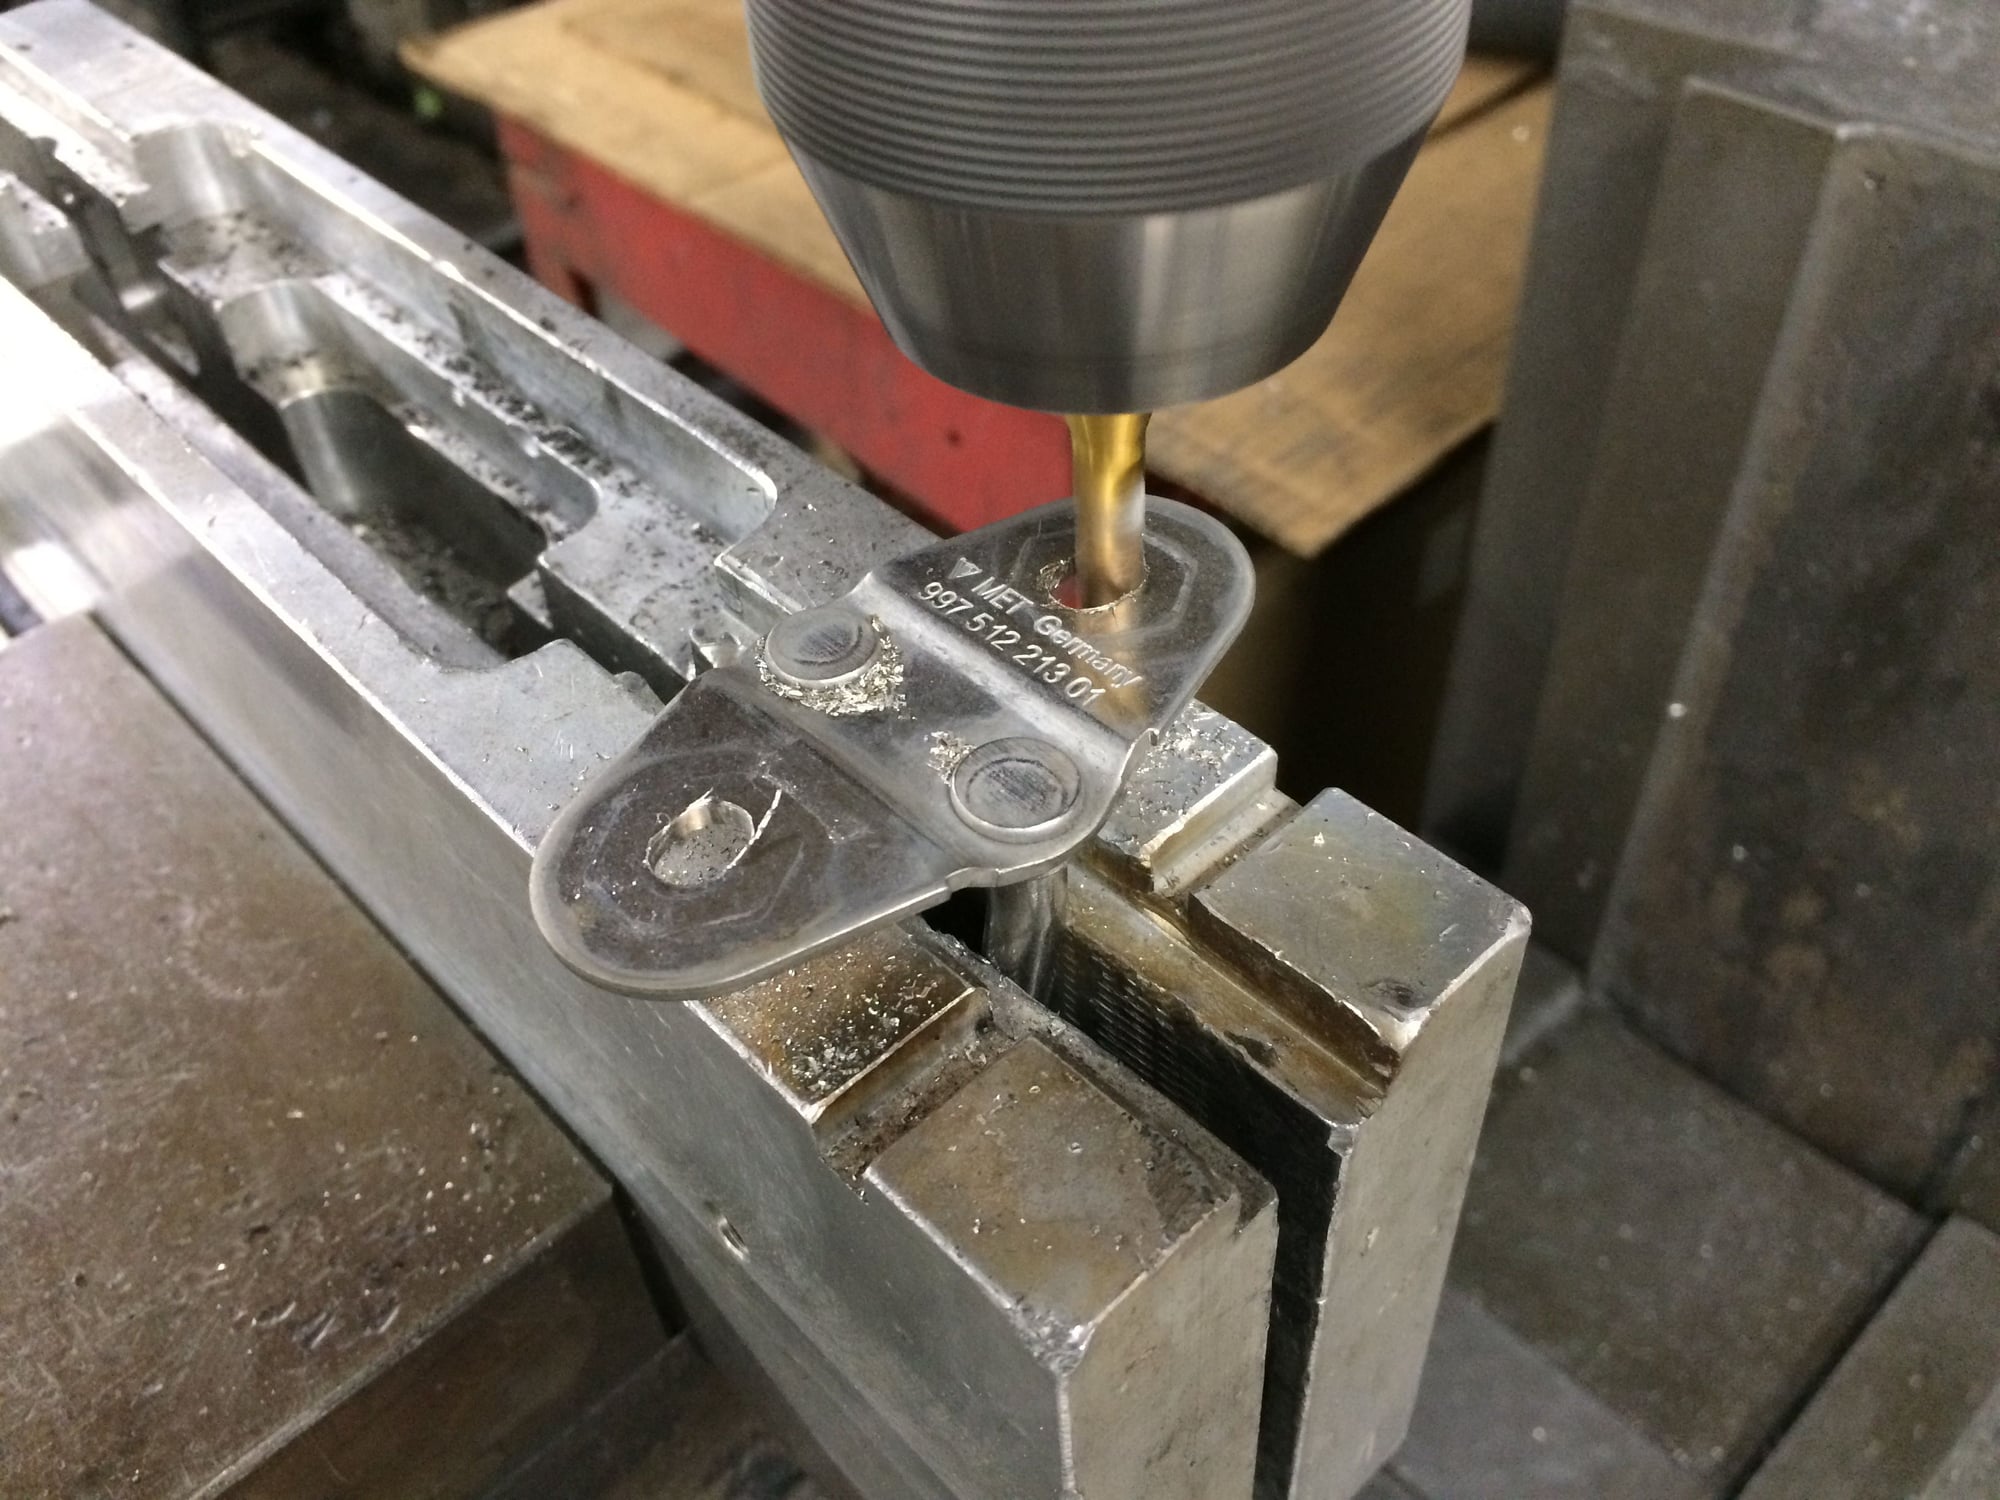
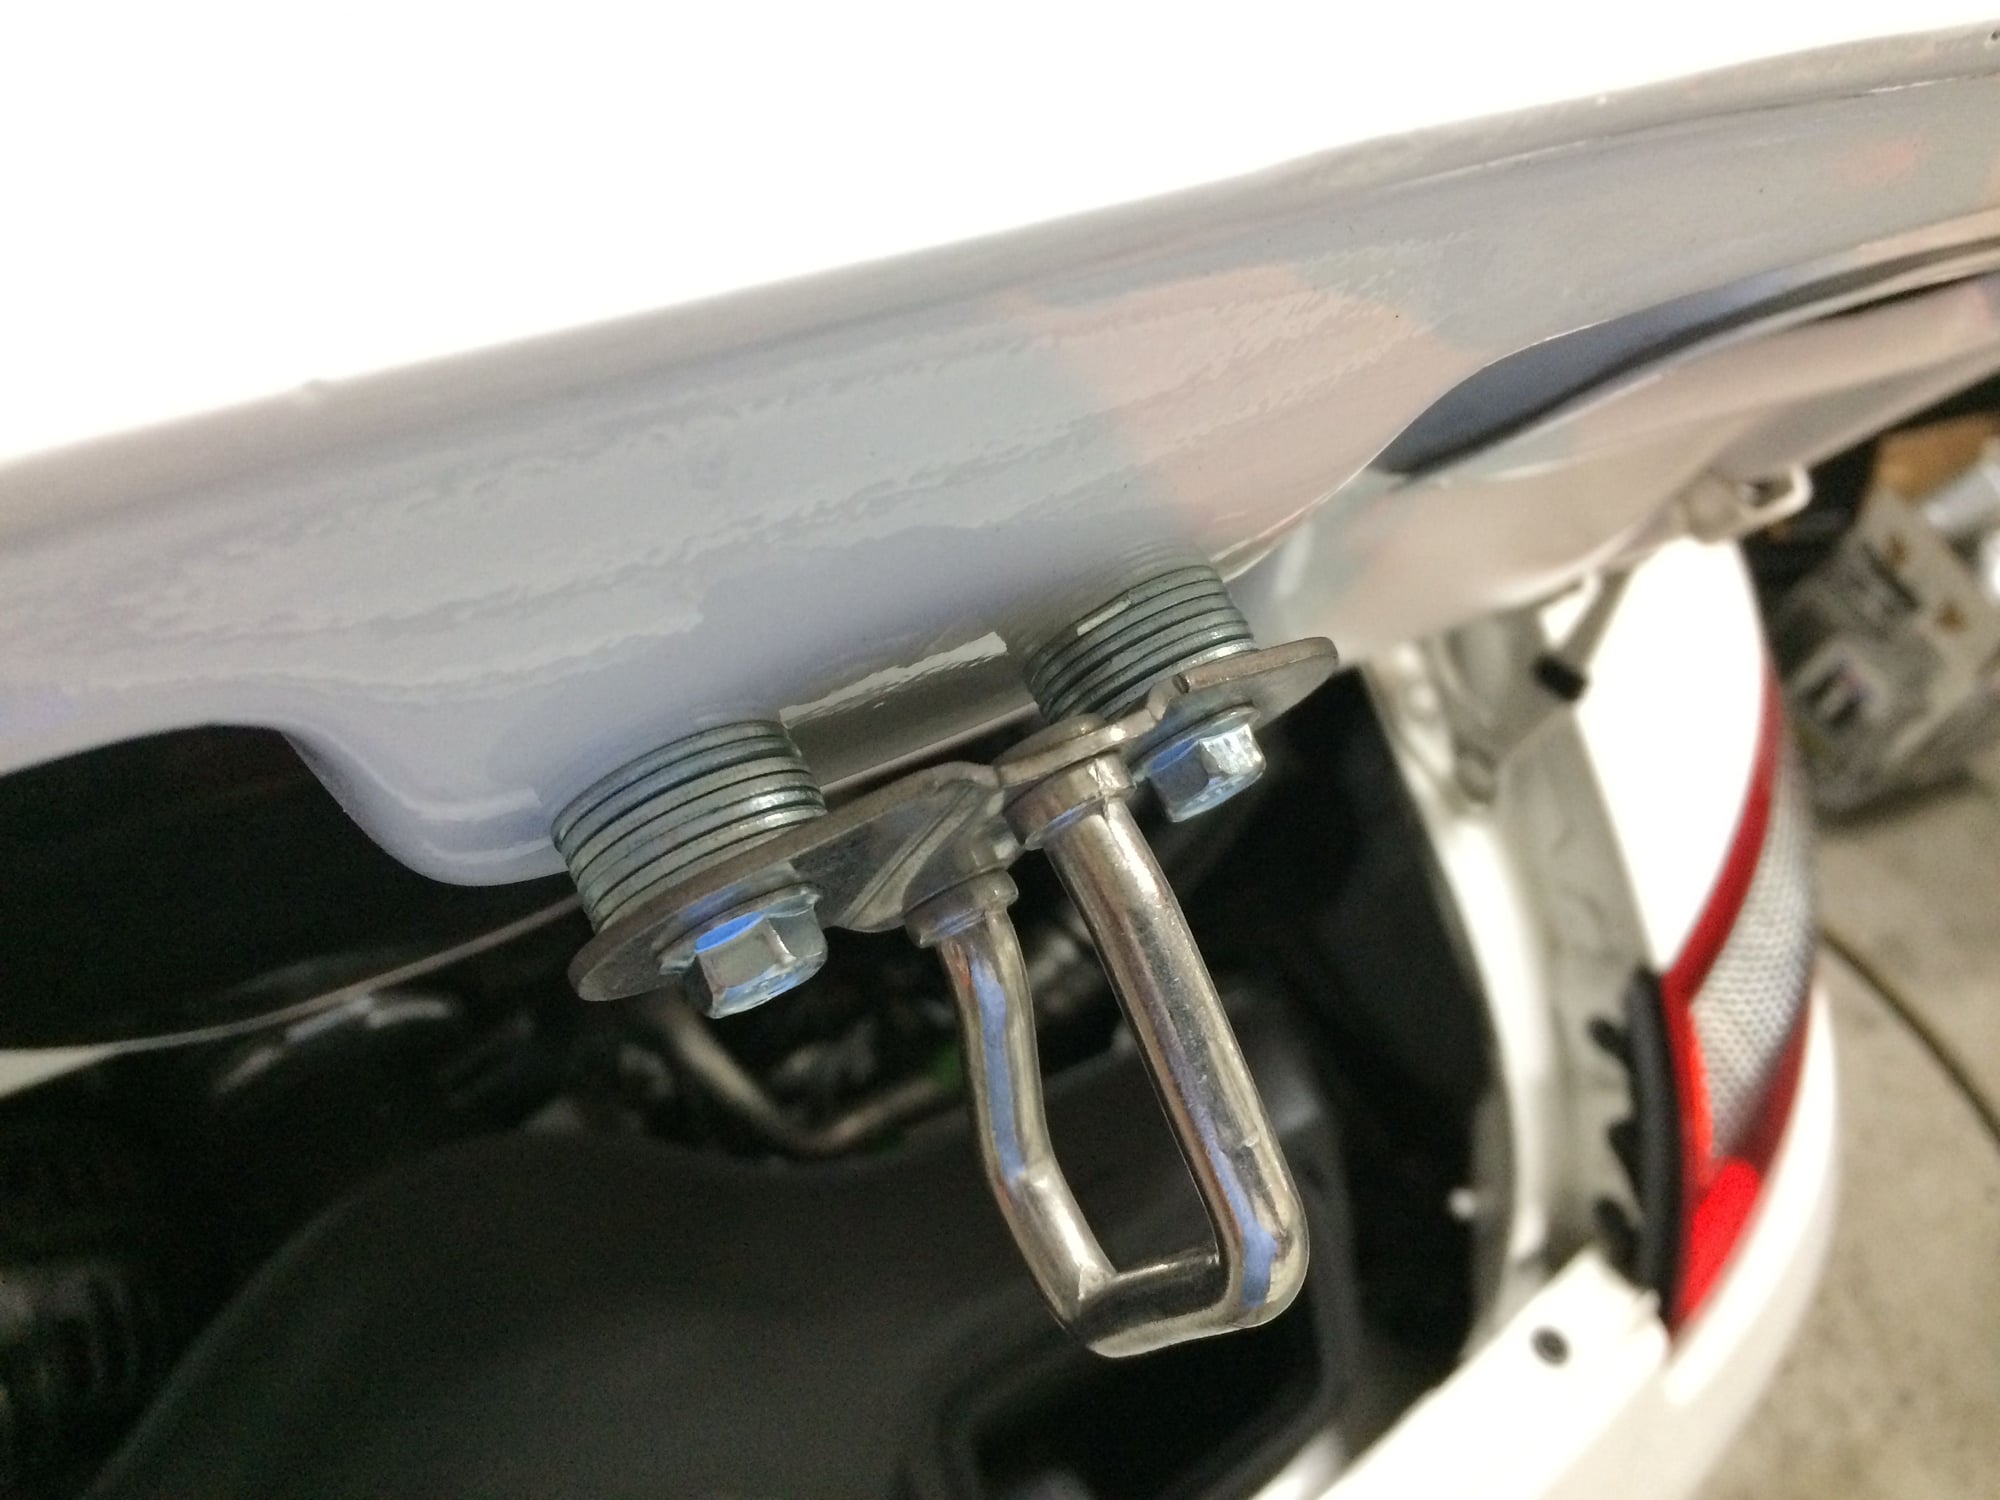
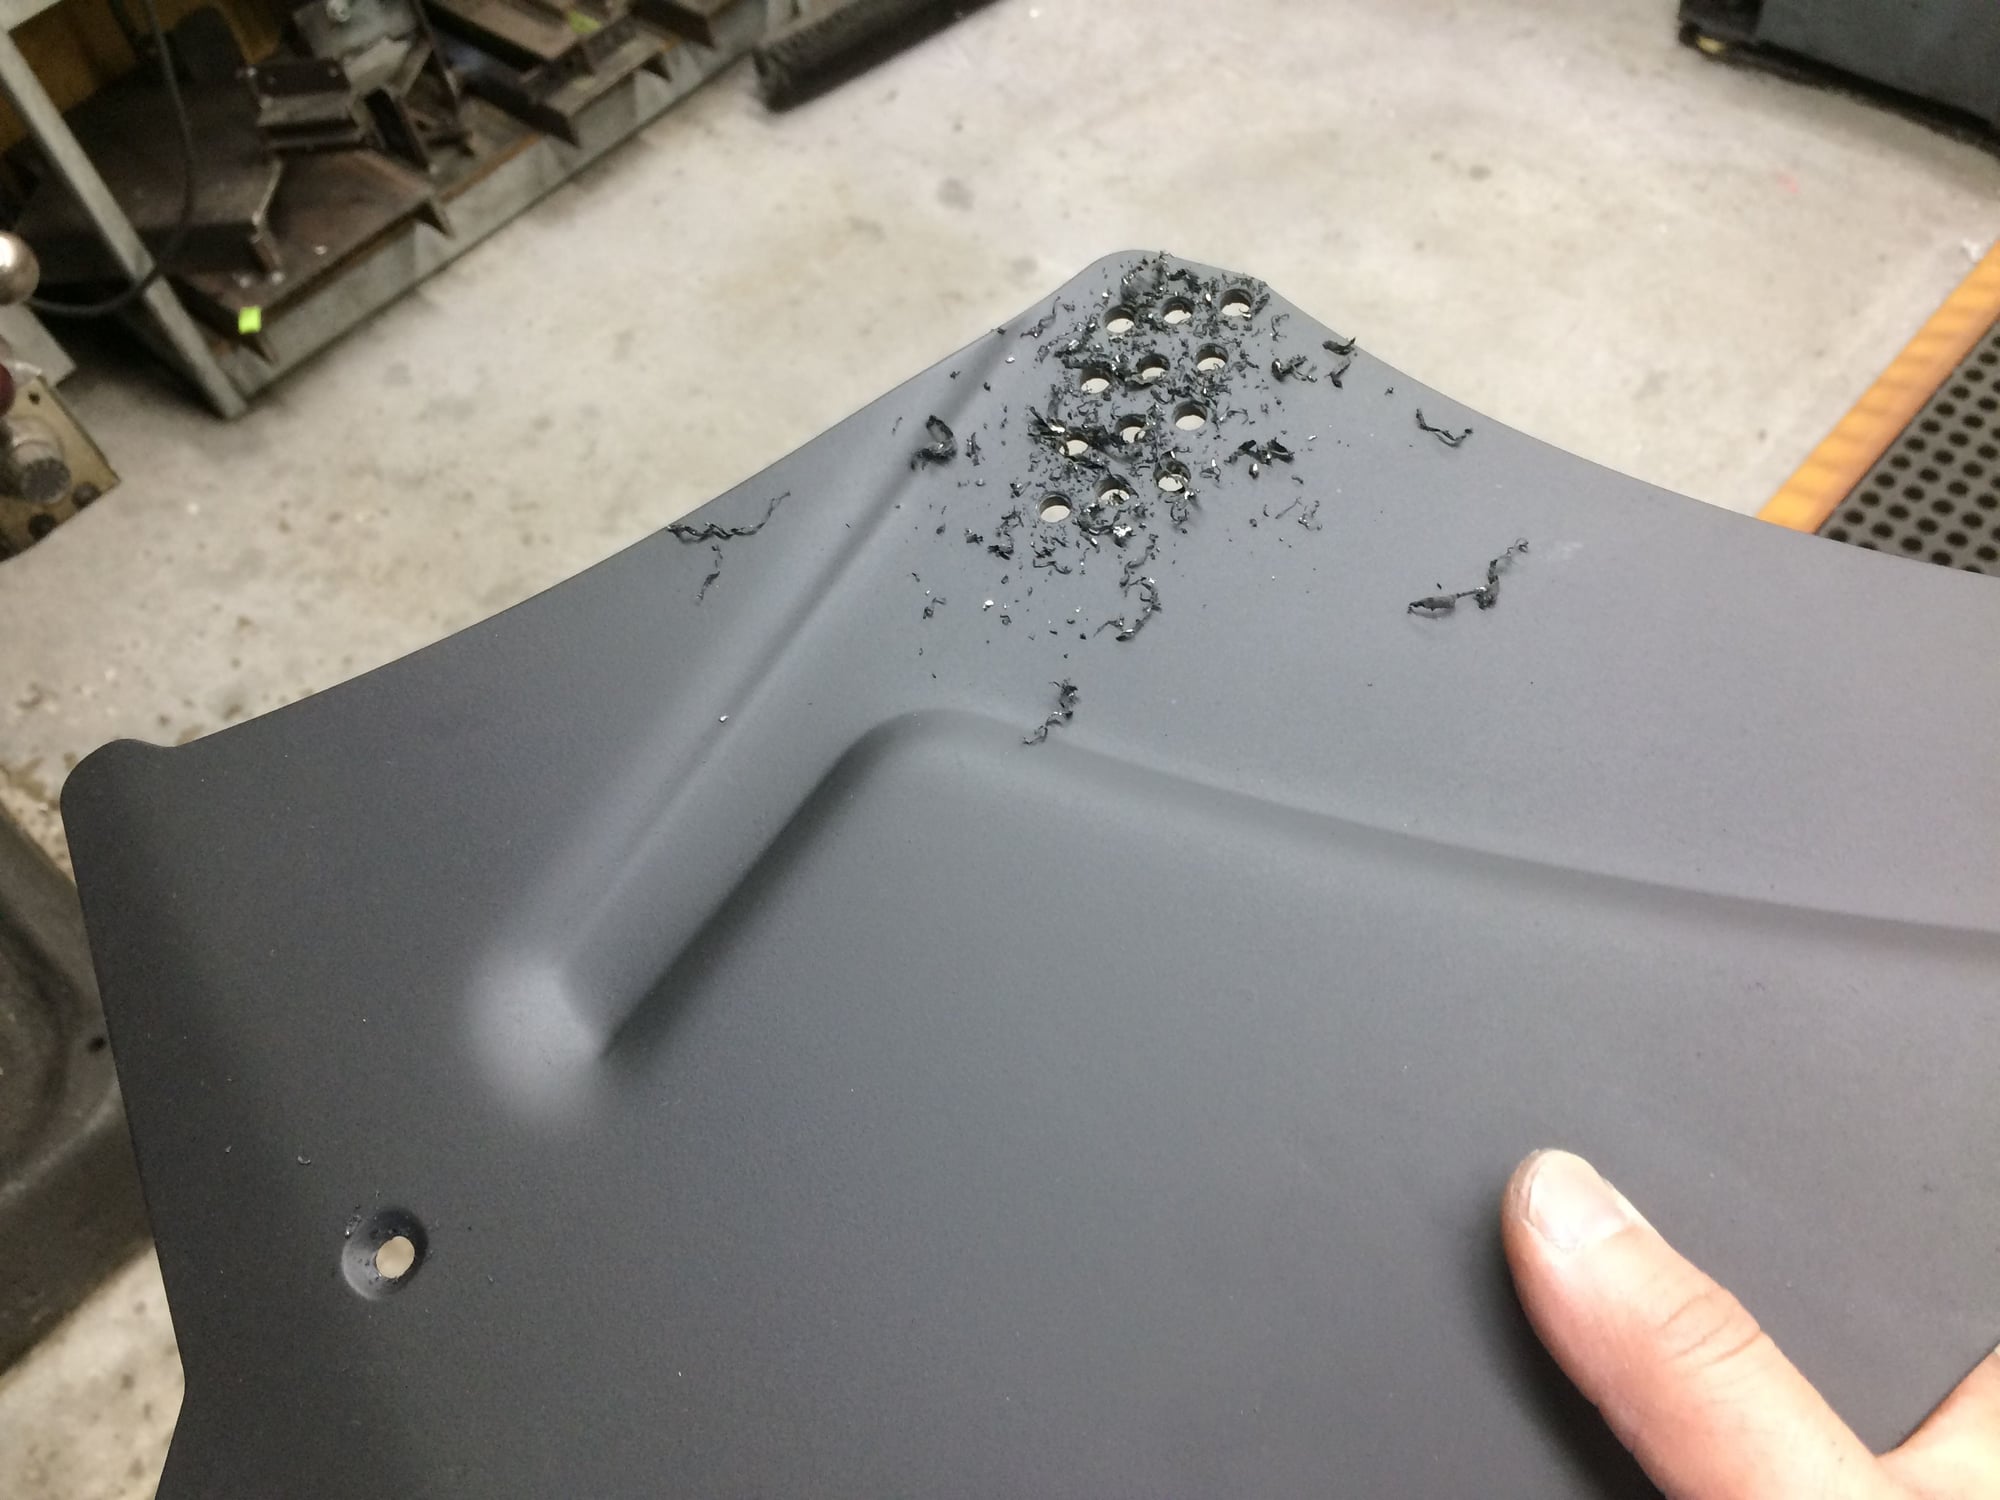
The nut inserts locations for the latch is a little off so the latch piece needs to have adjustment slots machined to fit.
And latching depth was off too. What's one to do at 11pm...stack washer and longer bolts. In hindsight since I requested Turbo/GT2 inner, the GT3 latch might be made differently so this one might be on me.
Use lots of 3M VHB tape for the upper scoop.
My girl friend came out to the shop late at night to help me lay the lid on.
I did push ups on the scoop to set the adhesive tape.
OE molding strip in attempt to make it look OE...
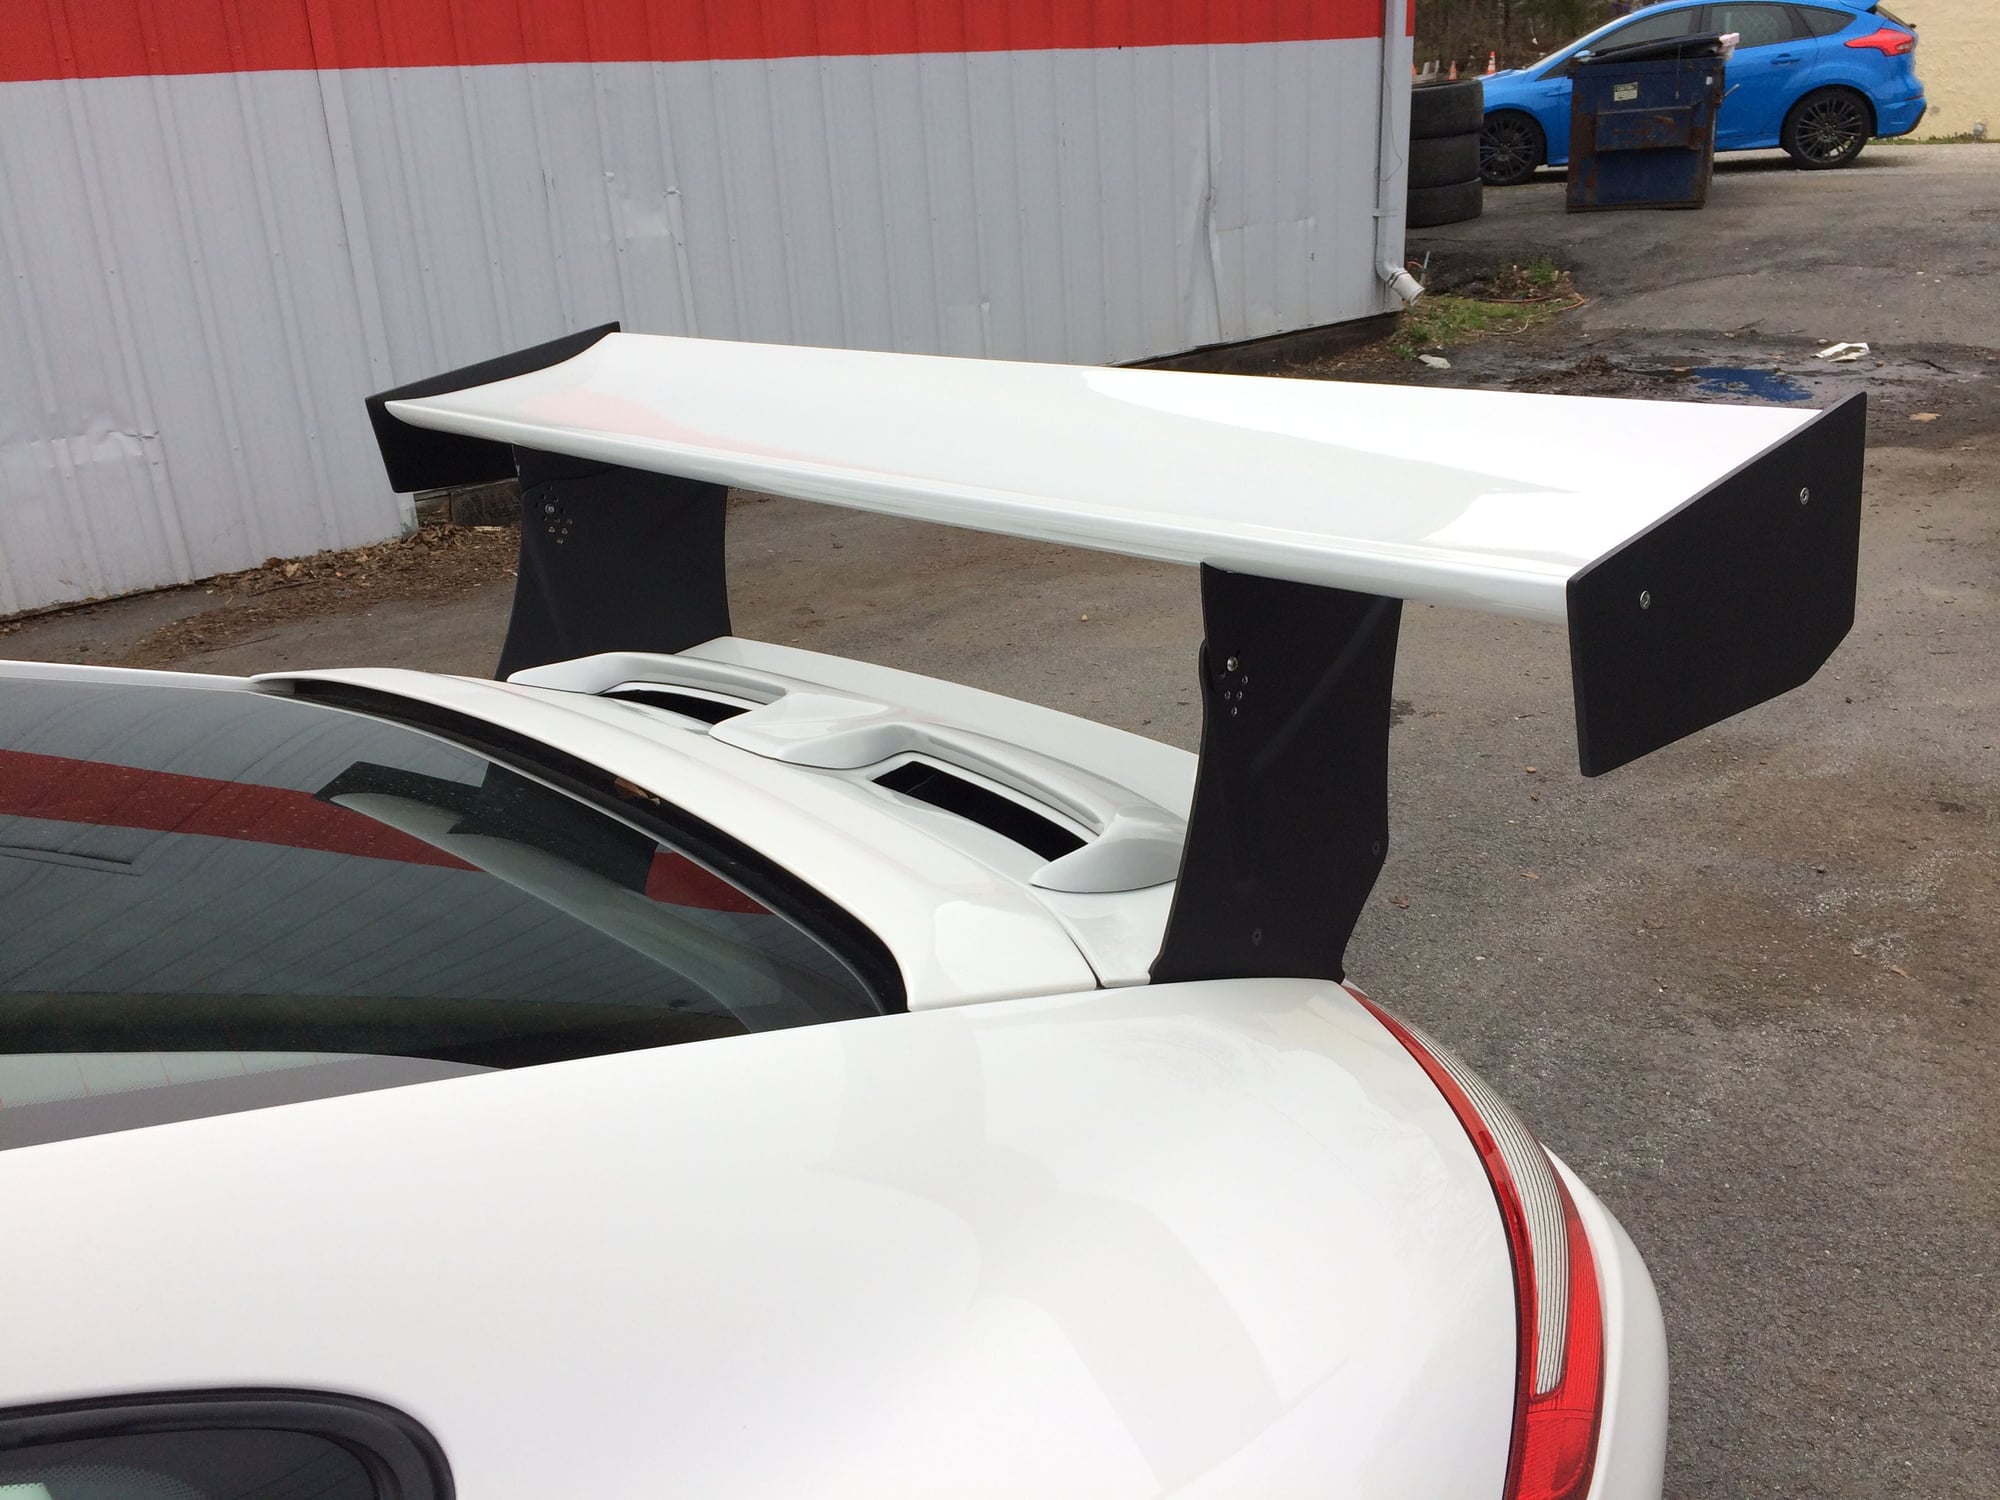
The wing uprights came from PMNA bare aluminum so I sent them out for powercoating. The thing about powdercoating is the material made the holes smaller. Drill Drill Drill.
Starting to look like something now.
Painted my Reverse Cowl Induction device flat black to blend. I also painted the inside of the lid flat black which was a giant pain and had to use a small paint brush in the corner areas. I actually painted the inside before I took the lid to the paint shop and instructed them just not paint the inside white but they did anyway.
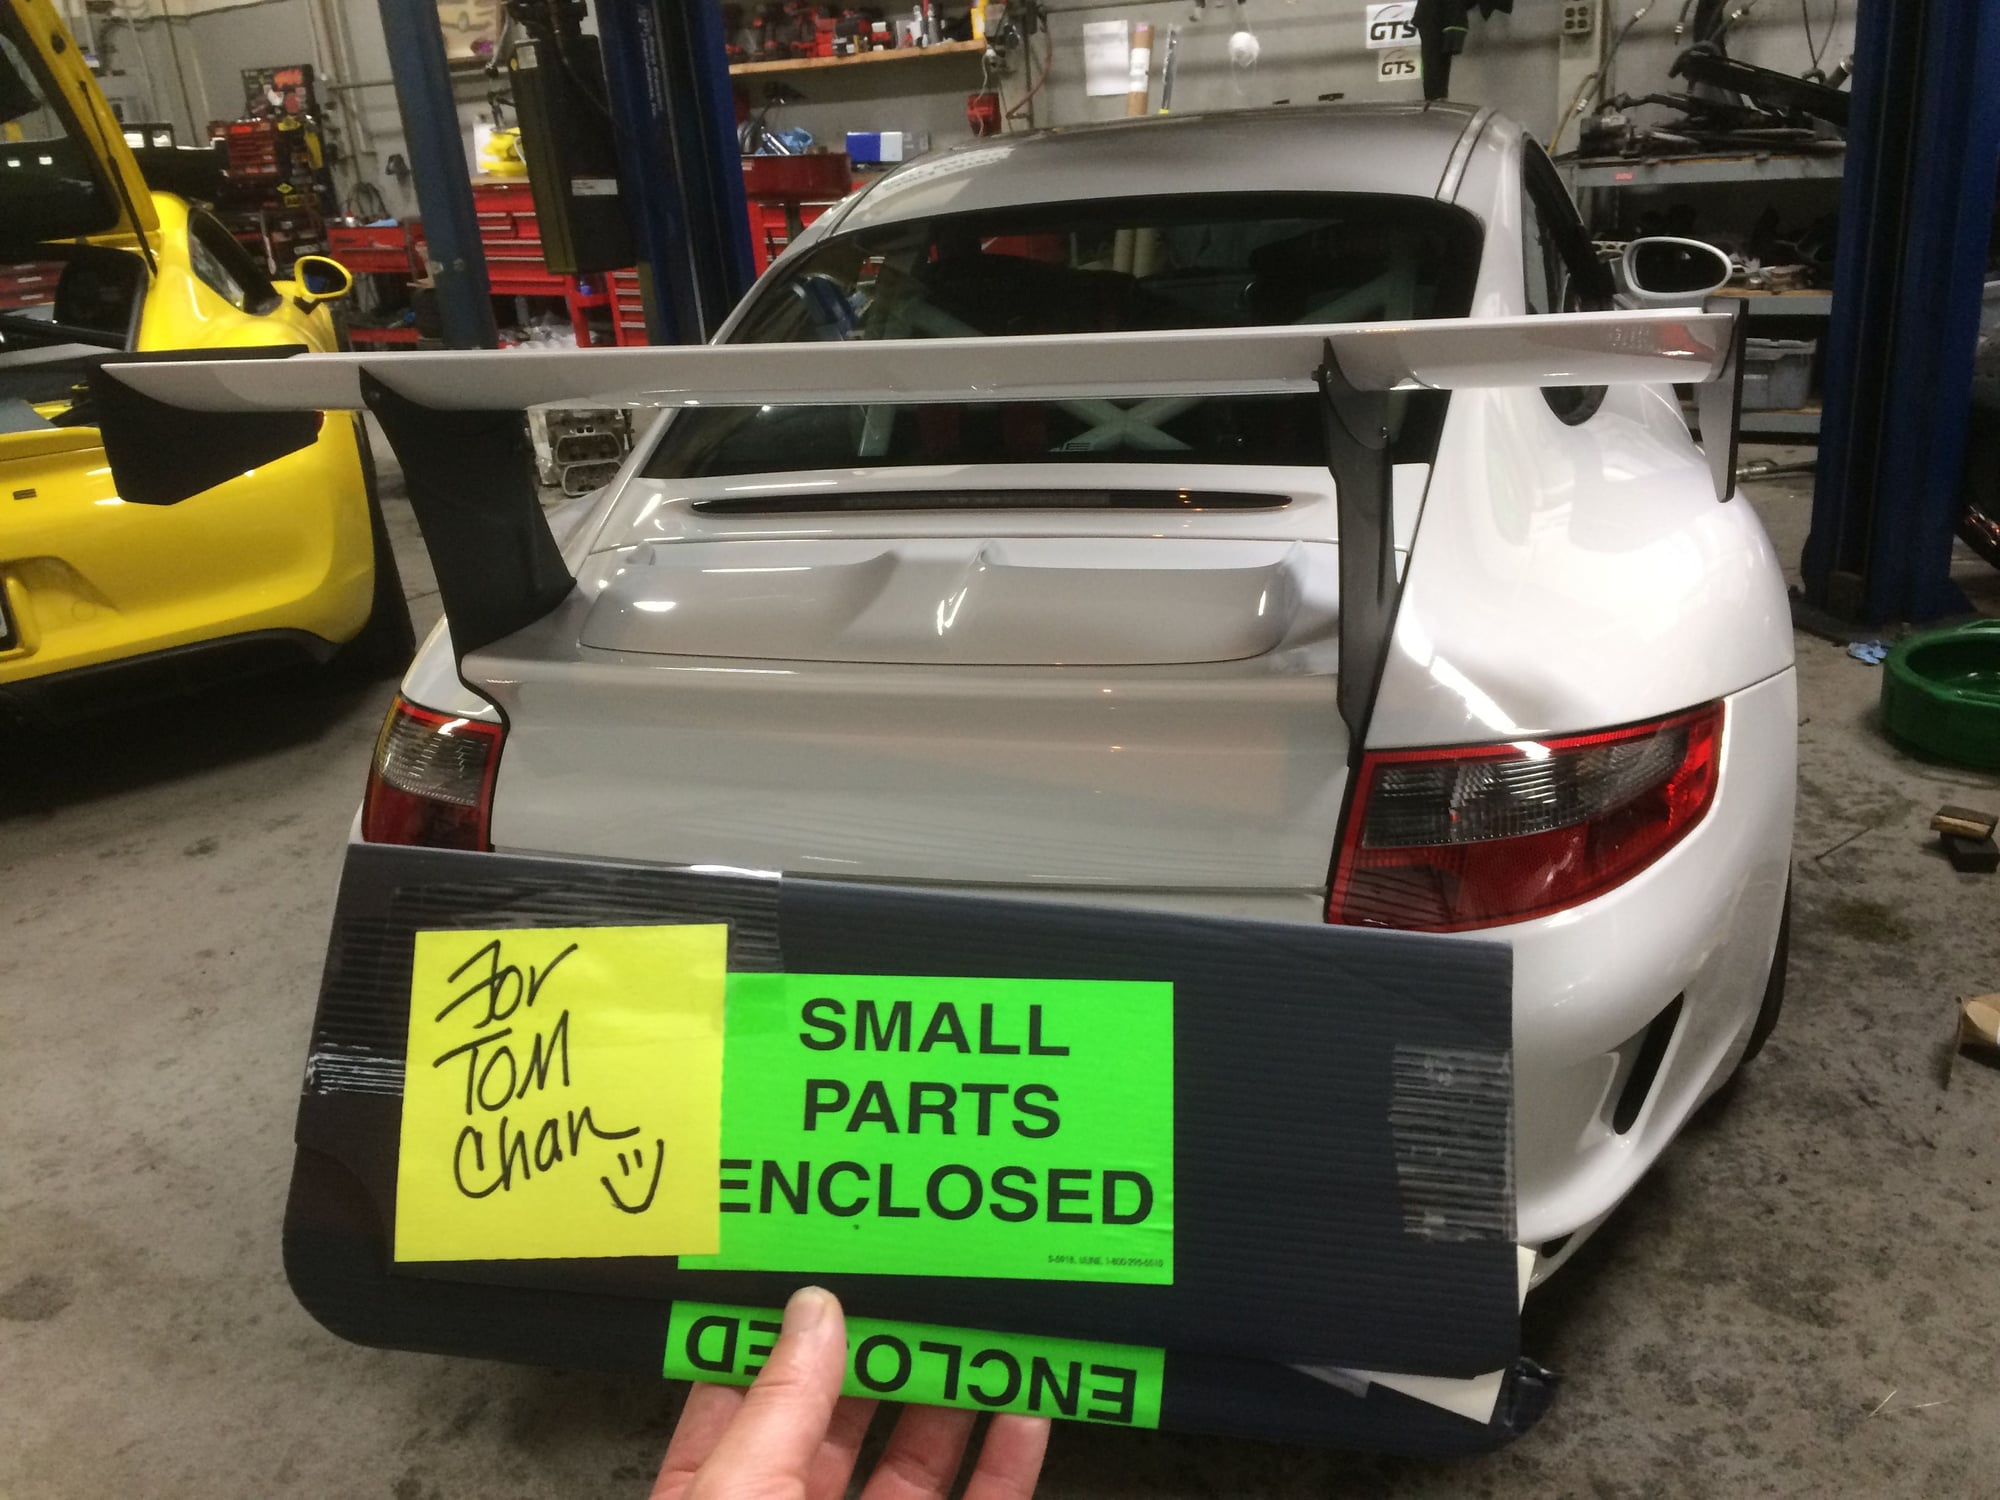
Good things come in small packages.
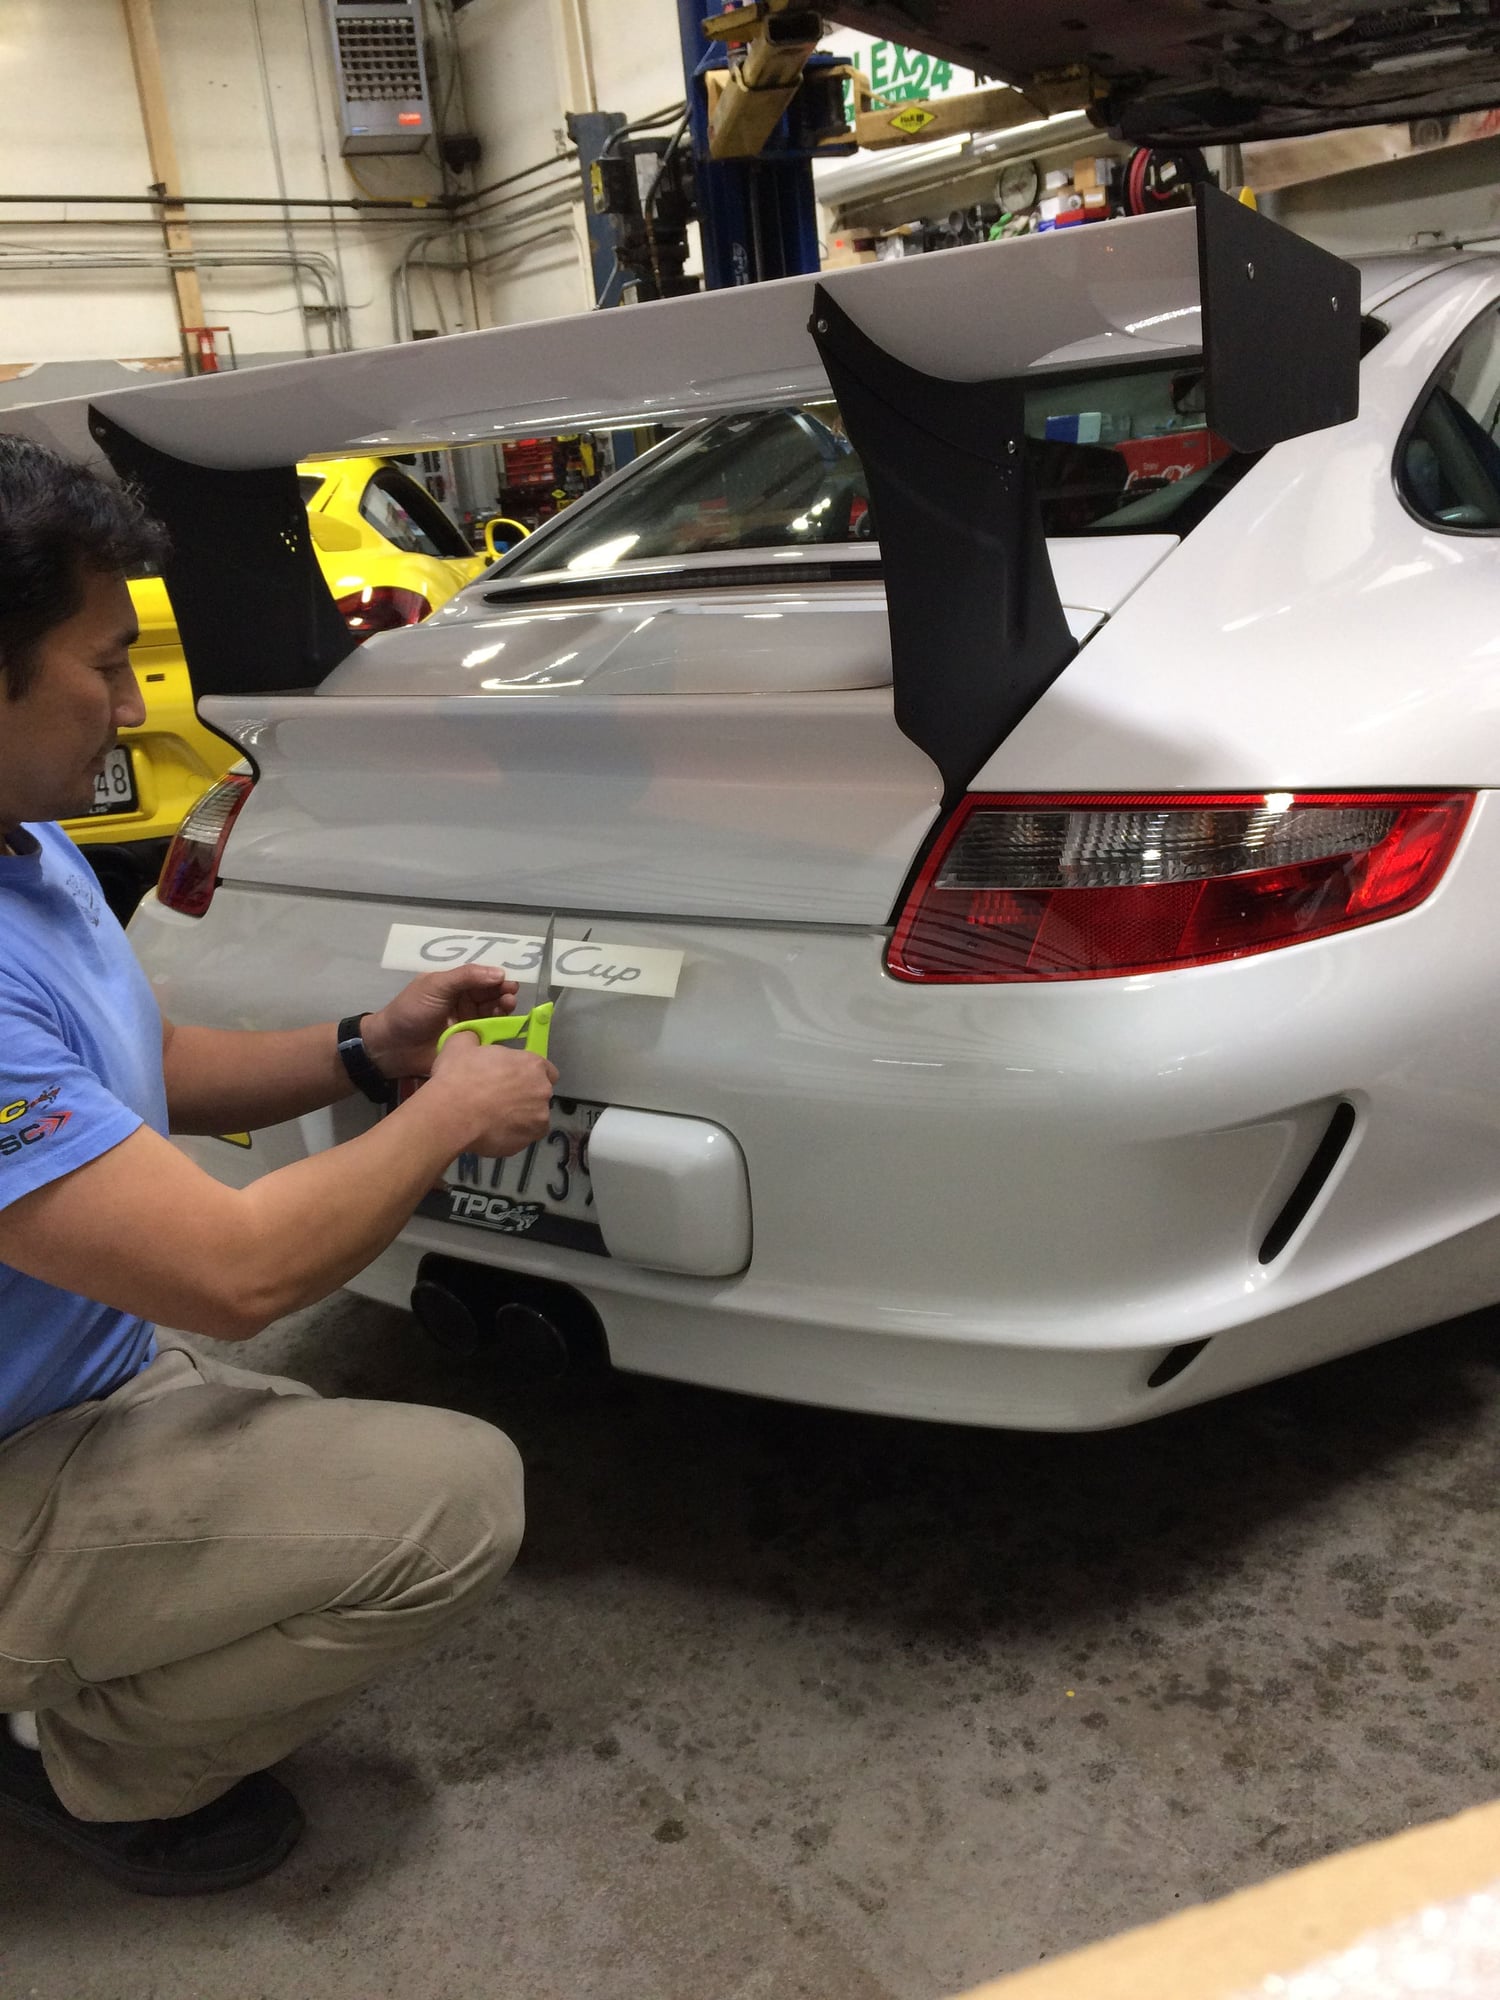
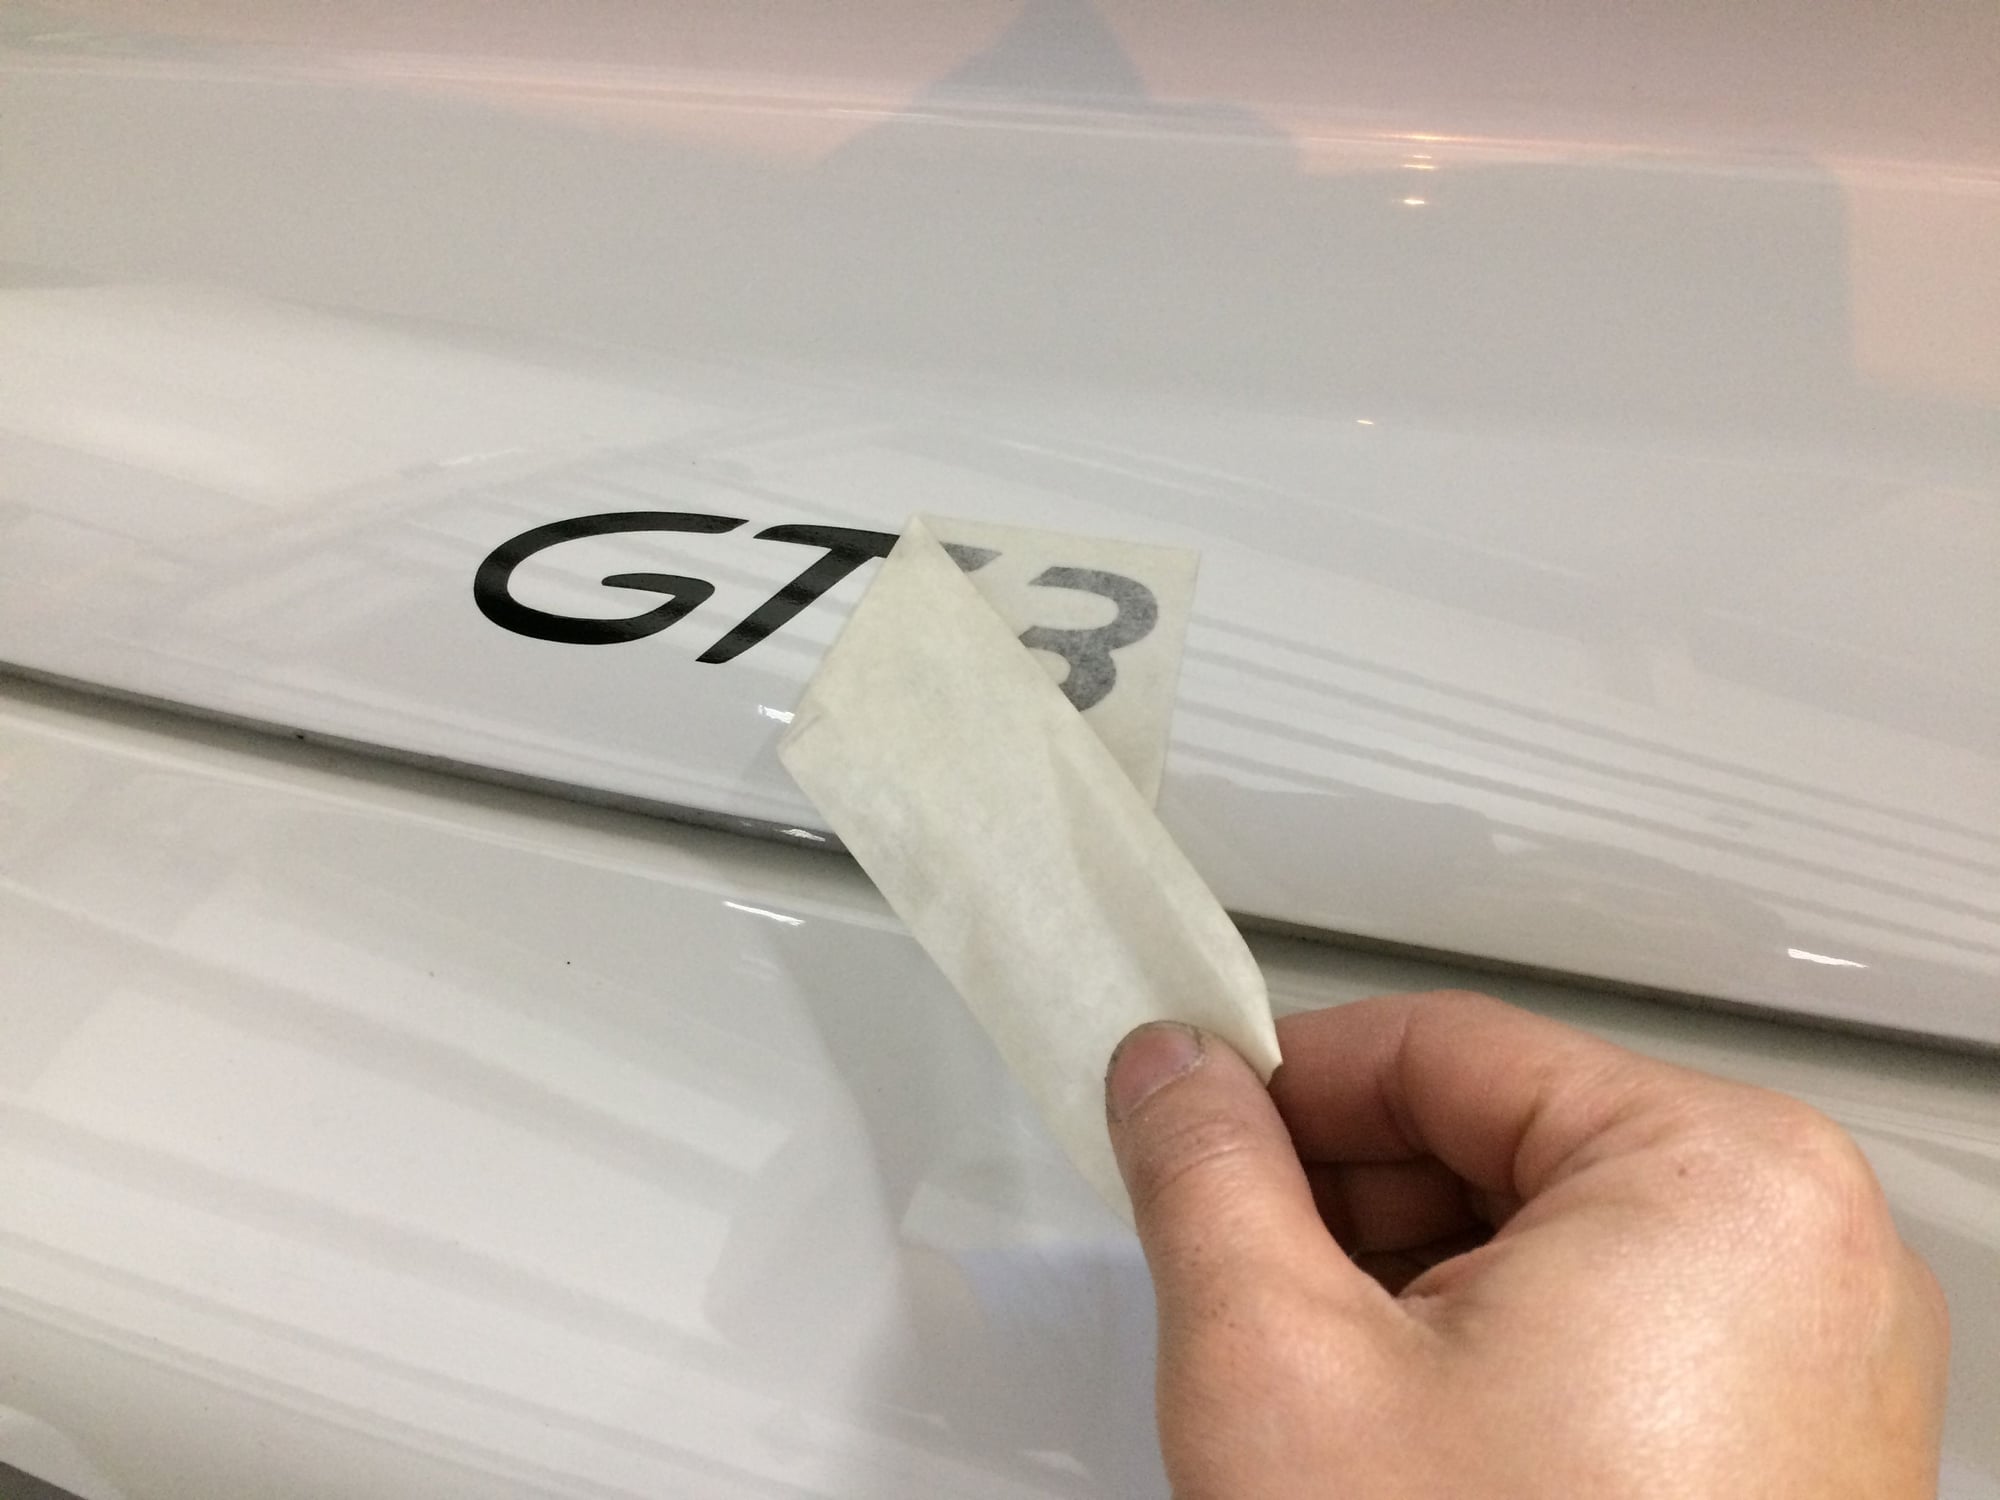
Okay, still not a Cup. The self photo timer on my phone is a nice feature to capture moments like this.
Very satisfying at 2am.
Not too shabby.
PS- I'm not slacking, posting this while doing remote tech support.
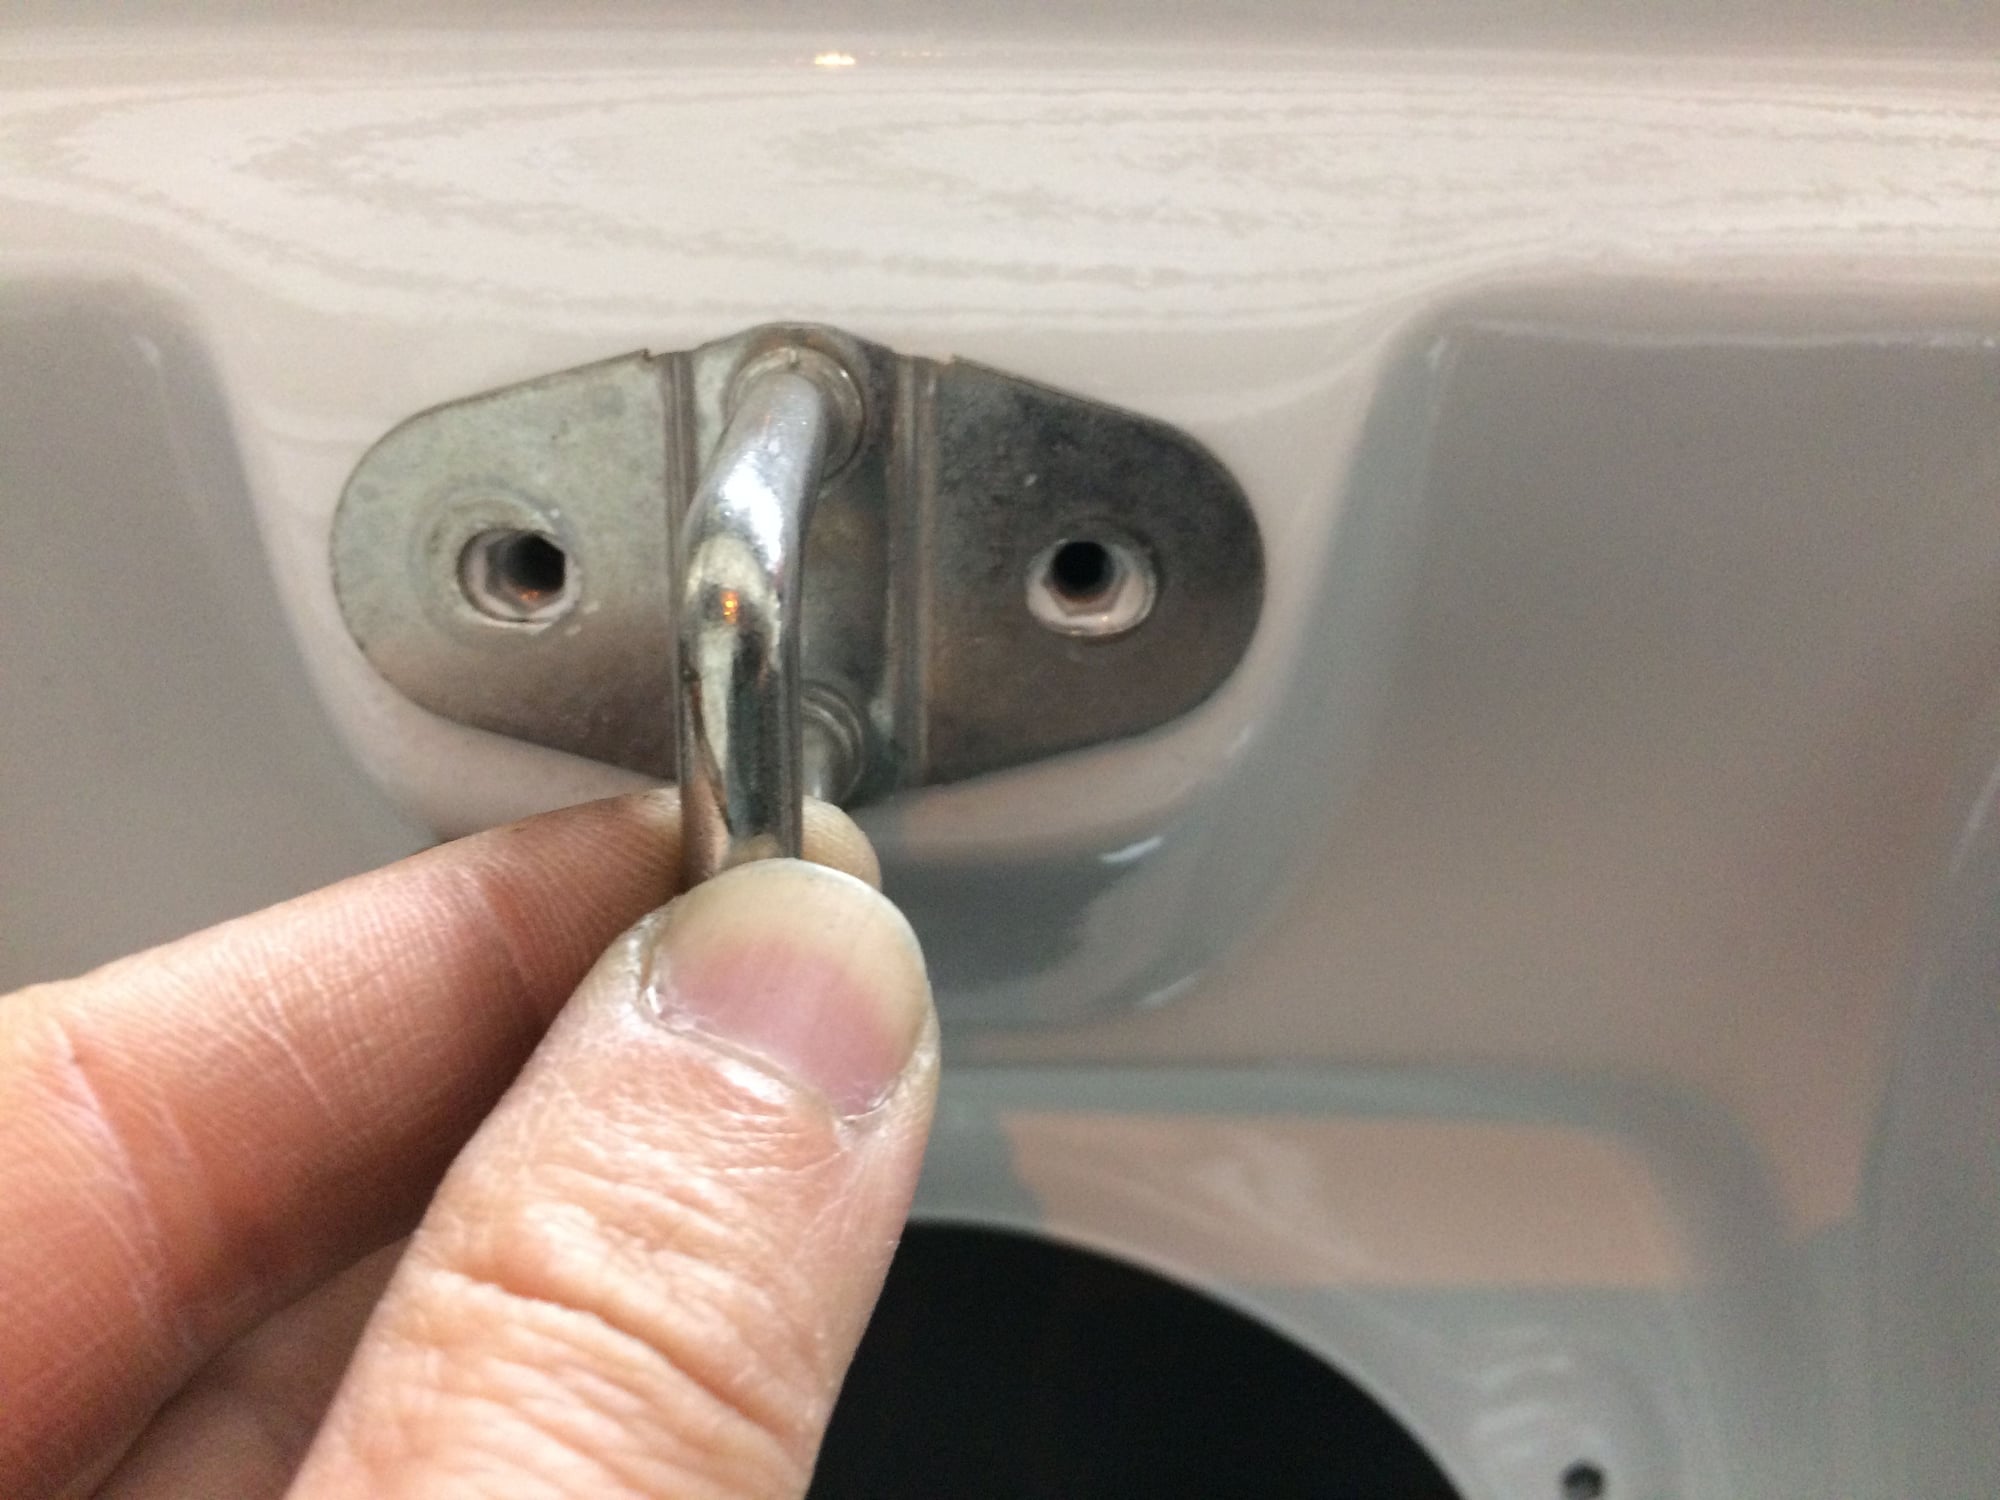
Tom, you may know this already but the rear deck lid locking mechanism that is attached to the aft side of the engine compartment is adjustable in height. You can unscrew and move it up or down to adjust the gap between the decklid and body. You may be able to eliminate all or some of the washers on the latch by adjusting the locking mechanism.
very nice work Tom, keep posting the work in your GT3, most of us really like what you do in your car.
Thank you guys!
Originally Posted by nwGTS
Tom, you may know this already but the rear deck lid locking mechanism that is attached to the aft side of the engine compartment is adjustable in height. You can unscrew and move it up or down to adjust the gap between the decklid and body. You may be able to eliminate all or some of the washers on the latch by adjusting the locking mechanism.
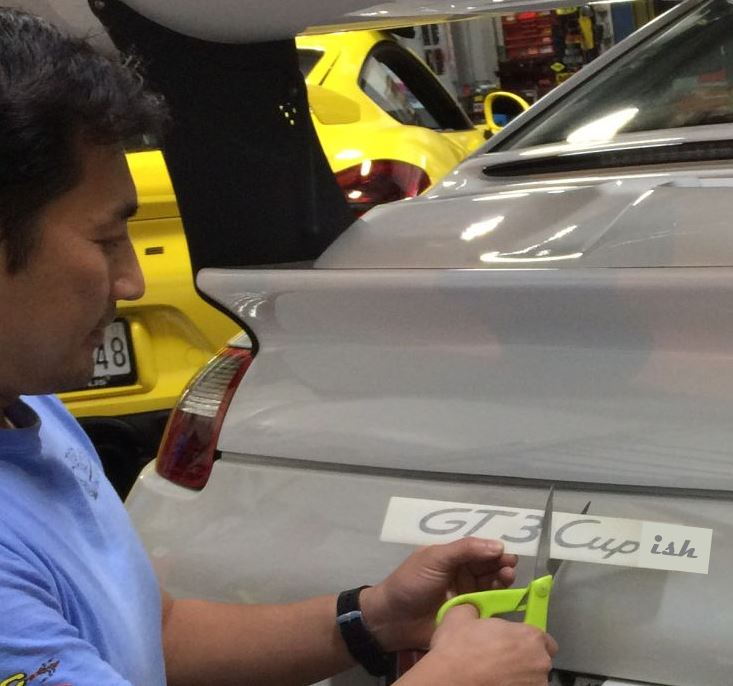
Adjusting the locking mechanism was the first thing I did. Its adjusted as far up as it can go. I'm just going to replace the latch with Cup hood pins. One more element to make the car more Cup-ish.
I concur that this is the coolest 7.1 builds I've seen. Love following everything. Tom, question about the cup electrical steering pump. What are the downsides vs. the standard pump/system? More maintenance, shorter replacement interval, less reliable, more steering effort? This kind of seems like a no-brainer and I'm just curious about the trade offs? Thanks!
Fantastic thread and a great read, thanks for sharing the process and your knowledge!
Originally Posted by Tom-TPC Racing
..
To celebrate our two-year, we are going to start with some basic service items(wheel bearings all four corner, front inner & outter tie rods, .2 rear dog bones, brake pads). With 55K miles and 20 track days, I'd rather get them done and not have to worry about it later.
...
You mentioned ~1 year ago you were installing .2 dog bones. Do they differ in any way vs the original .1?


 03-29-2017, 12:44 AM