When you click on links to various merchants on this site and make a purchase, this can result in this site earning a commission. Affiliate programs and affiliations include, but are not limited to, the eBay Partner Network.
Practical observations from removing head studs 1981 Euro S
Hello !
Even though this is a remarkably simple "step", I thought I'd post up what I found while removing the head studs from my 1981 Euro S...
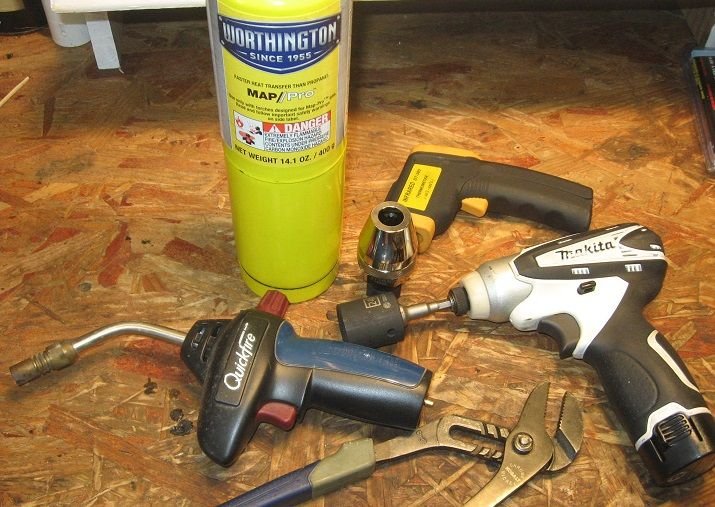
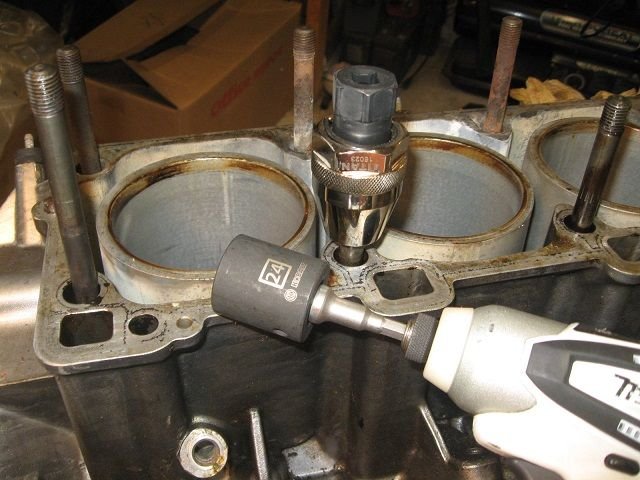
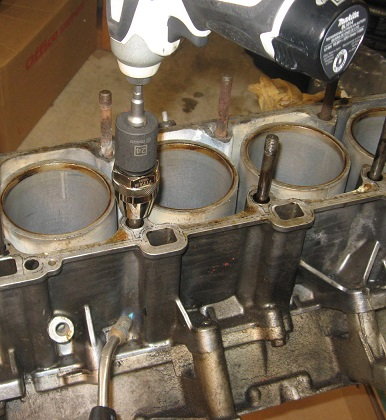
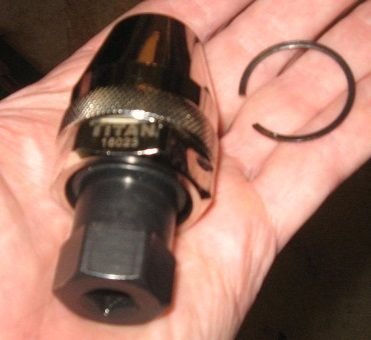
First the tools, a MAP gas torch, pliers and trusty Makita with a 24mm socket, and a TITAN 16032 stud remover. More about the Titan later..
There's also an IR temperature sensor there, too.
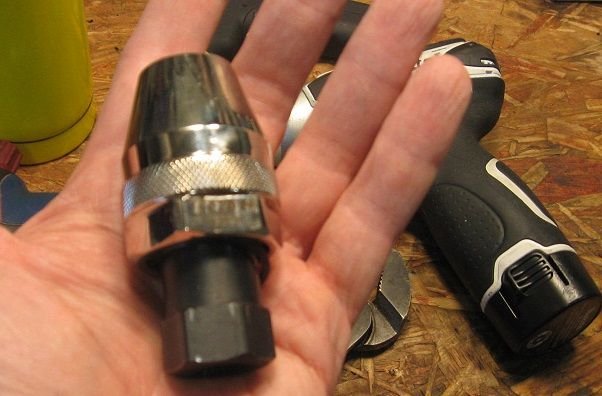
The TITAN stud remover snugs down on the stud, tightening counter clockwise, as is ready to go.
I tried to find data on the properties of the thread locker used to originally install the head studs. Tough. I did find that RED Locktite has a melting temp of 550 F, so I used that as a rough idea of how high the temp might need to be... (FWIW, Aluminum melts at 1441 F lol...)
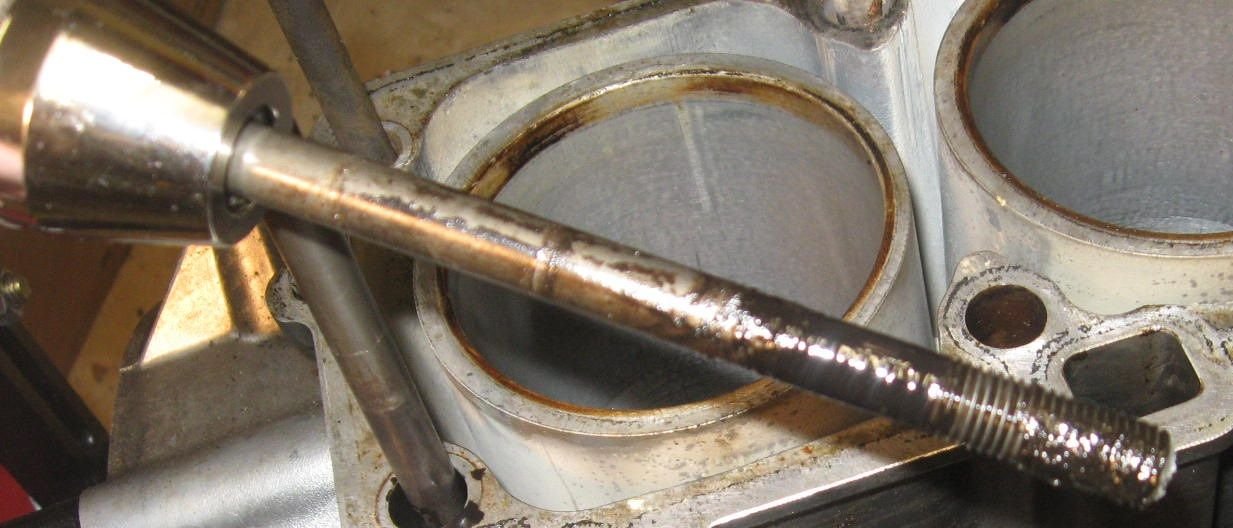
Also, here's a previously removed head stud, next to the block itself, to show the location of the threads when installed....
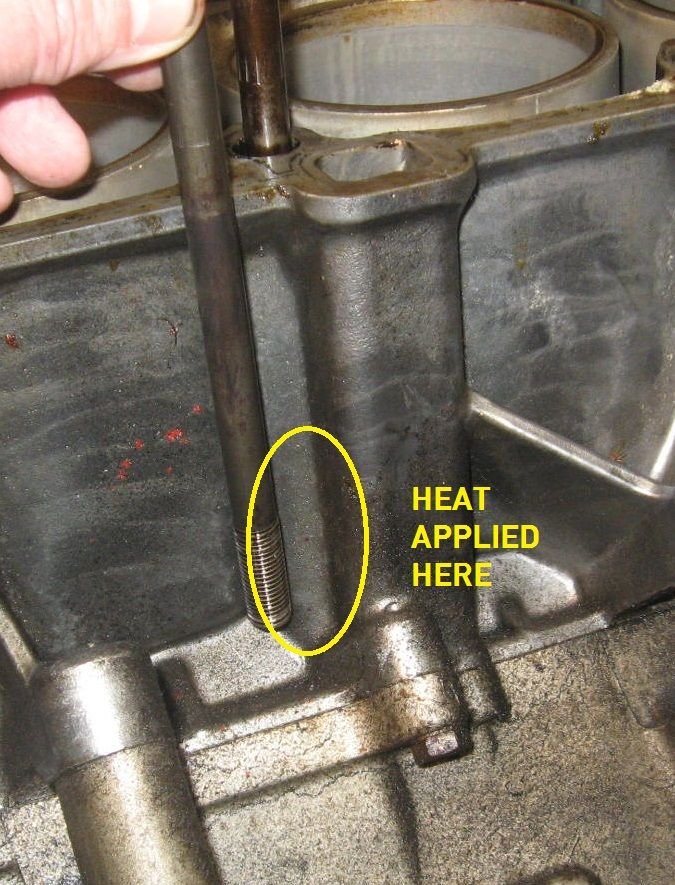
OK, here's the heat from the MAP torch, with the little Makita ready to at least "shake" the stud a little bit....
At t=0, the Aluminum block is sitting at 61 F. At t= 10 minutes, the area being heated has reached the astronomical temperature of 160 F. That block is a huge heat sink. (Is it worth even trying to heat? LOL).
After 15 straight minutes, the area is holding heat to only 195 F. We're not going to get anywhere near 550 F. The little rattling Makita actually starts to spin the stud ha ha...
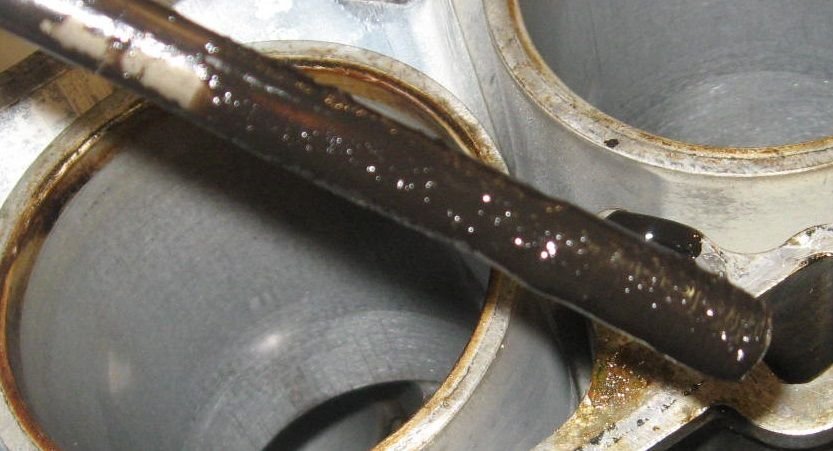
Look at that crud ! Of course, this old block has been sitting in and out of WD40, PB blaster, etc etc for the past several weeks (months? years?)
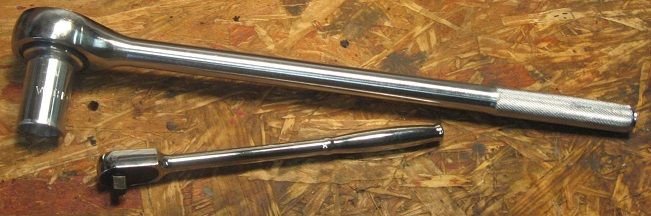
I gave up on the heat altogether, and instead just used the stud remover and a ratchet. A big ratchet. (That's a Williams 3/4 for comparison)
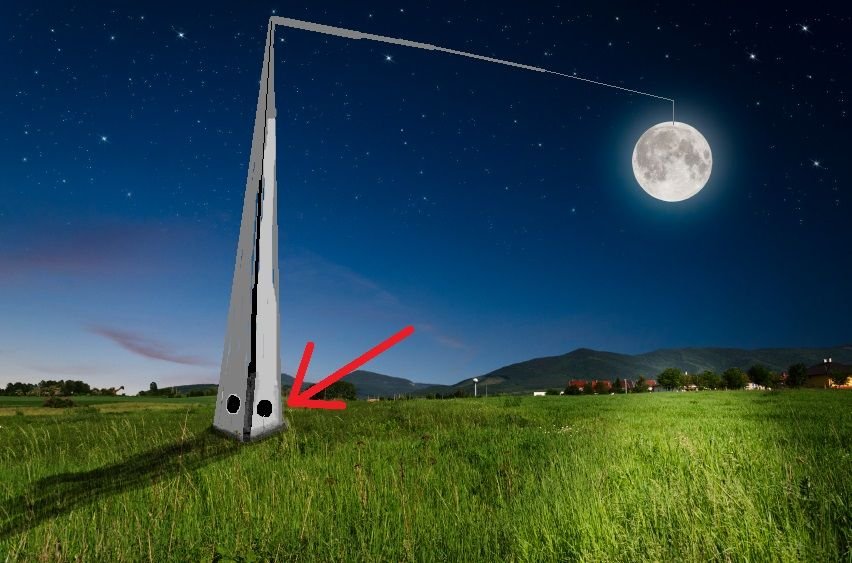
Many of you may recognize that monster ratchet as the one used to tighten the bolts that hold the moon up...
I did find that using the really large ratchet gave me much more "feel" for what the stud was actually doing, and when it was beginning to free up. I found my little kitten arms straining less, so I could tell what happening better...
So, they all came out, nothing broke, except for the TITAN...
That's some sort of little lock ring that worked itself out. The ring apparently keeps the inner piece from backing all the way out.
After I clean them off, I'll post up pictures of the studs themselves. Some of them look practically new, and others are really toasted up with rust...
This particular block has really proven to be valuable. Since the bores are shot, I am "repurposing" this block as a learning aid. Before I re-assemble my 5.0L hybrid block, I plan on running through the procedures a couple of times on this old 4.7 .... if nothing else, to get a feel for the job.
Thanks.

 12-04-2016, 04:25 PM