When you click on links to various merchants on this site and make a purchase, this can result in this site earning a commission. Affiliate programs and affiliations include, but are not limited to, the eBay Partner Network.
Recently saw your car at Canepa Cars and Coffee. I wanted to find you but i wasn't sure who you were in the sea of people there. Car looks great in person and definetly has a wow factor.
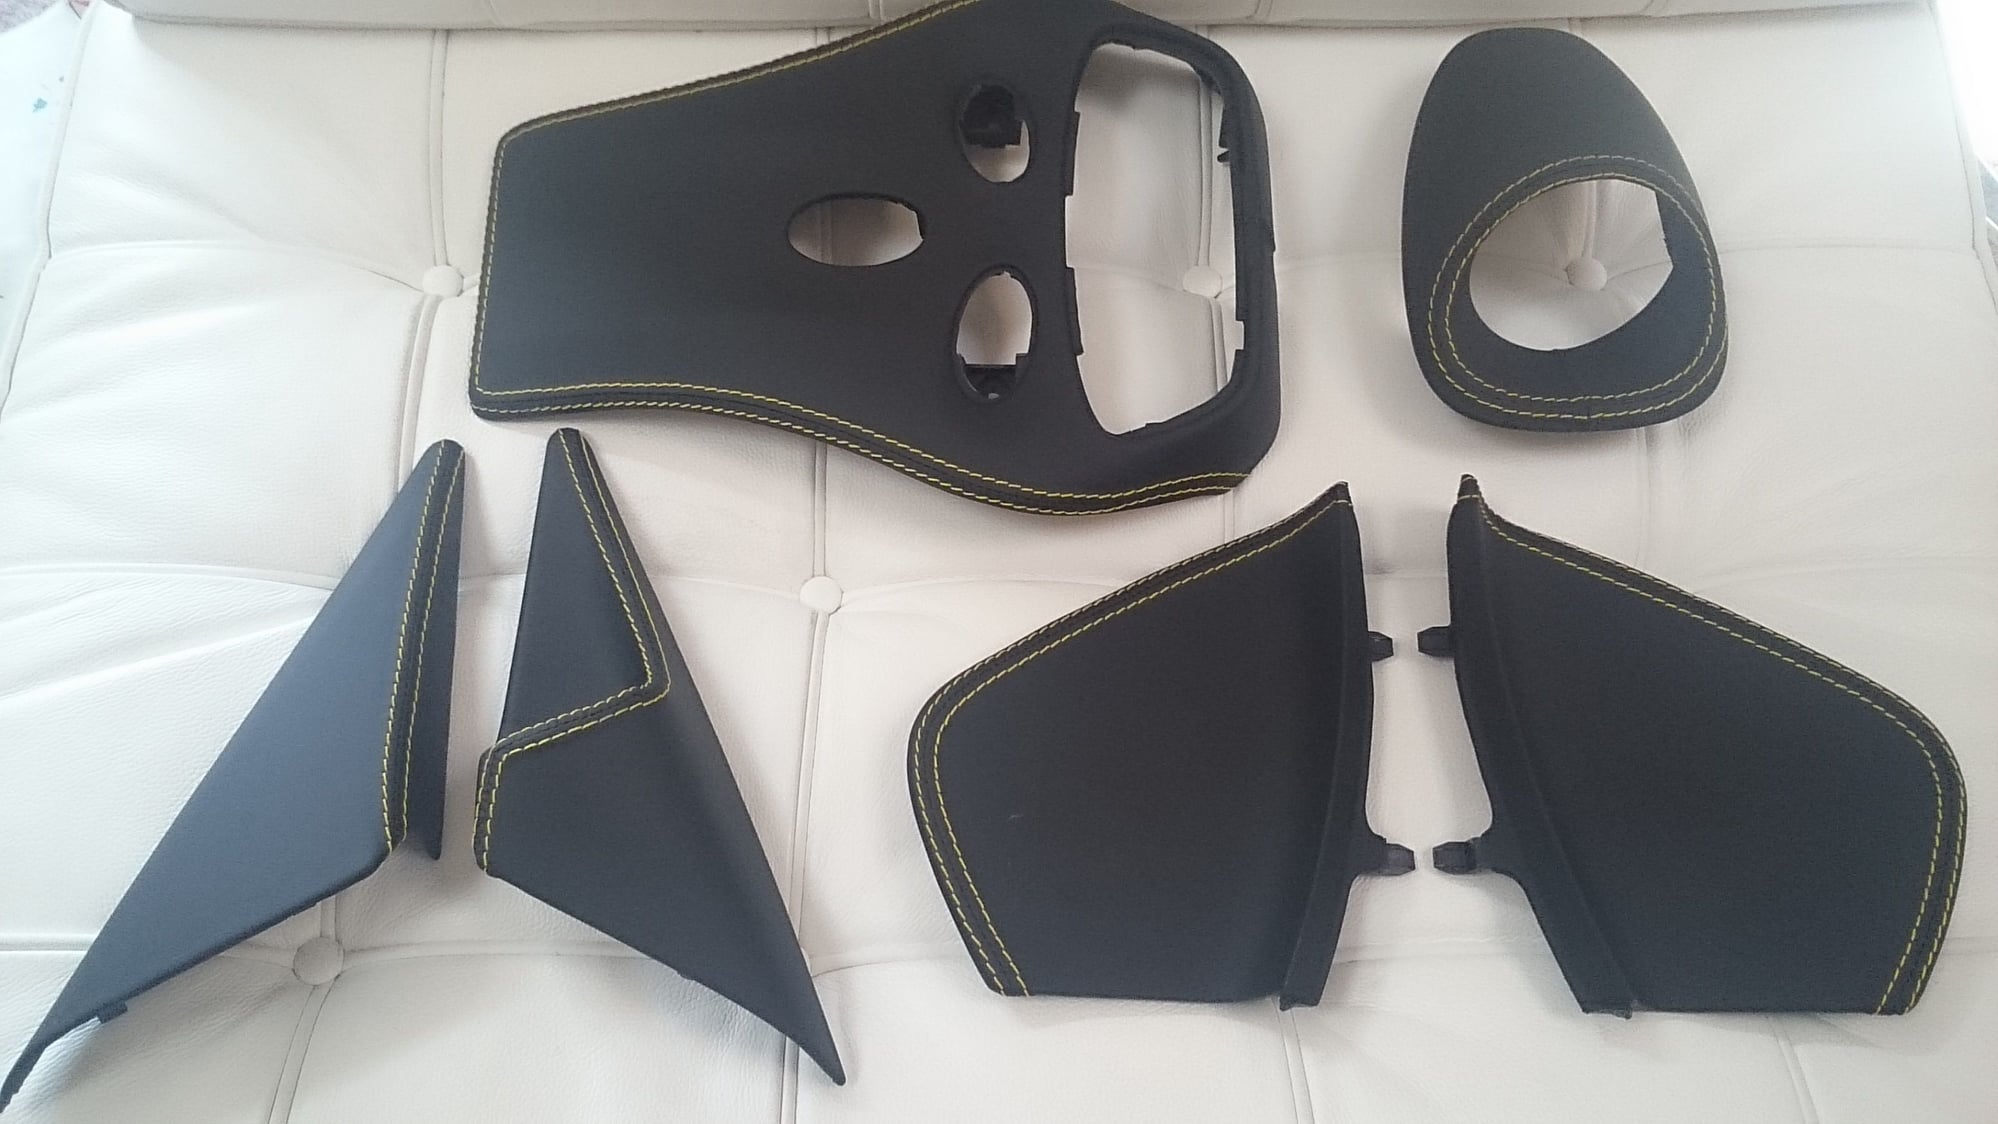
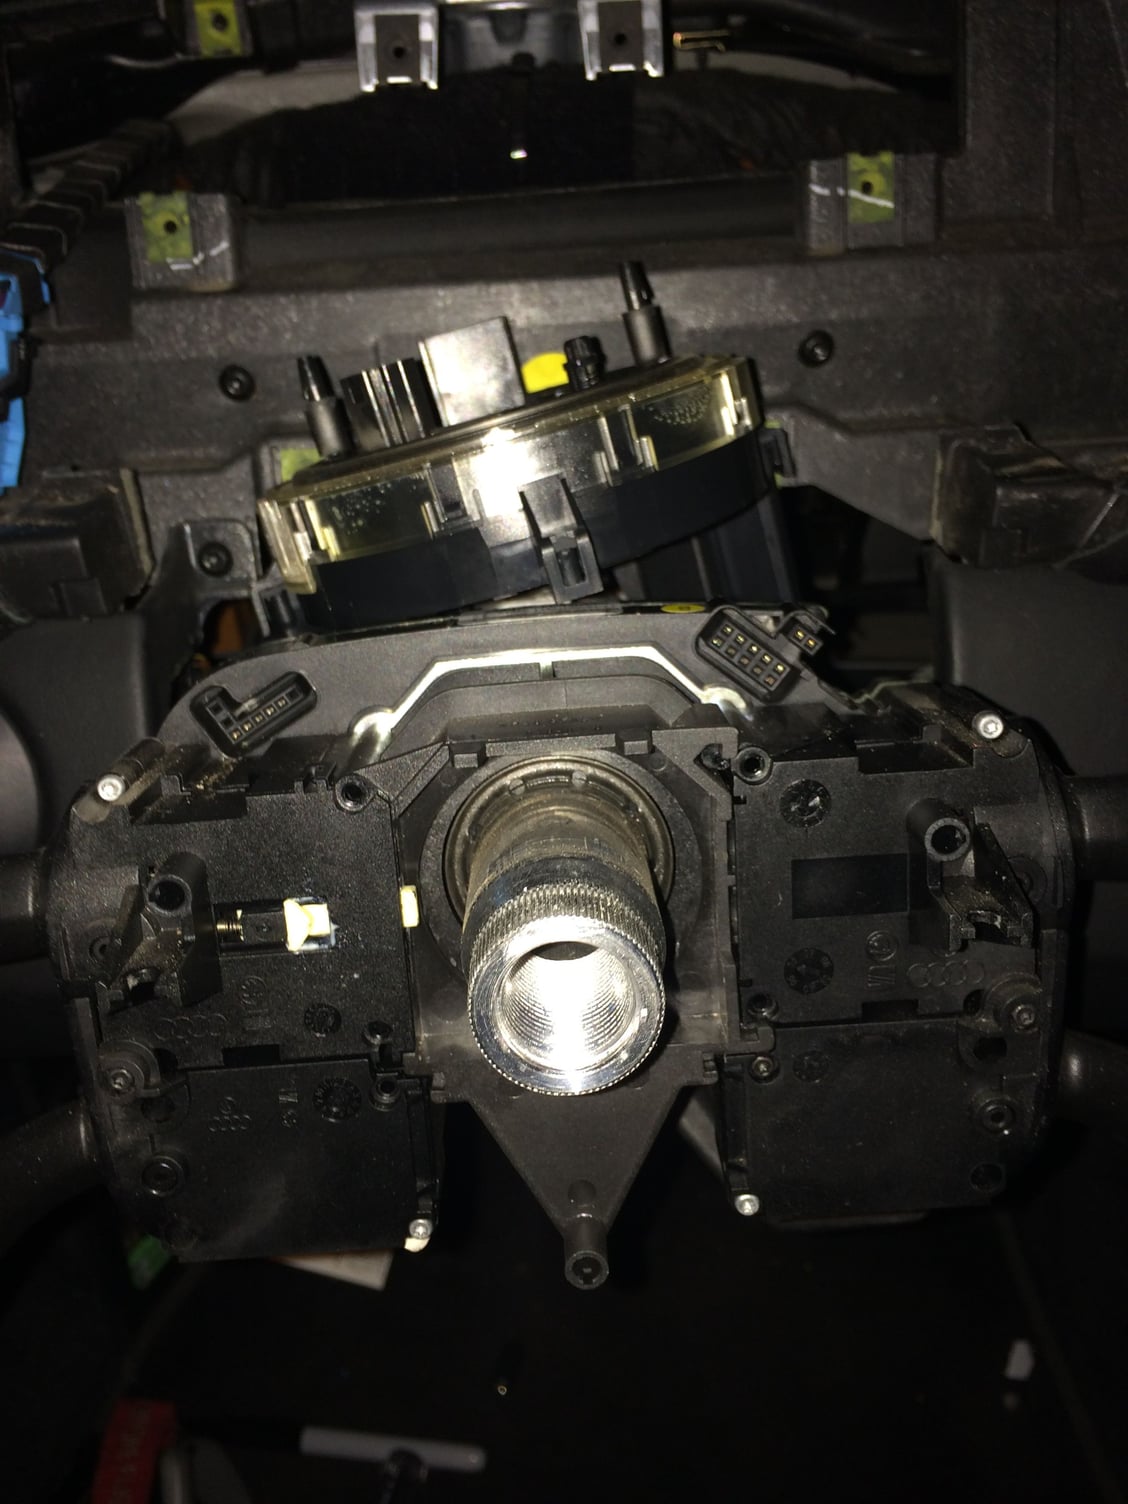
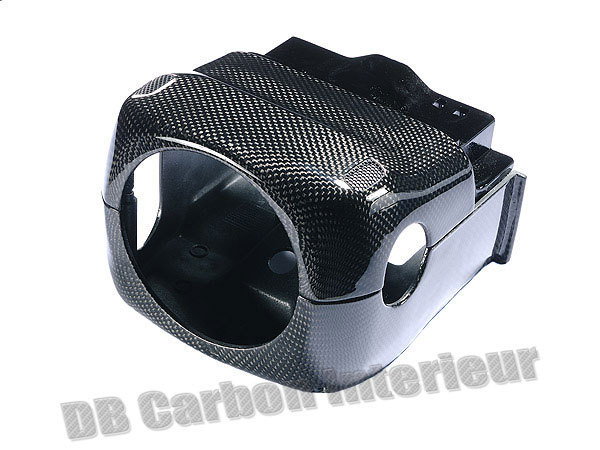
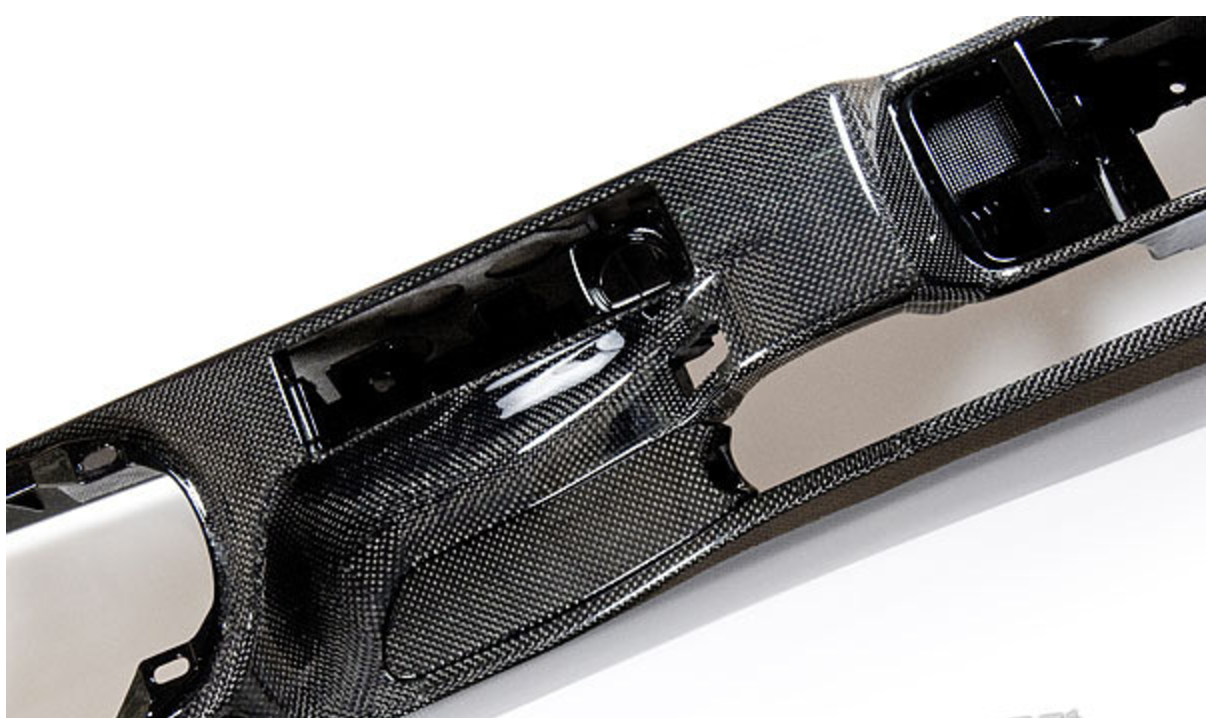
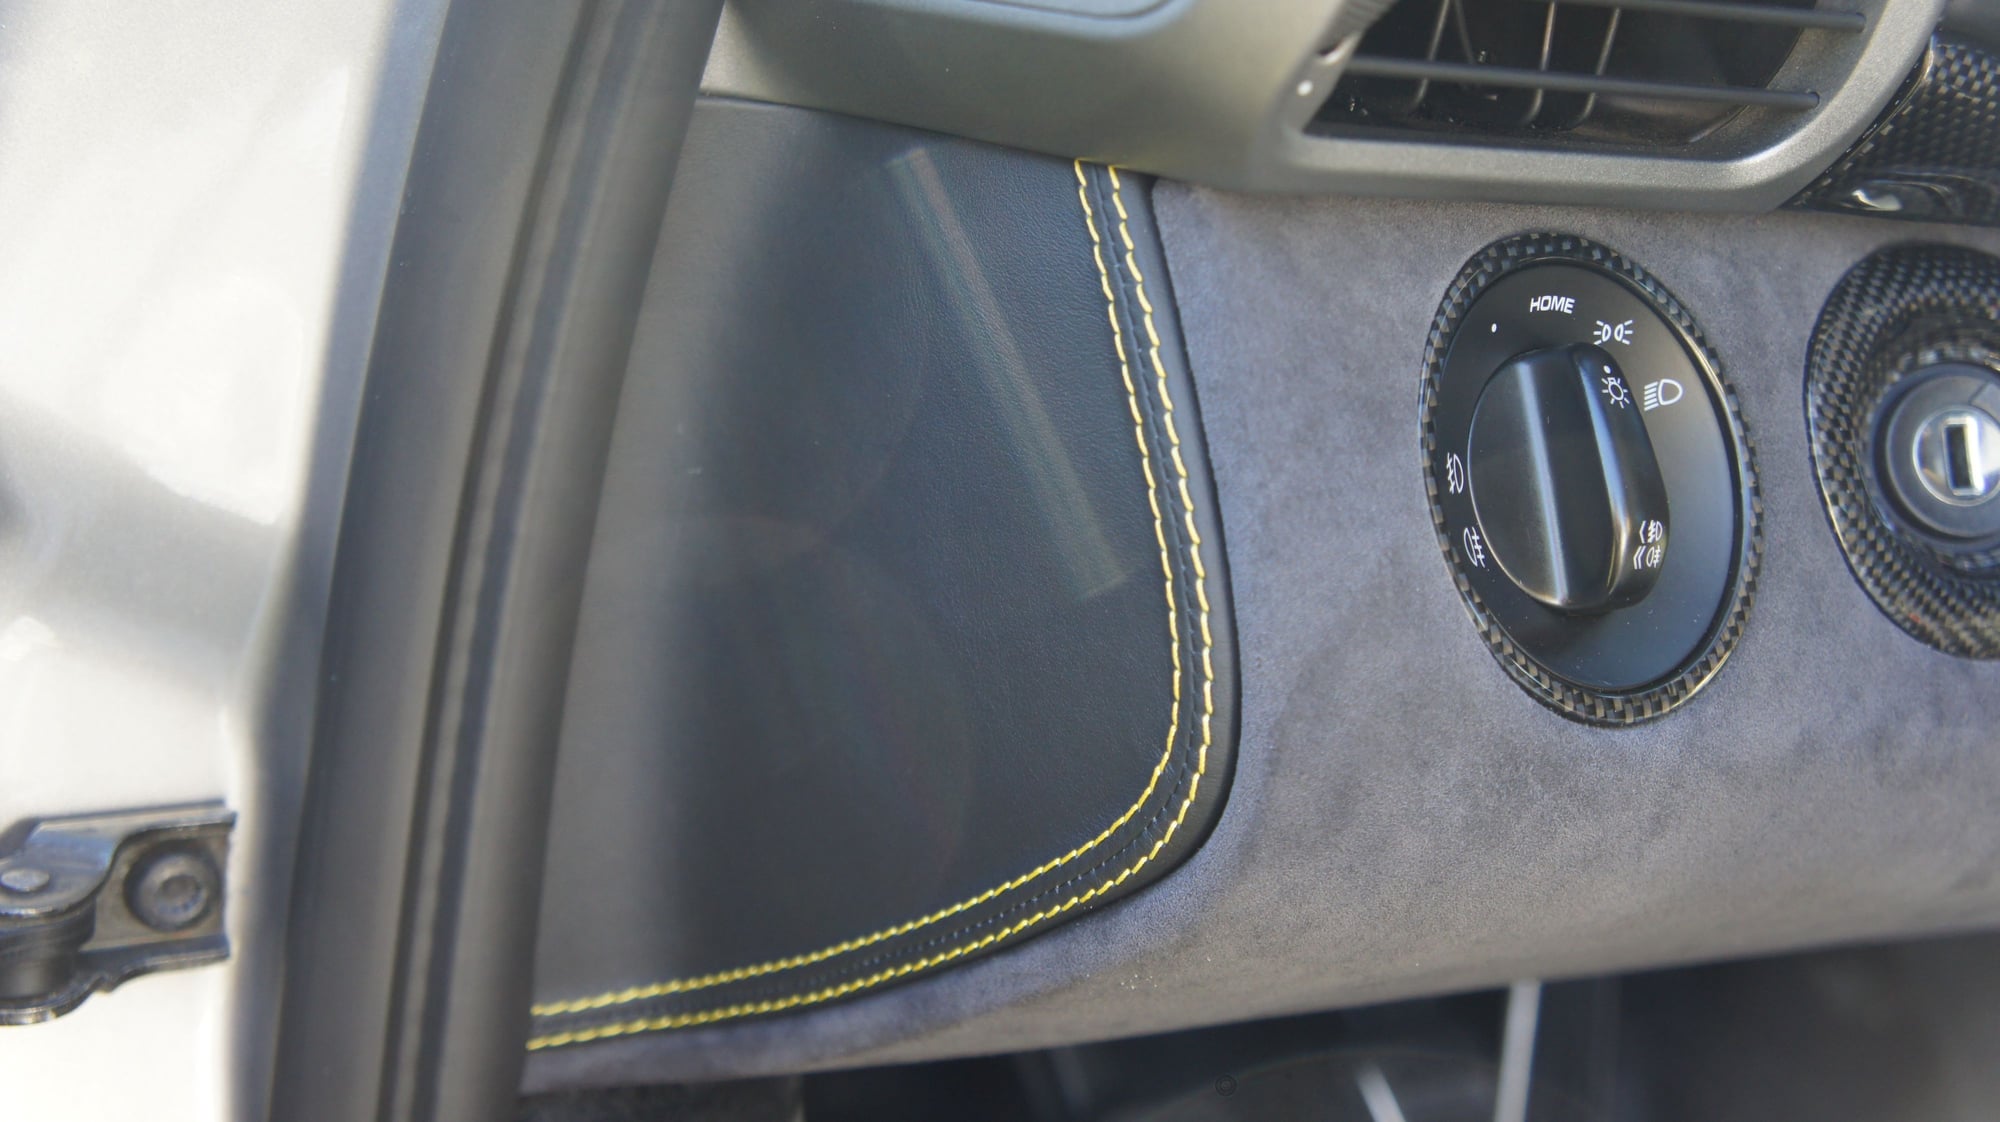
Piece above steering column and under instrument cluster
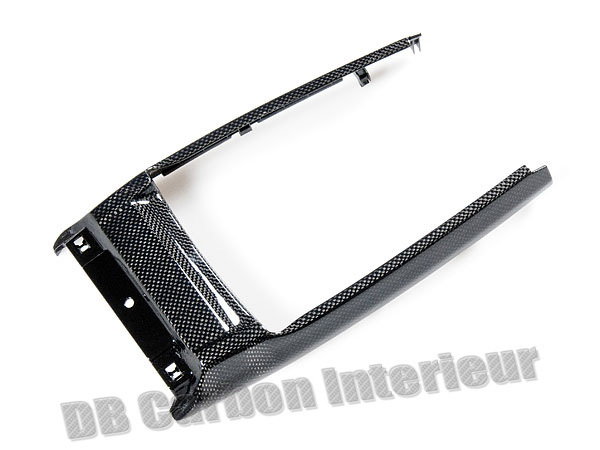
front consule
center consule
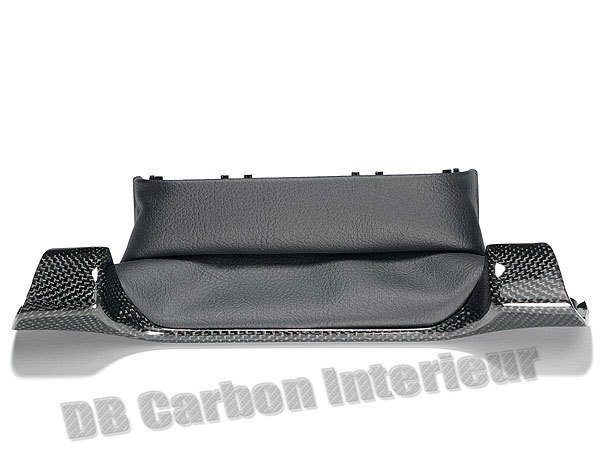
rear consule
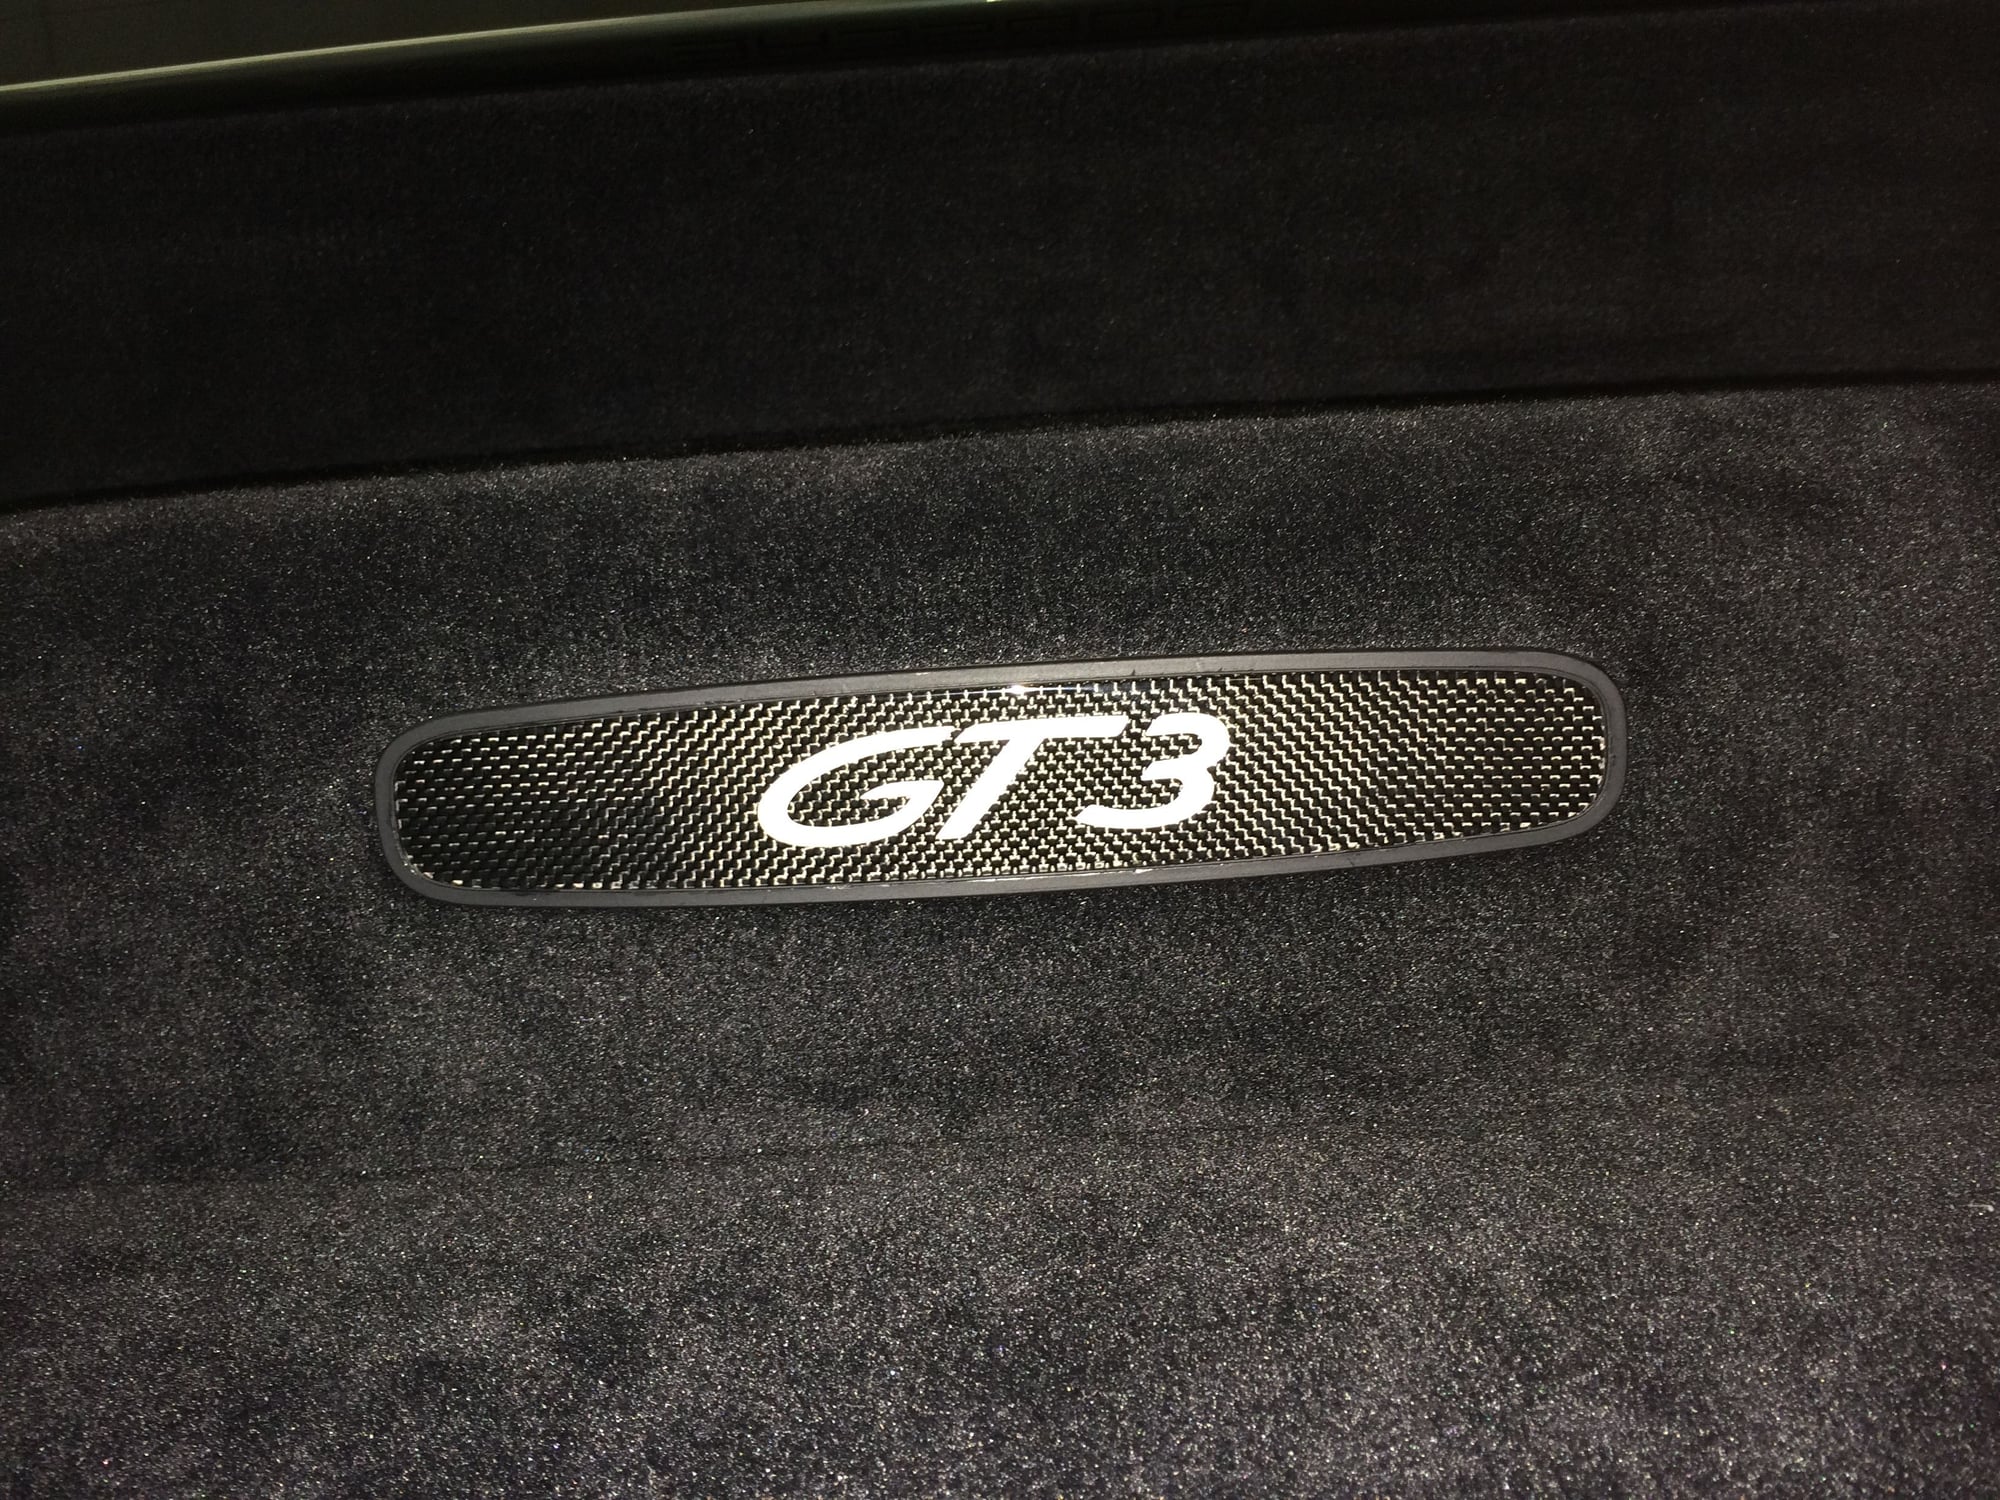
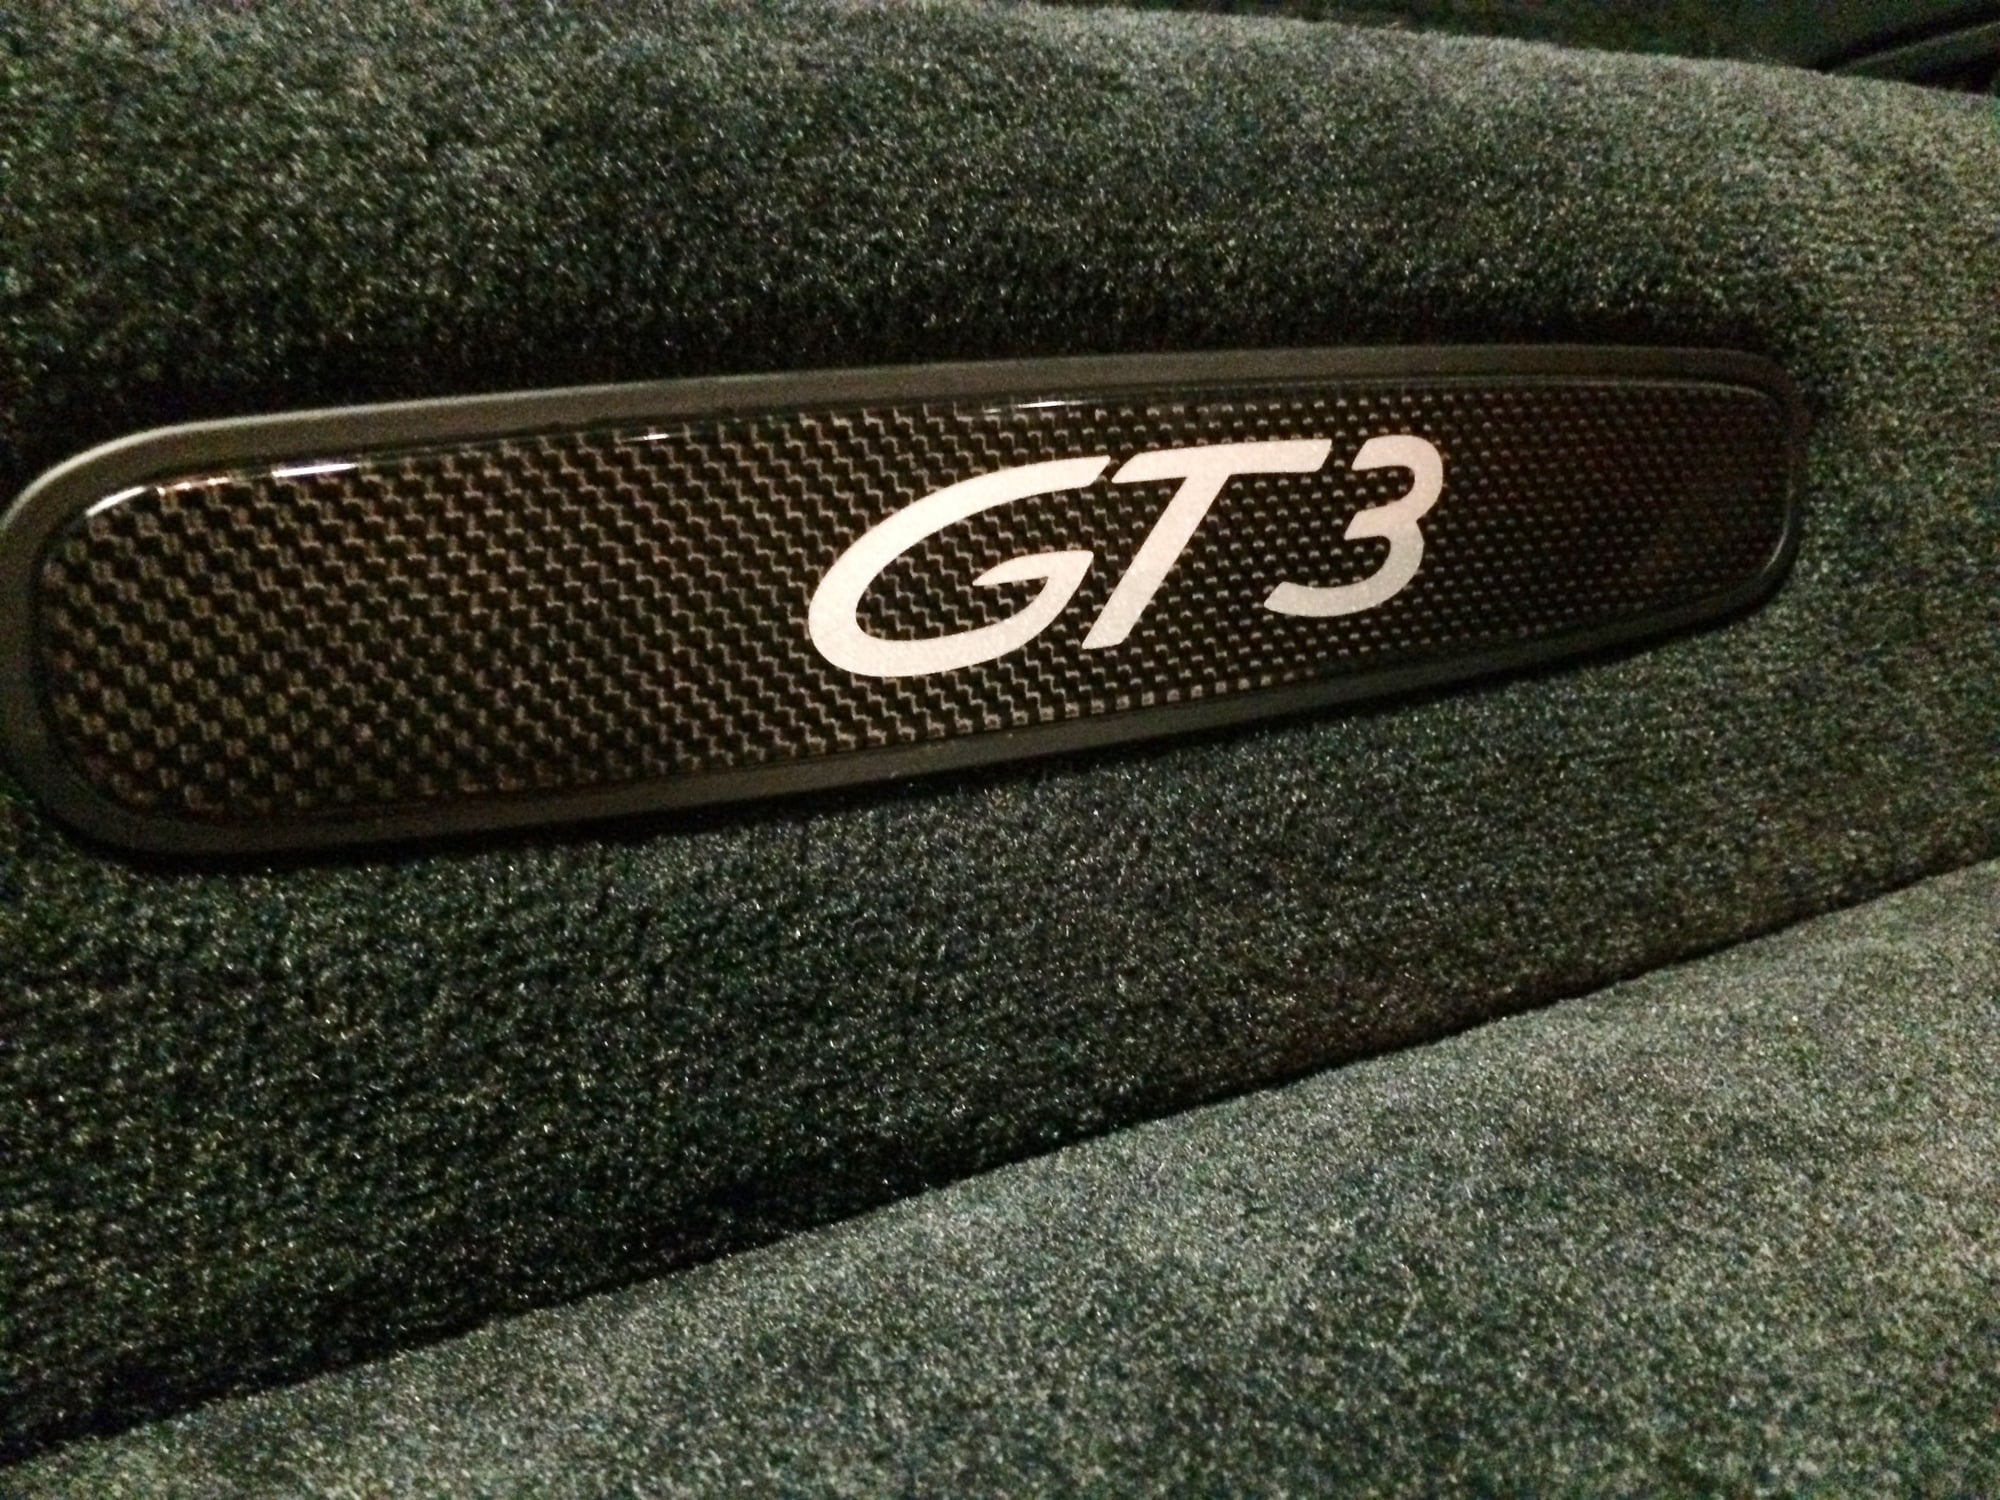
gt3 name plate on rear carpet
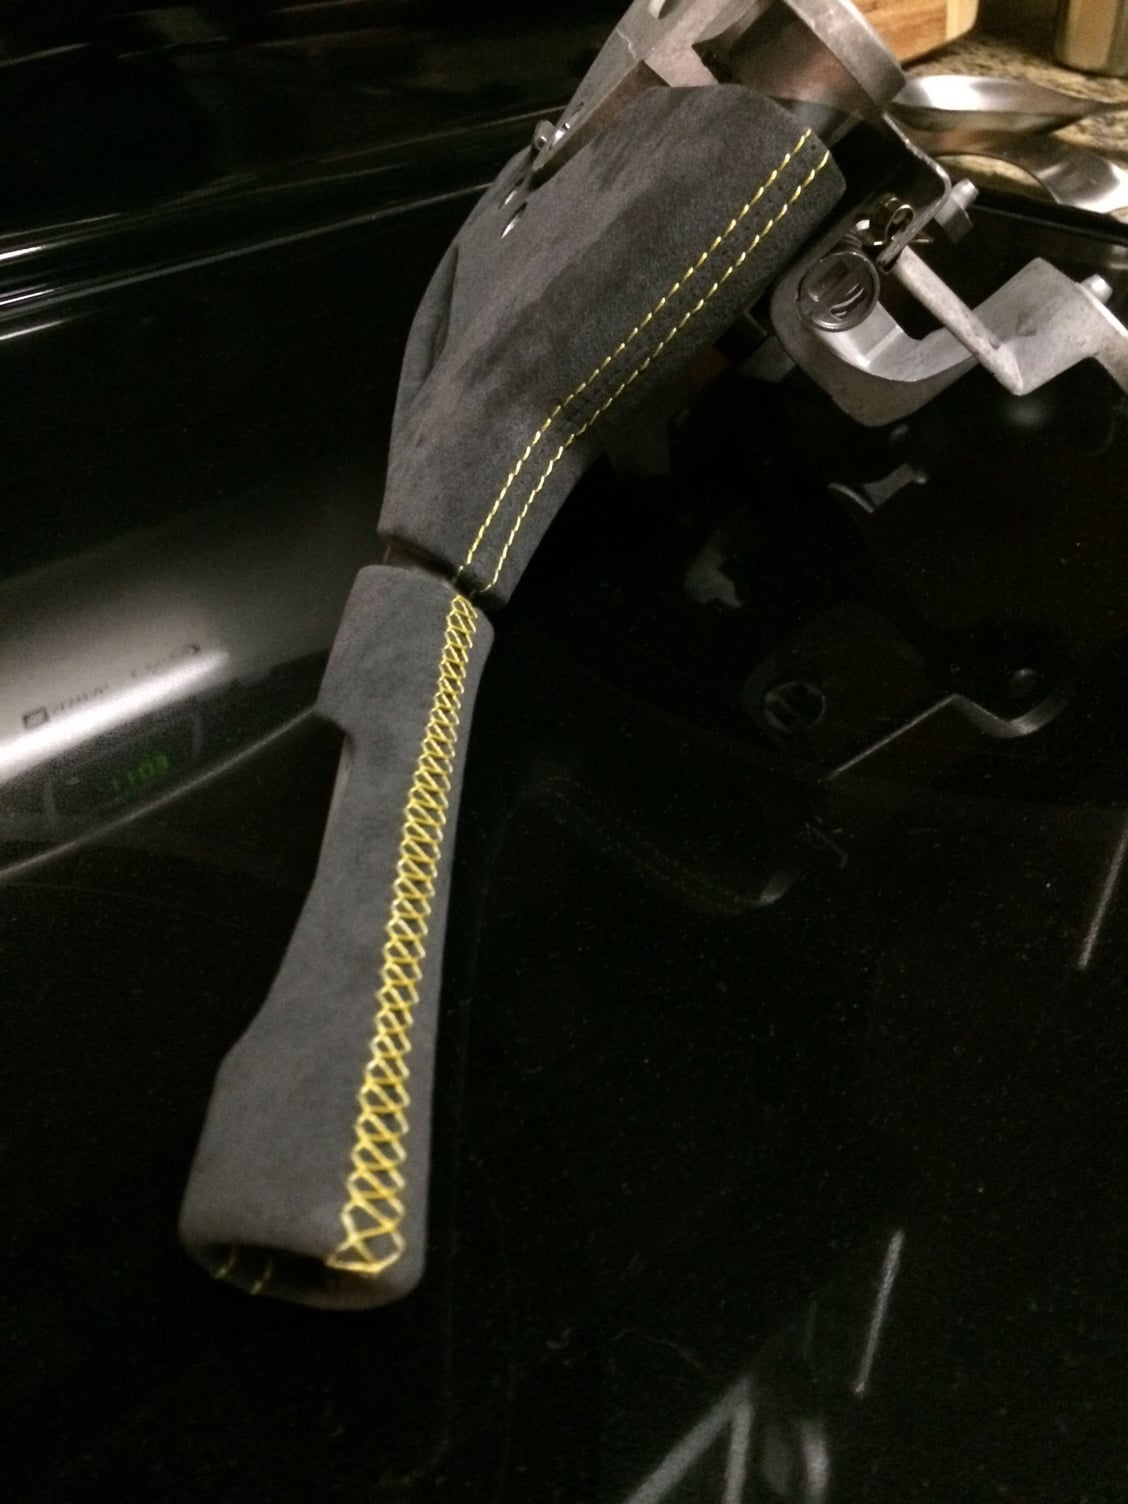
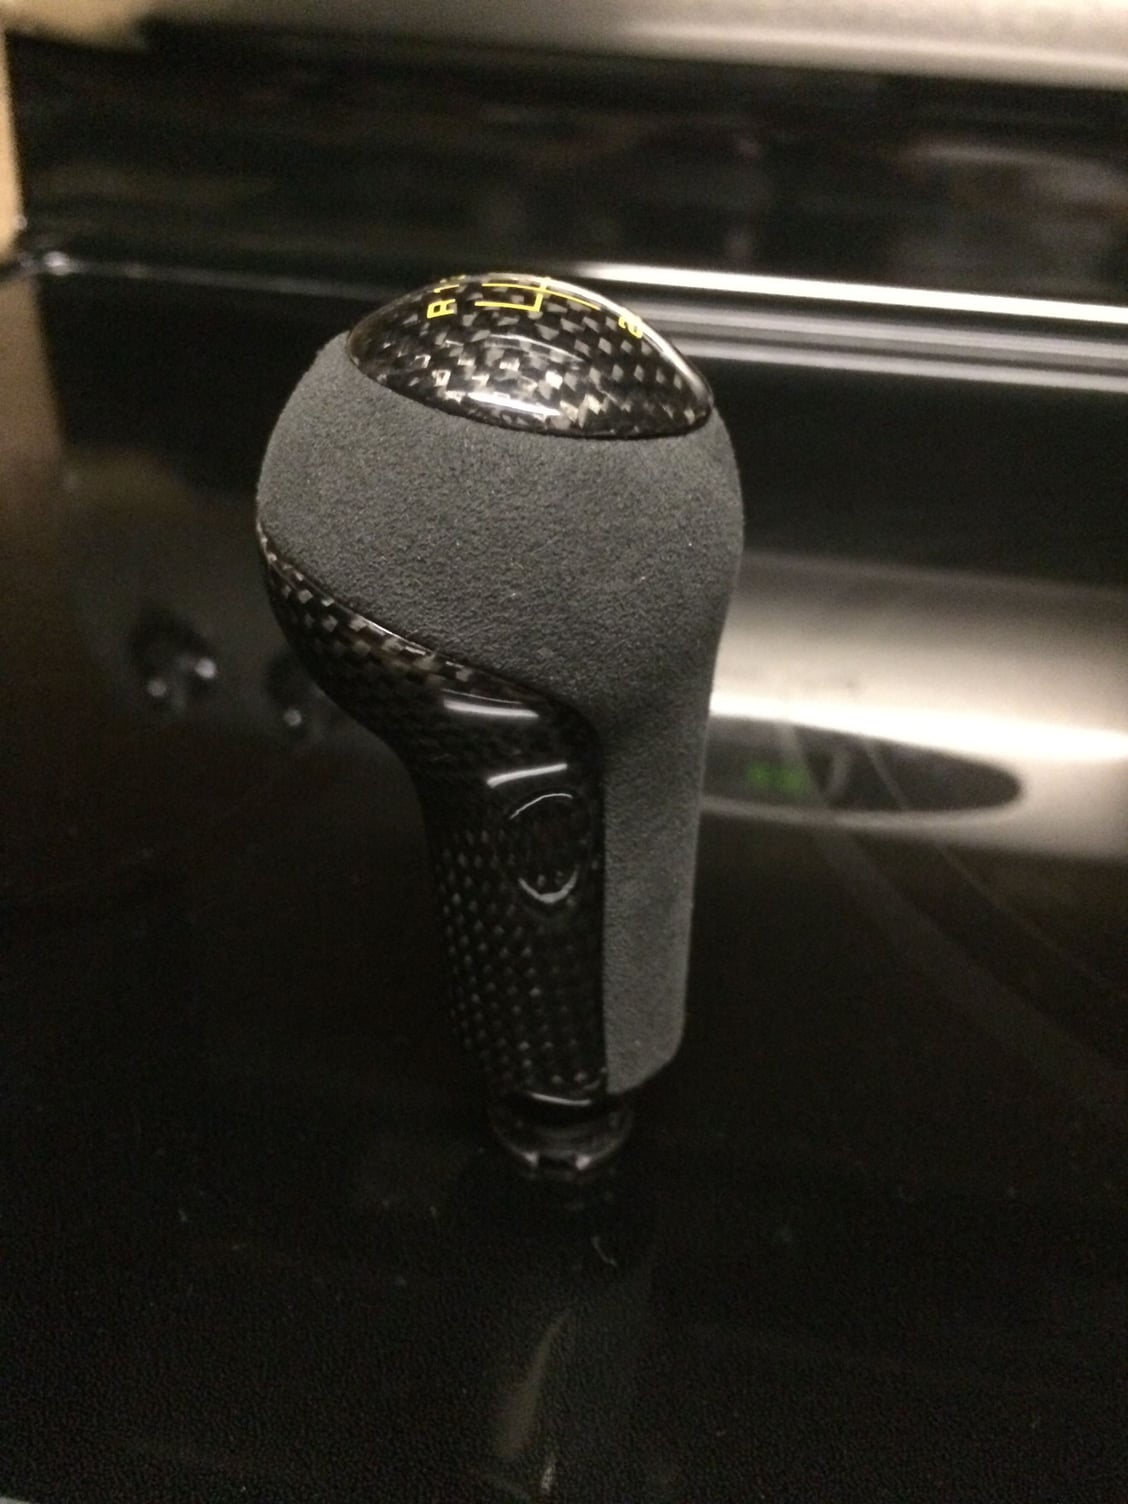
Shift **** front
Shift **** cap with gear pattern in yellow
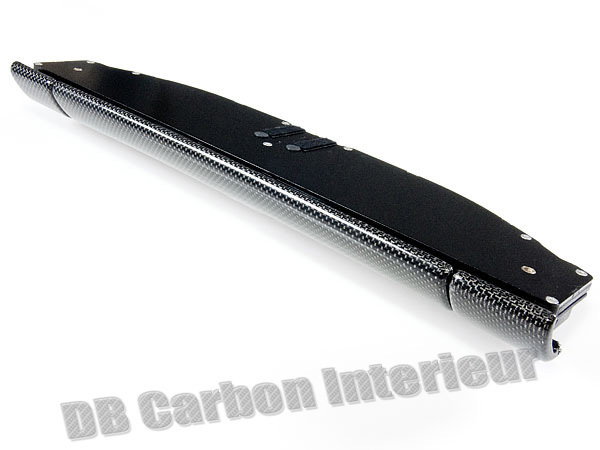
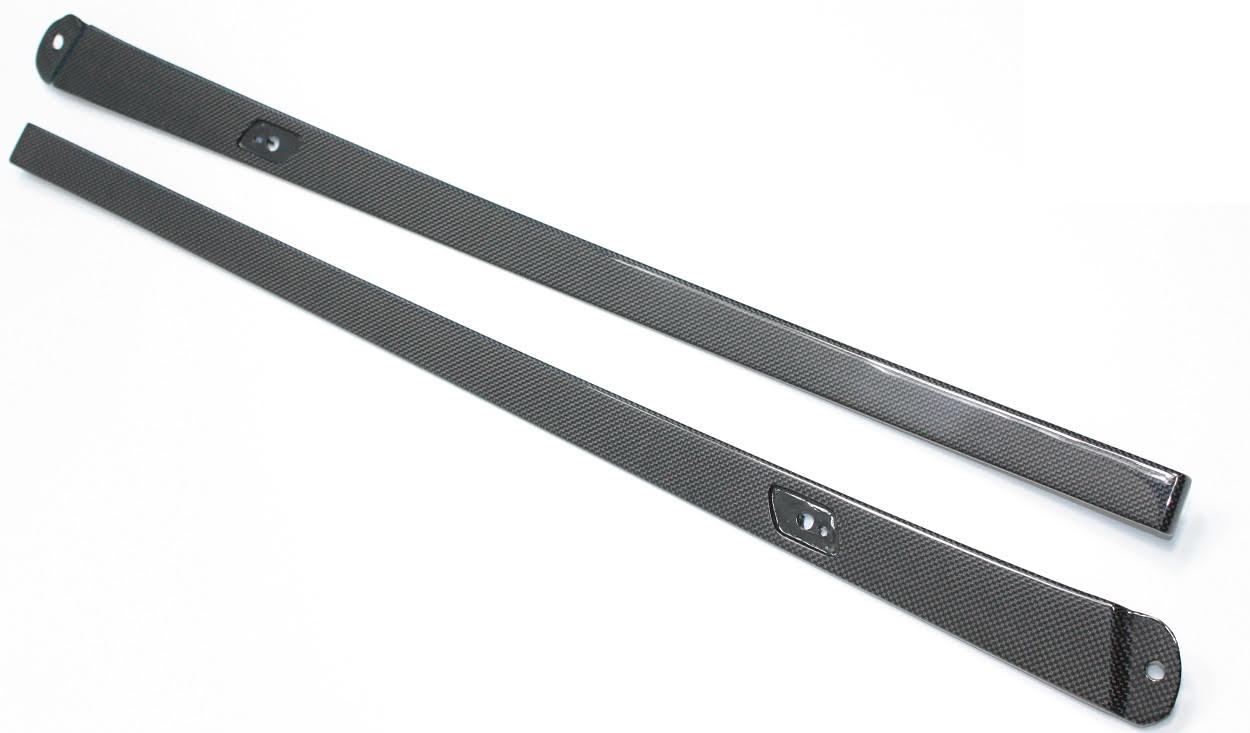
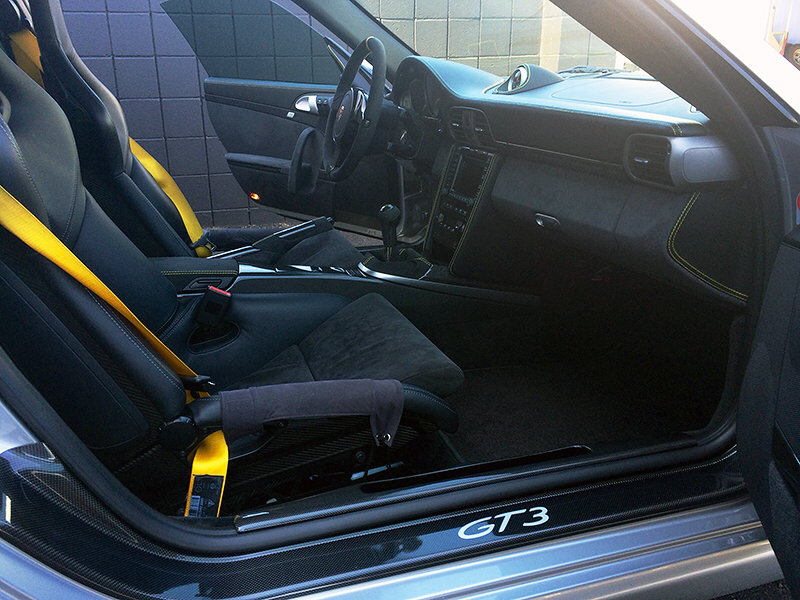
outer full length door sills
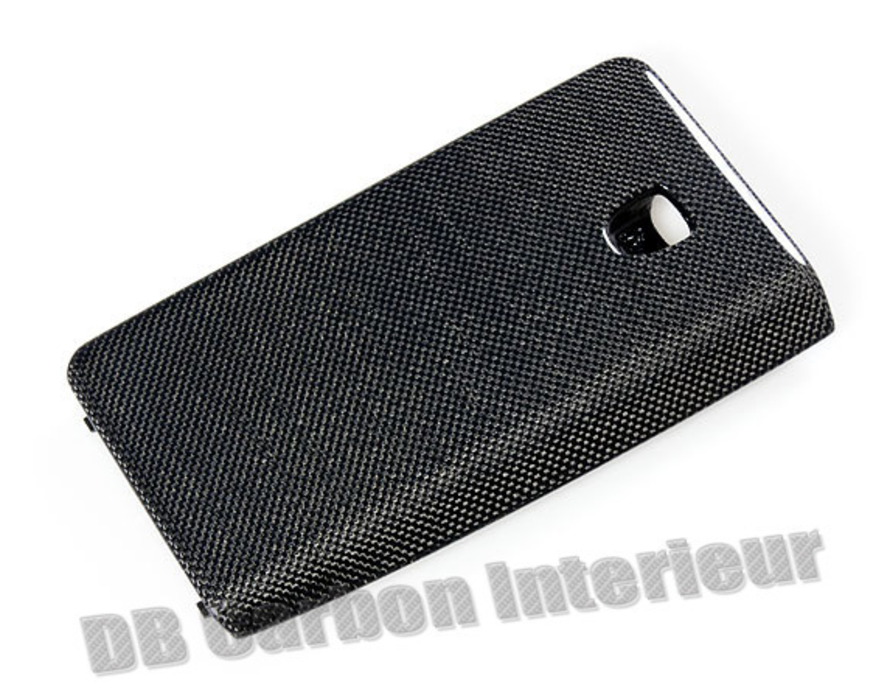
fuse box cover
seat belt opening
rectangle piece on front door panel
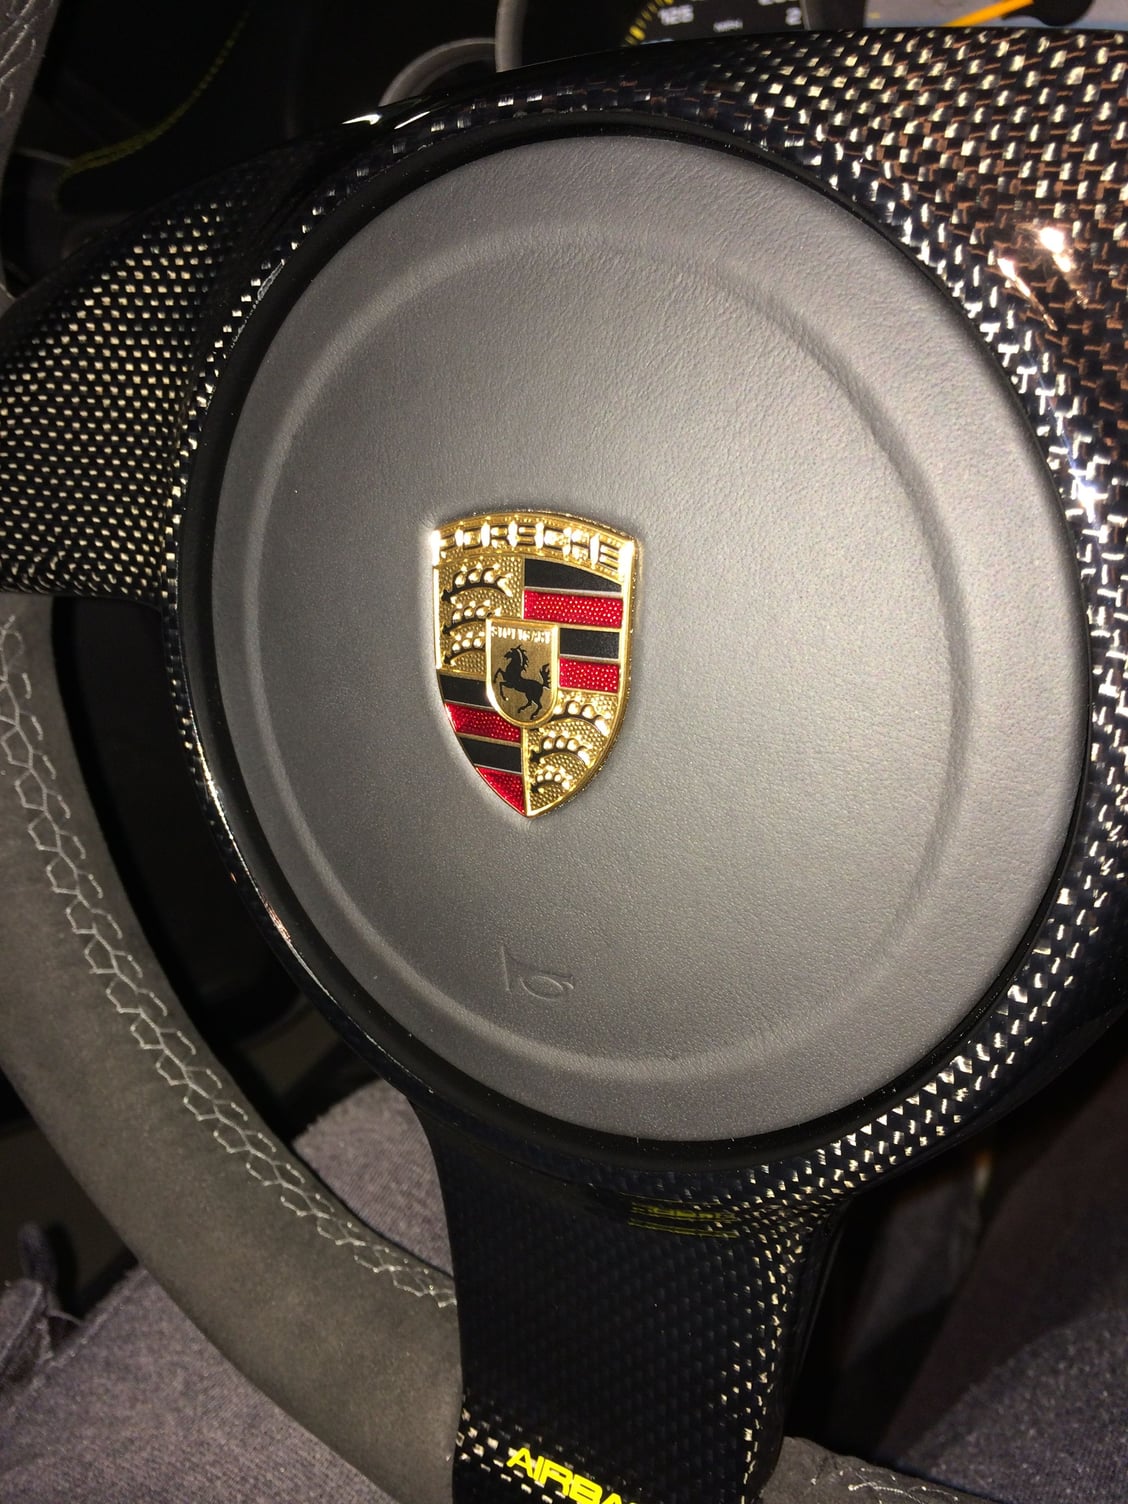
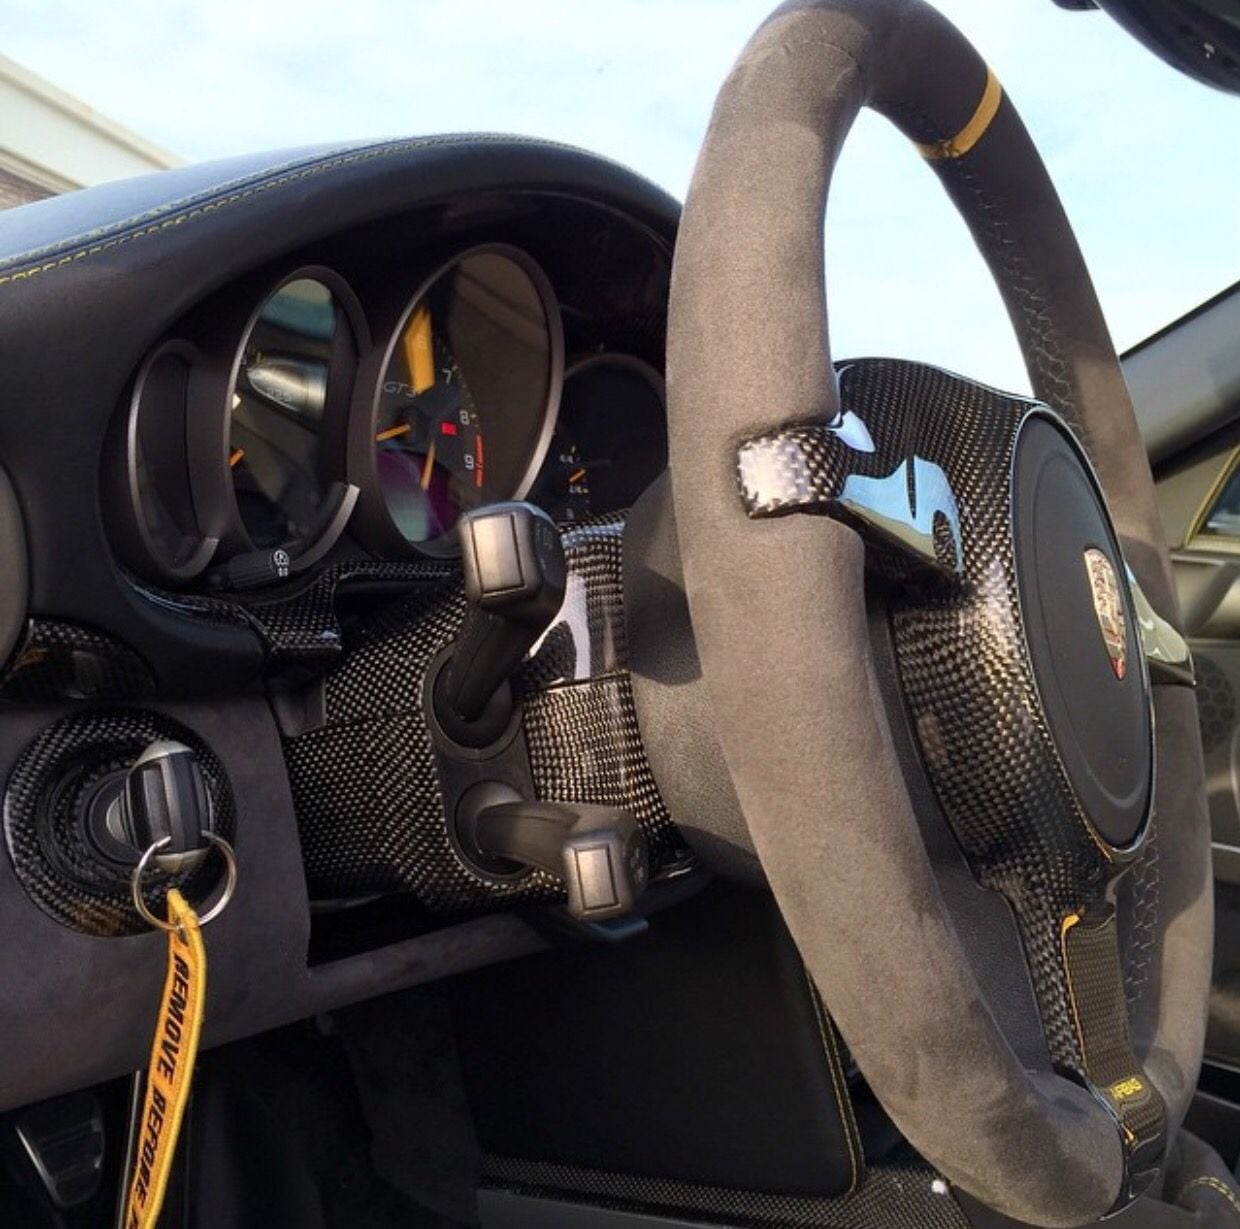
steering wheel center trim with airbag logo in yellow
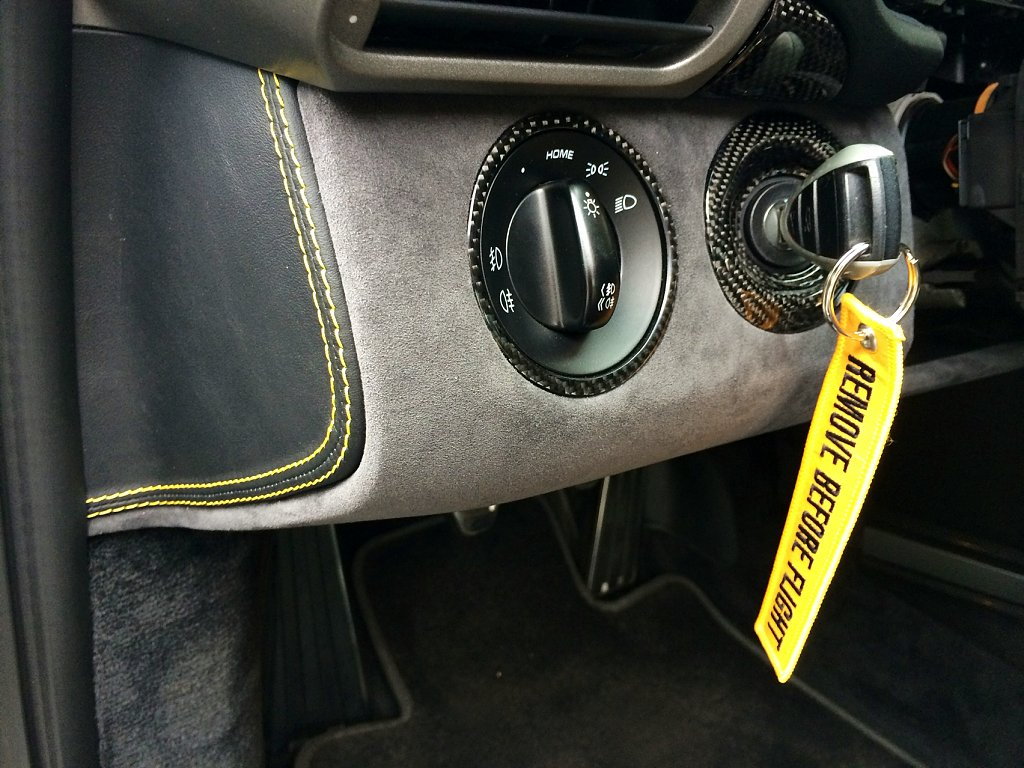
light switch surround
ignition surround
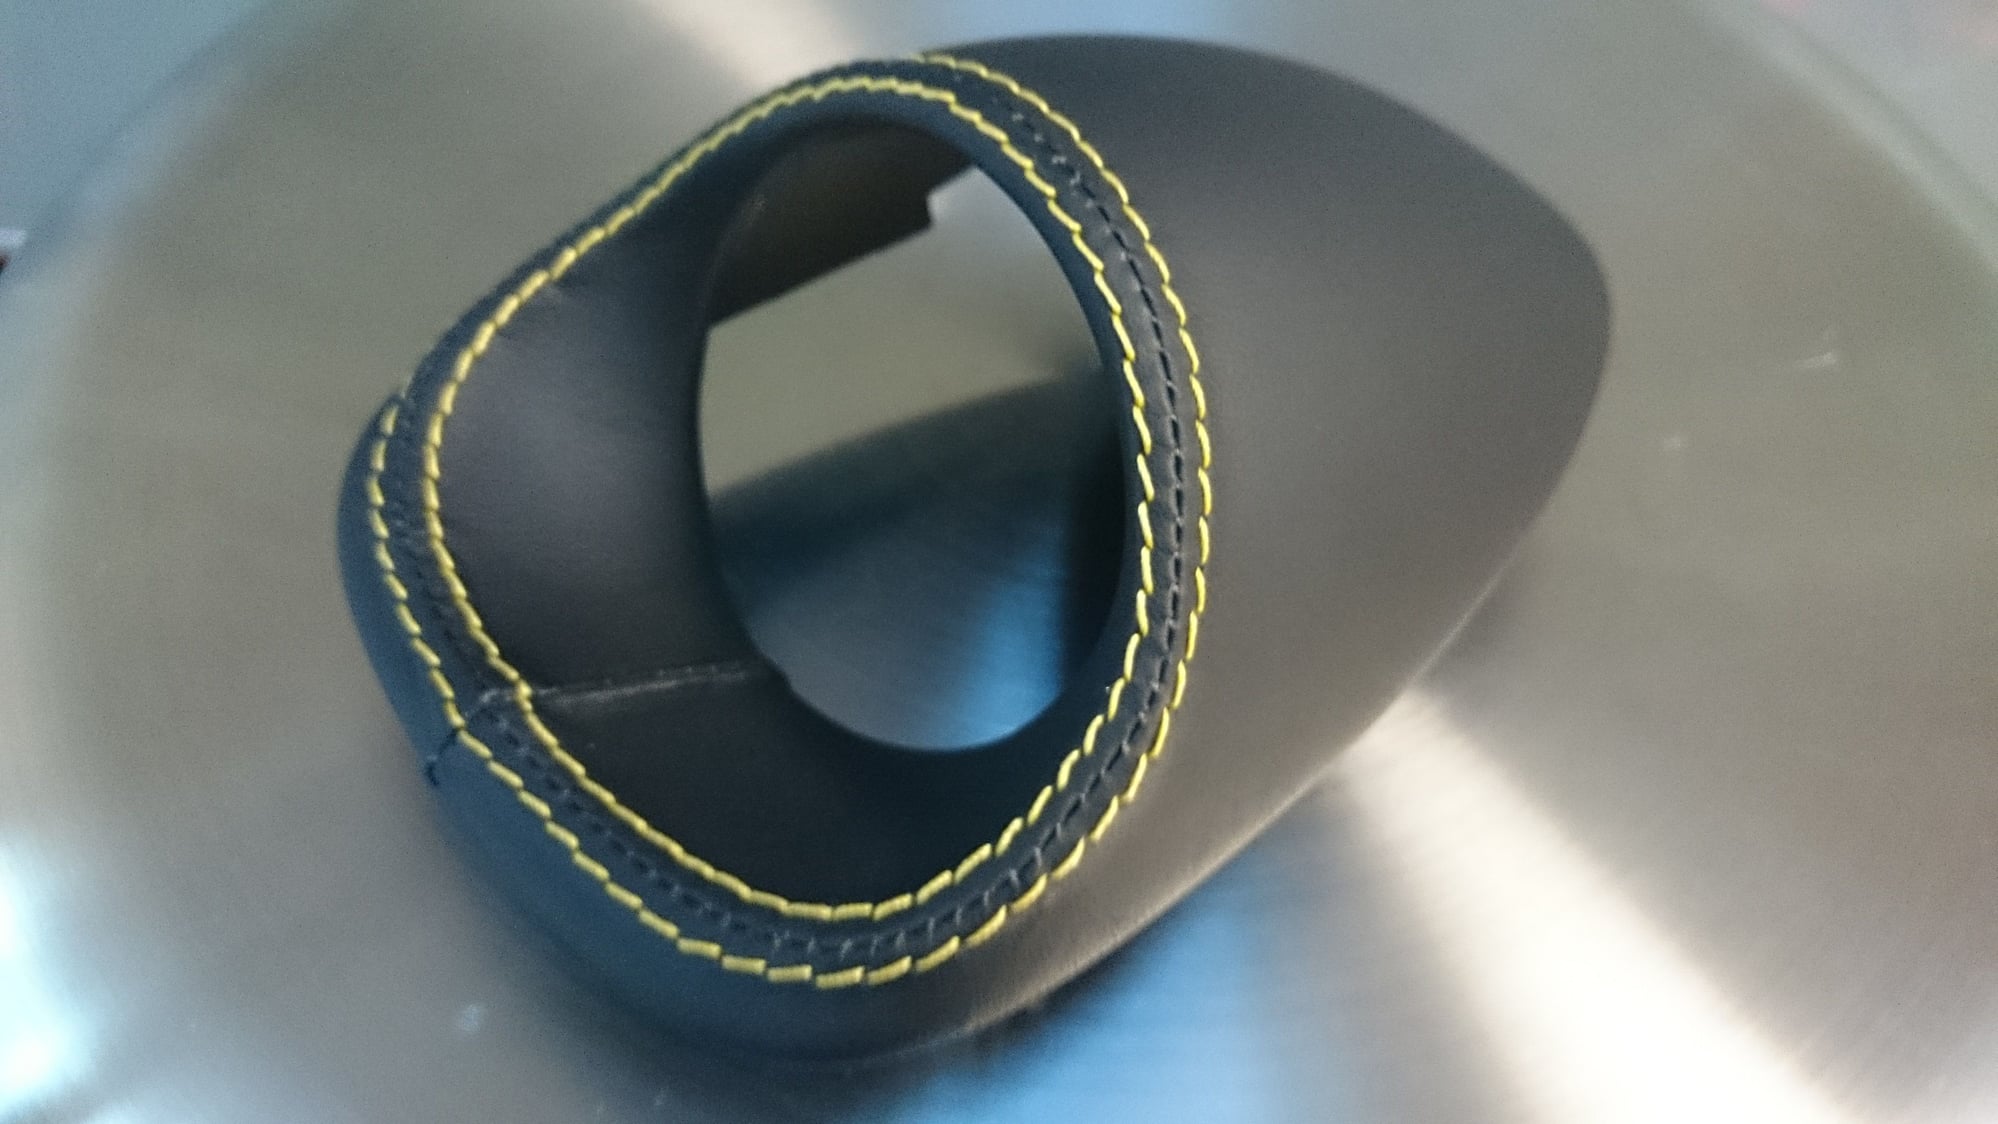
e-brake button
e-brake back trim
Inner door sills
Long door trim
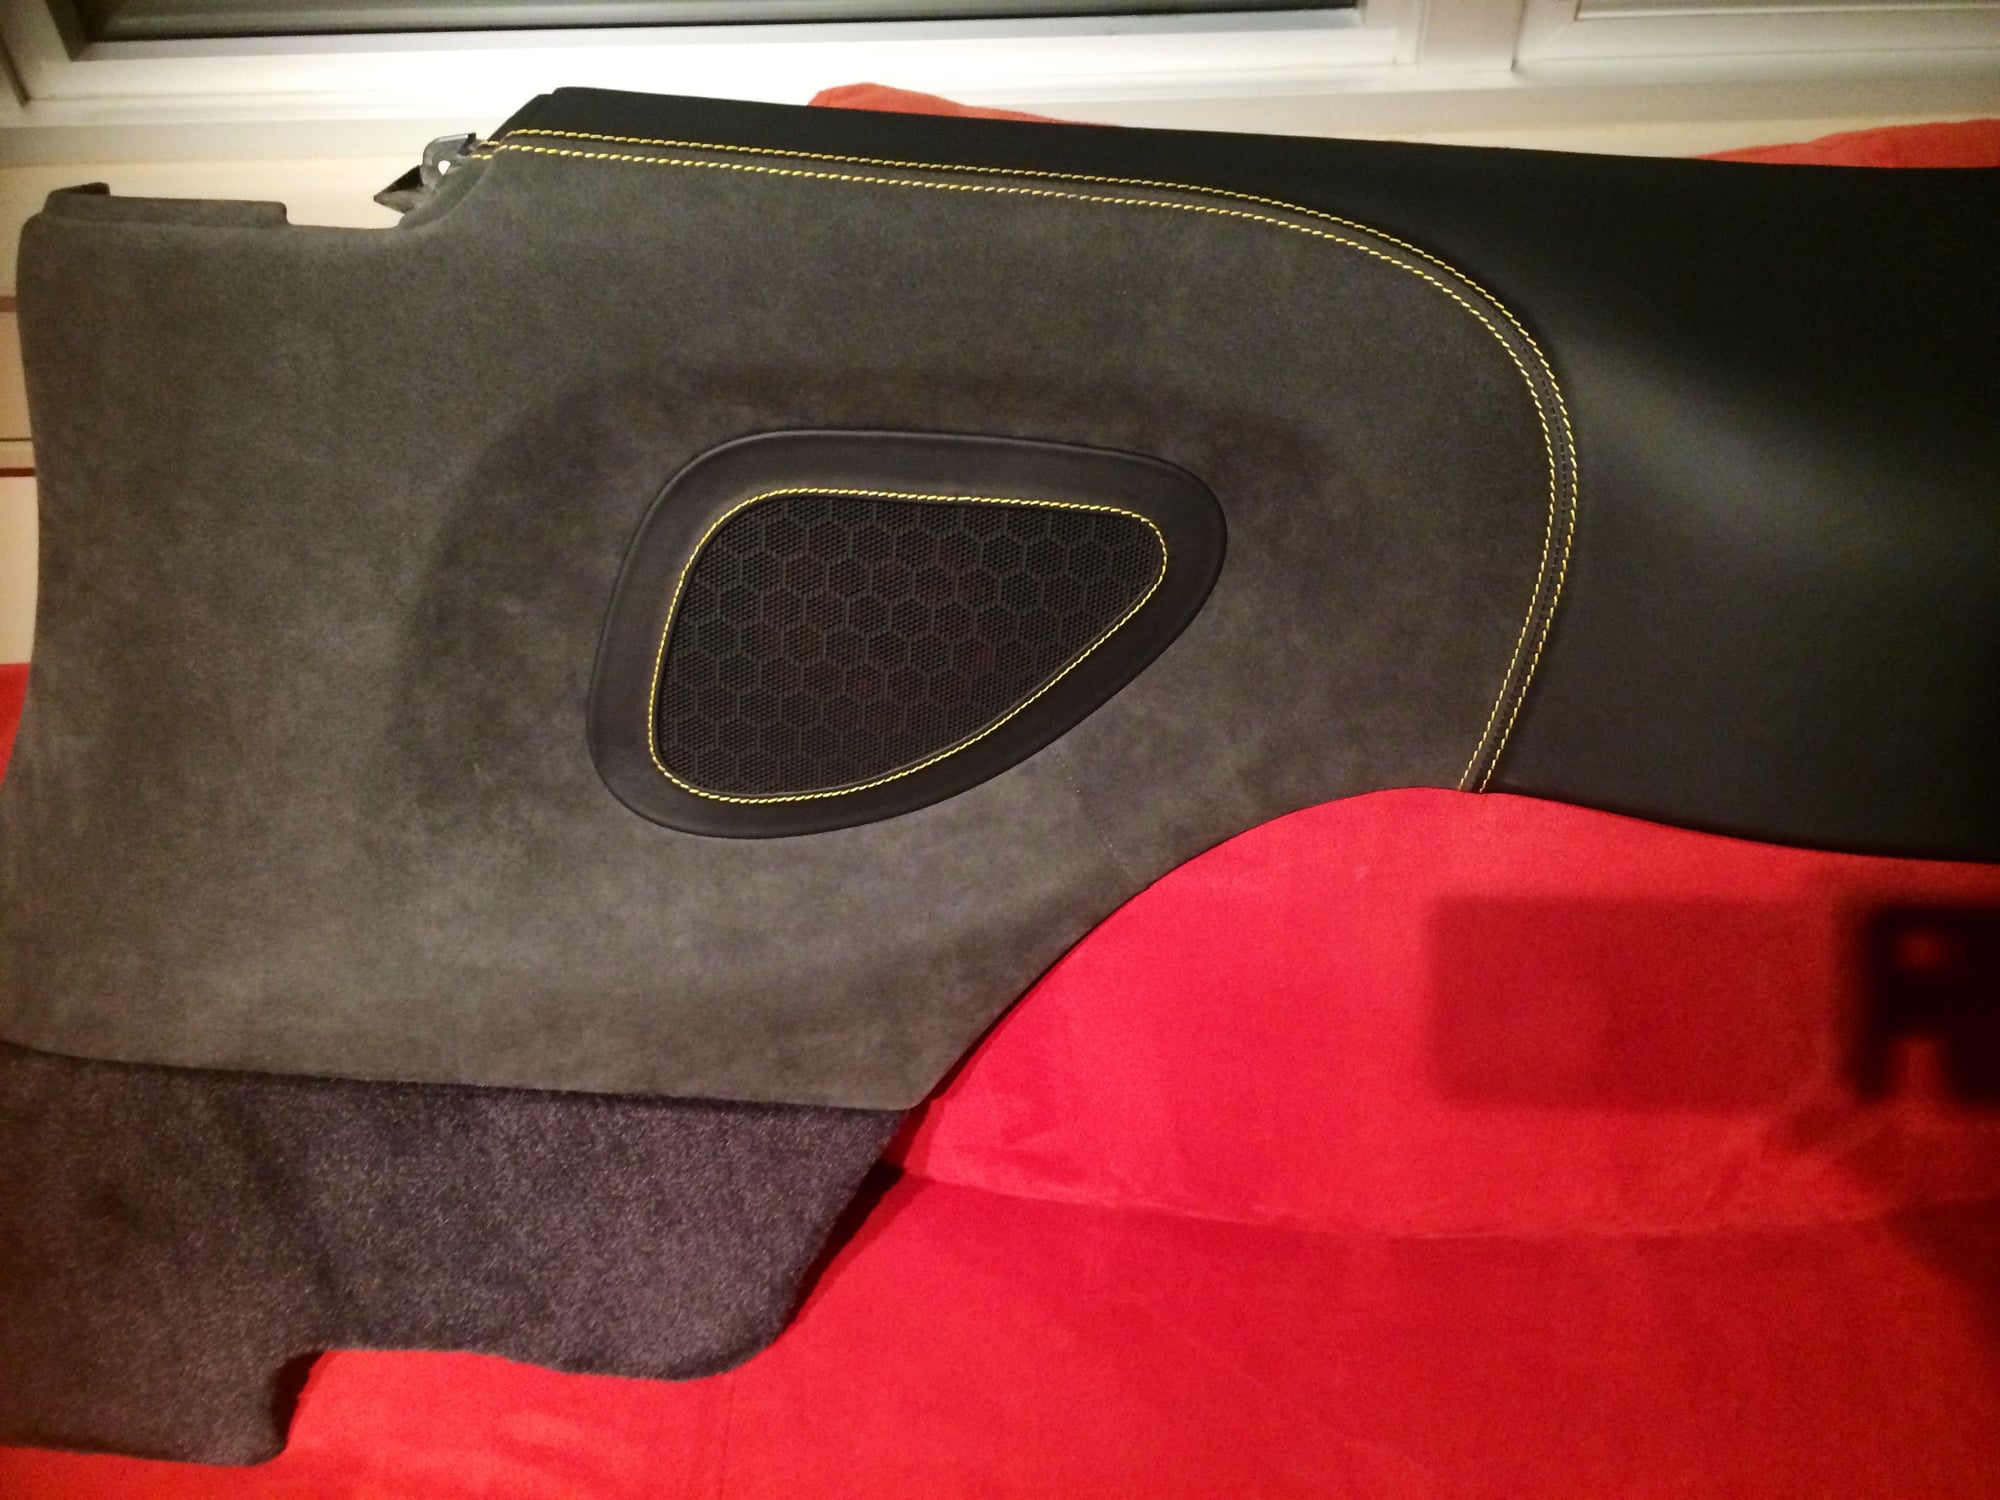
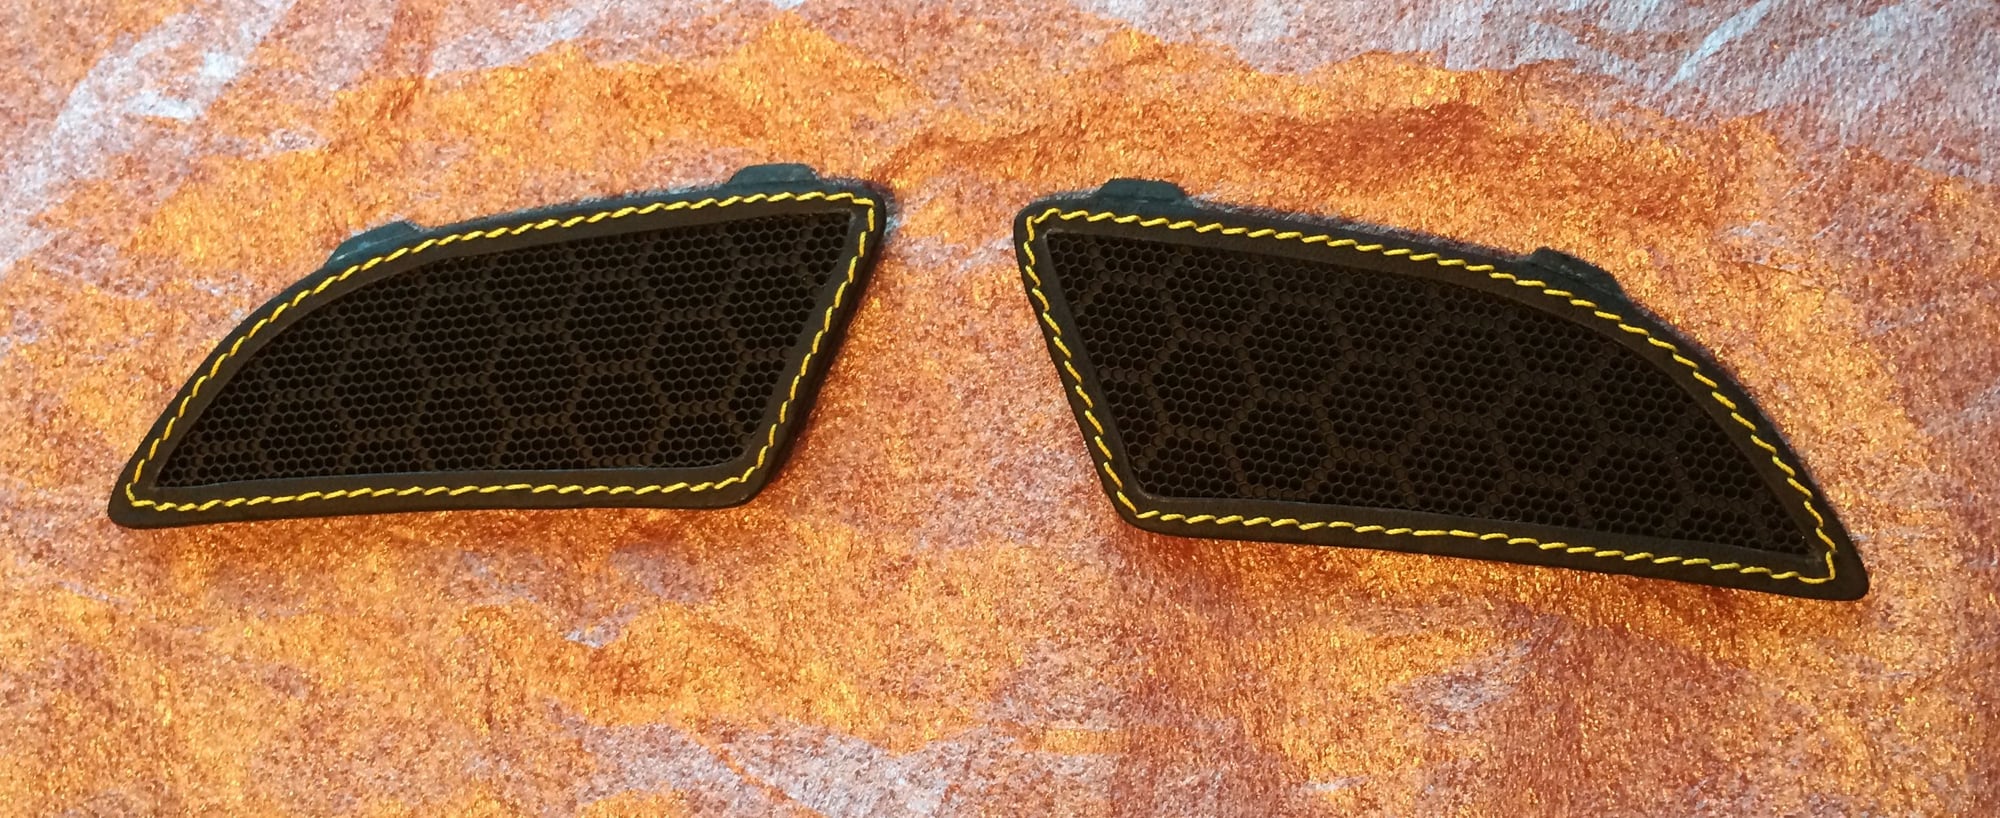
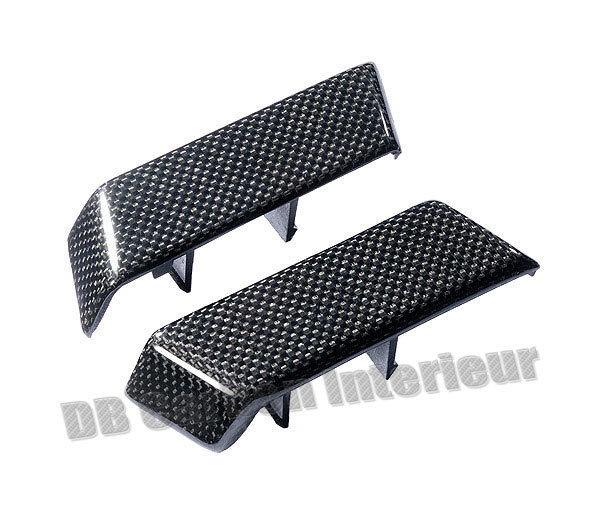
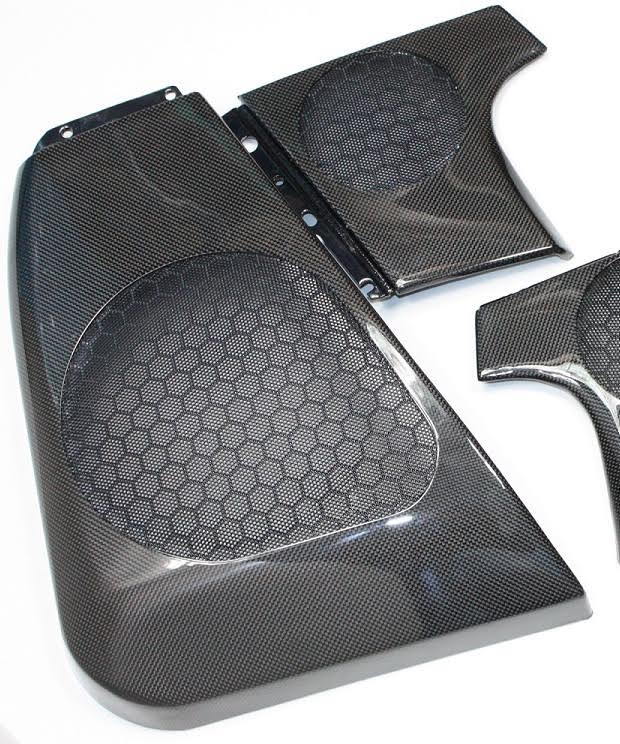
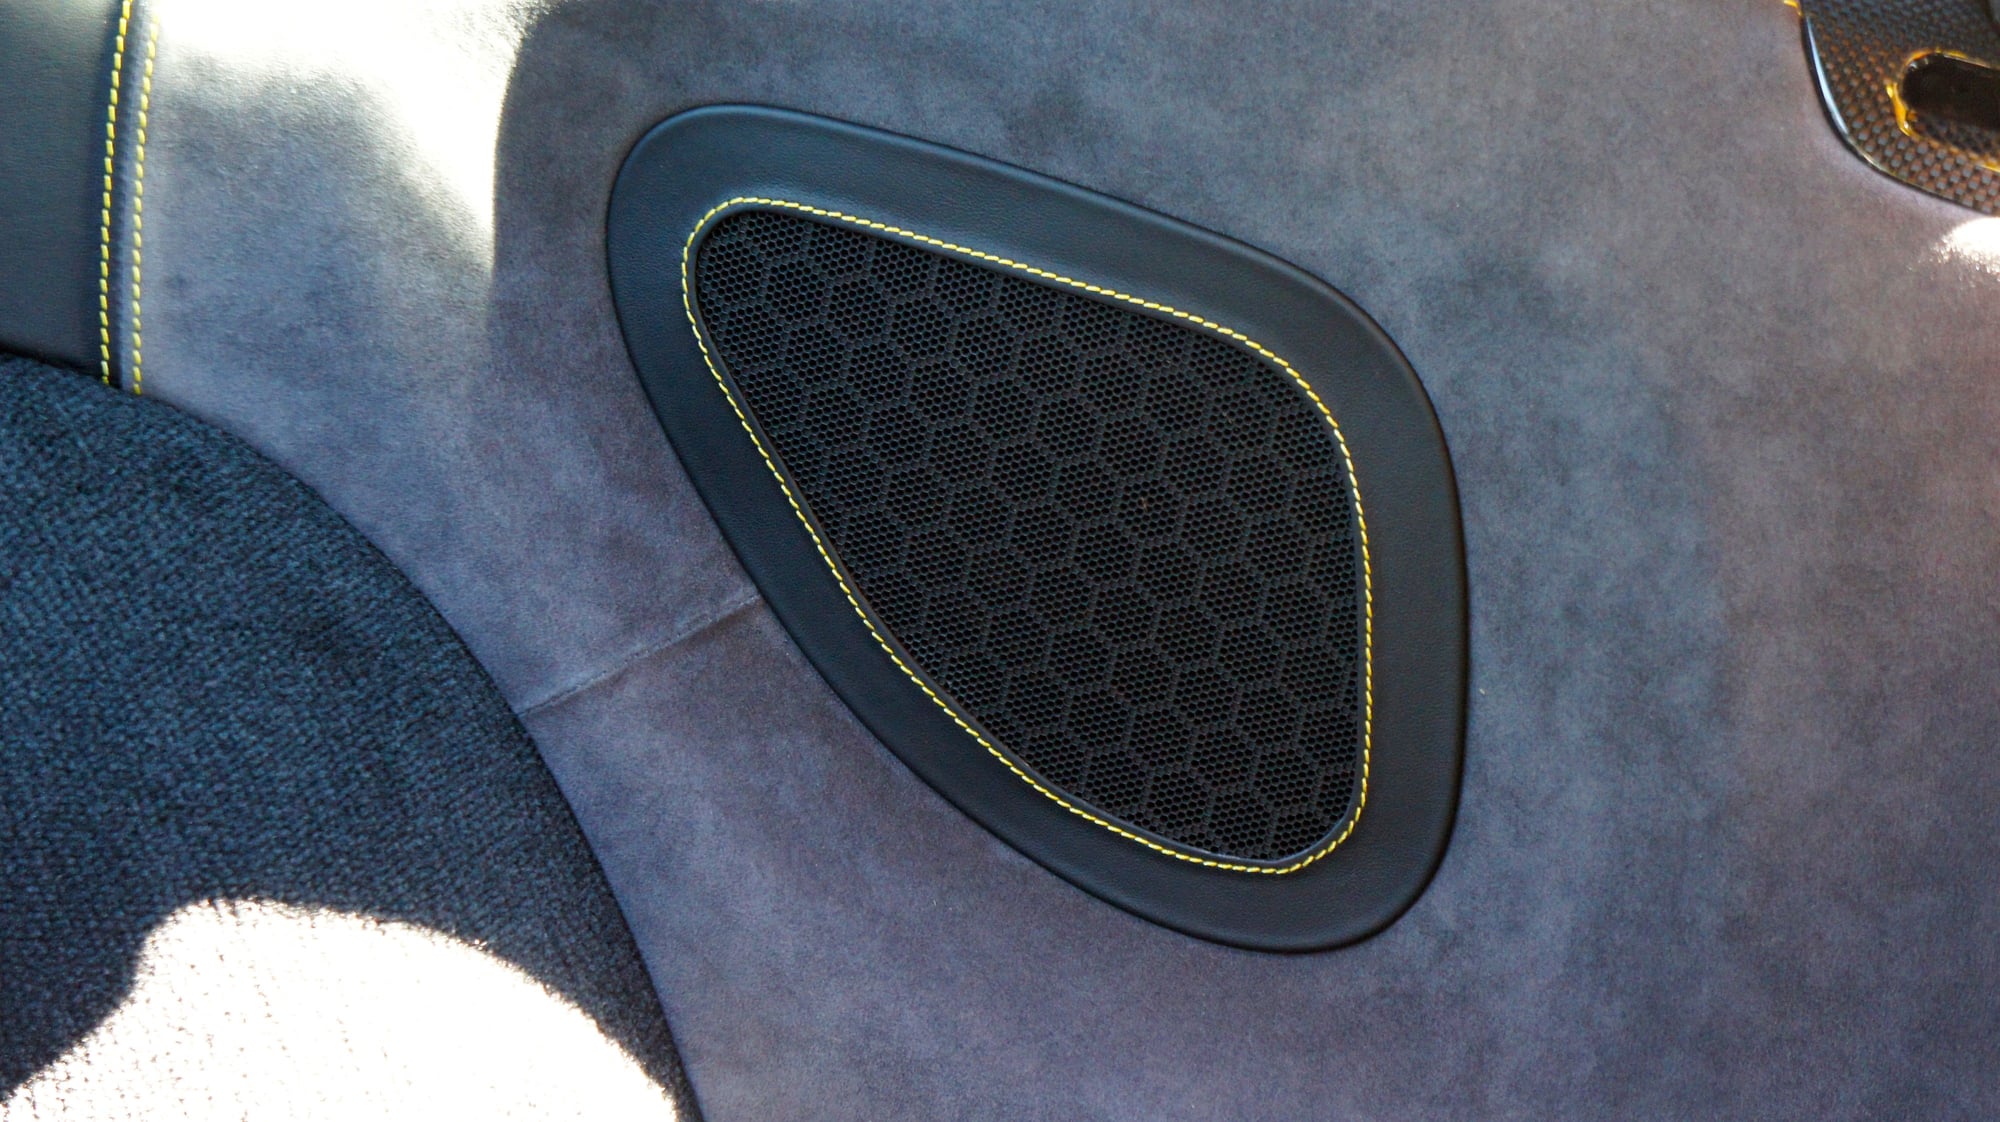
Door speaker covers
Door lower panel (replaced the carpeted lower section of the door card)
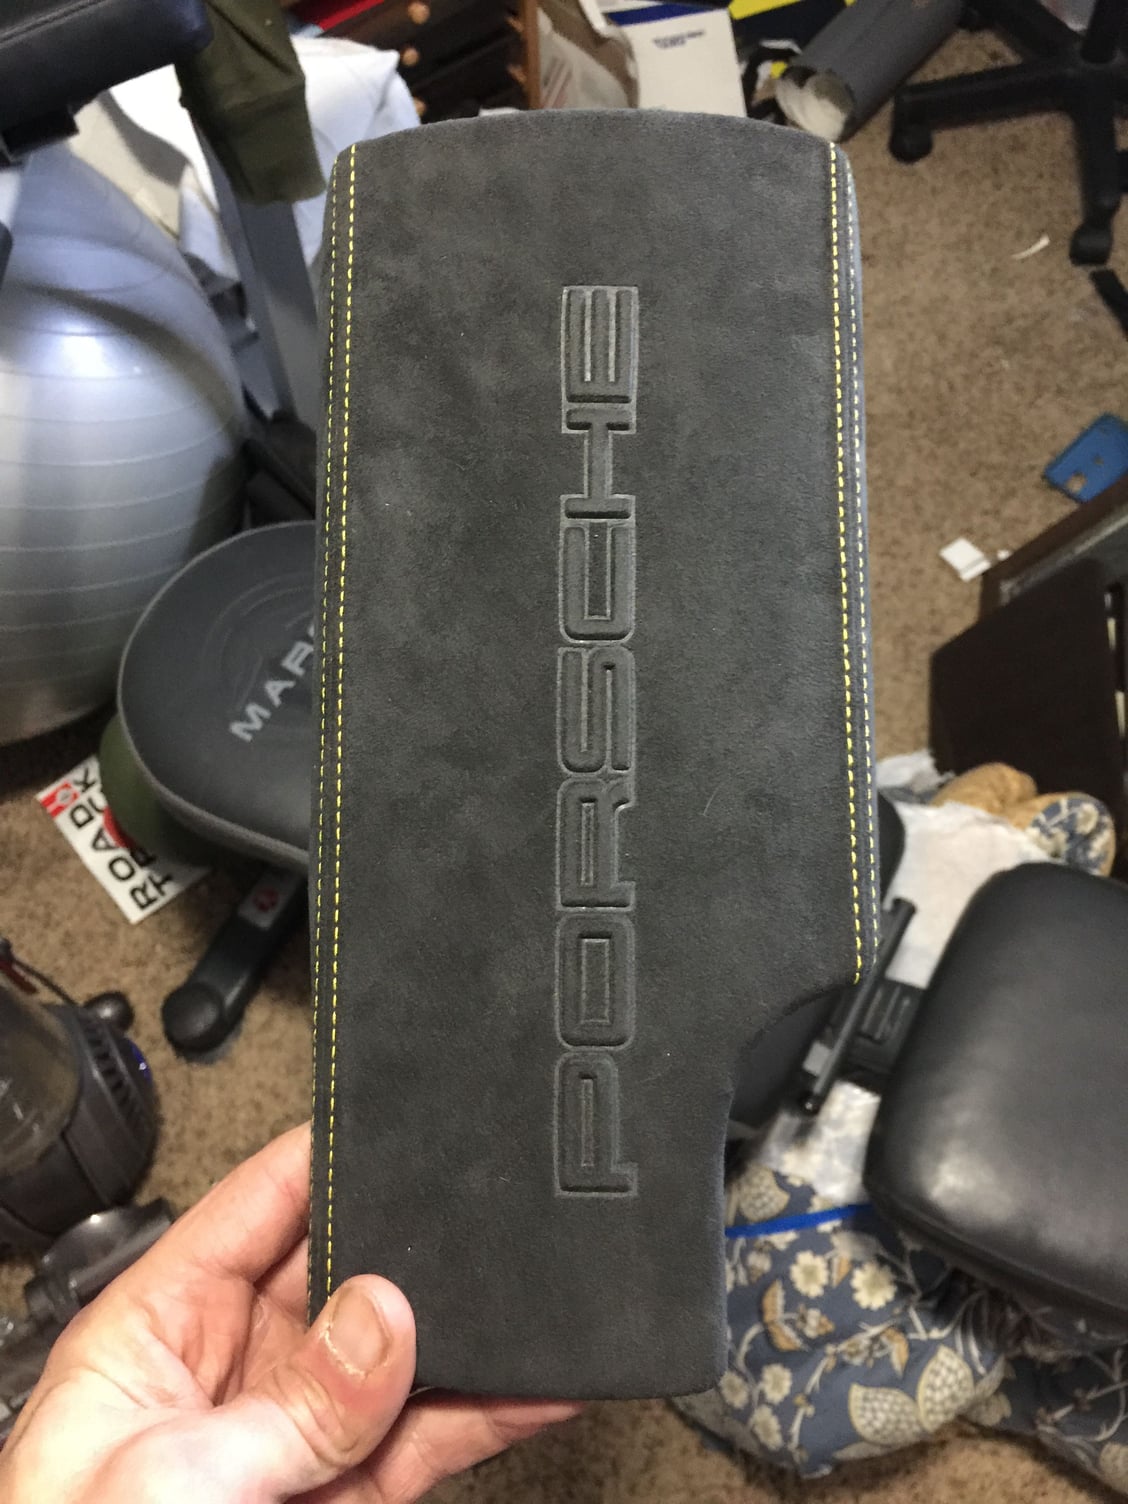
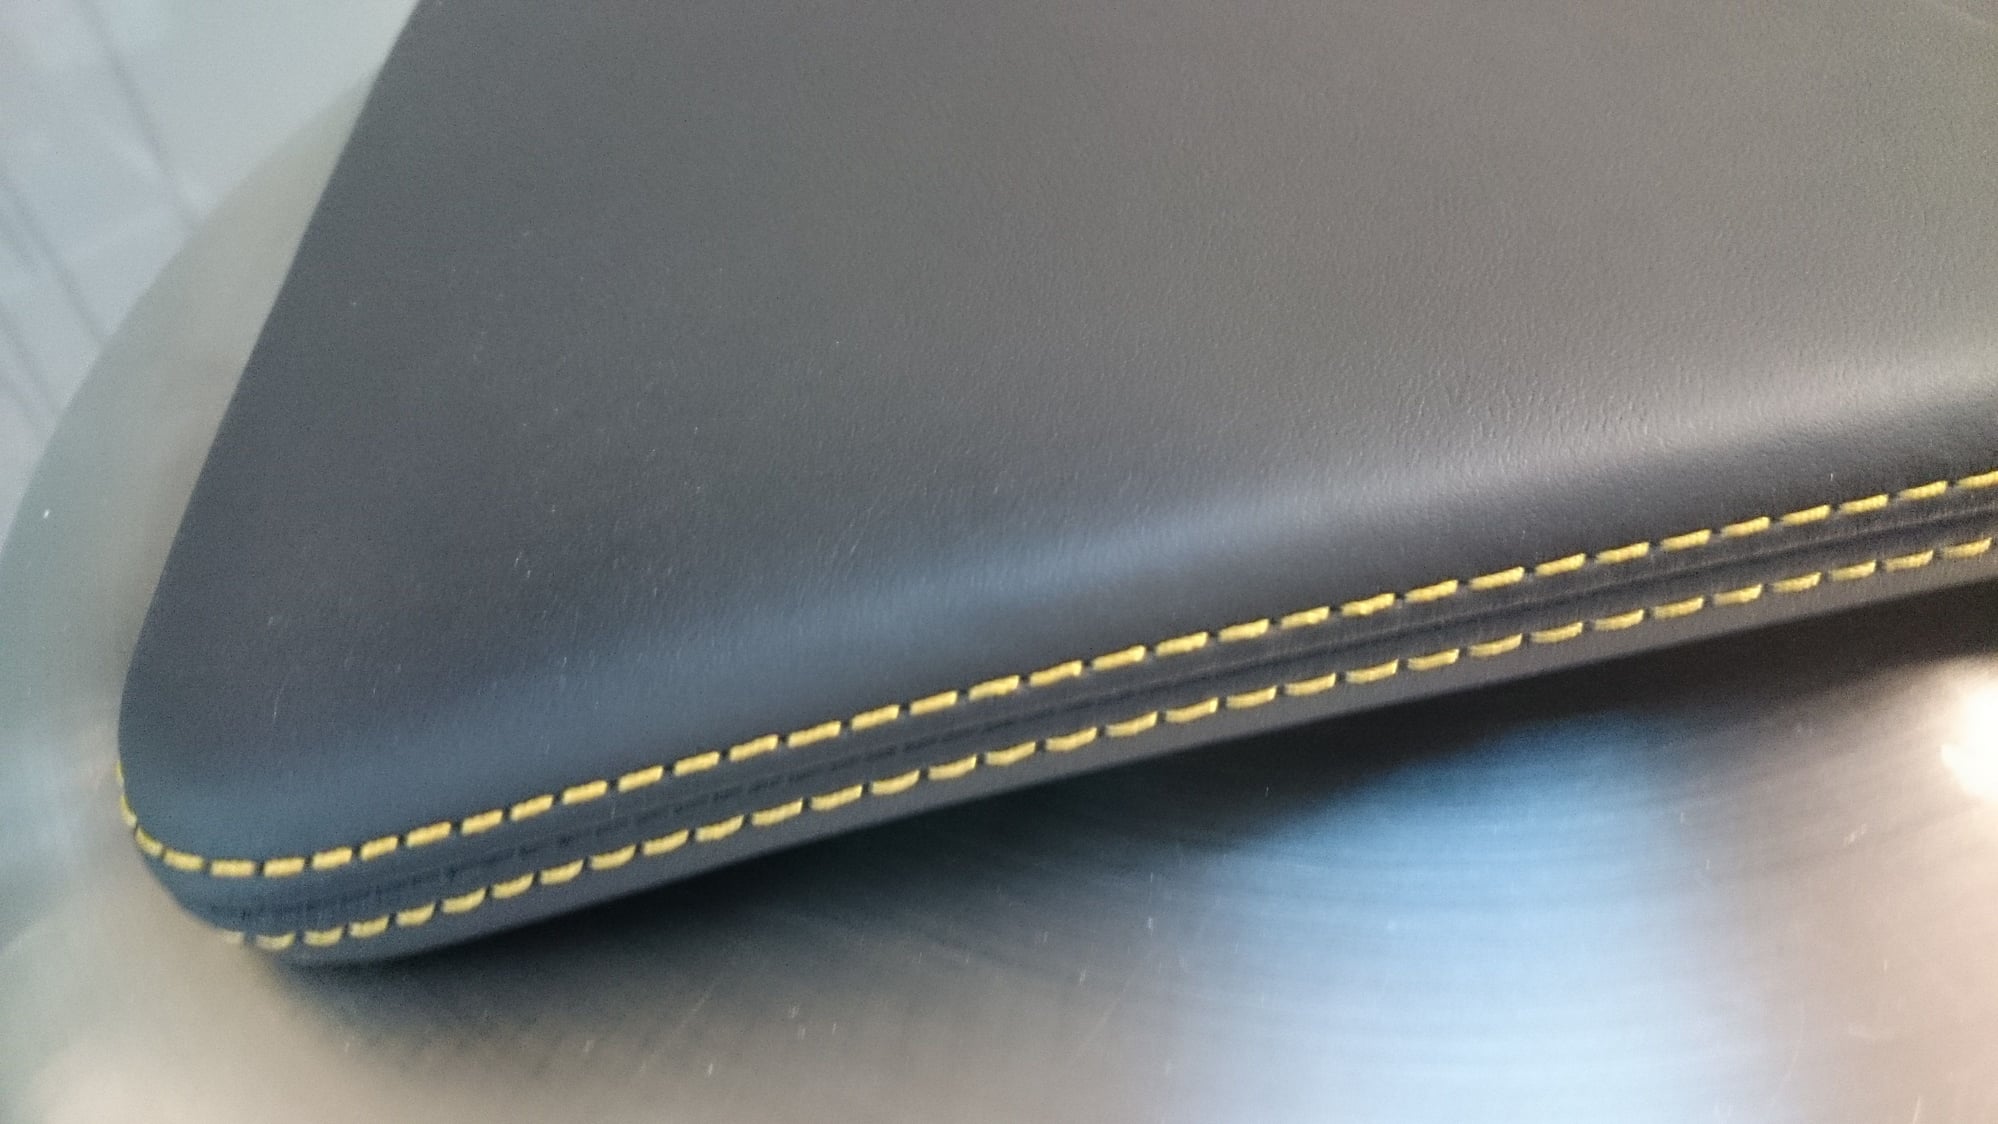
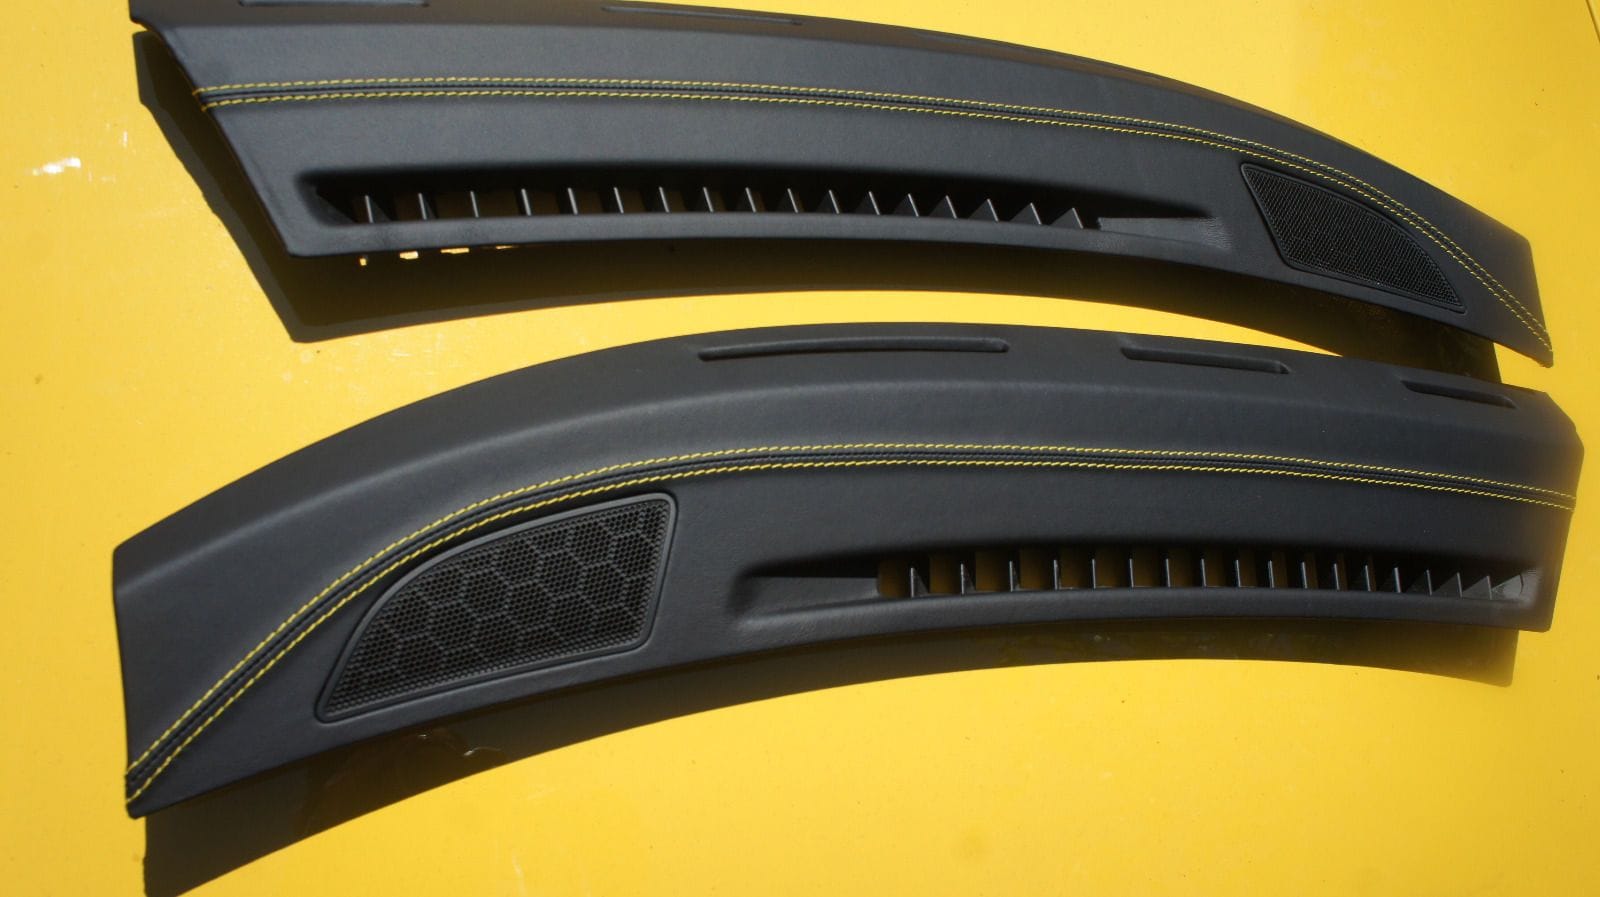
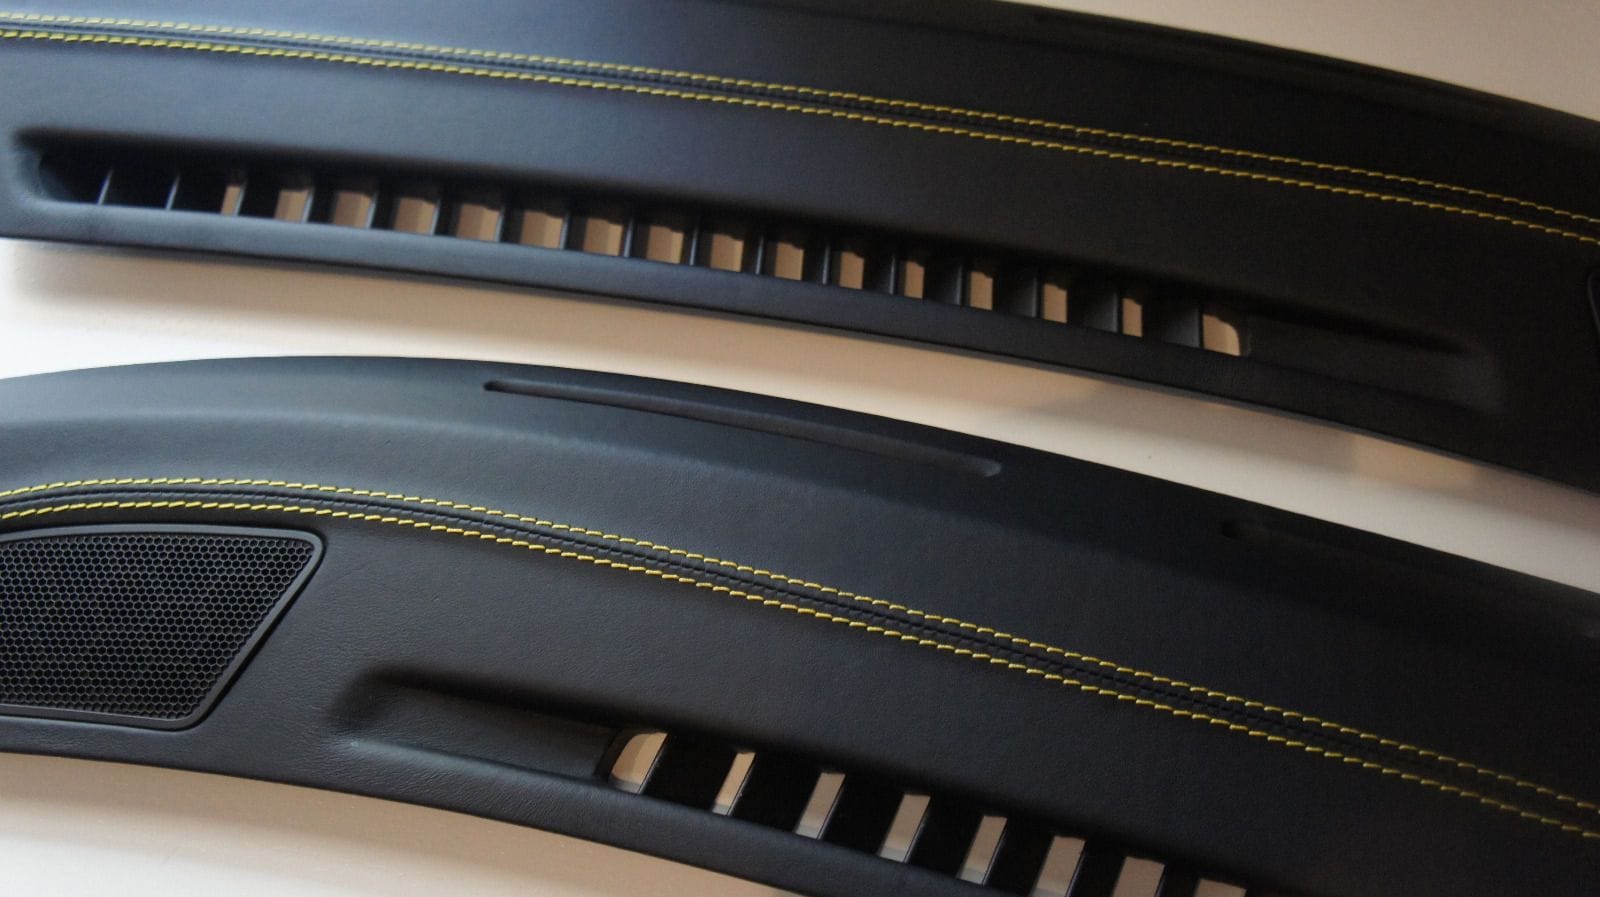
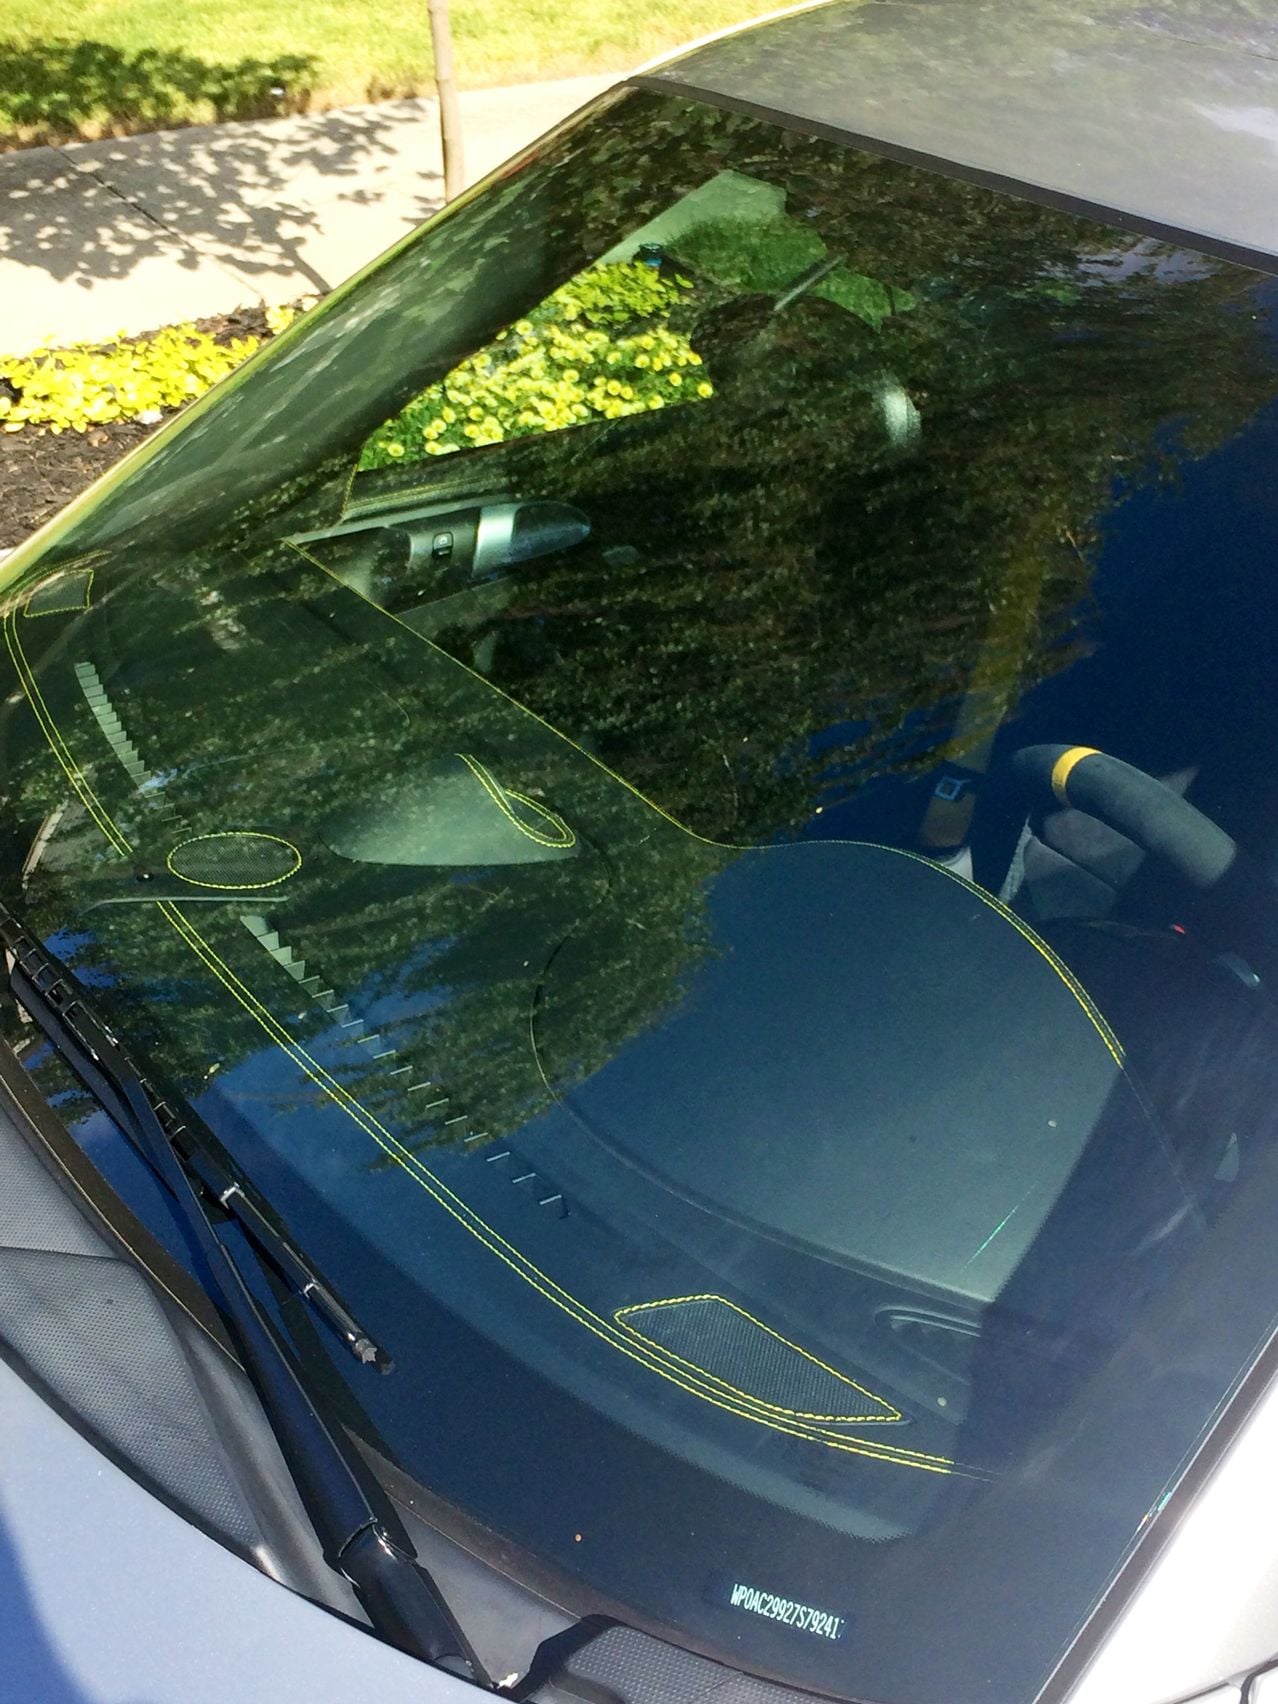
Leather with Yellow stitching:
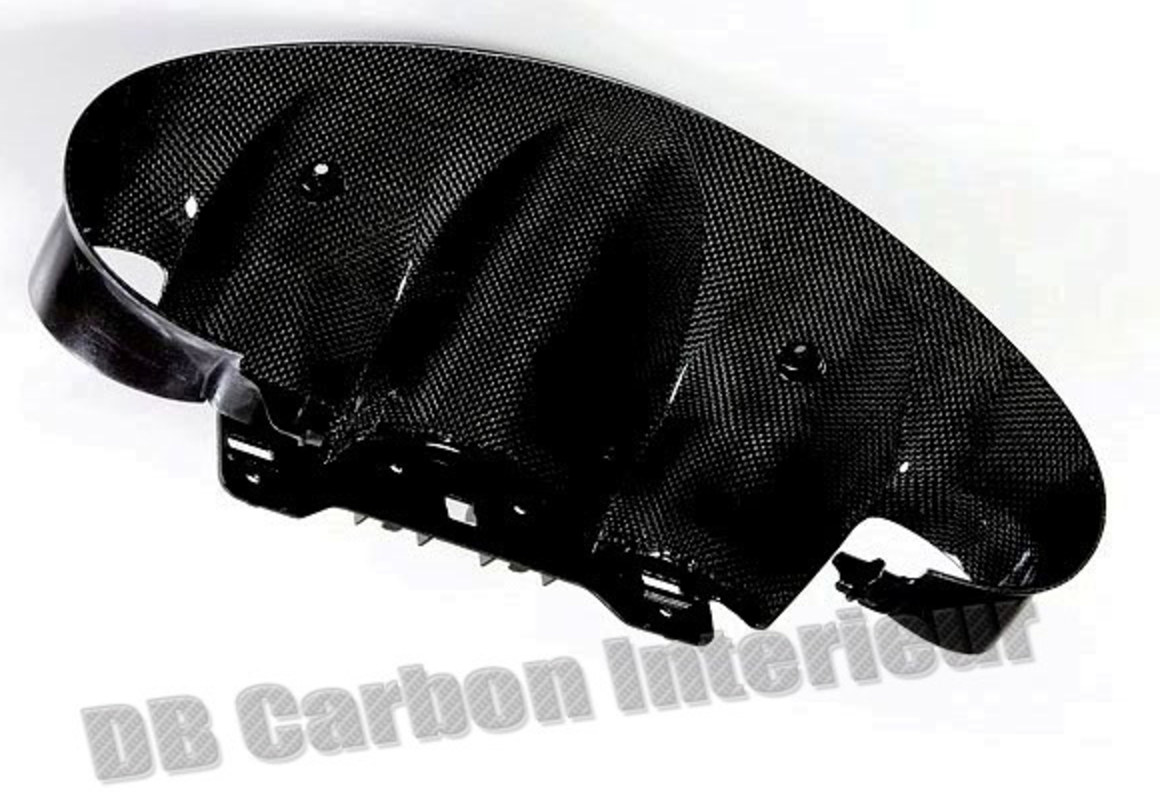
OEM Dash
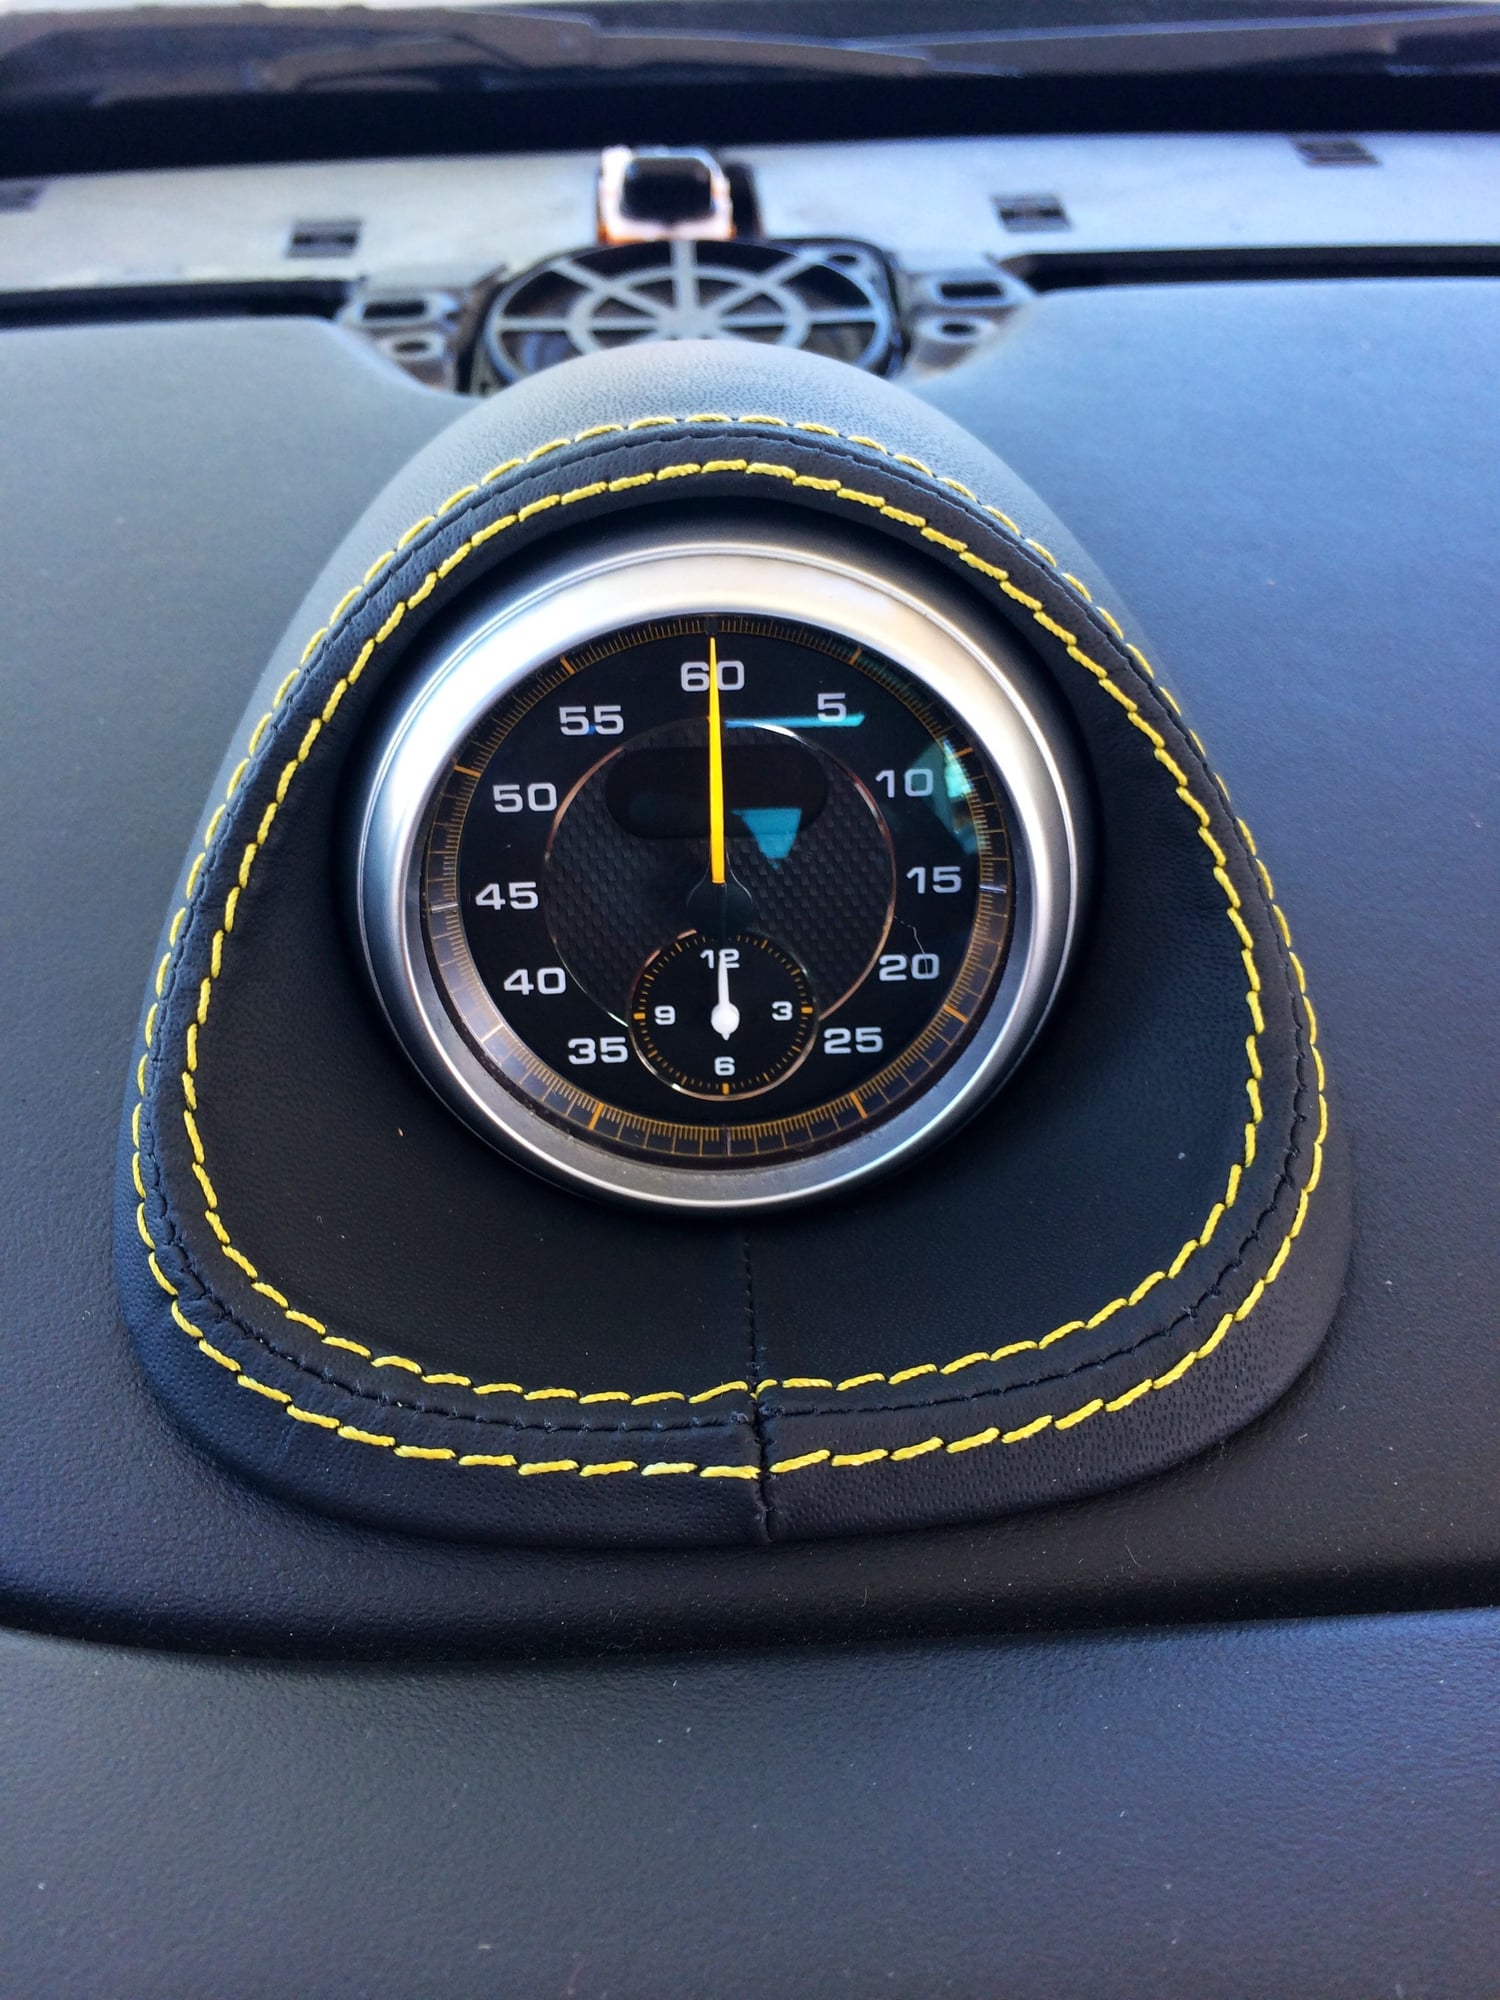
Sport chrono cover
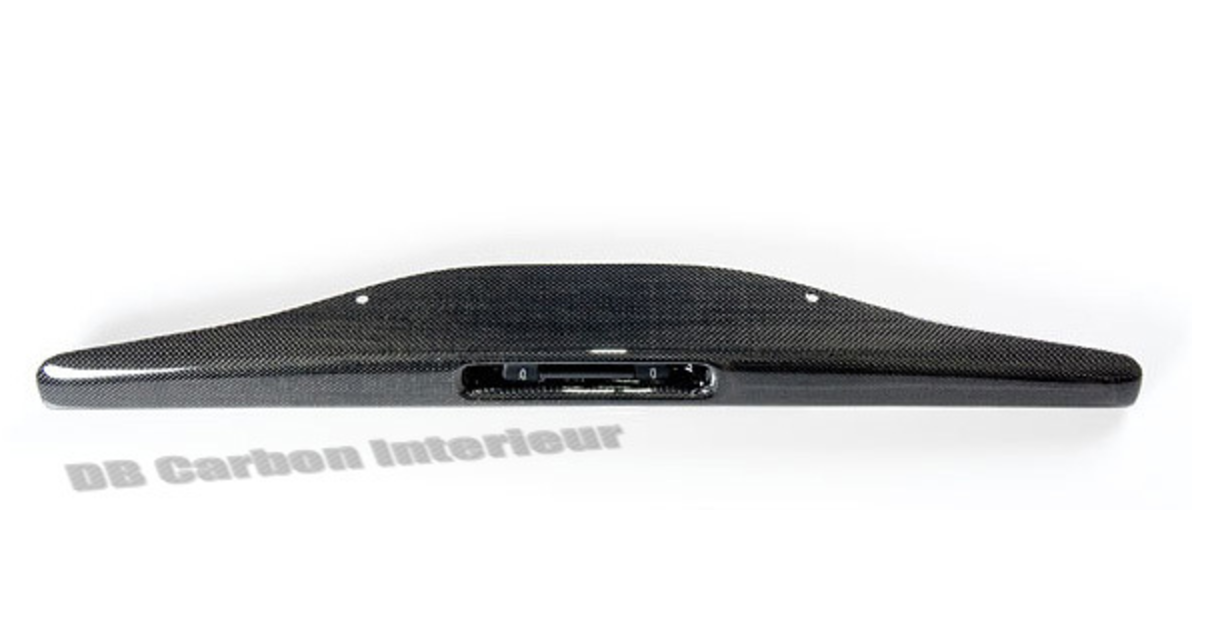
Dome light surround
Dash end caps
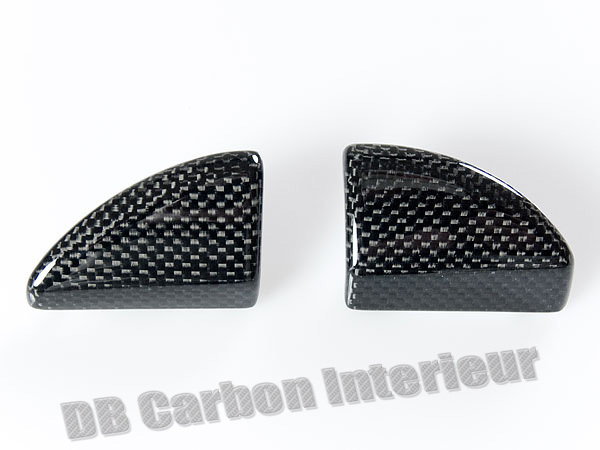
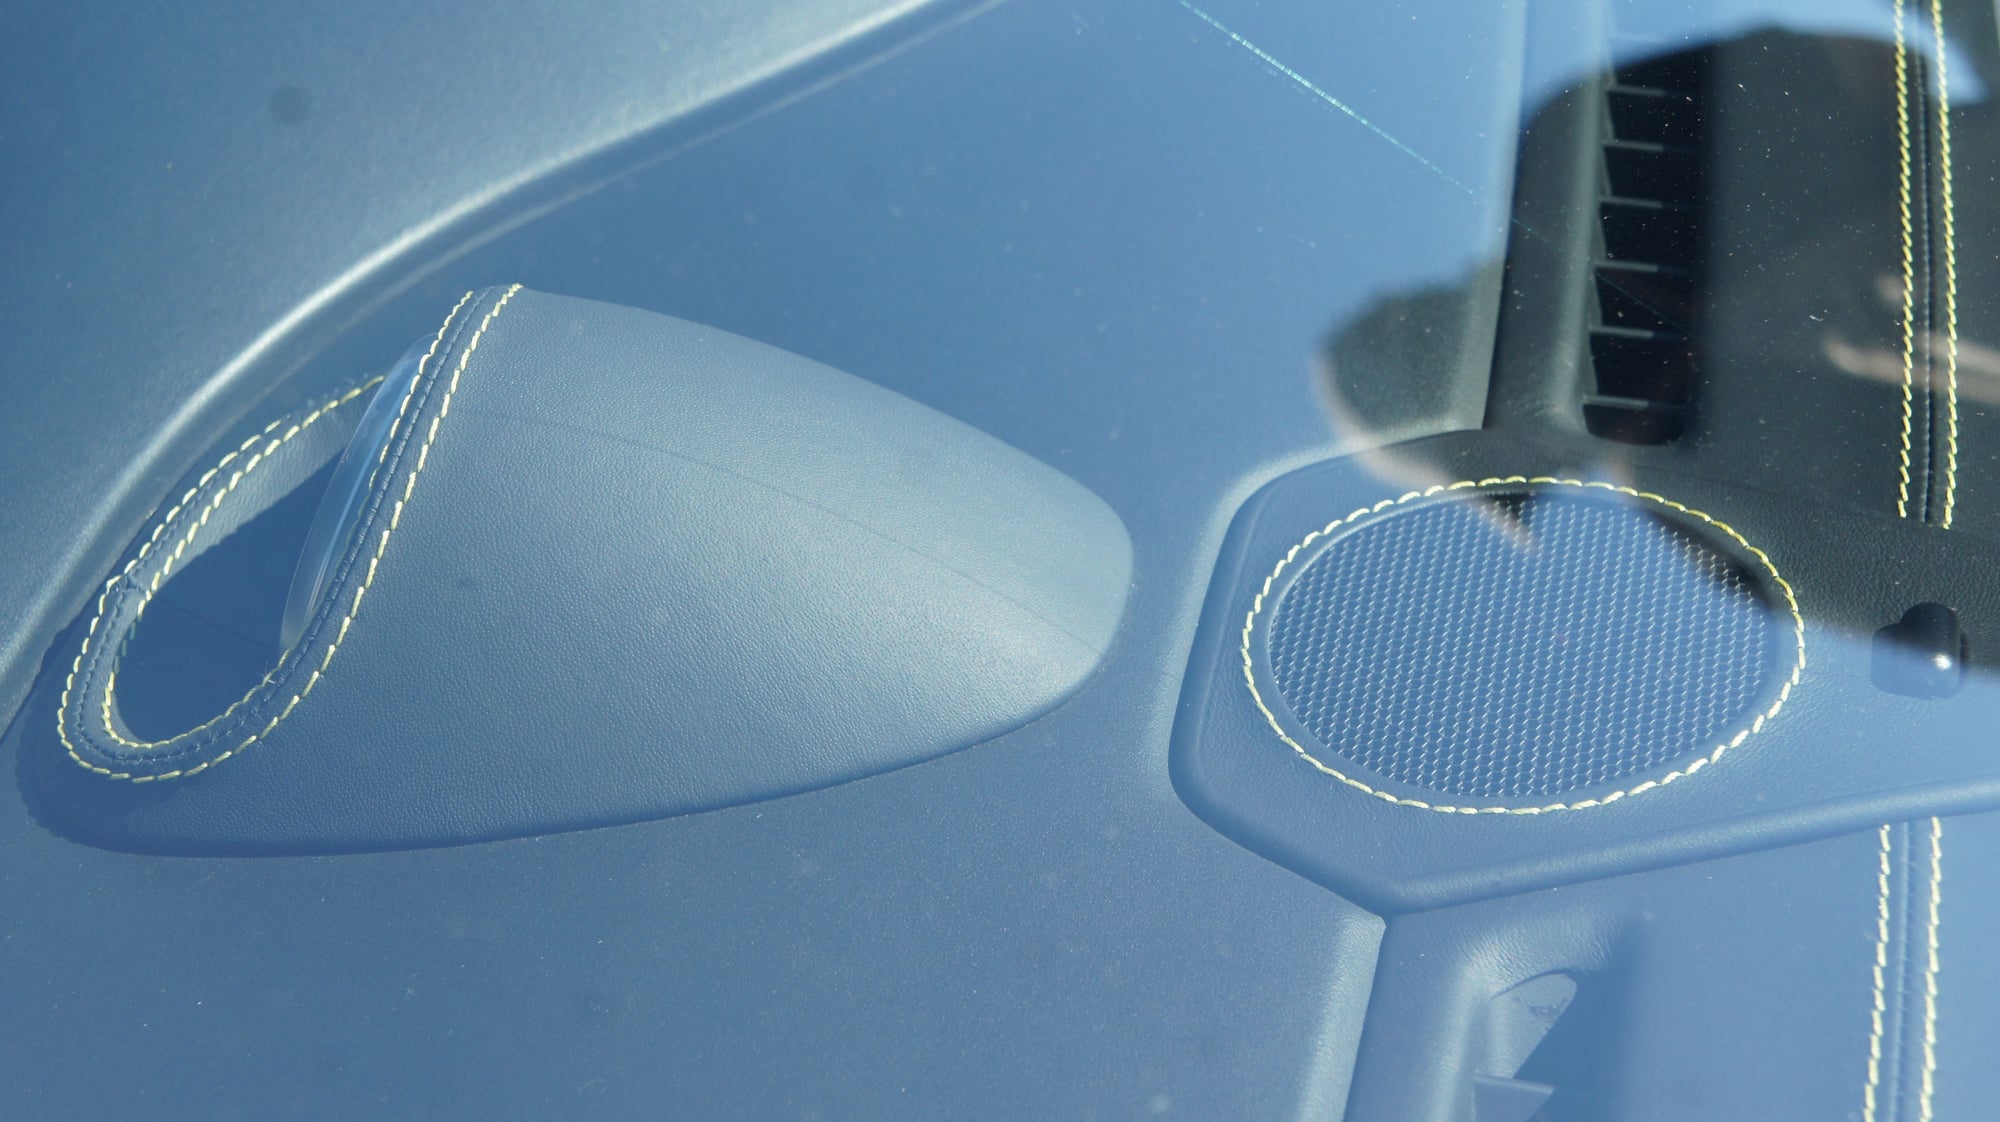
Door triangles
Side PCM trim panels
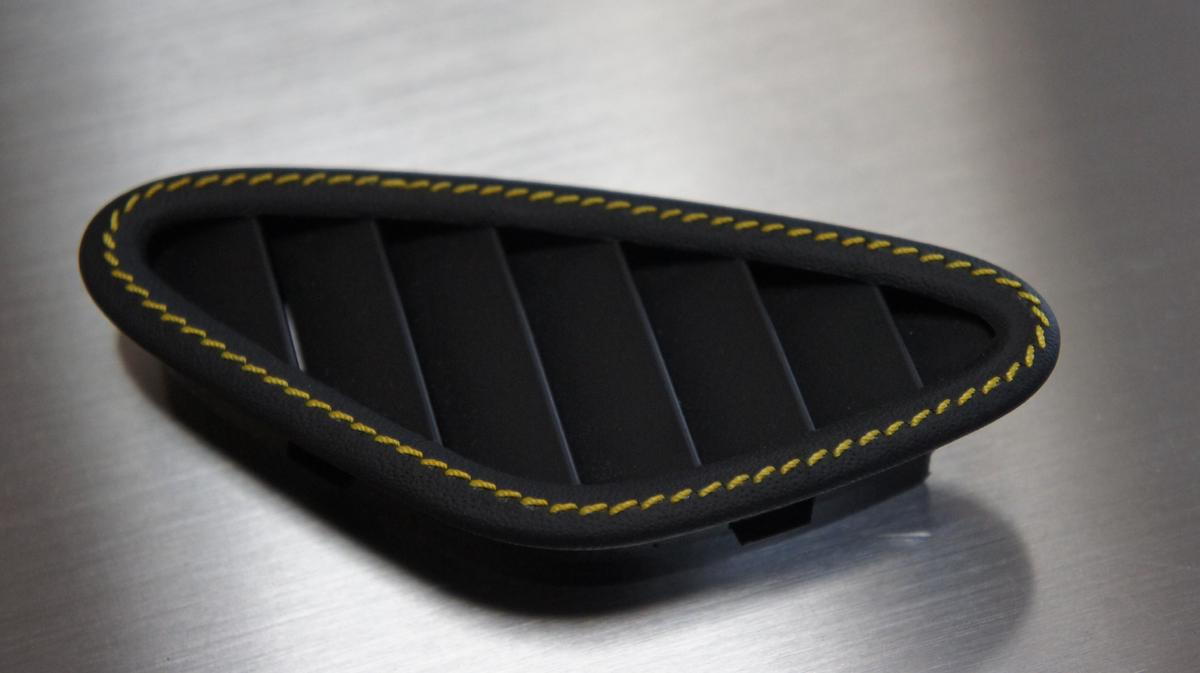
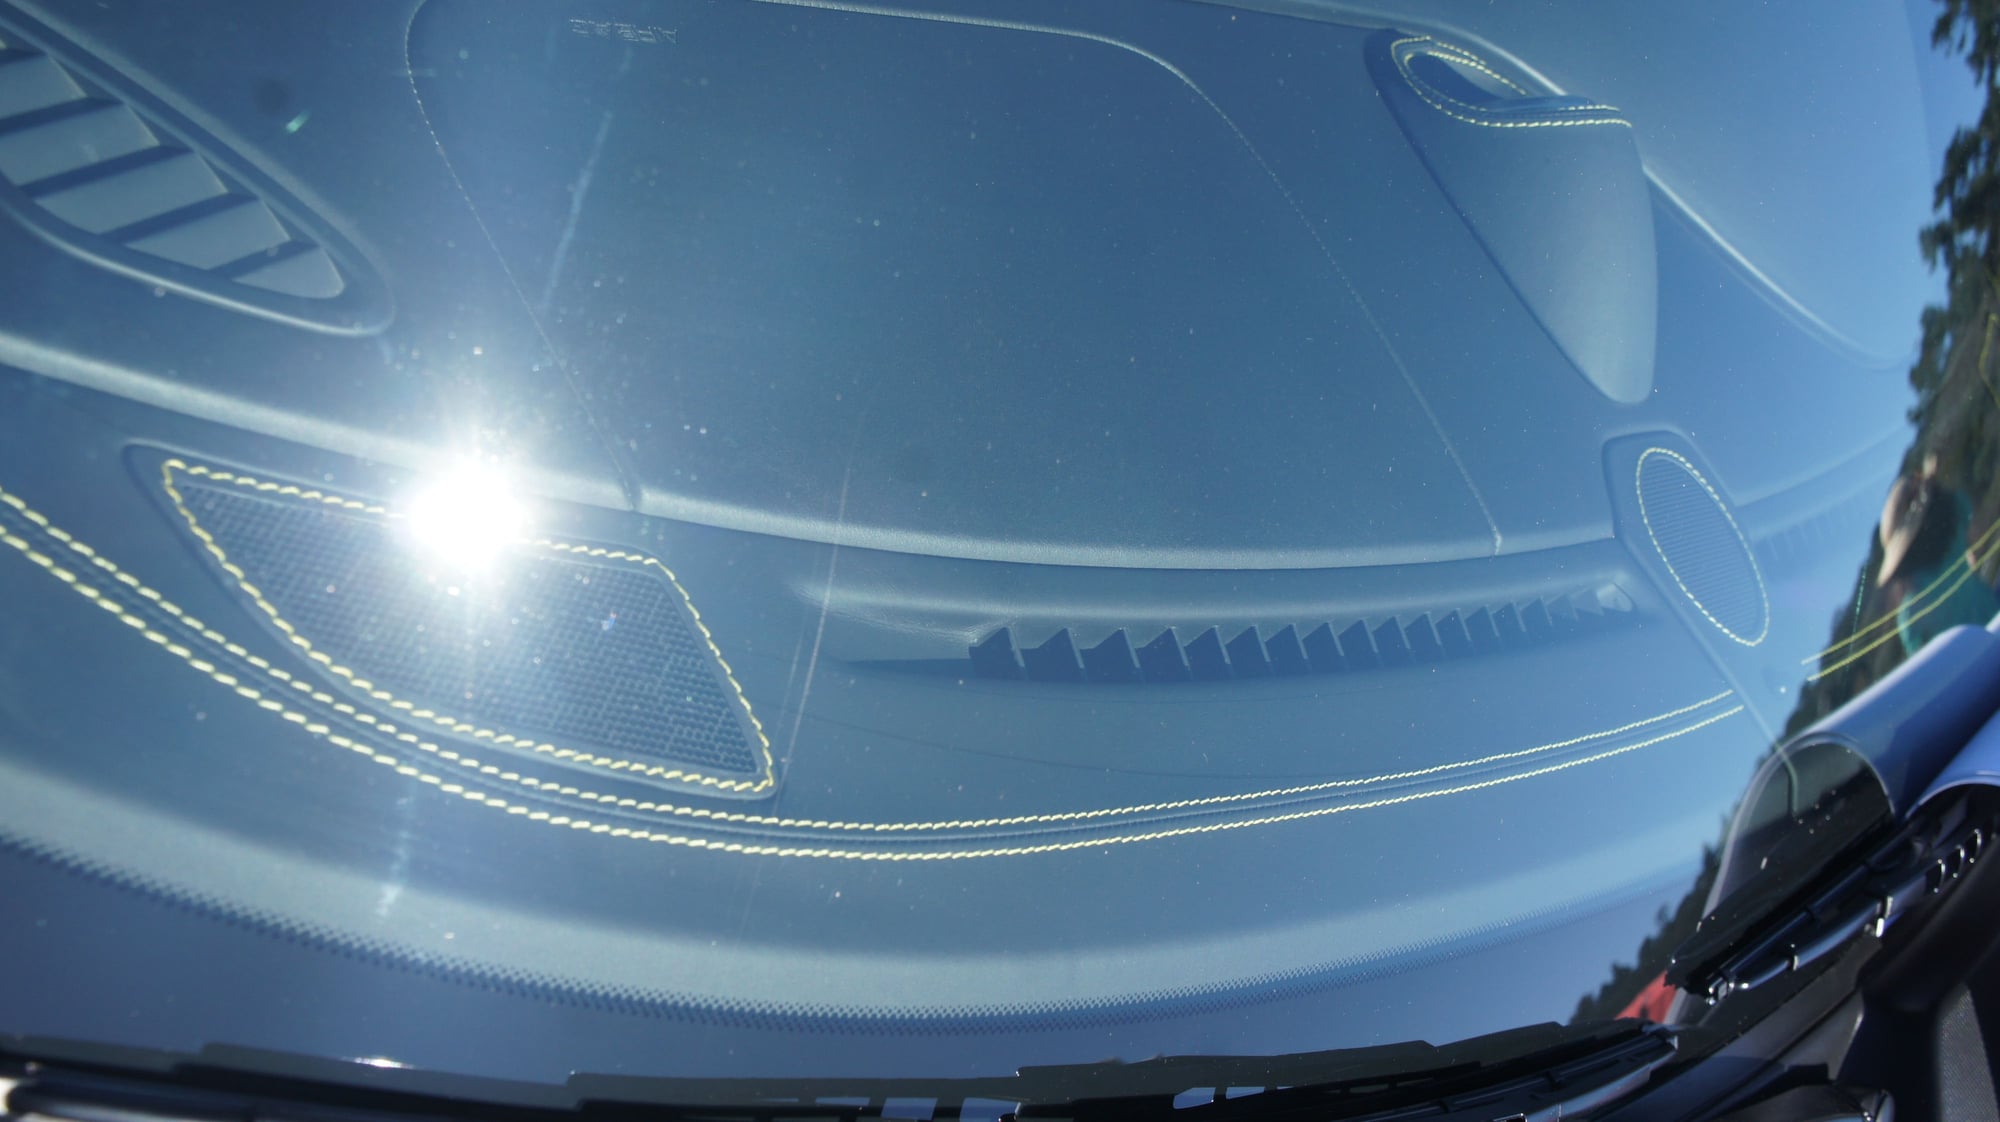
Defroster vents
Center speaker cover
Dash speaker covers
Rear speaker covers
Upper front door panel
Seat Belt Height adjuster cover
Door spears
Door handle
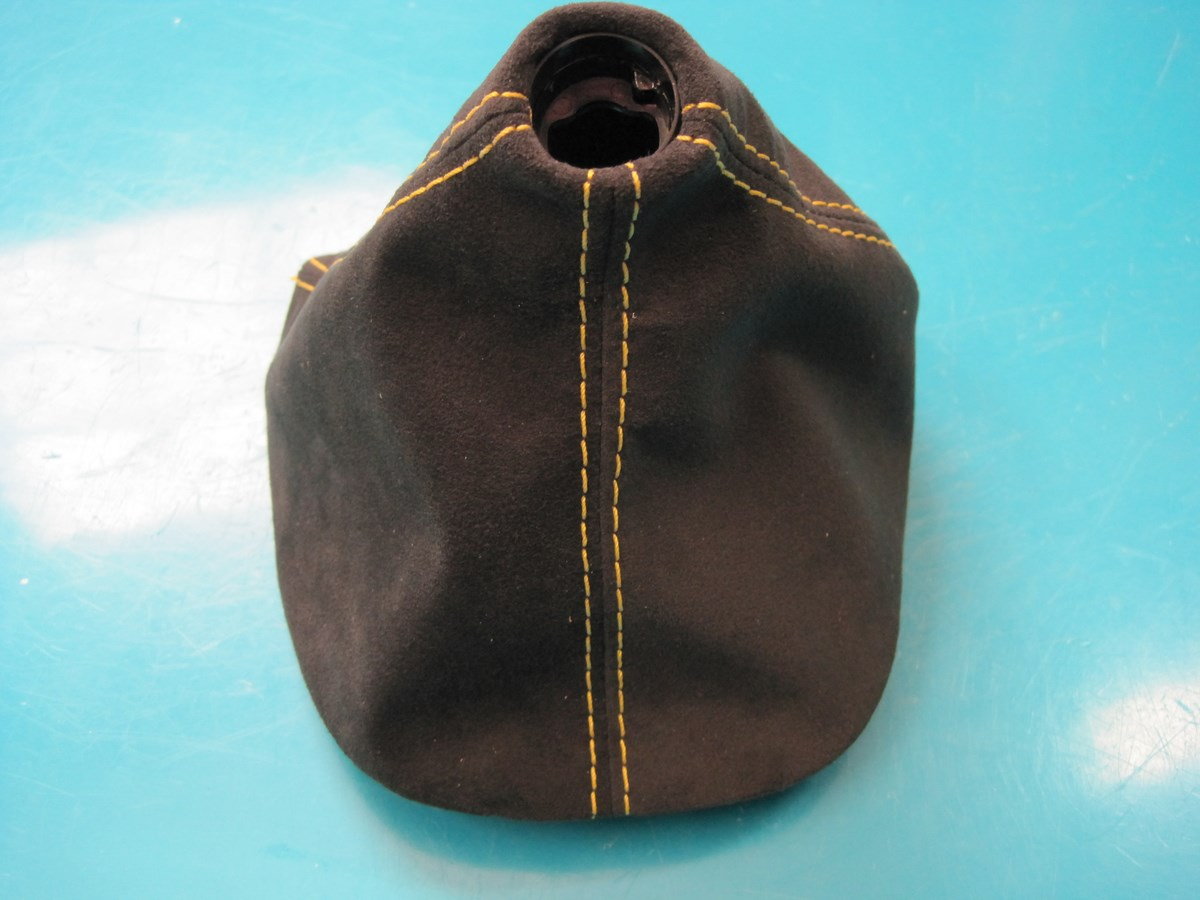
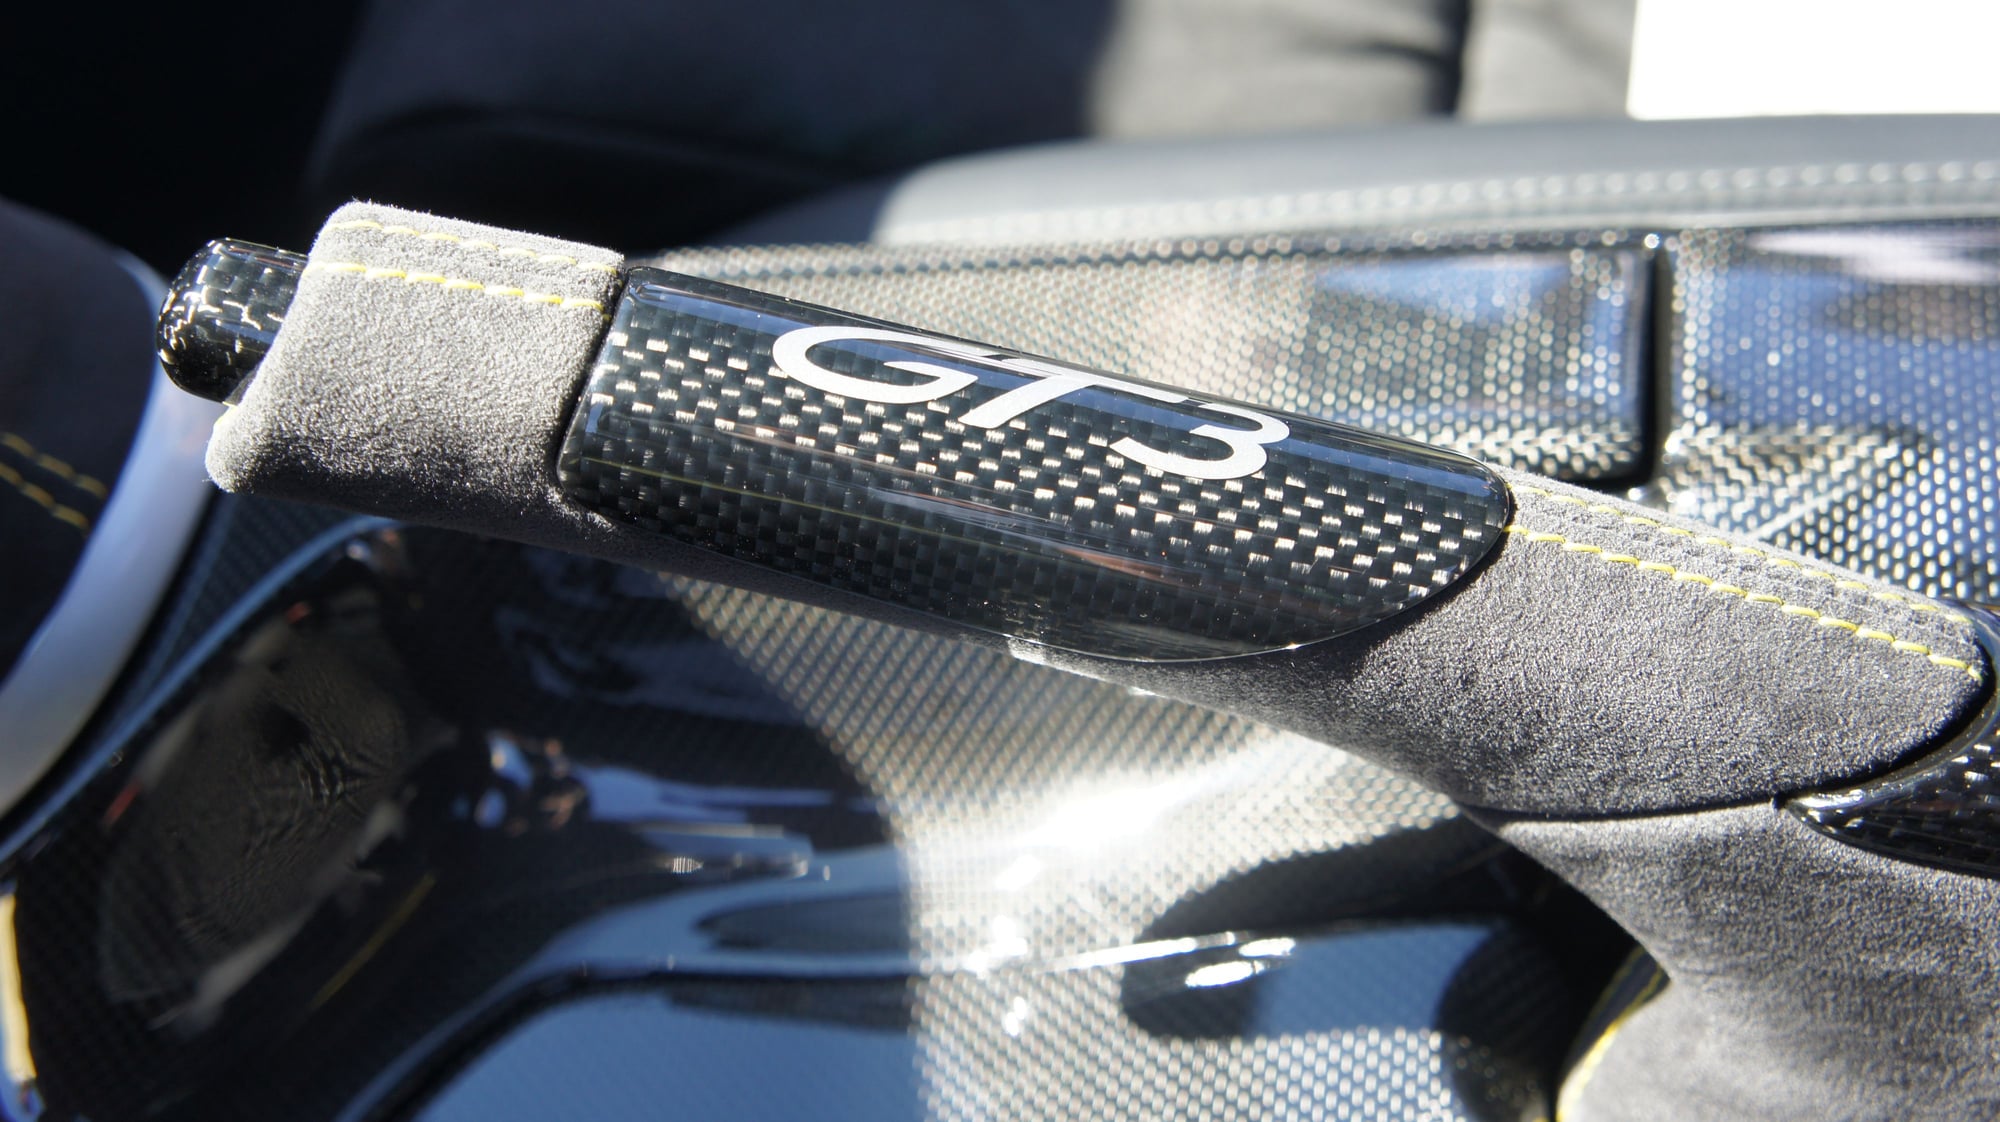
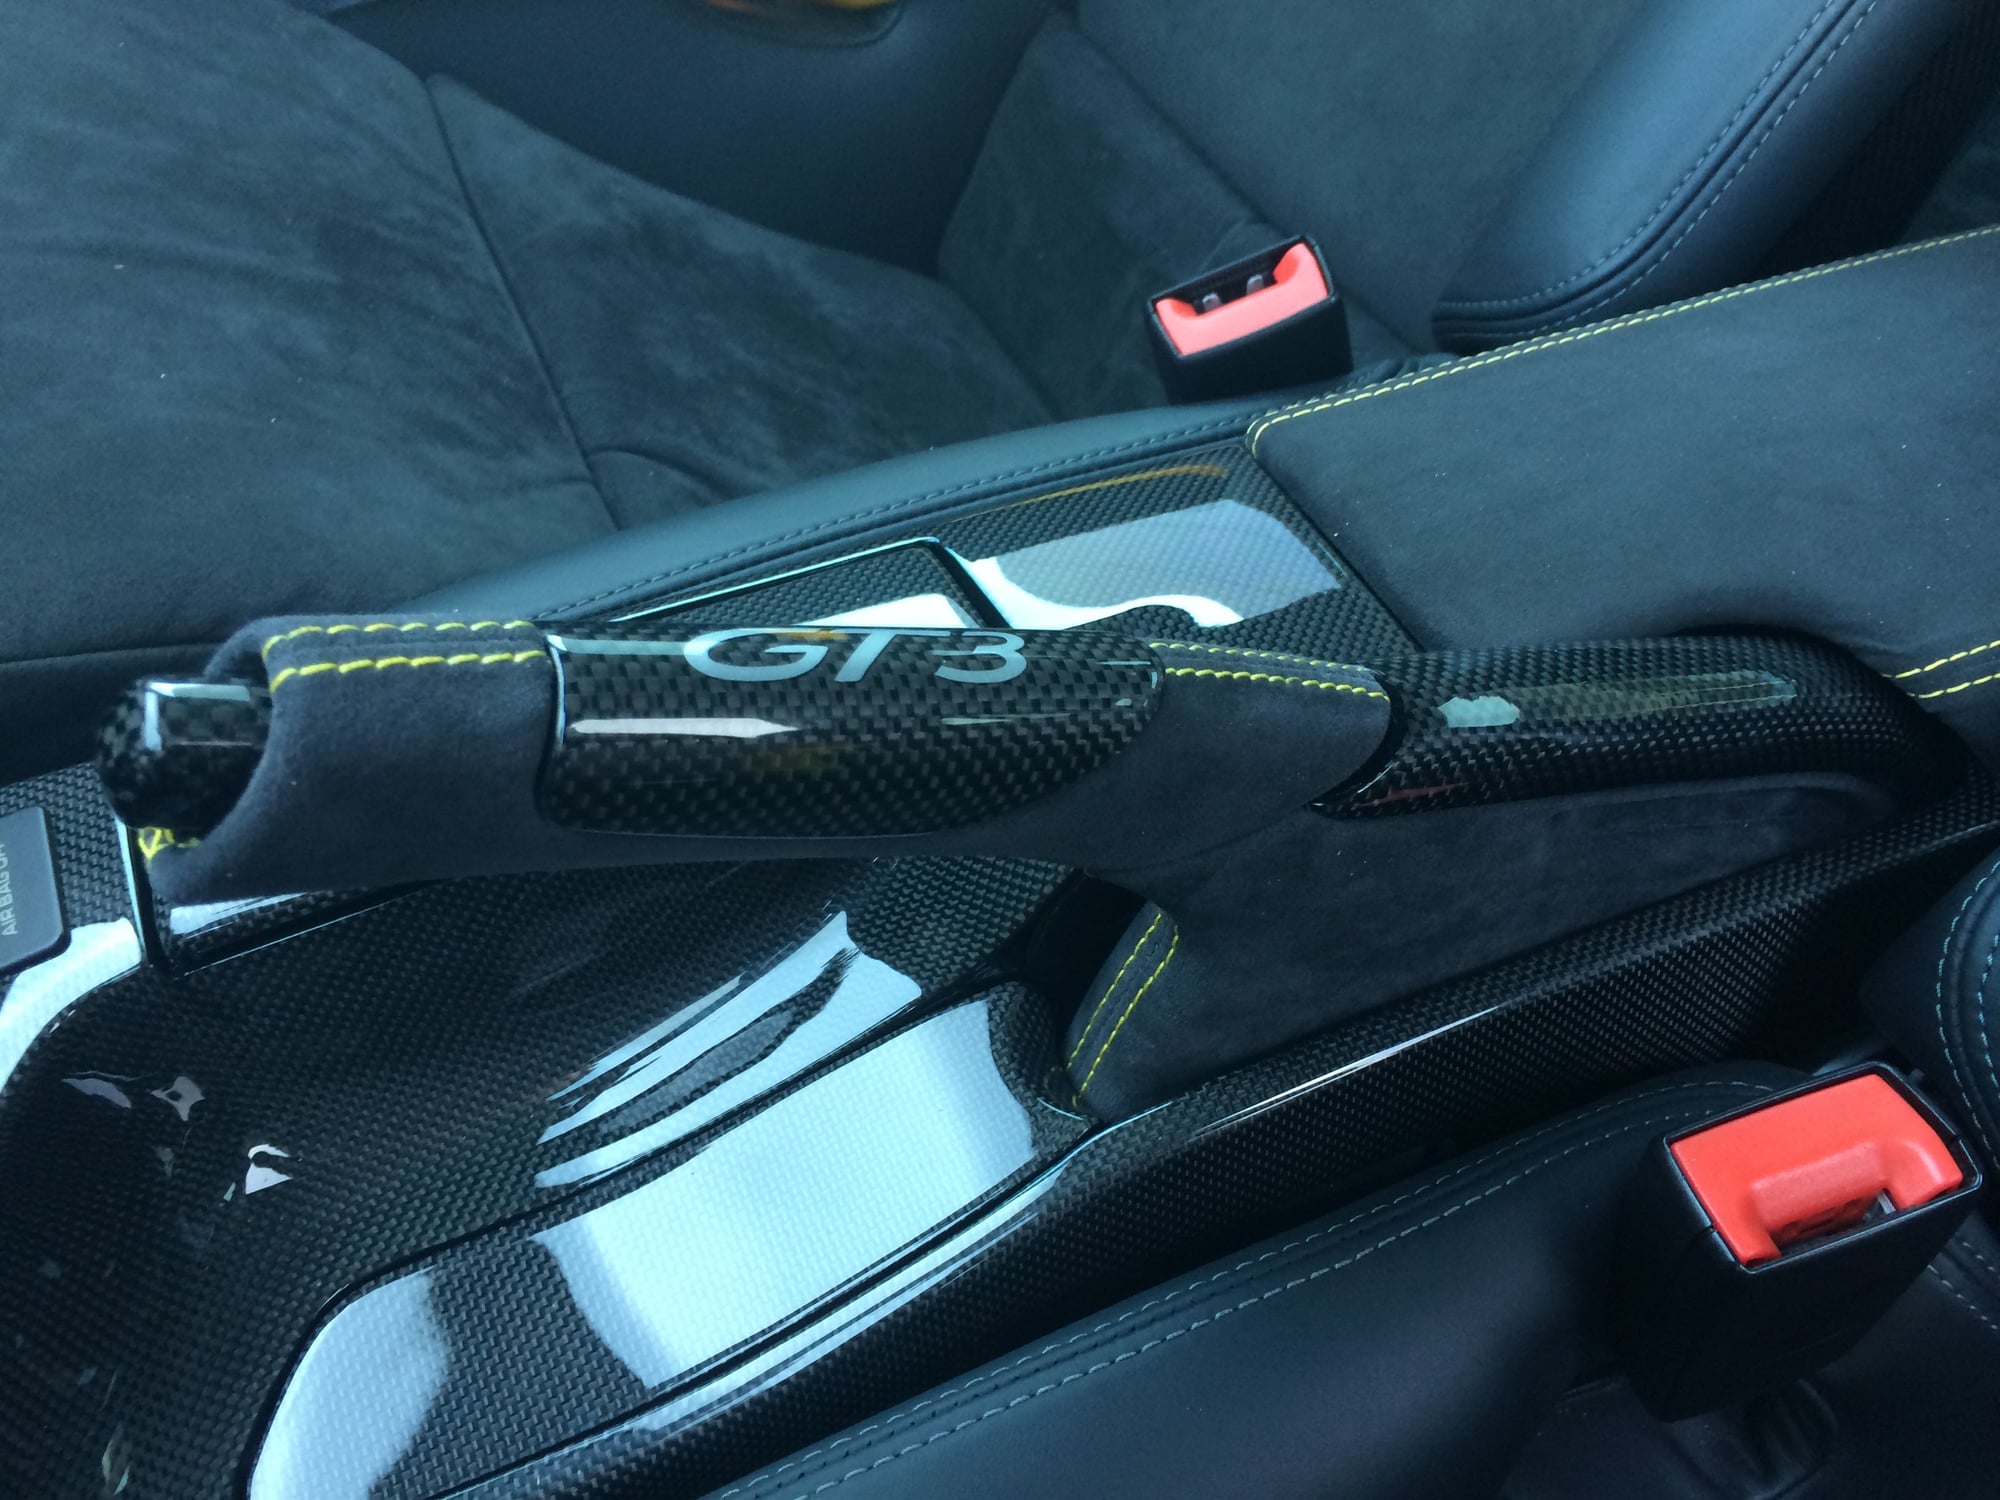
Alcantara with Yellow Stitching:
Shift boot
OEM Center console lid with Porsche Logo
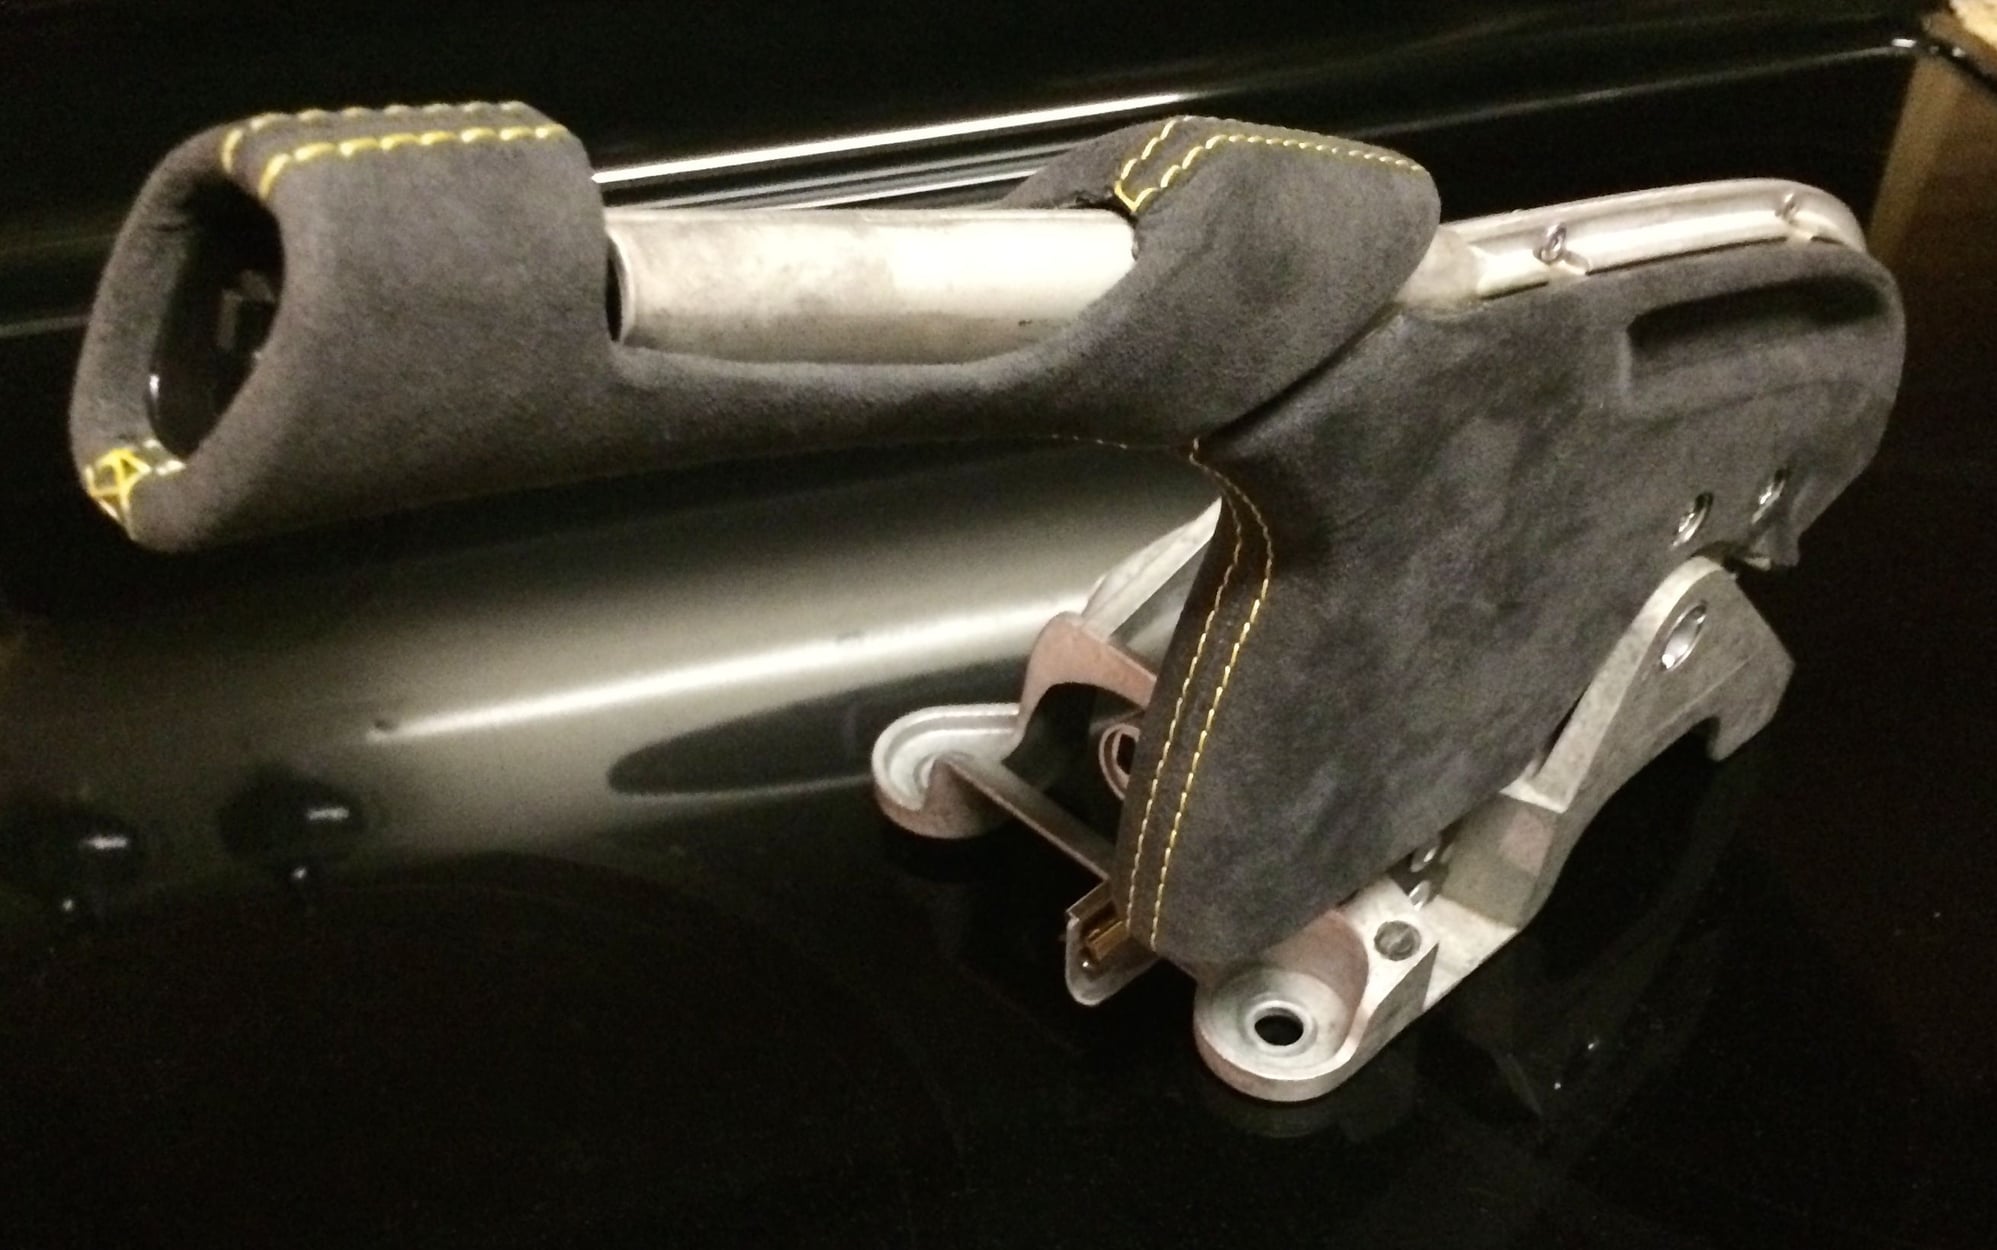
OEM 2010 GT3 RS steering wheel (made thicker) with yellow stripe at 12 o clock
E-brake handle with carbon insert and GT3 script
E-brake Base
Long Door Pulls
Door pocket covers
Other:
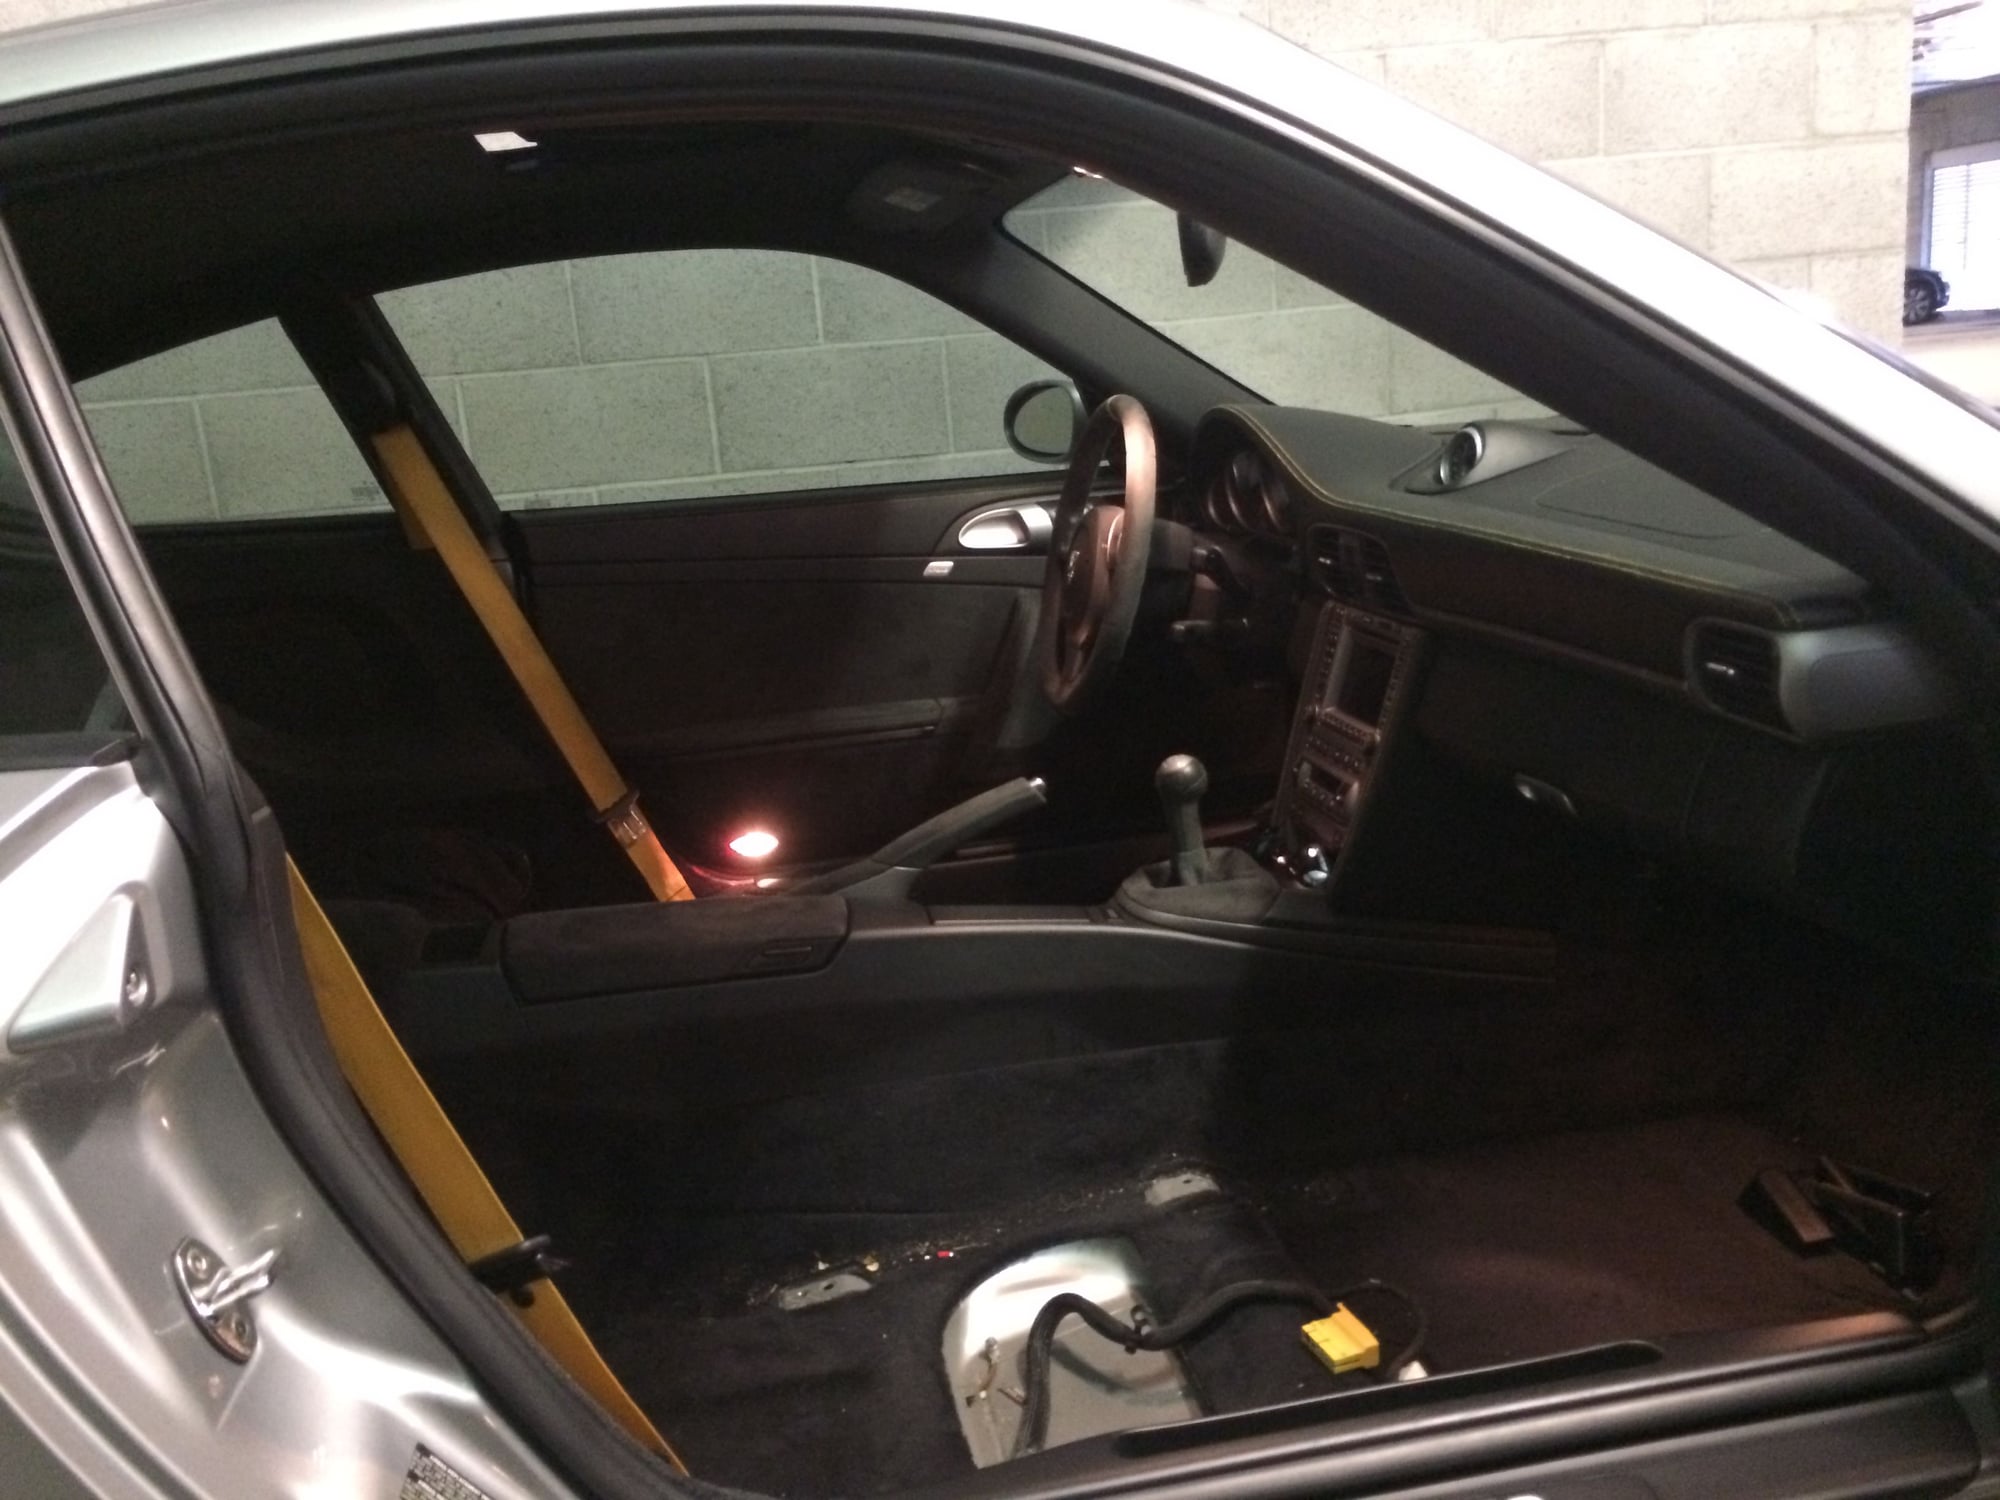
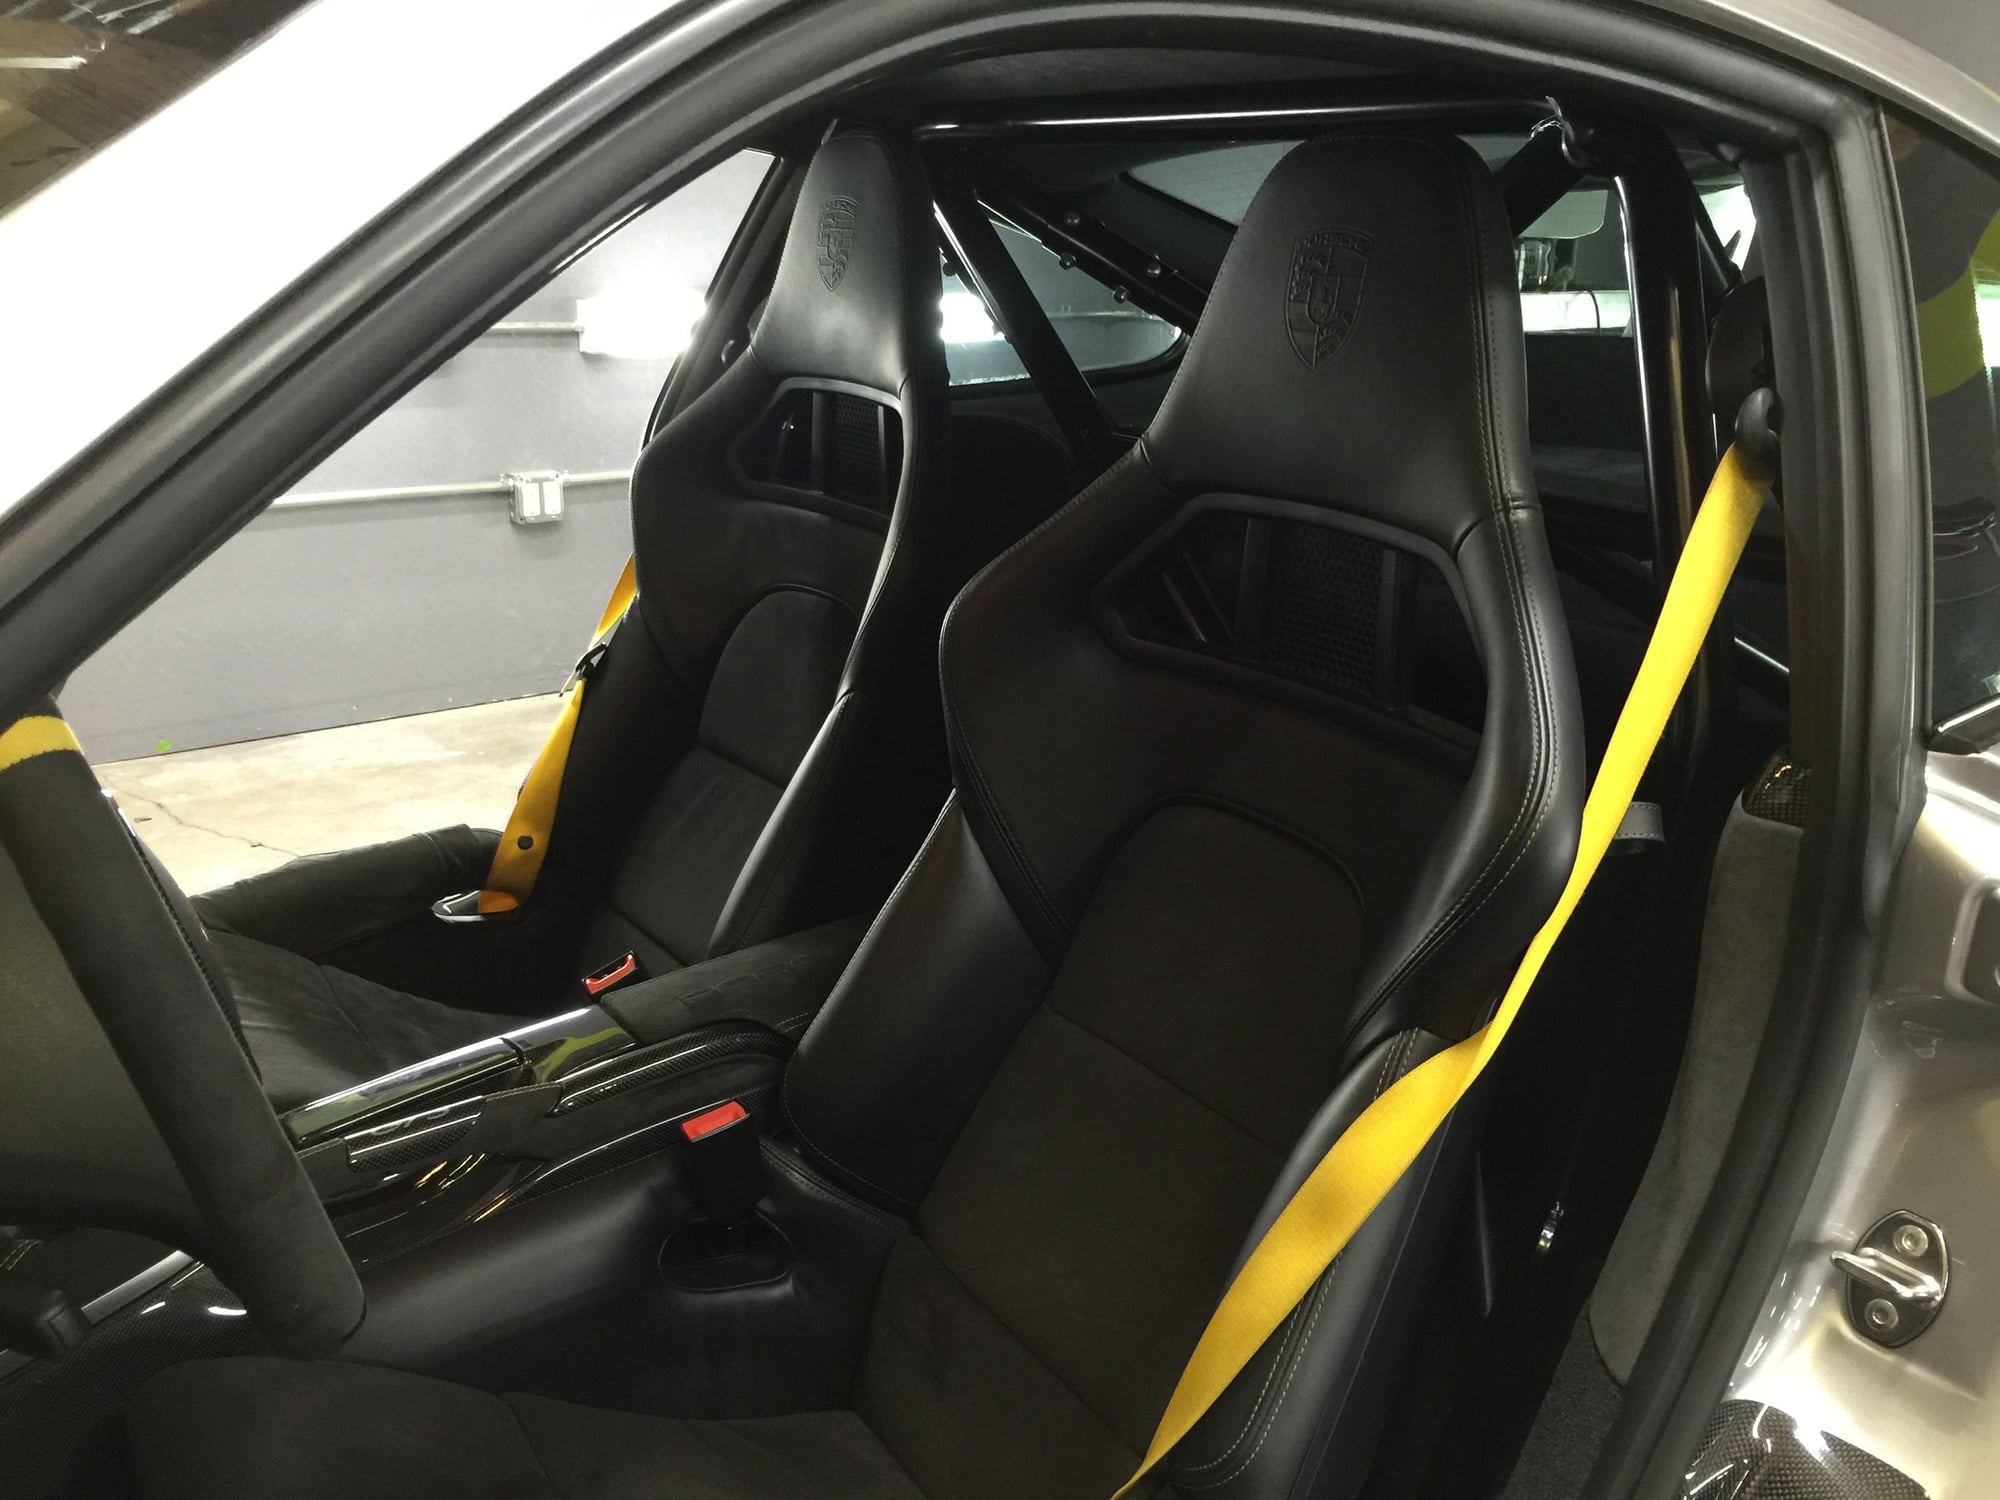
Yellow front Seat Belts
Alcantara Lower Dash
GT2 Carbon Bucket Seats
Satin Black Painted PCM stack
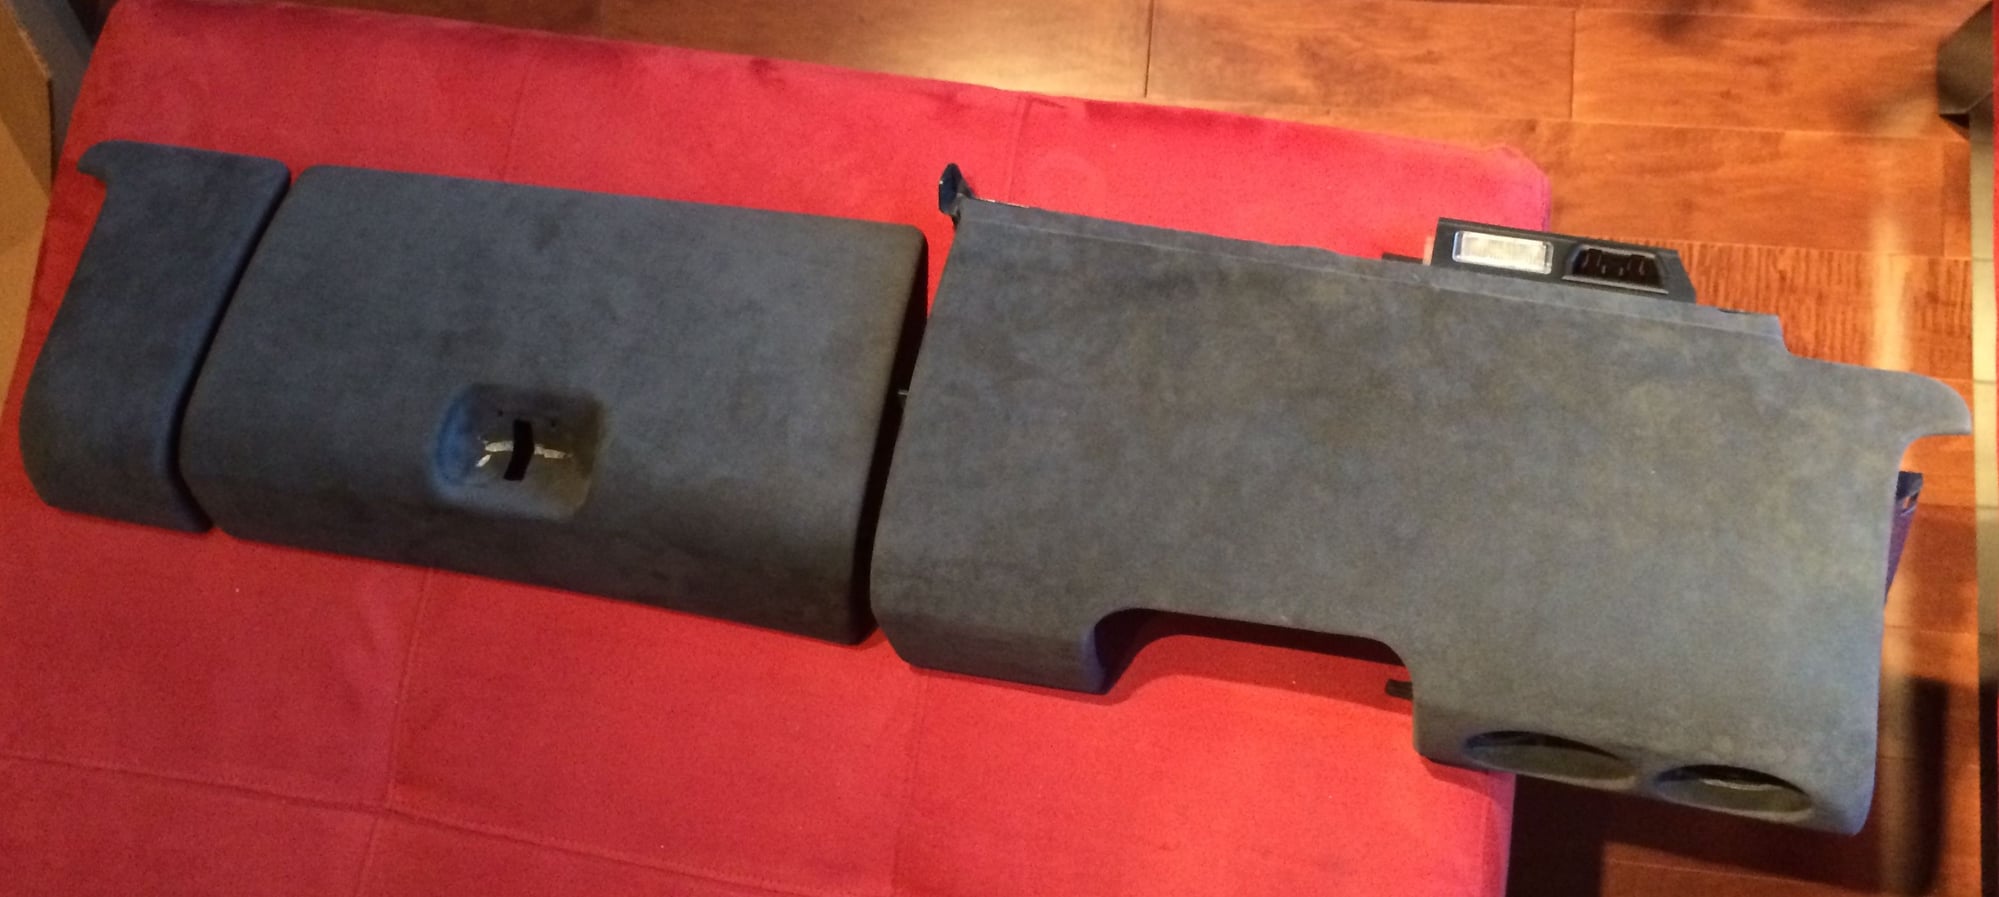
Rear interior panels in leather and alcantara with yellow stitching
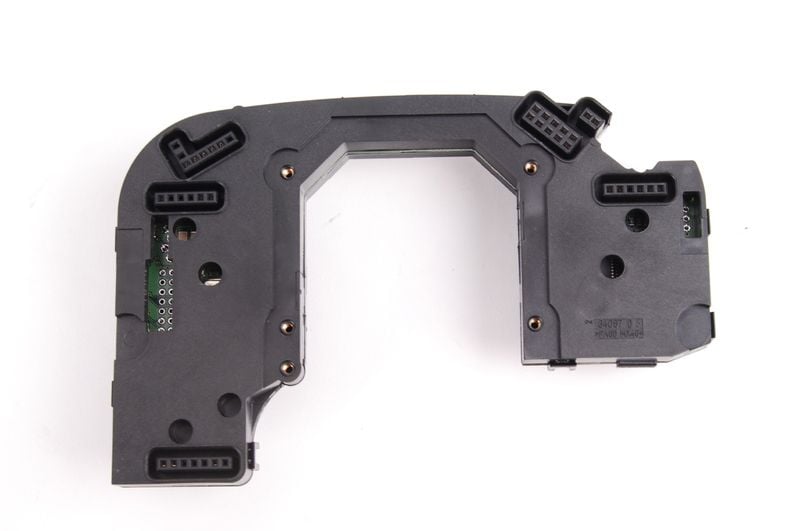
2010+ round airbag and steering control module
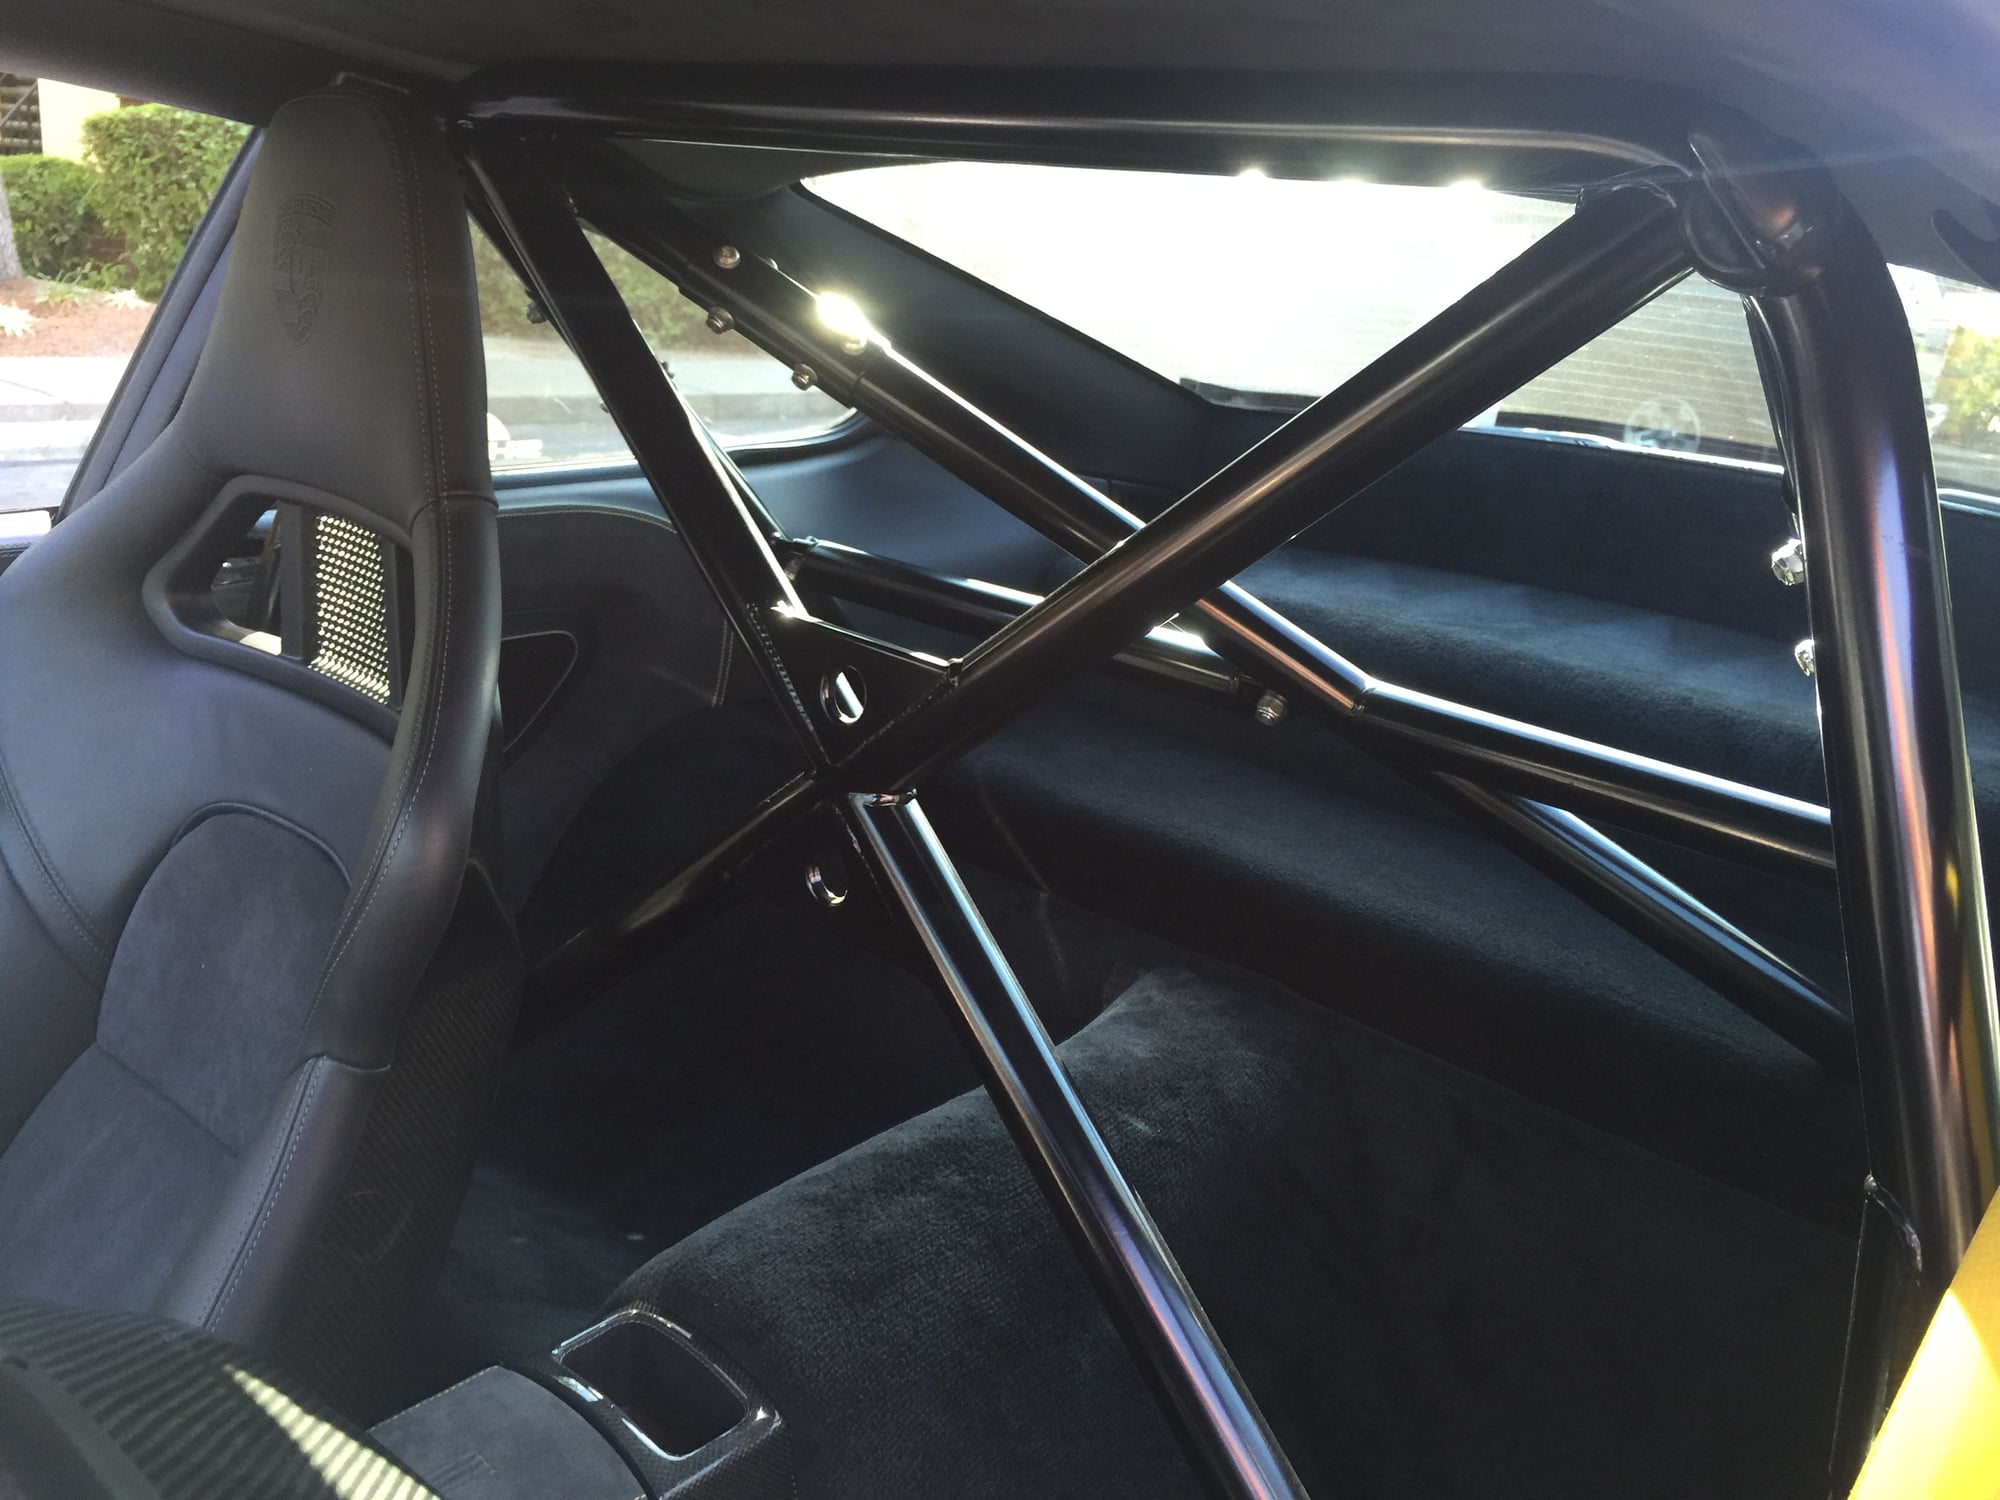
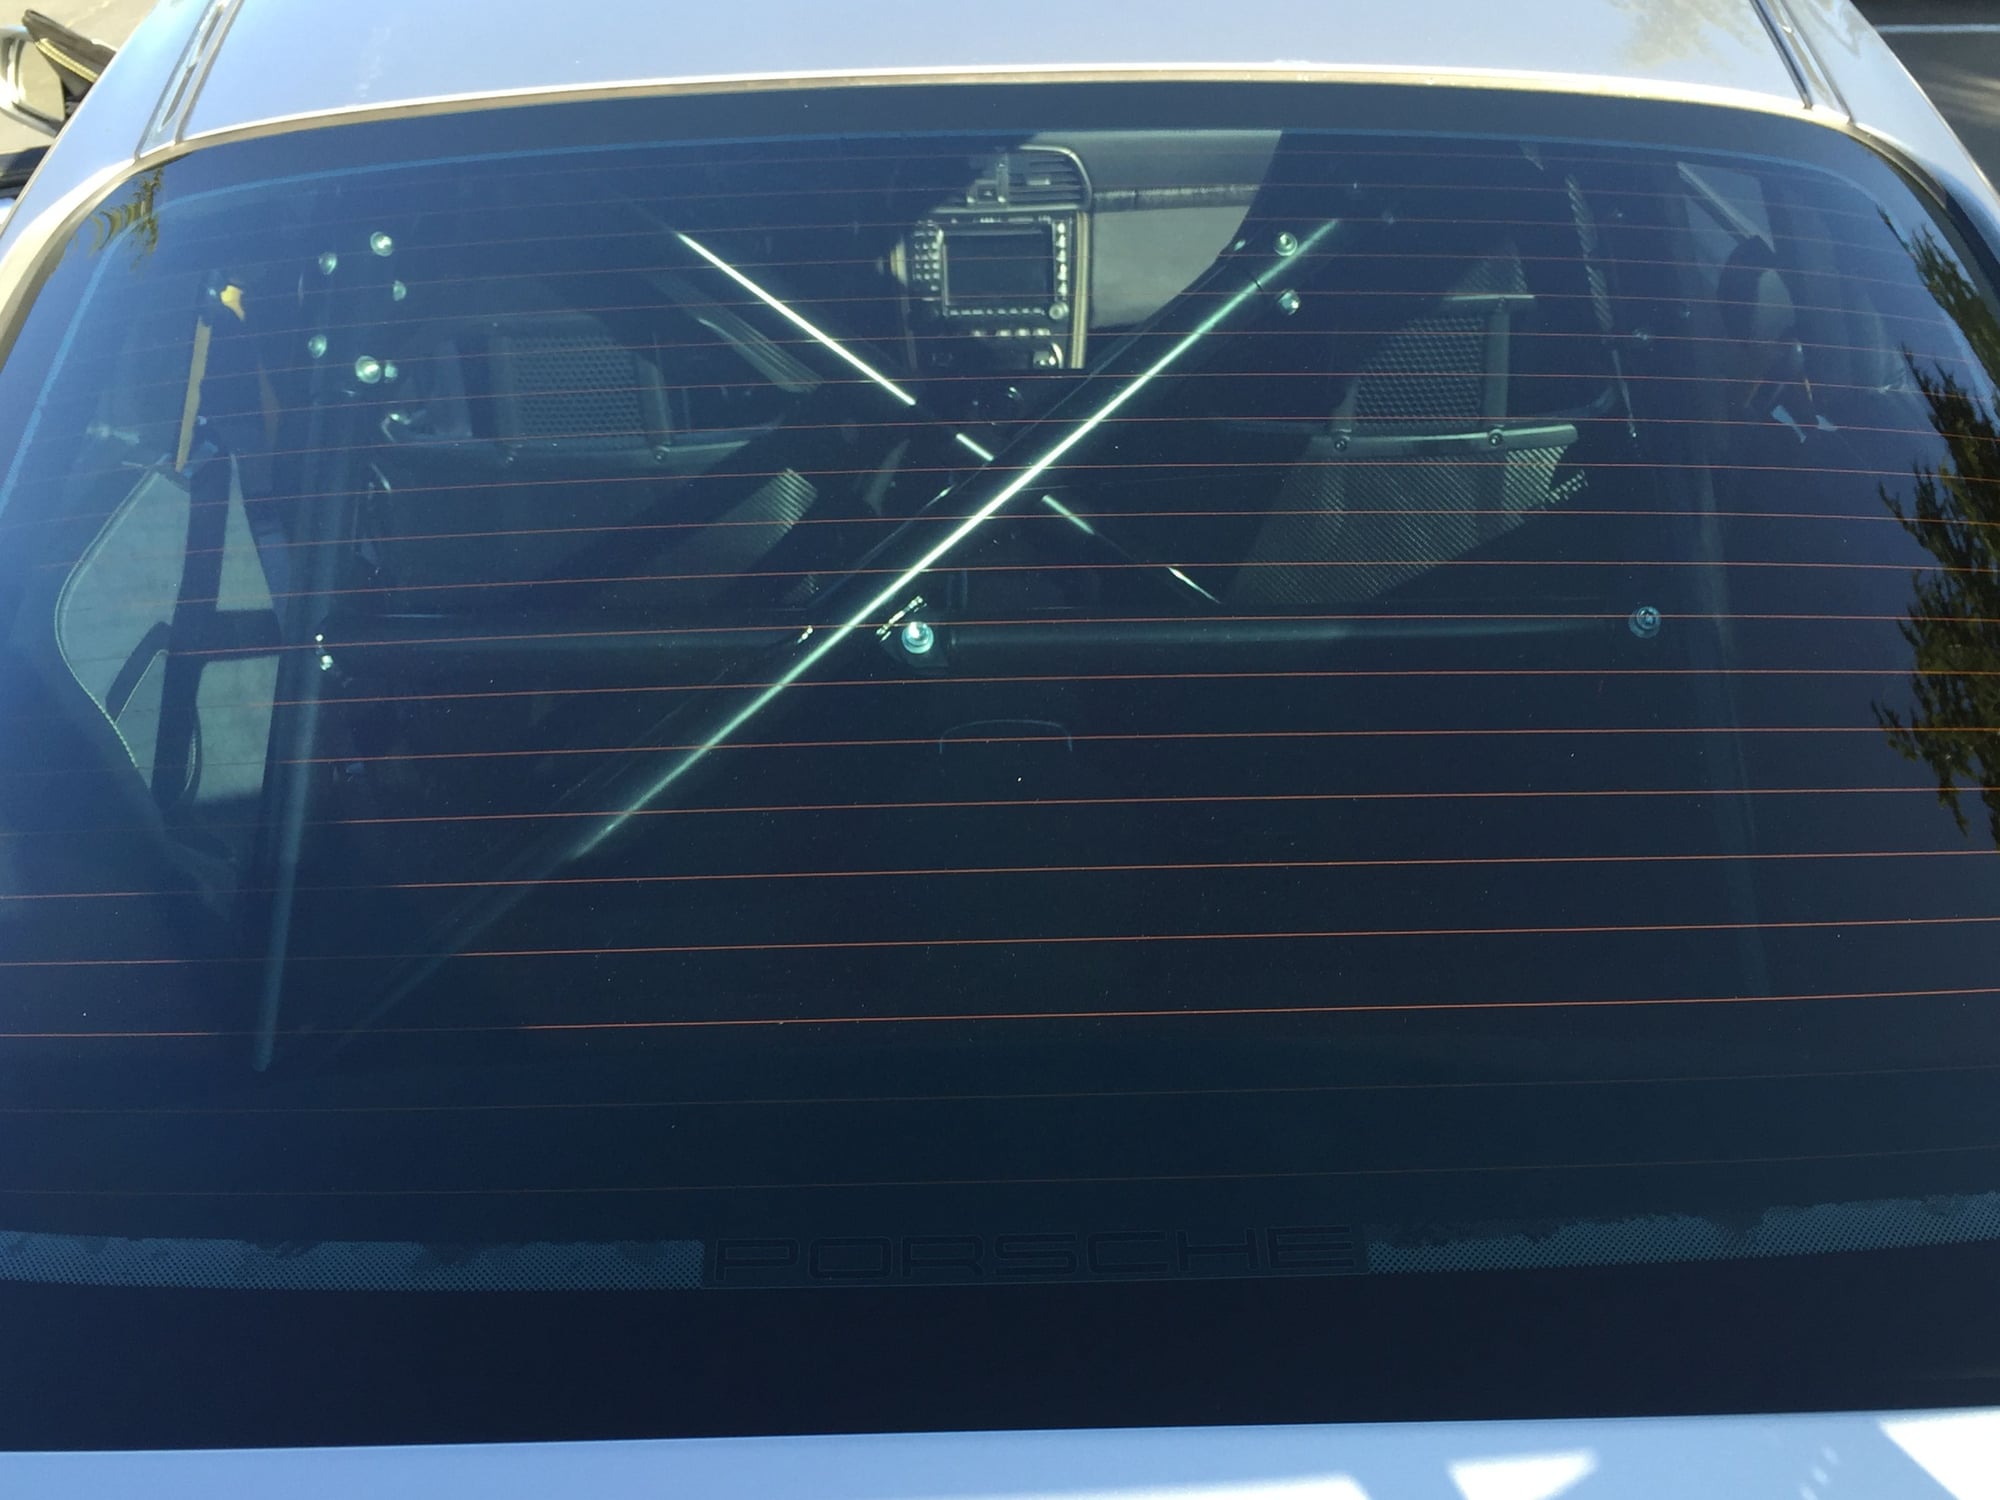
OEM Clubsport Roll Bar
My car came with the standard black full leather interior with grey stitching, the heated Sofa Front Seats, and guards red seat belts. While this is fine for many, I wanted something that more reflected my style. So I made the decision to take on the task of completely changing the interior. The vision I had involved Carbon Fiber, Alcantara, and Yellow Deviated Stitching. Again the plan would be to stick to the theme of OEM quality, look, and feel. I wanted to create an interior that could actually come from Porsche if they let you run wild with cxx options.
Disassembly
Removal of everything to make way for the new
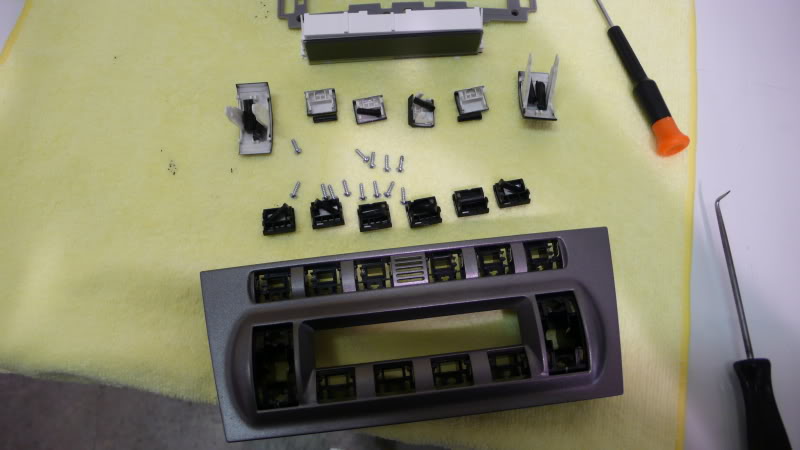
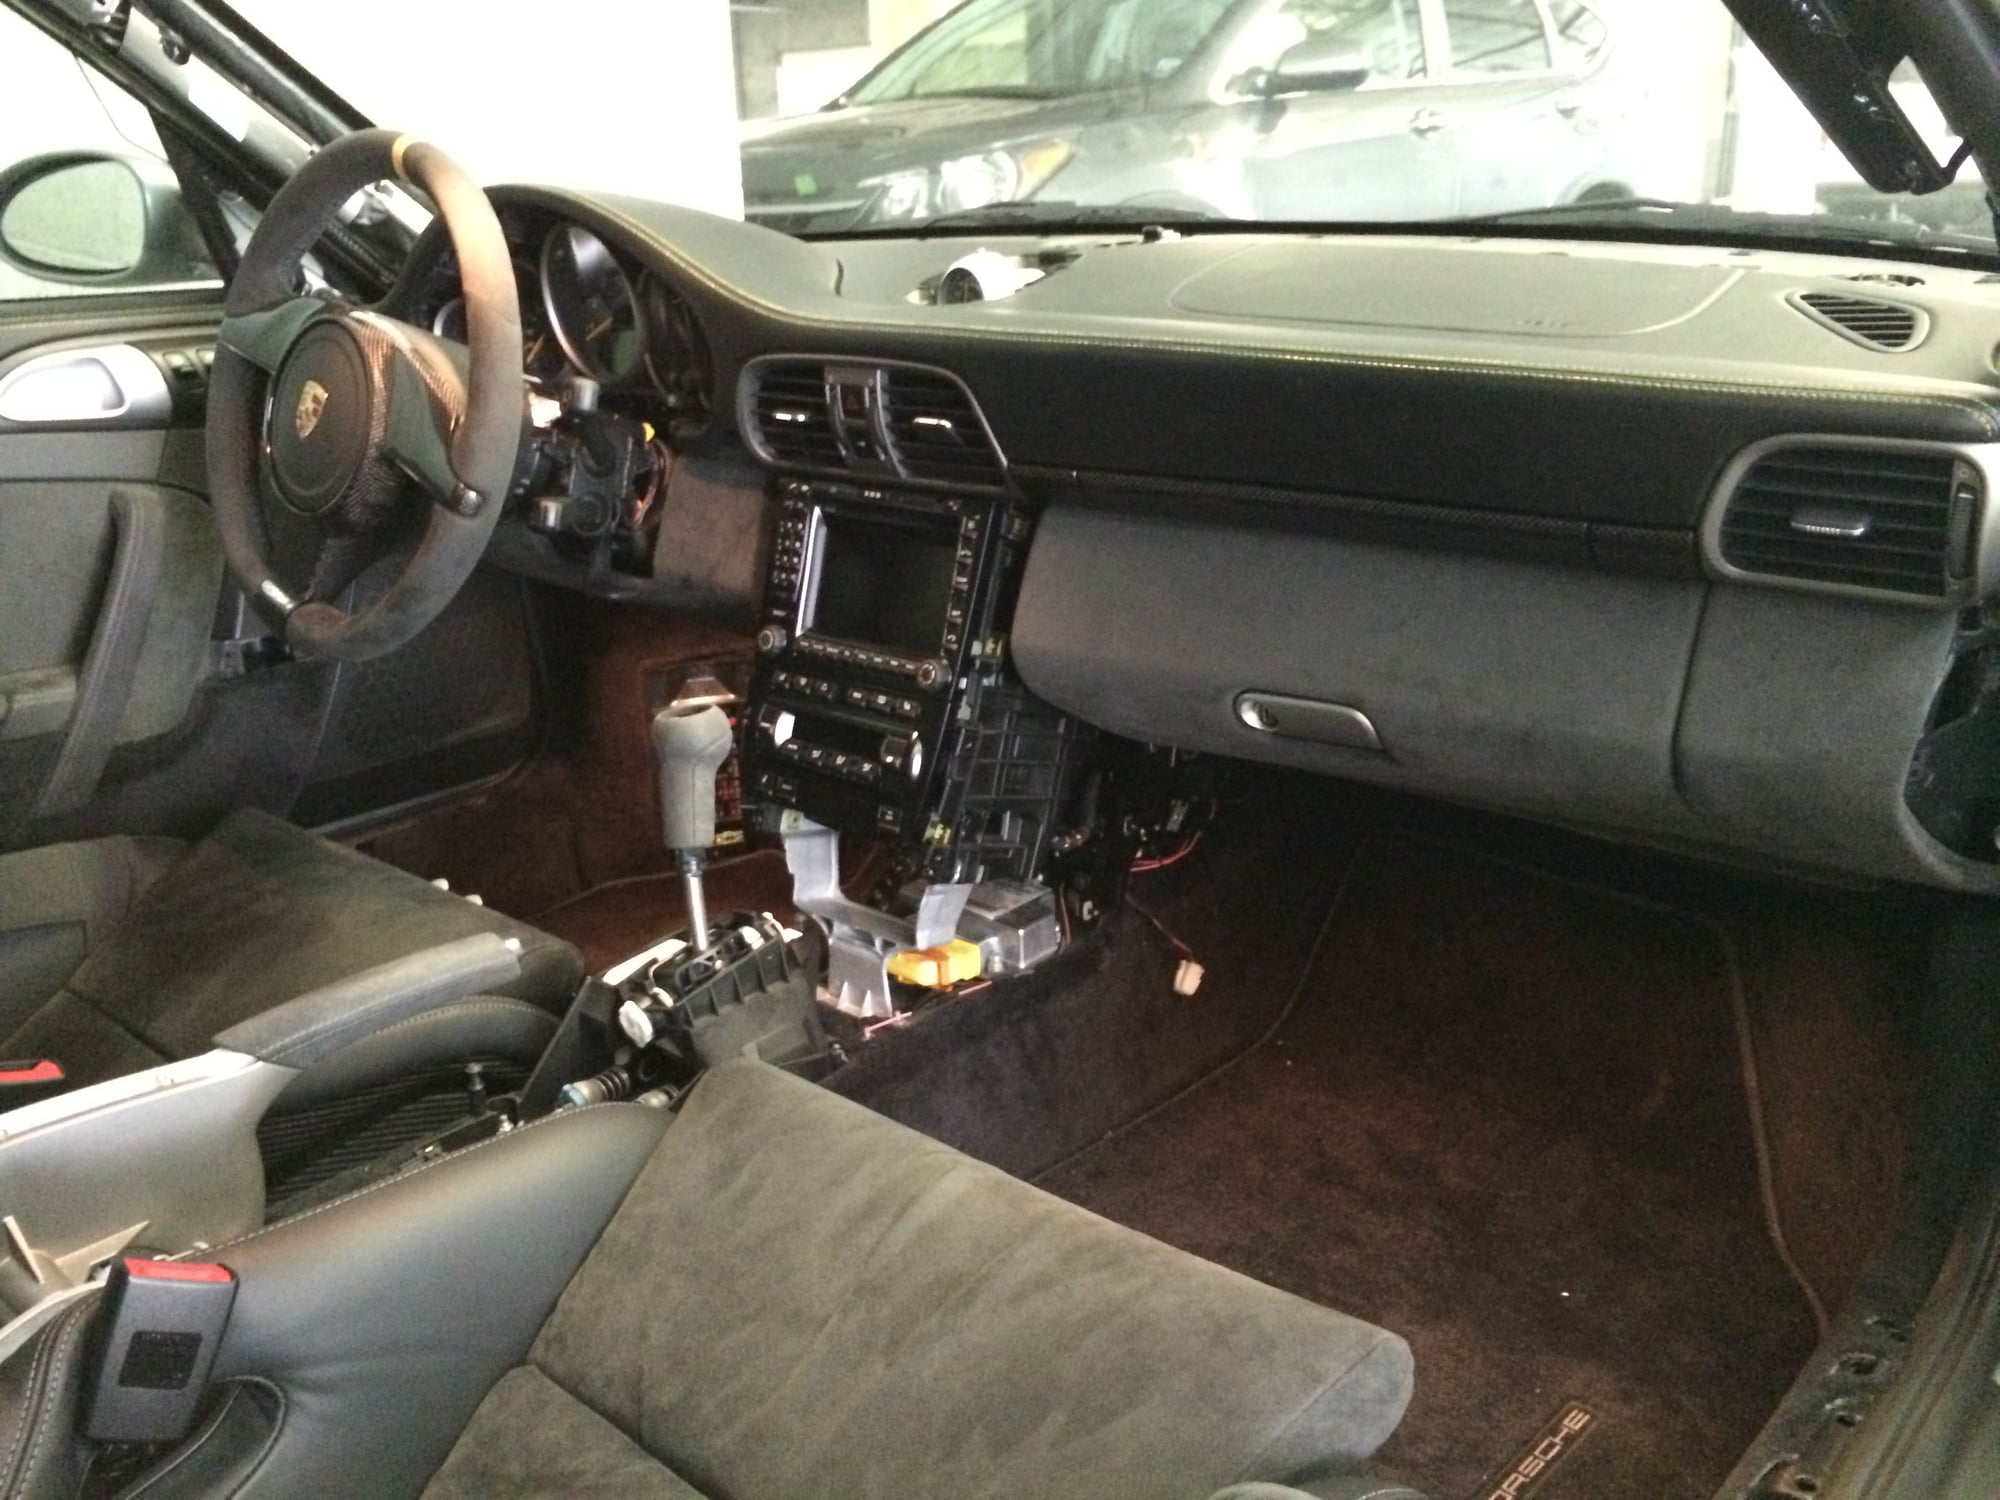
PCM Face Removal
While I had everything removed, I decided I would take the opportunity to disassembly the PCM stack so that I could have it painted. I never was a fan of the Volcanic Gray color of it so wanted to change it to a satin black.
For those that would like to have their PCM and center stack painted, this serves as a DIY for you. You have to get down to the bare faceplate to be able to have it painted, which requires completely disassembling it.
First, to remove the units from the car:
Step 1 - Remove small carpeted trim piece from side of center console by PCM (Beside PCM) Using Torx wrench size T-30
Step 2 - Remove two leather side trim pieces using Torx wrench size T-20, then pull towards rear of car to release the clips
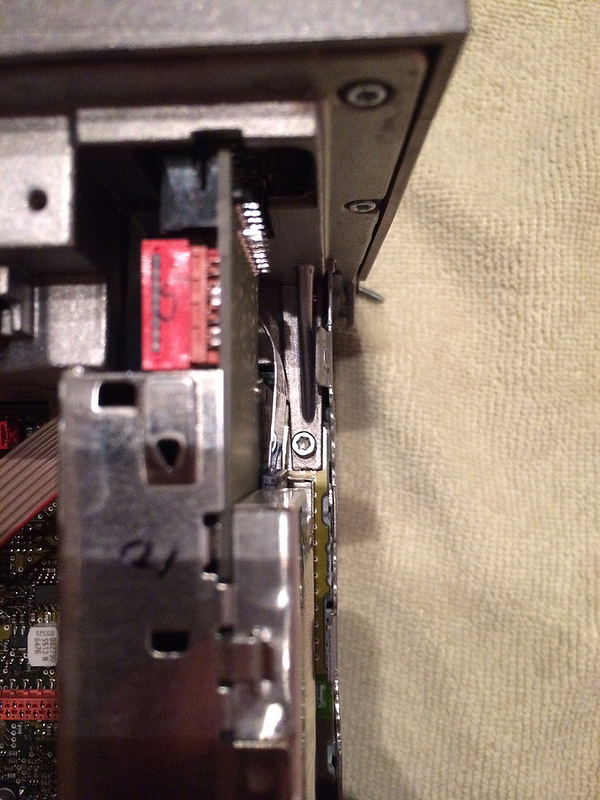
Step 3 - Using 5mm Allen wrench turn four (two each side) black hex locks 1/4 - 1/2 turn to unlatch side locks. Do not force these. They turn very easily in the correct direction. Open glove box on passenger side to access these latches.
Step 4 - Removing retaining screw using 7mm wrench on right hand side of PCM
Step 5 - Carefully slide out PCM
I would recommend you take pics of the faces of the PCM and all units you are disassembling so you can use as a reference for the buttons when re-assembling.
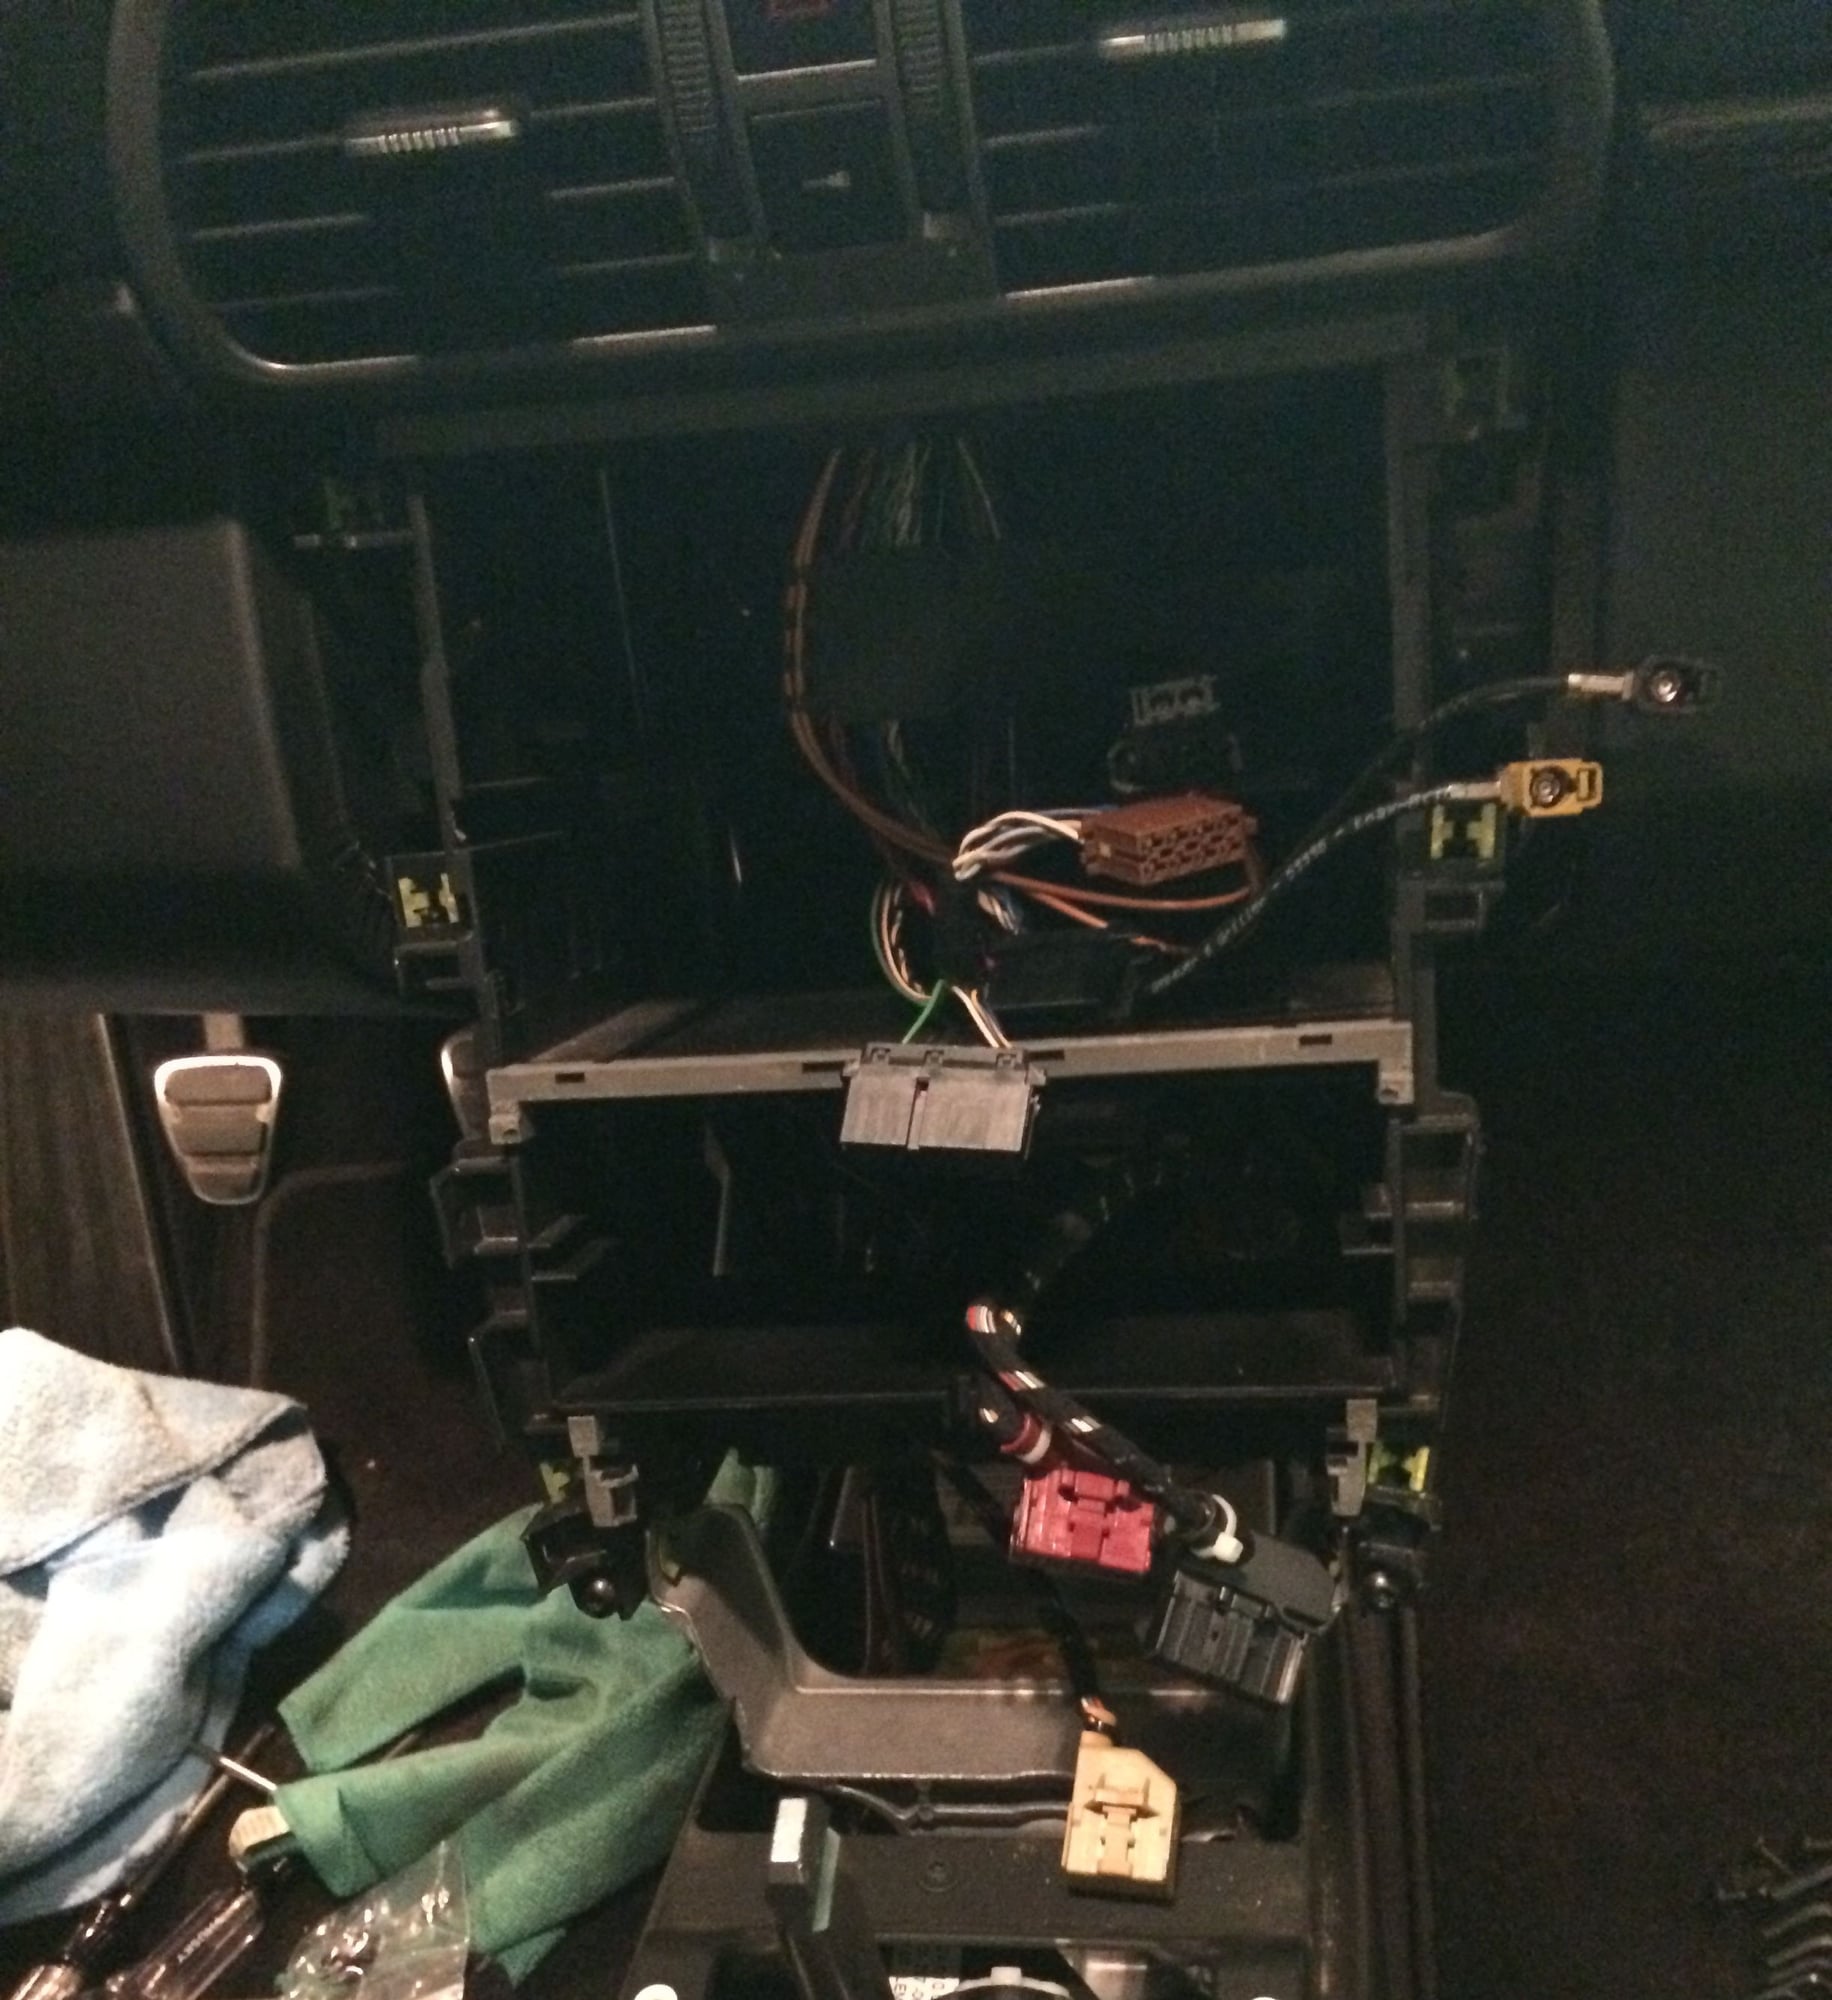
To remove HVAC and trim all the way down, you will see a couple torx bolts, just loosen and slide each unit out.
To remove the faces off the HVAC and panel that holds the sport button, traction control button etc, it is very straight forward. The HVAC has four T6 torx screws on the back of the face. Remove those 4 and separate the face from the unit. This will expose the back of the circuit board and you will see 4 more 6 screws to undo. Once you have removed those, you can take the face off, remove the display, and popping out the buttons is easy.
For the other panel, there are no screws, you just carefully pry the face off. Very straight forward.
Heater Controls
Now to the PCM Nav Unit.
Remove both ***** from front of unit by pulling straight out.
Remove the upper case cover by separating it at the tabs along the center.
Disconnect the CD drive wiring from the circuit board and set the top aside. To remove the faceplate, there is a T8 torx on each side on the circuit board. Once removed pull the face straight out. Carefully do this as there are a few connectors still plugged into the circuit board which you will unplug.
Now that you have the faceplate off, remove all the T8 torx to separate the back casing.
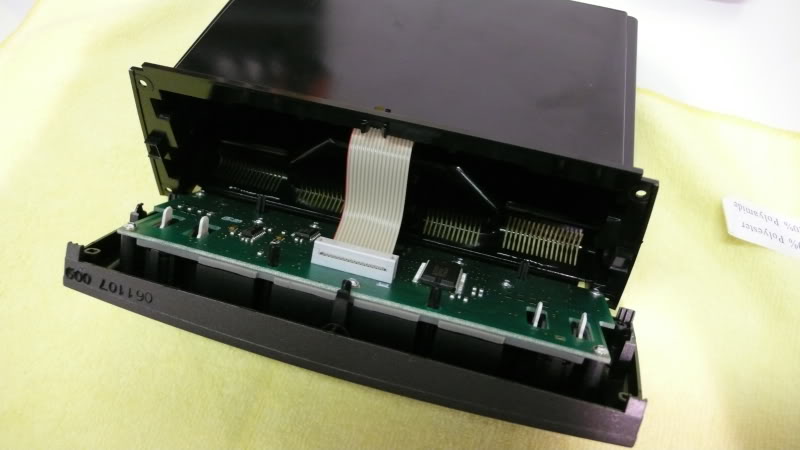
One you remove the back you will see this
Release the tabs for the whole screen unit (white piece in the picture) and remove the screen assembly.
Remove the circuit board
Now you have access to all the buttons that you need to carefully pry out. In this pic im showing you what to push to pop the black plastic cover off the back of the button which will allow the button to fall right out. To remove the Sim card slot, you will need a T6 to remove 4 screws on it.
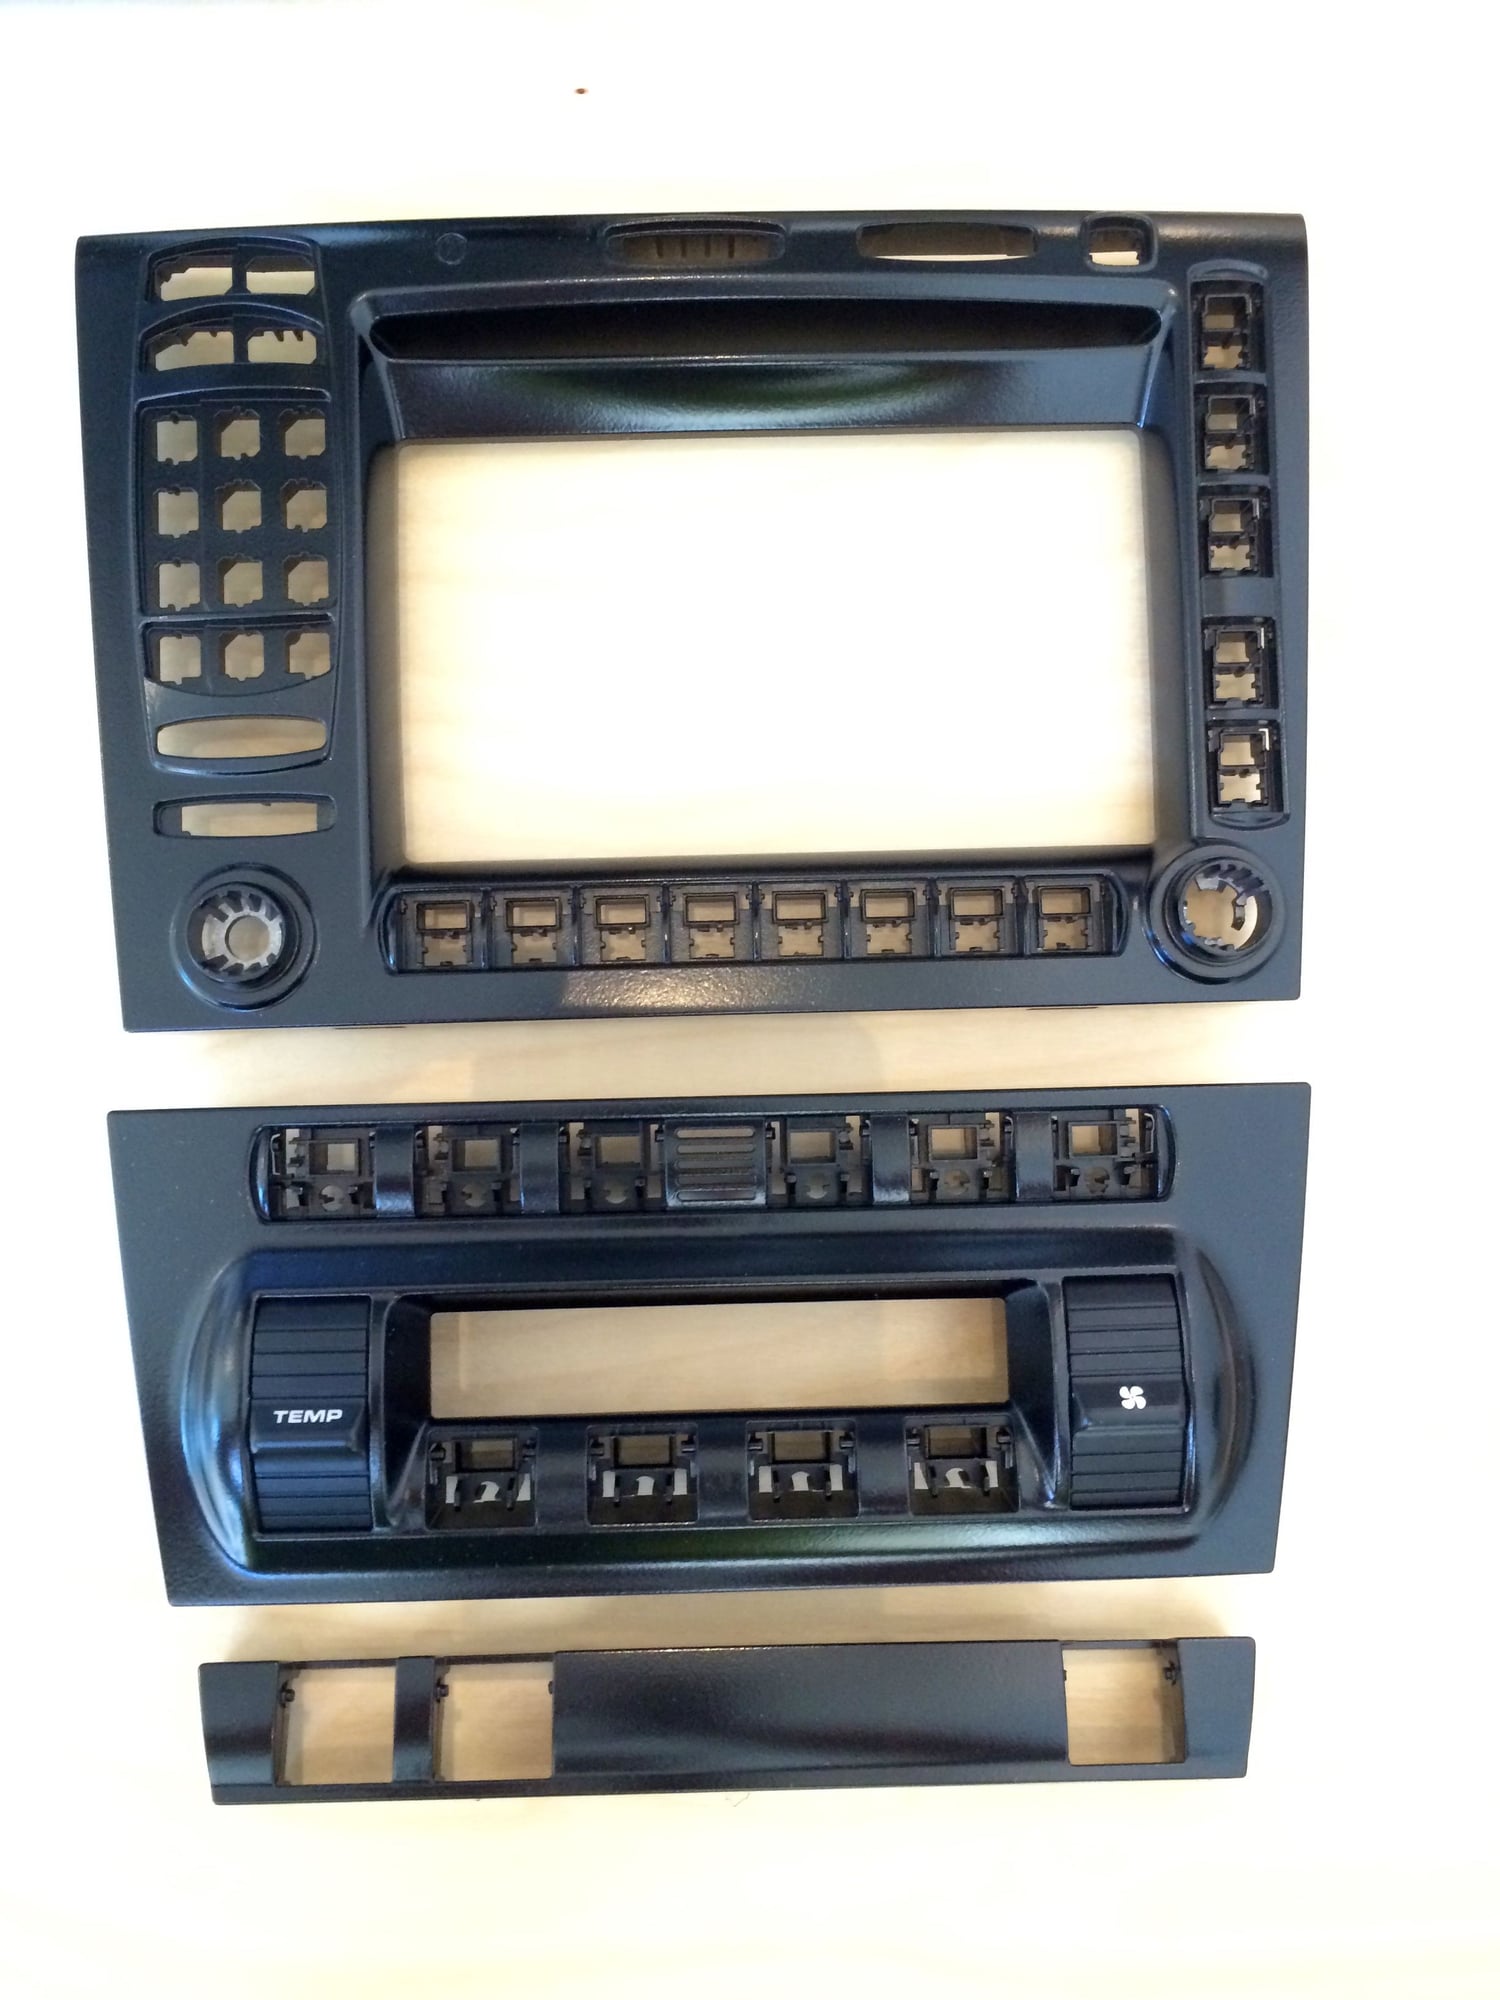
All said and done
Now you have the bare panels ready for paint.
I had mine painted Satin Black.
Final pic after re-assembly.
New Interior Parts
The frist part of the conversion to yellow deviated stitching was to find an OEM leather dash with yellow stitching. Luckly I came across one pretty quickly at a dismantler. I think to this day its the only one I have seen come up. I also picked up the OEM Alcantara Lower Dash and OEM "Porsche" embossed armrest with yellow stitching.
Along with that, I wanted to make sure no plastic looking parts remained in the car. After trying out several different upholsters, both in the US and Europe, I came across Exclusive Option, and had them do a test part for me. Their piece was by far the best match to OEM pieces. The leather and alcantara was identical, and the stitch color, stitch length, and spacing was spot on. So I went with ordering more parts from them.
I wanted the rear panels to match the front door panels so I chose to do Alcantara centers.
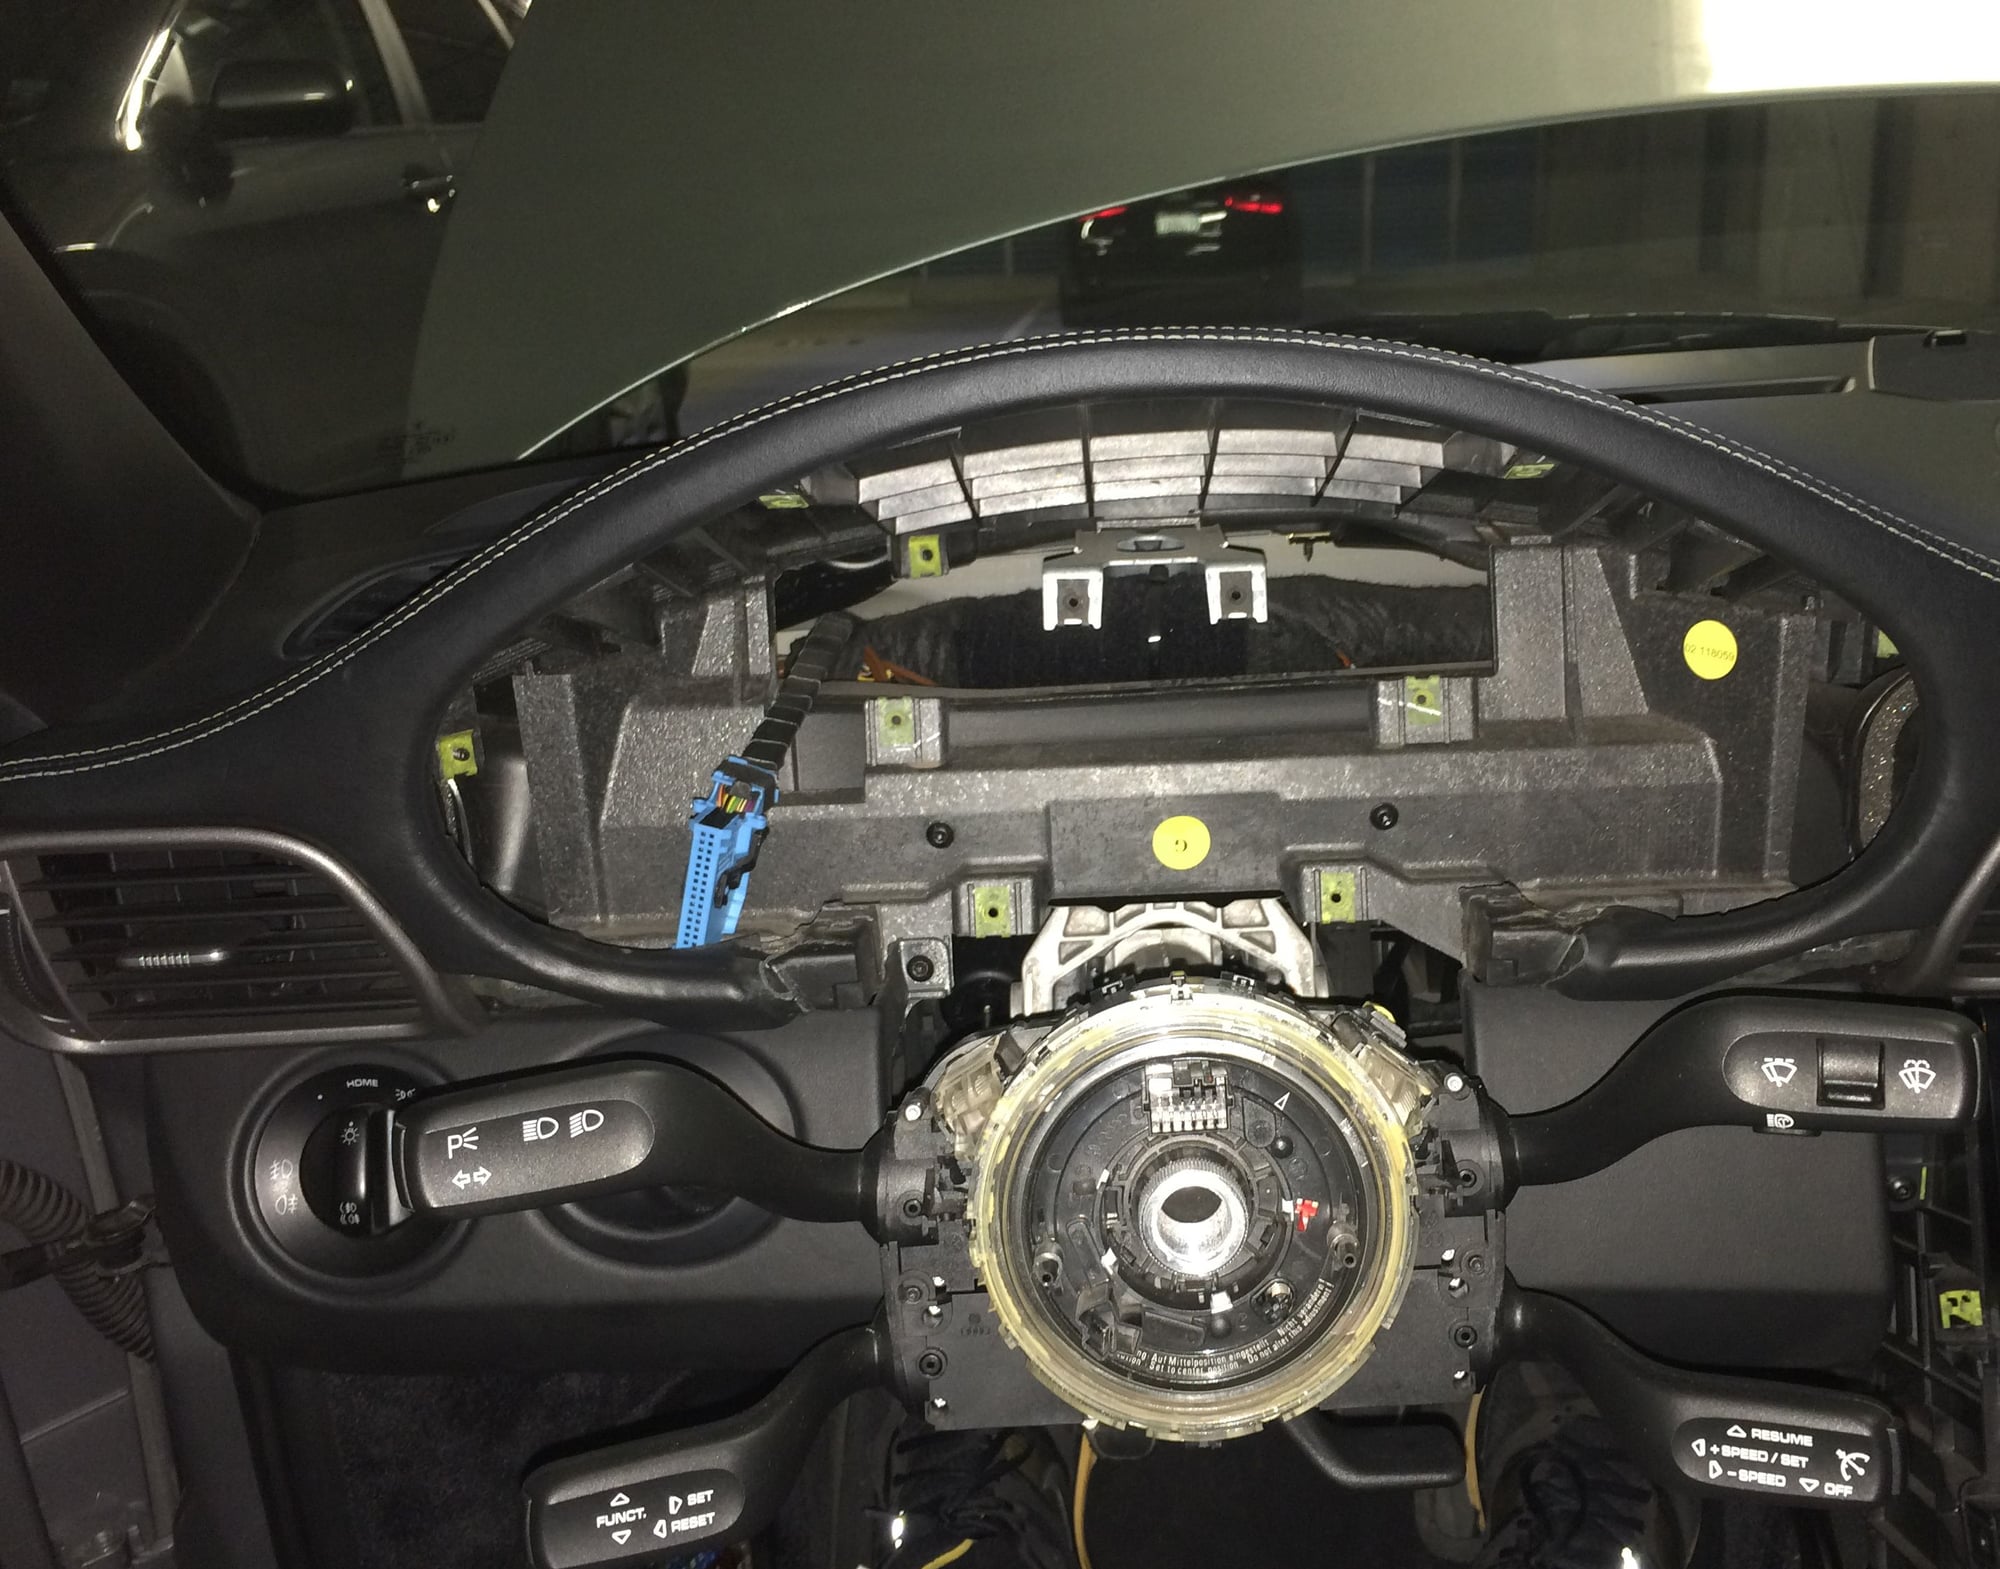
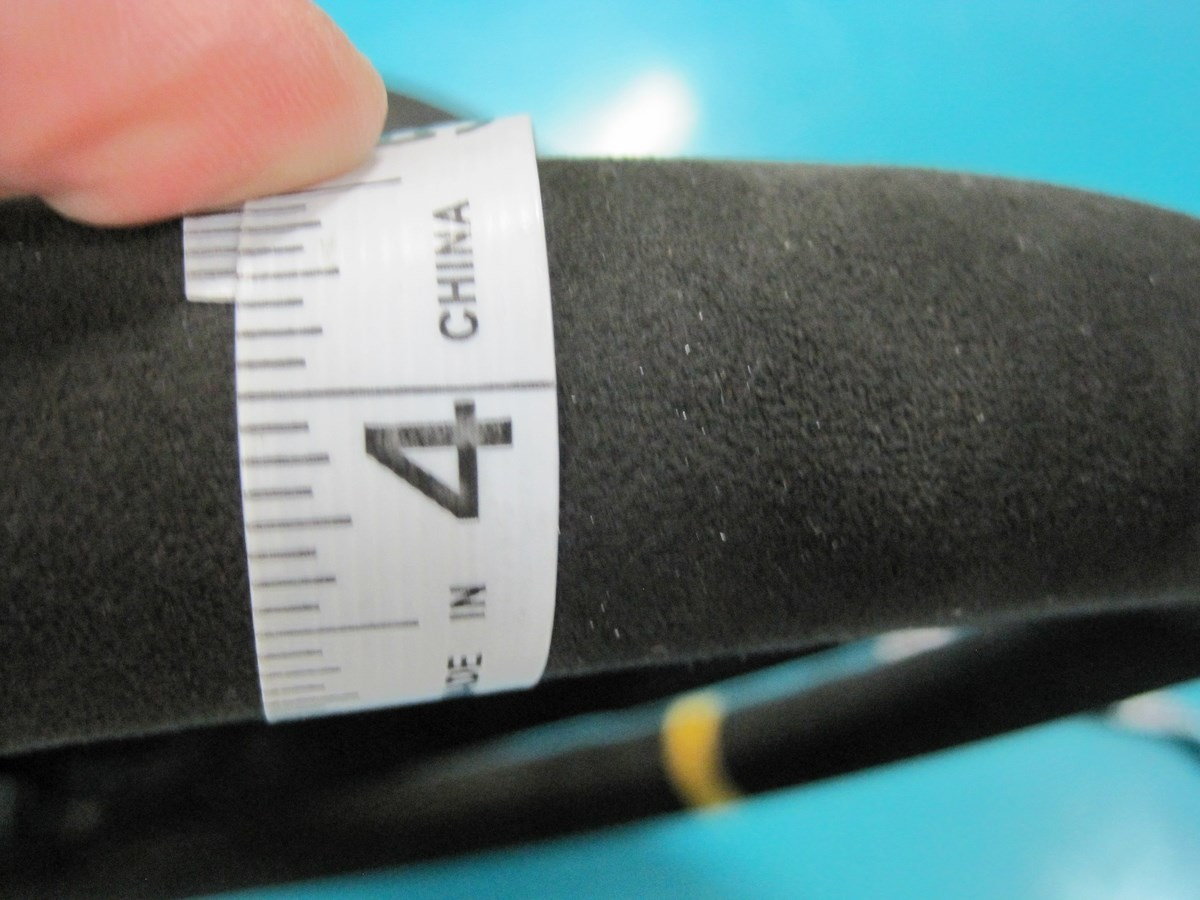
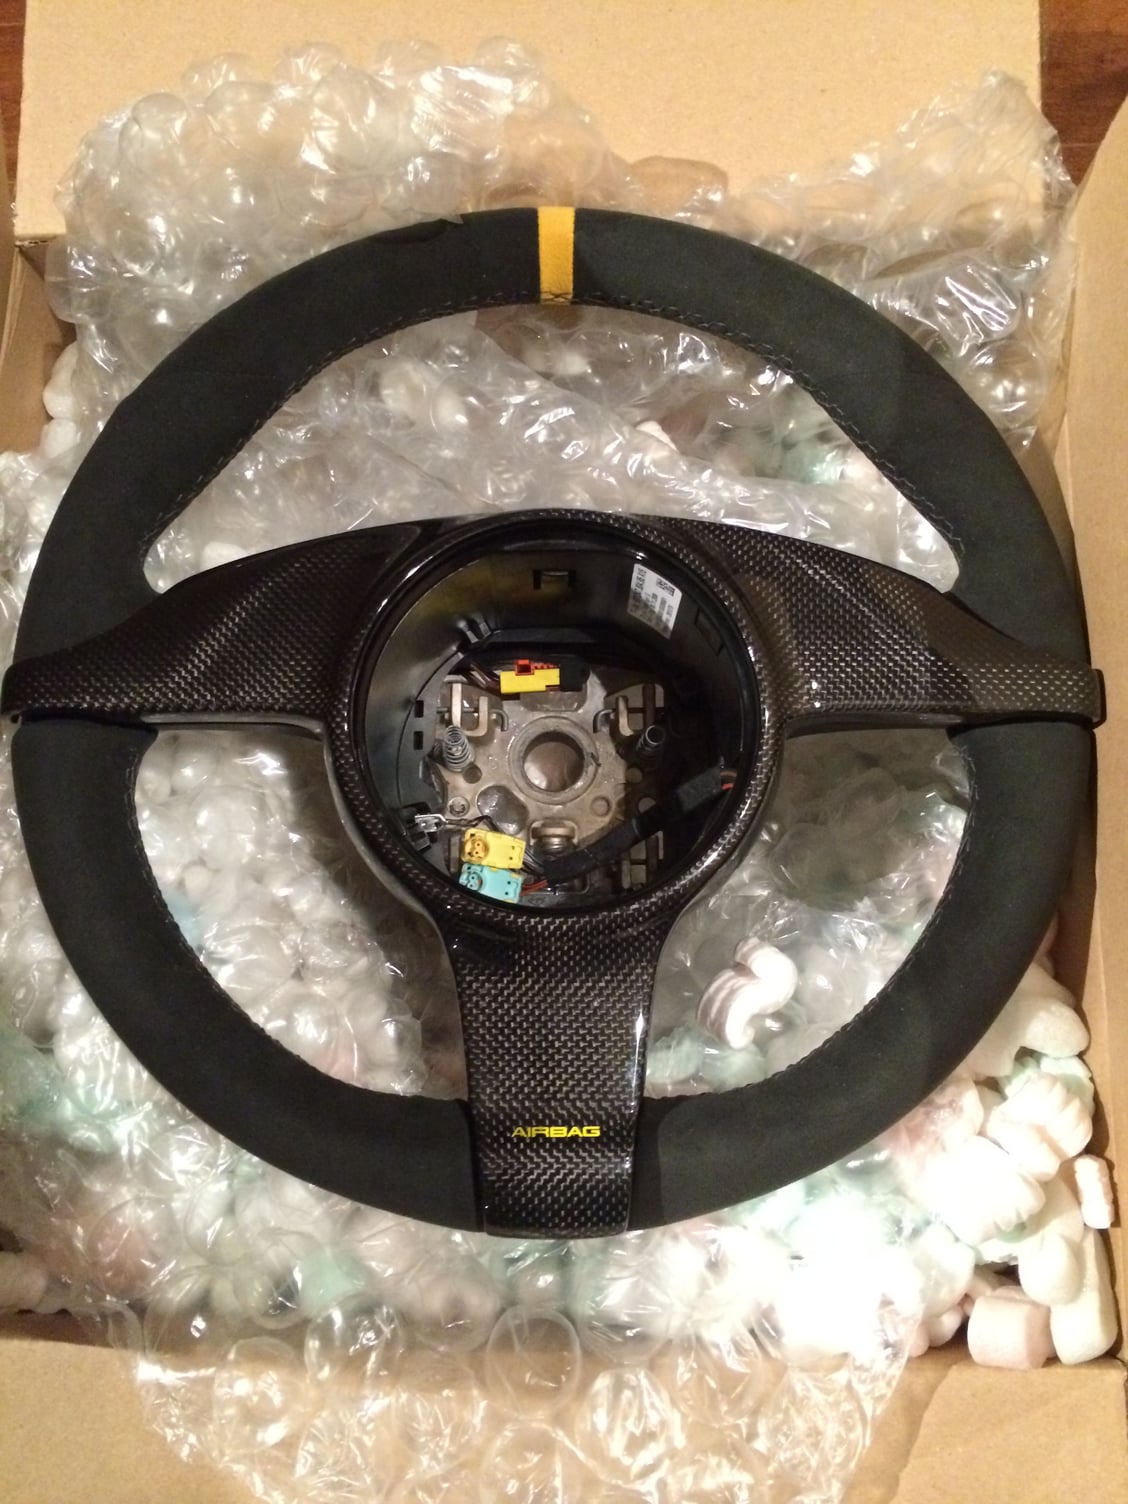
I also wanted to update to the newer design 3 spoke steering wheel from the 997.2 RS, so I found a used one, and had Dallas Customs add additional thickness to it and recover it. I also needed to get the newer style airbag for the wheel.
In order to make sure the horn was fully functional, I swapped to the 997.2 steering switch (99761328901)
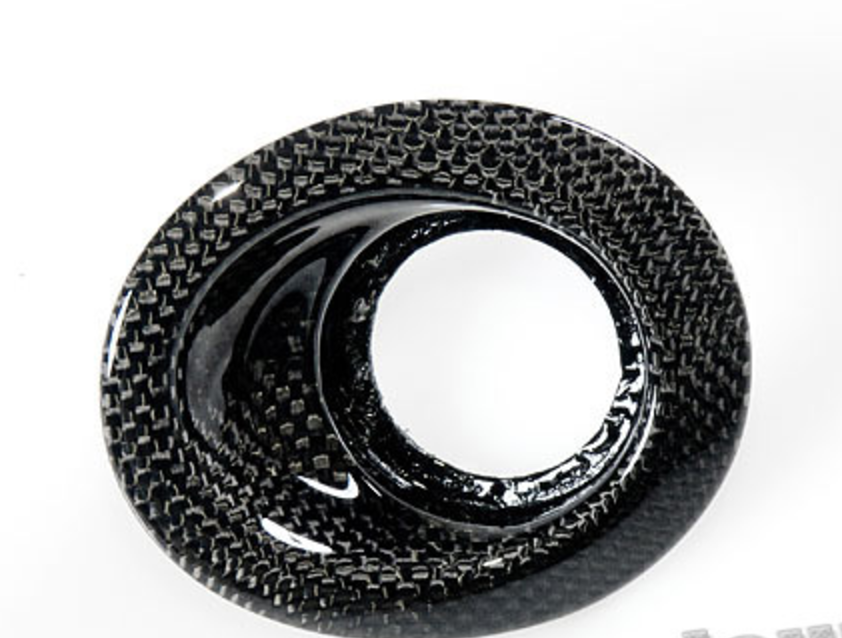
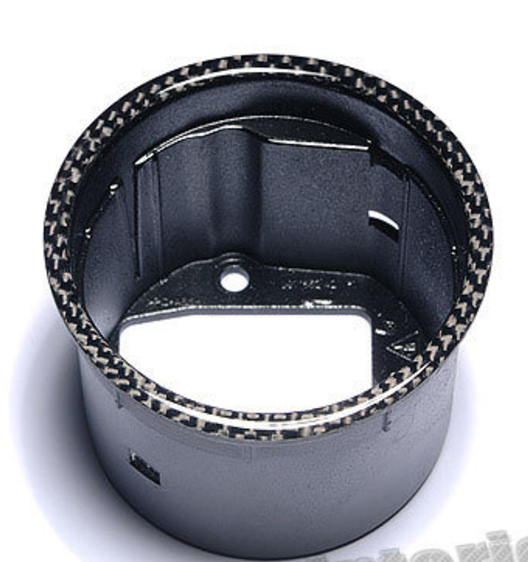
Now for some Carbon goodies as well
Tranzit Blu Install
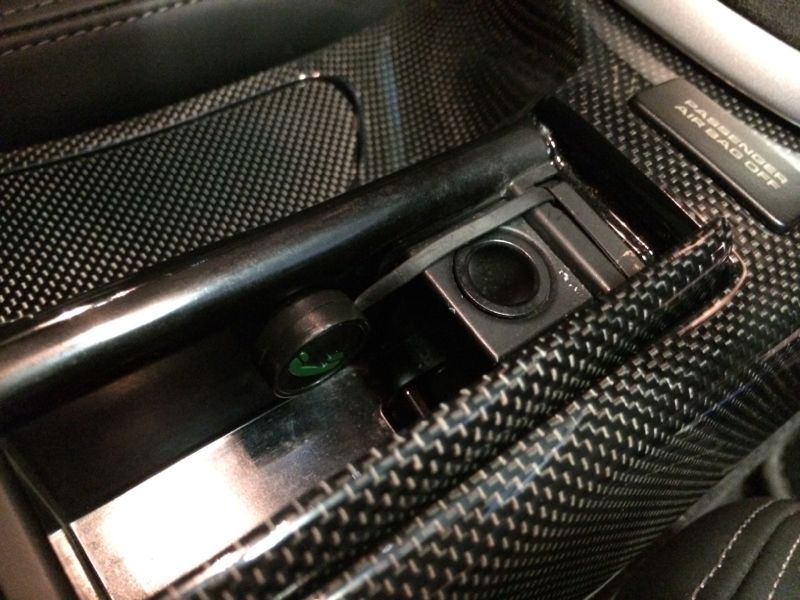
I decided to add the Tranzit Blu as a way to easily stream music from my phone and have hands free phone calling. I wired my whole unit up so u can't even see it's there if u take panels off. I put the mic in the blank pop out i have in the dome light over head console and drilled the blank cover with a large hole for the mic and covered it in speaker grill to allow for a stealth install of the mic. I ran the wire inside the headliner along the windshield then down the a piller along the factory wiring. Then into the space the factory wiring goes down into the dash exiting by the fuse panel then under the carpet behind the pedals to the space behind the center PCM stack. I ran the button down the center tunnel into the center console ashtray so when u flip the lid Open it's there, and when you close it it is completely out of sight. Yes it's a bit much but I wanted a completely stealth install.
You can see the mic here (cover removed)
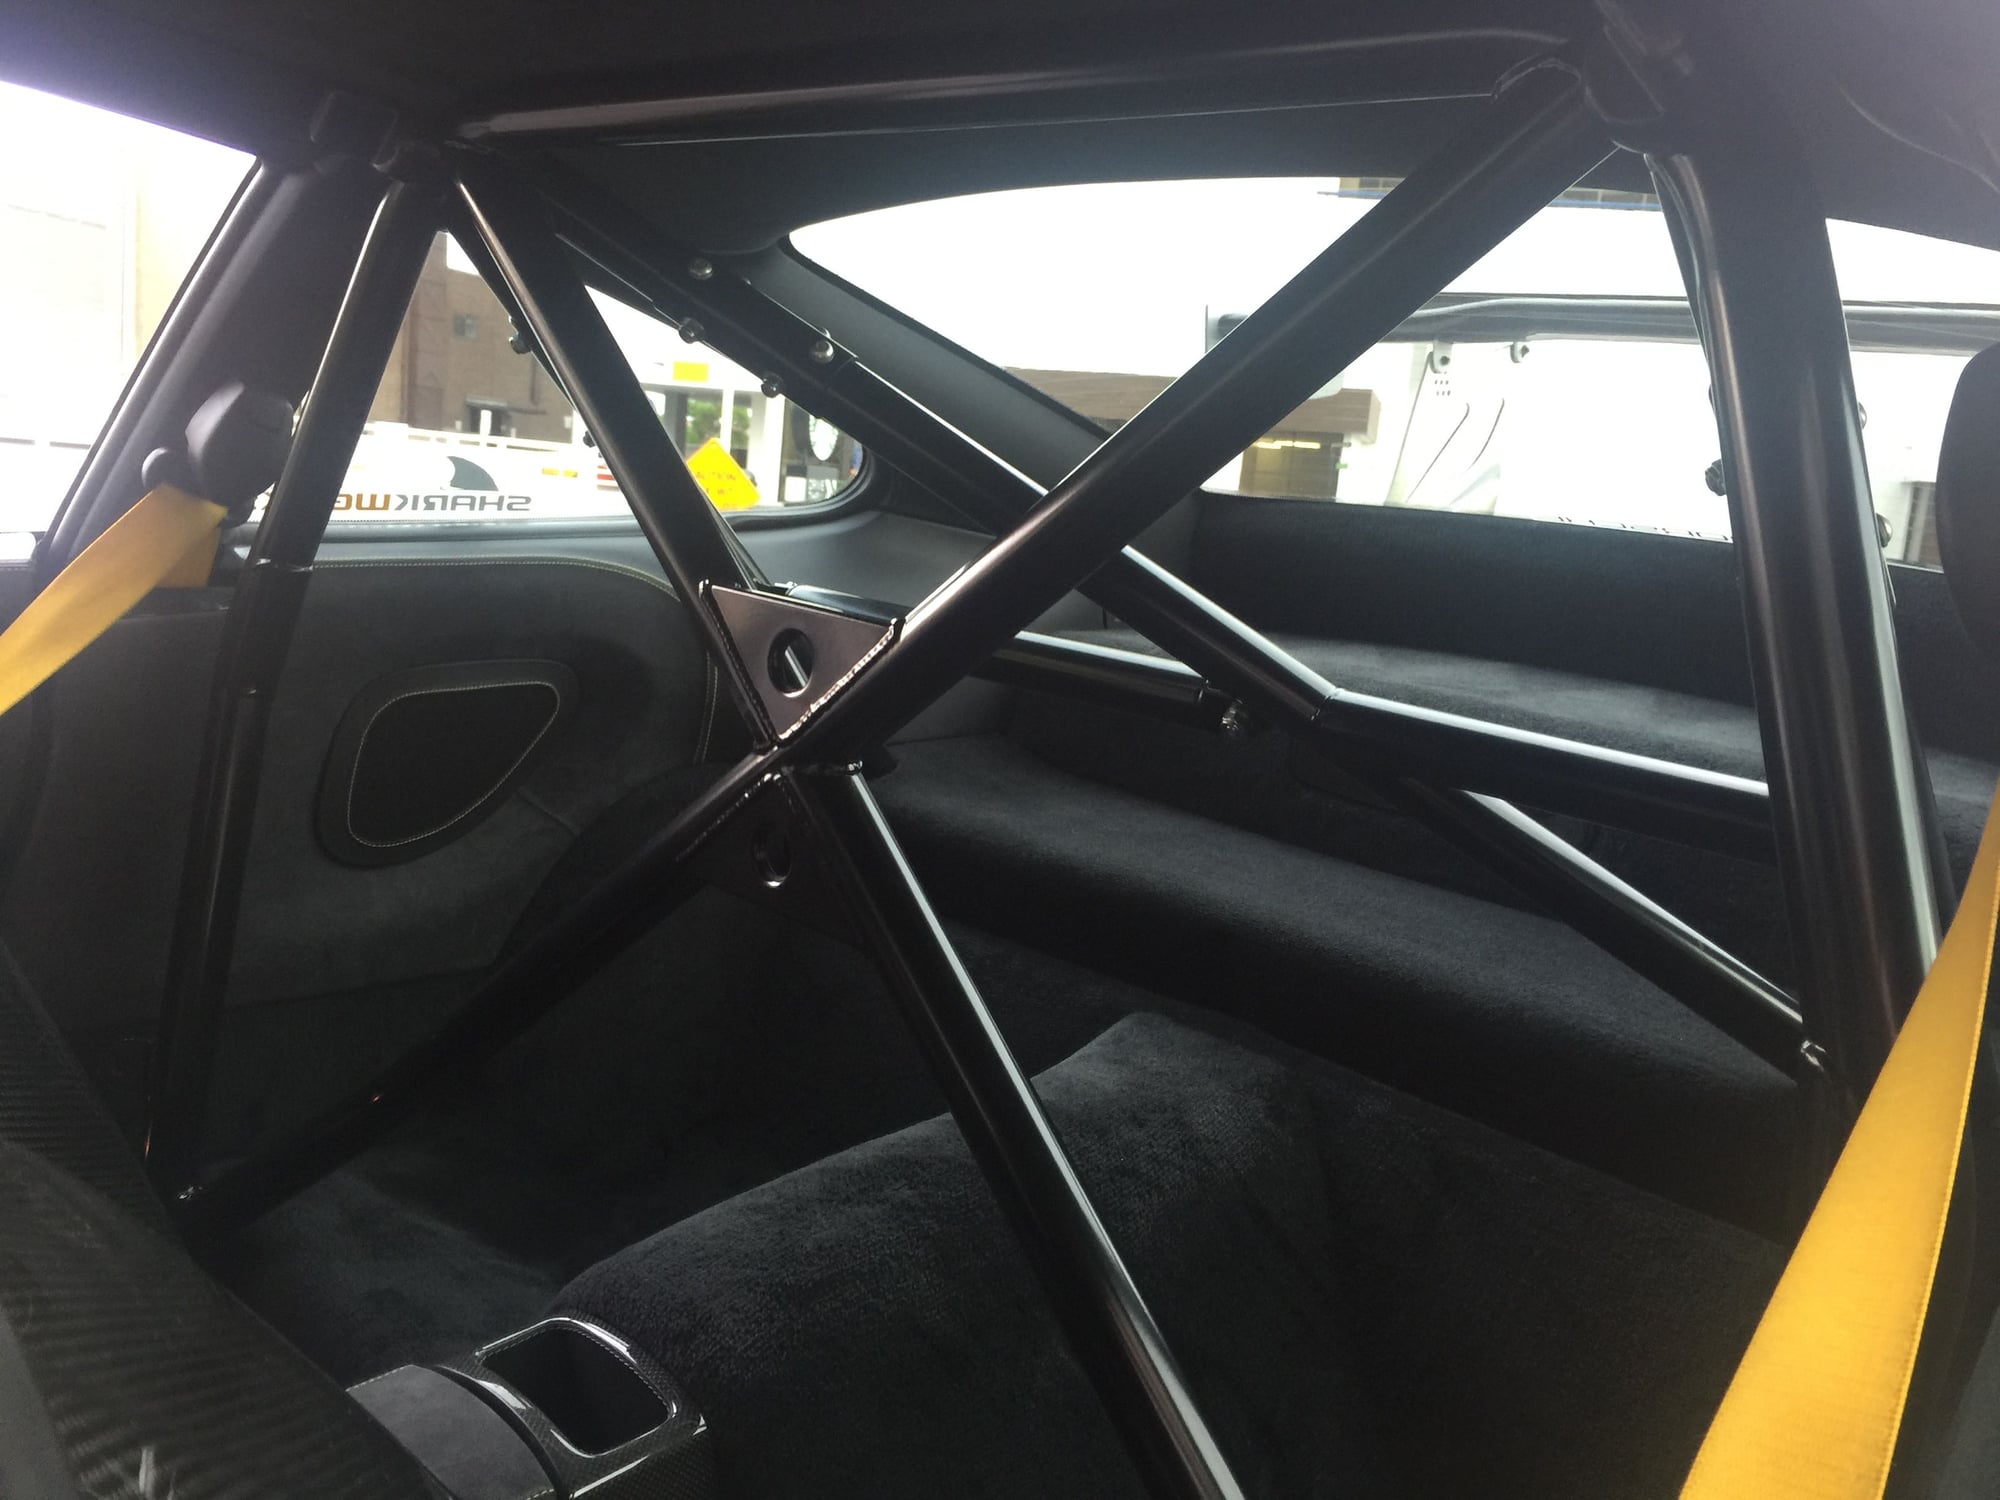
Seats and Roll bar
No conversion would be complete without proper seats and safety equipment. For the seats I decided to go with the GT2 Buckets, as having the folding feature was important to me so I could easily access the back area. For the roll bar, I decided to go with the OEM Clubsport bar. My car did not come with the factory mounting plates, so I ordered them and would have them welded in.
While I was using an OEM Roll Bar, the clubsport bar was designed for cars without a sunroof. My car has the sunroof and I wanted to retain that. I did a lot of research seeing what those had done before, and pretty much everyone just mounted it in there and allowed the bar to press very tightly against the sunroof carrier, which would result in the sunroof rails getting bent and the sunroof not functioning correctly. That was not an option for me. So I looked to my network and found Mike Tolle of Tolle Fabrication. For those of you who know the NSX race cars, this is the guy who was doing all the work with Comptech and been in the fabrication industry a long time. I told him my concerns and what I wanted to achieve and let him work his magic. Basically, he was going to shorten the height of the hoop to accommodate the lower ceiling height. He did all the fab work on that and the factory plates and the bar fits like a glove, with no issues of pressing against the sunroof carrier. The bar is is rock solid with no squeeks what so ever. The bar was originally orange and so I had it powdercoated satin black to give it a more subtle look in the interior and not distract from all my other interior work.
With a Comptech NSX
Assembly
Now that all the parts were in hand, the fun began putting everything back together.
Dash in, PCM stack in, OEM Alcantara Lower Dash in:
Everything coming together
For the Long External Door Sills and Inner Door Sills and Fuse box cover, I had Xpel clear film applied to protect them from scuffs.
I cannot believe you disassembled your entire PCM unit, painted it, reassembled it, and it actually WORKS!!!!! Very impressive!!!!
Thanks and yes no issues at all. Which is why I made the write up so others can follow suite and do it. It really isn't that difficult, just need to take your time and stay organized. I'll be adding the stealth install I did of the TranzIt blu with mic in the overhead dome light panel and control button inside the ash tray next.
Very nice. I'm a big fan of alcantara and carbon fiber. Can't wait to see the final product. Any reason for not doing alcantara dash?
Was just personal preference. A lot of alcantara dashs that I've seen over time don't look that great. Maybe ill do a full carbon dash in the future, or I'll sell all my carbon and do all matte carbon and a full matte carbon dash


 10-08-2016, 12:06 AM