When you click on links to various merchants on this site and make a purchase, this can result in this site earning a commission. Affiliate programs and affiliations include, but are not limited to, the eBay Partner Network.
Shout out and thanks to Tom, Ken, Nick & all the crew @ MusicarNW ( http://musicarnw.com) Just finished a superb install on my '16 GTS 4 Cab. Fit & Finish all seamless, works like a dream. Craftsmanship nonpareil. All that and a magnetic solution to the Front plate conundrum-
Car's in the paddock tonight. Pics tomorrow.
It's not hyperbole to state that the install equals the high standard of excellence exemplified by Porsche.
Thanks for the kind words! It's always a pleasure working on such a beautiful car.
I need more pictures of the finished product. The Portland rained ruined the opportunity. We ought to get together tomorrow or Monday for a photoshoot.
Alright, finally got the time to put all the pictures together.
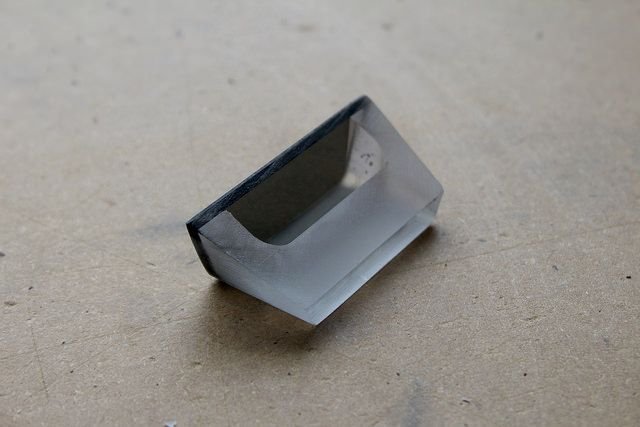
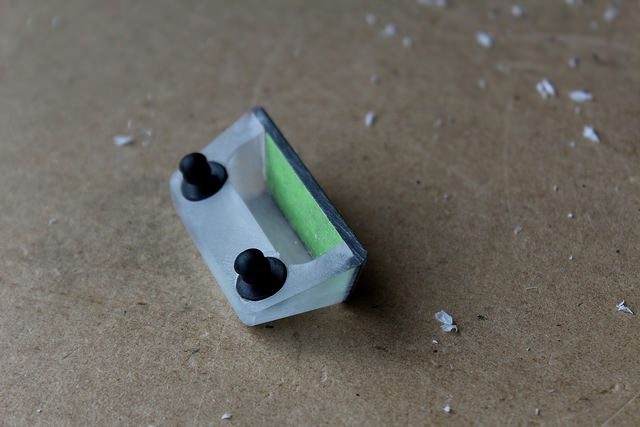
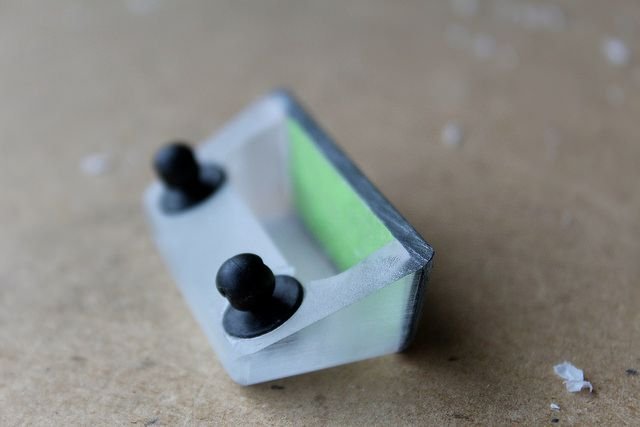
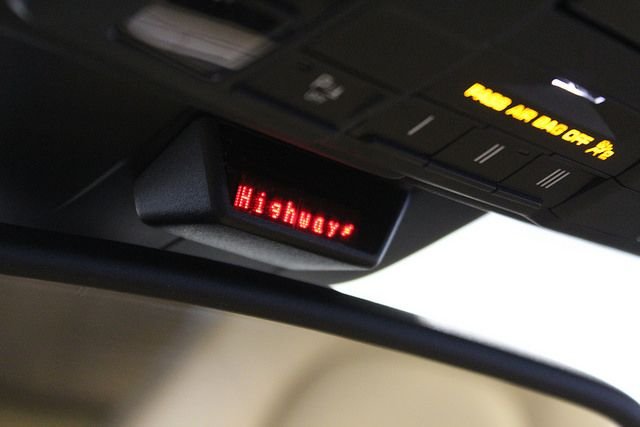
Here's the display housing for the BEL STiR+ radar system. Normally we build an acrylic window for the knockout in the overhead console, but on the Cab and Targa that's where the roof latches in. For this one we built a separate housing using cast acrylic.
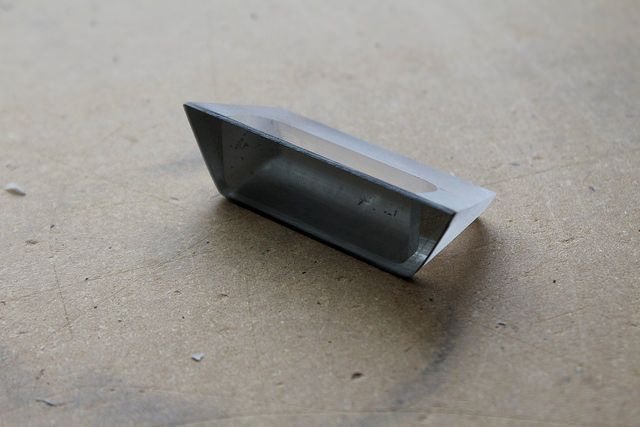
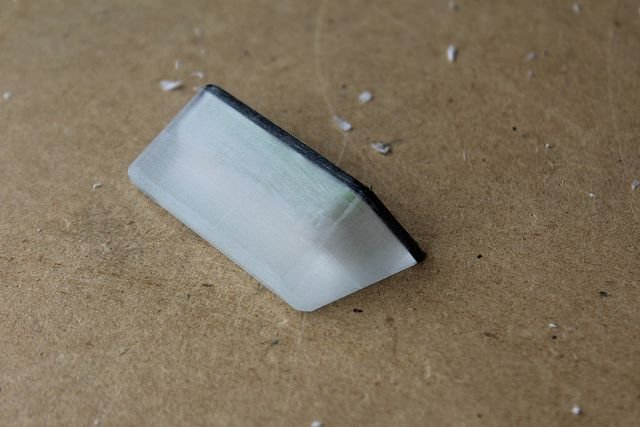
The base structure is clear acrylic and the front "window" is smoked acrylic. The concept behind using this type of material is durability — this piece should outlast the car.
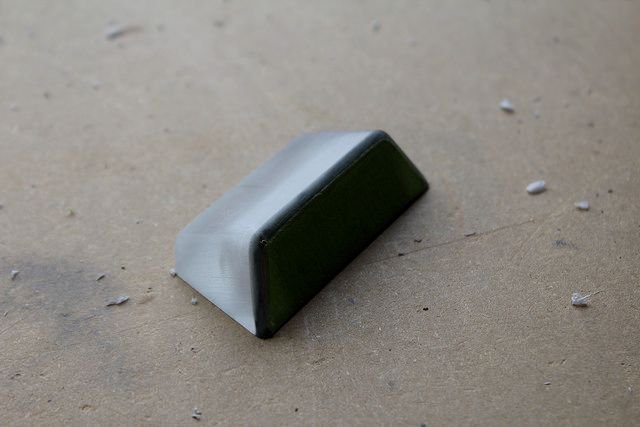
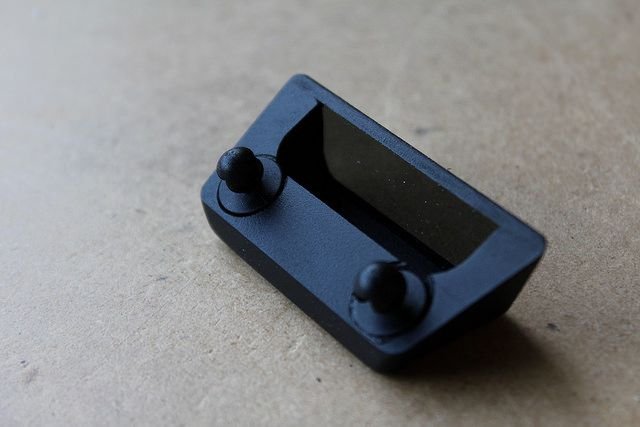
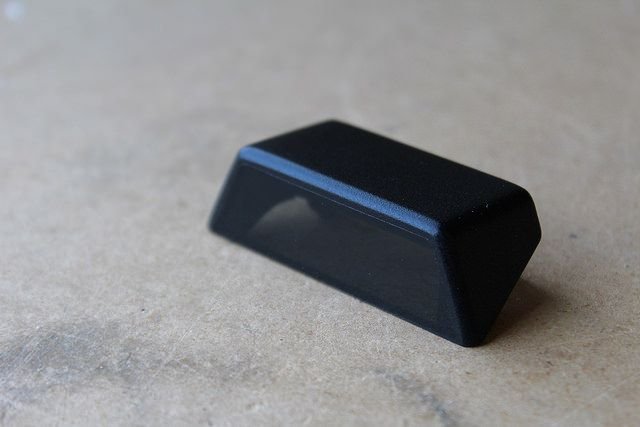
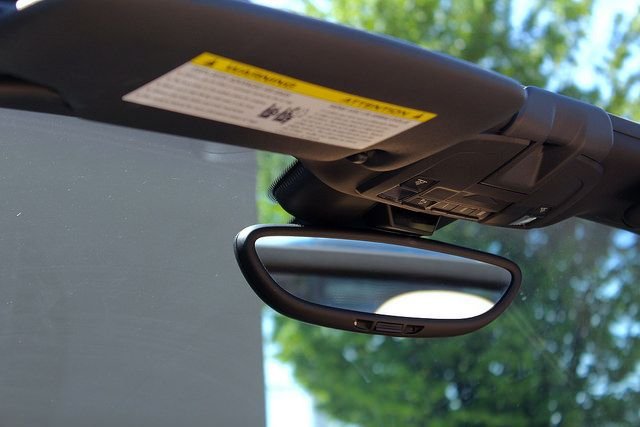
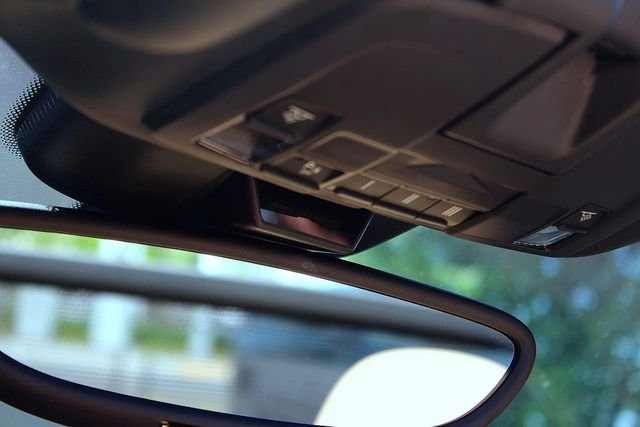
The housing is attached to the car using plastic pressure clips called grille guides(same thing you see on home audio speakers). They're light, durable, and easy to remove if any part needs servicing. After those are in the housing gets shot in a satin black finish to match the OEM plastics.
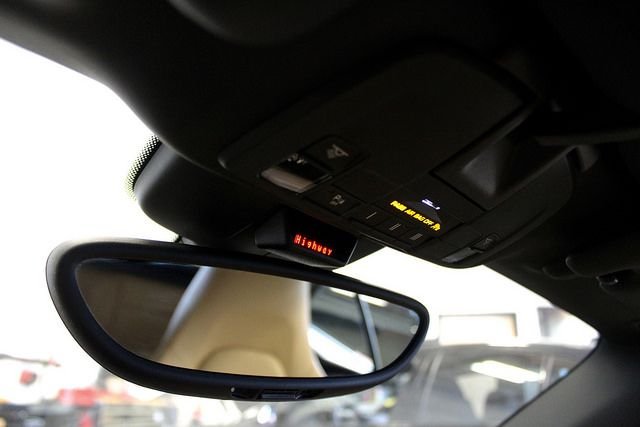
Here's the housing with the display mounted in place. The rear-view mirror still has full mobility and the display is clearly visible whether the top is up or down.
Display is turned off in these pictures.
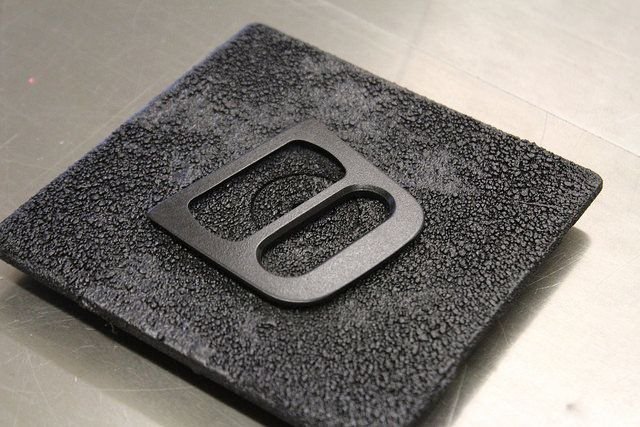
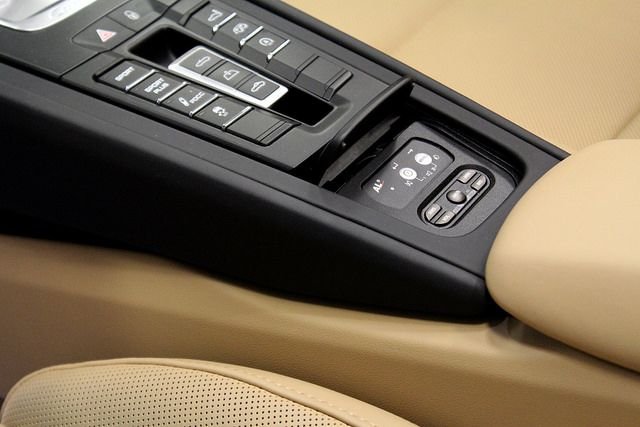
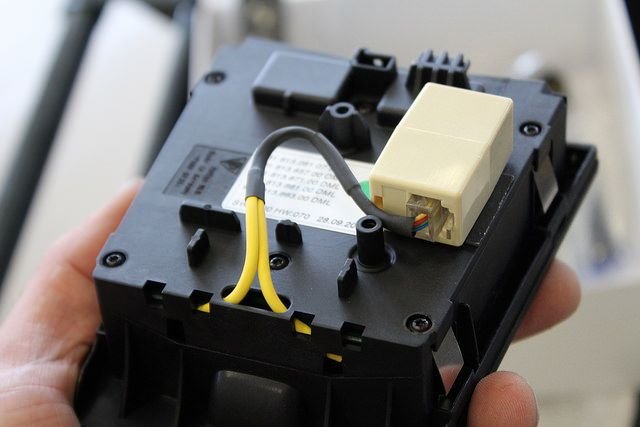
The Controller for the BEL and the AL Priority system went in the smoker's package at the rear of the console. We machine a plate from composite plastic that fits in the ash tray provision. Because they both can't fit with the power outlet, the ALP controller goes up top and hovers over that area. It's also finished in the same satin black coating.
We also modified the factory button panel to integrate the "MUTE" and "POWER" buttons for the STiR+ into the blank buttons.
Didn't know when I ticked on the add smoking pkg button on the Porsche configurator that I was getting more than a nifty finish on my center console. I don't smoke but now neither can Smoky--He can't smoke me no more
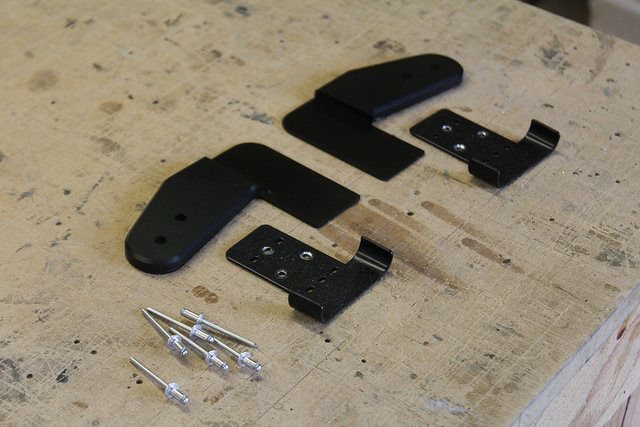
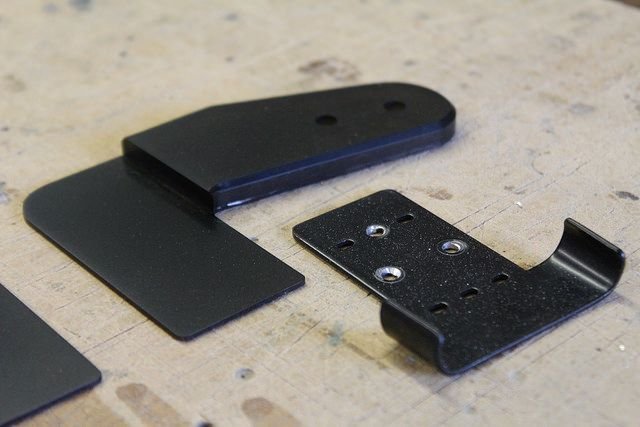
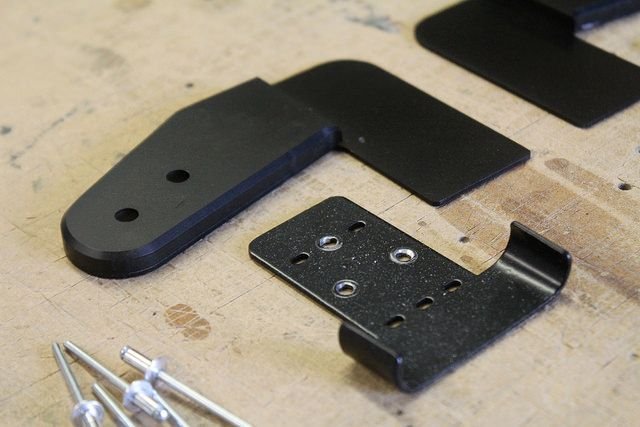
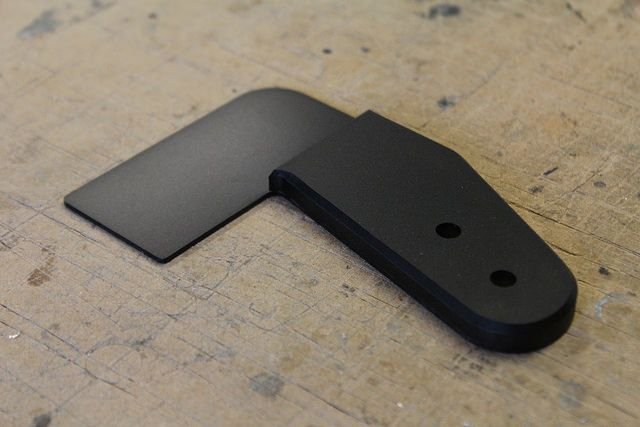
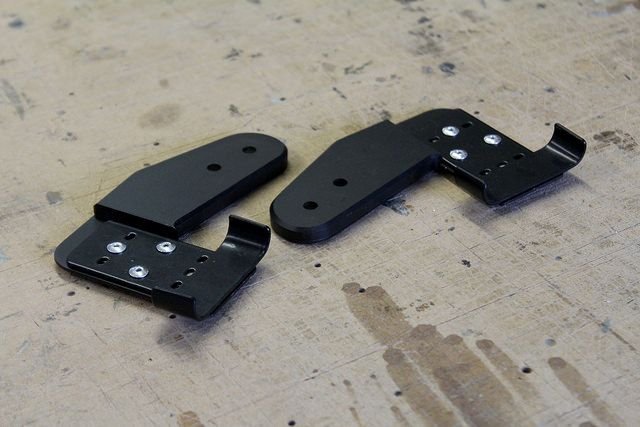
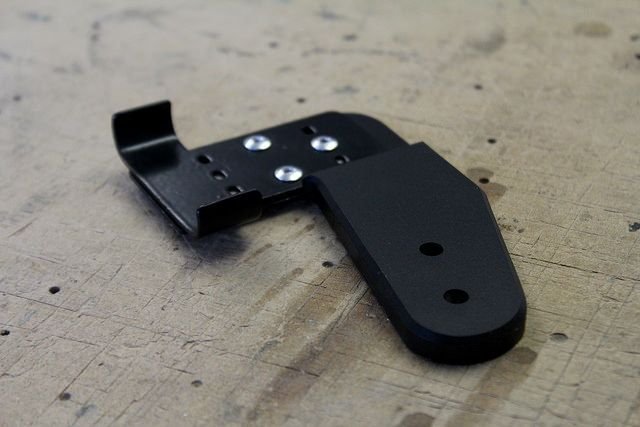
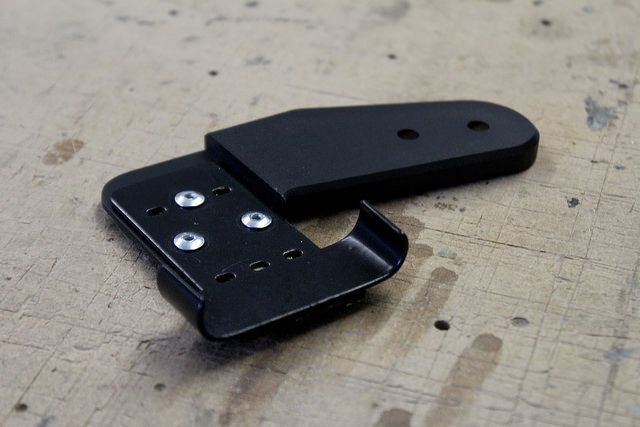
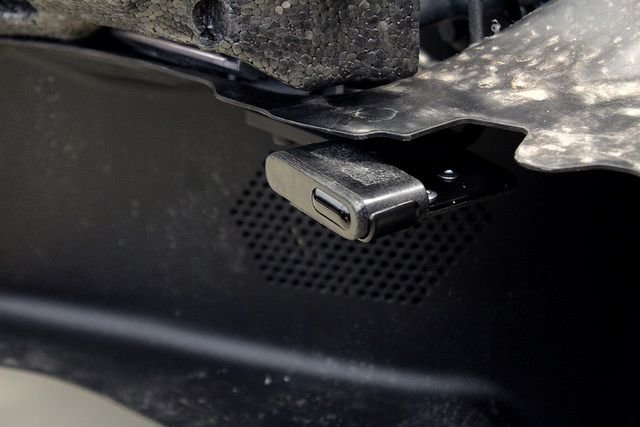
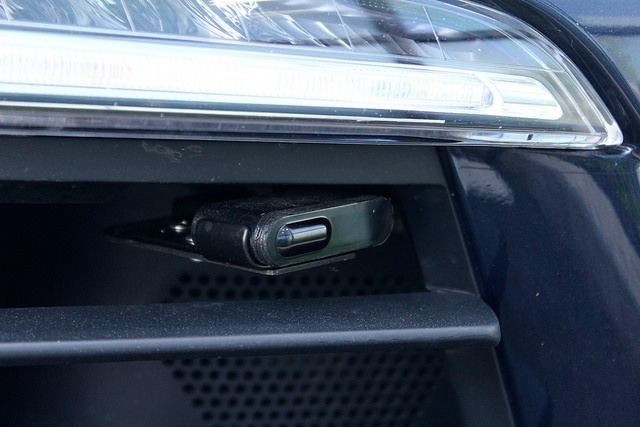
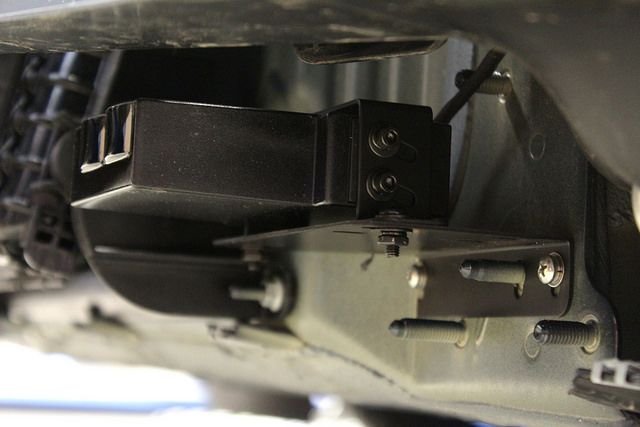
First thing to do is design the mounts. Instead of just screwing them into the bumper like most do, we're fabricating aluminum and composite brackets that mount to the main bumper support. Better durability, better performance.
Machine hardware is ultimately going to hold the brackets to the car, but the AL Priority brackets affix to our fabricated brackets with rivets.
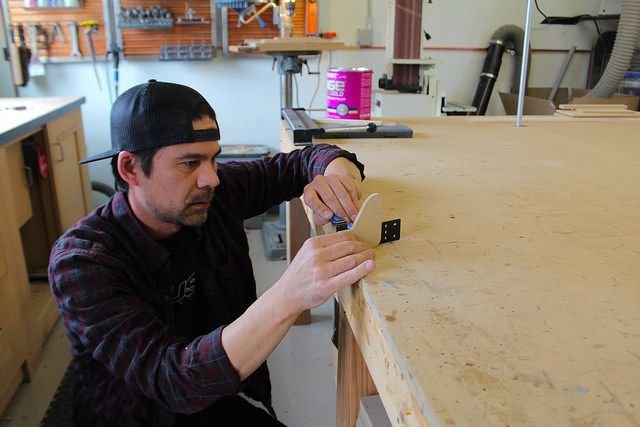
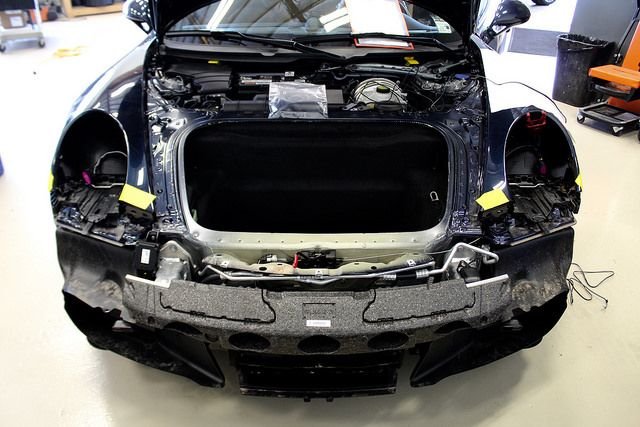
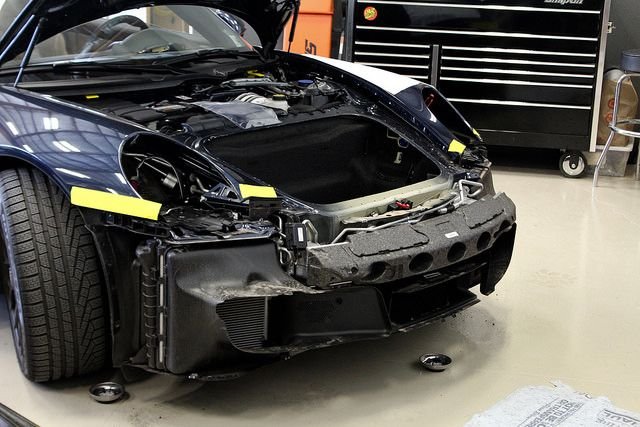
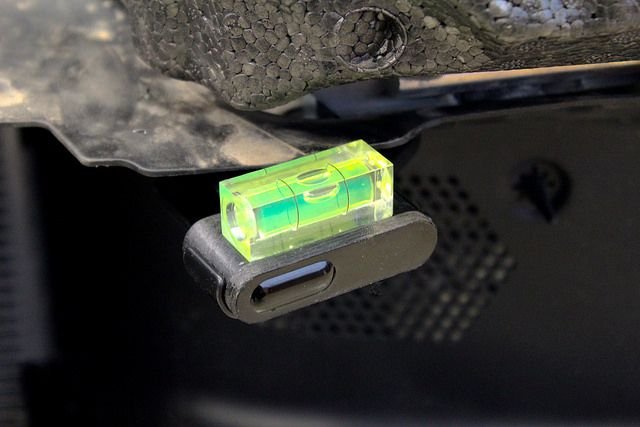
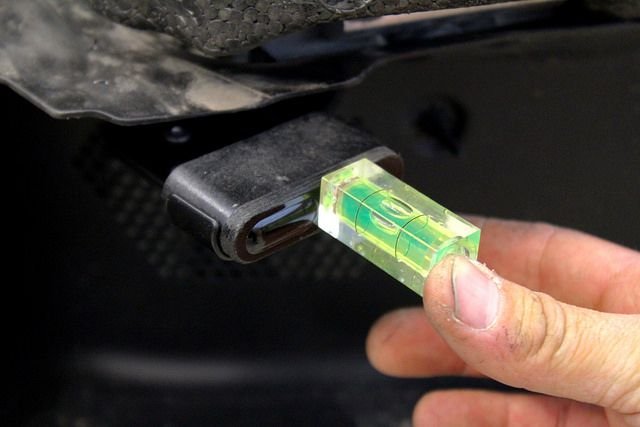
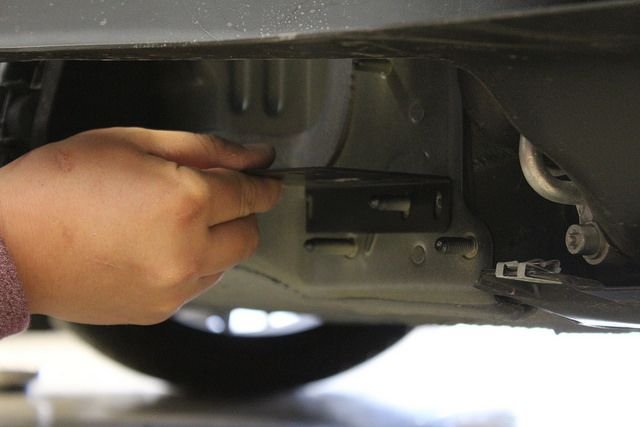
With the brackets done the next step is to carefully remove the front bumper and tap the holes. Alignment is key to the performance of the sensors, so we use a level to make sure they're aligned with the car and the road ahead.
The radar receiver for the STiR+ also gets mounted up front. Radar can pierce through plastic with no problem, so we use a combination of factory studs and thread-certs to attach the head in a hidden spot behind the bumper.
I'll get the rear laser mounting pictures up here after I stuff my face with some Mexican food.
Nick, I don't know what you charge for installs, but seeing the details you put into your installs, its definitely worth it. Sure wish you were on the east coast! Beautiful installs!
Nick, I don't know what you charge for installs, but seeing the details you put into your installs, its definitely worth it. Sure wish you were on the east coast! Beautiful installs!
Thank you very much. I equally wish you were on the west coast so we could work on you car!
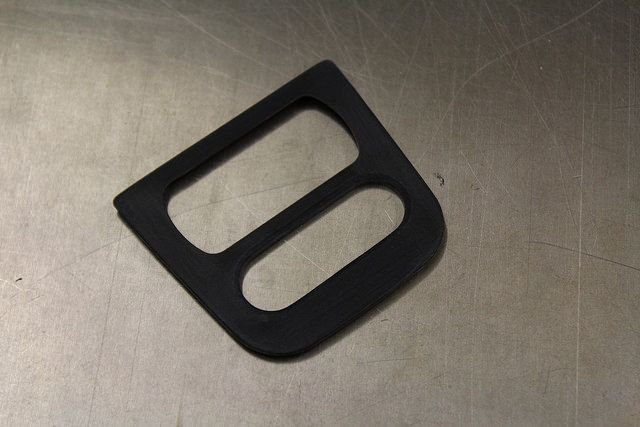
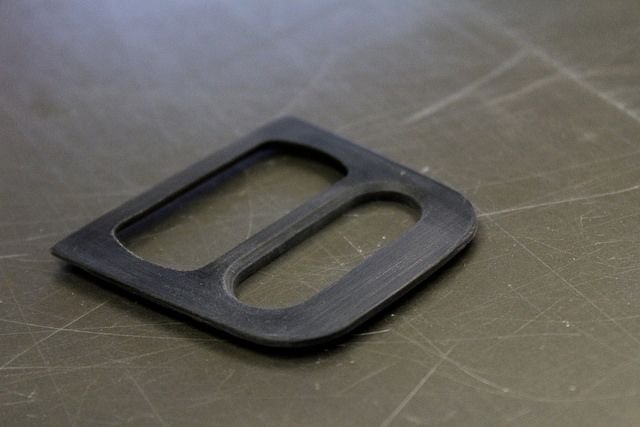
Here's the rear laser mount. For this one we machined a new license plate substrate from high-density poly ethylene(HDPE). The sensor provisions are angled for alignment with the road.
The next step was to test fit the plate and machine the provision for the factory rear-view camera. Then fit the sensors on the the mount and affix the mount to the car.
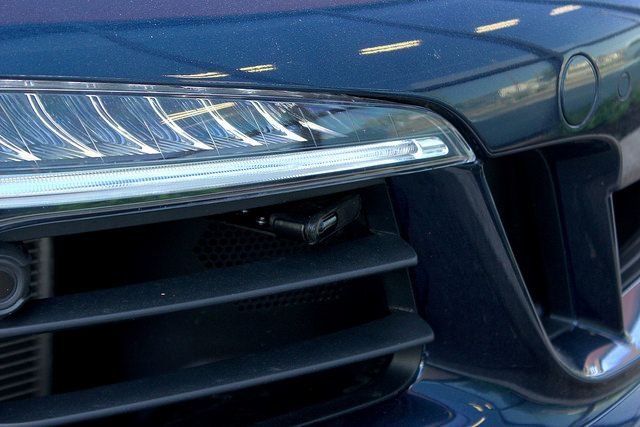
Nice instal. Is there a reason you angle the rear plate up? Also the front sensors look too far apart to me. You should consider mounting both inside the center intake on the edges. LEOs will shoot at your plate in the center and in the current position there could be a gap. The closer they are together the more effective.
Nice instal. Is there a reason you angle the rear plate up? Also the front sensors look too far apart to me. You should consider mounting both inside the center intake on the edges. LEOs will shoot at your plate in the center and in the current position there could be a gap. The closer they are together the more effective.
Can you post more information on the magnetic front plate solution?
when musicarnw removed front bumper for shifter and radar install they also placed two rare earth magnets in front bumper--these match up with two magnets placed on rear of license frame--covered in nice cushy material--
i normally don't place on front except when parking--though i did on one occasion forget and got up to speeds in excess of 65mph and the sucker stayed put--but i don't intend to test my luck again-

 04-15-2016, 11:49 PM