When you click on links to various merchants on this site and make a purchase, this can result in this site earning a commission. Affiliate programs and affiliations include, but are not limited to, the eBay Partner Network.
Once you take the motor and support out you are left with linear plastic pieces having teeth on it (that was moved by the motor gear).
I just zip tied them to the spoiler bracket. If you push hard, you can move the spoiler and if you remove the zip ties you can move the spoiler up and down manually.
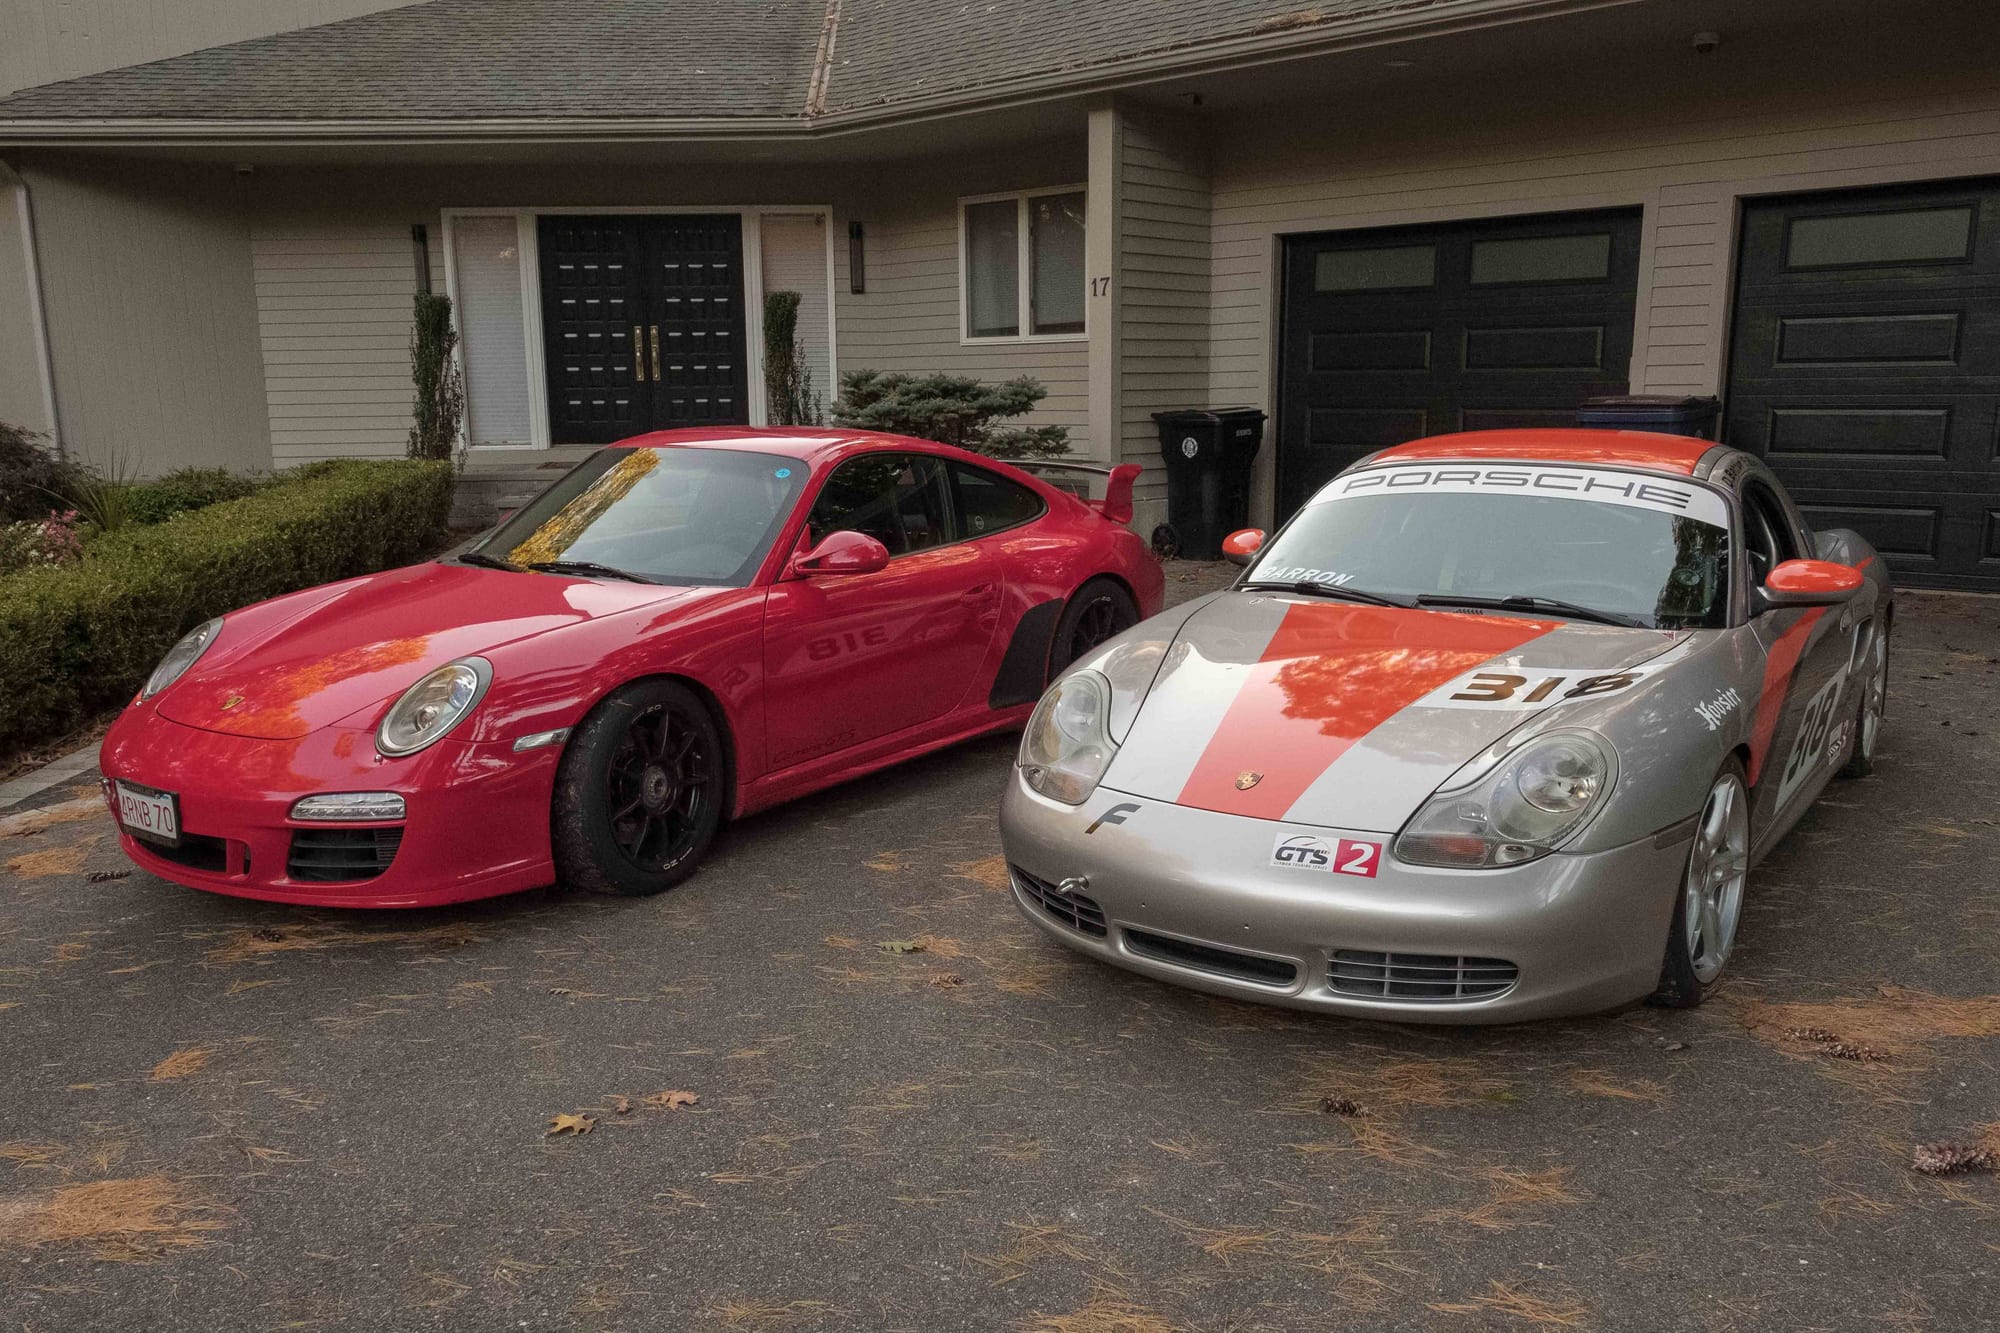
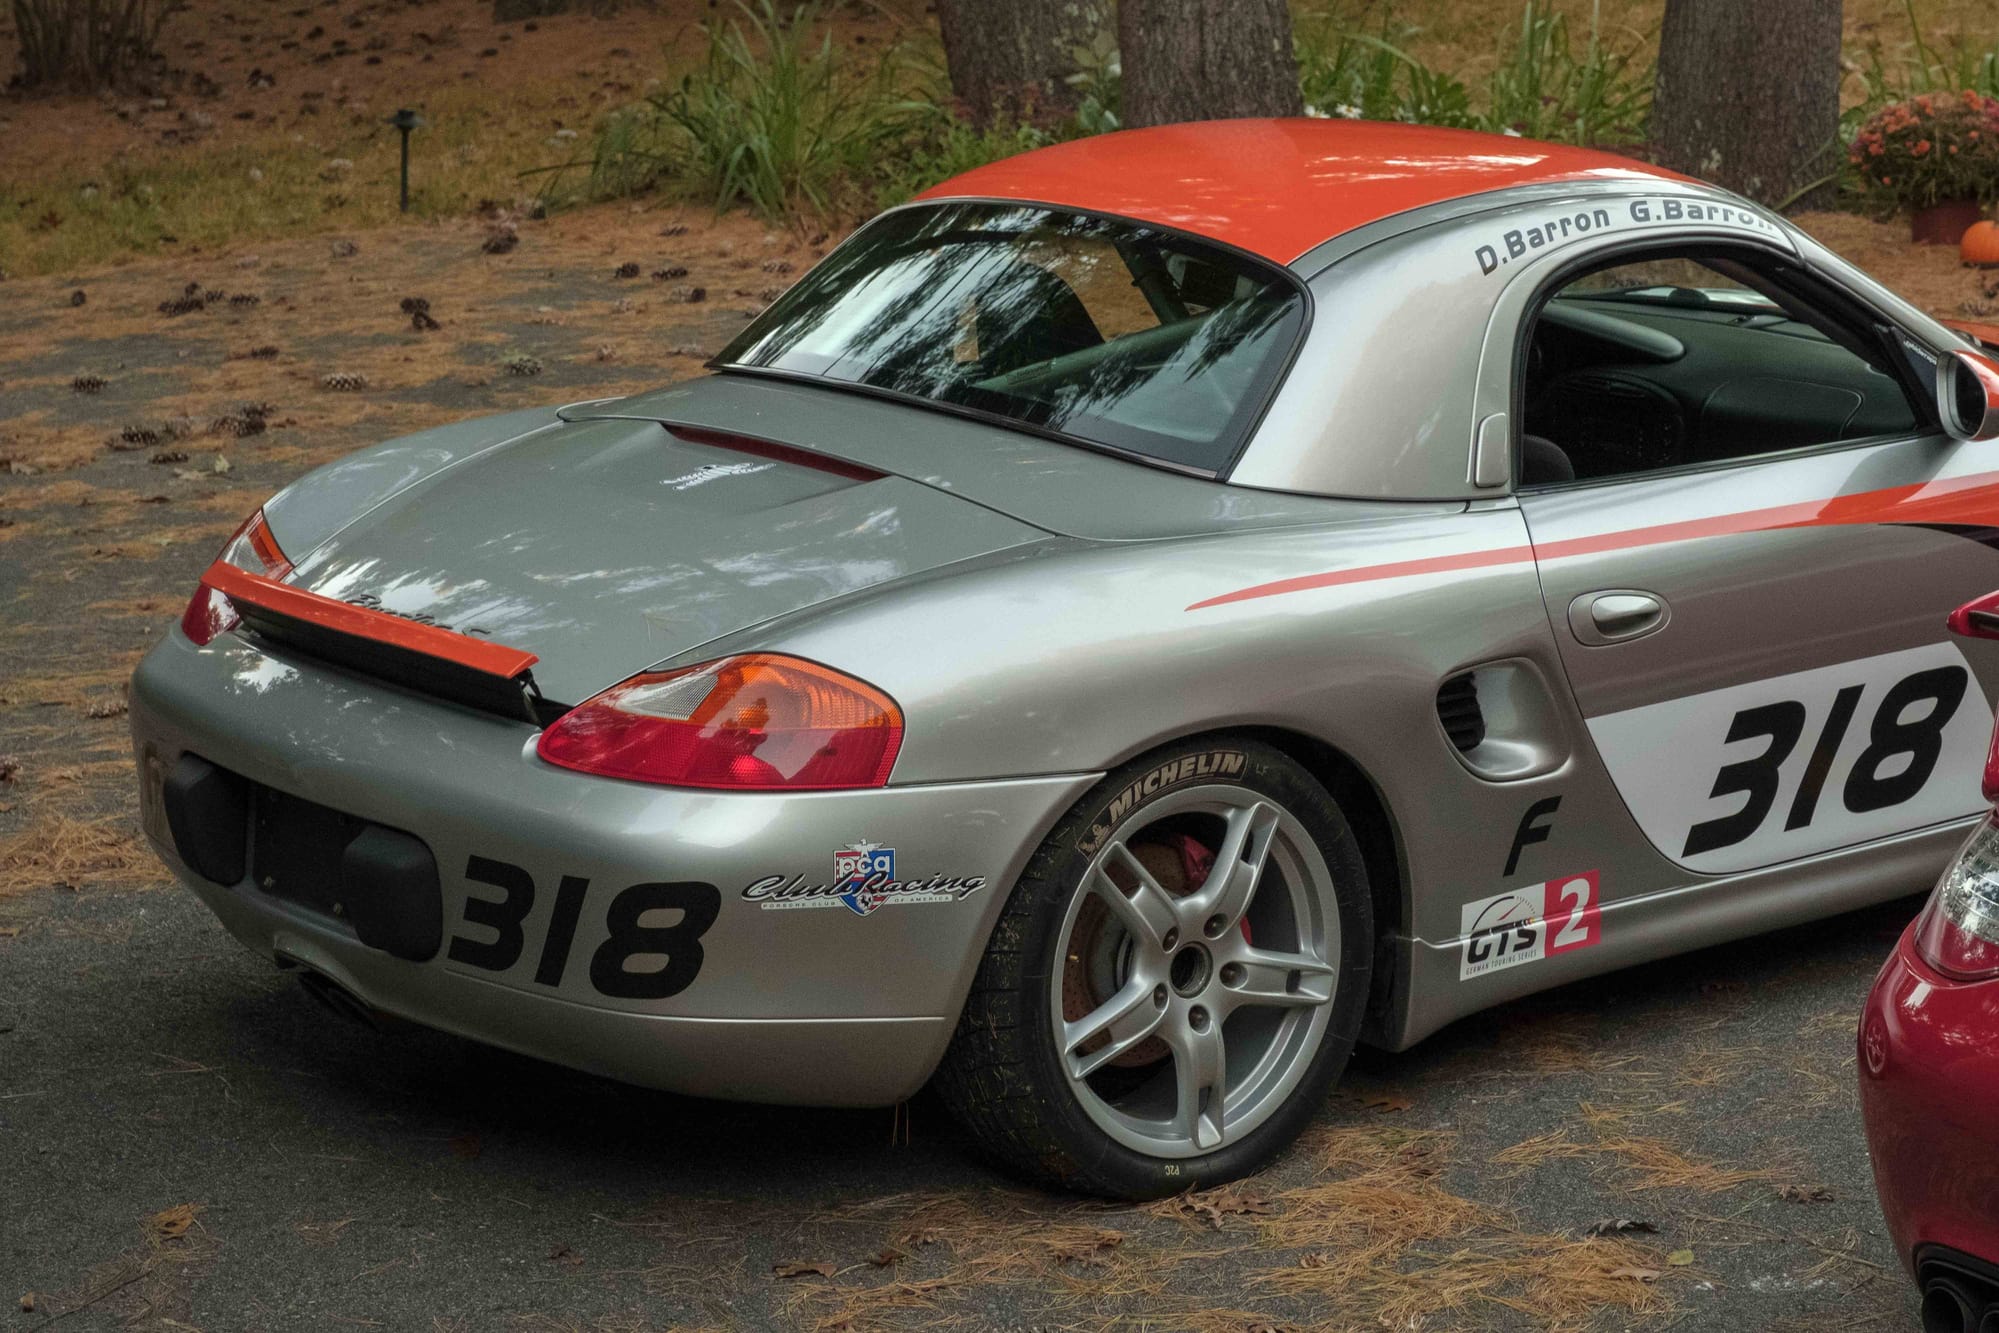
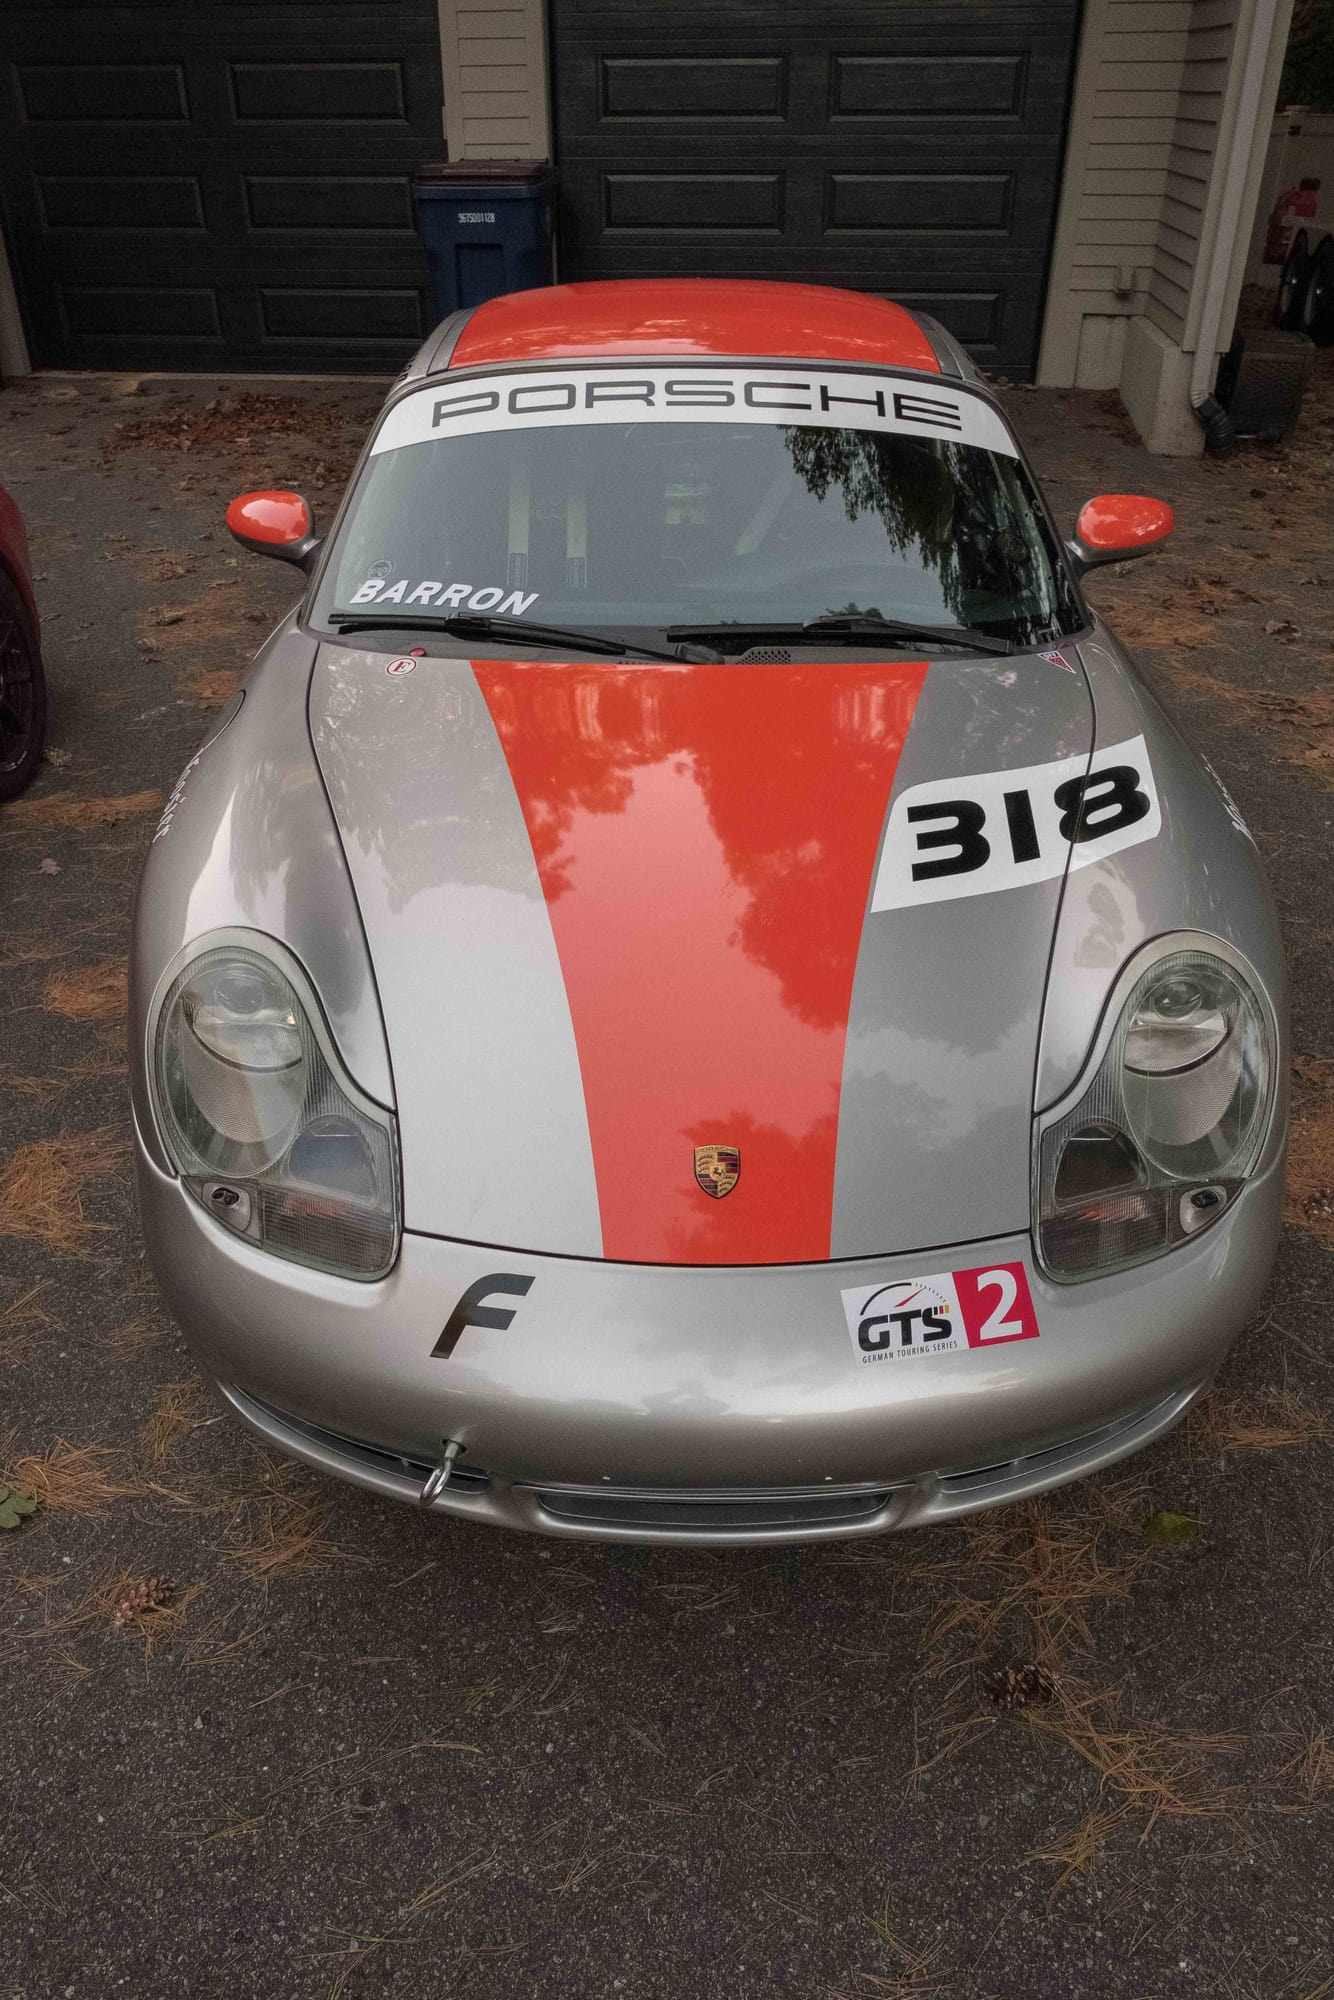
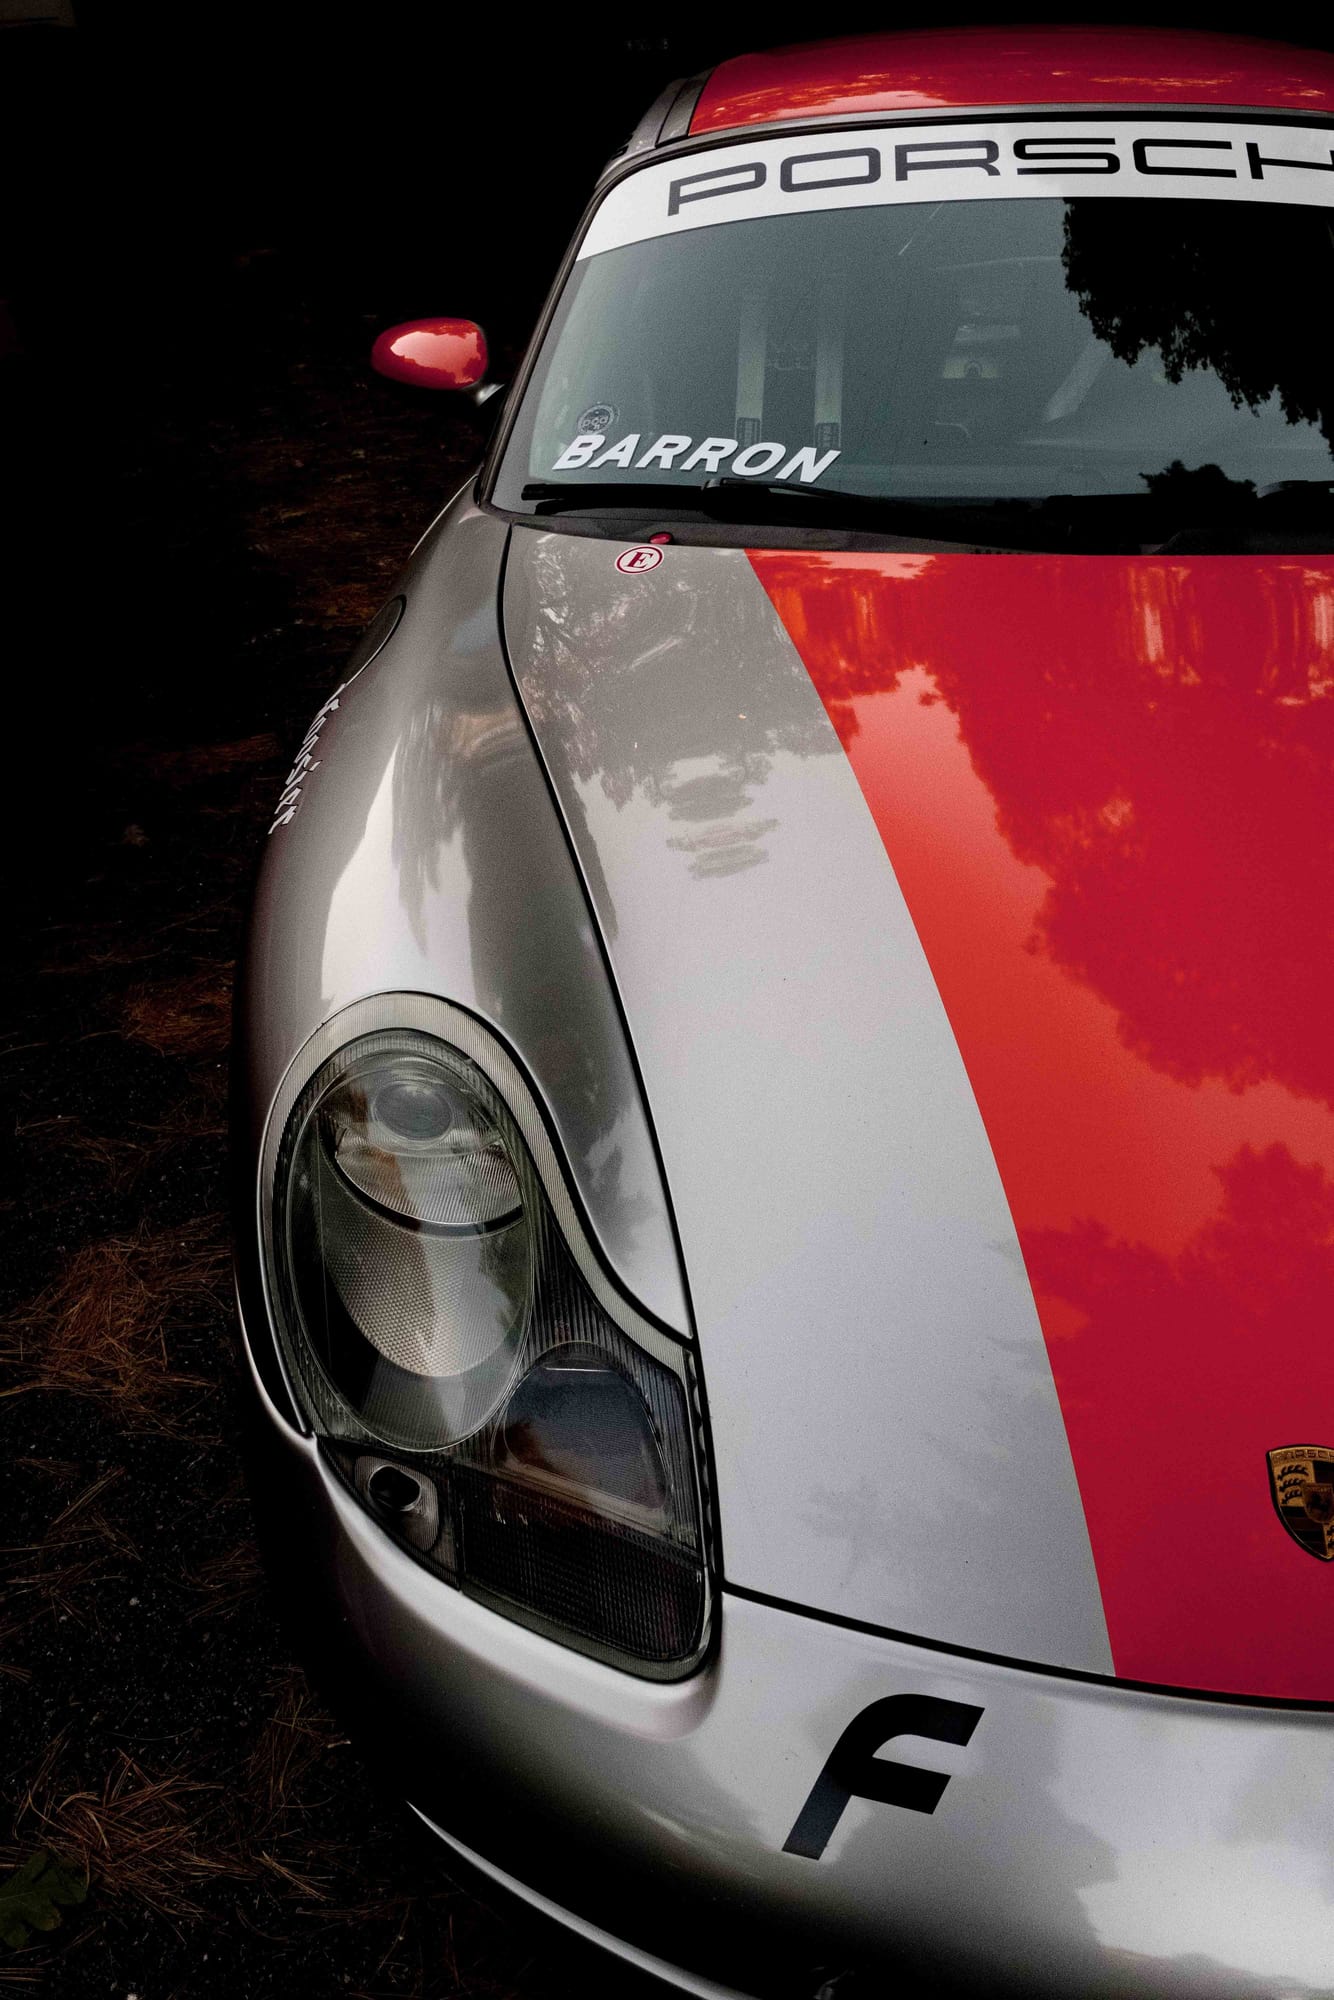
Just spent the weekend at the Season Closer DE with PCA NCR up at NHMS (Loudon).
The new car performed great.
A few comments:
- It's way more fun than my 997 (I hate to say it!)
- I need much practice shifting.
- I need to buy a lot of tires
- The fuel filler vent needs replacement. Very slow flow to fill.
- There's some grease spraying out one of the rear axels at the wheel - hopefully just overpacked.
- Burned through front pads - a PCAer was nice enough to lend me a set of take offs.
- Corded R7s - need more camber
Here's a end of day video on corded (excuse for being so slow) R7 slicks.
Before replacing the fuel filler vent, try turning the key to the accessory position when fueling. My car will only fill with the key on. Some type of anti-roll over valve. Yours may be the same.
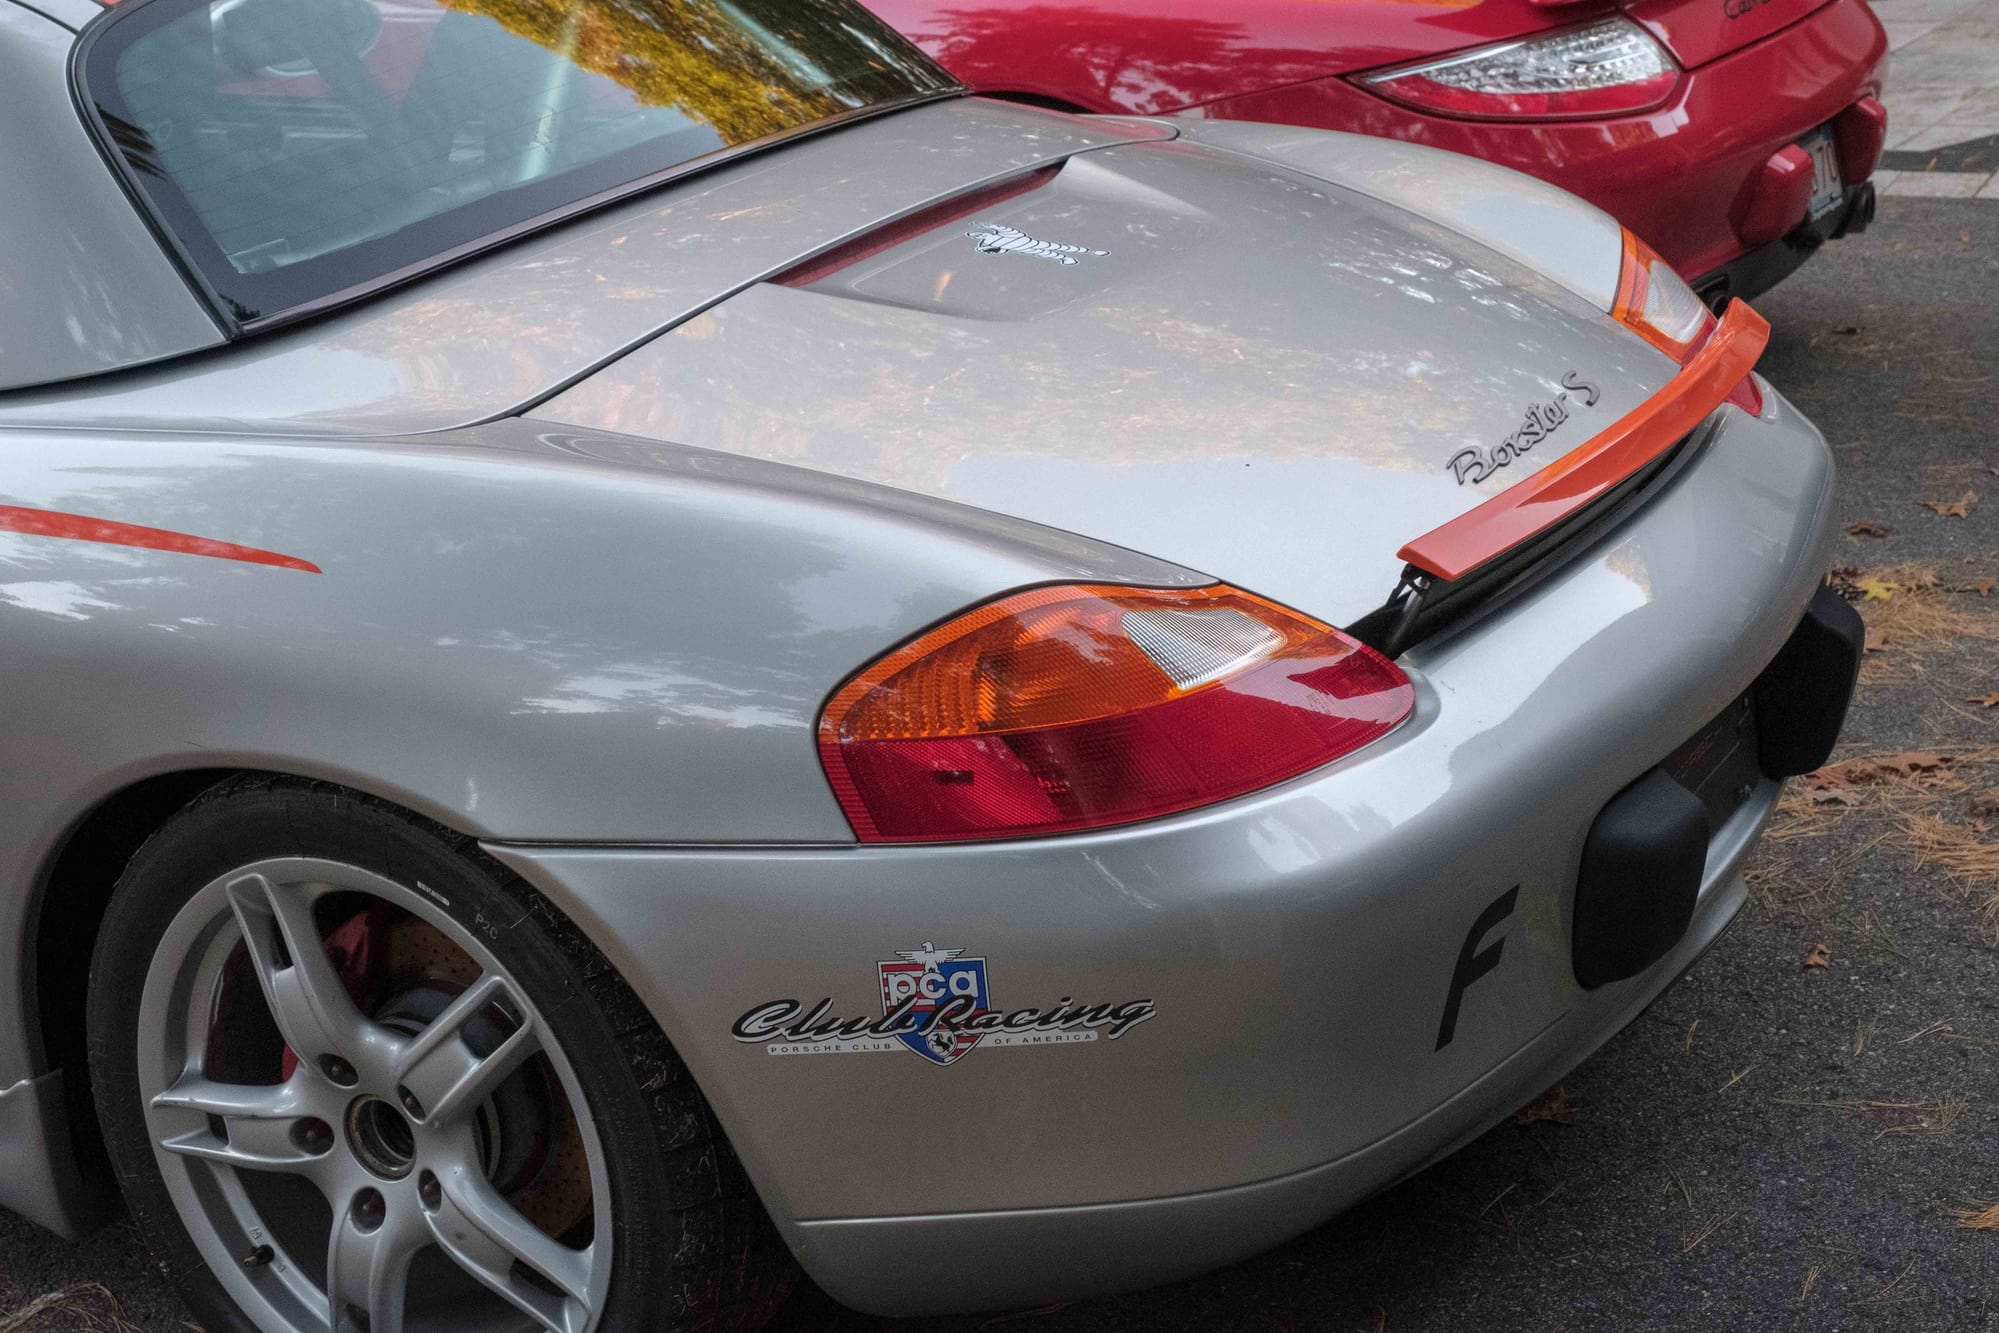
The hole in the outside end of the axle is the vent for the outside cv joint. If it is oozing out of the hole it was either over stuffed with grease or the grease just got very hot. I would take a look at the ball bearings and re pack with Neo grease during the long winter months. On the inner CV joint I put a small piece of a WD 40 straw under the clamp so that end can vent. Warning- this is a very messy job so have lots of rags on hand before you beigin.
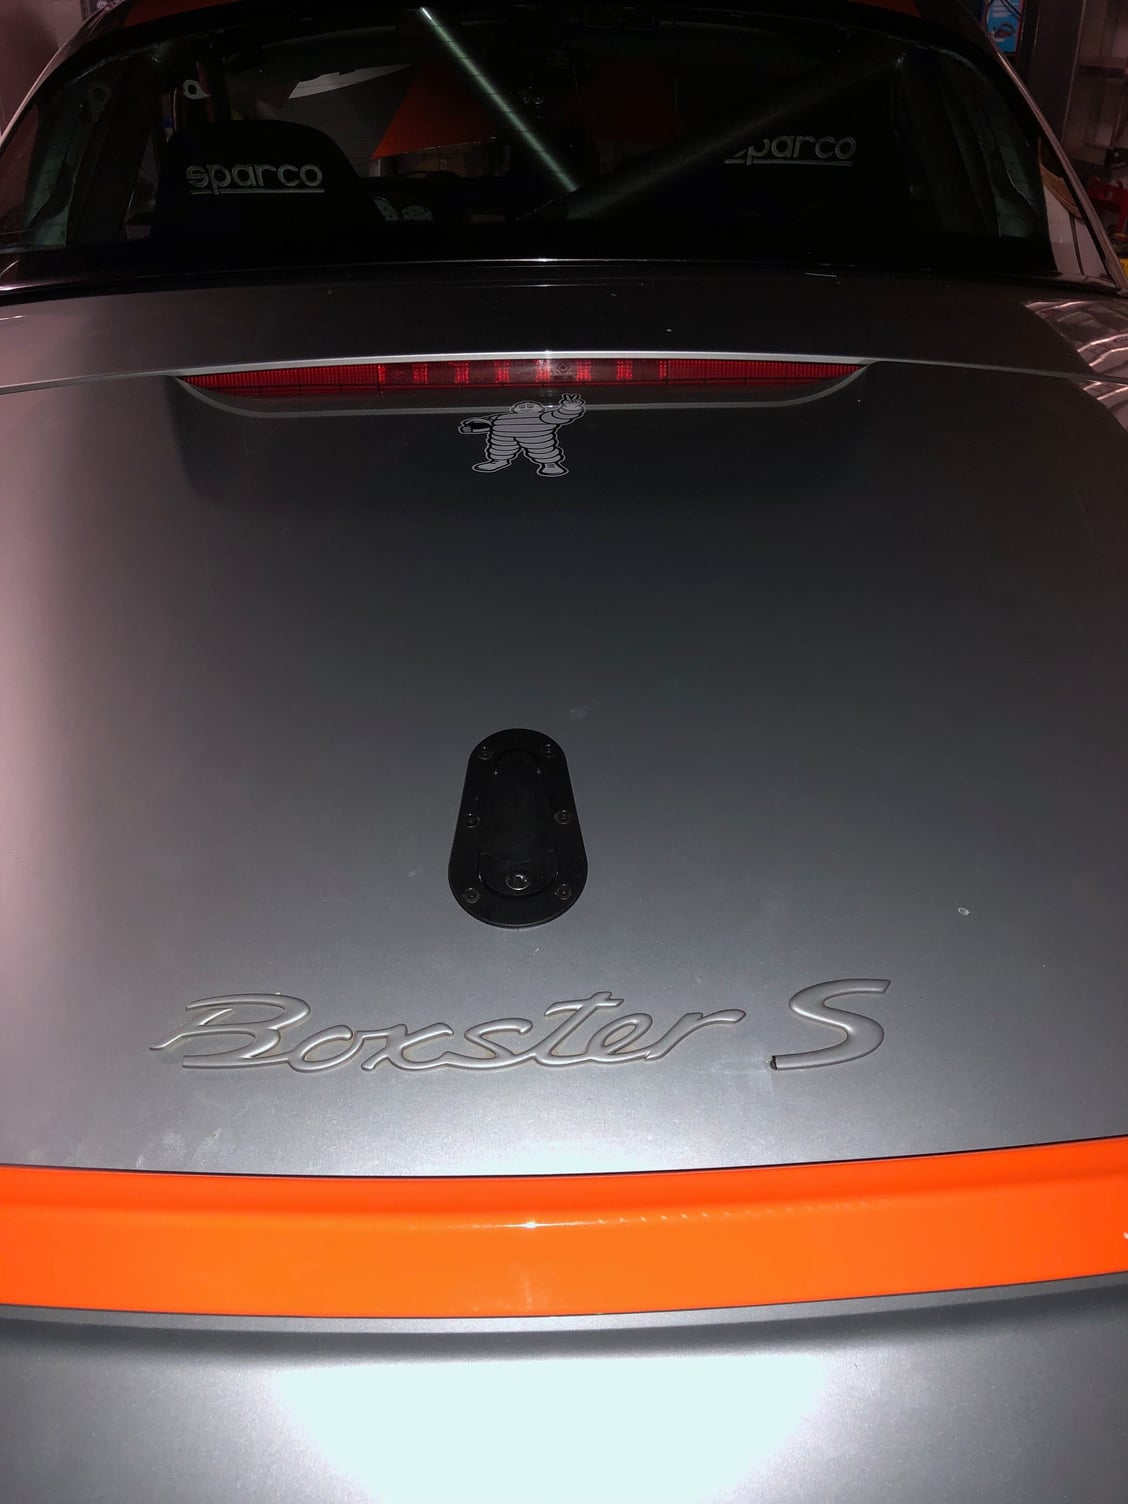
I currently have cat-less race headers feeding the stock exhaust (with secondary cats).
In an effort to have a more agressive sounding and free-flowing exhaust at some tracks (WGI) but STILL be able to make noise restrictions at LRP and other quiet tracks, any opinions on welding electrically actuated dump valves in the exhaust sections between the secondary cats and the muffler?
Will this result in sufficient backpressure when dump valves are open? Any other comments?
__________________ -Peter Krause www.peterkrause.net www.gofasternow.com
"Combining the Art and Science of Driving Fast!"
Specializing in Professional, Private Driver Performance Evaluation and Optimization
Consultation Available Remotely and at VIRginia International Raceway
Well, a trip to my indy resulted in a new throttle body and fuel filler vent.
Now the next problem....the battery does not hold a charge.
I only know it is an Interstate new looking battery with a Mfg date of Jan 2018 stamped on the battery.
I'm pretty confident there's no load on the battery since there is a motorsport solenoid disconnect.
After about a week I'm down to just under 25% (according to my NOCO charger); and the battery charges up properly, but it will slowely discharge over about a week.
Before I bought the car I suspect it sat for awhile - perhaps the Jan 2018 battery was left to go completely dead - would this ruin the battery?
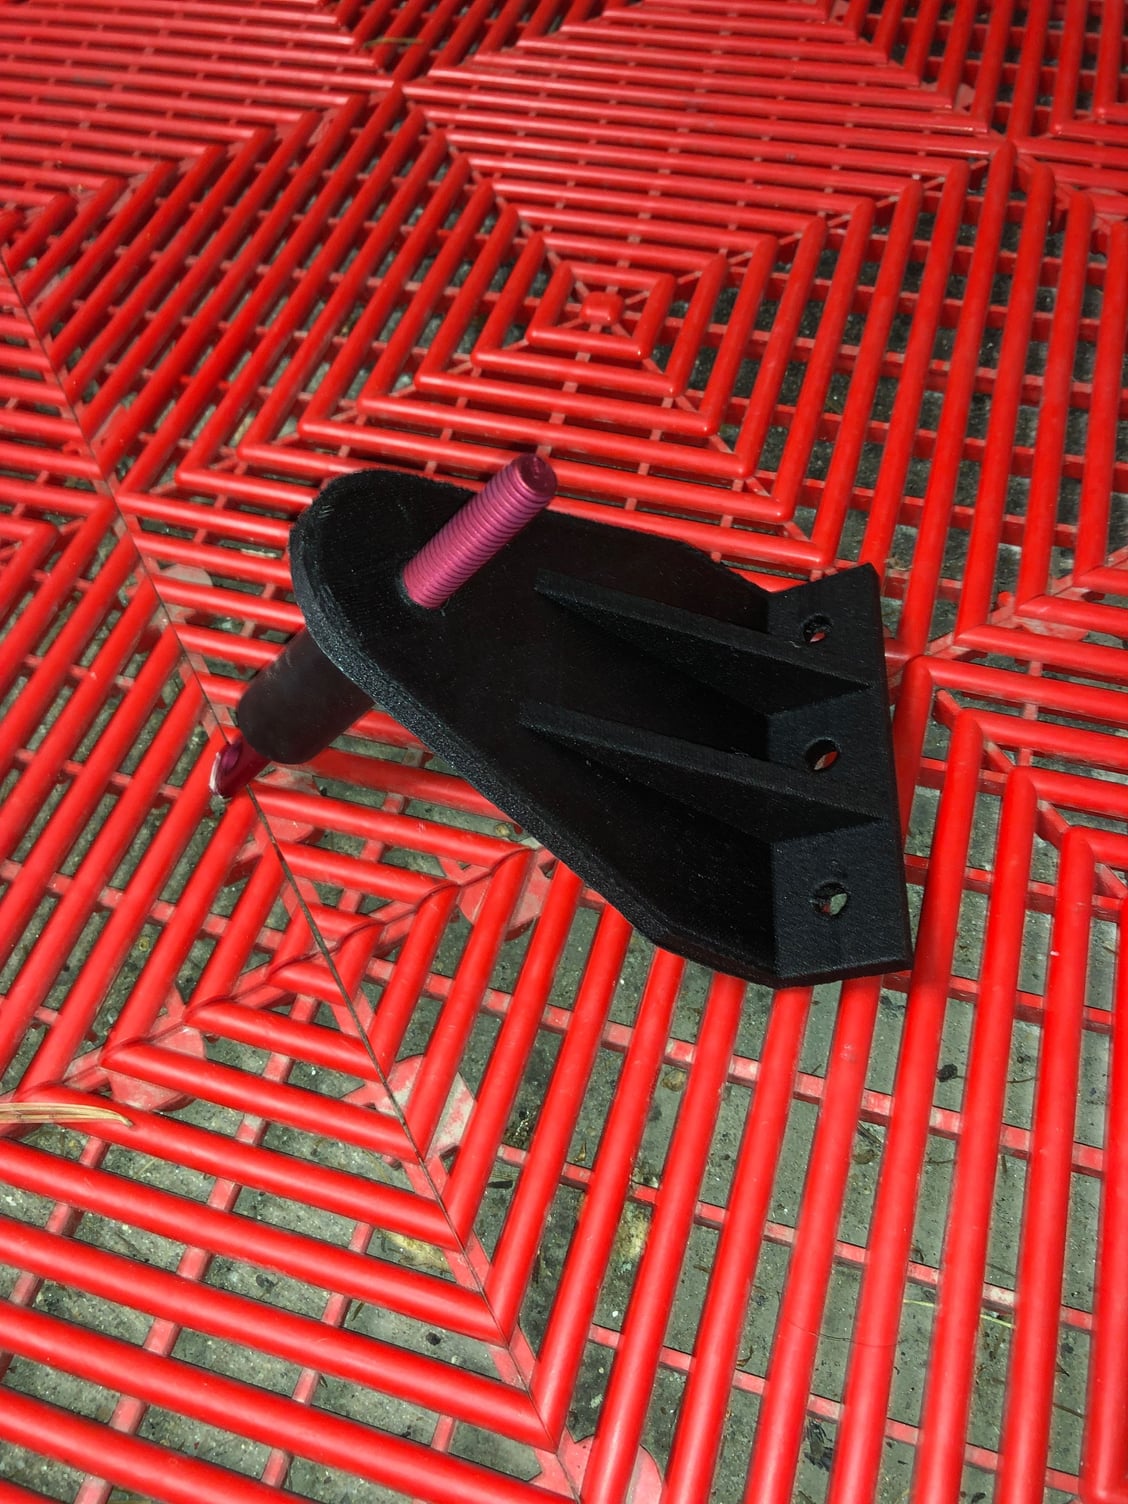
Been busy installing AeroCatch hold downs on the car. Decided to try to fabricate custom brackets for the pins using 3D printing of NylonX (a Nylon/Carbon Fiber mix that has both strength and high temp tolerance). Here are some pics of the trunk install, followed by the frunk bracket. Moving on to the frunk latch install this holiday weekend.
Love it. Have you designed brackets for the front and would you mind sharing/selling the file?
.
Sure! The bracket for the trunk is different than the frunk (2 brackets up there). The bracket needs to set the distance on the hood and also align the pin perpendicular to the hood. This is different front/rear.
After the complete install I'll post the files (I suspect I might have to make some adjustments and refab).

 10-04-2018, 05:32 PM