Notices
987 Forum Discussion about the Cayman/Boxster variants (2004-2012)
Sponsored by:
Sponsored by:

Spec Cayman Build

Thread Tools
 
Search this Thread
 
Old 07-17-2018, 12:12 AM
  #46  
jscott82
Rennlist Member
Thread Starter
 
jscott82's Avatar
 
Join Date: Aug 2006
Location: Charlotte, NC
Posts: 3,076
Received 363 Likes on 238 Posts
Default

Rear Decklid pins:

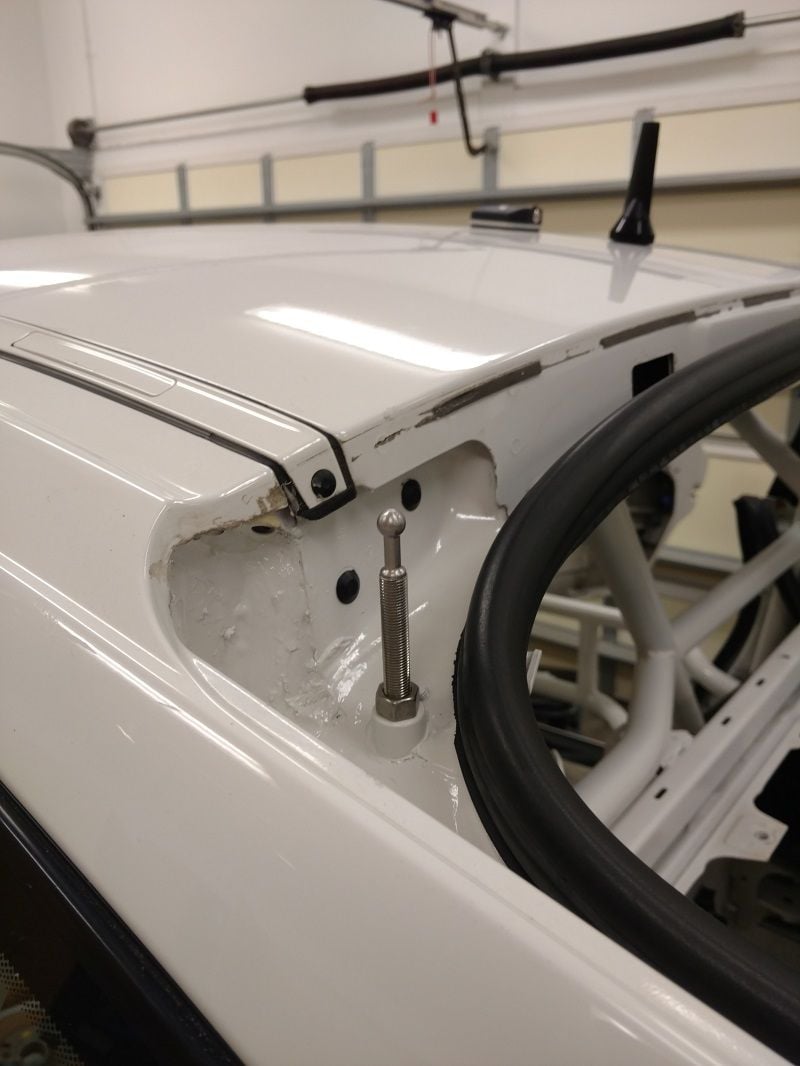
In order to get my seat back as far back as possible (Im 6'4), we removed the rear decklid hinges and hinge pockets (allowed the cage to move back another inch).

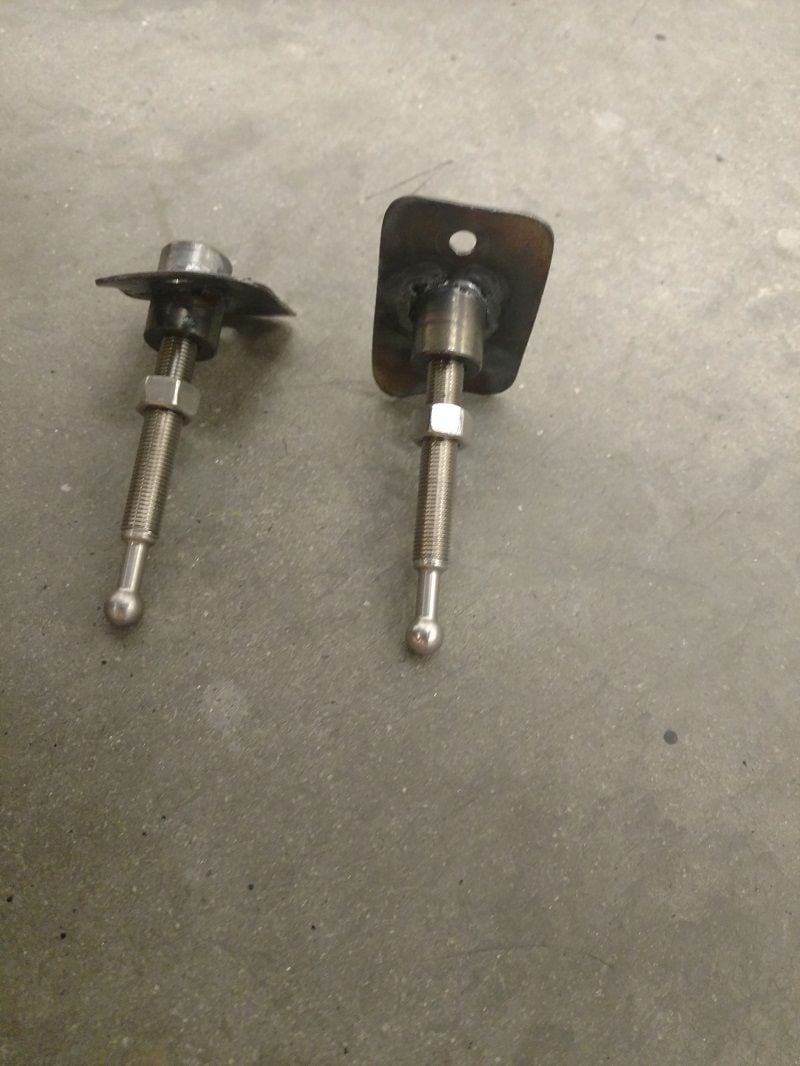
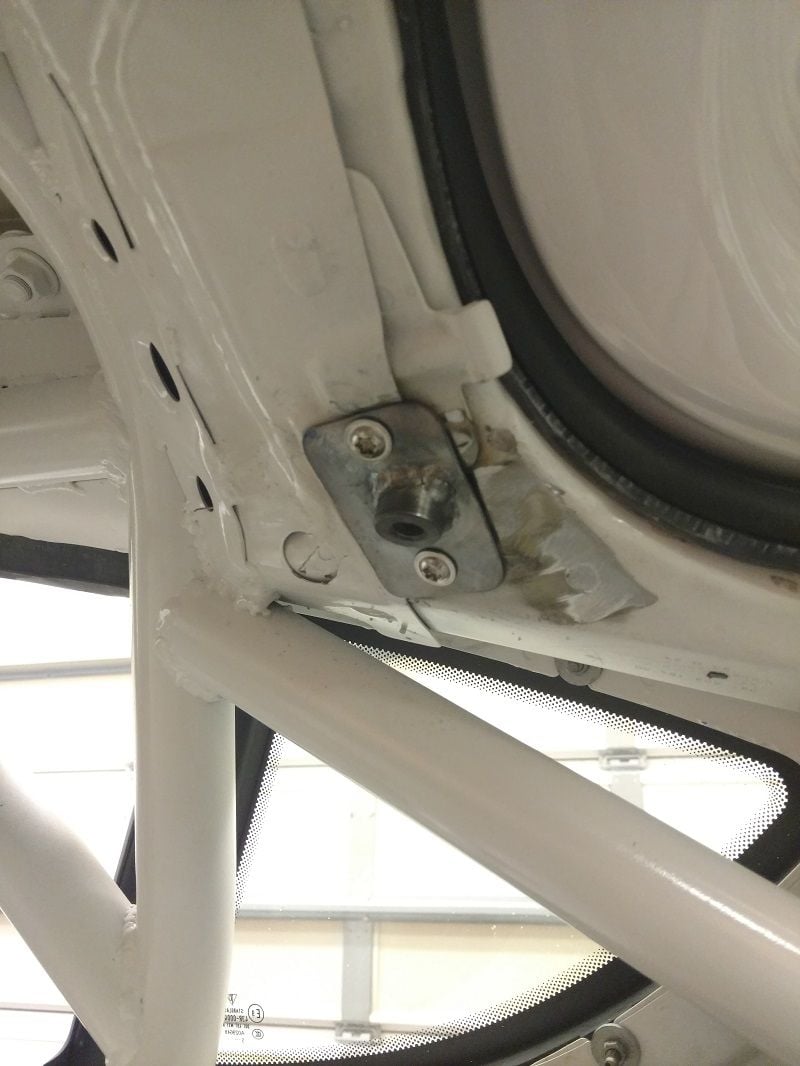
The body is amazingly strong here. There are 5-7 layers of sheet metal all bonded together, its almost 3/8in thick... While I thought I could just weld a bung in place, the layered sheet-metal with adhesive between the layers and my limited welding abilities precluded that idea.

Instead I opted to weld the bung to a plate and bond the plate in from the underside with 3m impact adhesive (the stuff OE used to bond panels)


Last edited by jscott82; 07-17-2018 at 12:33 AM.
Old 07-17-2018, 11:56 AM
  #47  
Vettel-ish
Instructor
 
Vettel-ish's Avatar
 
Join Date: Jun 2018
Location: Ixonia,WI
Posts: 181
Received 12 Likes on 12 Posts
Default

Beautiful work. Looking forward to the final.
Old 07-17-2018, 04:17 PM
  #48  
certz
Three Wheelin'
 
certz's Avatar
 
Join Date: Jun 2010
Location: Chicago, IL
Posts: 1,389
Received 66 Likes on 51 Posts
Default

Originally Posted by jscott82
Power Steering temp sensor:

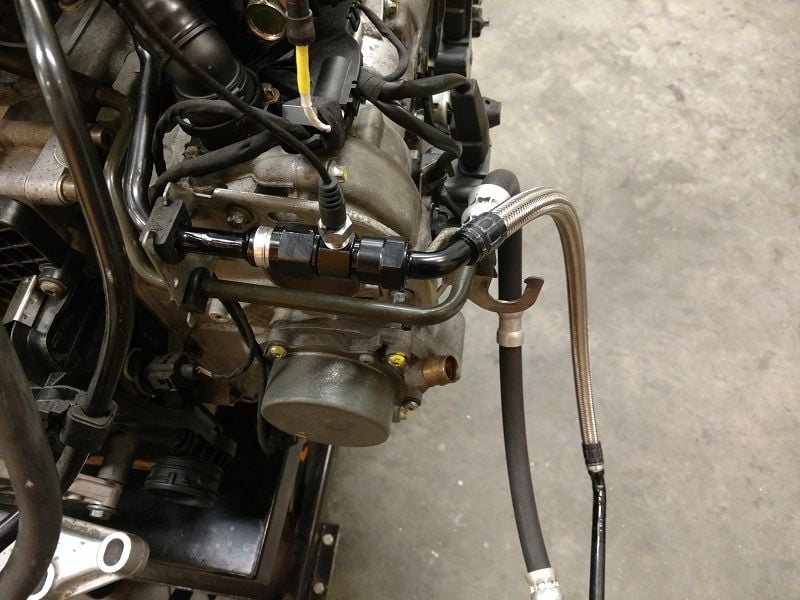
I really did not like the options I saw for power steering coolers... Way to complicated... So before I install one of these Rube Goldberg things, I want to be sure its really needed. I'm hoping the under-drive pulley is enough.

Since adapters were a non starter, and there really isn't room for them anyway, opted to splice the aluminum return line at the pump. Rather than goofy compression fittings we welded AN fittings to the ends of the spliced OE line. Again Brown and Miller to the rescue with some trick fittings. Check out the line that connects back to the chassis, no screw fitting, direct crimp on. Saving 2 more failure points.
Jeff
I also toyed with trying to make something, but ended up buying this adapter line from Atlanta Speedwerks:

https://store.windingroad.com/brake-...che-p2250.aspx

It does the job, but like most things I would have designed this differently...
John
Old 07-17-2018, 11:42 PM
  #49  
jscott82
Rennlist Member
Thread Starter
 
jscott82's Avatar
 
Join Date: Aug 2006
Location: Charlotte, NC
Posts: 3,076
Received 363 Likes on 238 Posts
Default

That's a nice piece,. Few joints and interchangable on several cars.. I looked for days and did not find that.

In my research, found some real Mick mouse solutions out there... Scary considering this is the BRAKES..
Old 07-23-2018, 11:09 AM
  #50  
gman3280
Pro
 
gman3280's Avatar
 
Join Date: Mar 2012
Location: Atlanta
Posts: 693
Received 21 Likes on 14 Posts
Default

I completed the front wheel bearings using Jeff's guide earlier in this thread. Make sure you have the correct tools and this is an easy job if you are at all mechanically inclined. One of the old bearing races stuck to my hub which took more time than it should have but all in all not a bad job.

THANK YOU JEFF!
Old 07-31-2018, 09:43 AM
  #51  
dgmark
Rennlist Member
 
dgmark's Avatar
 
Join Date: Jun 2011
Location: Downers Grove, ILL
Posts: 674
Received 79 Likes on 47 Posts
Default

A shot of Johns brake pressure sensor adapter installed, not the best fit but we also looked all over for a solution and this was the best option.


Old 10-27-2018, 05:10 PM
  #52  
gman3280
Pro
 
gman3280's Avatar
 
Join Date: Mar 2012
Location: Atlanta
Posts: 693
Received 21 Likes on 14 Posts
Default

Just completed the rear wheel bearings using the guide again. Thanks again Jeff! Obviously dealing with the axle shaft is different but the rest is the exact same. Easy.
Old 10-28-2018, 08:43 PM
  #53  
jscott82
Rennlist Member
Thread Starter
 
jscott82's Avatar
 
Join Date: Aug 2006
Location: Charlotte, NC
Posts: 3,076
Received 363 Likes on 238 Posts
Default

Originally Posted by gman3280
Just completed the rear wheel bearings using the guide again. Thanks again Jeff! Obviously dealing with the axle shaft is different but the rest is the exact same. Easy.
Awesome..

Too many people say "new" cars are harder to work on... The amazing engineering/intergration these cars have makes them easier to work on IMHO....

Gary, glad yours went well.

Jeff
Old 10-28-2018, 09:01 PM
  #54  
jscott82
Rennlist Member
Thread Starter
 
jscott82's Avatar
 
Join Date: Aug 2006
Location: Charlotte, NC
Posts: 3,076
Received 363 Likes on 238 Posts
Default

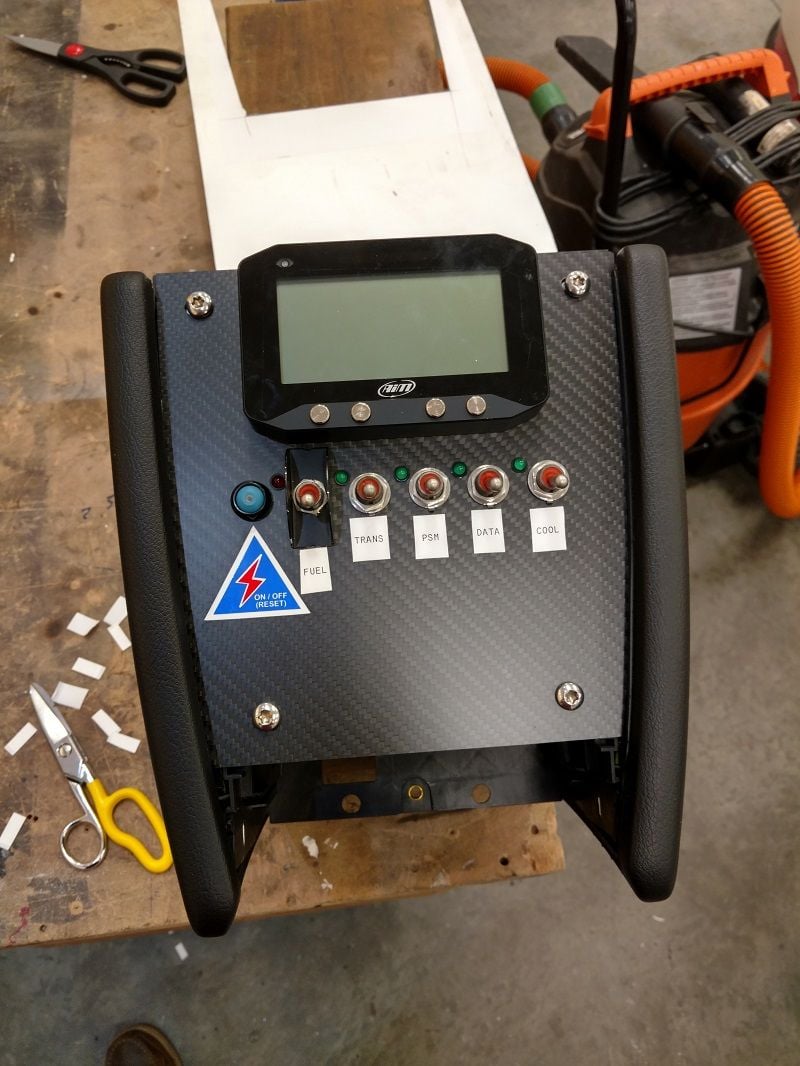
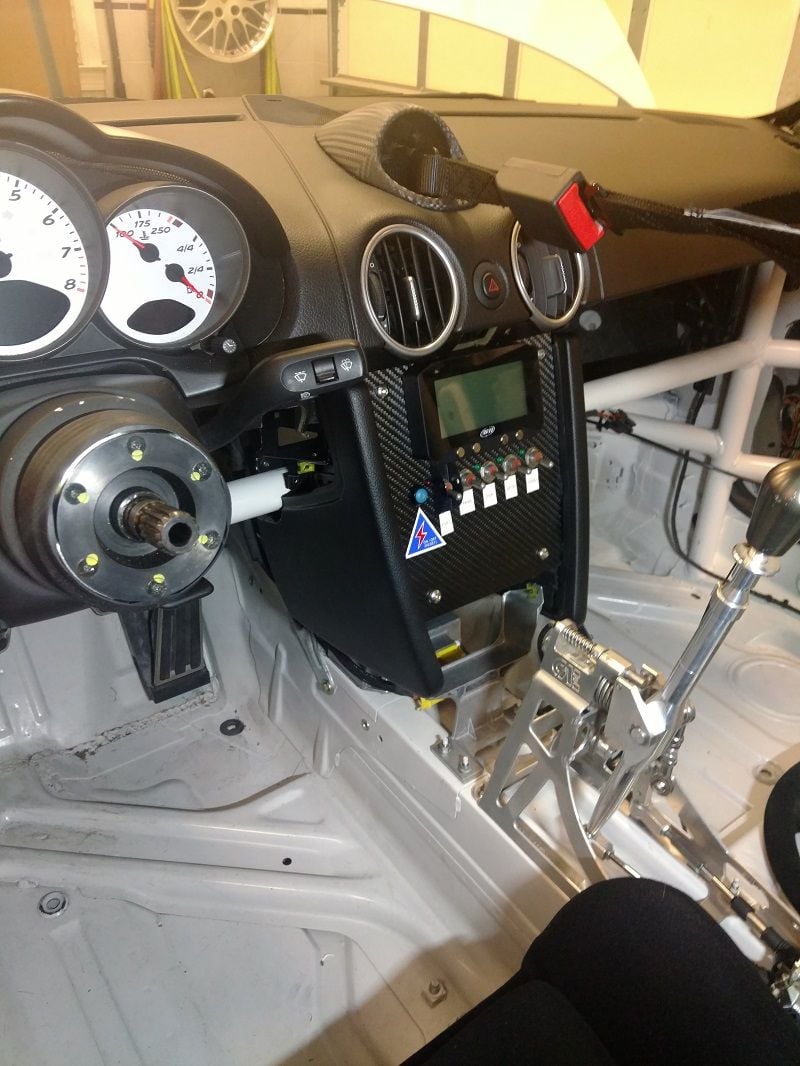
To finish up the build: Some info on the AIM install.
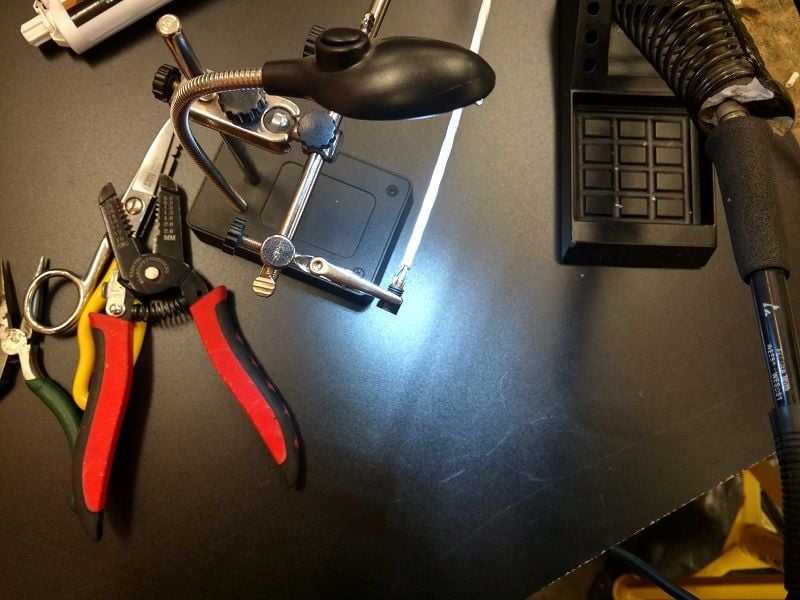
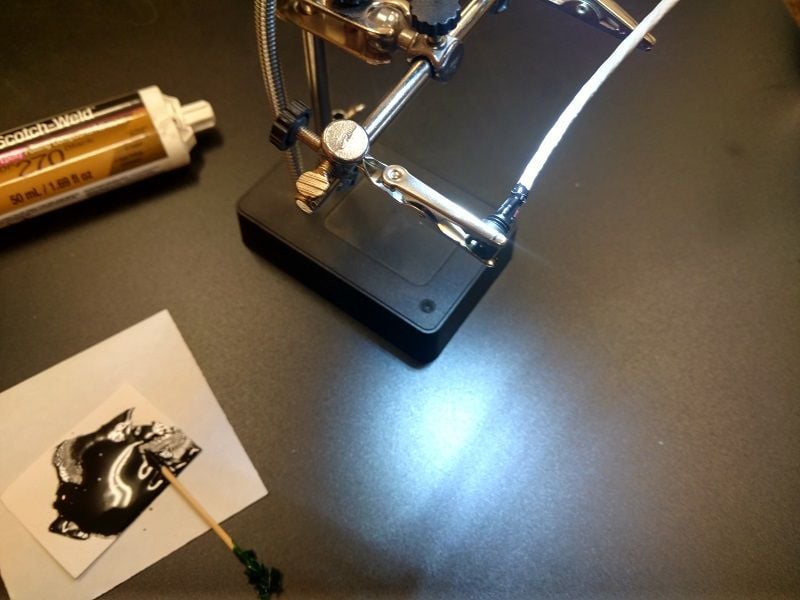
The binder719 connectors aren't as daunting as I feared. I'm pretty good with a soldering iron, which is crucial, but nothing crazy here. Prep and a good vice are critical to getting things aligned and solid prior to soldering. Potting in epoxy should make them bulletproof.


Old 10-28-2018, 09:14 PM
  #55  
jscott82
Rennlist Member
Thread Starter
 
jscott82's Avatar
 
Join Date: Aug 2006
Location: Charlotte, NC
Posts: 3,076
Received 363 Likes on 238 Posts
Default

AIM Cont:
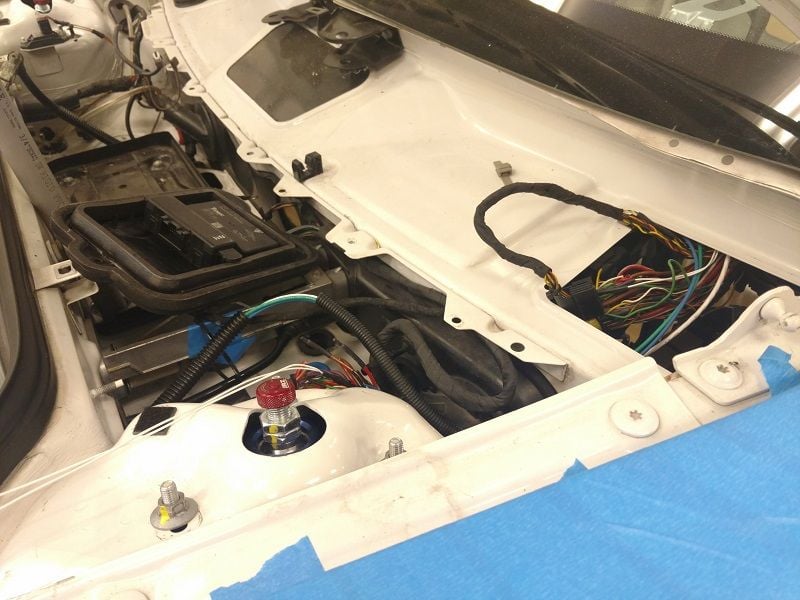
AIM has two options to communicate with the ECU, either the "K" line from the ODB2 connector or directly to the ECU CAN bus.
https://www.aimtechnologies.com/supp...-2_102_eng.pdf
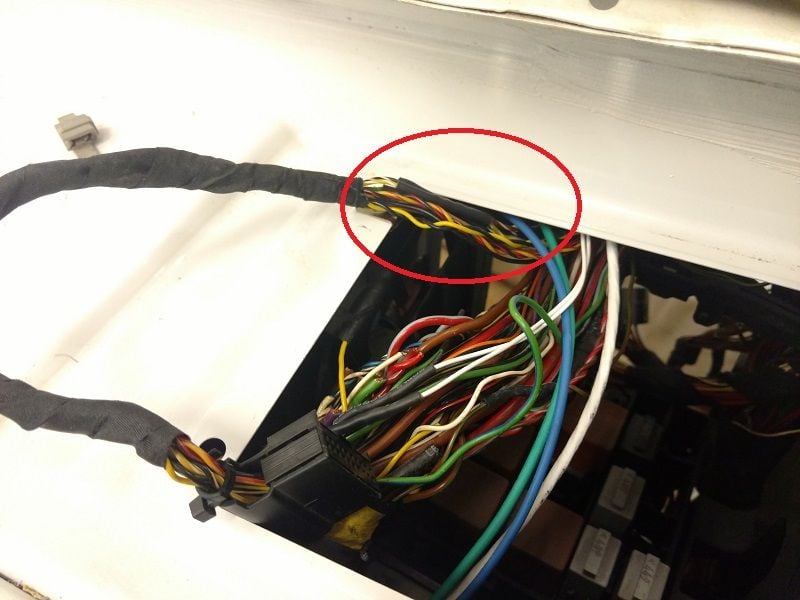
The CAN connection retrieves much more data... Following the wiring harness, you don't need to run all the way back to the ECU to tap that signal... The CAN bus runs up to the gateway module in the driver side cowl, you can tap it there (black/White, Yellow/White wires)...

Old 10-28-2018, 09:24 PM
  #56  
jscott82
Rennlist Member
Thread Starter
 
jscott82's Avatar
 
Join Date: Aug 2006
Location: Charlotte, NC
Posts: 3,076
Received 363 Likes on 238 Posts
Default

Braille battery and kill switch.
Old 10-28-2018, 09:31 PM
  #57  
jscott82
Rennlist Member
Thread Starter
 
jscott82's Avatar
 
Join Date: Aug 2006
Location: Charlotte, NC
Posts: 3,076
Received 363 Likes on 238 Posts
Default

Console install.
For posterity, also attached the CAD template for the plate. (Still need to have the graphics professionally printed)

Attached Files
File Type: txt
DashPlate2.txt (33.5 KB, 33 views)
Old 10-28-2018, 09:39 PM
  #58  
jscott82
Rennlist Member
Thread Starter
 
jscott82's Avatar
 
Join Date: Aug 2006
Location: Charlotte, NC
Posts: 3,076
Received 363 Likes on 238 Posts
Default

Car is drive-able now !!


Old 10-28-2018, 09:44 PM
  #59  
jscott82
Rennlist Member
Thread Starter
 
jscott82's Avatar
 
Join Date: Aug 2006
Location: Charlotte, NC
Posts: 3,076
Received 363 Likes on 238 Posts
Default

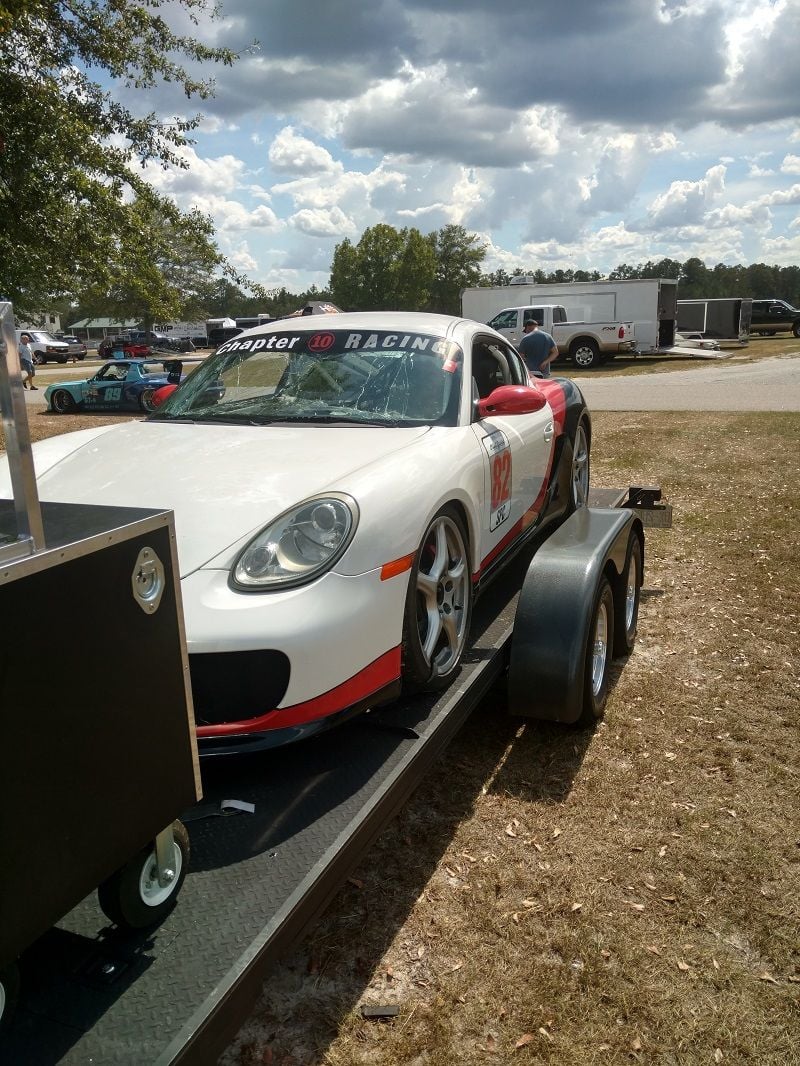
And the first tough lesson learned.... If you have hood pins, make sure they are latched before heading out....

I though I was being smart by using inconspicuous pins (Ill leave the brand out of it), they worked great in theory, but the first time I opened the hood, I forgot to latch the pins, since they weren't obviously unlatched, I missed it before heading out on track for my second session...

And THIS happened...

Old 10-29-2018, 09:11 AM
  #60  
FFaust
Nordschleife Master
 
FFaust's Avatar
 
Join Date: Dec 2009
Location: Limehouse, ON
Posts: 5,929
Received 20 Likes on 16 Posts
Default

That sucks.

If you haven't yet, time for http://racingshields.com/


Quick Reply: Spec Cayman Build


All times are GMT -3. The time now is 08:30 AM.