When you click on links to various merchants on this site and make a purchase, this can result in this site earning a commission. Affiliate programs and affiliations include, but are not limited to, the eBay Partner Network.
Wheel Bearings:
I Could not find a good comprehensive article on doing this so Ill go into more detail with this one...
You could do all of this with the uprights on the car, but mine were already off.
Bearing: 80mm (3.150in) OD x 42mm (1.648in)ID,
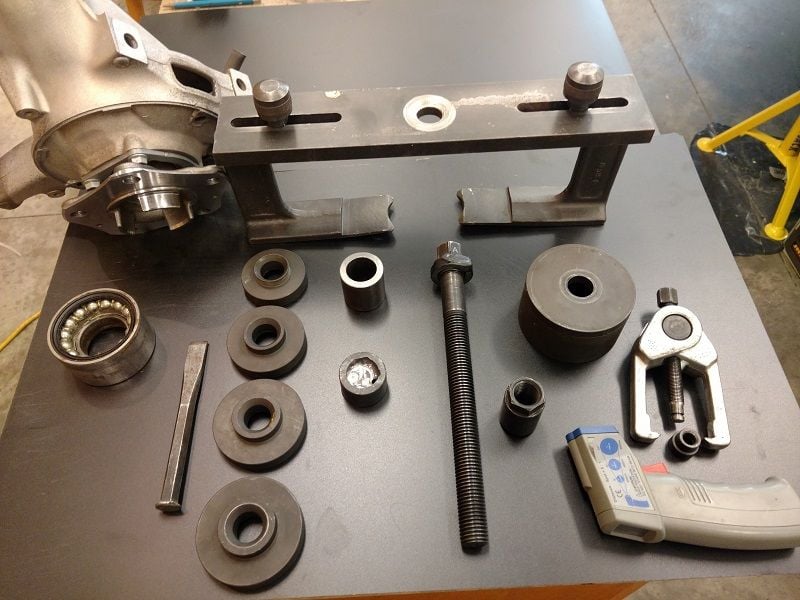
Tools: I tried several different tools kits for this, including the SIR tools B90 that I used on my 993. I really was not happy with how the B90 fit this car so went looking for alternate solutions. I stumbled across the Hubshark and bought a used, half broken one off ebay to try. In the end I ended up using pieces from both kits as well as making a couple of my own. I'm not sure if a new complete Hubshark kit included the right pieces or not... I included the mandrel sizes needed so you can research for yourself. I have not seen anyone on Rennlist use a Hubshark tool. This thing is awesome. I could go into he pros and cons, but trust me this thing is the **** (no affiliation, just a happy customer).
1) Press the hub out of the bearing (Invariably you will just pull the bearing apart).
(Neither kit had an appropriate drive mandrel, but low and behold 1 /5/8 (41mm) steel pipe is the perfect size. You could probably just use the drive nut in the kit, but they have a tapered edge that I didn't want to risk flaring the hub, and besides, pipe is cheap.)
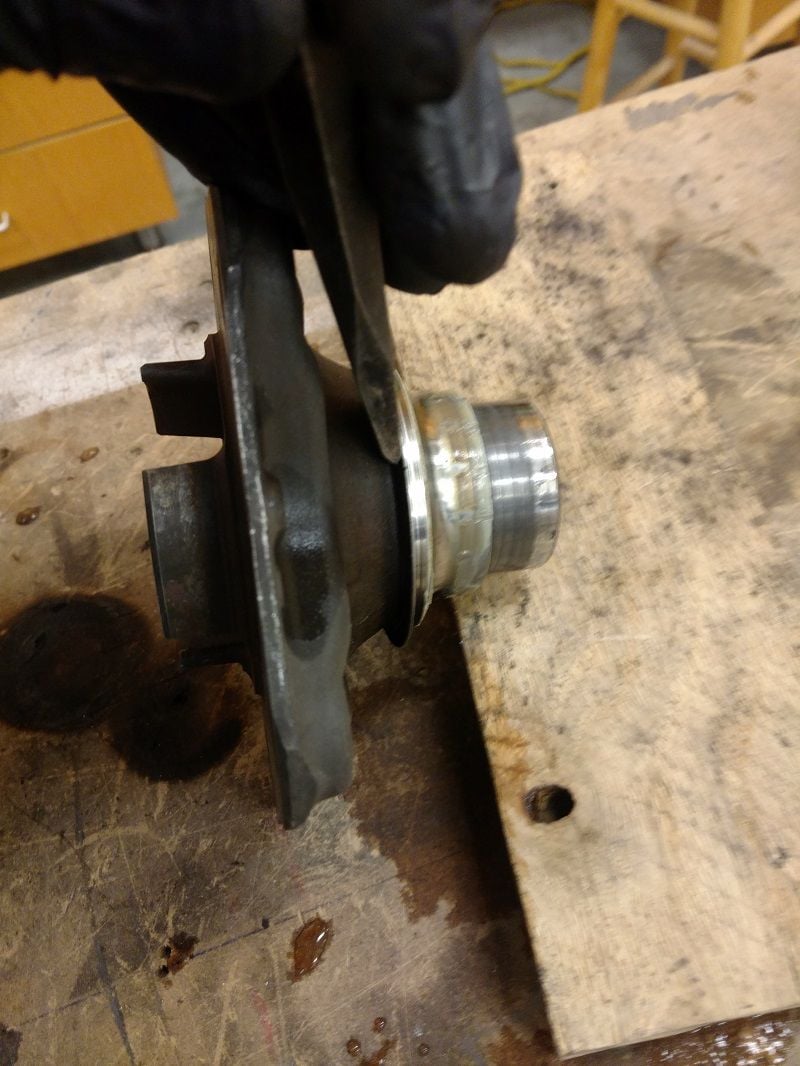
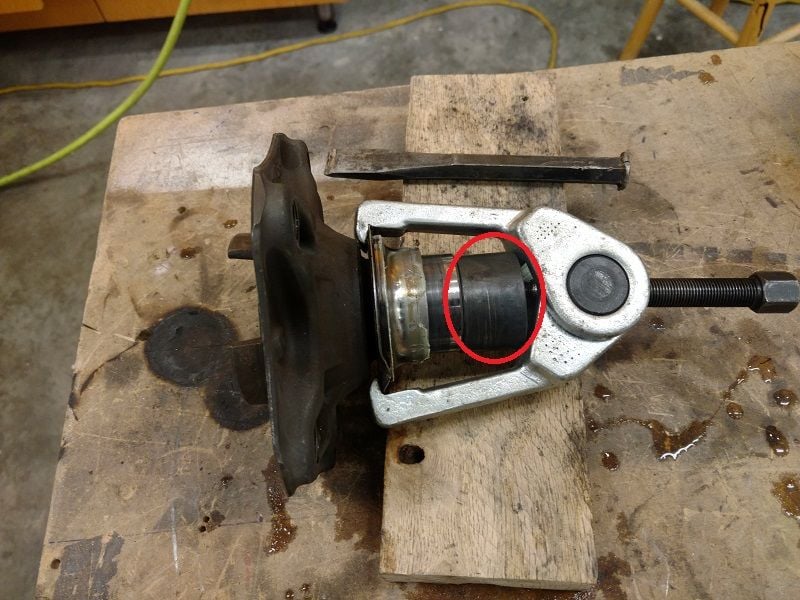
1a) Pull the inner race off the hub using a 2 jaw puller. You will need to use a chisel to wedge the race back a few mm to make room for the puller.
To get the race all the way off another spacer is needed. Another piece of 1 5/8 tube with a shelf welded inside worked great. (although at this point you could probably cut the race free or beat it off with a hammer)
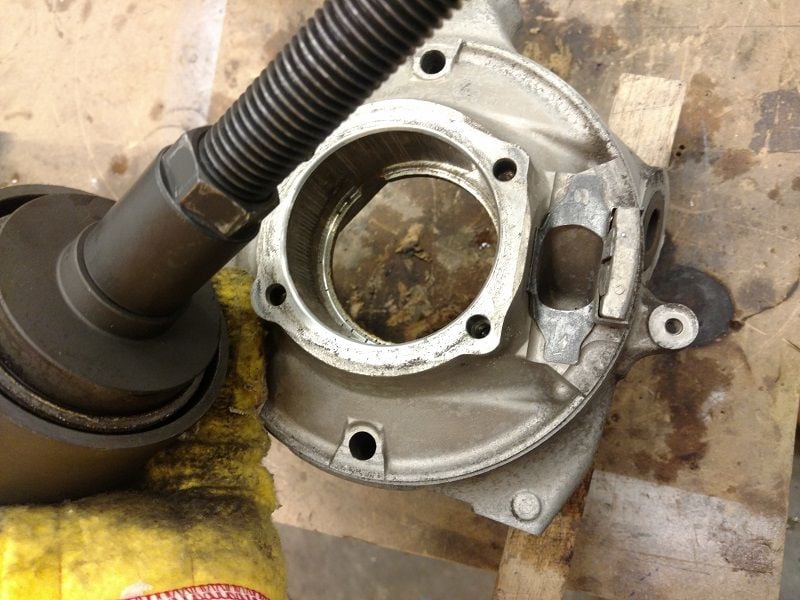
Next remove the bearing cover (4 bolts)
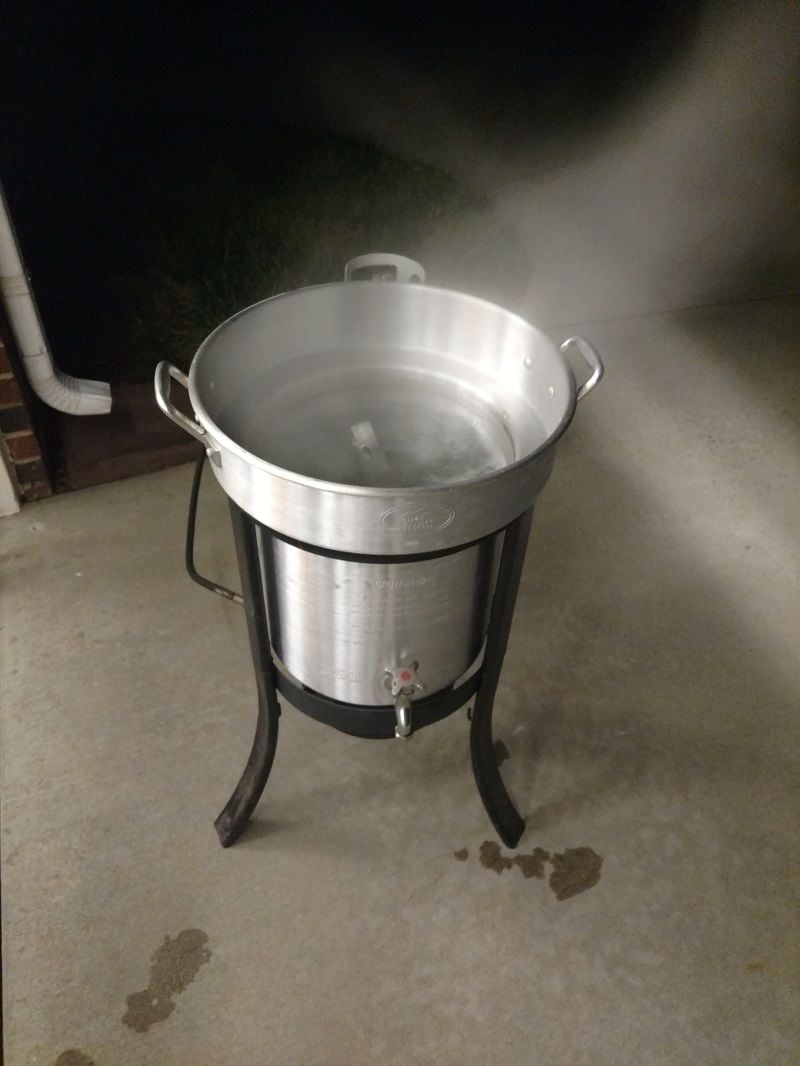
To get the bearing out of the hub, you need to heat the hub to 100c. I tried a dry oven, but really liked boiling water as suggested by a mechanic friend. Of course on the car you can use a torch, just be careful not to overheat the surface. Manual says not to exceed 120c.
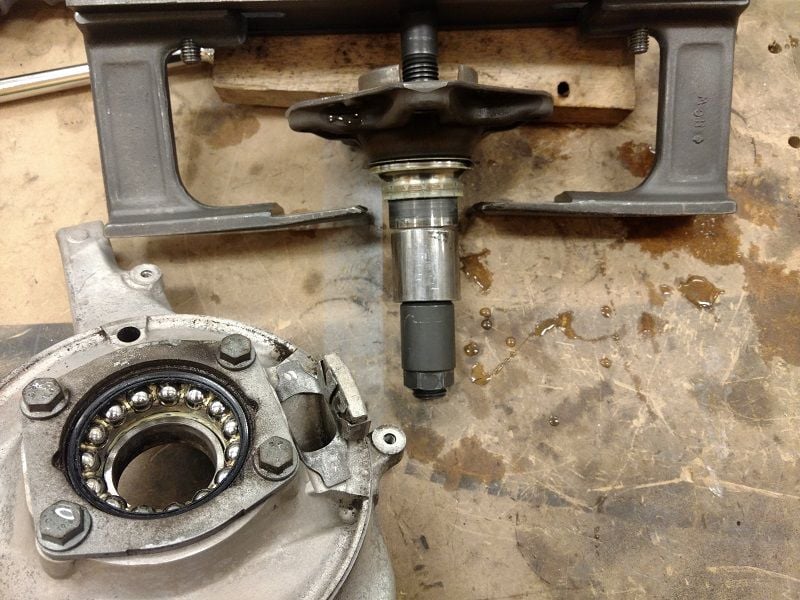
Now that things are hot you need to work quickly to pull the bearing. On the inside you need a mandrel that fits inside the bearing seat. The ID of the seat is 73mm (2.908in)
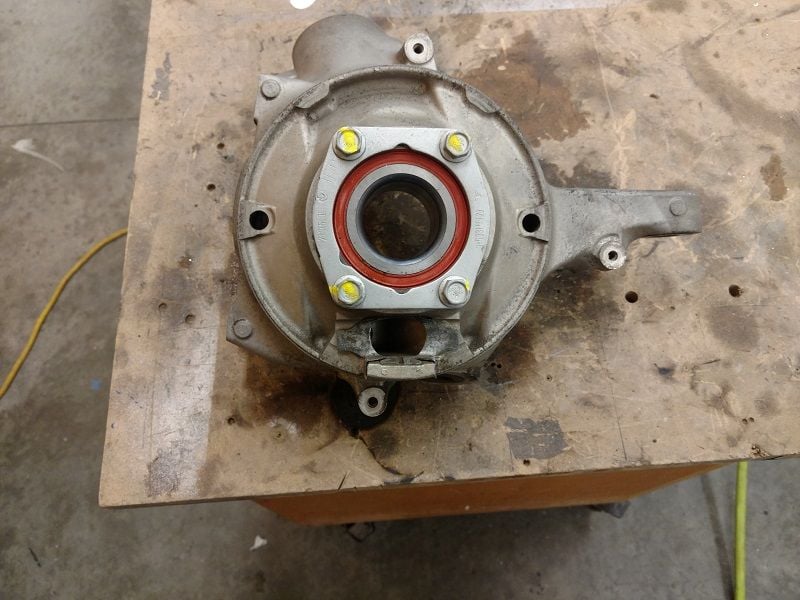
Prepare the hub to install the new bearing. Inspect the bore and clean up any scuffs with a "polishing cloth"
Back in the water to get it back to temp to prepare to insert the bearing.
The bearing serves as the ABS pulse ring. The black (magnetic) side goes inboard. You want to ensure nothing magnetic comes in contact with this ring.
Manual doesn't say to freeze the bearings, but I did just to makes things easier.
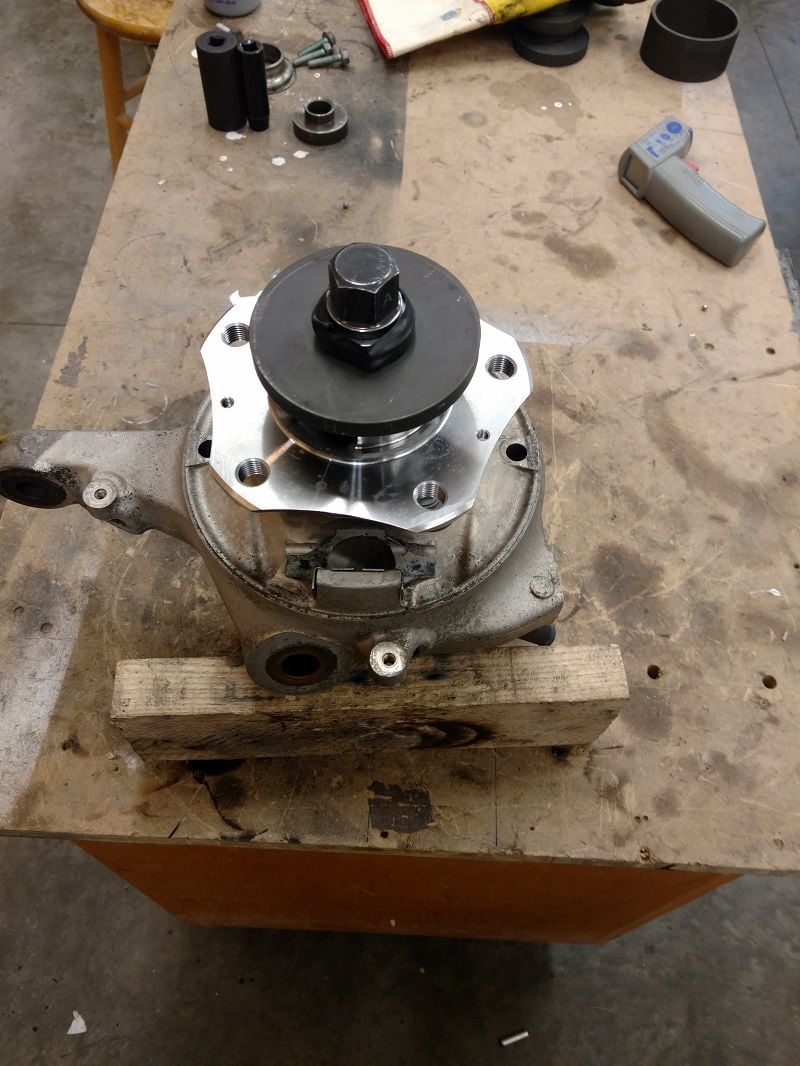
If the upright is up to temp and the bearing is frozen, it really doesn't take much pressure to get it in (One of mine dropped in with no pressure at all) But still want to ensure the drive mandrel is big enough to only push on the outer race.
Bolt the bearing cover back on (bolts to 37nm (27ftlb)
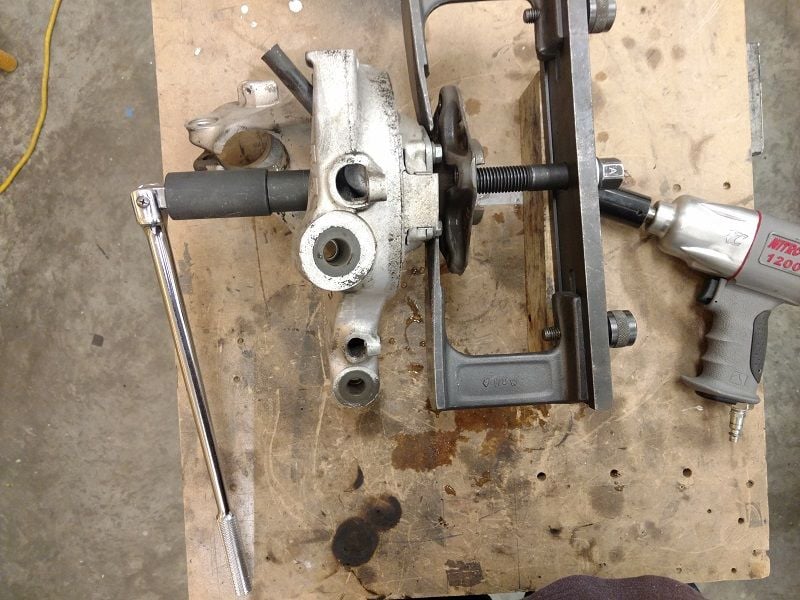
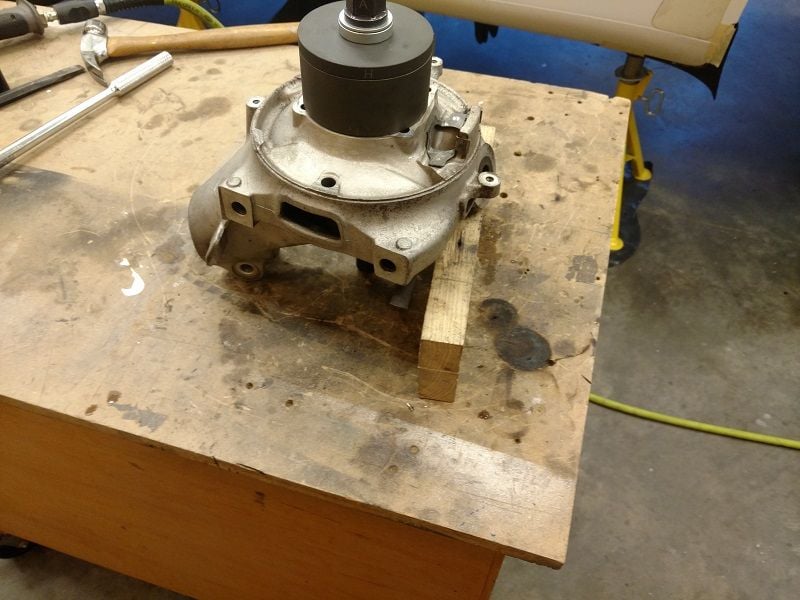
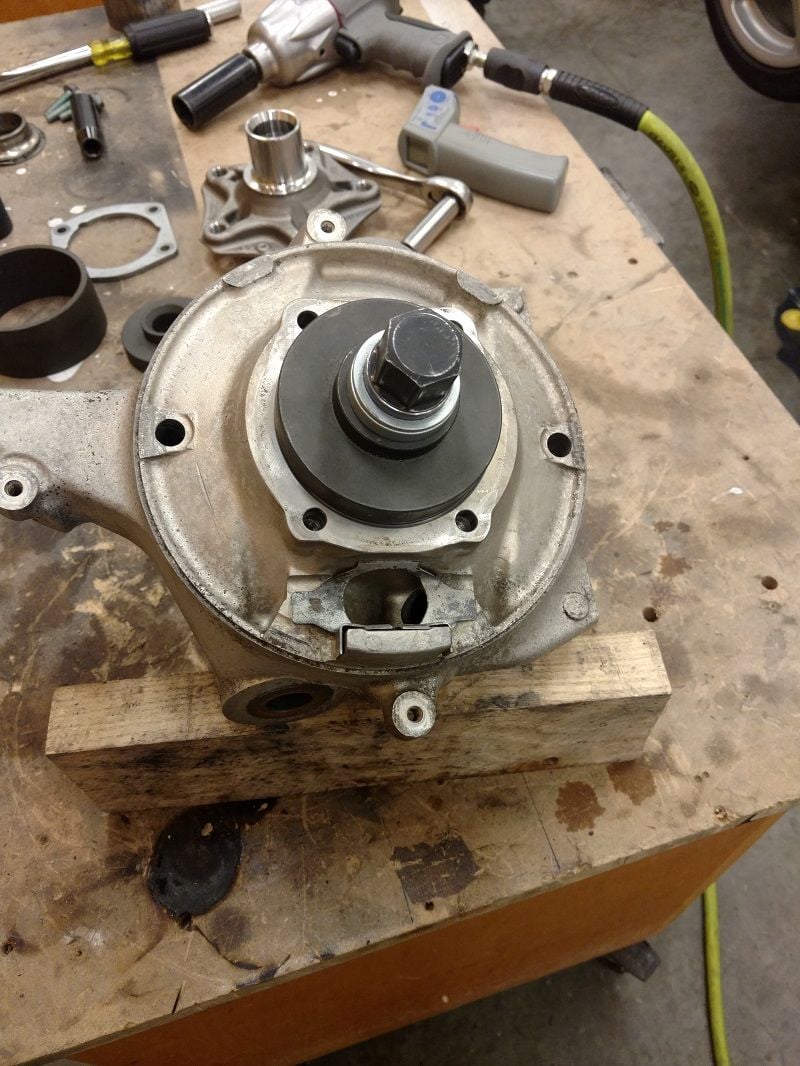
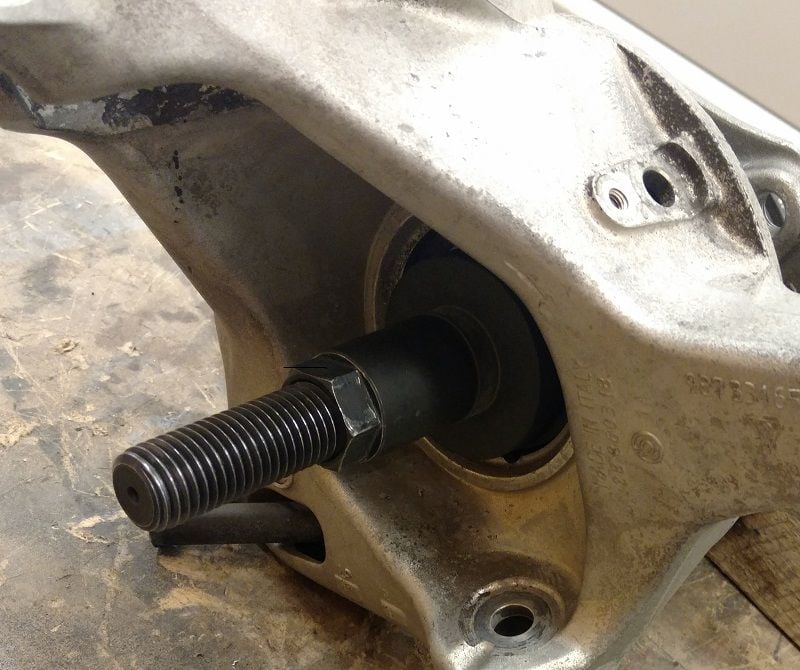
Press the hub back in. Again none of the kits had an appropriate mandrel for this, so that piece of pipe comes in handy again.
Note the pic does not show the pipe. I really wanted to only push directly on "axle" part of the hub not on the "fingers". The pipe is between the large drive mandrel and the hub.
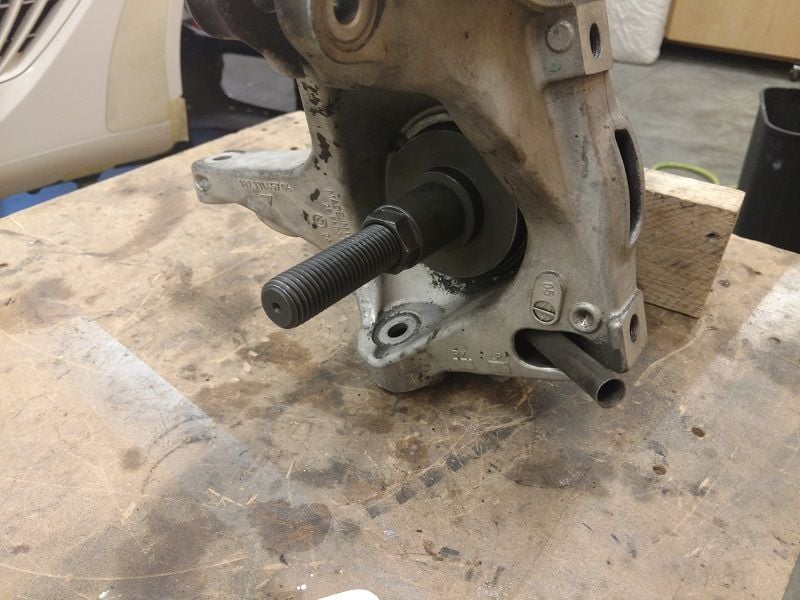
On the inside, make sure you use a mandrel that only catches the inner race. You don't want to be applying pressure to the outrace / "across" the bearing.
Thanks Eric... I Cant wait to get this this out of my garage and onto the track.!.. I have a set of CCW I'm borrowing for the time being, but anxious to have my own shoes. :-)
This thing is taking WAY longer than I had planned... I had given up on this thread, but if anyone is still listening out there....
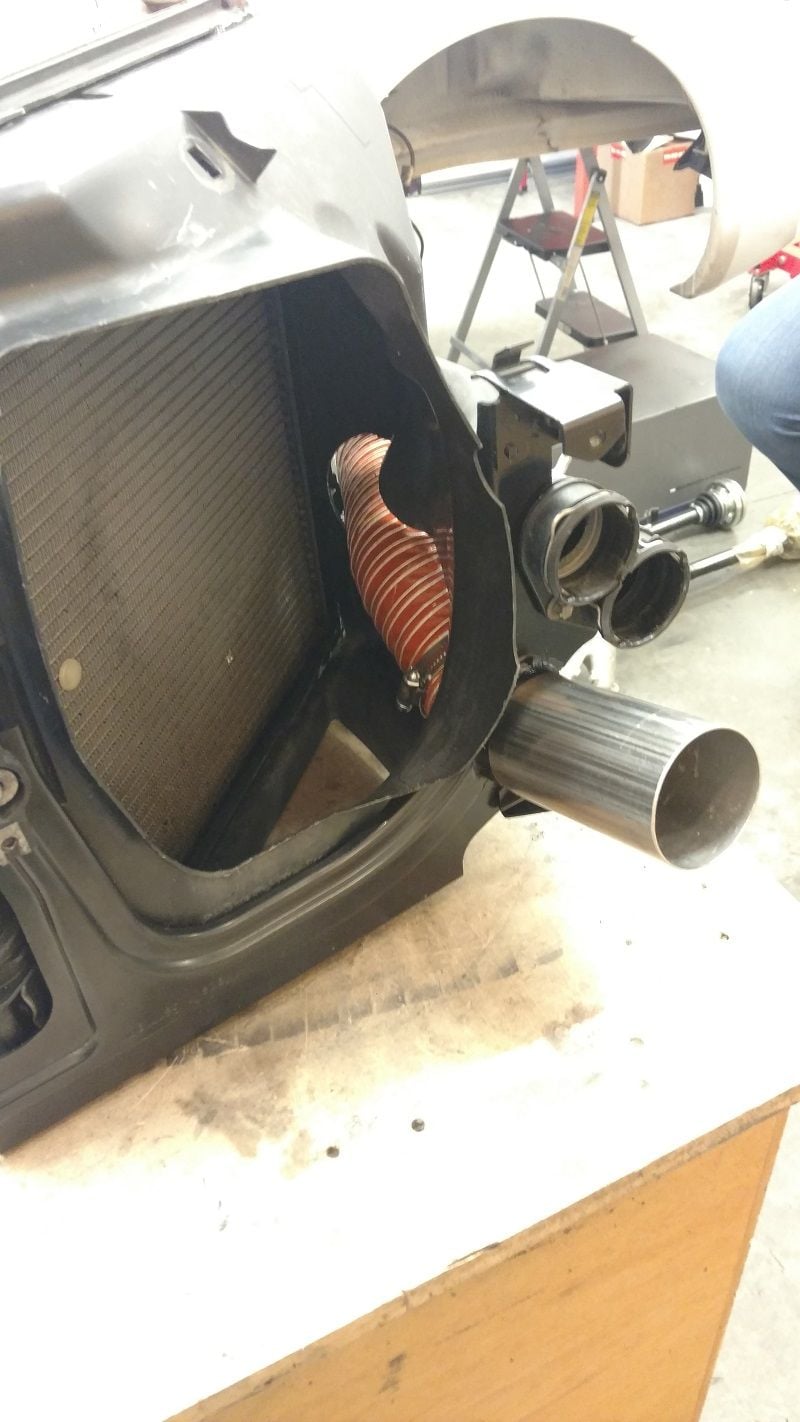
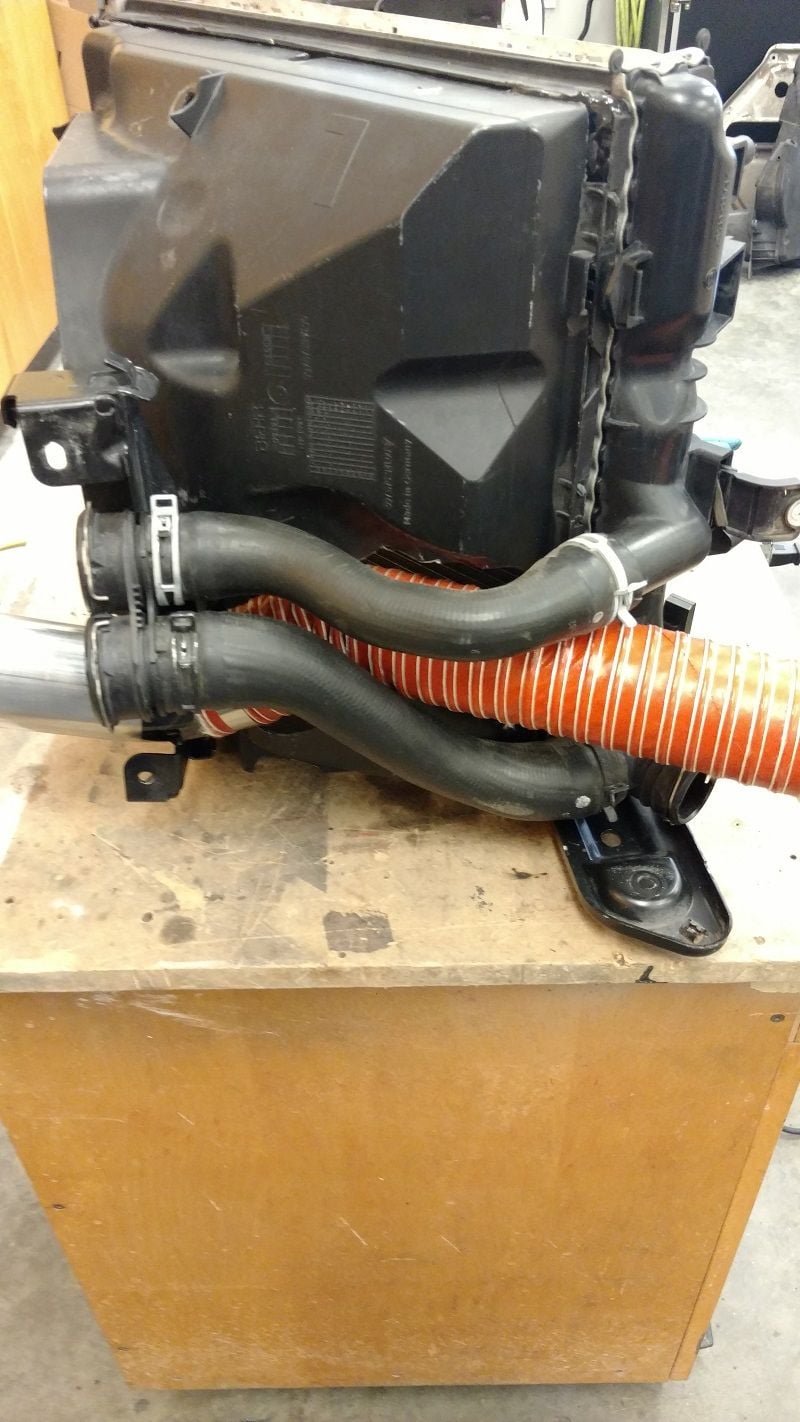
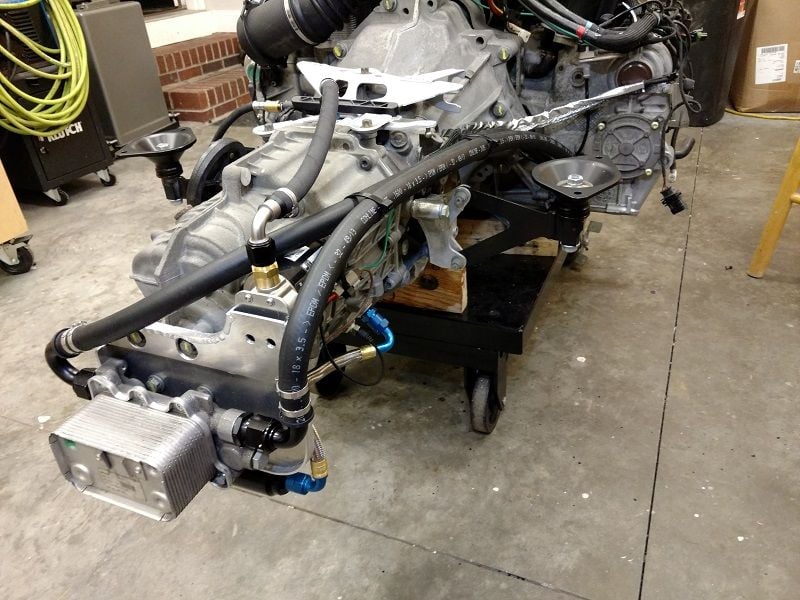
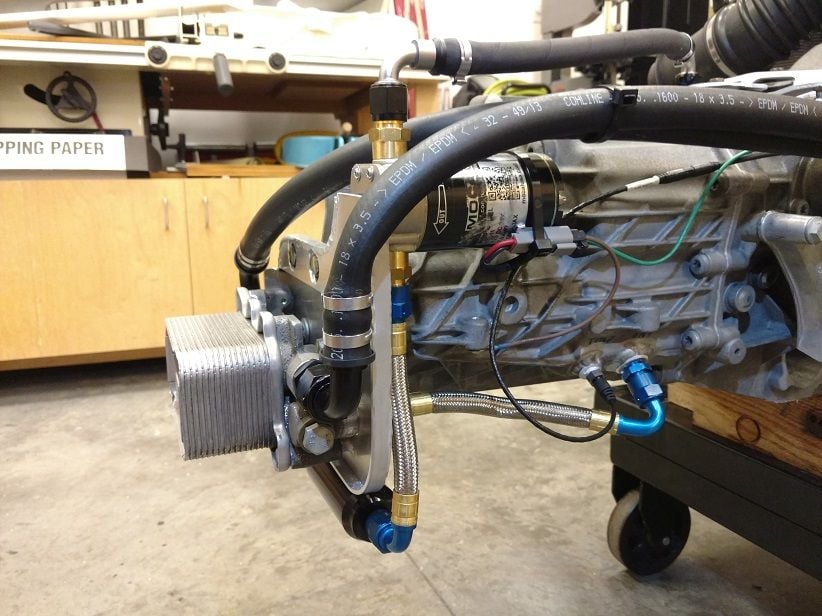
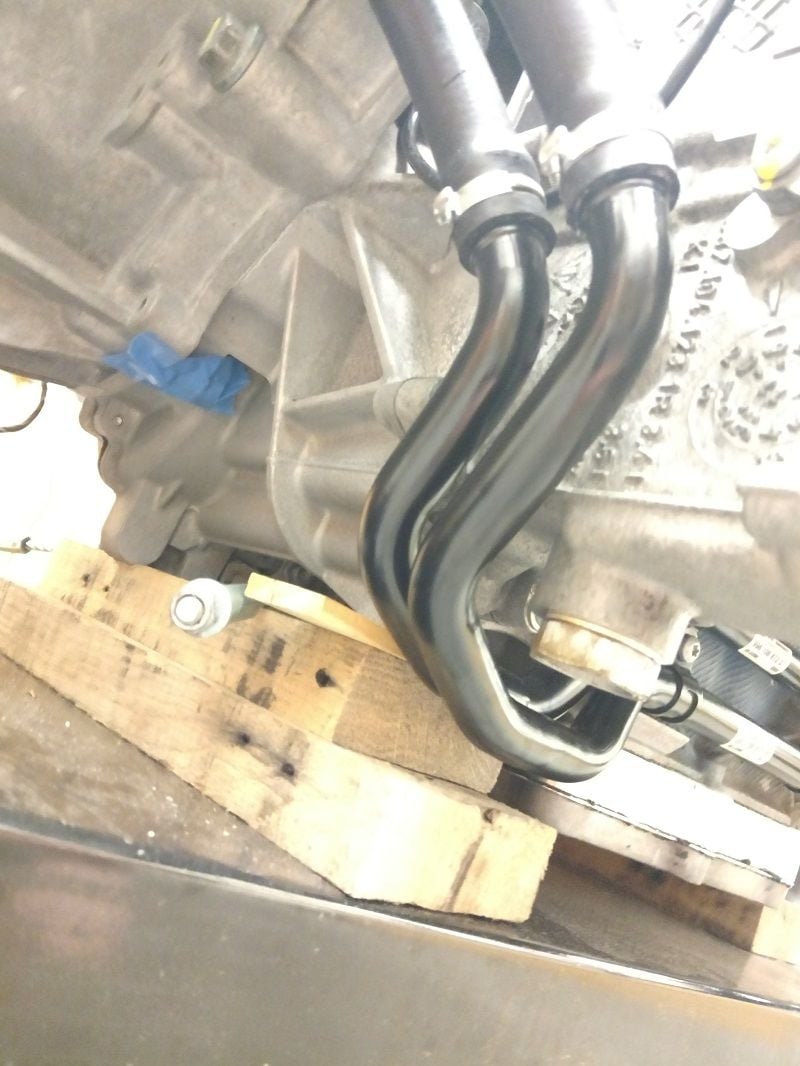
Trans cooler:
My transmission builder was concerned about getting adequate cooling after installing a guard limited slip. He was concerned about the amount of good air available under the car to support an air/oil cooler... not to mention, I wanted to be different...
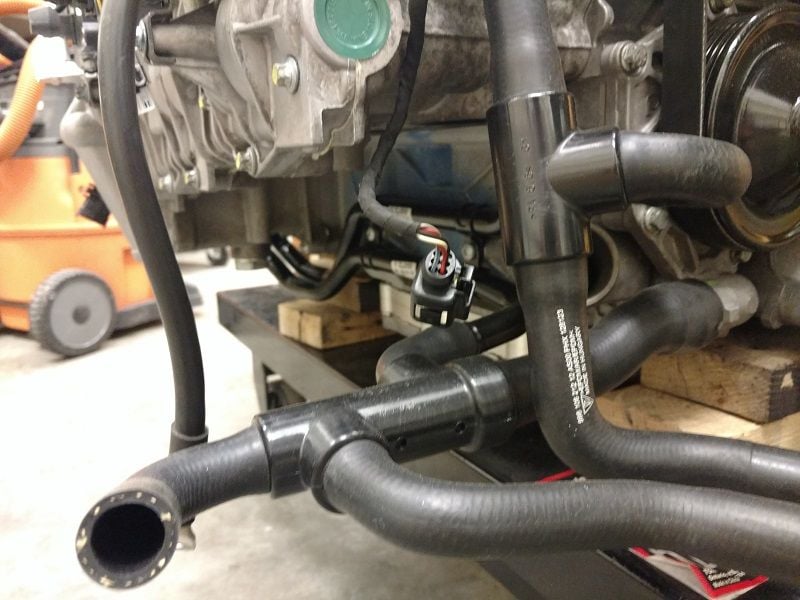
After a ton of research and trial fitting, I was able to retrofit the oil/water exchanger from the GT3/Cup cars. Key element was finding the hoses and pipes from the PDK Cayman to get water to the back of the motor.
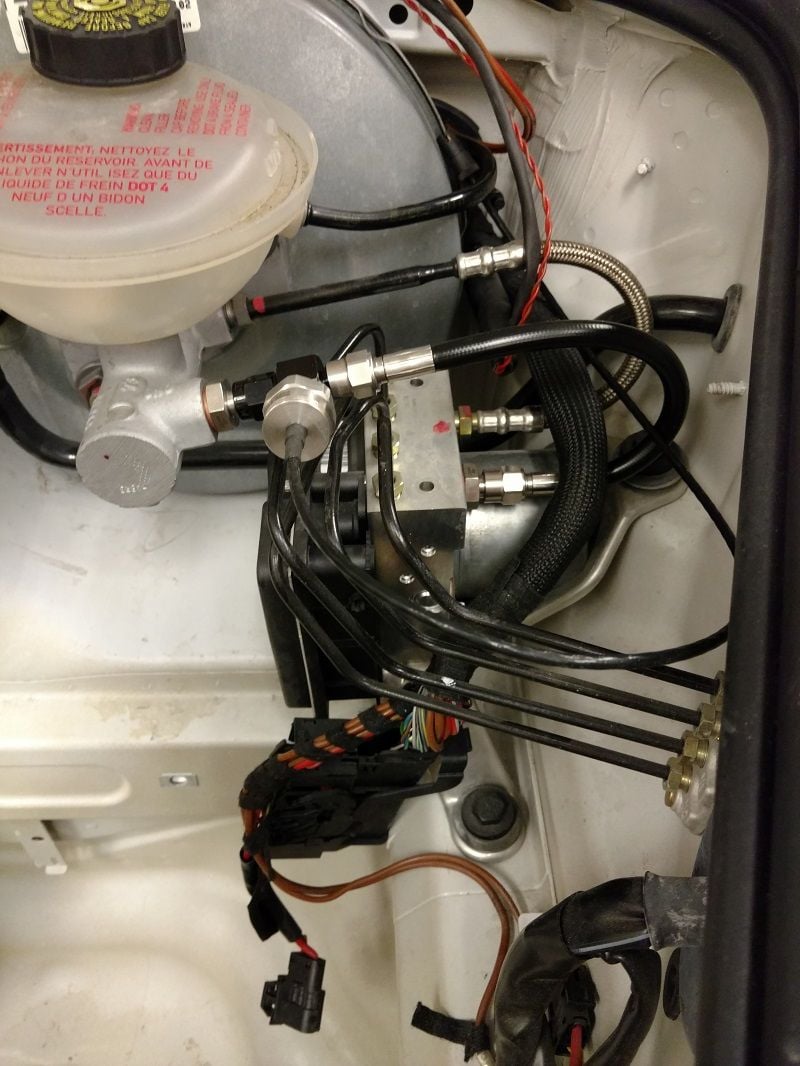
Brake Pressure Sensor:
I really don't like the idea of adapters connected to adapters, but I could not find an M12 bubble flare fitting with any kind of Tee (NPT or AN) for the sensor... So after much deliberation, I conceded to AN adapters on each end and a pretty trick Tee from Brown and Miller.
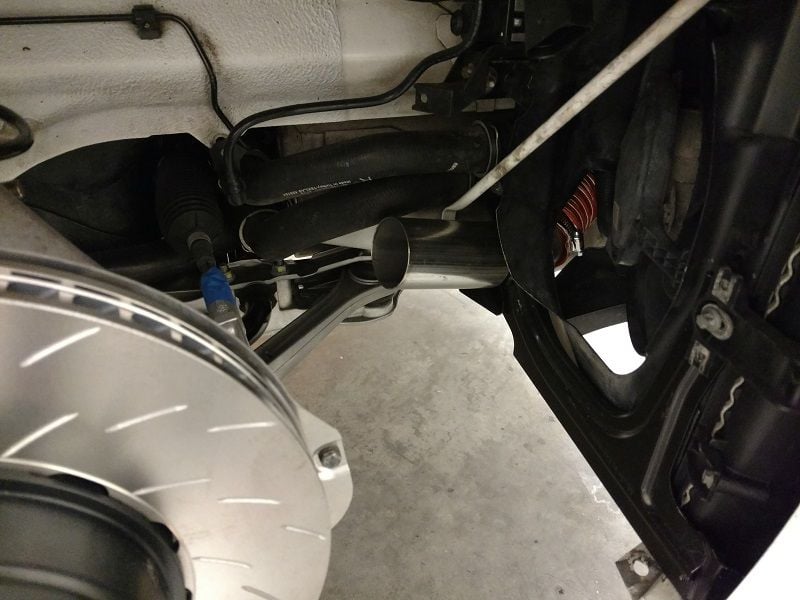
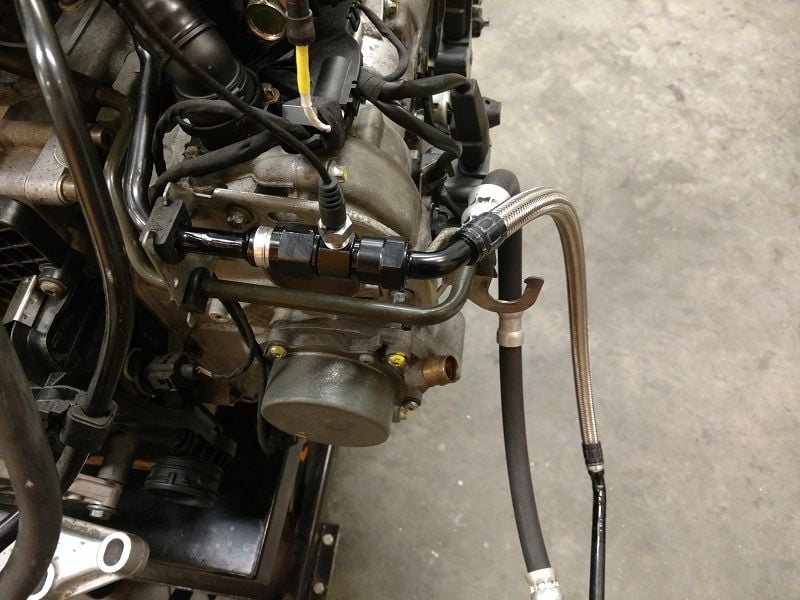
I really did not like the options I saw for power steering coolers... Way to complicated... So before I install one of these Rube Goldberg things, I want to be sure its really needed. I'm hoping the under-drive pulley is enough.
Since adapters were a non starter, and there really isn't room for them anyway, opted to splice the aluminum return line at the pump. Rather than goofy compression fittings we welded AN fittings to the ends of the spliced OE line. Again Brown and Miller to the rescue with some trick fittings. Check out the line that connects back to the chassis, no screw fitting, direct crimp on. Saving 2 more failure points.


 03-11-2018, 08:54 PM