When you click on links to various merchants on this site and make a purchase, this can result in this site earning a commission. Affiliate programs and affiliations include, but are not limited to, the eBay Partner Network.
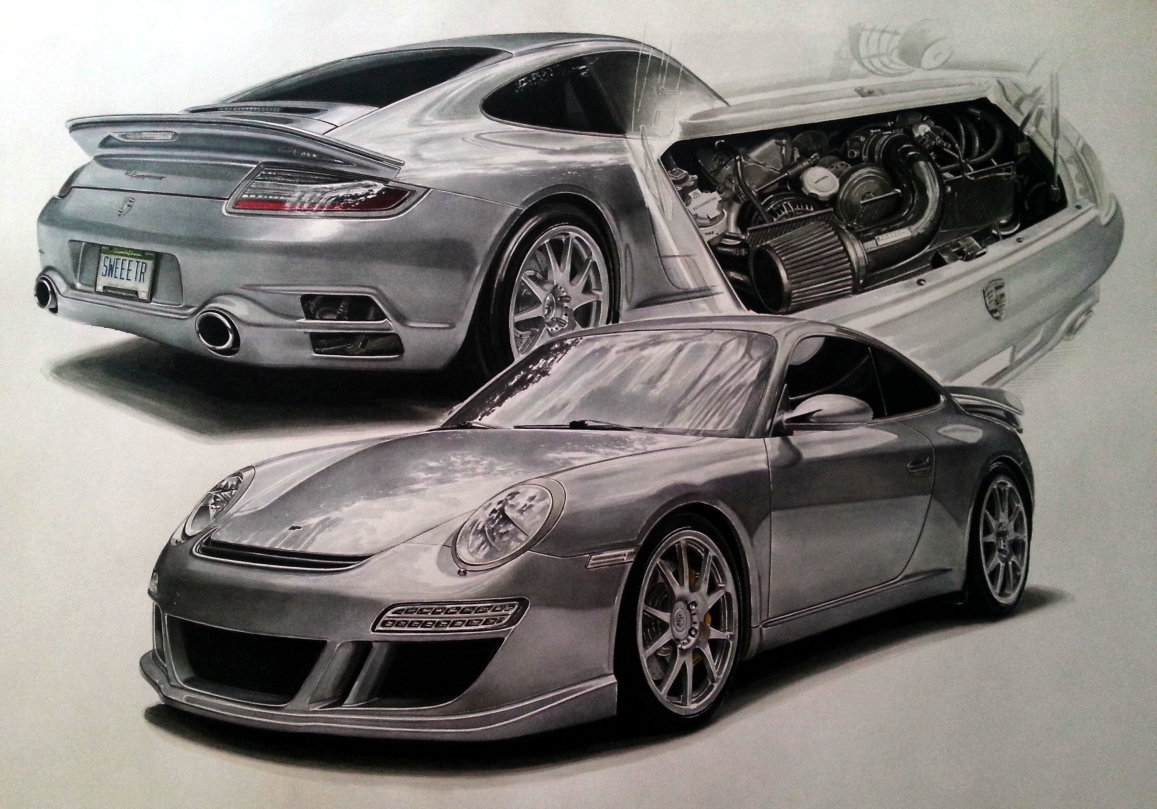
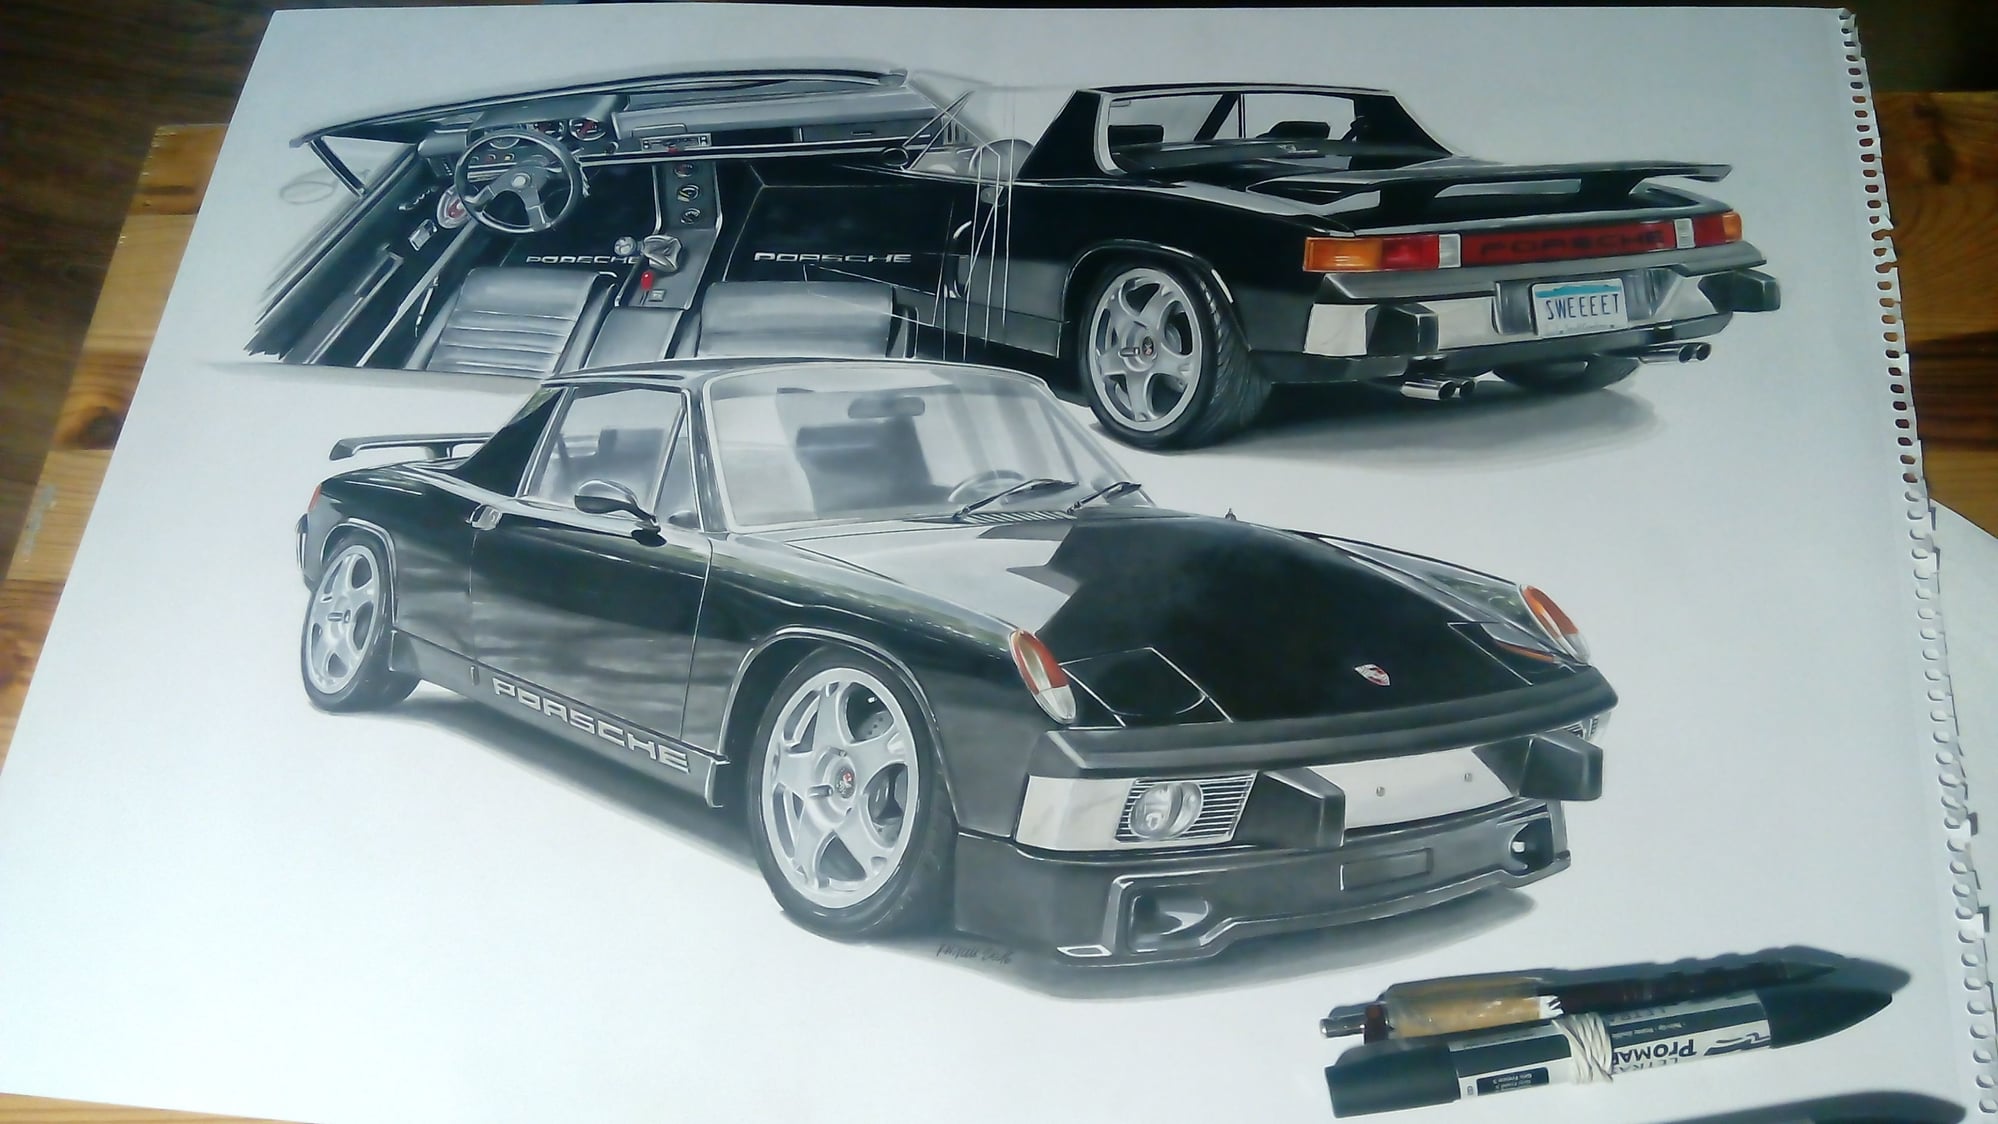
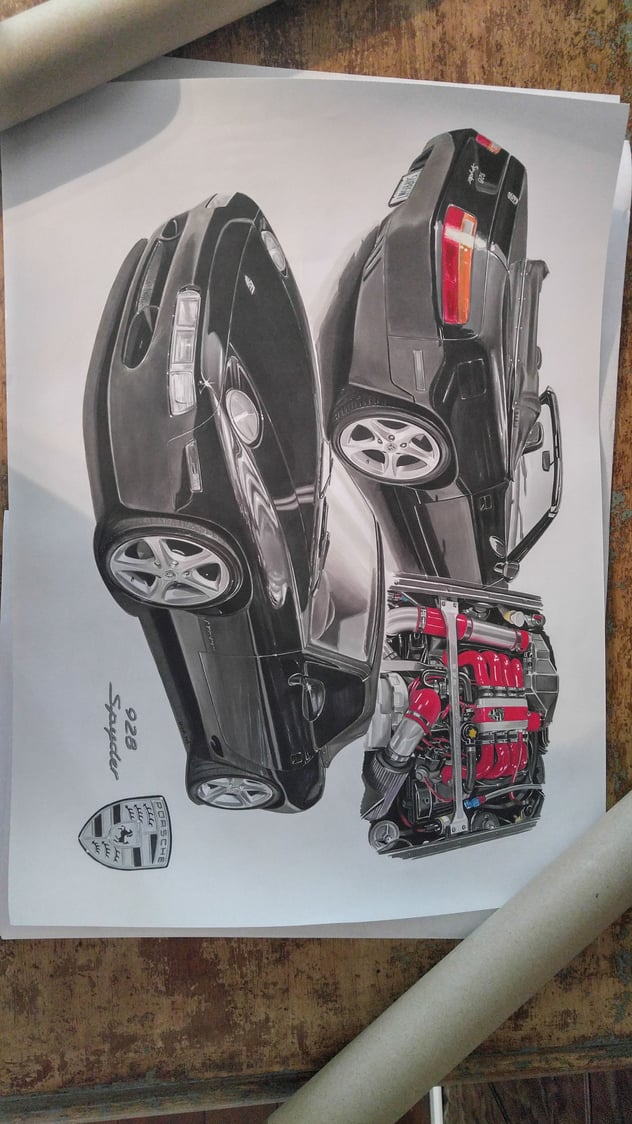
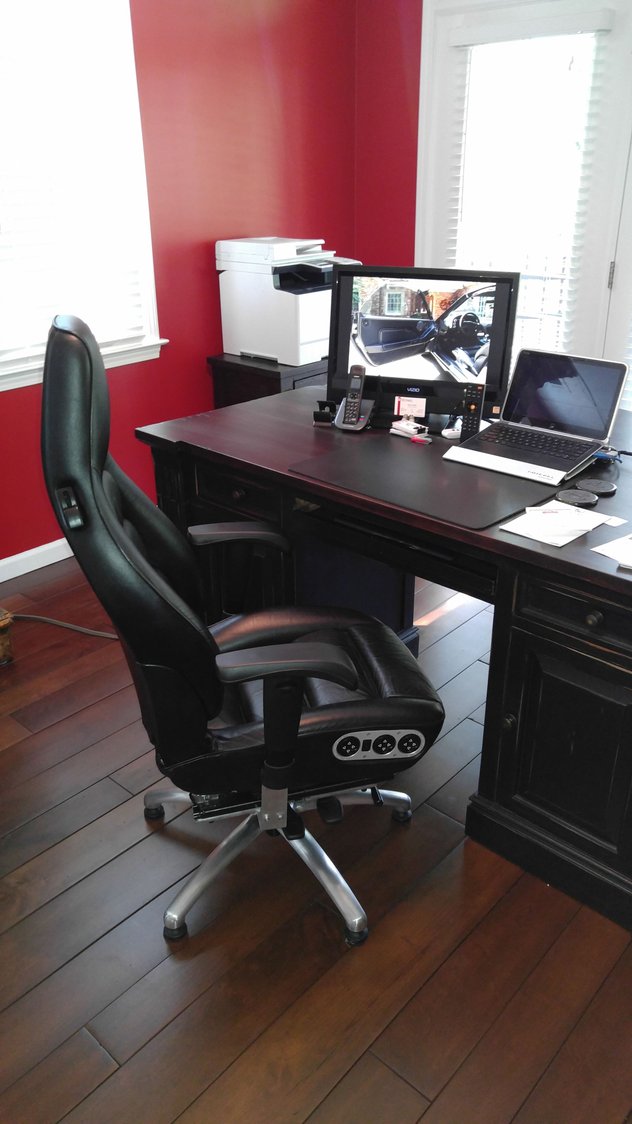
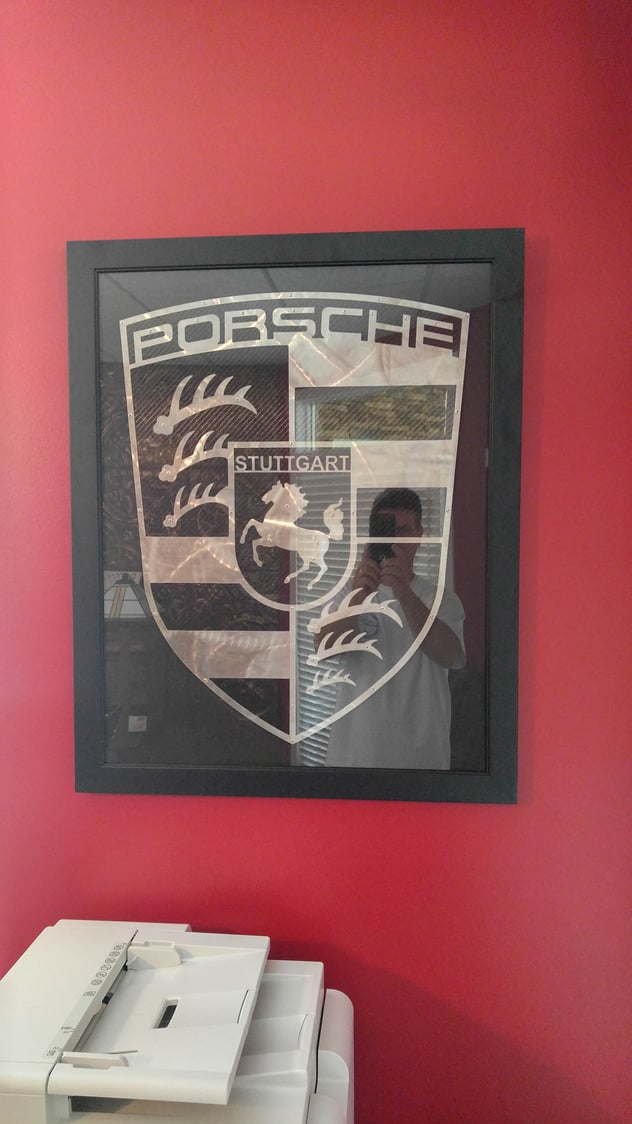
Thanks. I had one of those for each car done and they're framed and hanging in my office with a space left for the Cayenne one once finished. On another wall I framed your metal and carbon fiber crest. Also made an office chair from a spare 928 seat I have and used a 12v alarm back-up battery mounted under the seat plate so all the electrics work too.
I know, I'm a bit of a freak
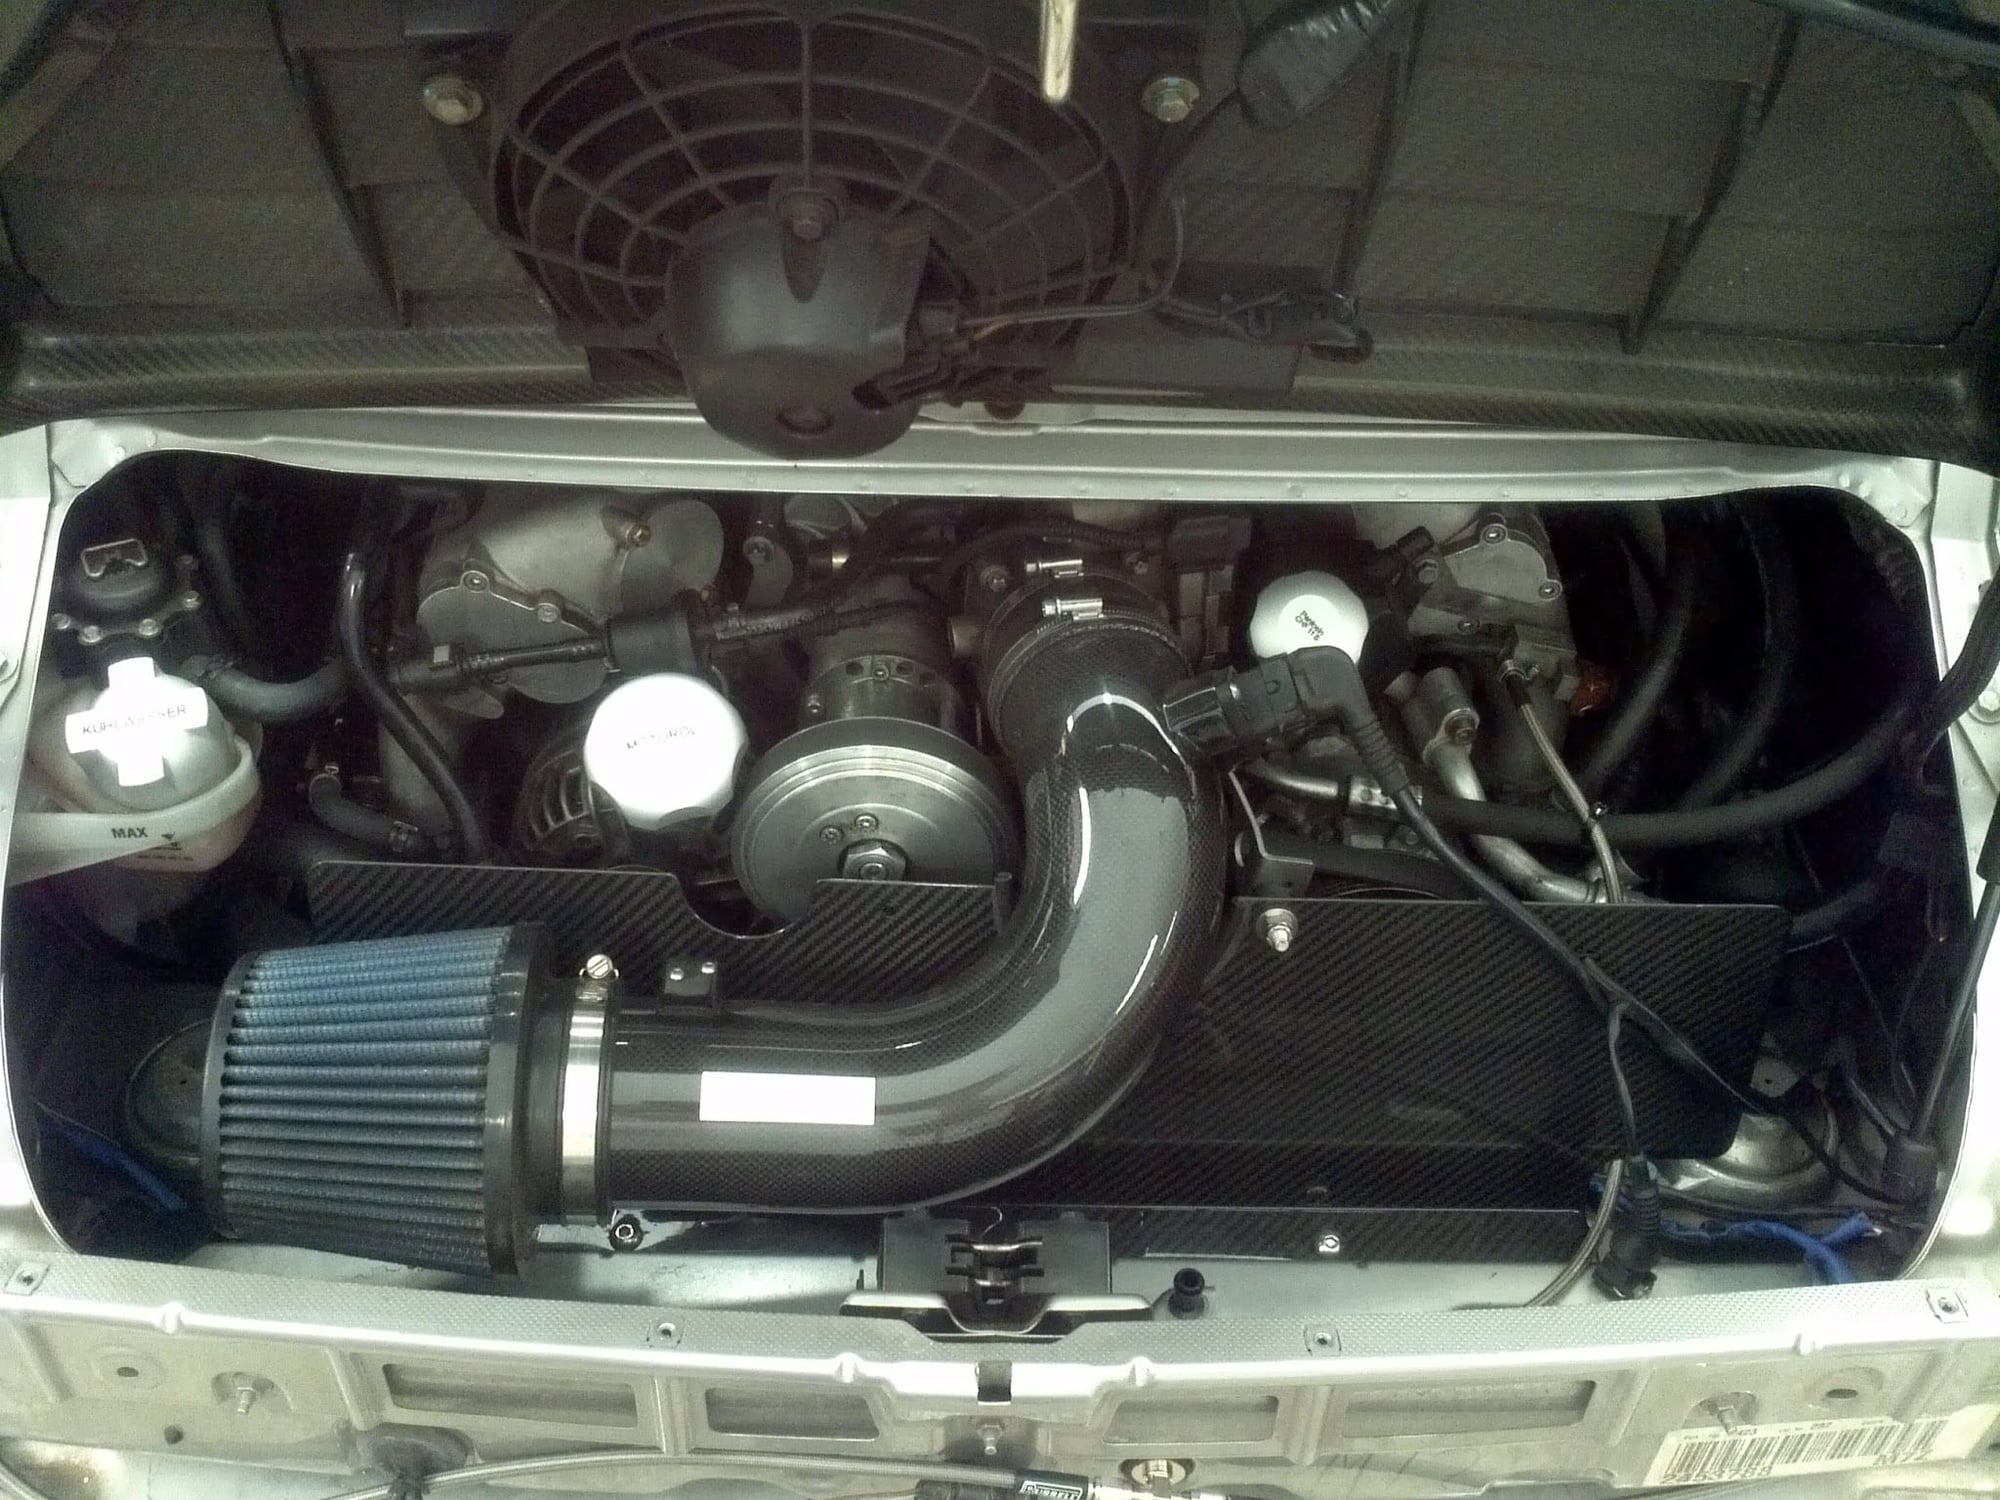
Seriously dude?! That's the sickest office setup i've ever seen lol. Those vehicle renderings are awesome, compliments to the artist. I think I spy an old school Fabspeed intake on that Carrera haha
Yup, you sure do - took some customizing and creativity to make it work with the supercharger pulley (PDF attached). Full Fabspeed Valvetronic exhaust too - headers, mufflers, & 200 cell x-cats, but with RUF tips for the bumper. Works, looks, and sounds great.
Originally Posted by Fabspeed Motorsport
Seriously dude?! That's the sickest office setup i've ever seen lol. Those vehicle renderings are awesome, compliments to the artist. I think I spy an old school Fabspeed intake on that Carrera haha
Yup, you sure do - took some customizing and creativity to make it work with the supercharger pulley (PDF attached). Full Fabspeed Valvetronic exhaust too - headers, mufflers, & 200 cell x-cats, but with RUF tips for the bumper. Works, looks, and sounds great.
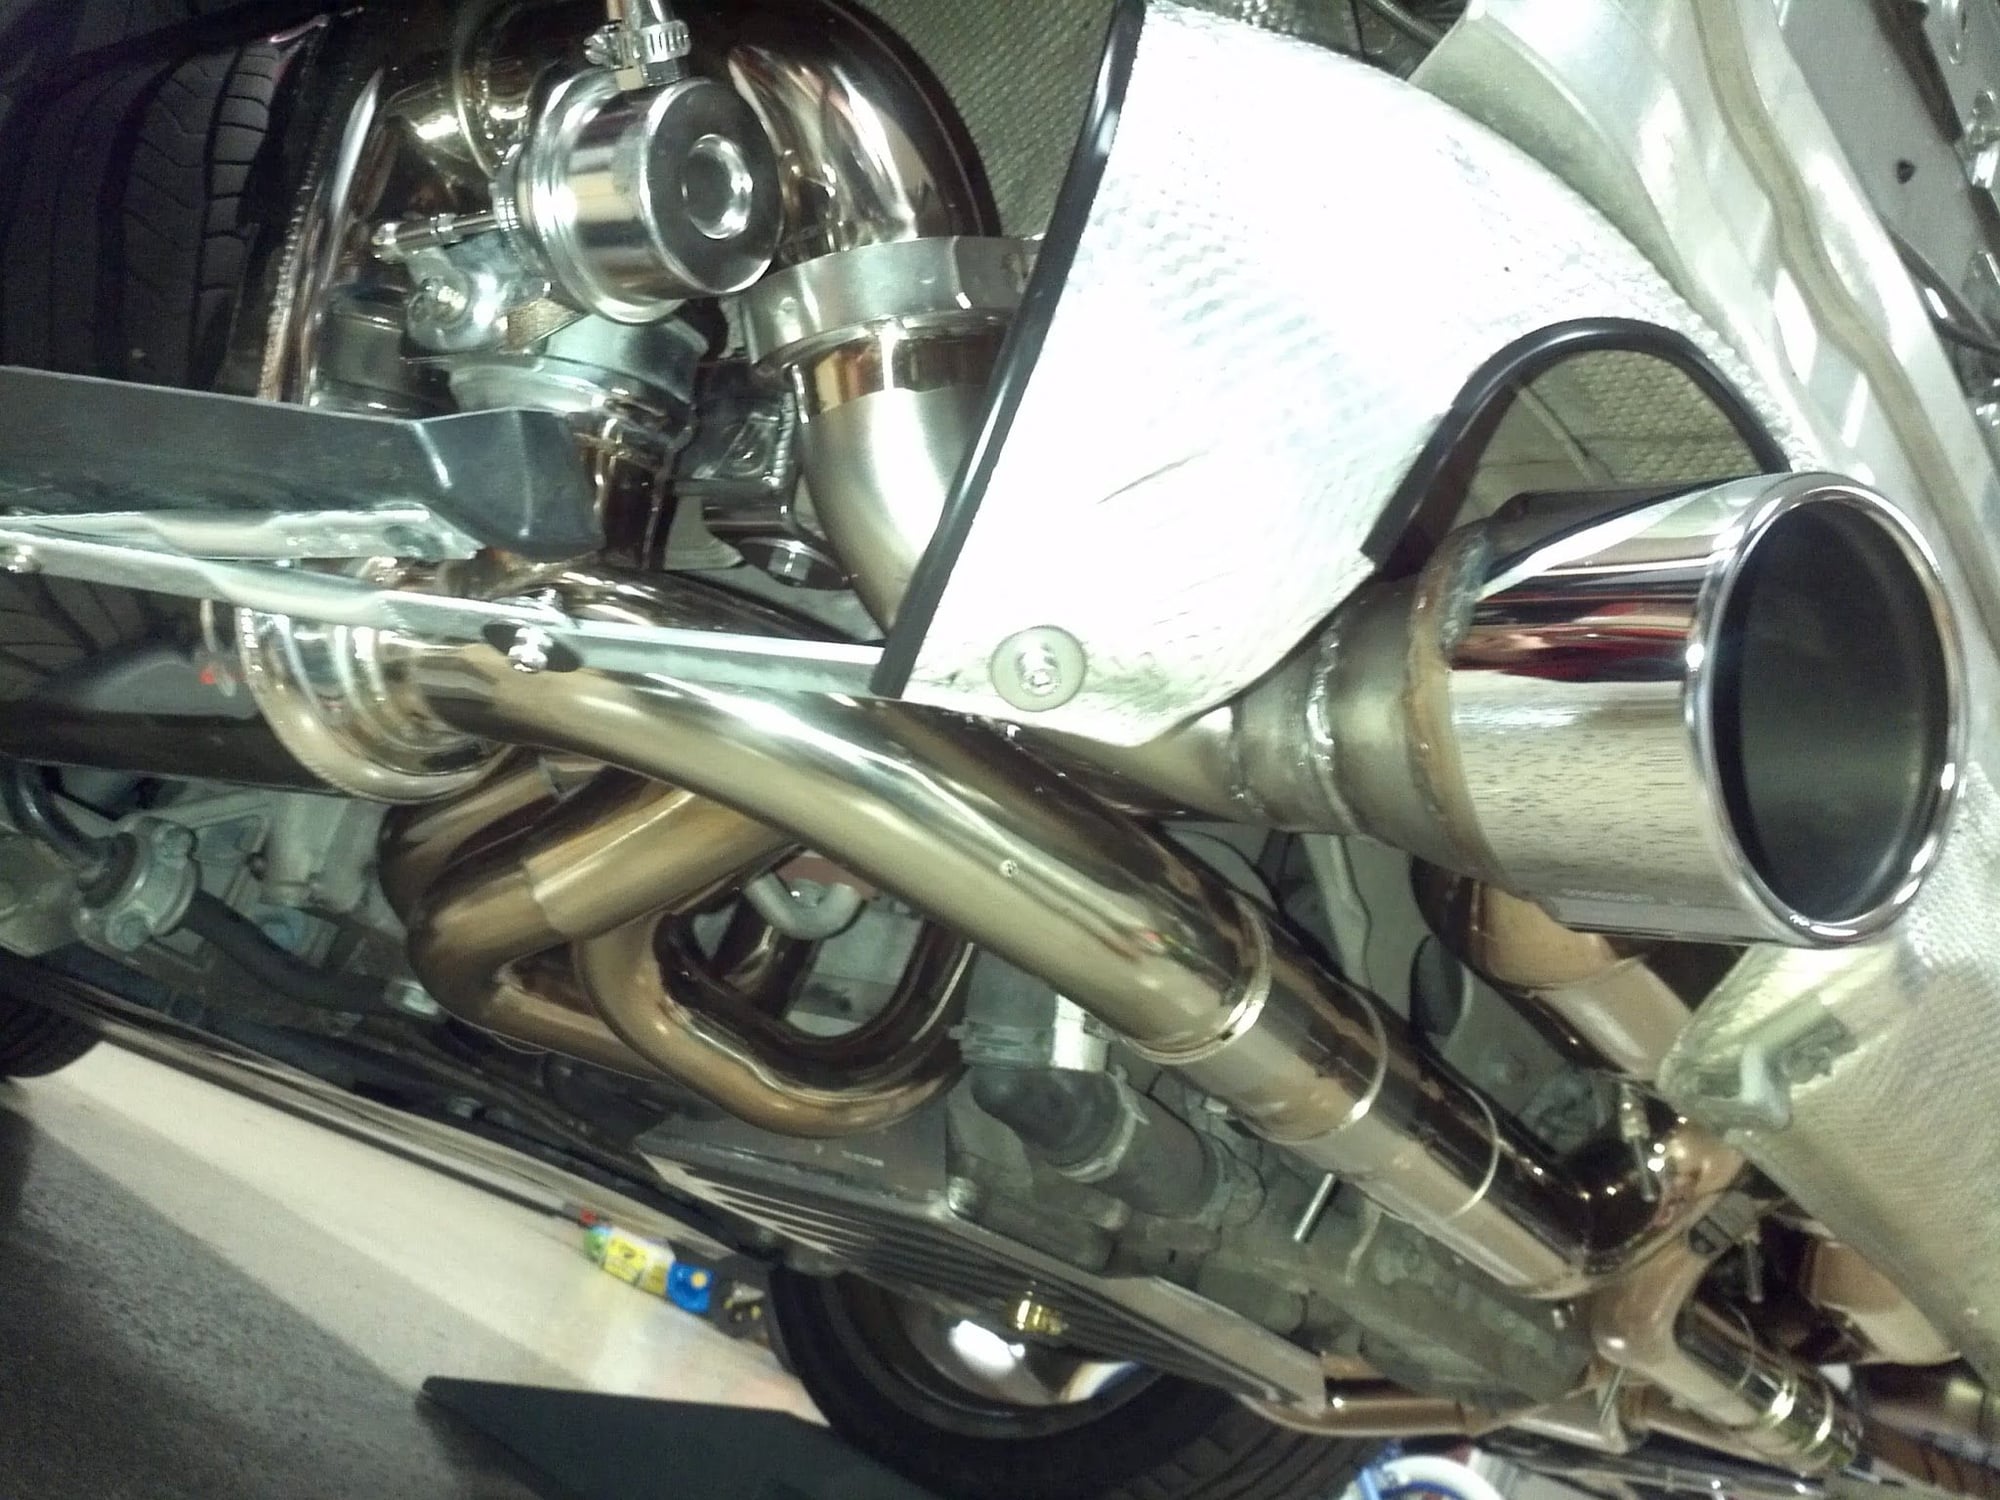
That is fantastic! Very impressed with the custom build, you are a man of many talents haha. Also intrigued to see you are one of the few to be running our original valvetronic Maxflo mufflers, how do you like them?
They're great. Sound is awesome and I usually push the bottom for sport mode, but it's nice to be able to quiet them down when leaving the neighborhood for an early flight or when you notice a police car coming up on you in traffic - no point in poking the bear (or pig) as they say. I've had them on there since Spring of 2012 and no issues. You guys also make or supply the best exhaust gaskets. I keep a couple sets around for when I need to pull a header to do a job and want to reinstall with fresh gaskets.
Originally Posted by Fabspeed Motorsport
That is fantastic! Very impressed with the custom build, you are a man of many talents haha. Also intrigued to see you are one of the few to be running our original valvetronic Maxflo mufflers, how do you like them?
They're great. Sound is awesome and I usually push the bottom for sport mode, but it's nice to be able to quiet them down when leaving the neighborhood for an early flight or when you notice a police car coming up on you in traffic - no point in poking the bear (or pig) as they say. I've had them on there since Spring of 2012 and no issues. You guys also make or supply the best exhaust gaskets. I keep a couple sets around for when I need to pull a header to do a job and want to reinstall with fresh gaskets.
Excellent! Thats what I like to hear Glad you like the gaskets, we are a fan as well haha
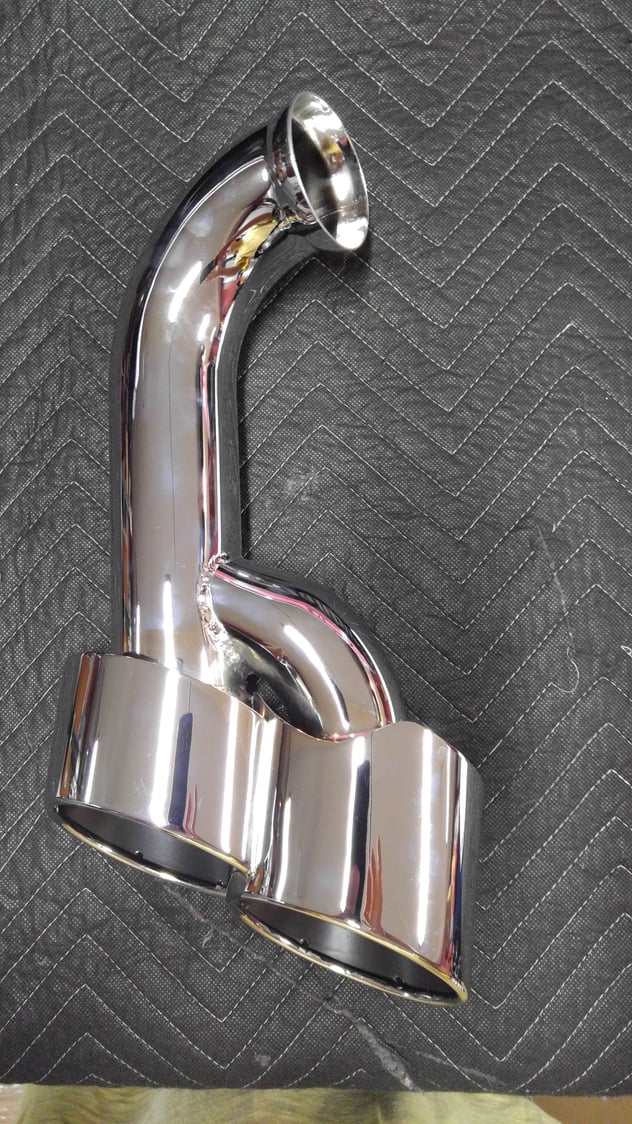
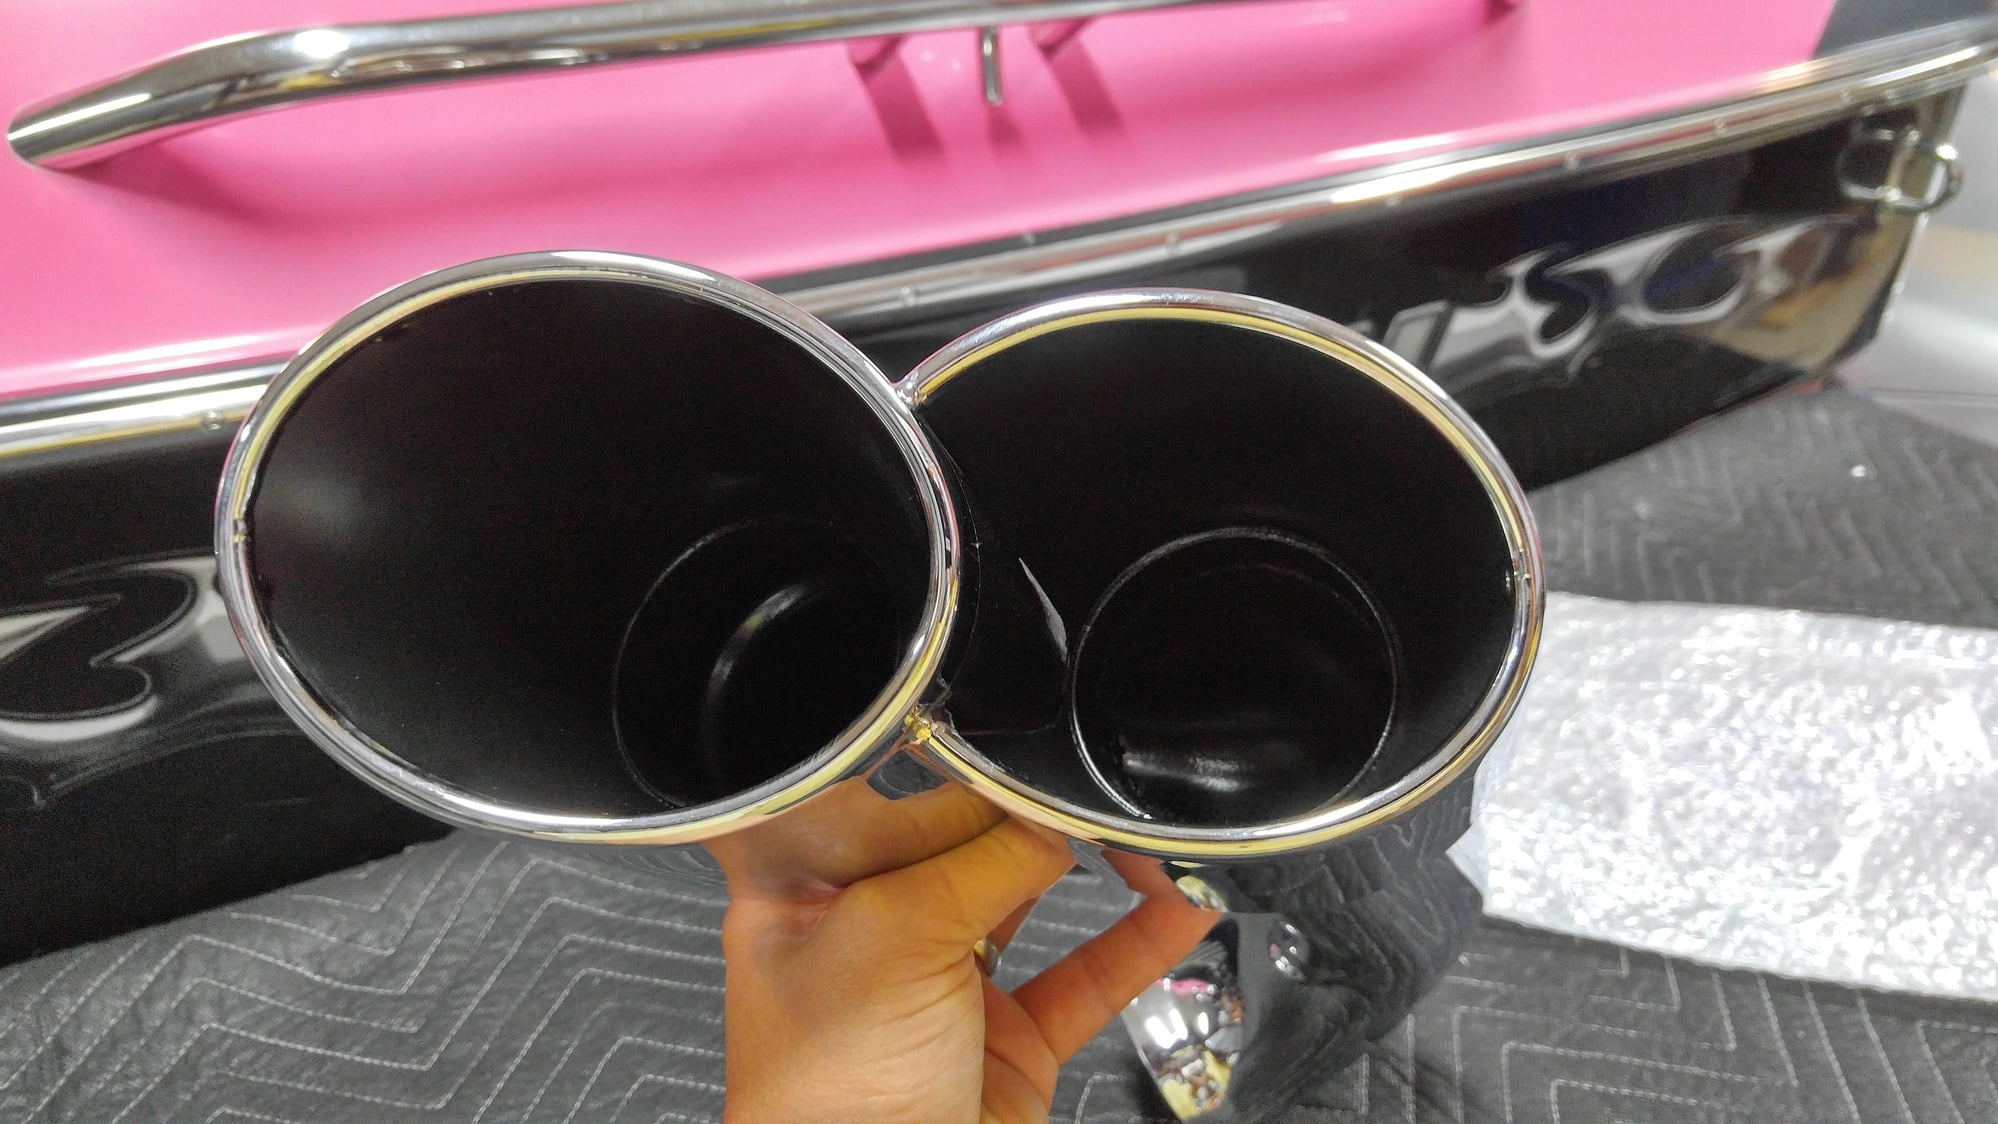
Not much new to report - the body shop is doing their thing, but the interlocking oval tips from Maxspeed Motorsports have arrived. They look great and seem to be of very good quality. Now I just need a car back on which to install them
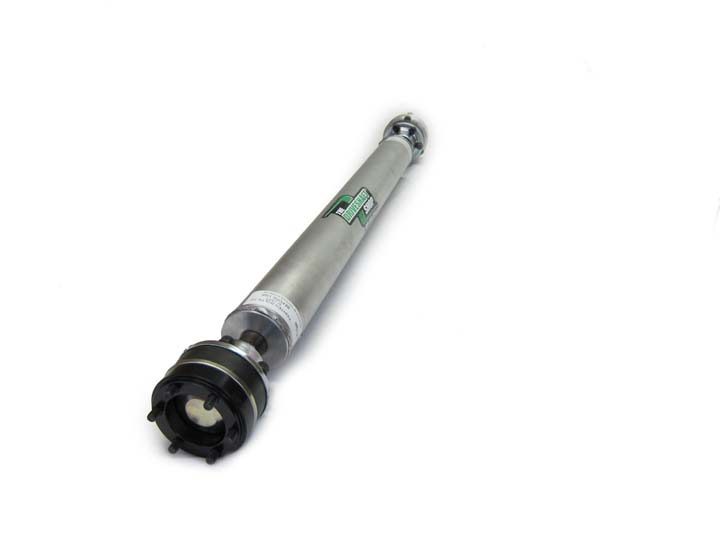
Also have ordered the 1-piece welded aluminum Driveshaft from The Driveshaft Shop
Their design eliminates the center bearing, problematic center bearing support, and front flex plate of the OEM cardan shaft so I won't ever have to deal with monkey under the car with a hammer issue and it should also provide for a more direct accelerator pedal to wheels feel.
I'll be putting together a For Sale parts thread for all the OEM parts that I'm removing as part of this build so if you guys are looking for anything, start your lists or let me know. Everything is off my immaculate black 2009 Cayenne Turbo S with 28,000 miles.
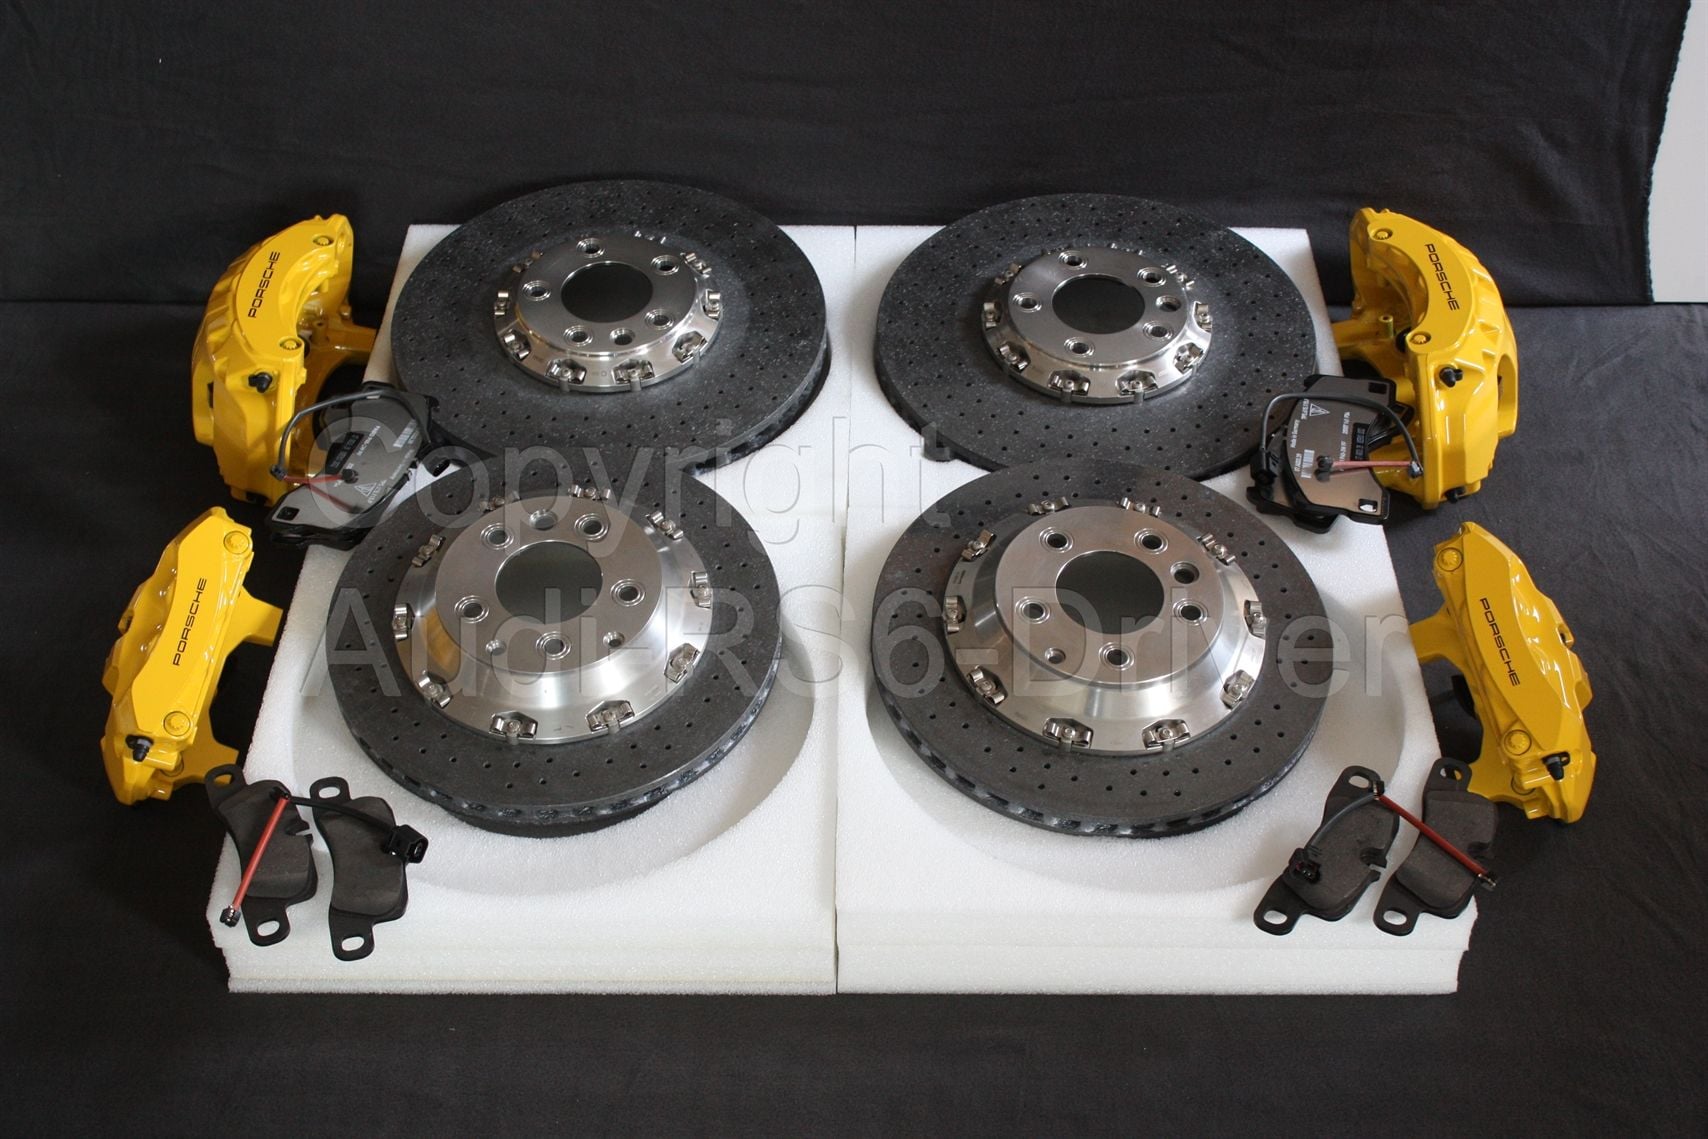
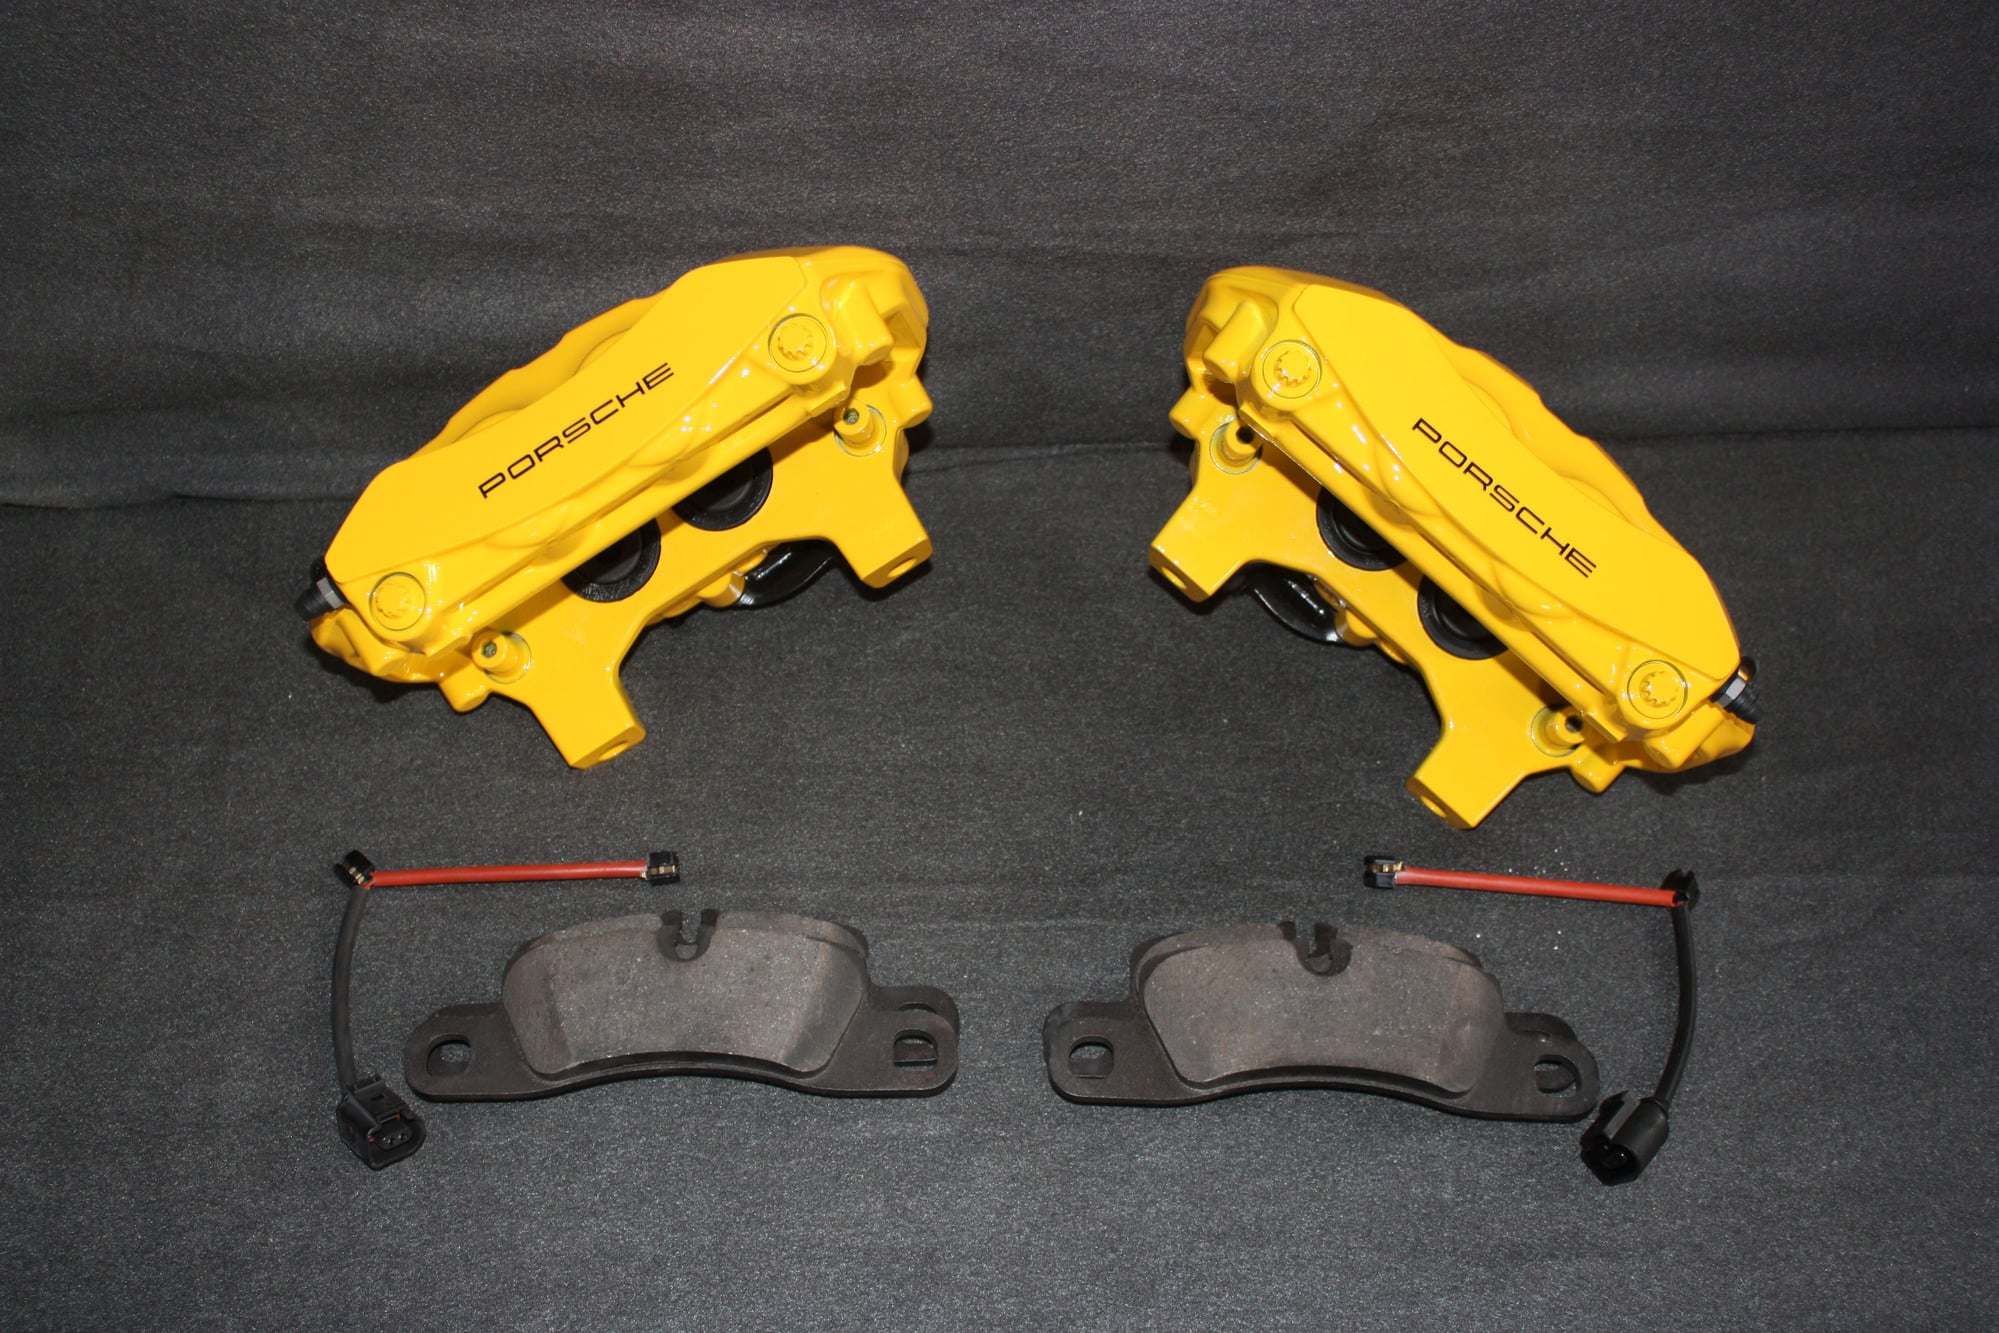
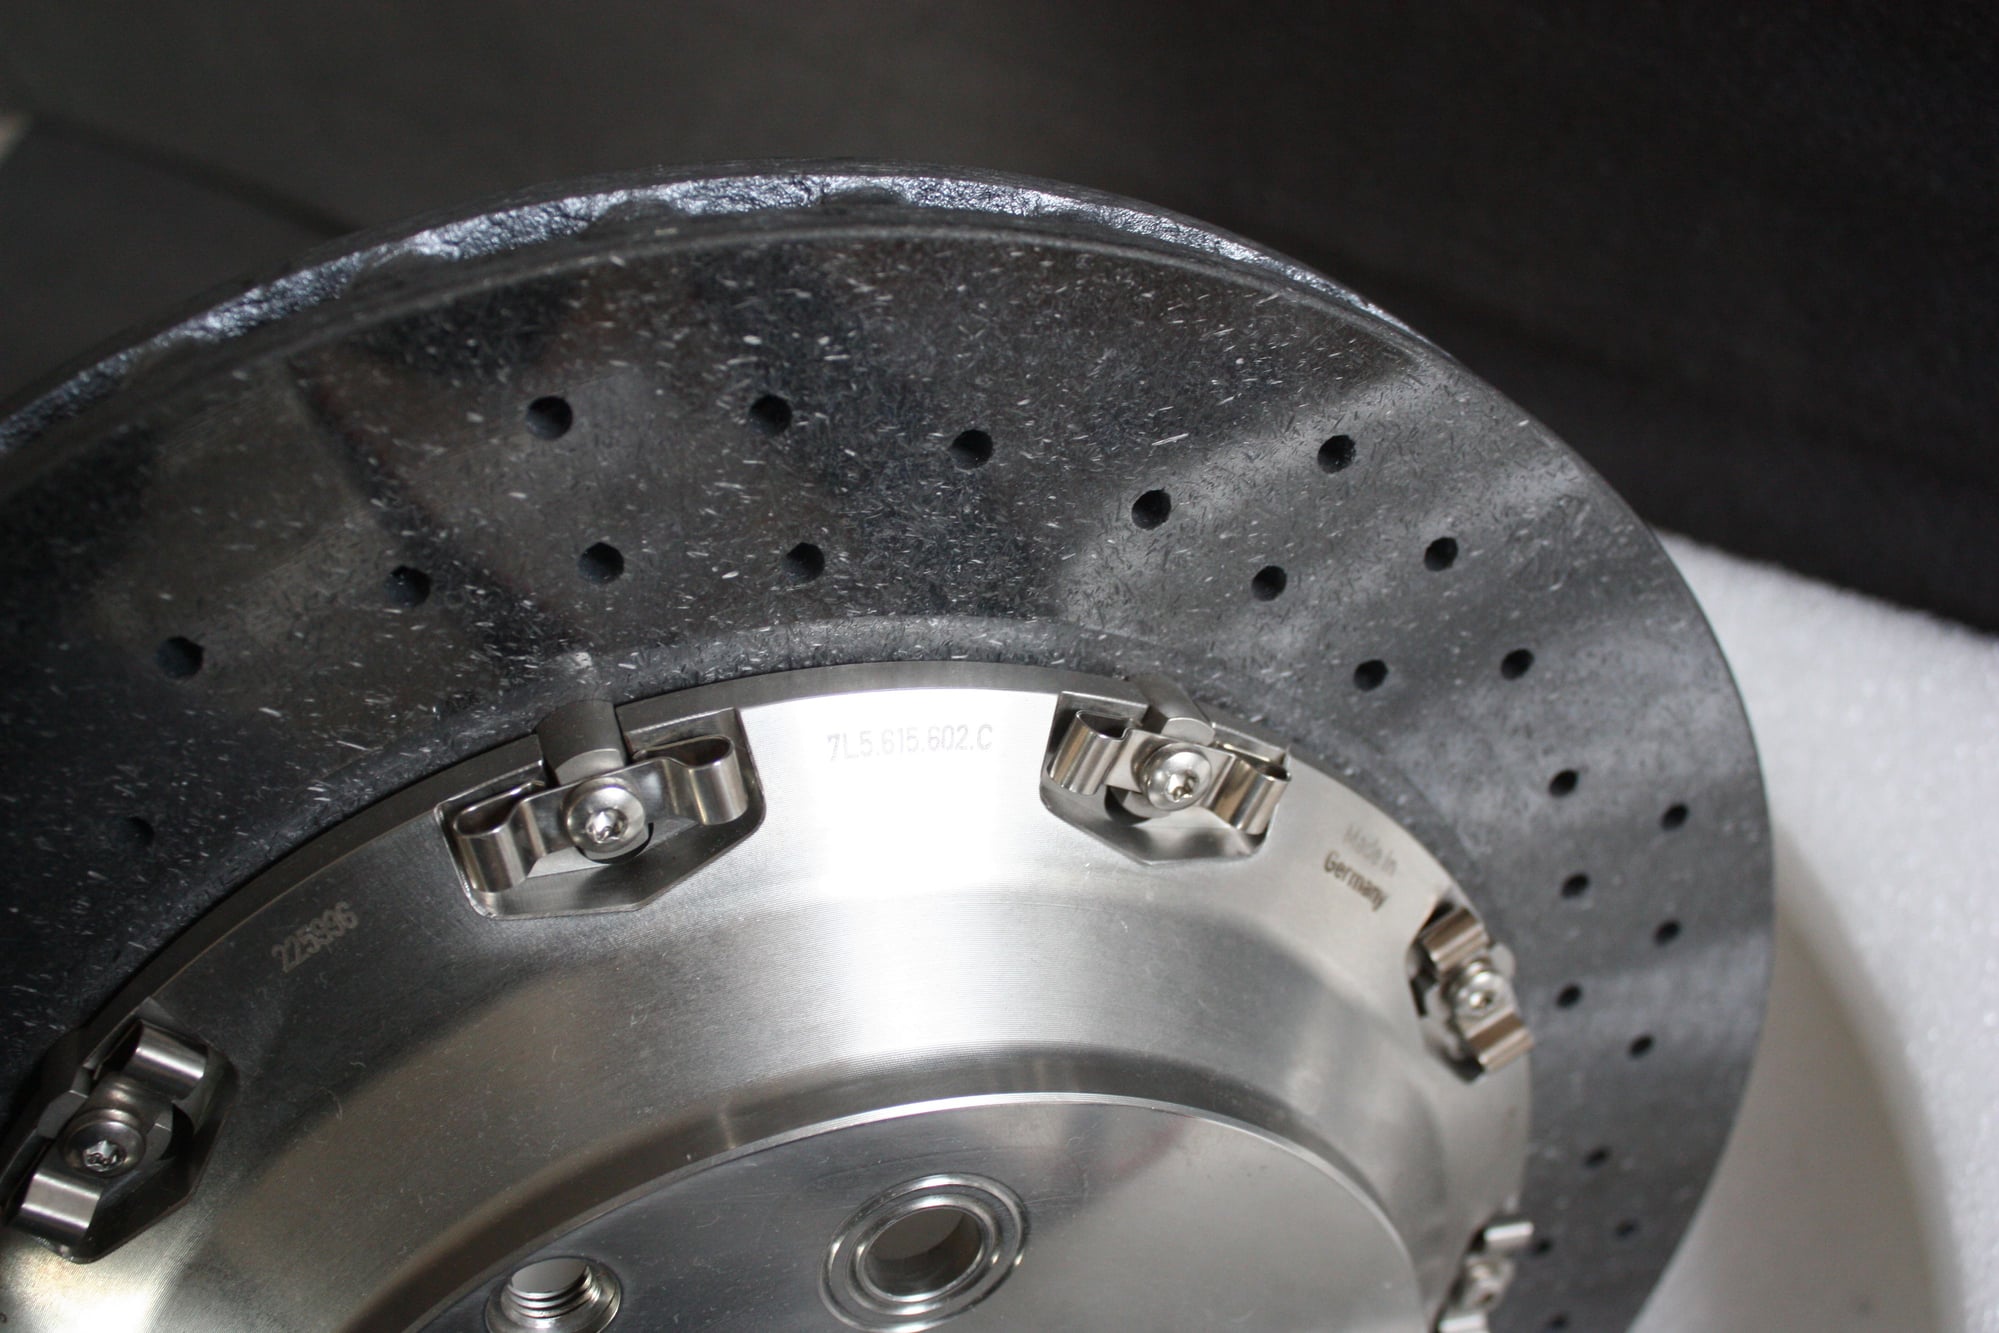
Exciting new development over the weekend - found and purchased a complete set of Porsche Cayenne Carbon Ceramic Brakes (calipers, rotors, pads, sensors, etc) in just about brand new condition, that will be installed as part of the build.
Have these on my RUF 997 and absolutely love them. I have been looking for a set since I bought the Cayenne (was actually looking for a Cayenne that was equipped with them during my vehicle search, but couldn't find the right combination of options that included them so they fell off the list in-favor of other more important criteria, like color, full leather seats without the alcantara, mileage, region, etc).
Incidentally, this means in a couple months, the OEM Big Red Setup with 380mm fronts (rotors, calipers, pads, etc) will be listed for sale in The Marketplace. If anyone is interested, shoot me a message and I can let you know when they're up for sale. Have to do some research on the pricing to see what to list them for. Car (and brakes) have 28,000 miles on them and work perfectly.
Progress continues. Muffler & exhaust tips are installed, as is the 1-piece aluminum driveshaft (still need to get pics of those from under the car).
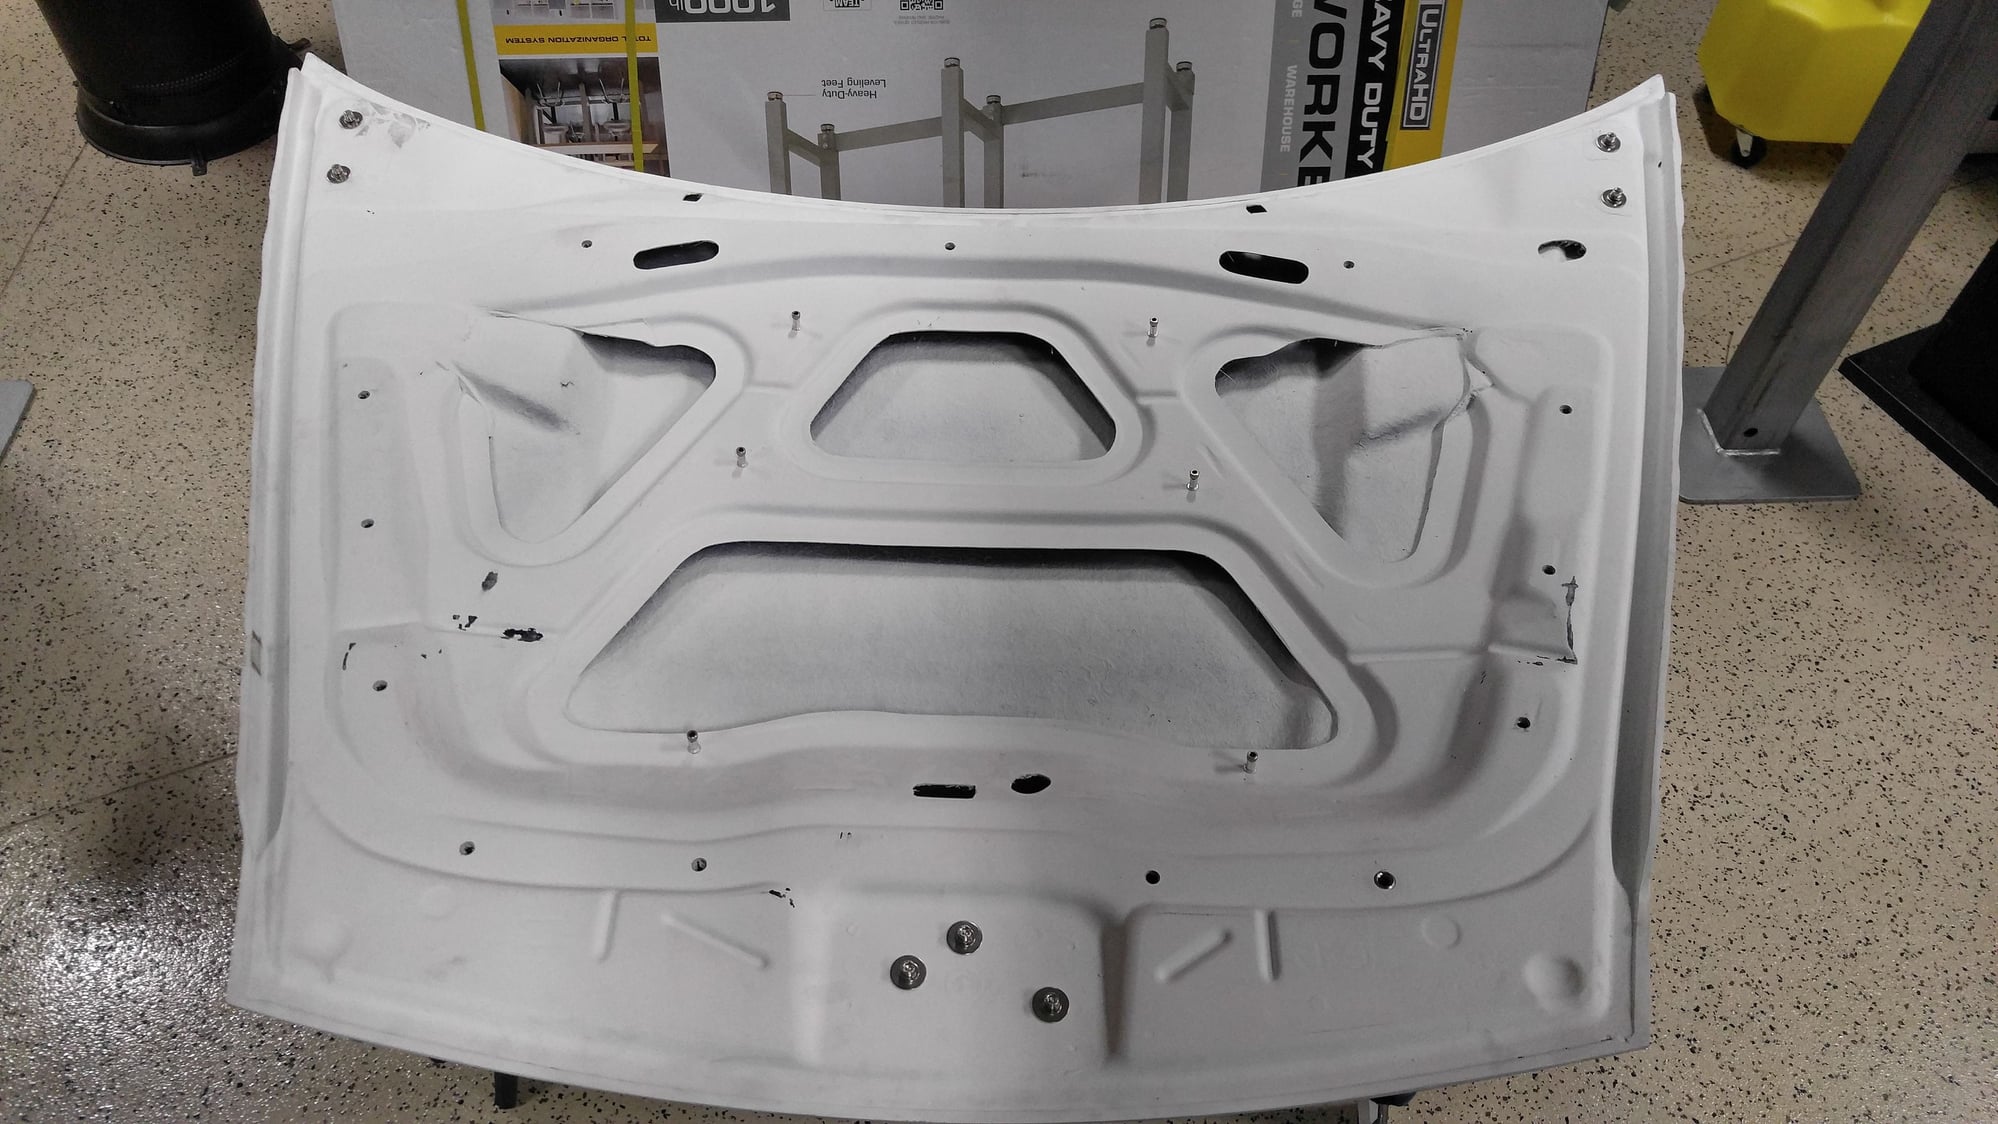
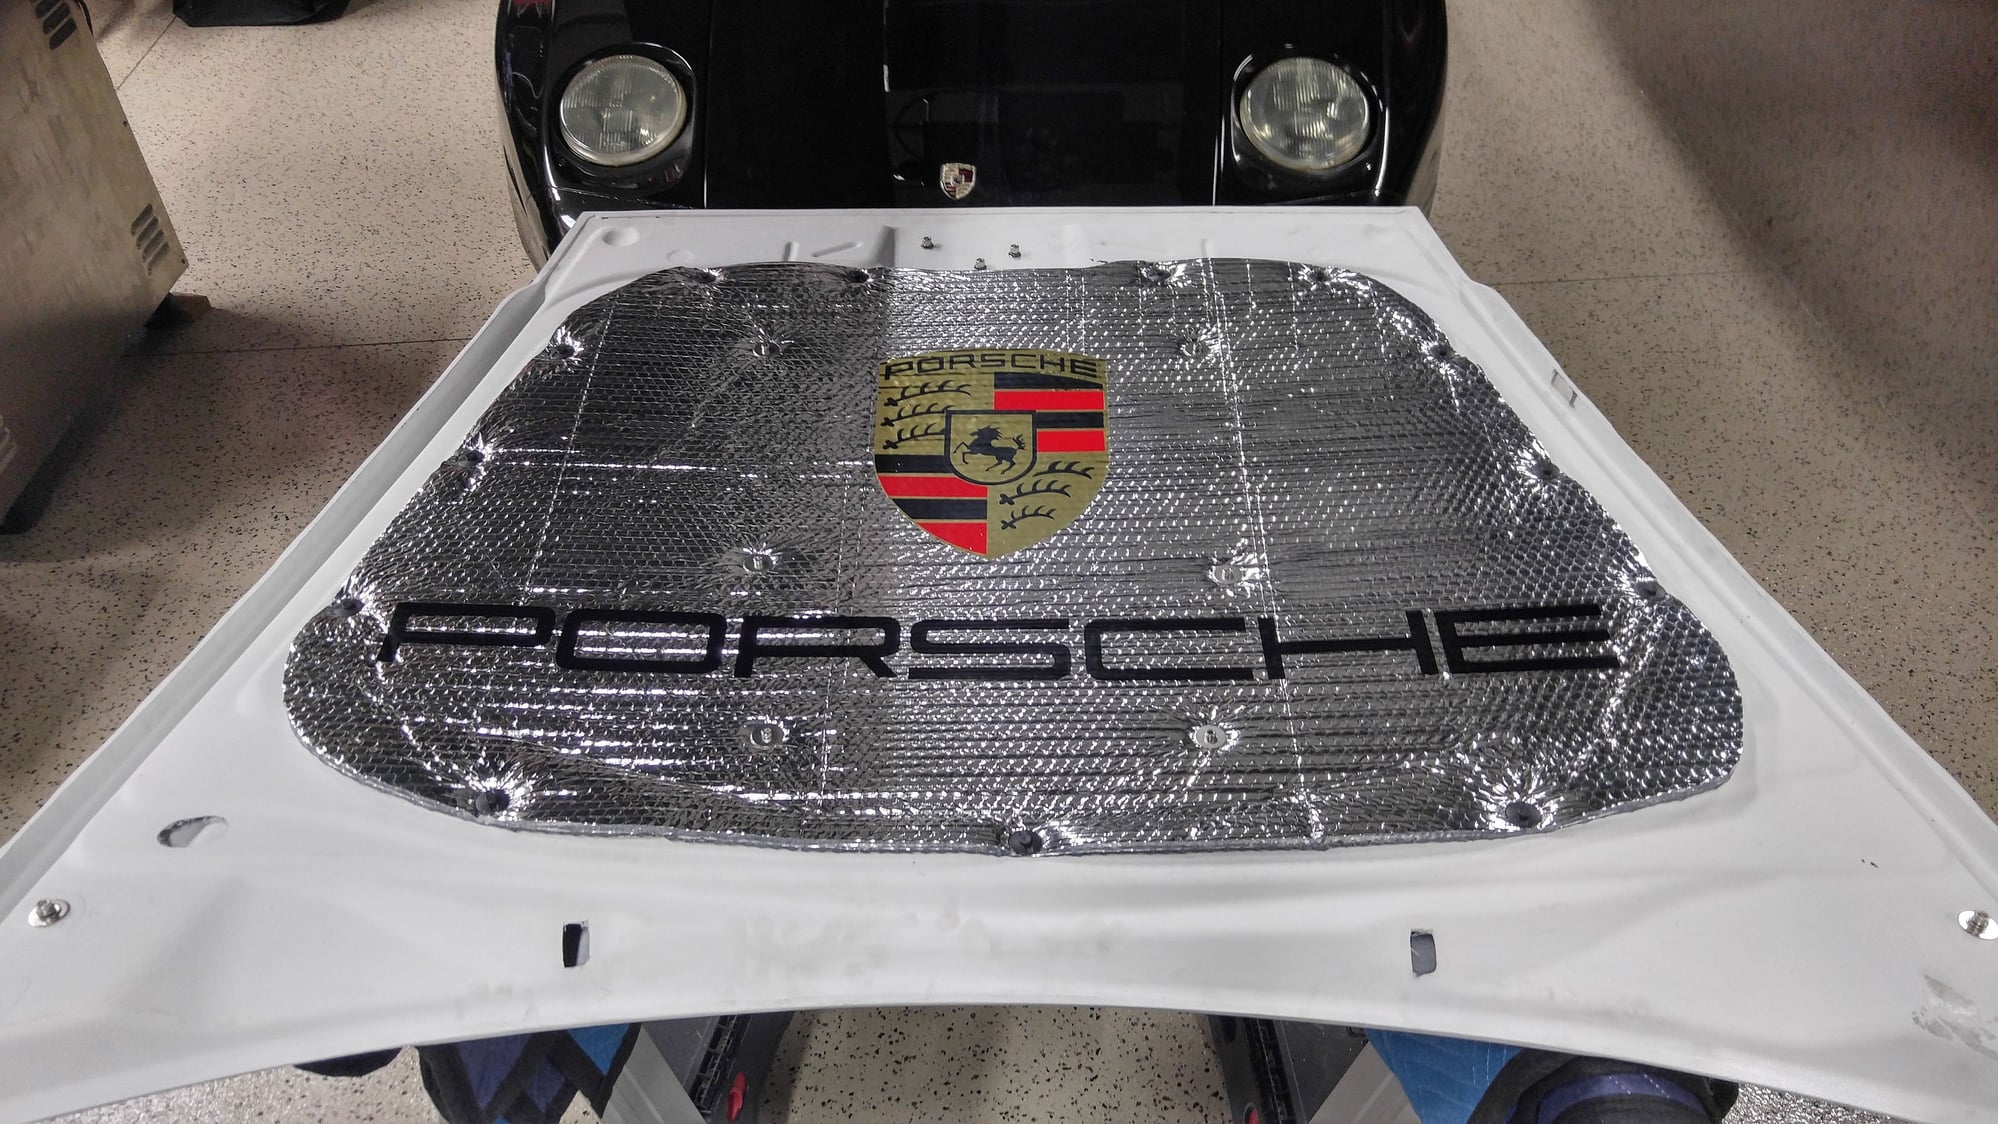
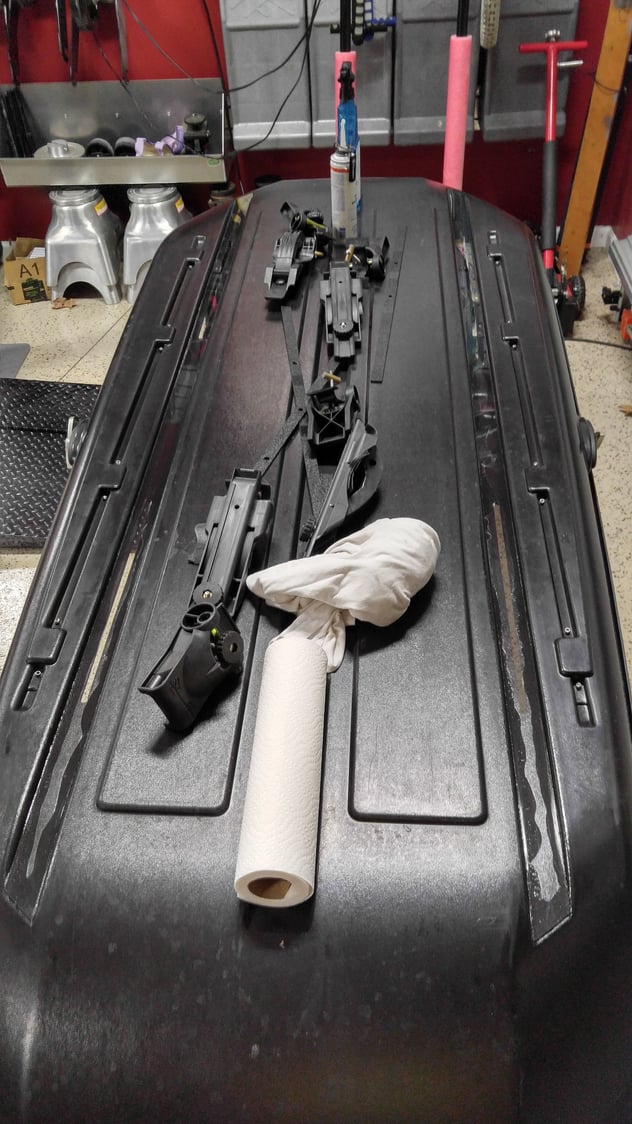
While the body shop continues with the kit fitting and panel prep, I borrowed the Misha hood to make an underhood pad to clean up the look when the hood is opened and protect the paint from any engine heat.
I cut a piece of Plexiglas the shape of the inner structure, then
used short bolts through the bracing attached via T-nuts so the short bolts used about 1/2 the threads and left me a threaded nut into which to attach the primary mounting bolts that would go through the finished hood pad structure. This also makes the pad stand-off slightly from the underside of the hood so there is space to allow for wiring and windshield washer lines to pass between the hood and the pad
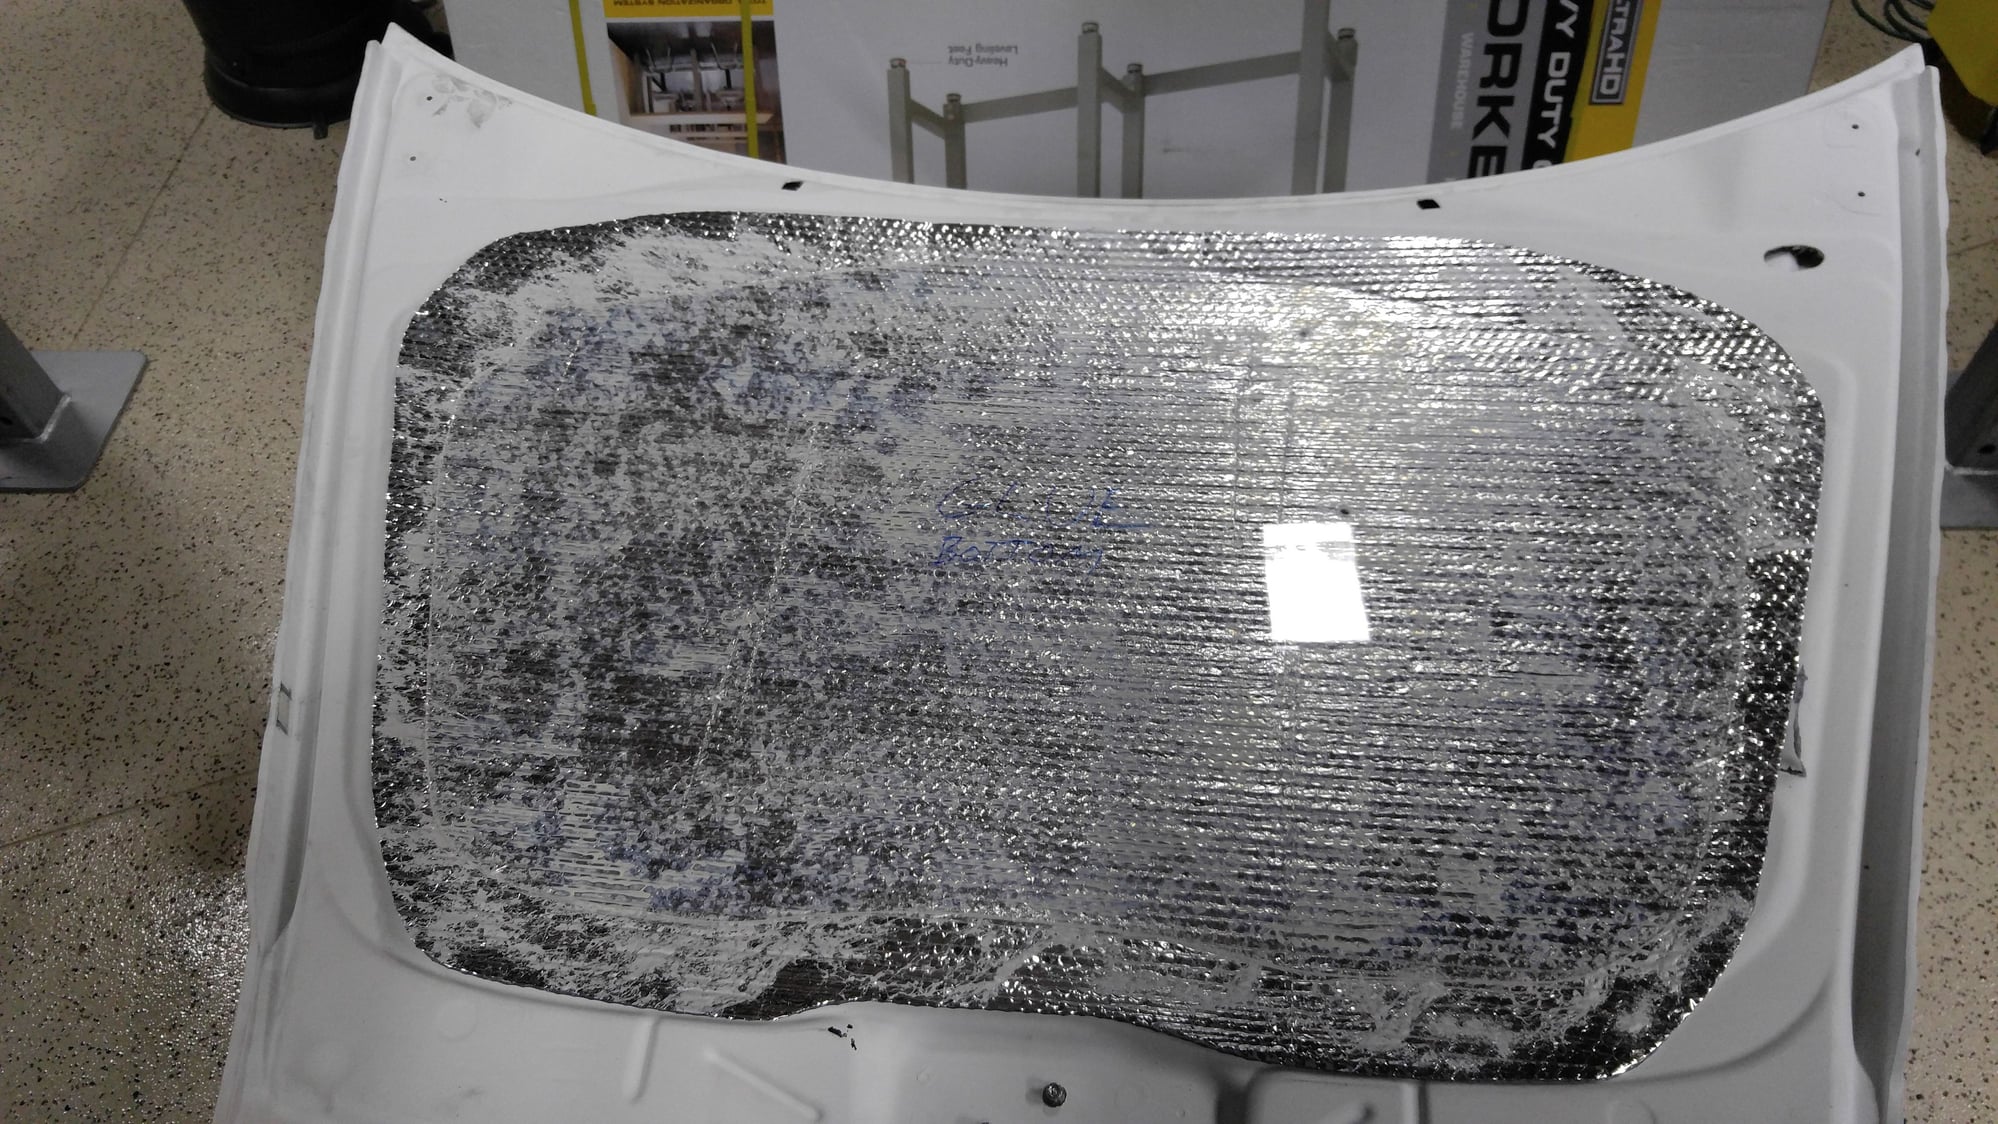
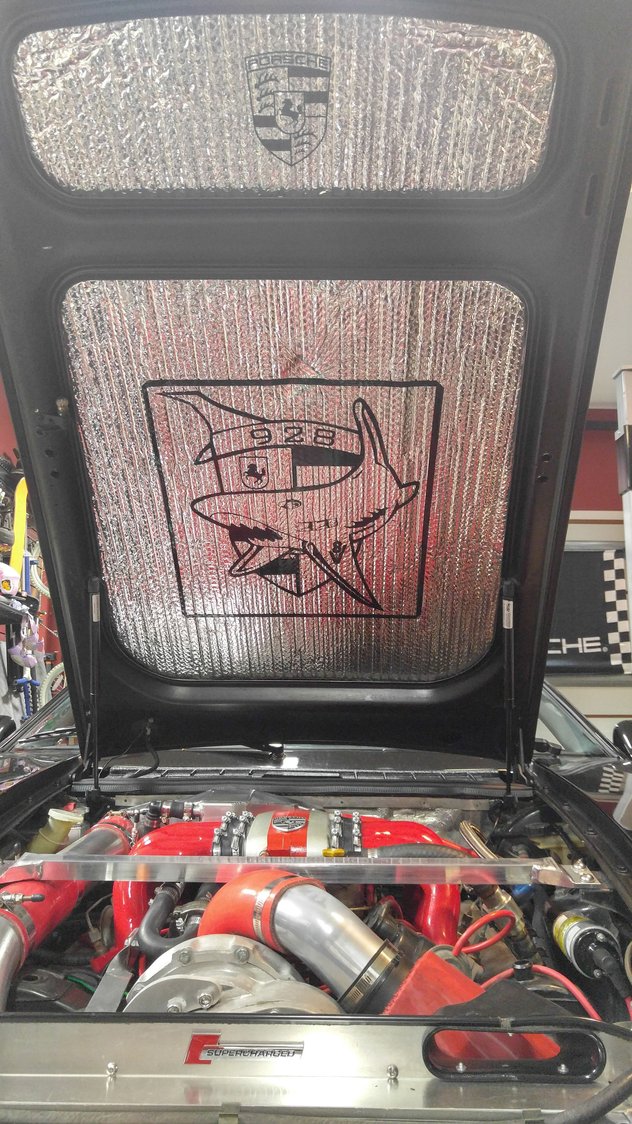
I then used some aluminized, heat-reflective, insulating material and cut that a couple inches larger all around, following the secondary hood structure where there was spacing in the fiberglass molding to attach it with push-fasteners. I made two of these the exact same shape. I selected this material because I have the same under the hood of my 928 and it has held up very well even with the higher underhood temps.
Using heat-resistant spray adhesive, I adhered the Plexiglas sheet to one of the aluminized panels, then repeated the process, so now the Plexiglas is sandwiched between two layers of the reflective shielding material. This gives the pad structure from the Plexiglass, protects the Plexiglas from the engine bay heat, and protects the hood paint and fiberglass from any damage.
I then located some strategic points around the perimeter of the pad where the push fasteners would hold up the border of the pad well, and drilled holes into the fiberglass under structure at these positions
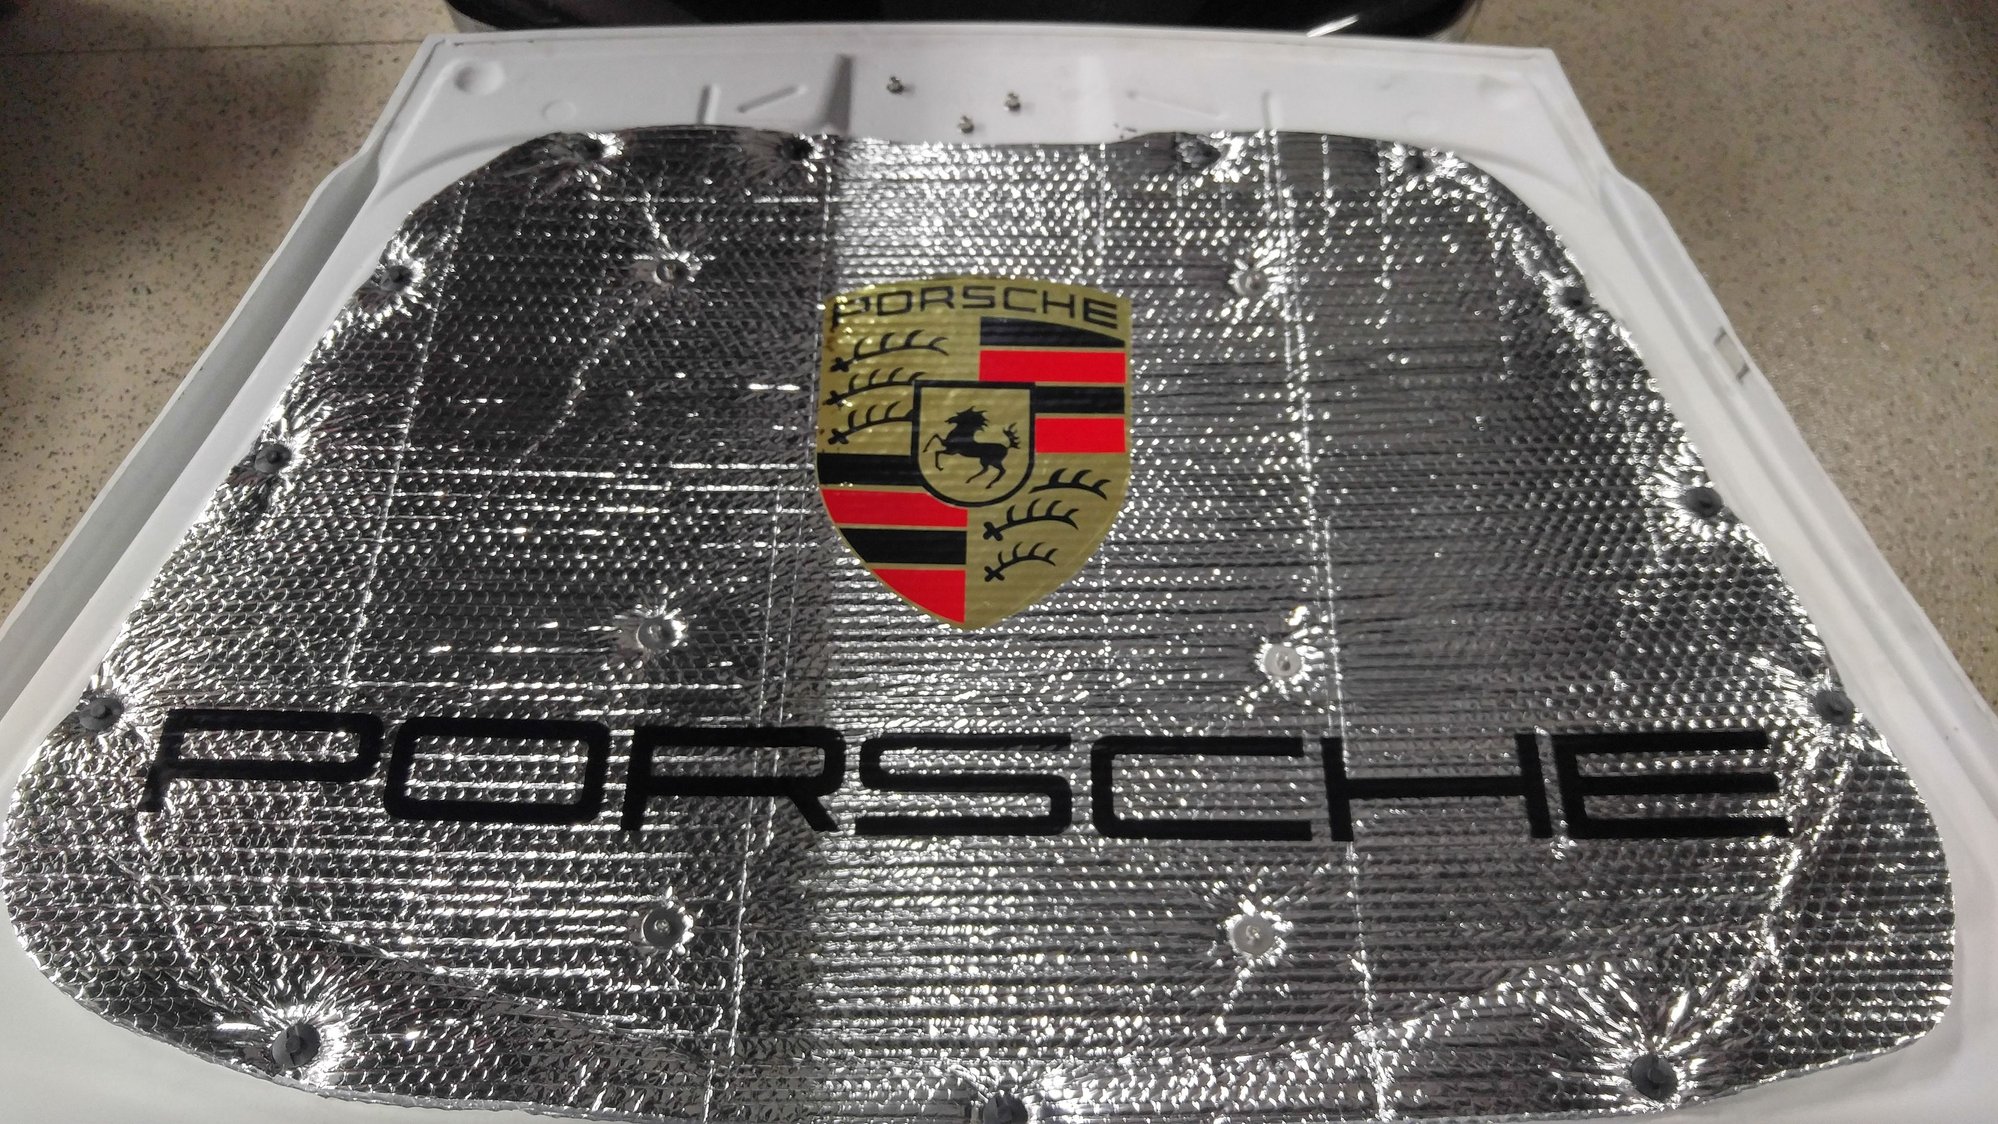
Then to dress it up a little, I created a Porsche crest and some black "PORSCHE" letters on my wife's Silhouette Cameo computerized cutting machine which I adhered onto the pad. The reflective gold multi-color crest with the black and red and the black PORSCHE looks pretty cool.
Here are some photos of the process.
Hood with the open cavities that I wanted to cover up
Test fitting after the Plexiglas was bonded to the first layer of insulation pad material
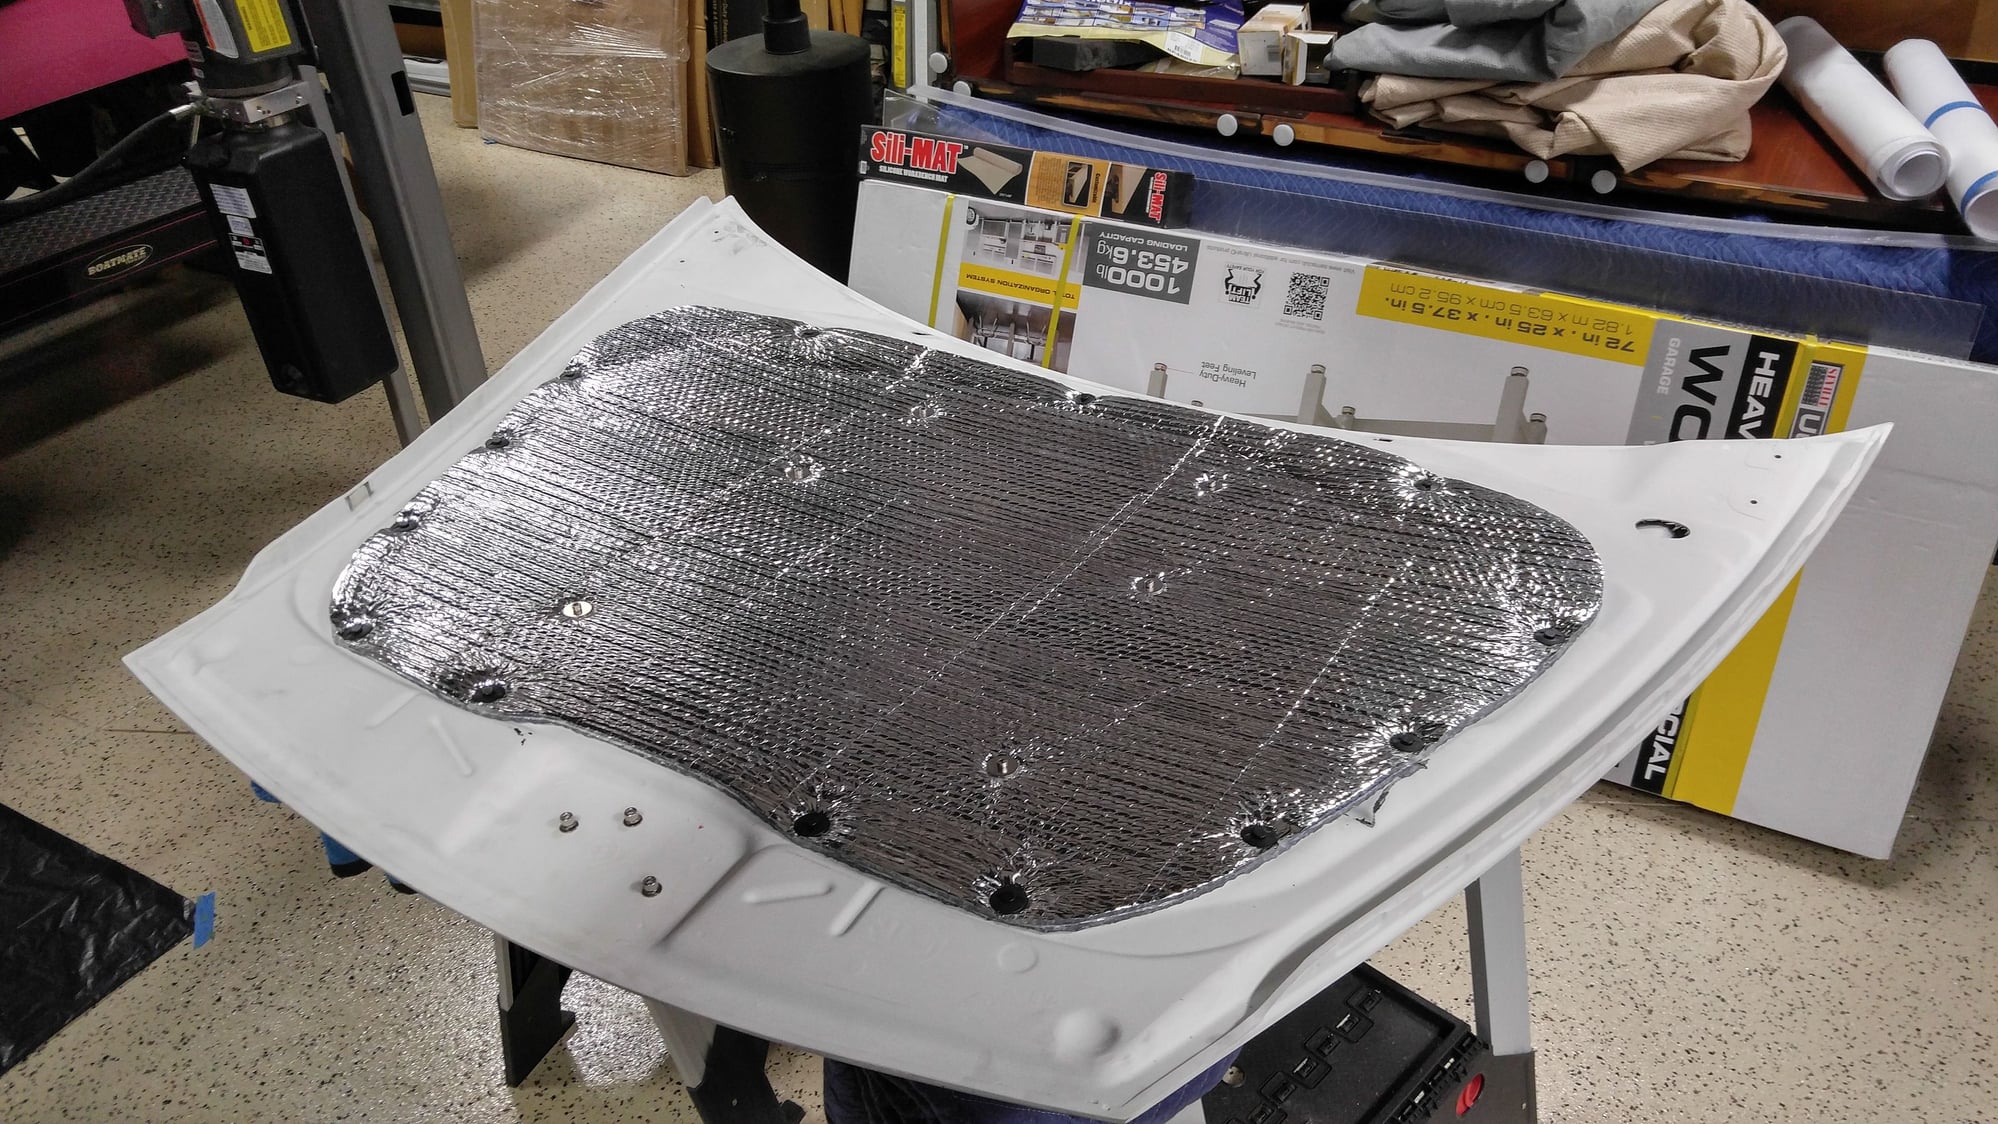
Both layers sandwiching the Plexiglas and pad mounted with all fasteners
Finished Product with Graphics
Finished Close-up
Anyway, that's what I worked on this weekend and am quite pleased with the final product.
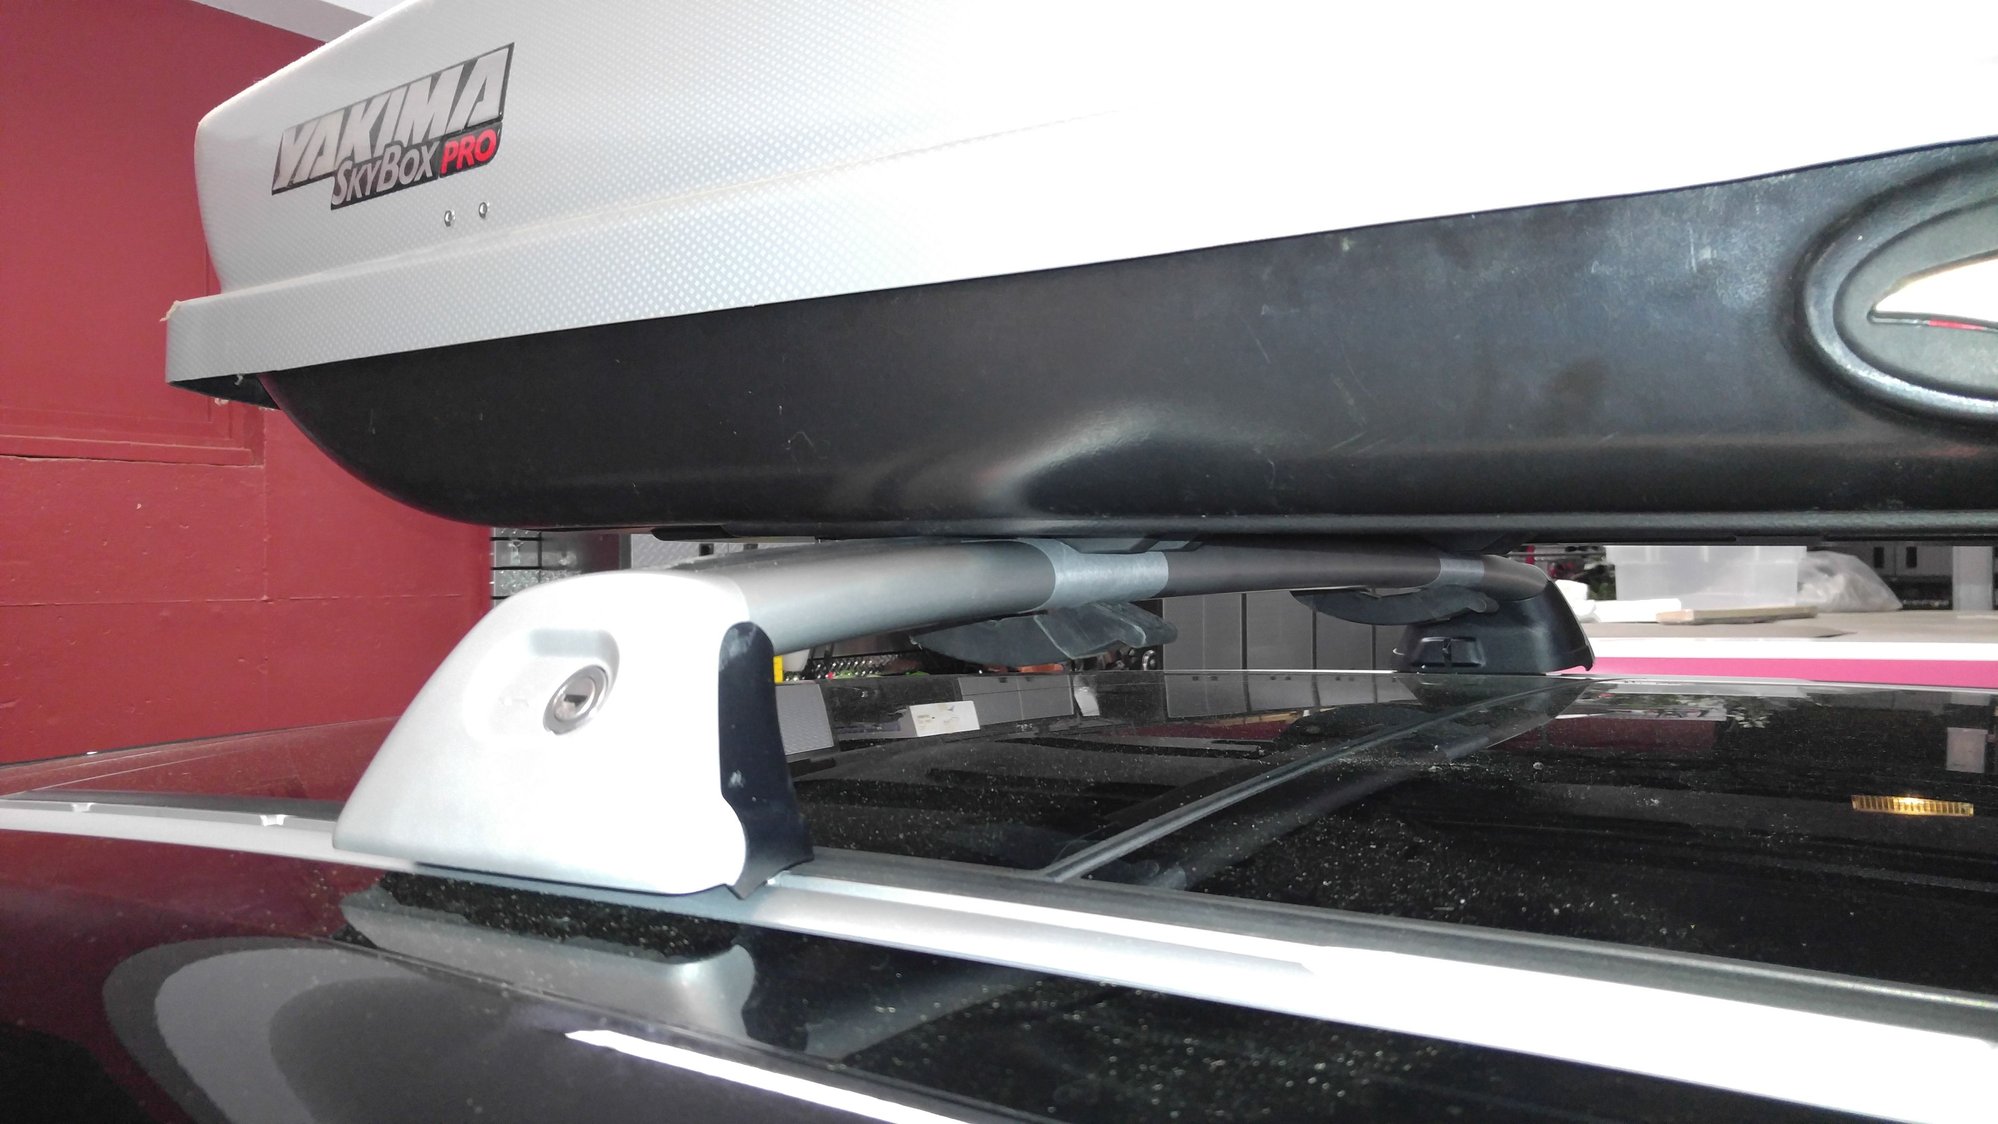
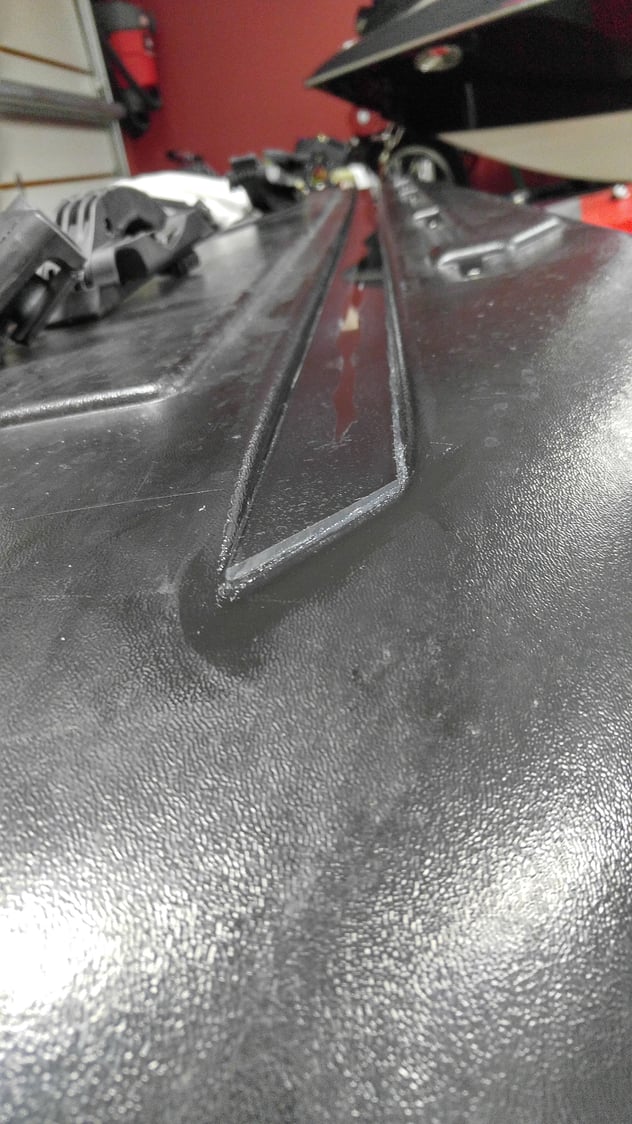
I decided to redo the Yakima Skybox mounting method so I'd be able to use my Pano roof with the Skybox installed. I've opened it with the roof crossbars installed before and the clearance is fine, but the way the Skybox clamps go around the bars, I wouldn't be able to use it and worried about someone accidentally turning the pano roof **** when it's installed by accident. This is what the previous mounting method looked like.
I did some research and the channels on-top of the crossbars that have the rubber strip pressed in are actually usable as a mounting method and most of the roof box companies sell T-nuts that slide into this channel for mounting it this way. Also, the Skybox wasn't water tight because the lid doesn't make a perfect seal with the bottom shell and the little plastic strips that the clamps slide with in the slots that allow for adjustability, actually flap a bit in the wind and allow for water to enter through the adjustment slots. I bought a 6' sheet of Plexiglas and ripped 2 strips on my band saw that are just narrower than the air-flow channels that the clamps slide in. I also used a roll of thin silicone weather stripping all around the perimeter of the top of the box where it meets with the bottom when closed. It's thin enough that the box closes well and easily, but should seal up any gaps that existed and let water enter. I cut angles on both ends to follow the design of the channels, and then used clear RTV to glue these Plexiglas strips into the channels - now there won't be any more flapping or water egress in through the adjustment slots. Since we only use the Skybox on our Cayenne, I'm also having the top painted to match the car at the same time they paint the car so they'll look like a matched set. I'm leaving the bottom black since the paint would just get scratched-up when attaching it to the crossbars.
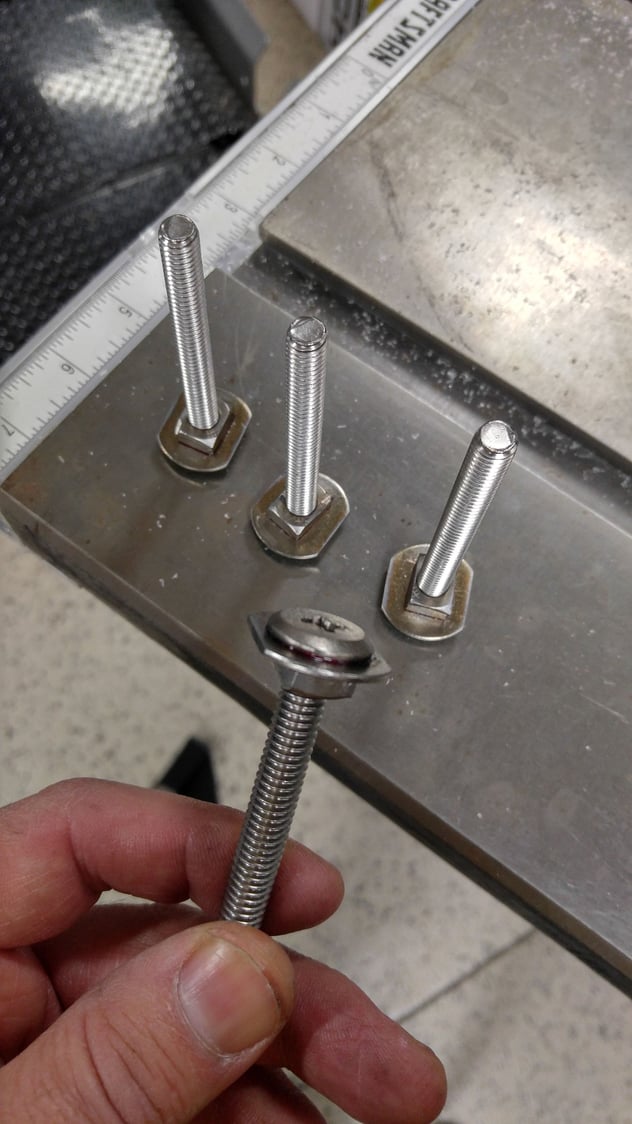
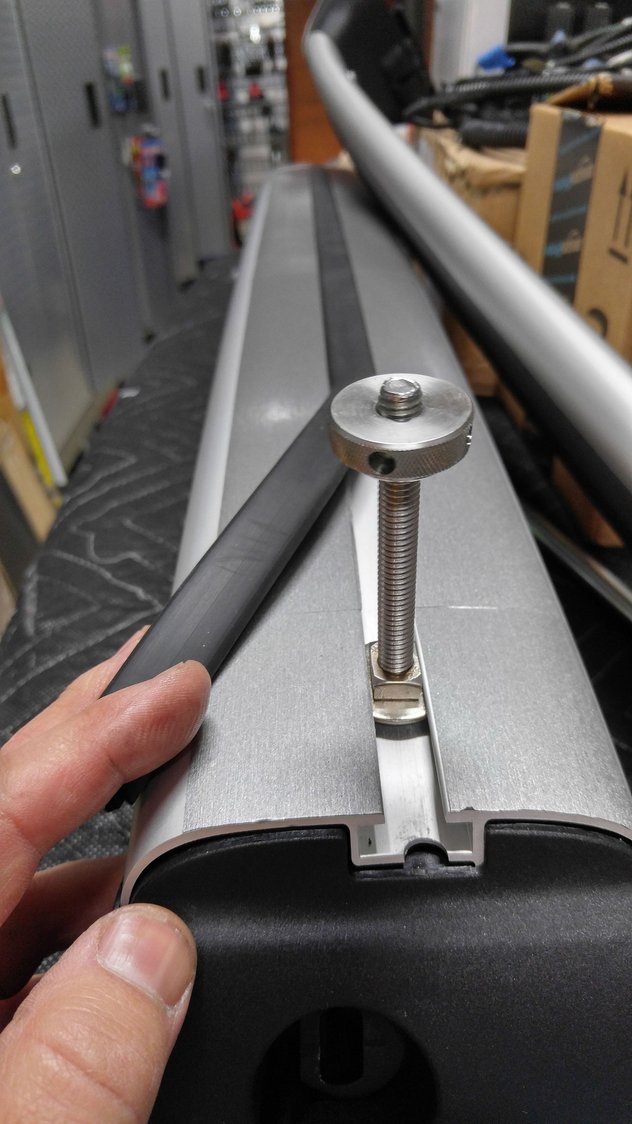
Since I plan to use the same rotating quick clamps to tighten the box down to the bars, I created my own fasteners so everything will work the way I want it to.
I did this using all stainless steel: 3" long 5/16" stainless bolts, fender washers, square nuts, & knurled *****.
I ground down the sides of the washers to be just a little narrower than the width of the roofbar channel, to give me a nice secure mounting in the channel - better than just the bolt head which was a little narrower than I felt comfortable with
cut and ground down the square nuts to be just narrower than the top channel,
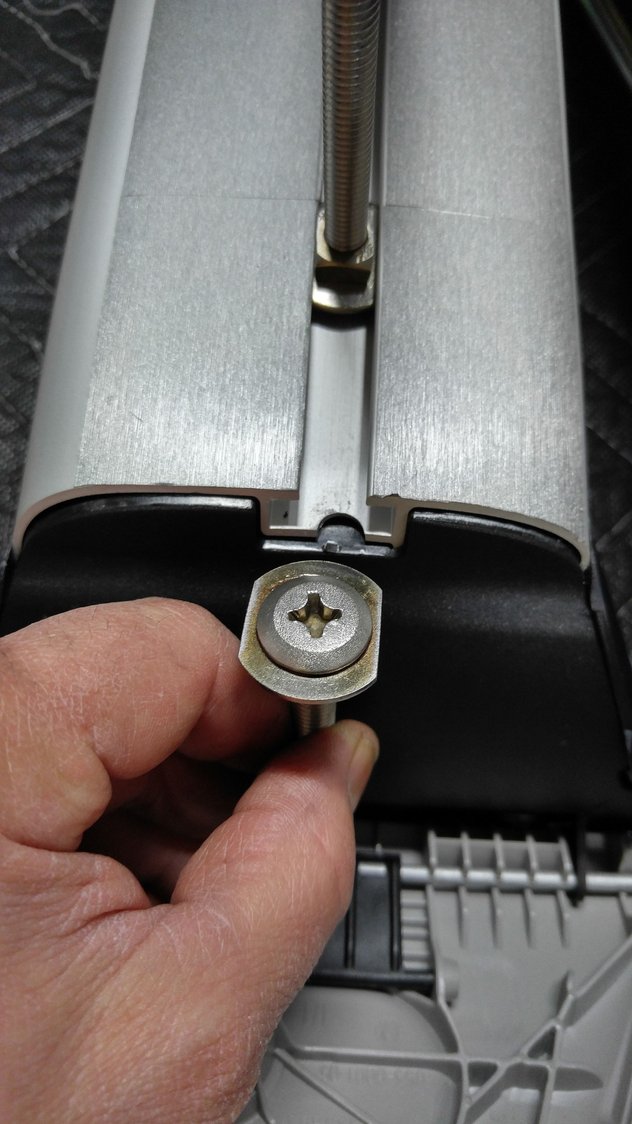
and ground down the screw-heads just enough so that the screw with the washer on it slide into the channel and can be adjusted to the proper position.
I then put the assembly together using red loctite and cranked them tight. The purpose of the square nut is to allow me to tighten the knurled **** on the handle assembly without the attachment bolt turning in the channel. It doesn't need to be too strong as what really creates the lock-down force to secure the Skybox to the crossbars is flipping the handle in the carrier over. The screw just allows for the tension adjustment of the handle.
Once I get the car back,
I'll lay the roofbox on the bars,
figure out the optimal position for the cross-bars on the roof, and the box on the bars so that the tailgate can still open fully and not contact the box,
mark these positions in the Plexiglas strips I glued into the base of the Skybox,
drill the holes in the Plexiglas,
locate the bolts in the cross-bar channels, cutting the rubber strips to leave just enough space for the bolts to come through, which will keep the bolt positions from moving, and attach the box. We only use the crossbars when we use the Skybox so I don't have to worry about the bolts staying in the channels all the time.
This will then allow us to use the Skyox and open the Pano roof at the same time, and also eliminate the risk of damaging the roof, if opening it by accident when the Skybox is installed.
Nice work. The Thule cargo box barely leaves enough room for the pano roof on mine. I measured very carefully before my purchase. The mounting clamps are very shallow compared to the Yakima.
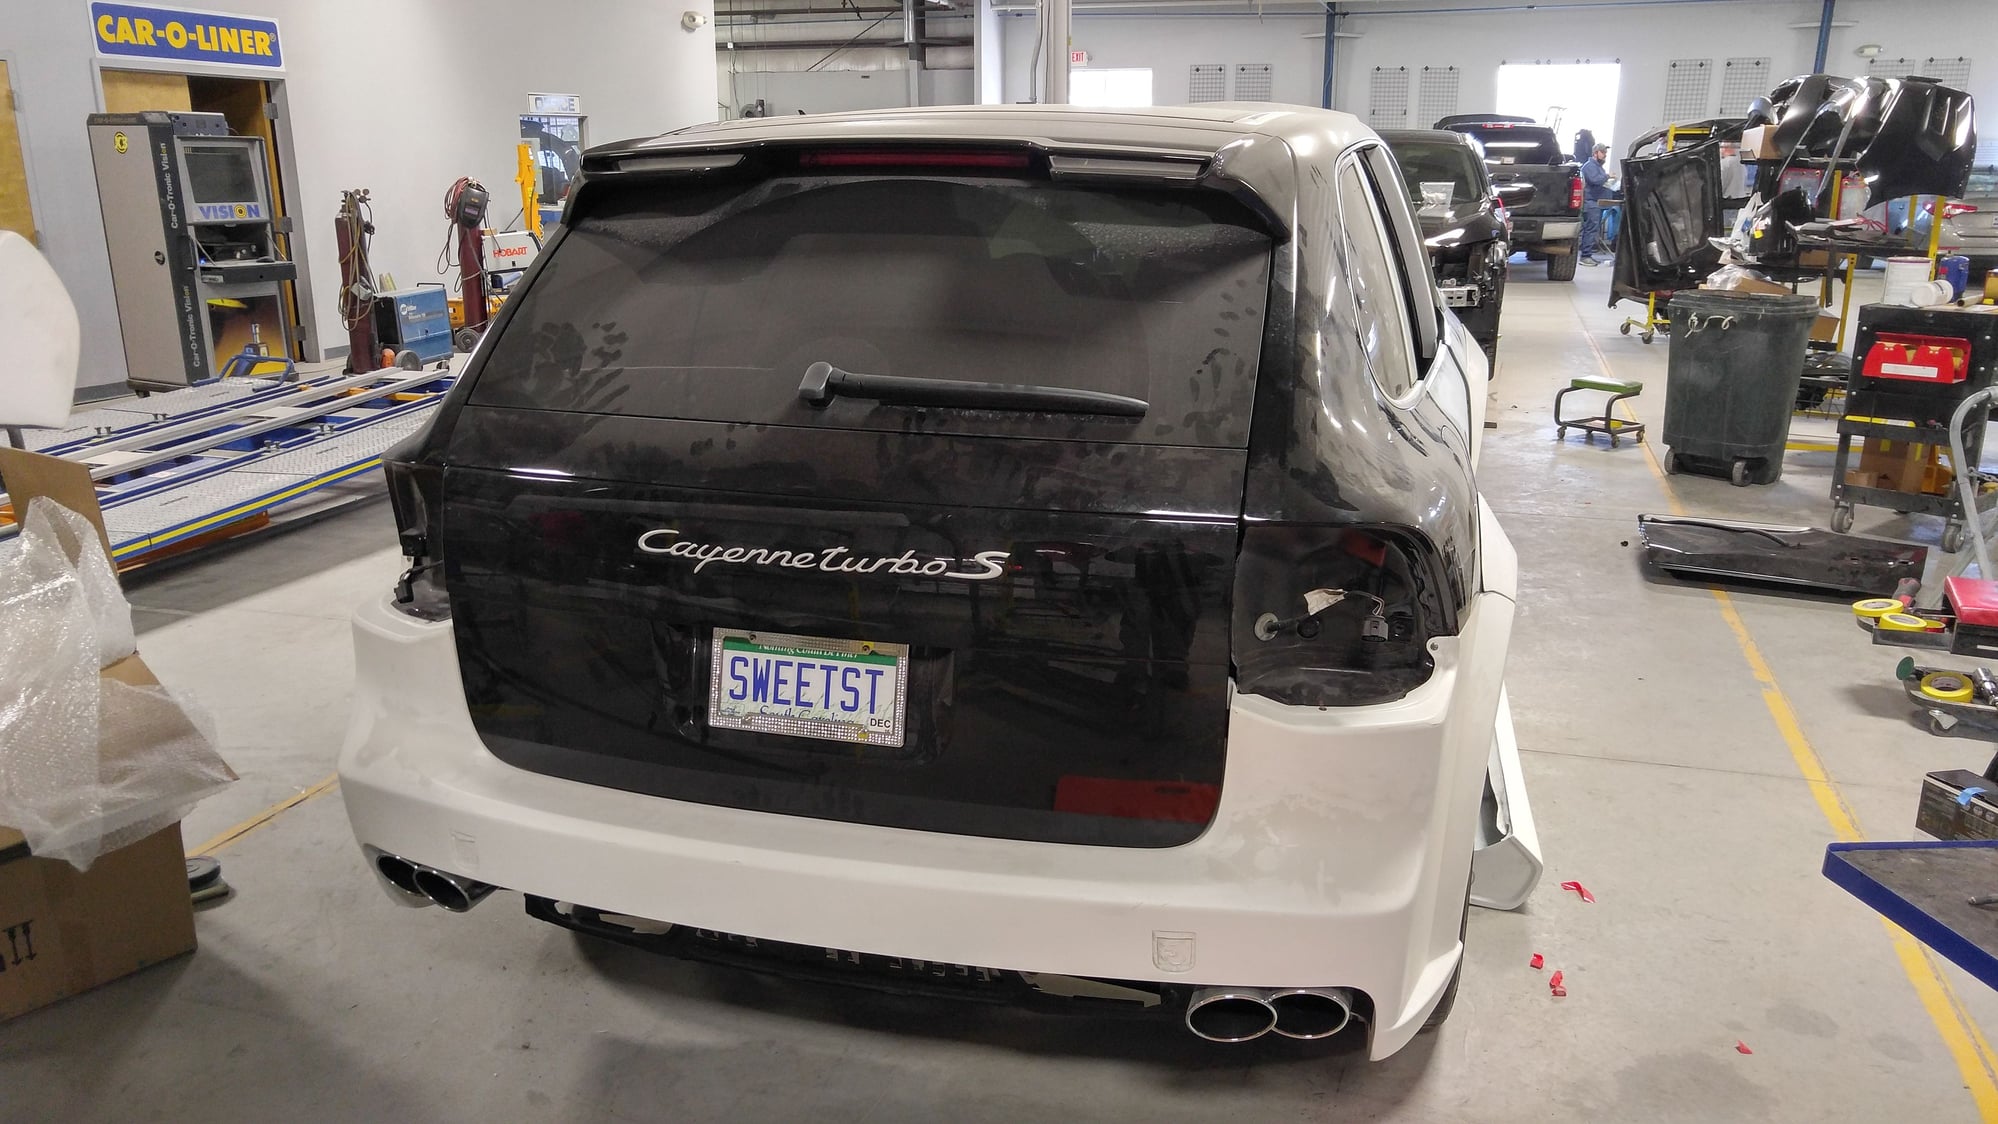
Fired up the car at the body shop today with my smartphone audio recorder. Attached is an audio clip of what she sounds like with the HHR intake, Evoms Diverter Valves, Fabspeed Secondary Cat Bypass Pipes, cargraphic medium sound performance muffler, and Maxspeed Motorsports Interlocking oval tips.
The phone is on the rear bumper for the start (warm start) and a few blips. The hood is currently not on the car so the intake and turbo sound is more pronounced than it actually will be.
Sounds really aggressive when revving it but still idles pretty quiet, just deeper - so far, I think this combination may be a winner.
My PCCB setup was shipped from Germany during the Lufthansa pilots' strike in December, so DHL sent them by water. There weren't any tracking updates since December 16th and I had given up hope - even went as far as to open the PayPal Dispute, but was watiing 1 more week before escalating it to a Claim.
Out of the blue this week, without any real notice from DHL or the USPS, 2 of the 3 boxes delivered yesterday and the final one today, so I now have a complete set of PCCBs for my Pepper
Now I just need a finished, painted car on which to install them - can't wait to get this completed and back on the road.
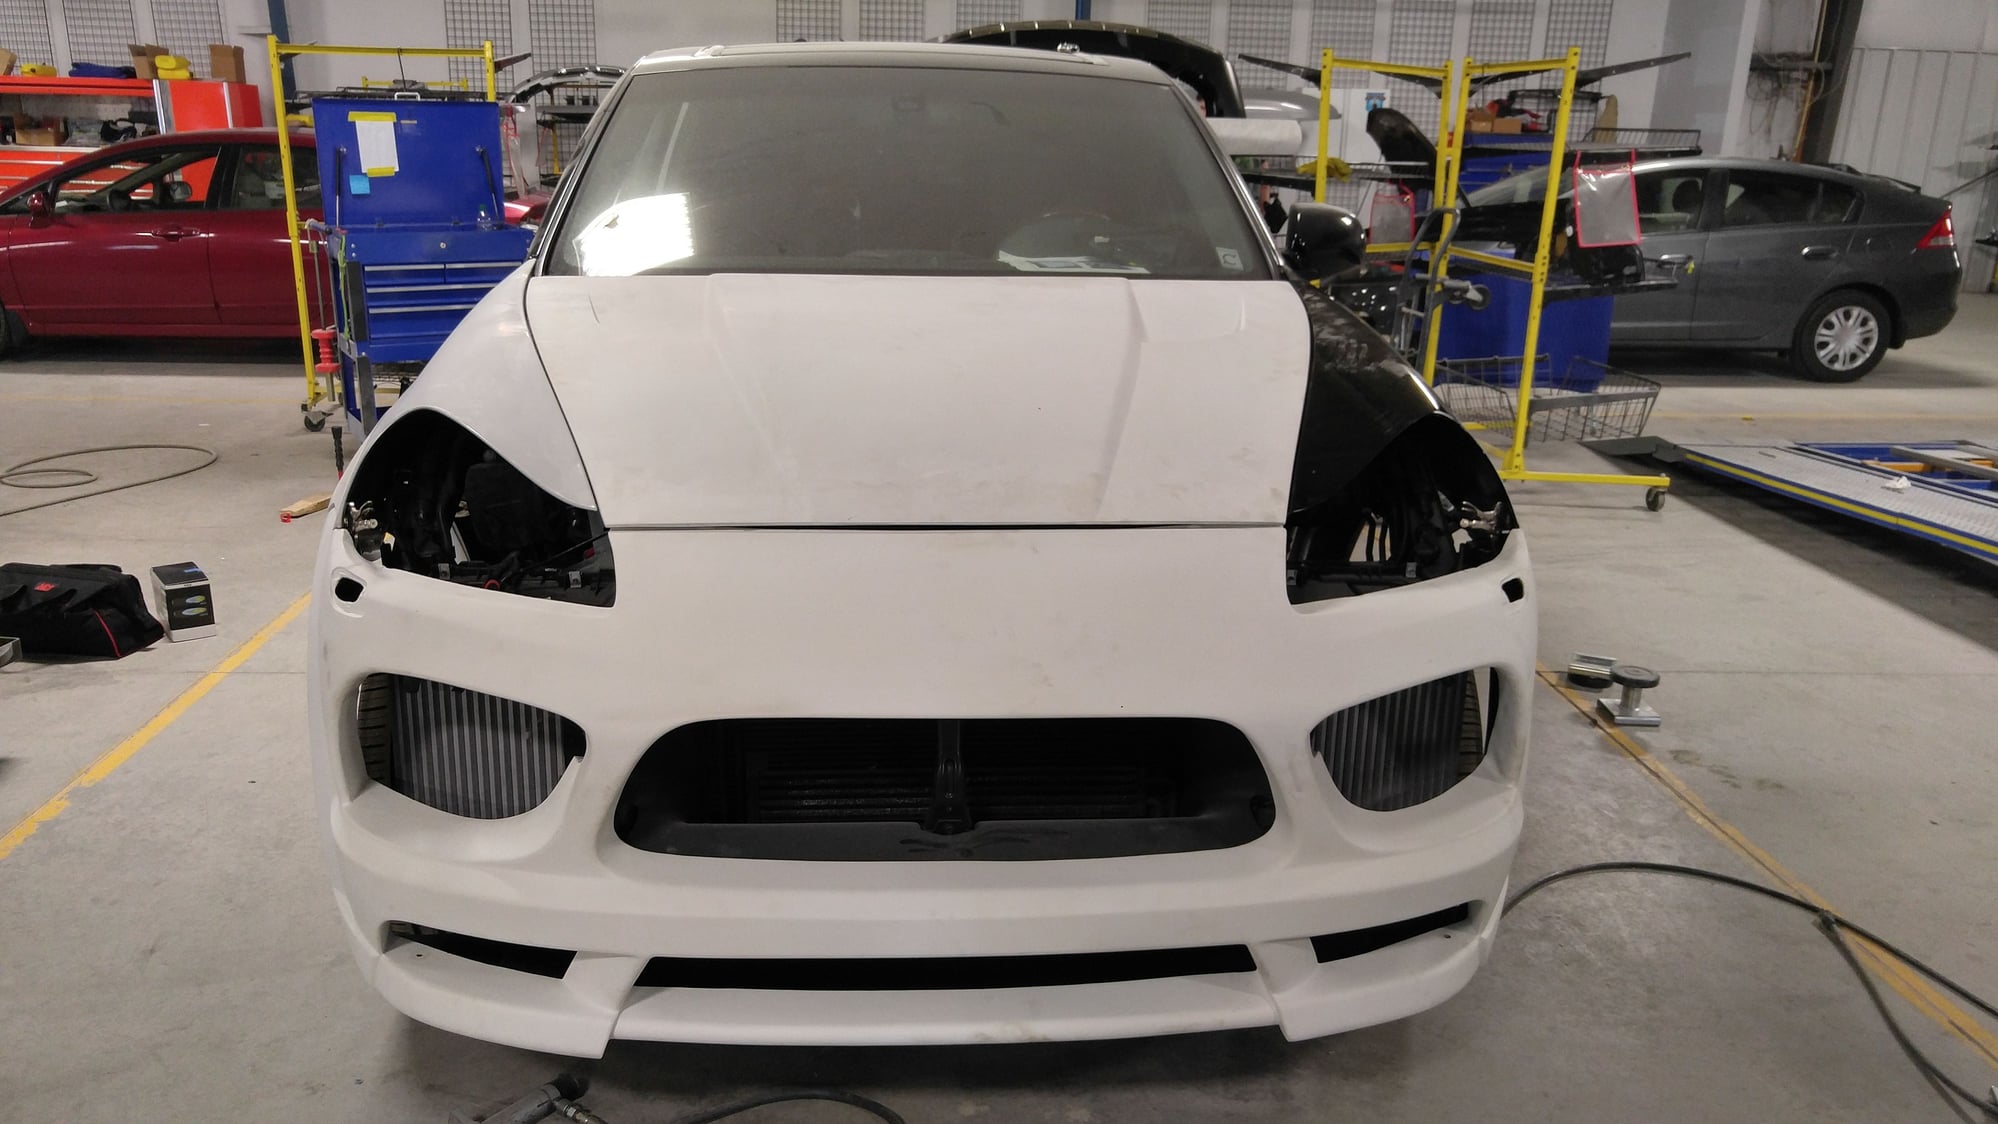
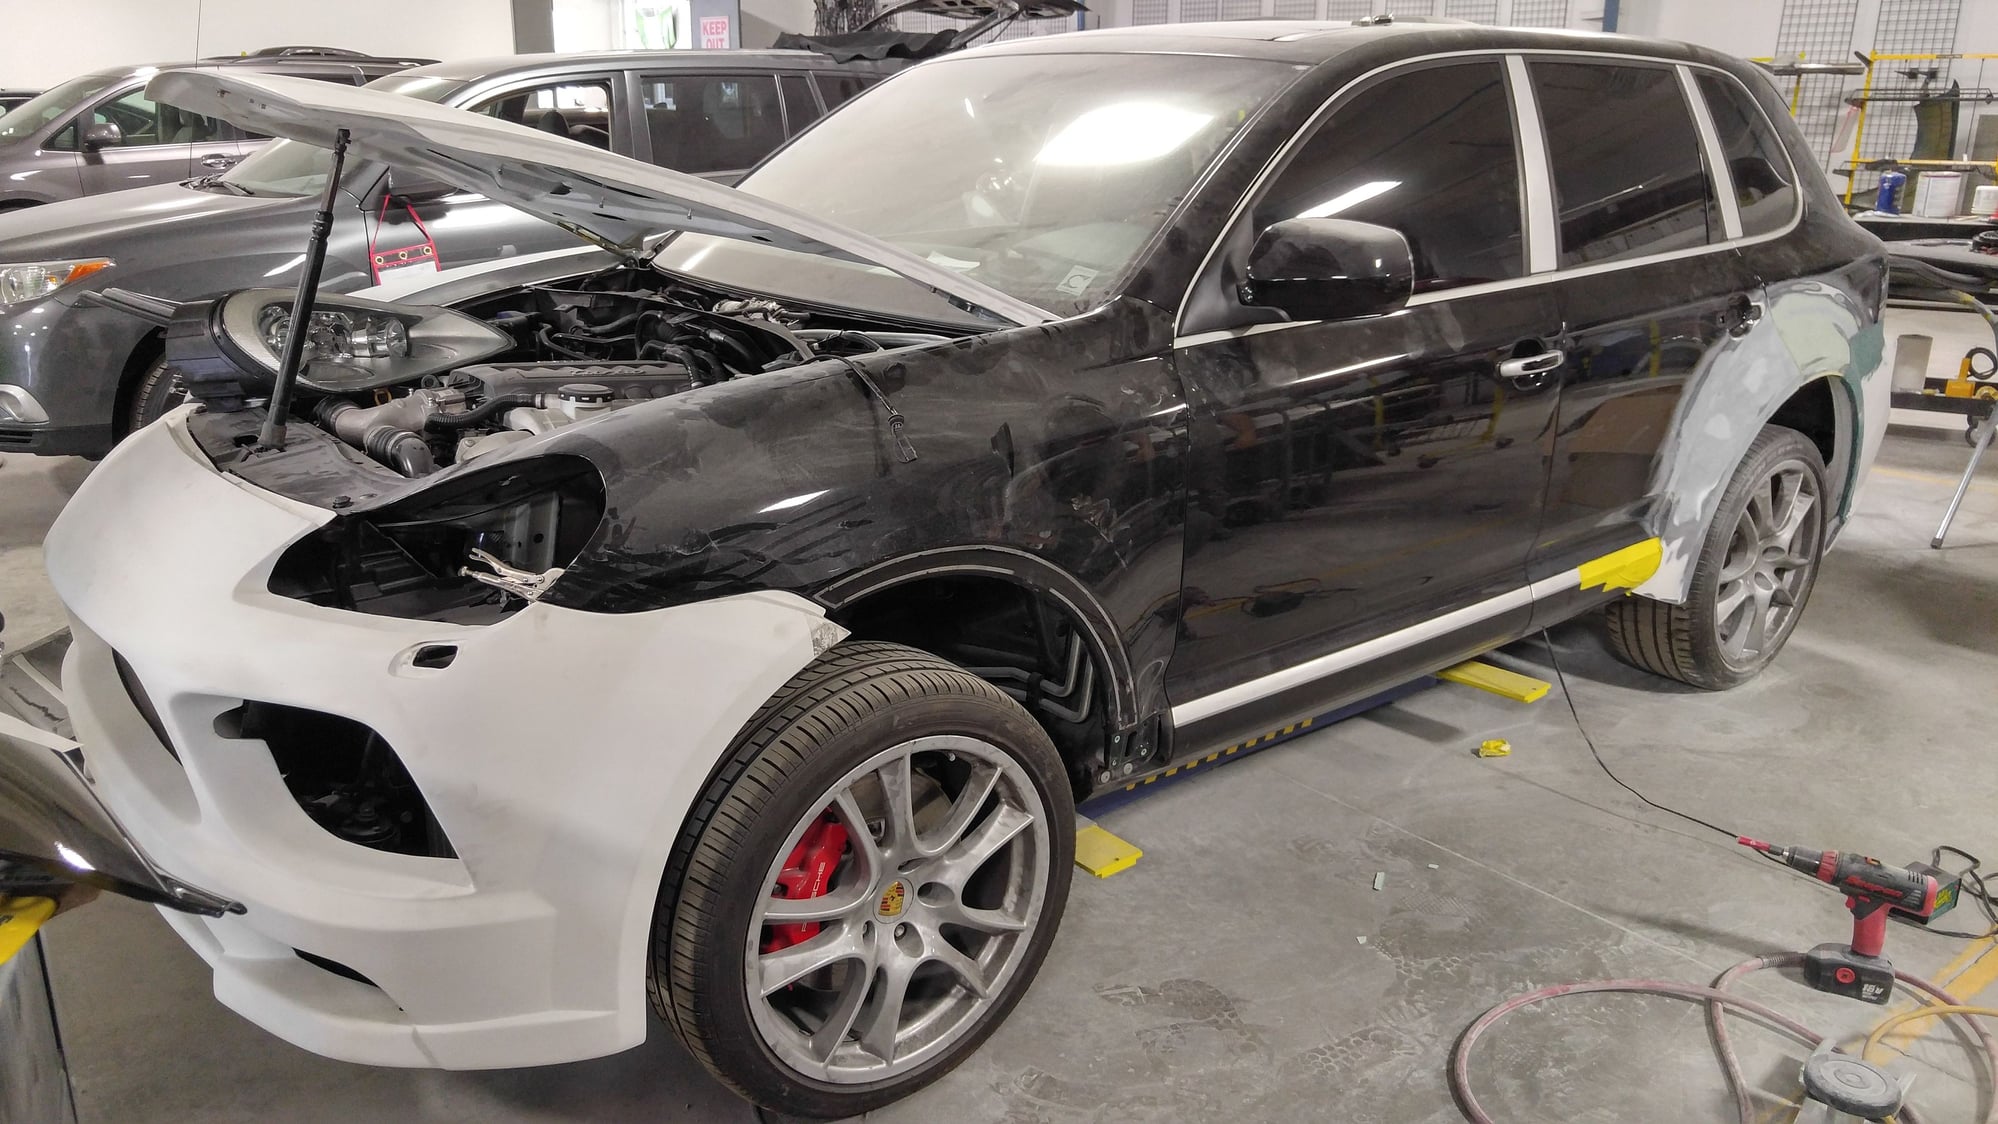
The shop is now working on the initial fitment of the Misha widebody kit. Most pieces are fitting well and they're making some fine adjustments so that the finished product will look flawless. Already did some preliminary surface work to the passenger fender, then gave it a quick shot of primer.
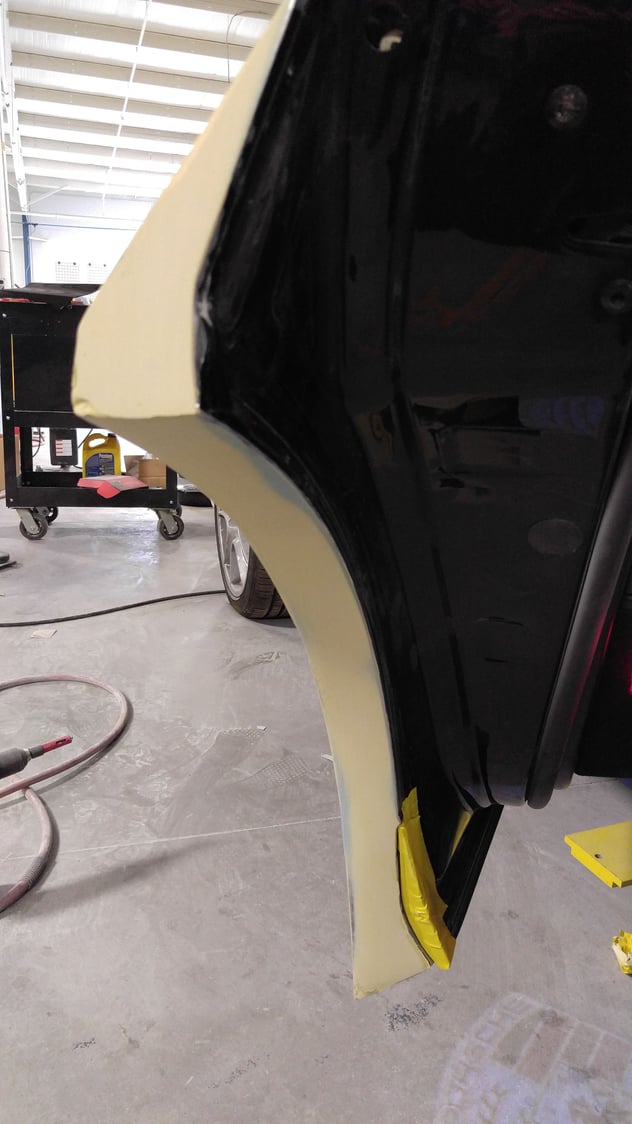
Body Kit fitment work continues and they're doing a phenomenal job. The door edges will be completely blended with the flares so you won't be able to tell that pieces have been added...
...and the way they're blending the flares into the body makes for a seamless transition.
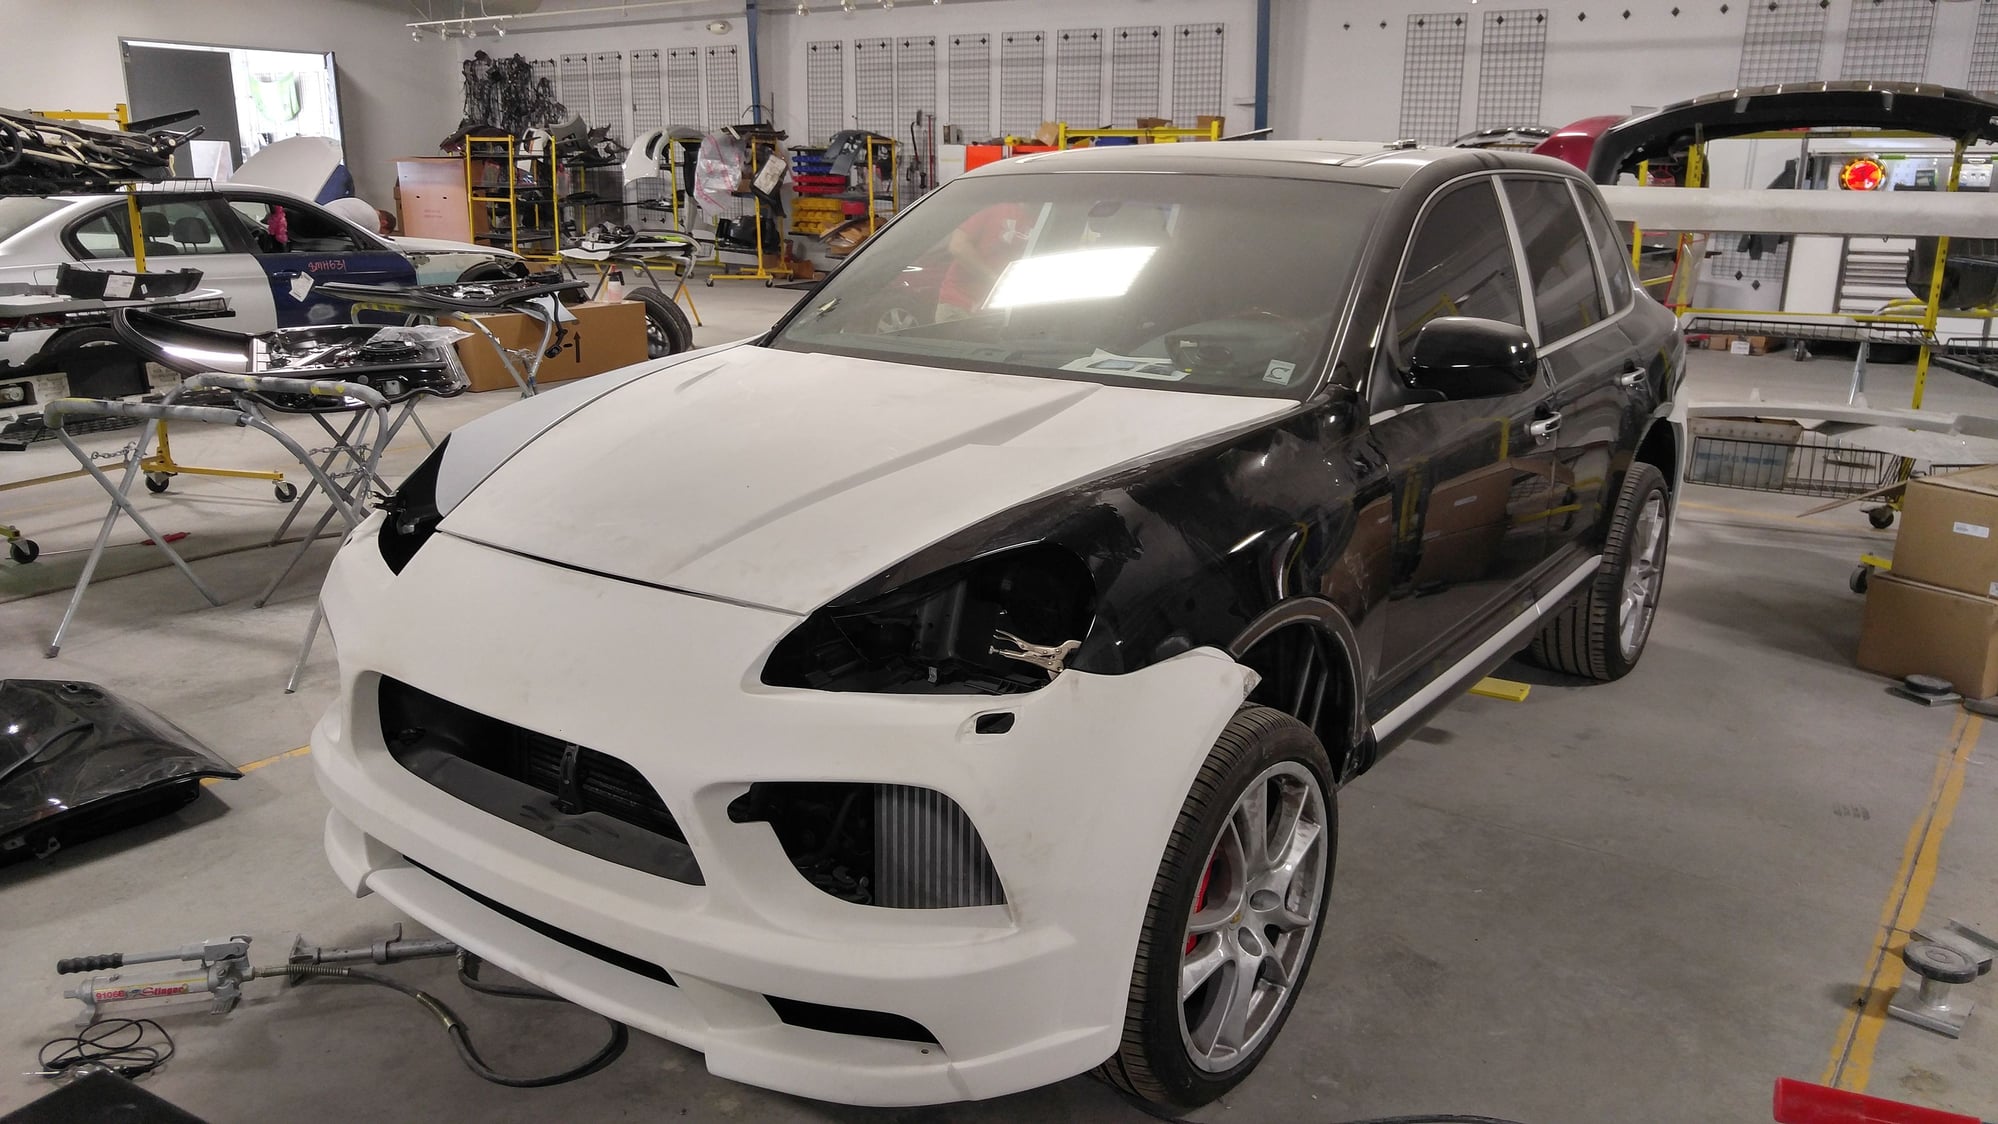
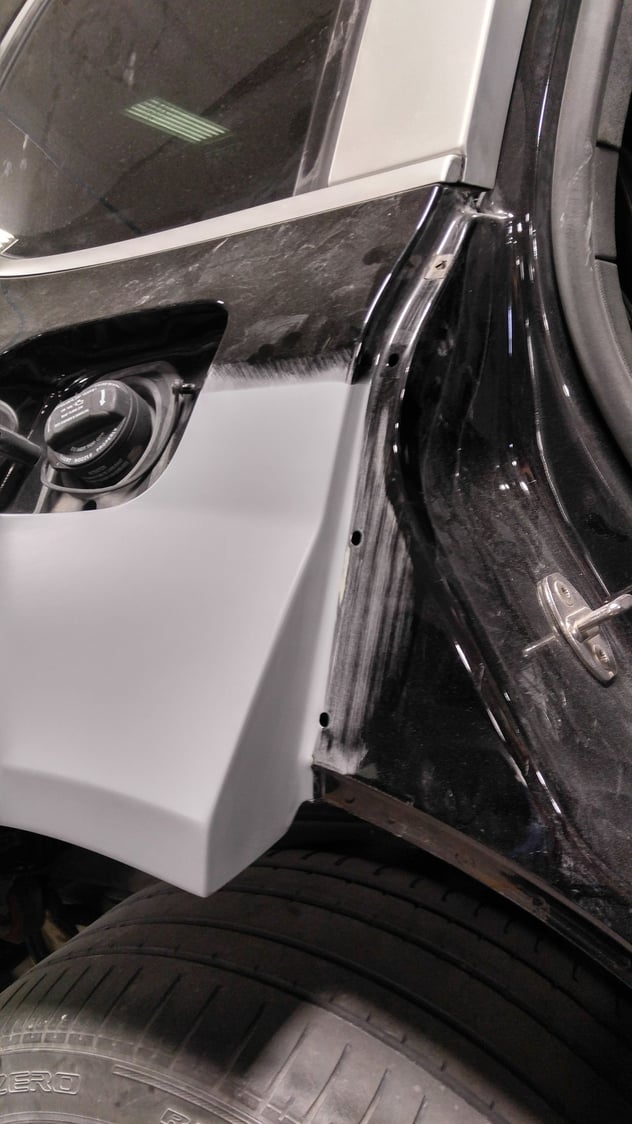
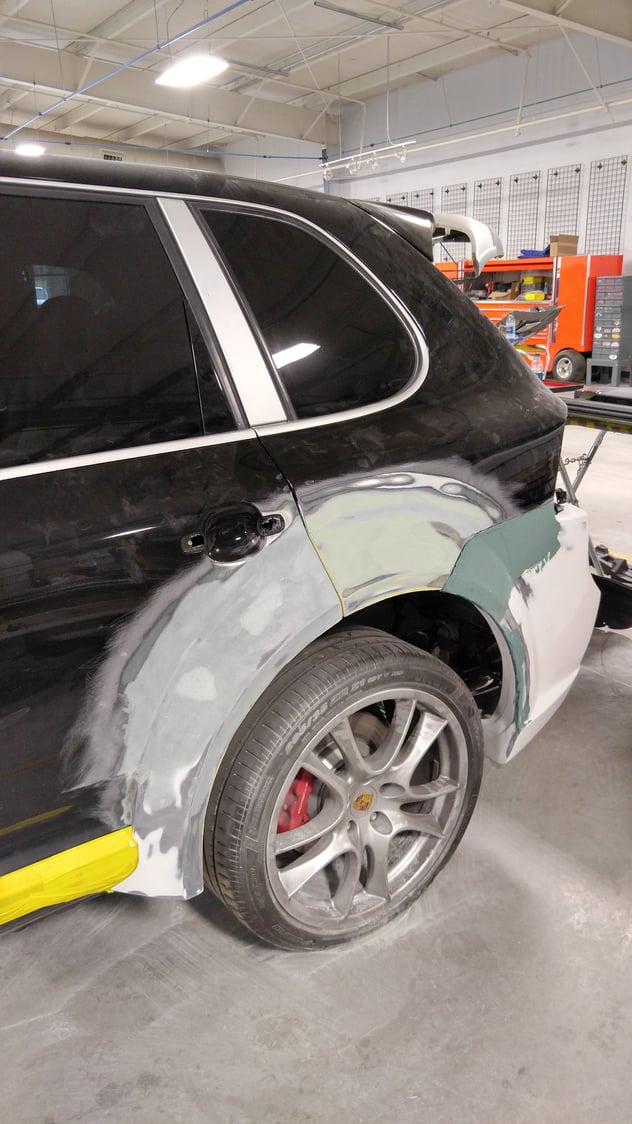
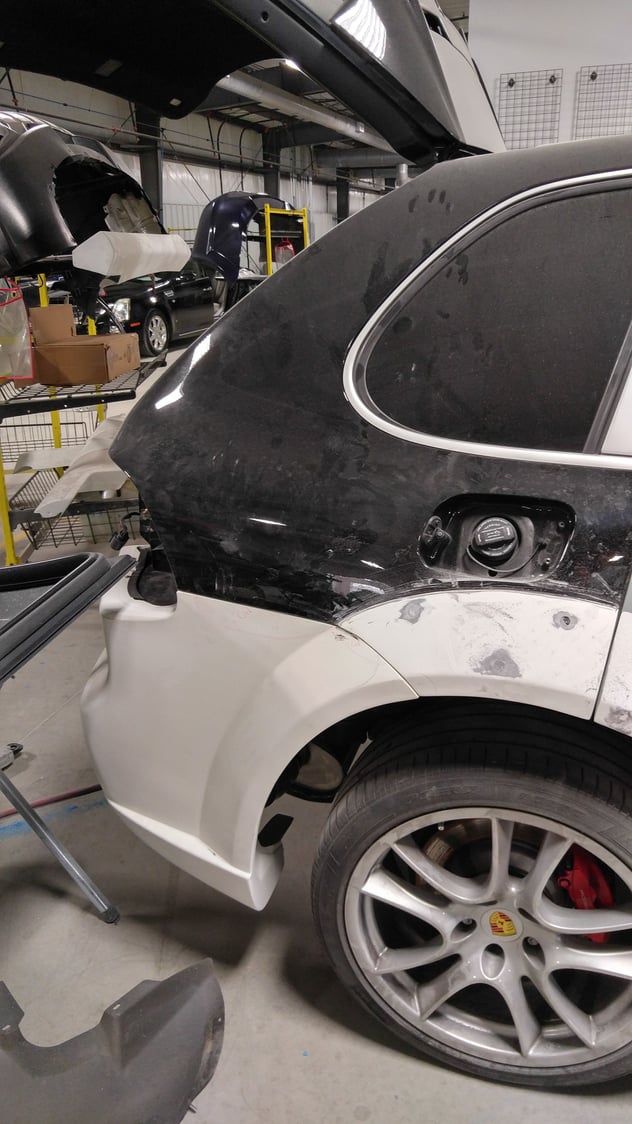
They're working on the Driver's Side Rear wheel area next and have already done some of the rough work
The way they're attaching the flares is pretty impressive. First they remove all the paint in that area to get to bare metal. Then the use an adhesive called Panel Bond to bond the fiberglass to the metal. When I researched this 3M product, it has amazing reviews, and body shops are actually using this in place of welding with superb results. But in addition to the panel bonding, they are using about a 1/2" hole saw to remove a few plugs from the outer edge of the flare, using that as an access hole, and screwing the flare to the body, then replacing the material that was removed by the hole saw, filling, and smoothing everything. The screws help to hold the flare tight while the panel bond is curing, and with them being glued and screwed, they will hold up over the long haul. In this pic you can see the 3 locations where the holes were drilled and then repaired.
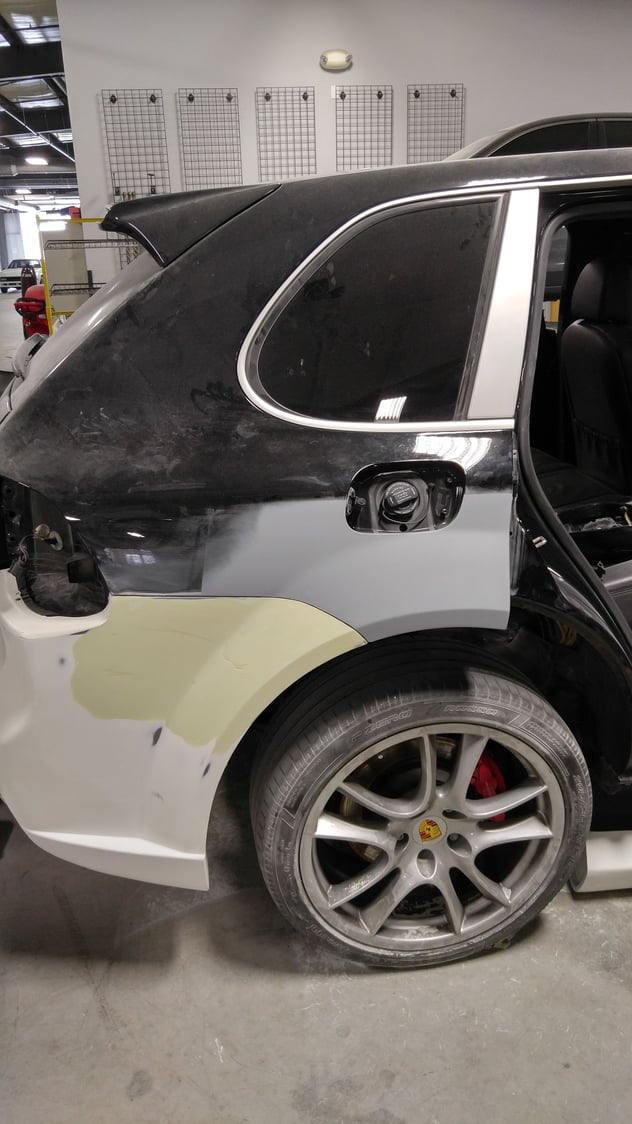
This small section in grey primer is essentially done and ready for final blending with the surrounding areas and eventually paint.

 11-03-2016, 05:11 PM