DIY Oil Change with Pics
 09-12-2007, 10:56 PM
#1
Here is my DIY oil change. Hopefully this will help if you are trying to change the oil. Overall, it is very easy. Sorry I'm such a bad potographer. I also took some stuff from Renntech, so thanks to them.
First, use a 15 mm socket to remove the plug from the crankcase. It is located on the driver's side.
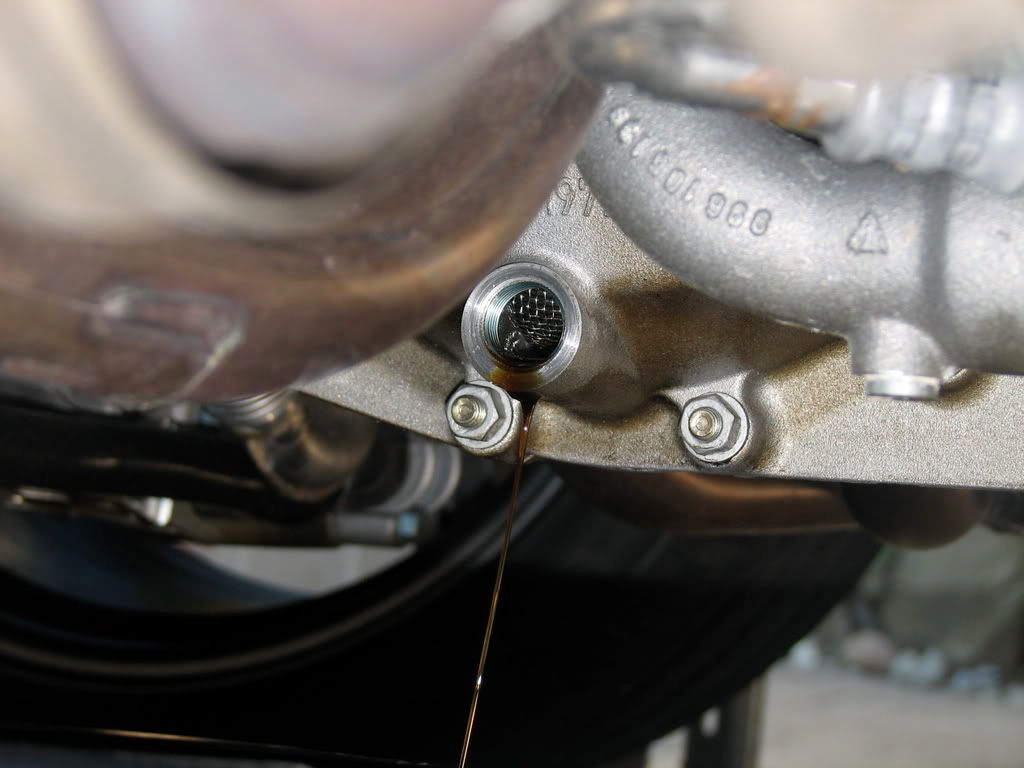
After about 30 minutes replace the oil plug with a new aluminum washer and torque to 52 ft-lb.
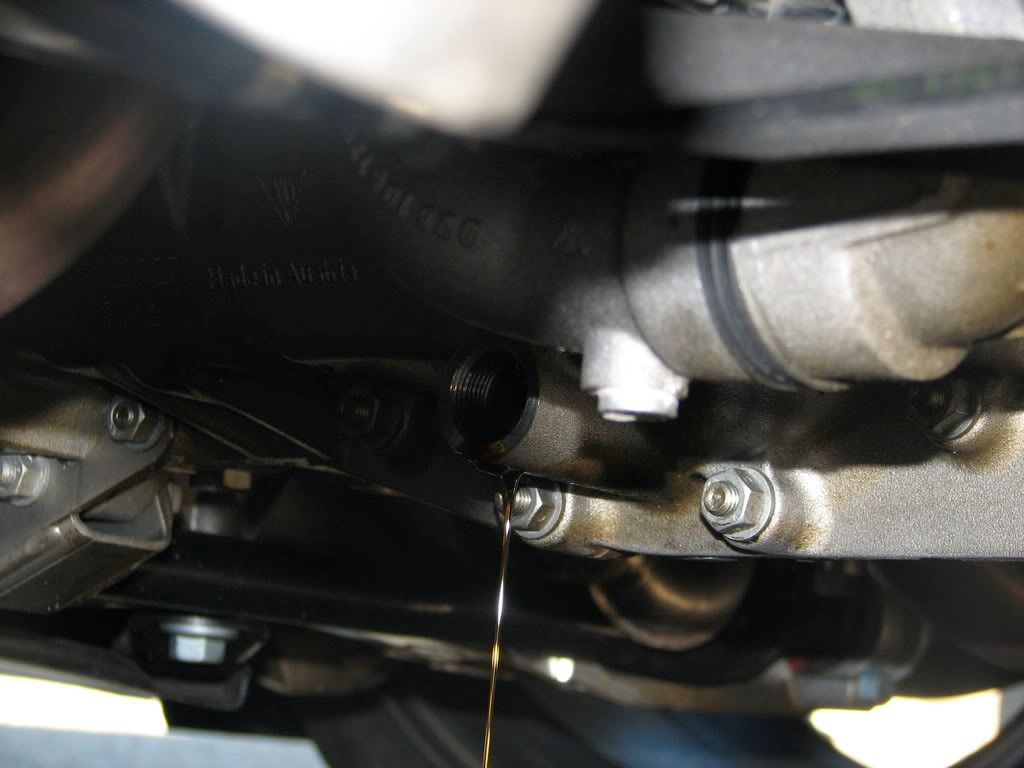
The oil tank is located on the passenger side. I couldn't get a great picture, because I had the car up on ramps only 4 inches.
From this picture, looking from the back forwards, you can see my middle finger touching it.
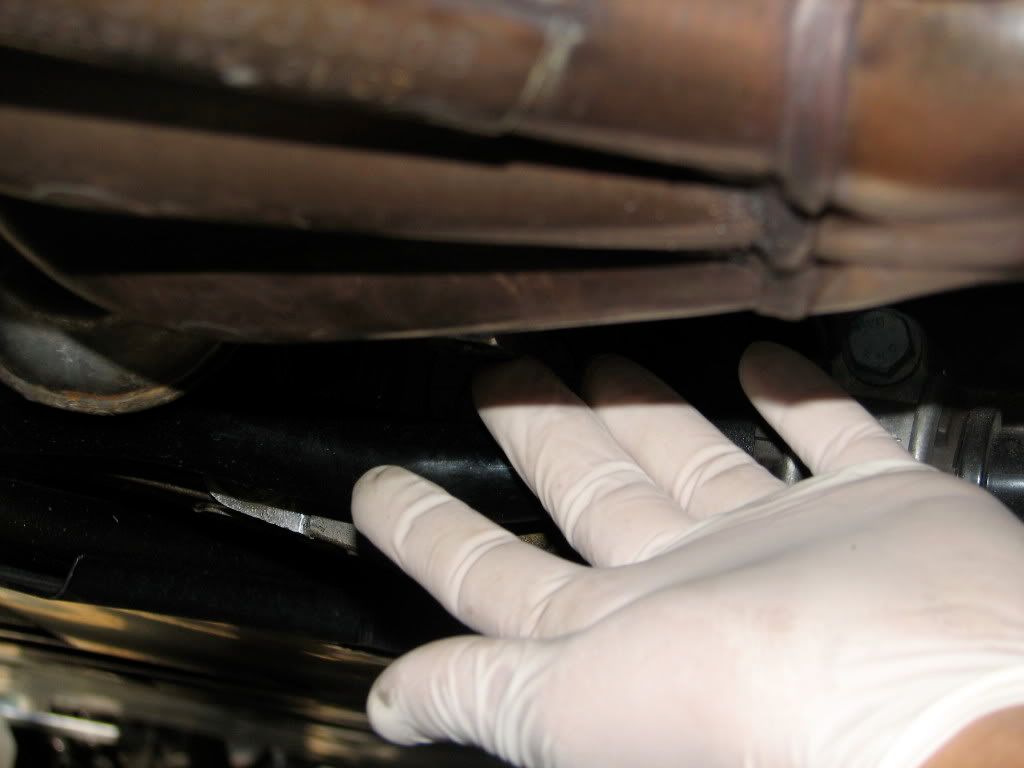
Here is a view looking at it between the tire and wheel well.
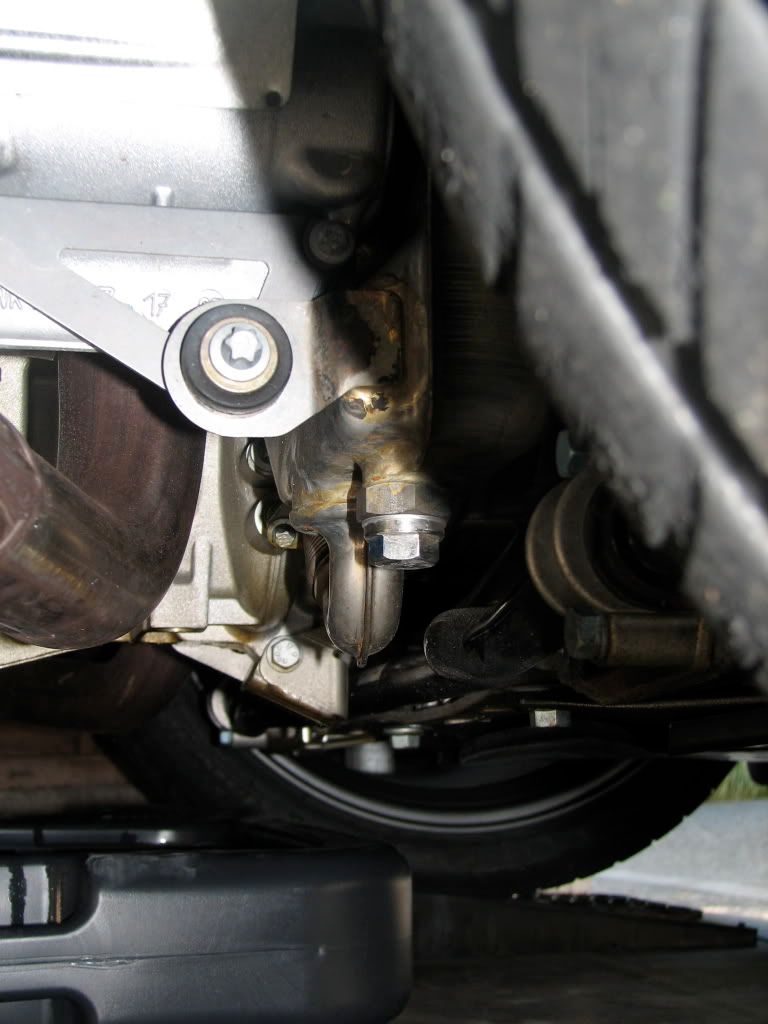
Remove the oil tank plug using a 19 mm socket, but remember to hold the tank with a 27 mm wrench, so that you don't twist the tank. This drains pretty quick- about 5 minutes. Replace the plug with a new copper washer and tighten to 44 ft/lbs.
Next remove the filter and replace the o-rings- one small one at the end of the housing and one along the threads. Tighten to 19 ft-lbs.
In renntech, Loren suctions out the excess oil in the filter housing. I didn't have to do this. Just loosen the filter housing prior to removing the crankcase plug. If you do this, the oil pouring out should suck out all the oil from the filter housing. Be prepared for the oil when you remove the plugs- it pours out like a flood!
I then added 8 1/2 quarts and then slowly topped it off when the engine was warm. Ended up with 8 3/4 quarts for full. Don't you hate taking it to the dealer and its always overfilled?
Anyways hope this helps.
First, use a 15 mm socket to remove the plug from the crankcase. It is located on the driver's side.
After about 30 minutes replace the oil plug with a new aluminum washer and torque to 52 ft-lb.
The oil tank is located on the passenger side. I couldn't get a great picture, because I had the car up on ramps only 4 inches.
From this picture, looking from the back forwards, you can see my middle finger touching it.
Here is a view looking at it between the tire and wheel well.
Remove the oil tank plug using a 19 mm socket, but remember to hold the tank with a 27 mm wrench, so that you don't twist the tank. This drains pretty quick- about 5 minutes. Replace the plug with a new copper washer and tighten to 44 ft/lbs.
Next remove the filter and replace the o-rings- one small one at the end of the housing and one along the threads. Tighten to 19 ft-lbs.
In renntech, Loren suctions out the excess oil in the filter housing. I didn't have to do this. Just loosen the filter housing prior to removing the crankcase plug. If you do this, the oil pouring out should suck out all the oil from the filter housing. Be prepared for the oil when you remove the plugs- it pours out like a flood!
I then added 8 1/2 quarts and then slowly topped it off when the engine was warm. Ended up with 8 3/4 quarts for full. Don't you hate taking it to the dealer and its always overfilled?
Anyways hope this helps.
 09-12-2007, 11:11 PM
#3
I used the Porsche one, which fits like a glove. I got it from Suncoast. One other thing to remember is to loosen the filter housing a little before warming up the car. Sometimes it can be a bear to remove when it gets hot.
09-13-2007, 12:29 AM
#4
Addict
Lifetime Rennlist
Member
Lifetime Rennlist
Member
It was impossible to get my 996 GT3 filter housing off when it was hot. i always loosen it then retighten abit but not too tight then warm the engine and after that remove the housing.
 09-14-2007, 11:33 PM
#7
Burning Brakes
how about some thanks to seattle sun for taking time and effort to put this together. its amazingly helpful. thanks tons

Trending Topics
09-18-2007, 01:55 AM
#9

The torque settings mentioned seem quite high. Can you confirm that they are the settings specified in the Porsche manual? Also, when ypo buy the Porche filter you only seem to get the large oring in the box.Do you have to buy the small oring seperately?
09-18-2007, 02:26 AM
#10
Rennlist Member
yeah, same thing i'm seeing here. whats the part number for the baby o-ring
 09-18-2007, 10:21 AM
#12
Advanced

Join Date: Nov 2004
Posts: 93
Likes: 0
Received 0 Likes
on
0 Posts
Are you sure the torque settings should be in ft lb's. They are generally listed in nm--neuton meters? The torques seen very high to me as well?? I would double check that before torquing and stripping.
09-18-2007, 10:31 AM
#13
Rennlist Member
 09-18-2007, 11:02 AM
#14
Parts you will need:
1 ea 996 107 225 52 (or 996 107 225 53) Oil Filter (with large O-ring)
1 ea 999 707 465 40 Small O-ring
1 ea 900 123 010 20 Copper Sealing Ring - Oil Tank
1 ea 900 123 118 30 Aluminum Sealing Ring - Engine
9 ea 996 106 665 55 Mobil 1 0W-40 or equal (approx. 8.5 liters (MY04 GT3 9.0 liters))
Approved Oils as of June 2004
The list is now very long (for worldwide coverage). Here is a short list of popular oils (US/Canada):
Castrol Syntec 5W-50 5W-50 ncp G
Castrol Syntec 5W-40 5W-40 ncp GL
Mobil 1 0W-40 ncp GL (factory fill)
Mobil 1 5W-40 ncp GL
Mobil 1 5W-50 ncp GL
Mobil 1 Tri-Synthetic Formula 0W-40 ncp GL
Texaco Havoline Synthetic 5W-40 ncp GL
Note: ncp oils are synthetic (or "non-conventional processing") oils. GL oils have good light running properties because of their light low-temperature viscosity as well as a high level of temperature stability. G rated oils can be used as non-seasonal oil, but do not have the same light running properties as "GL" oils.
Tools you will need:
Tire ramps or jack
15 mm socket for crankcase drain
27 mm wrench and 19 mm socket for oil tank drain
Oil filter wrench (p/n 000 721 920 40) (tool 9204 about $7 to $22 at your dealer) image
9 plus quart oil catch pan
Torque wrench (optional)
Oil should be changed when the engine has reached normal operating temperature. CAUTION - oil will be hot, take adequate precautions to avoid being burned. Always dispose of the waste oil in accordance with local legal requirements.
1. Use ramps or jack up the vehicle at the points provided.
2. Remove the oil drain screw and collect the engine oil in a disposal container (at least 9 quarts).
3. Wait about 20 minutes for the old oil to drain. Then clean the oil drain screw and screw it back in with a new aluminium sealing ring. Tightening torque is 52 ft-lb.
4.Remove the oil tank drain screw (19 mm) while holding the nut above it with another (27 mm) wrench (this avoids twisting the tank itself). Collect the engine oil in a disposal container. Wait about 20 minutes for the old oil to drain. Then clean the oil tank drain screw and screw it back in with a new sealing ring. Tightening torque is 44 ft-lb.
The above is from Renntech.org
If you doubt the torque specs, call your dealer. I have been using the above without problems.
