When you click on links to various merchants on this site and make a purchase, this can result in this site earning a commission. Affiliate programs and affiliations include, but are not limited to, the eBay Partner Network.
Porsche Soft Touch Paint Removal - My Final Solution
I have a 2008 Cayman S with the standard black interior and the soft touch paint is damaged and peeling in several places, especially where you hands come in frequent contact. Most of the suggested removal procedures included rubbing alcohol or nail polish remover. These solutions/methods are weak, incomplete and labor intensive at best. Most repair procedures use a type latex paint mixed to match your interior color. If done well, this may be a good repair. But, latex paint can be difficult to apply to achieve a uniform surface.
I didn't care much for the "soft touch" effect. I just need a clean durable surface that matches the interior color.
This is my solution...
I figured the original paint is some form of latex type paint. So, I tested a few latex paint strippers. I chose a citrus based stripper I bought at Home Depot.
It removed the "soft touch" paint after about 5 minutes easily. I then scrubbed it with soap, water and a green scouring pad.
It left a white chalky surface. This is not easily removed. It didn't melt into the surface but, if you don't intend to repaint your trim pieces, then you shouldn't use this stripper.
I then used a trim paint I bought at Auto Zone.
It matches the color and visual texture of the original paint pretty well. It dries pretty quickly and seems pretty durable after drying over night. I tested it's chemical resistance by using rubbing alcohol with no noticeable reaction.
Great write up. I was able to remove the paint with a very aggressive scouring pad, but I will remember to use CitriStrip to keep elbow grease in reserve.
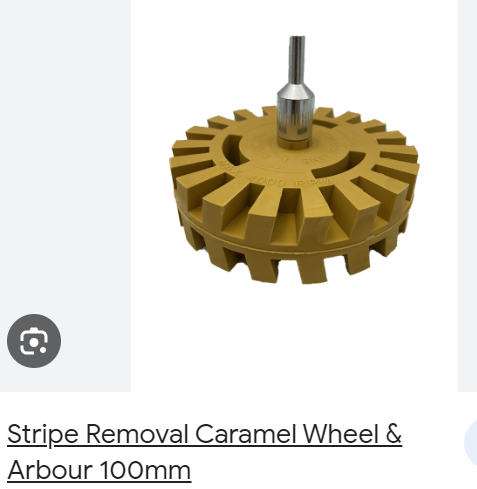
I wonder how a "Caramel Wheel" or sometimes called a "Decal Eraser" would work on the terrible cursed soft touch paint?
Has anyone tried this method in combination with some sort of solvent?
I�ve always had great success with 90% rubbing alcohol.
Cheap, clean and effective. Best attribute is no residual oils penetrating the plastic that can cause future issues involving lack of adhesion when re-coating with any paint system.
I have painted the door pull surrounds, ignition key surround, steering column, even the instrument cluster (basically anything that could have been spec�d on the long order form. I use 2K body color coded urethane paint.
This involves disassembling, stripping the gummy old slime off with a plastic scuff pad and the alcohol. This also accomplishes the required scuffing of the plastic surface. Then,I finish the part as Porsche would, using a plastic bonder aerosol product (Bulldog), some 2K primer, the base color coat, and 2K clear coat. all supplies are available from automotive paint supply shops, like FinishMaster.
For painting small parts like this, you can actually use an airbrush and a small compressor.
Looks great, hard as a rock, last long time.
For black buttons and ***** (or even A-pillars and the like), strip the same way, but re-coat with the SEM brand aerosol black trim acrylic paint.
Be sure to let both paint systems cure at least 24 hours before re-assembly. Don�t forget to wear a mask.
Last edited by Lizard King; 06-12-2023 at 02:29 PM.
Late to the party here but I actually referred to Rennlist postings when repainting the center console (and trims). I second the usage of Citristrip which I used to prep / strip my center console. Surprisingly worked well.
The first application probably got rid of 90+% of the coating / paint. Applied another coat of Citristrip to get rid of the other 10% but probably got 9%. Elbow grease to let it dry then sand to remove the rest.
 10-19-2018, 07:26 AM