When you click on links to various merchants on this site and make a purchase, this can result in this site earning a commission. Affiliate programs and affiliations include, but are not limited to, the eBay Partner Network.
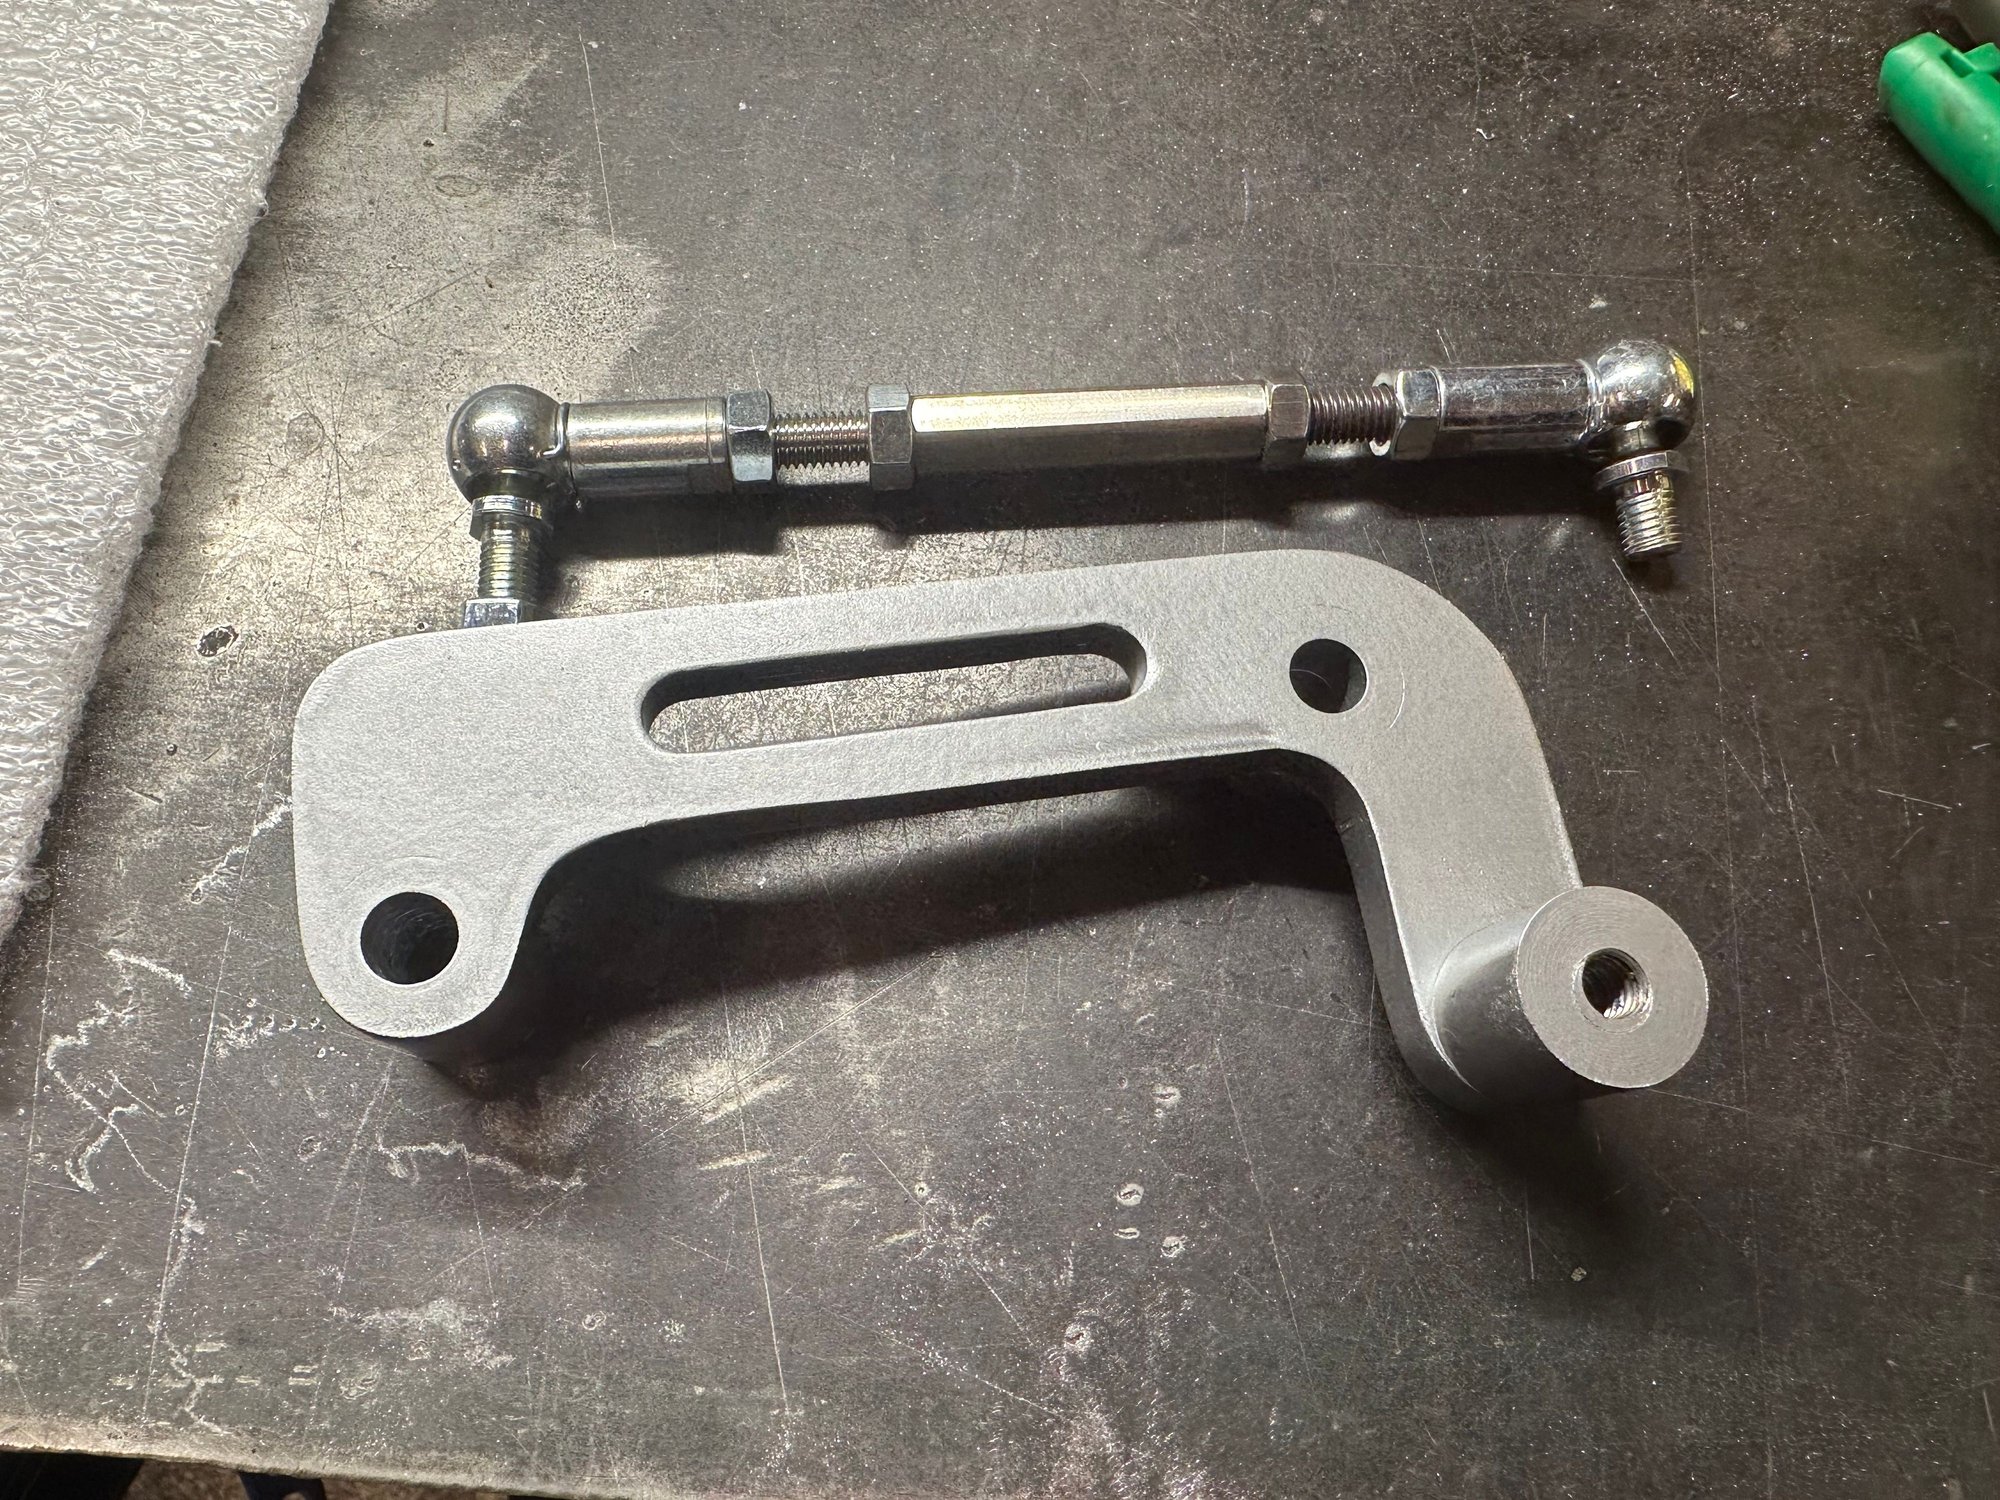
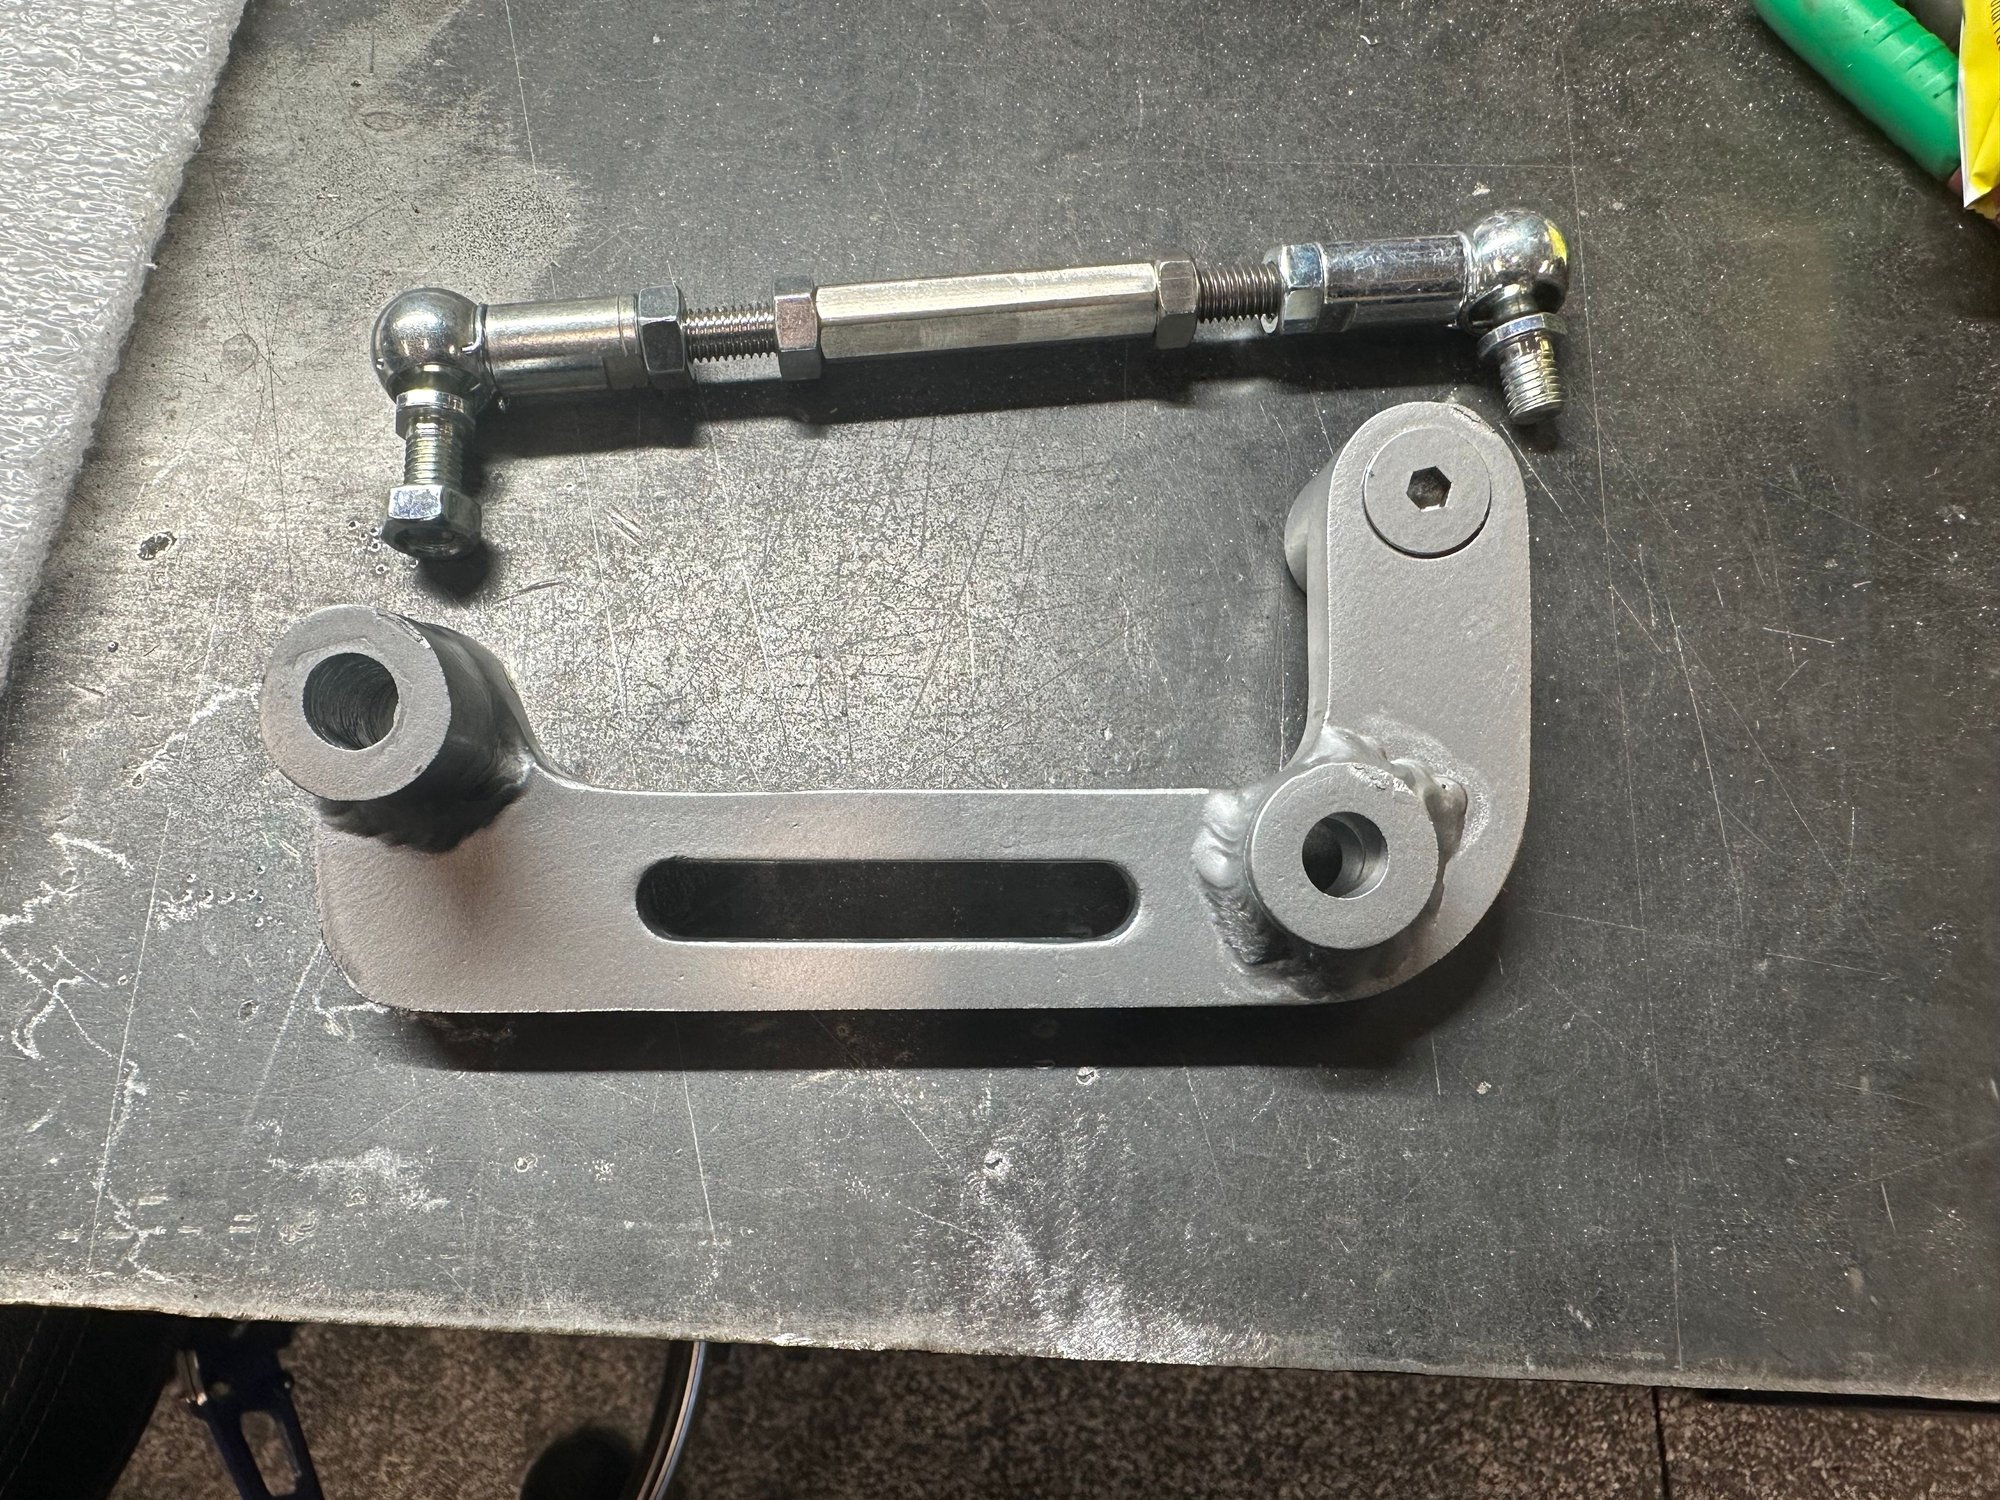
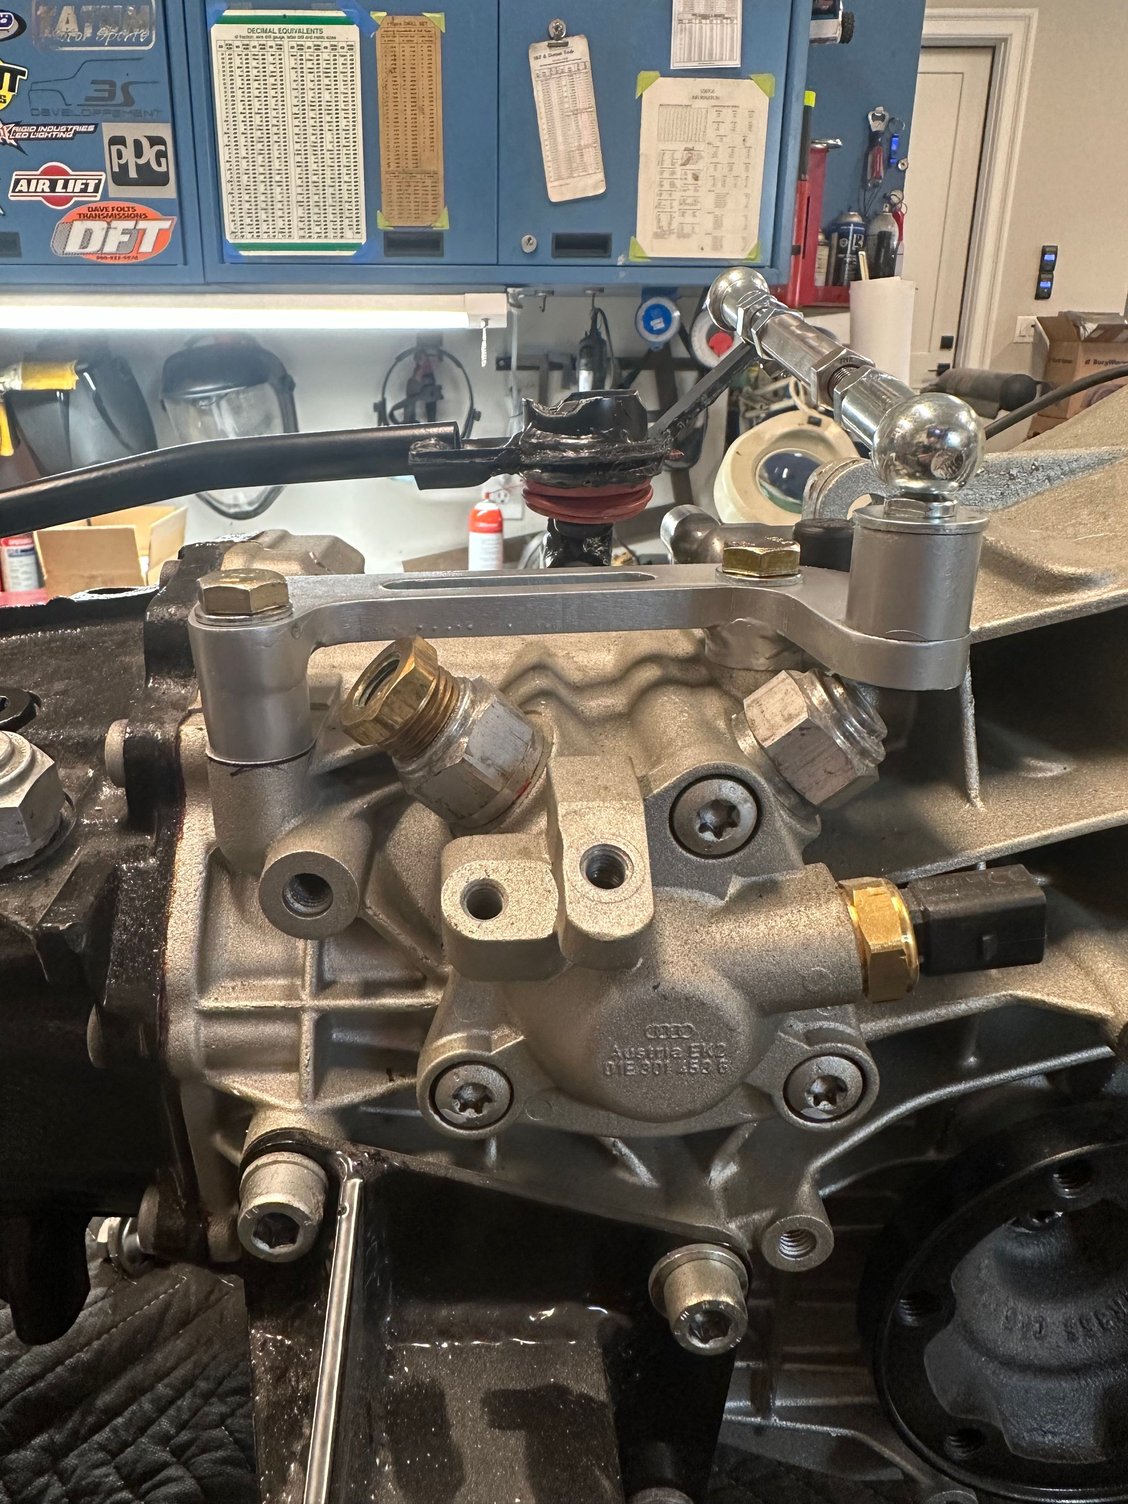
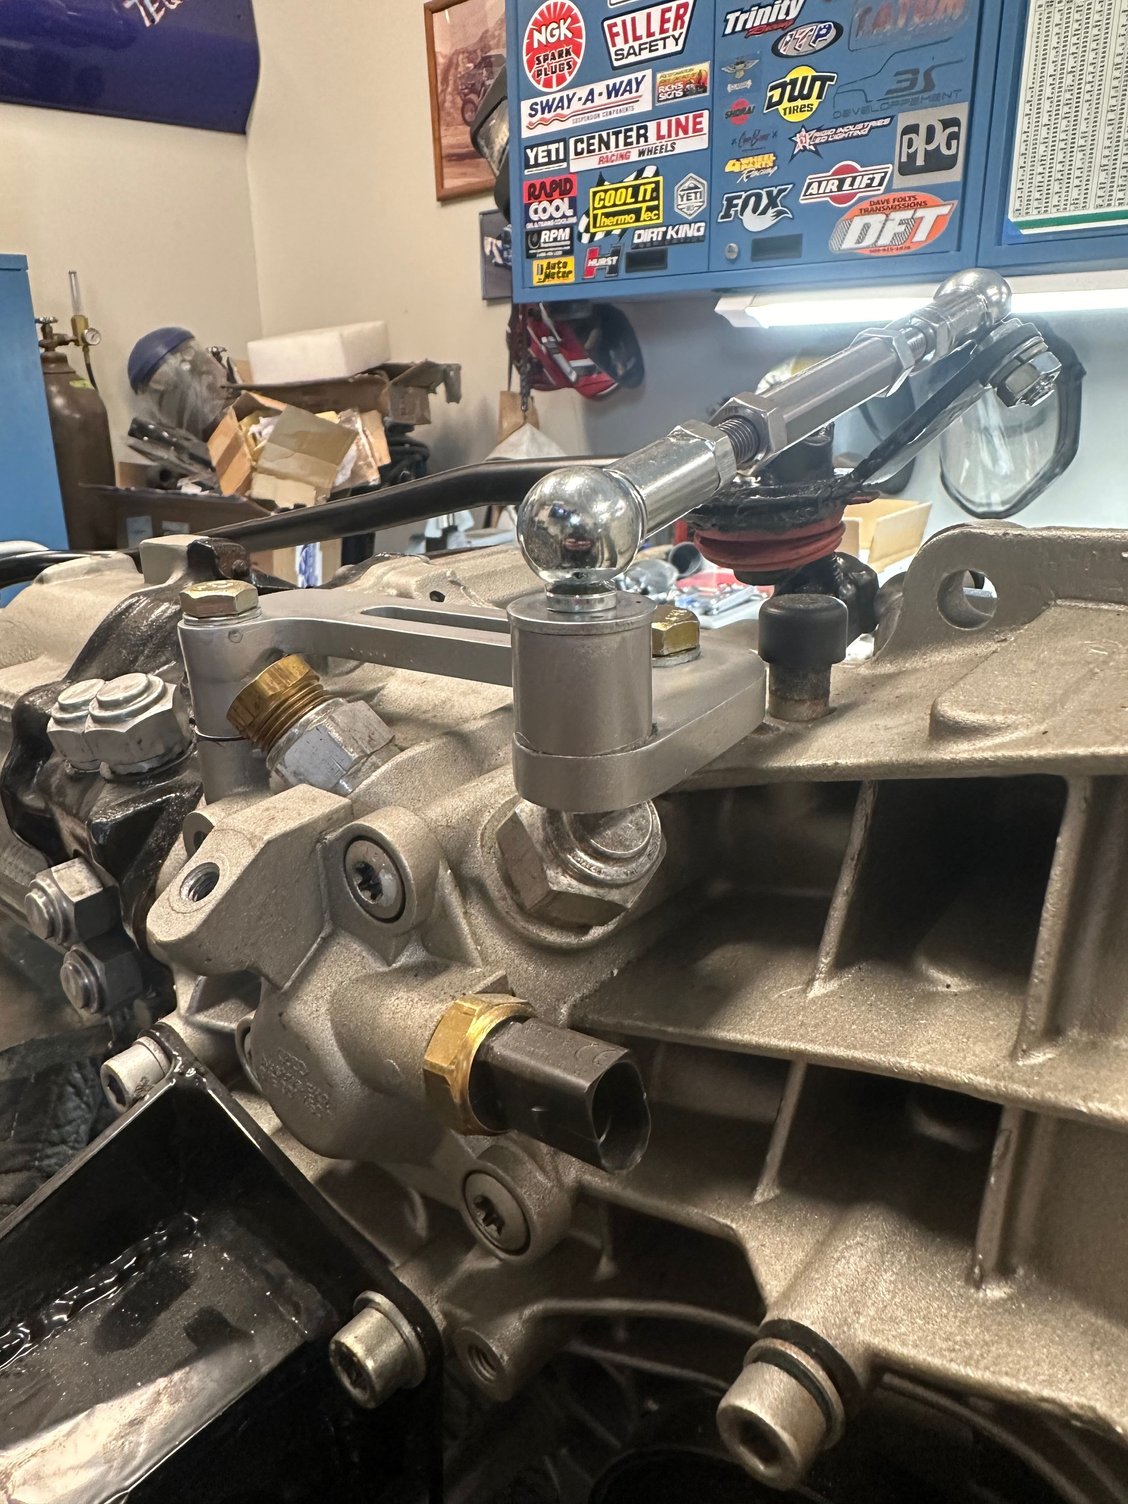
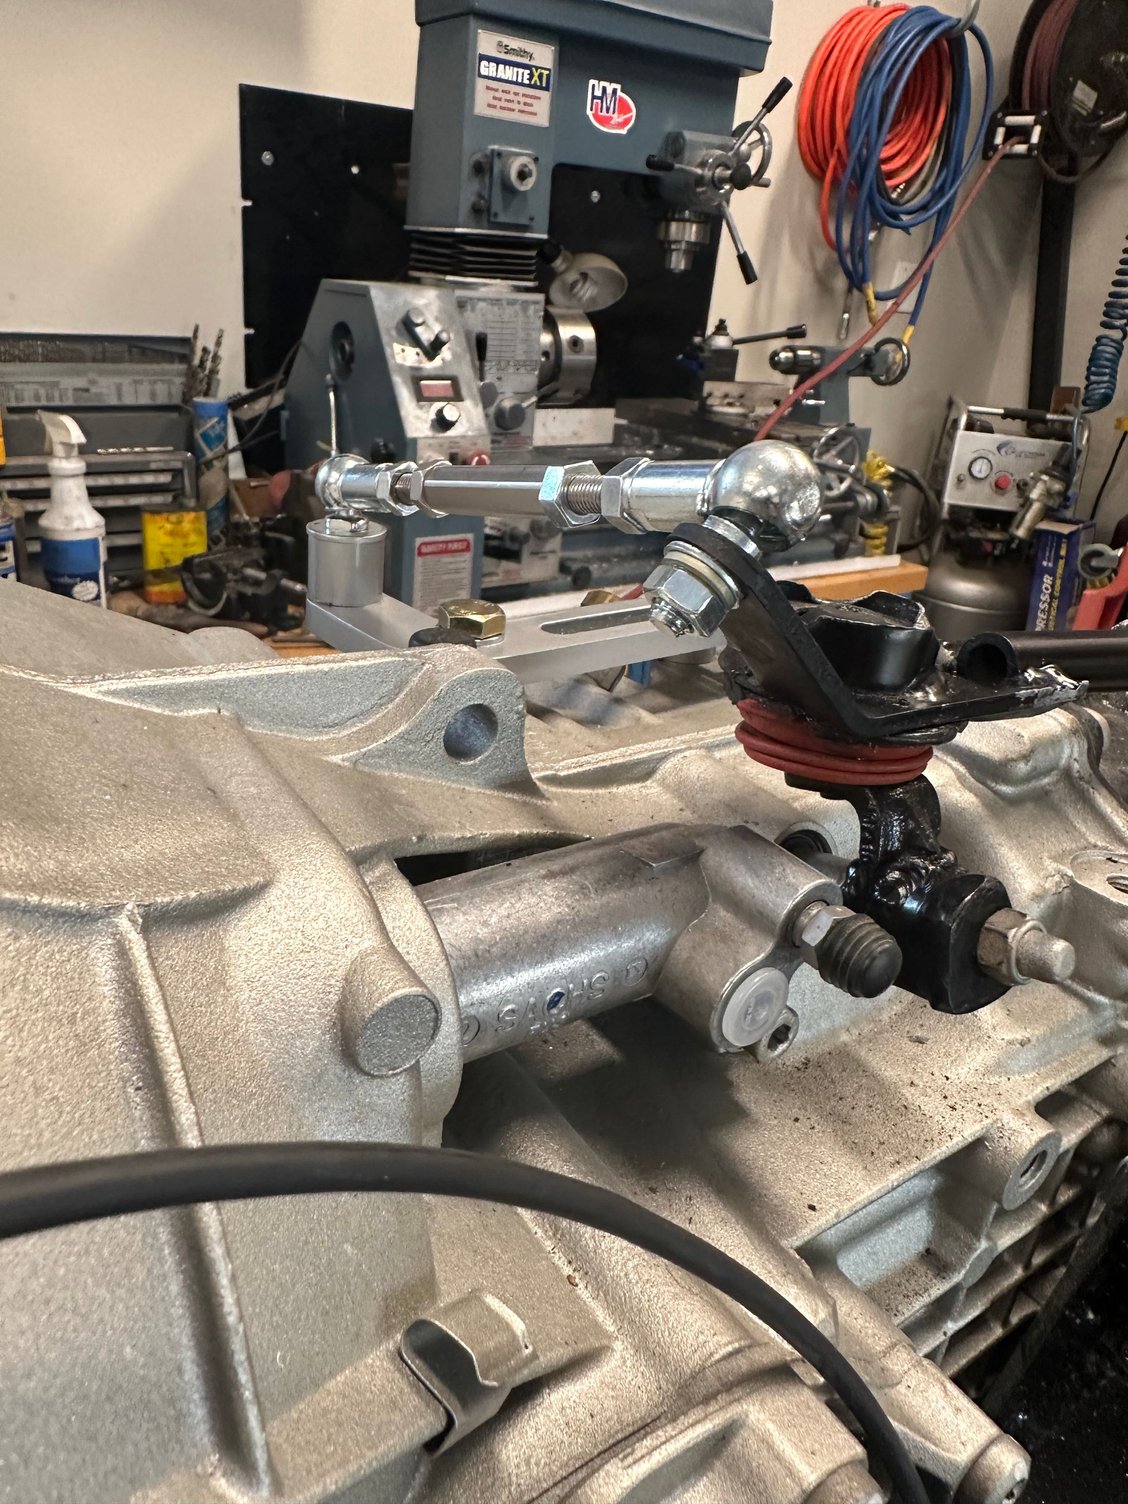
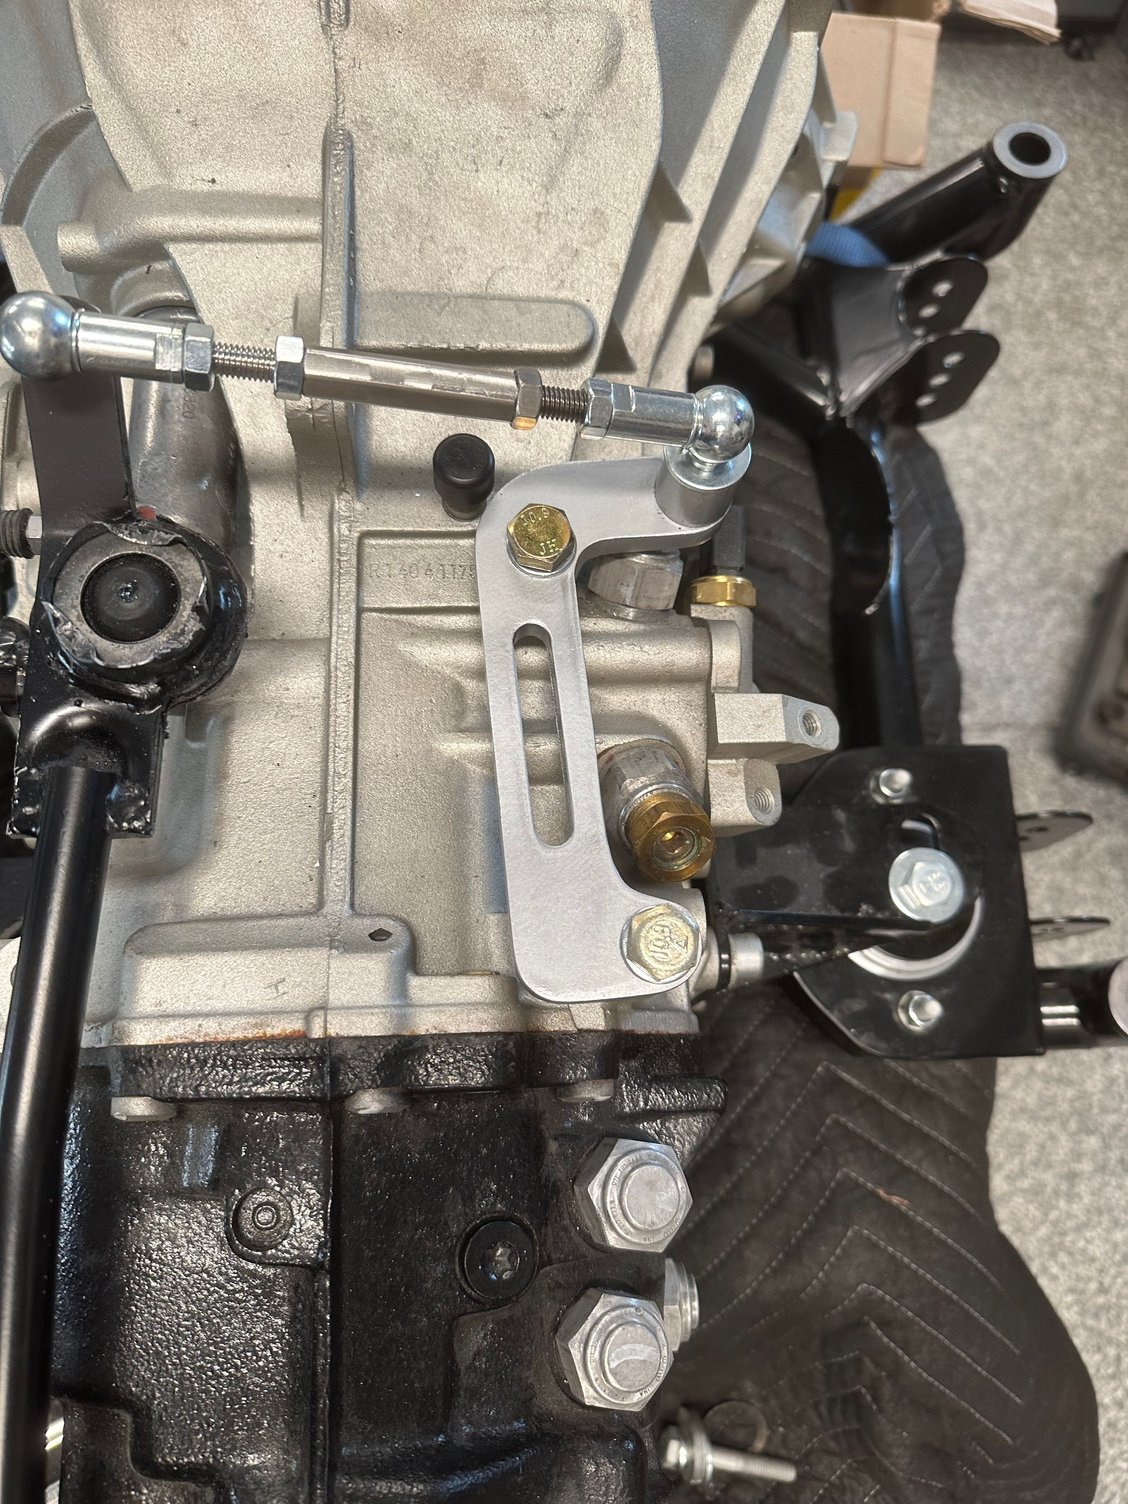
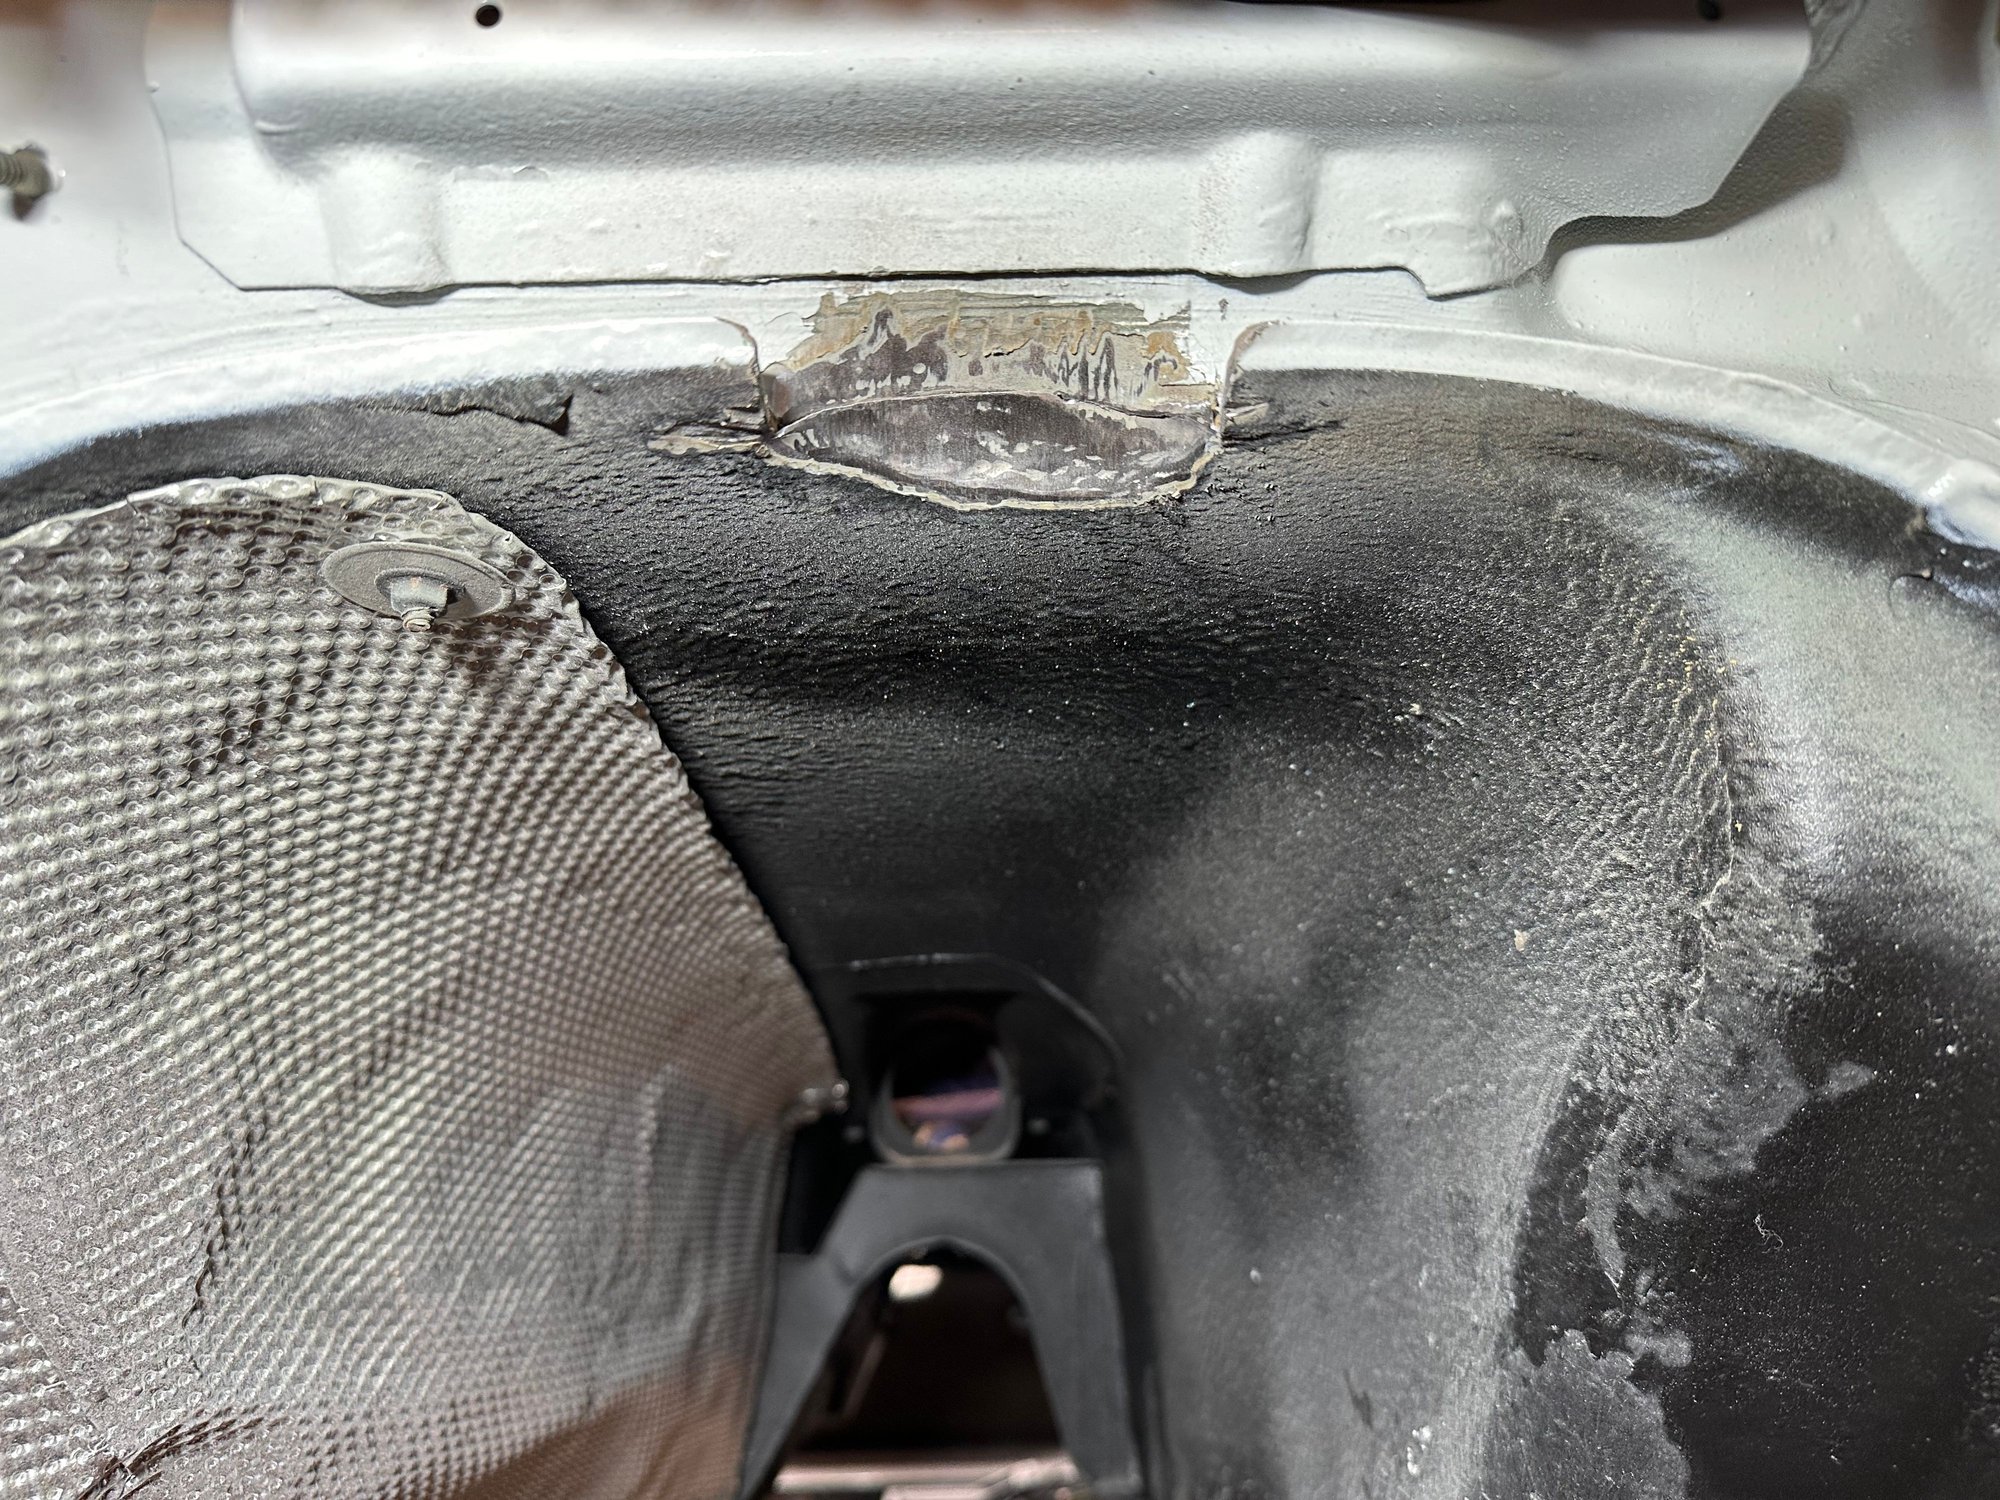
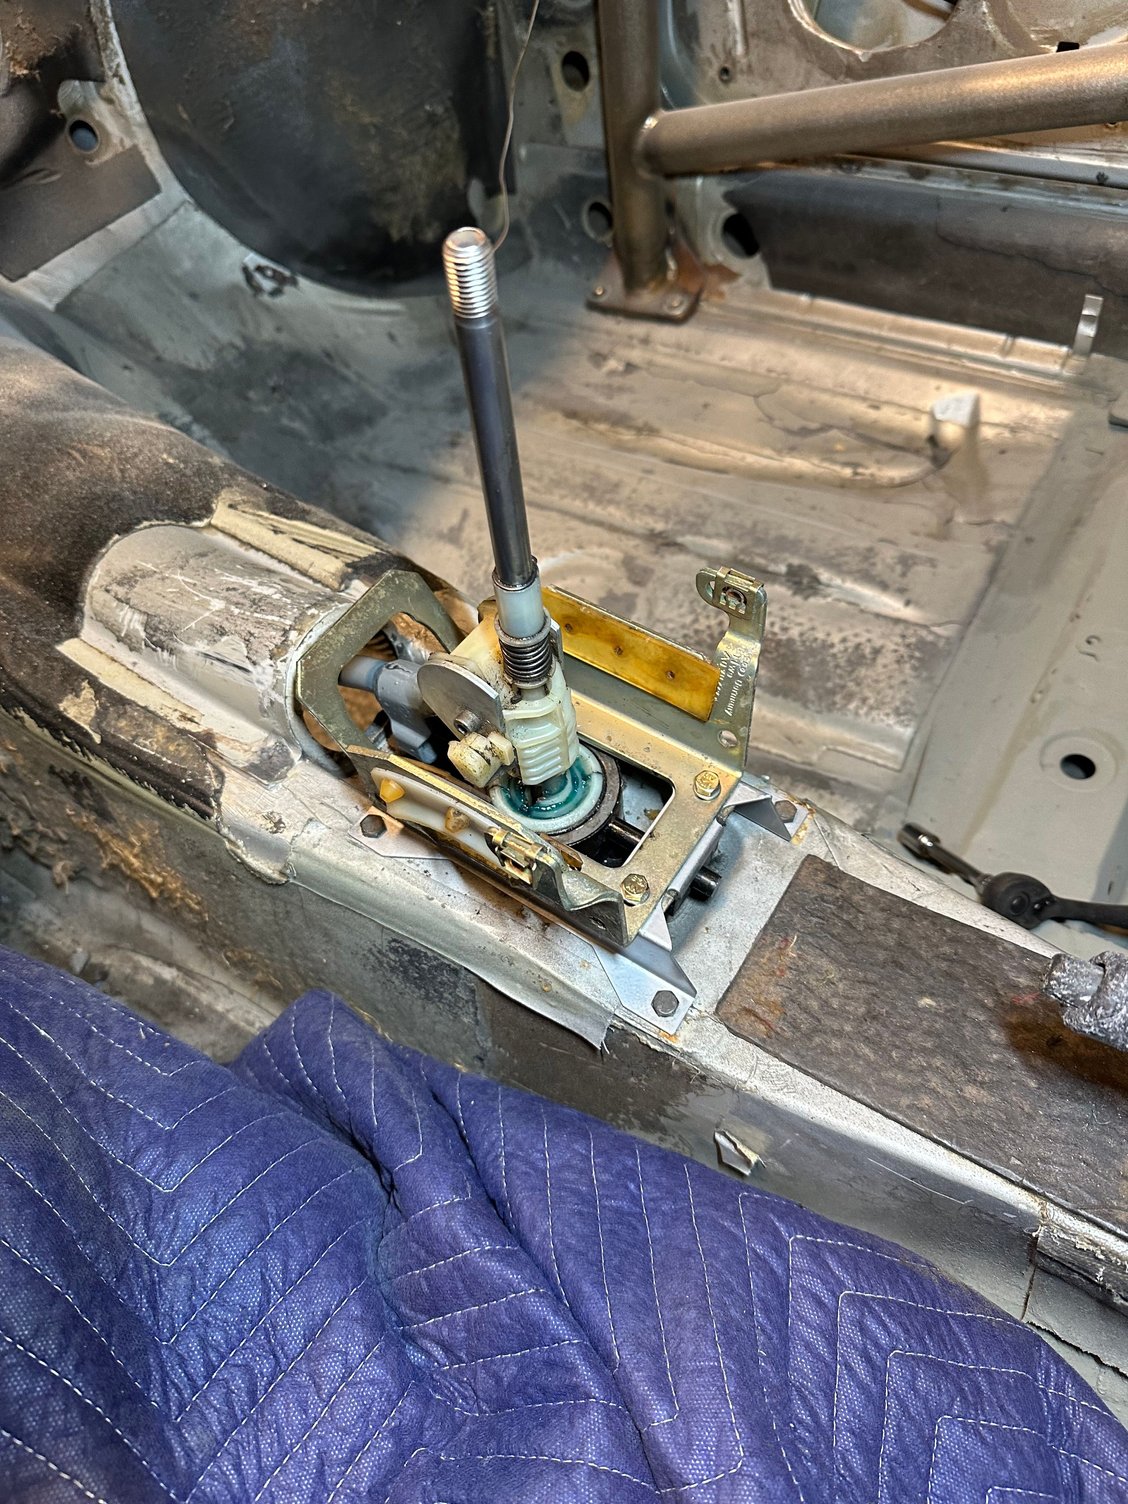
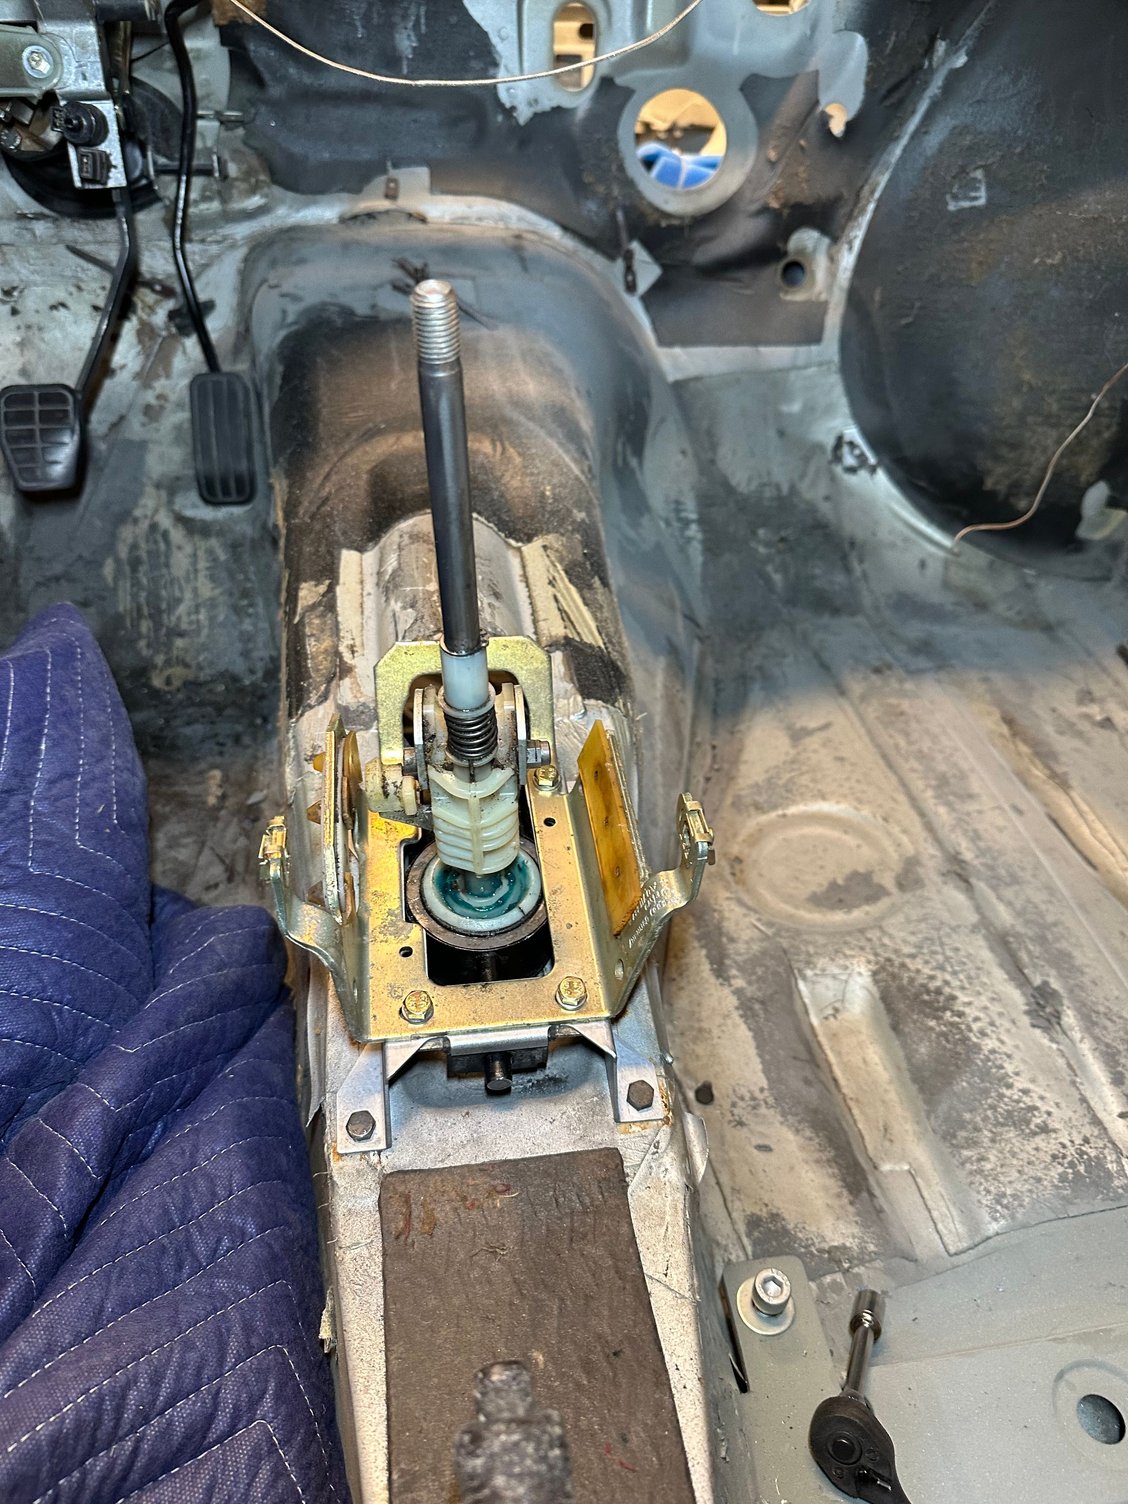
I made a aluminum trans mount for the adjustable link connection to the shifter. I increased the size of the hardware to 8mm with left and right hand threads for adjustment and everything is very strong. I did a test fit in the car and and as details and pictures from Varia / Hanks write up, the shift linkage gets very close to touching at the firewall tunnel, so I cut the tunnel lip and hammered a radius in the tunnel for more clearance. I recoated the metal with seam sealer and all is good.
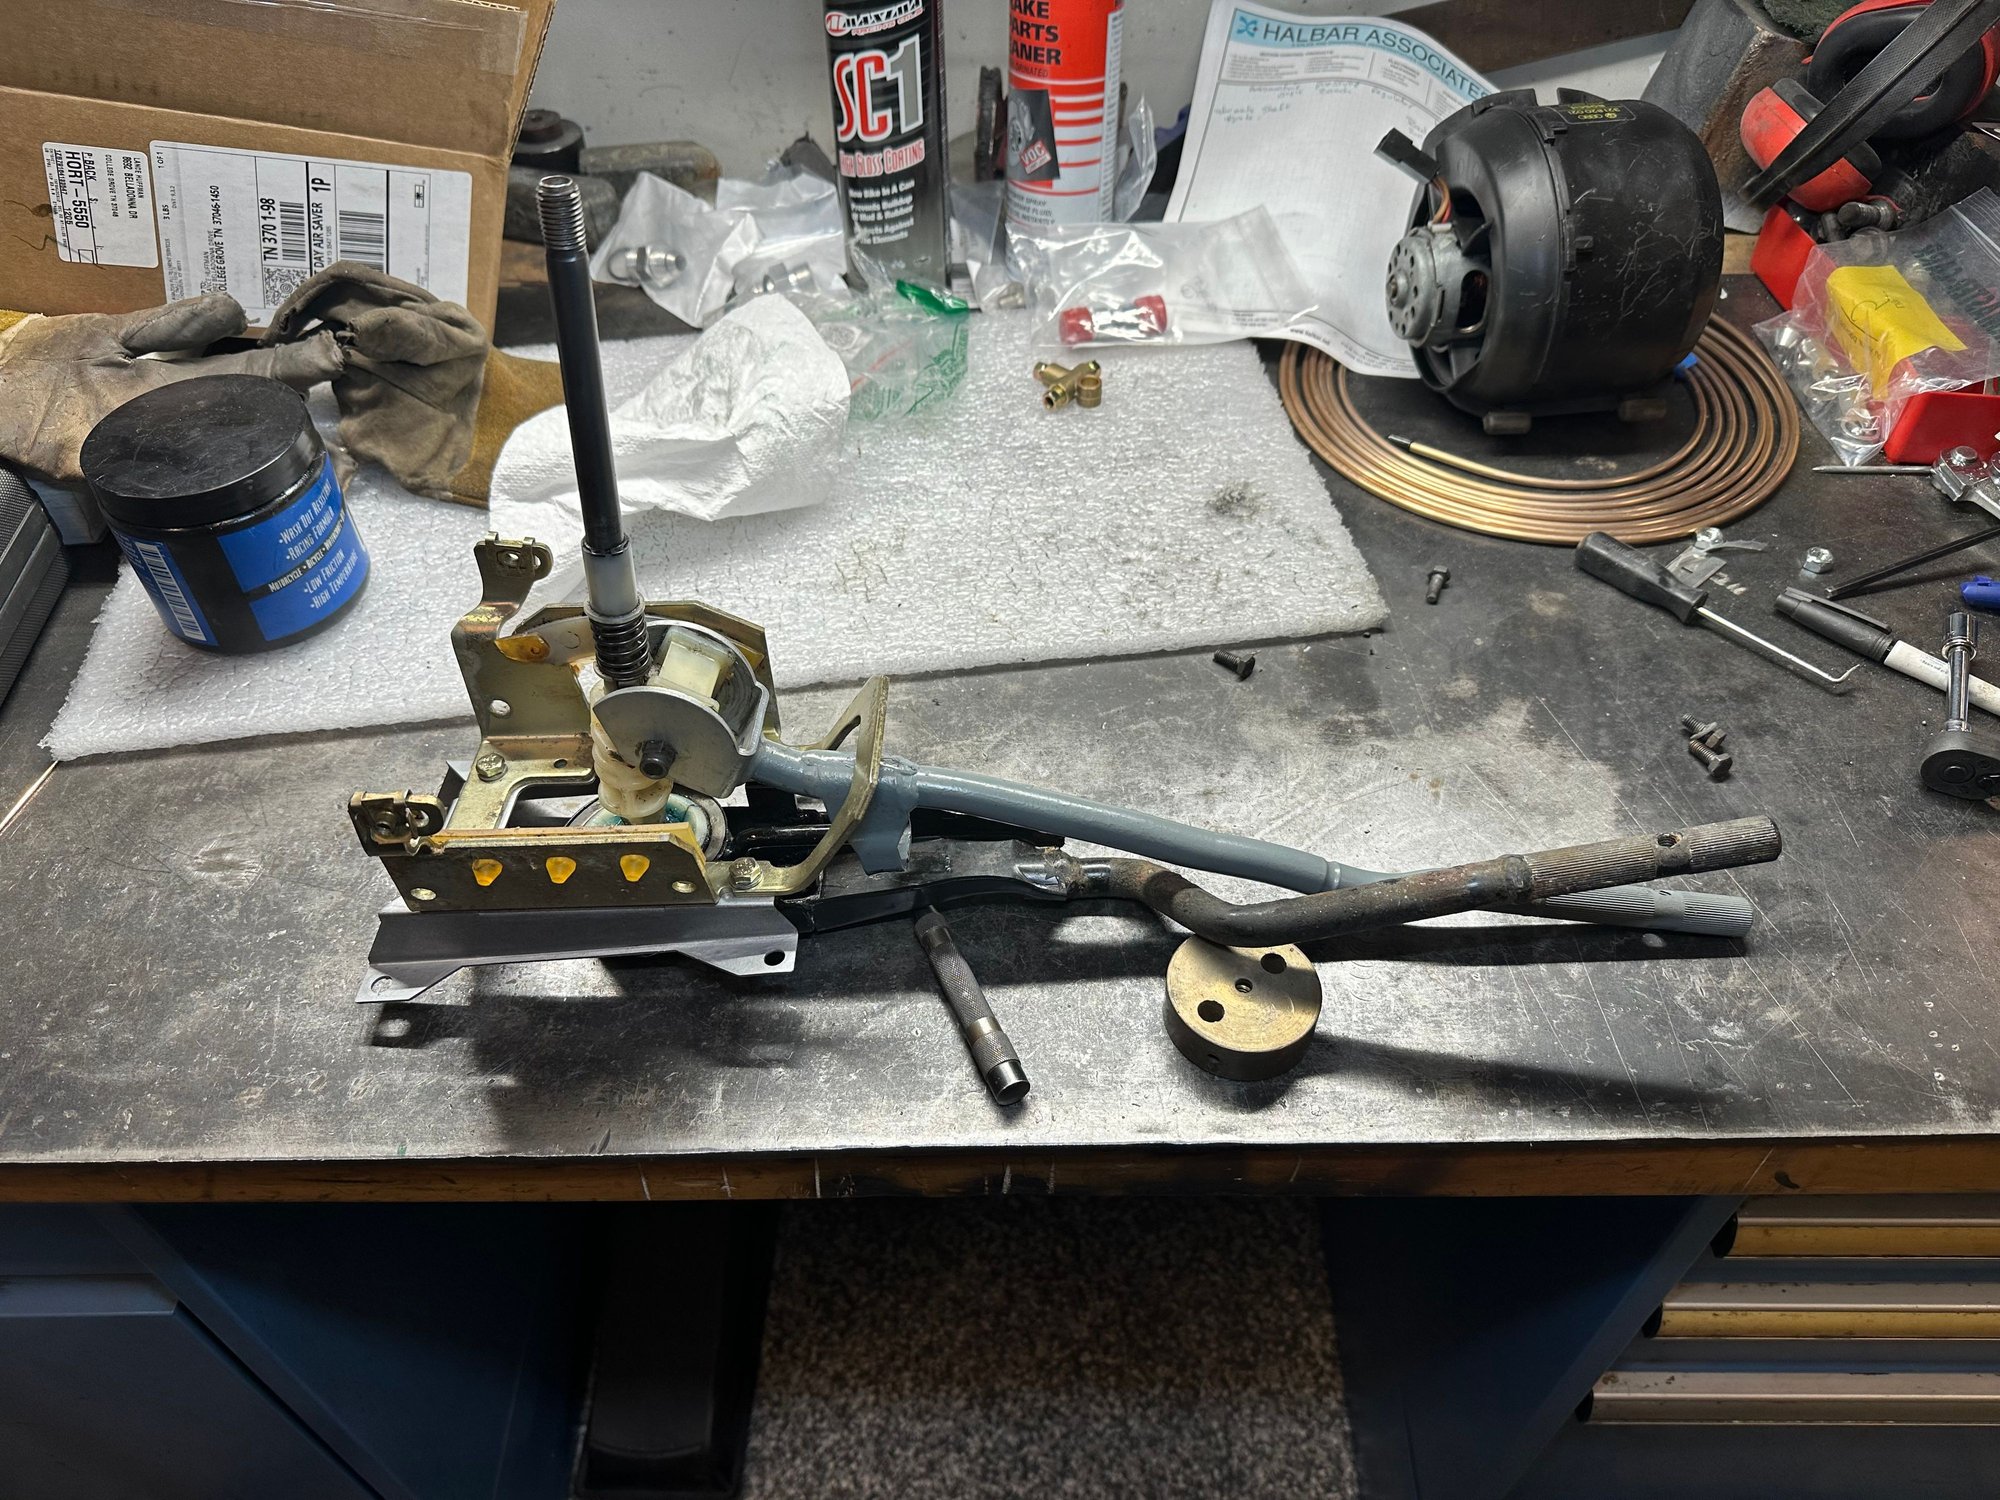
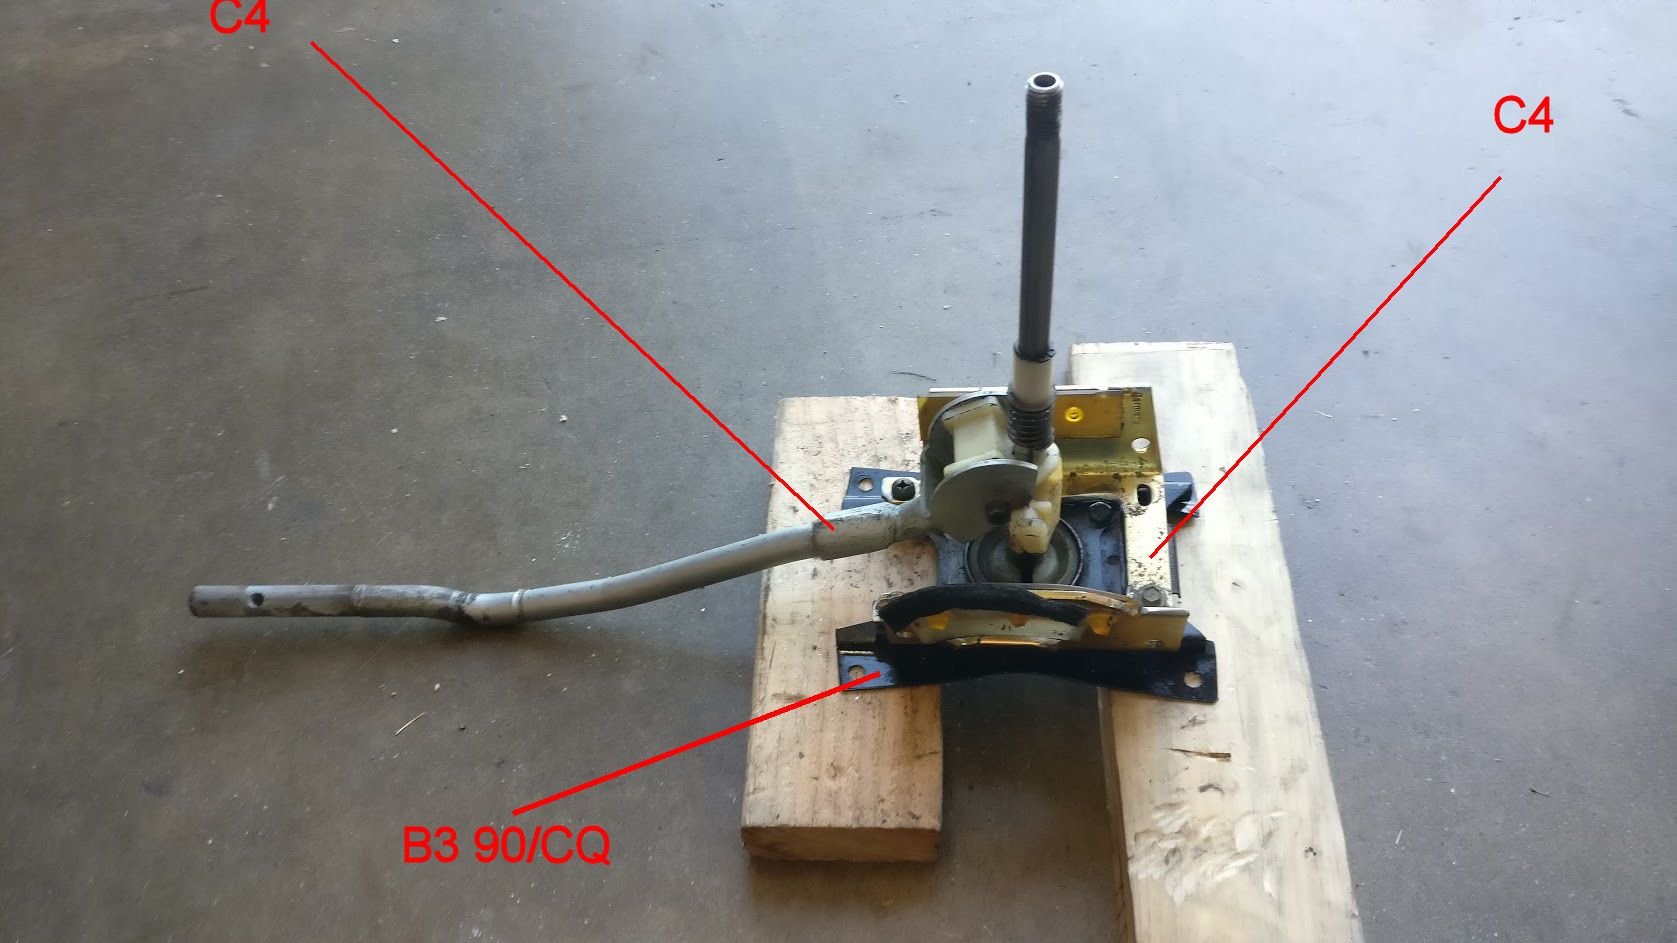
Finally received the C4 Shifter and mount. Per the information provided, I believe by the "Hank's" conversion (pic included), I was suppose to get a B3 90/CQ base plate and I could not understand why. I reached out to a few people and either they don't remember why it was that way or they shared other options to mount. Basically its what ever your capable of doing and works, with that said, I saw no reason why I shouldn't modify the C4 brackets.
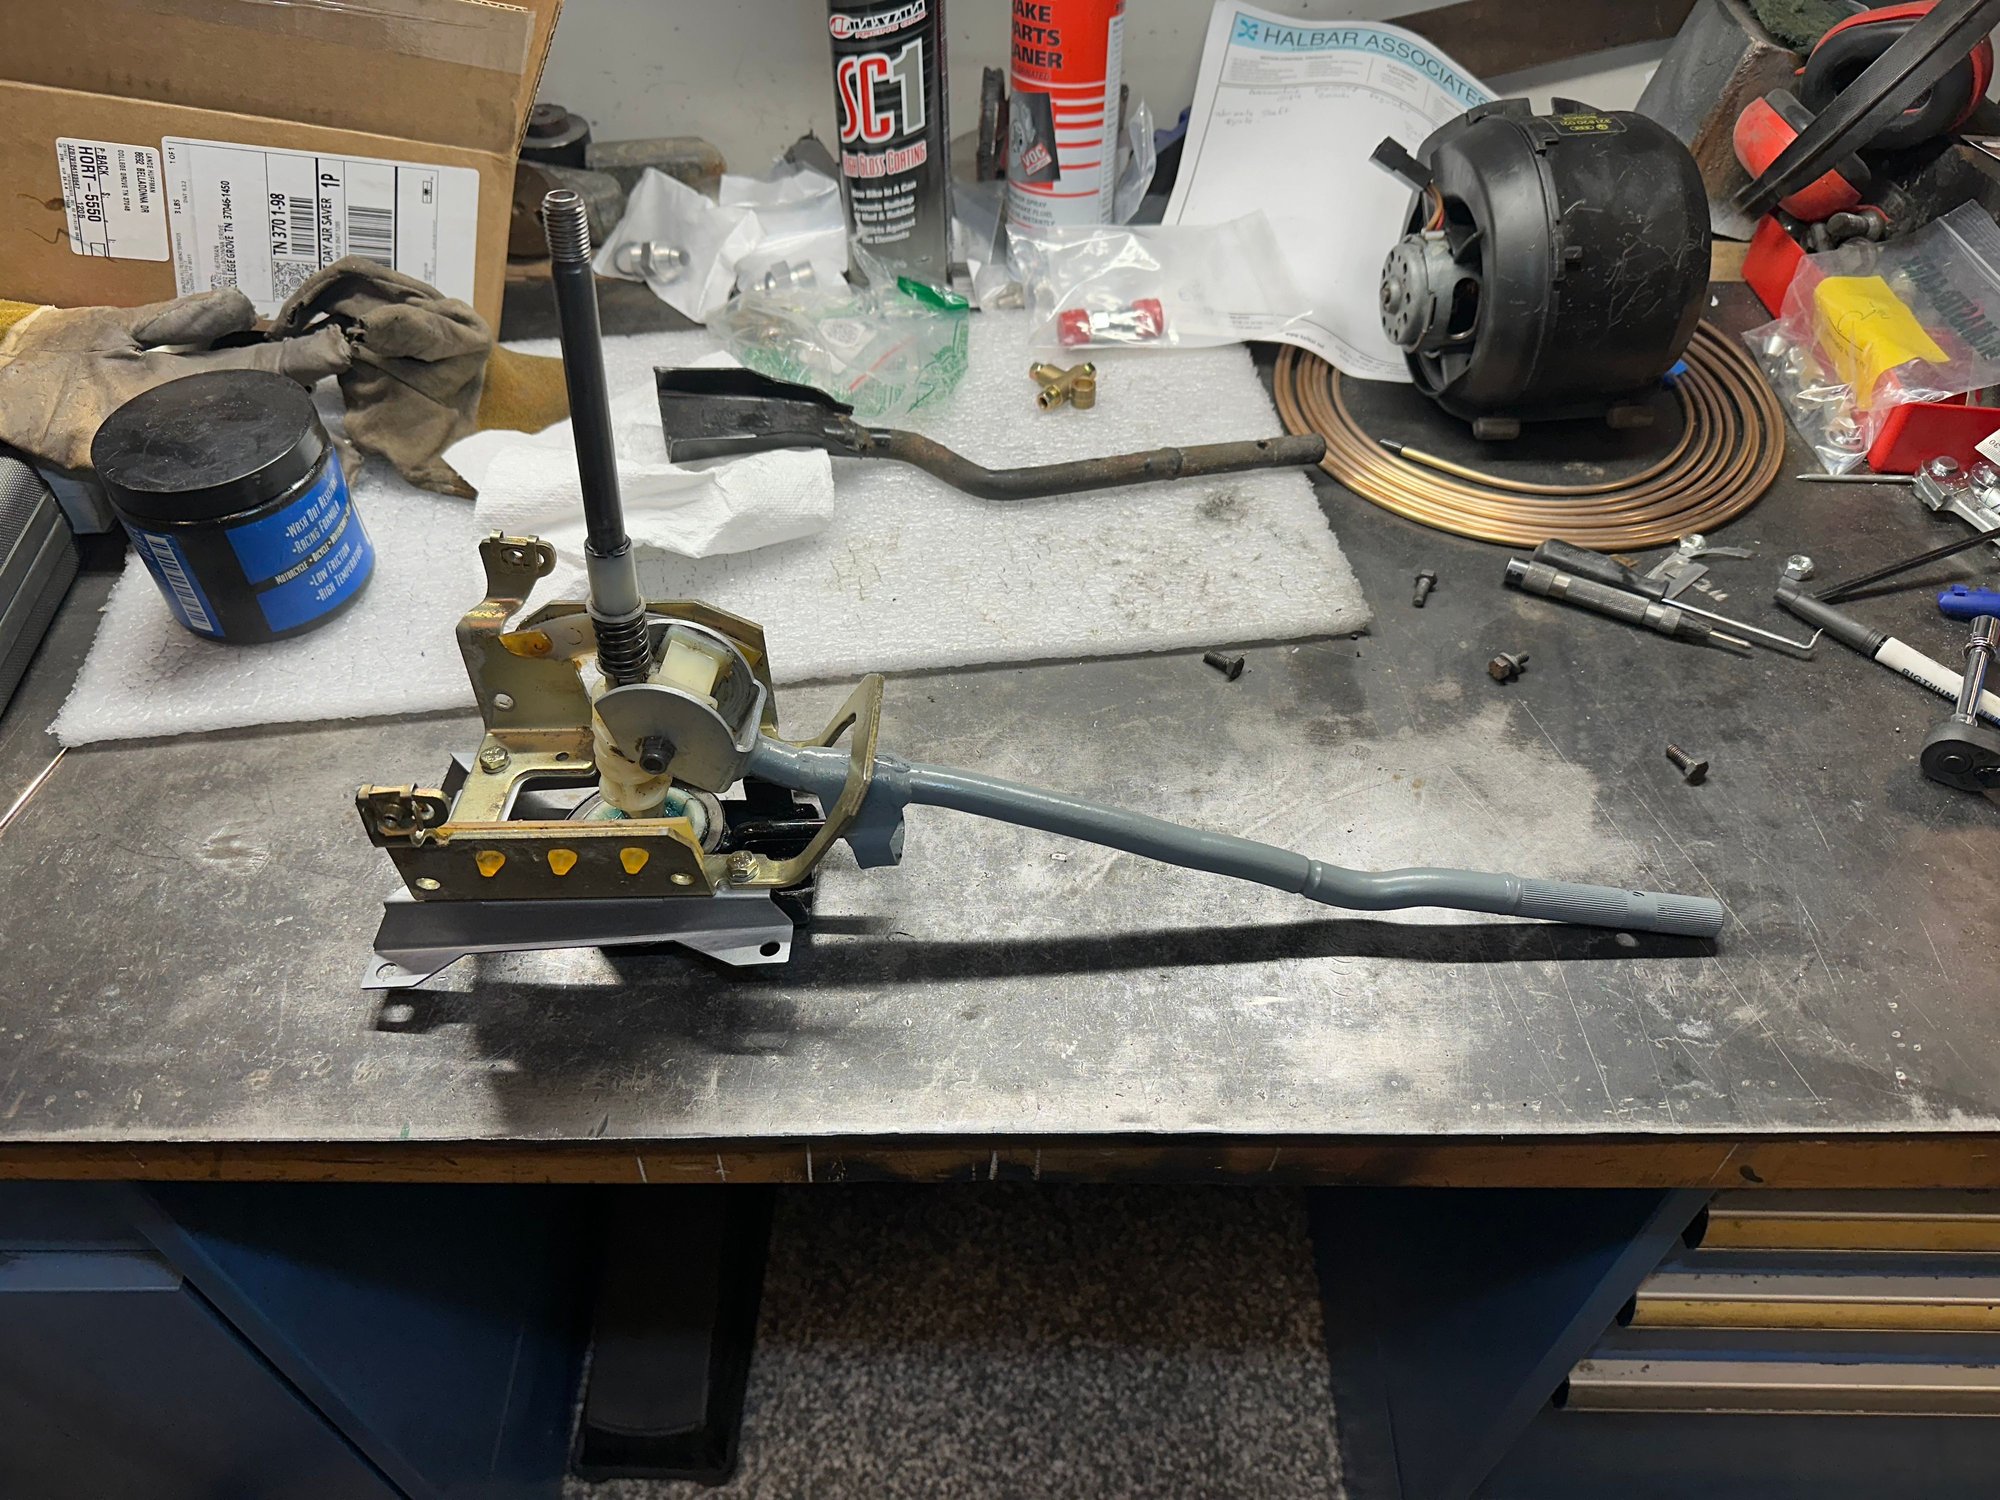
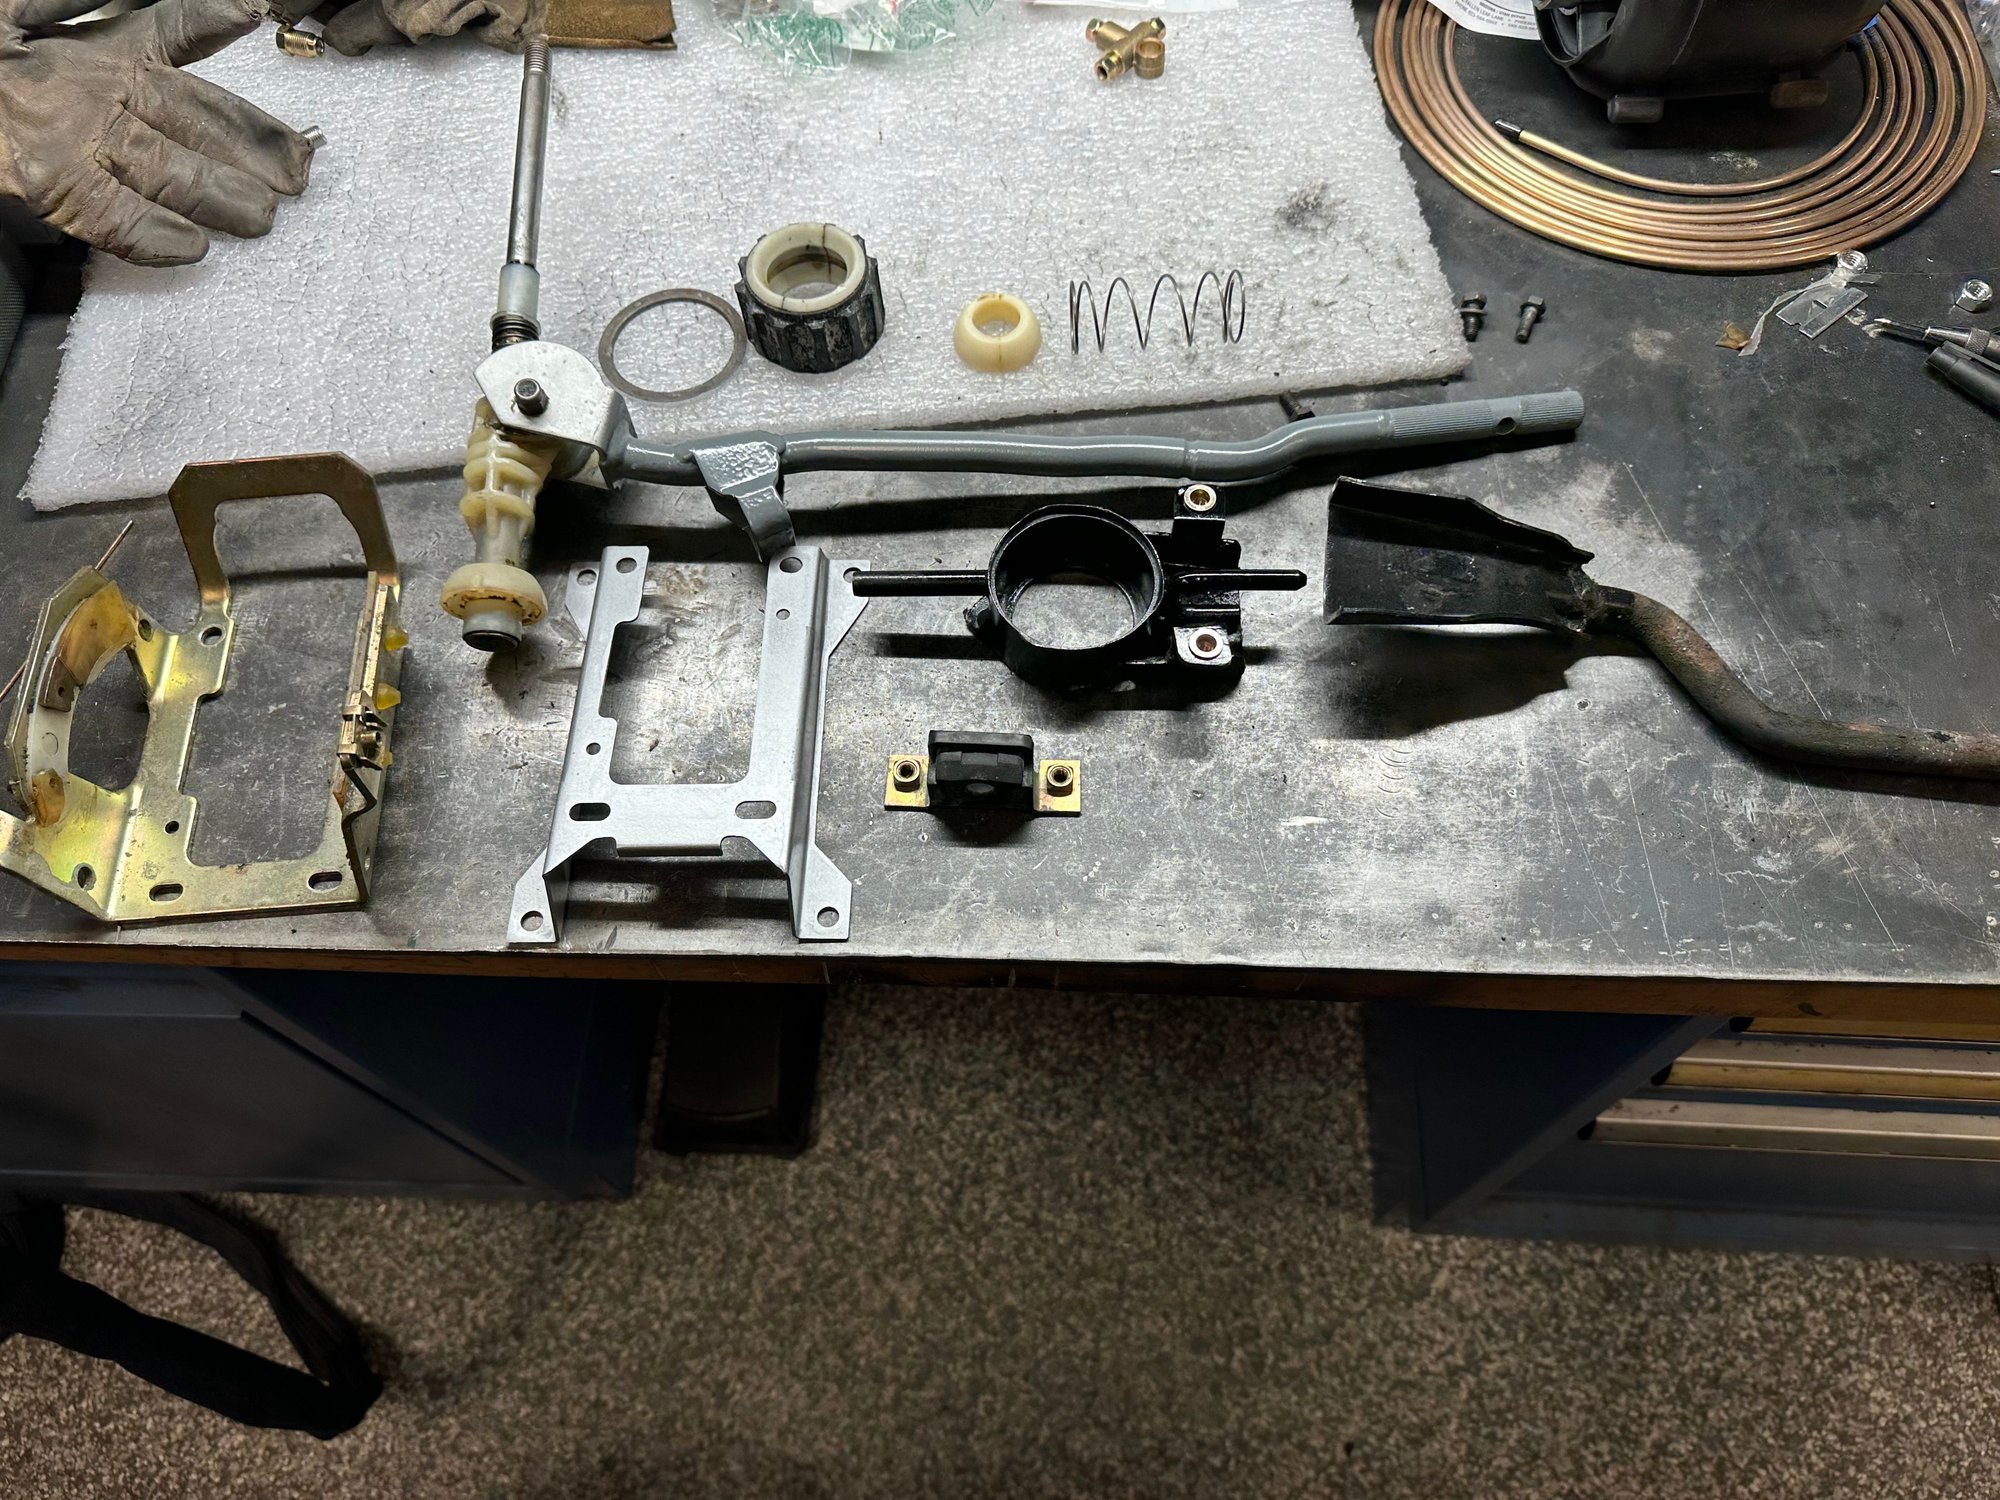
I am sorry, but I forgot to take a picture of the C4 shifter before I modified, but tried to piece it back together in a photo. Bottom line is the C4 shifter comes with (2) rods, one connects to the the shifter and the other is a mount for the linkage. The mount does not convert, so I cut it off and made mounts for the shift ball housing to attach to the shifter mount, so it has the same solid mount as the rod that was removed. Time will tell if my adjustment works, but so far everything bolts right in the chassis.....we will see how it connects to the trans and shifts a bit latter....fingers crossed.
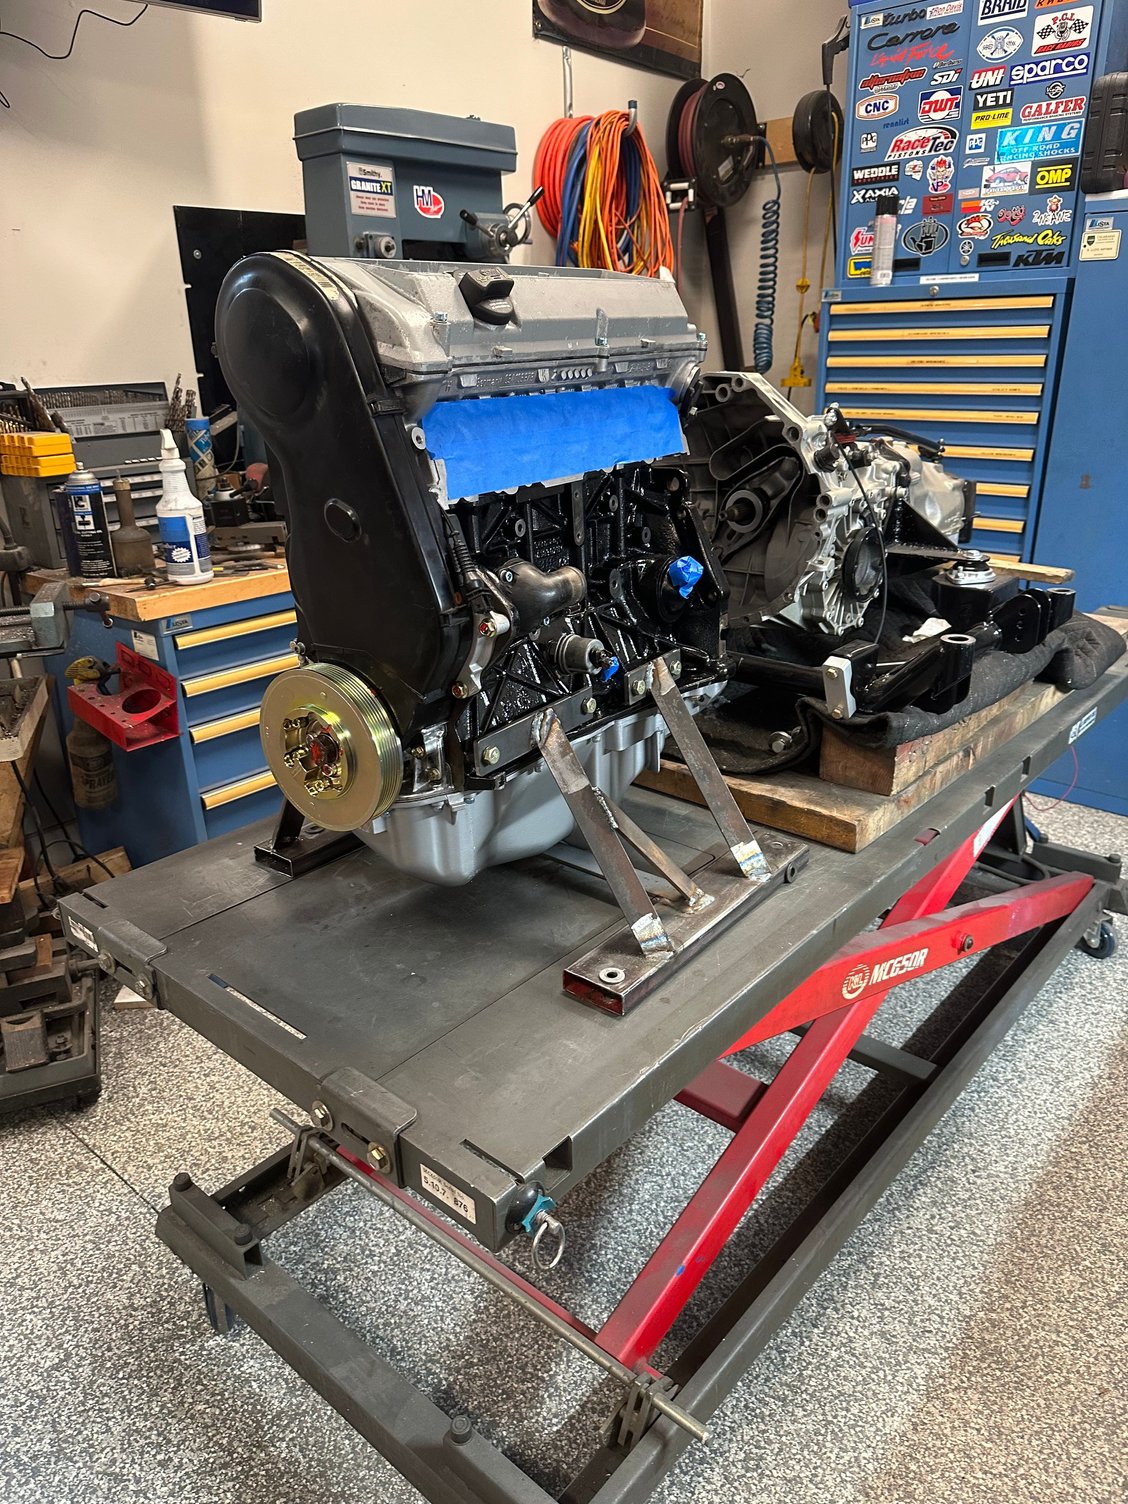
Today is a good day, received the engine back from Jeff at Four Rings. I have lots to do before installing in car, but happy to have it back so I can test fit parts before it does go in the car.
Before pulling the motor, I decided to fit check the new header and radiator. I will not be using the header, turbo or inter cooler that came with the car. The header is 1 1/2� Dia. S.S. tube which is under size for the hp i am looking for. The new header is 2�, you can see in the pictures the differences. The turbo and inter cooler are also undersized.
Whats the power goal? 1.5" is 38mm ID exhaust manfifold. I made 1200hp on a 2JZ with a 35.8mm ID exhaust manifold. On a turbo car a bigger manifold isnt better.
Whats the power goal? 1.5" is 38mm ID exhaust manfifold. I made 1200hp on a 2JZ with a 35.8mm ID exhaust manifold. On a turbo car a bigger manifold isnt better.
Interesting article.
I'm going by what the experts are suggesting. Jeff with Four Rings Performance is the premier Audi AAN engine builder and he has provided his views on my needs for the build. The difference in the two headers are day in night with regards to fabrication. The 1 1/2 header was built ok for a one off and the header that is going on the car was engineered and built by a professional exhaust shop.....I believe it was a F1 shop or something. As I have mentioned, the car is to be reliable and a daily driver if chosen. With that said, the car will make 450hp on pump gas and 650 on E85. The engine will take 750 all day long but the turbo that was chosen is only good to 650, but will have less lag and good top end. The 450 to 650 hp is usable hp all the time, meaning you can drive the crap out of it and it will remain reliable
Awesome build. I have a 1985 URQ with an AAN engine built for me by Apikol located in Boulder, CO. Our goal was only 350HP, but plenty fun to drive. Enjoy!
Awesome build. I have a 1985 URQ with an AAN engine built for me by Apikol located in Boulder, CO. Our goal was only 350HP, but plenty fun to drive. Enjoy!
Thanks
from what I understand, 350hp out of the 20v is very achievable with minimum engine mods, which is really nice. Has to be fun to drive. I am running 300hp in my Lancia Delta and it�s a blast to drive, will bump up to 450hp after adding Motec to allow proper tuning.
Looks like rear diff is finally done and will be waiting for me after my travels and I can get the rear end done. New engine harness for Motec should be done sometime in Feb and then can get engine installed.
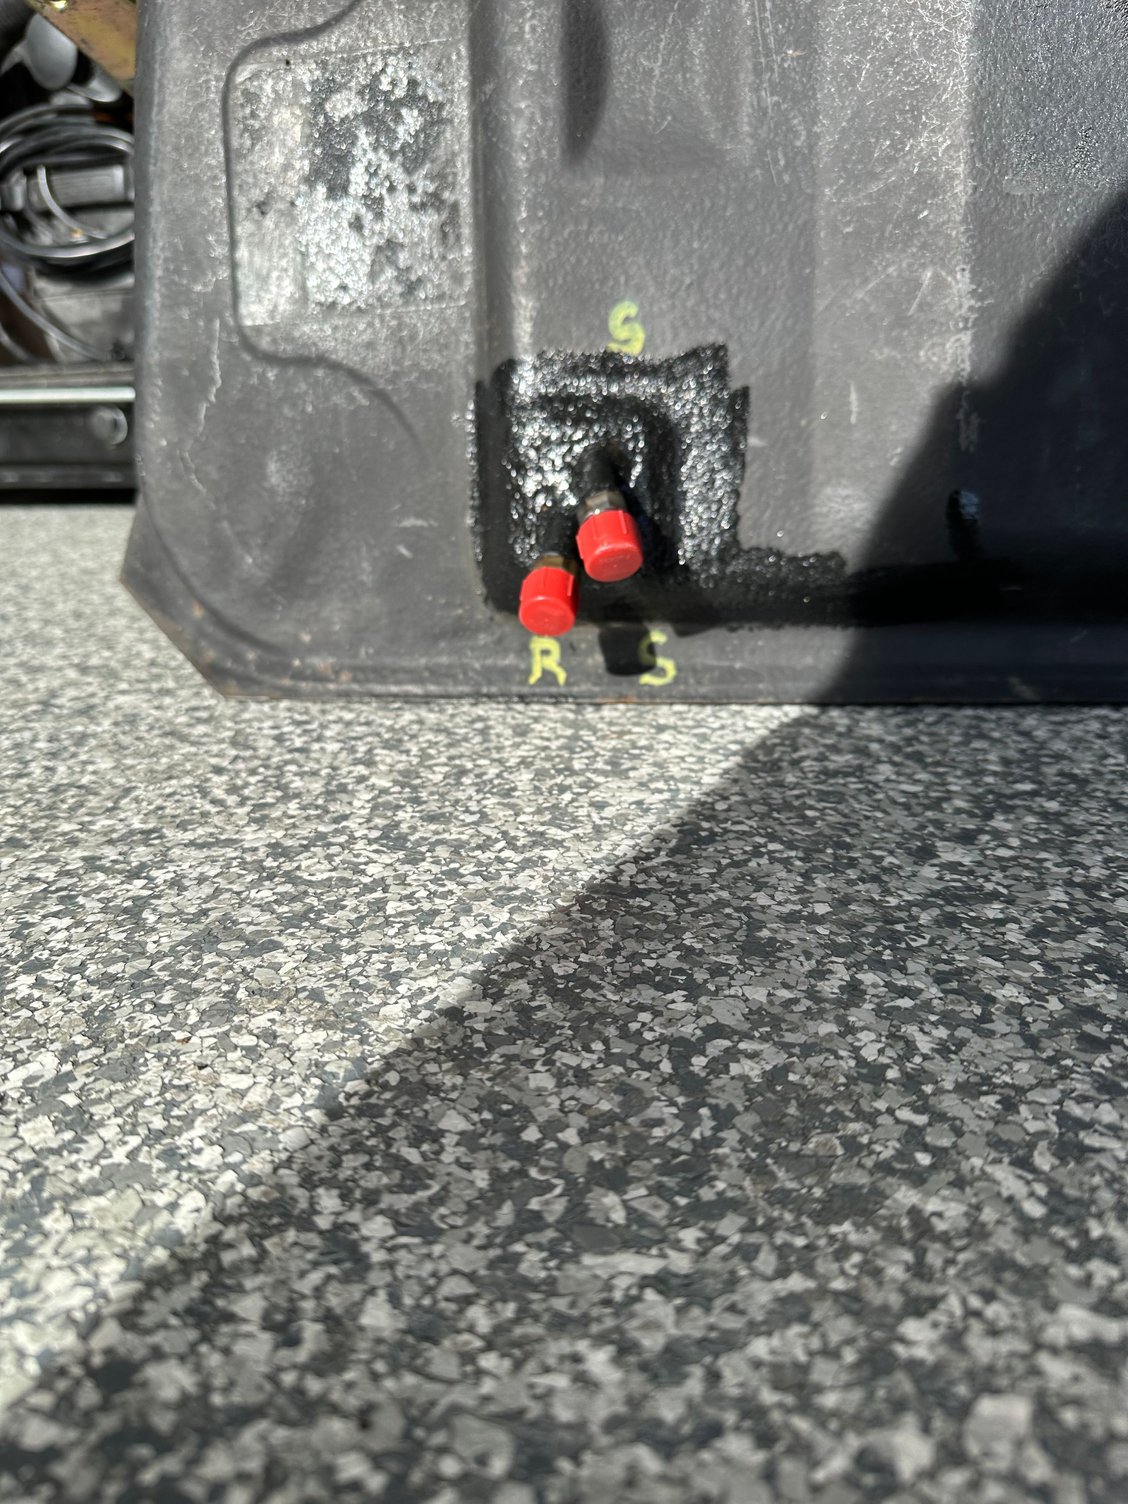
Started upgrading the fuel system. The fuel tank was surprisingly clean on the inside, no rust or varnish build, so I used a tank cleaner and flushed the tank.
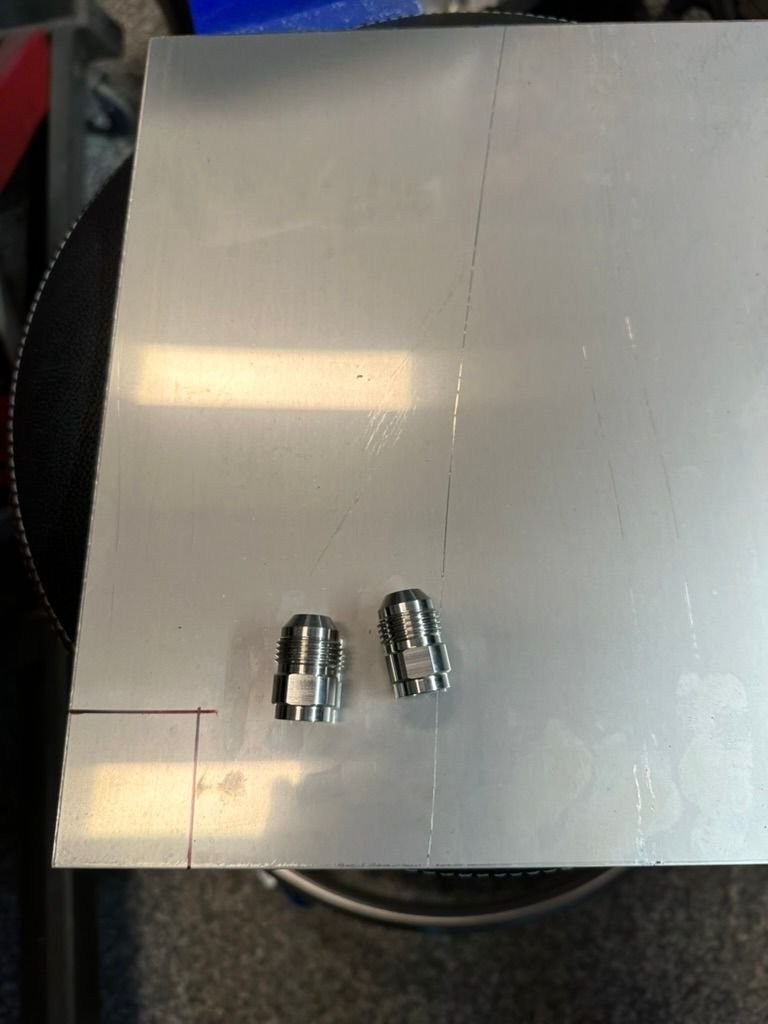
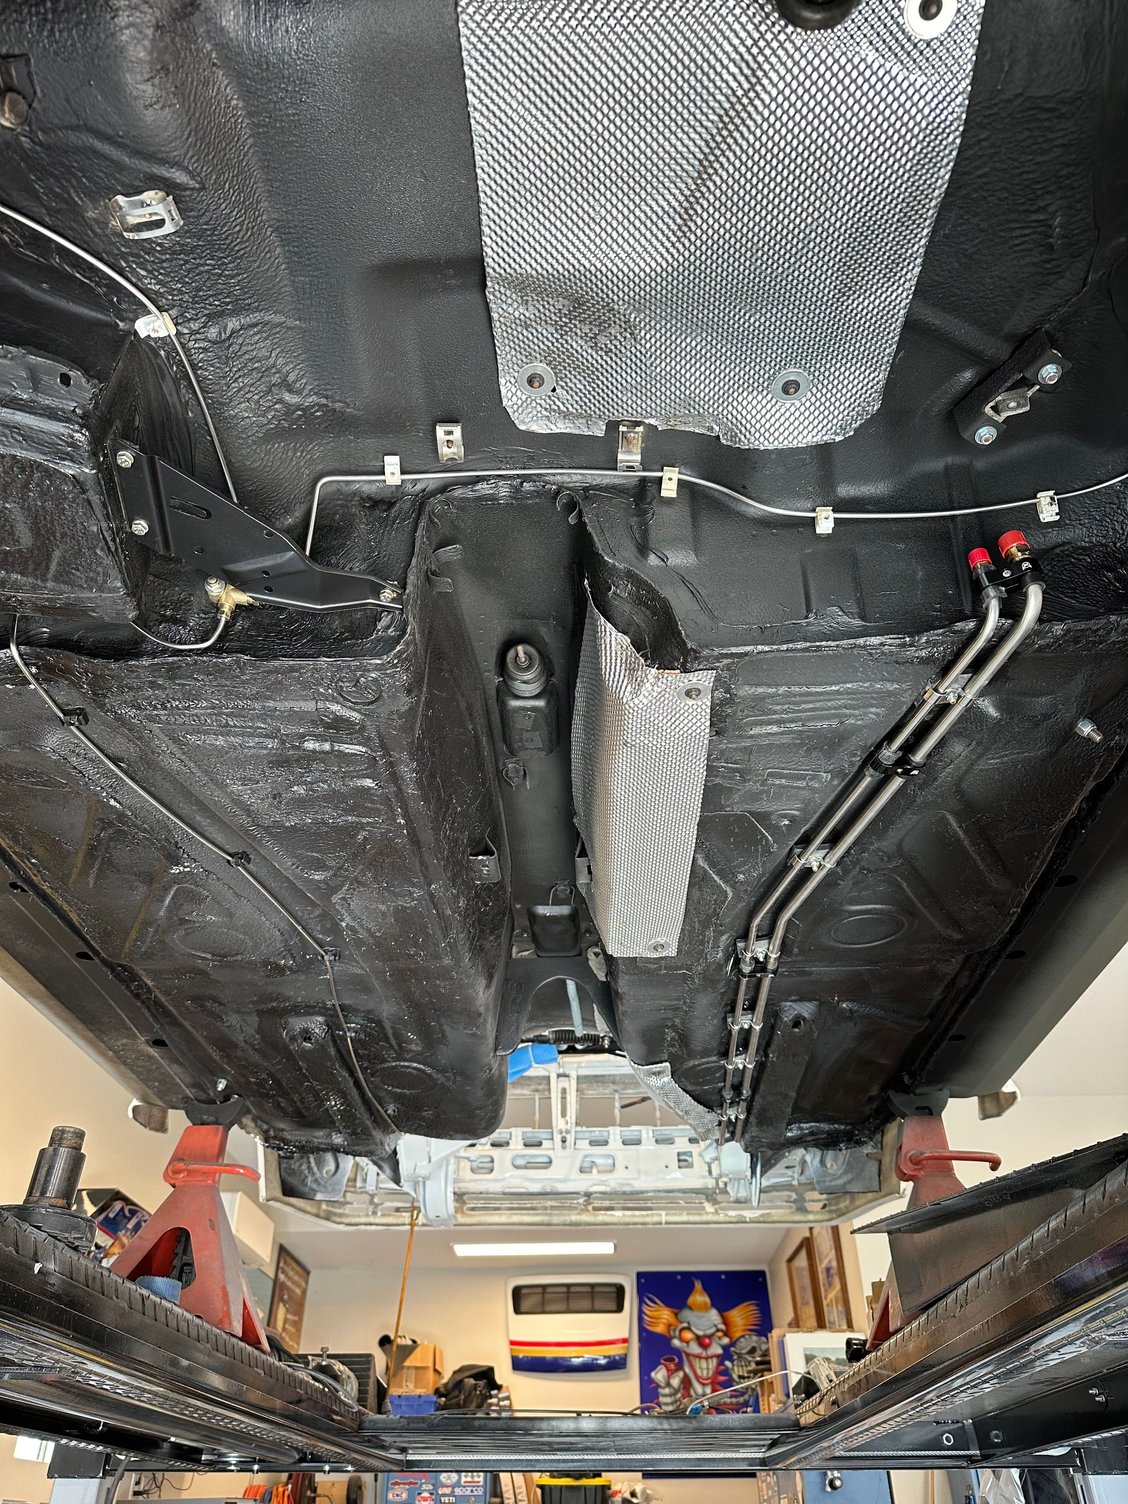
I cut off the supply and return lines on the bottom of the tank and brazed -8 tubing and AN fittings on. I will run S.S braided line from tank to fuel pump and to the S.S return line.
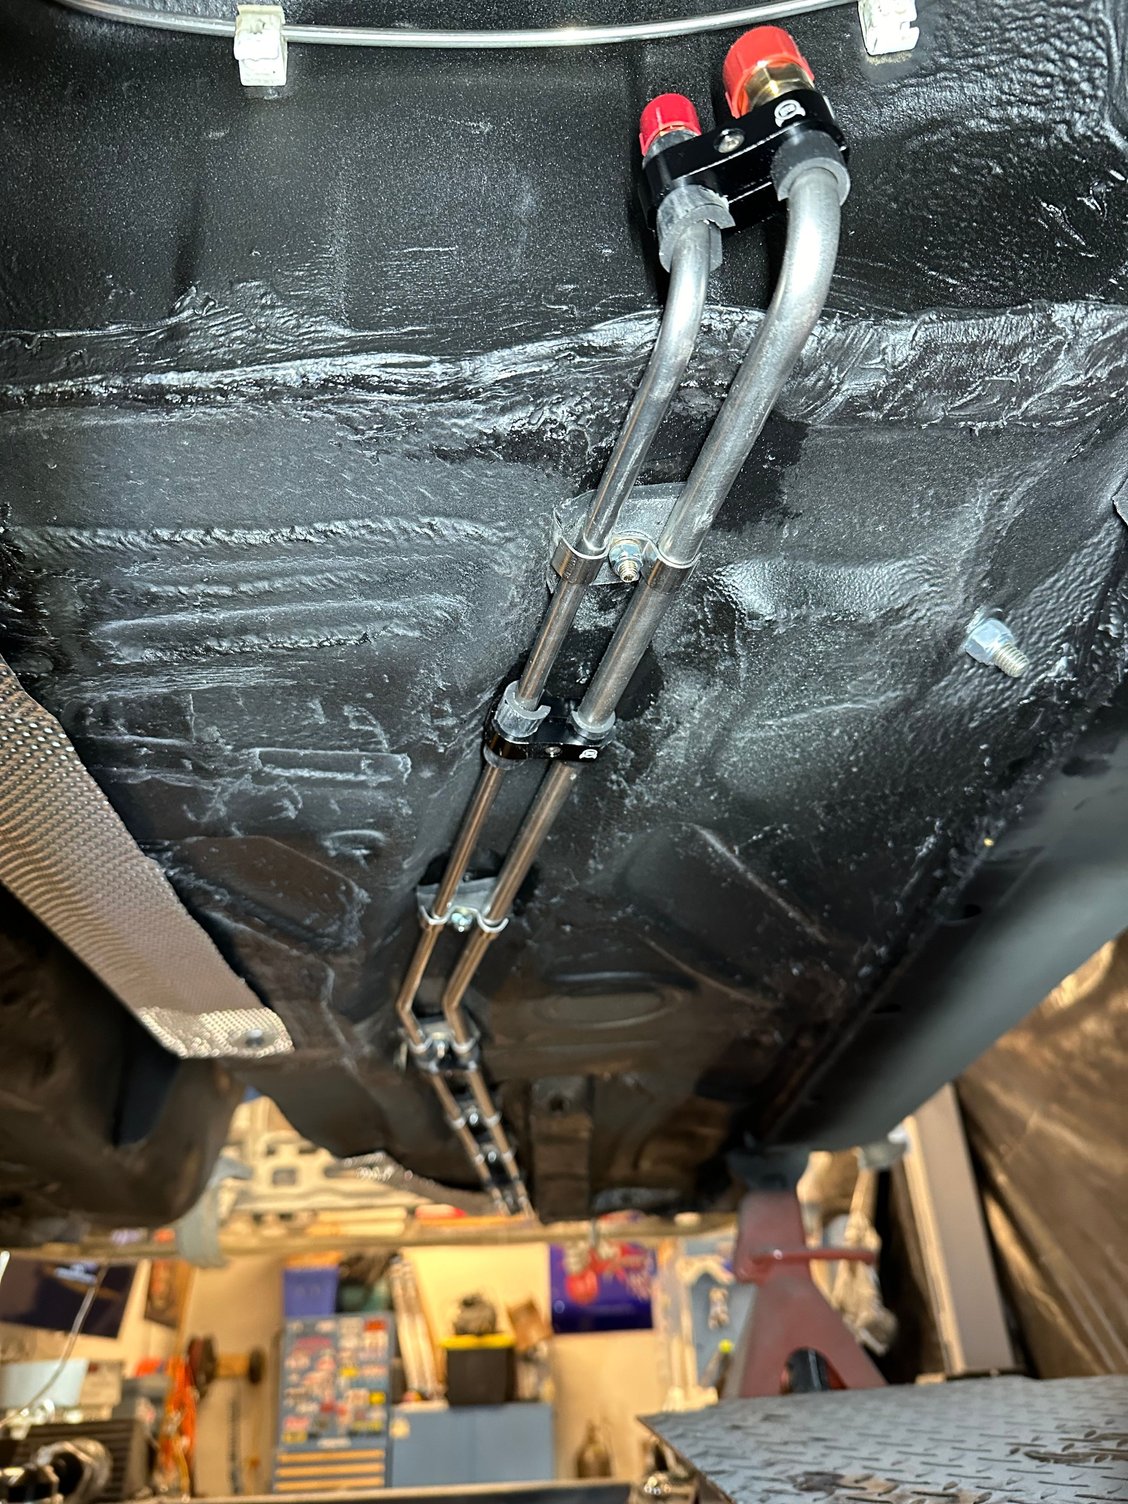
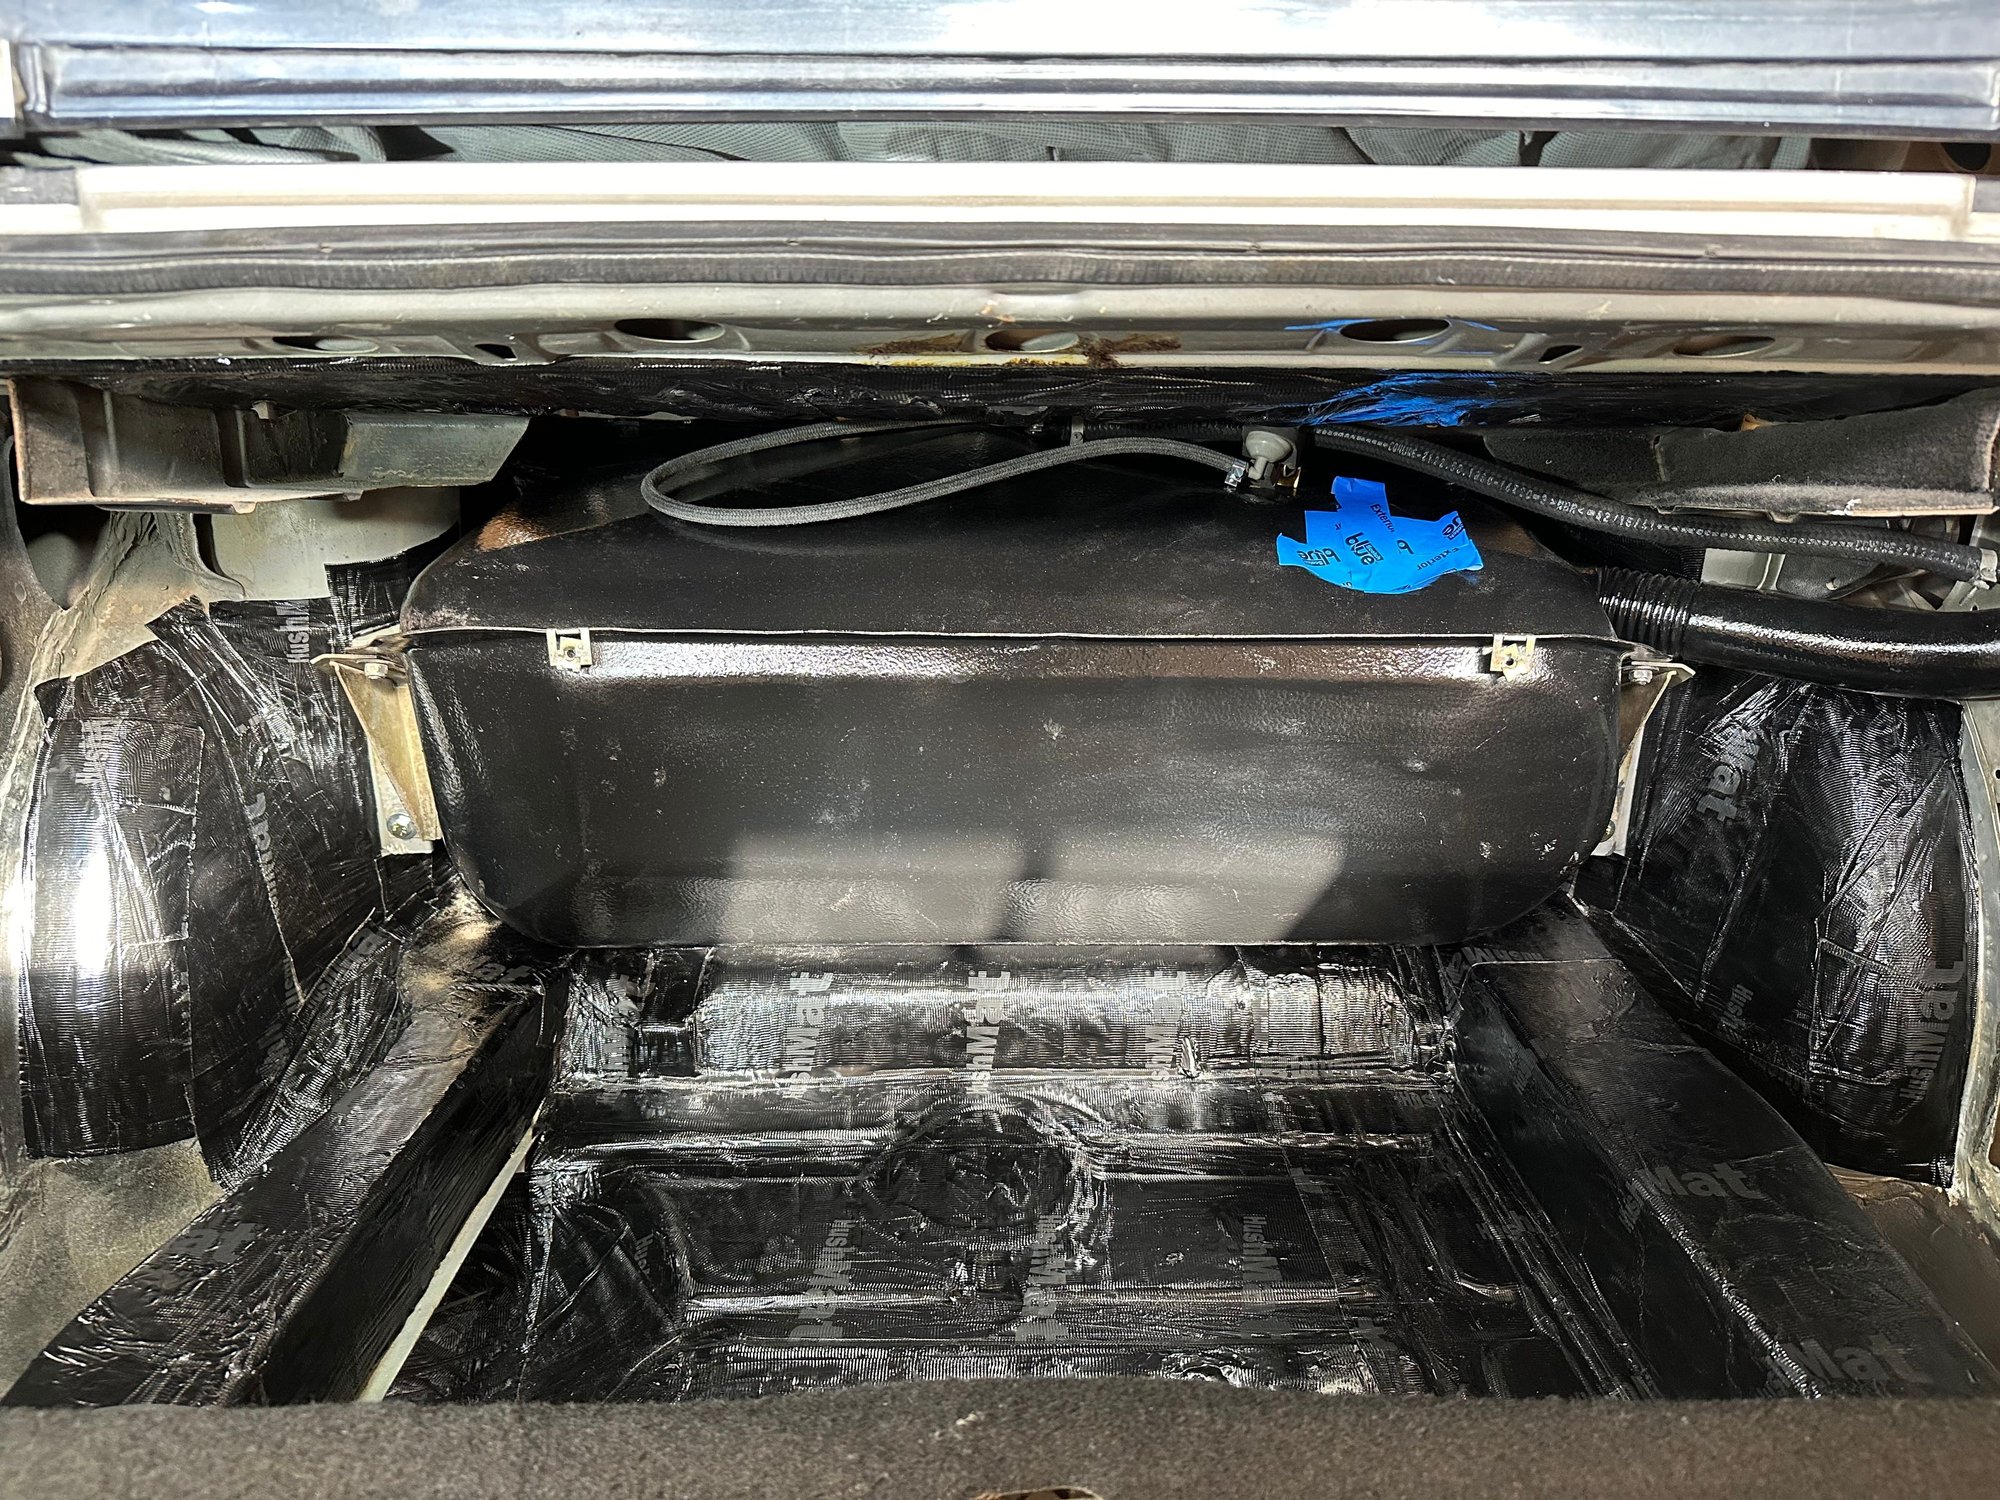
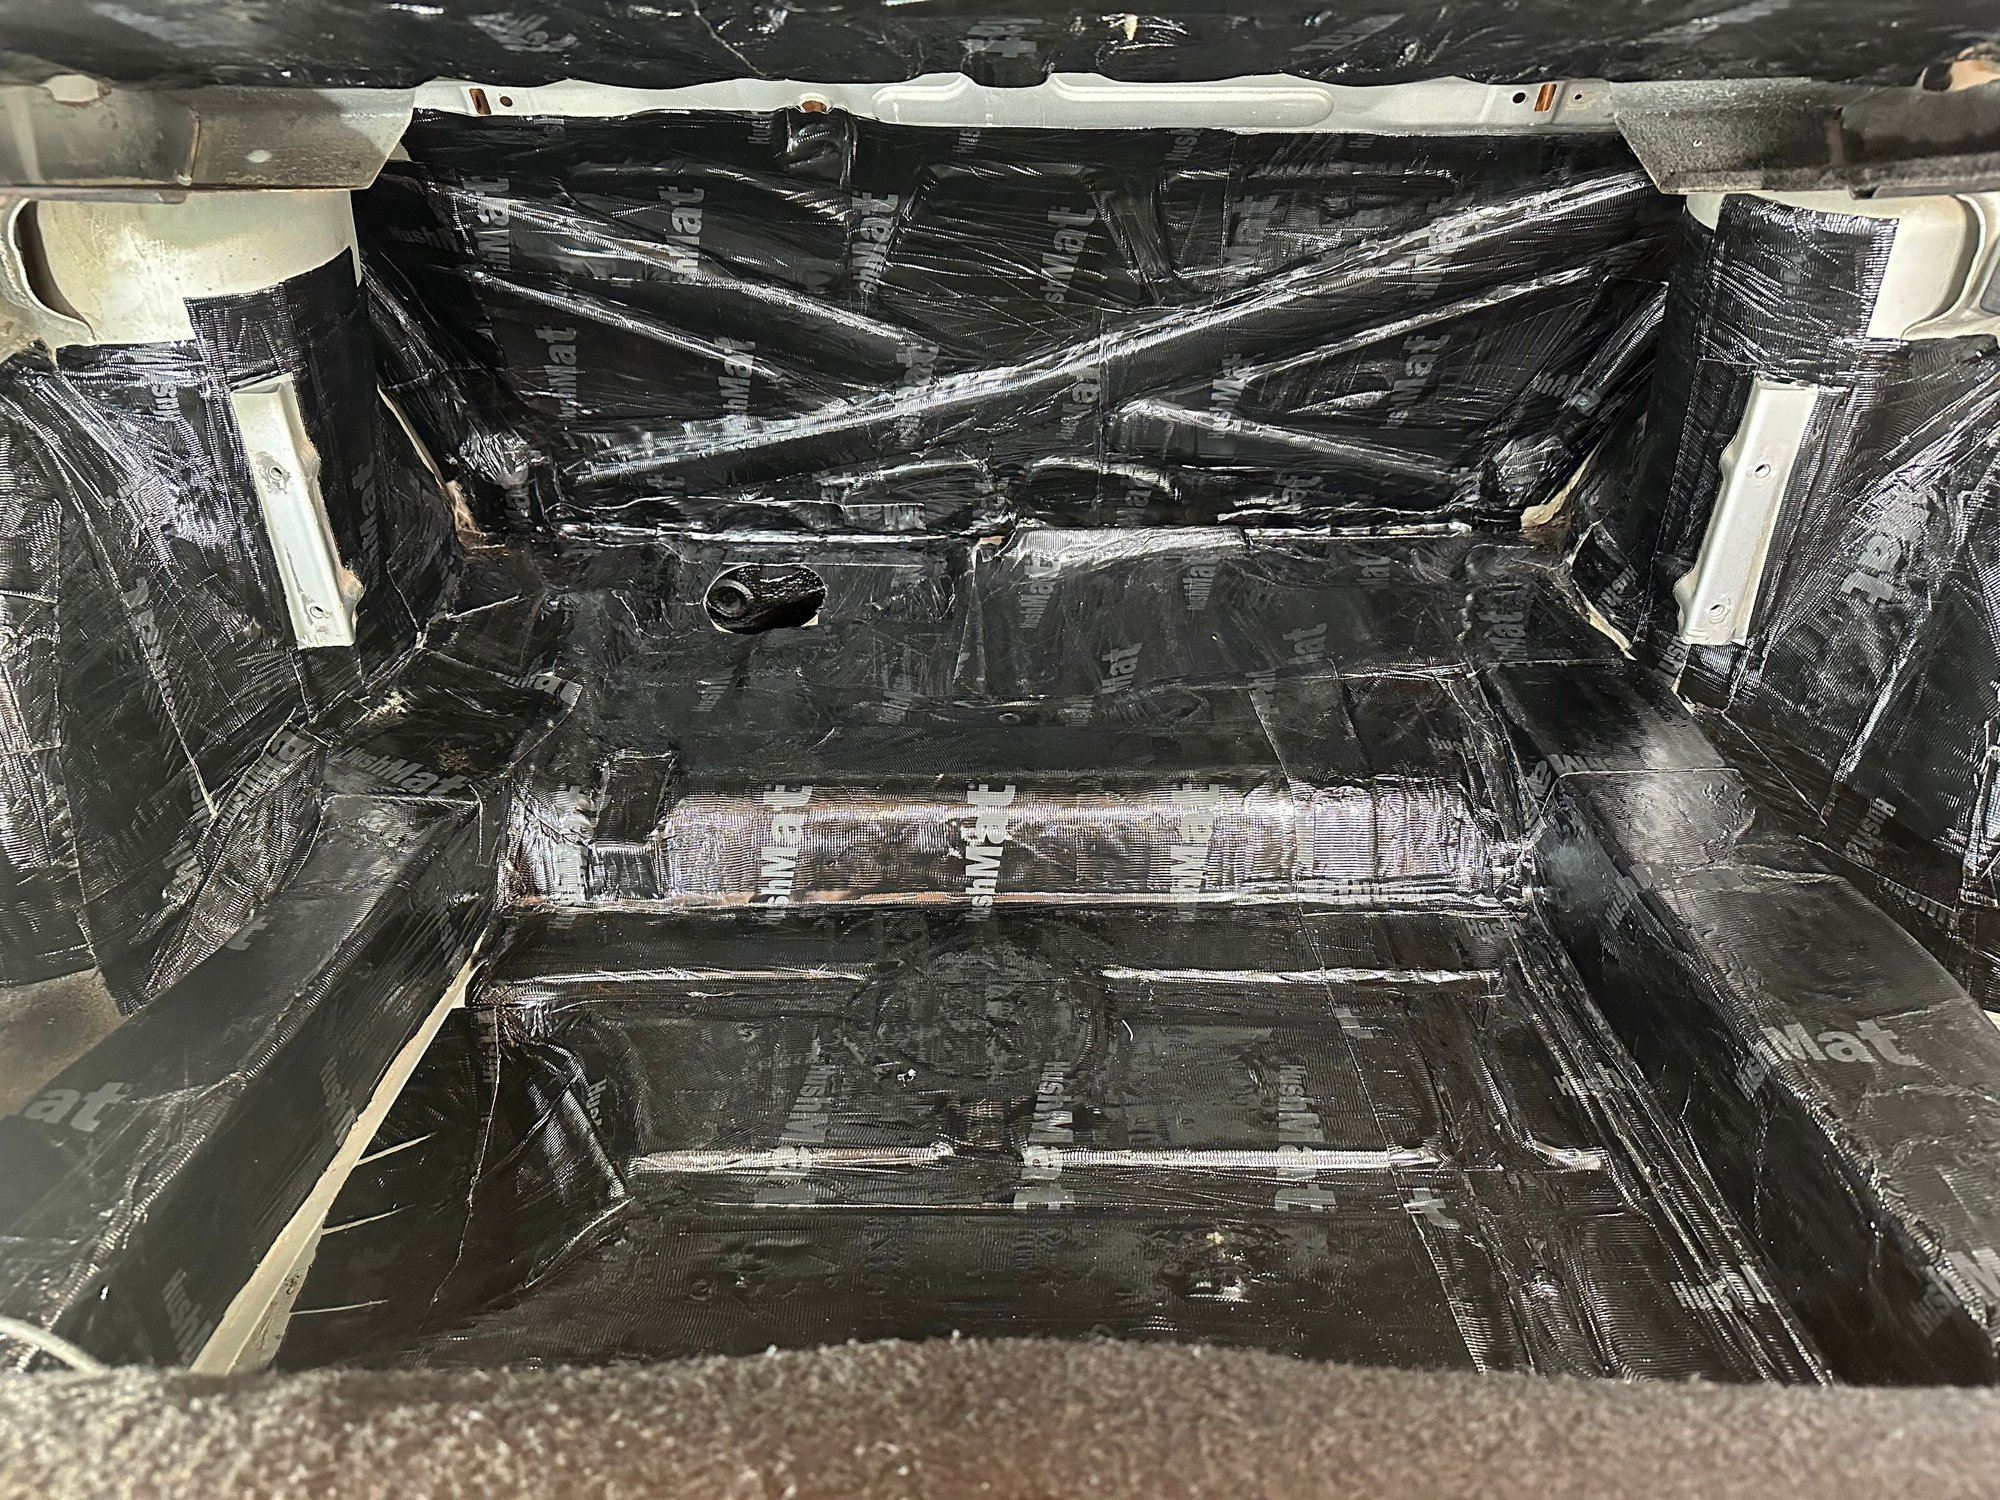
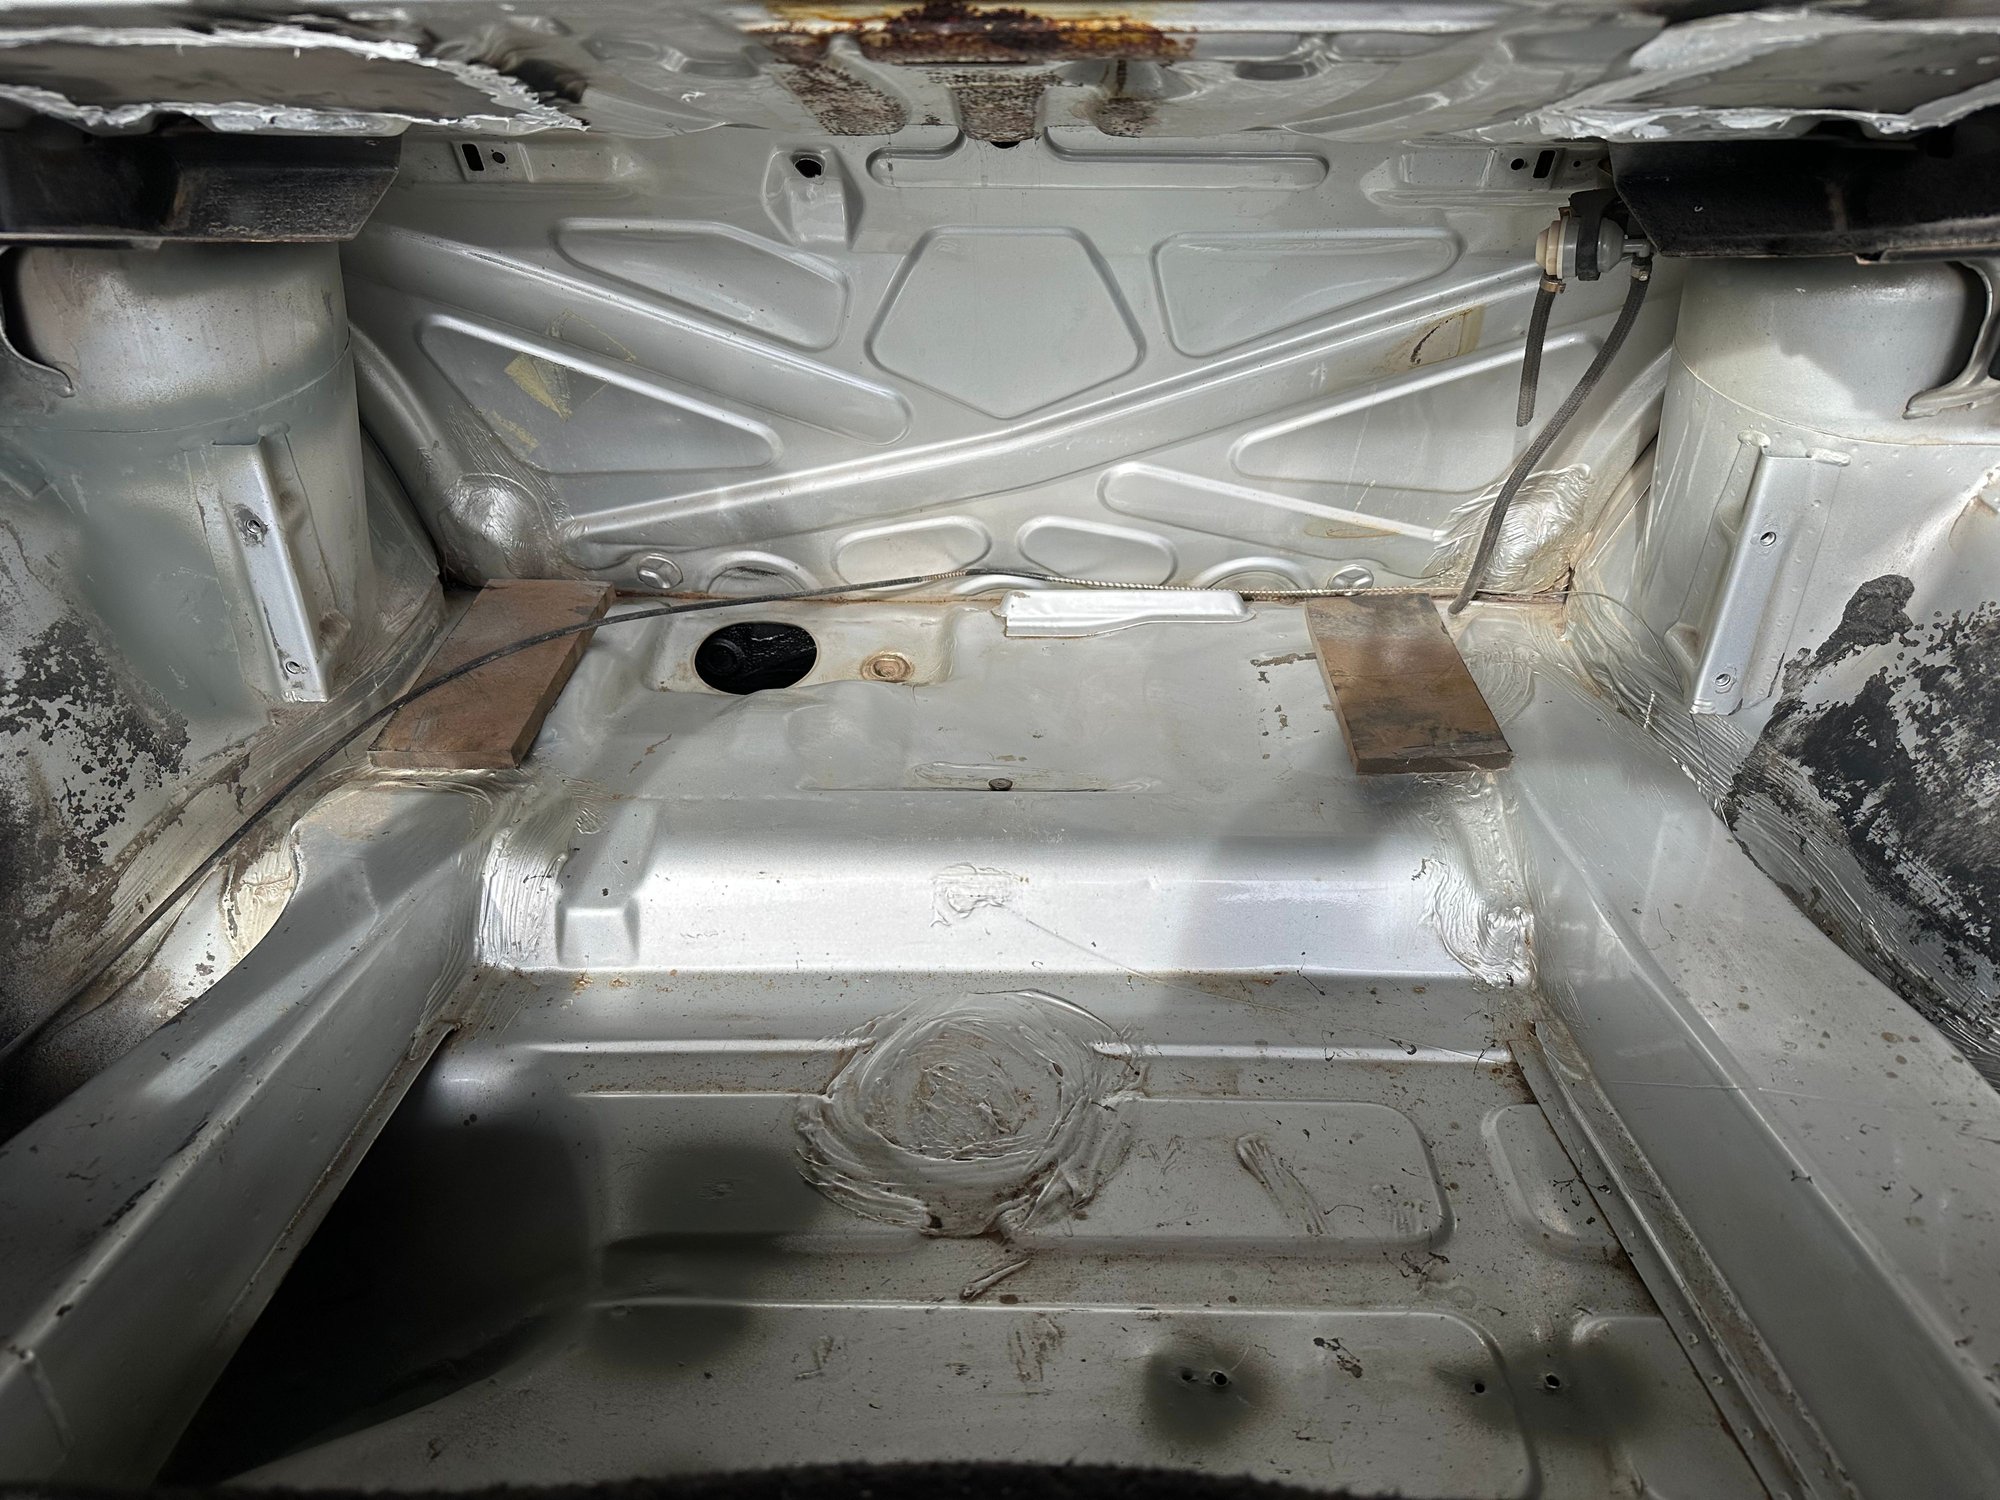
Added sound deadening material to trunk.
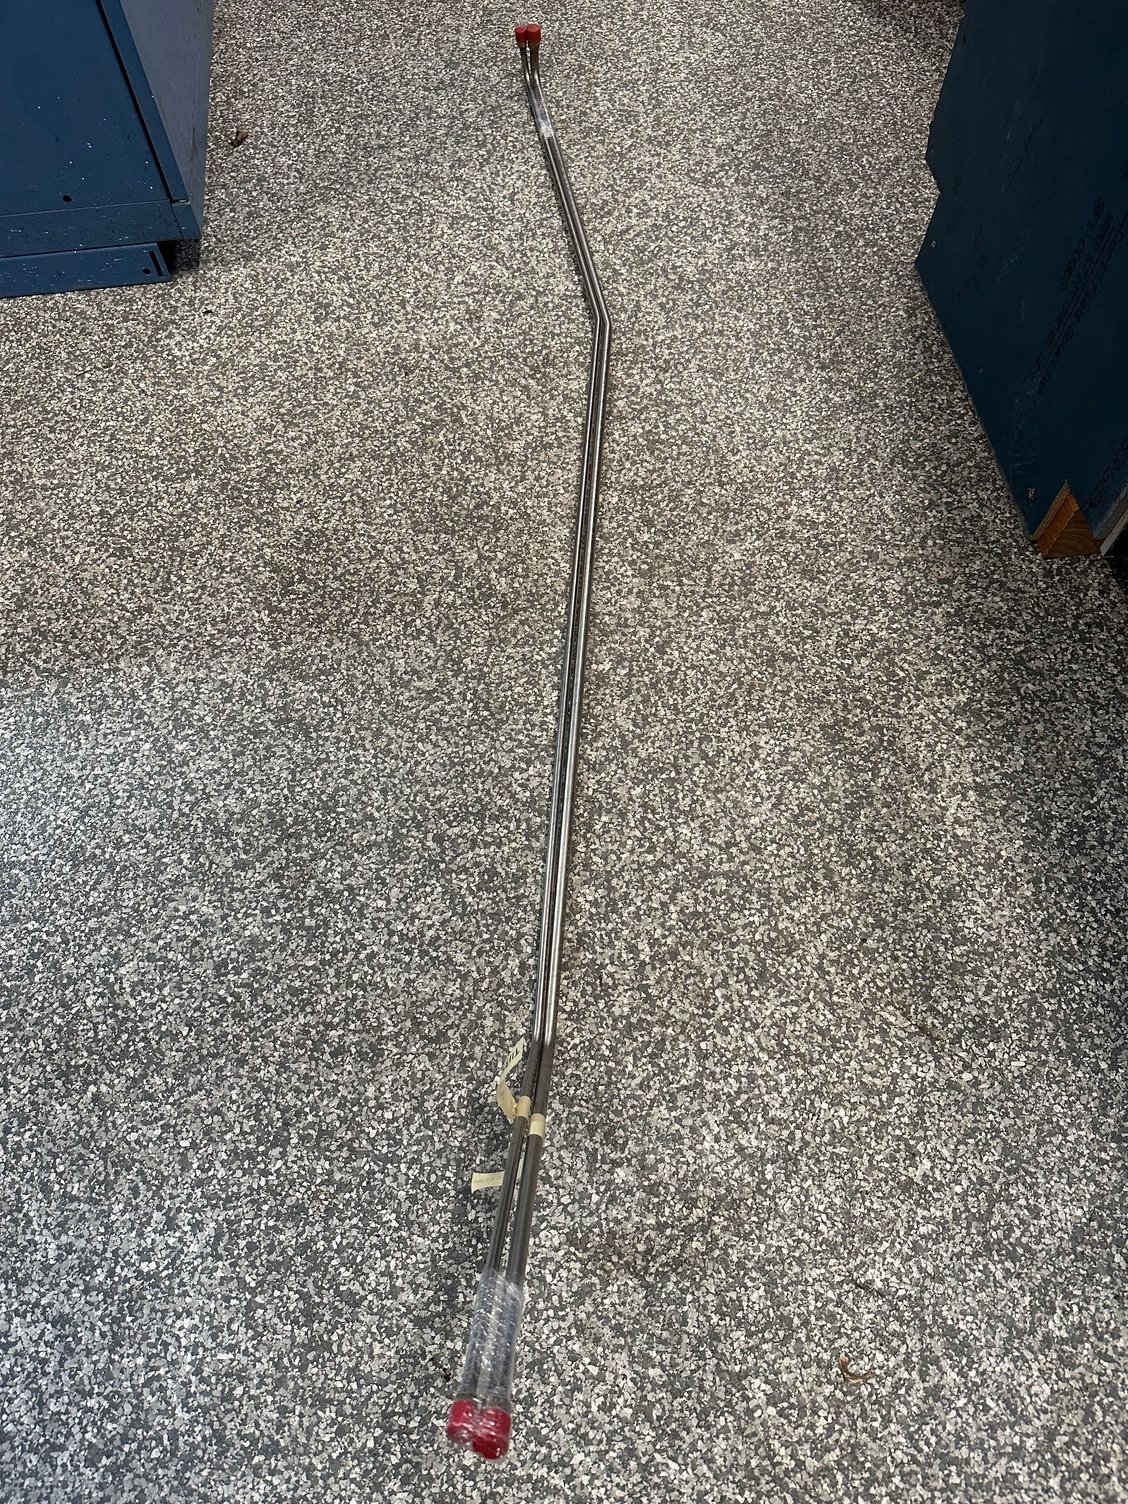
I sent a drawing to BMR and they bent up S.S -8 supply line and a -6 return line with AN fittings, to replace the oem hard lines.
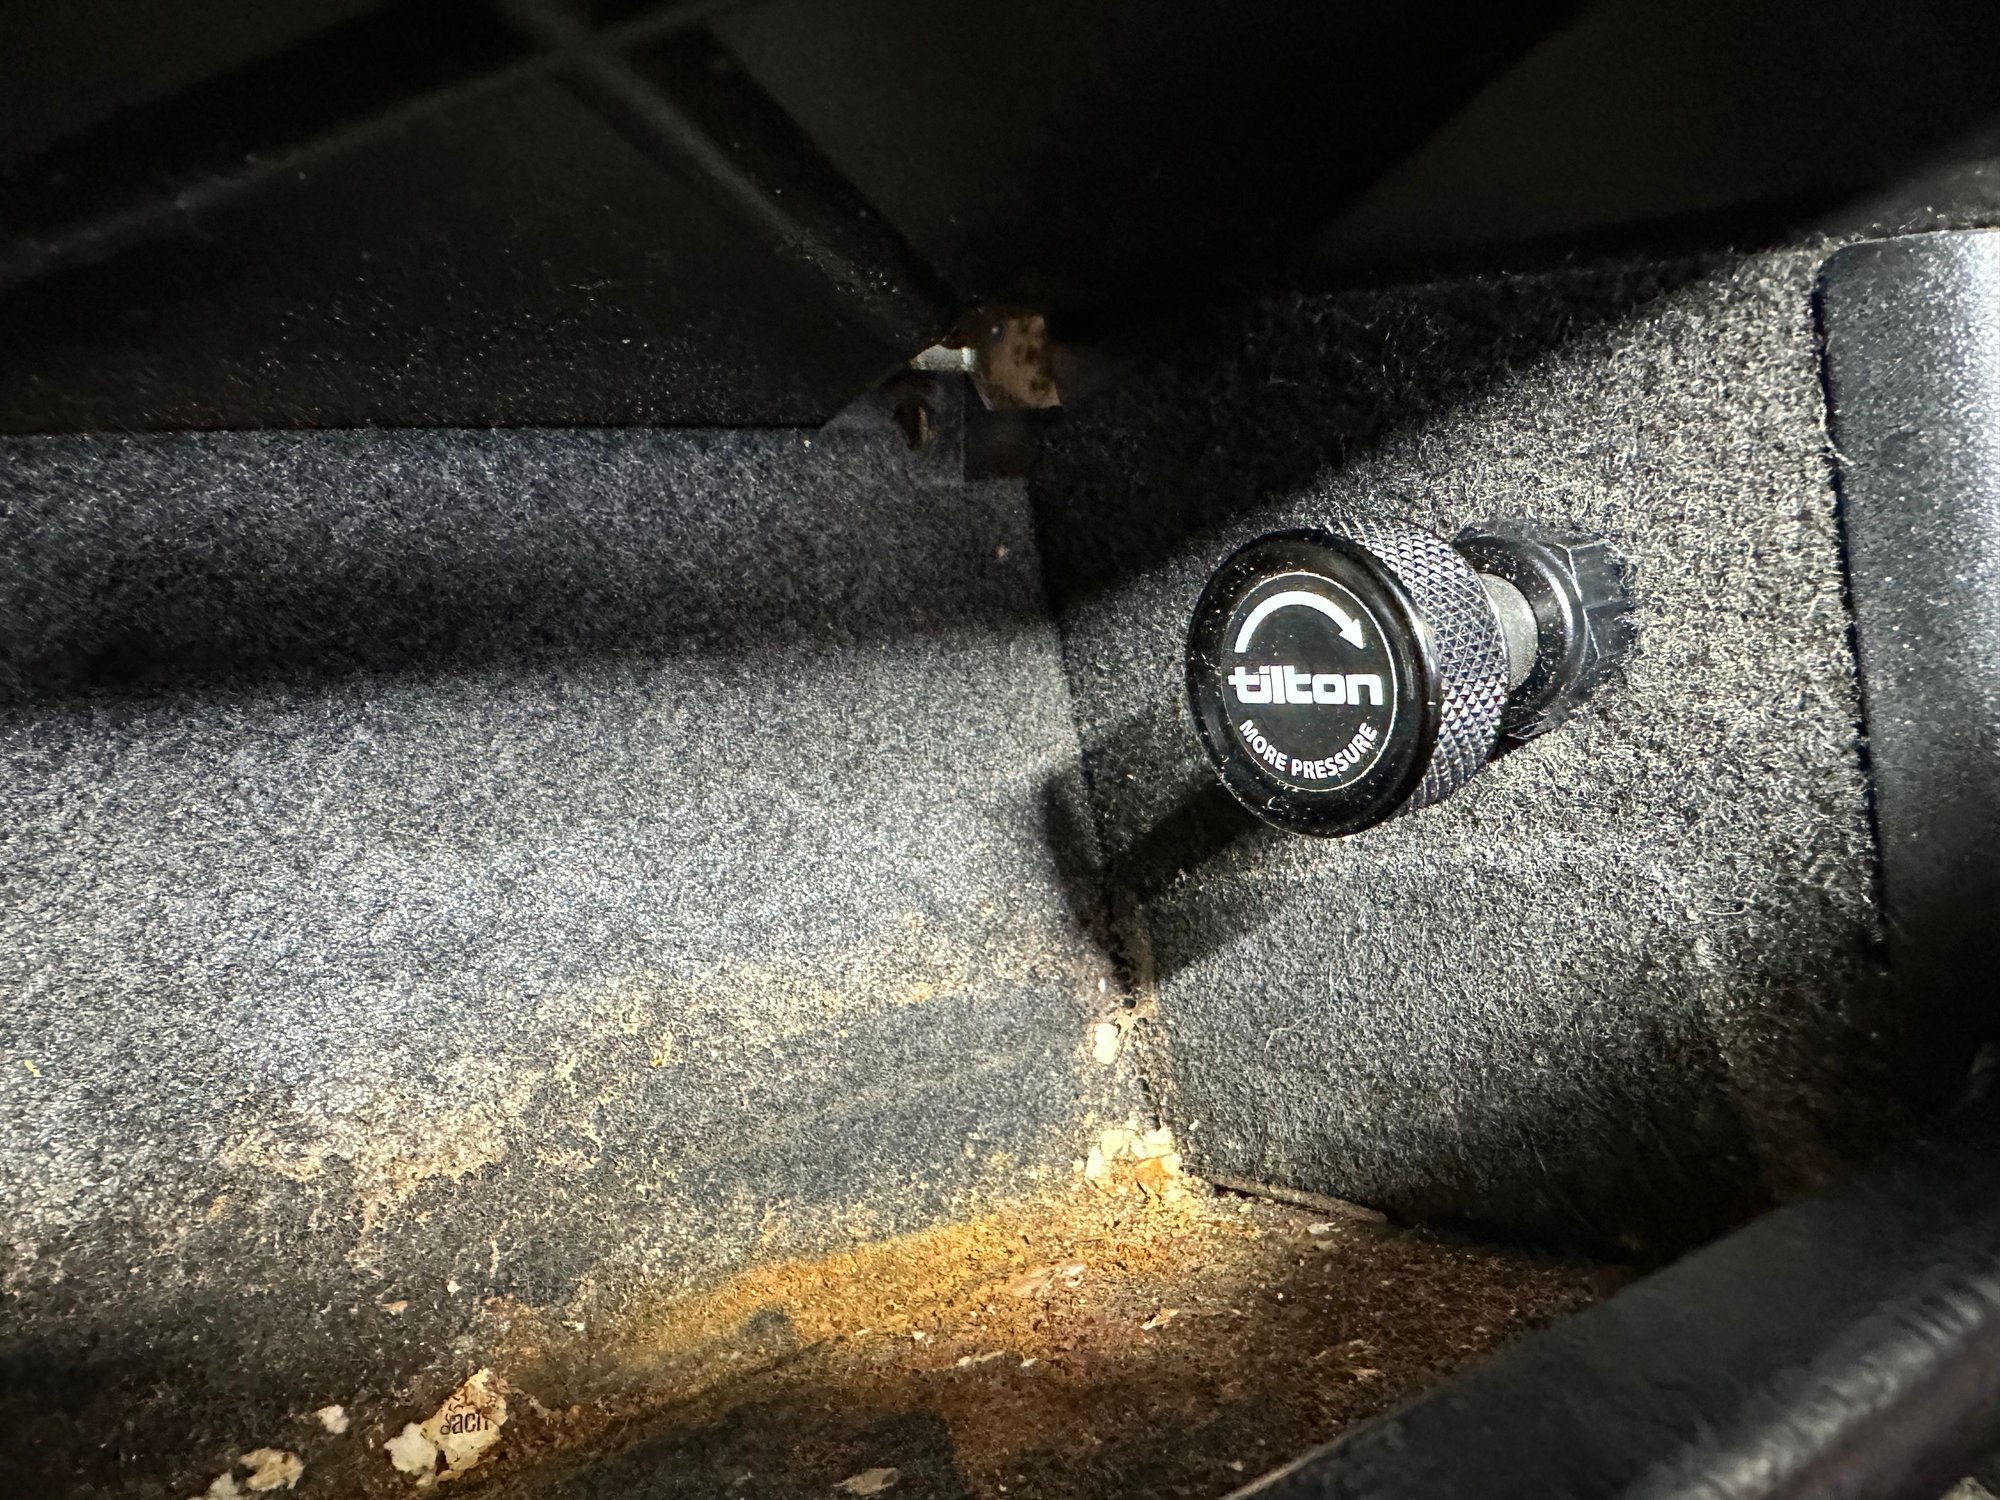
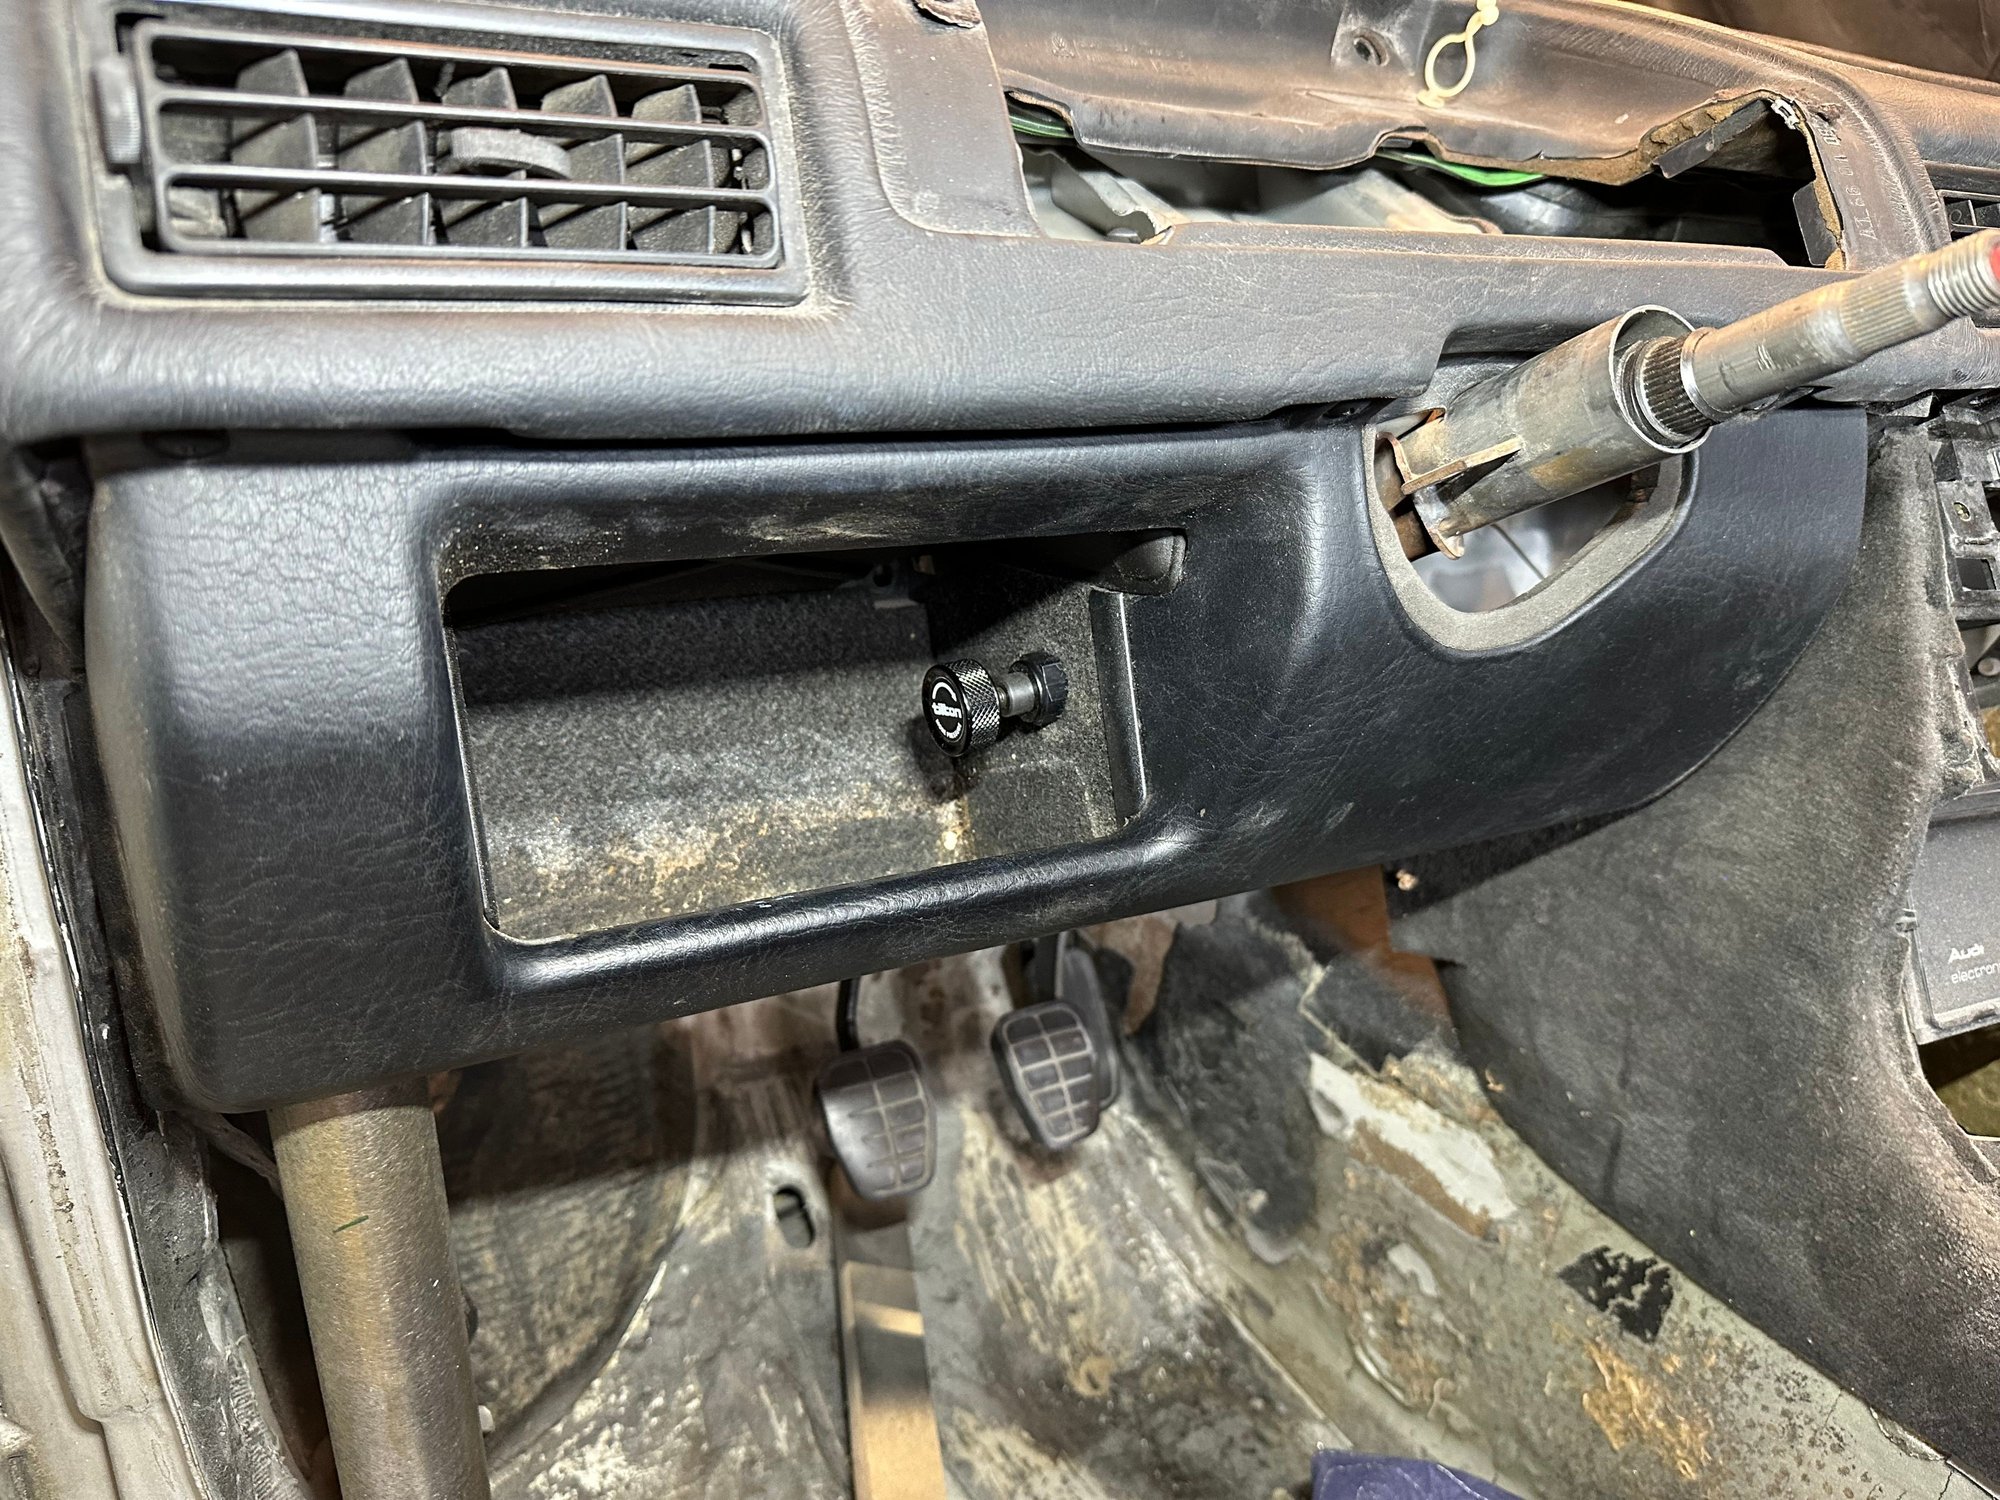
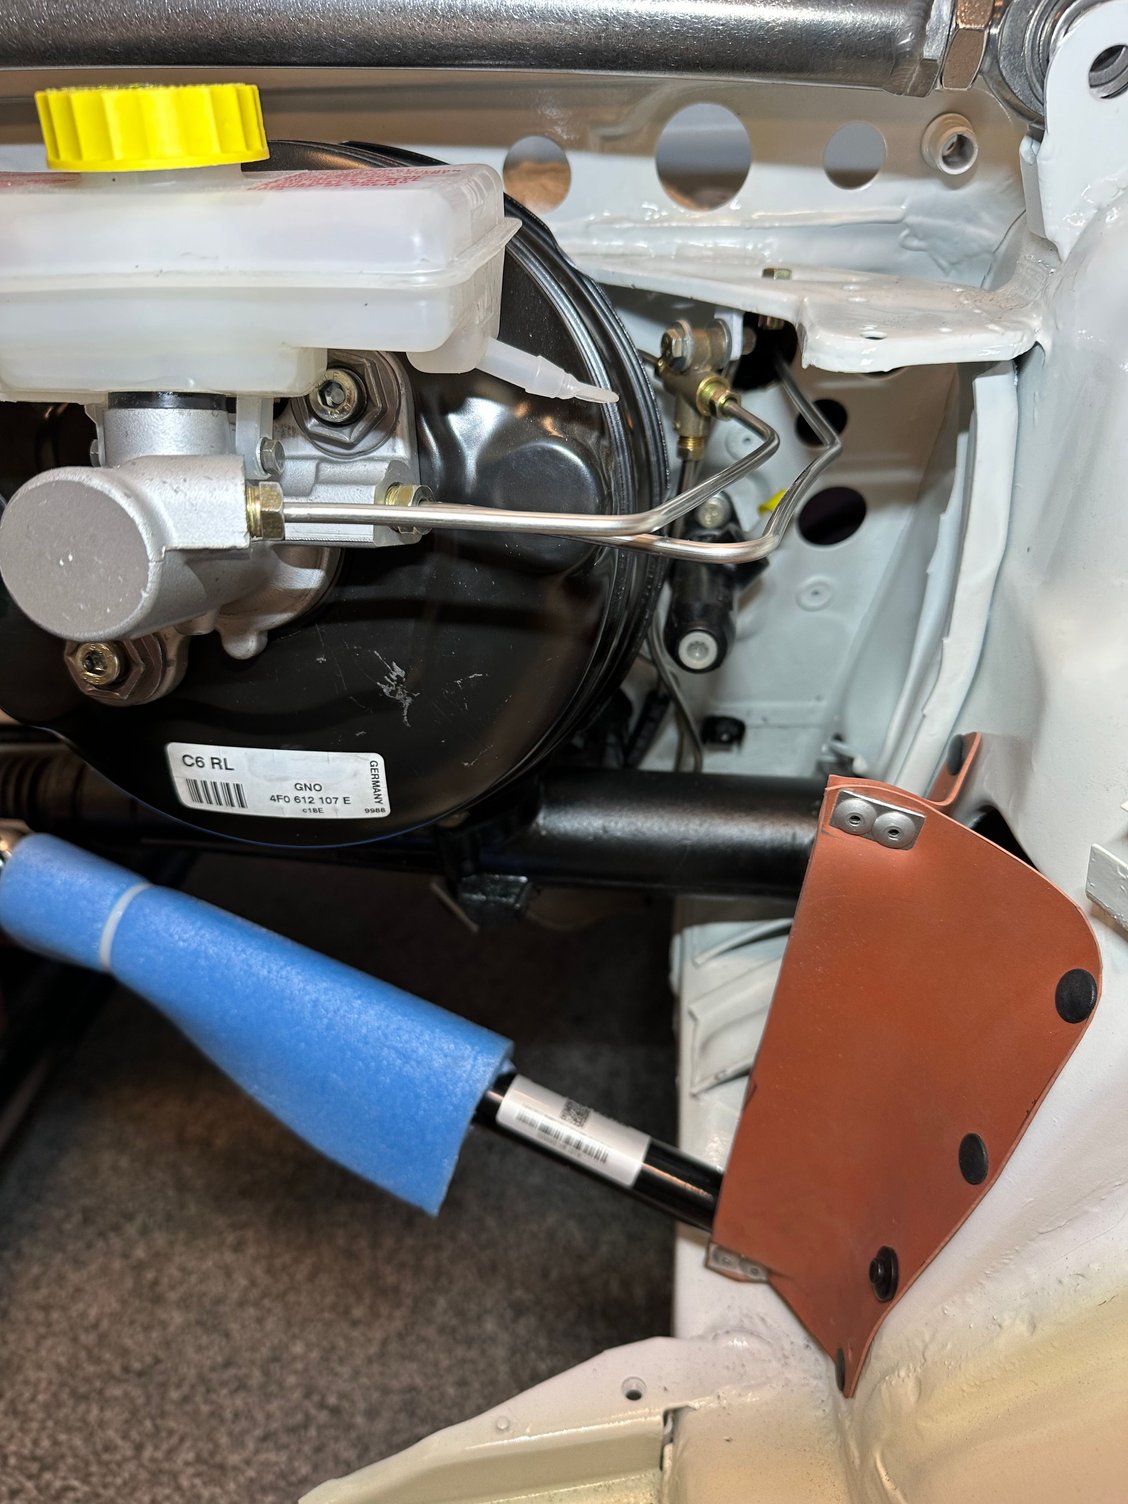
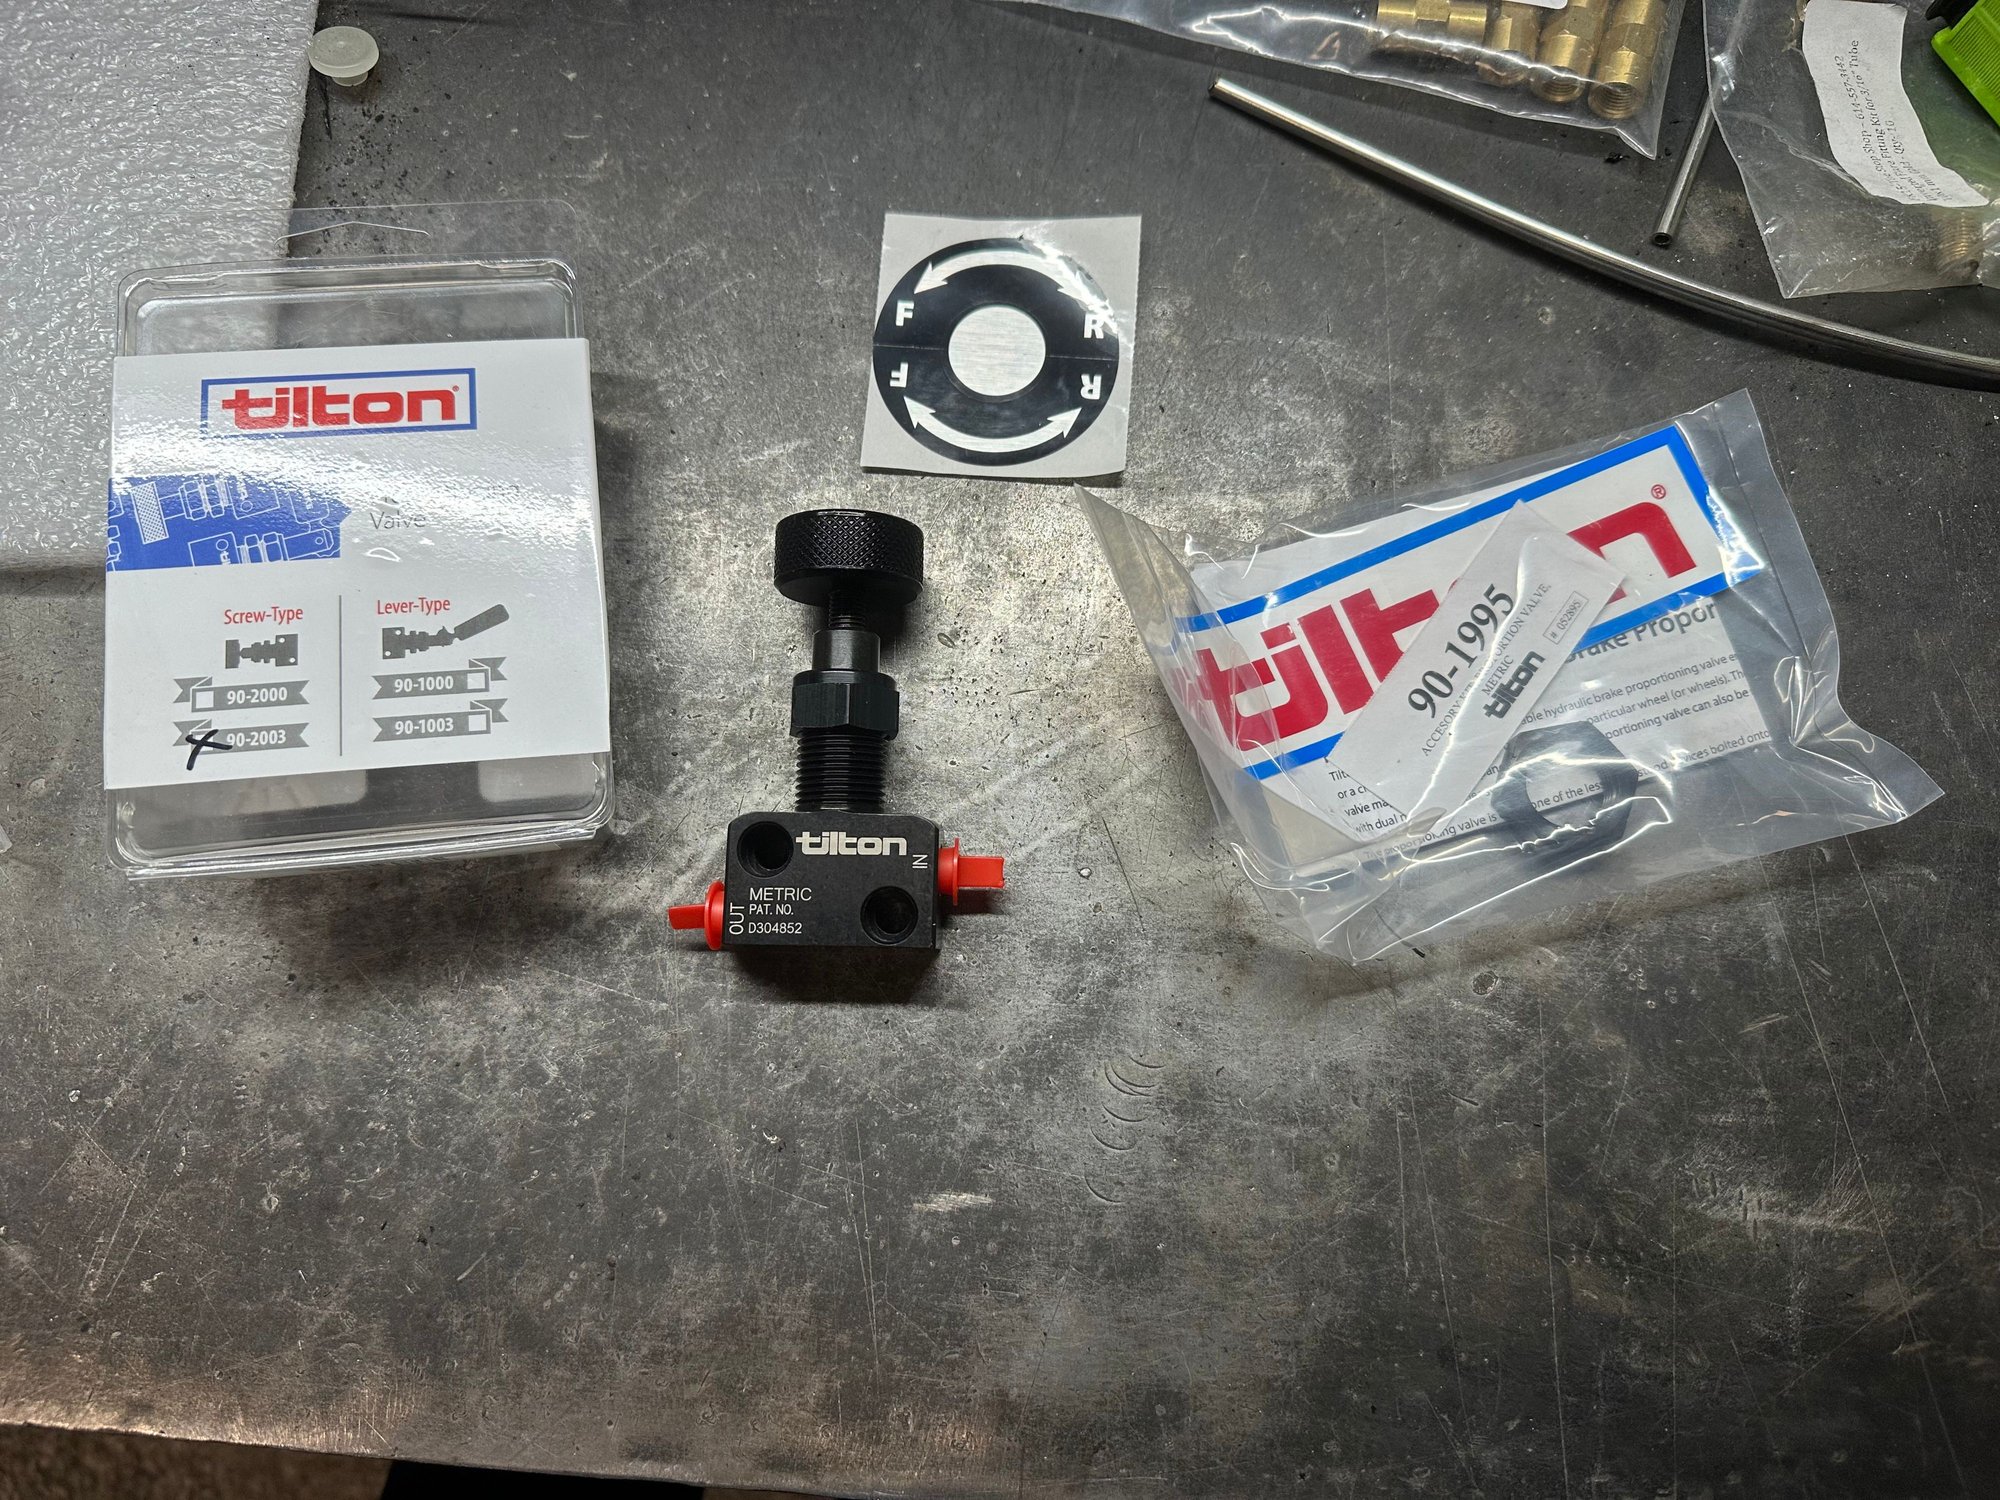
Made all new S.S brake lines and added a Tilton brake bias valve, which was a suggestion from varia, since I am not using ABS and it allows to set the balance from front to rear. I mounted the controller in the lower dash storage.
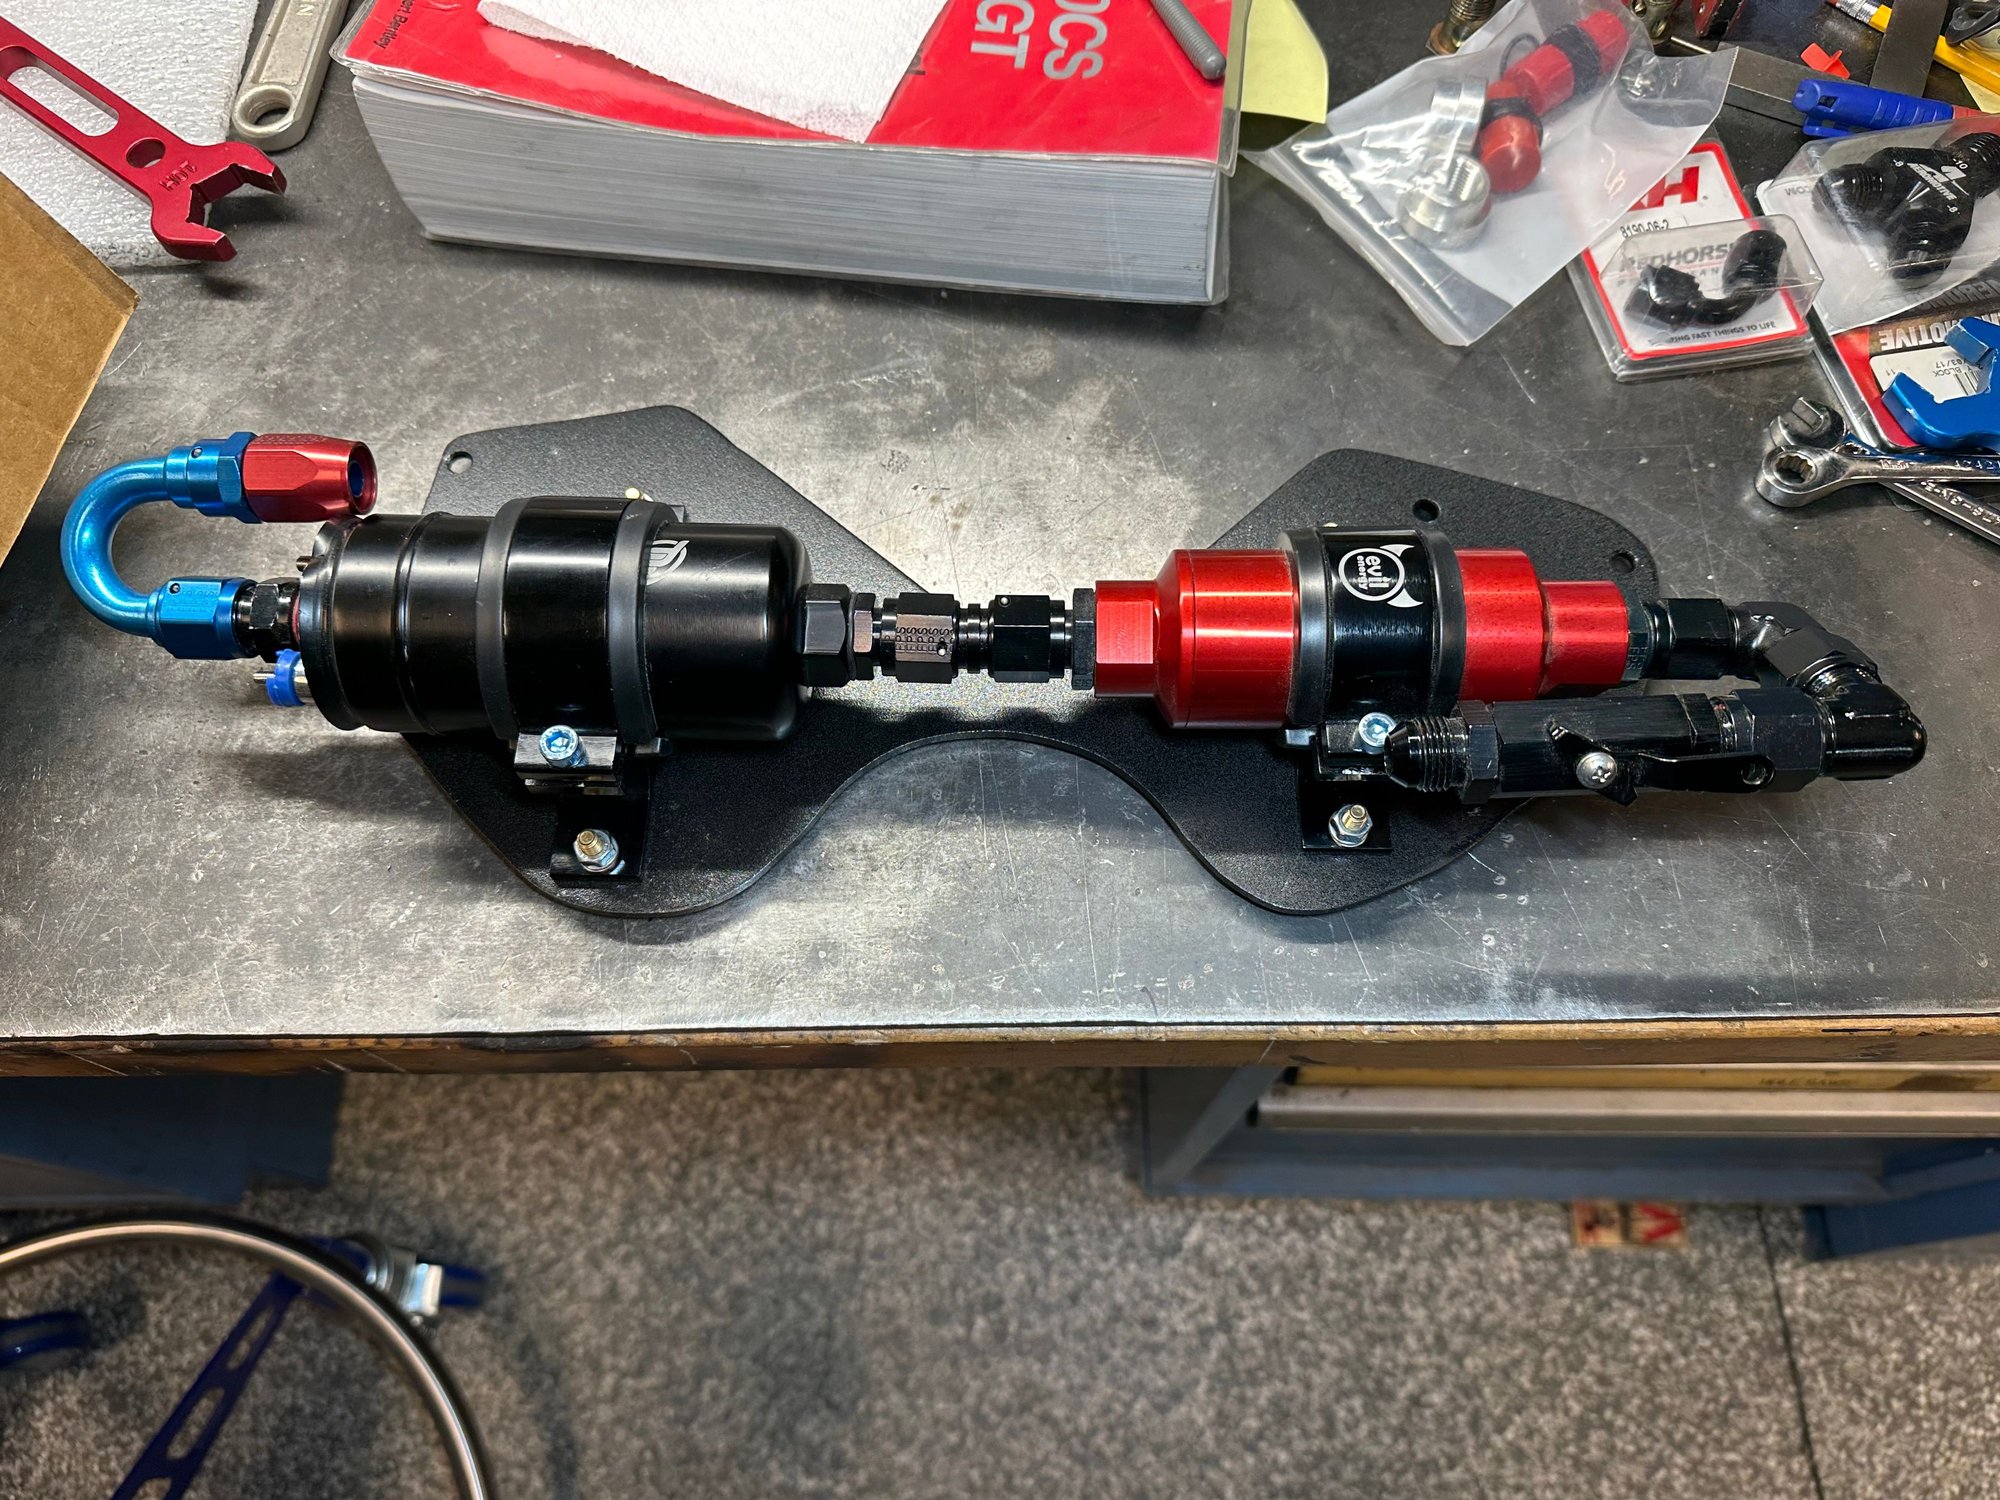
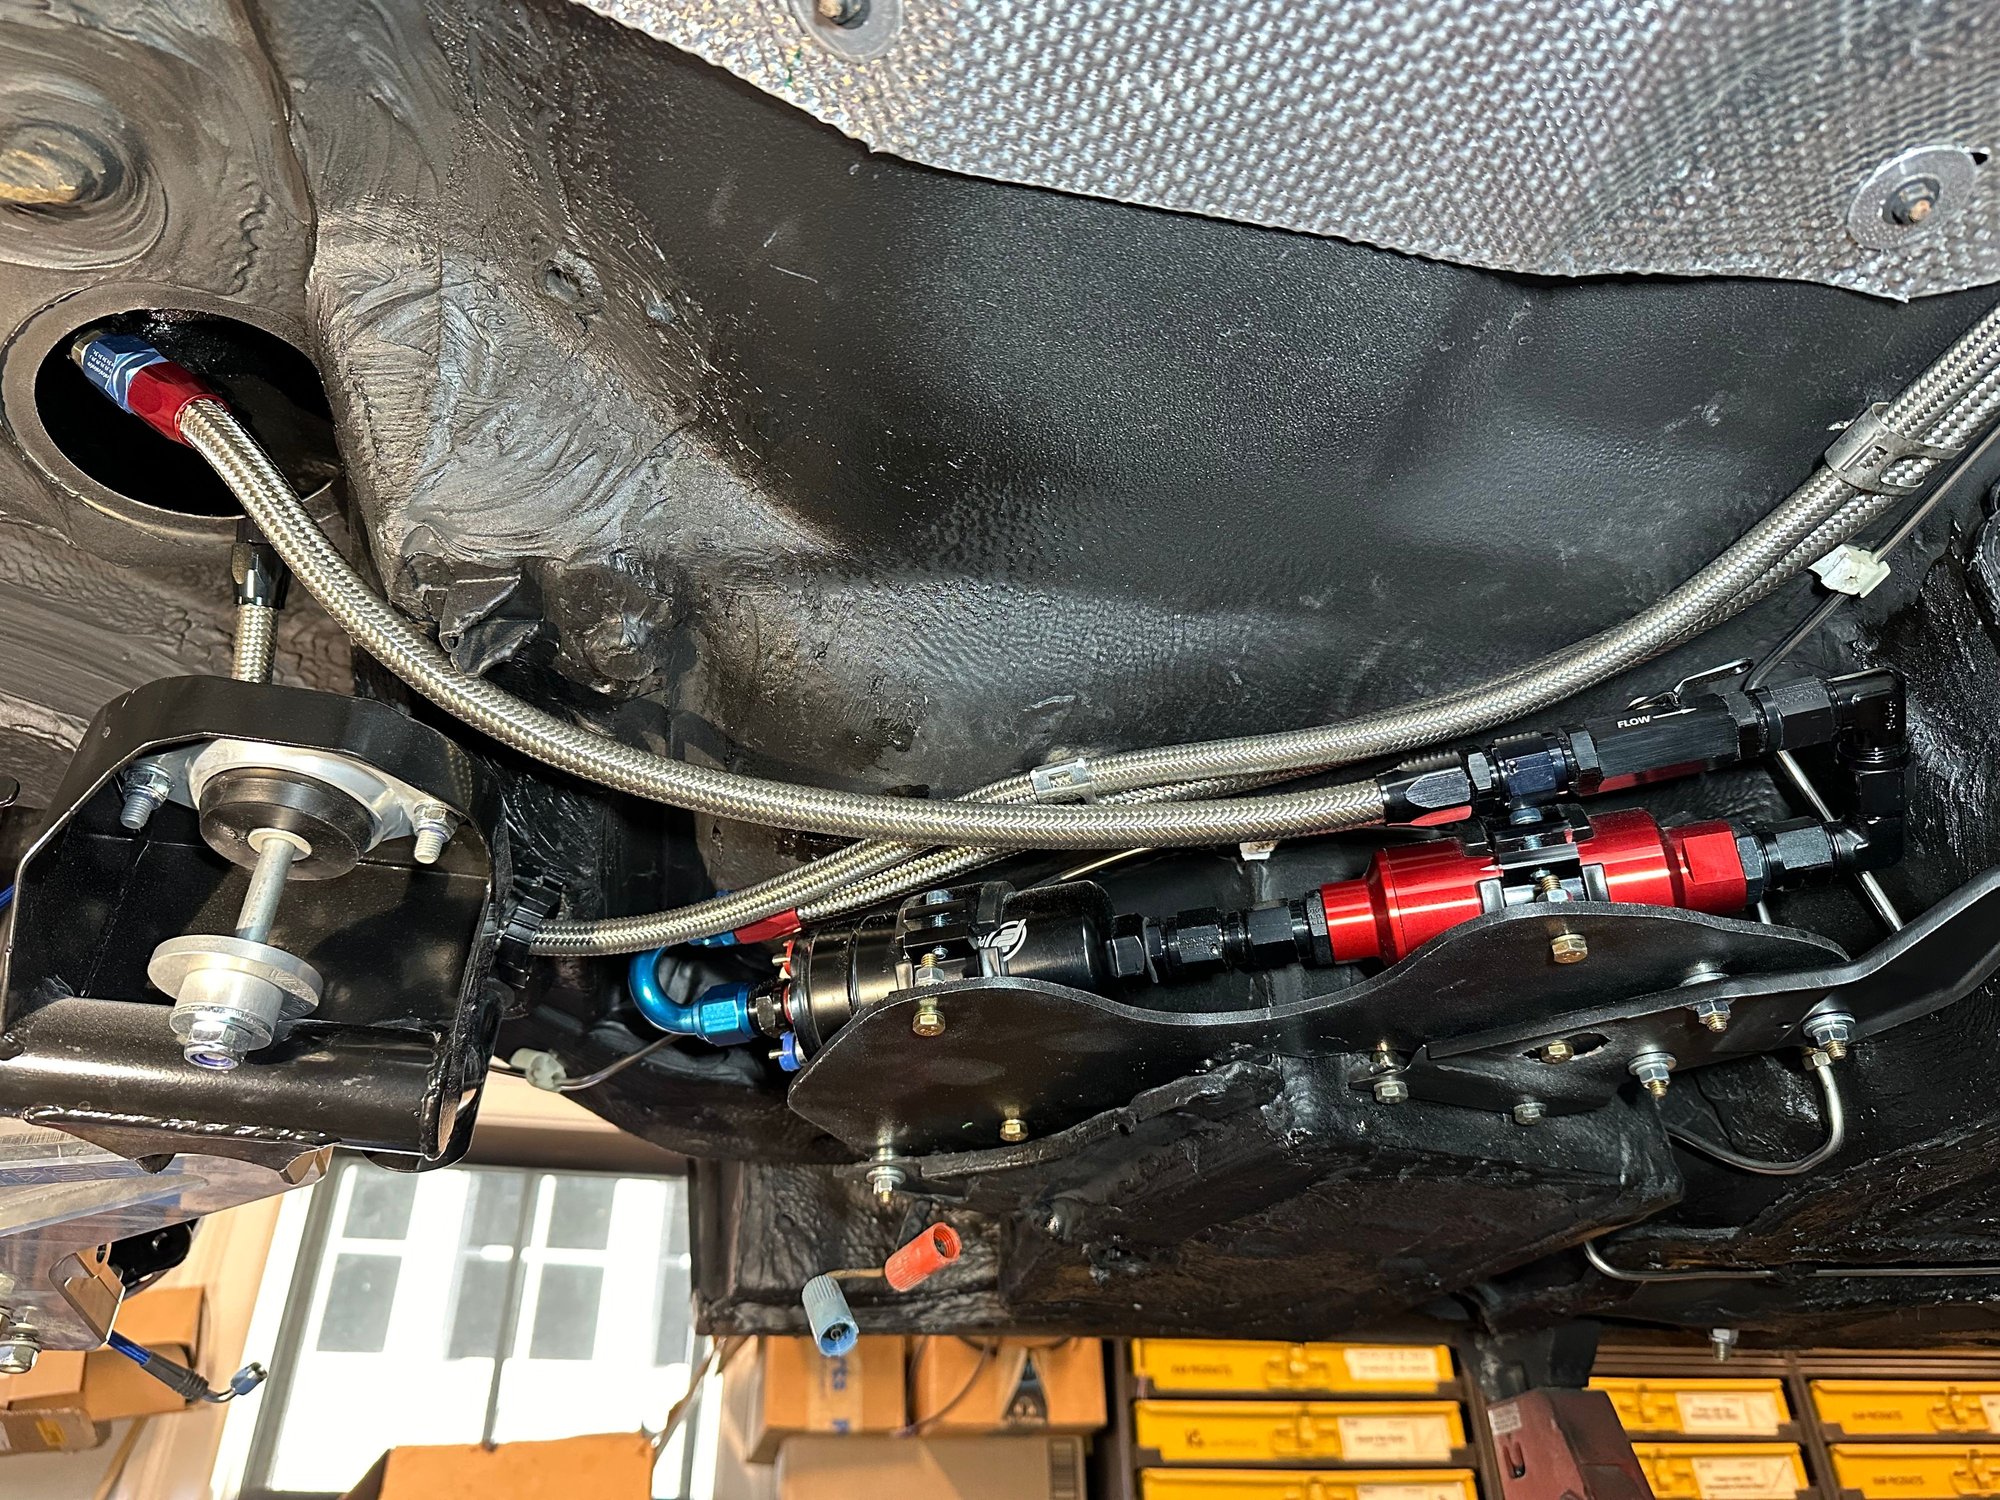
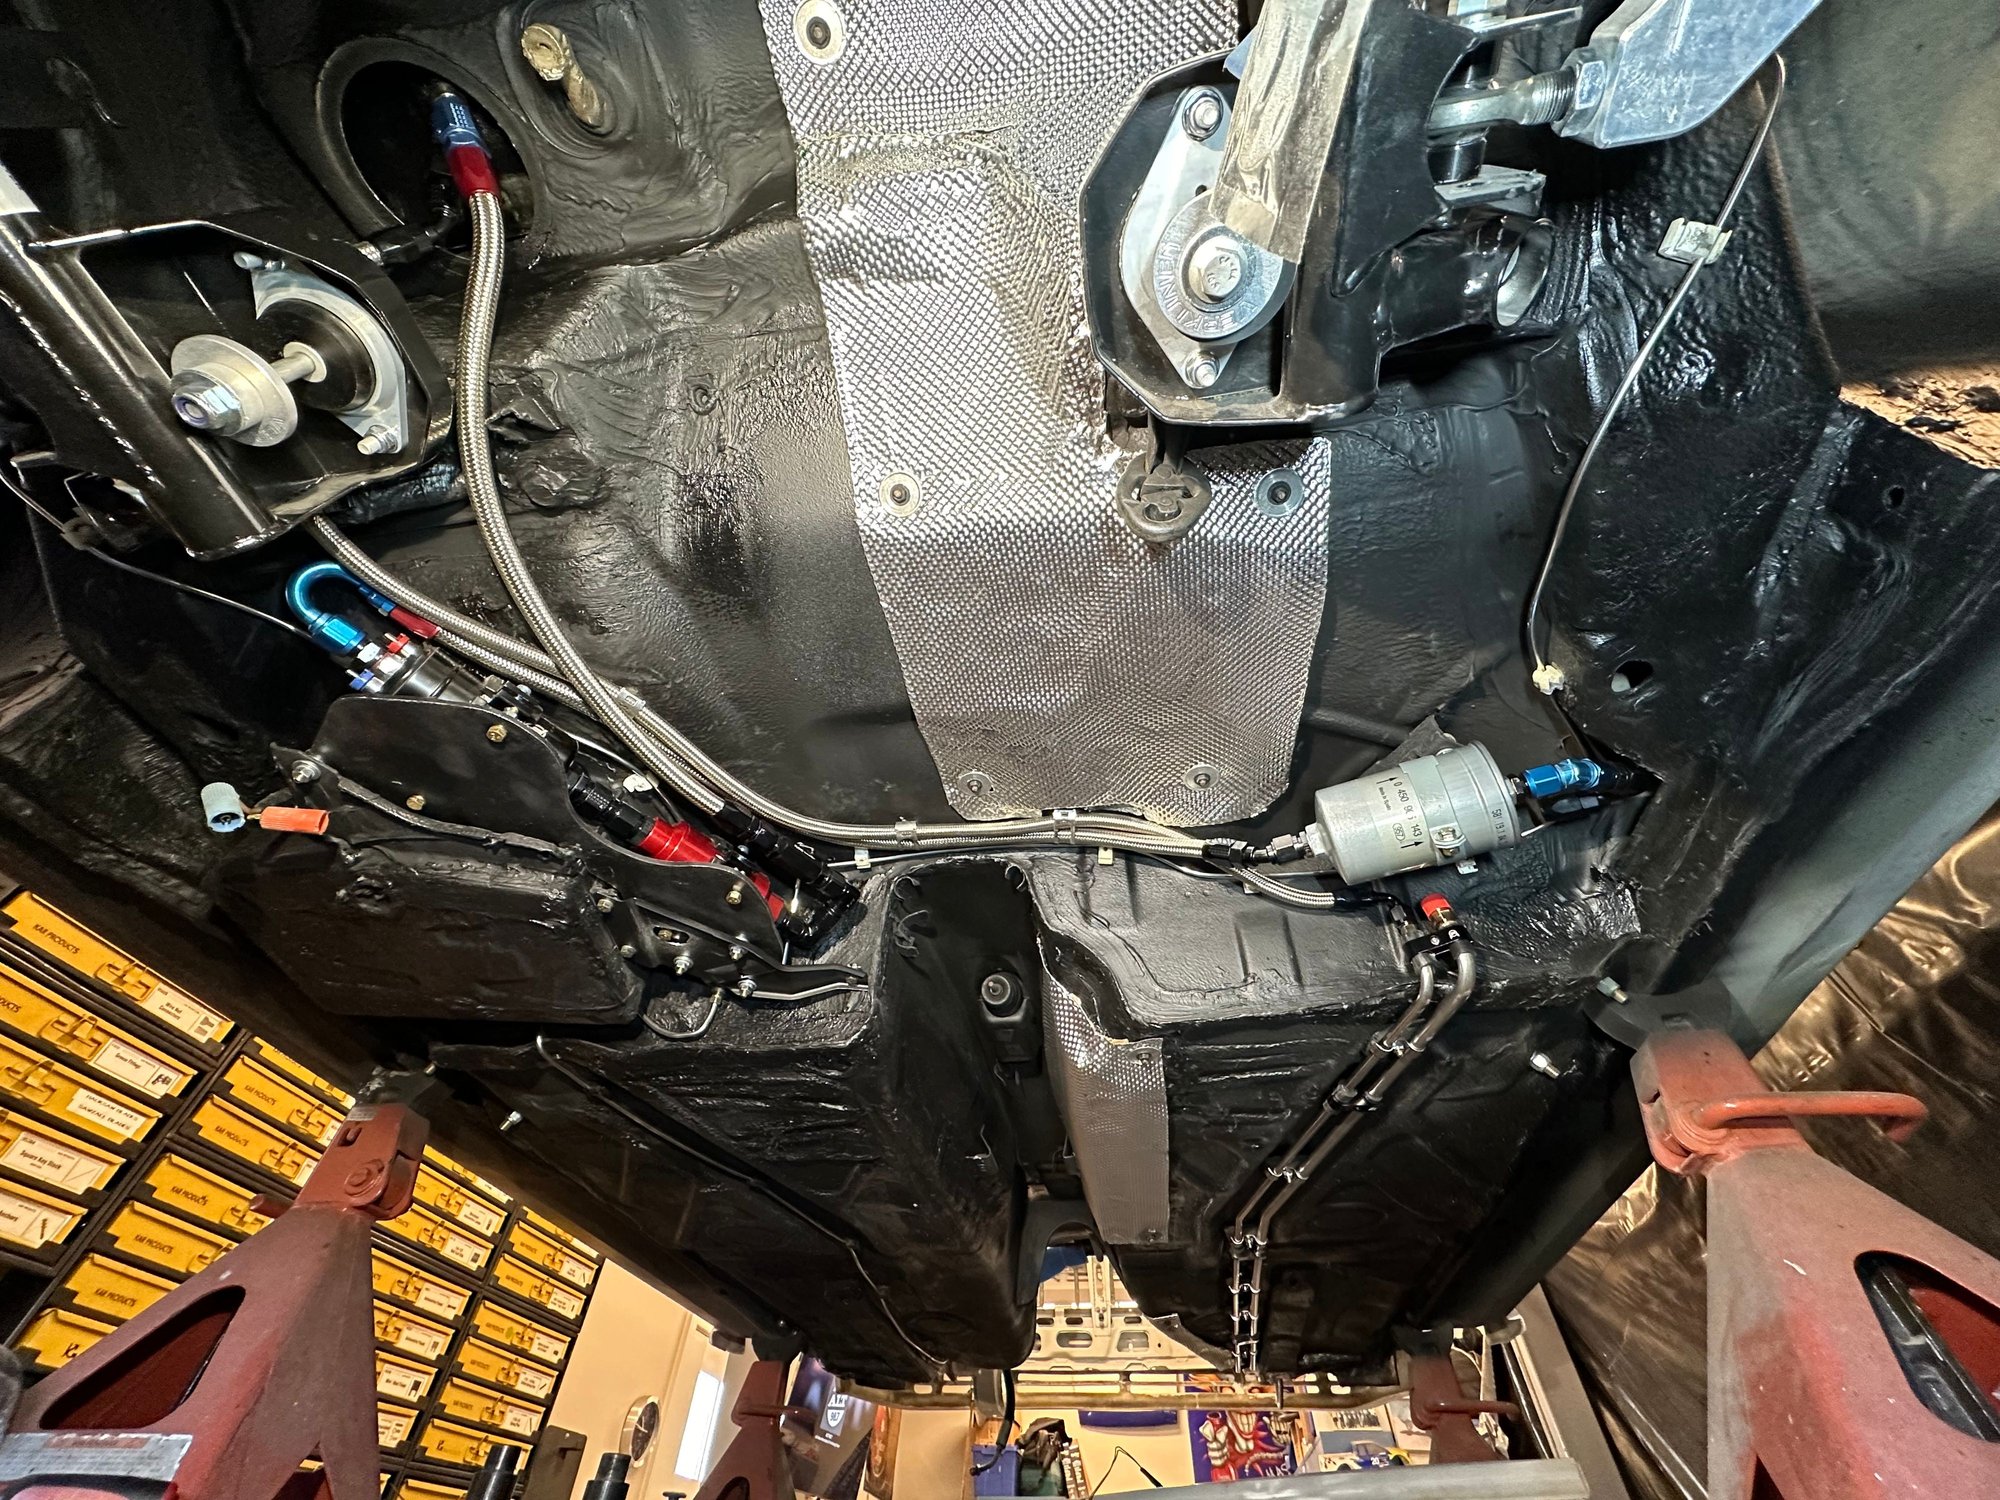
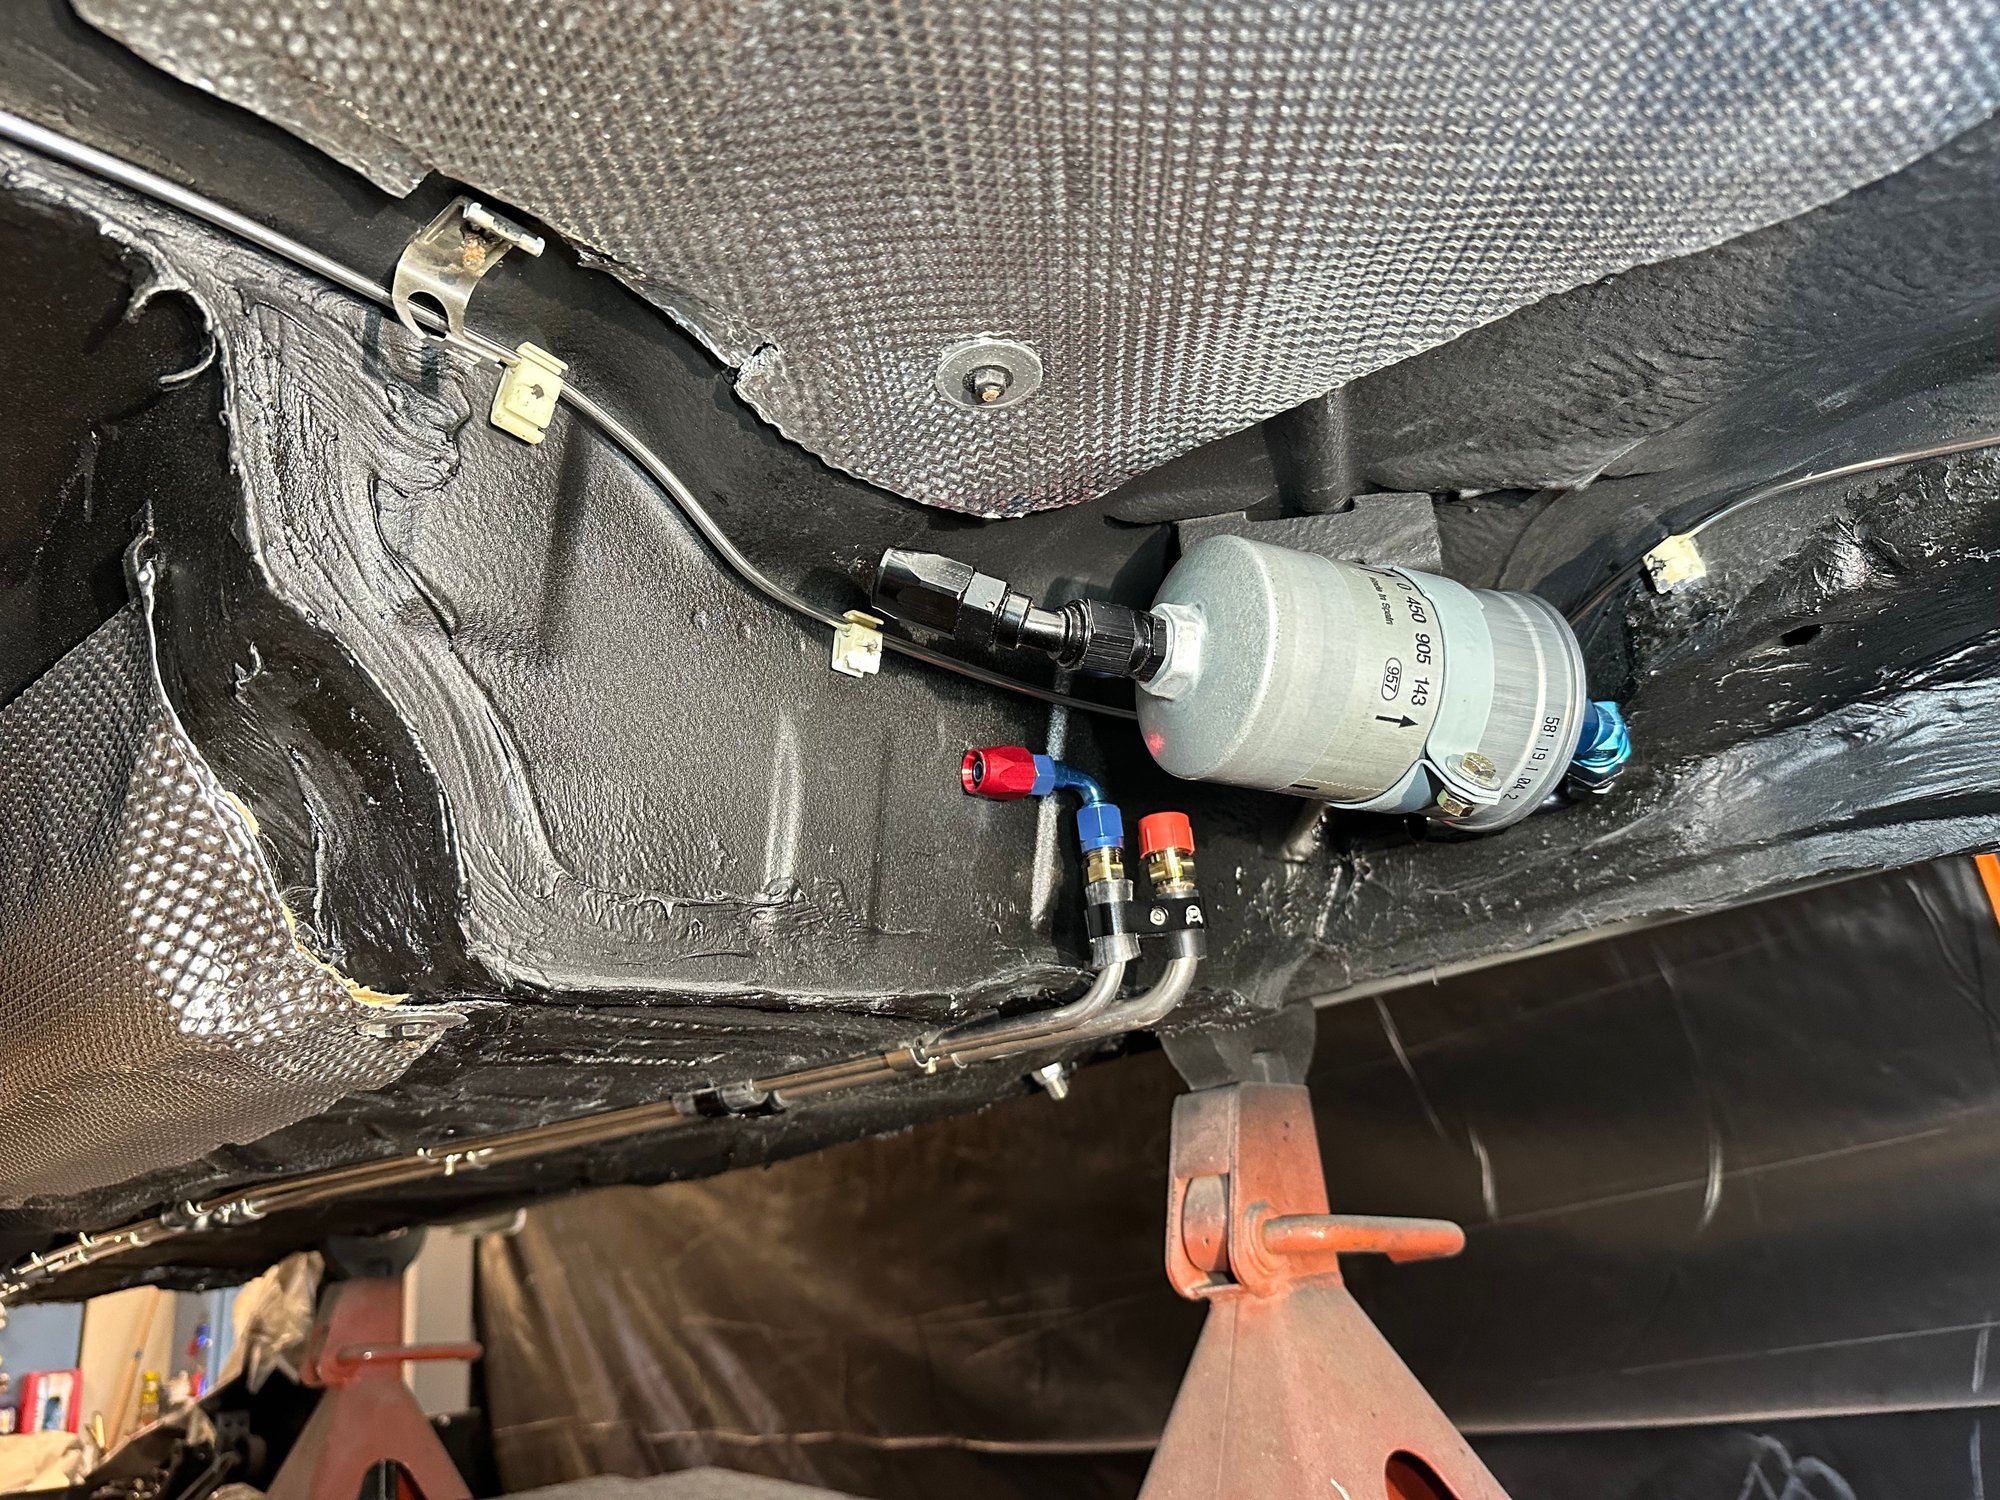
Finished up the rear fuel system. I made a aluminum plate, which has a Fluid Performance fuel pump along with Aeromotive 300 micron filter. I also added a fuel shutoff valve. In addition to the 300 micron filter, I am also running the Bosch 30 micron filter on opposite side. Made up supply & return S.S. braided fuel lines and plumbed from gas tank to hard lines. Everything is nice and tidy.
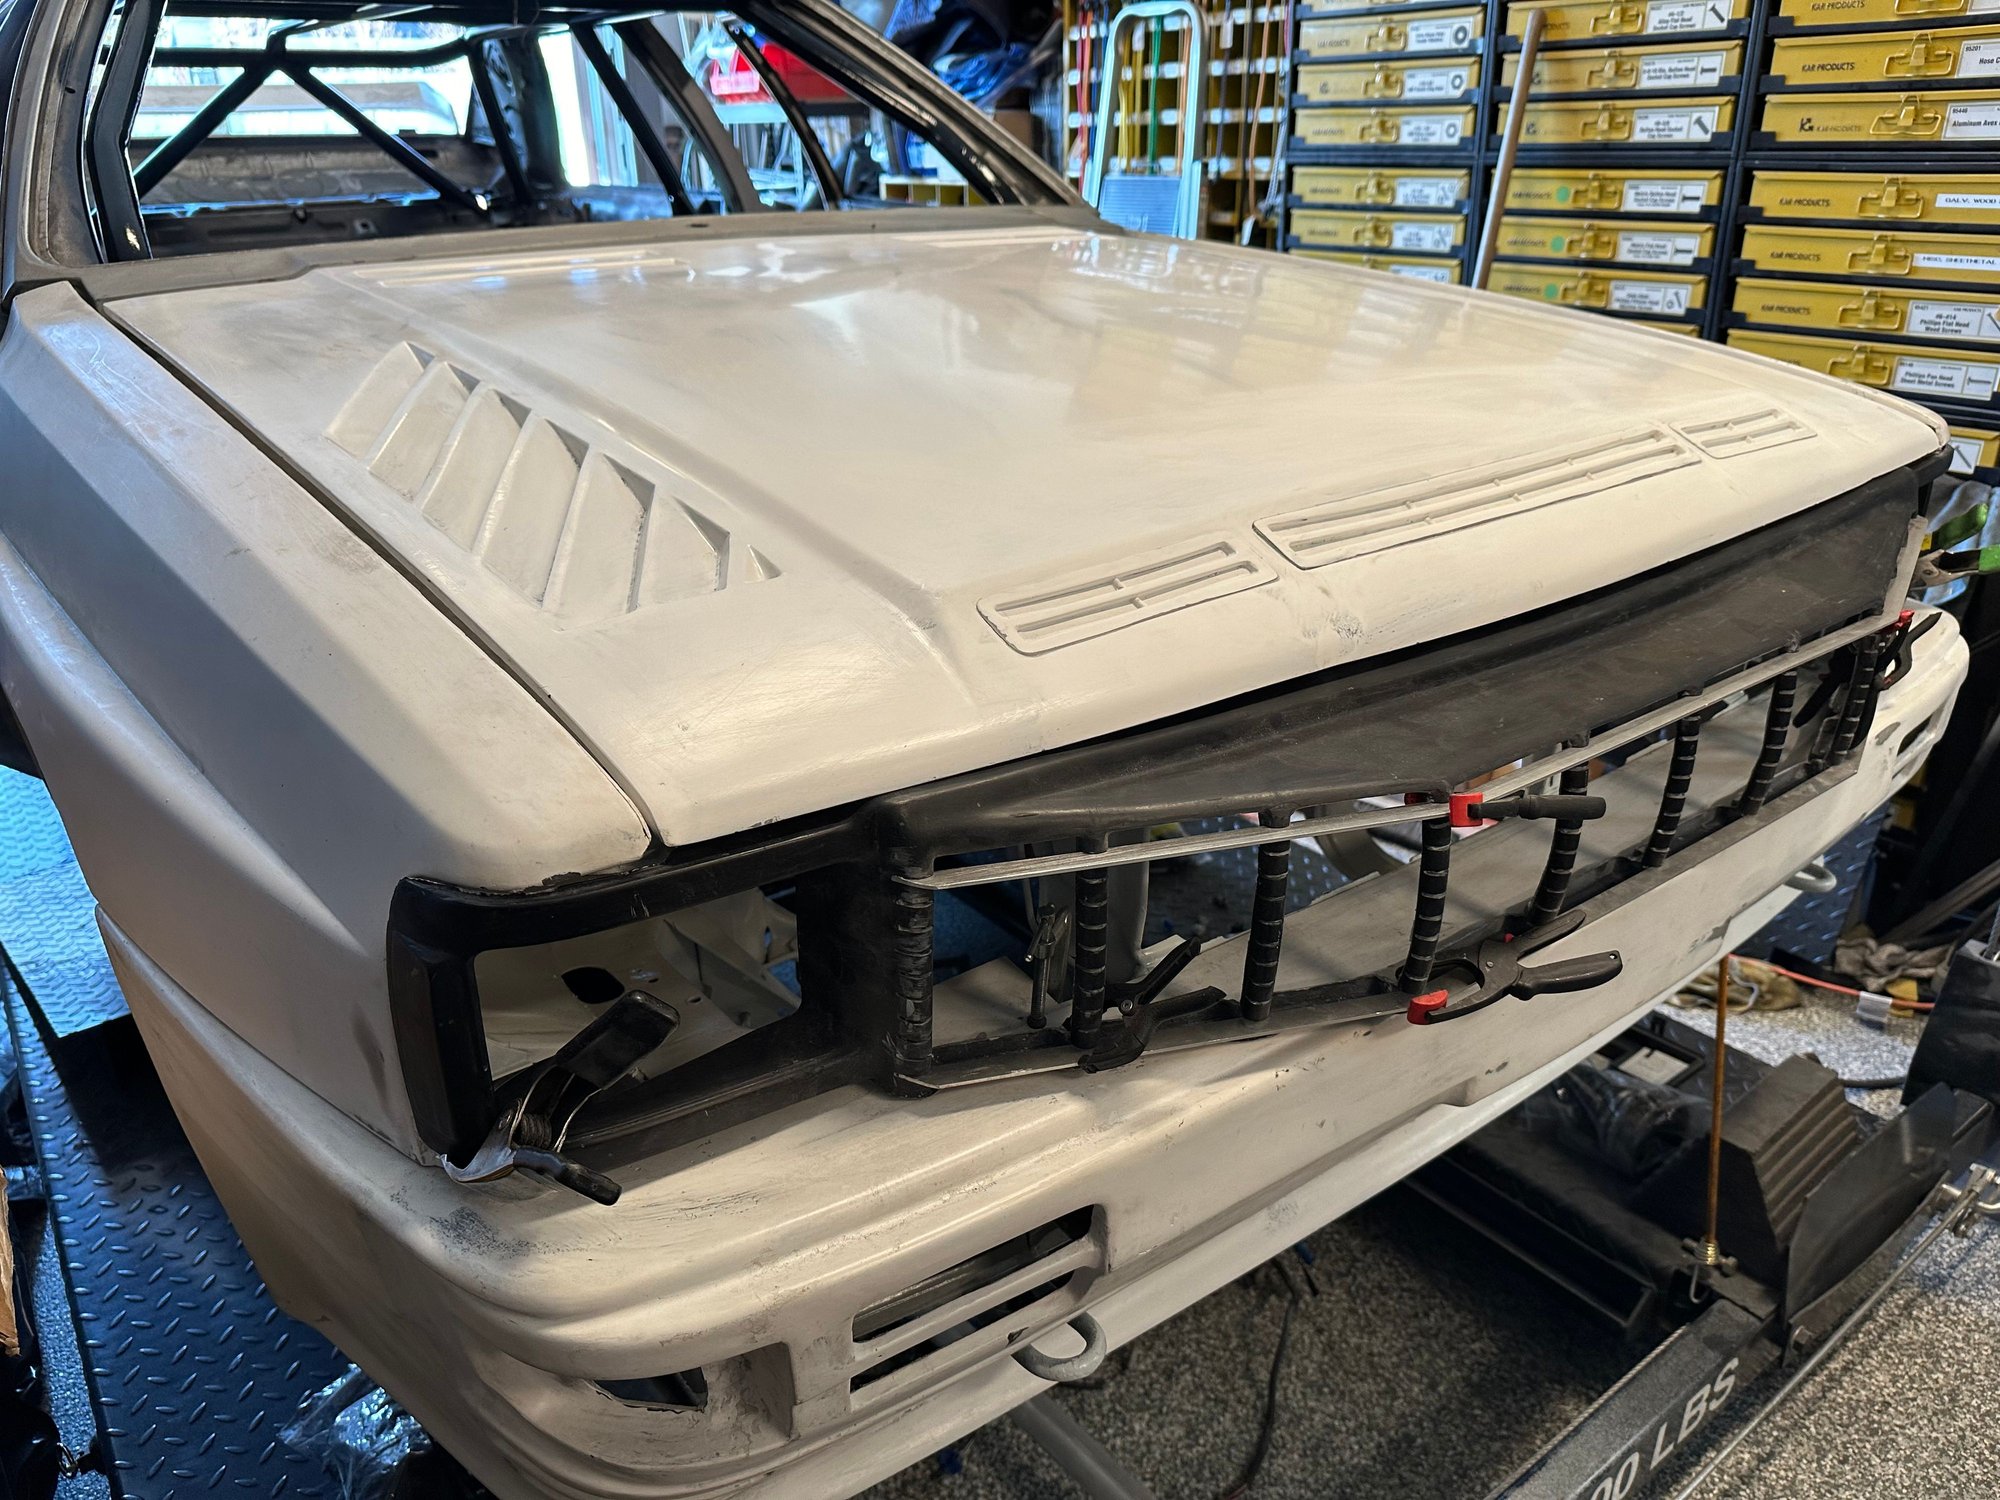
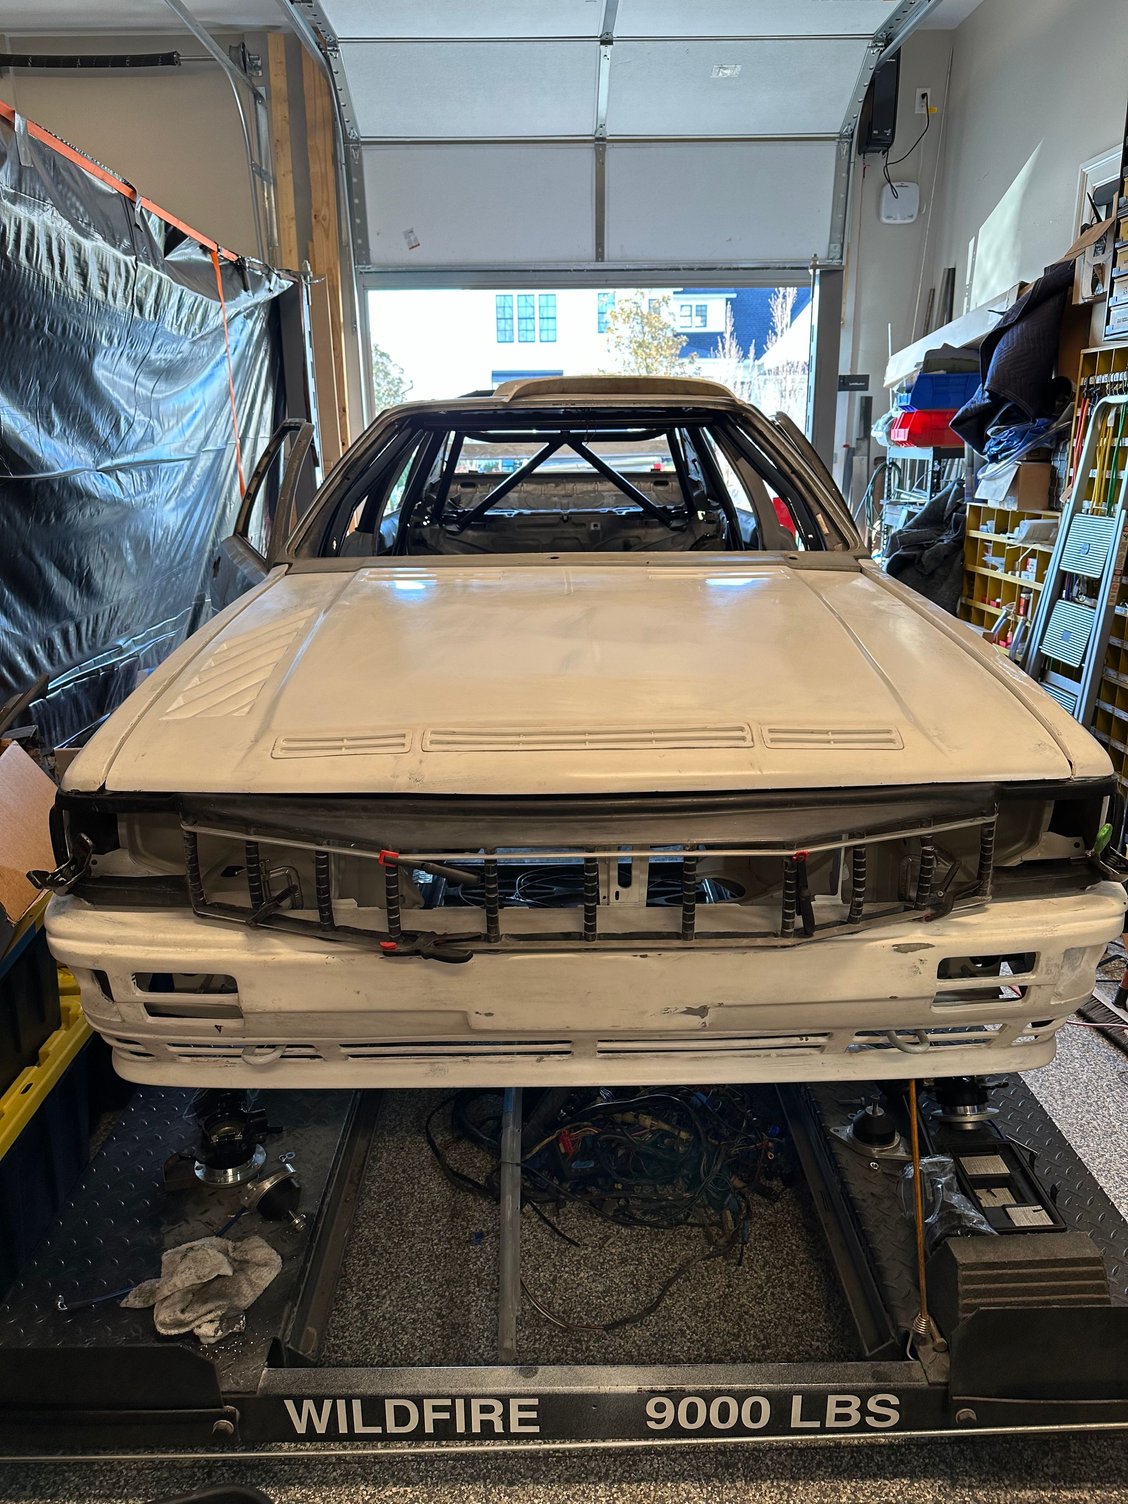
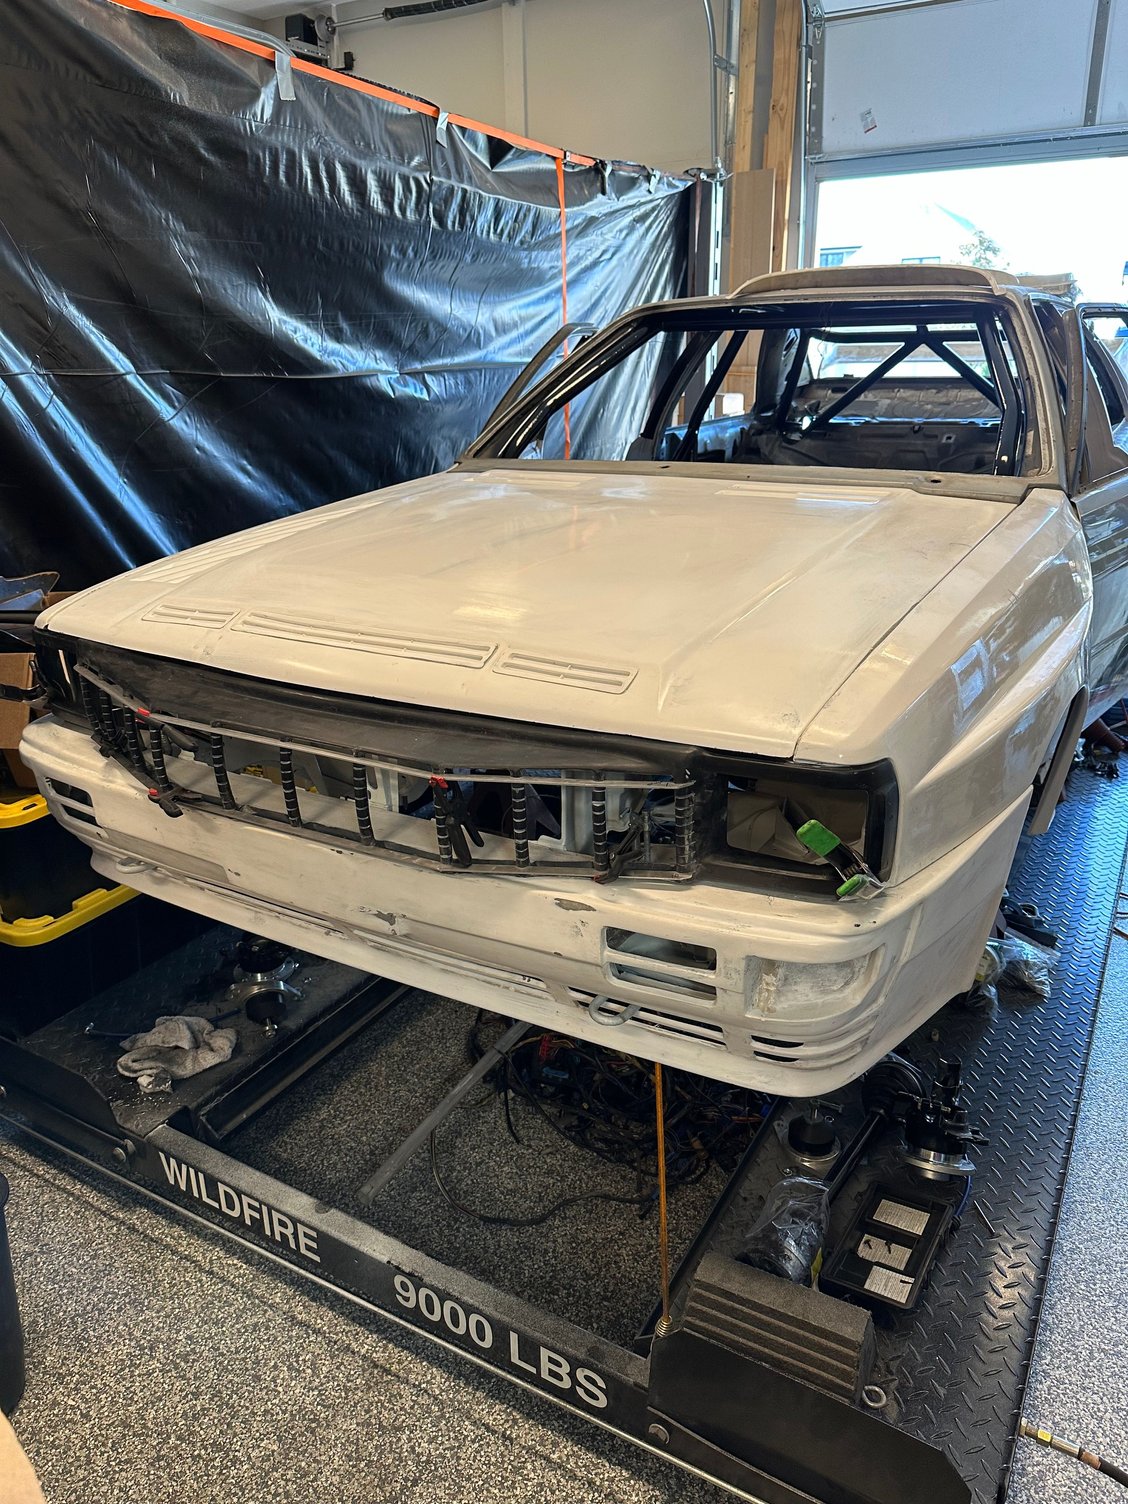
Finally received the sport hood form AP Motorsports out of Poland. Piter has been a pleasure to deal with and has supplied me with front fenders, front & rear bumpers, wheel flares, tall spoiler and the sport grill. All in all the parts are nice, but I am going to need a good fiberglass/body guy to blend everything. The fiberglass pieces would be fine for a rally race car, but I want a more refine look. Should be a nice looking car when done.
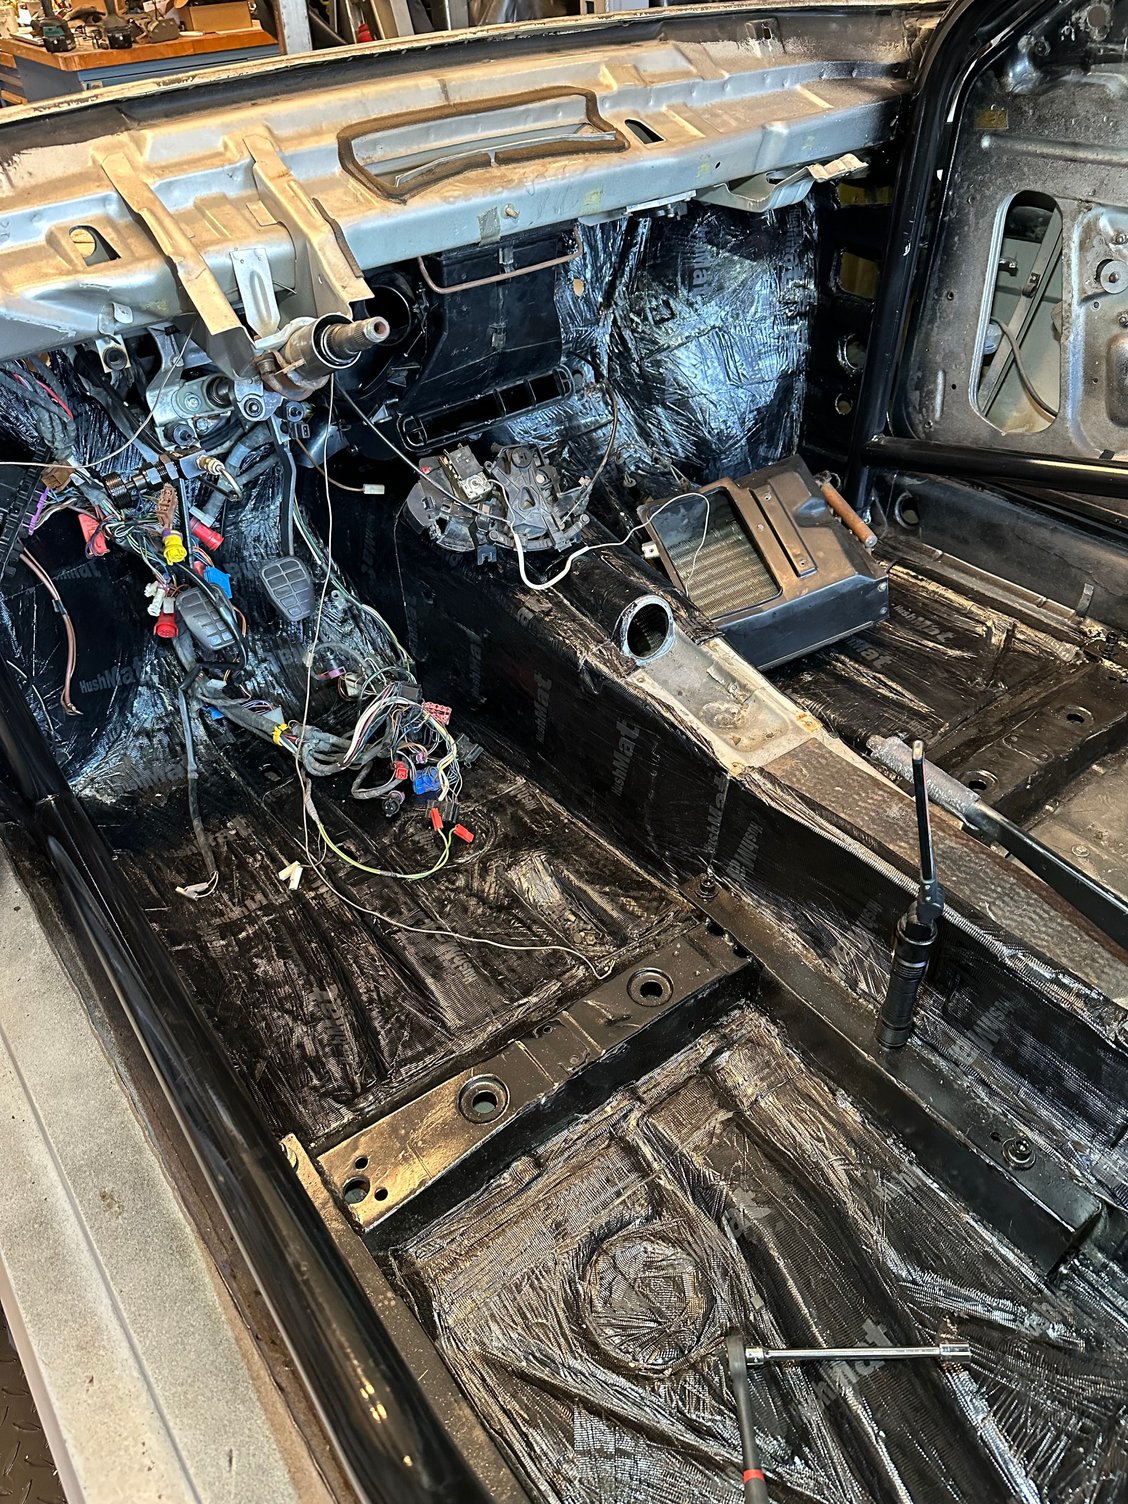
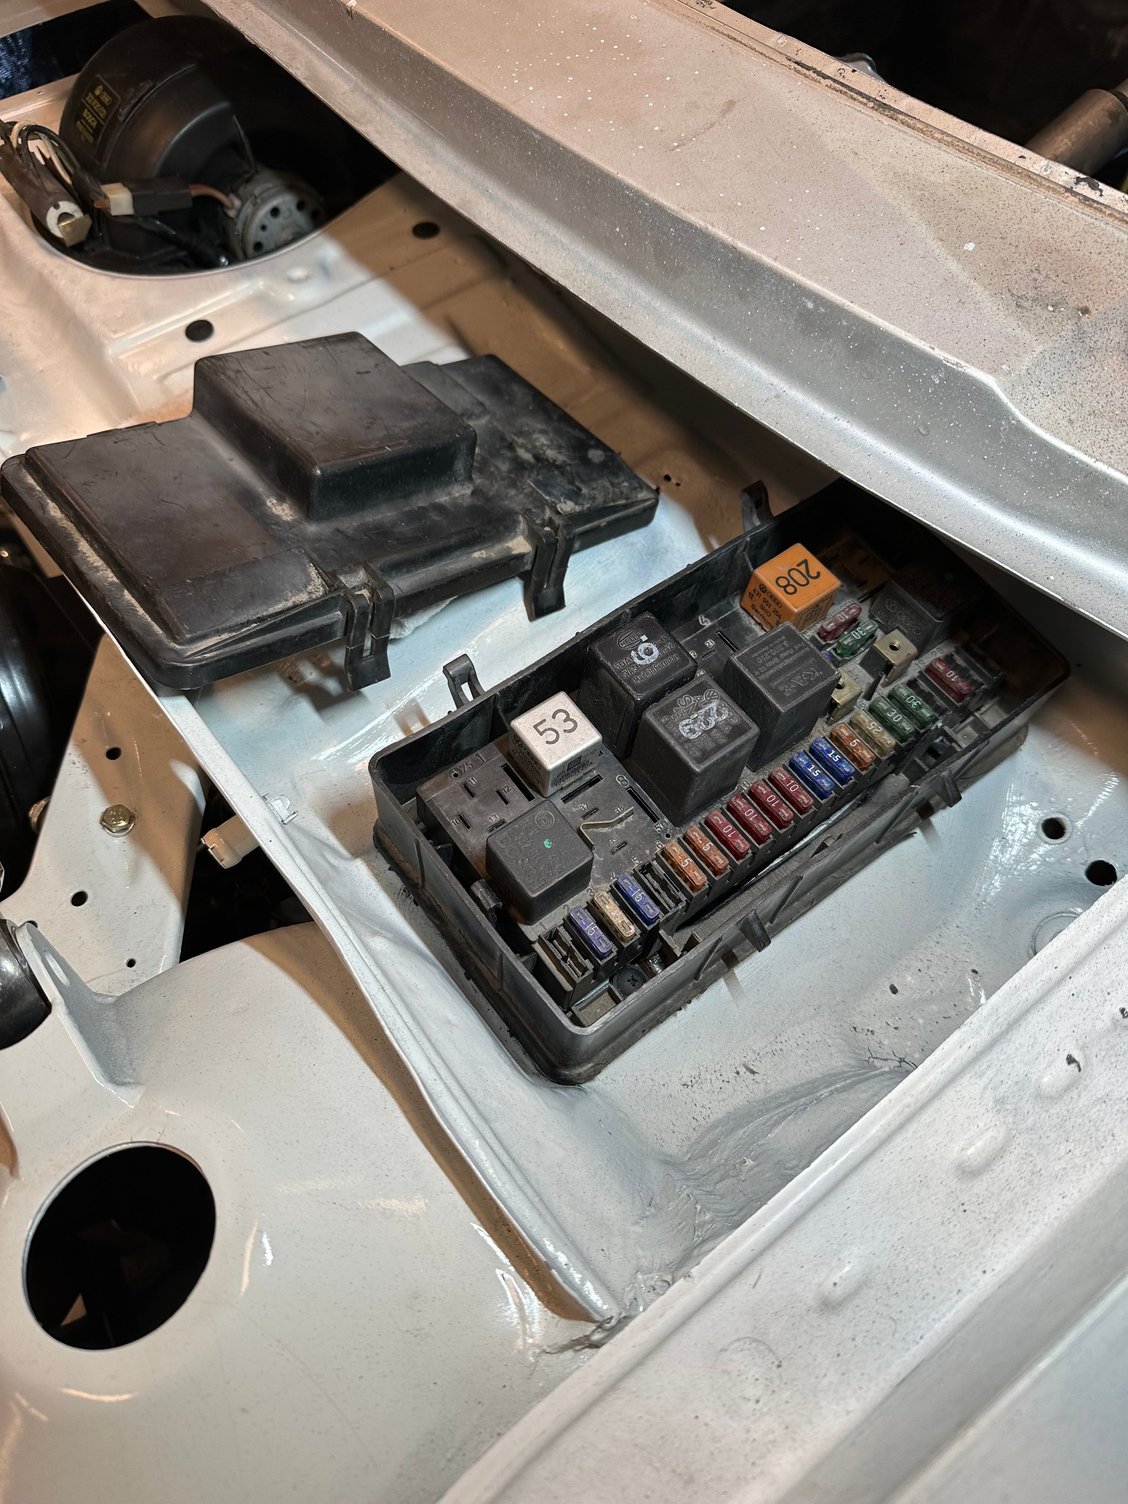
Installed the Hush Mat, which is one of my least favorite things to do......very time consuming. I was able to to get the front drivers/passenger firewall and floor done and able to install the fuse box and wire harness. The harness and fuse box are out of a coupe which uses the blade fuse instead of the old ceramic fuses. I will be using the digital dash out of the coupe as well. Norbert in Poland is building the engine harness and I will be using a Motec ECU

 12-28-2023, 03:42 PM