When you click on links to various merchants on this site and make a purchase, this can result in this site earning a commission. Affiliate programs and affiliations include, but are not limited to, the eBay Partner Network.
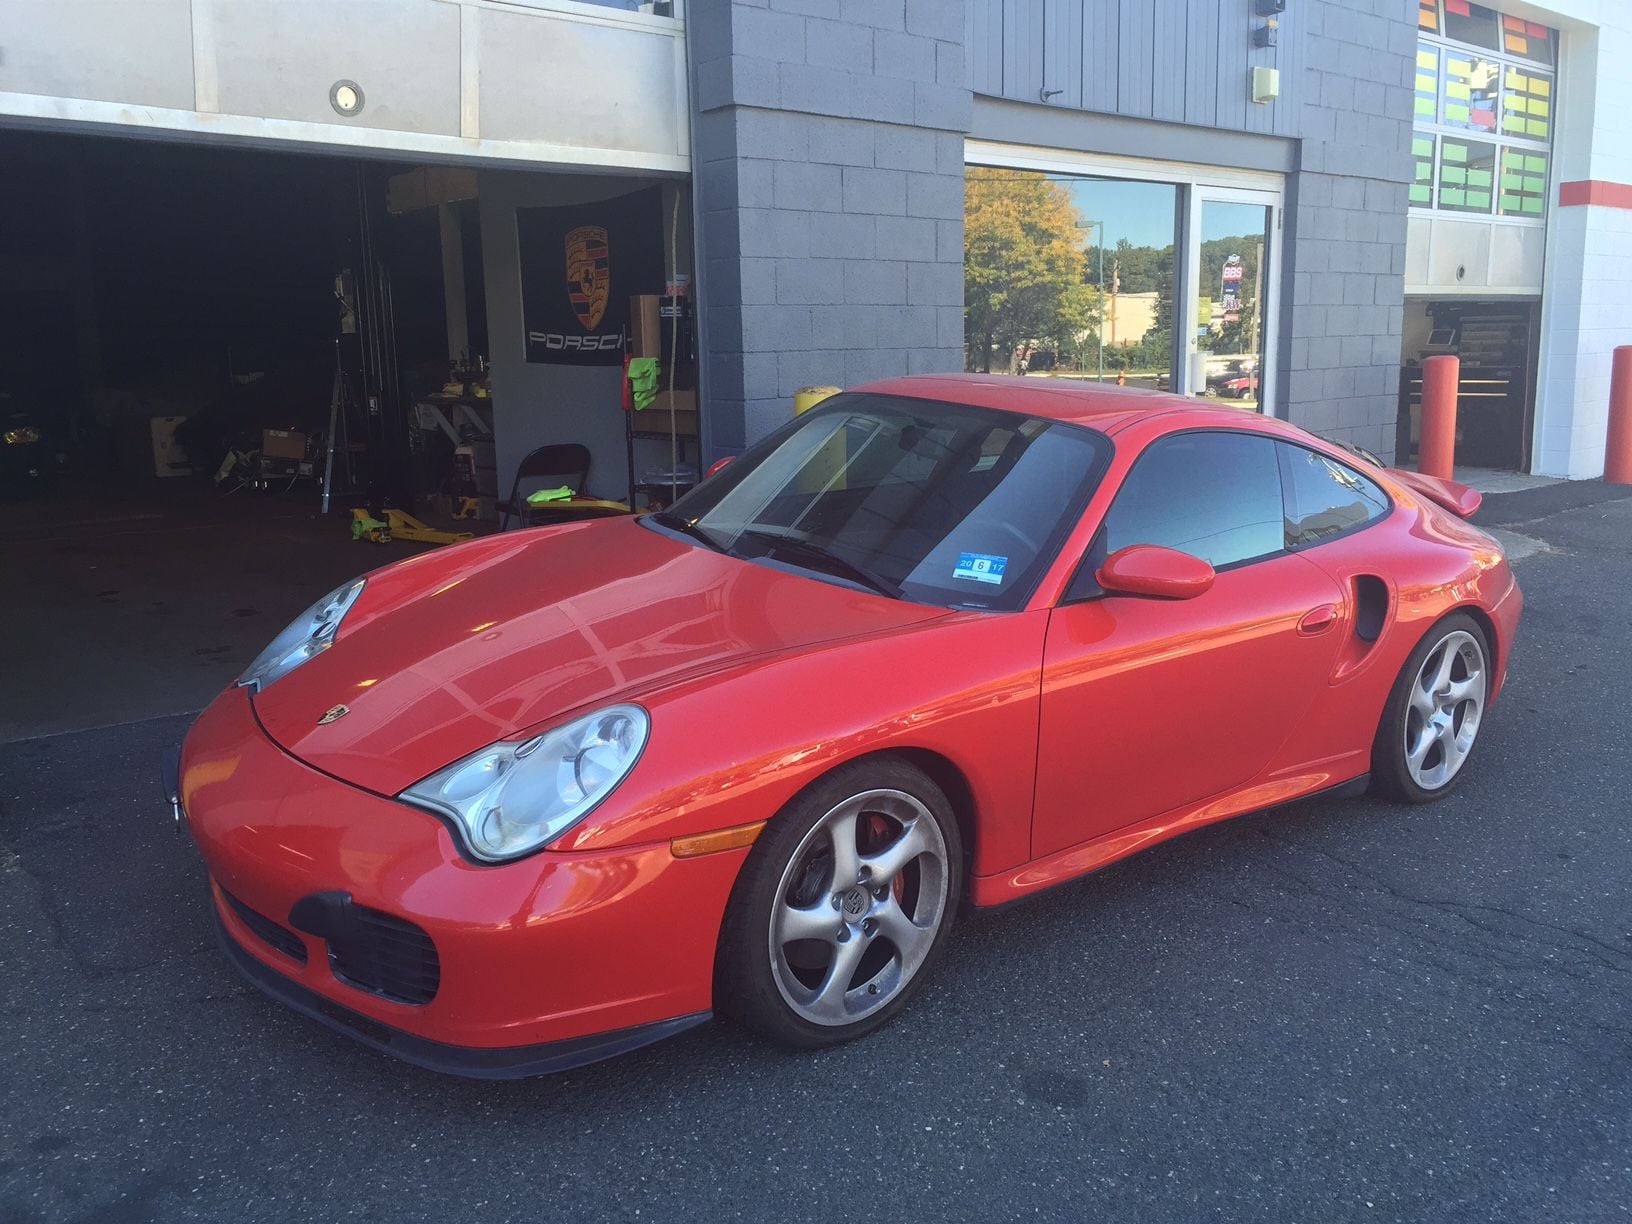
My friend Adam bought a 996TT last year. The car is a well cared for 996TT which the previous owner tracked. With that said the paint was dry, chipped and scratched pretty badly. In some regards aesthetics are secondary to Adam so addressing some preventative maintenance and power goals came first. With the car running well, I couldn't take it anymore! I told him I was going to give his car "the treatment" and bring it from track car to show car status (or do the best that I could without a respray!).
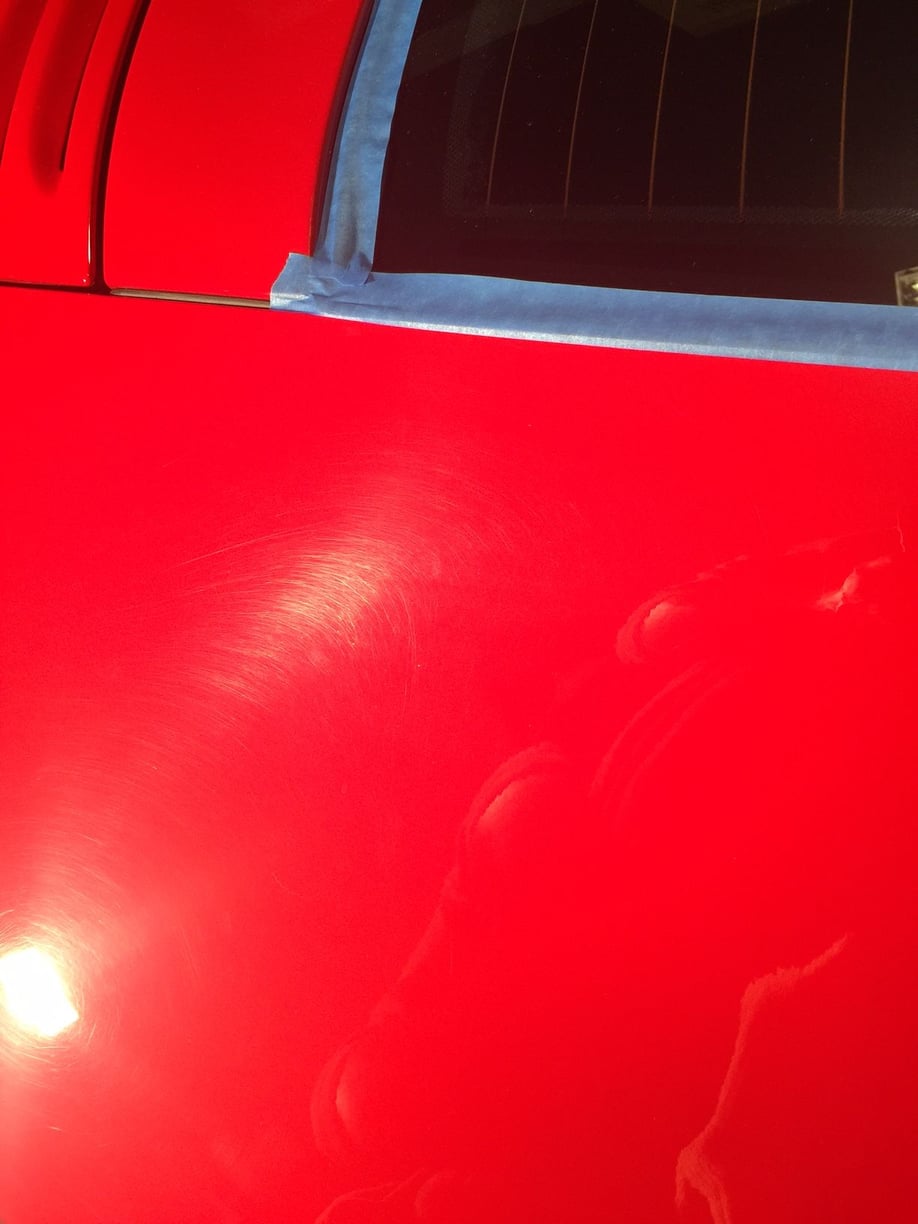
Before - Dirty, scratched and dull
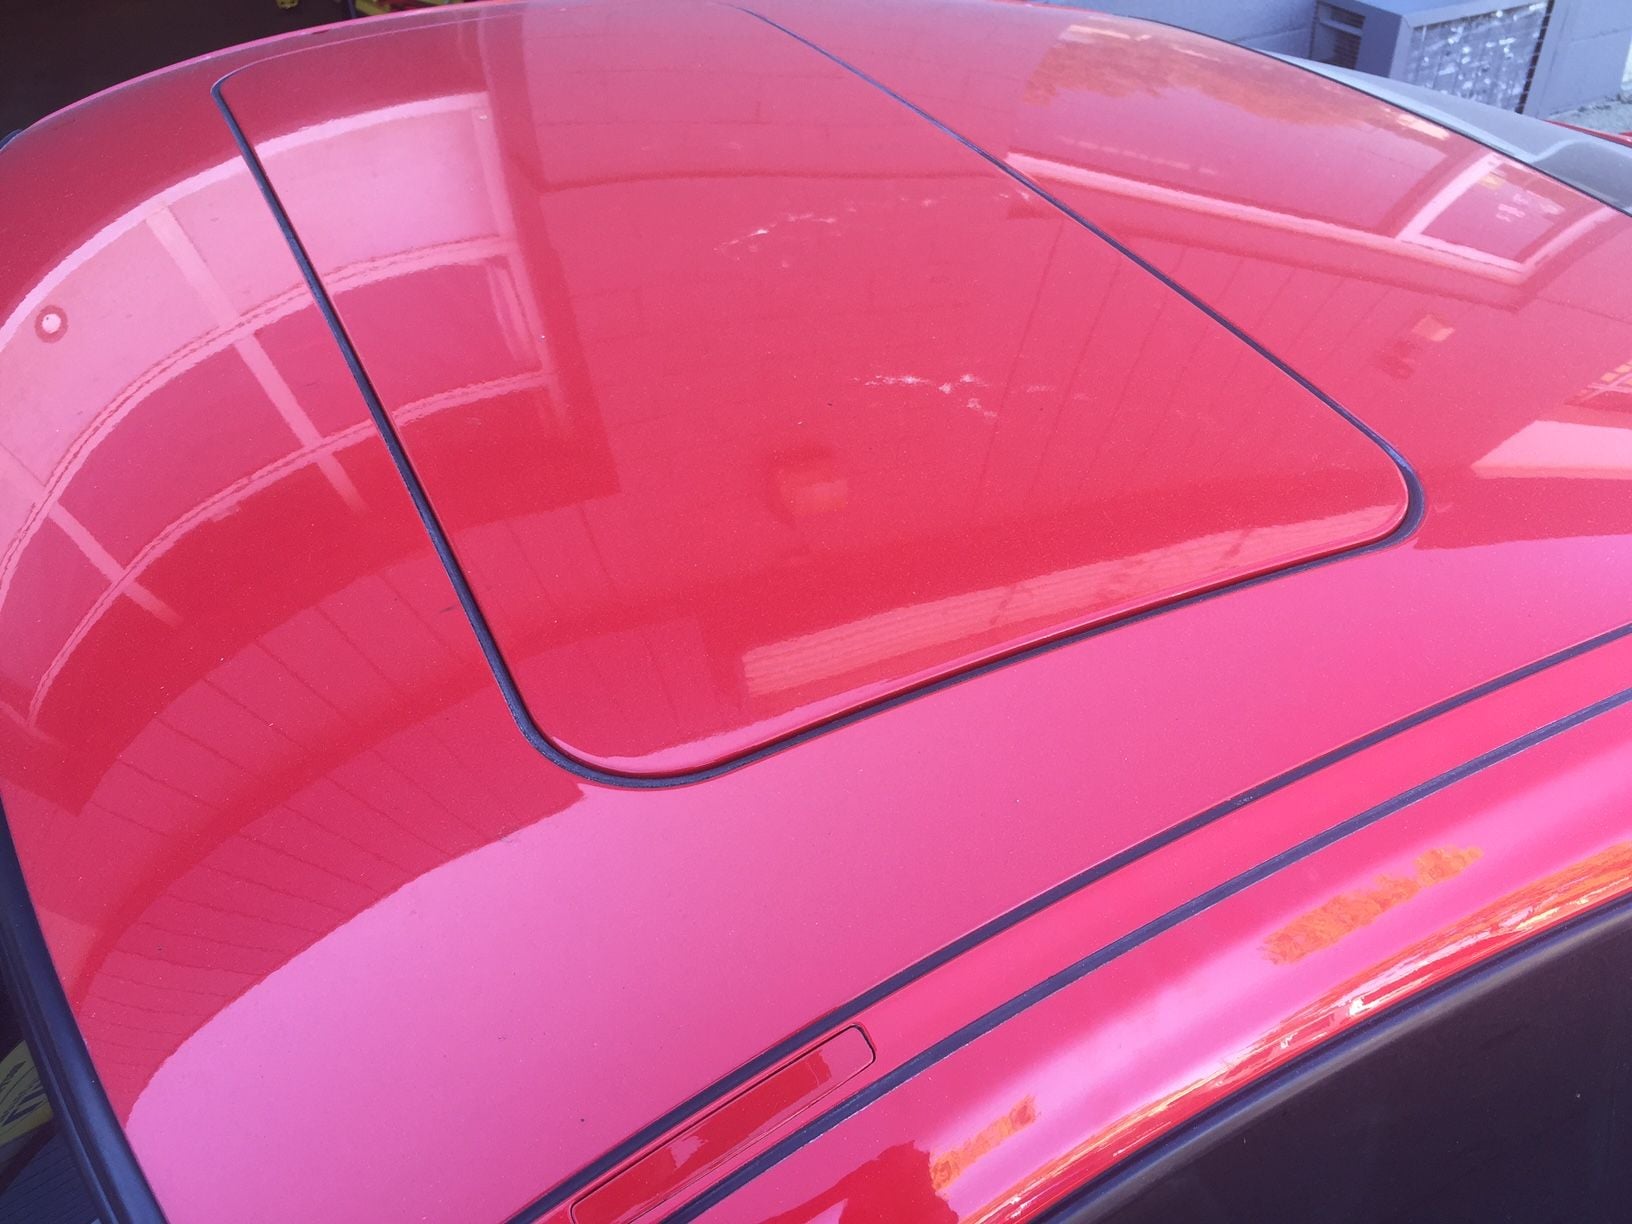
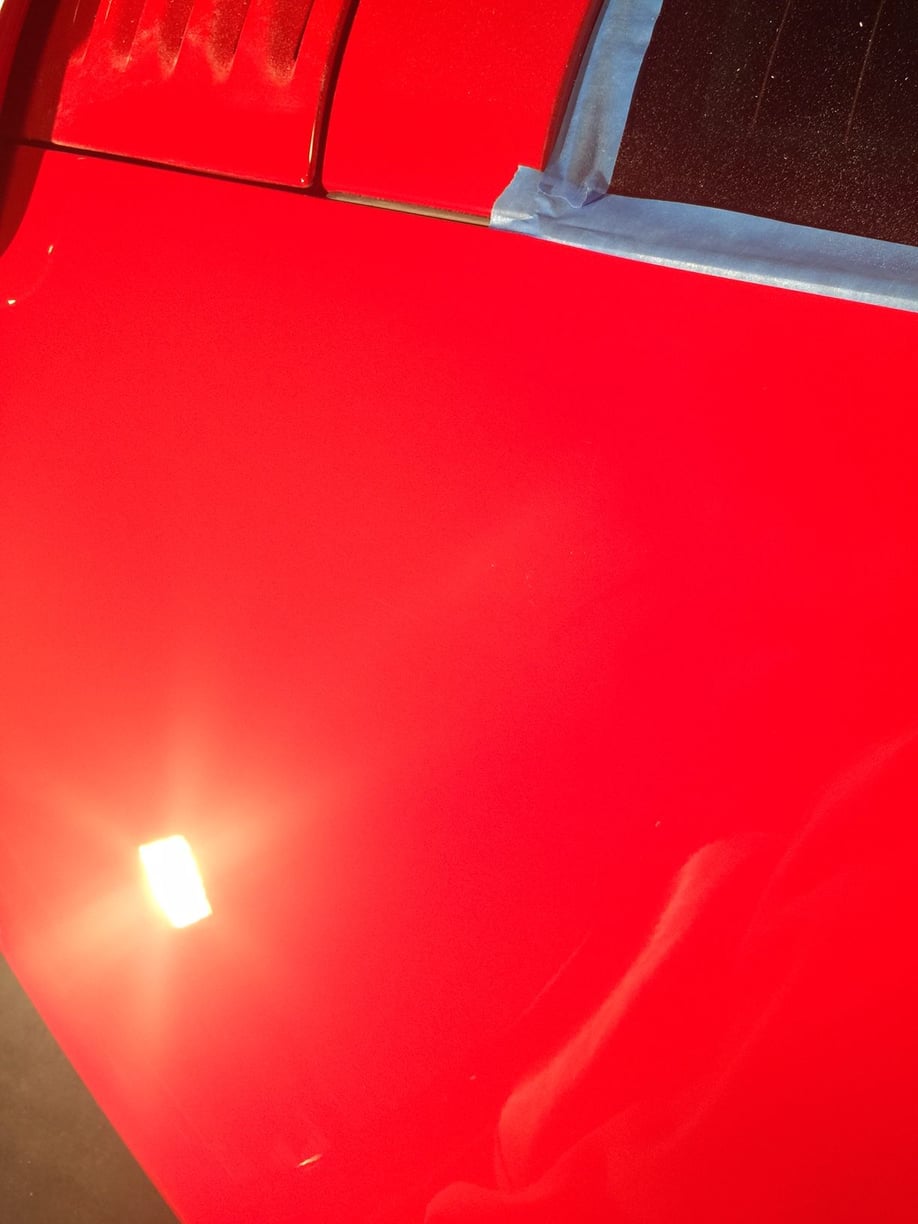
Etched clear - lime damage on roof
Please note that the photos here do the before and after no justice. The paint was severely dry, there were deep scratches, swirls and scuffs throughout the paint work. There was rubber slung up the sides and in the wheel wells, skirts, bumpers - restoring the car's finish was no easy task. I am not going to go into crazy detail here - no pun intended - but I'd like to share the process as it may help some of the people here in the RL community.
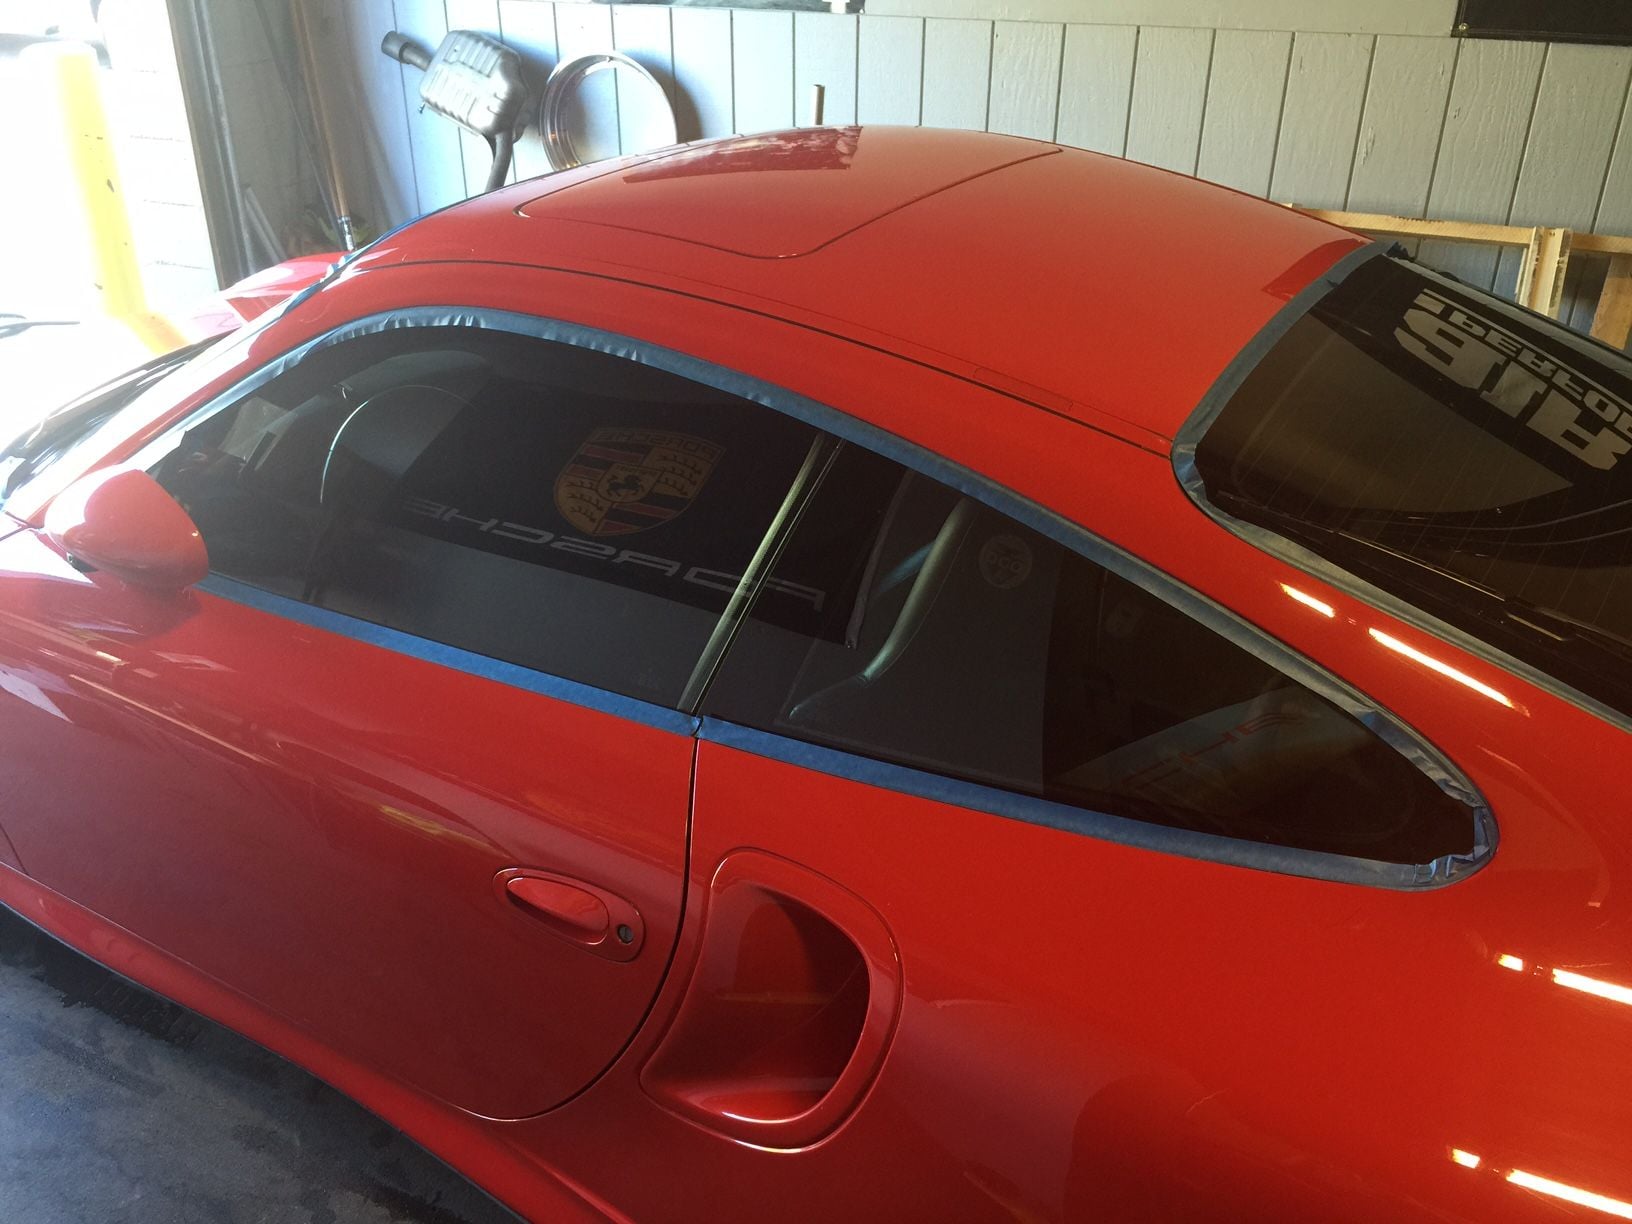
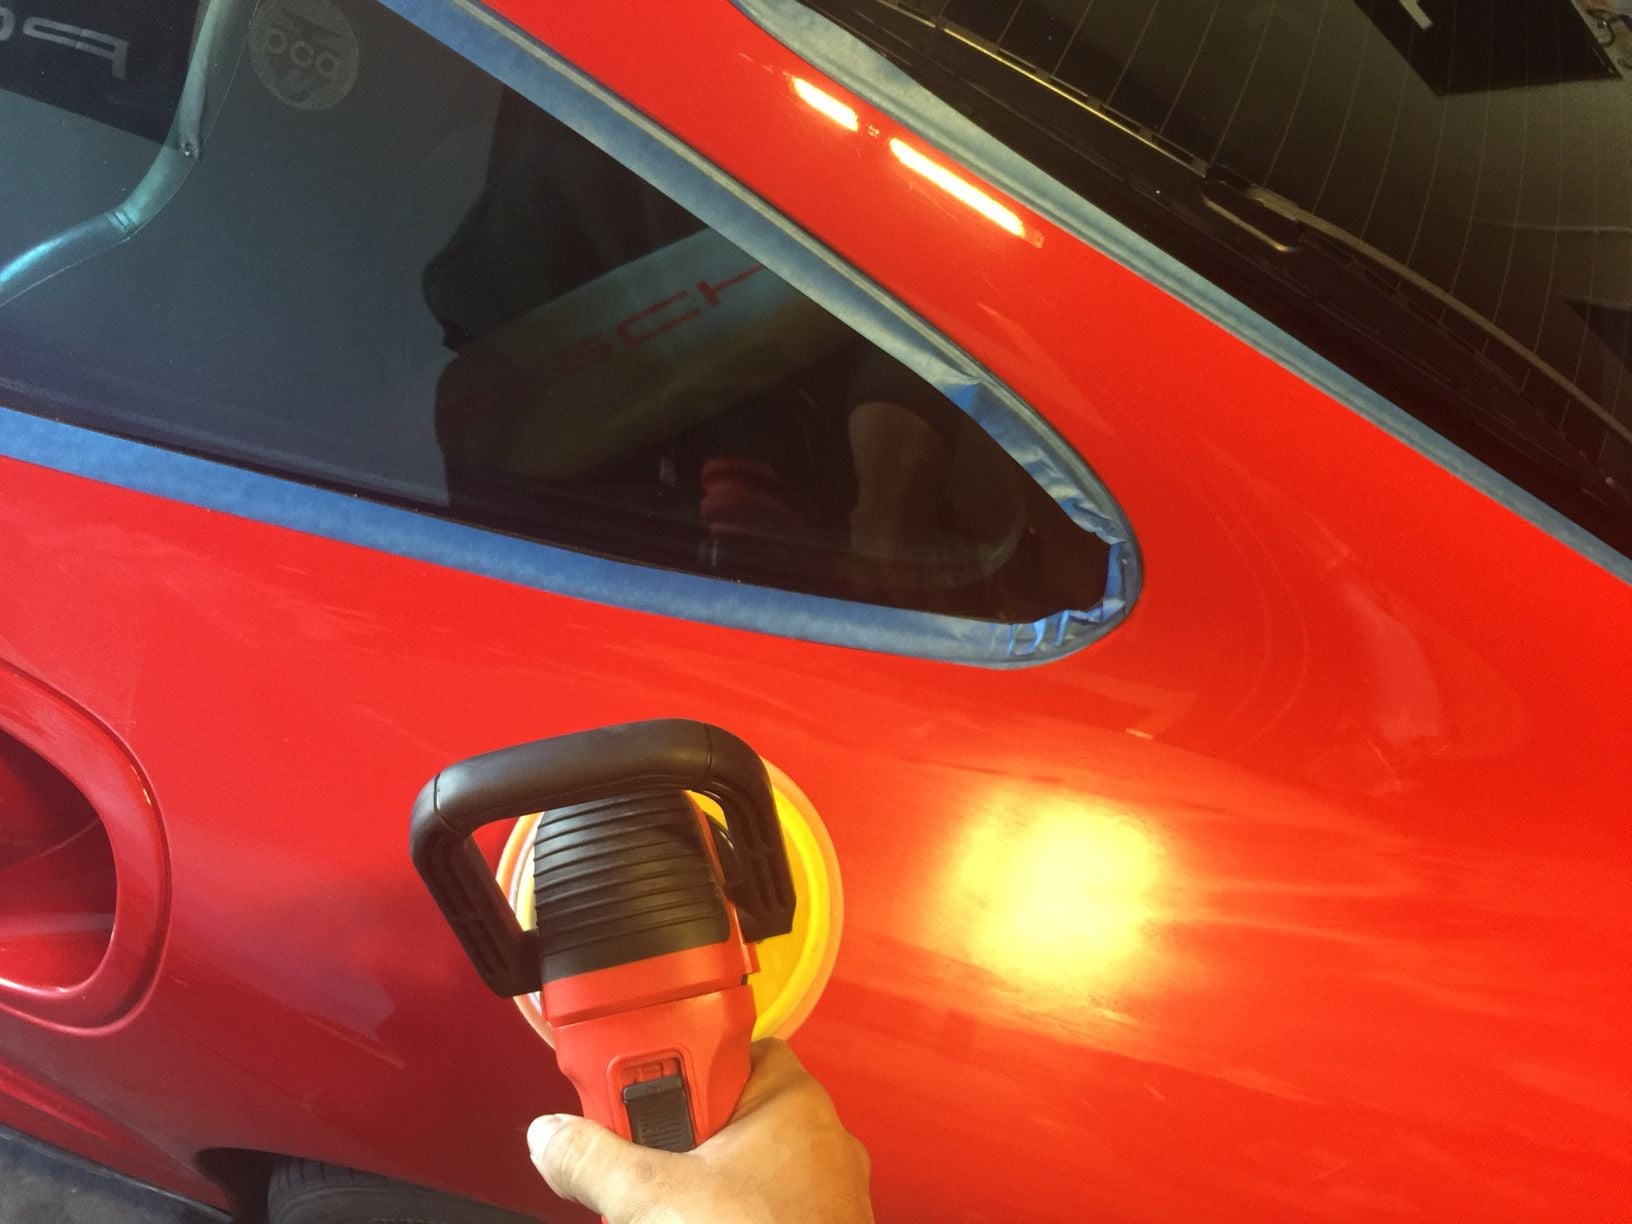
I started cleaning the car with a good, heavily lubricated wash, clay, wash regimen. After the paint was free of contaminants I blew the car dry, masked it and began my paint correction, polishing & detailing regimen. First up was an inspection followed by 2 passes of heavy-medium Menzerna polish. Some areas required spot polishing to remove deeper imperfections and the process was repeated until I was fully satisfied. The car was then polished with medium and fine polishes and associated pads and machine speeds until the finish was free of imperfections (scratches/swirls/etc) and full shine/luster were achieved.
With the paint surface now perfect, wiped and prepped - I hand glazed it to replenish any oils that the paint was deprived of throughout the years. The finish was then sealed & protected with 2 coats of insulating wax and gloss, depth and shine was achieved by carefully layering 3 coats of my custom carnauba wax.
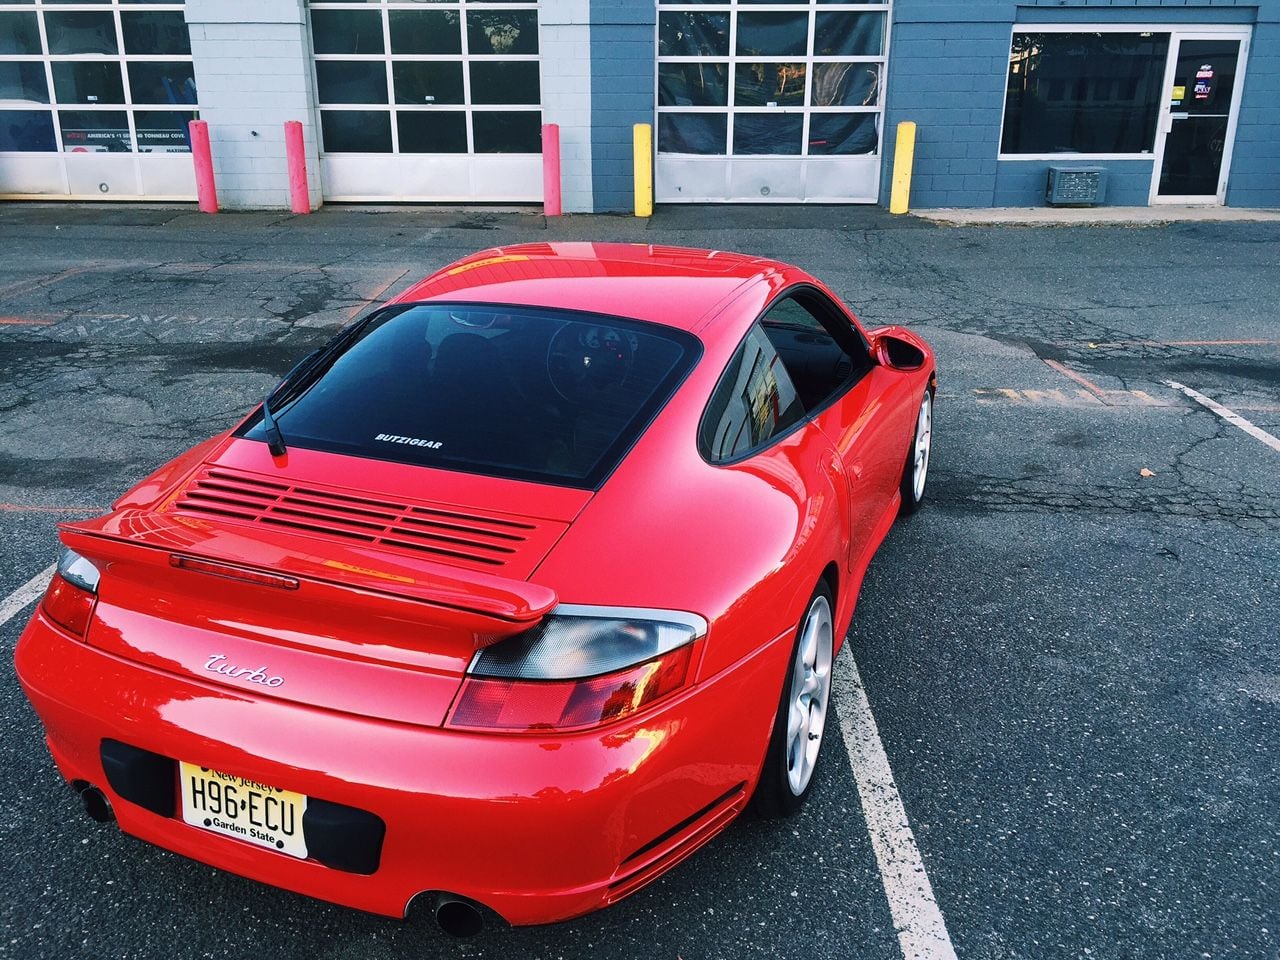
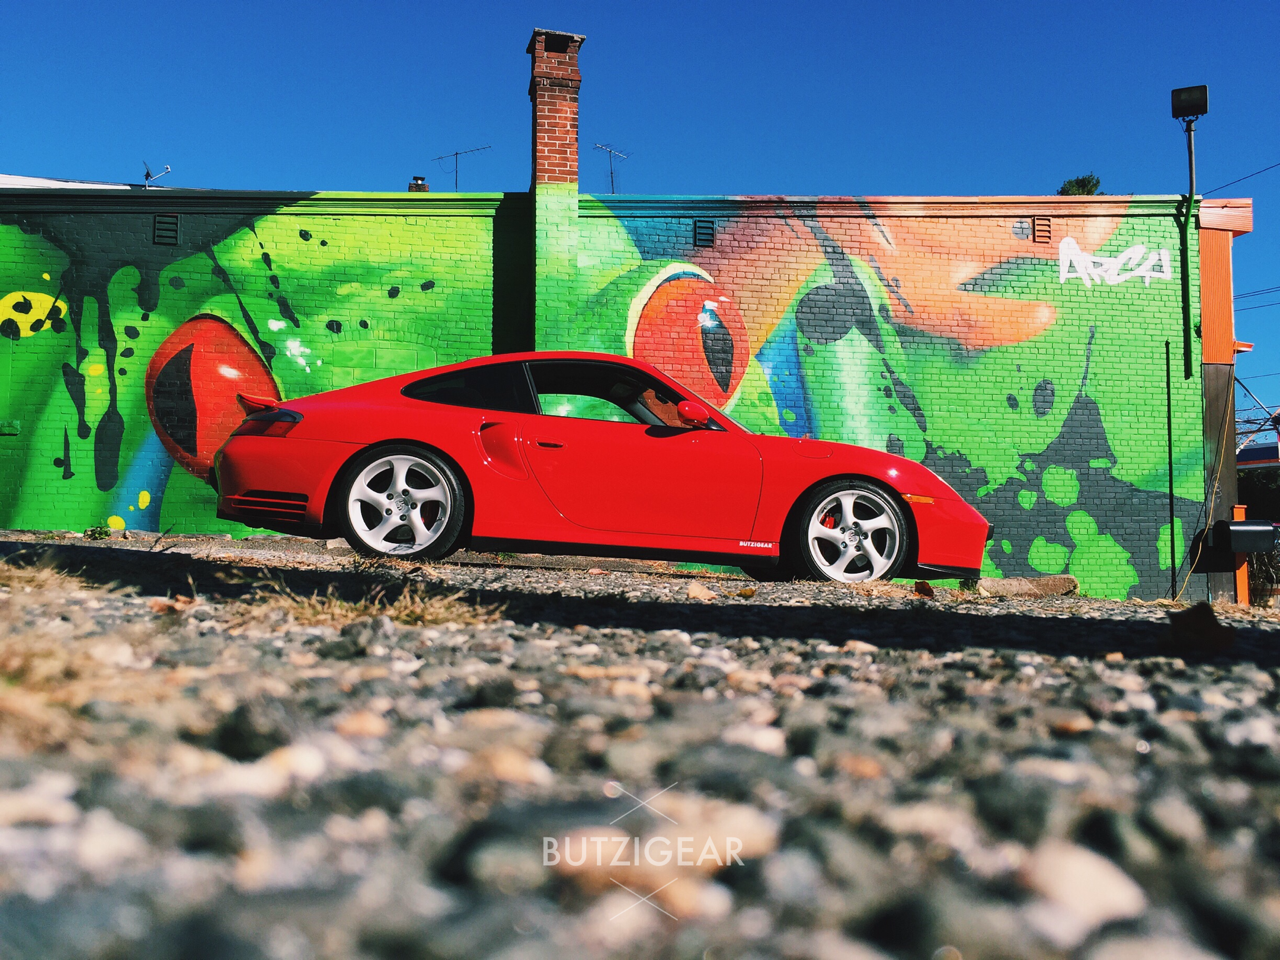
All I can really say is that the car went from a 7 to a 10. While it still has some battle scars (mostly rock chips from the track), the car's finish cleaned up immensely and really looks better than new. It's safe to say that Adam loves it
Thanks for reading! If you have any questions please feel free.
Great improvement! How much time did you dedicate to the project and what portion of that was absorbed by the paint correction? I'm about to run through the exact same procedure with my Cayman.
I spread this process over 2 days, most of the effort and time spent was on the paint decontamination/cleansing and correction. I probably had about 6 hours or more into the correction alone. Well worth the results!
Thank you. I would mask the graphics before polishing and waxing. Some graphics can be waxed it depends on the finish.
Thank you
There is so much area covered by the graphic that it won't be practical to mask it.
Fortunately the paint is in excellent condition and only needs to be preserved. I've been using Klasse AIO with good results and just wondering about alternatives.
I guess your work inspired me!
 12-09-2015, 03:55 PM