2005 Porsche Turbo S (Full Blown recondition)
 02-10-2015, 01:59 PM
#1
Instructor
Thread Starter
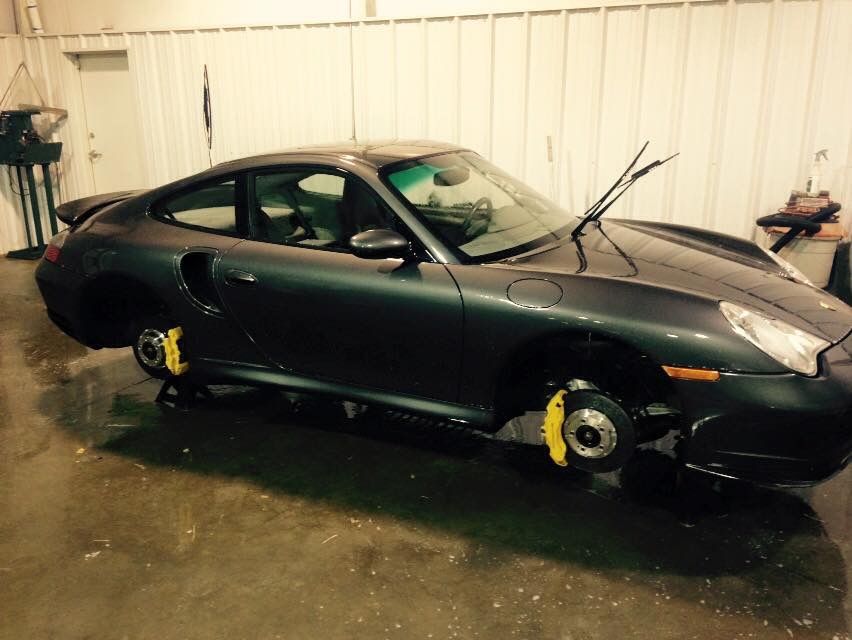
Hope you guys enjoy this as much as I enjoyed working on this beauty. I will not go into what this car is, you guys know. I will go into the fact that the owner is a Porsche mechanic and he bought this car from one of his customers.
Anyway, the PCA Carolinas Region meeting was this past Saturday evening, Feb 7, 2015. The owner asked if we could have the car ready to display at the meeting.
I said sure! I wanted to get it ready so I could display my company to potential clients. We agreed to have it ready either Friday or Saturday depending on when the owner could pick it up. I was shooting for Friday to give any additional time on Saturday for final prep. Another aspect was that when we got it in, the wheels came off. The owner had a new set he was putting on, so this would allow us easy access to the inner arches and calipers.
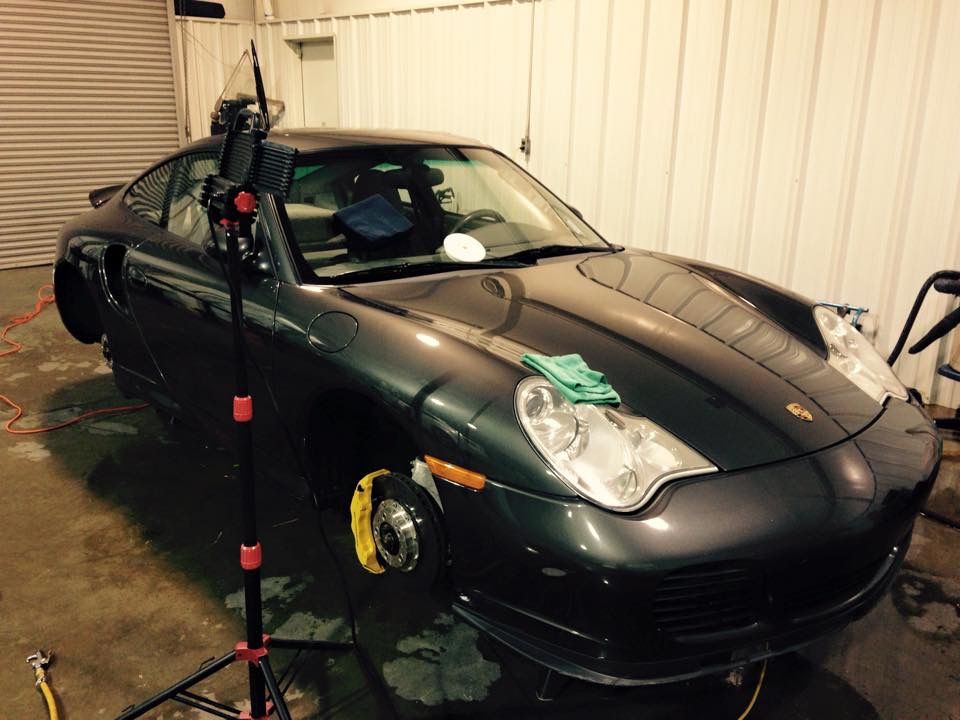
So here is what we started with:
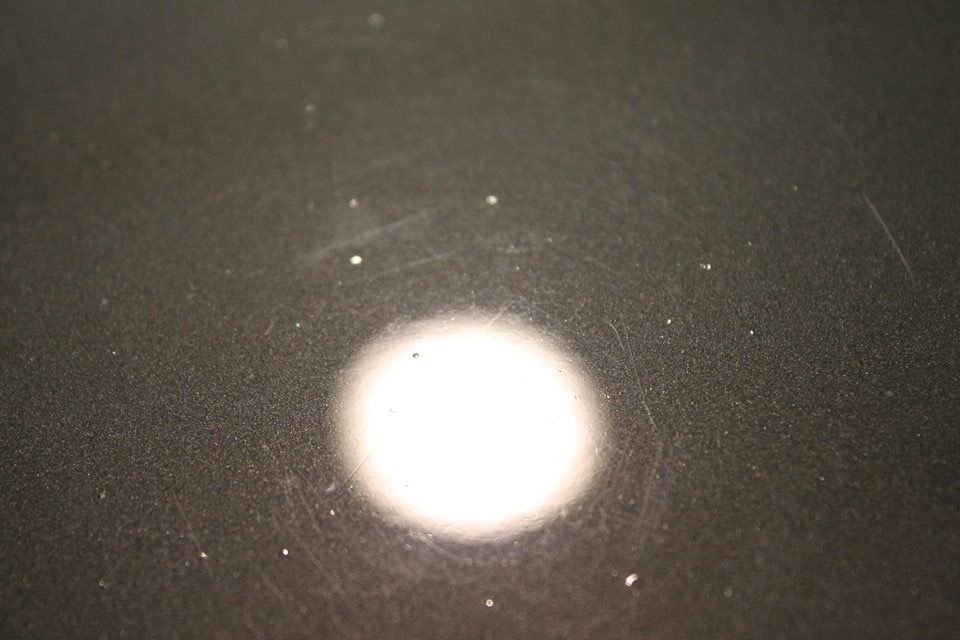
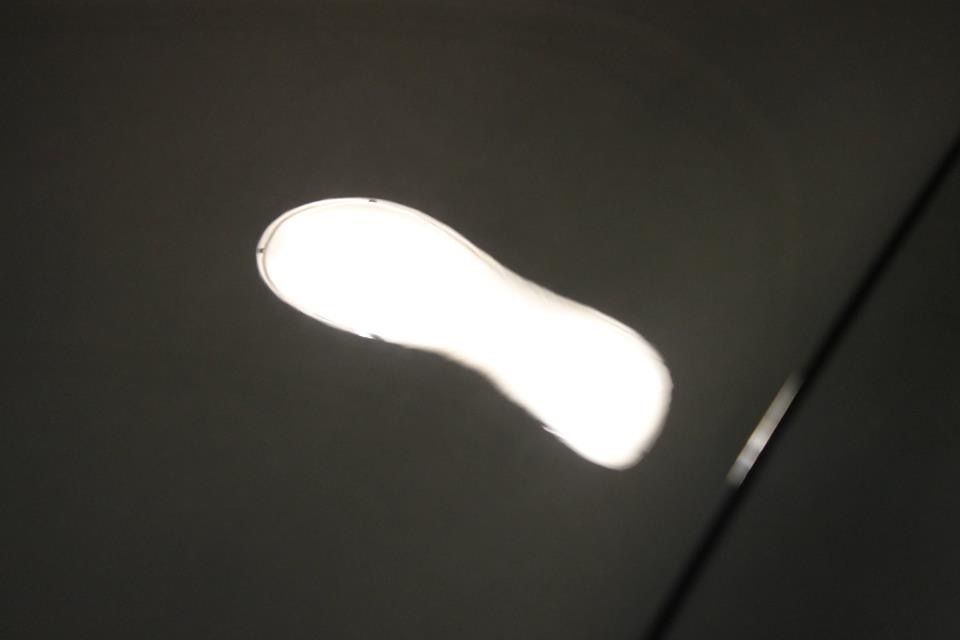
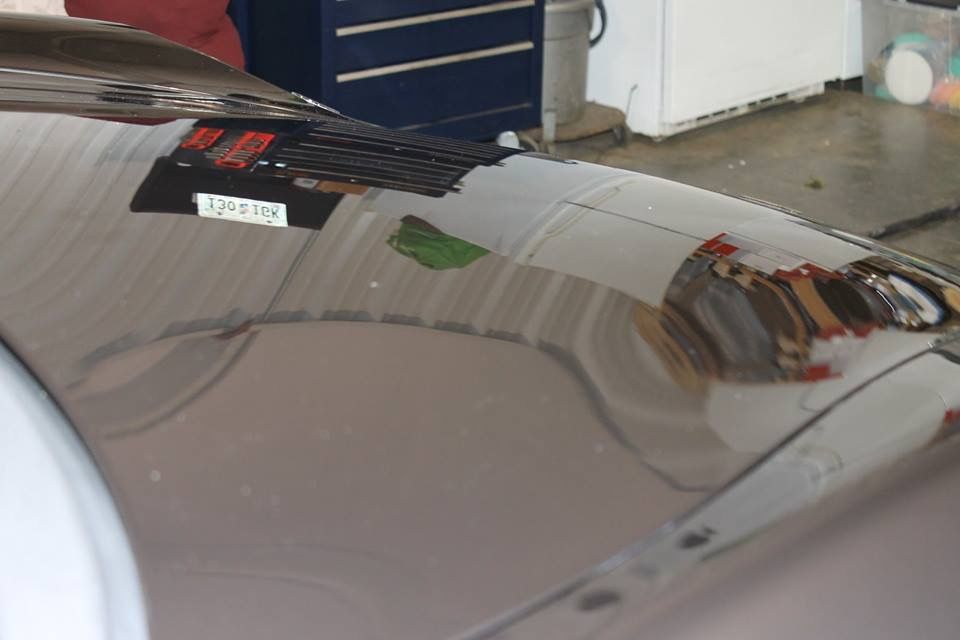
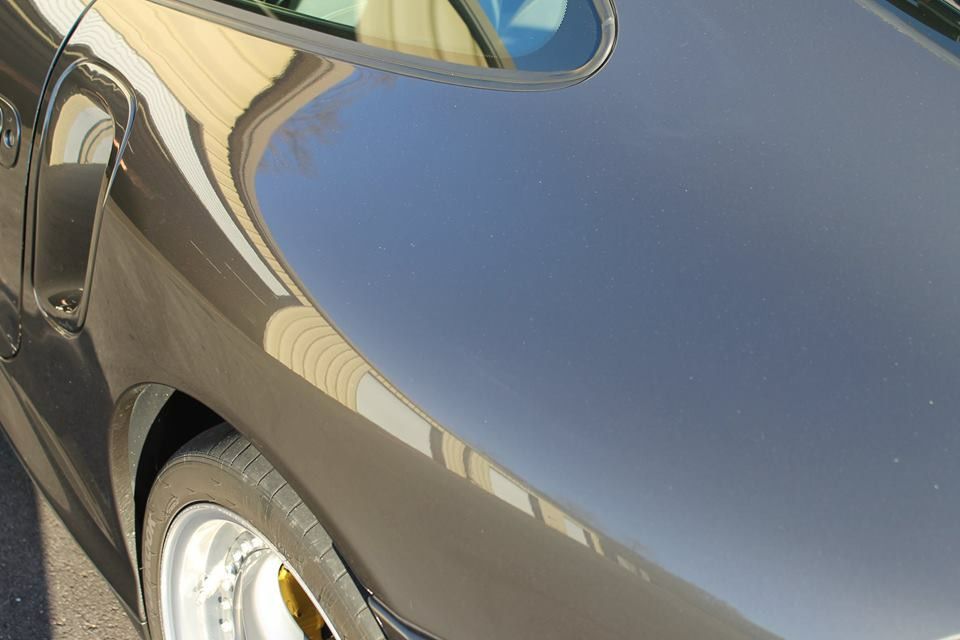
Paint was in bad shape. The previous owner apparently took a brillo pad to the paint.
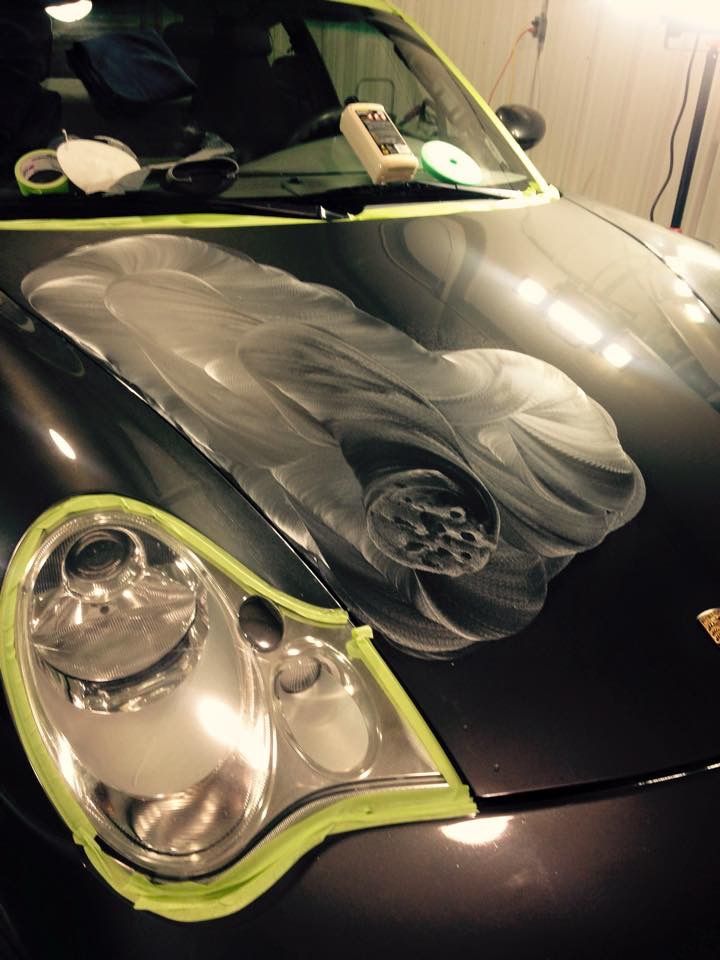
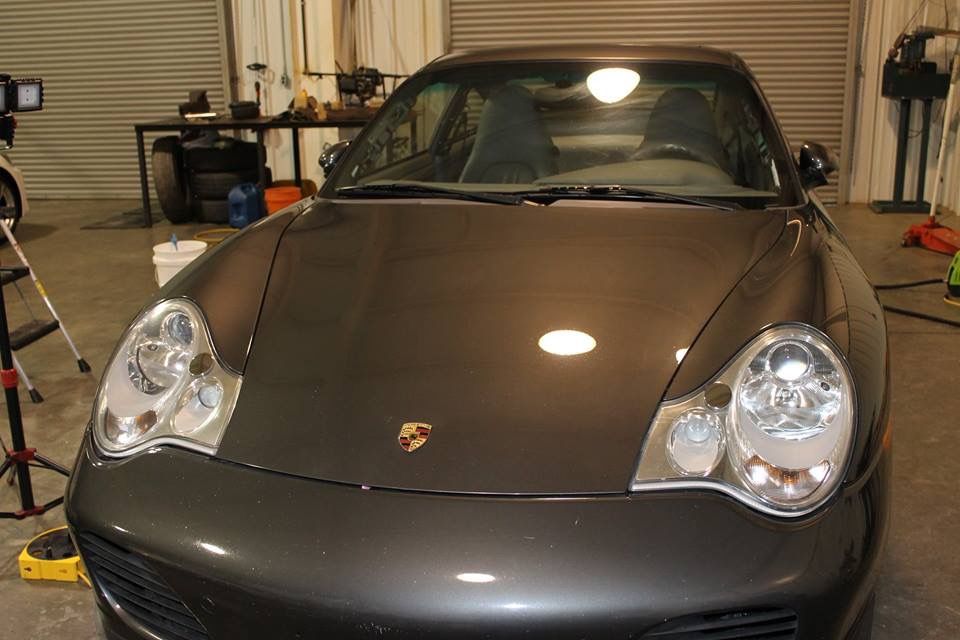
Hood:
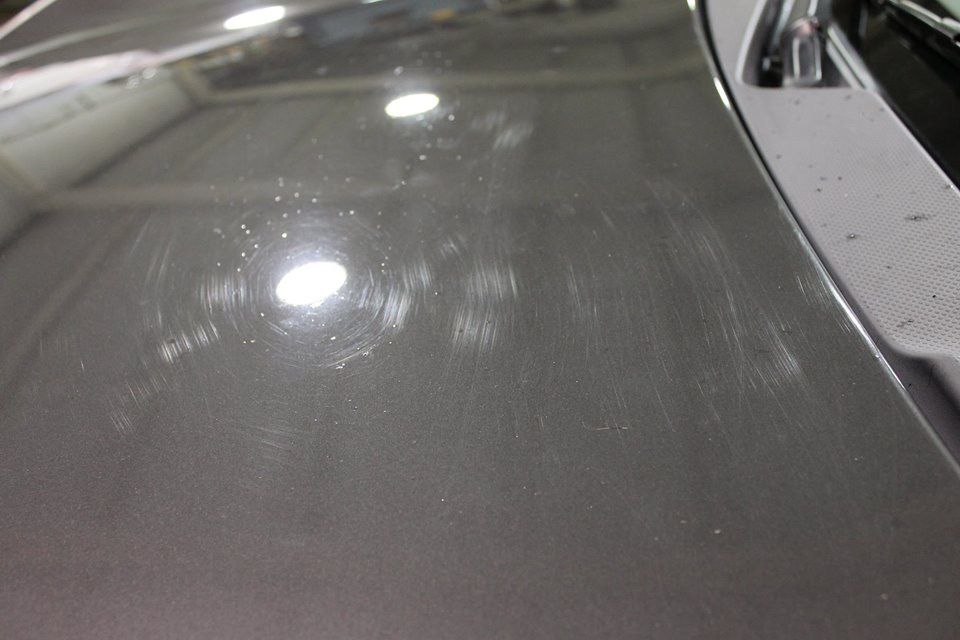
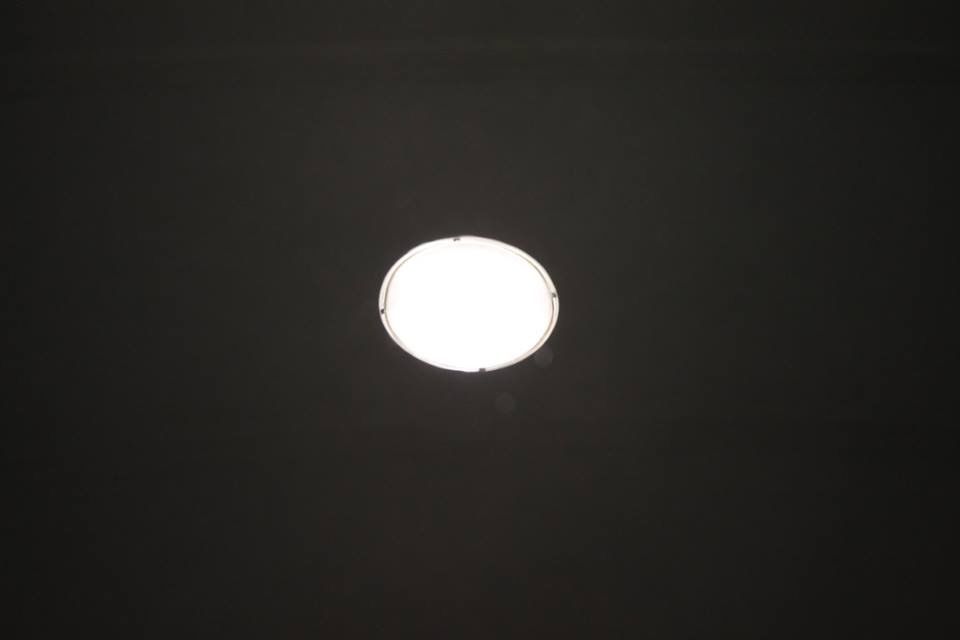
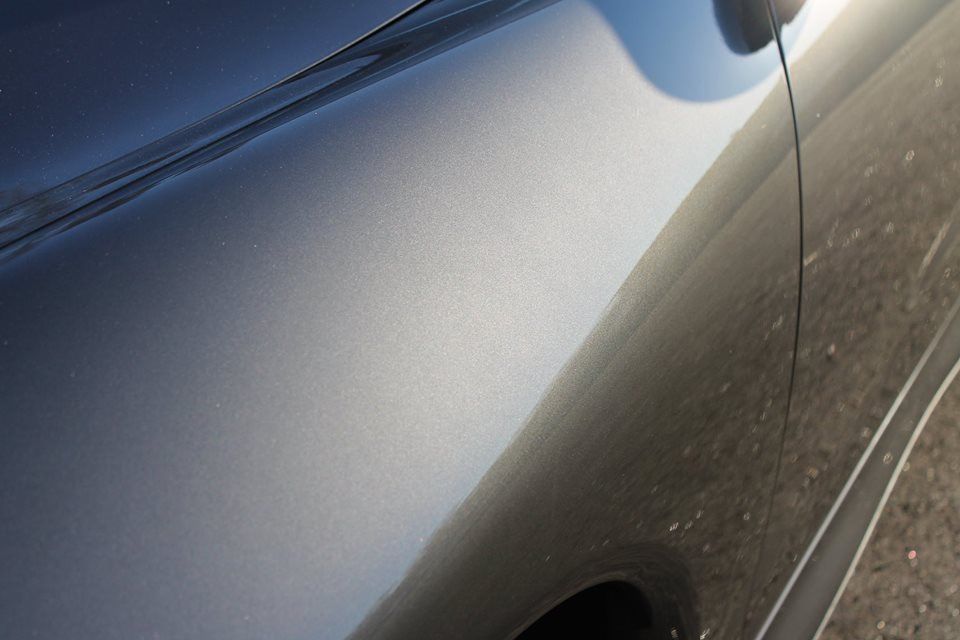
Indicative of the swirls:
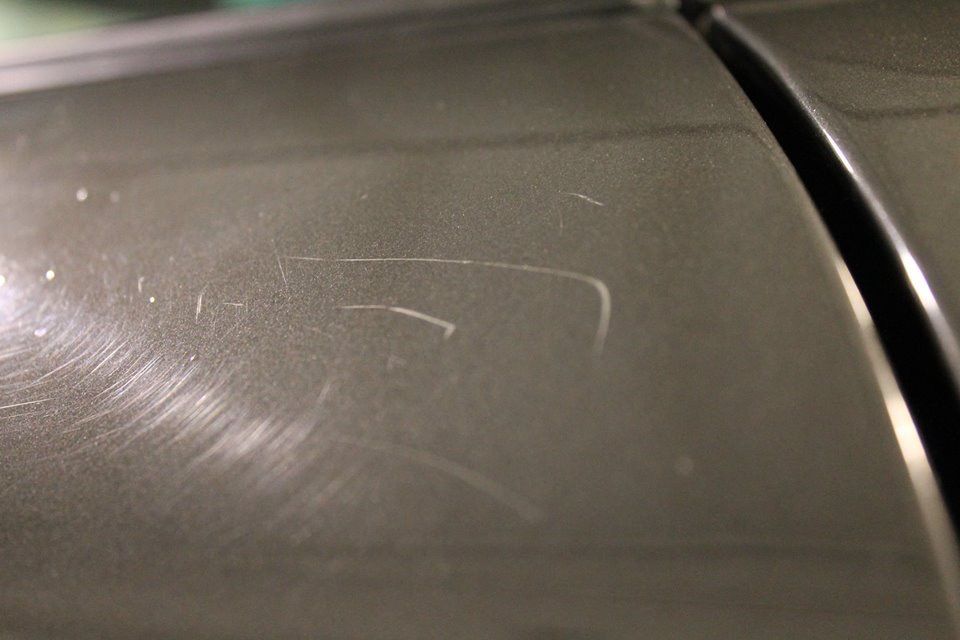
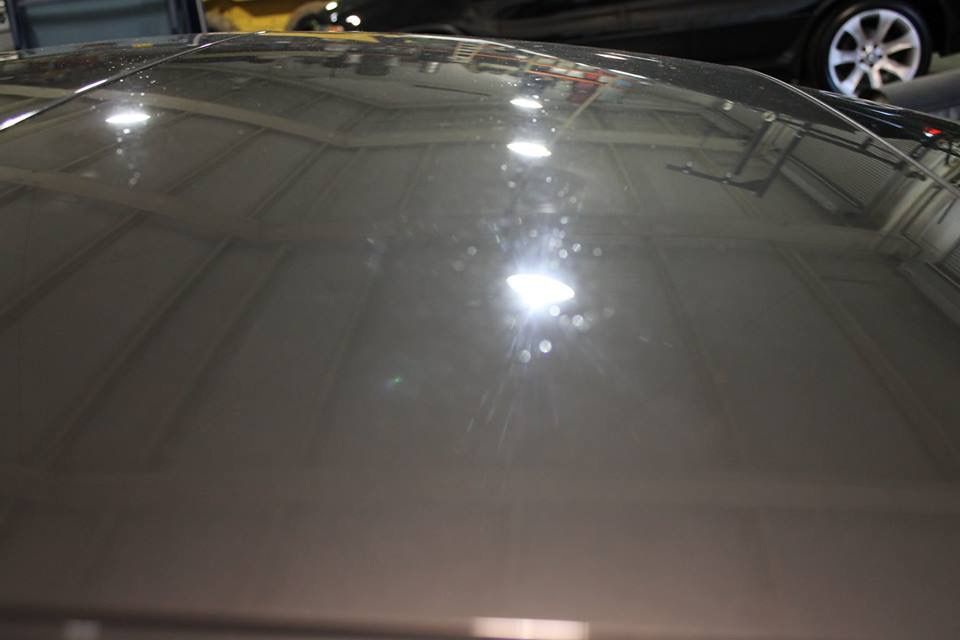
Top as well:
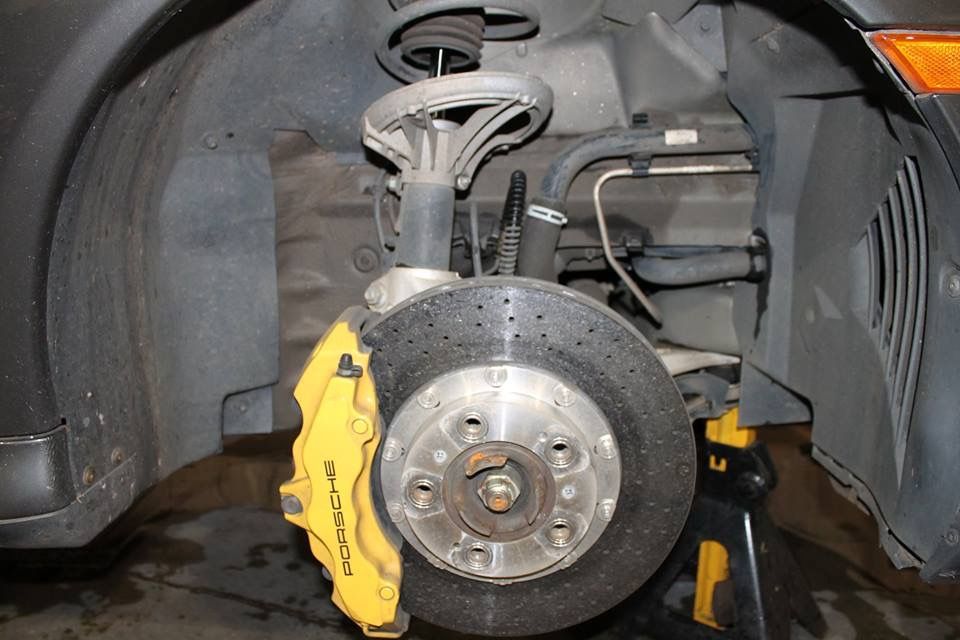
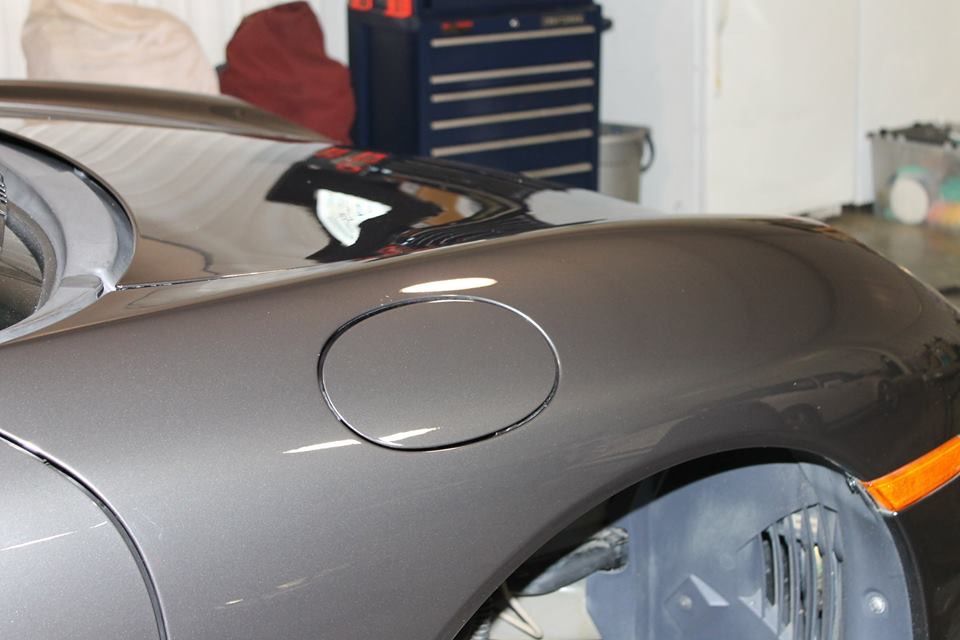
Wheel arch Before:
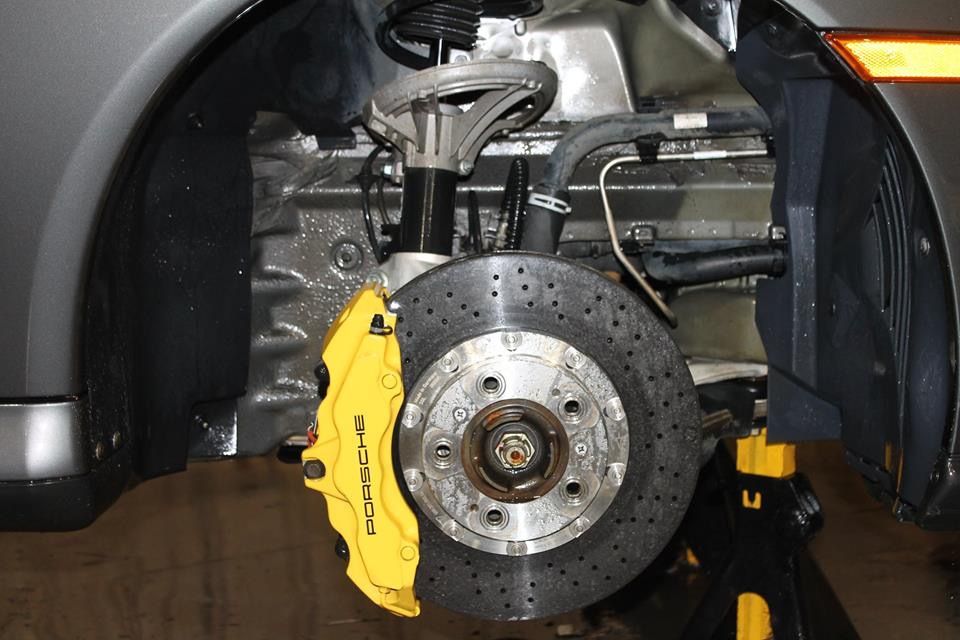
Wheel arch after:
After taking multiple paint thickness readings, the work begins:
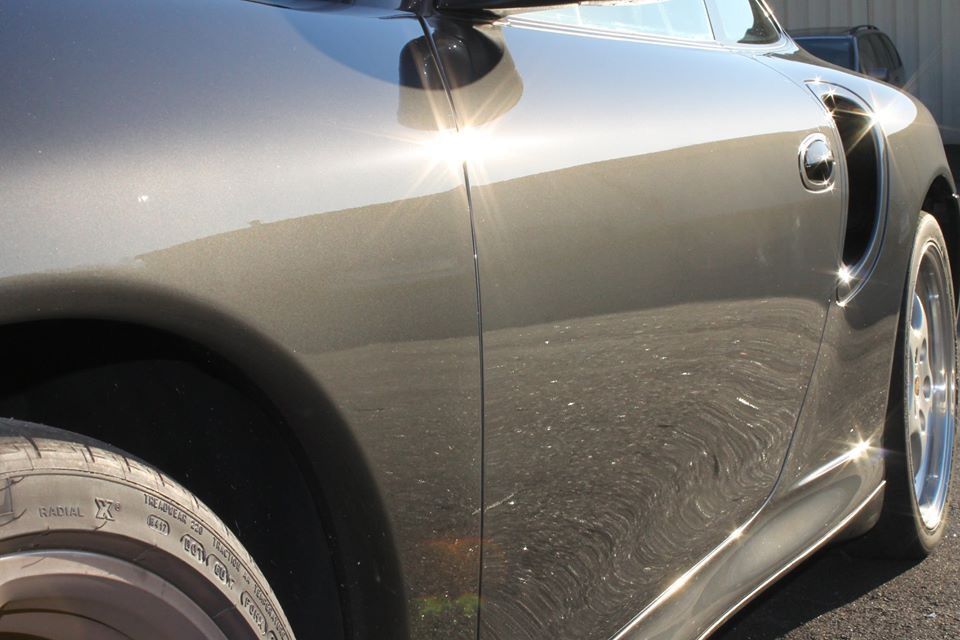
Wetsanding of the full front clip as well as the roof, and spot sanding of trouble areas on the remainder of the car
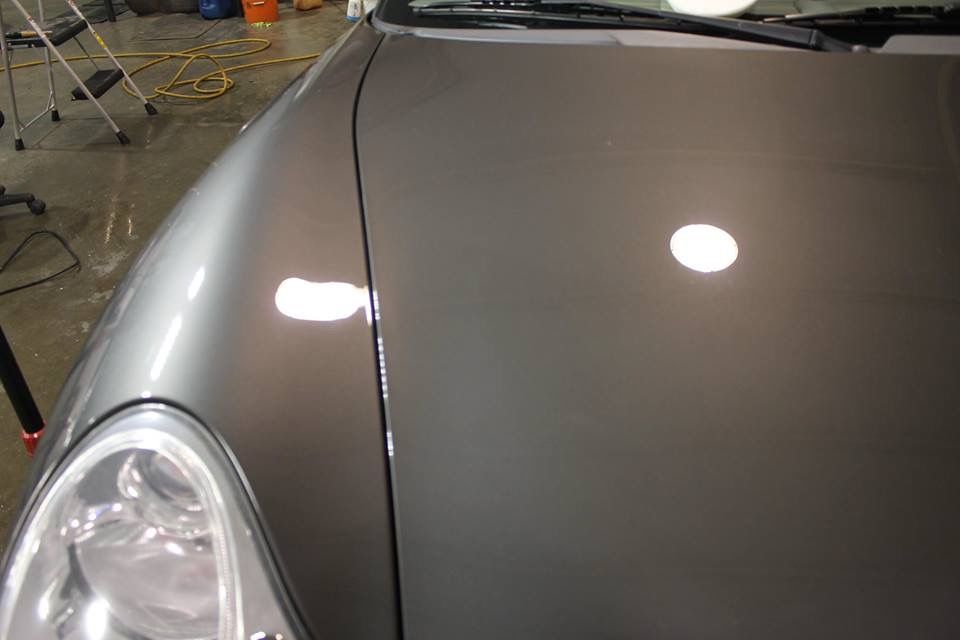
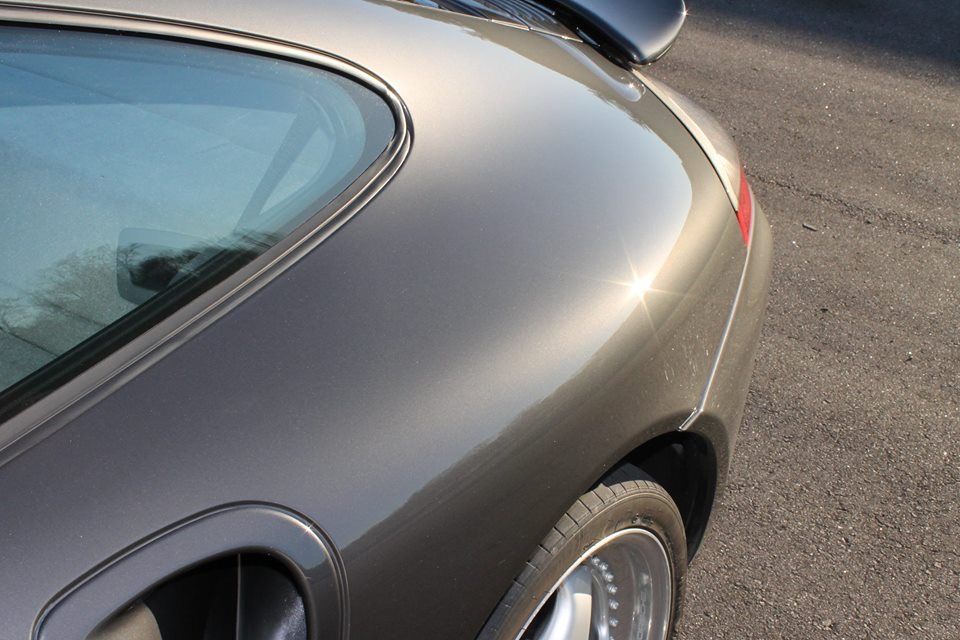
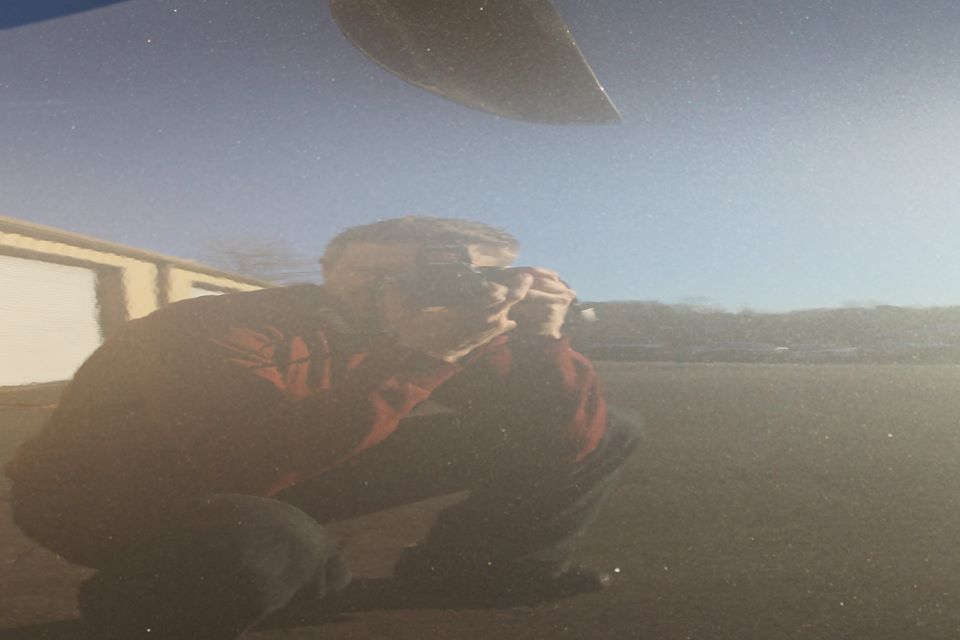
Cutting stage after sanding. Note, we still have polishing to do:
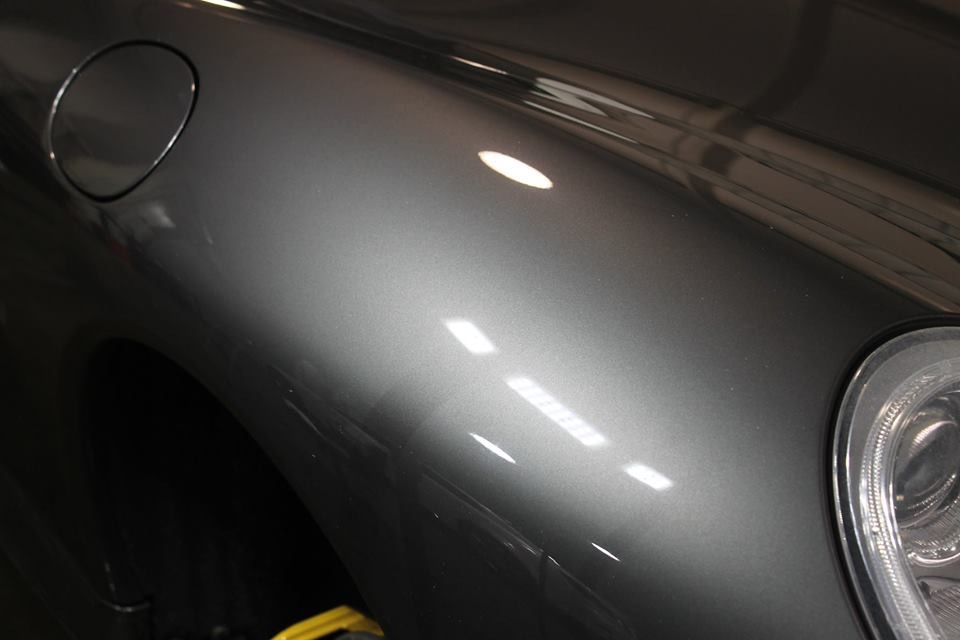
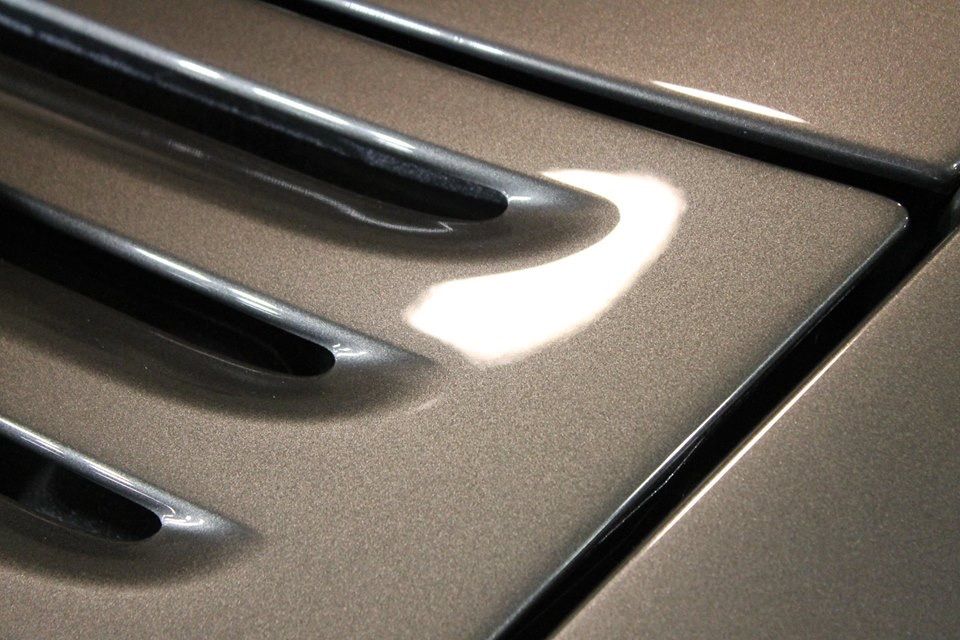
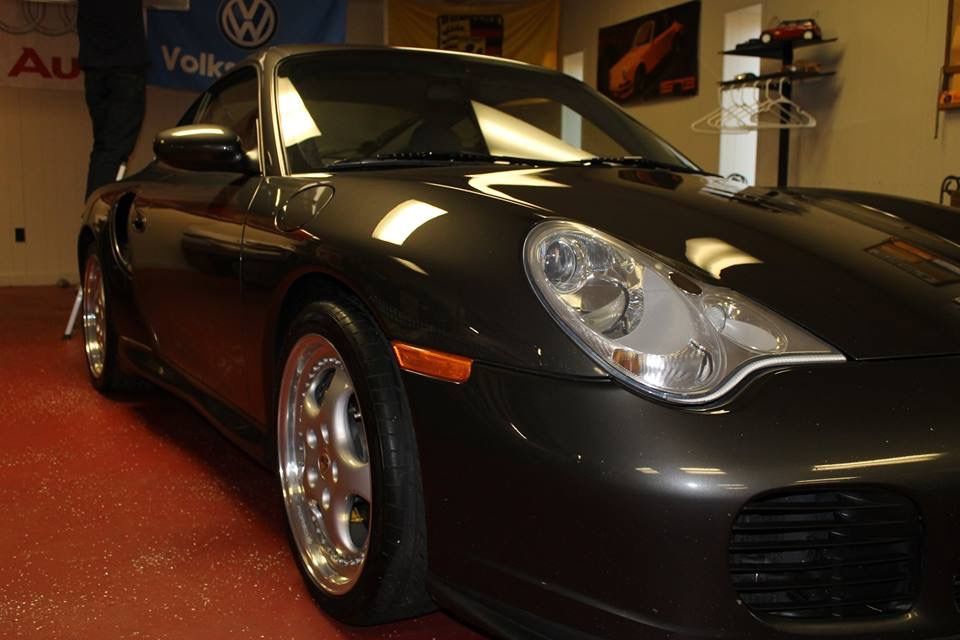
This is overall after cutting, the next stages are refinement of the finish:
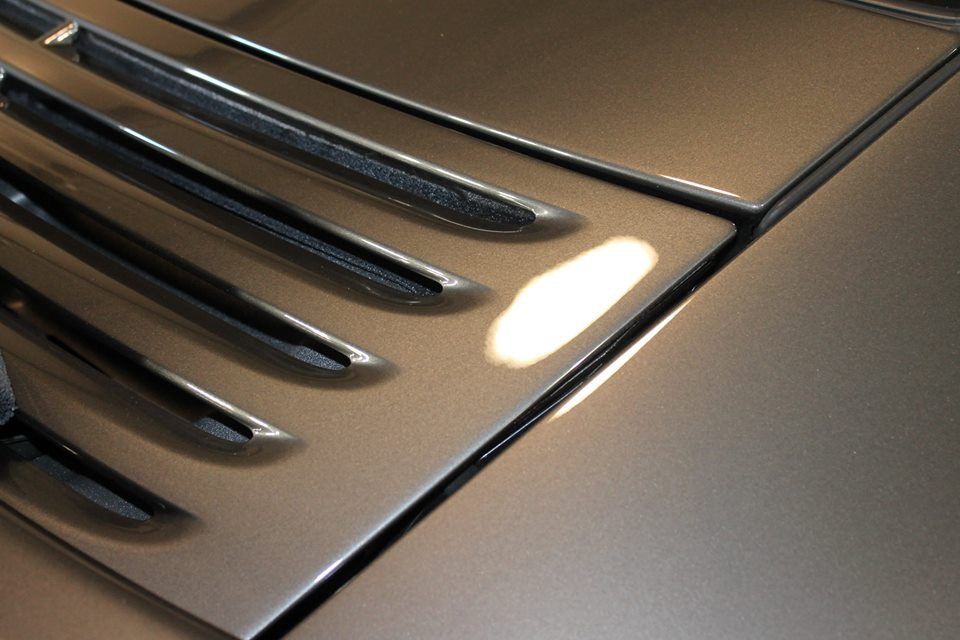
Engine Bay:
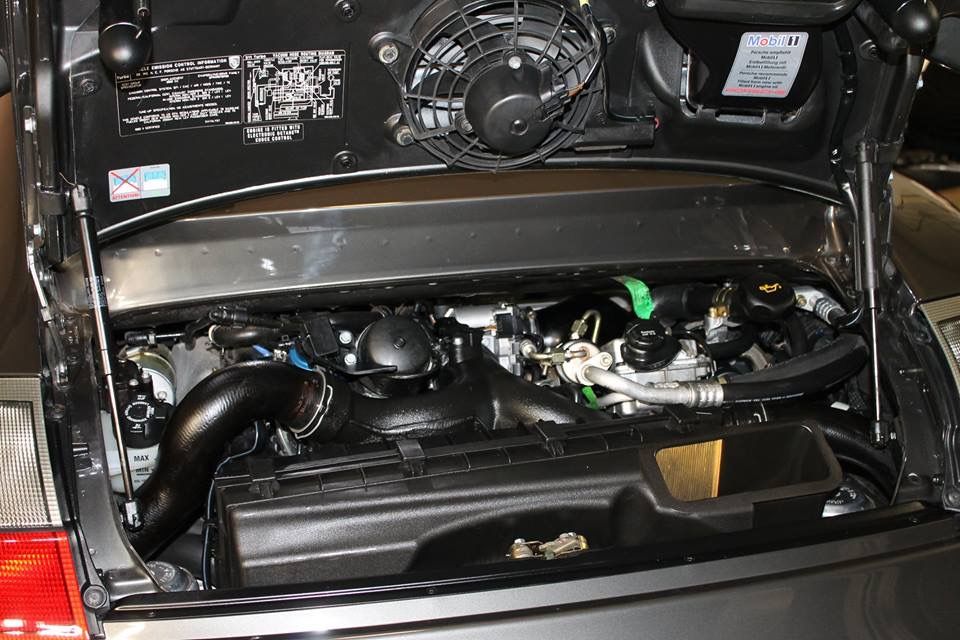
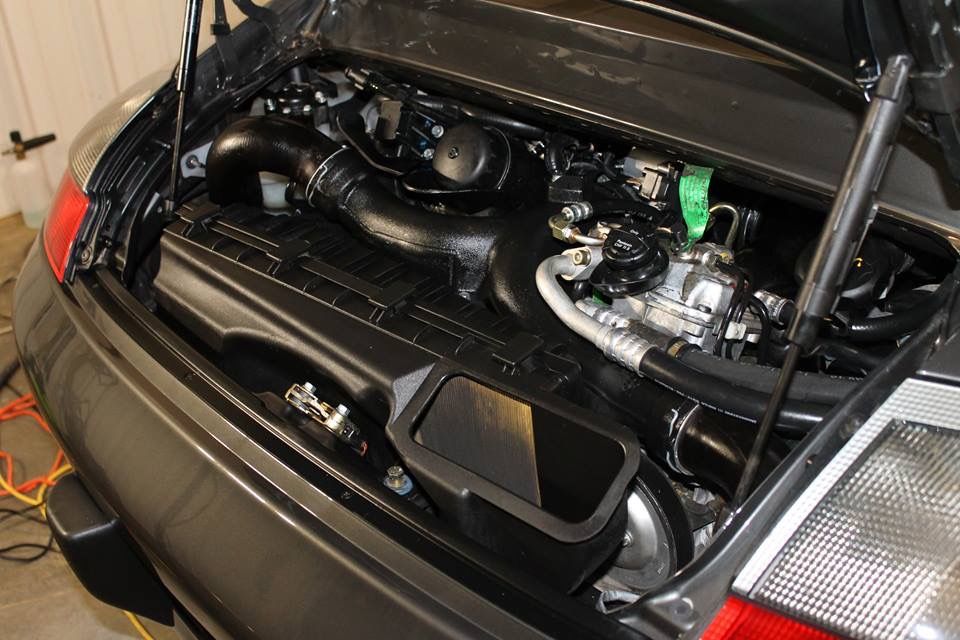
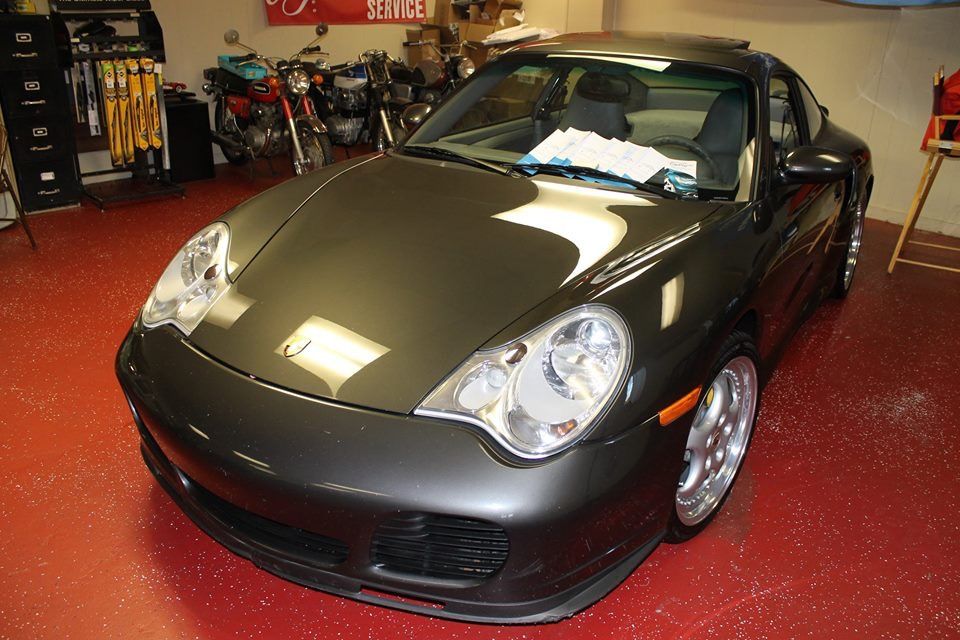
This one speaks for itself:
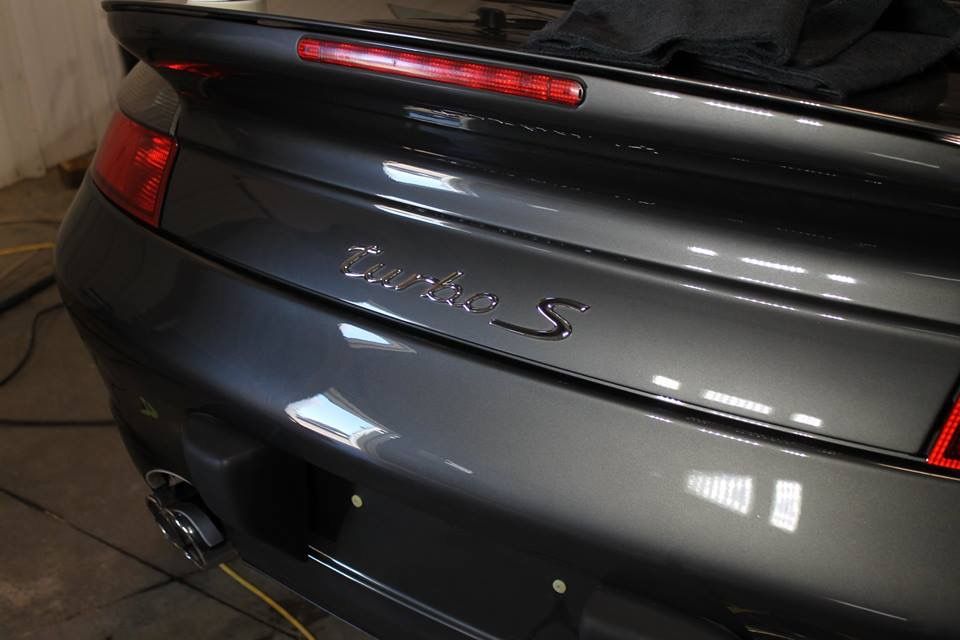
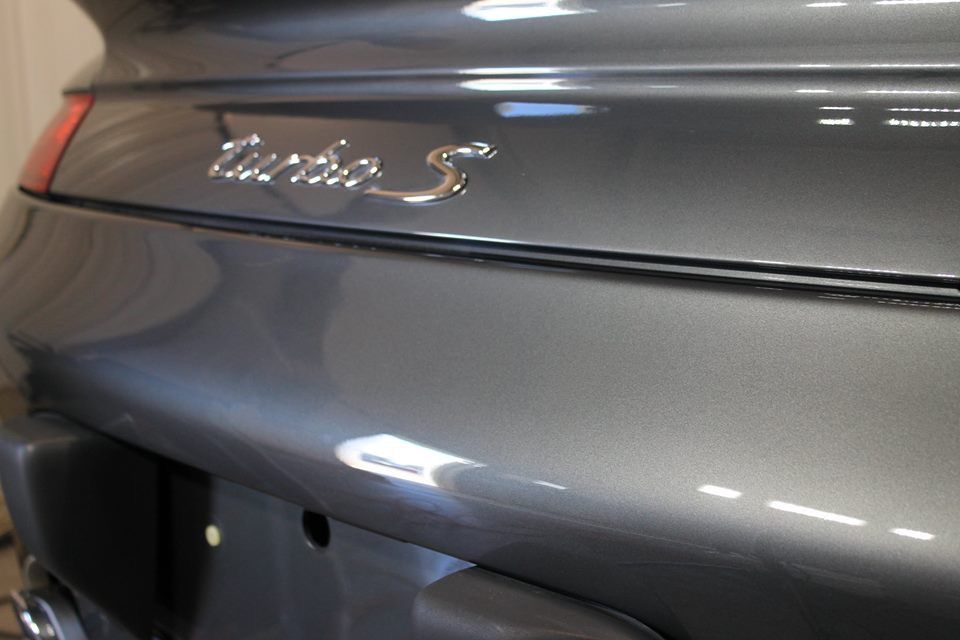
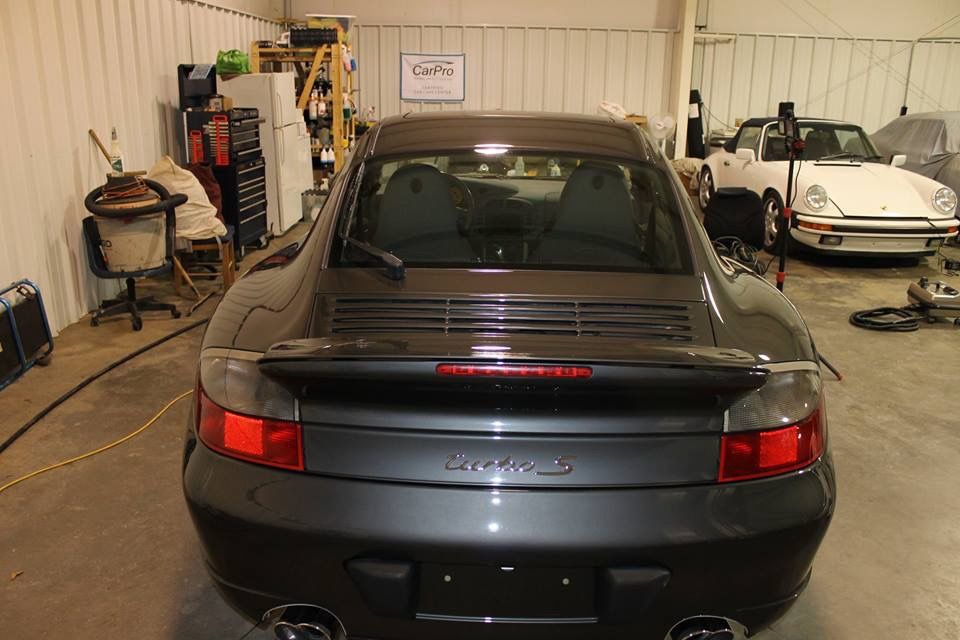
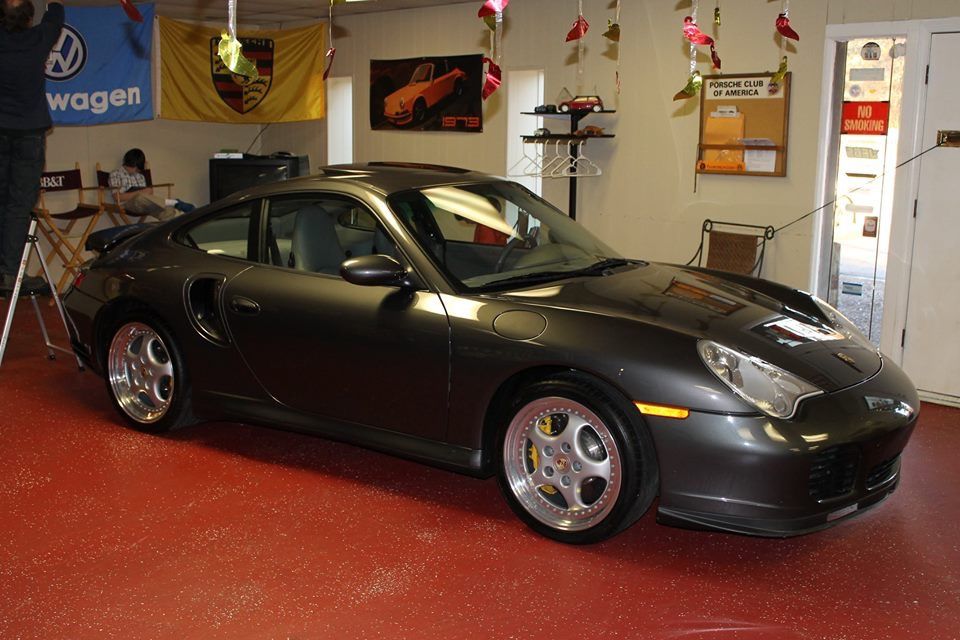
Outside prior to moving into showroom:
I hope you enjoy, I have interiors as well that I will post later.
Bruce
Carolina Auto Image
Anyway, the PCA Carolinas Region meeting was this past Saturday evening, Feb 7, 2015. The owner asked if we could have the car ready to display at the meeting.
I said sure! I wanted to get it ready so I could display my company to potential clients. We agreed to have it ready either Friday or Saturday depending on when the owner could pick it up. I was shooting for Friday to give any additional time on Saturday for final prep. Another aspect was that when we got it in, the wheels came off. The owner had a new set he was putting on, so this would allow us easy access to the inner arches and calipers.

So here is what we started with:
Paint was in bad shape. The previous owner apparently took a brillo pad to the paint.

Hood:

Indicative of the swirls:

Top as well:

Wheel arch Before:

Wheel arch after:

After taking multiple paint thickness readings, the work begins:
Wetsanding of the full front clip as well as the roof, and spot sanding of trouble areas on the remainder of the car

Cutting stage after sanding. Note, we still have polishing to do:


This is overall after cutting, the next stages are refinement of the finish:


Engine Bay:


This one speaks for itself:

Outside prior to moving into showroom:


I hope you enjoy, I have interiors as well that I will post later.
Bruce
Carolina Auto Image
 05-09-2015, 12:28 AM
#3
Rennlist Member
That is a great result. What polish did you use? Did you use a porter cable? If not what and how did you refine the scratches and swirl marks? Again, outstanding.
Jay
Jay
05-11-2015, 11:22 AM
#4
Instructor
Thread Starter
Thanks guys. I will explain a bit further.
66mustang: The wheel wells were a combination of steam (VX5000) and P21S Total Auto Wash, and multiple brushes. Protected with 303 Aerospace.
DJ23: I do not own a Porter cable anymore. I had one back in 2003, but sold it along with the mobile rig I had at the time.
This vehicle I used a multitude of tools and techniques, machine damp sanding, compounding with Meguiars 105, and then polishing with Meguiars M205, following that with another finishing polish. For machines, I have rotaries, Rupes Bigfoot polishers and also small air powered polishers.
HUMP
08-07-2016, 08:13 PM
#7
So what are the paint meter readings AFTER the correction ?
I love how these detailers never show the "after" readings
How much paint/clear are you removing to erase the swirls ?
I love how these detailers never show the "after" readings
How much paint/clear are you removing to erase the swirls ?
Trending Topics
08-11-2016, 10:48 AM
#8
Instructor
Thread Starter
Typically only .1 to .2 mils. You really try to go the least aggressive method, and sanding with 3,000 and 5,000 is actually not as bad as doing heavy cutting with a machine, because you are not generating as much heat and you are also leaving the finish in a state that can be cleaned up easier, which also means less heat to the paint.
HUMP
HUMP