When you click on links to various merchants on this site and make a purchase, this can result in this site earning a commission. Affiliate programs and affiliations include, but are not limited to, the eBay Partner Network.
Prolific 911 paint correction & detail... chalk to concours!!!
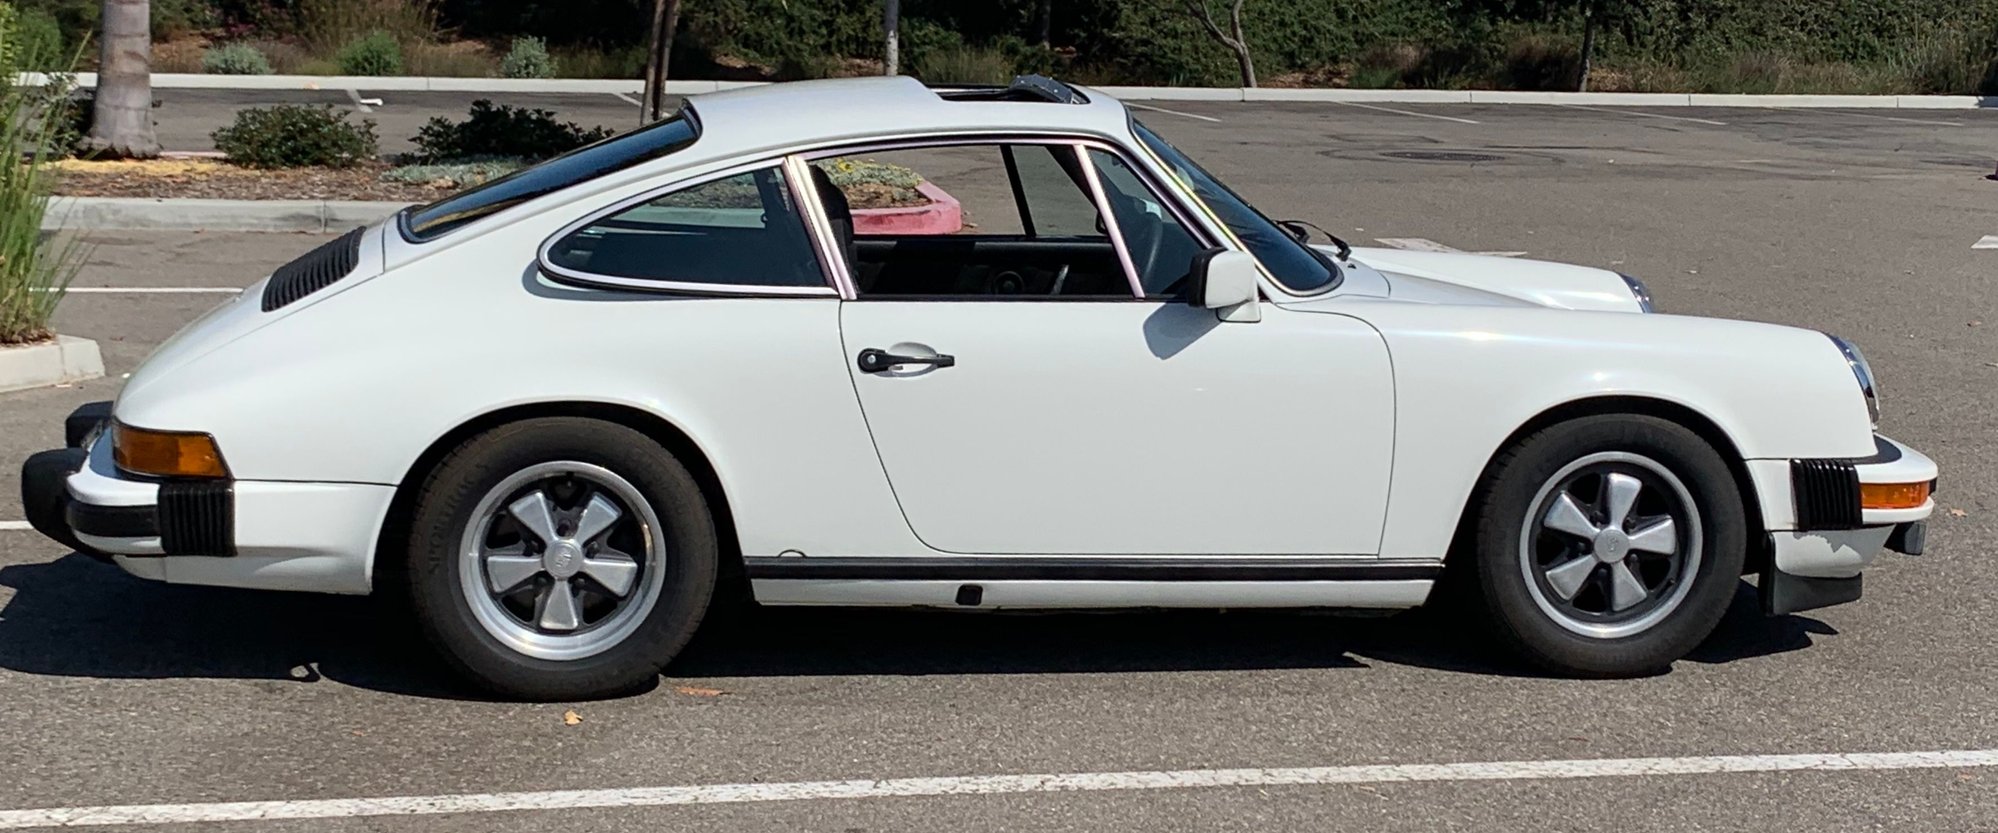
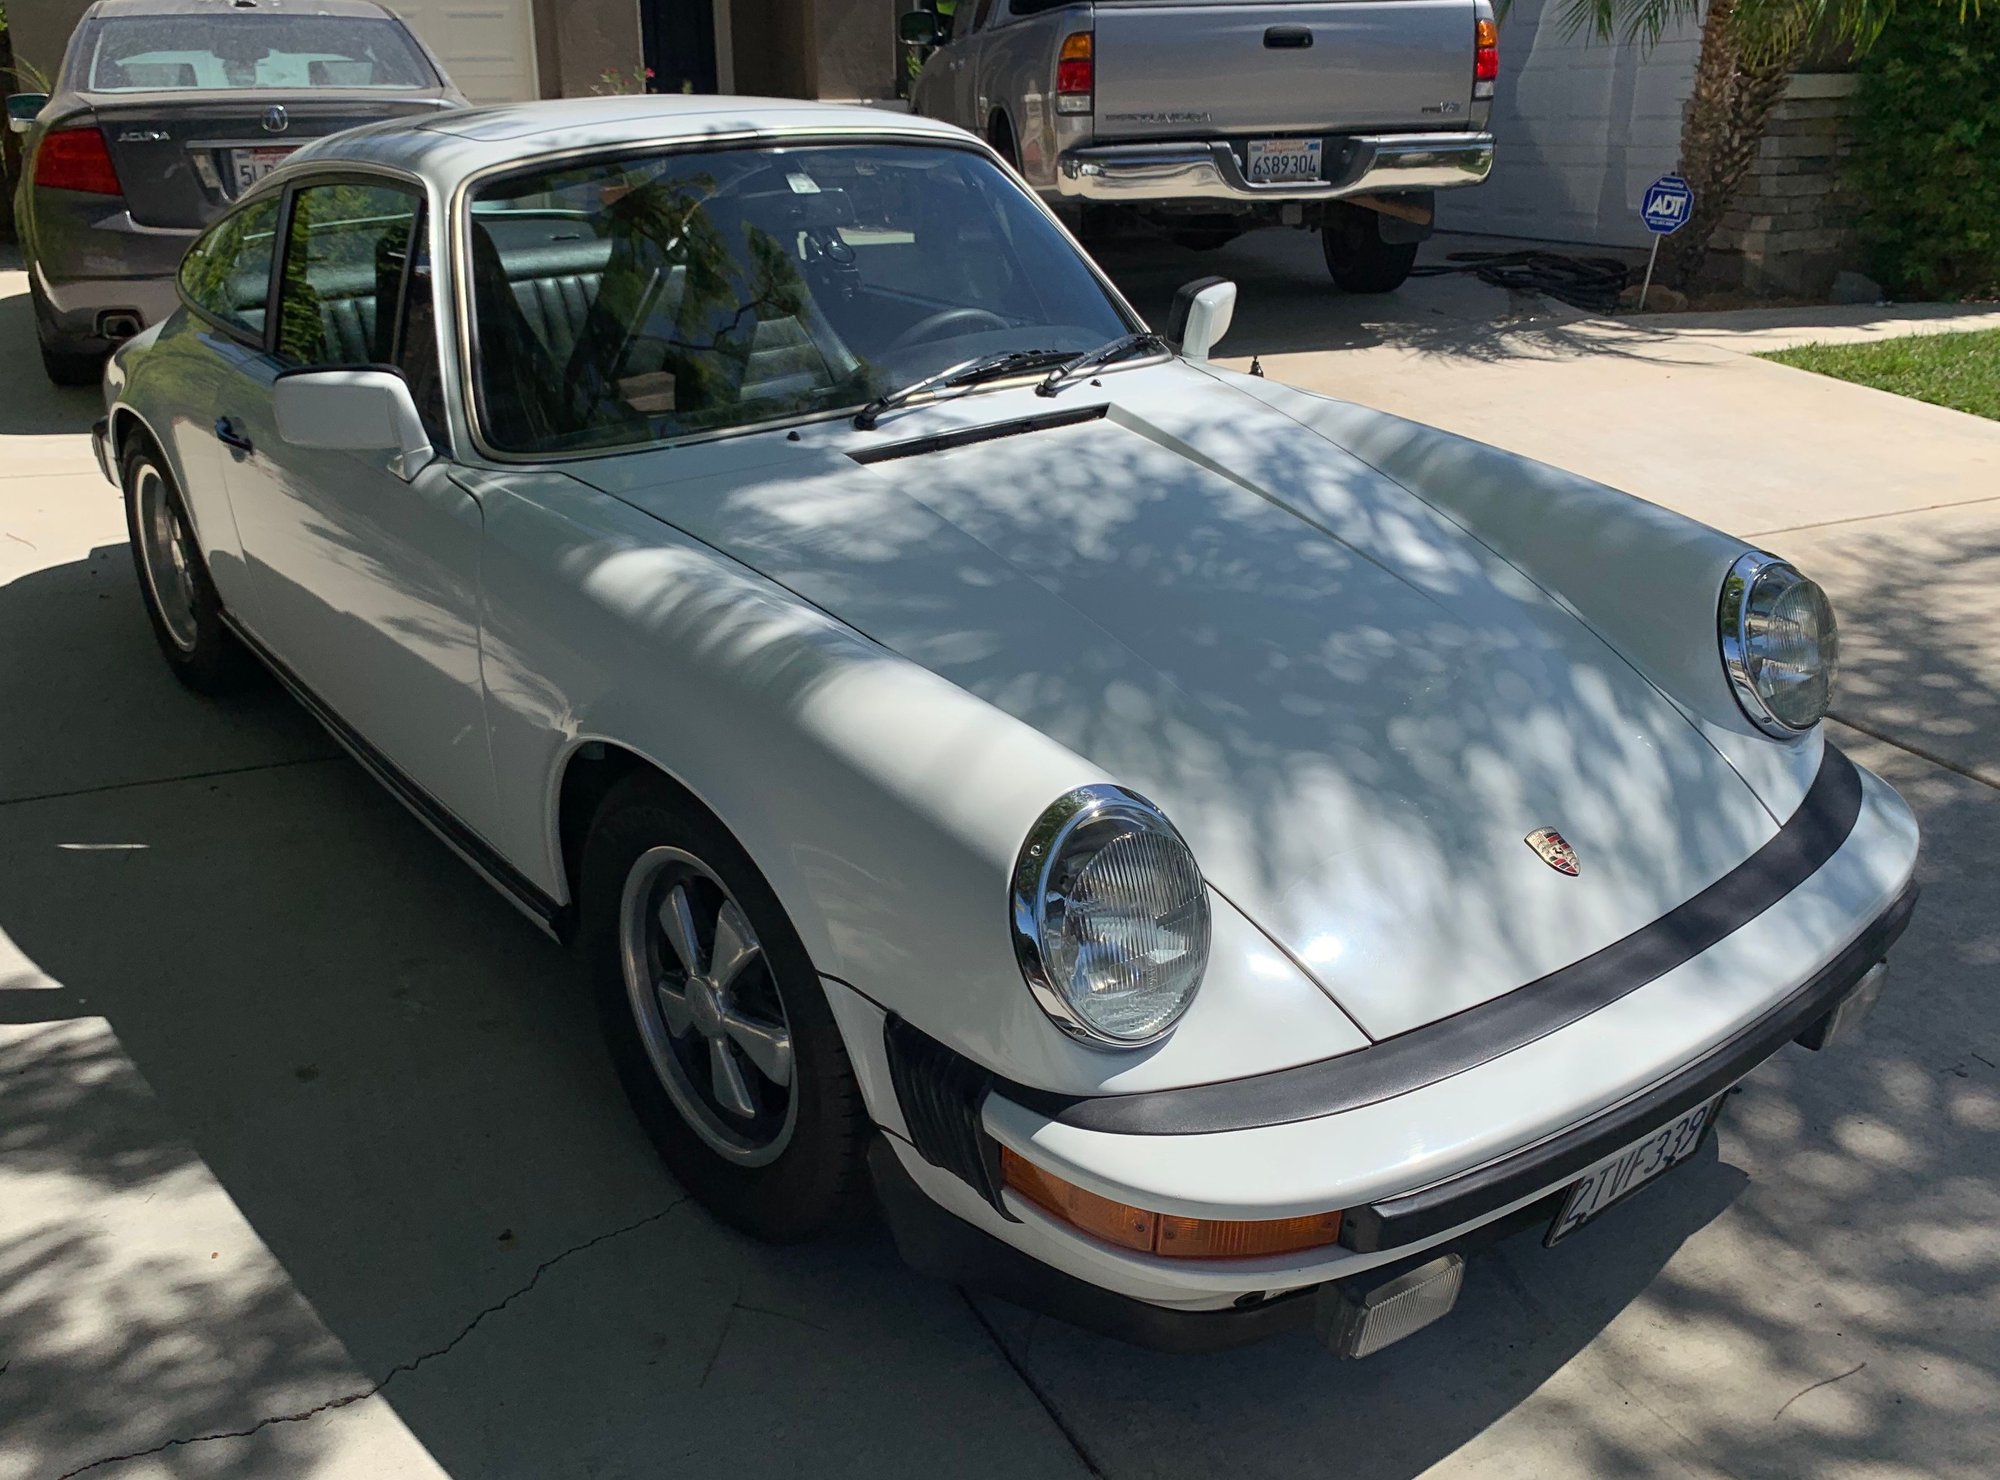
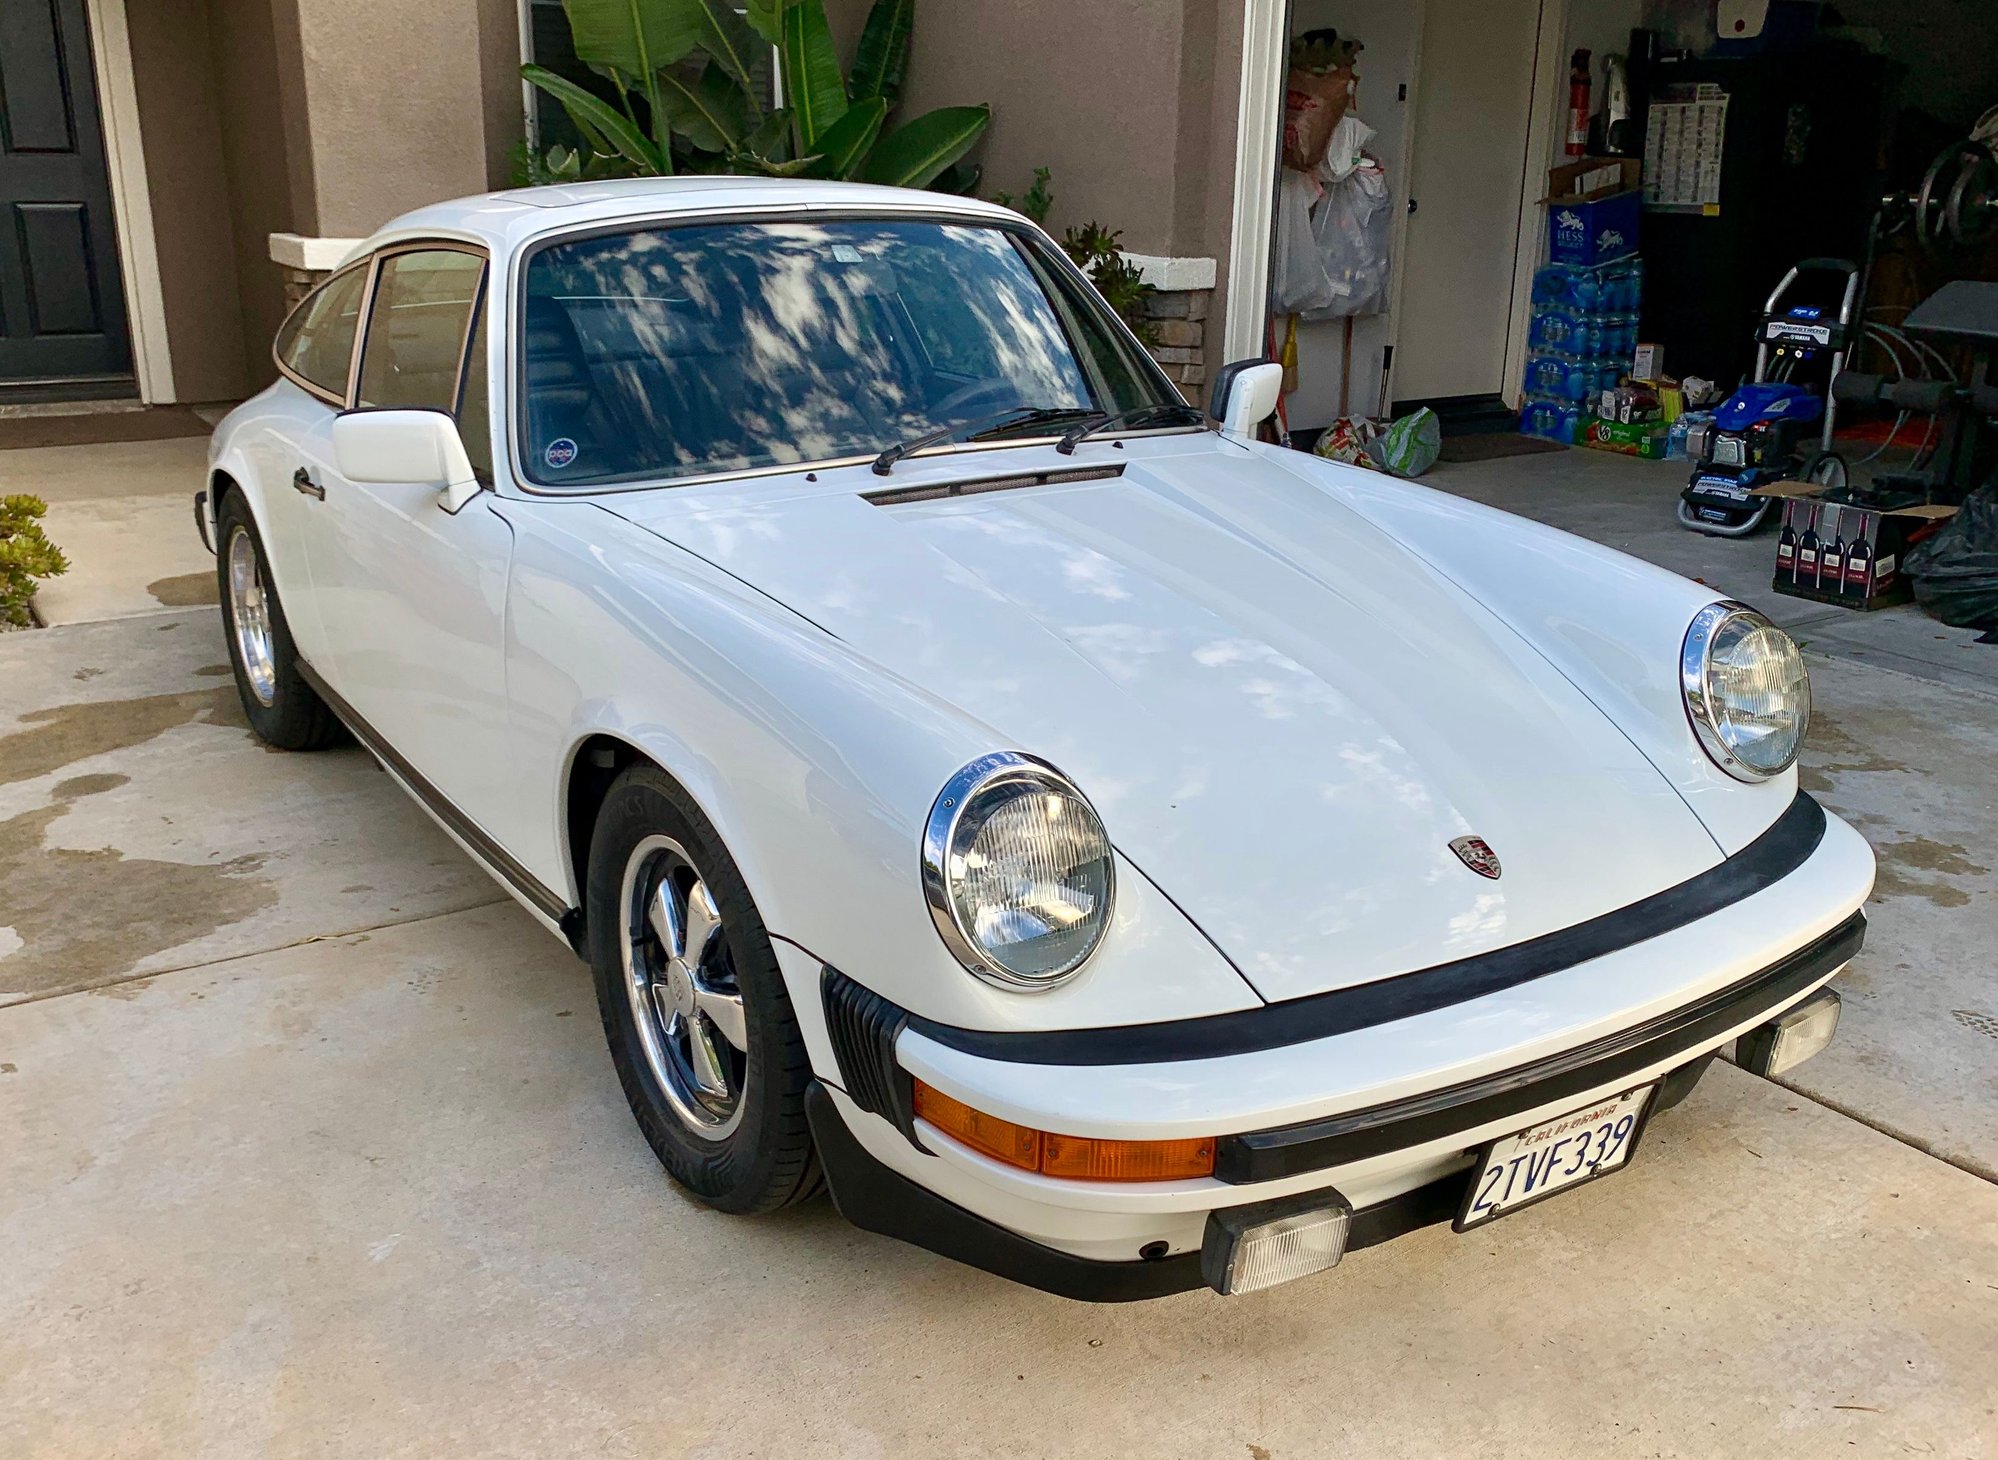
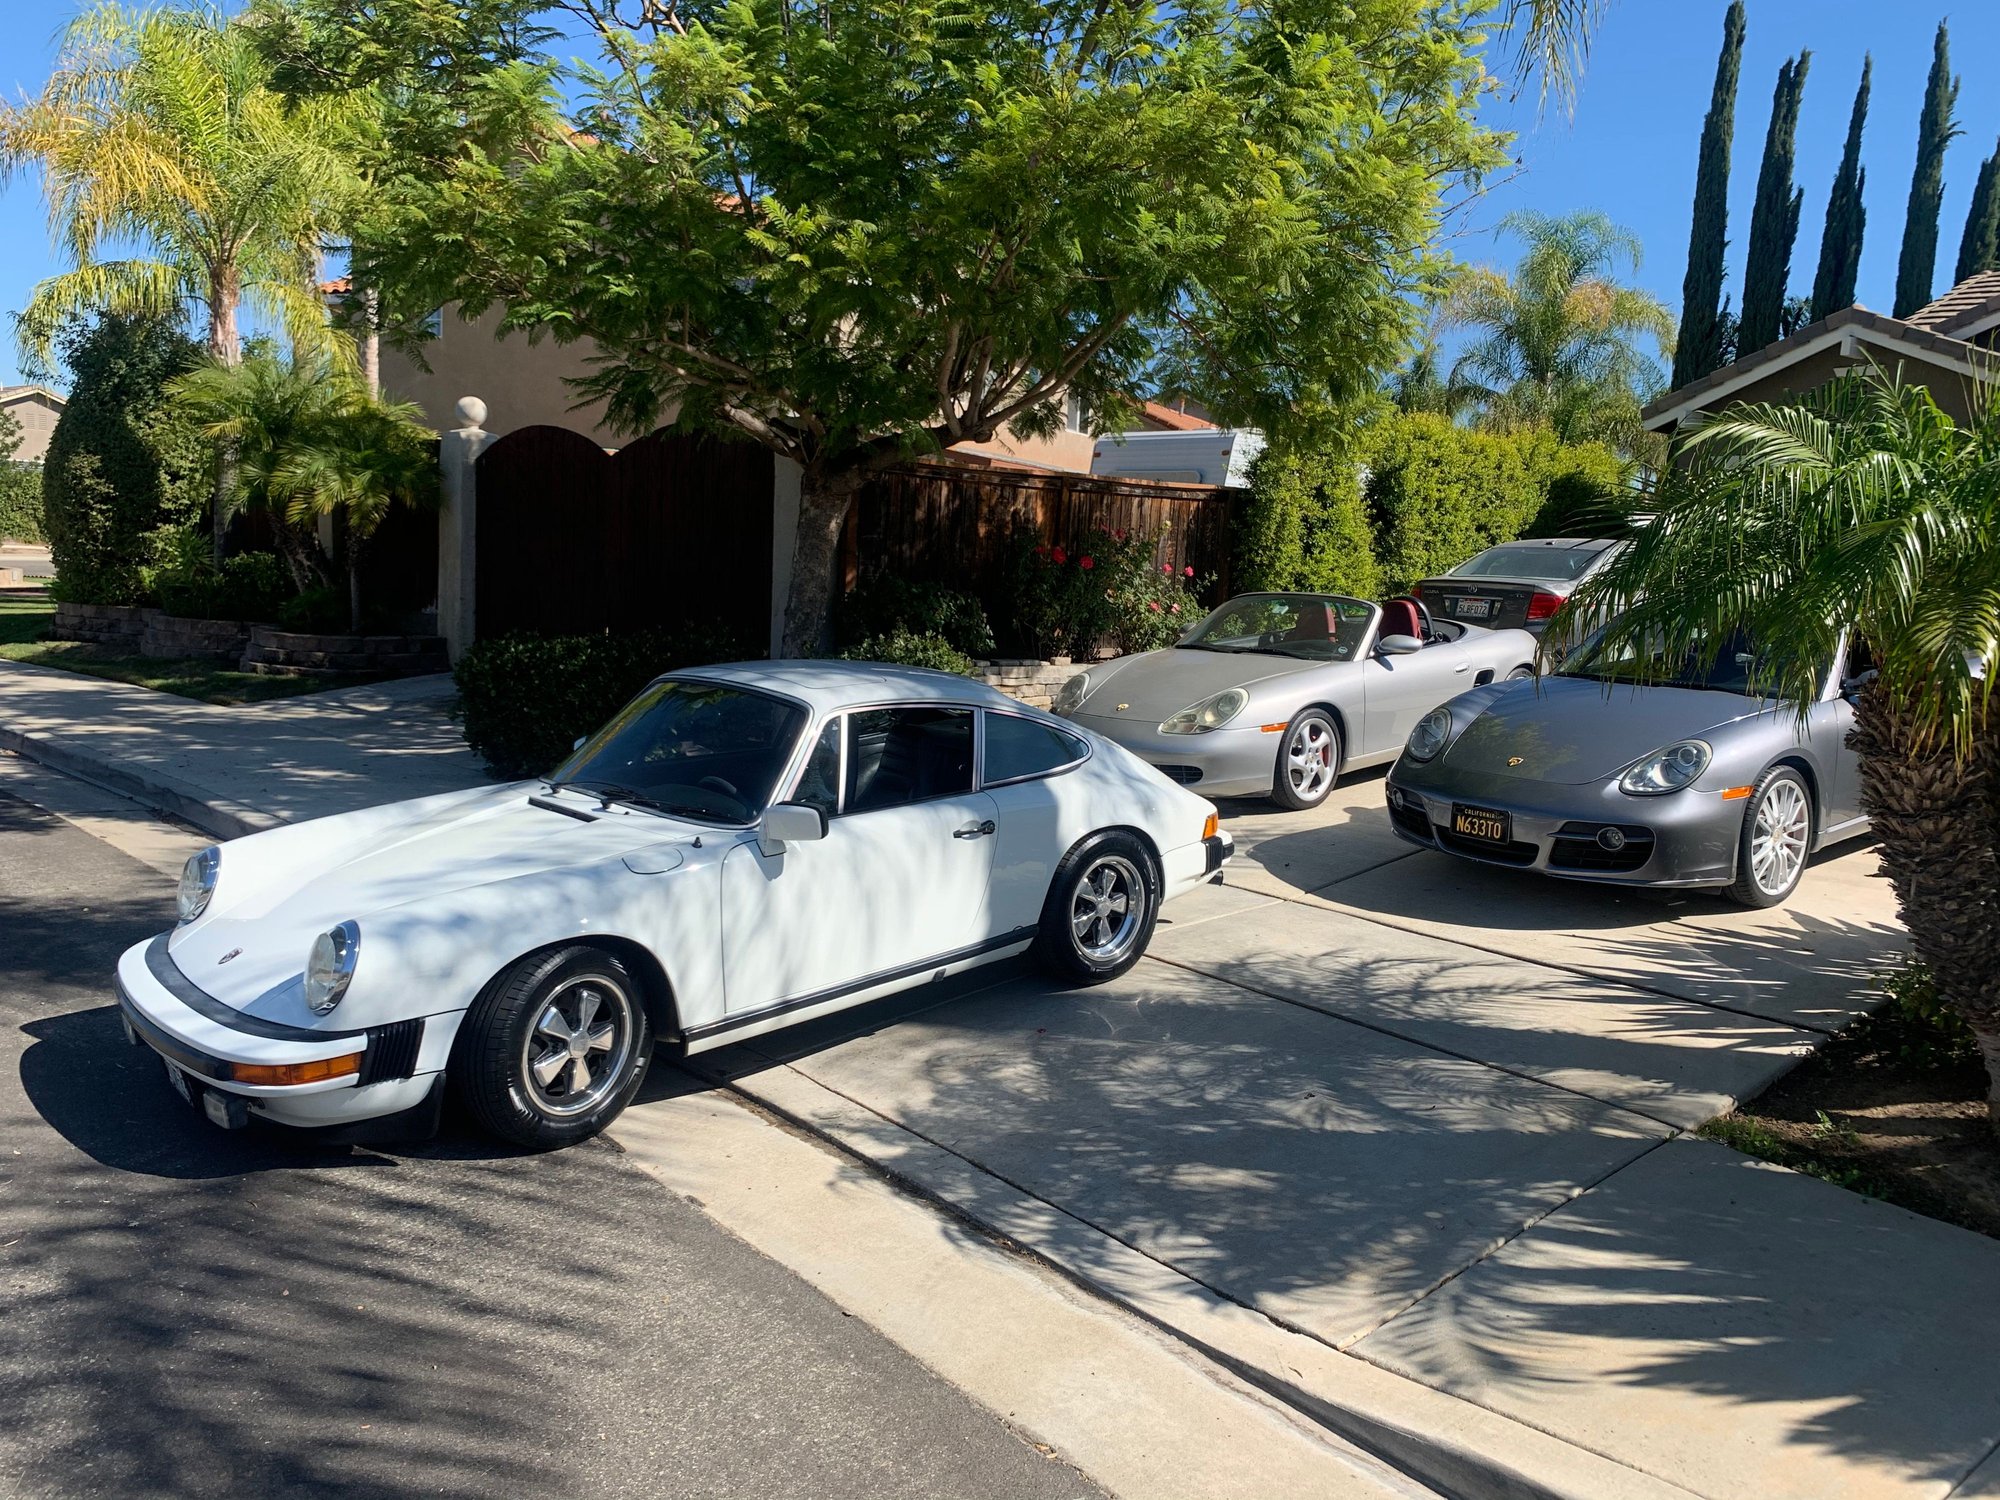
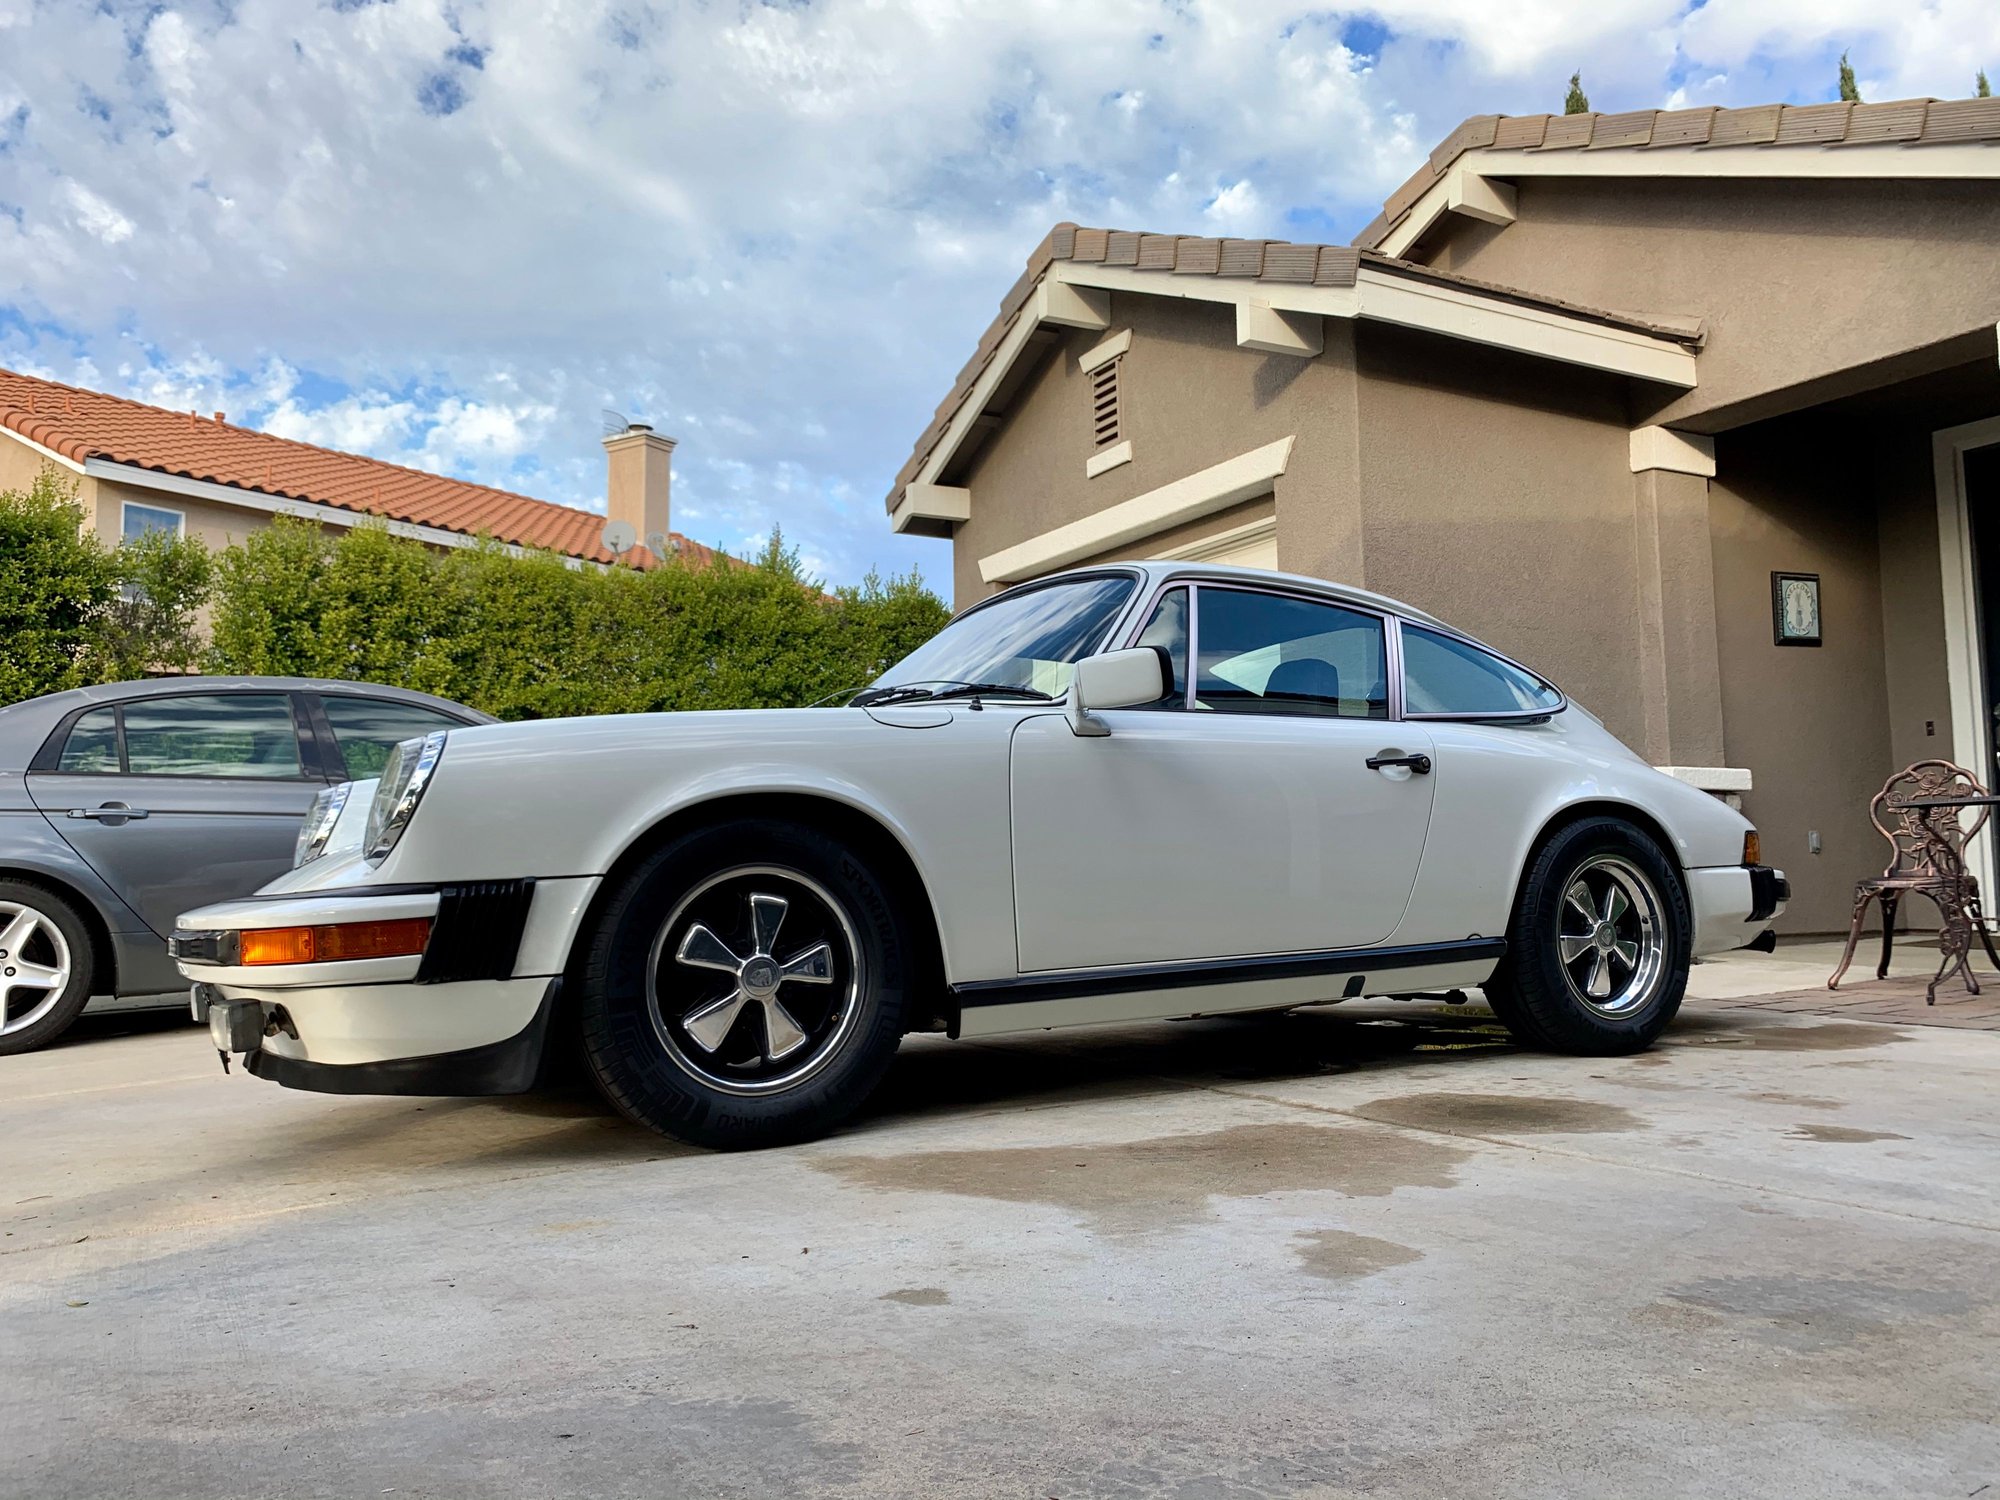
I Picked up a 77 911S (with a 3.2 carrera motor!!!) to add to
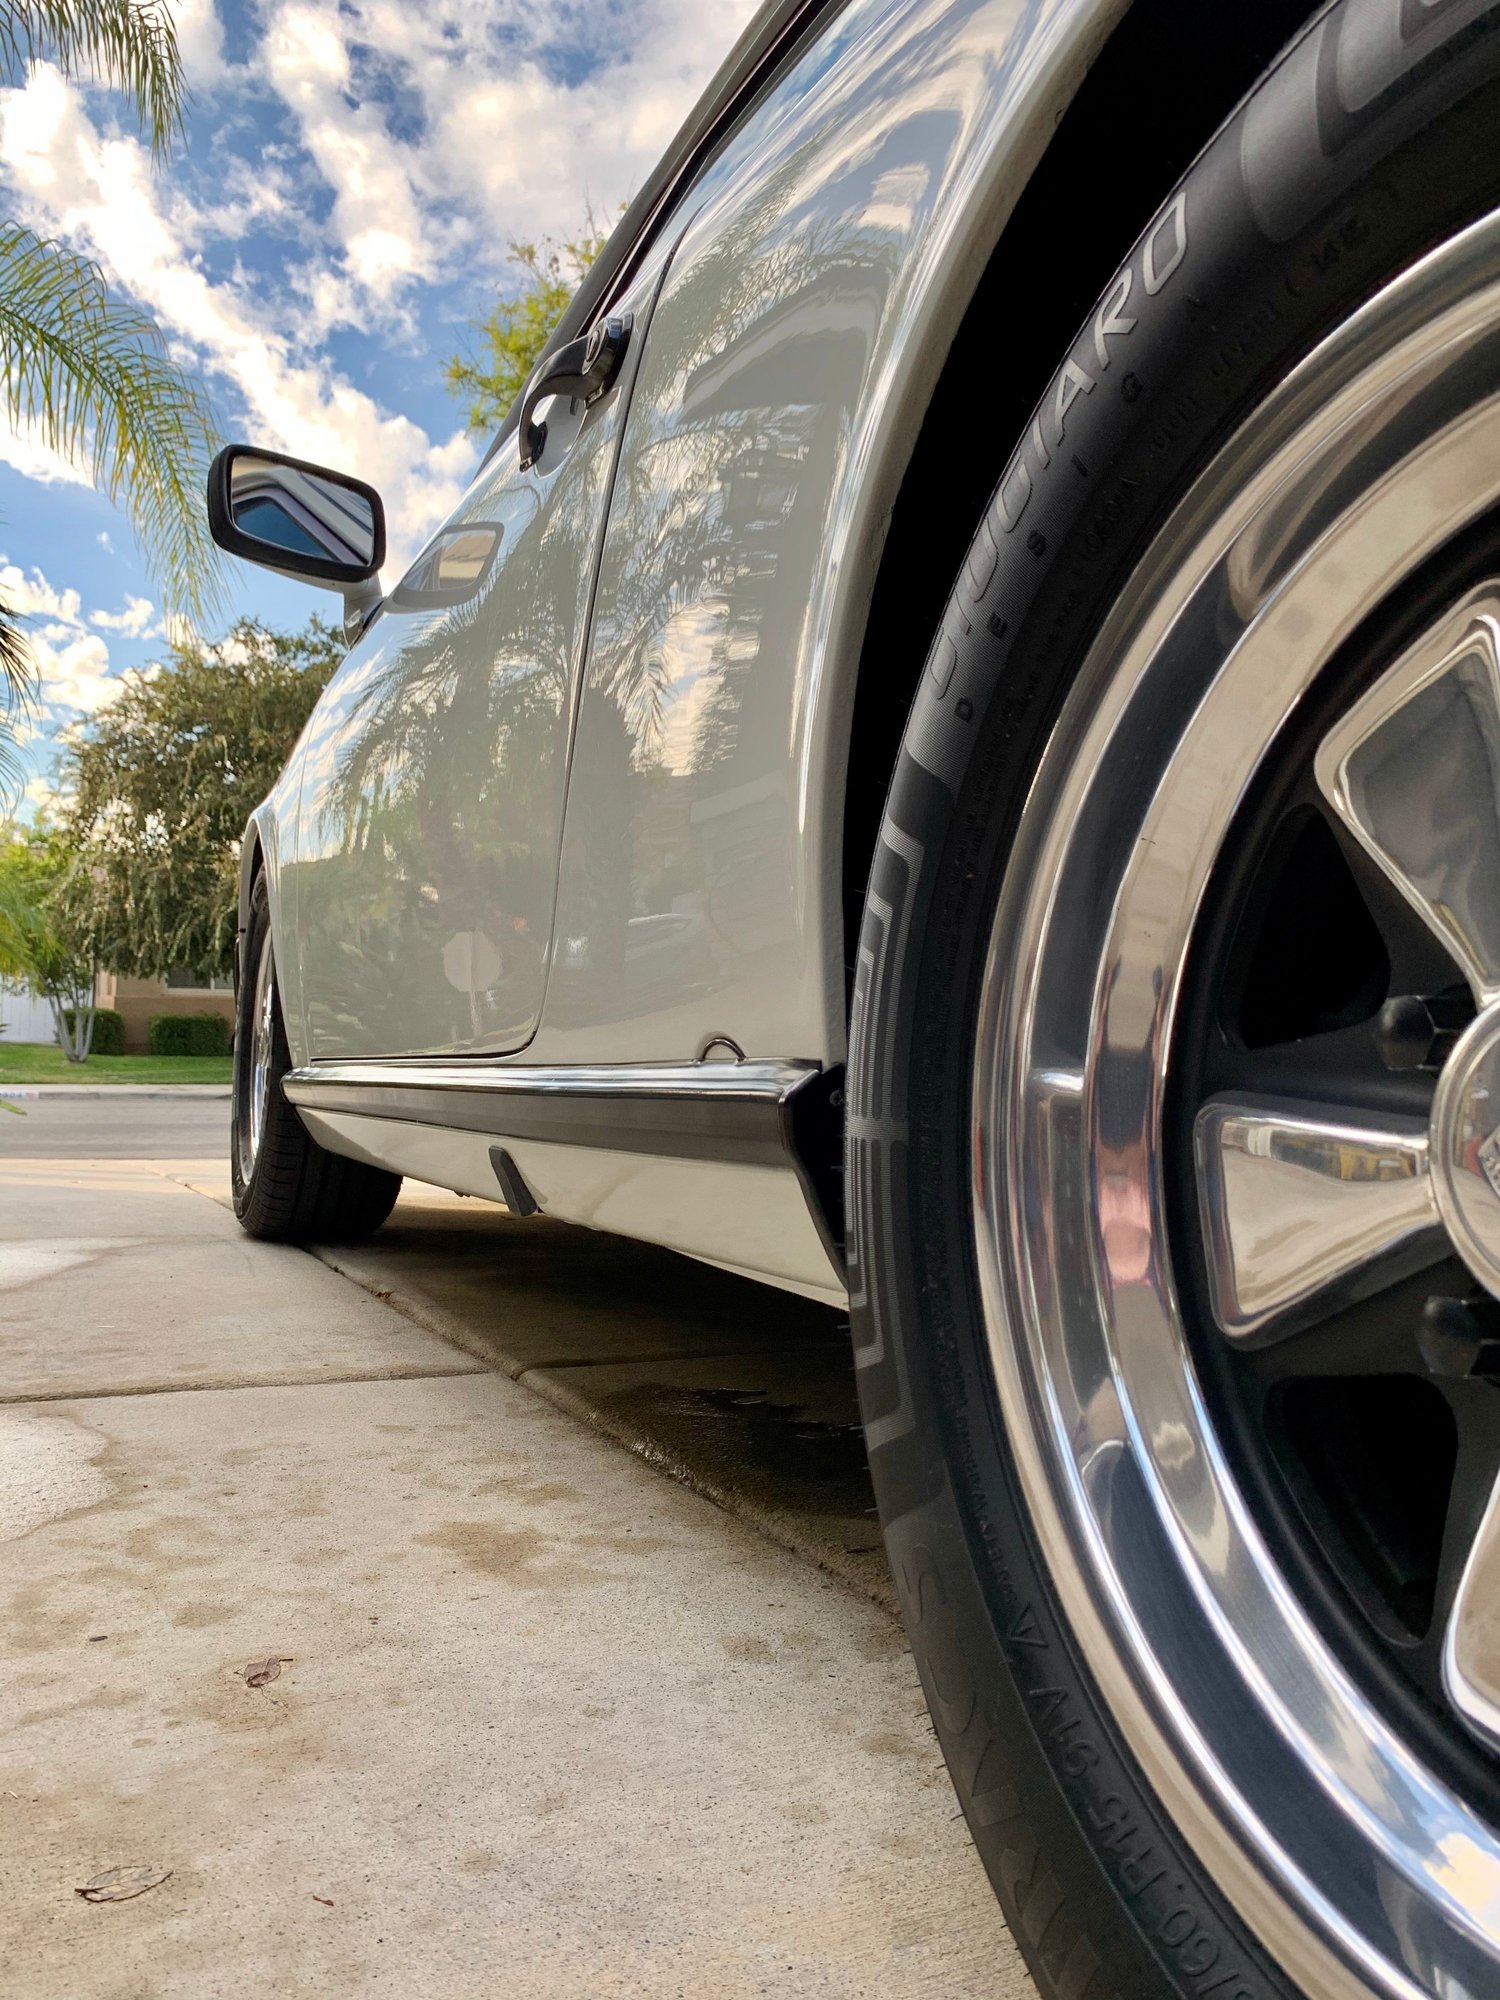
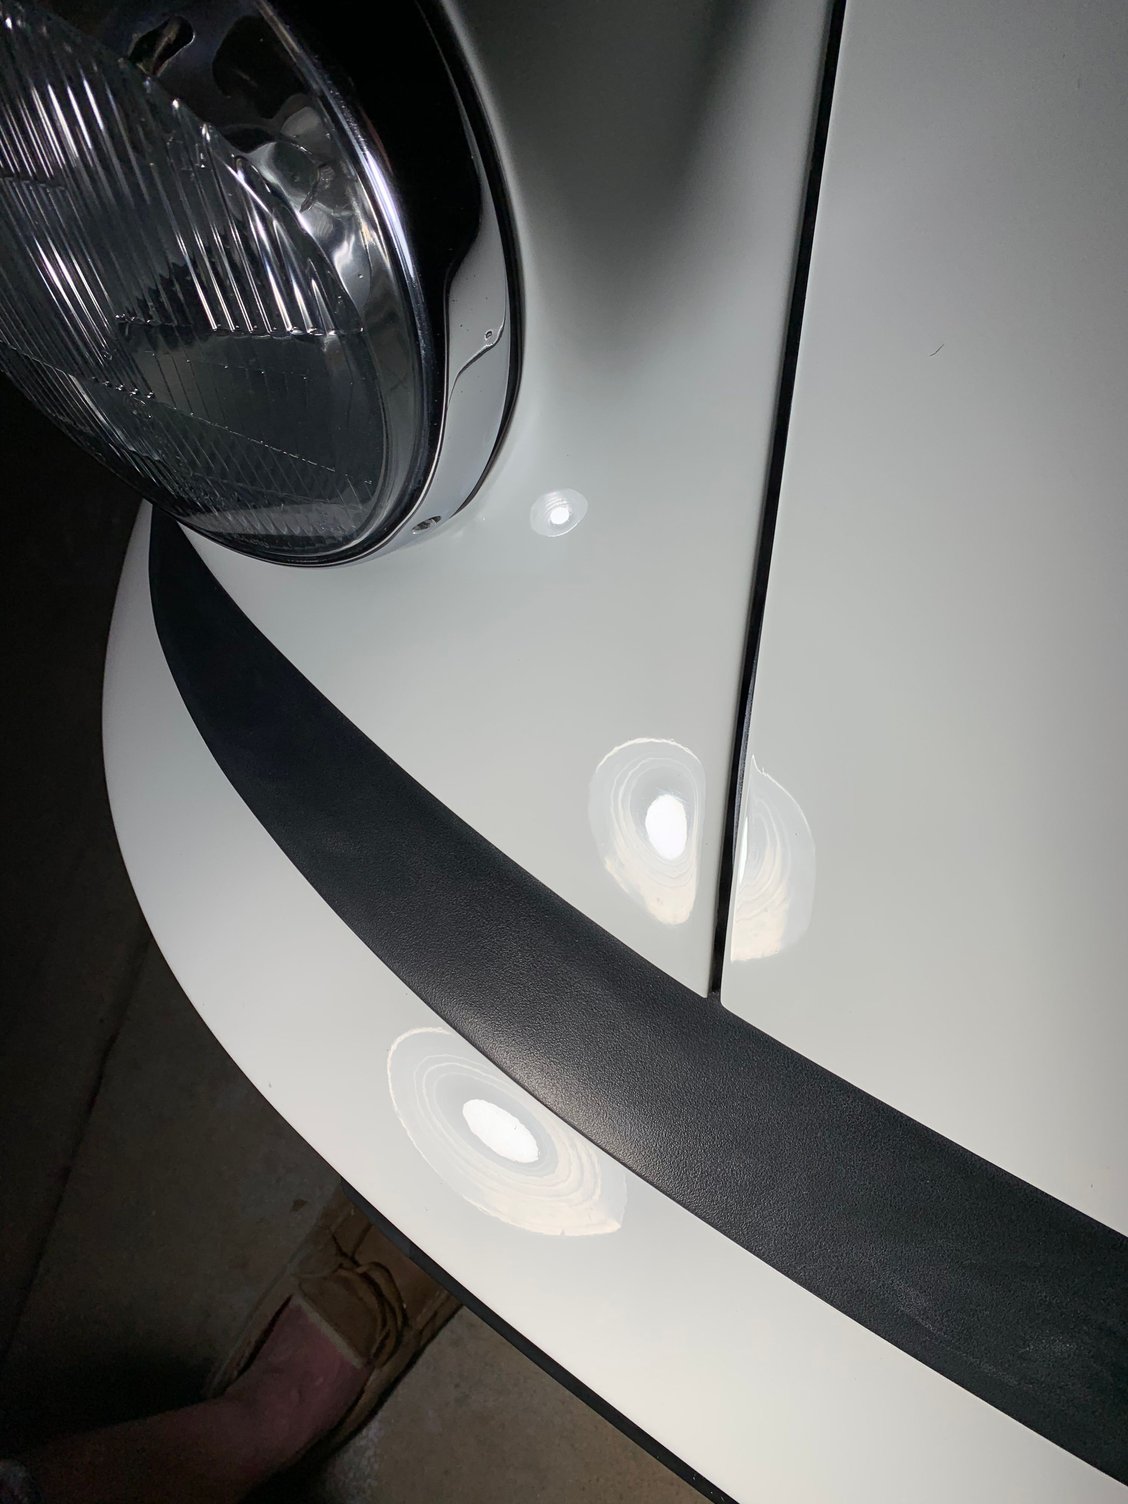
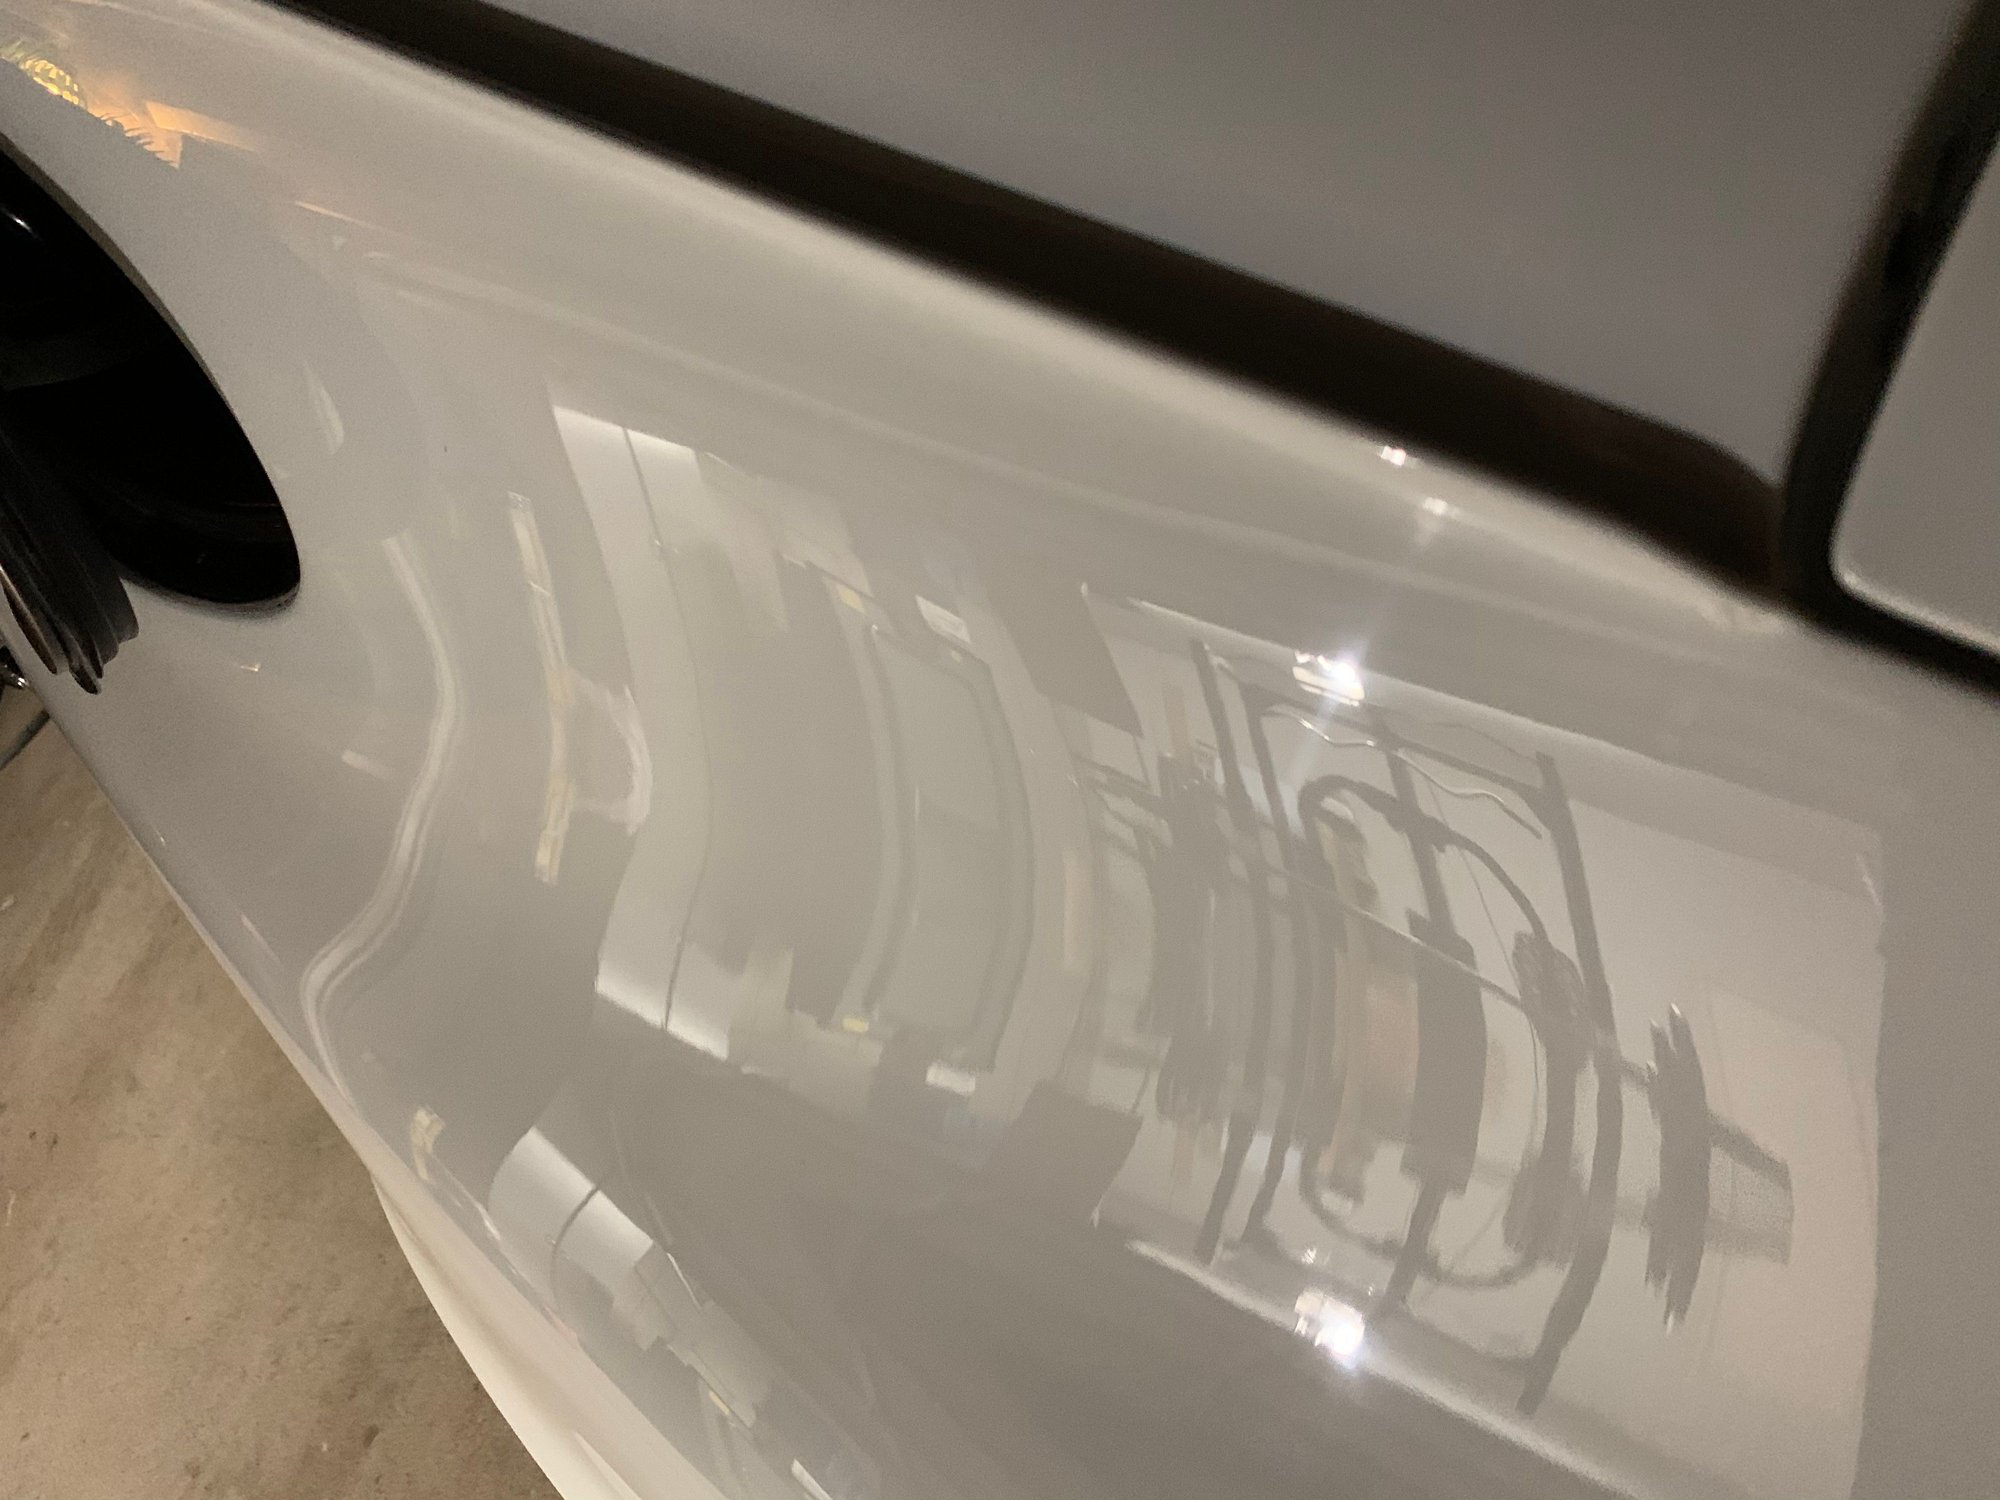
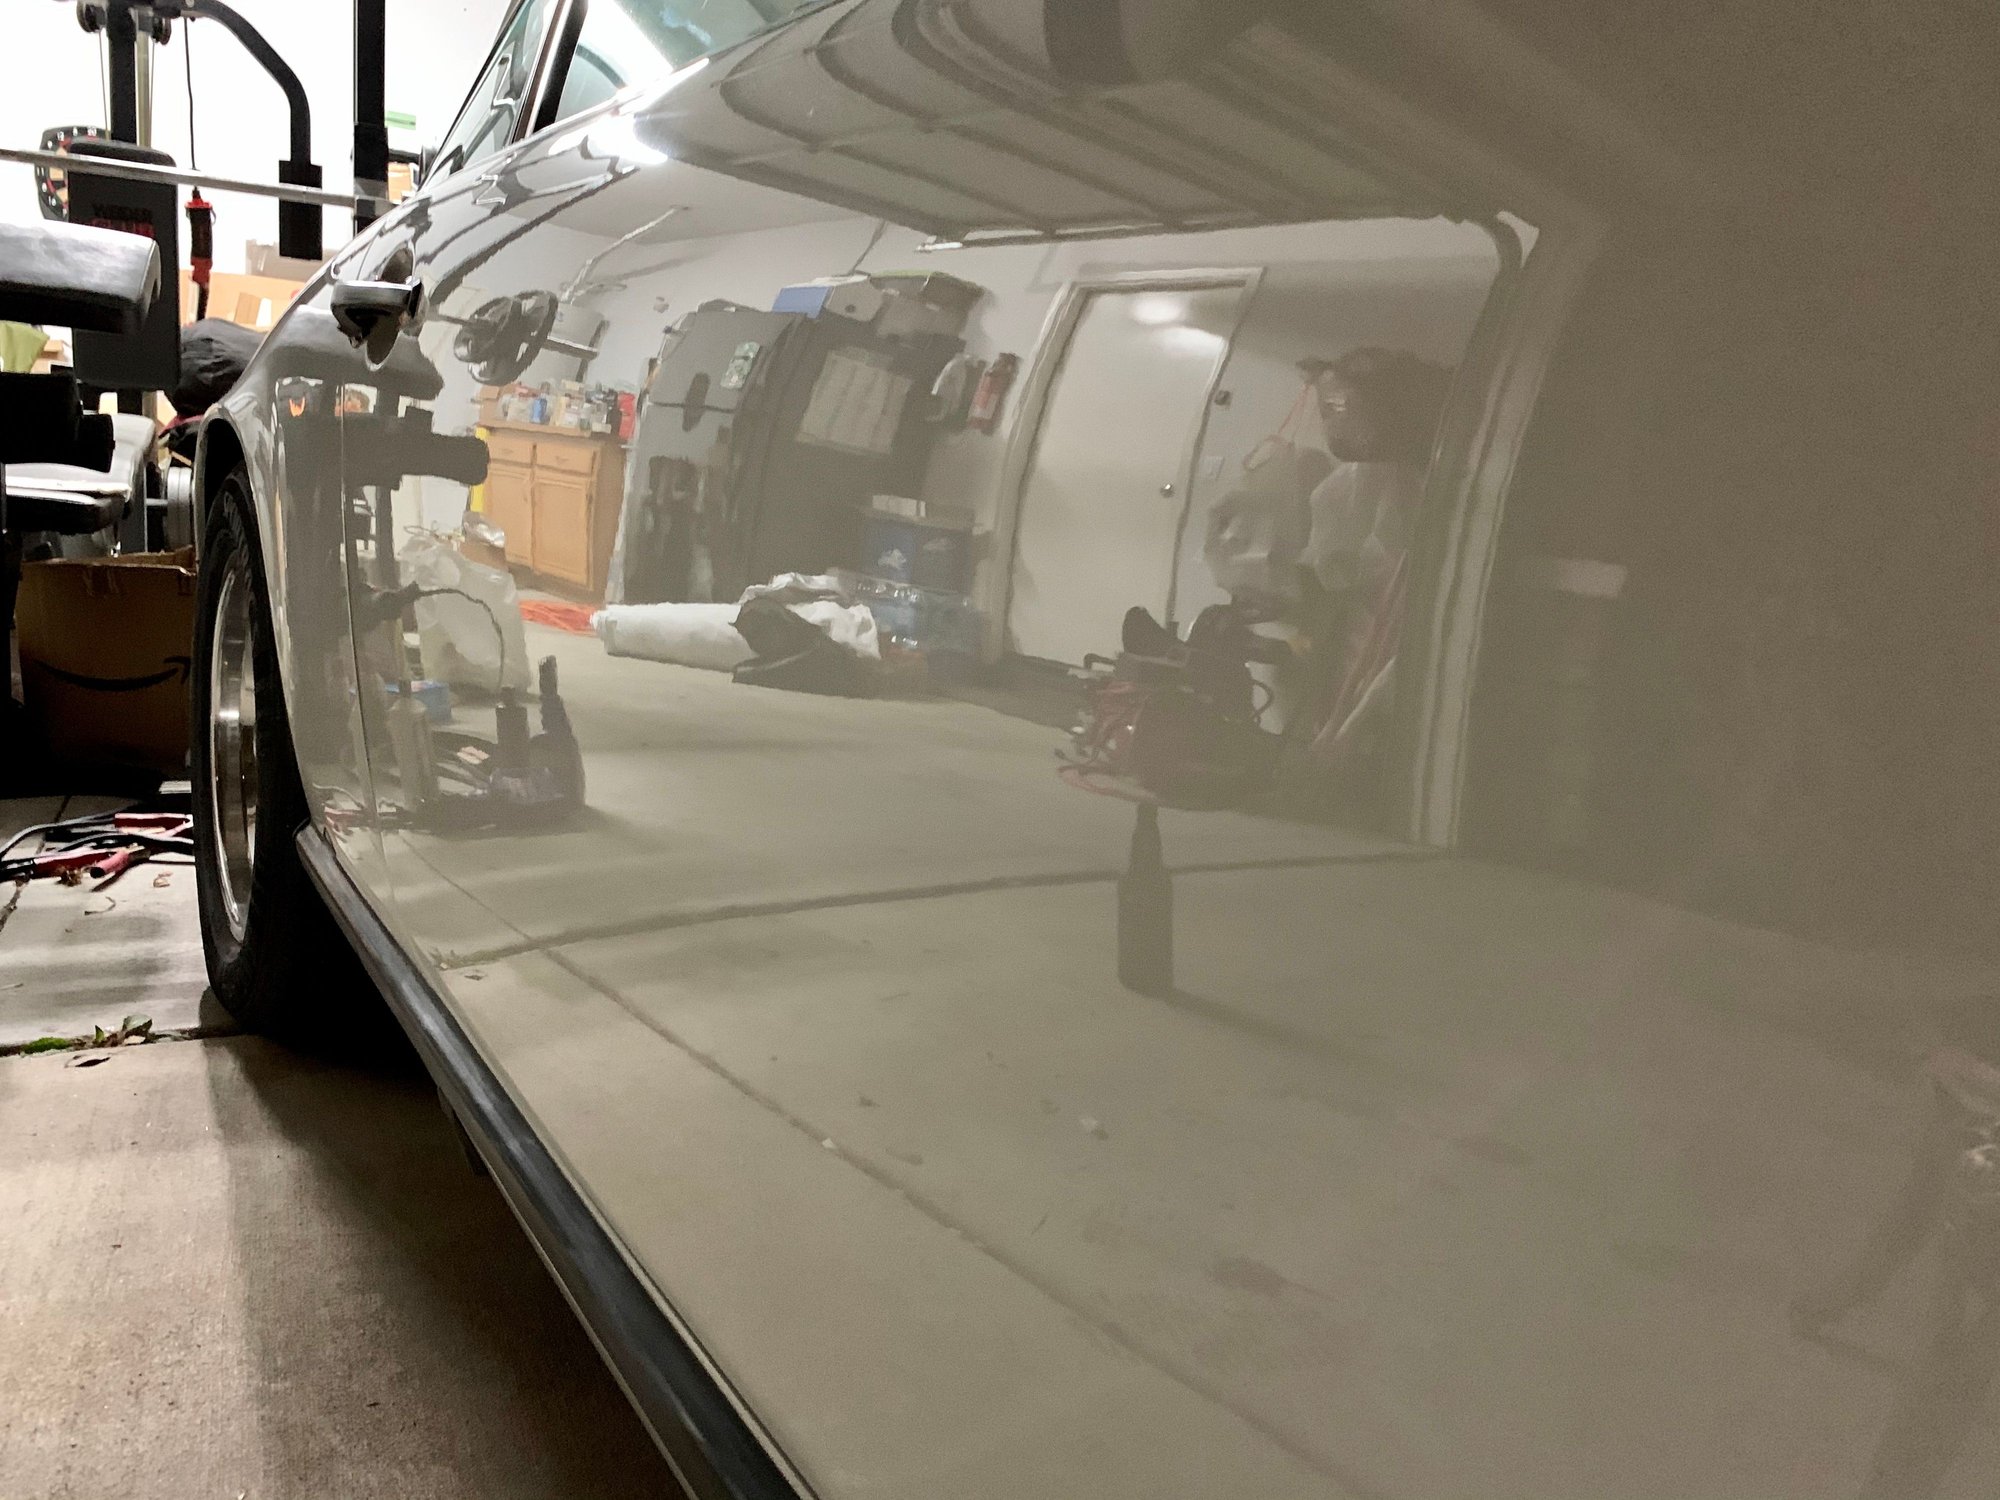
the P-car family. The Grand Prix White paint was pretty badly aged/oxidized. With that being said, the exterior paint on the car was VASTLY original (god bless the SoCal climate). Consequently, I wanted to preserve as much of the original paint as I could, and make everything pop.
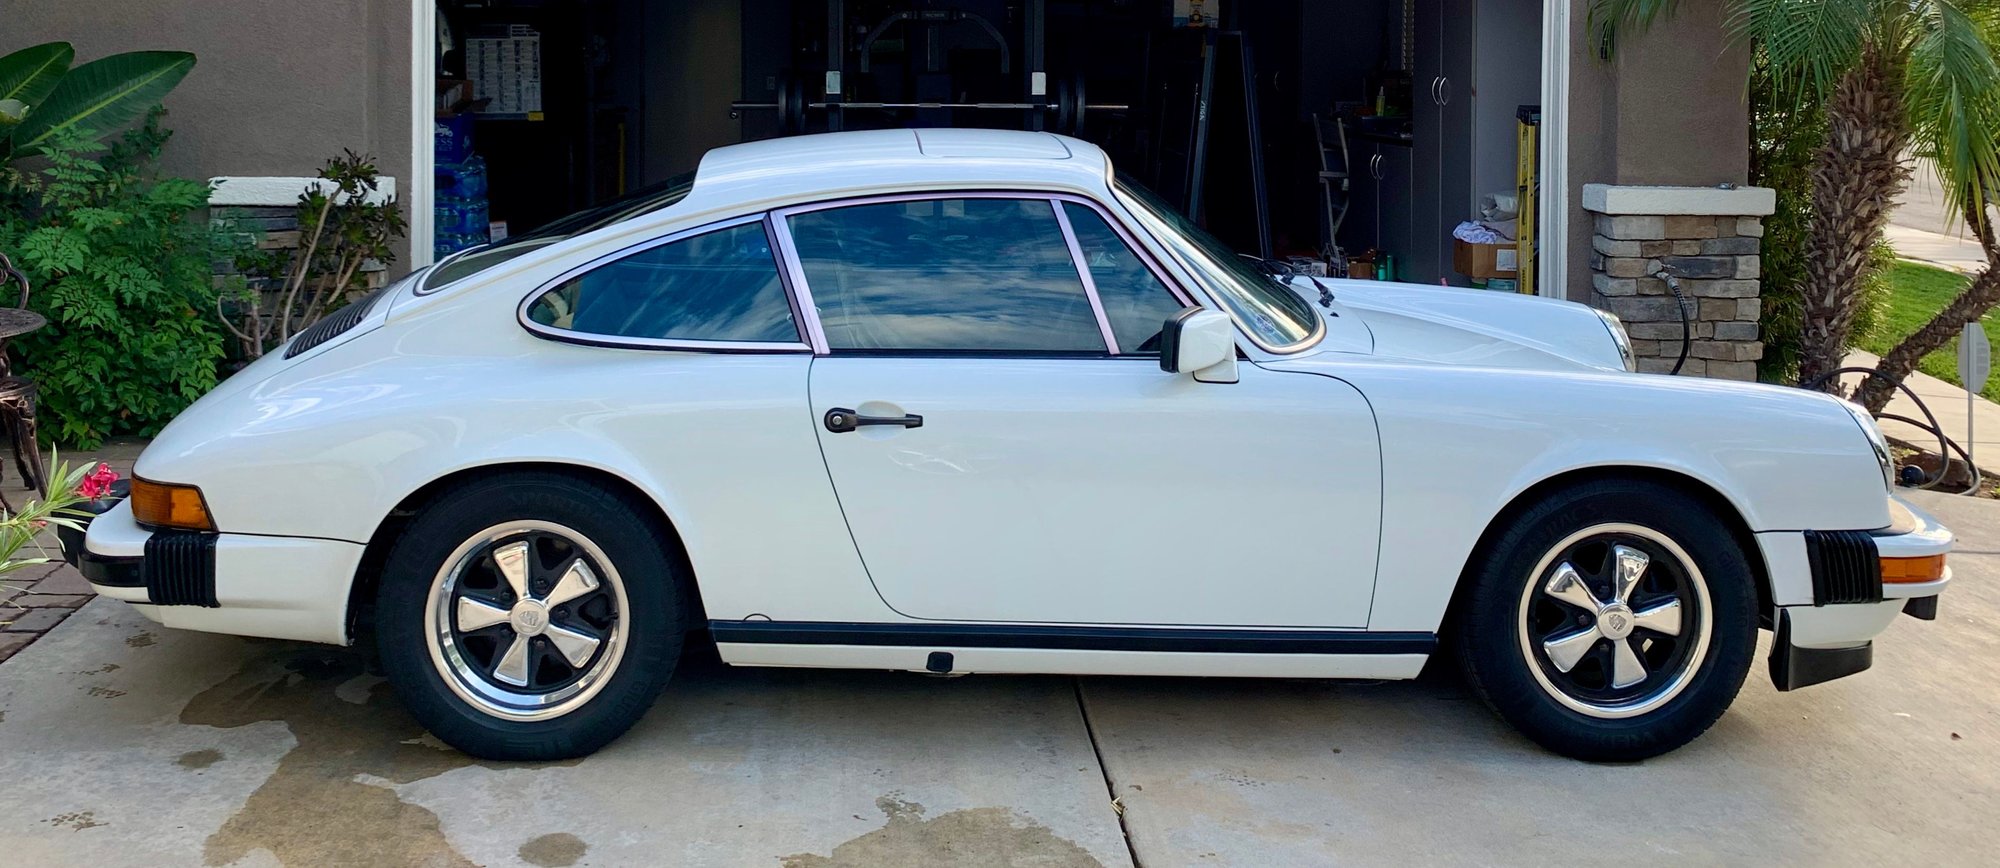
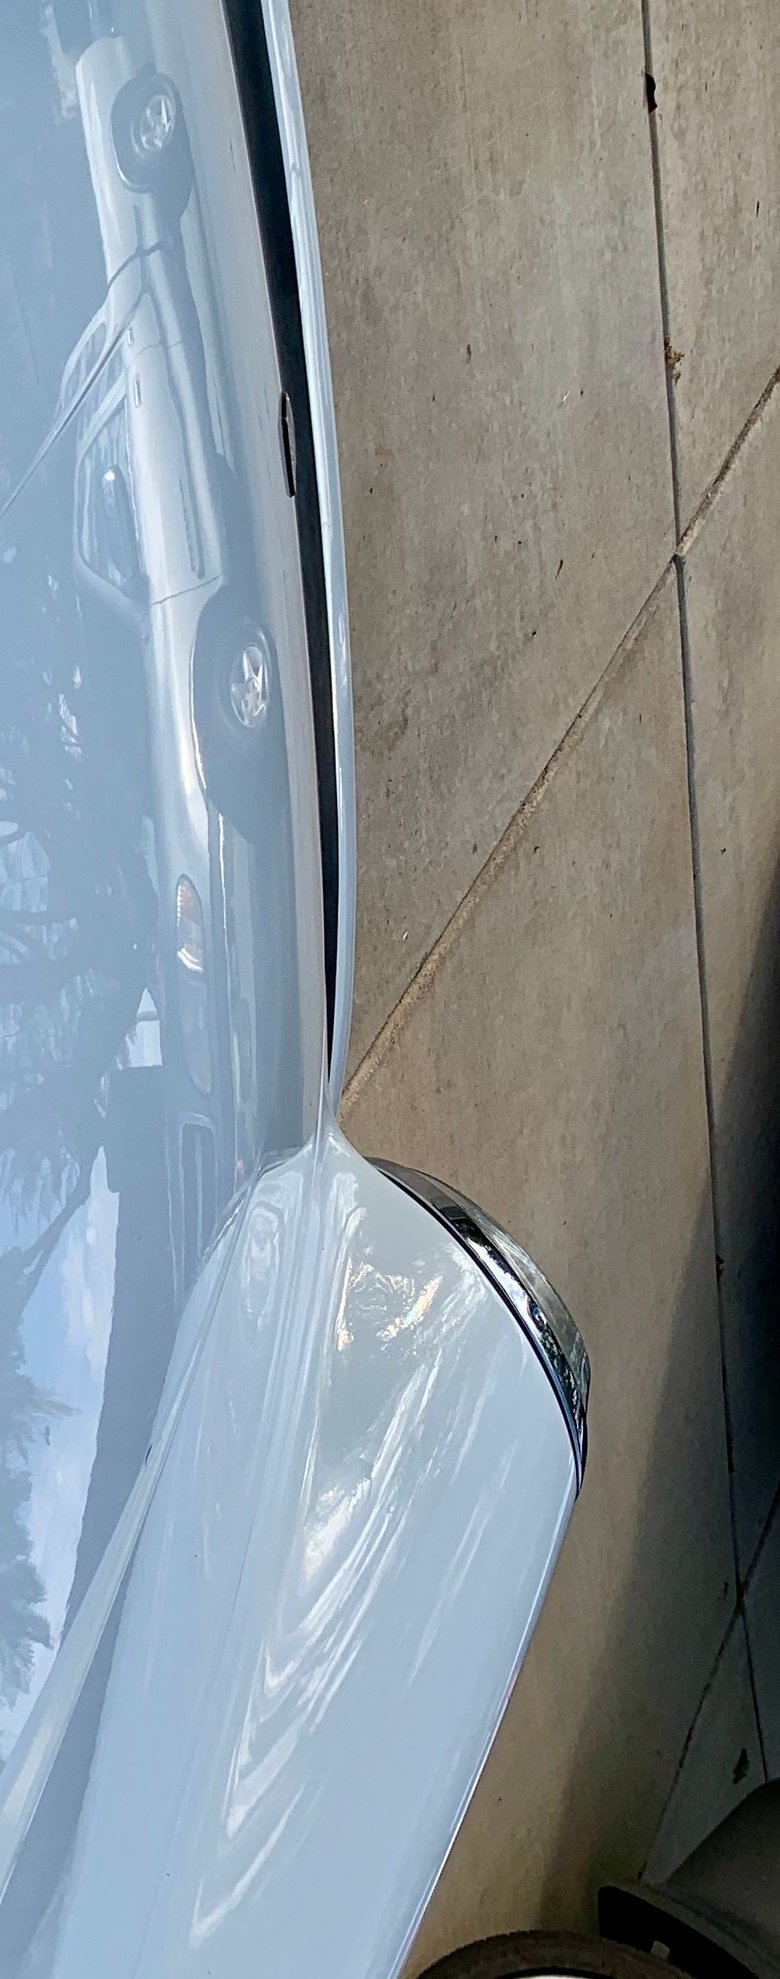
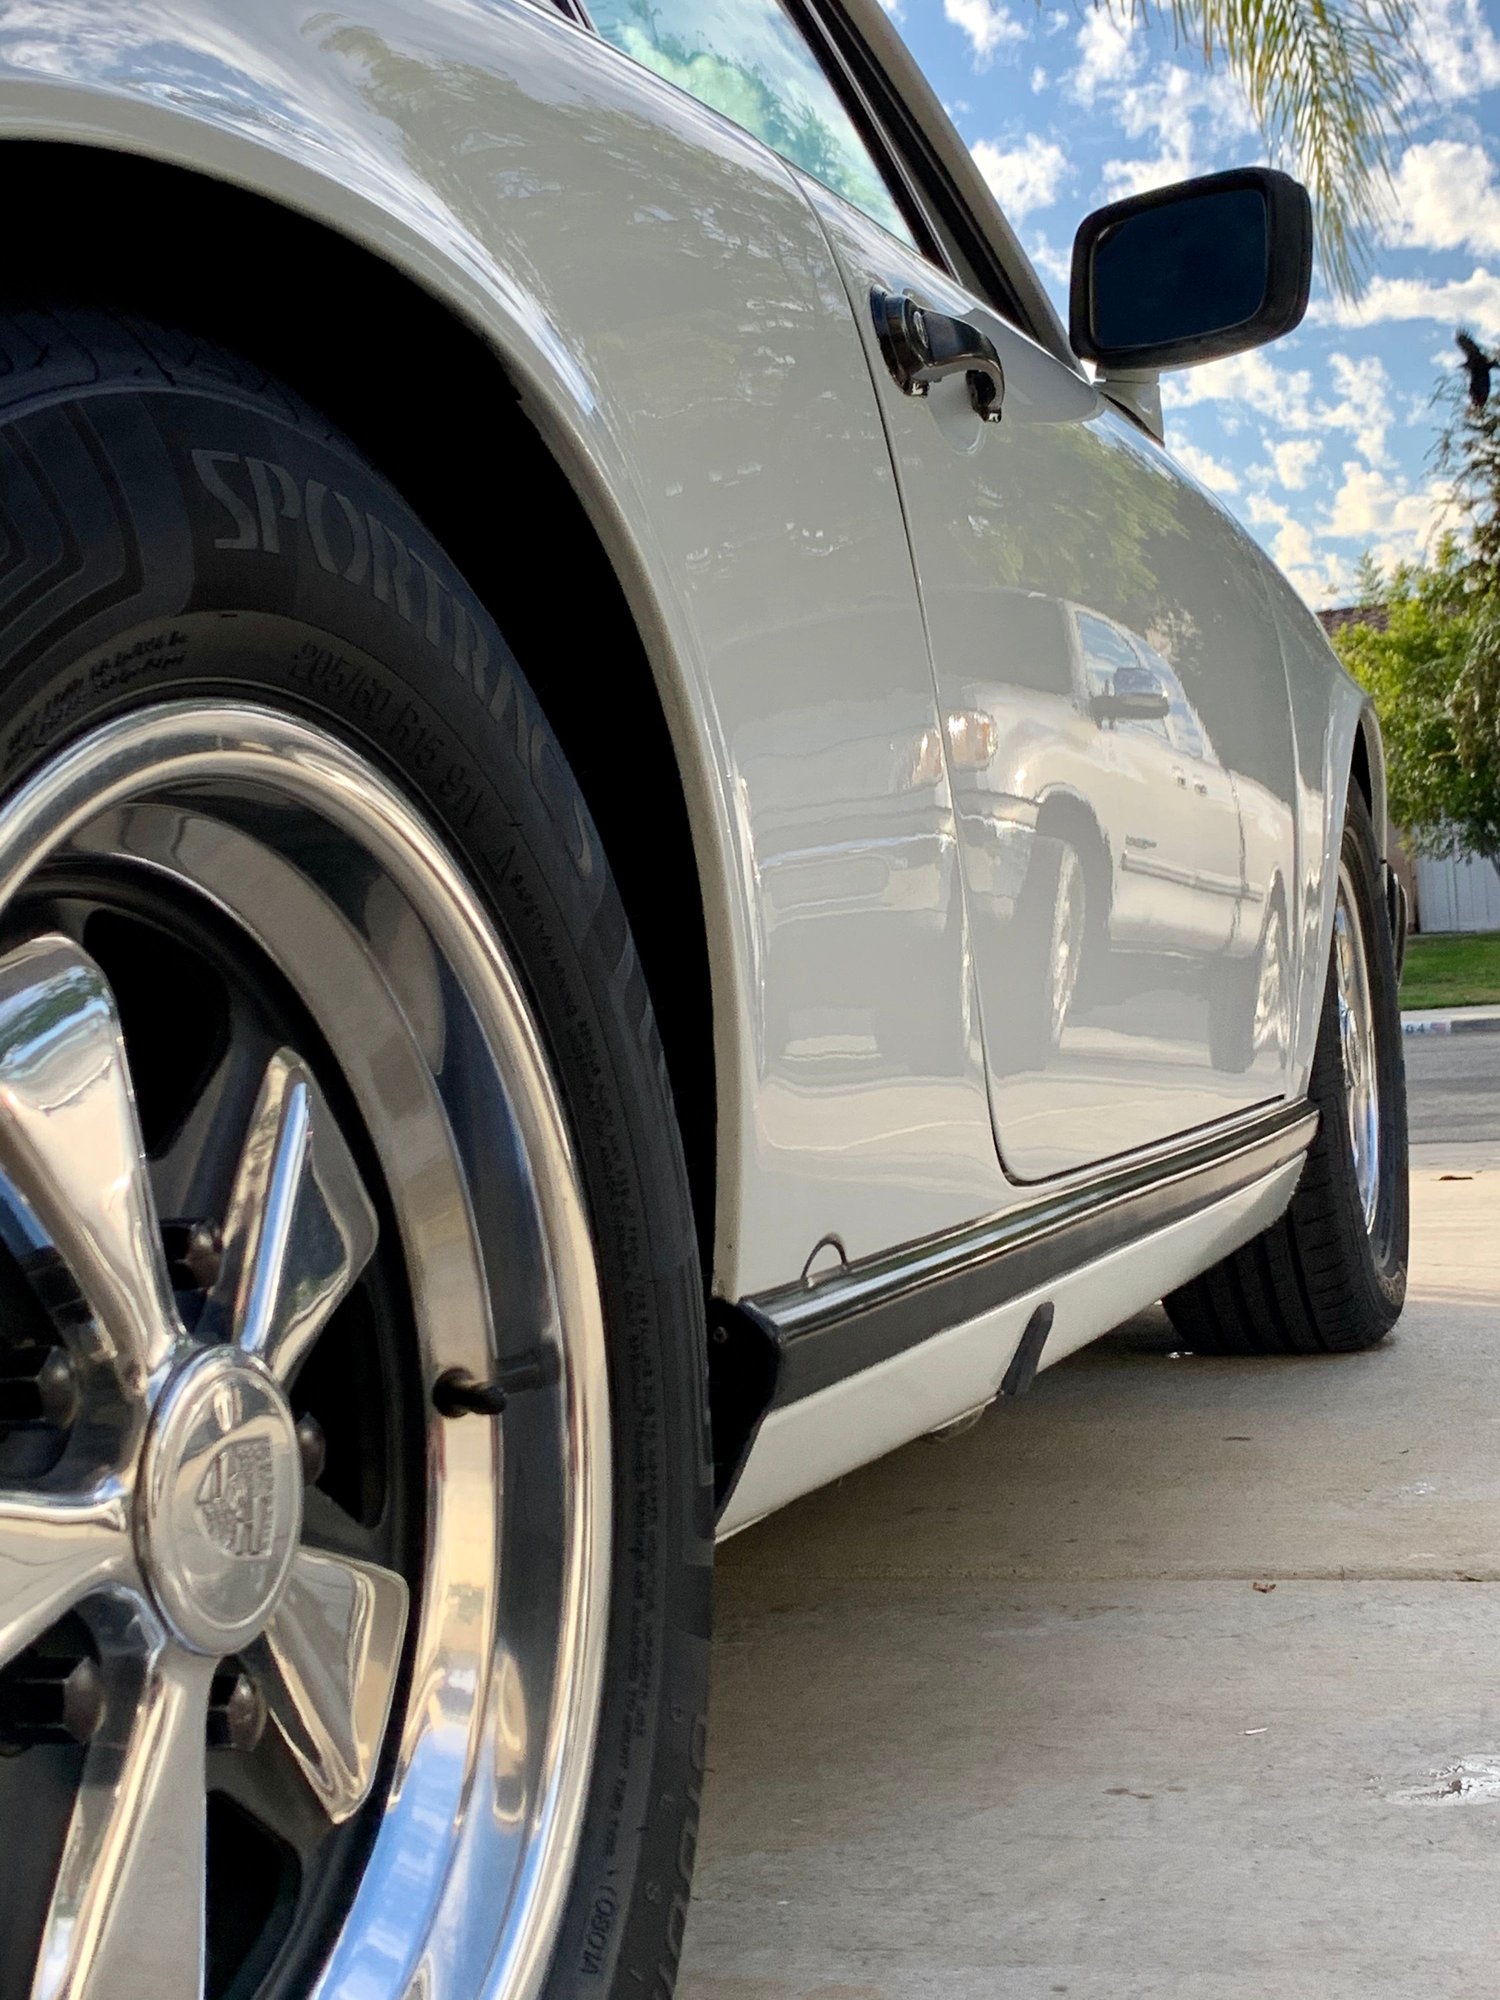
Plenty of preparation and 20 hours of wetsanding/buffing later...
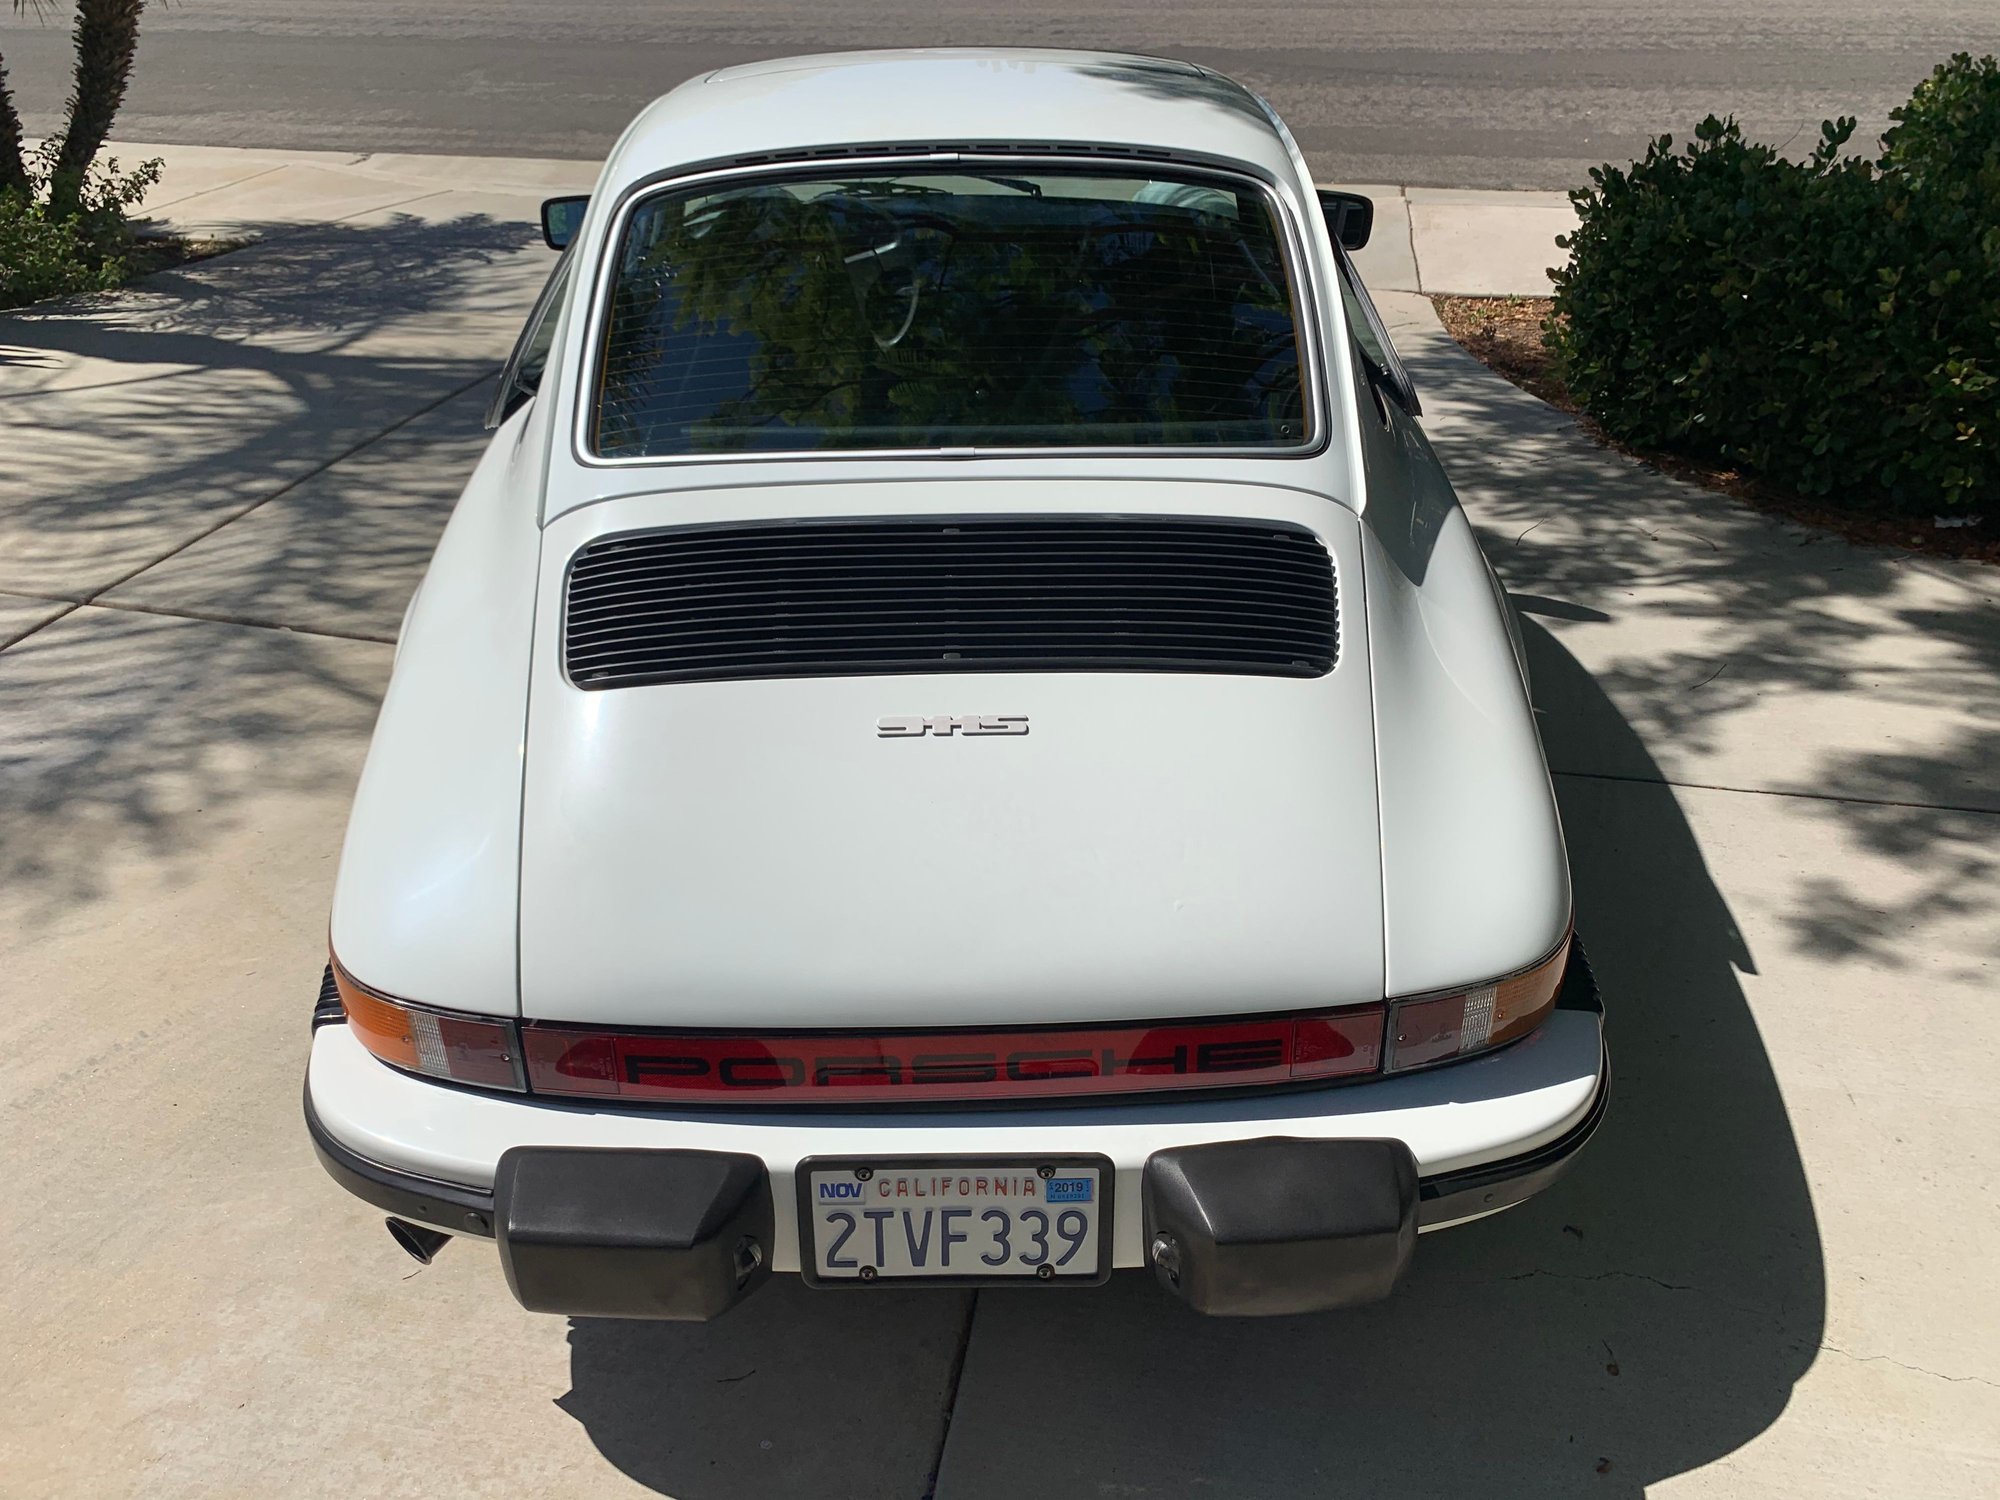
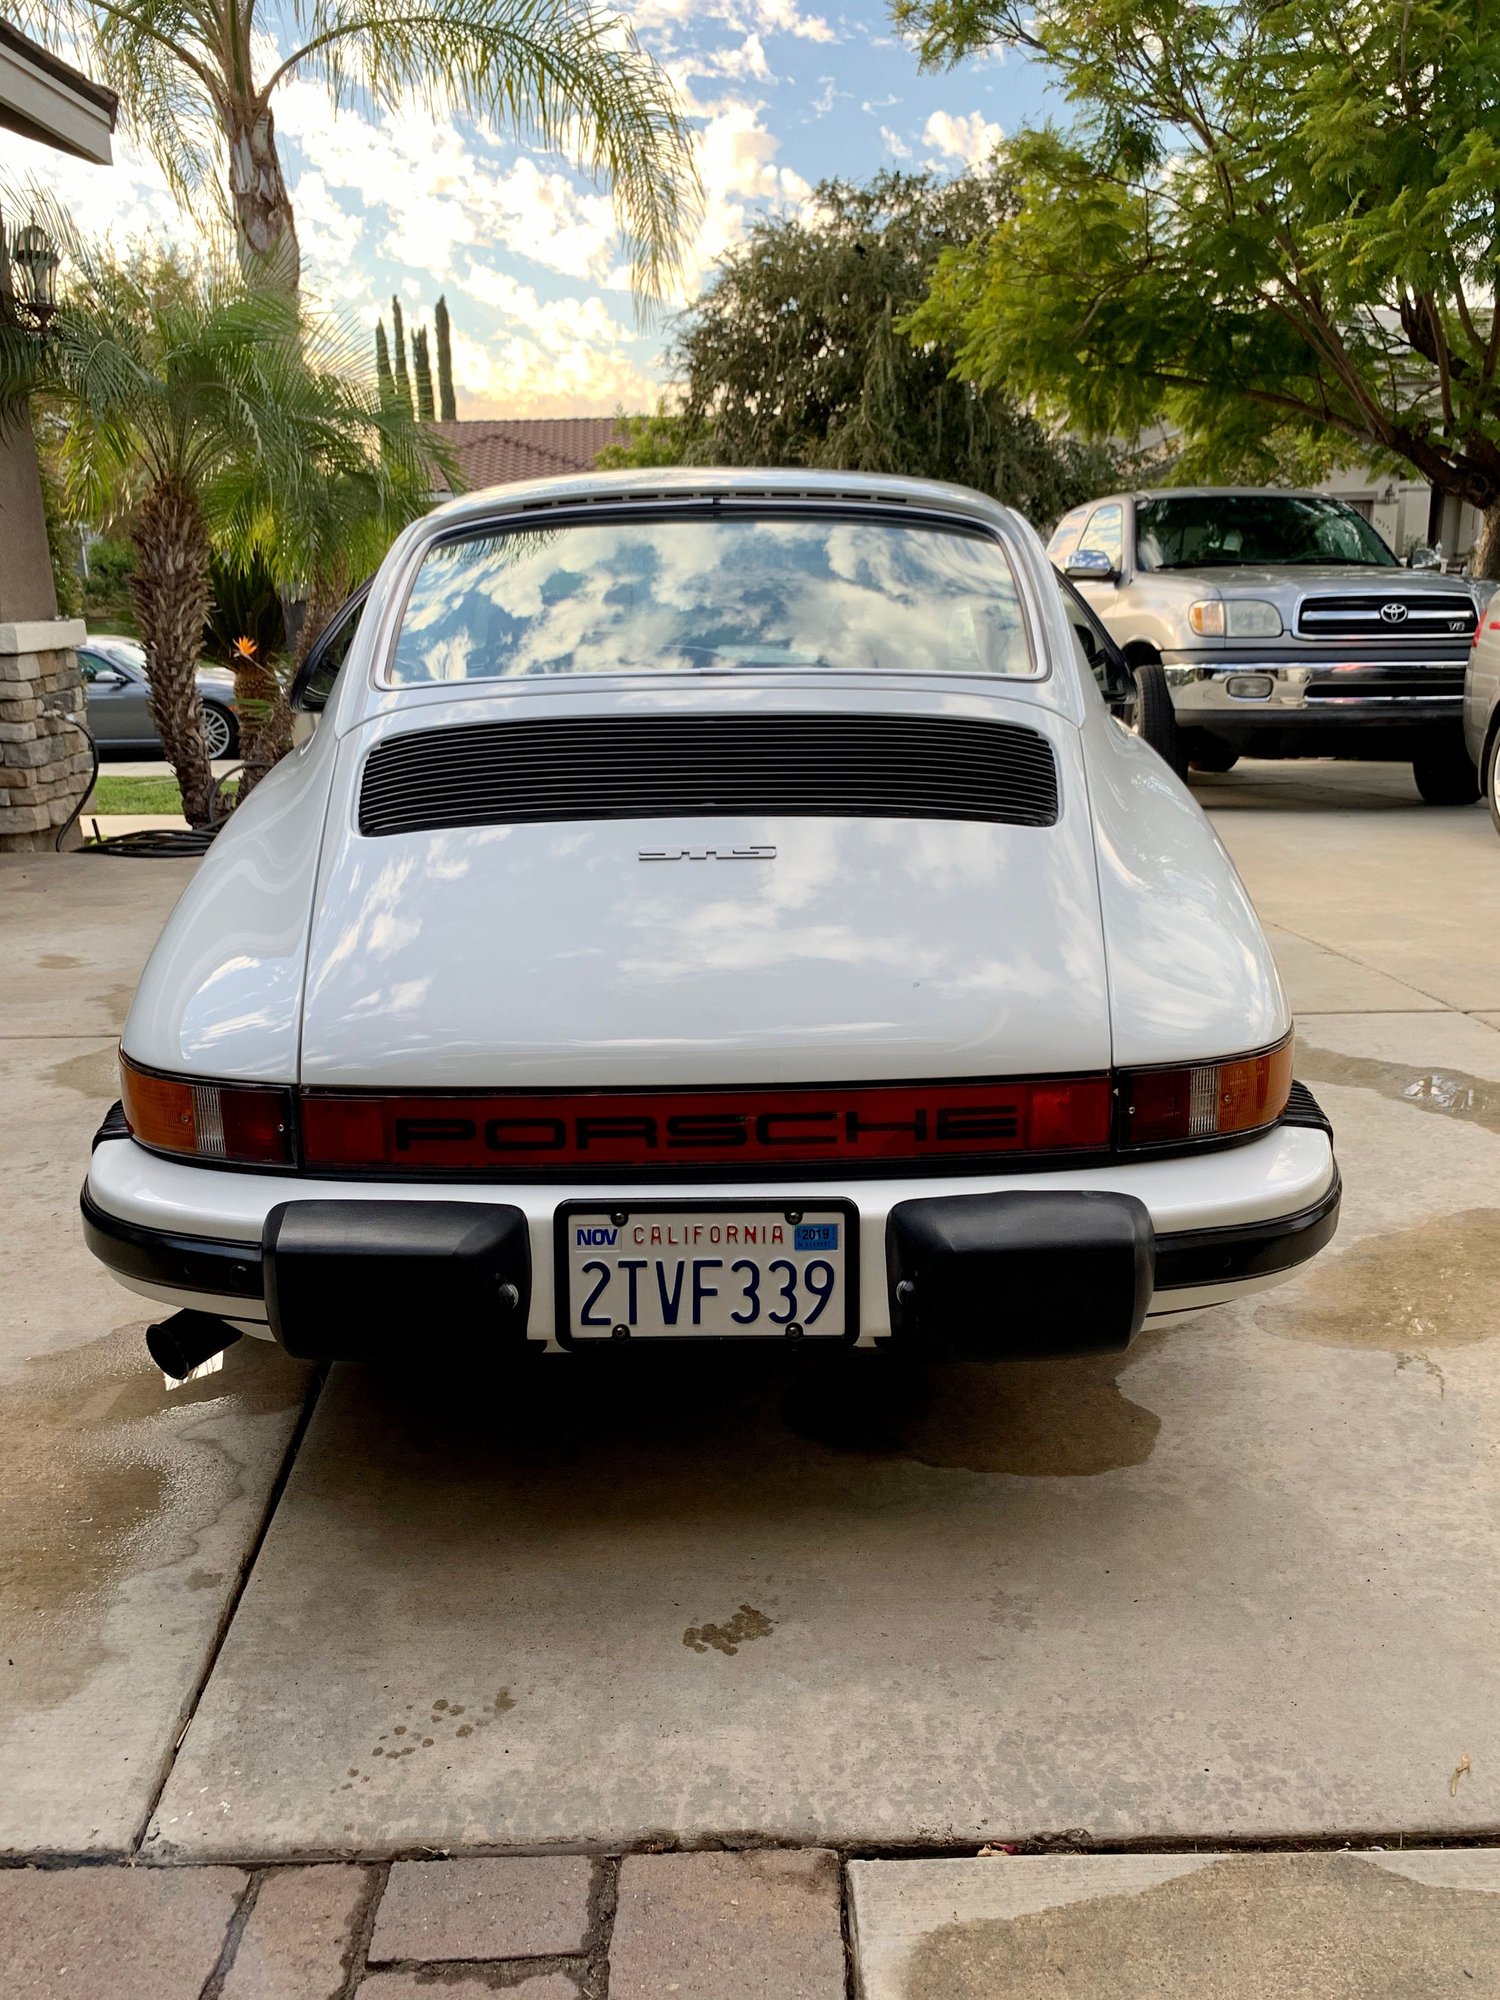
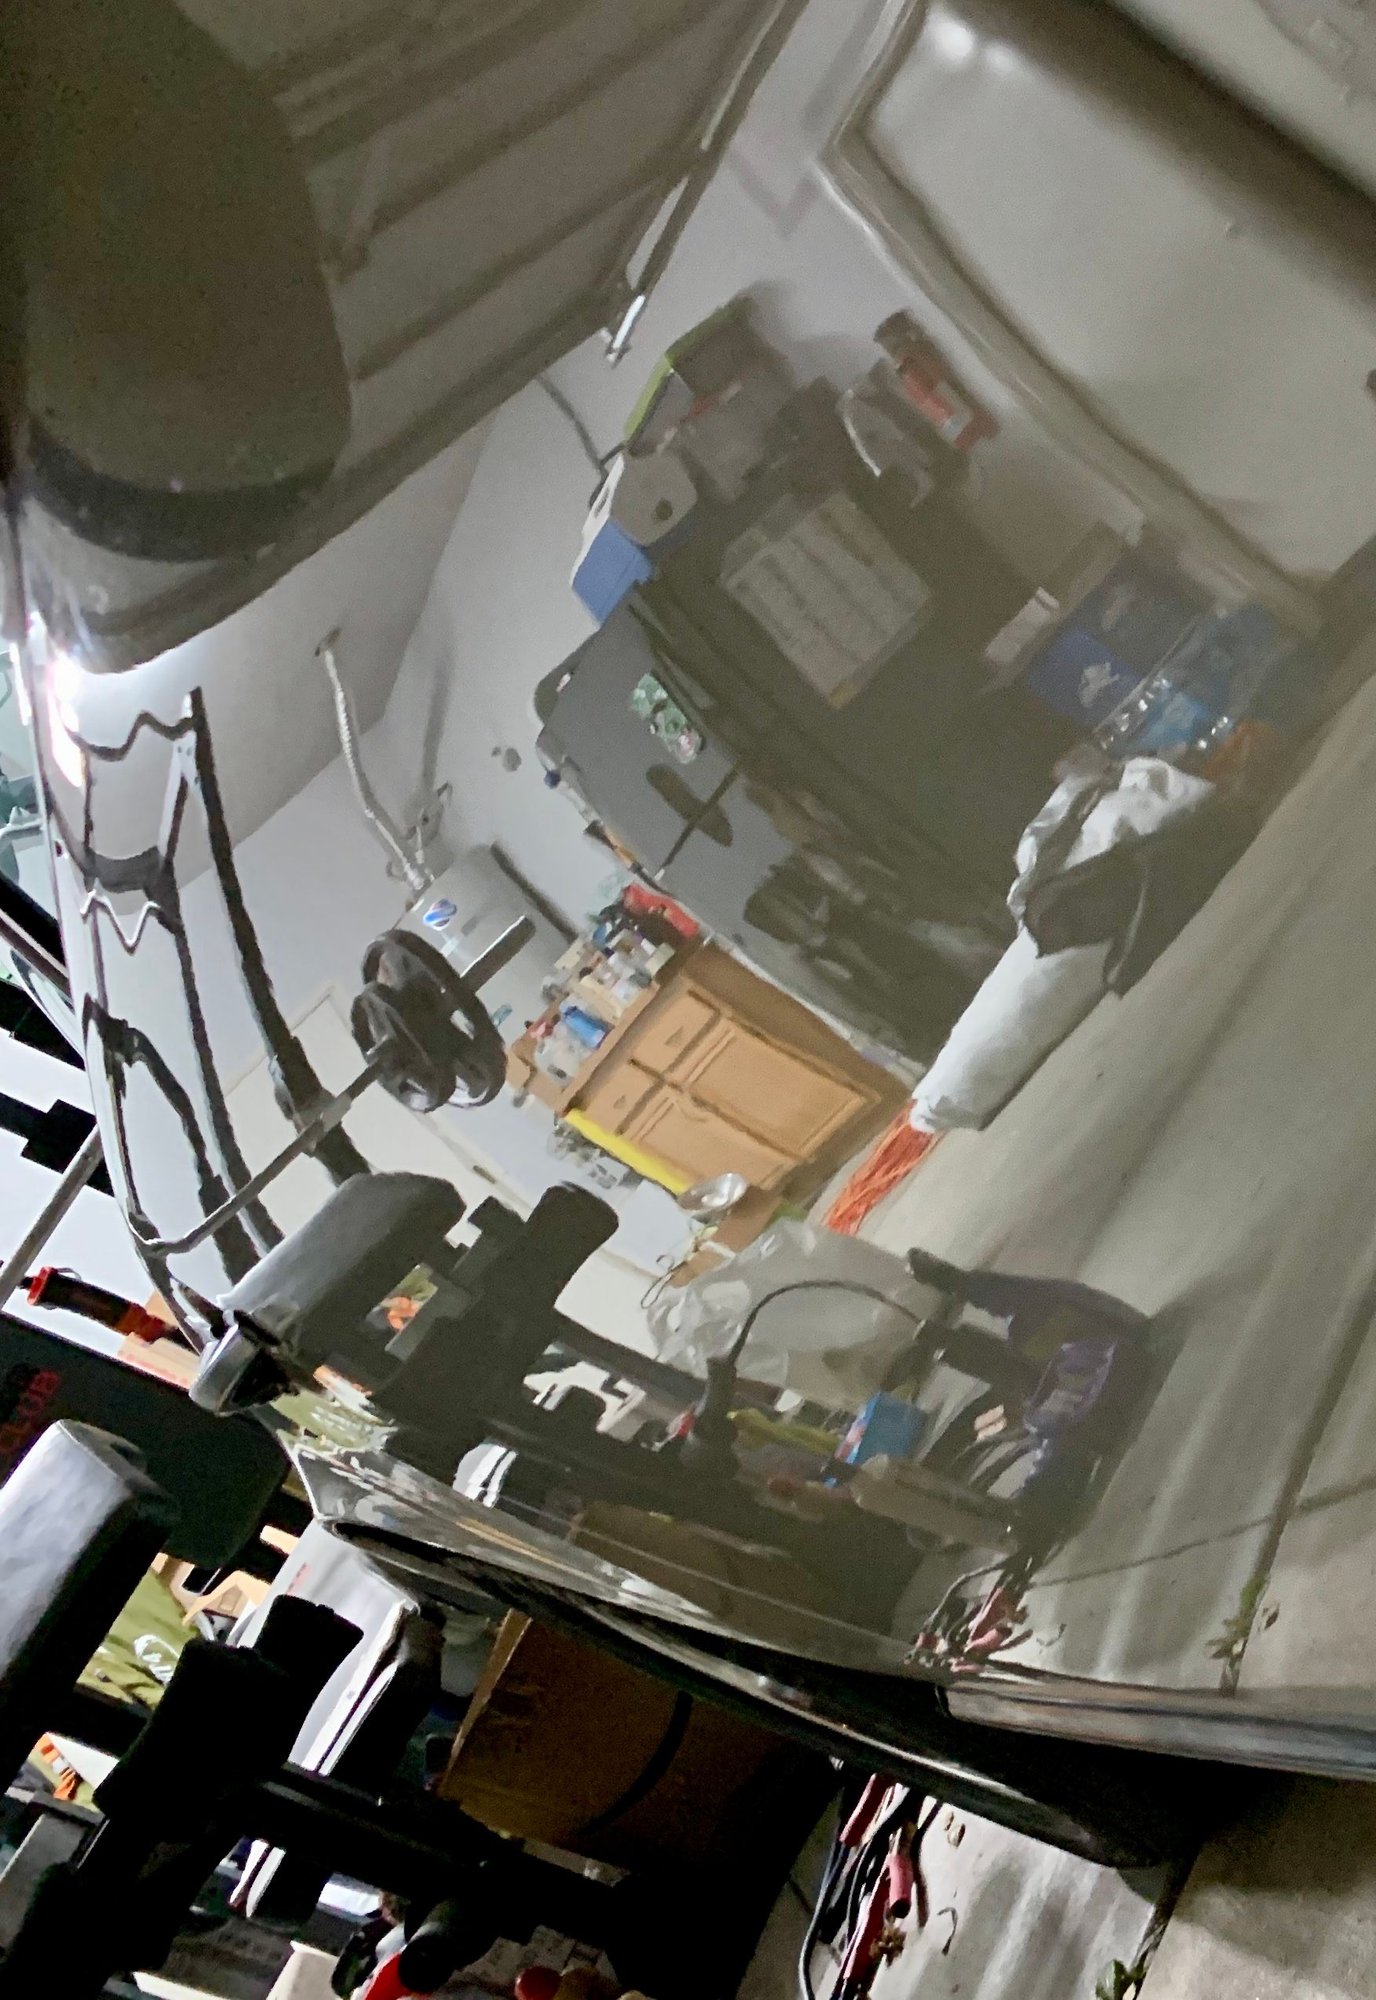
A ton of work/patience/caution is required, but unquestionably worth it! Pre paint correction Post paint correction
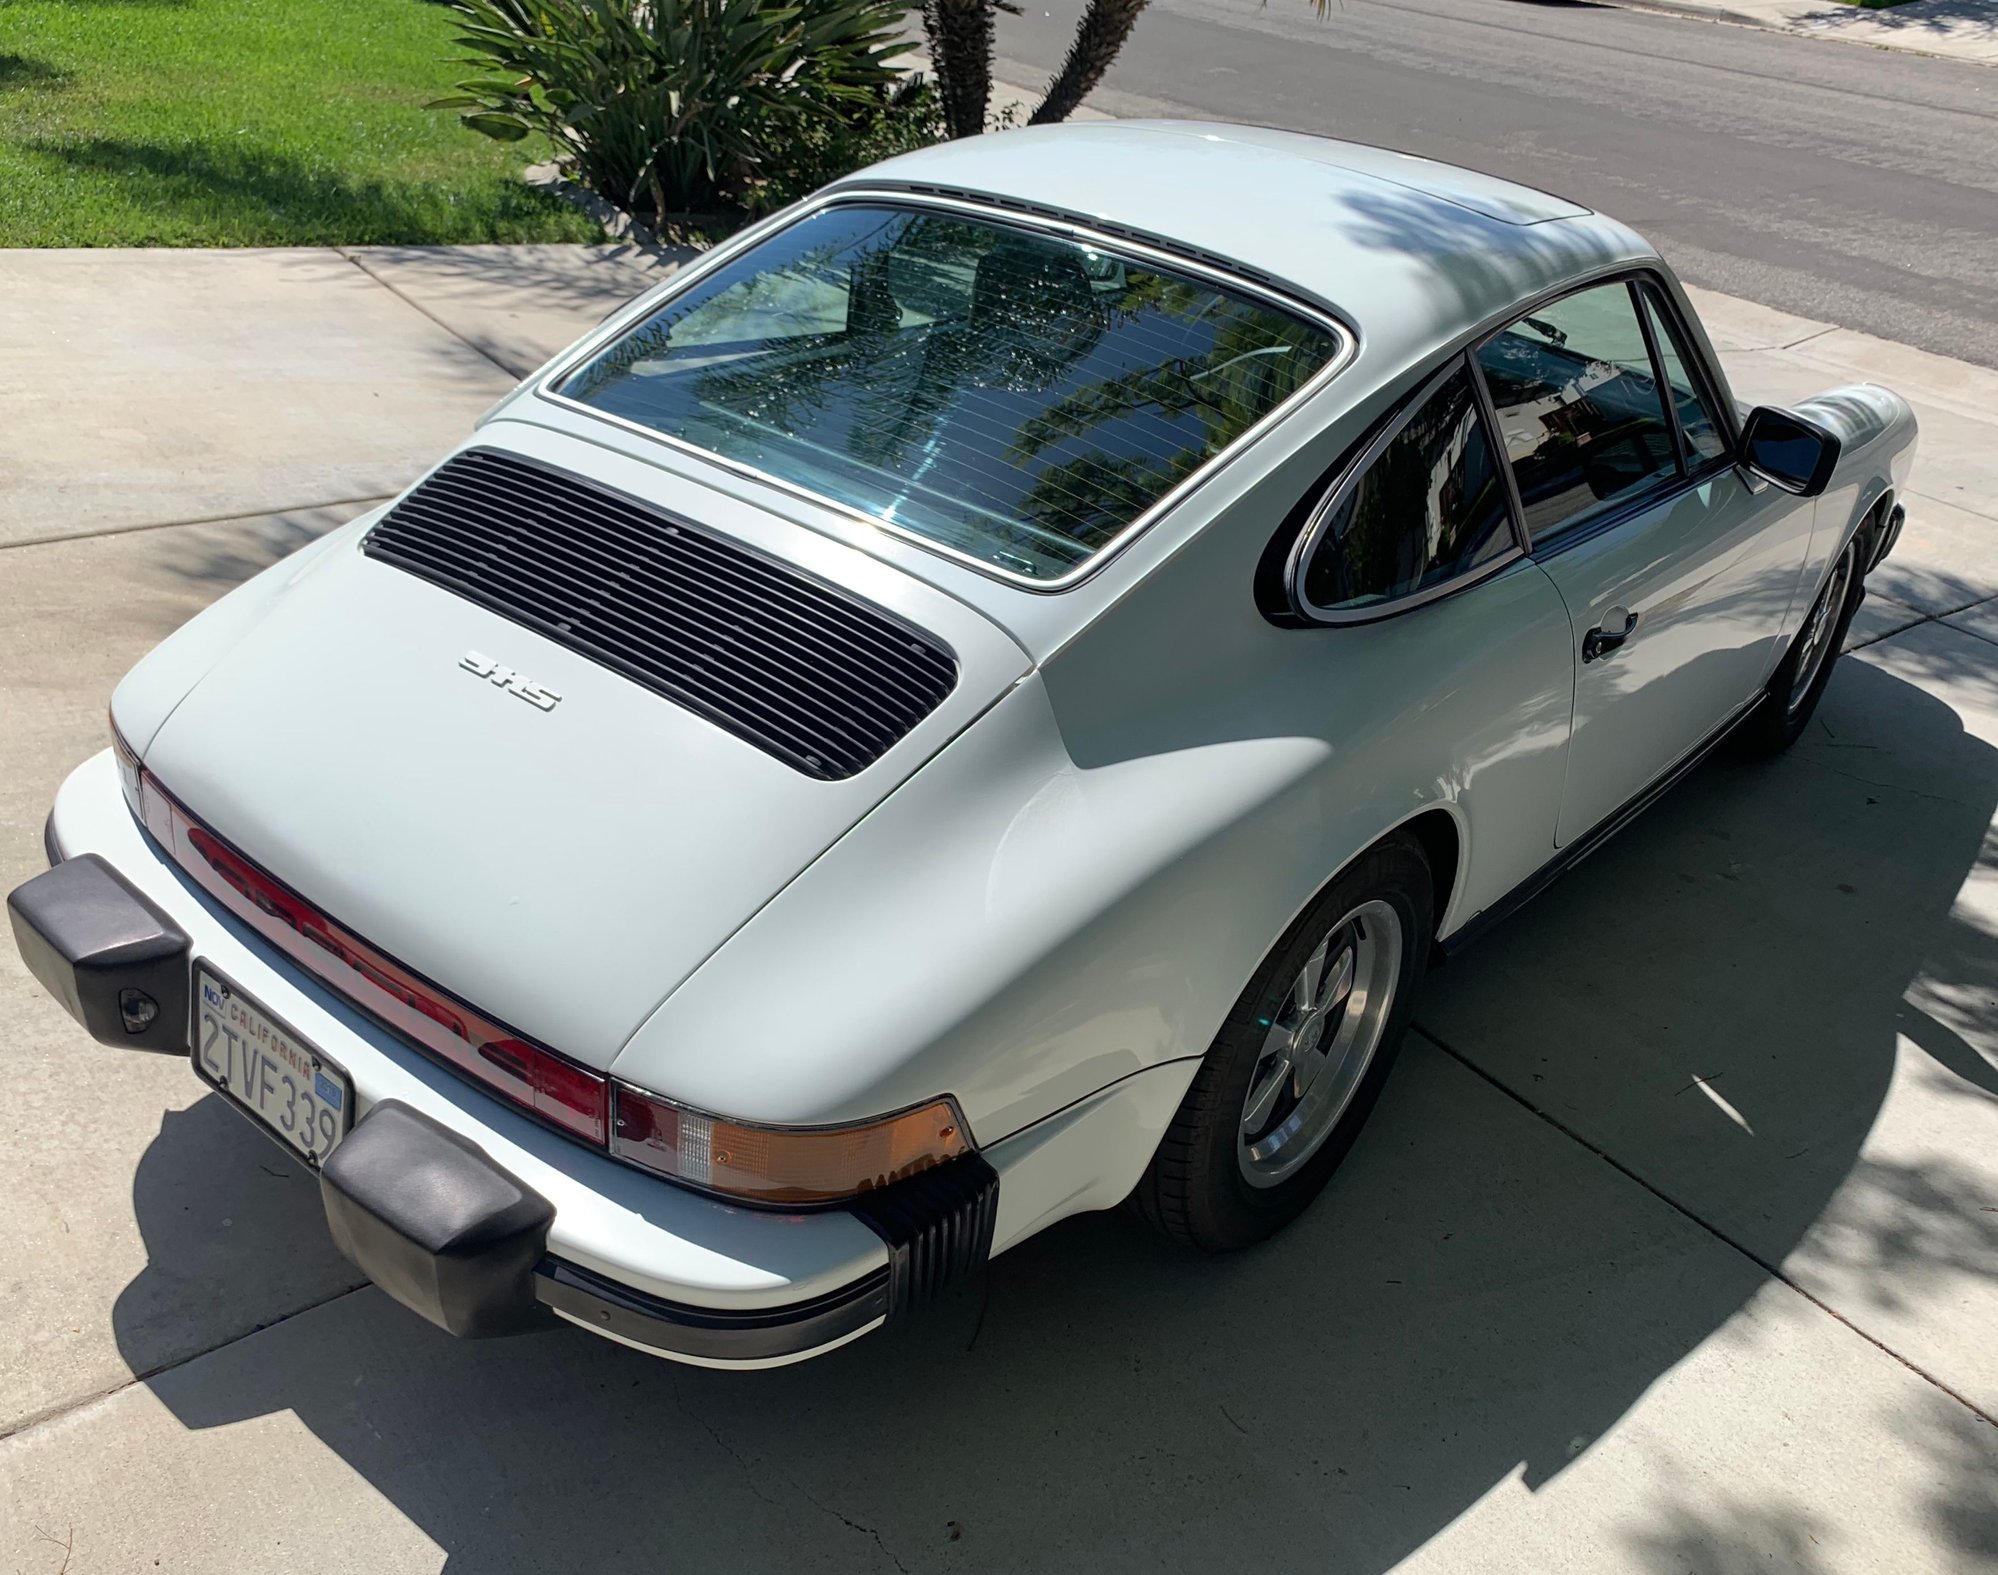
Pre Post
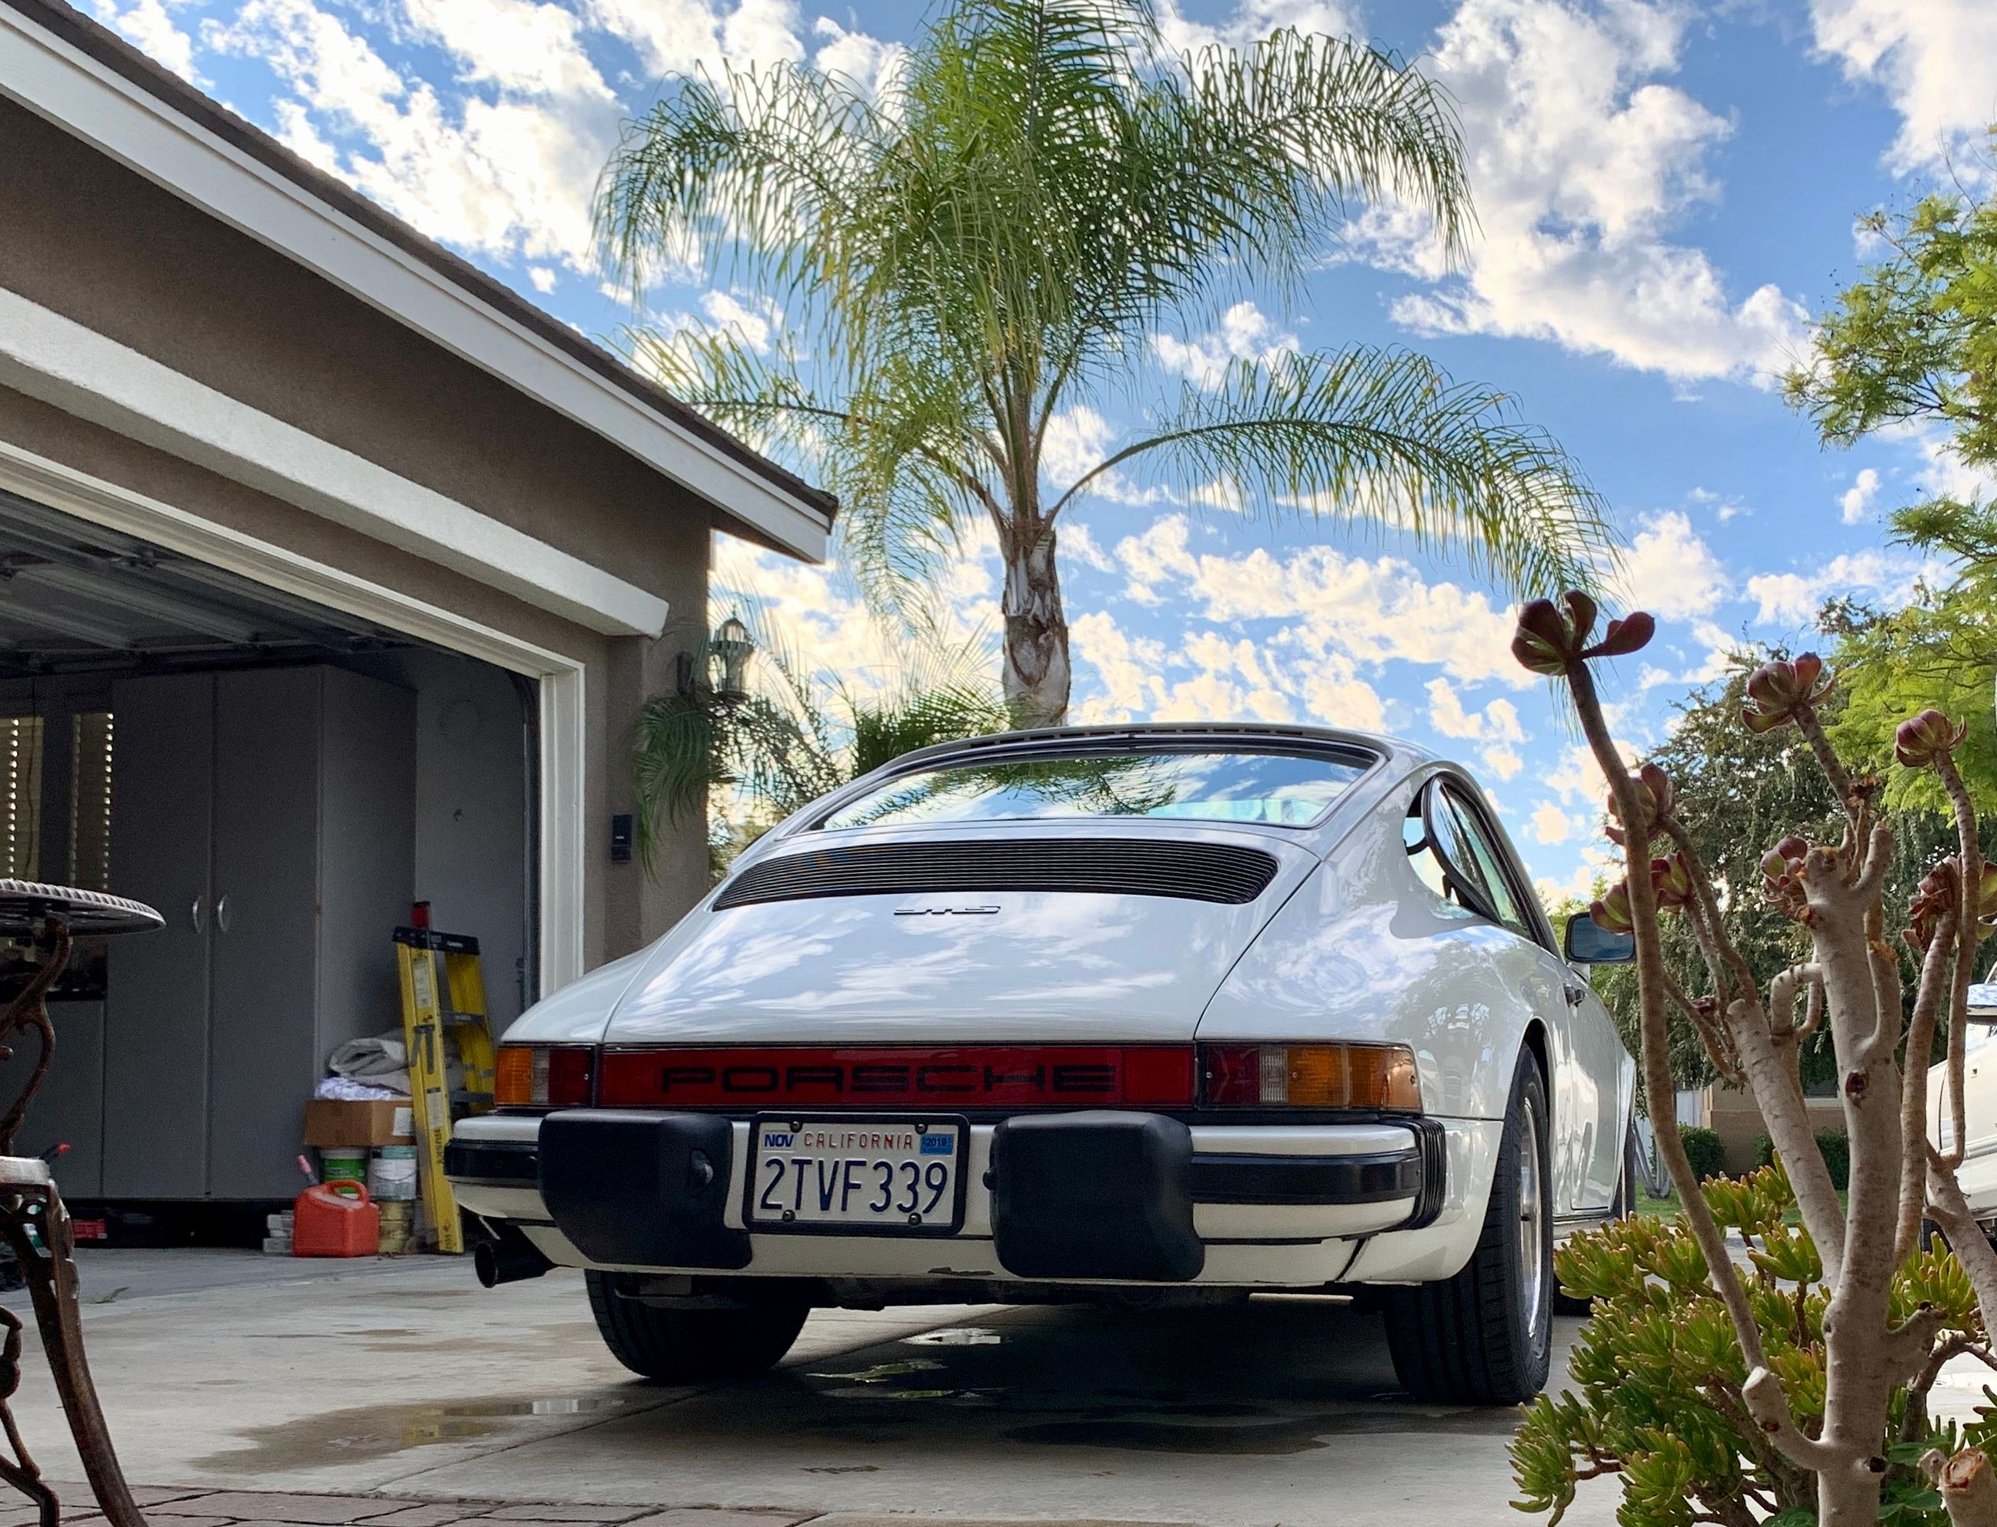
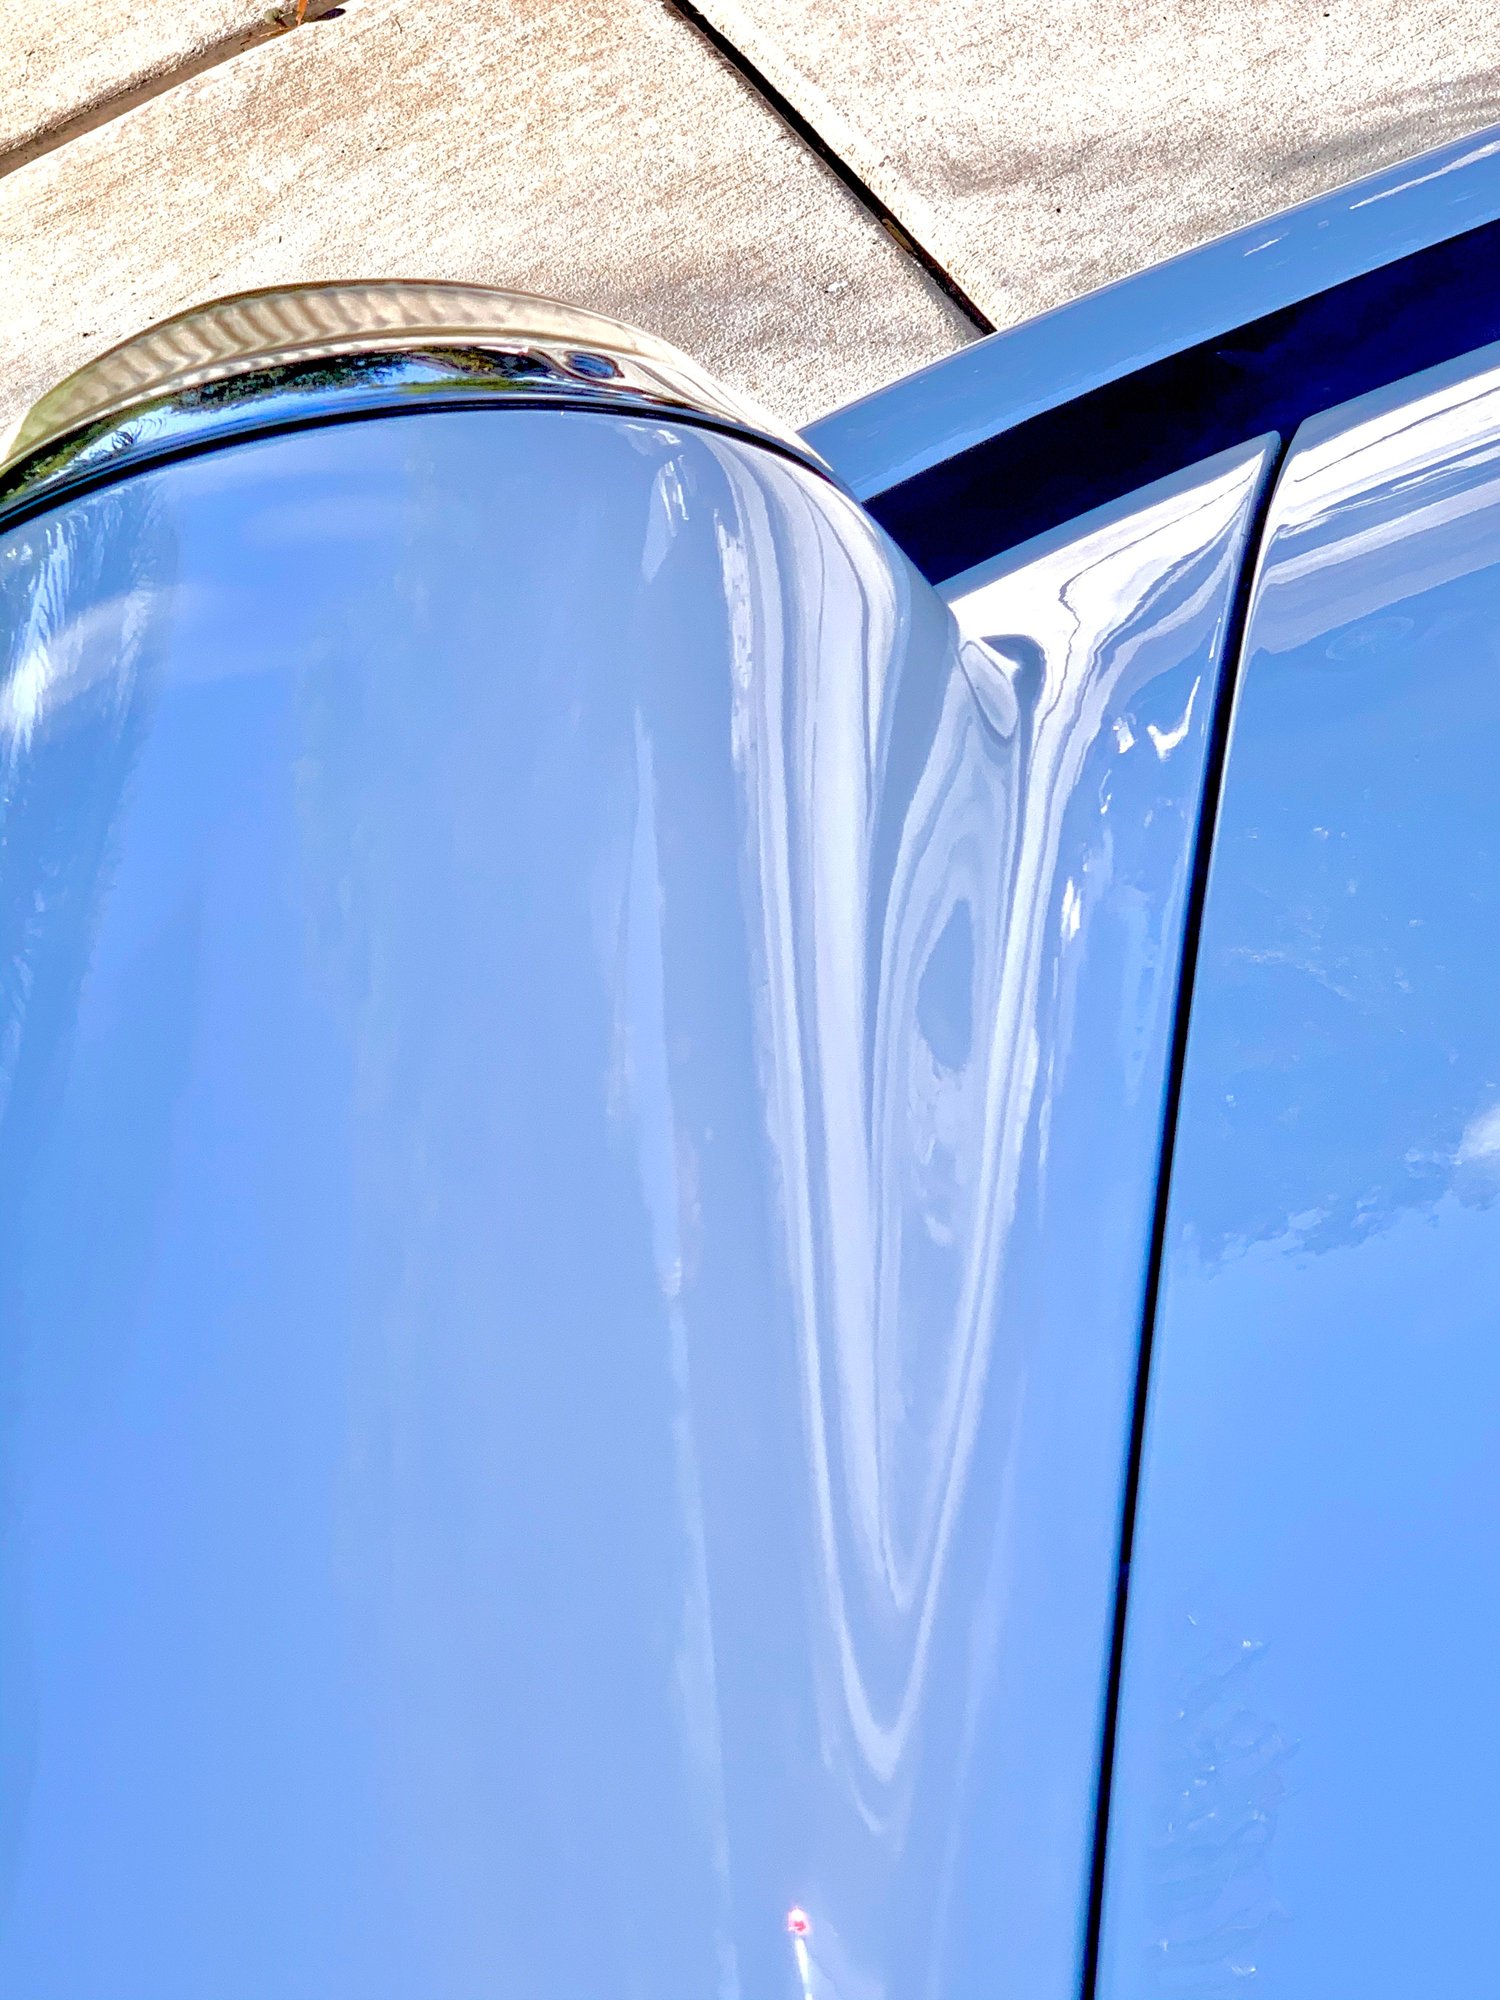
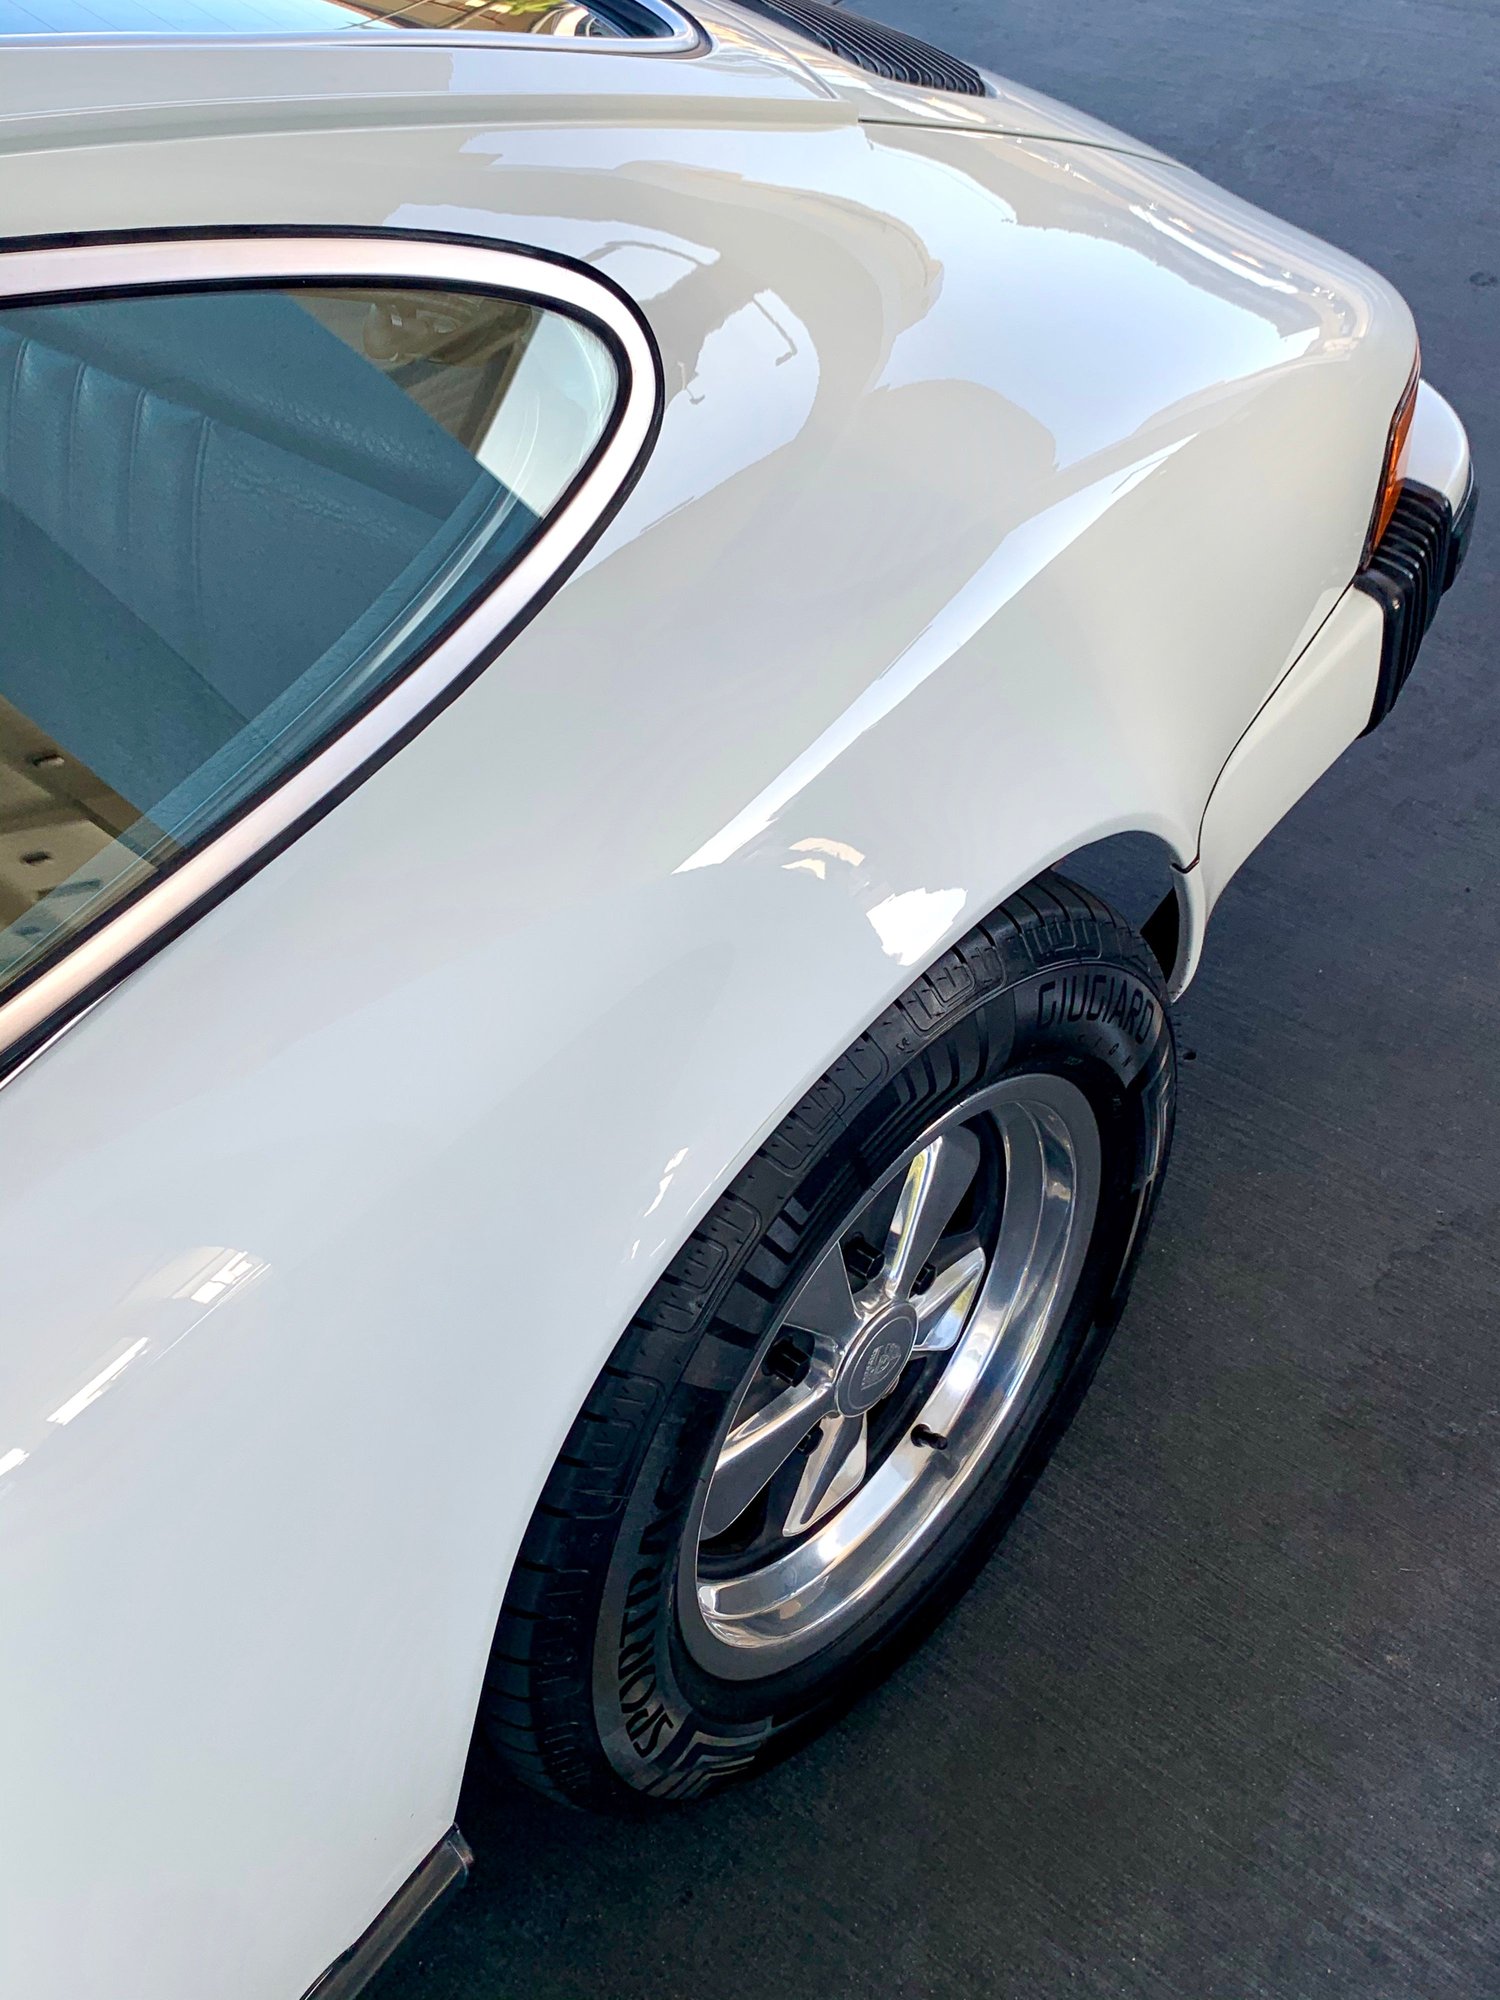
Post... you get the idea. 50 shades whiter and glows
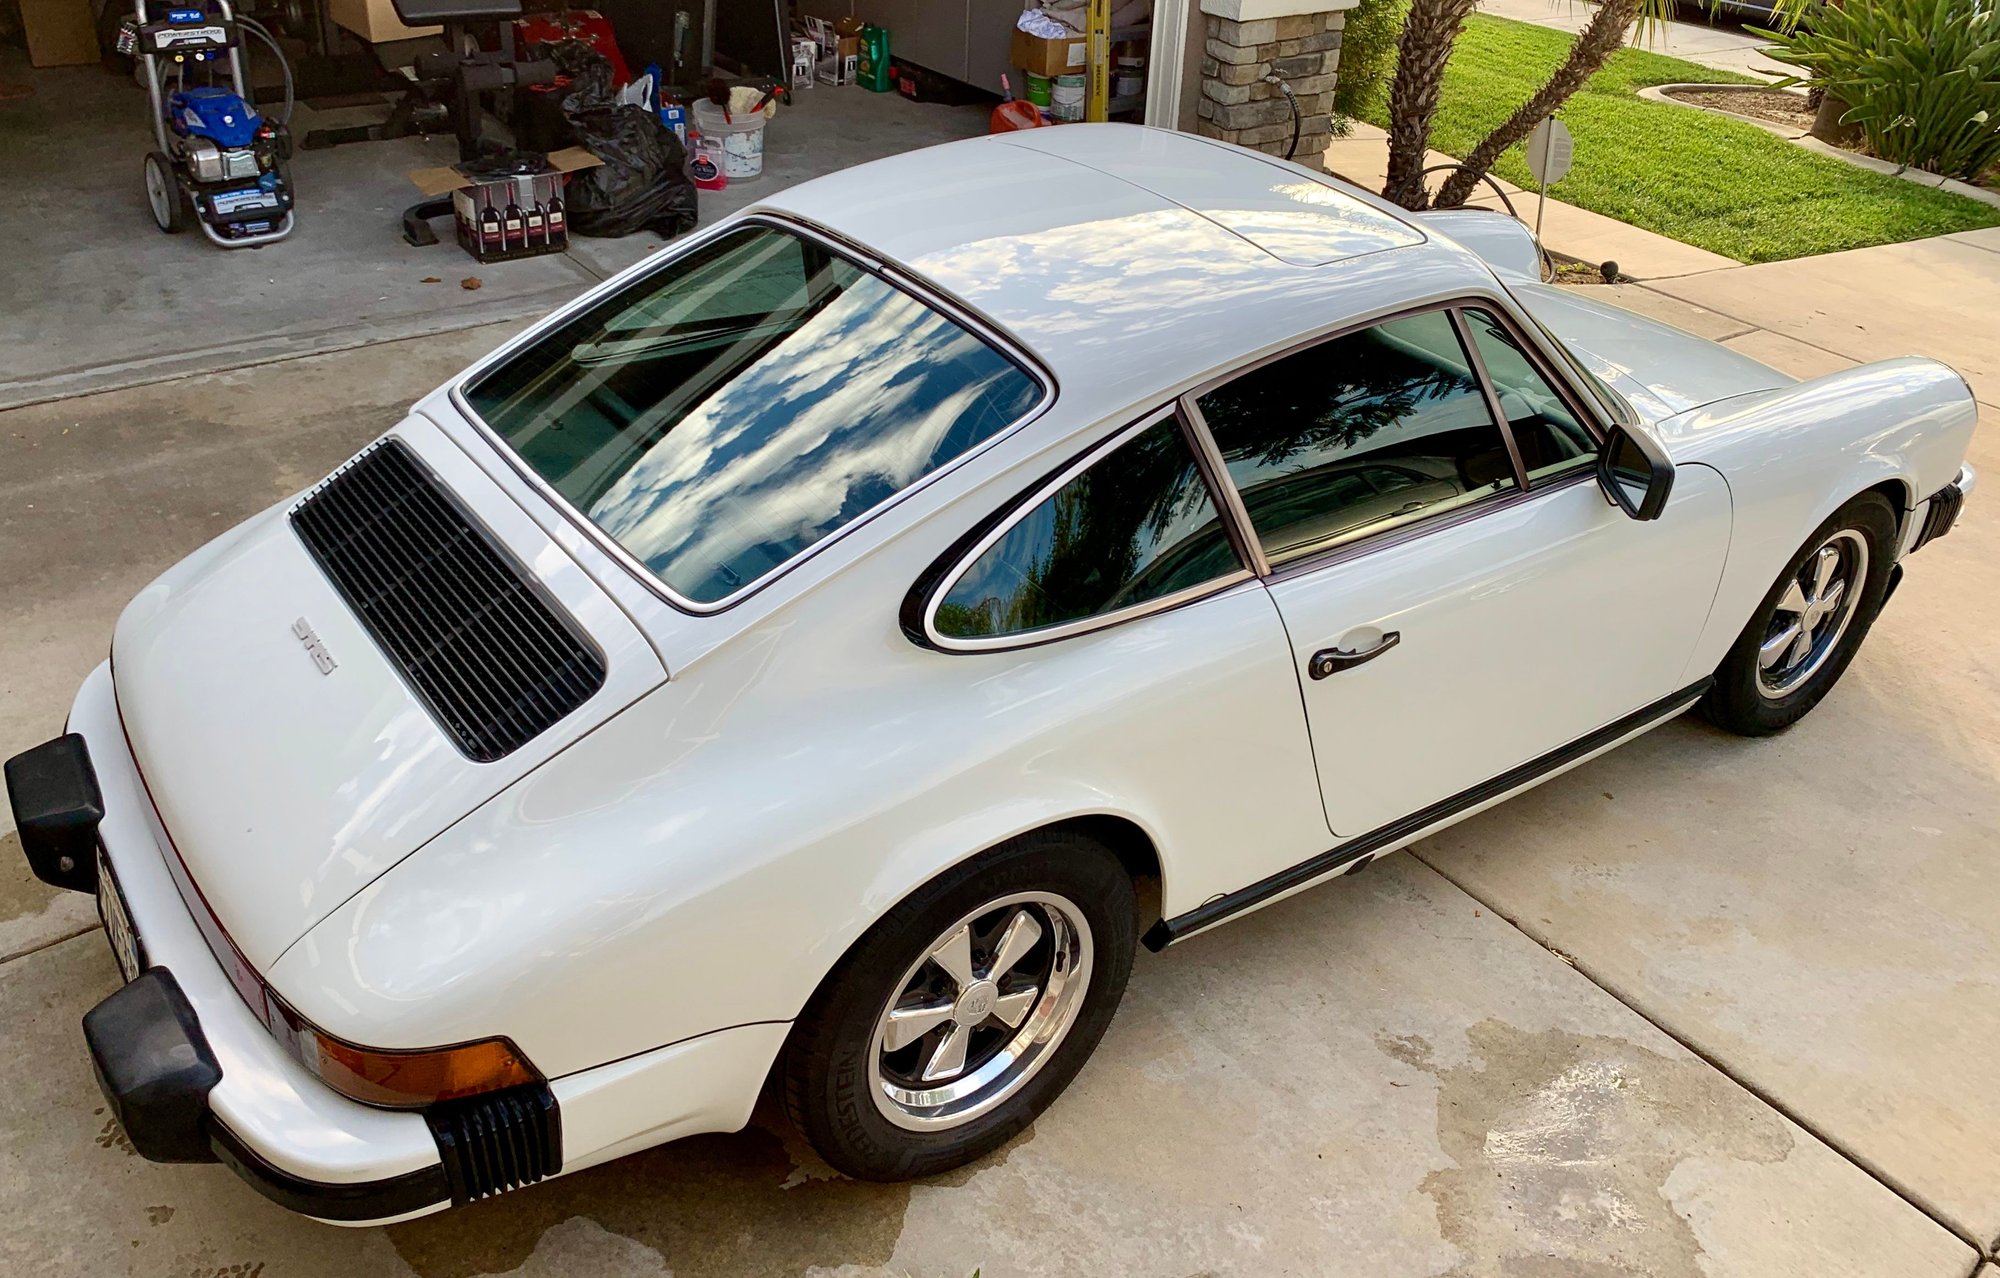
Before After before
Last edited by Porsche911benz; 11-03-2019 at 01:57 AM.
Thanks! It�s amazing how durable/resilient the single stage/glasurit paints hold up. The paint WILL get chalky with age. But if you�re patient, you CAN resurrect the gloss to it�s former glory!
On my 911, The vast majority of the paint on the car is original. Let that sink in. Sure, there�s touch-up spots here and there... but it�s a 42 year old car!
With that being said, my goals were to:
A) Preserve as MUCH of the original paint as possible, and
B) Do it myself. You never really have the same sense of satisfaction/ownership when you pay someone else to do it.
**Disclaimer
With that being said, I professionally detailed/restored cars when I was younger. This stuff is exceedingly technique sensitive. So if potentially sanding your vintage 911 makes you nervous, by all means - consider a pro!
Before any aggressive sanding/buffing, I wanted to make sure firstly that the paint was appropriately �nourished� and hydrated. I wasn�t on a timeline, and my primary goals were to do everything the right way.
I imagine sanding/taking a high speed buffer straight to chalky-oxidized 42-year-old paint would be both harsh and severe. So for the first two weeks, I applied two of my staple polishes (by hand), every couple days. The purpose of this was to replenish the paint with all of the nutrients/vital oils, which should make the paint �healthier,� and ready for a proper correction.
For this phase, I alternated between Meguiars #7, and Wolfgang�s Concours Sealant 3.0. I�ve used both extensively in the past. But since all paints are slightly different, I figured between the two of them, the goal to replenish the paint should be fulfilled.
Once I felt that the �nourishment� part was taken care of, I treated the paint correction like most other vehicles.
I next performers a thorough decontamination wash, using Iron-X and dawn dishwashing soap. I paired the wash with a nano-scrub mit (to cut back on the clay bar time). After the wash, I used the good old mothers clay bar to remove any remaining bonded contaminates.
I did a quick �P21S pre-wax cleaner� following the clay bar, just to have everything clean, nice, and uniform. Now it was ready for the fun stuff...
I tested some panels with a variety of compounds. However, the chalkiness (and evidence of some �Mickey Mouse� touchup jobs) remained. So It was decided that a wet-sanding was in order for optimal results.
I ordered the Meguiars brand automotive grade sandpaper, using 1k (on the rough/uneven regions). Afterwards, The rest of the vehicle (and aforementioned �rough� spots) were done with 2k, and then 3k.
**TAKE YOUR TIME
After the wetsanding, the car should have a nice matte hue. I tried a few different compounds on the prepped body. But the all around winner seemed to be the Meguiars 105 (with one of those lovely maroon cutting pads). I used this with my high-speed Makita rotary.
The 105 cut like a hot knife through butter, and really left a nice uniform gloss on the 911. Following the 105, I went over the car with the Meguiars 205 (and a yellow pad). At this point, the car looked like a mirror.
For finishing, I went back to the Wolfgang�s Concours Sealant 3.0. This is really a phenomenal sealant. The gloss/clarity are outstanding. It requires a 12 hour cure, but it�s worth it. It�ll last quite a while.
Since I�m a bit OCD, I put a final coat of p21S Concours 100% carnuba wax. This made everything �Pop!�
I follow a similar technique with any new to me used car and also use same Meguiars 105/205 duo and a high end carnauba to finish. Recently I picked up a bottle of Menzerna 3800 and was blow away by the additional clarity, pop and reflective qualities. It makes the 205 finish appear hazy which is hard to believe.
Another trick, after applying Carnauba to the entire car spray cool distilled water on the surface of the paint a panel at a time and wipe off the panel immediately. It will leave a thicker layer of carnauba and a deeper finish. It also makes removal easier.
I know that Mezerna has a fantastic reputation... I believe they are used at MB when they�re finishing the final prep work. I�ve been meaning to give them a shot. So when she�s due for a touch-up, I�ll give it a try!

 11-03-2019, 01:16 AM