955/957 Cayenne DIY: Installing Auxiliary Backup Lights
#1
Racer
Thread Starter
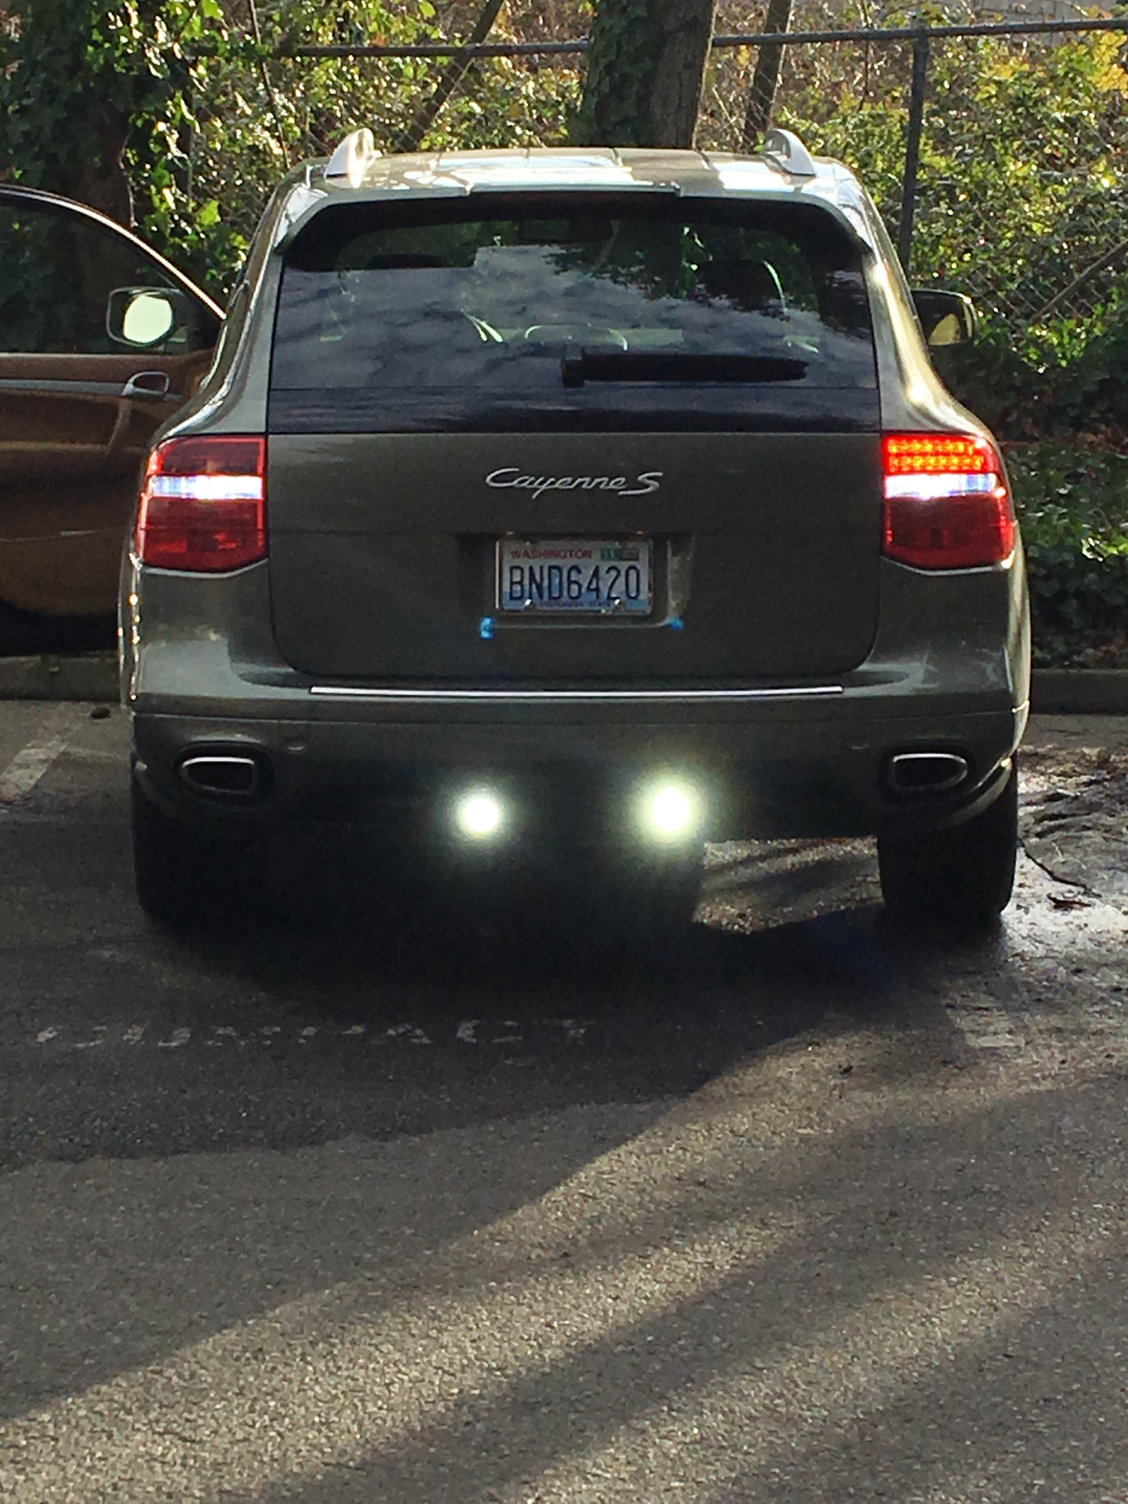
Since the Cayenne lives out doors and I often back into my parking spot at night it was time to upgrade the lighting. First I installed LEDs in the stock location and they were an improvement but the inherent design of the lense is still very limiting.
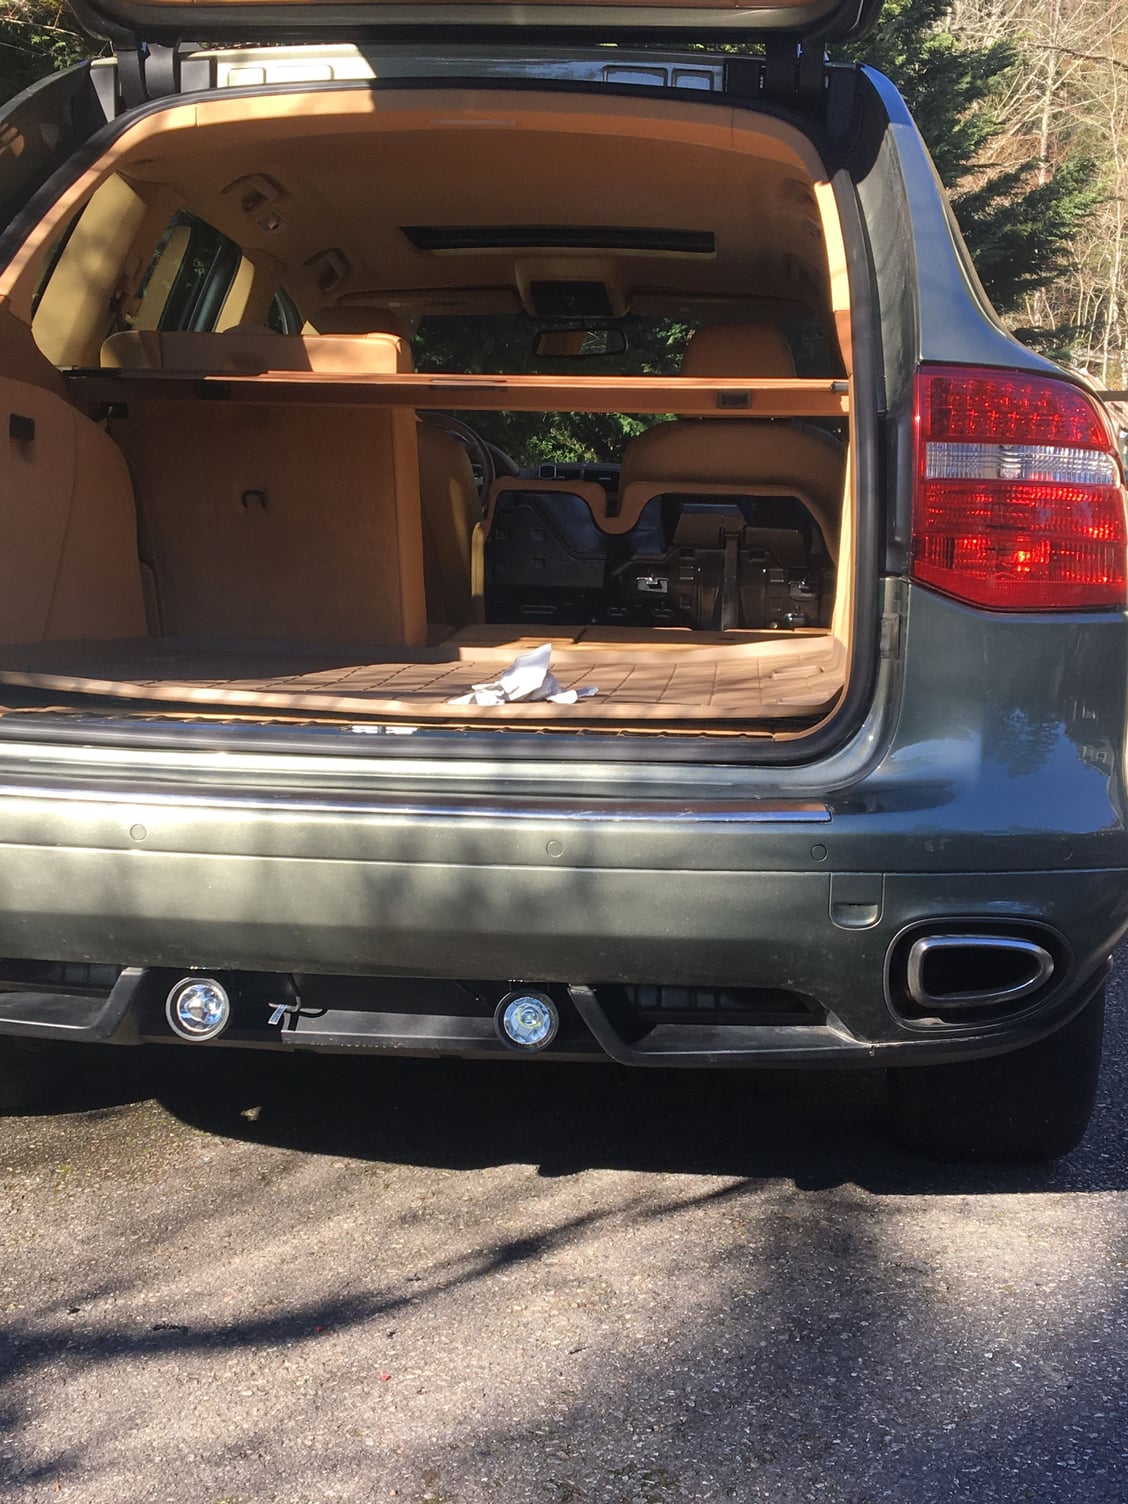
Rather than mess further with the stock location, I mounted two blazing LED light pods inside the rear bumper cutout.
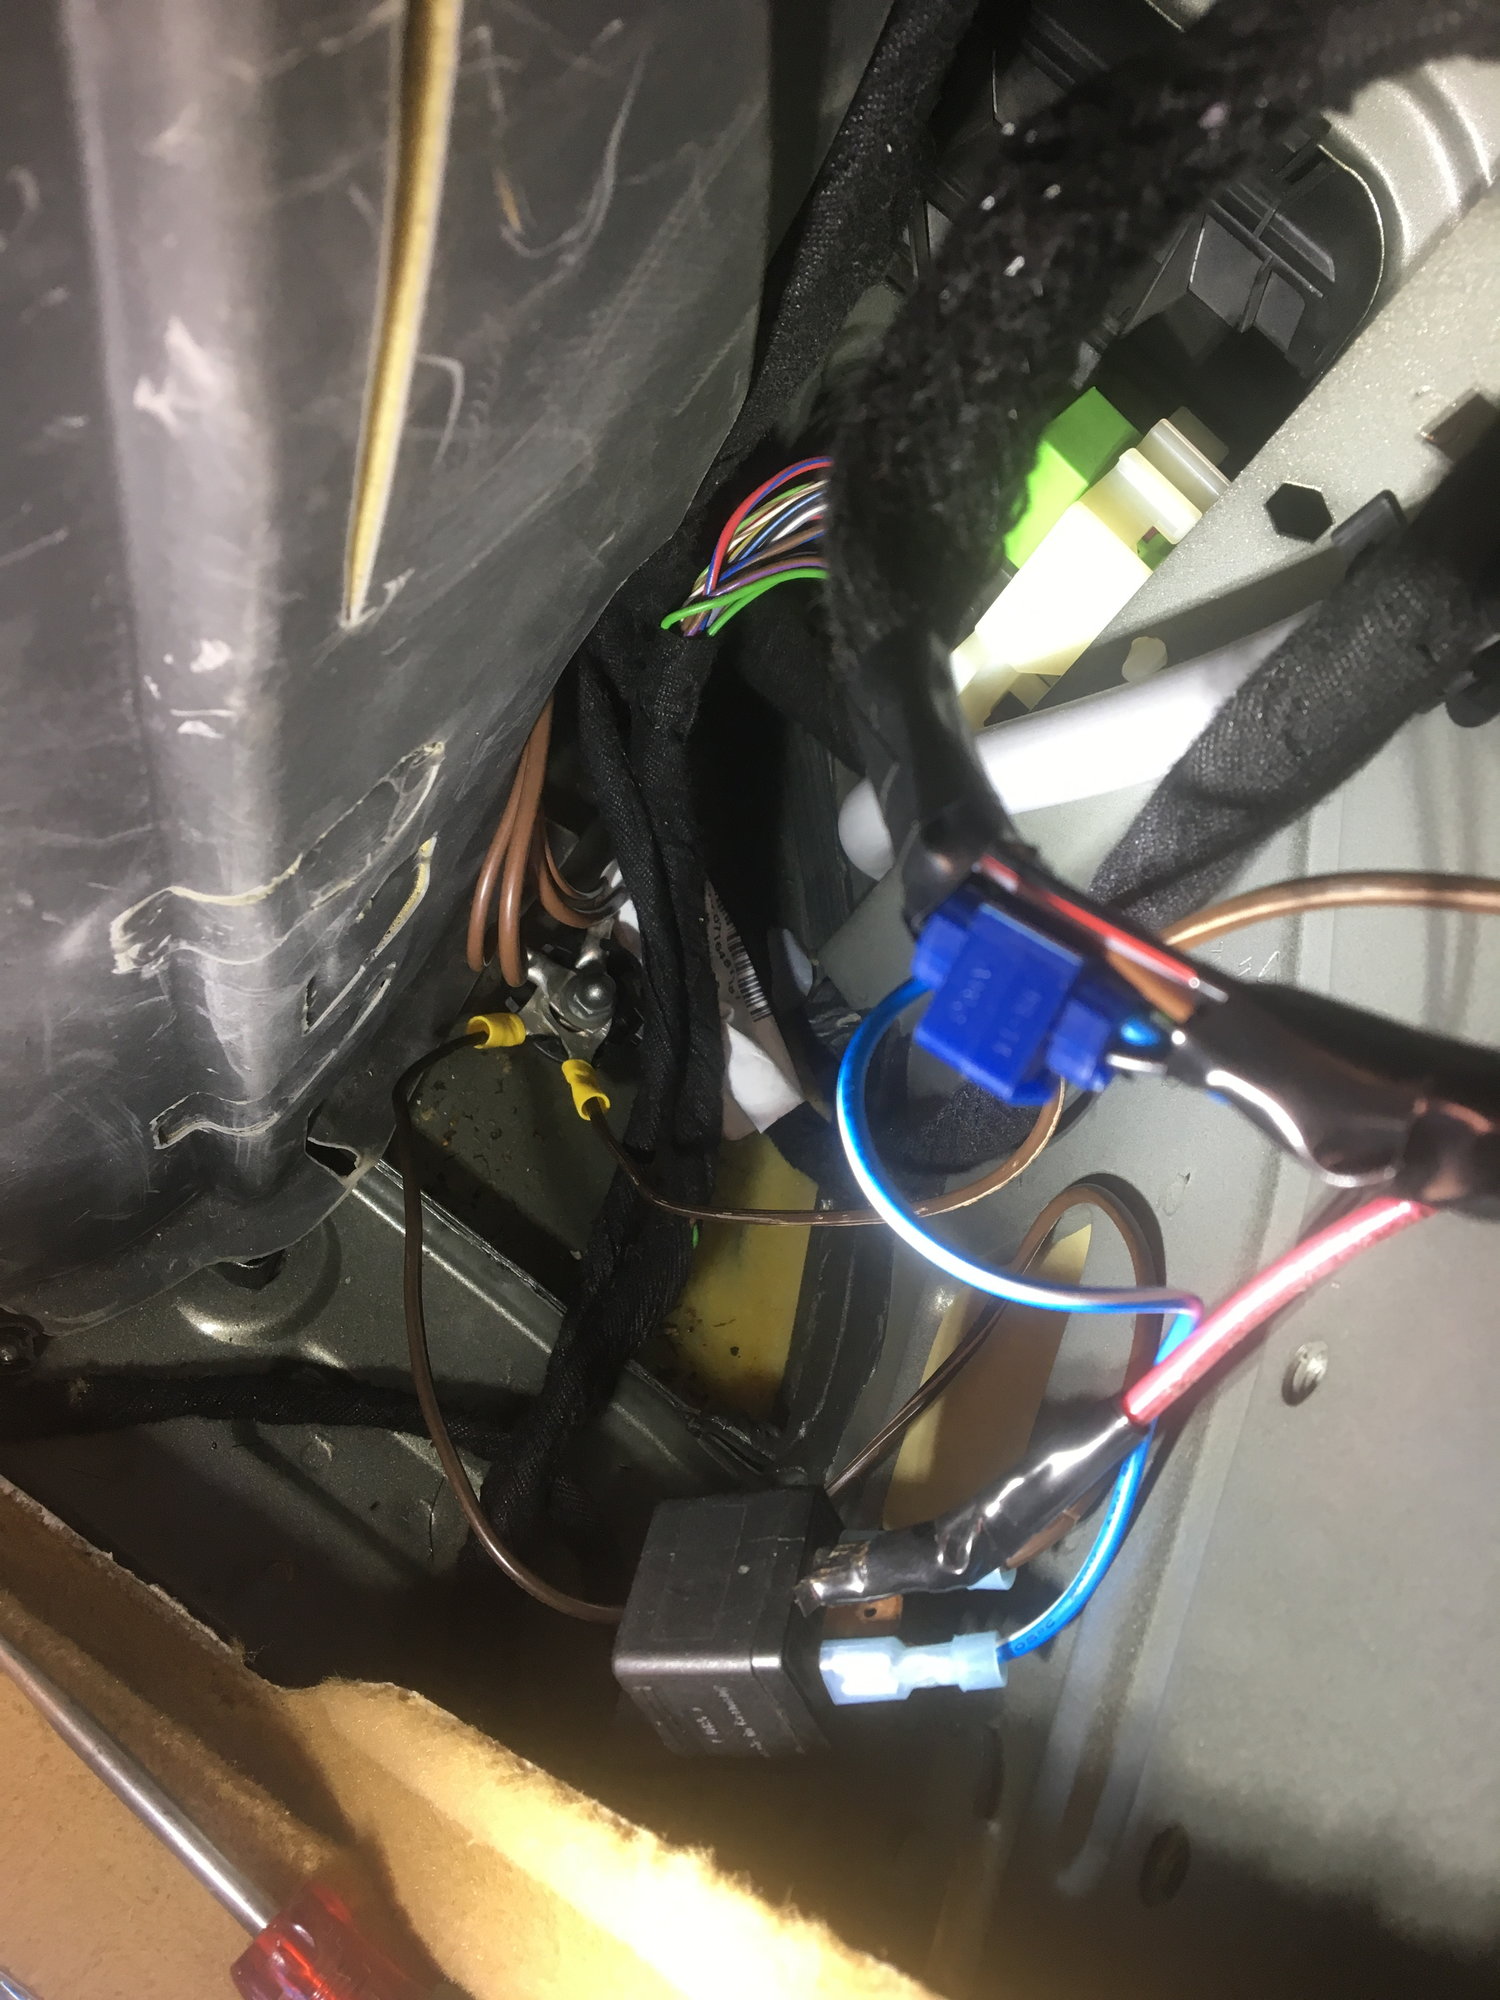
For a power source i leveraged one of the rear 12 Volt plug-ins. I used a relay tapped into the backup light power wire as the trigger and installed a 5 amp fuse for insurance. The 12V plug still functions.
Tools Needed
- wire cutters/crimpers
- allan key to remove tail light
- small screwdriver to remove tail light bolt covers
- heat gun
- drill and bits
Supplies Needed
- 1 relay, I used Bosch
- 1 5 amp fuse and fuse holder
- 6ĺ wire
- several male and female crimp connectors
- 2 hoop type connectors for securing wires to ground
- shrink wrap
- zip ties
- lights
Step 1. Connect trigger wire to relay
Pull right rear cubby cover to access the trigger wire and power source. The thick harness goes to the tail light. I made an incision in the fishnet cover of the thick harness and located the black wire with a blue trace for the backup light. I connected to it using a crimp connector since all I want is a signal for the relay which will live in the cubby.
Step 2. Connect power wire to relay
Right next, or conjoined, to the tail light harness is the 2 wire power feed to the 12V plug. Made another incision in the fishnet and located a yellow wire with red trace. I bisected the wire and installed a pigtail using crimp connectors. One branch of the pigtail reconnected the severed wires. The other was attached to a fuse holder using a 5 amp which was connected to the relay.
Step 3. Connect ground to relay
Run a ground from the relay to the ground terminal located conveniently in the bottom of the cubby
Step 4. Pull taillight
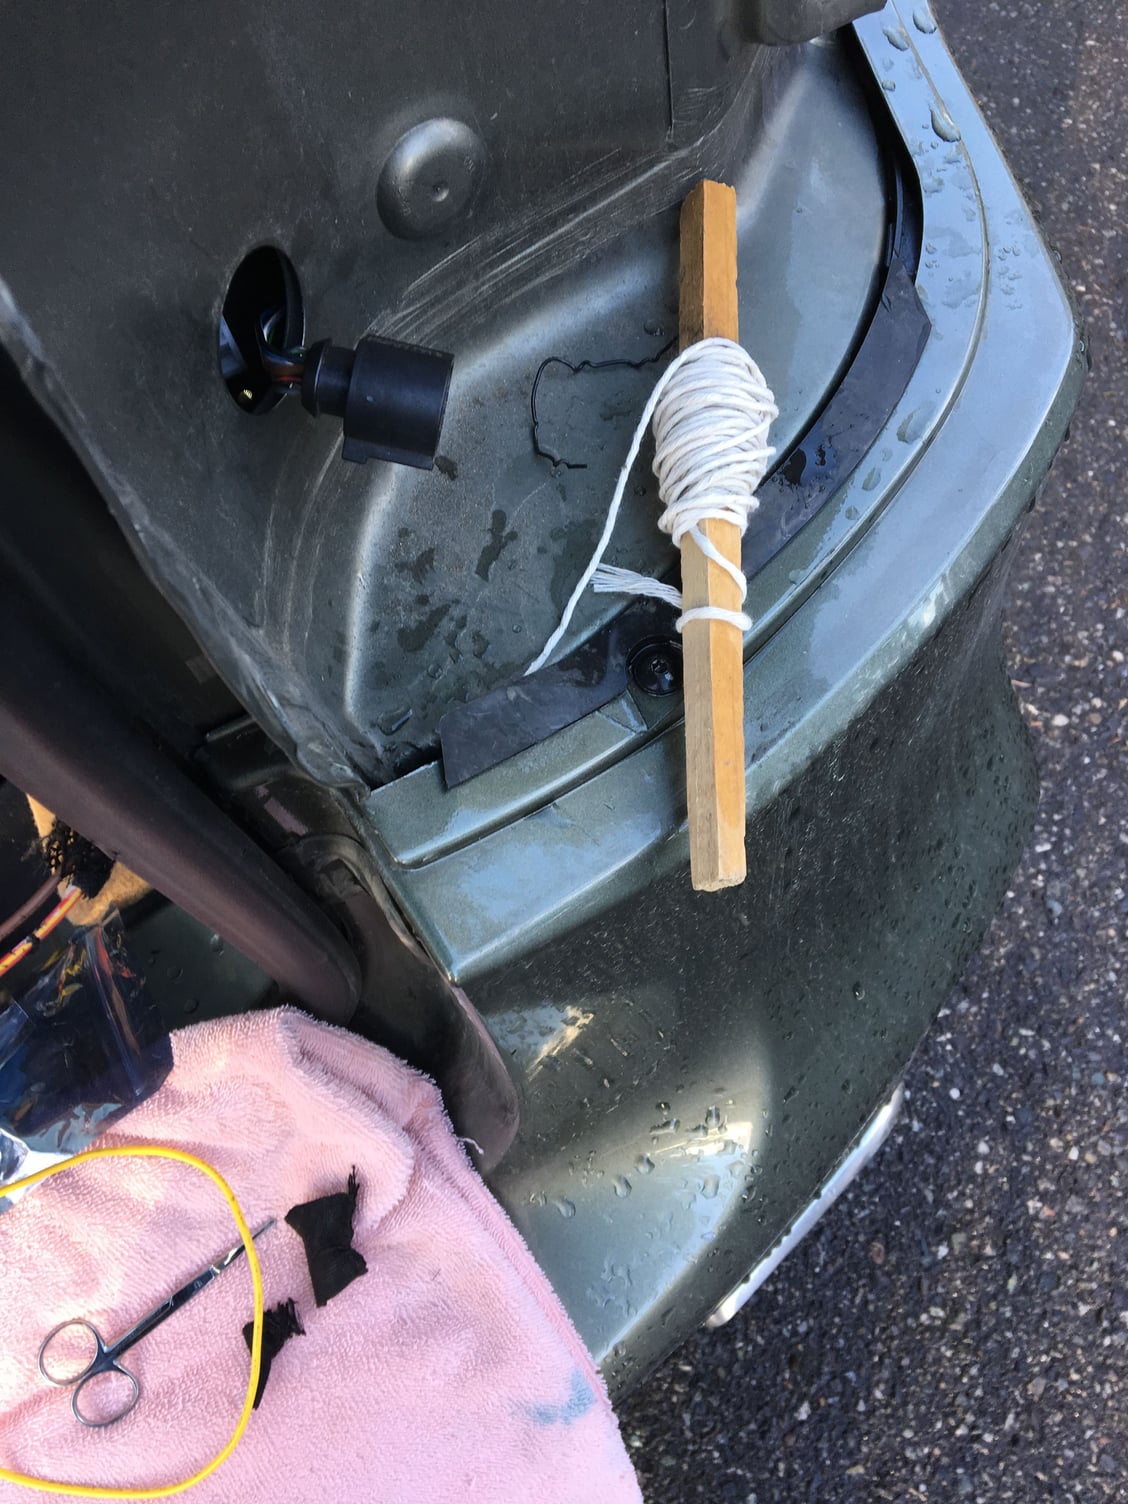
Pull right tail light by popping off the two plastic round covers and using an Allan key and disconnecting the harness plug.
Step 5. Run power wire from relay and ground outside the truck
Run another ground wire from the ground terminal in the cubby and a power wire from the relay. Run both wires through the grommet for the tail light harness into the outside taillight cavity. I temporarily terminated the two wires there and added female connectors with heat shrink just in case the bumper needs to be removed.
Step 6. Fish wires to lights
Run two new power and ground wires from the tail light cavity (which will mate to Step 5) through the tail light drain, next to the tailgate, to the inner sanctum of the bumper and route to where the lights mount while keeping the wires as far away from the muffler/s as zip ties will allow.
Step 7. Mount the lights
Drill baby drill the holes for your lights being very careful you will not hit anything crucial. Since my bumper is plastic I used four small metal plates and center drilled holes for a stable mounting platform. Think of it as a plastic sandwich ( metal, plastic bumper, metal piece and then mount the lights and secure.
Step 8. Make a connection
Make all the connections between power and ground wires using male and female spade connectors with shrink wrap.
Step 9. Finish up
Secure the relay inside the cubby using the available threaded holes. Tidy the severed fishnets using electrical tape. Pop a cold one, secure the parking brake, shift into reverse and aim the lights and bask in their glow. Mine were so brilliantly bright they were like looking into high beams, so they were adjusted down but still throw out tons of lumens.
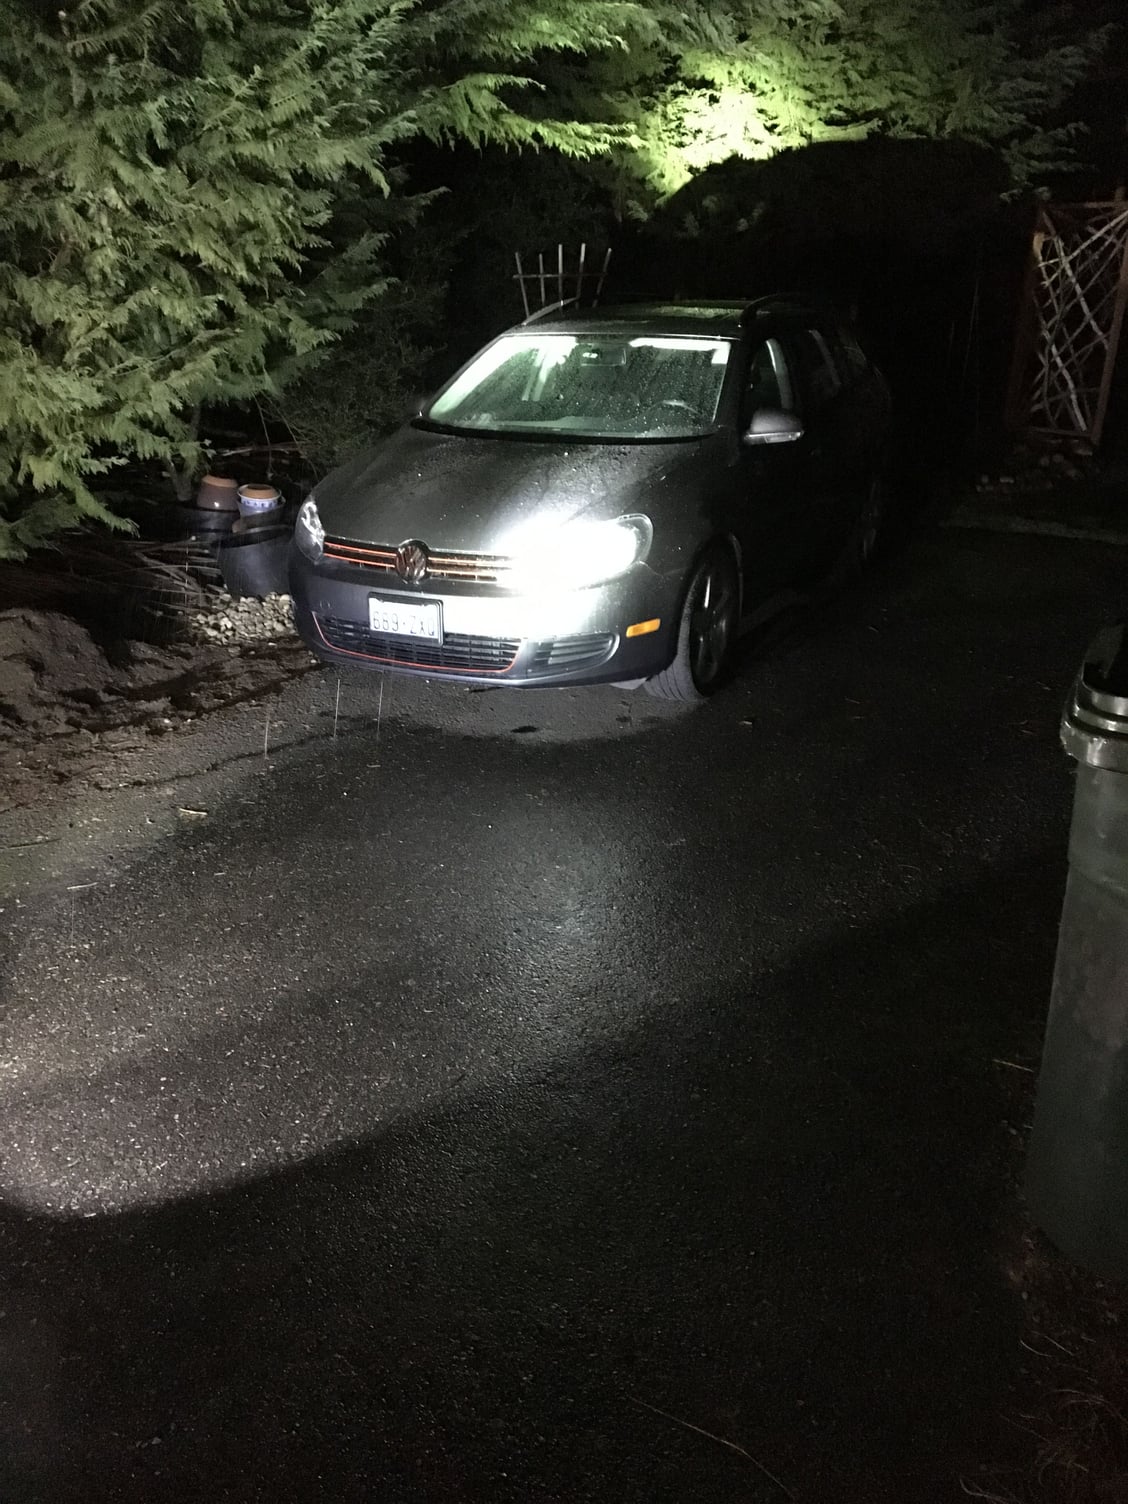
VW caught in the lights from the Cayenne..
Bonus Extra: Possible cure for taillight condensation
Since I had the tail light out, I decided to experiment. I opened the back half and dried out the lens using a hair dryer on low. I then ran a bead of silicone around the interface between the black plastic case and the red lens.
I saw this fix done for Cayenne fogged Headlight innards so I figured what the hike? Since it is now raining, I will report if this simple method worked.
Last edited by deilenberger; 03-12-2019 at 06:47 PM.
The following users liked this post:
kv66 (02-03-2023)

