When you click on links to various merchants on this site and make a purchase, this can result in this site earning a commission. Affiliate programs and affiliations include, but are not limited to, the eBay Partner Network.
955/957 Cayenne DIY: "Jimi-Fix" for driveshaft center bearing support - Illustrated!
Thanks to everyone who responded, the Jimi-Fix was a complete success! I wanted to provide the process to perhaps make it easier for anyone experiencing a similar problem. As 95_993 has stated,
it's not if the stock bushing will fail, it's when.
I noticed this problem on my 2009 Cayenne S at 111,110 Miles. I originally explained it as an extreme vibration and shuddering, but have also heard the term thumping used. I personally like the description by vandal968 that it sounds like a
Midget with a hammer
under the center console. This was happening to me under light loads and almost always at about 35+ MPH.
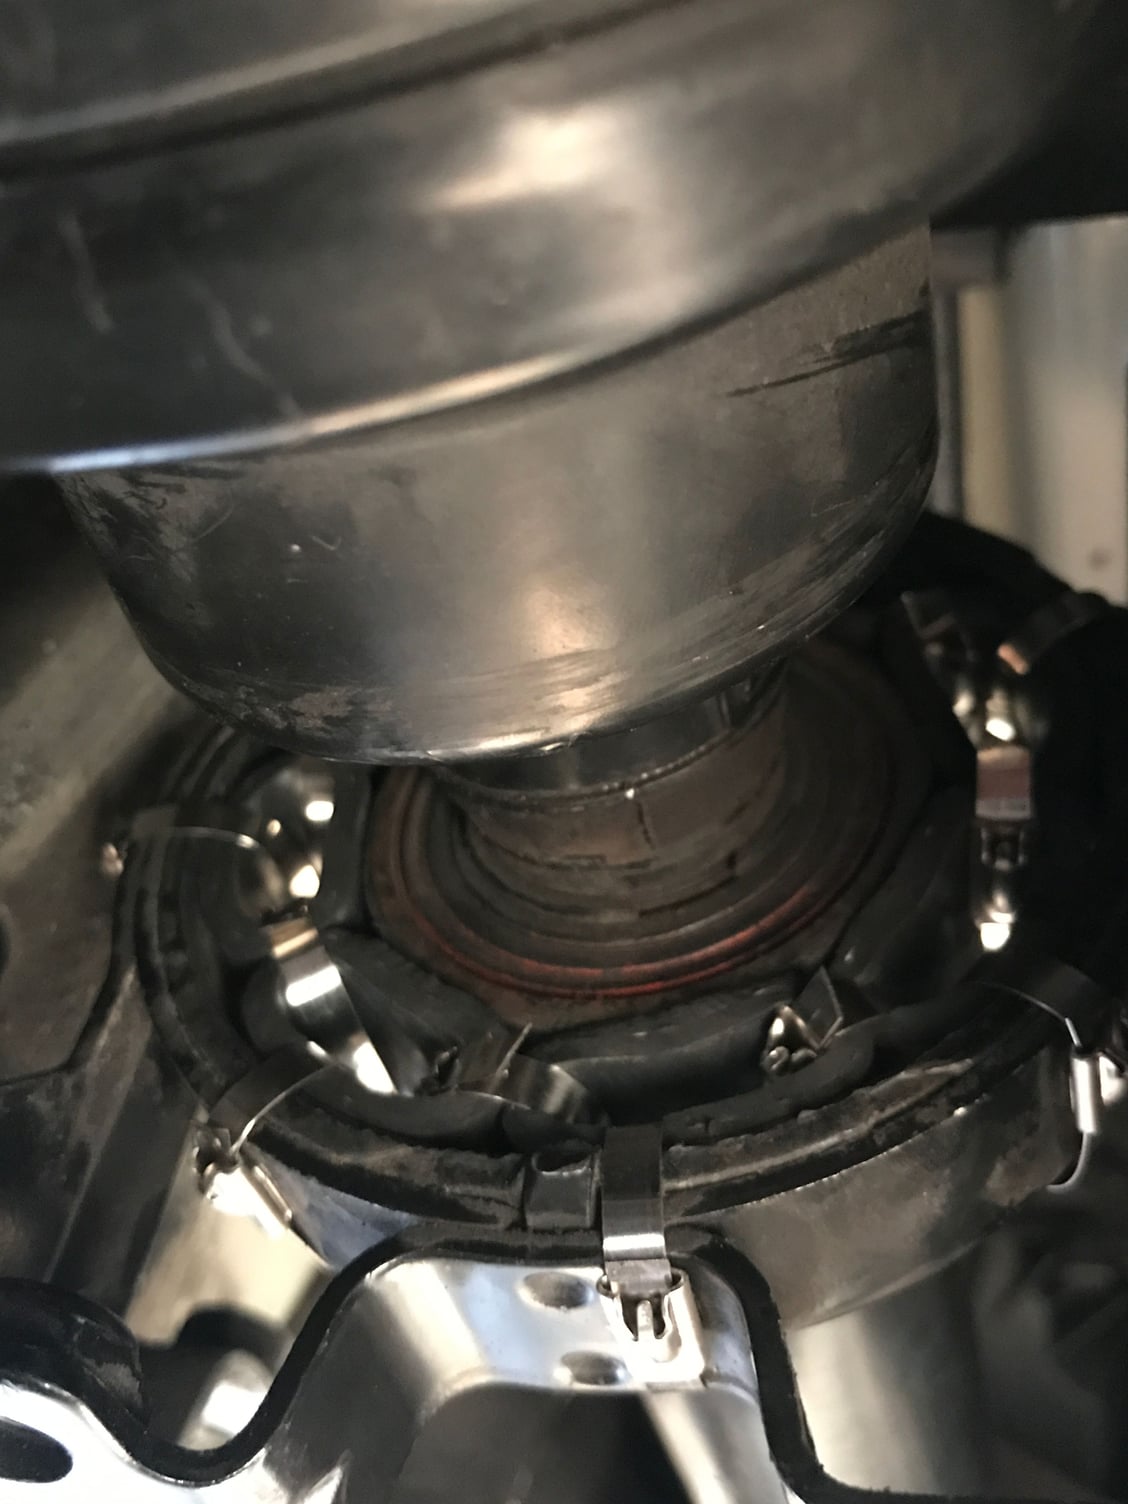
Step 0 : Removing what's left of the bushing I didn't get a closeup of the old bushing removal, but the original fix I linked to has good pictures showing the technique. Since you are essentially going against the metal both on the bearing and clamp, you'll need a few razor blades as they dull very fast. I went through about 5 until I was satisfied. Also, if you're going to be working directly underneath the car, you'll definitely want some safety glasses as the rubber is pretty crumbly. This is probably the most tedious part of the process.
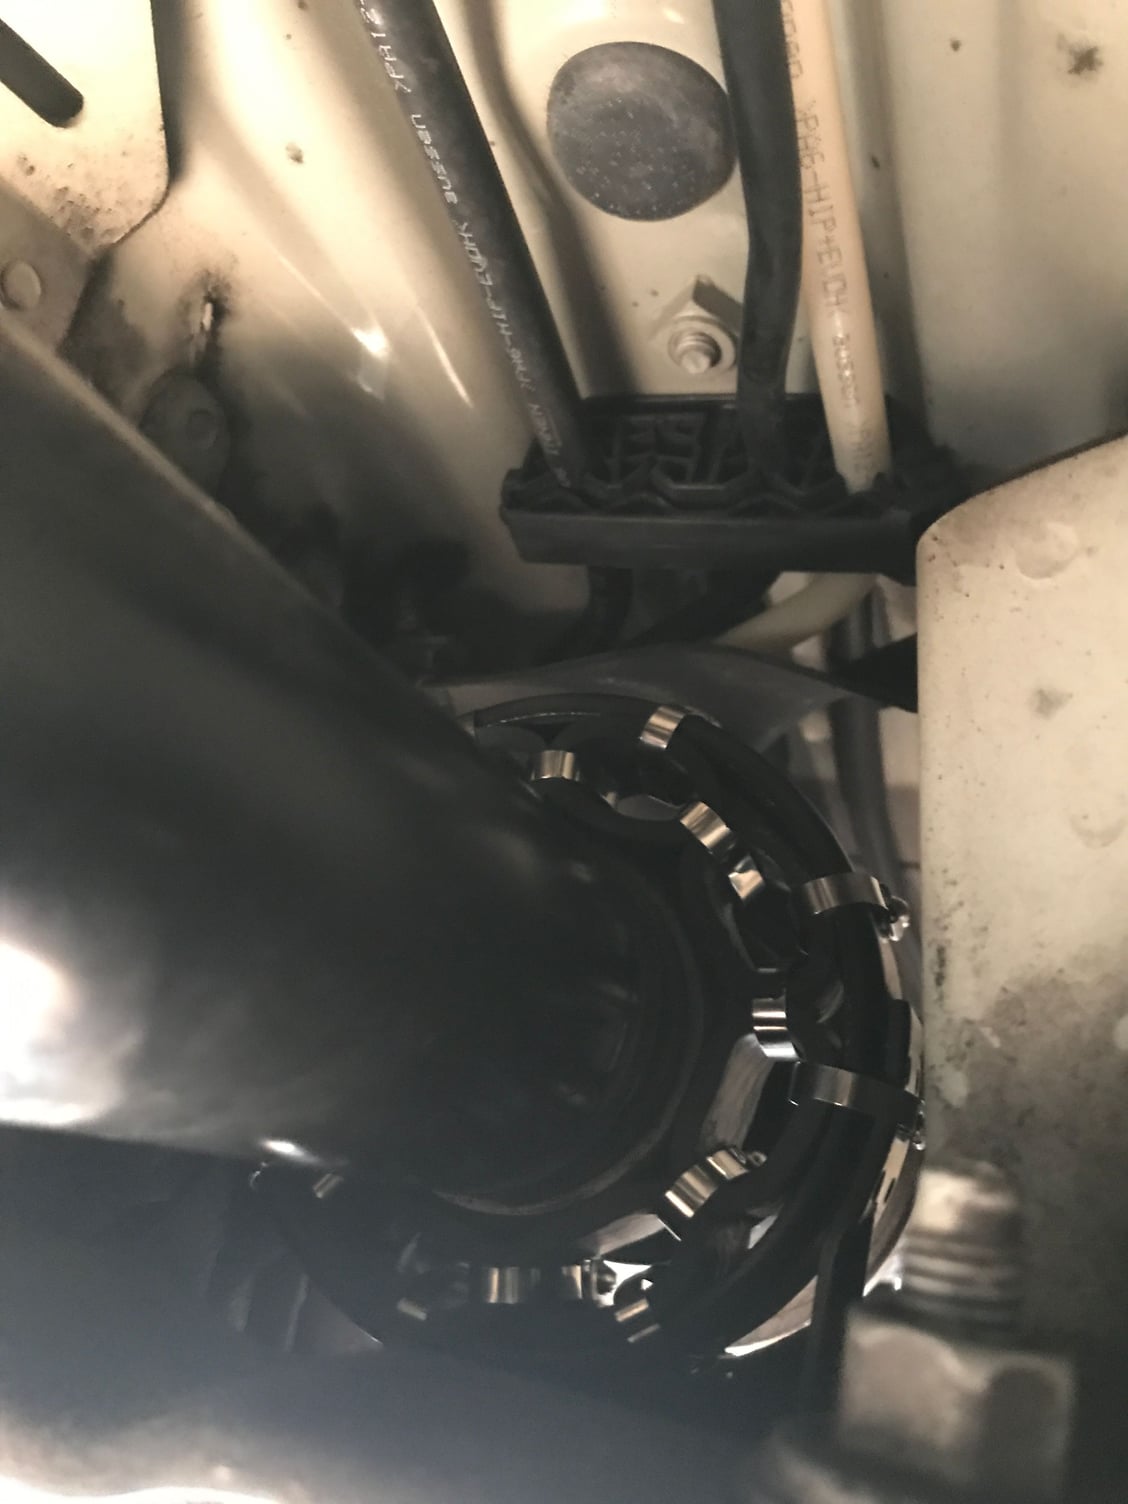
Step 1 : Cutting 5/8in heater hose into (8) 1in pieces First I cut (8) 1" strips of Gates 5/8" heater hose. This was long enough to overhang the clamp by about 1/8".
Step 2 : Zip tying the chain with stainless steel zip ties Next, I loosely attached (7) stainless steel zip ties. I have read that nylon zip ties could possibly be a weak point of the Jimi-Fix. Furthermore, I read a user who did a "Super Tight" Jimi-Fix that caused slight vibrations.
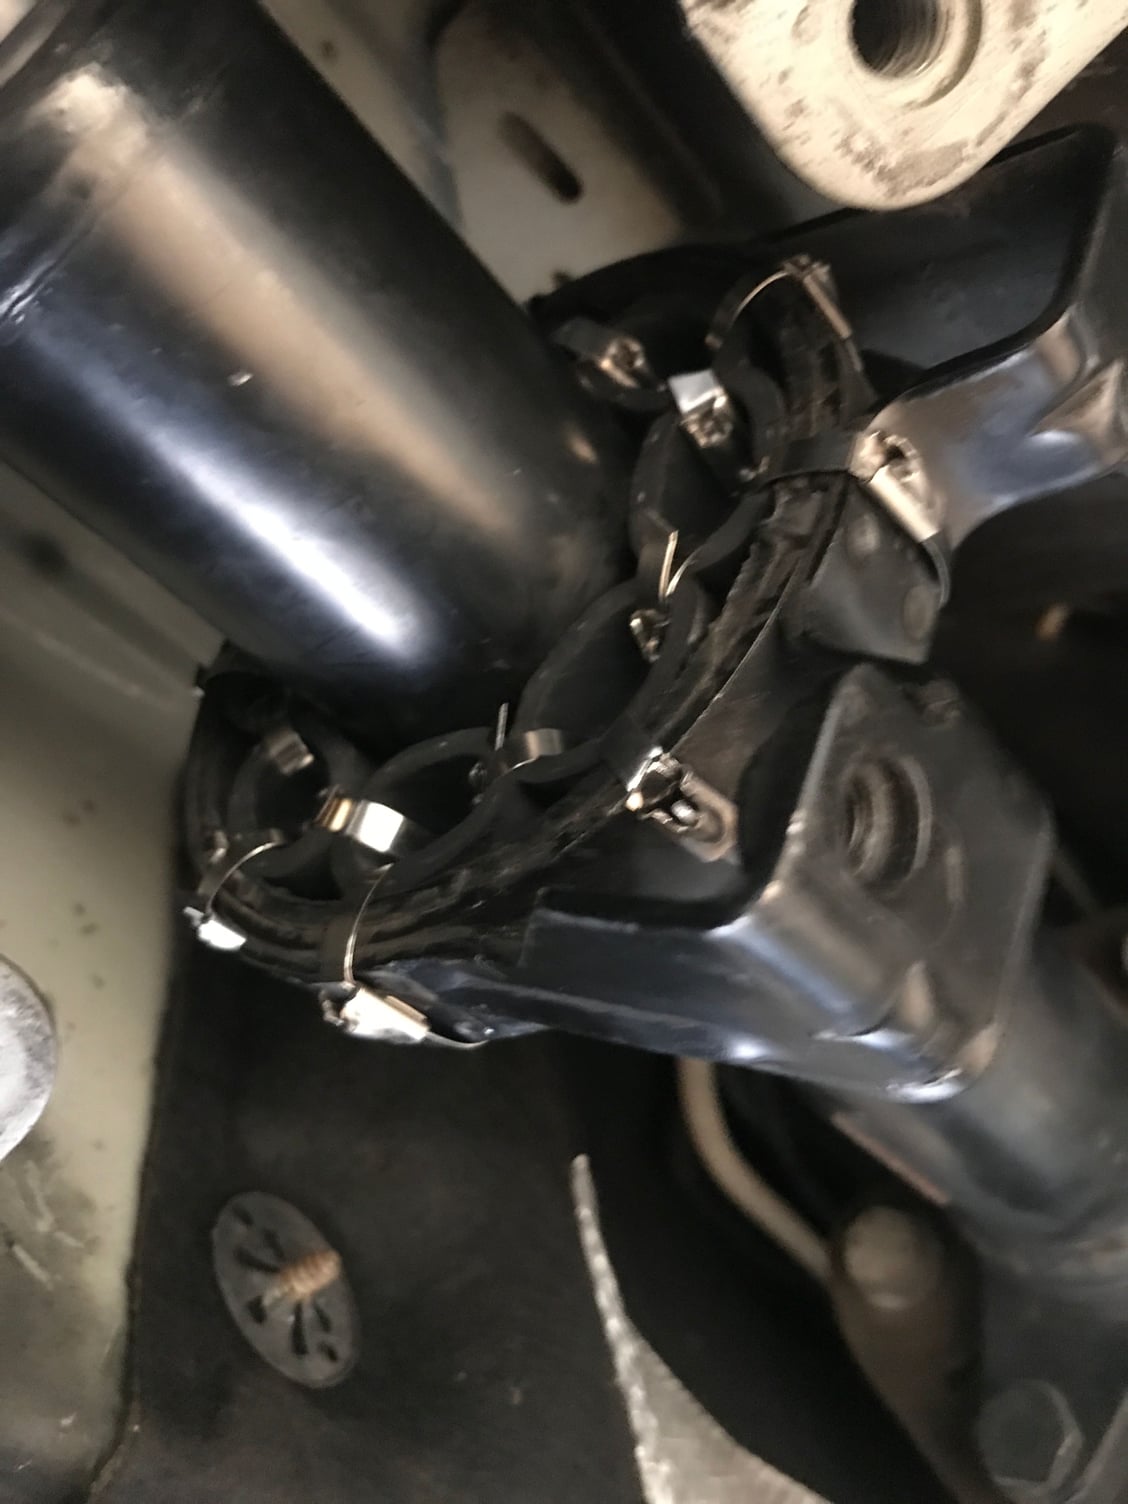
Step 3 : Assembling the chain of O's on the shaft and attaching the retaining clamp I then tightened the inner O's zip ties to make as even if a bushing around the shaft as I could. I then slipped the clamp over the bushing and attached (8) more stainless steel zip ties, attaching each individual "O" to the clamp.
Step 4 : Rotating the retaining clamp and attaching zip ties I slid the whole assembly away from the bearing to tighten and cut all the zip ties. This will give you more room to work, and also gives you the ability to spin the assembly.
Step 5 : Sliding the clamp assembly over the bearing Sliding the assembly over the bearing. This is probably the hardest part since you can't spin the assembly at this point. A little finesse and you should be able to get each individual O to overlap the bearing lip.
Step 6 : Ensuring clamp is sufficient on both sides of the bearing Otherside of clamp after pushing over bearing.
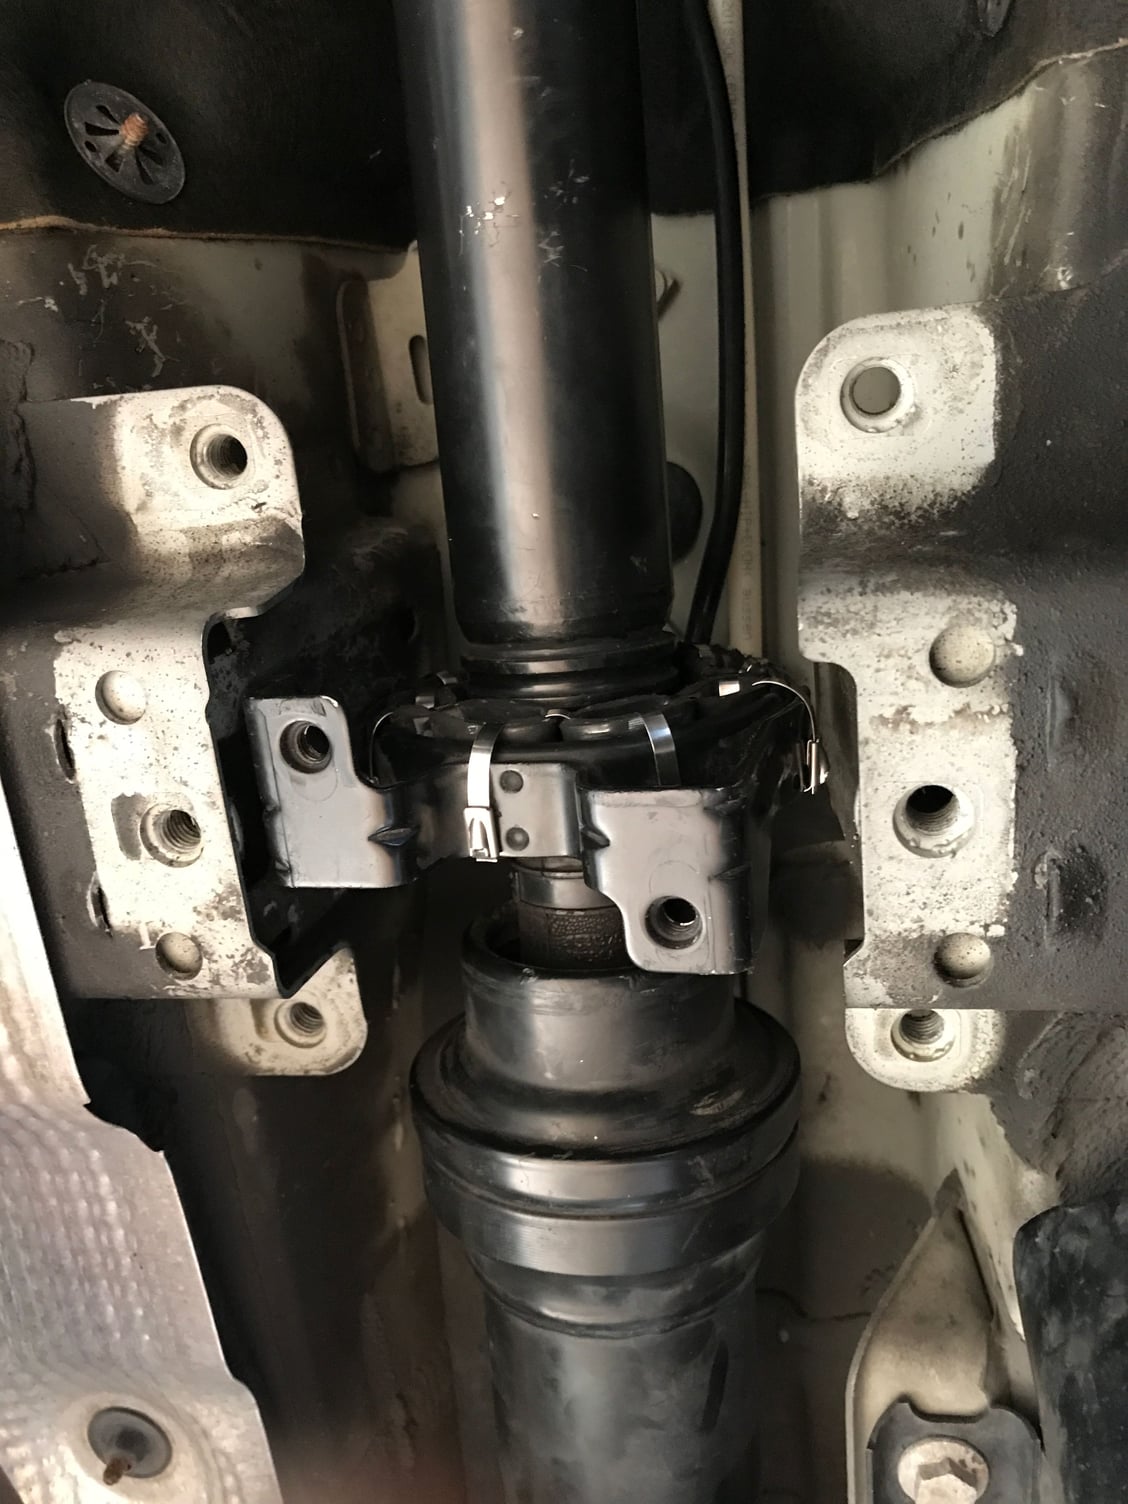
Step 7 : Positioning clamp assembly for mounting plate Positioning the clamp for the mounting plate.
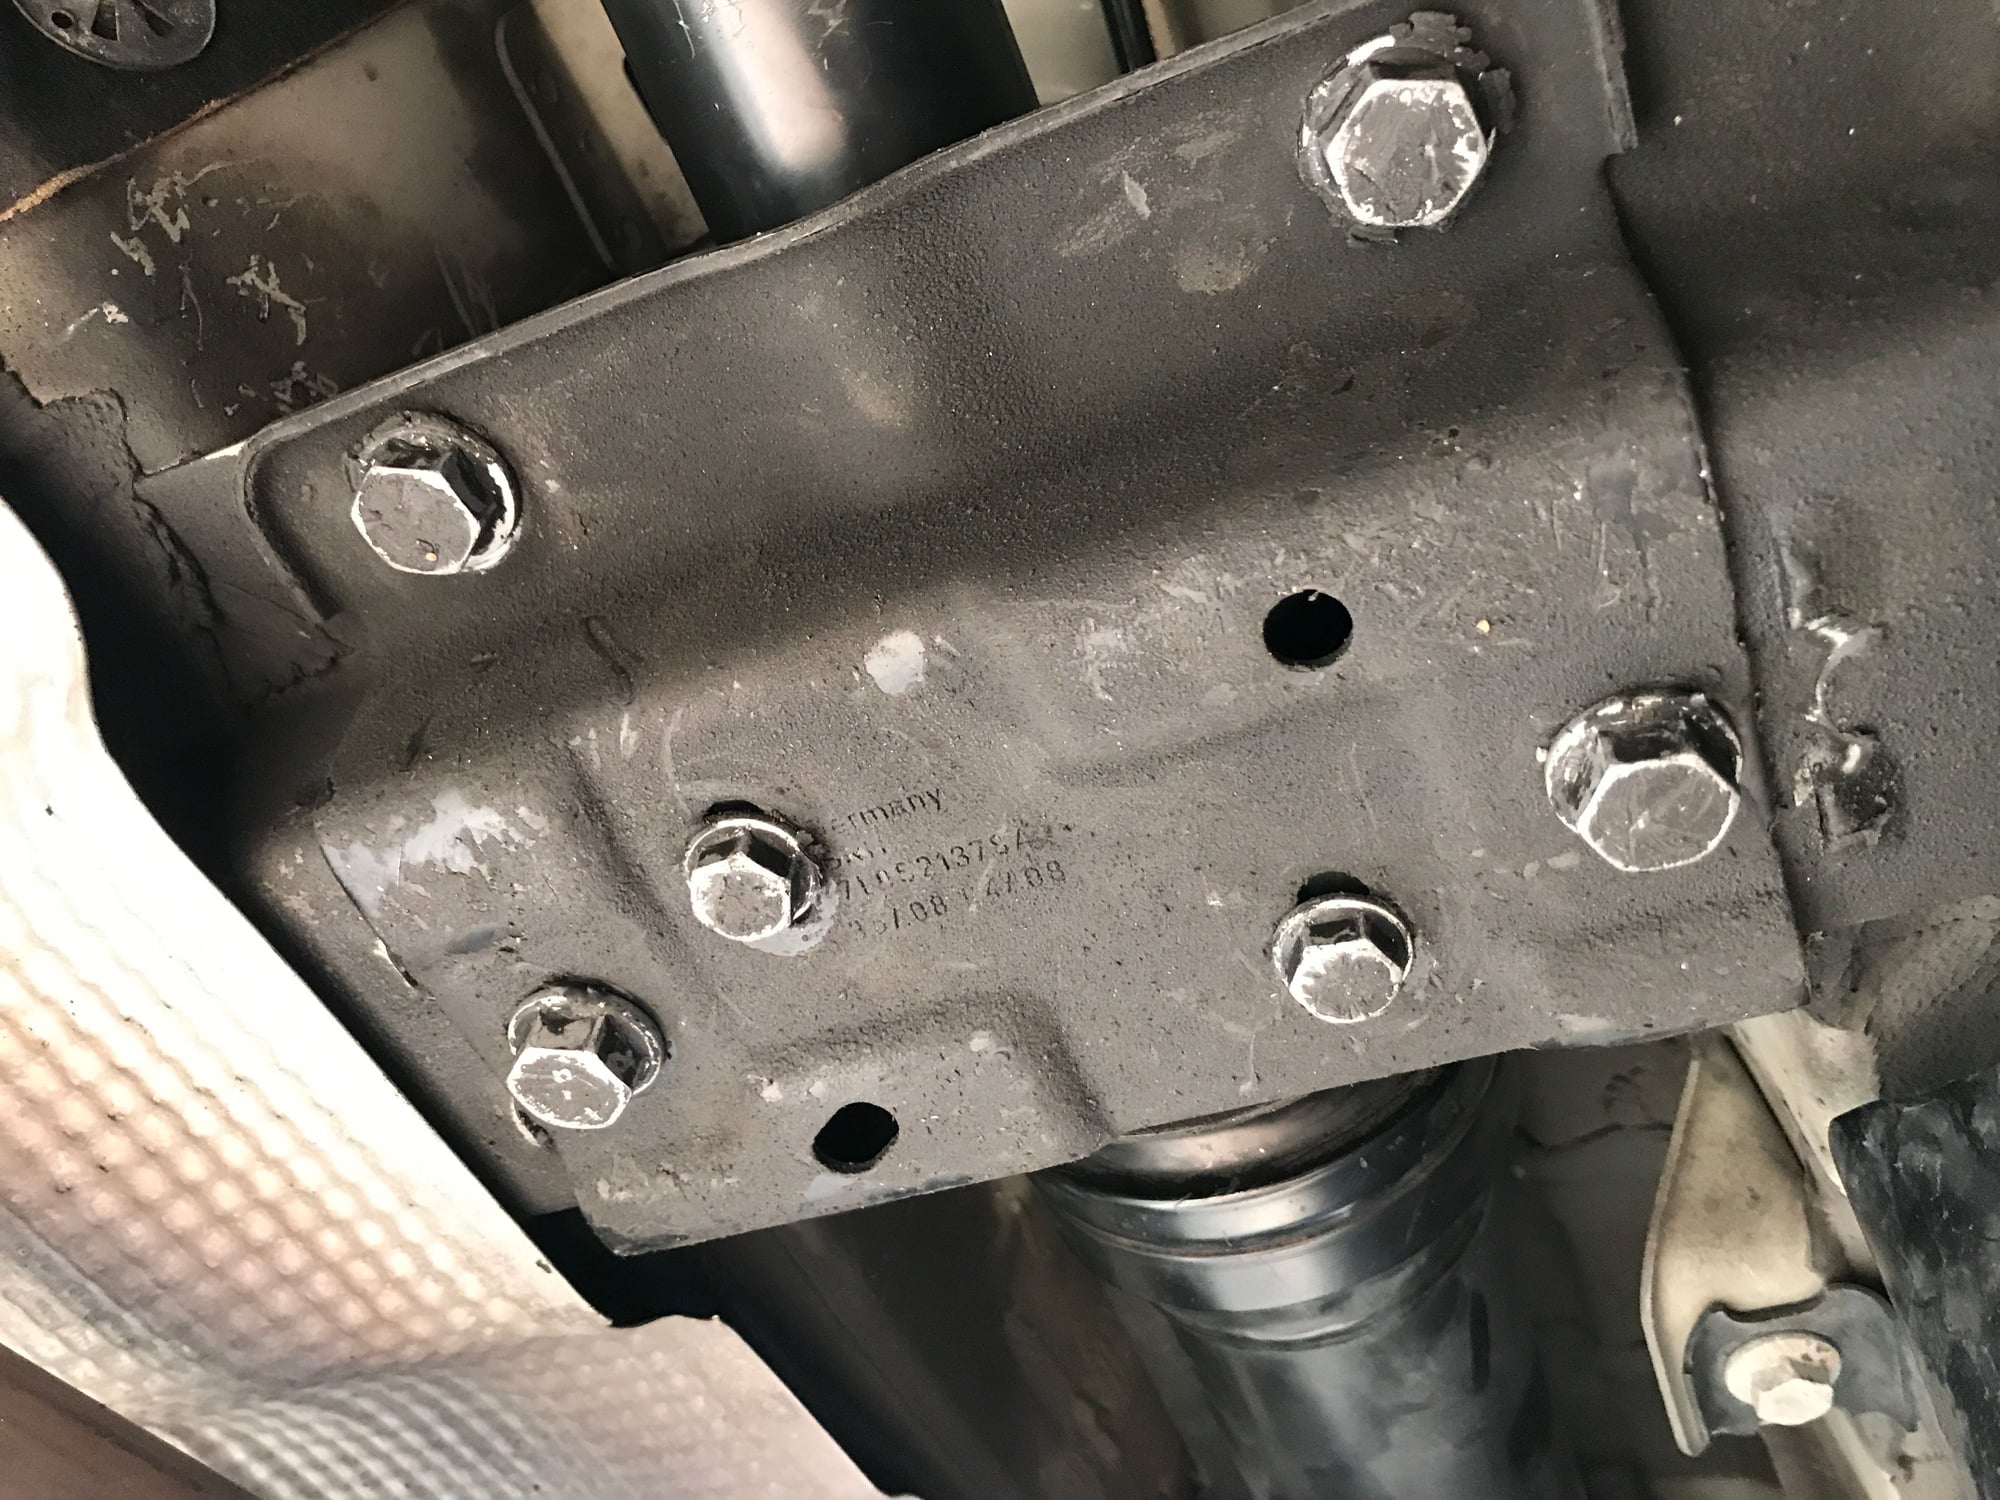
Step 8 : Bolting mounting plate
The inner two bolts hold the clamp in place, but I have read suggestions that bolting the exterior (6) 16mm bolts first is a good idea so you don't "twist" the clamp as you pull up each bolt. After you get the perimeter bolts, the clamp bolts are 13mm. [Waiting on torque info]
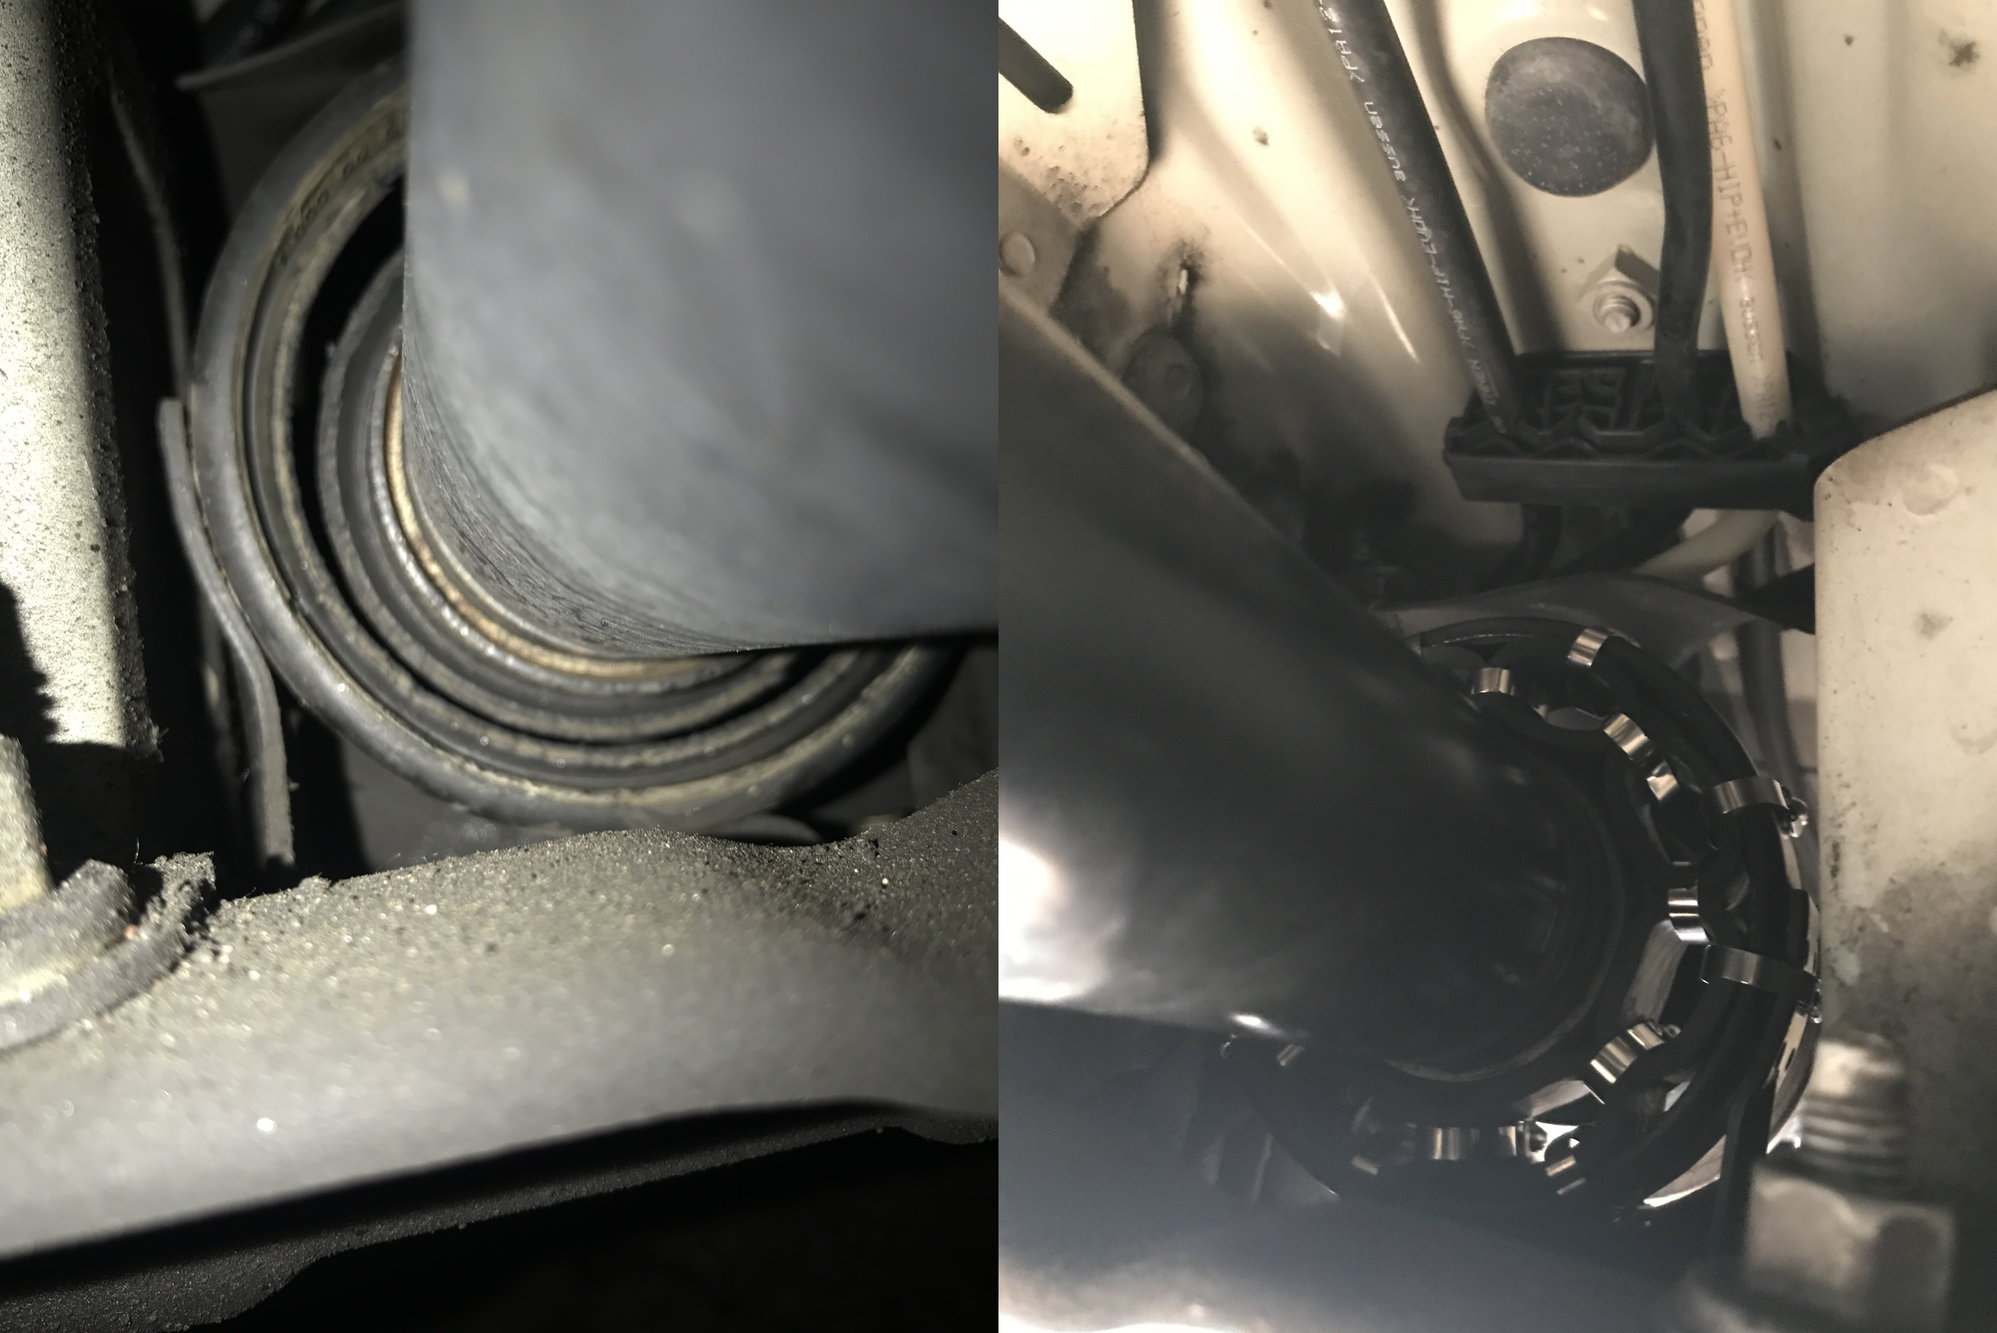
Final Comparison : Blown bushing vs. Jimi-Fix Before and after of snapping a picture of the blown bushing and the Jimi-Fix. Huge difference in terms of support.
Last edited by deilenberger; 06-13-2018 at 11:34 AM.
Nice work! But in all honesty - the steel zips is overkill, which may compromise the integrity of the hose slices down the road. It does look boss though!

 06-13-2018, 02:18 AM