When you click on links to various merchants on this site and make a purchase, this can result in this site earning a commission. Affiliate programs and affiliations include, but are not limited to, the eBay Partner Network.
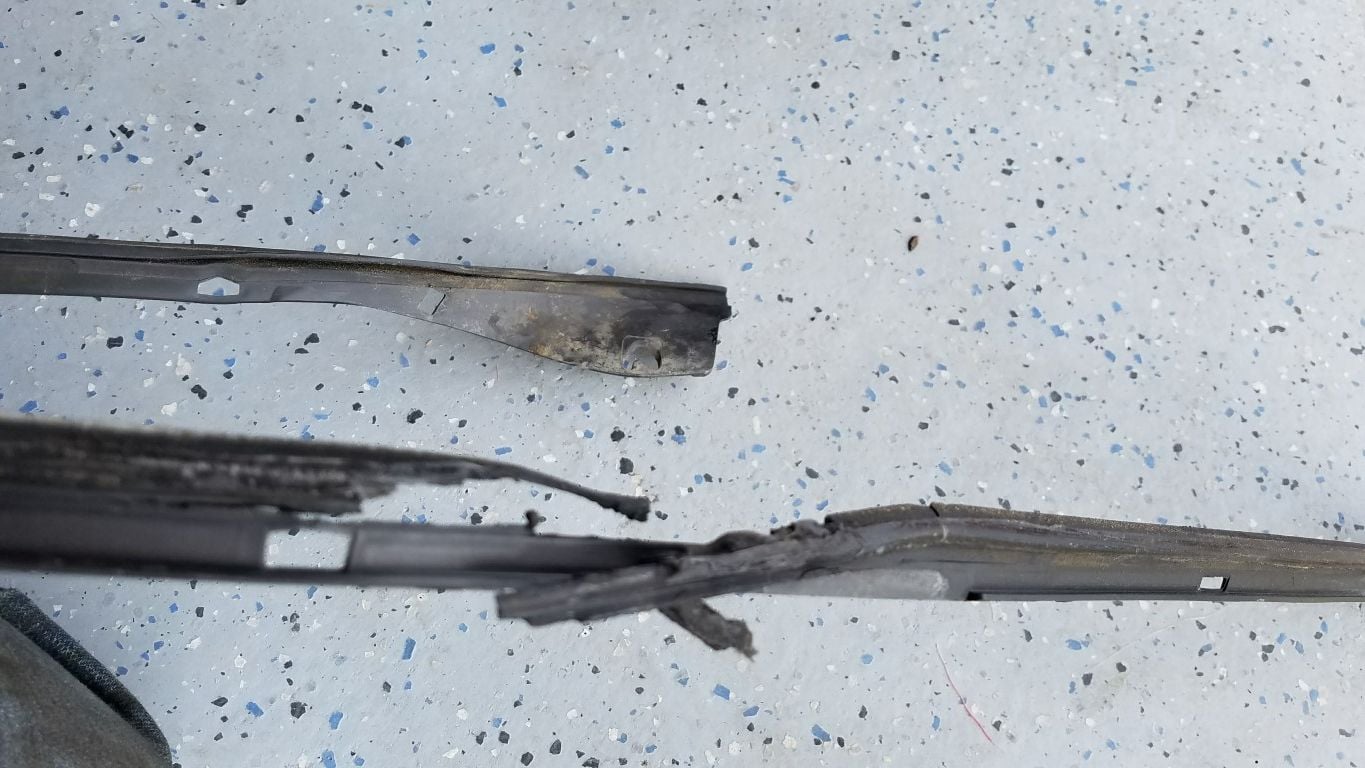
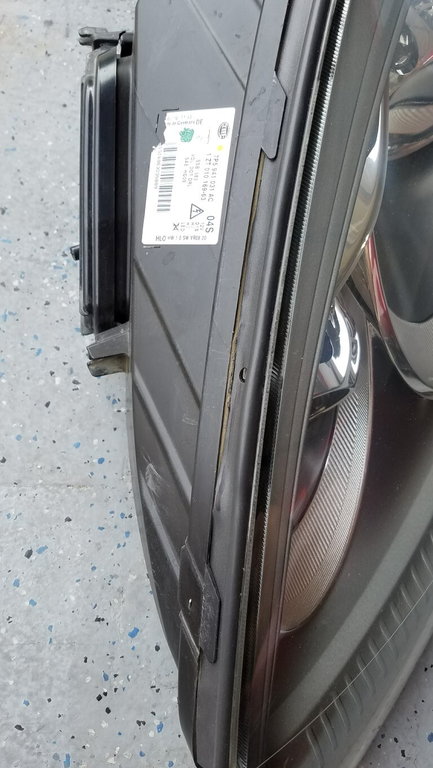
Problem: My current headlight gaskets are cracked, brittle and gooey to the touch.
No factory replacement part available now, Porsche parts manager stated that the 958.1 headlight gaskets are part of the headlight. Friend and moderator here deilenberger recommended the Viton rubber brand after I experimented with (2) other brands of seals that didn’t have the same temperature rating. [Paragraph]
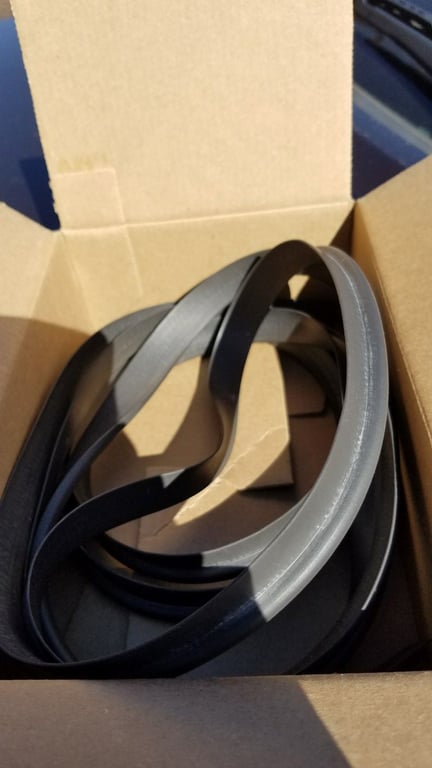
I ordered some 1/4" Viton "P" seal. McMaster PN: 2072T11 Temperature range -20�to 500�
You will need 7 feet, however, minimum order is 10 feet. Under $80.00 delivered.
No need to remove the beauty covers under the hood on the Turbo version, this should be the same on all models.
Take care when removing the tool from the hex socket attached to the release rod, mine popped out and was attached to the headlight removal tool
The factory seals are not "bulb type", so they contour better around curves.
Each headlight takes 42” of this gasket cut and laid flat in the lens channel. By magic it will stay in place, a few spots on one headlight need a little trim from excess lens sealant.
I started on the end with the tab on the bottom punched that hole then pre-fit and marked the rest of the tab holes.
If you're unhappy with the slight bulge at the top, try a small slit on the back side. This will make it lay flatter at the radius point. However, I left it as is. After a few days, you can massage it down with your fingertips and push down on the headlights at the same time and no more bulge.
No more than a 30-45 minute job.
No adhesive is needed, however, I added a drop at the bottom corner as there was no tab on one side, gasket material available from link below.
Failed headlight seals:
New Viton gasket material:
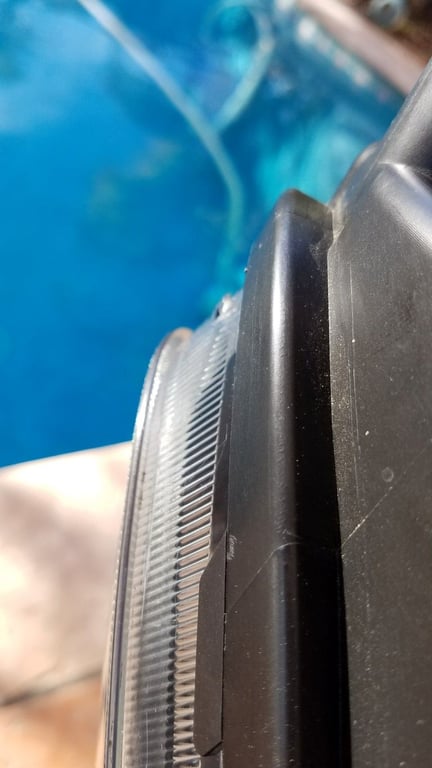
Gasket Channel in the headlight rim:
Most of the new seal is recessed in the gasket channel
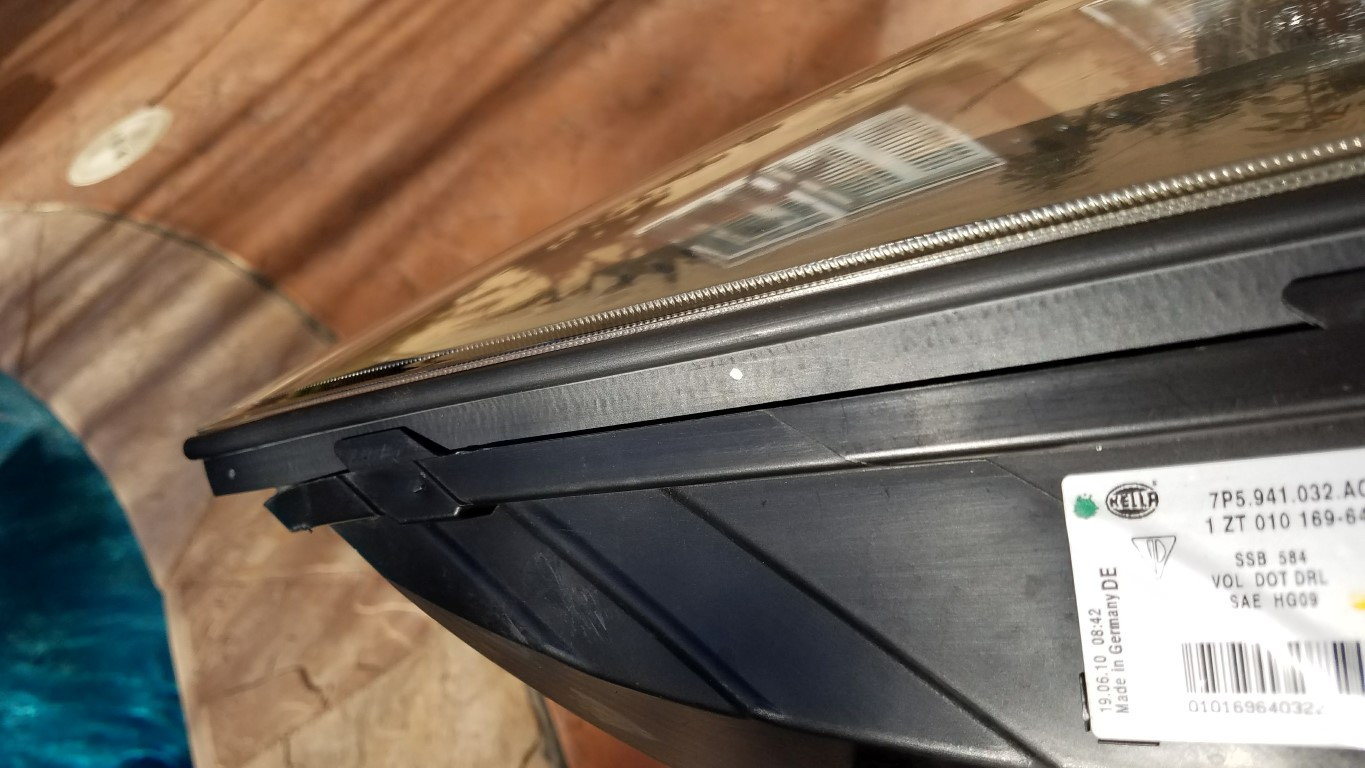
Top of headlight where it curves
Test fit and make marks with a paint marker or Sharpie Marker. Holes are punched where the tabs in the channel are. A standard hole punch for paper works fine for this.
Test fit:
Holes made - ready to install:
For added strength - you may want to use a small amount of weatherstrip and gasket adhesive on the back of the gasket.
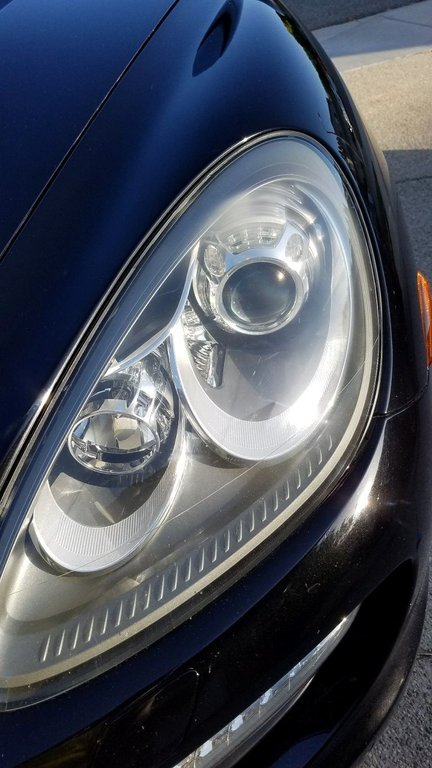
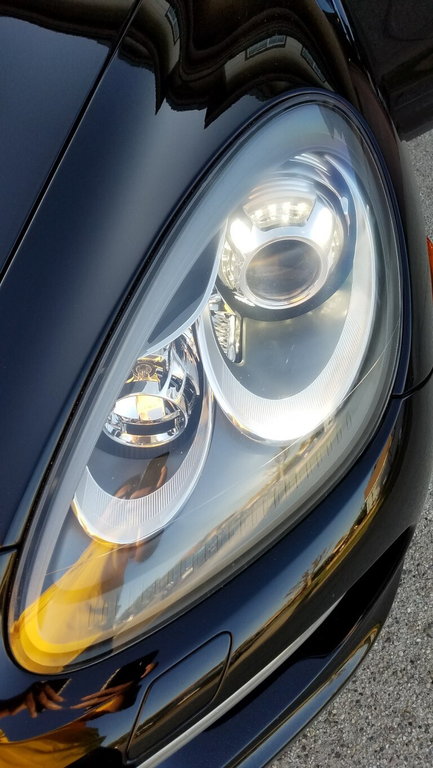
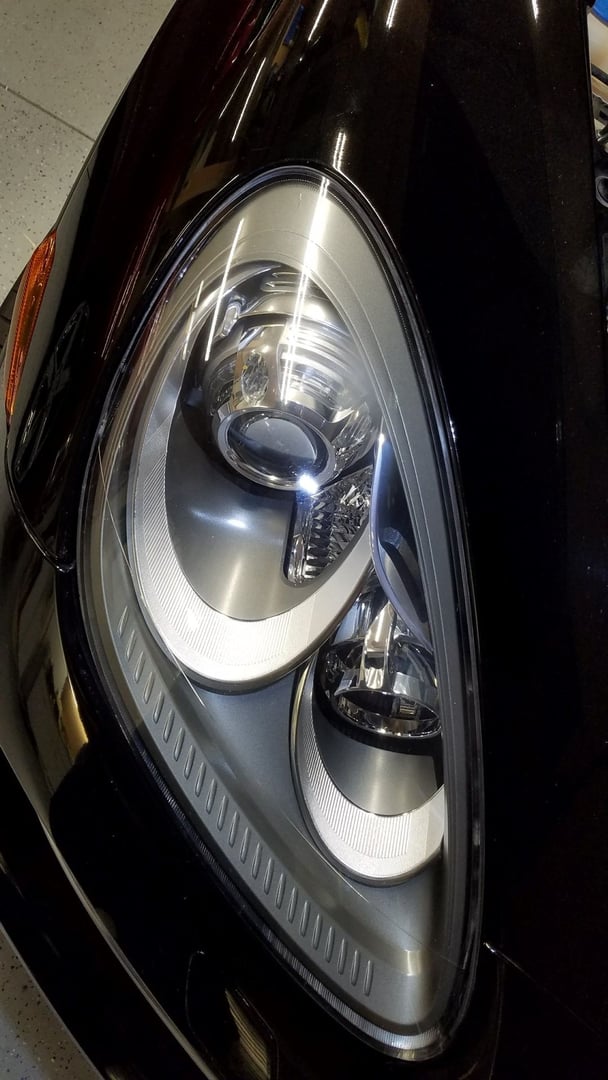
Finished product:
Difficult to see the seal on black paint
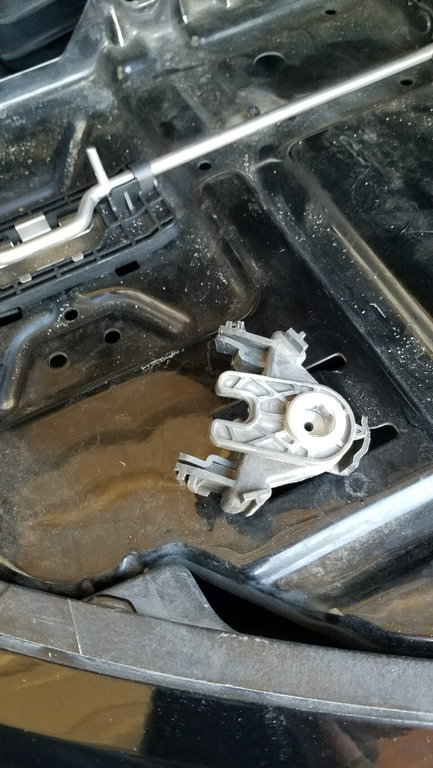
Headlight release mechanism is not supposed to be removable:
If the release mechanism pops off this is what it should look like:
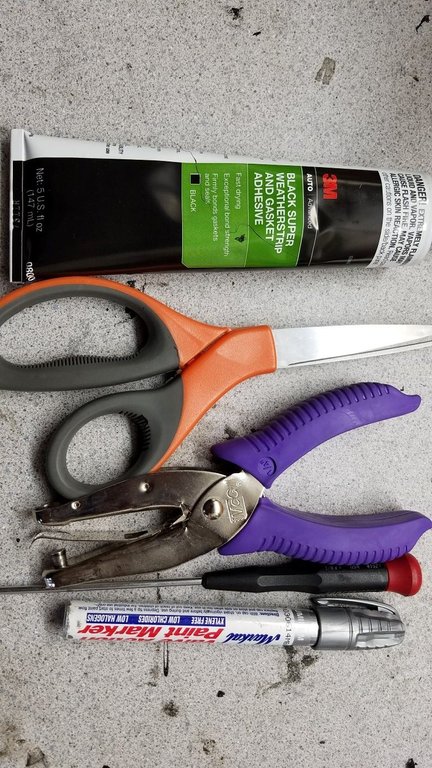
Parts/Tools Needed:
Tools needed, 1/8" blade screwdriver to remove the electrical connectors. I had the best luck removing the connector from the headlight side (front) with a gentle pry then slide back.
140.6er (05-21-2023),BoxerJoe (12-11-2019),Chaos (08-15-2020),Jonathan H (08-07-2020),Mless5 (03-13-2023),Sam_M (09-28-2023) and 1 others liked this post. (Show less...)
 05-01-2018, 05:03 PM