When you click on links to various merchants on this site and make a purchase, this can result in this site earning a commission. Affiliate programs and affiliations include, but are not limited to, the eBay Partner Network.
Update. My new blower motor arrived last night and I managed to install today. Happy to report that my HVAC system is back up and running like it was before and the fault code the durametric was reading has cleared. The job itself was not that bad just required some research on what needed to be removed etc.
Things I learned:
Blower motor failures in earlier Cayennes seem to be quite common. It can either be due to a bad external resistor/regulator (which can be replaced) or the blower itself-good DIY on Pelican for the older model range. Failure is less common in 958s and our unit is all one piece (blower plus resistor).
Cost for a new unit for the 958 ranges from mid 200s up to 500ish depending on brand and where you purchase. I found a genuine OEM unit for $320 with free shipping and pulled the trigger.
While you are in there I would plan on replacing your cabin air filter and making sure your HVAC water drain tube isn't clogged as mine had been (I blew some compressed air through it). I was amazed at the amount of dirt on the filter-guessing mine had never been changed.
Here are the steps I took:
Remove the two passenger dash vents. I used two small flat head screwdrivers to release the tabs inside the vent. Shine a flashlight inside the vent and you will seem them. The vent near the door will require you to remove the plastic fuse cover and remove the two torx screws (T15 I think).
Open the glove box and remove the trim piece above the glove box door, I was able to do this by hand. Once the trim piece is gone you will see the Torx screws for the top of the glove box.
I then turned my attention to the plastic piece below the glove box. There is a single Torx screw to remove and it simply pulls down by hand. I went ahead and removed the electrical connections to the 12V adaptor and the footwell light to get it out of the way.
Remove the plastic footwell air distribution tube, you will now have access to your cabin air filter to change it out.
Back to glovebox, remove the screws that were under the dash trim piece (top of glovebox, along with two screws the bottom of the glovebox. Remove electrical connections. My glovebox came out as a unit after sliding it down and out.
At this point I went ahead and unclamped the rubber water drain hose that runs to the firewall from the AC unit. I had a gush of water fall into the cabin and blew some compressed air into the hose (towards the firewall) to try and clear it. I poured some water through and it drained our underneath the car so hoping that means my drain is open.
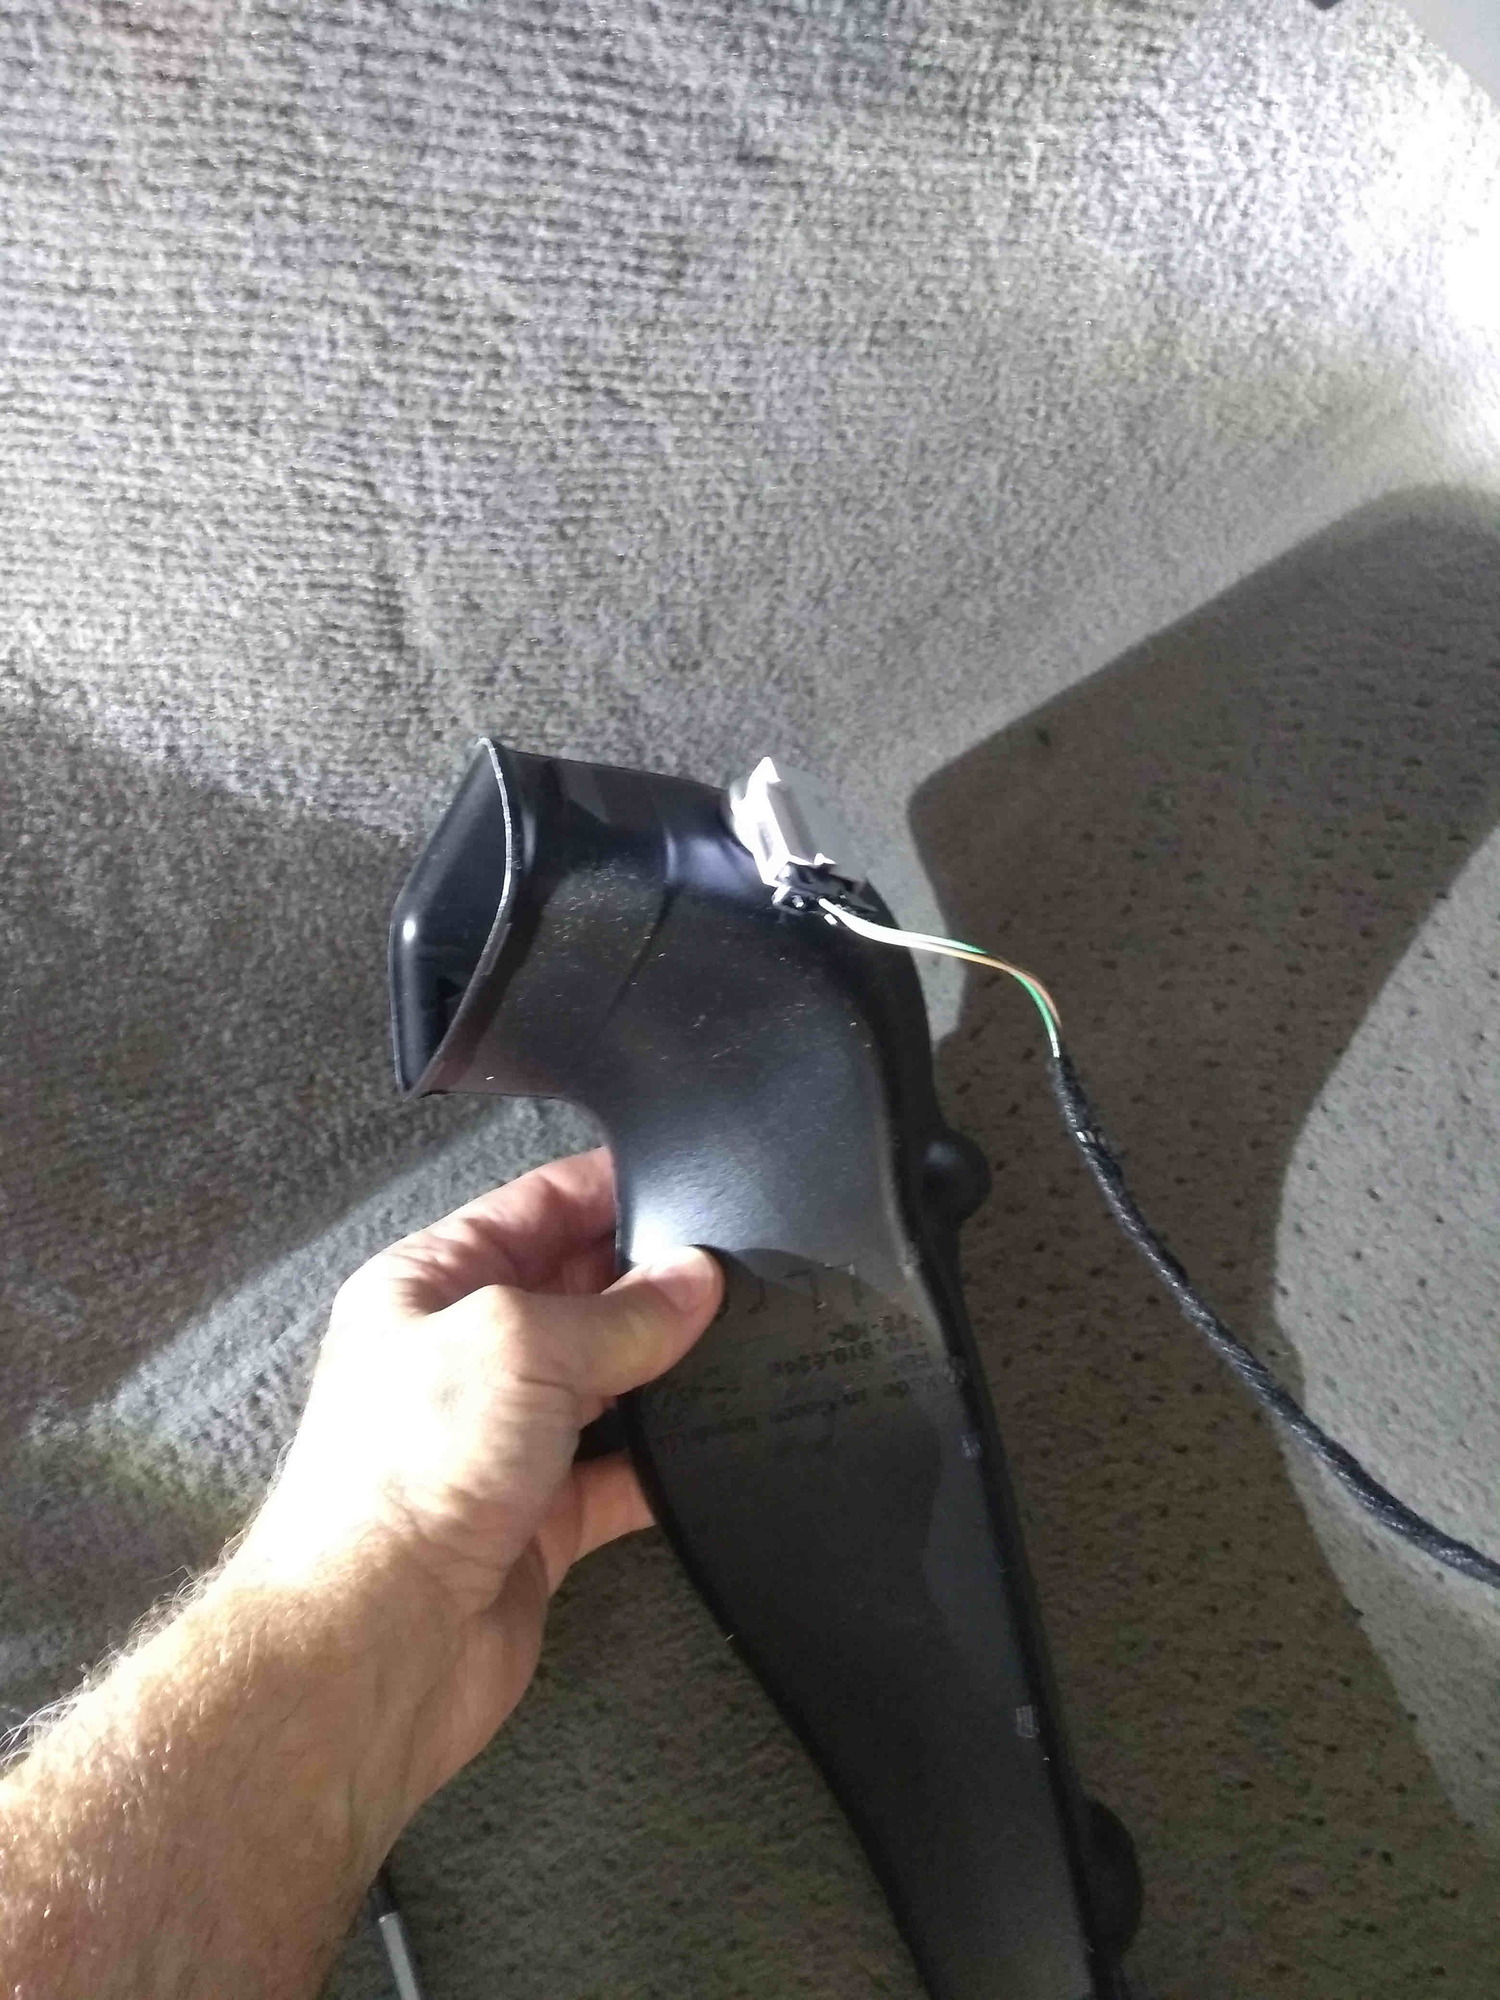
You should be able to see the blower motor at this point. Remove the main electrical connector to the front of the unit. Next if you look at the back towards the firewall you will see a red wire that runs along the back of the blower, simply pull it down and push it out of the way.
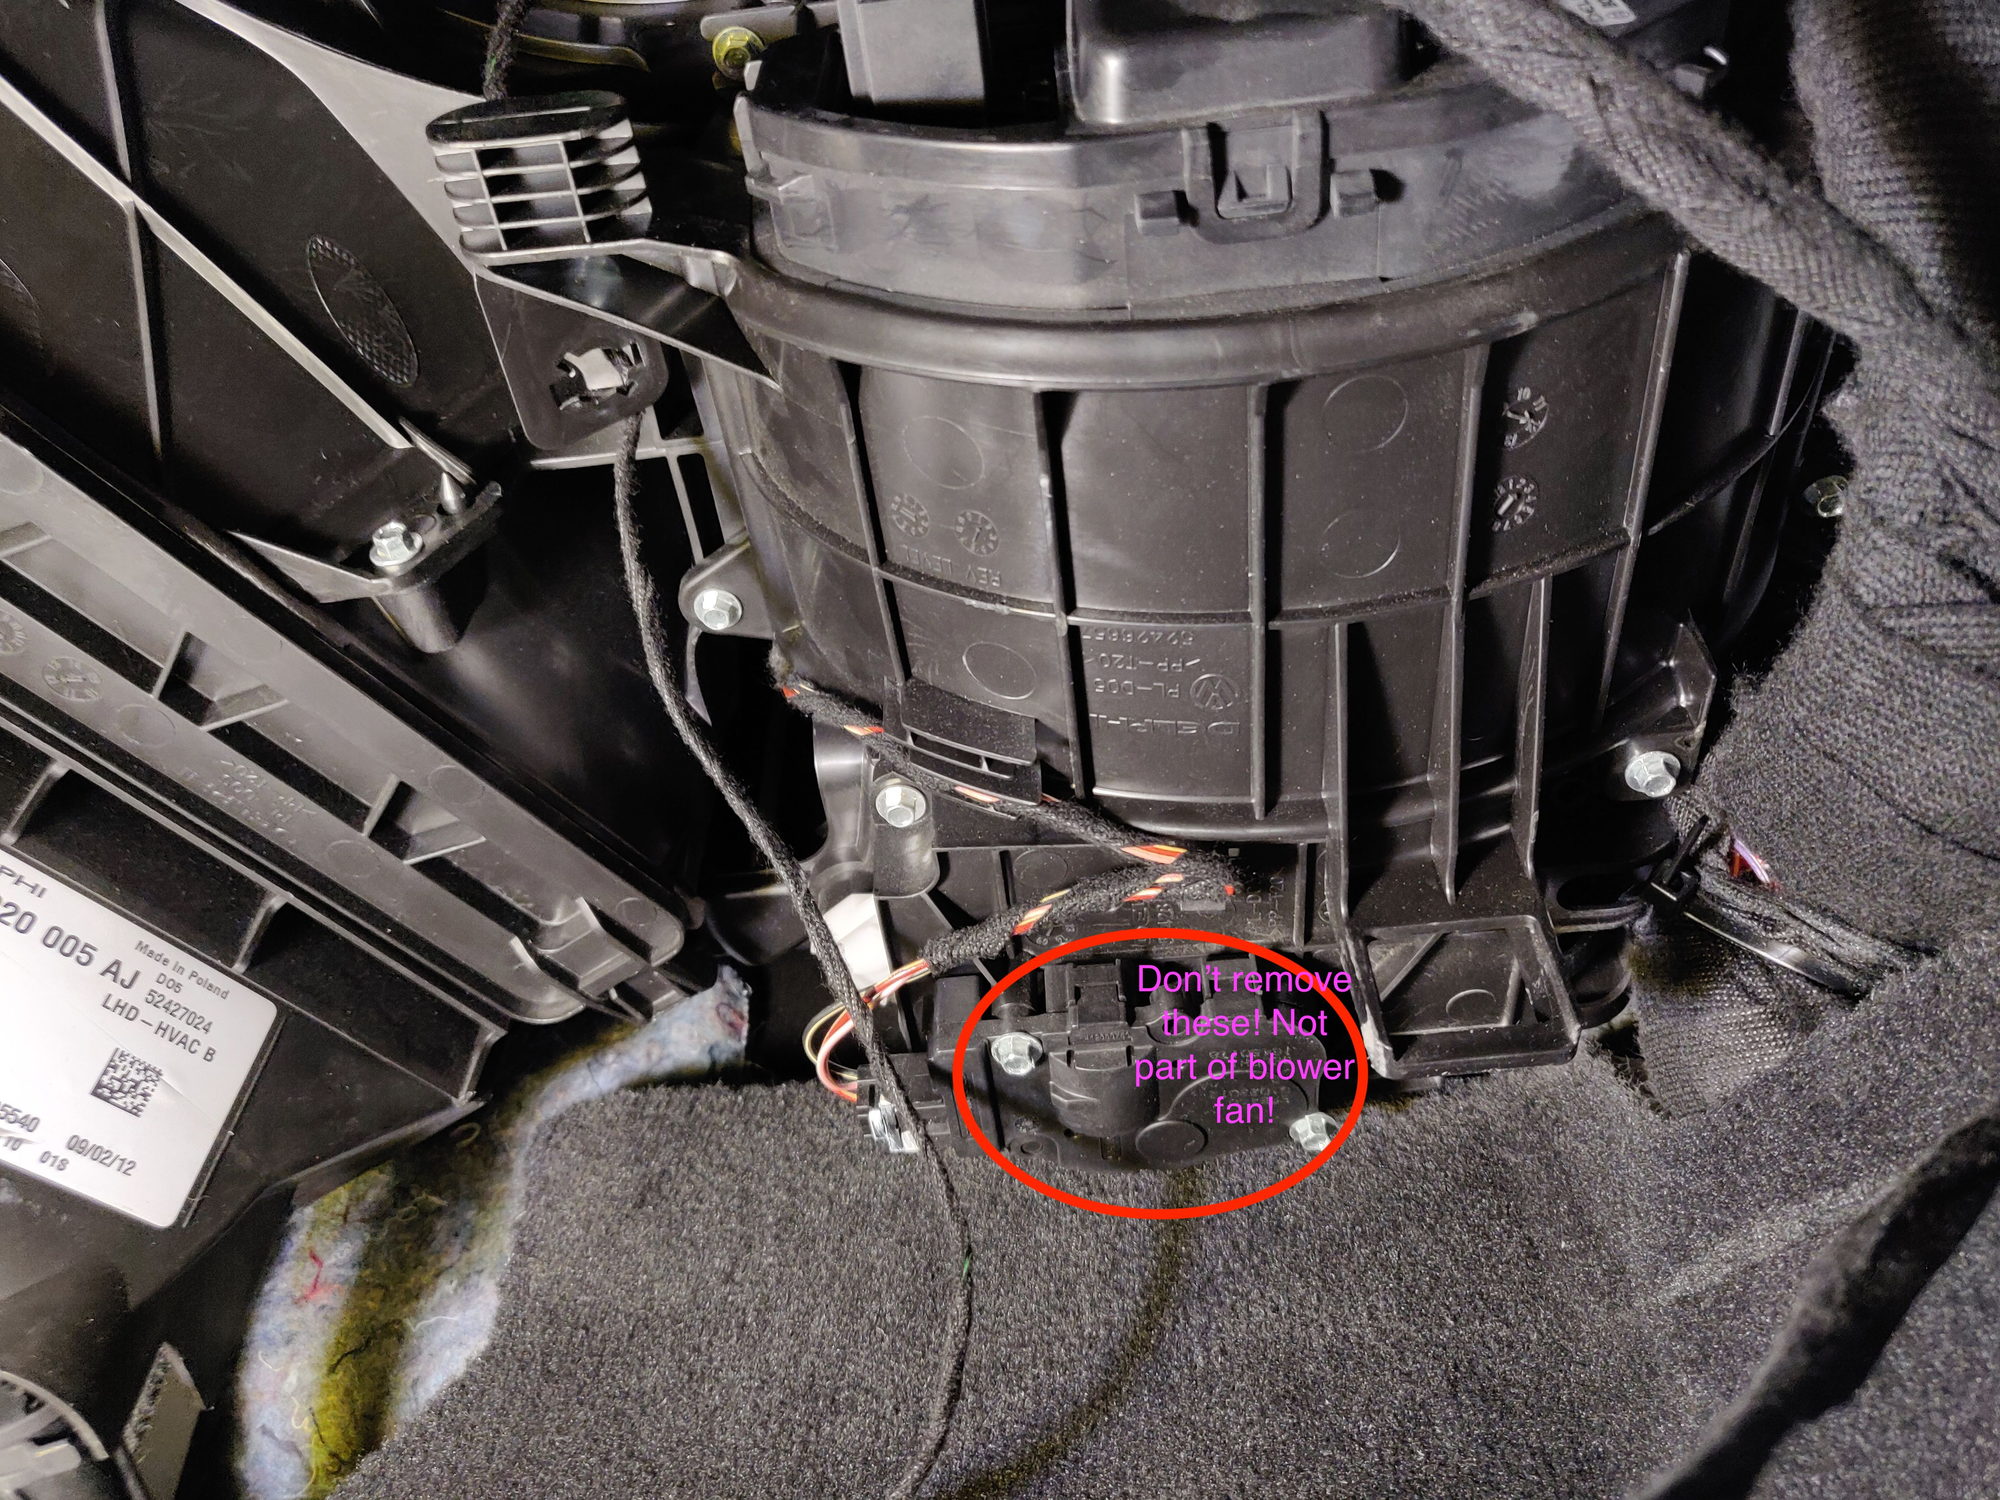
There is a metal bracket that is blocking the blower from being being unbolted and slid out but fear not as the blower drops down to the floor when being removed. If you look underneath you will see 8 screws in a vertical orientation. Remove these and save them. The unit should now pull downward and forward and can be removed. The blower itself mounts to a bottom cover/bracket, pull the old unit out and put your new blower in. Reinstall is the opposite of what you just did.
Plan on a couple of hours for the job, if you have basic DIY skills this is a very reasonable job. I hope this can help someone else in the future if they encounter a problem like I did. Good luck.
The only sign of trouble was that regardless of manual or auto on the HVAC, when the fan was signaled for a setting at the 5th or higher bar (the LCD bars that provide the visual reference next to the blower toggle), it would not produce a volume greater than the 4th bar.
Rats, it is the resistor pack. It appears that sometime ago, resistor packs, the IC board to control the fan and the blower were integrated into a single unit. Rats again, this could get expensive.
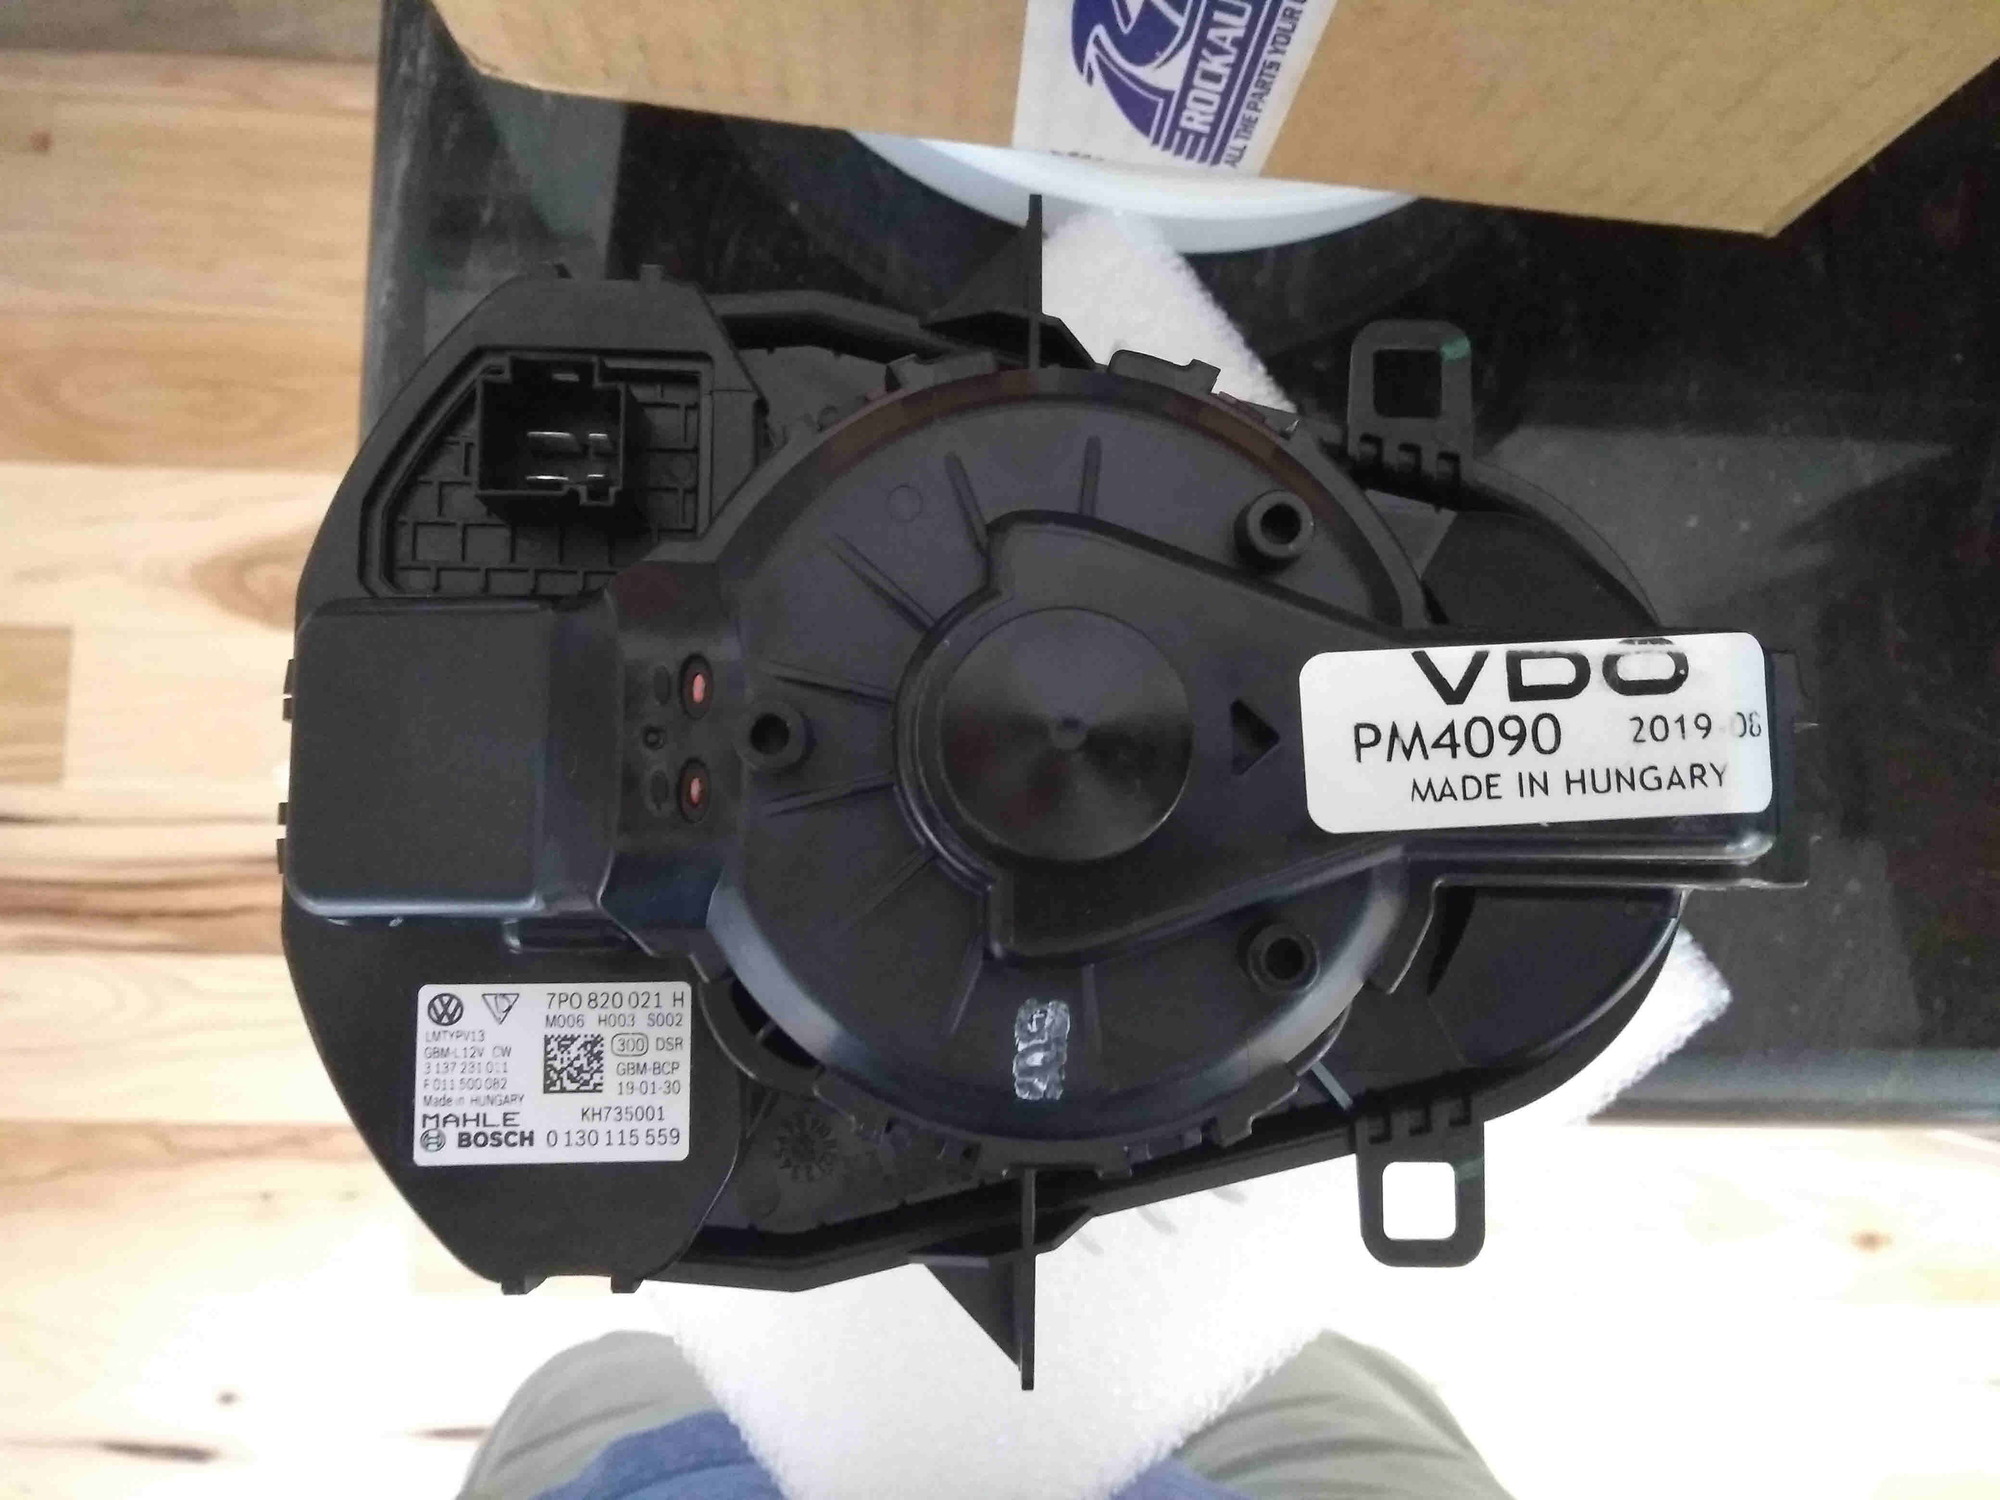
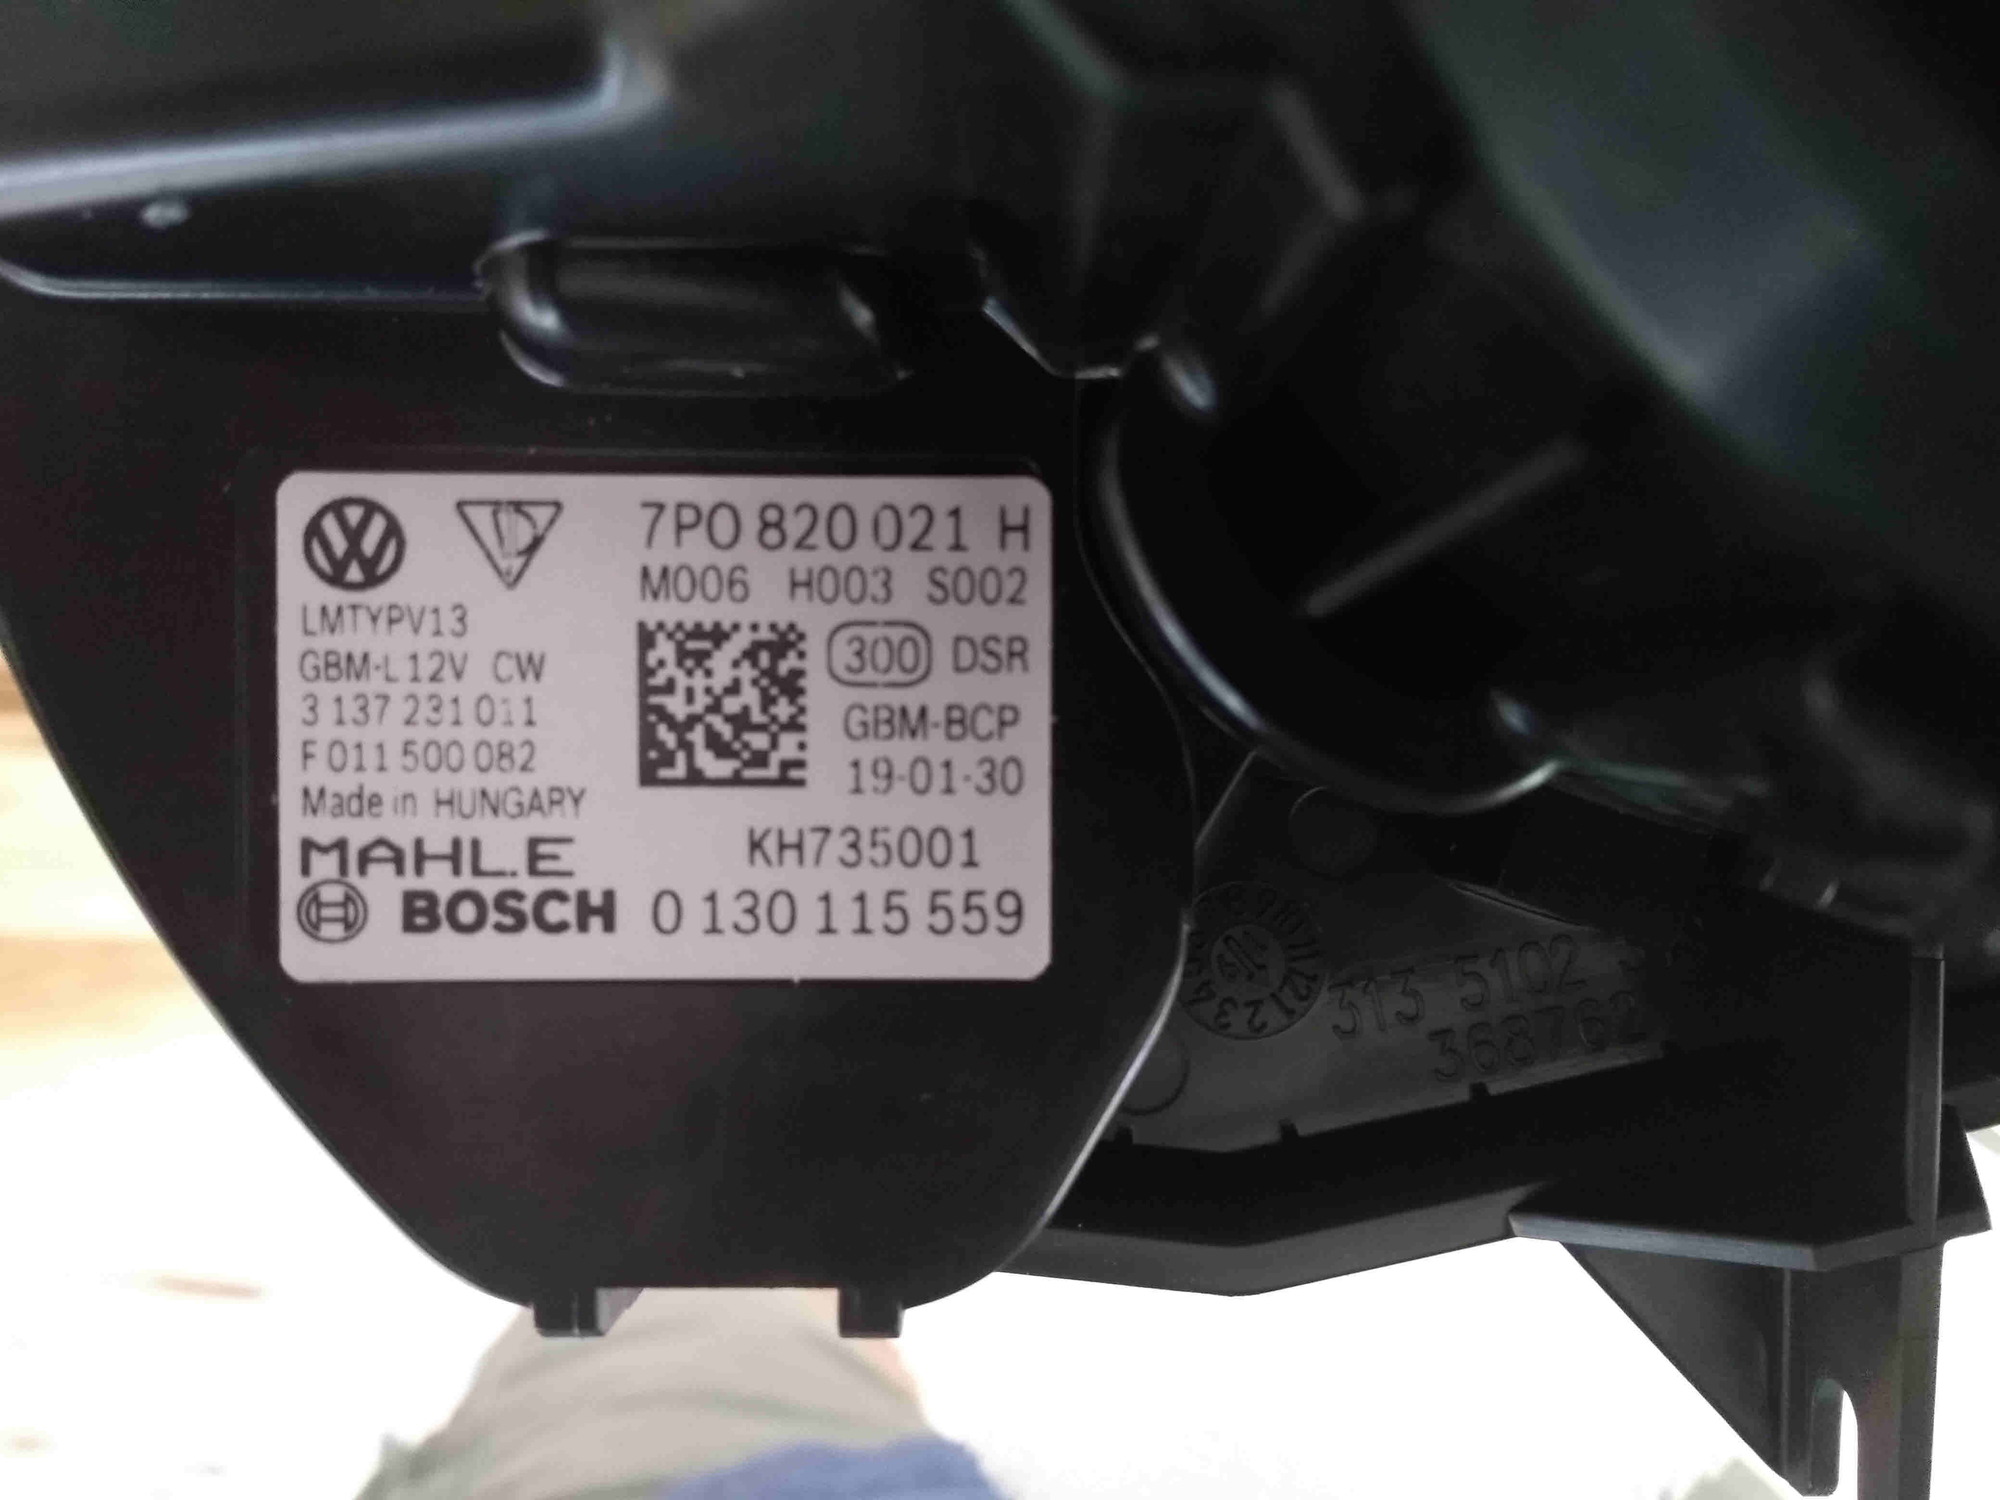
Did some quick research and found that Porsche was on its 3rd or 4th part number revision 2011-2018 958-572-342-03 at $528.89. It turns out to equal VW Tourag's 7P0820021H at $340. Still rooting around I found Rock Auto had VDO PM 4090 at $134.70 + S&H. Could I be so lucky. Ordered the VDO.
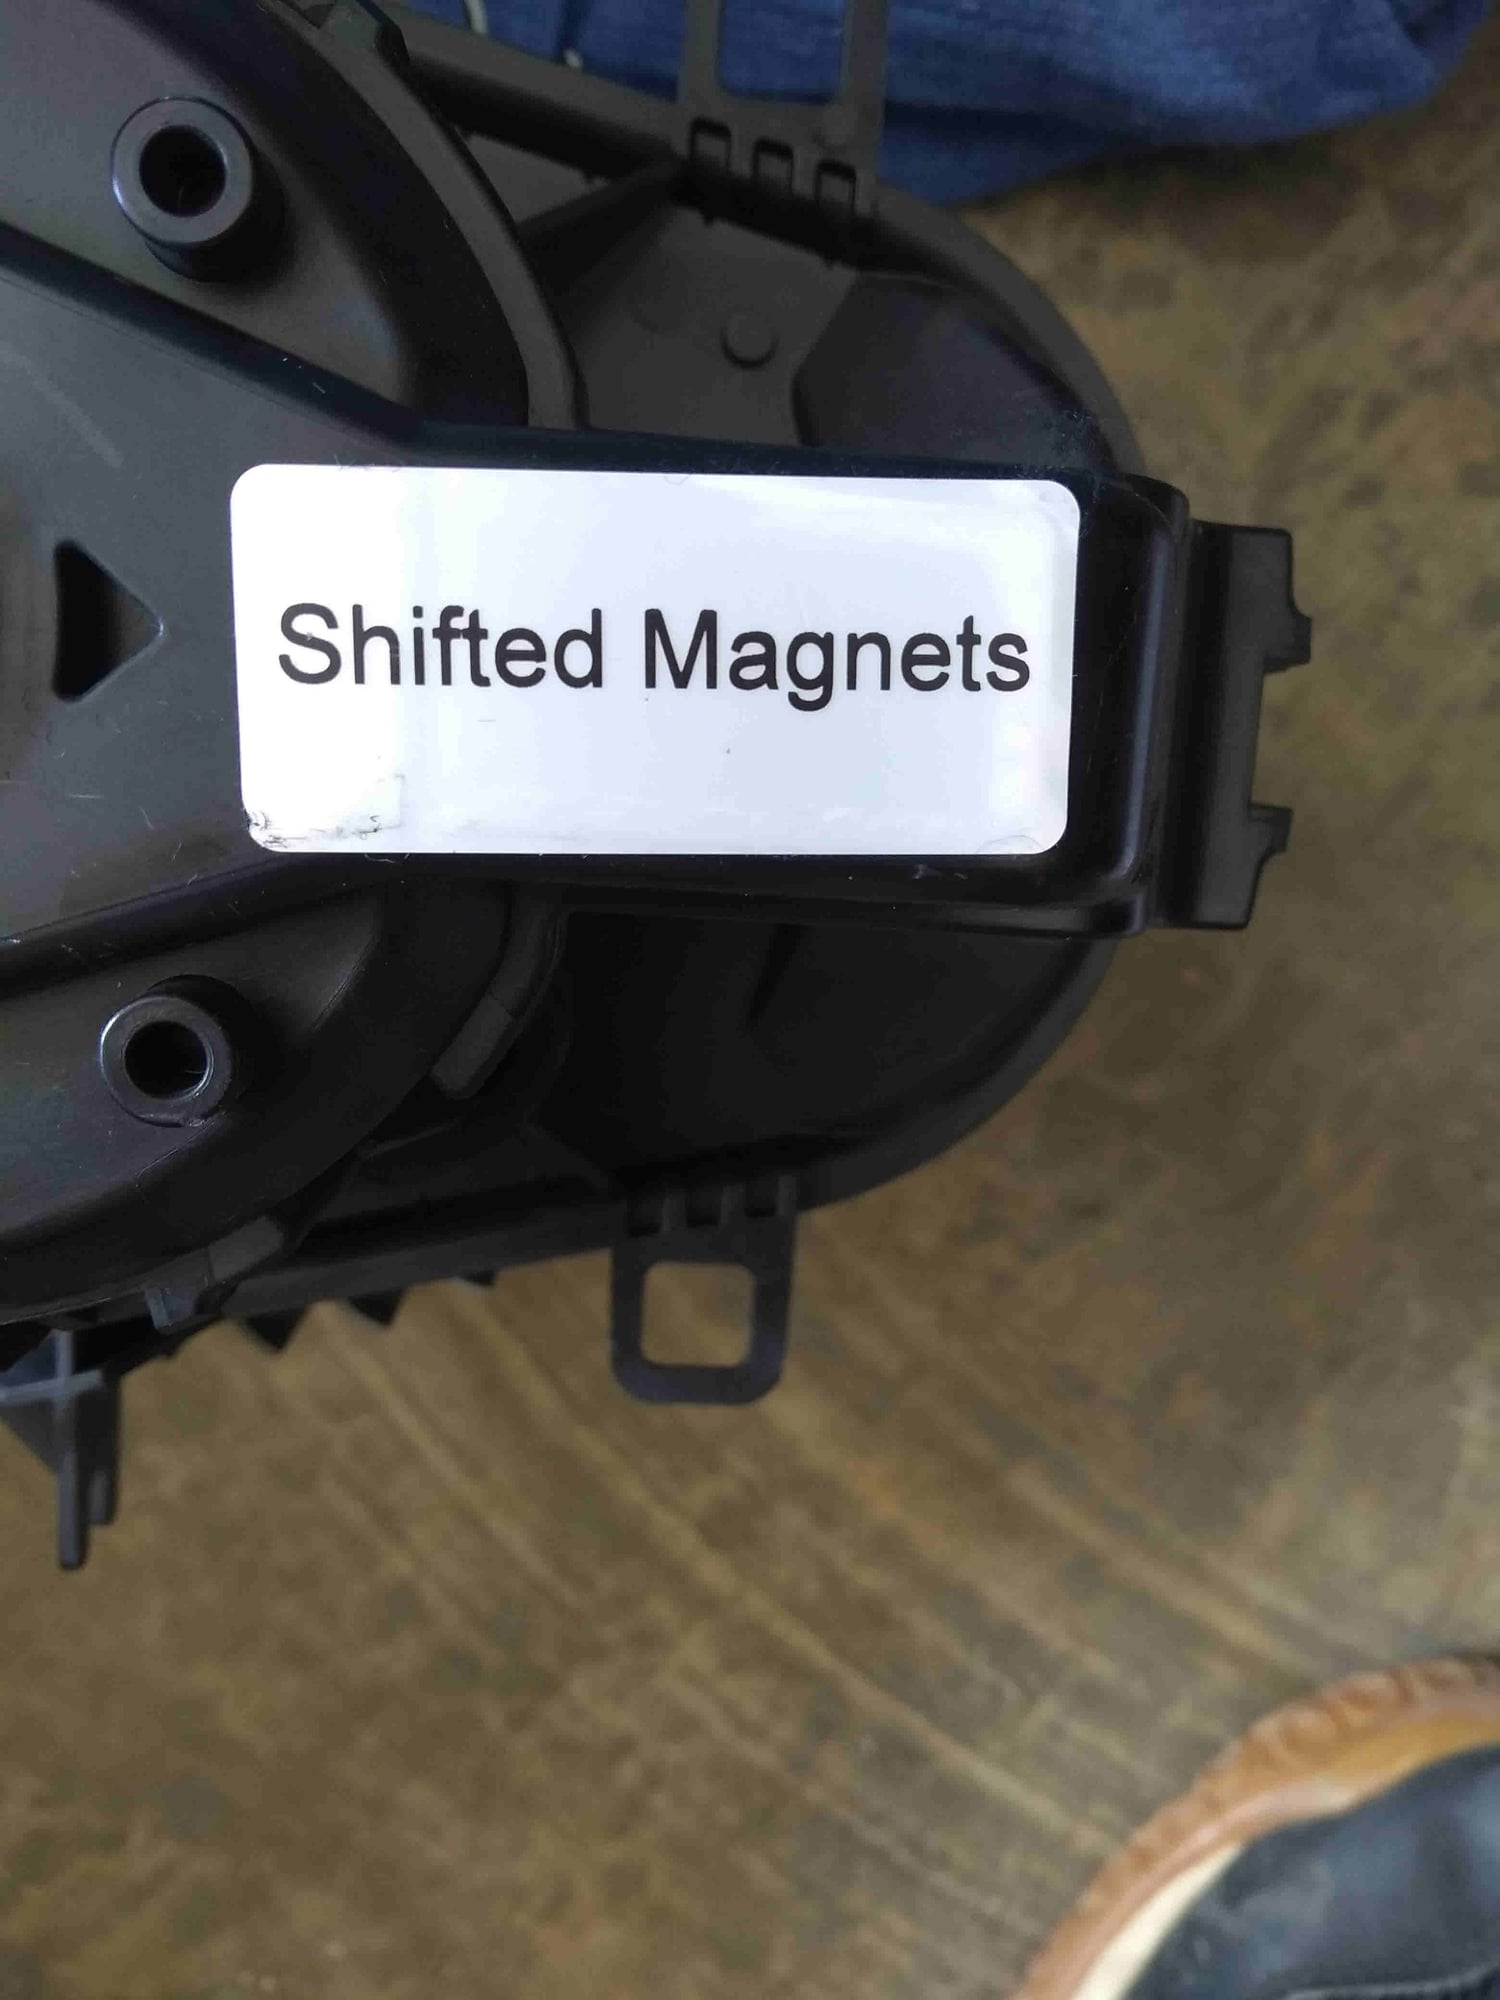
I will let the pics speak for themselves. Same supplier, same county of origin, sames primary casting numbers on the housing.
The R&R is so straight forward. AllDataDIy has some very good pics
1. Torx 20 for the one screw holding the bottom cover on, the rest is a pull down in front (clips) and then pull forward friction fit
2. Disconnect electrical harnesses (12v adapter and the floor light)
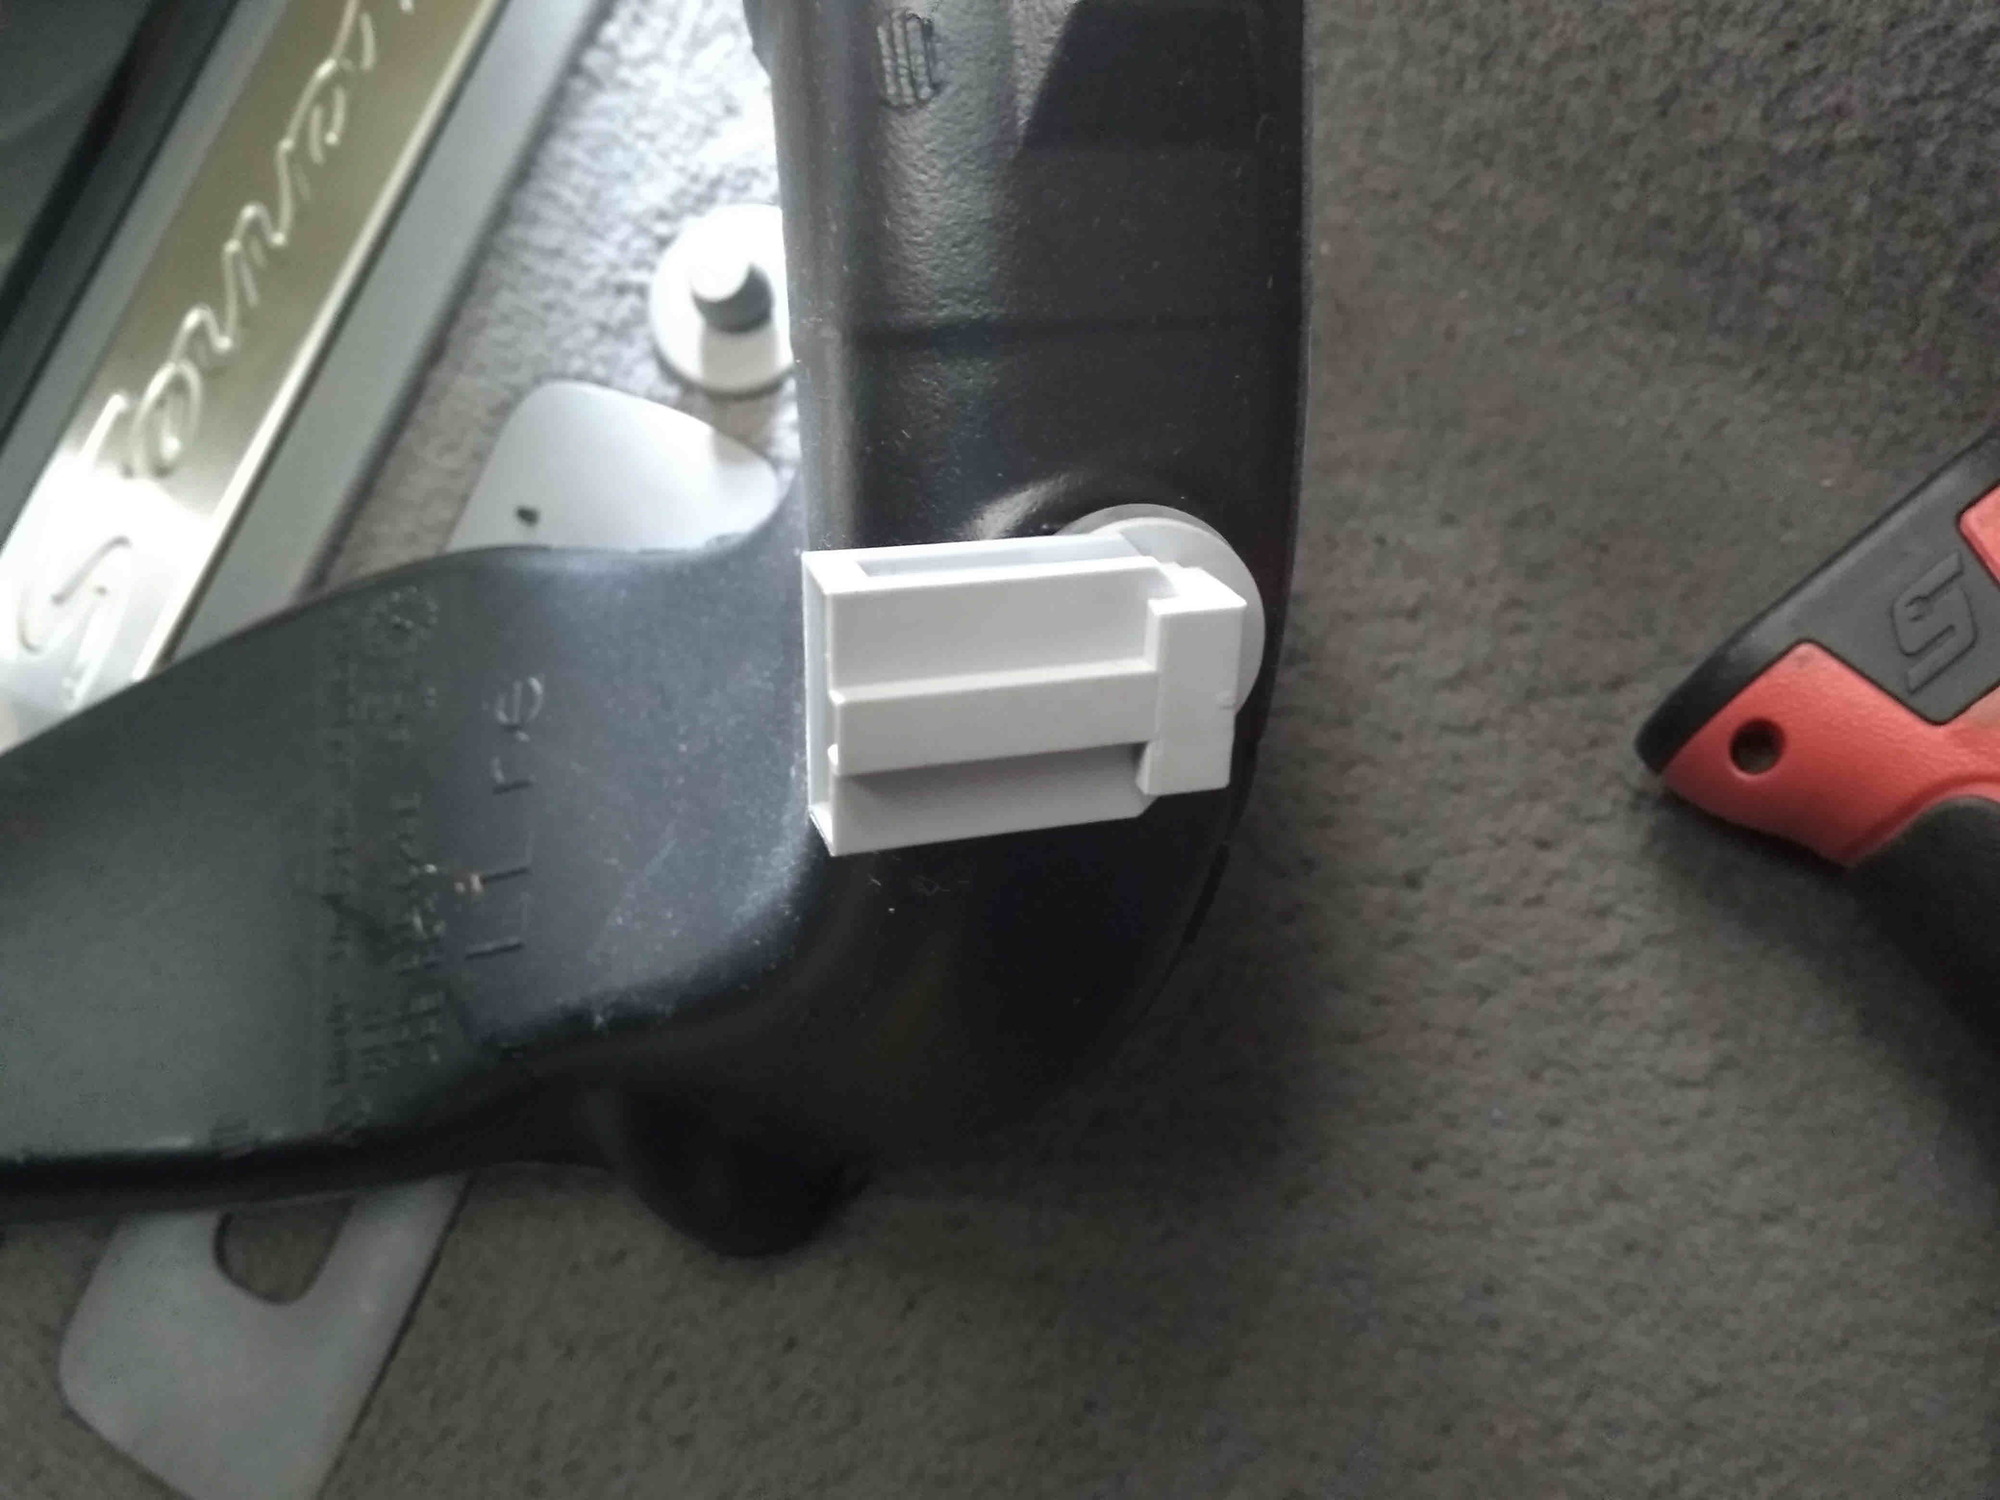
3. Ease the plenum out of the way (pay attention to the temp senor)
4. Unscrew quantity 5, 4mm (5/32) screws holding a housing in place. Remove the housing. It it does not move easily, you have missed a screw!
5. Unscrew quantity 2, 4mm (5/32) screws holding the blower in place.It it does not move easily, you have missed a screw!
6. As you ease the blower down, release the harness.
Install new in reverse.
Lastly, PIWIS is not involved!!!
Have a tasty beverage and toast to DIY and saving the green!
2010 factory installed blower motor 2010 factory installed blower motor 2019 OEM replacement blower motor 2019 OEM replacement blower motor 2019 OEM replacement blower motor 2019 OEM replacement blower motor Plenum temp sensor. Insert into special hole Needs to be locked into place Rotate 90 degrees to lock it in place Do not forget the wiring harness
Symptom: HVAC behaving weird. It works fine at times, at other times, the fan speed indicator shows 5 or 6 bars, but no air coming out of the vents.
Diagnostic: I use the Durametric to pull fault code. This fault code is under HVAC, not Instrument Cluster. This is what I got from our Cayenne:
U040100
Invalid Data Received From ECM/PCM "A" Factory Fault Code 33540
Warning Indicator Off
Test Completed This Monitoring Cycle
Test Not Failed Since Last Clear
Test Completed Since Last Clear
Not Pending DTC
Test Not Failed This Operation Cycle
Fault Passive
It is the blower fan. Since the 2011 year model, you have to change the whole unit. It looks like VDO PM 4090 is the correct replacement. RockAuto $130.79 + $24.99 (shipping) + $7.85 (tax) = $163.63.
Installation took under an hour. I want those searching for this to know that there is NOT NEED (a few posts and video showed remove vents, panels, and glove compartment) to remove the vent and glove compartment. You can access the blower motor from bottom (carefully with the 12V, light, and temperature sensor!). There are 8 screws you have to remove. Interestingly, the previous post indicated 4mm. My are 7/32". There are 8 that you have to remove. Two of them next to bundle of wires. It looks challenging and scary... but with socket extension, it is not so bad!
When reinstalling the screws, I used electrical tape (on two screws) to make sure the screws doesn't drop between the body trim pieces. It will be difficult to remove!
The most difficult part... I had trouble finding where the last two screws go!
Drove the Cayenne, everything is all good now.
Clear the code with Durametric. Everything is good now. Drove around for 20 minutes. HVAC is working as it should.
Hope this will help someone else.
Cheapsolar!
Last edited by deilenberger; 05-31-2021 at 02:32 PM.
 12-21-2017, 09:08 PM