When you click on links to various merchants on this site and make a purchase, this can result in this site earning a commission. Affiliate programs and affiliations include, but are not limited to, the eBay Partner Network.
To remove the outer taillights (approx. 20 min.):
Tool needed – T-30 bit
1) Remove the plastic cover panel inside the rear hatch frame. I found that if your press on the center of the panel’s forward edge, you can then pull the rear edge away from the light, then pull them off.
2) Remove the two T-30 screws from the taillight.
3) Pull the light straight back to pop out the snap-in device. It takes a good pull to get it free.
4) Disconnect the electrical connector
Installation is the reverse. It is good practice to inspect the electrical pins in the connectors to make sure none are bent.
The inner taillights are held on with two flanged nuts which will need a 8mm socket. However the nuts are hidden behind the rear hatch’s inner panel.
To remove the inner panel and taillights (Approx. 1+ hr):
Tools needed – T-20 bit, 8mm socket, plastic trim panel tools, small light
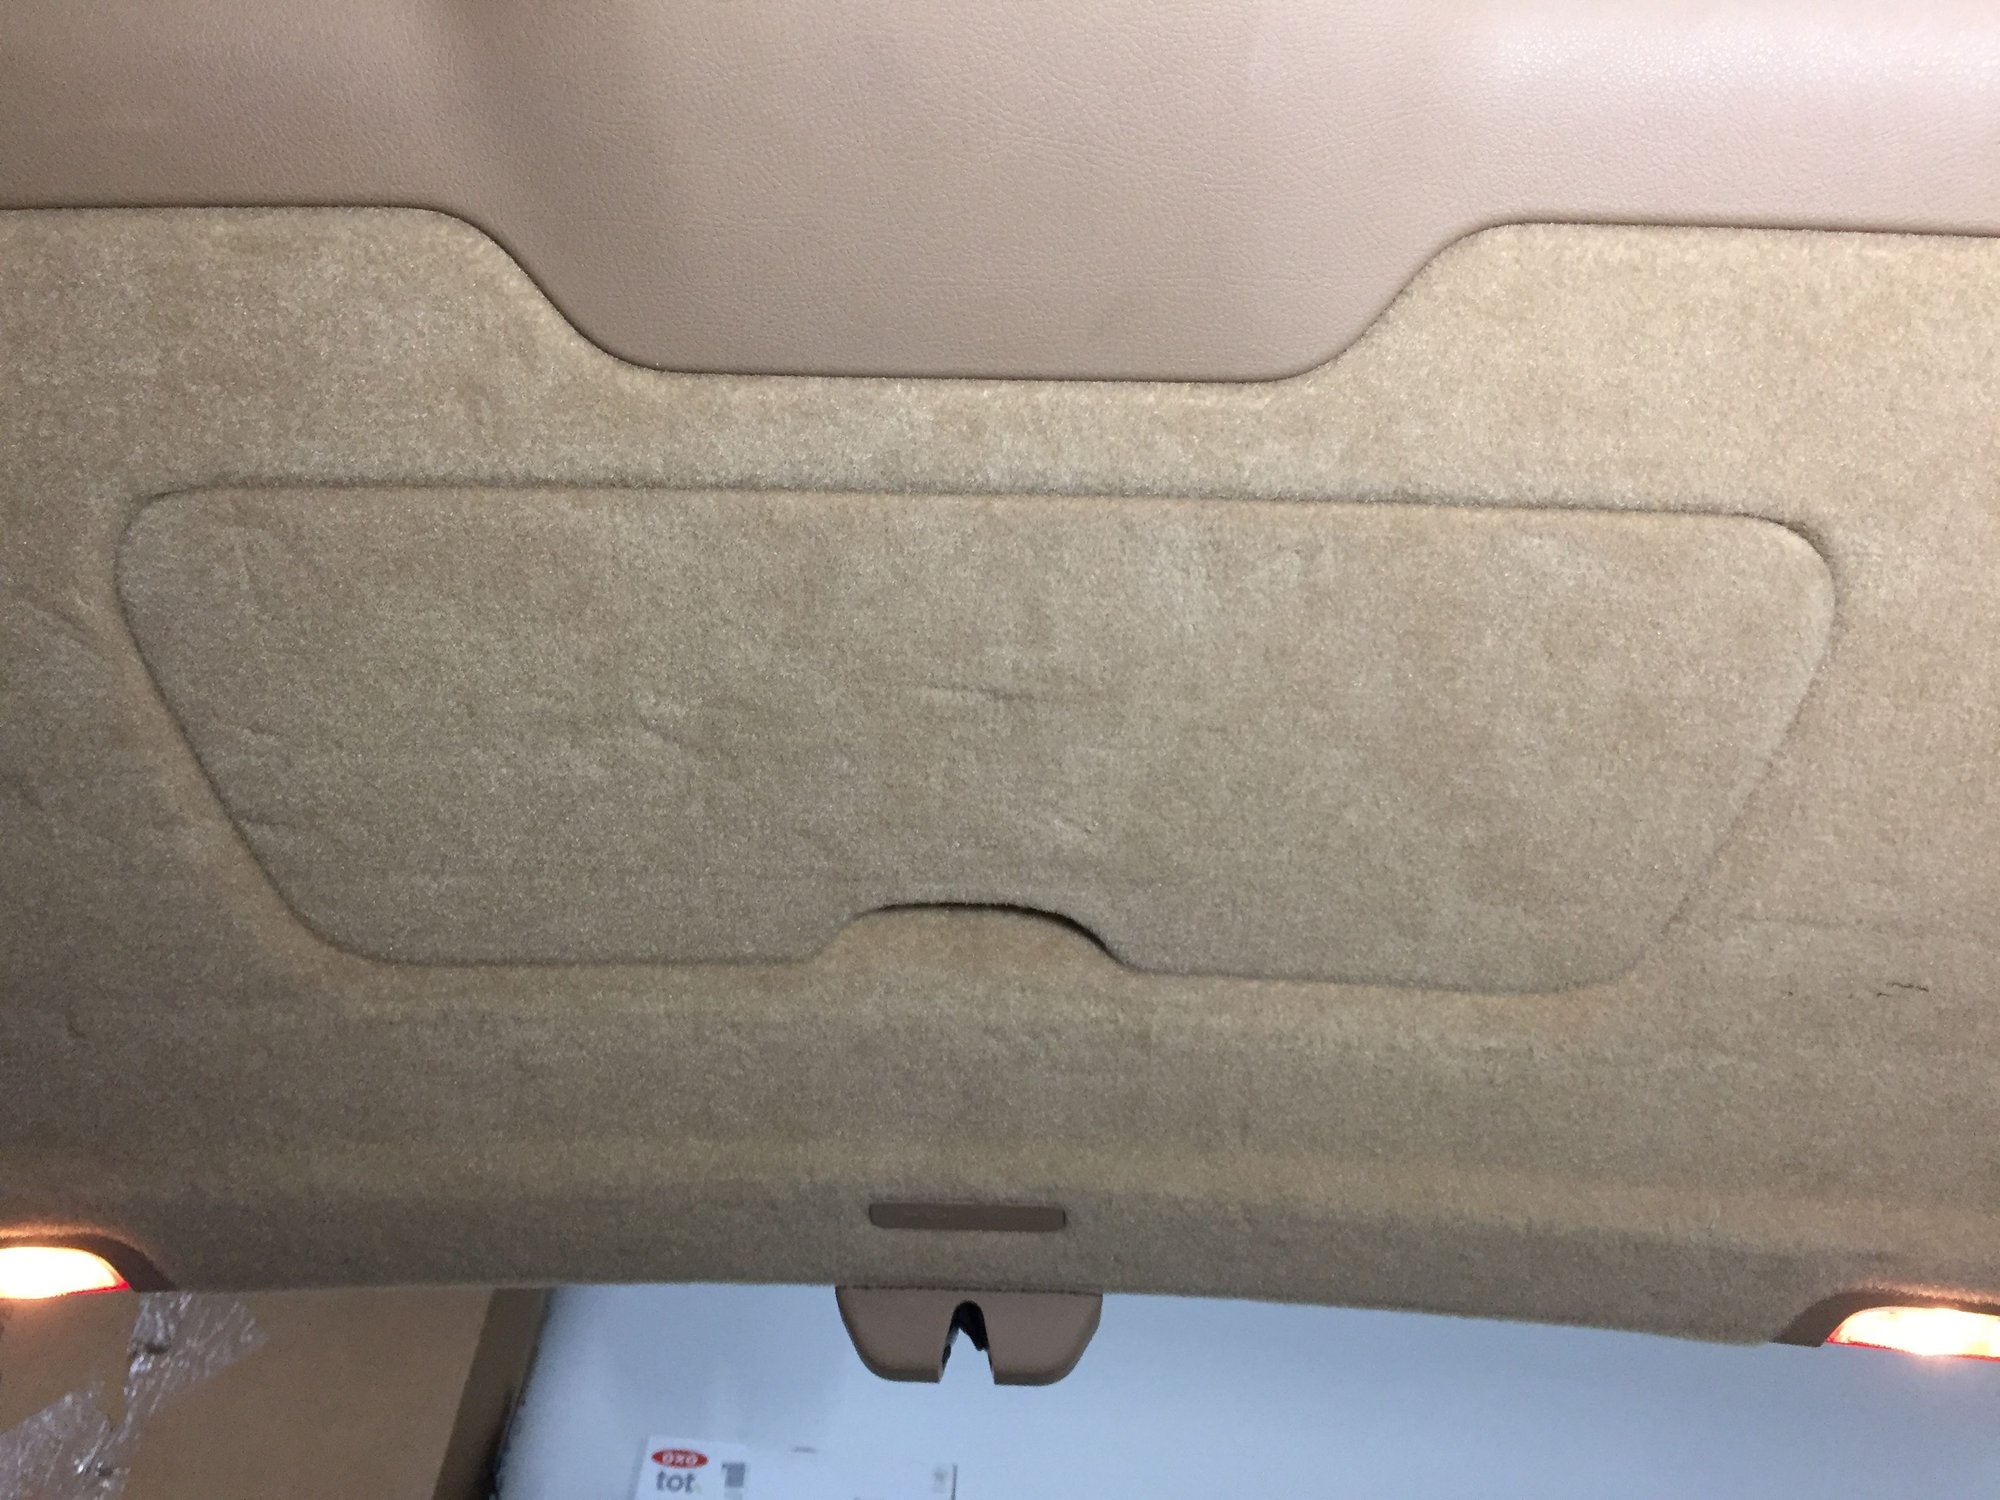
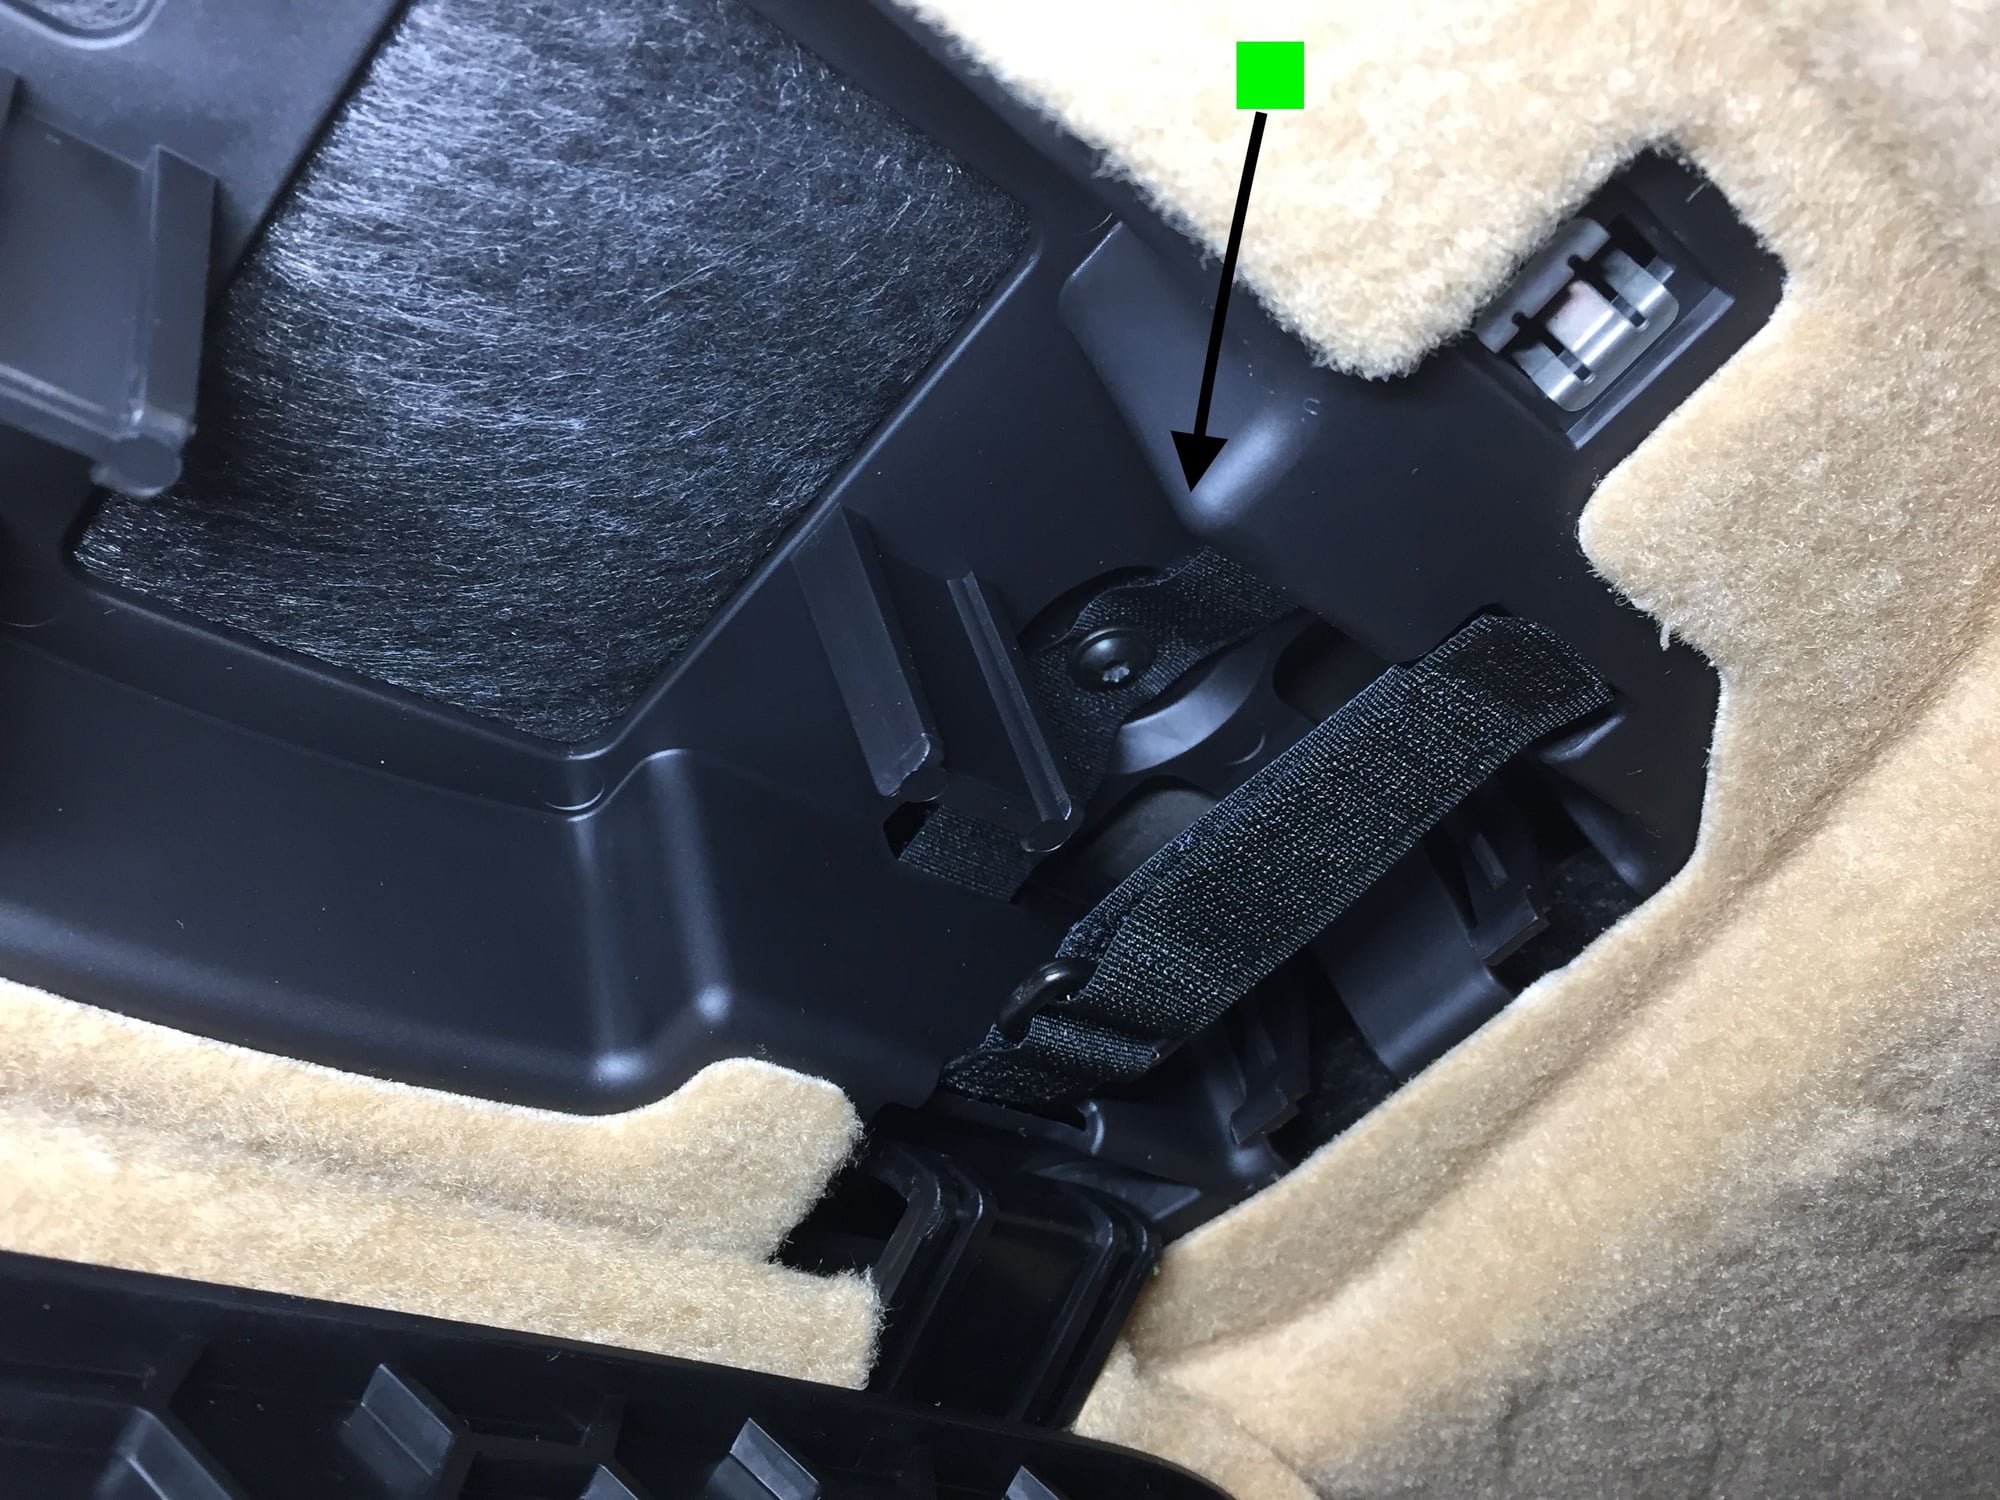
1) Open the rear hatch and the small compartment on it. Inside rear hatch 958.1 Two T-20 screws, one on each side under hold-down strap.
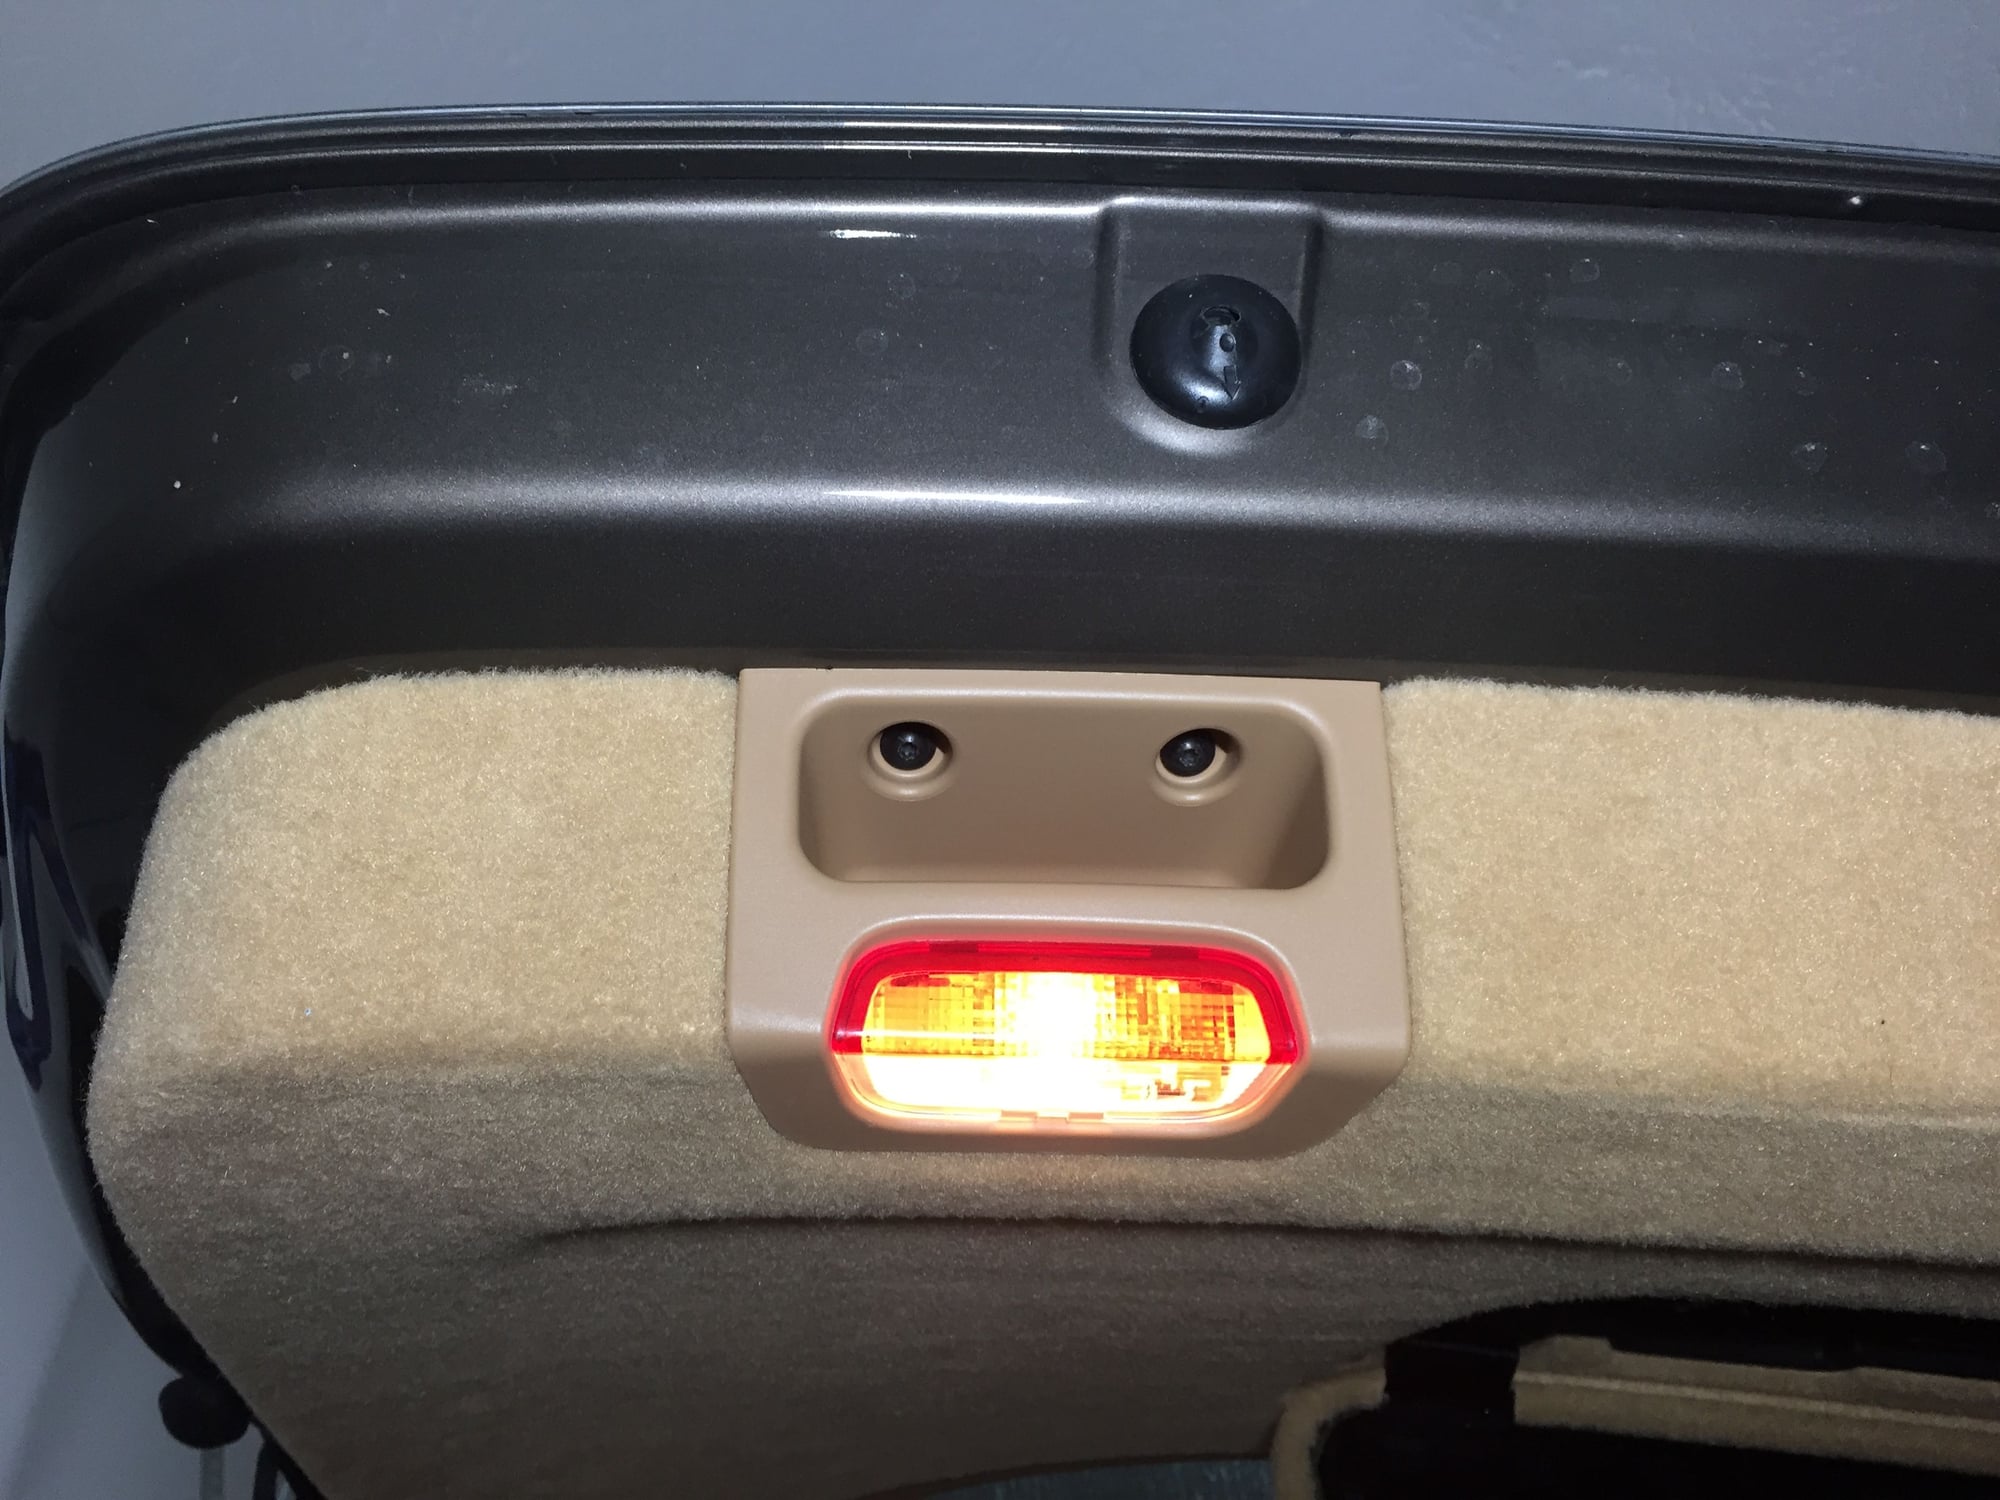
Remove the two screws above the light. Remove the switch on the passenger side by gently lifting the ends, alternating side to side till you can see and compress the clips. With the switch out you can remove the single T-20 screw located behind the switch.
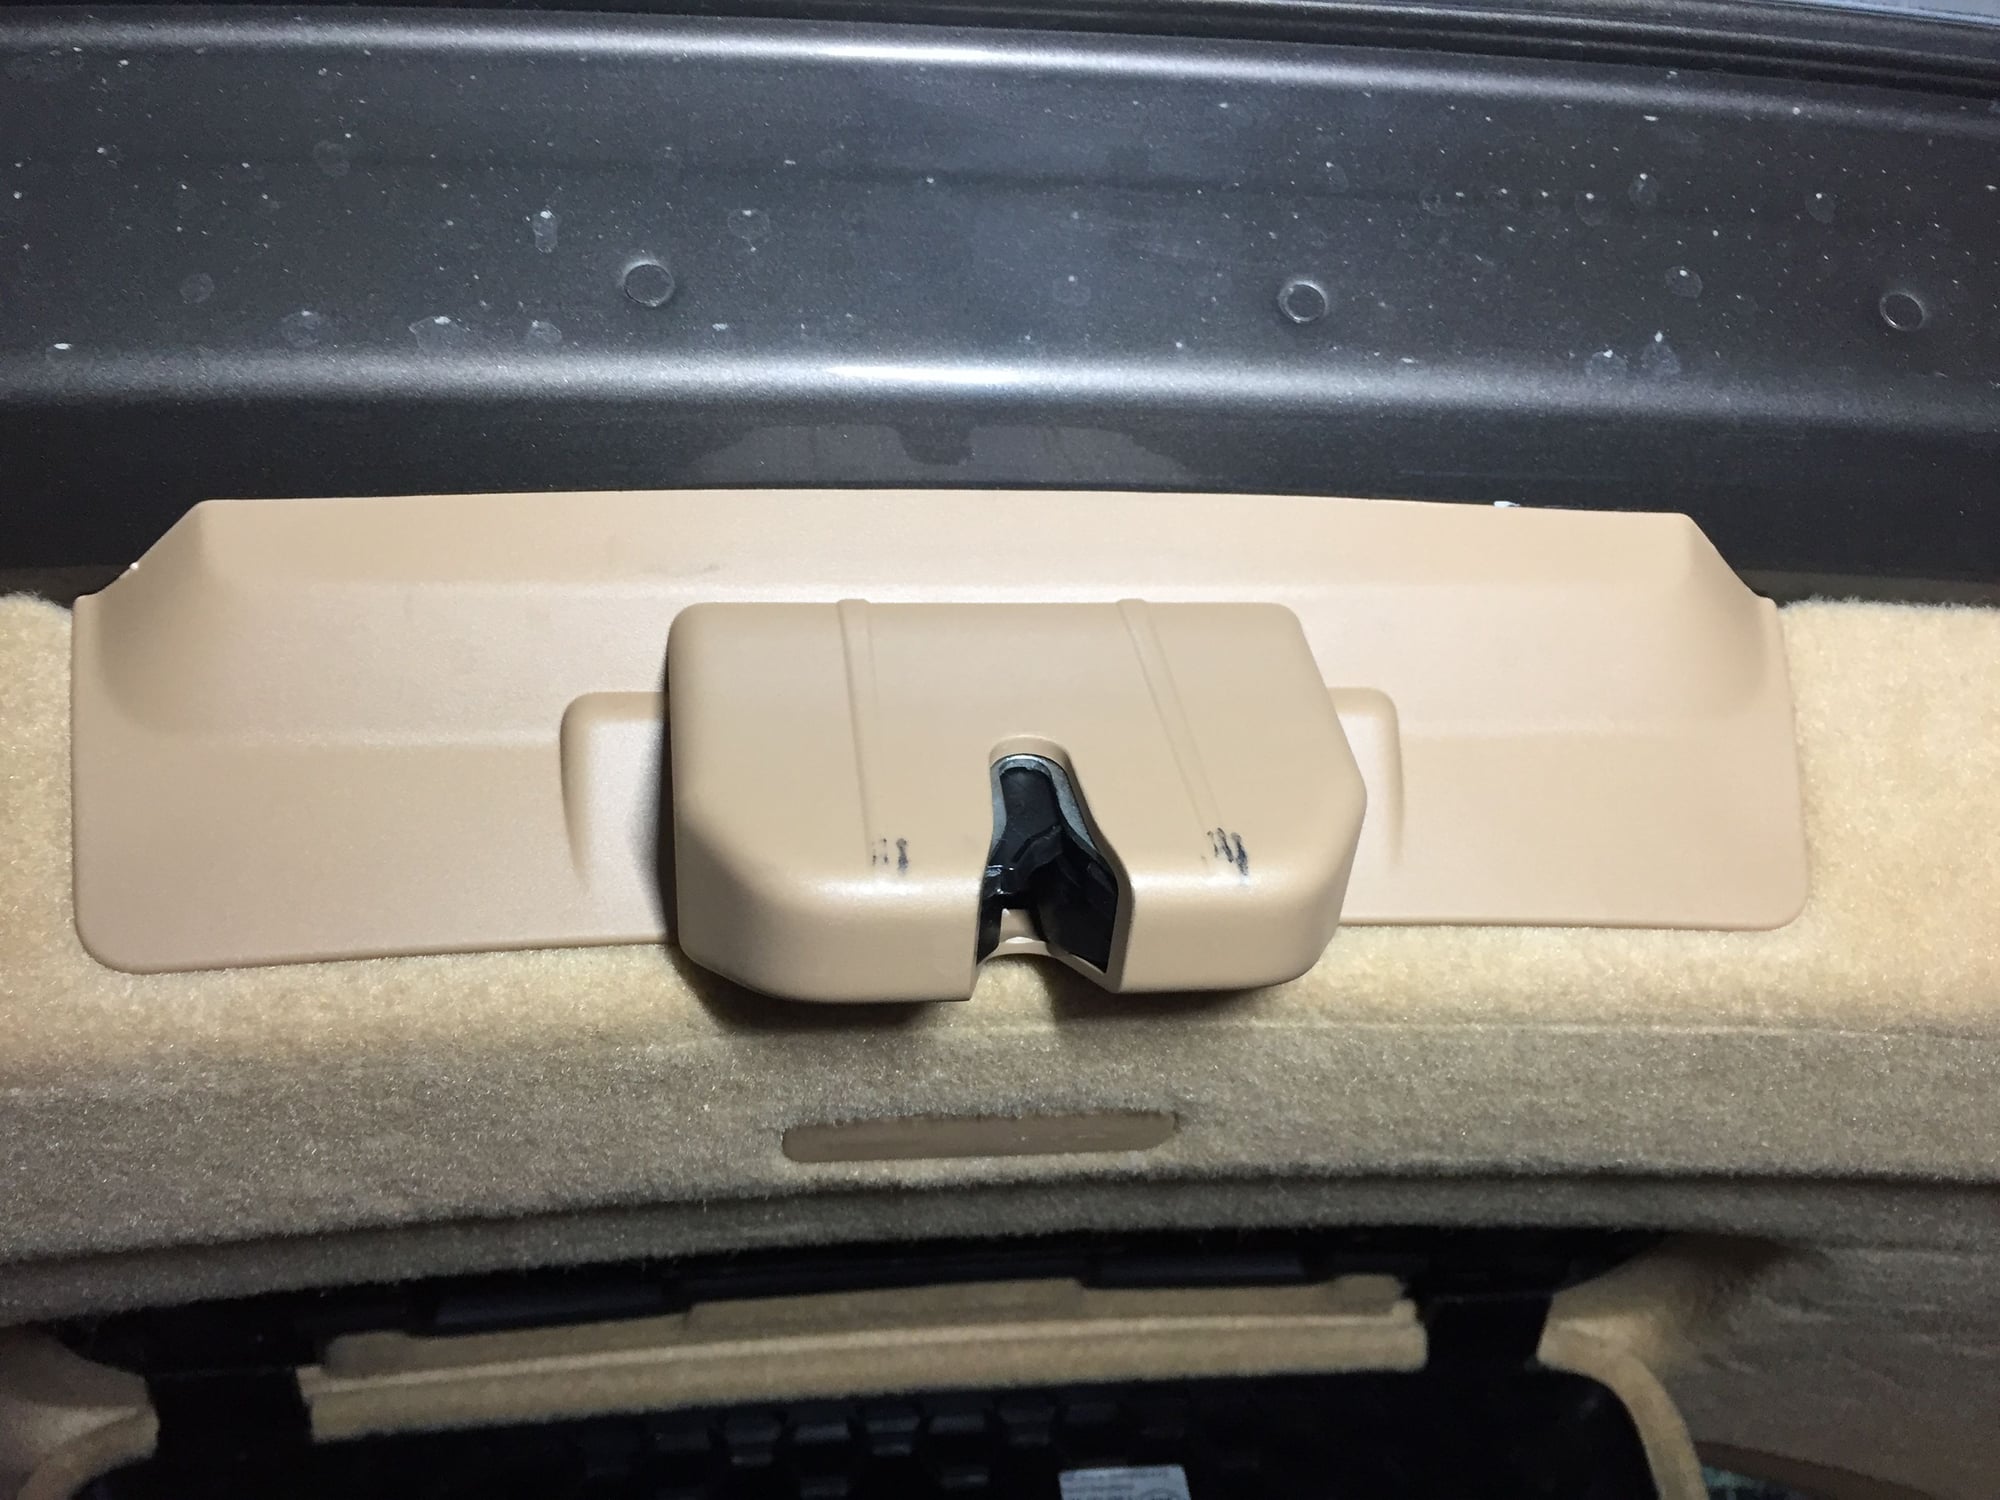
Using a plastic removal tool, pry off the latch cover.
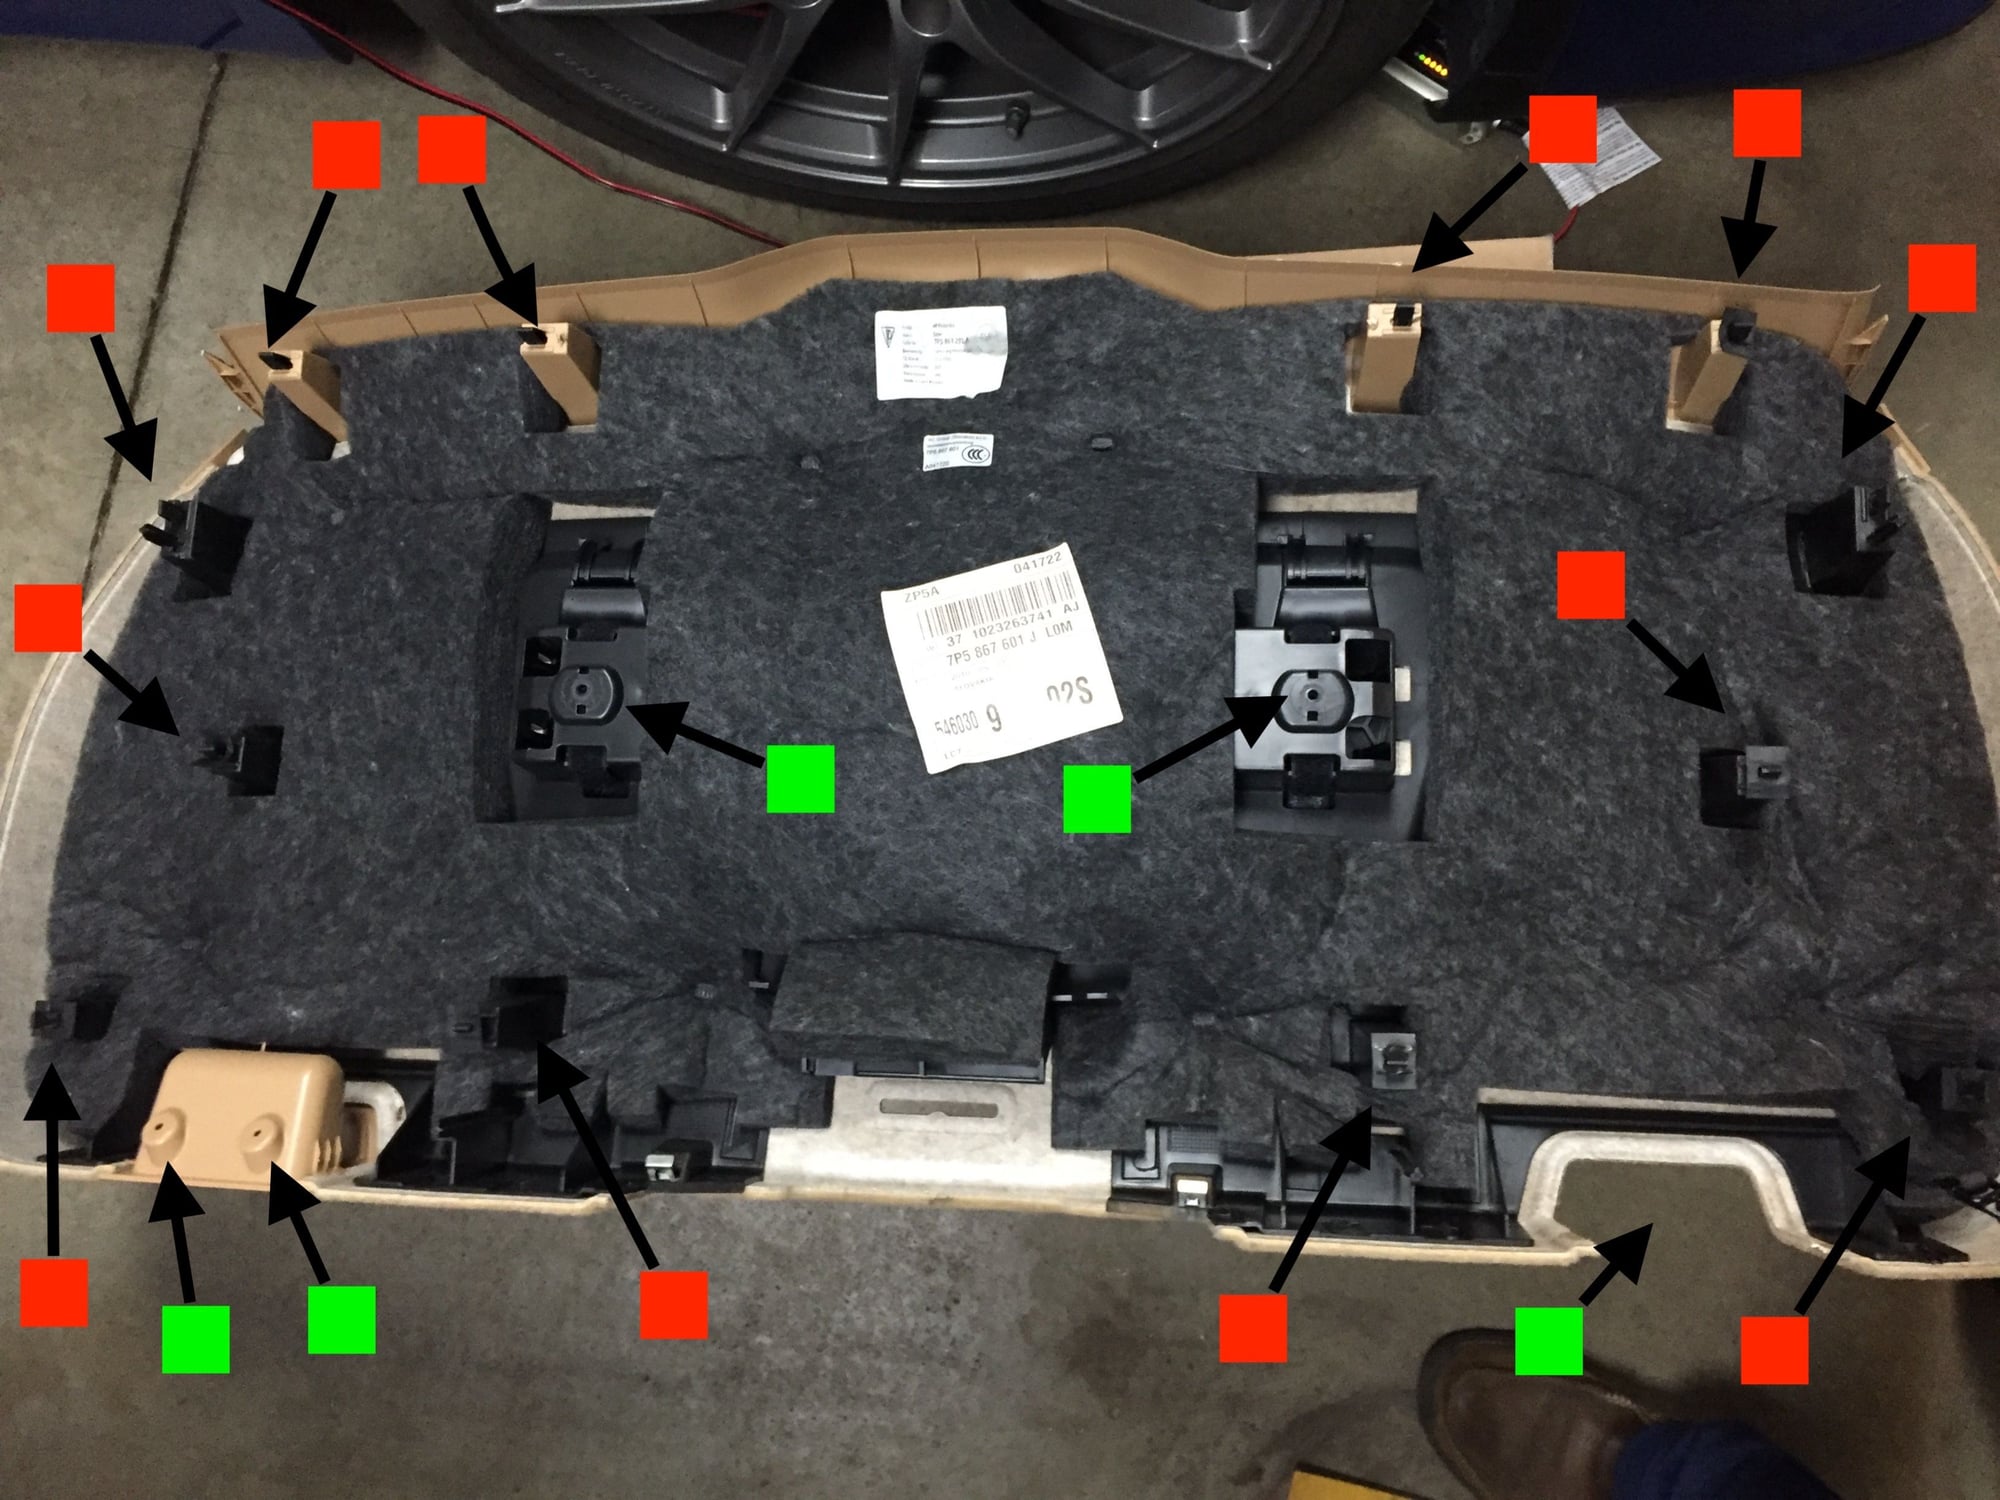
The rear cover can now be removed with a panel removal tool and several tugs. I started at the bottom and worked my way around to the plastic panel near the window. The plastic panel comes off with the carpeted section. There are four clips along the top and bottom, one just below the plastic window trim on each side and one toward the center of the driver’s half as well as the passenger half side. In total, there are 5 screws (green) and 12 clips (red). (The switch panel on our vehicle is not shown in the image. It had been previously removed and was no longer glued to the panel )
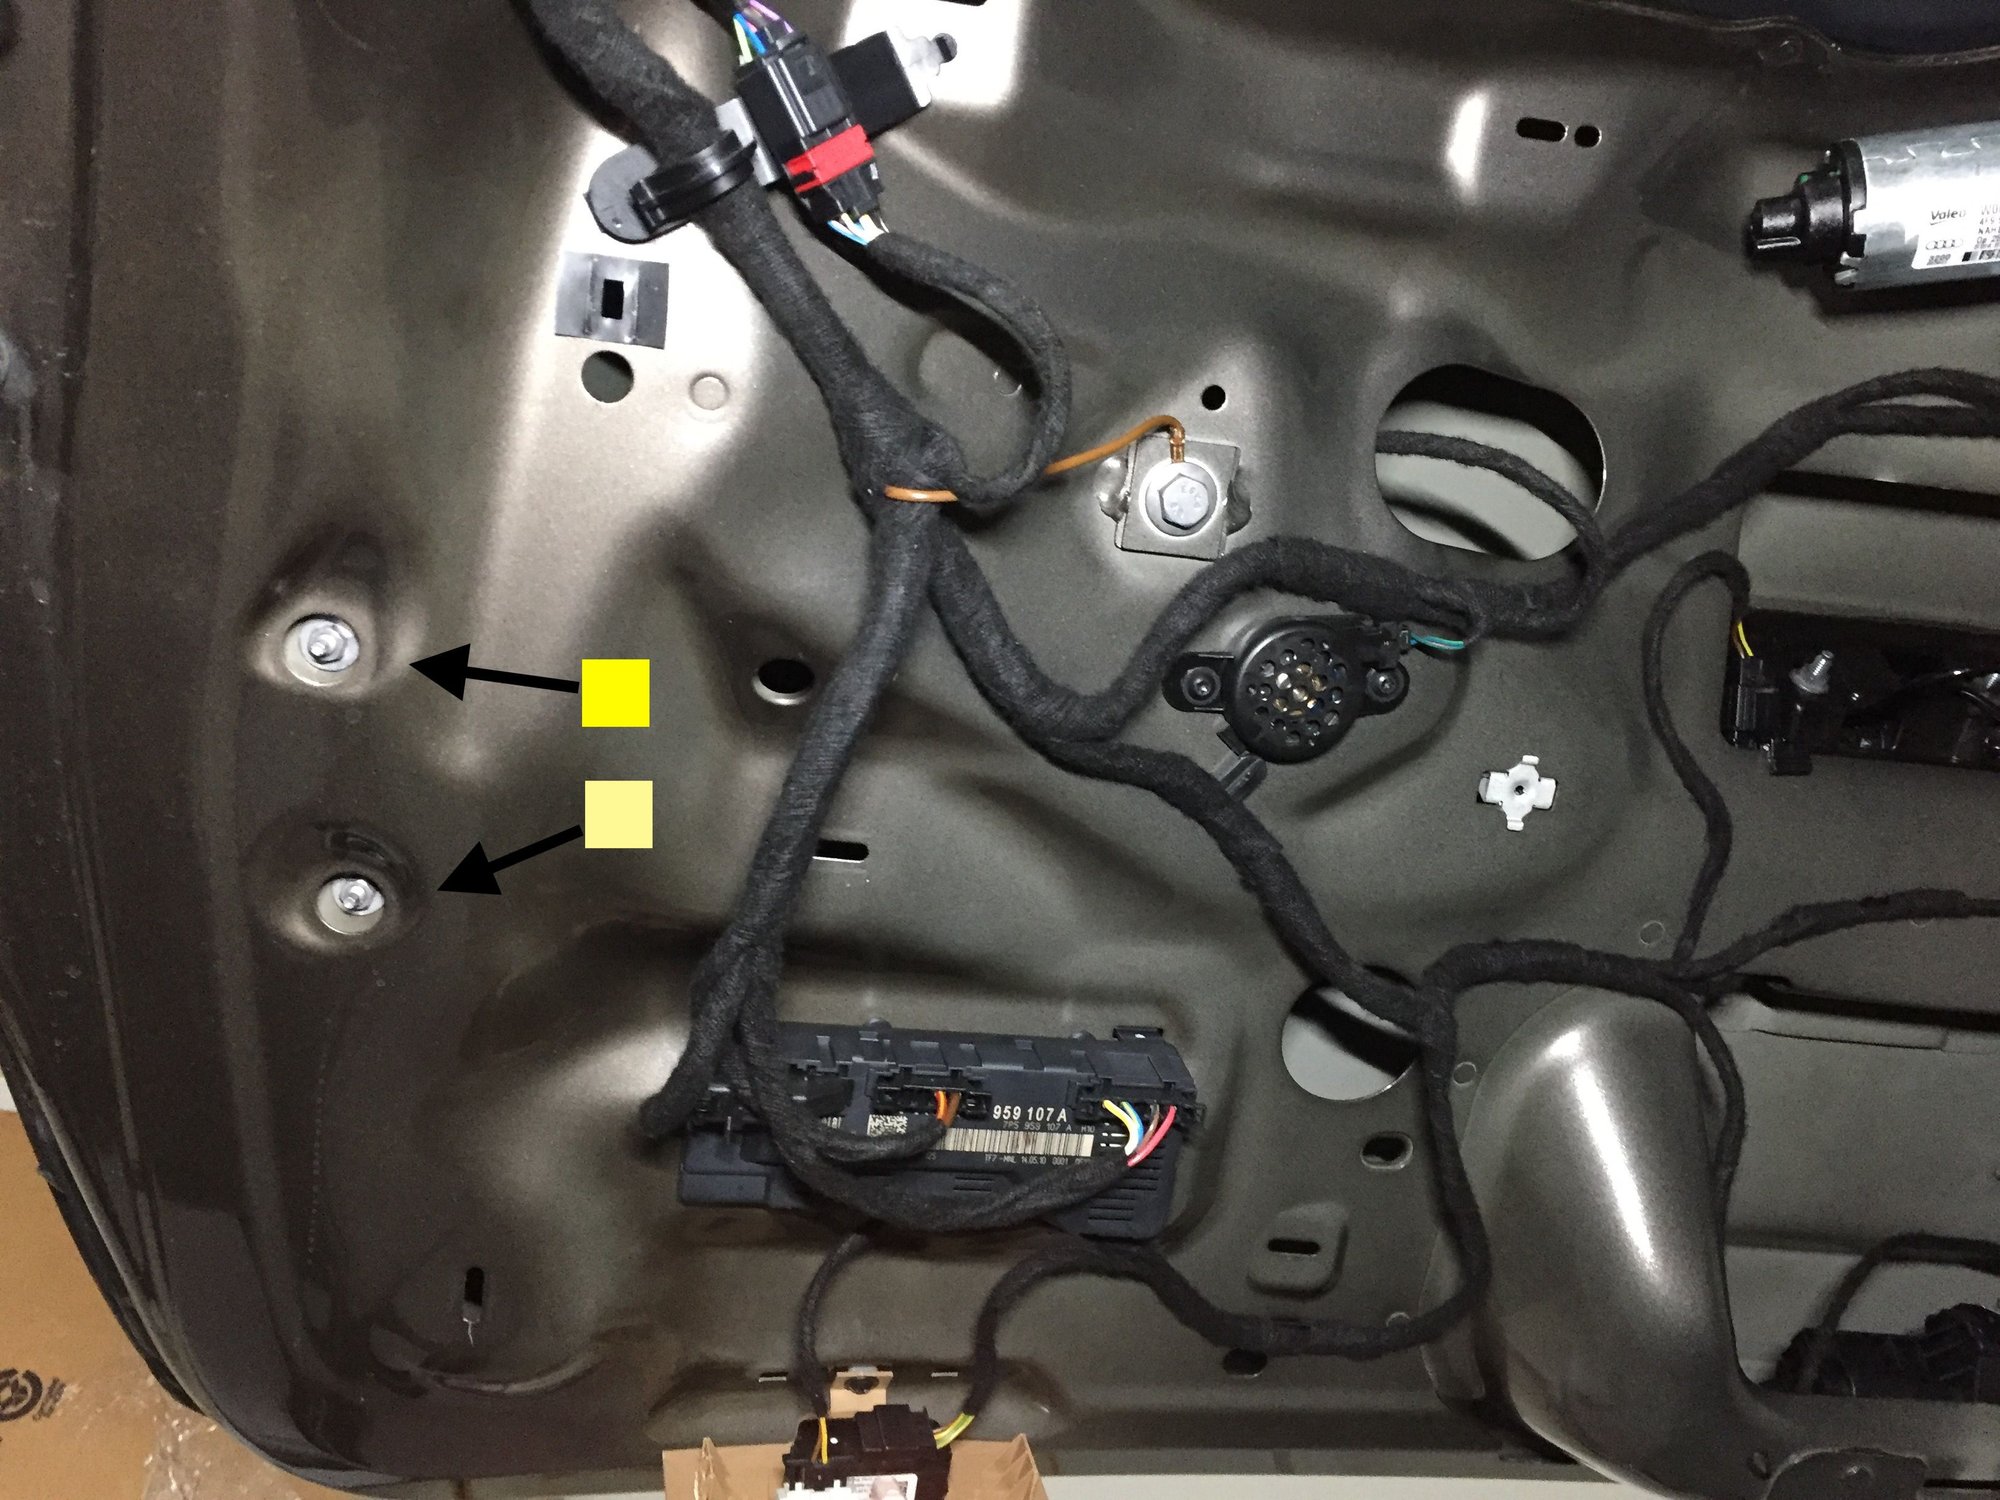
Two 8mm hex flange nuts...remove with the hatch fully open.
Installation is the reverse.
Test the taillights before reinstalling the back panel.
Note: It helps to have an extra pair of hands when maneuvering the panel back in place and aligning the clips.
 01-14-2019, 02:10 PM