When you click on links to various merchants on this site and make a purchase, this can result in this site earning a commission. Affiliate programs and affiliations include, but are not limited to, the eBay Partner Network.
Yeah, mine bounces. It takes away from the precision look of the cluster. Another forum member said the 'fix' was for the dealer to order a new gauge cluster from Germany, as they're somewhat specific to the options ordered with the vehicle. Big $$$$ for a cosmetic issue.
Honestly, I kinda like it. It doesn't have that super-precise feel like everything else does, but there's something about the charm of a mechanical bouncing tachometer that warms my heart.
I mostly wanted to make sure that's not indication of some sort of fault. Thank you!
Well, I'm glad I ordered the oil to do the differentials as well as the transfer case. I think my odd whirring/humming culprit is the front differential. It also does it around tighter corners. We'll see next week when the fluids all come in and I change it all.
I didn't see any sort of a DIY for it on here, would there be any interest in a "how-to" thread on the diff fluid changes if I can muster the effort and memory to take photos while doing mine?
Also, is there a preferred OBD2 dongle / system / app for use with these? Something to read error codes and clear service alerts for later on down the road?
I understand the transfer case is dead simple and assume the diffs are as well. However, I have not seen pics and would be interested.
As far as diag tools, Durametric (with laptop) has been the standard for diy (vs the piwis 2 system) but lately people are talking more about an iCarScan tool (with Bluetooth over phone), or even a VagCom that has been modified to work with Porsche. I have a durametric from my 04 ctt days and it is sufficient.
Cool, I'll do my best to get some detailed photos of everything. and Thanks, I'll look into those.
Well, I'm glad I ordered the oil to do the differentials as well as the transfer case. I think my odd whirring/humming culprit is the front differential. It also does it around tighter corners. We'll see next week when the fluids all come in and I change it all.
I didn't see any sort of a DIY for it on here, would there be any interest in a "how-to" thread on the diff fluid changes if I can muster the effort and memory to take photos while doing mine?
Also, is there a preferred OBD2 dongle / system / app for use with these? Something to read error codes and clear service alerts for later on down the road?
The bottom one - oil comes out. The top one - oil goes in. Always loosen the fill first so you don't end up with a stuck fill port and a drained transfer case (true on anything with two plugs like this.)
Ravenol has a built in hose making it REALLY easy to fill up.
1. Put car up so you can get under it SAFELY
2. Find drain pan, and position it under and slightly to the rear of the transfer case.
3. Loosen (don't remove) the fill plug
4. Loosen and remove the drain plug
5. Wait for oil to finish draining (about 2 minutes)
6. GENTLY replace the drain plug. DO NOT OVERTIGHTEN.
7. Open Ravenol bottle and pull out the hose
8. Remove the fill plug
9. Stick hose into fill plug
10. Fill until oil starts running back out (almost the entire container)
11. Remove hose from fill plug
12. Replace fill plug GENTLY - do not OVERTIGHTEN
13. Dispose of waste materials in an environmentally safe manner.
14. Lower vehicle and take it for a drive. Enjoy how nicely it drives now.
15. Tell us all about how great it's doing. We like to hear this sort of thing, it makes us feel good.
STANDARD DIY DISCLAIMER: You may be an ape with a wrench. It's possible you should never be in the same garage as a car when you're holding a wrench. Therefore - what I just described is what I would do - not what I'm suggesting that you do. If you break it, bend it, pork it up, kill yourself doing it - I never told you to do it. I just told you how I'd do it. You're a big boy - man up if you screw up.
......
15. Tell us all about how great it's doing. We like to hear this sort of thing, it makes us feel good.
STANDARD DIY DISCLAIMER: You may be an ape with a wrench. It's possible you should never be in the same garage as a car when you're holding a wrench. Therefore - what I just described is what I would do - not what I'm suggesting that you do. If you break it, bend it, pork it up, kill yourself doing it - I never told you to do it. I just told you how I'd do it. You're a big boy - man up if you screw up.
Thank you for the input! the TC seems very straightforward having a decent mechanical background, and the wealth of knowledge in the TC thread. How you wrote that up was very nice and concise. I was talking more about something 958-specific for the differential. I see a good amount out there for 955/957 diff, but not much specific to the 958, though I'm sure it's probably pretty much the same.
Fortunately for me, the TC doesn't seem to be acting up, but I'm sure some fresh Ravenol will make it feel much happier. I figure if it's worth doing one of the diffs, just do both and the transfer case all at once.
I'll be sure to post about how much nicer it'll drive when it's all done.
I enjoy the disclaimer, but that almost makes me worried that you had to put that in there, lol.
I enjoy the disclaimer, but that almost makes me worried that you had to put that in there, lol.
Thanks all!
The problem is that there are idiots who:
A) Have no business working on cars.
B) Refuse to recognize "A"
C) Blame everyone except themselves when "A" & "B" combine to create a huge and expensive mess.
As to taking a Cayenne off road they are very capable. First thing you will want to get are a set of at least five wheels in the smallest size that will fit. This way you can get as much rubber as possible to air down the tires when off pavement. The reason for the fifth tire as a spare is that the mini spares work much better on pavement.
As to not having air suspension here is a photo of our Auburn Cayenne with two other previous gen's. The black Cayenne also does not have air suspension, Mike installed a lift kit. You would only want the lift kit if Overlanding is something you really want to do. https://rennlist.com/forums/cayenne-...-thread-3.html
We do have air suspension and have done several modifications like skid plates, rock sliders, roll bar, bush bar, etc.
For more of what we have done see: https://rennlist.com/forums/porsche-...meet-otis.html
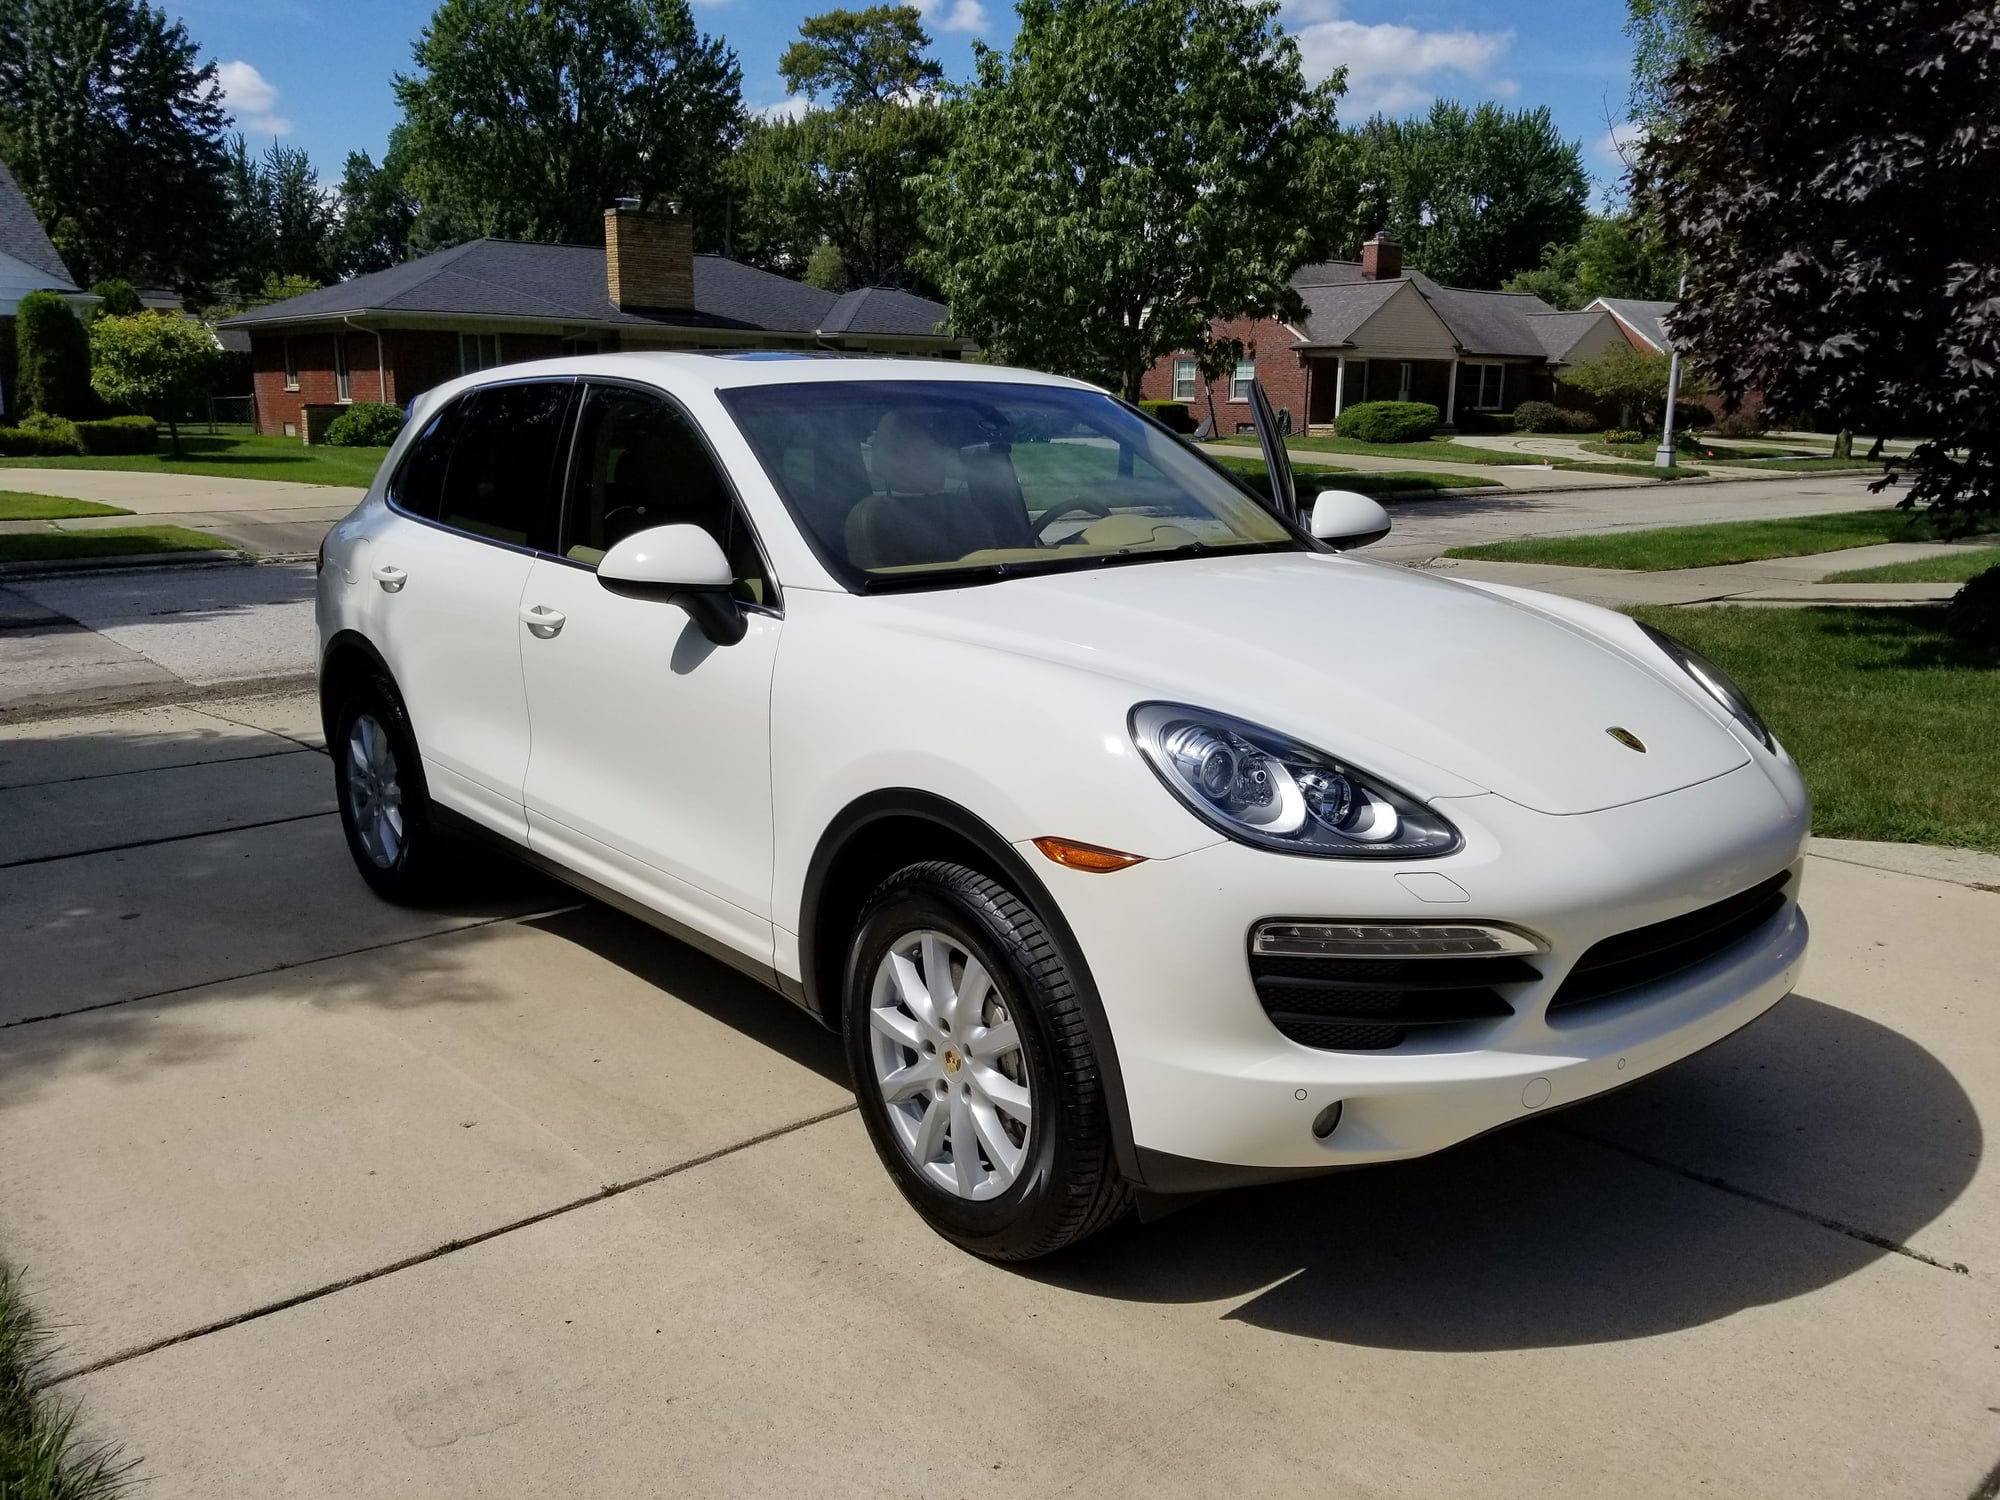
So, while I'm waiting for the diff and TC fluids to show up and trying not to drive it that much (even though it's seen over 1k miles in the week I've had it) I've decided to go ahead and correct the paint a bit on it.
6 years of presumably only being driven through automatic car washes really takes their toll on paint.
Had pretty much no wax on it. Not surprising.
Start off with the clay bar, because the paint felt like sandpaper. This bar was a bright, clean yellow when I started. I think this was about halfway through.
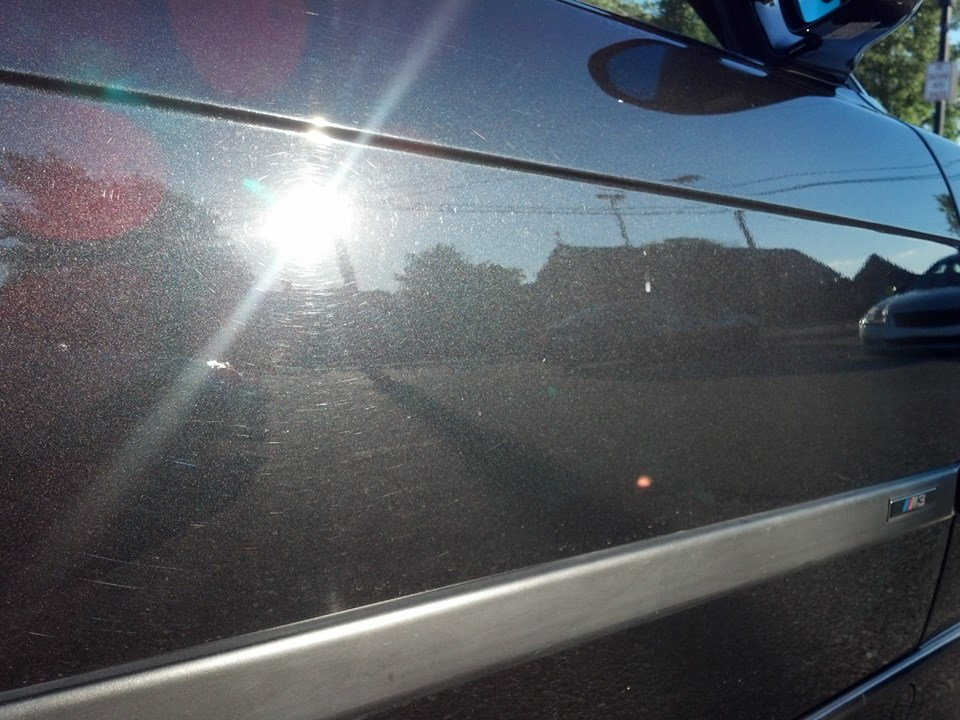
Here's the best I could get before step one. It was much worse than the phone photo leads one to believe. LOTS of heavy swirling.
As close to the same spot as I could get, after step one. definite improvement on clarity.
My poop photo of the test panel of step 2 doesn't show much, so I'll update with that when I have my blinding lamp combined with daylight when I resume tomorrow morning. The rear hatch and bumper are kinda effed in terms of swirls and scratches so that's going to take some more work.
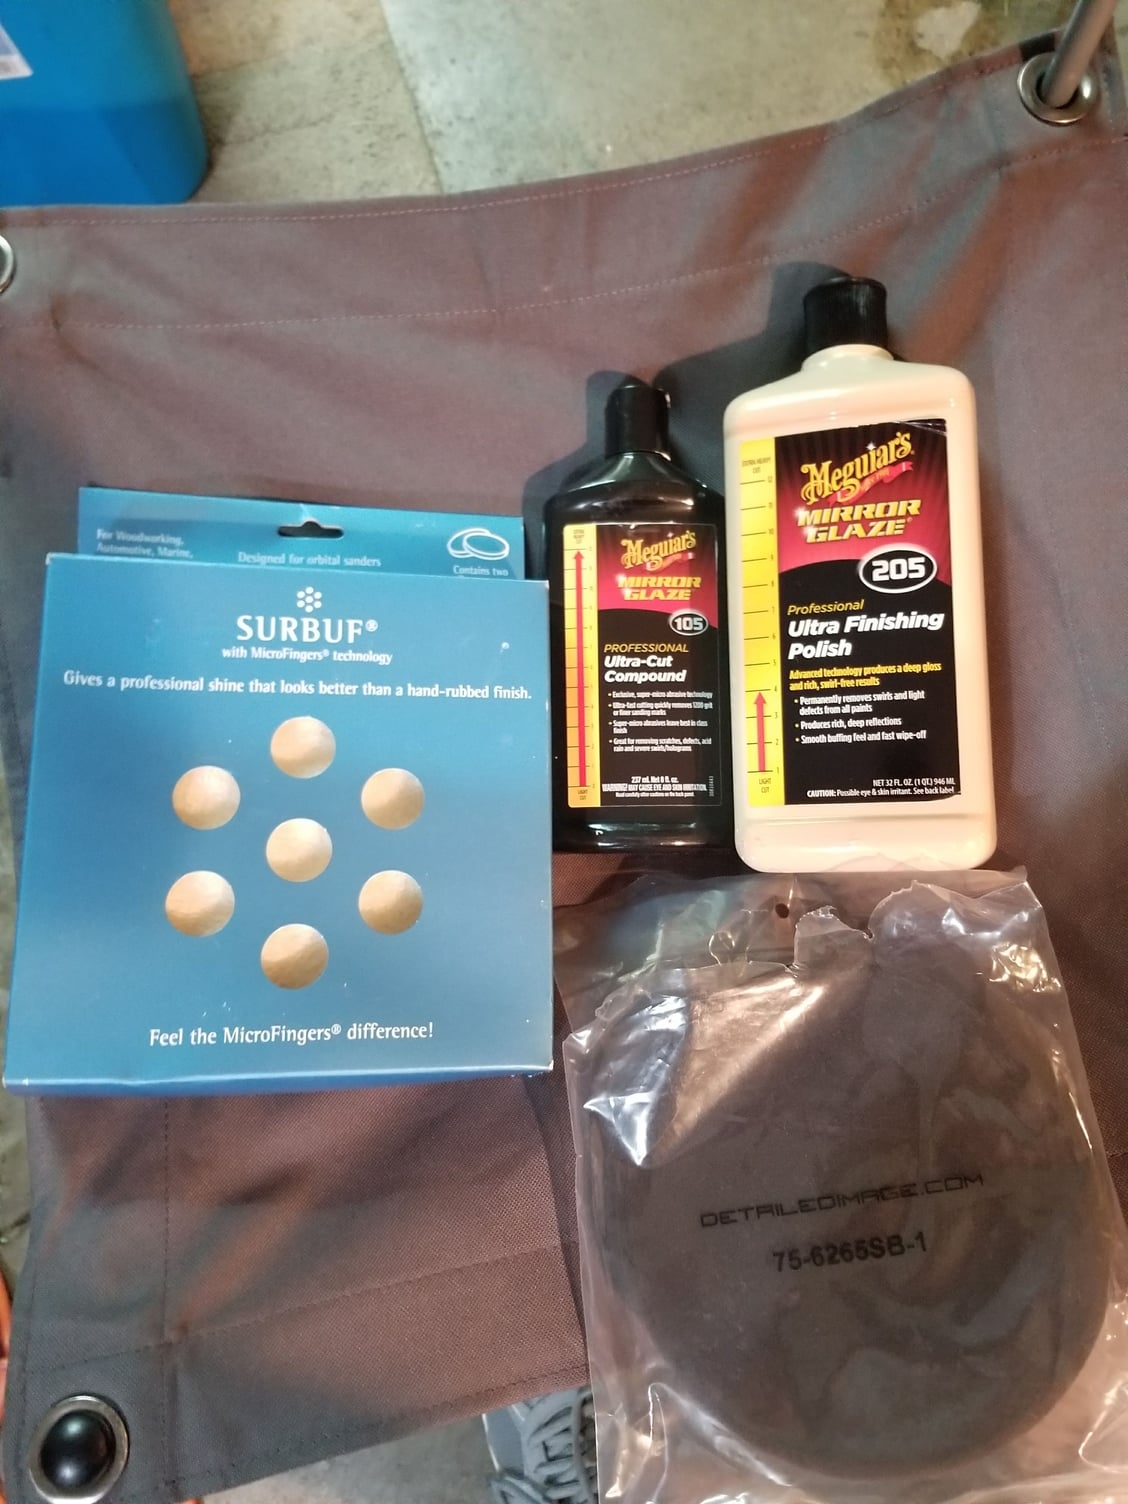
For those who may care, step one I'm using Meguiar's 105 with a surbuf pad (which is apparently no longer on detailed image where I got it from) and step 2 I'm using Meguiar's 205 with a Lake Country Black Finishing Pad since apparently I'm out of the White Polishing Pads that I normally use for that step. Doing this with a cheapo Harbor Freight orbital
In most cases this yields GREAT results, especially when finished with Chemical Guys' Deep Reflections XP (also, no longer available) as I've done on my M3
Before:
After:
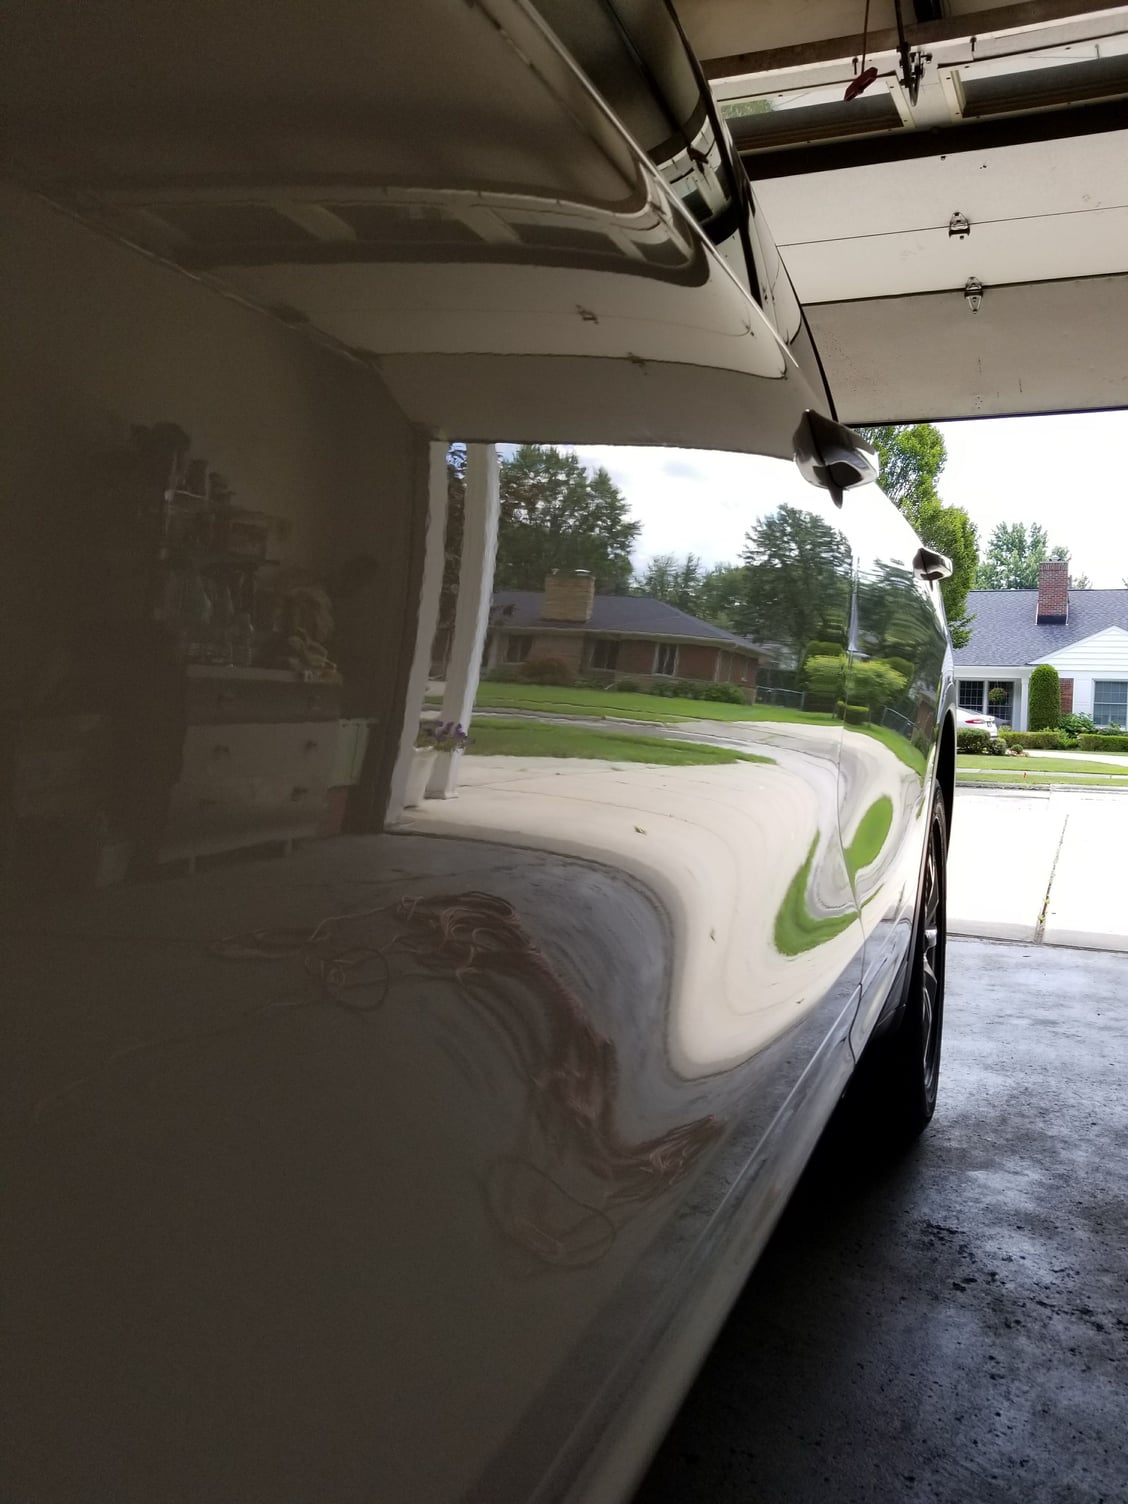
BUT in the case of this, to be perfect it definitely would have needed a heavy cutting compound with a wool pad on a rotary polisher or wet-sanded to start with. I just couldn't justify all that (or finishing with my beloved and now-unavailable final glaze) with this being my every day vehicle that will be used offroad.
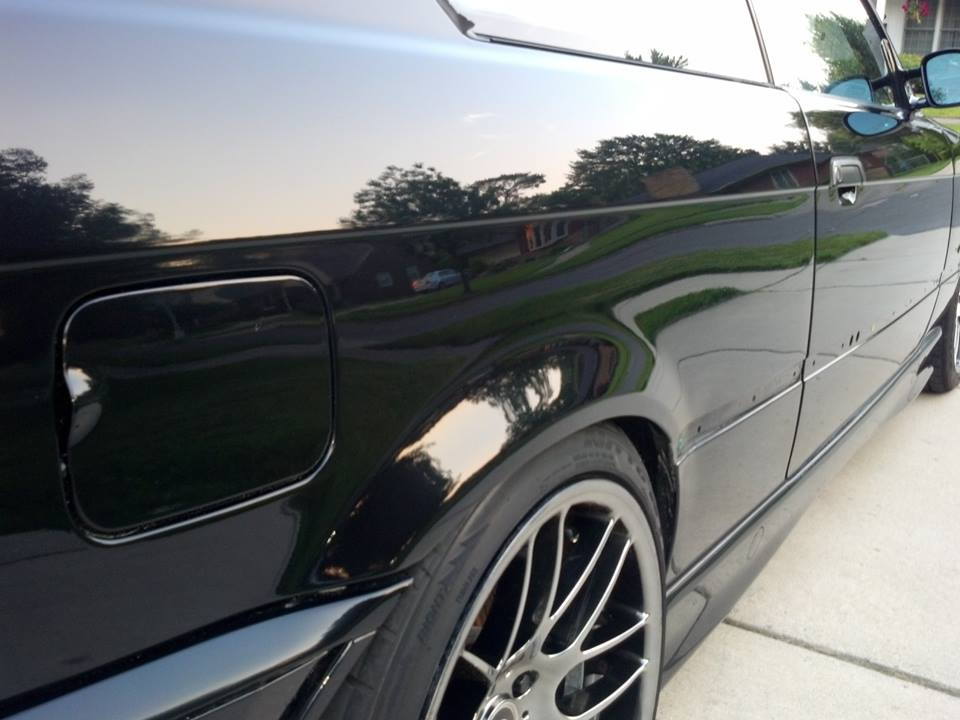
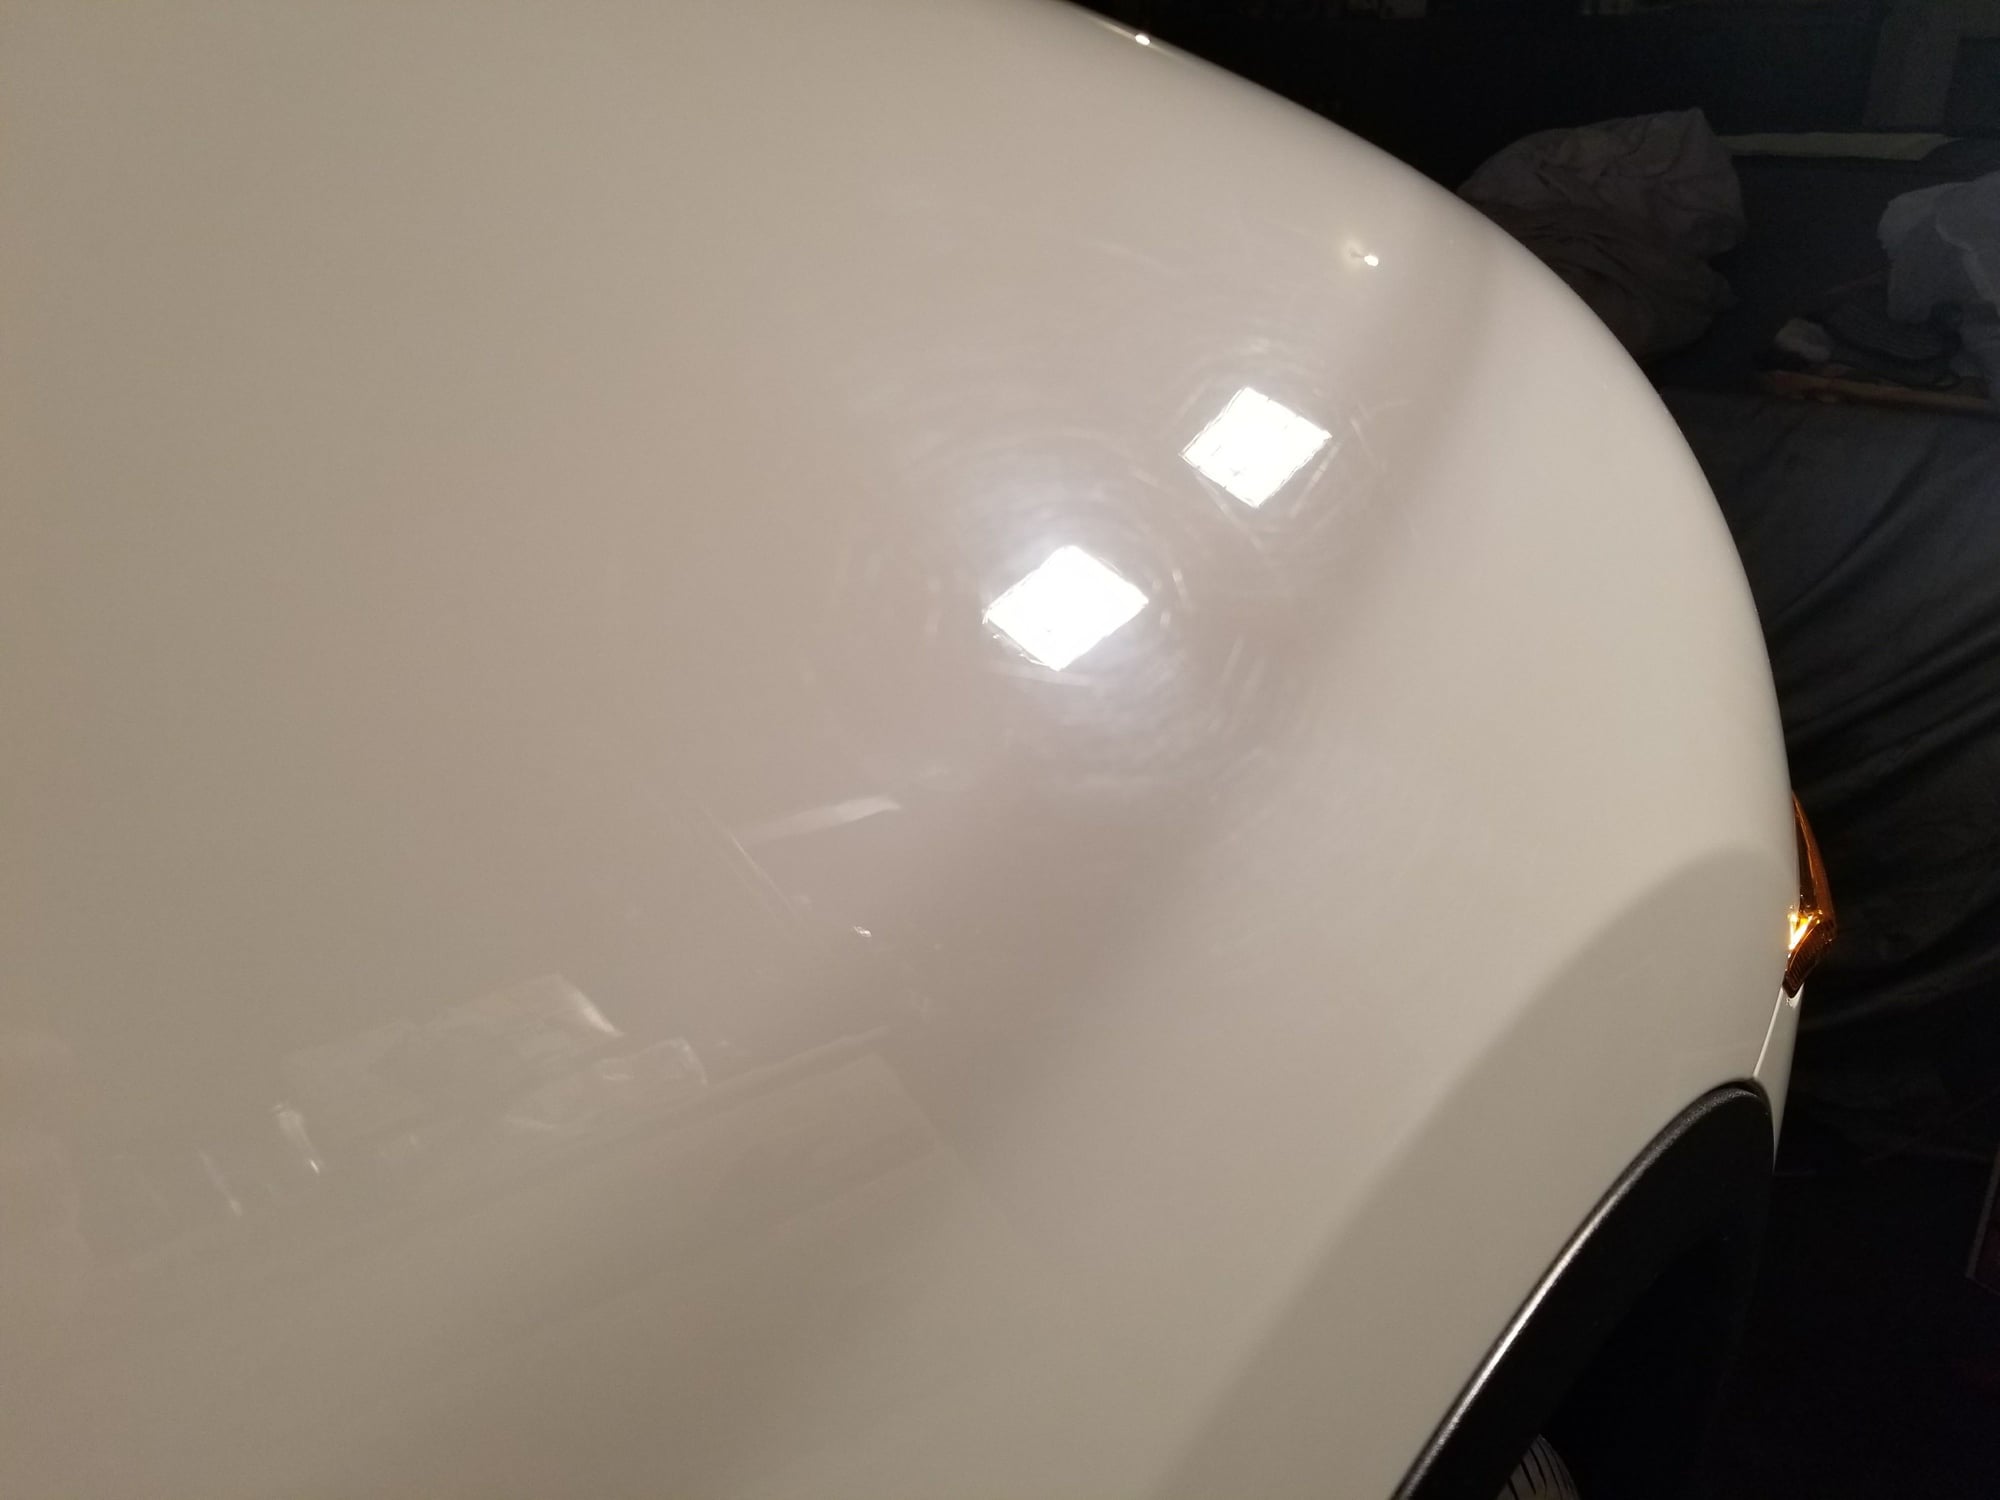
Photo I got from the 2nd step before both bulbs in my light died:
Shot of the driver's side (after 2nd step):
The wax definitely gave it some pop and smoothed over some more of the light scratches. It was dark out by the time I got done, ate something and cleaned up, so no decent pictures of the finished product until tomorrow. I'll probably give it another coat in a week or two, even though one good coat of
will last about a year. It's not the easiest stuff to work with, and it doesn't quite give the shine of a carnauba wax, but the water and contamination repelling properties of this stuff are definitely worth it. Worth going a little... overboard... right? HA (that was bad, I know) I'm also likely ordering some of the TopCoat F11 stuff that's creating a decent buzz on the internet.
Also, my gear oil for the diffs came today, and the Ravenol should be here tomorrow.
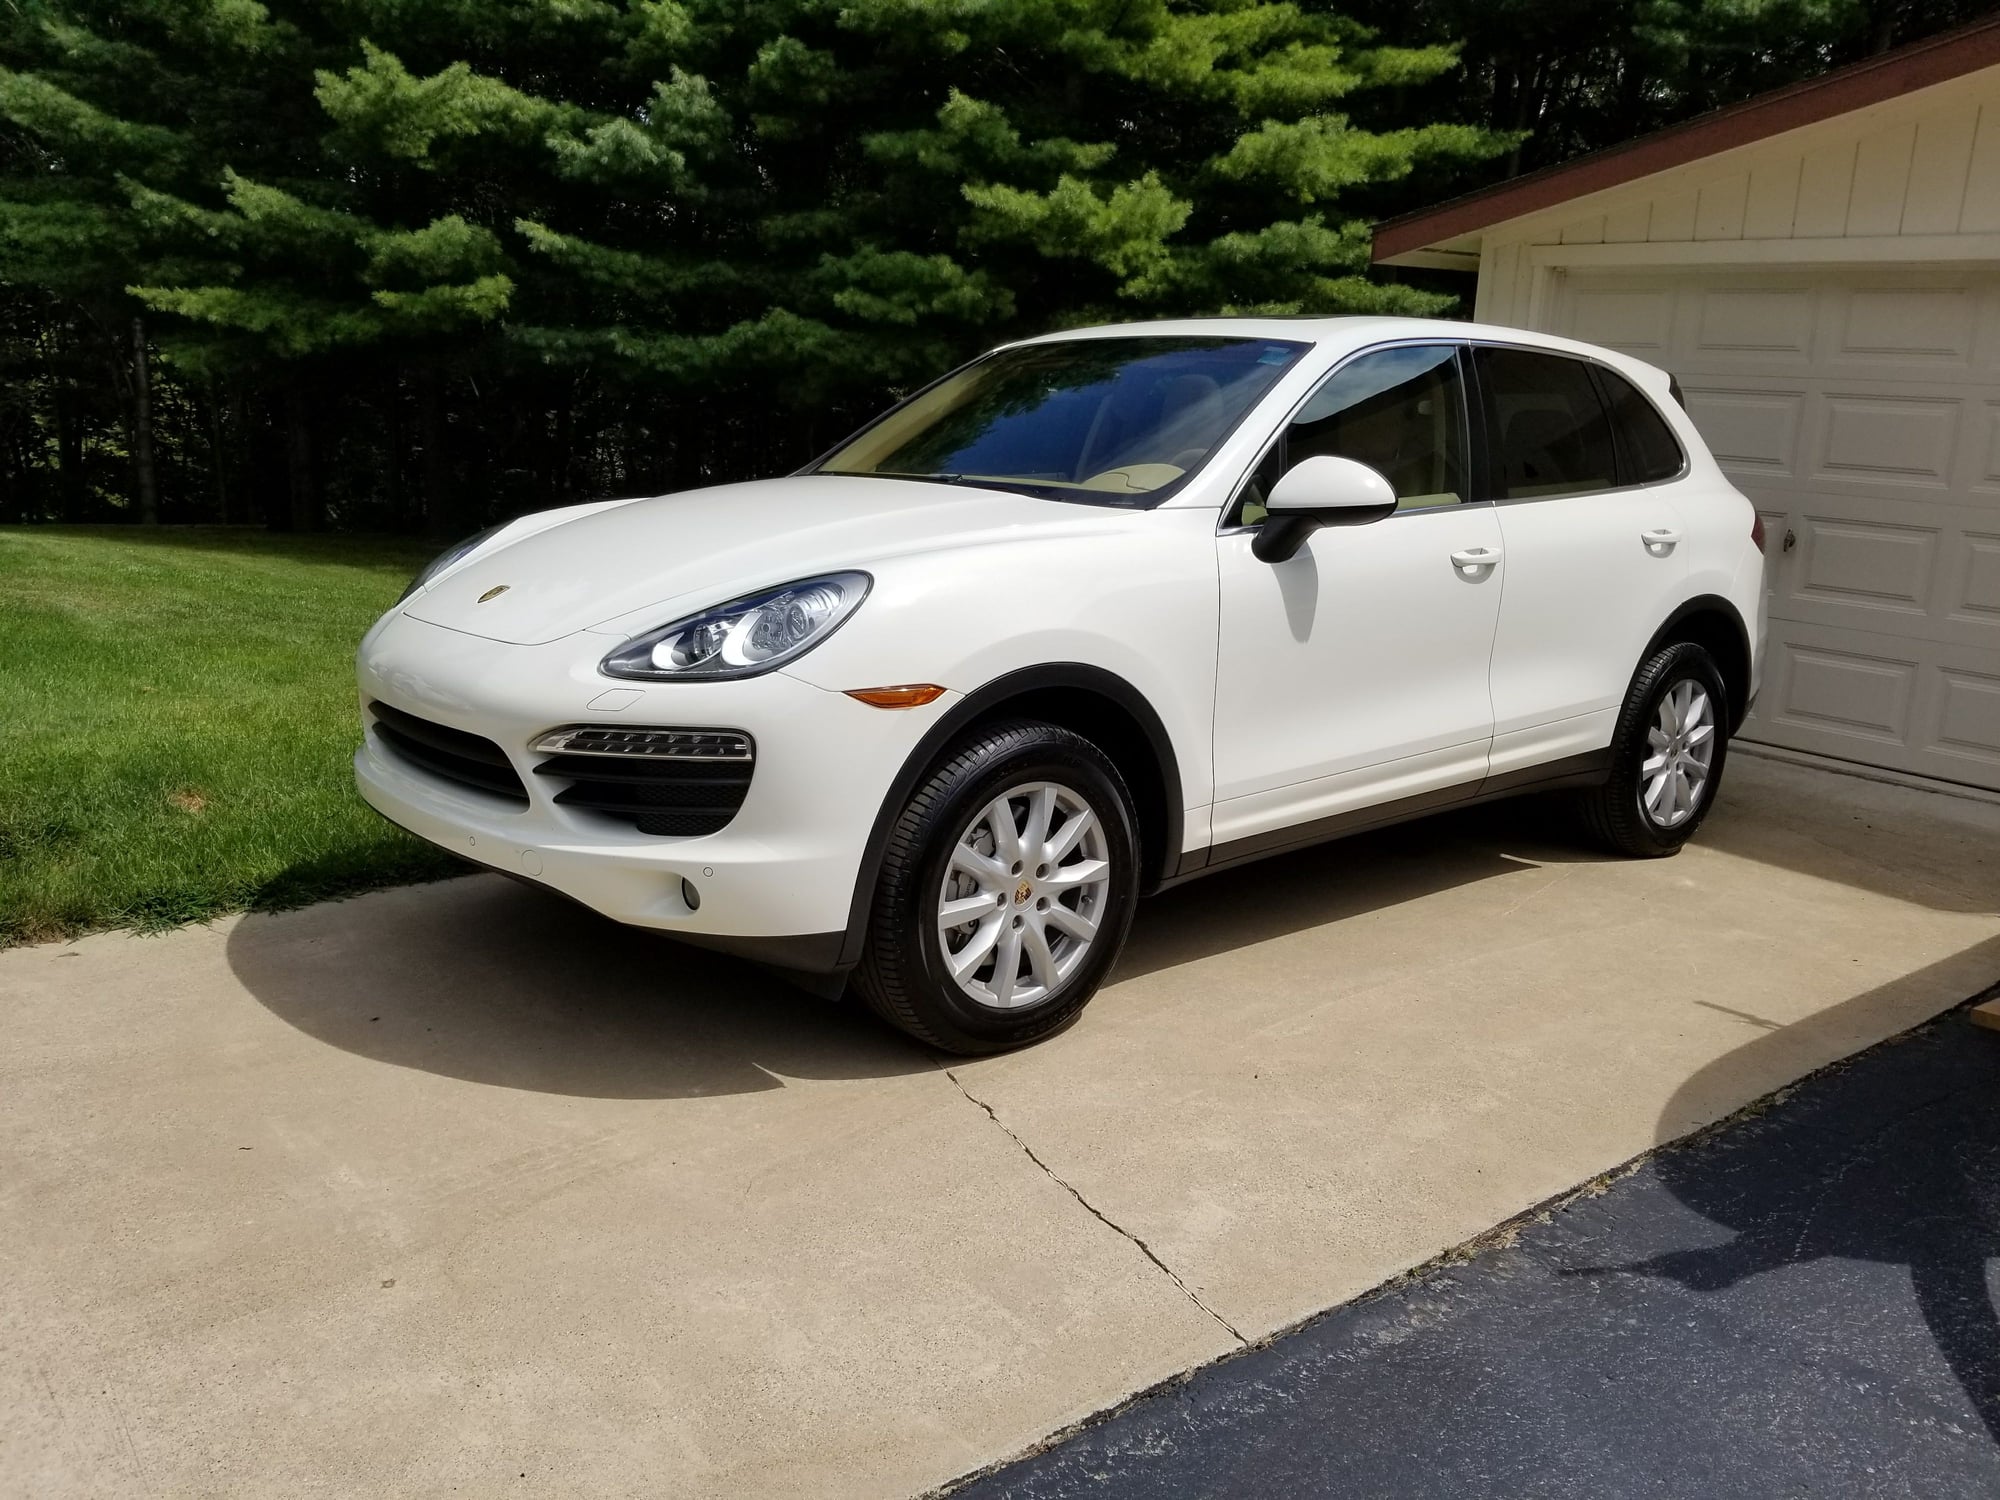
Well, here's the photos of it all done. fortunately it was pretty nice out today.
Close-up of the right front fender, where I took the rest of the close-ups, but in direct sunlight:
Fresh out of the garage:
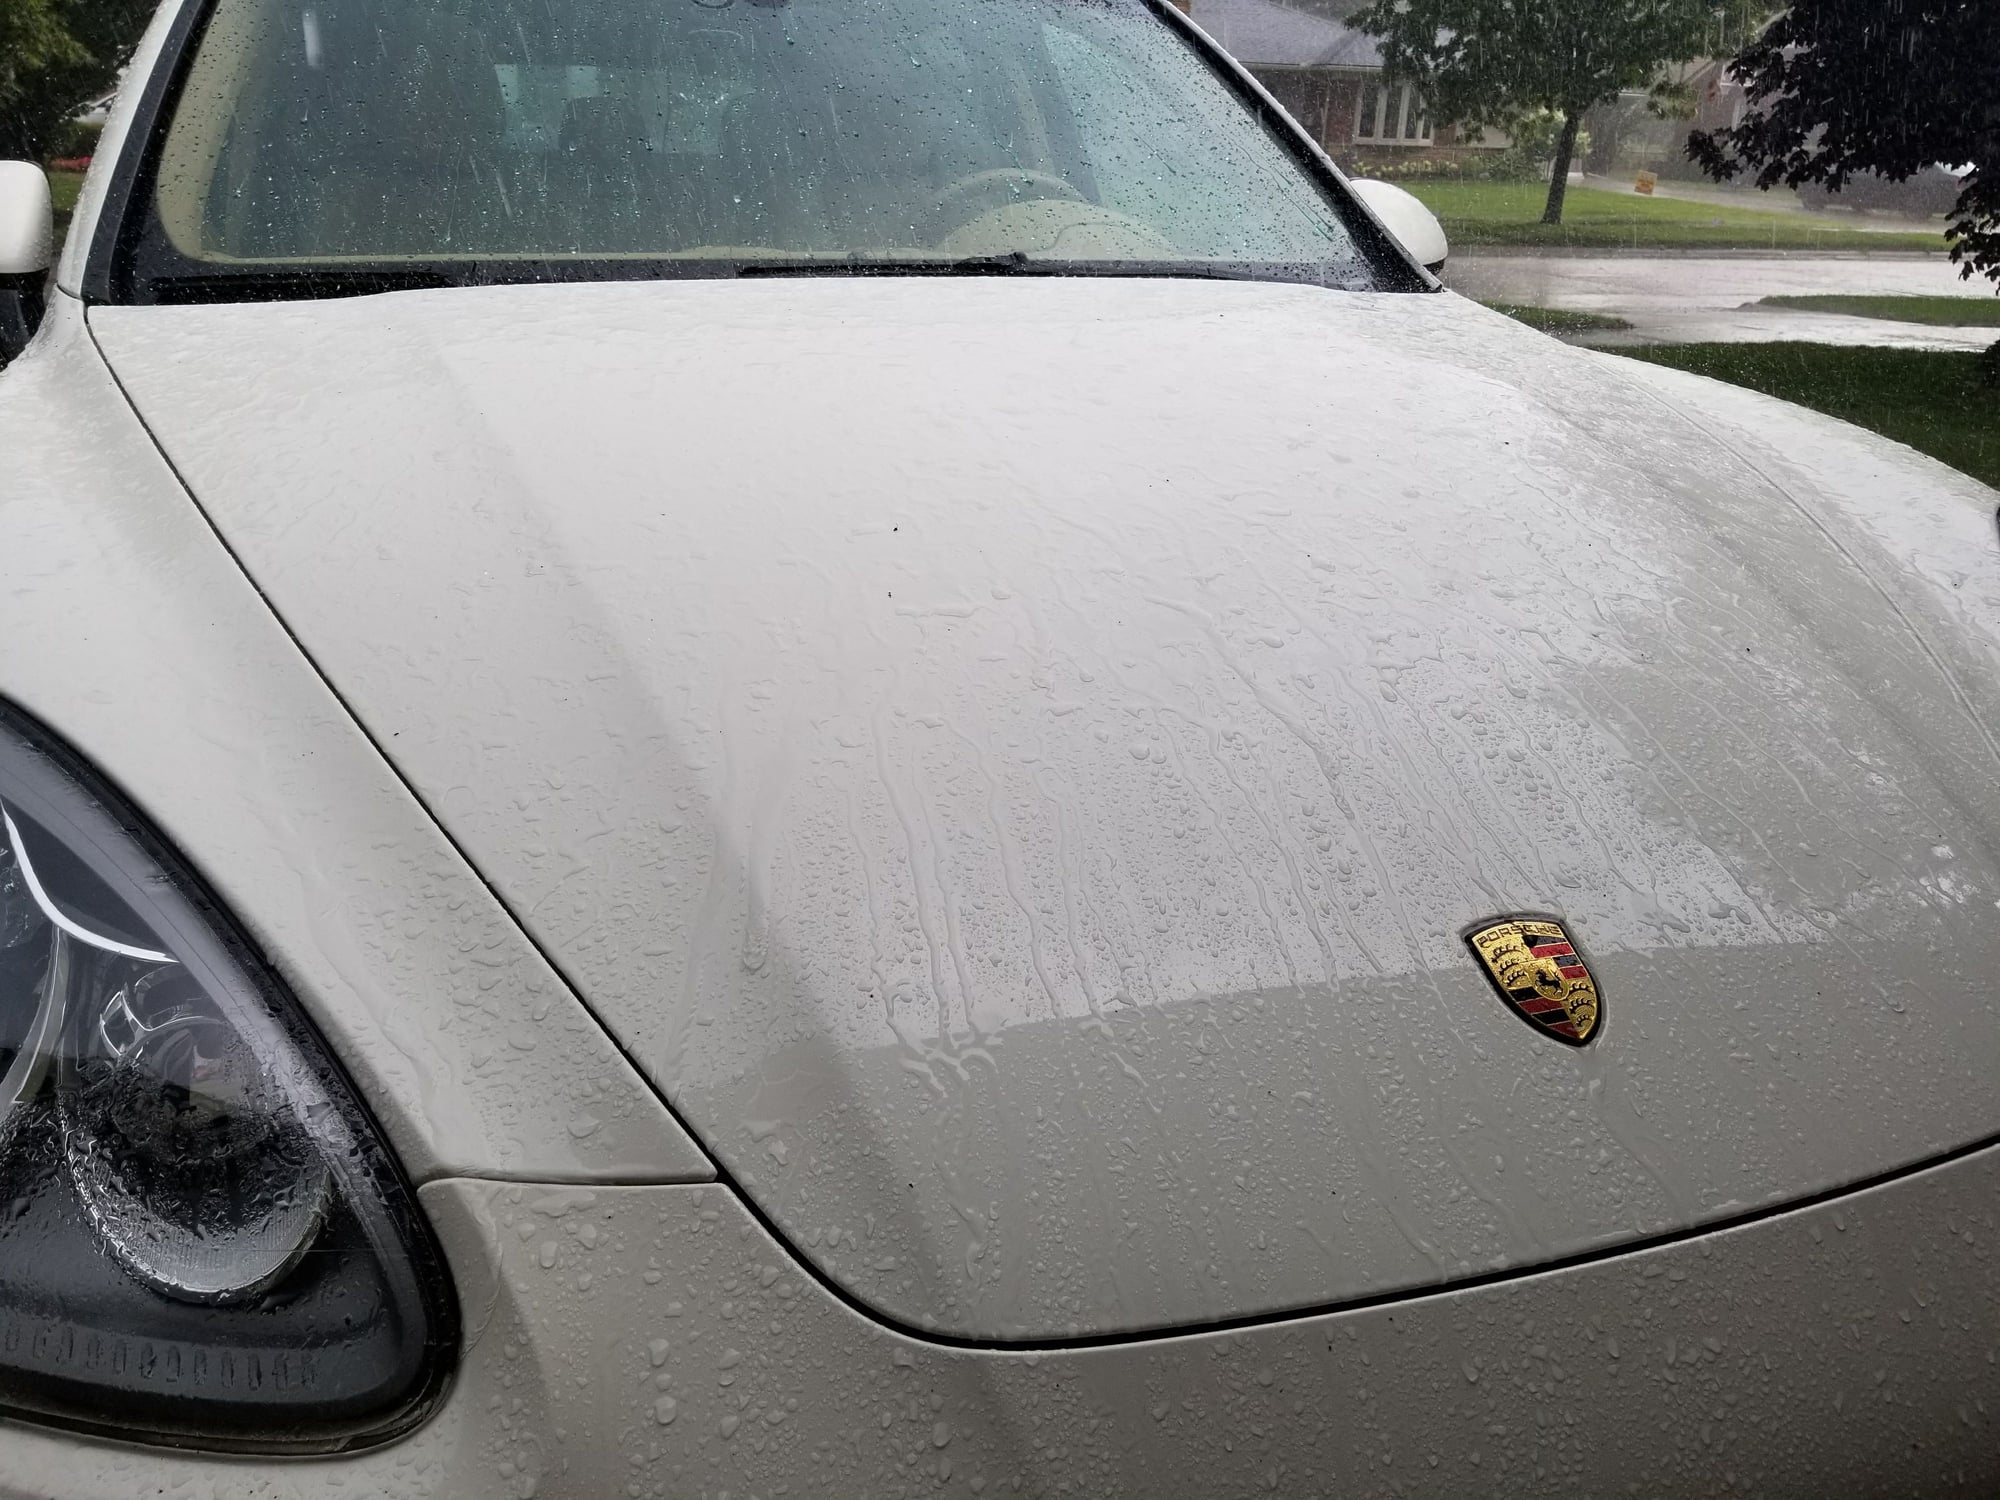
After a roughly 50-mile drive. Resisted bugs pretty well and didn't let dust or road dirt hang on:
I forgot to mention, I also tried a coat ofPoorboy's Wheel Sealant on the wheels. Left a nice shine, will report back with how well it keeps brake dust off and ease of cleaning.
So how did the wheel sealant work? I'm anxious to hear...I imagine other enemies of wheel dust on this forum are, too!
Great work and photos, BTW!
TXCOMT
Oops, completely forgot to share my experiences with that!
It worked great! Not long after doing this when I gave it a quick wash, I threw some more on the front wheels, and didn't touch the rears. After a few days' driving the rears were actually dirtier than the fronts. My only sorta-gripe with it is that it's not the most resilient, after a couple uses of my usual wheel cleaner it doesn't really hold up after that. I also use a barely-diluted heavy-duty concentrated wheel cleaner, so take that as you will.
Evidently later vehicles' brakes emit much less dust, as observed having a Macan loaner for a few weeks that showed almost nothing on the wheels, my guess is this will be perfect for those. The wheels on my Cayenne are nearly black after 3 day's driving usually.
OK, good to know...BTW, my better half and I just traded her '11 base for a '14 S; both those cars and yours look almost exactly the same...of course, our old car had plenty of dust on the wheels, thus my question about the sealant. Thanks for sharing!
Yeah, mine bounces. It takes away from the precision look of the cluster. Another forum member said the 'fix' was for the dealer to order a new gauge cluster from Germany, as they're somewhat specific to the options ordered with the vehicle. Big $$$$ for a cosmetic issue.
Yeah, that was mine. When I took it in earlier this year for a new transfer case, I also mentioned the somewhat erratic behavior of the tach needle. After diagnostics, new instrument cluster required. If not under warranty, I would have just lived with it. The instrument cluster had to be special ordered from the factory in Germany (specific to the VIN). Took over 2 months to get to the dealer, and the cost is little north of $3k! Thank you warranty! That did fix it however.

 08-07-2017, 08:45 PM


 so that's going to take some more work.