When you click on links to various merchants on this site and make a purchase, this can result in this site earning a commission. Affiliate programs and affiliations include, but are not limited to, the eBay Partner Network.
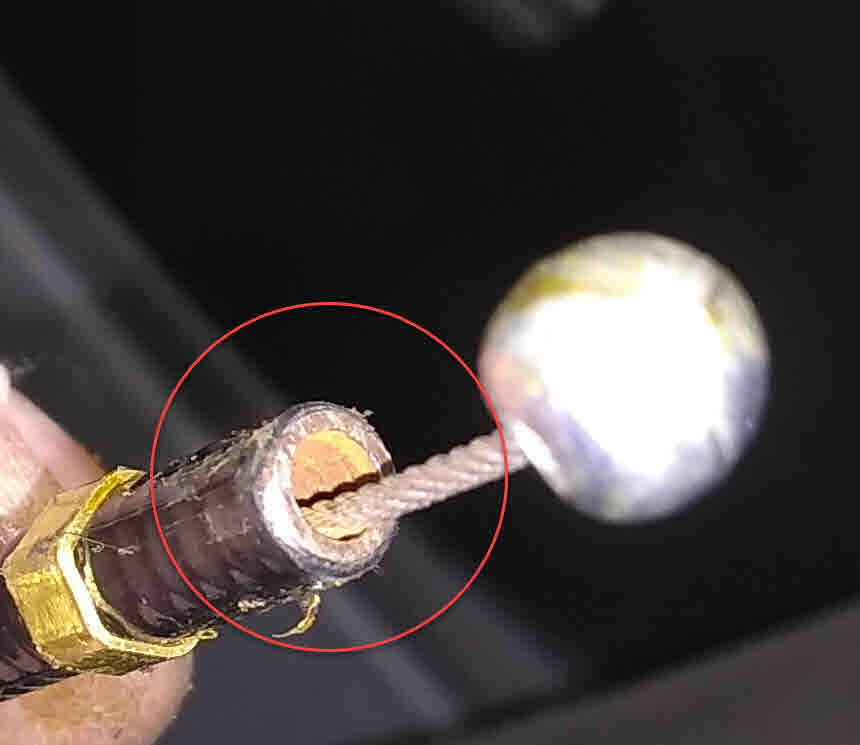
While opening the hood, I heard a scratching sound, hood opened and then the cable snapped. Got very lucky. I am inclined to recommend a look see at the failure point or perform a rear cable R&R at 8 years/100k miles. I did both cables. Front cable looked fine.
Reinstall is the reverse of the removal. No surprises.
Test your new install three times using a screw driver to set the latch locked before reinstalling the trim
Do it again after you get all the trim reinstalled
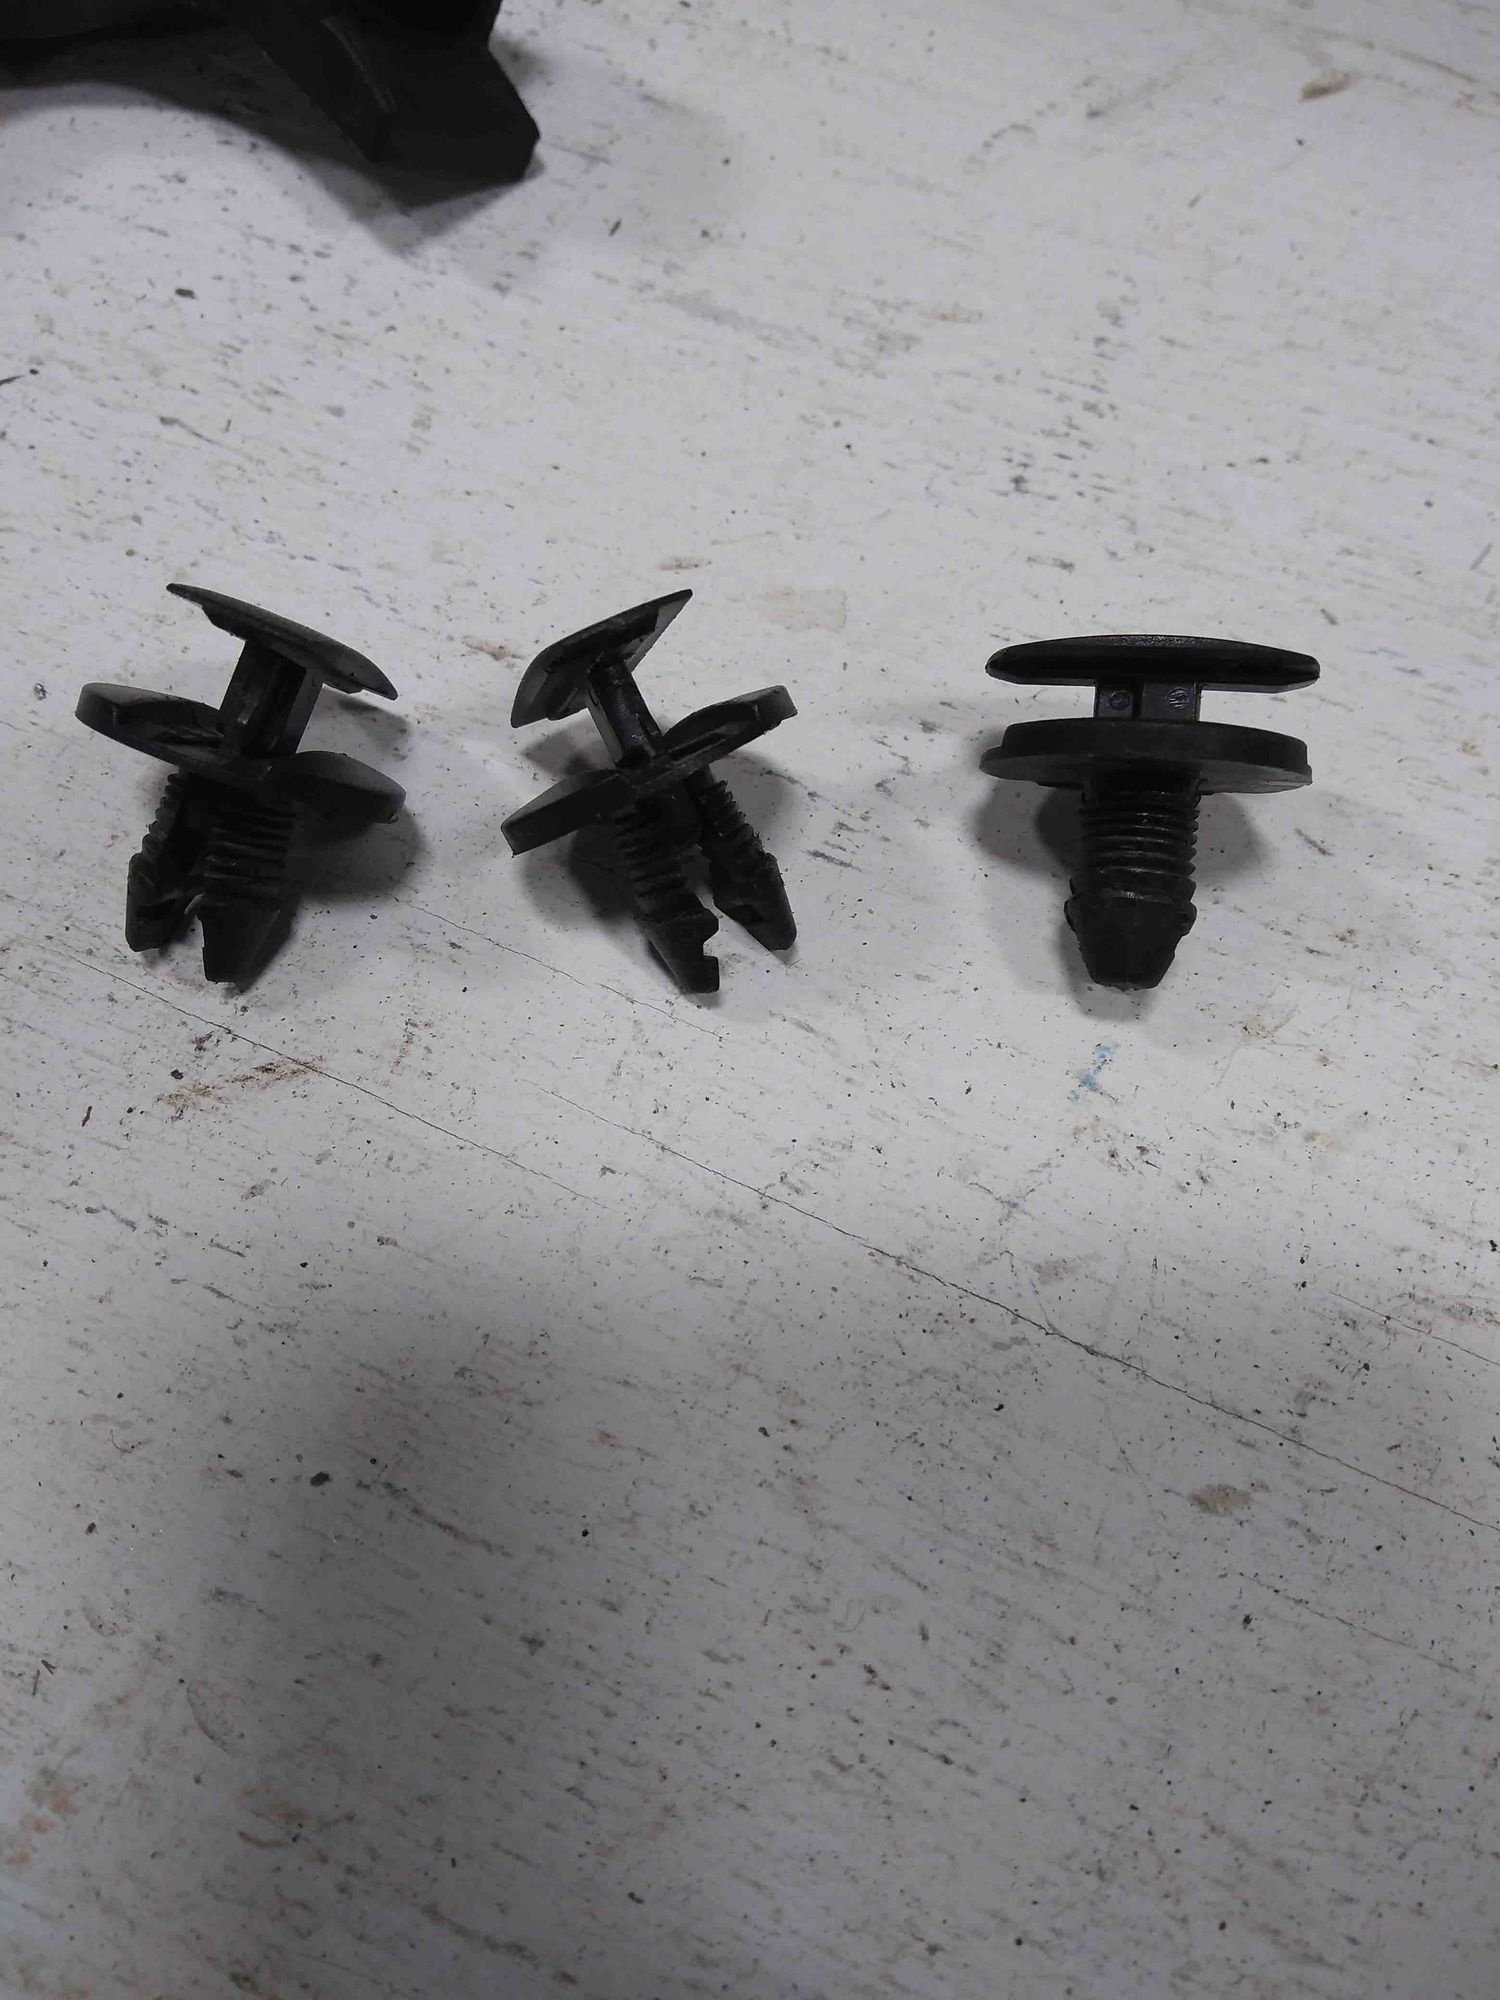
Parts:
958 511 535 00 Front cable. imprinted on the cable 7P5823535
958 511 531 02 Rear cable. imprinted on the cable 7P5823531
all totaled about $45
Tools:
torx bits
small screw driver
trim tools
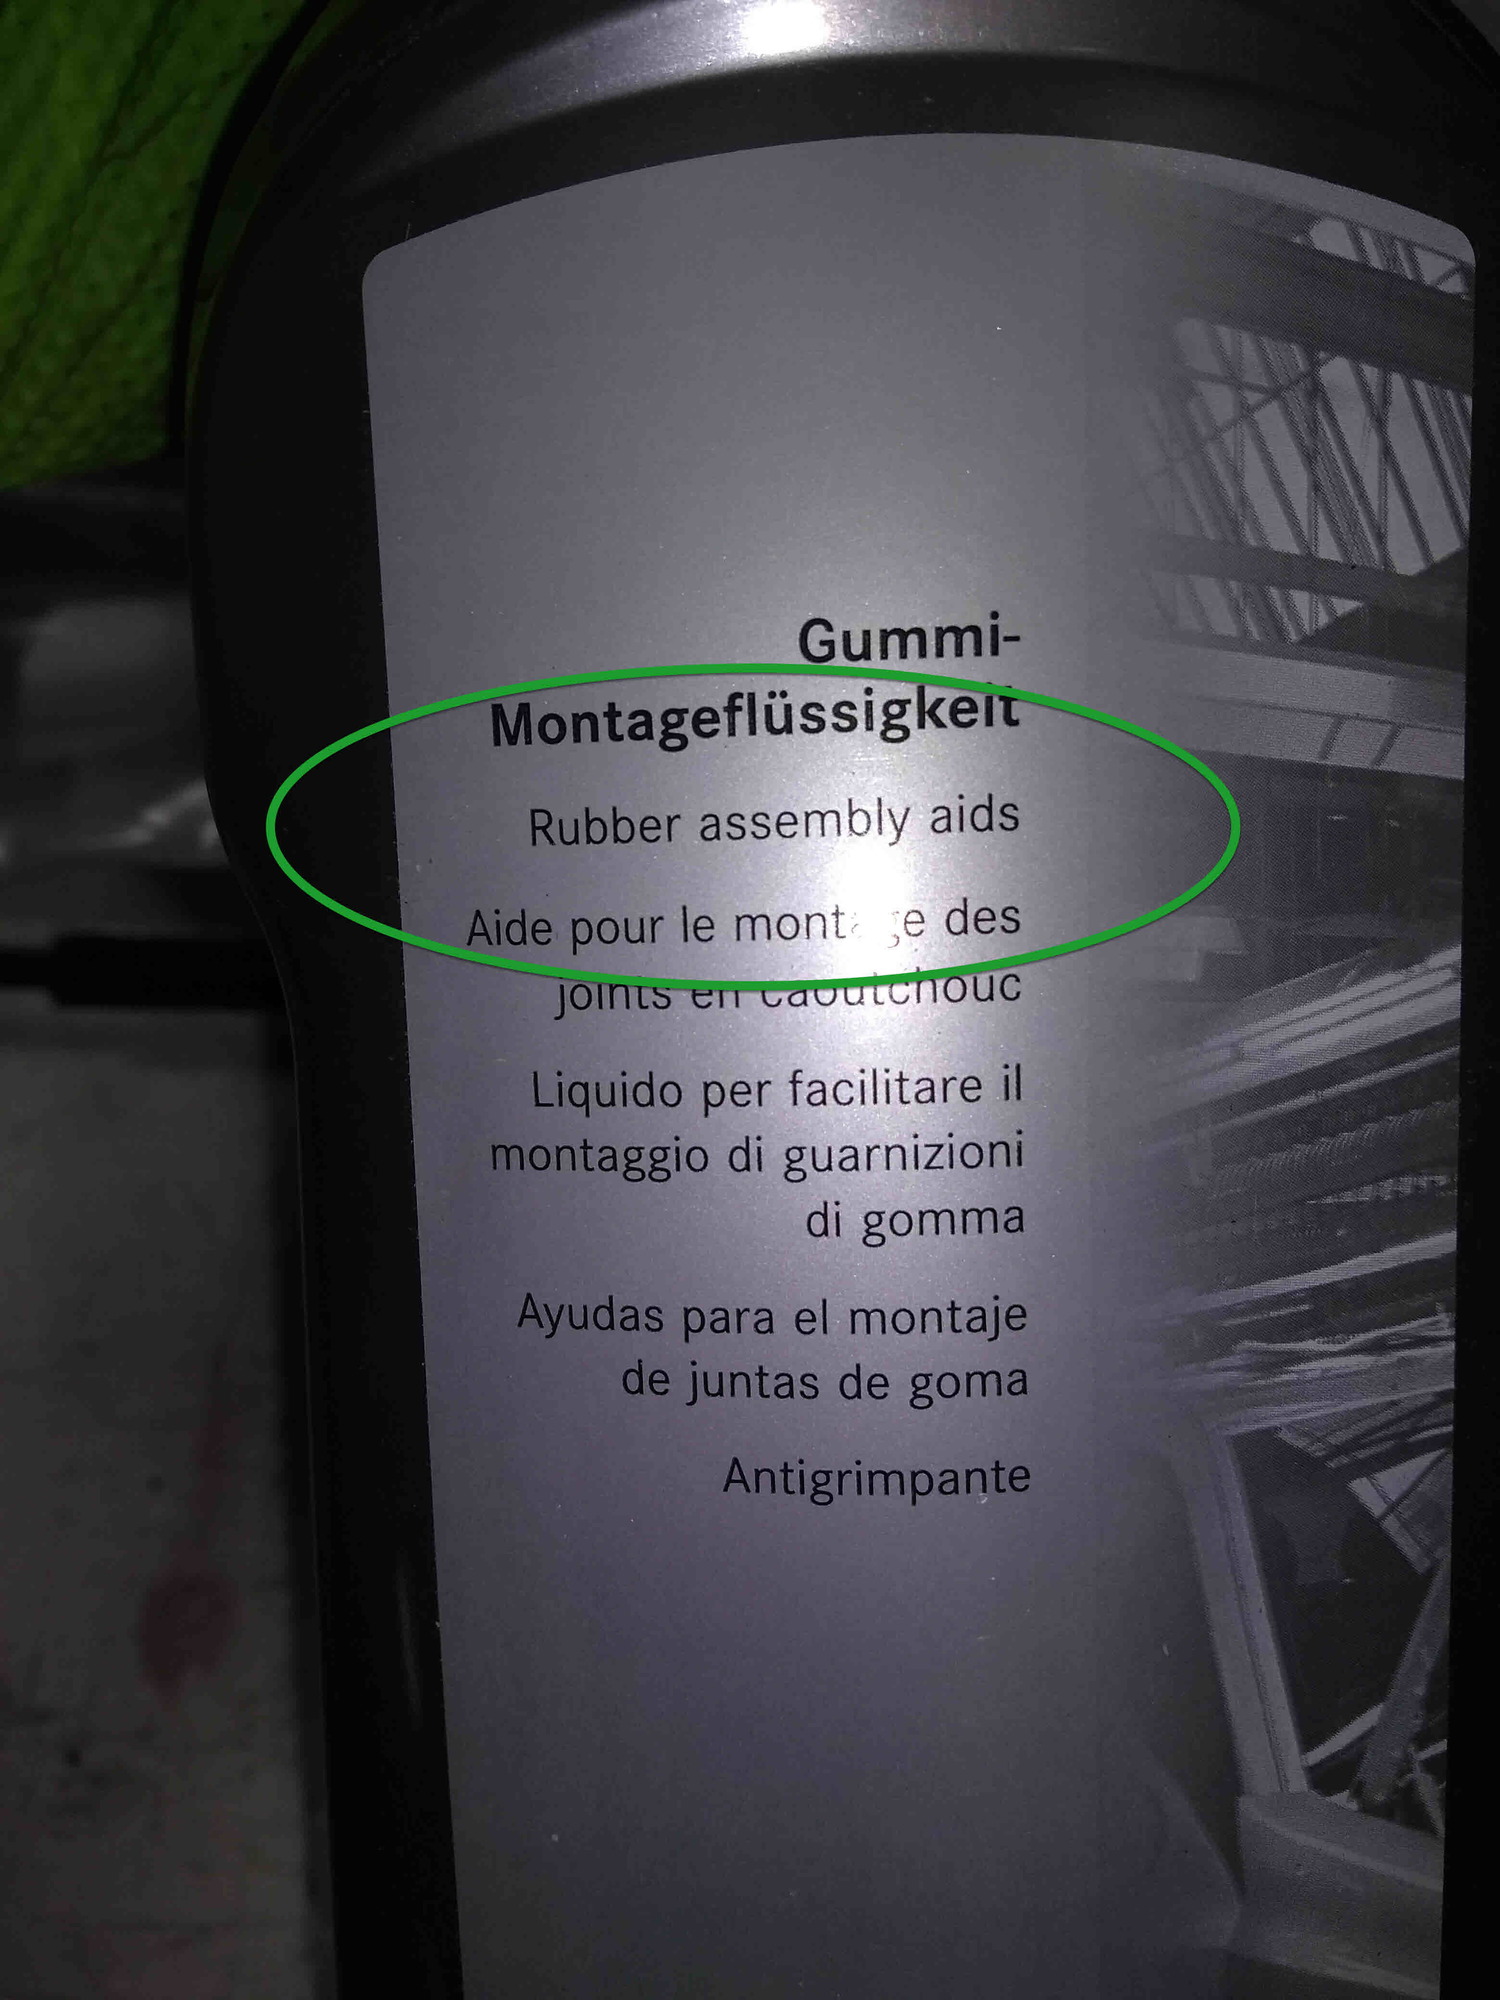
rubber lube
patience
spray lithium grease. Must be ultra pure natural synthetic or you will loose a 100 hp
patience and a sense of humor
All Data has this as .8 hour job. I took much much longer.
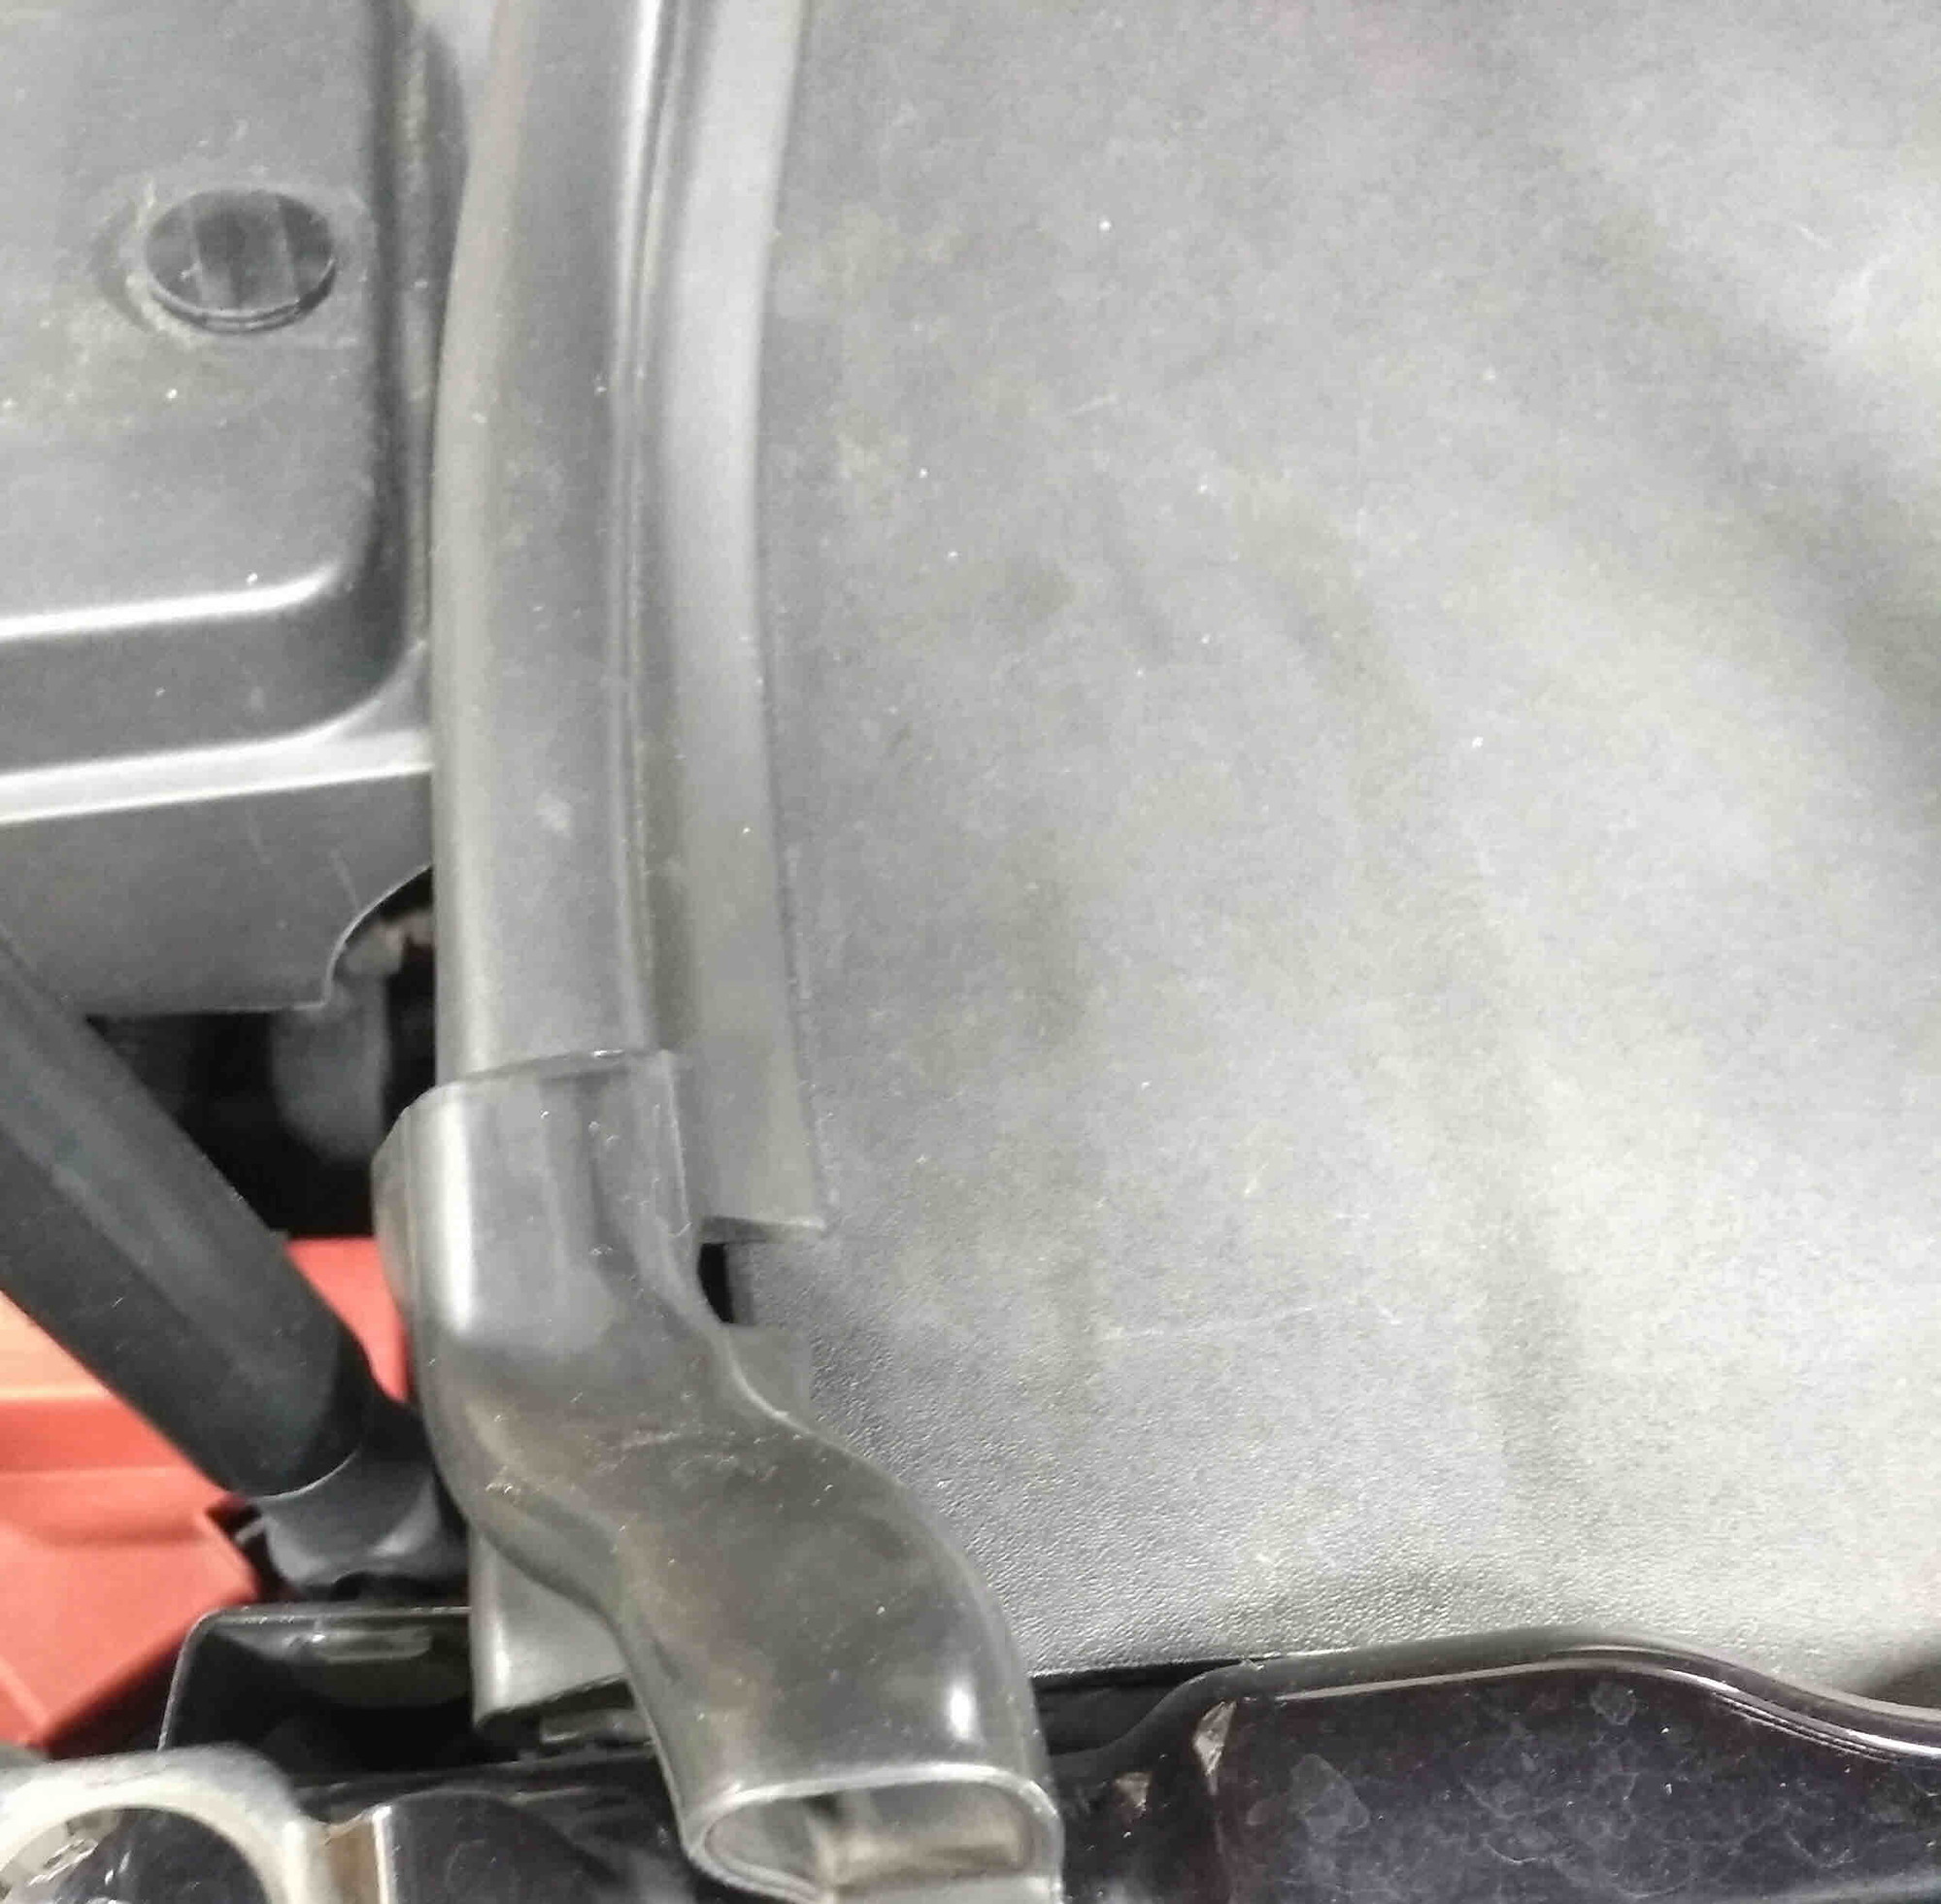
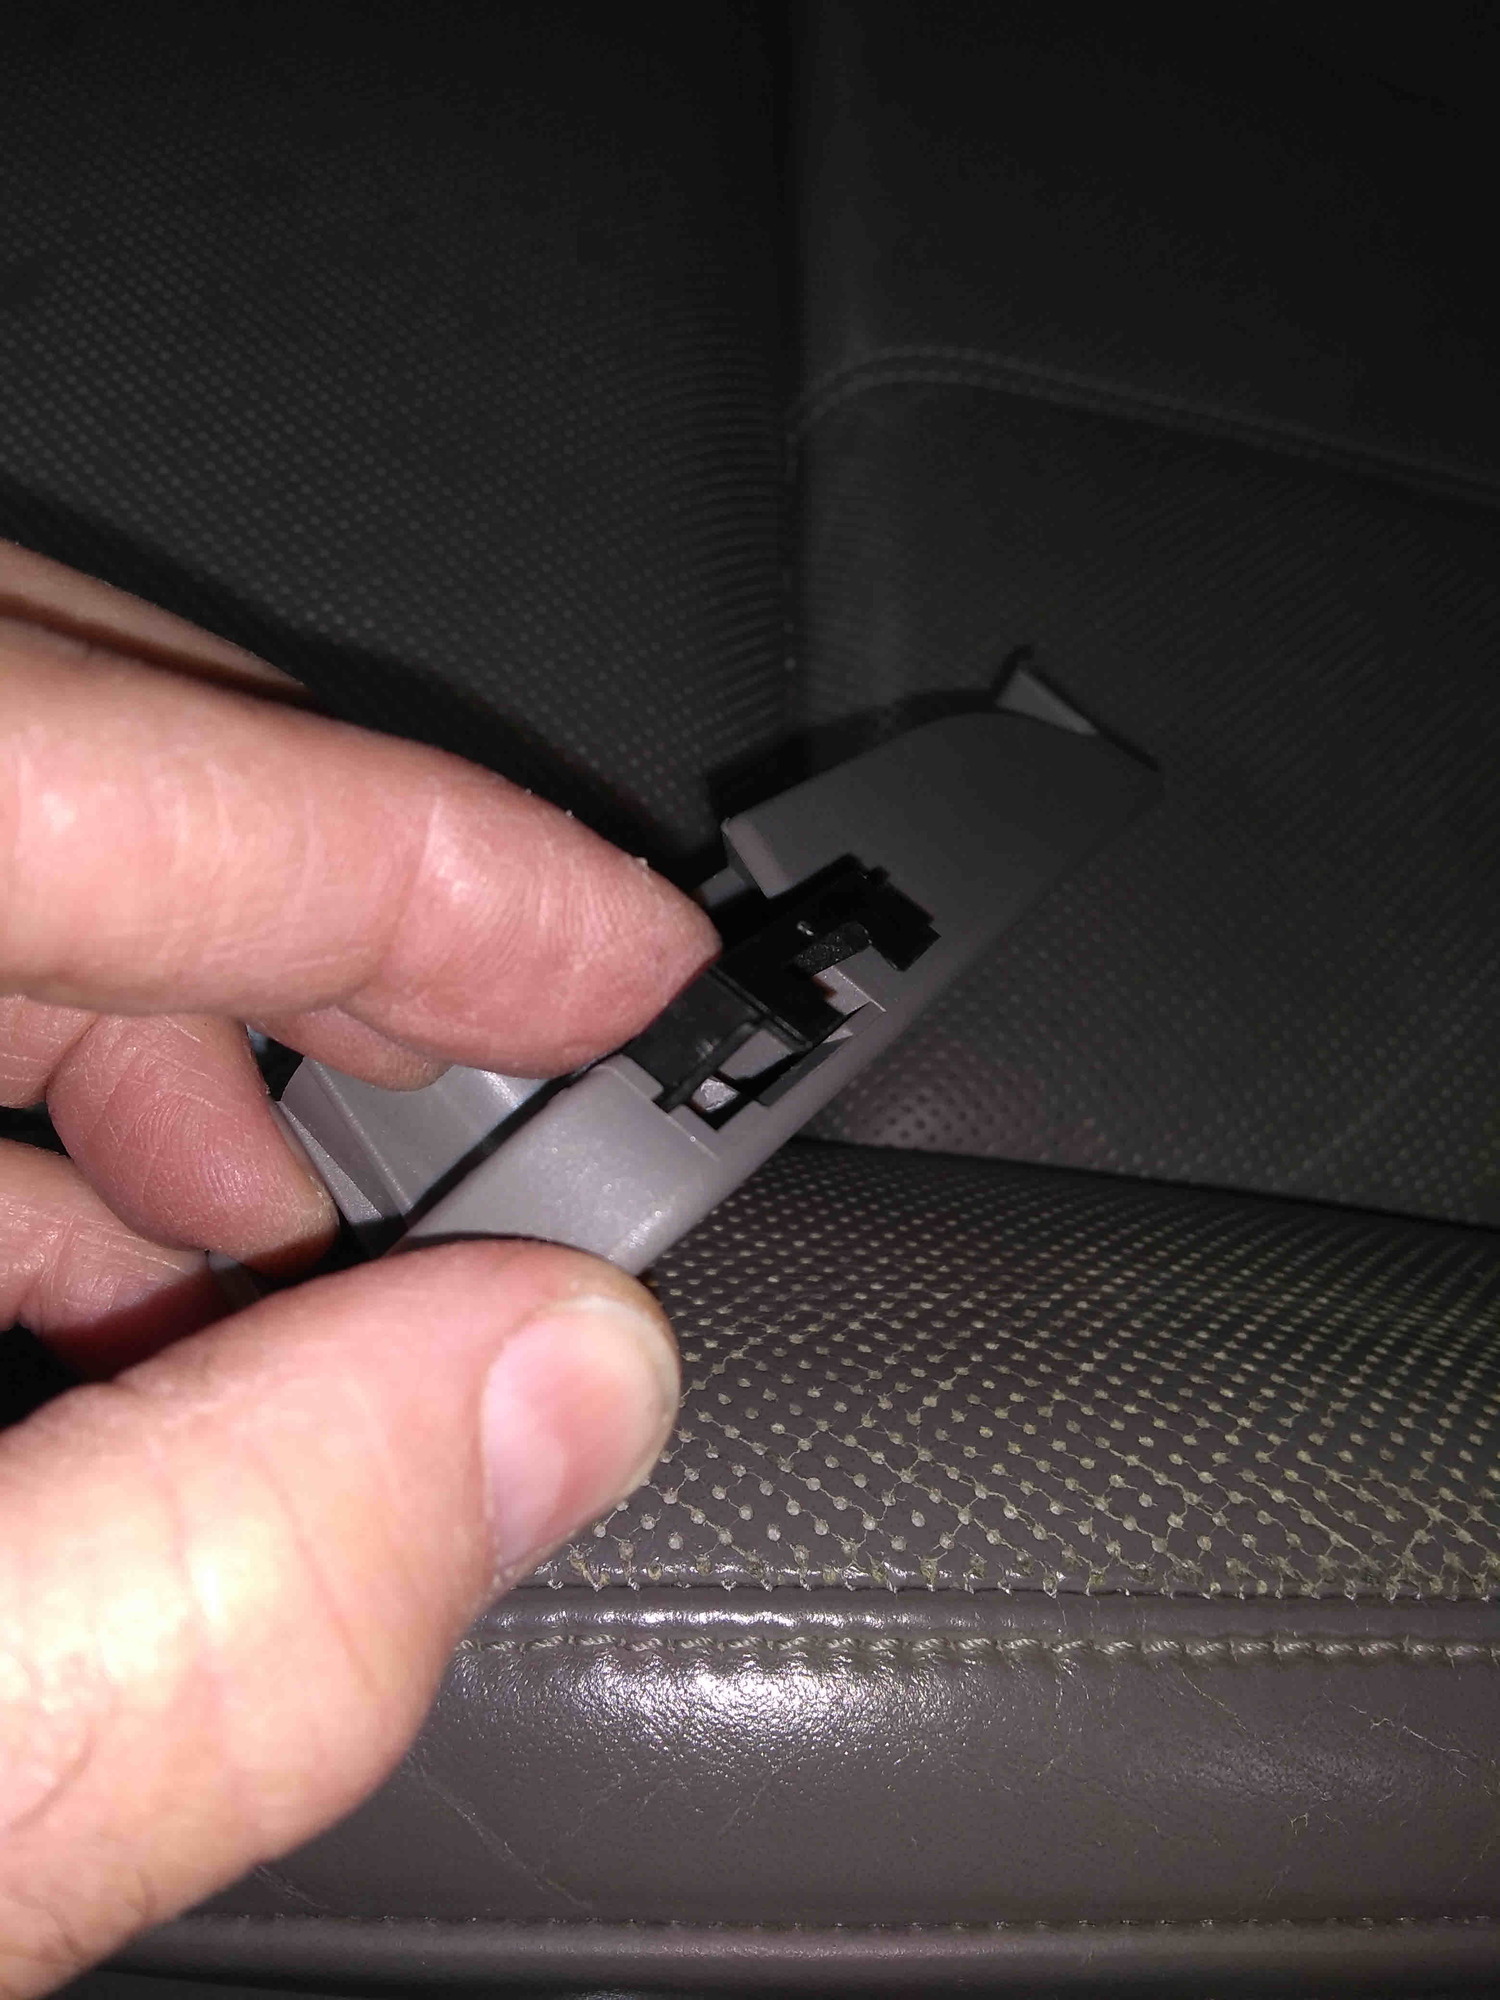
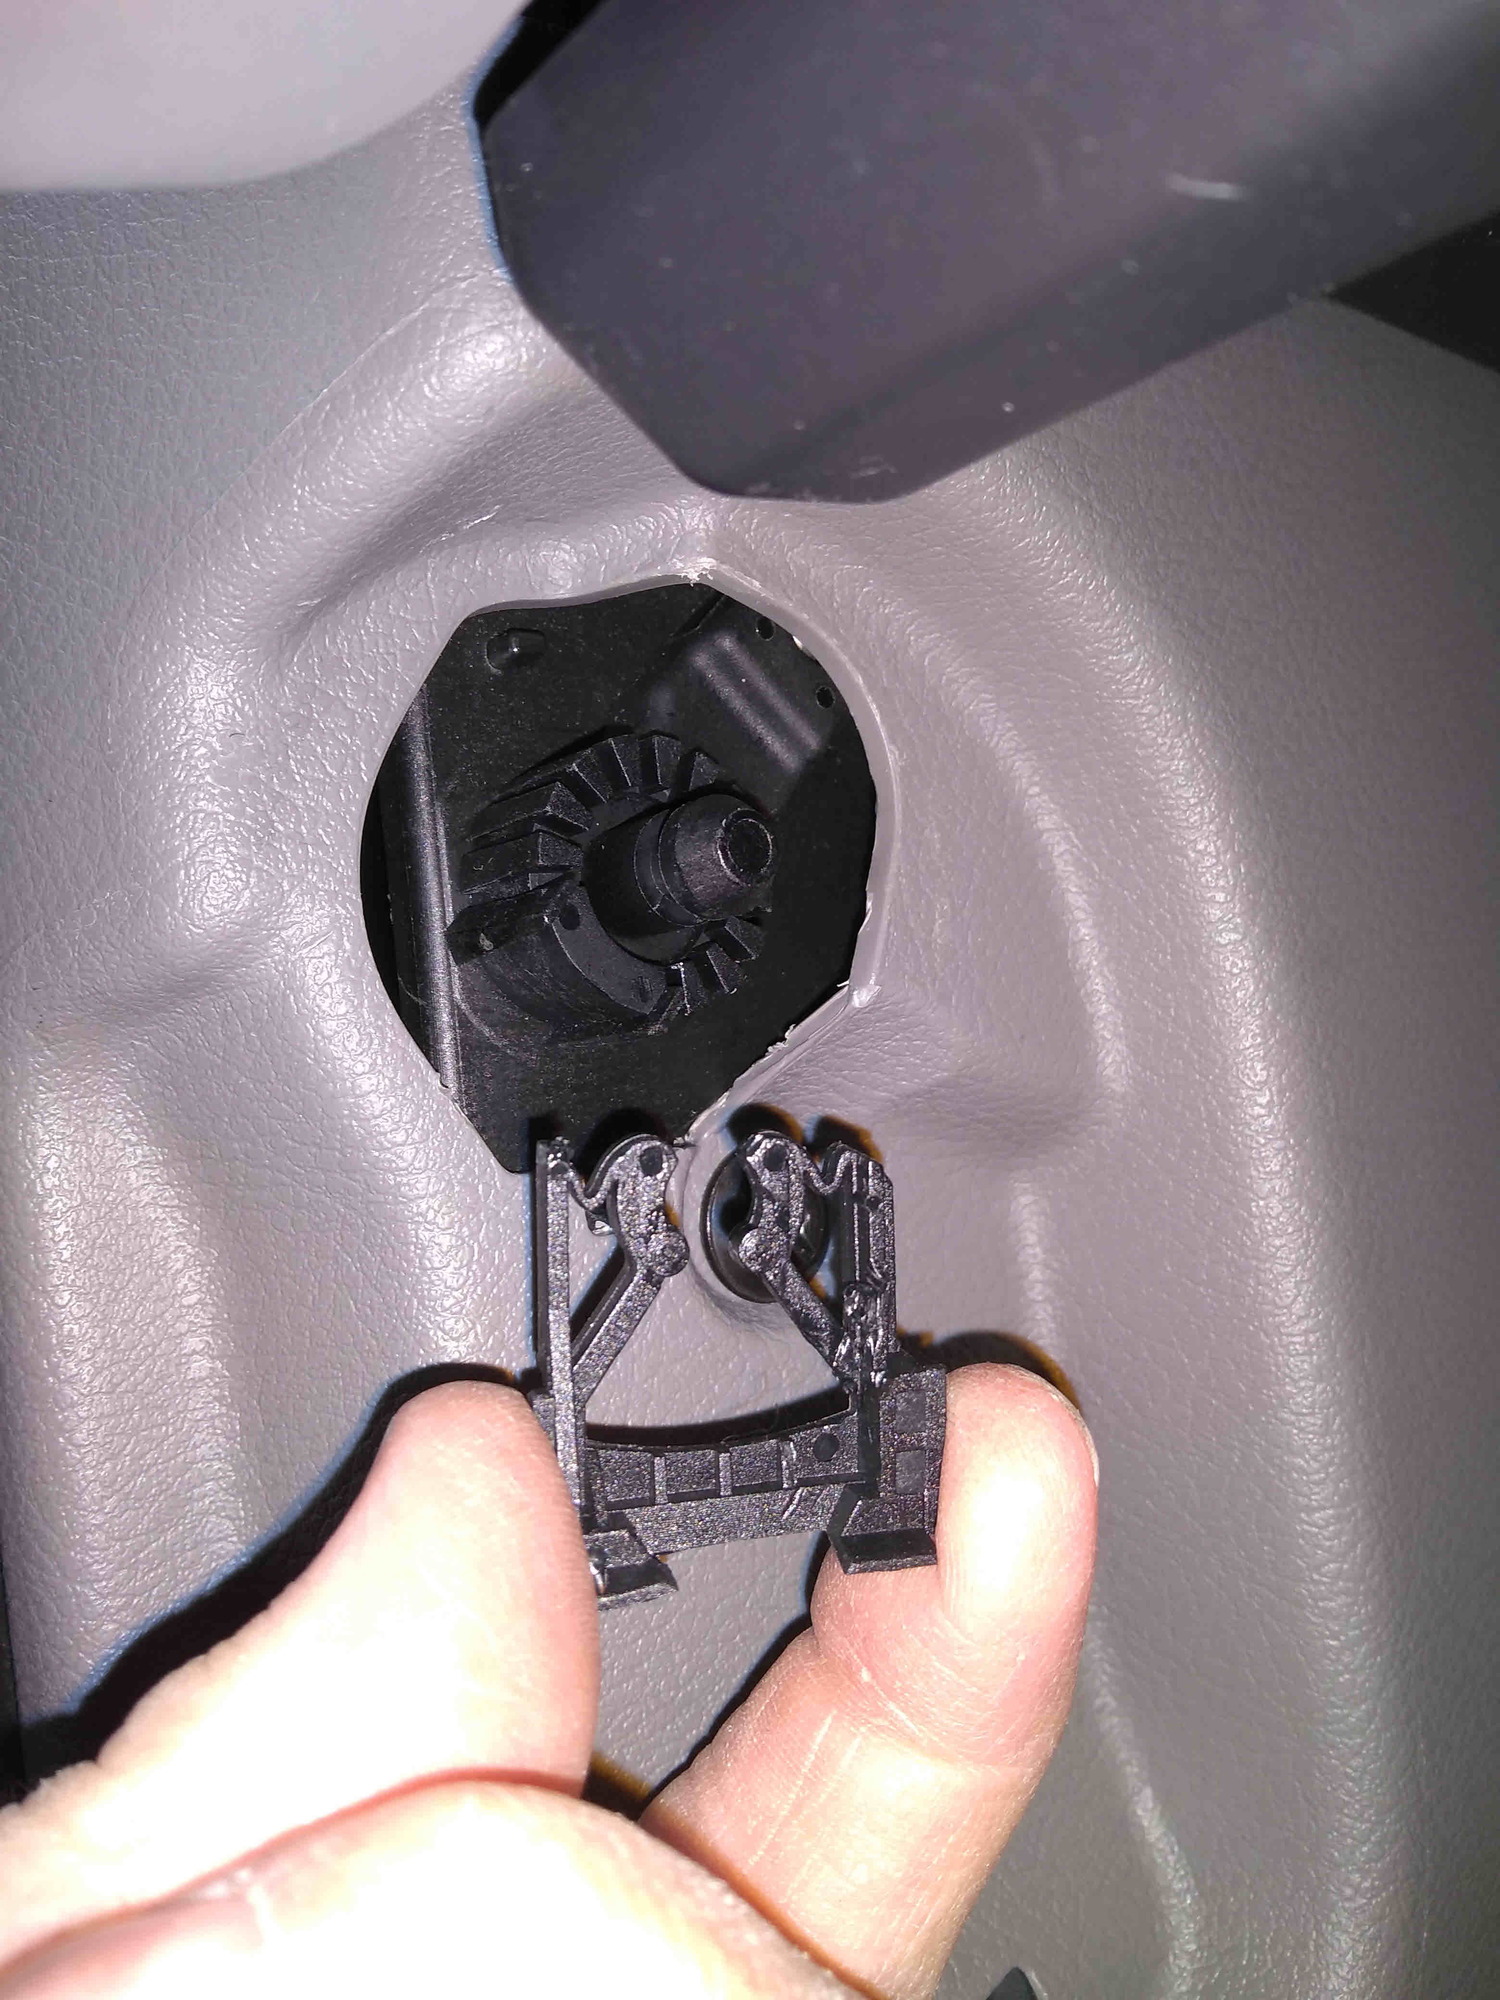
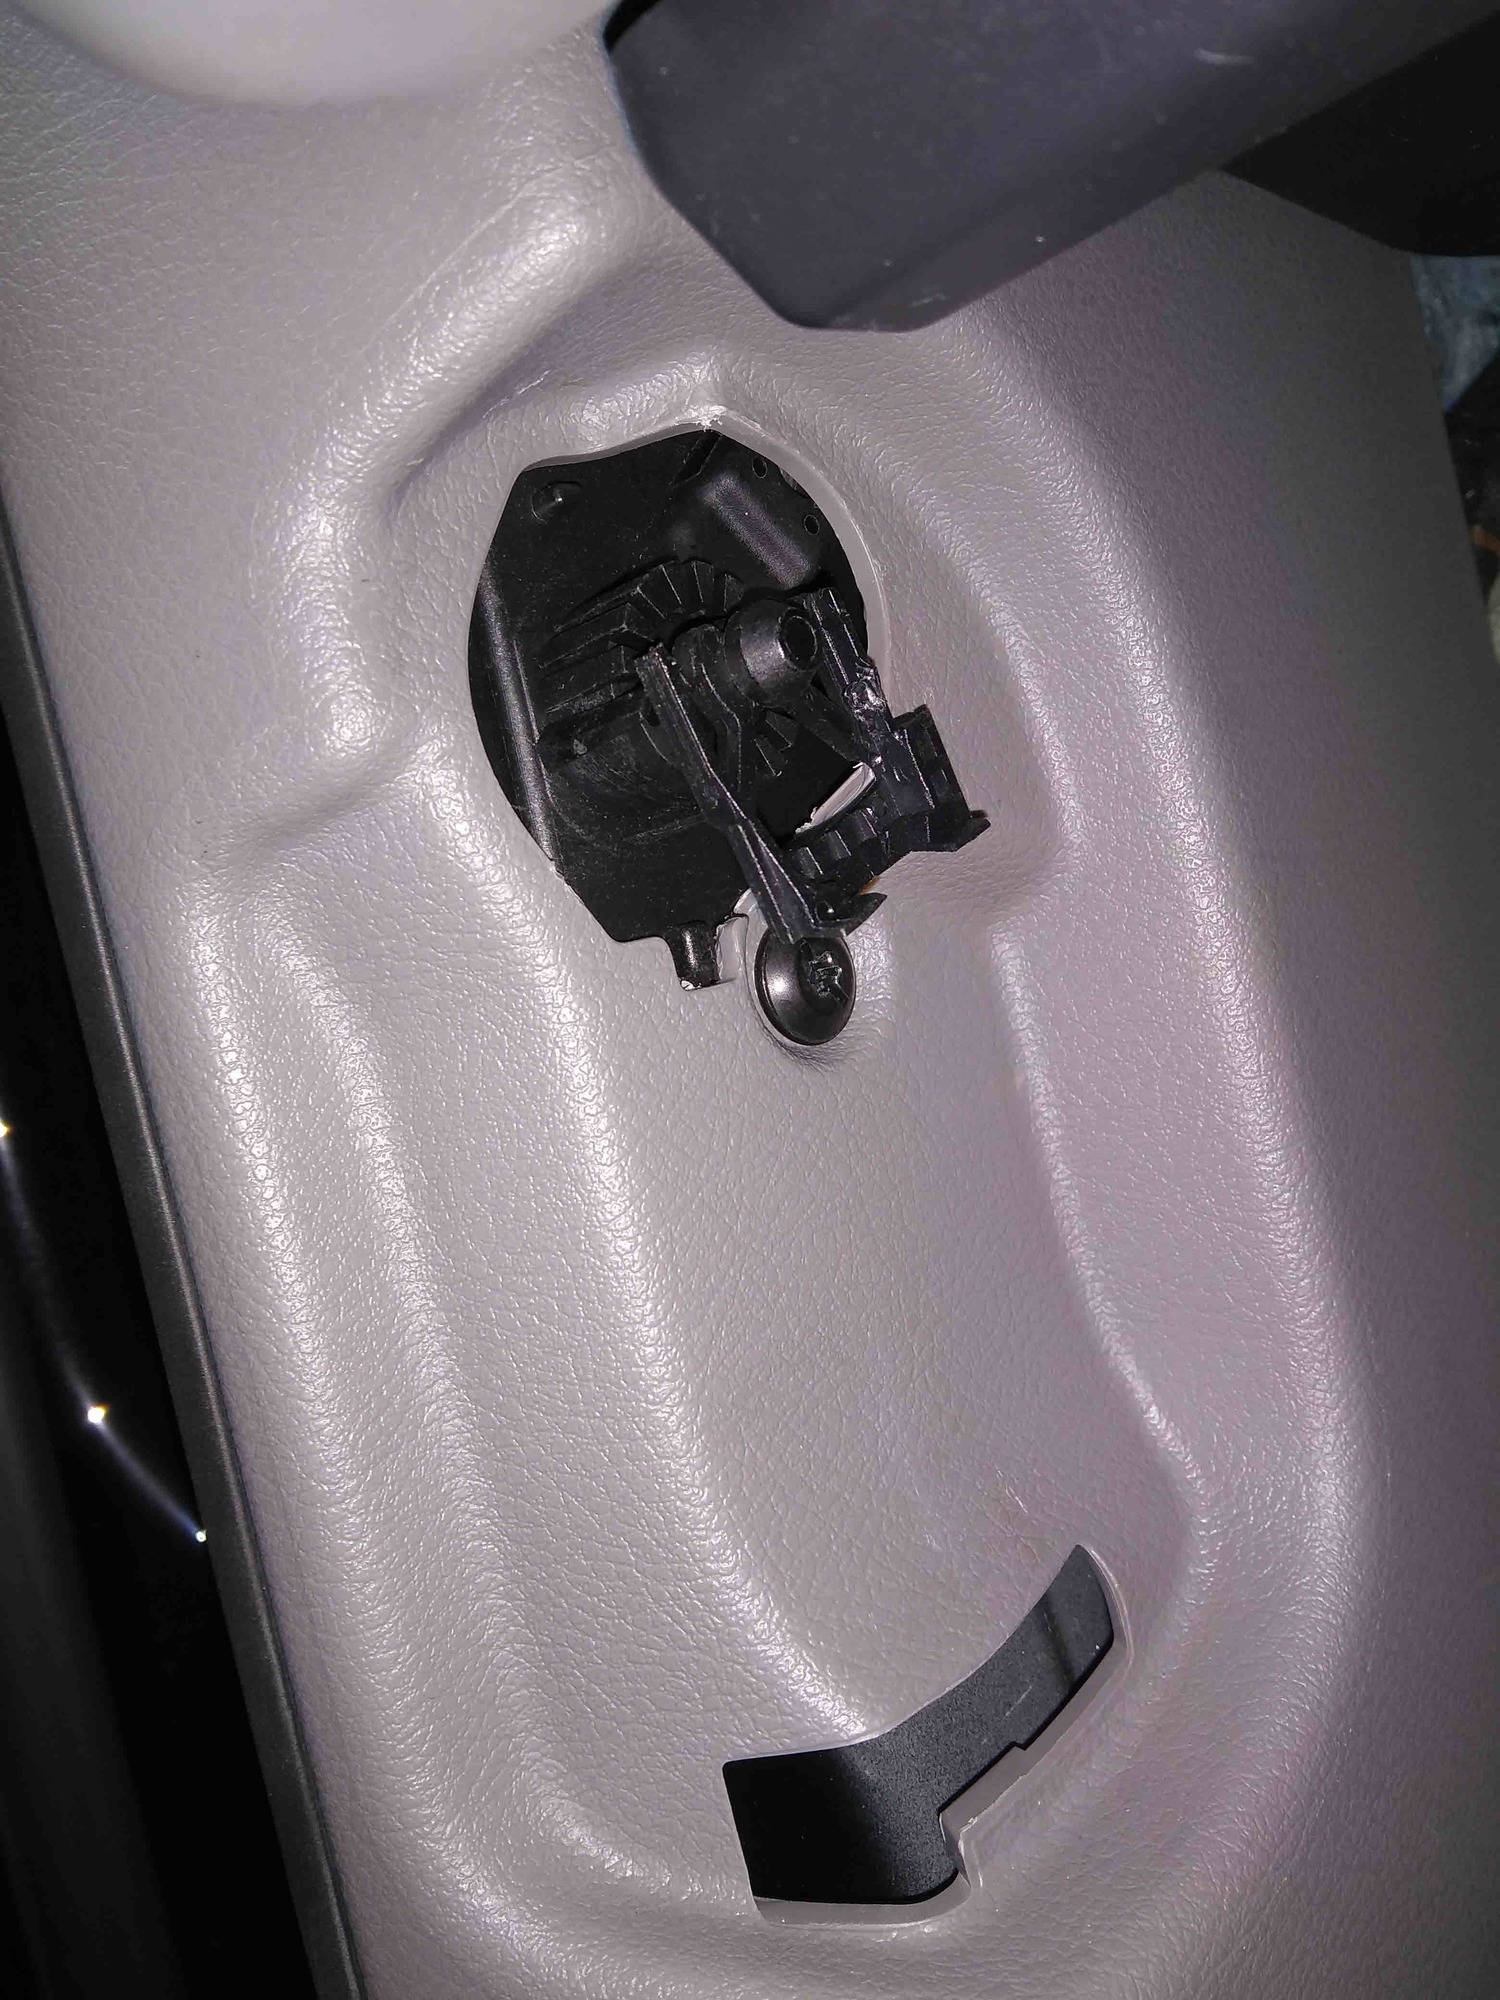
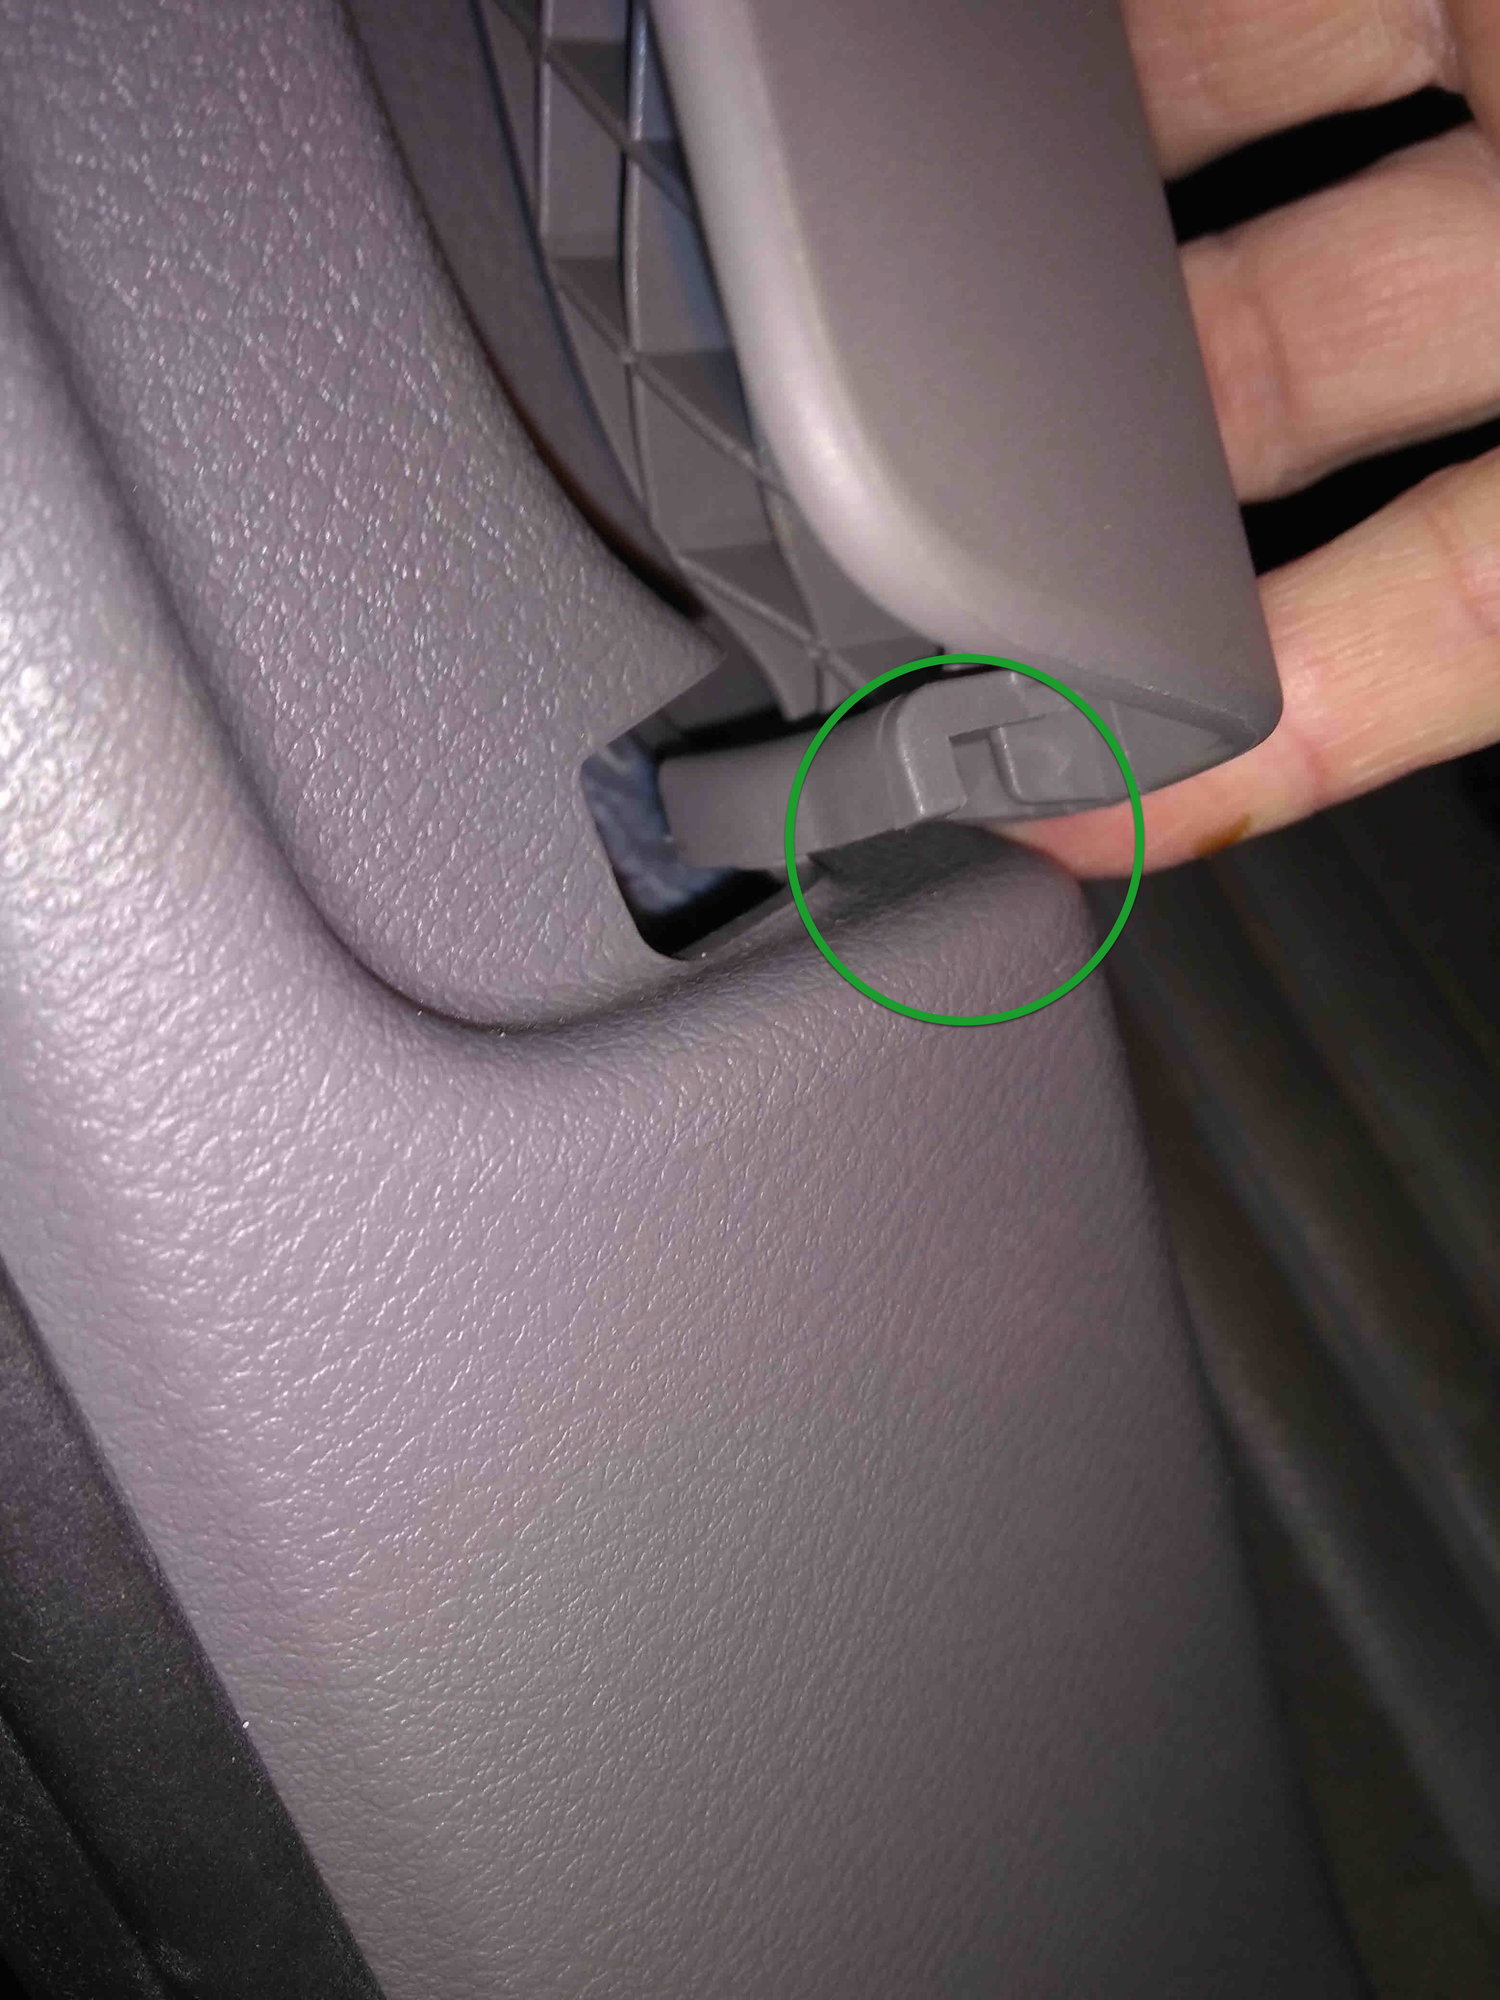
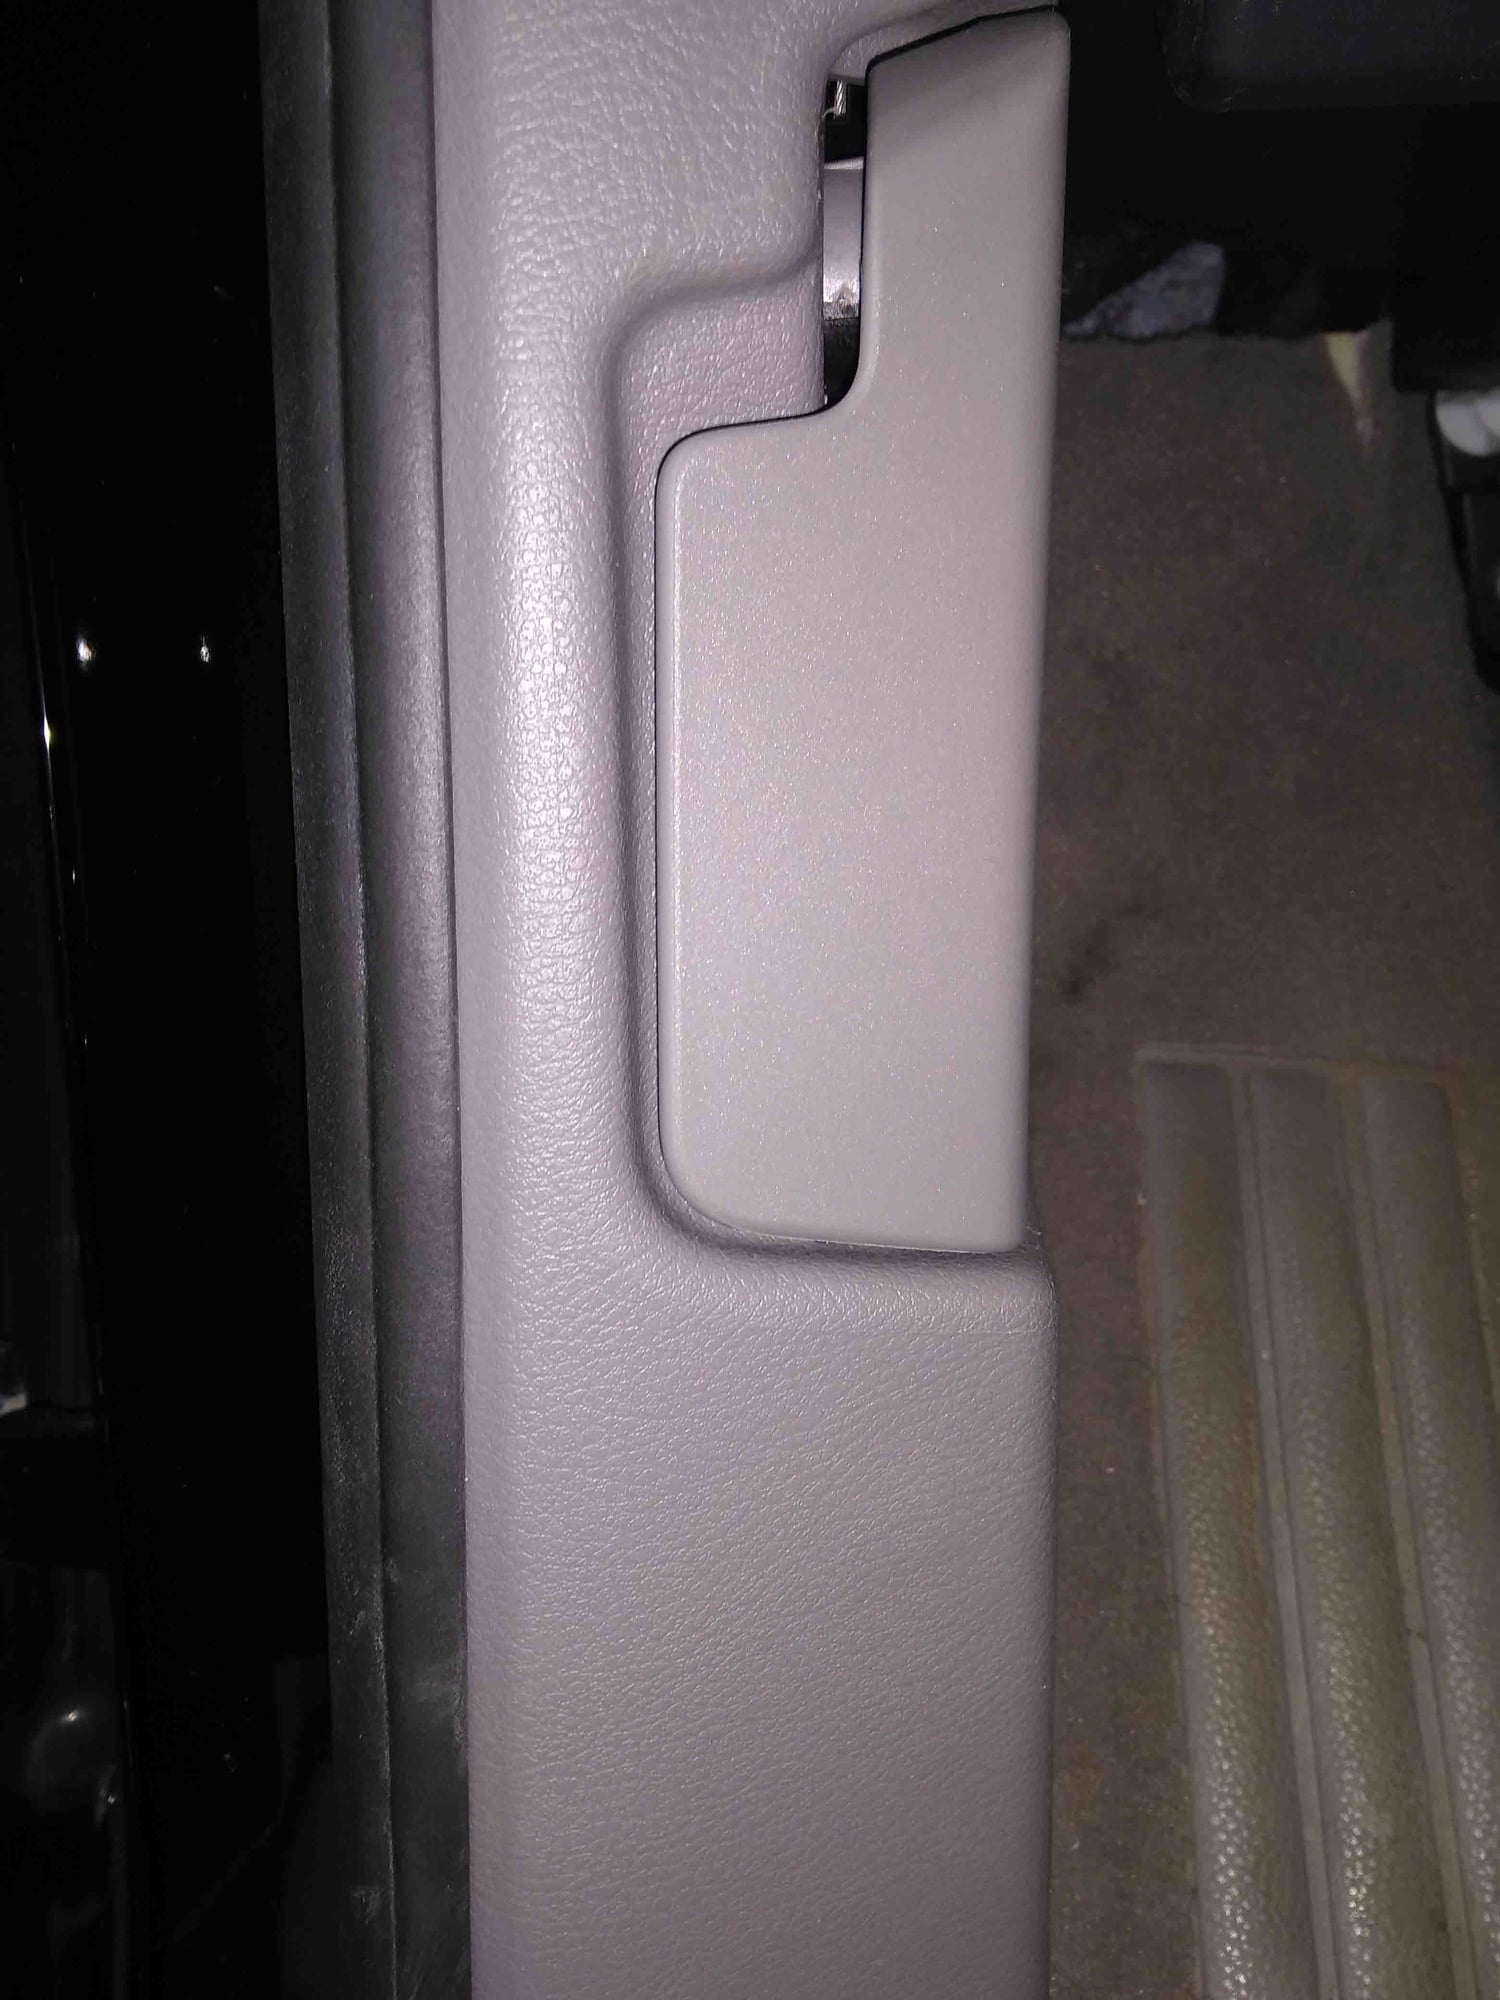
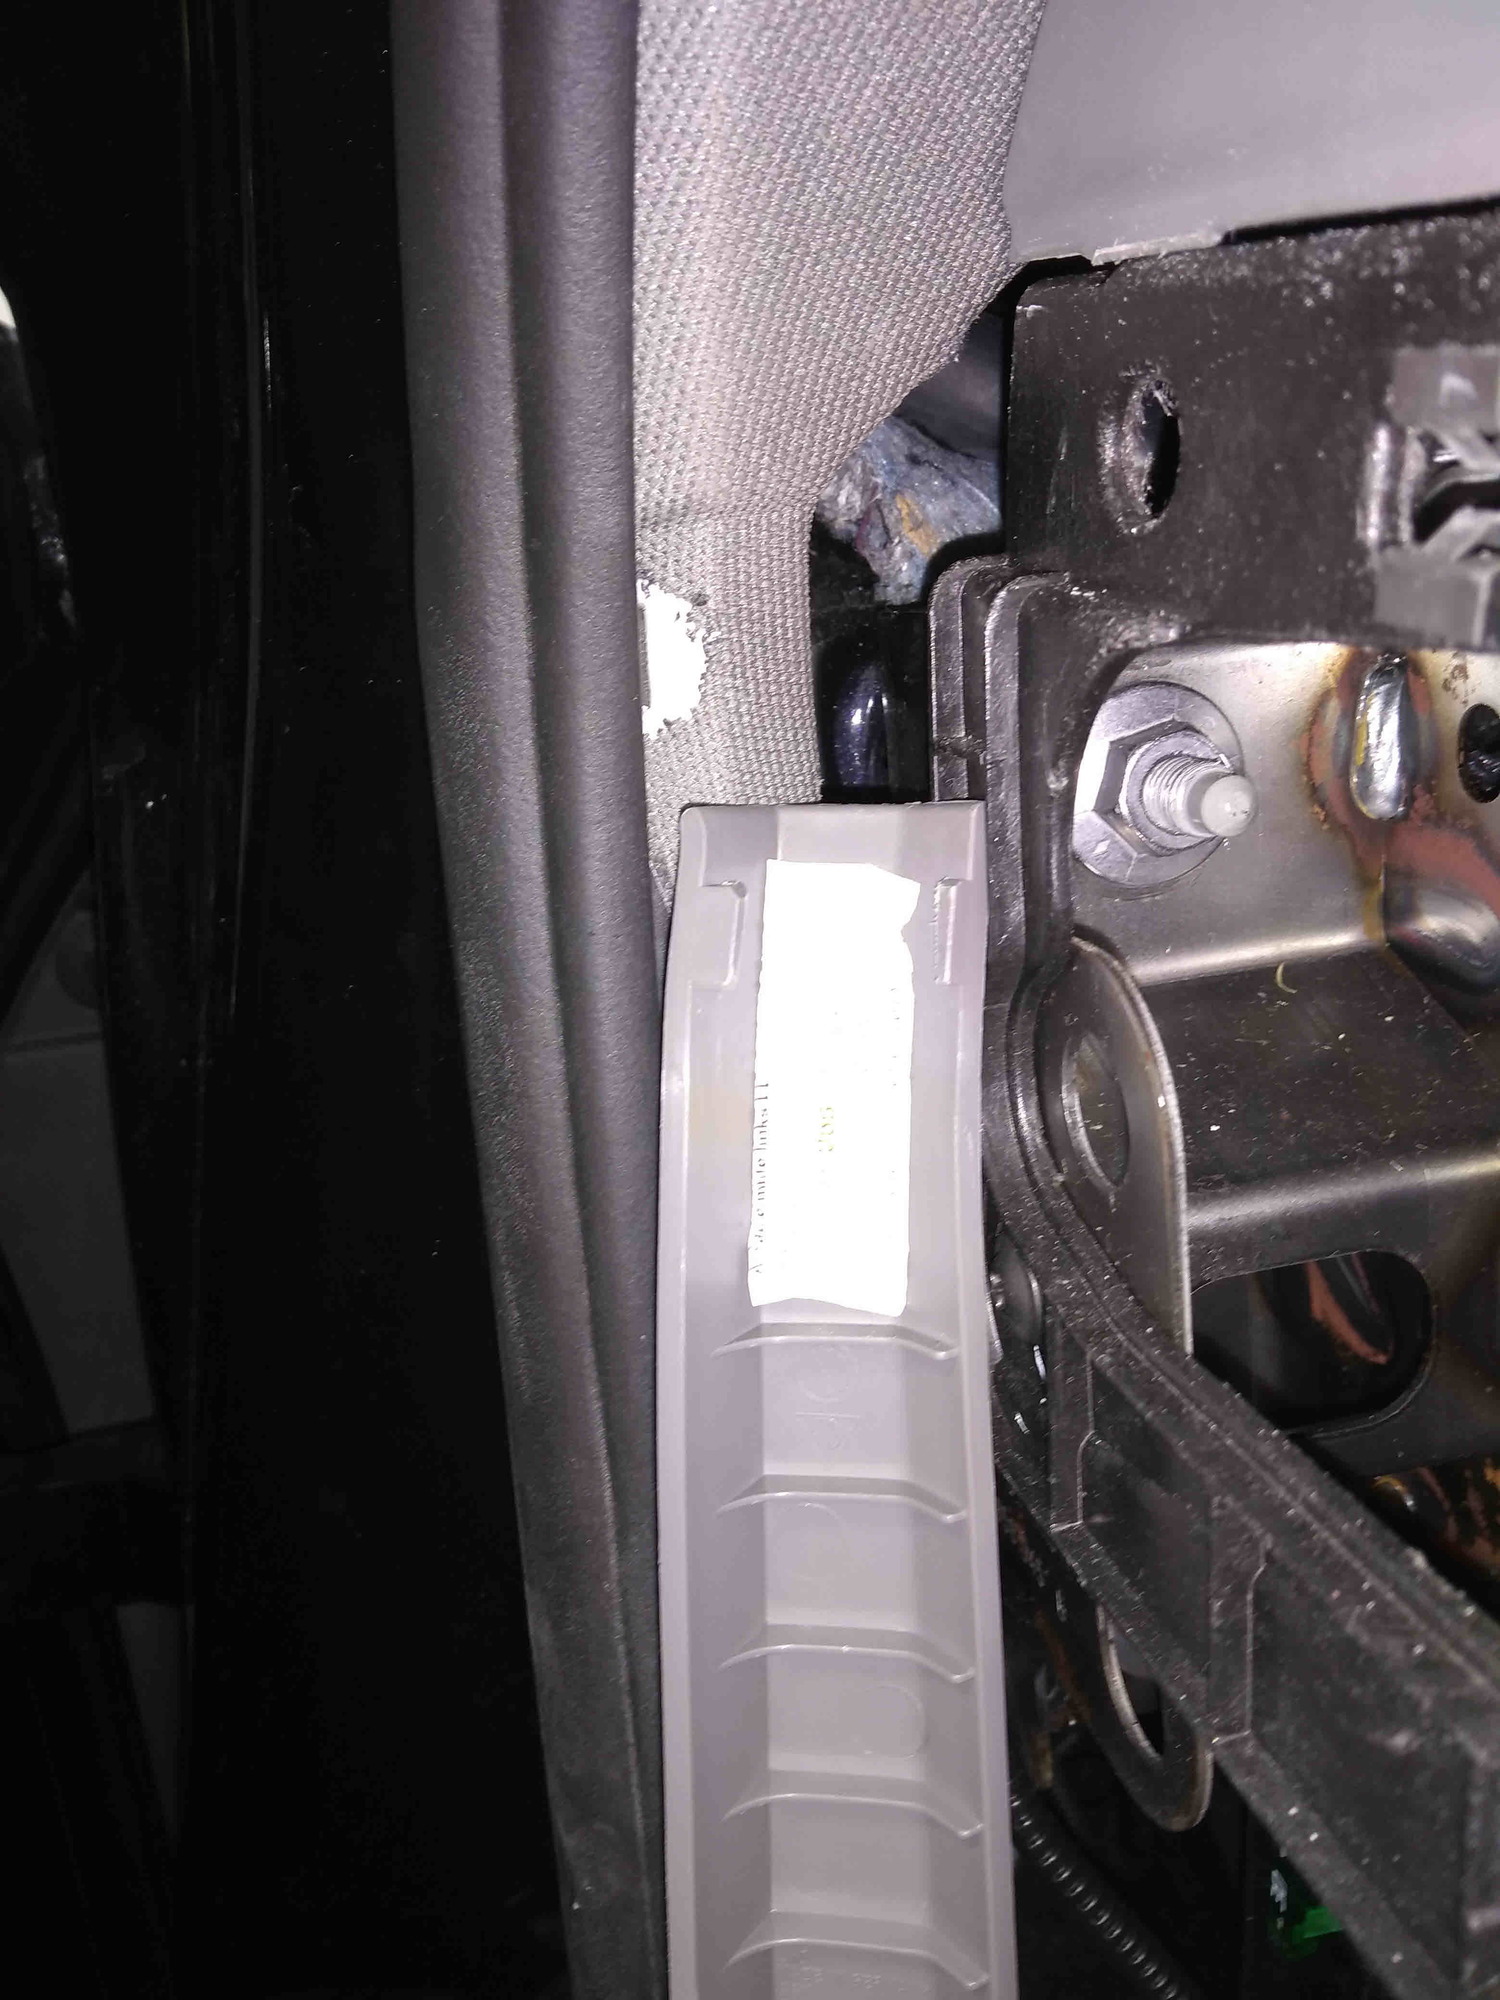
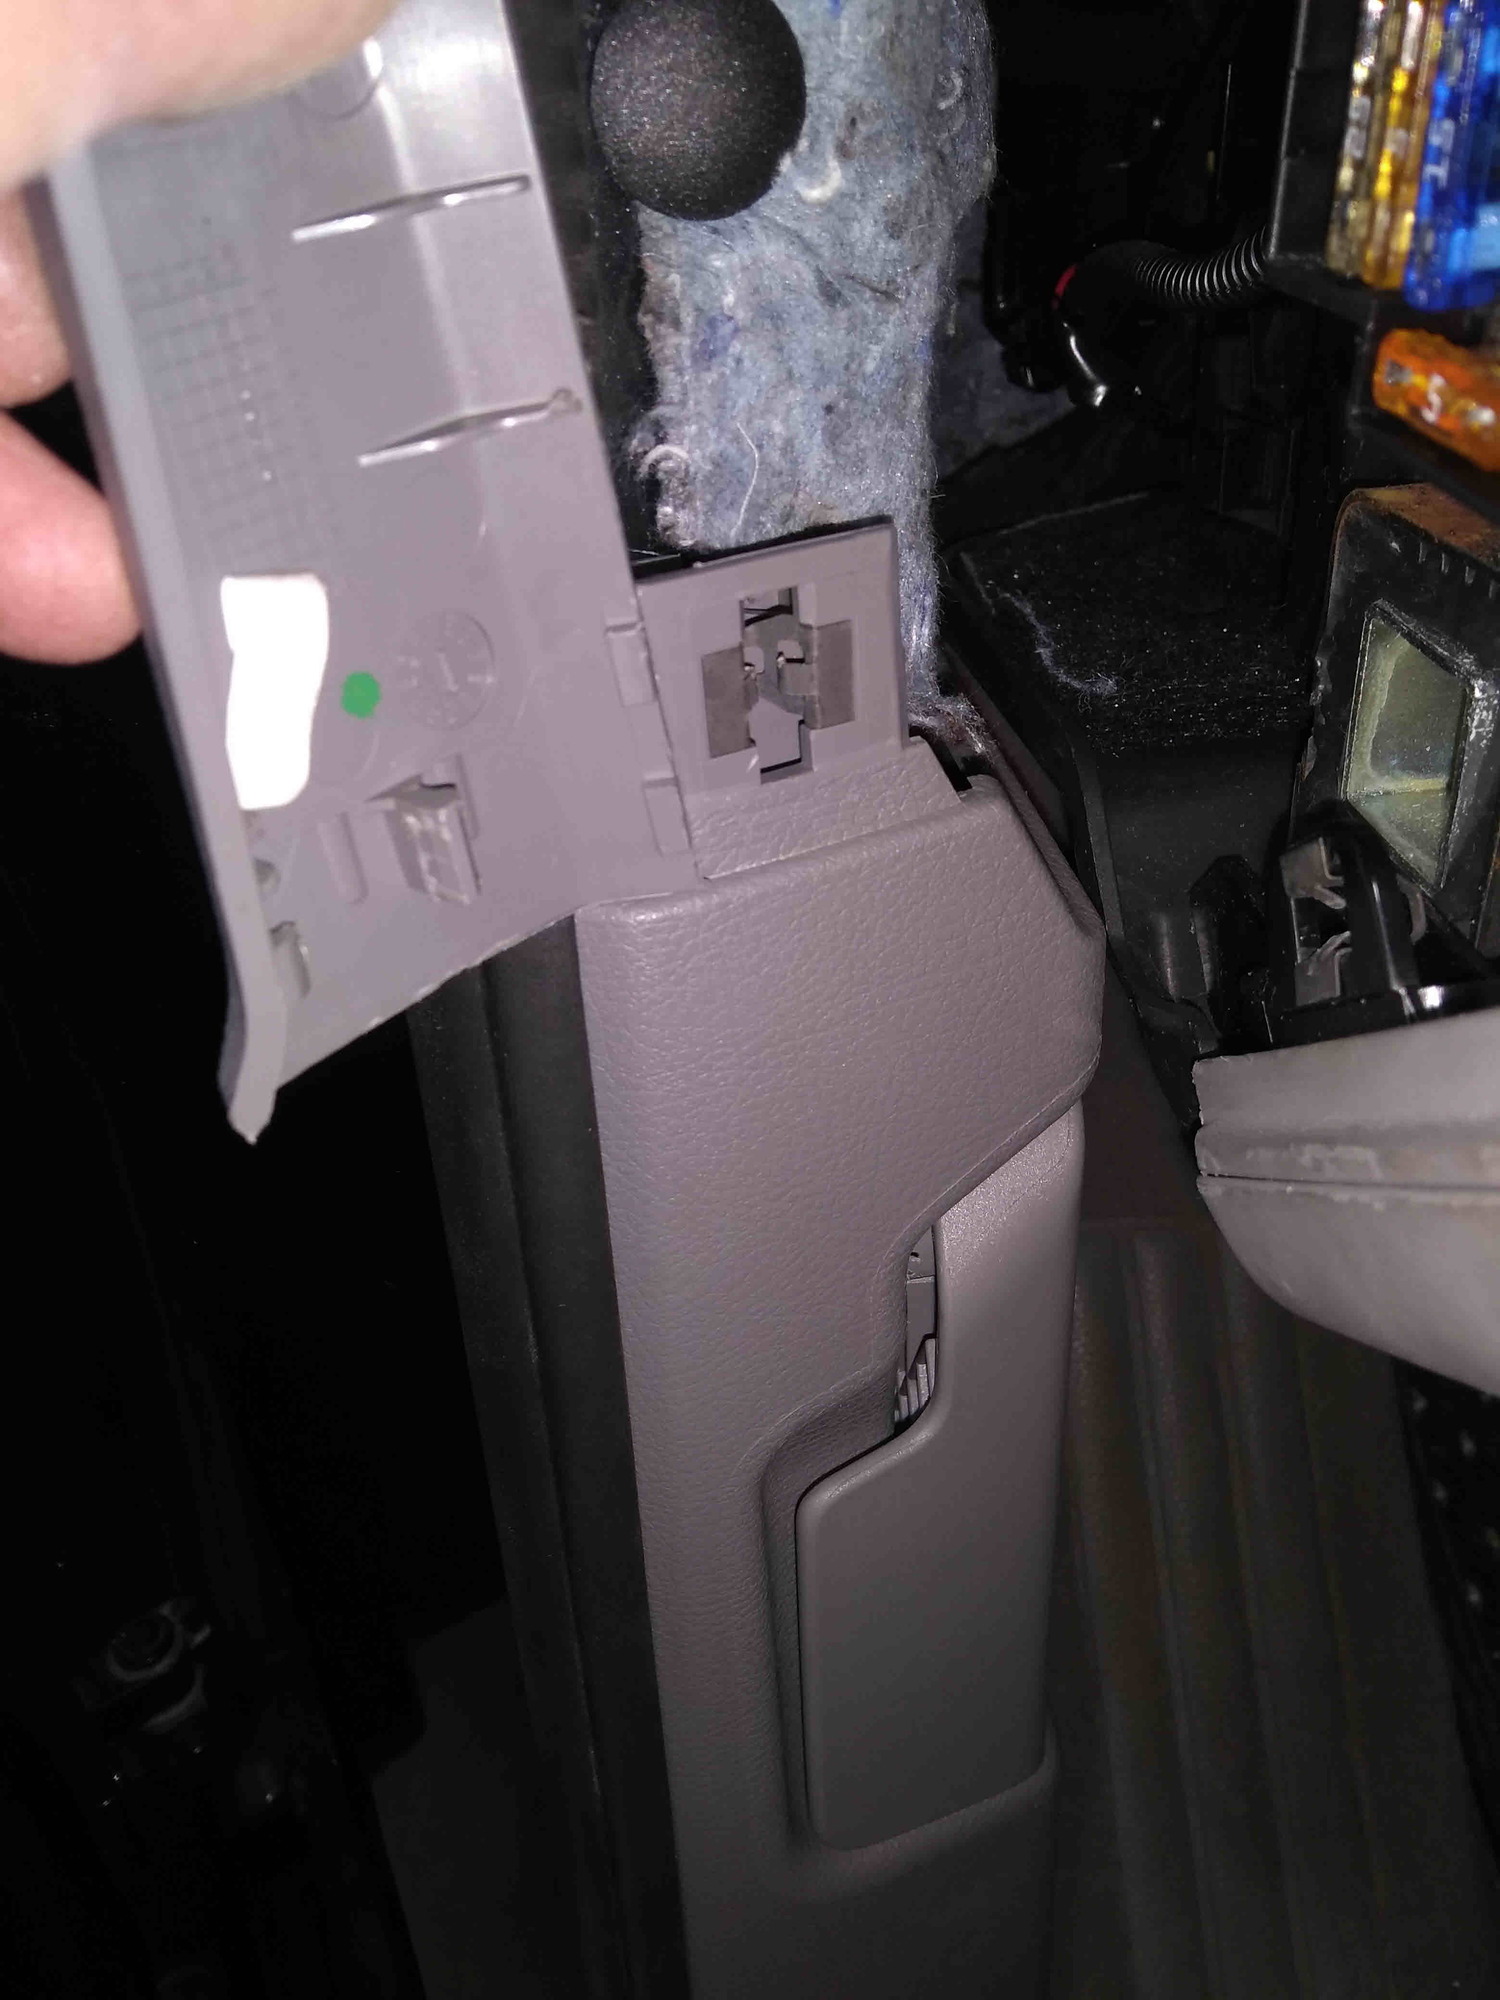
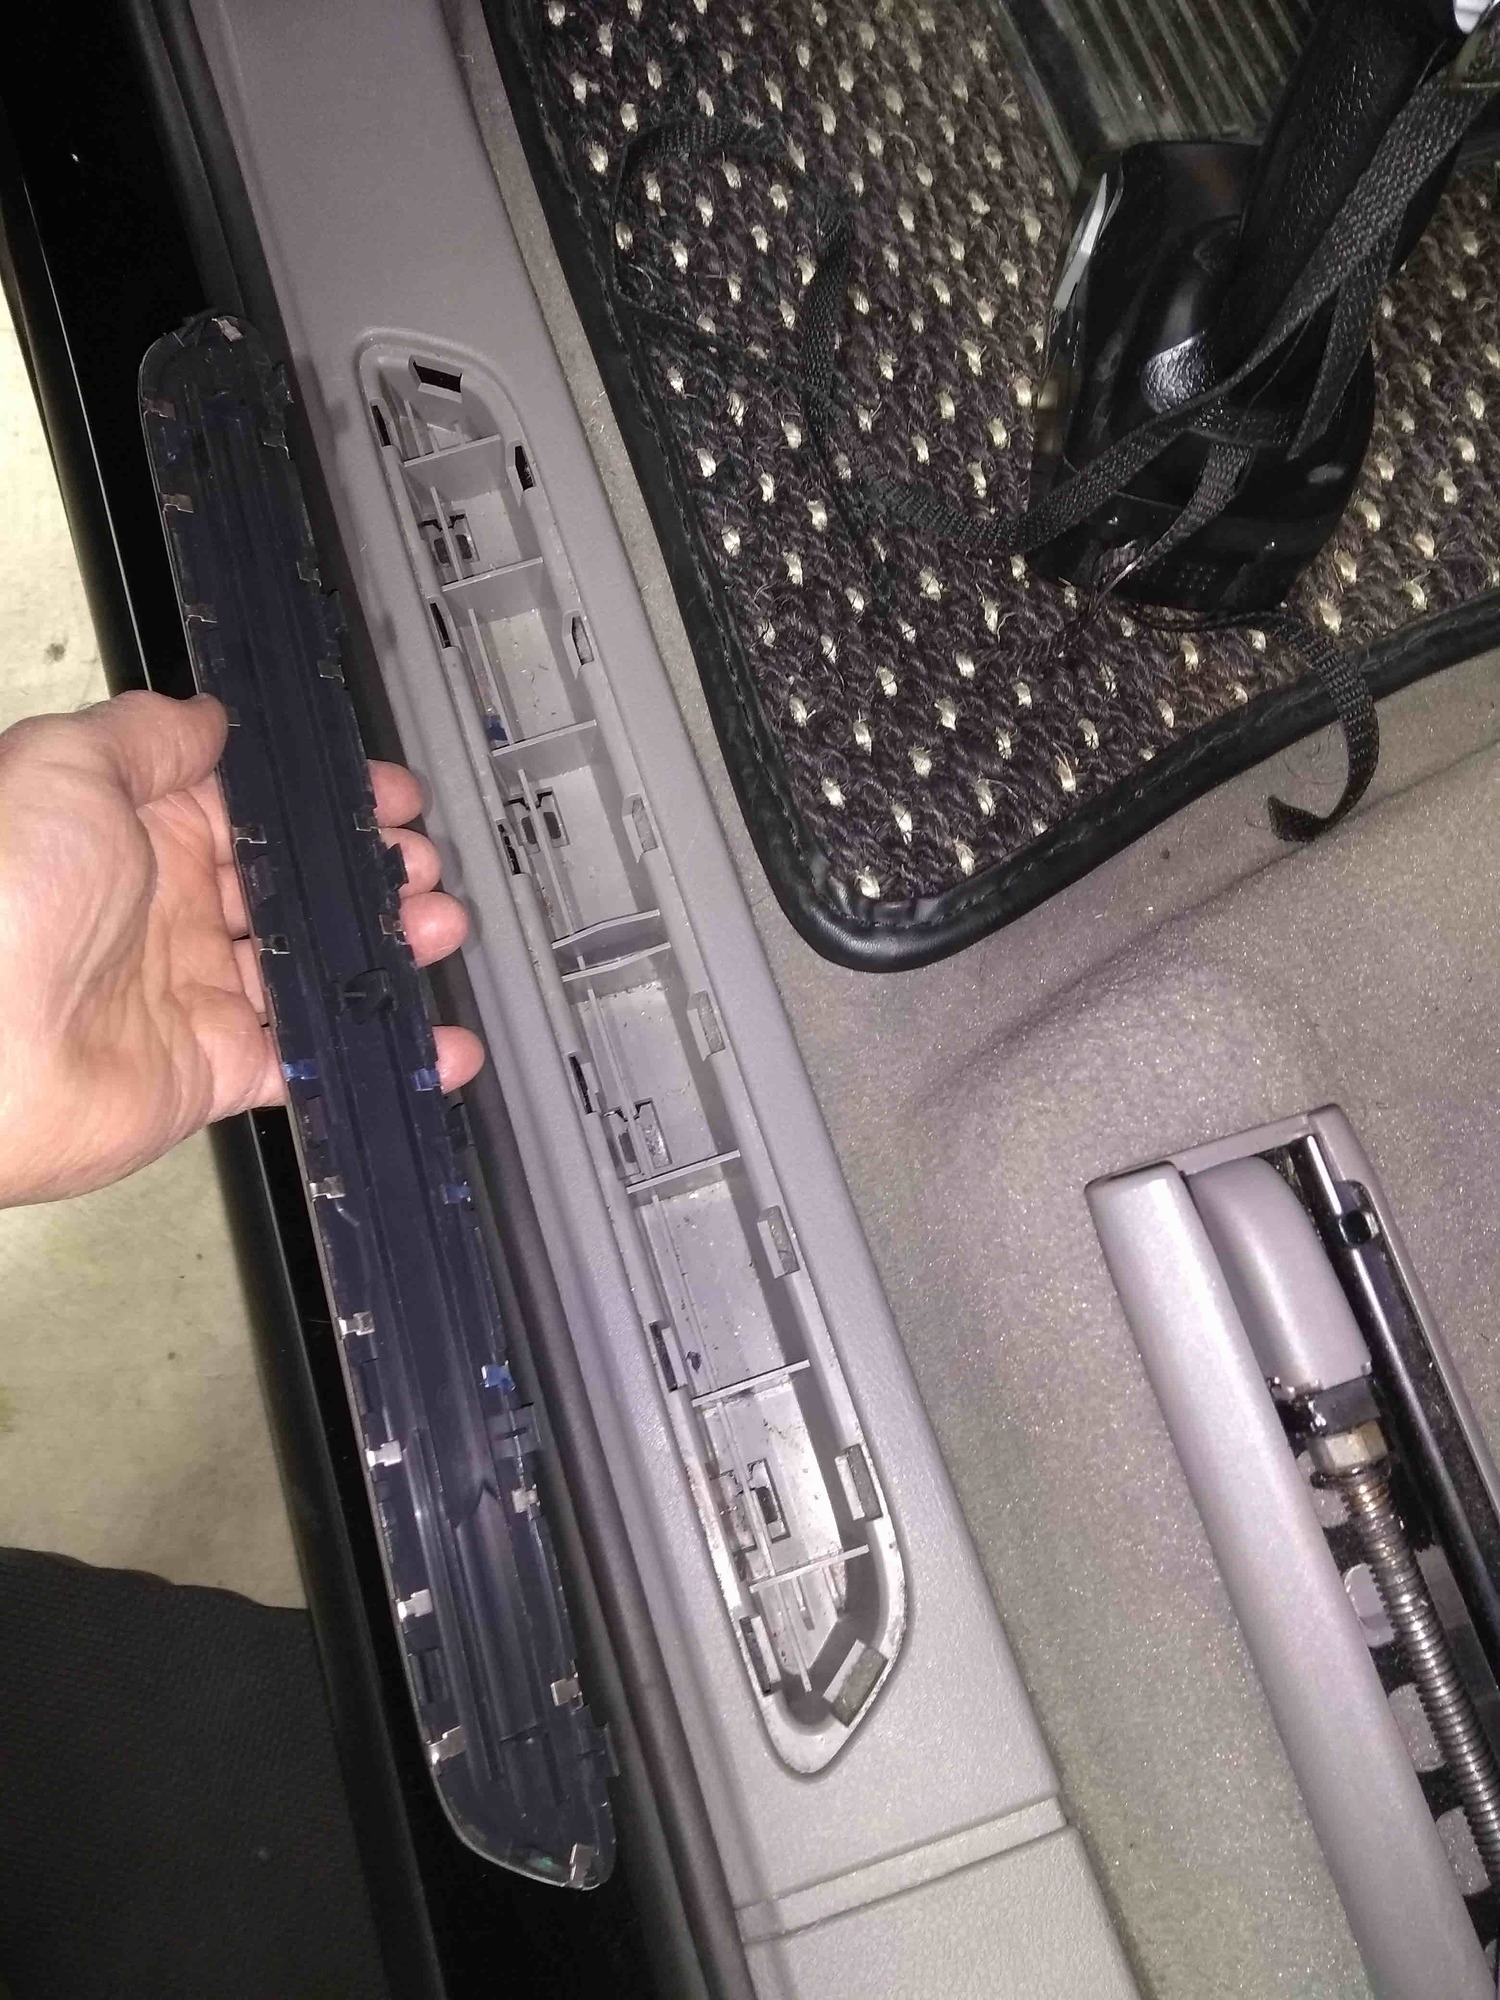
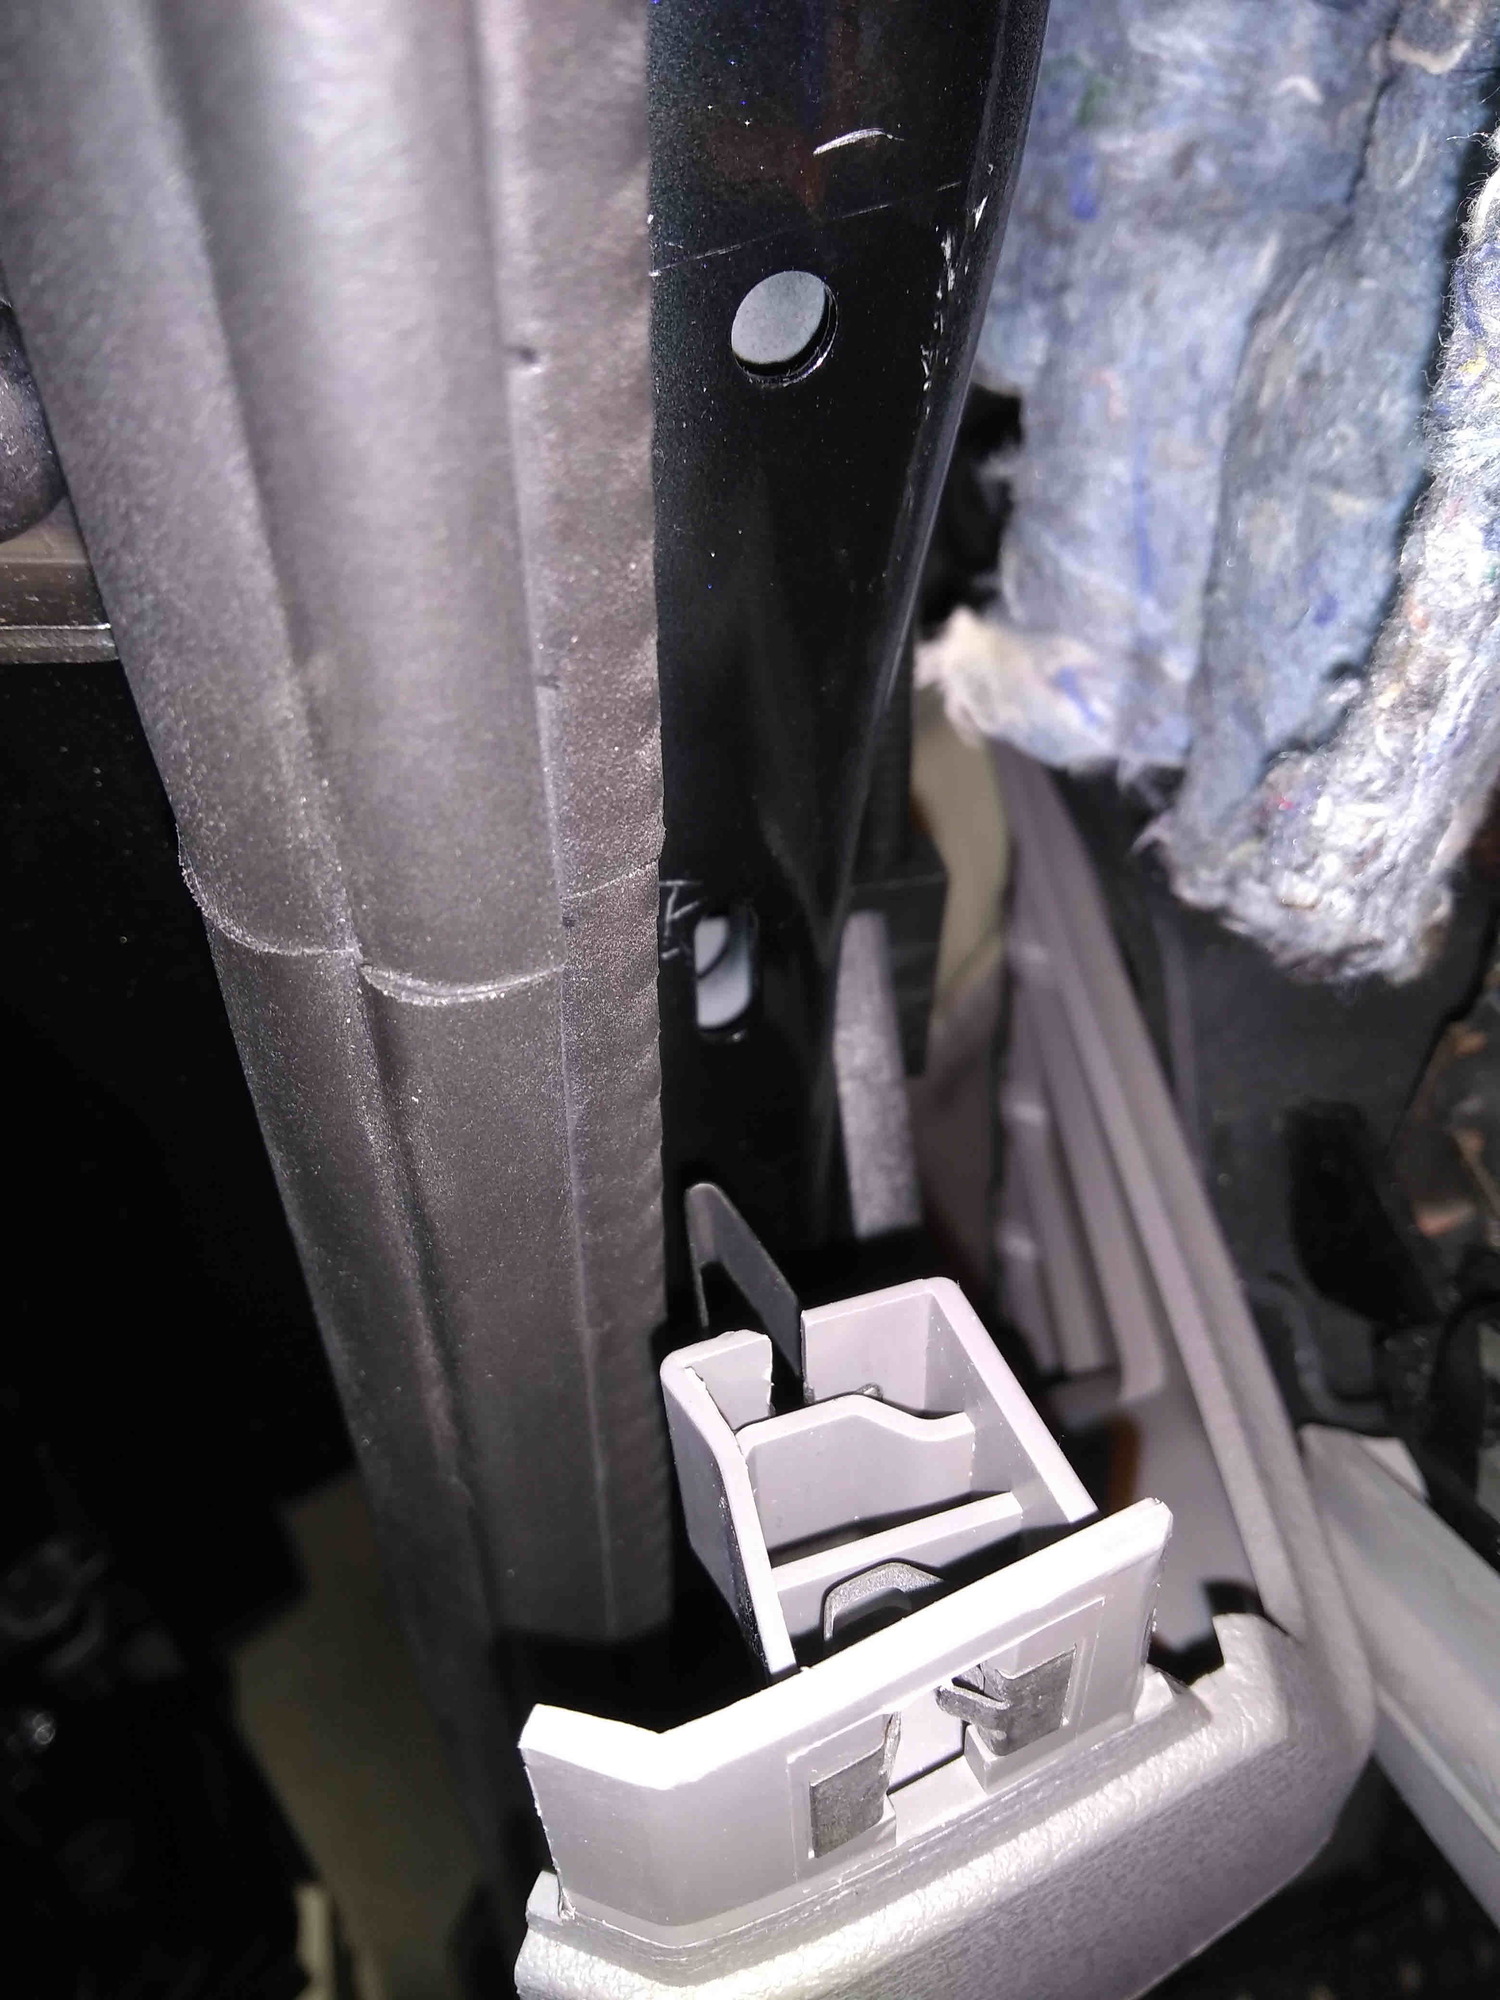
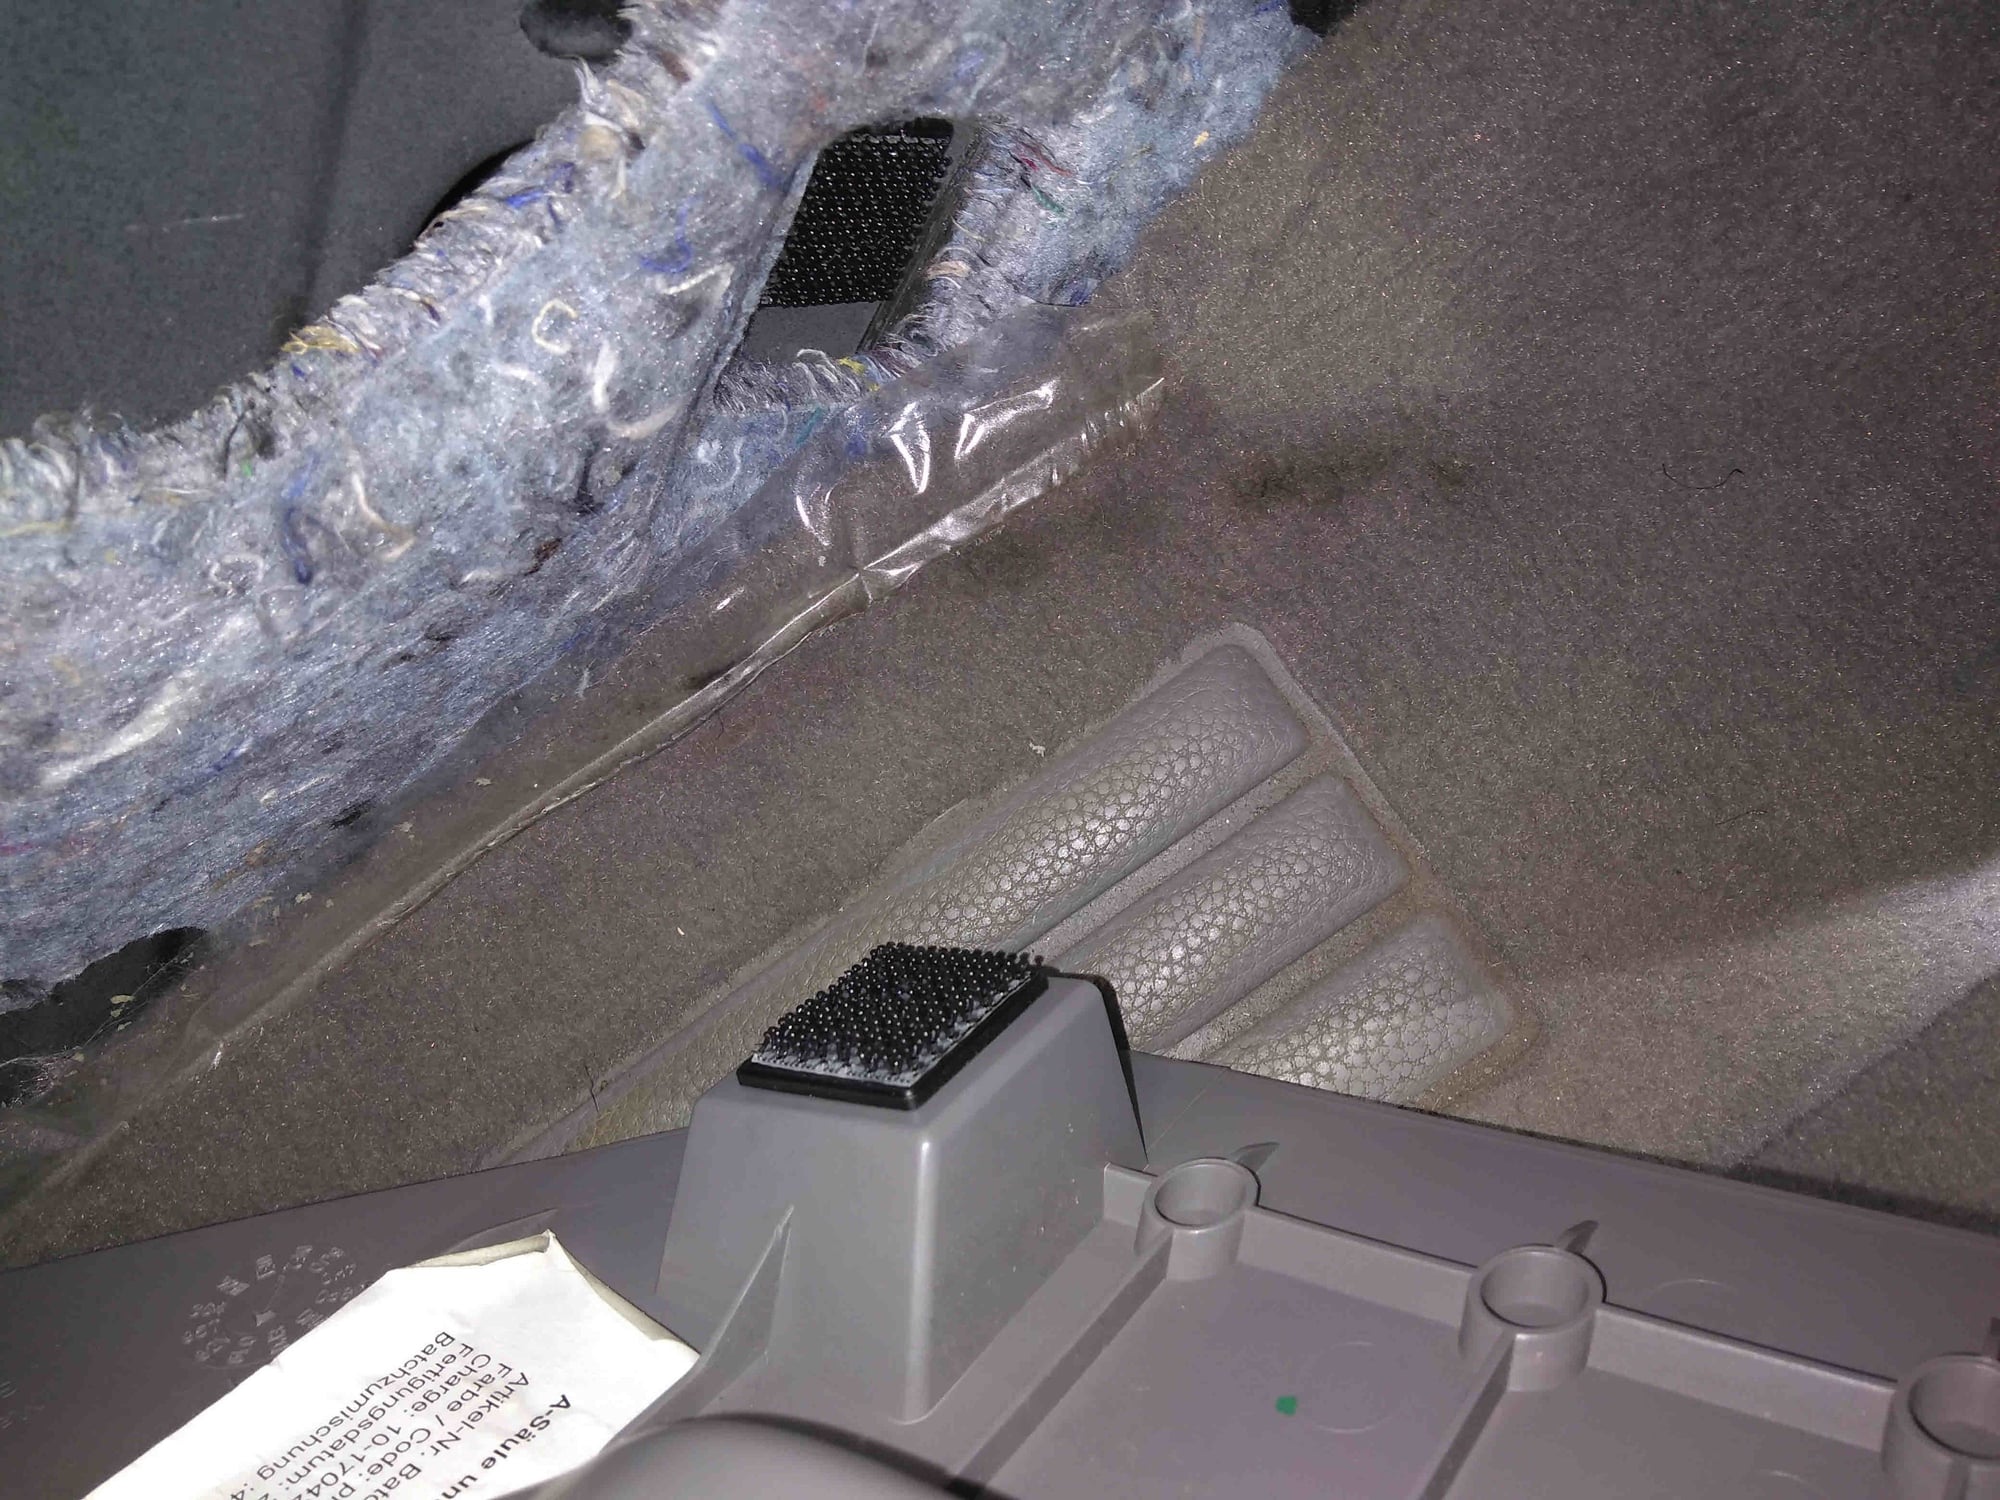
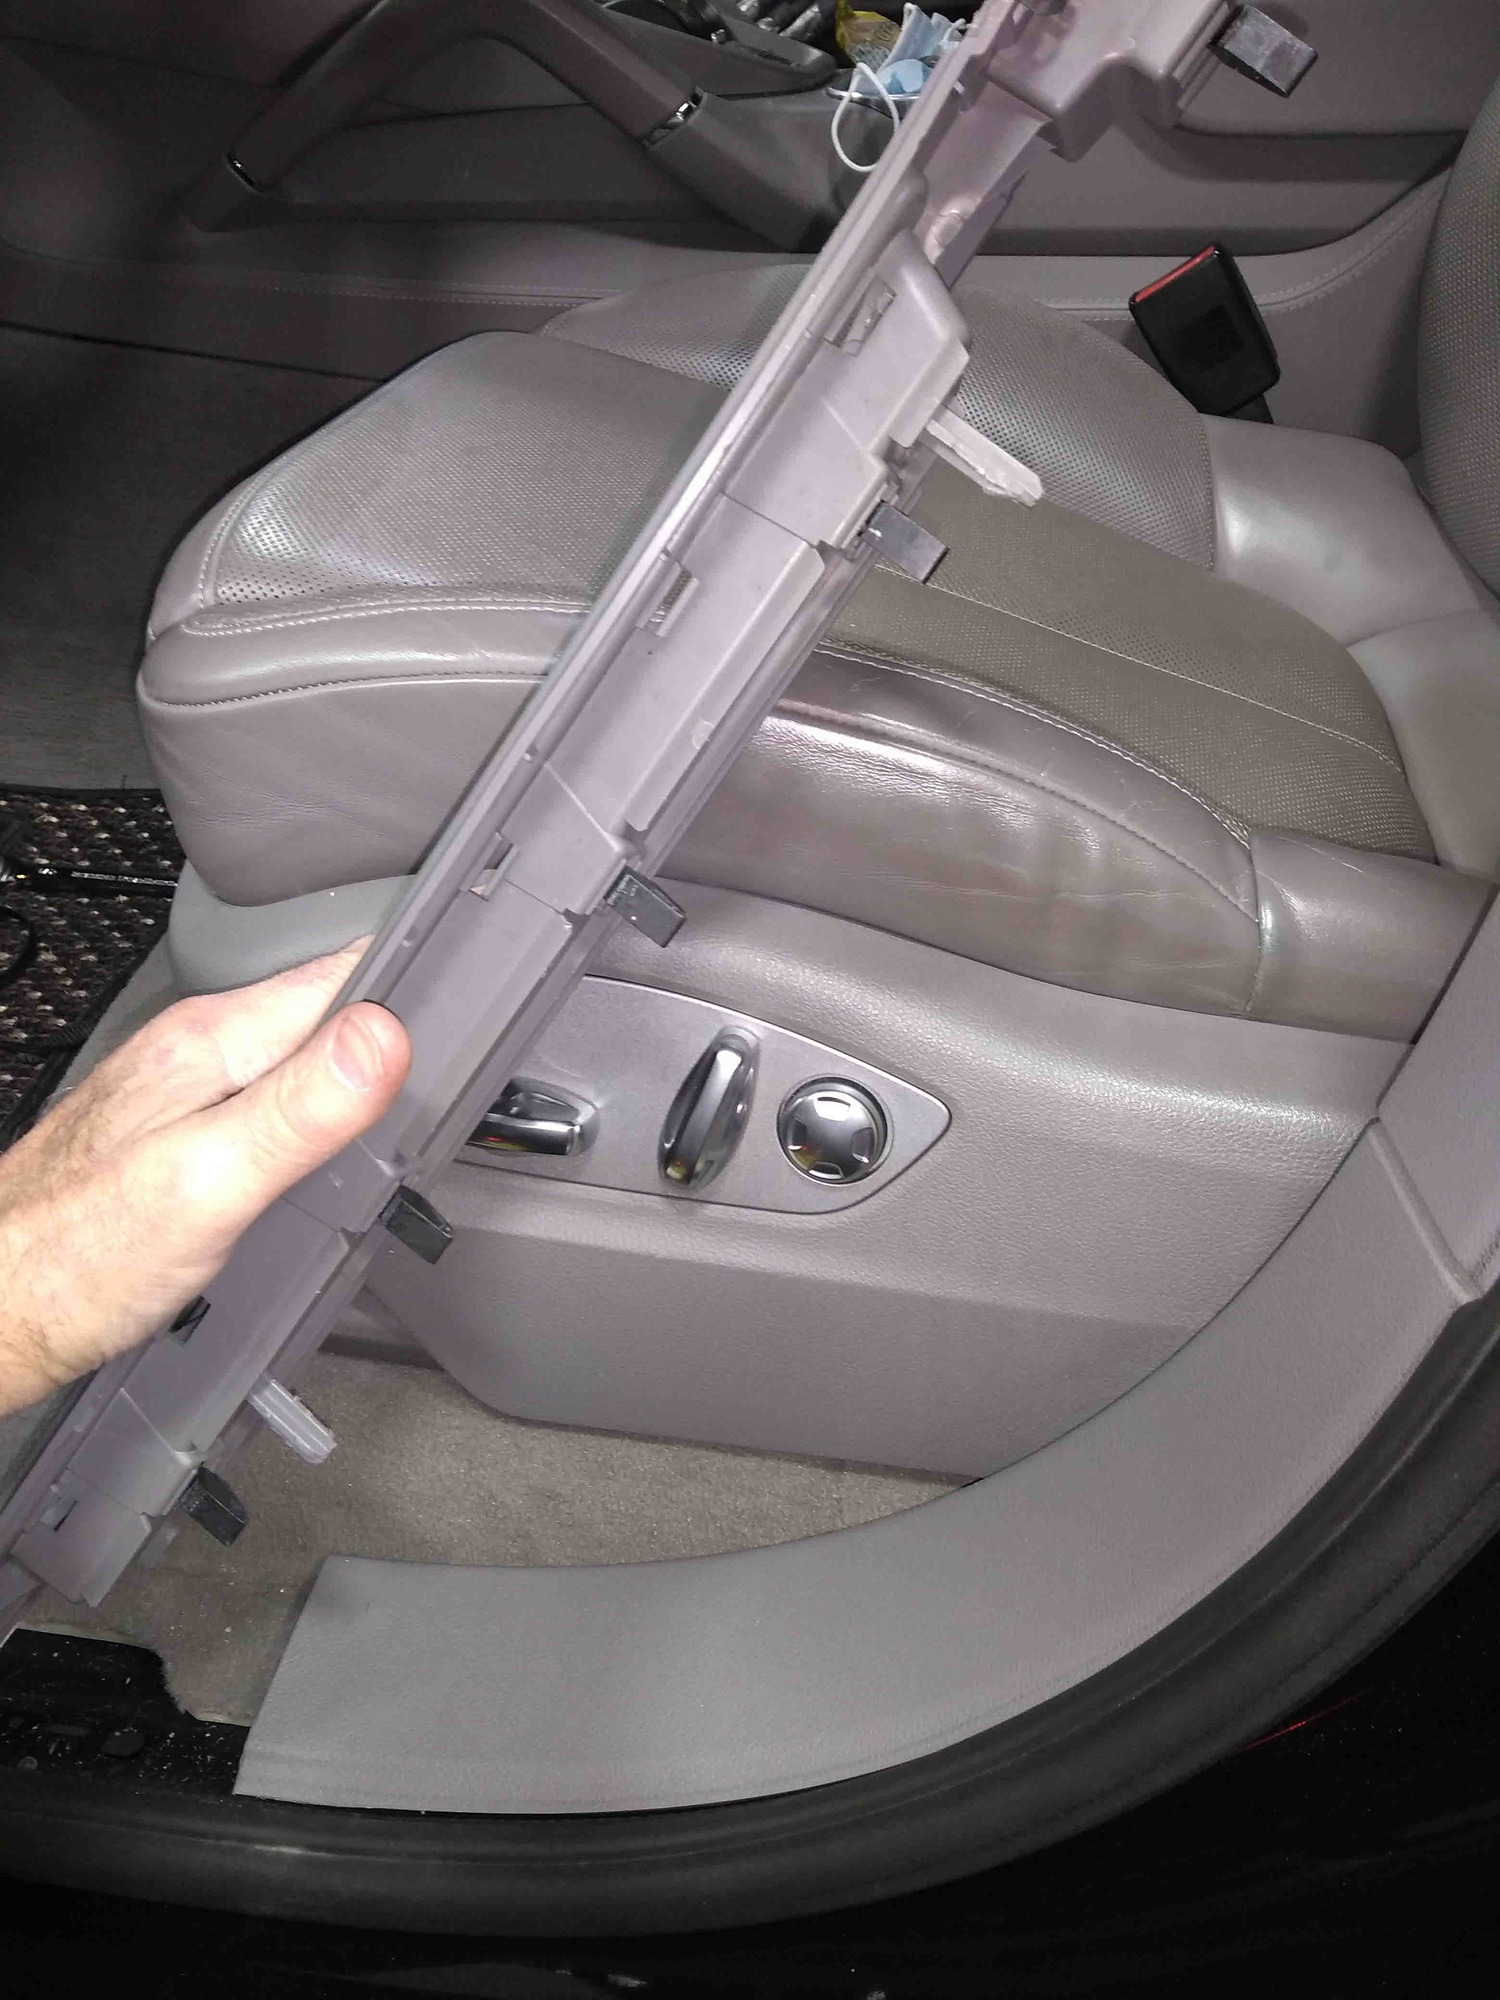
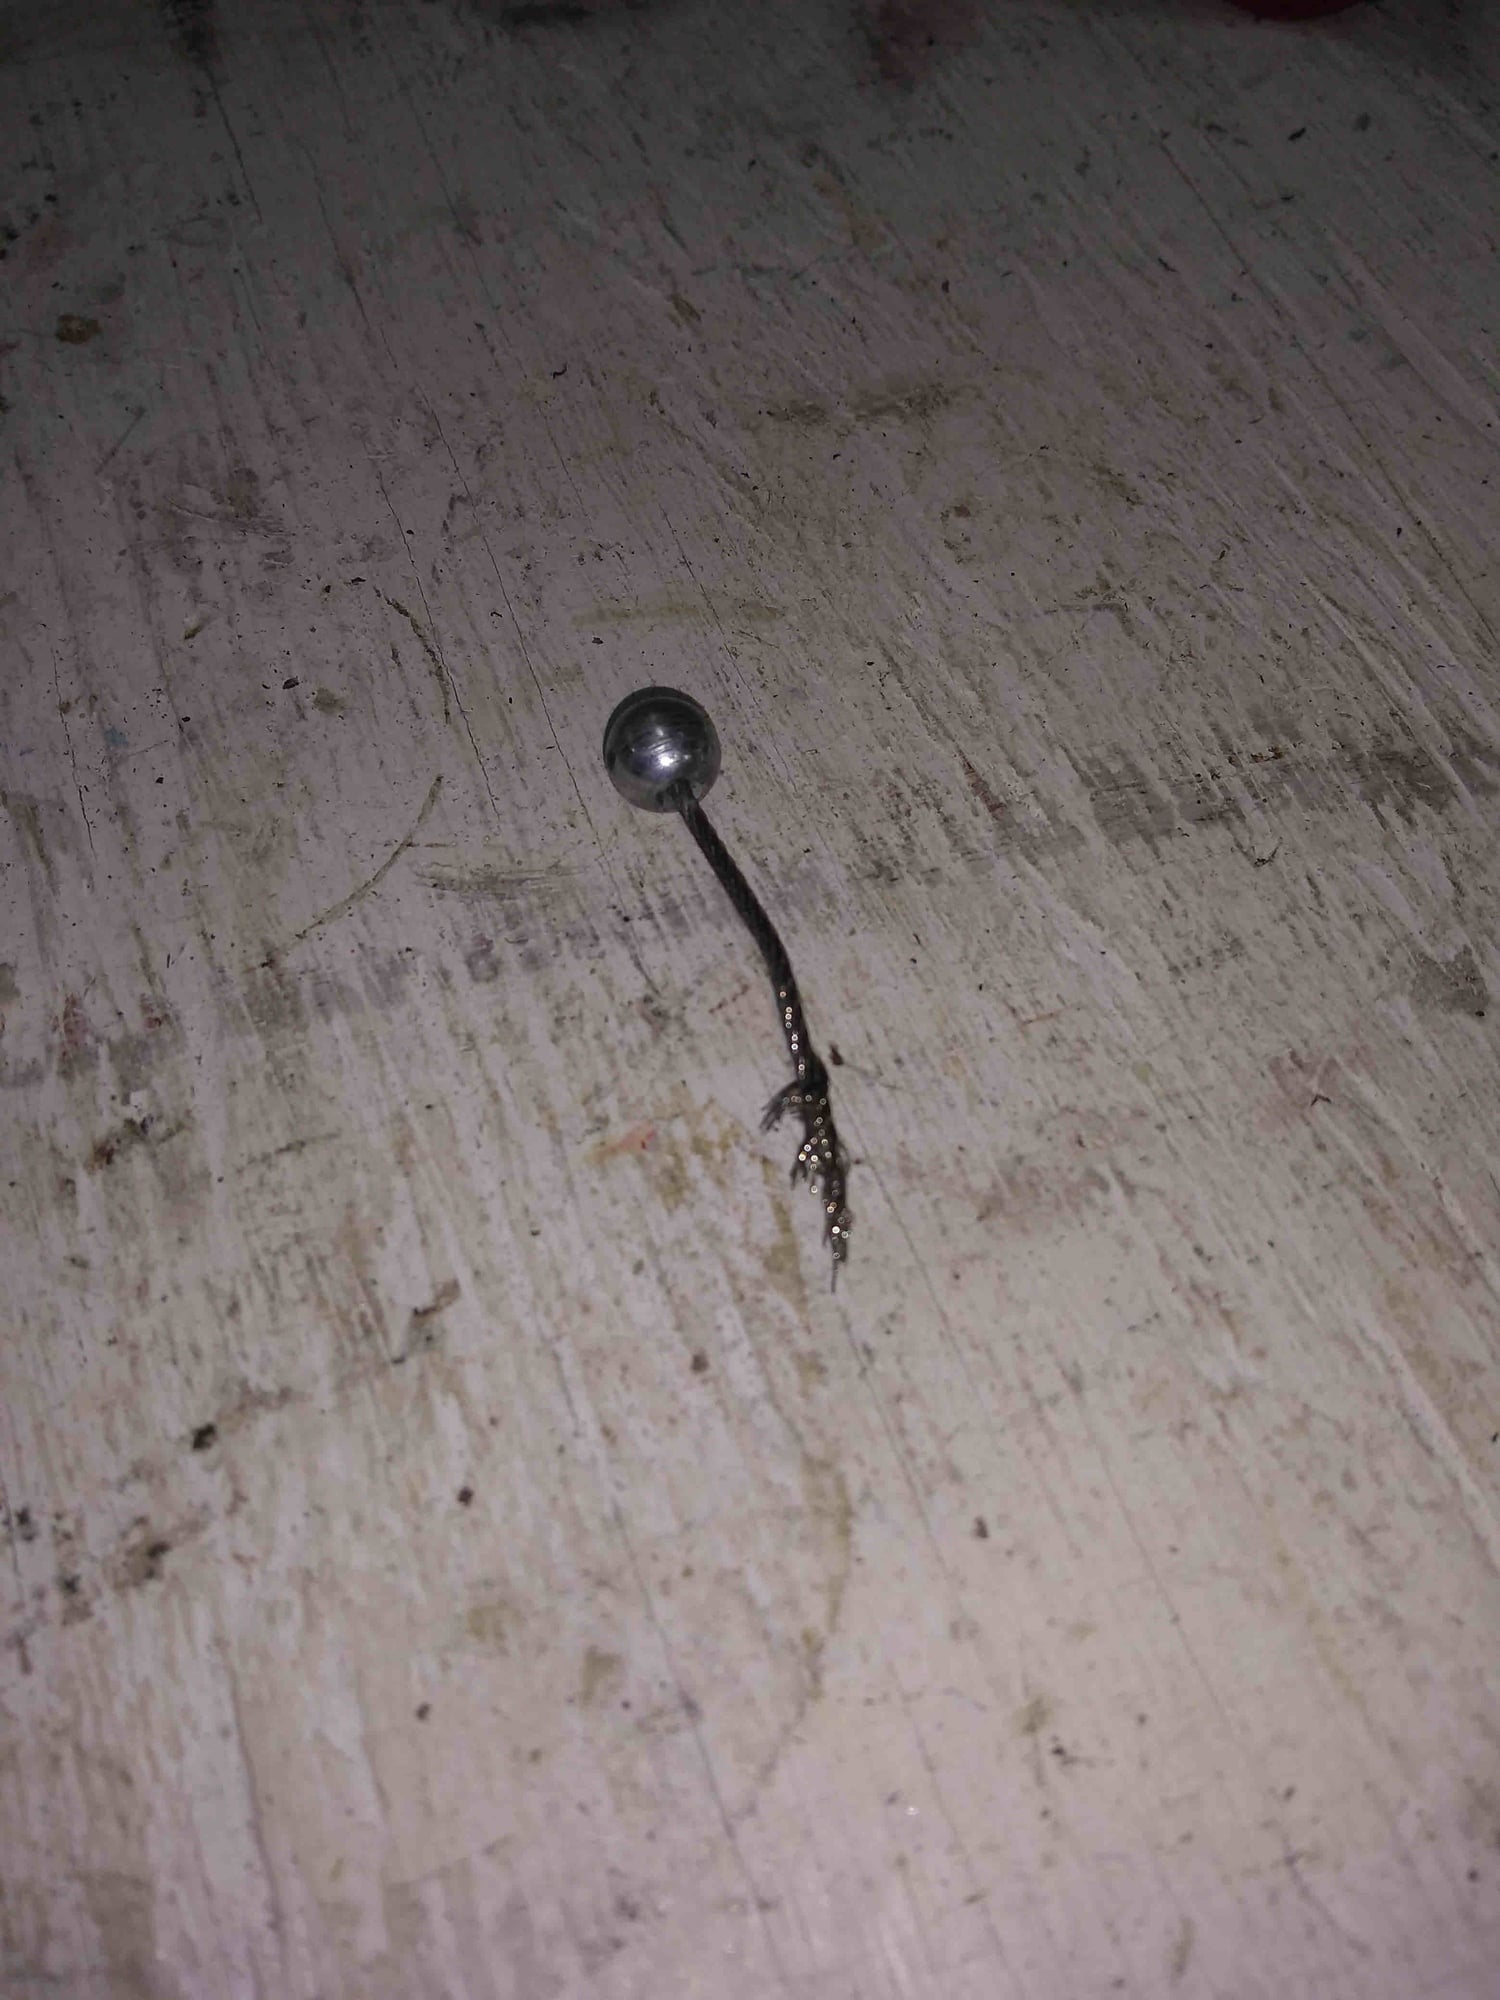
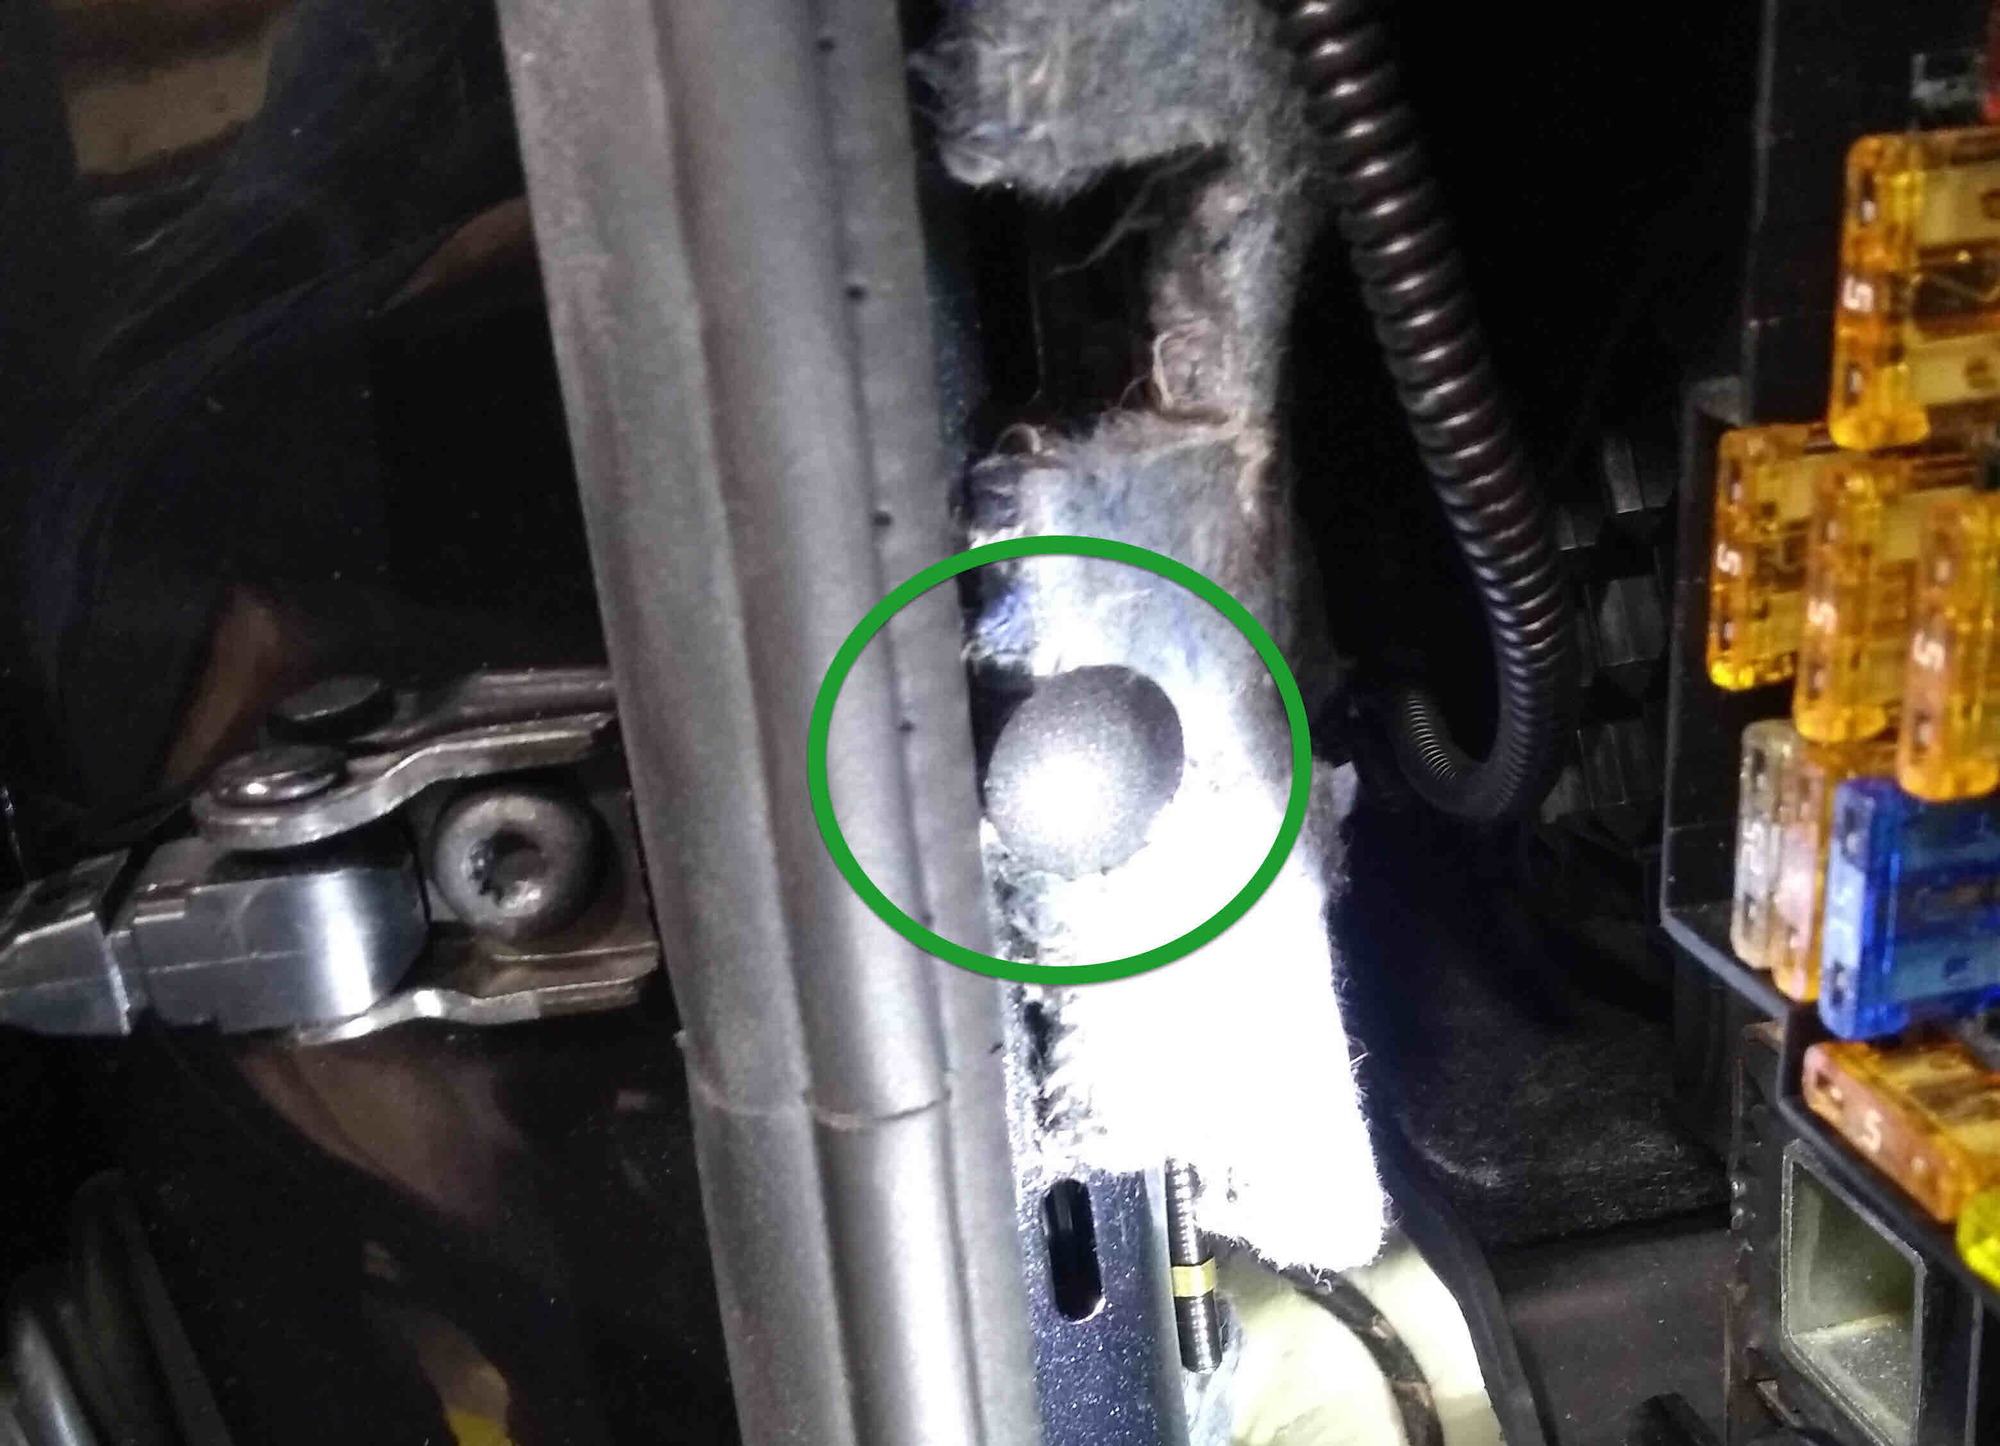
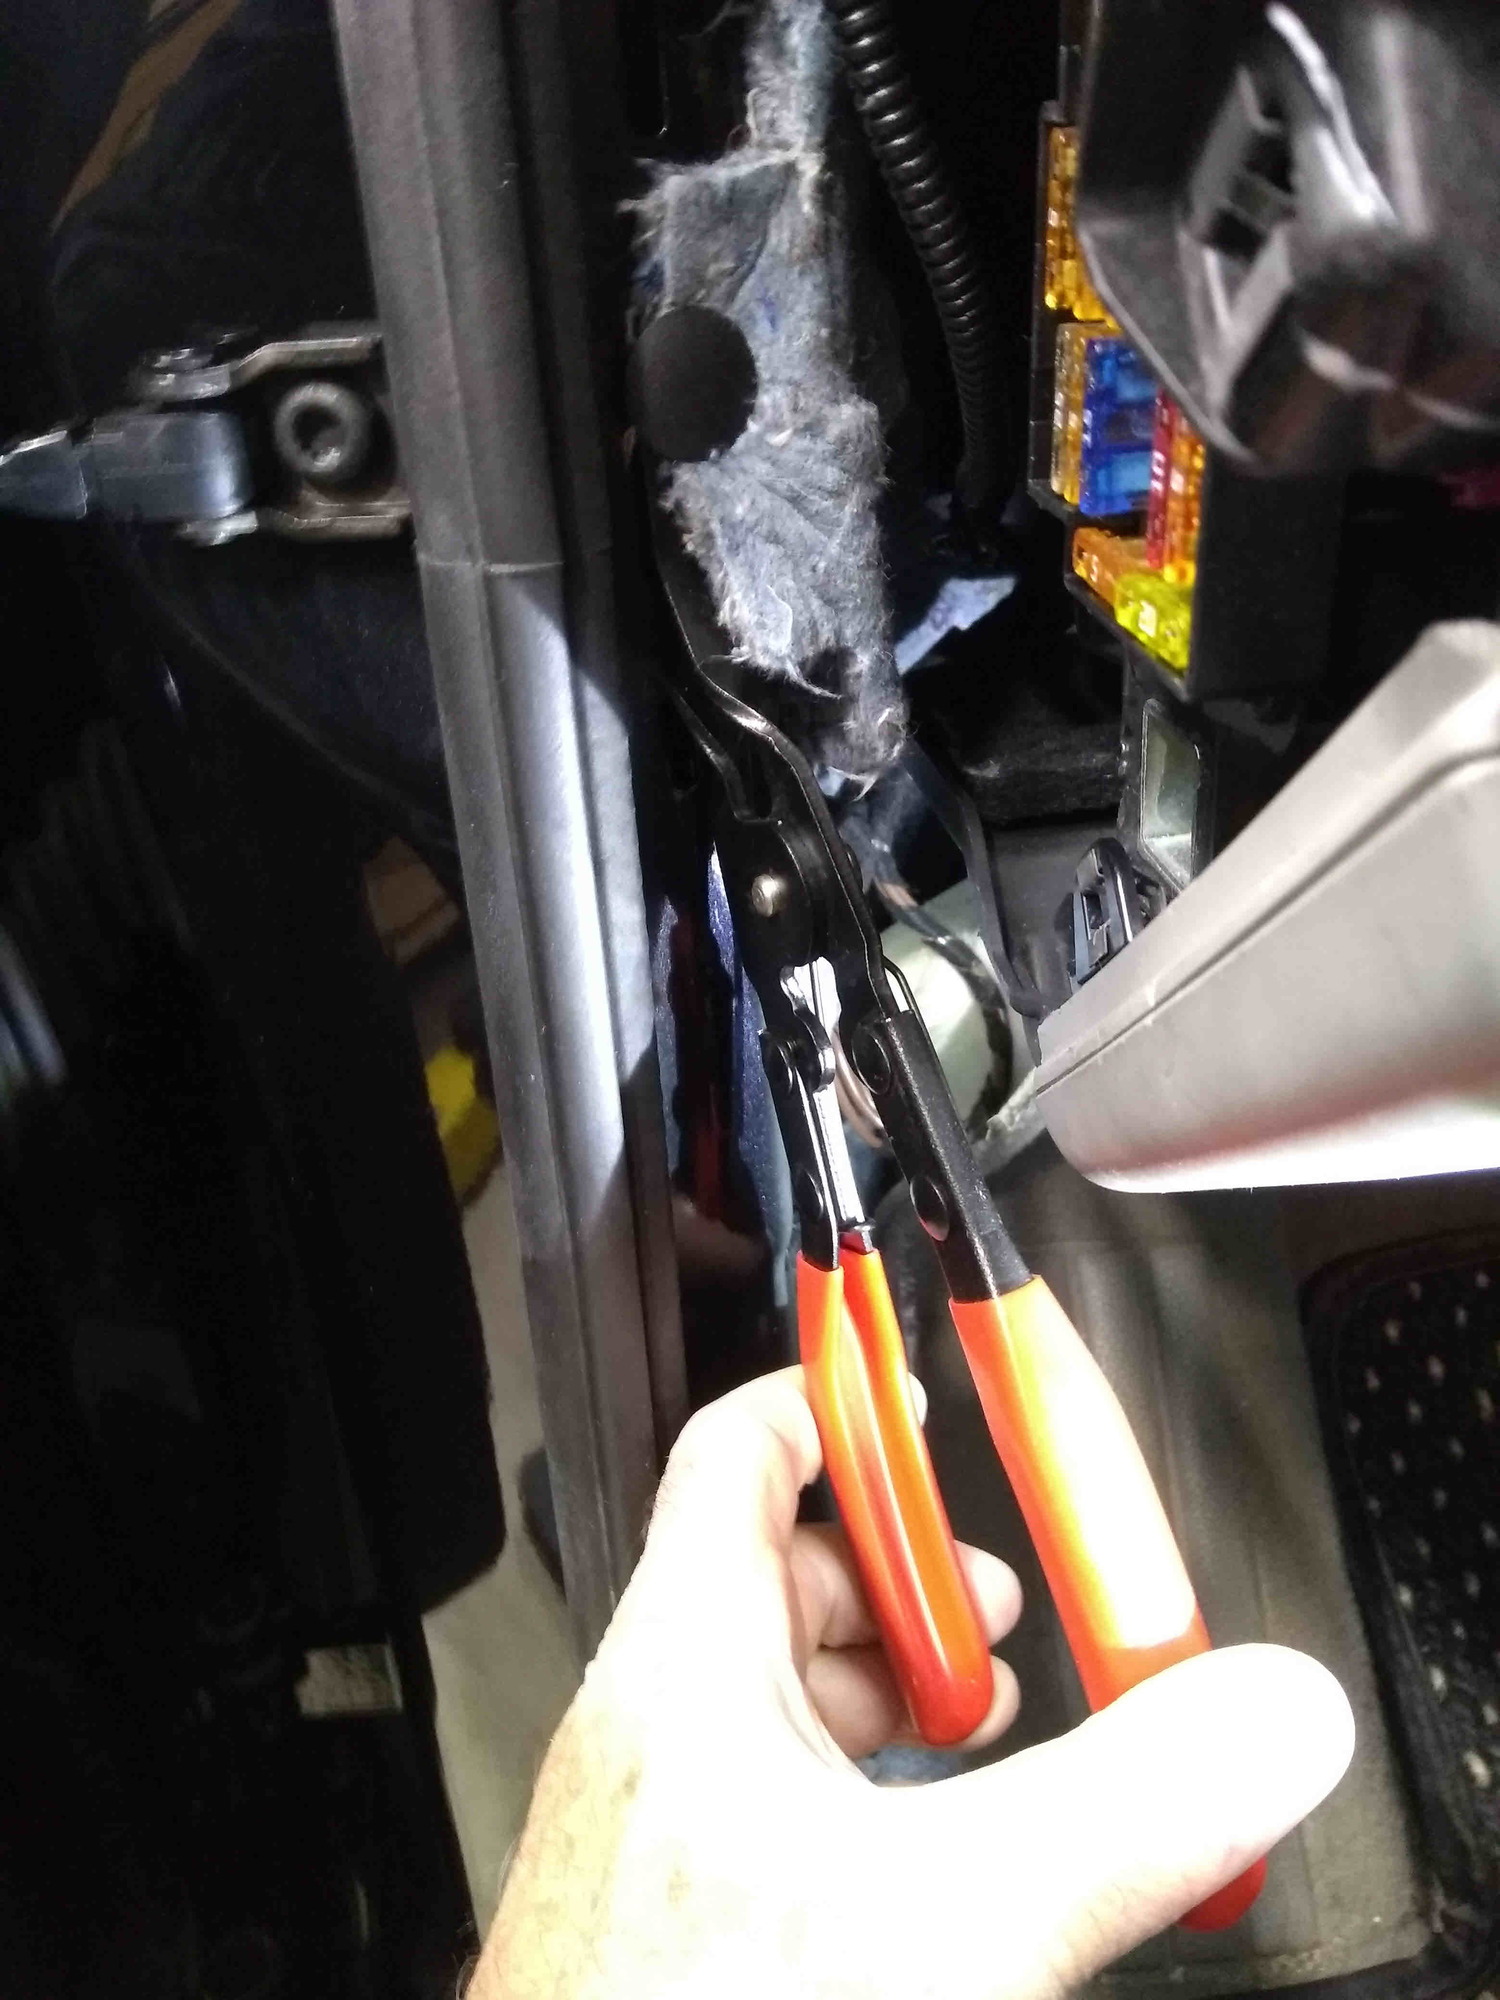
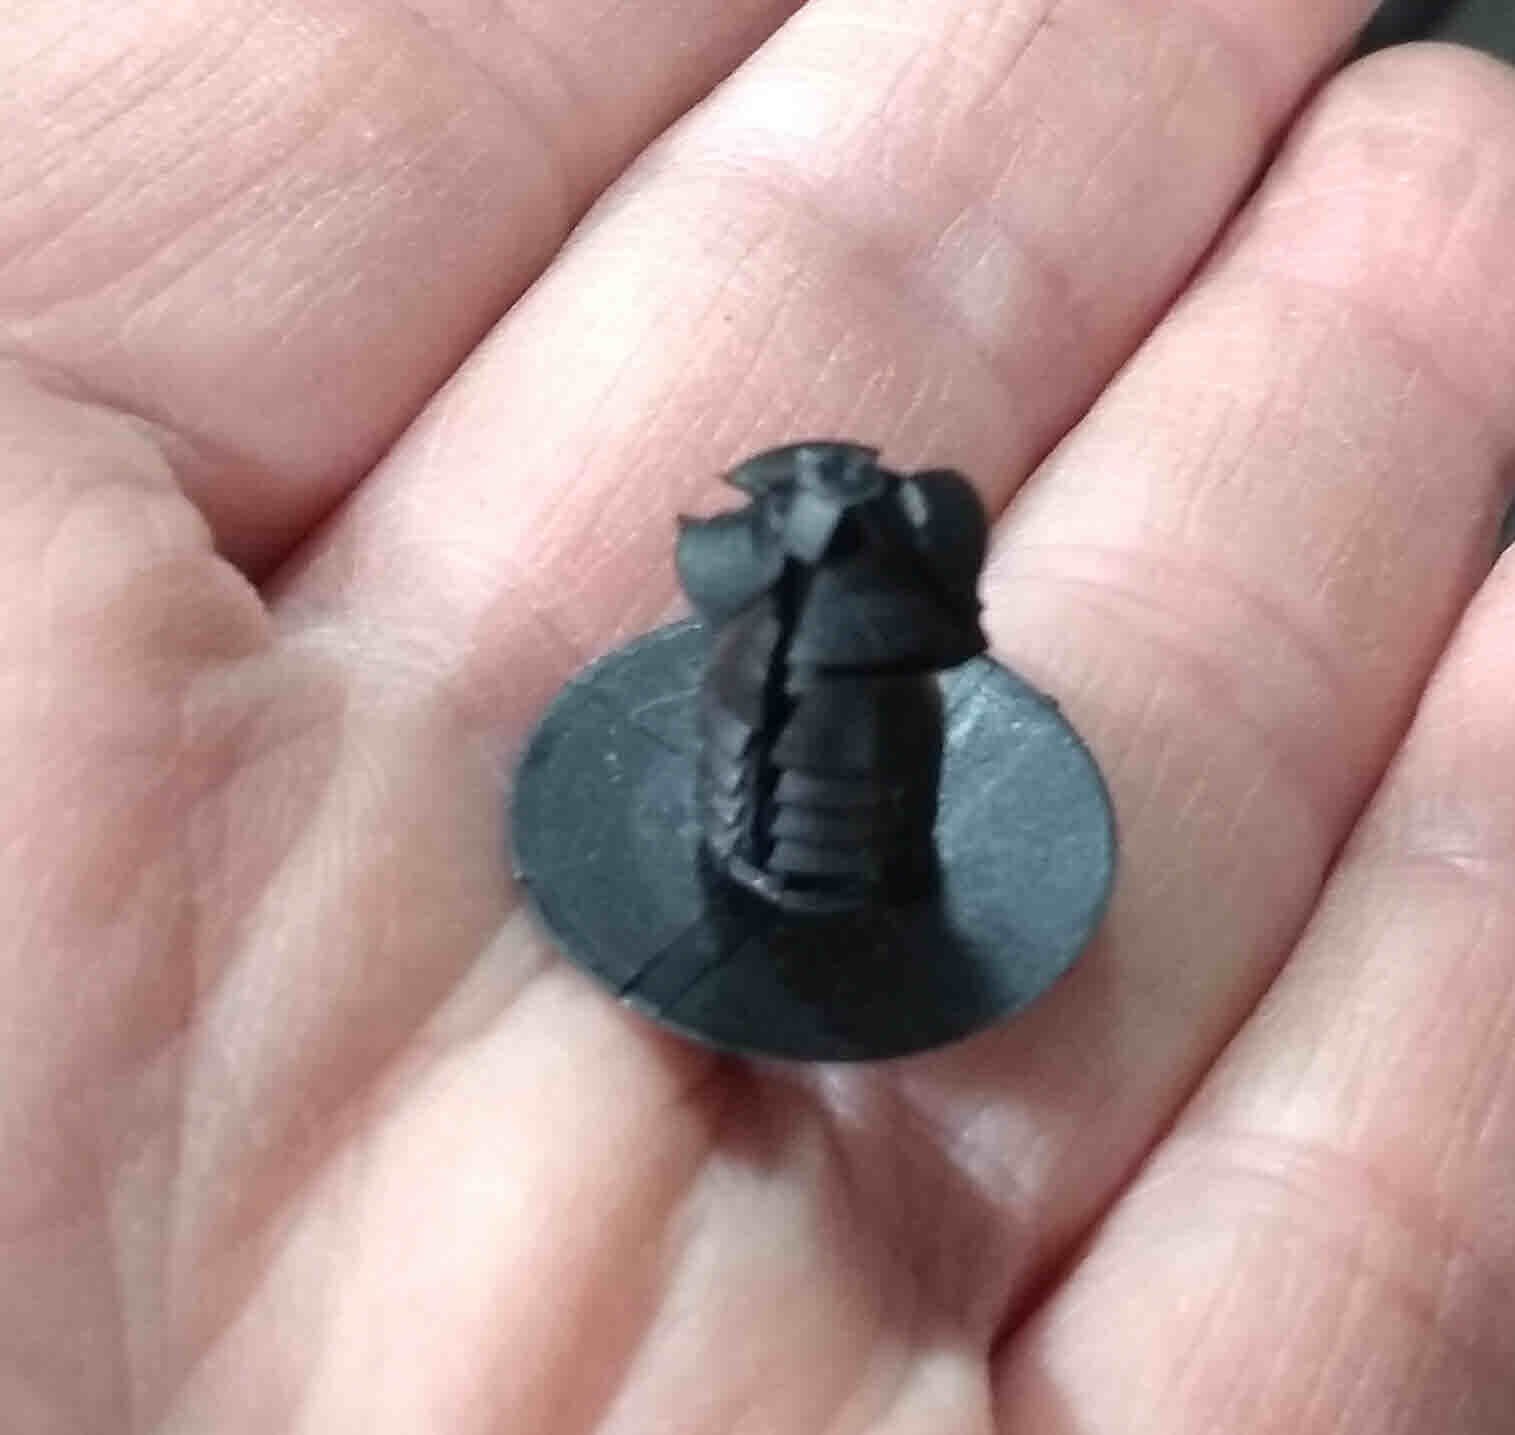
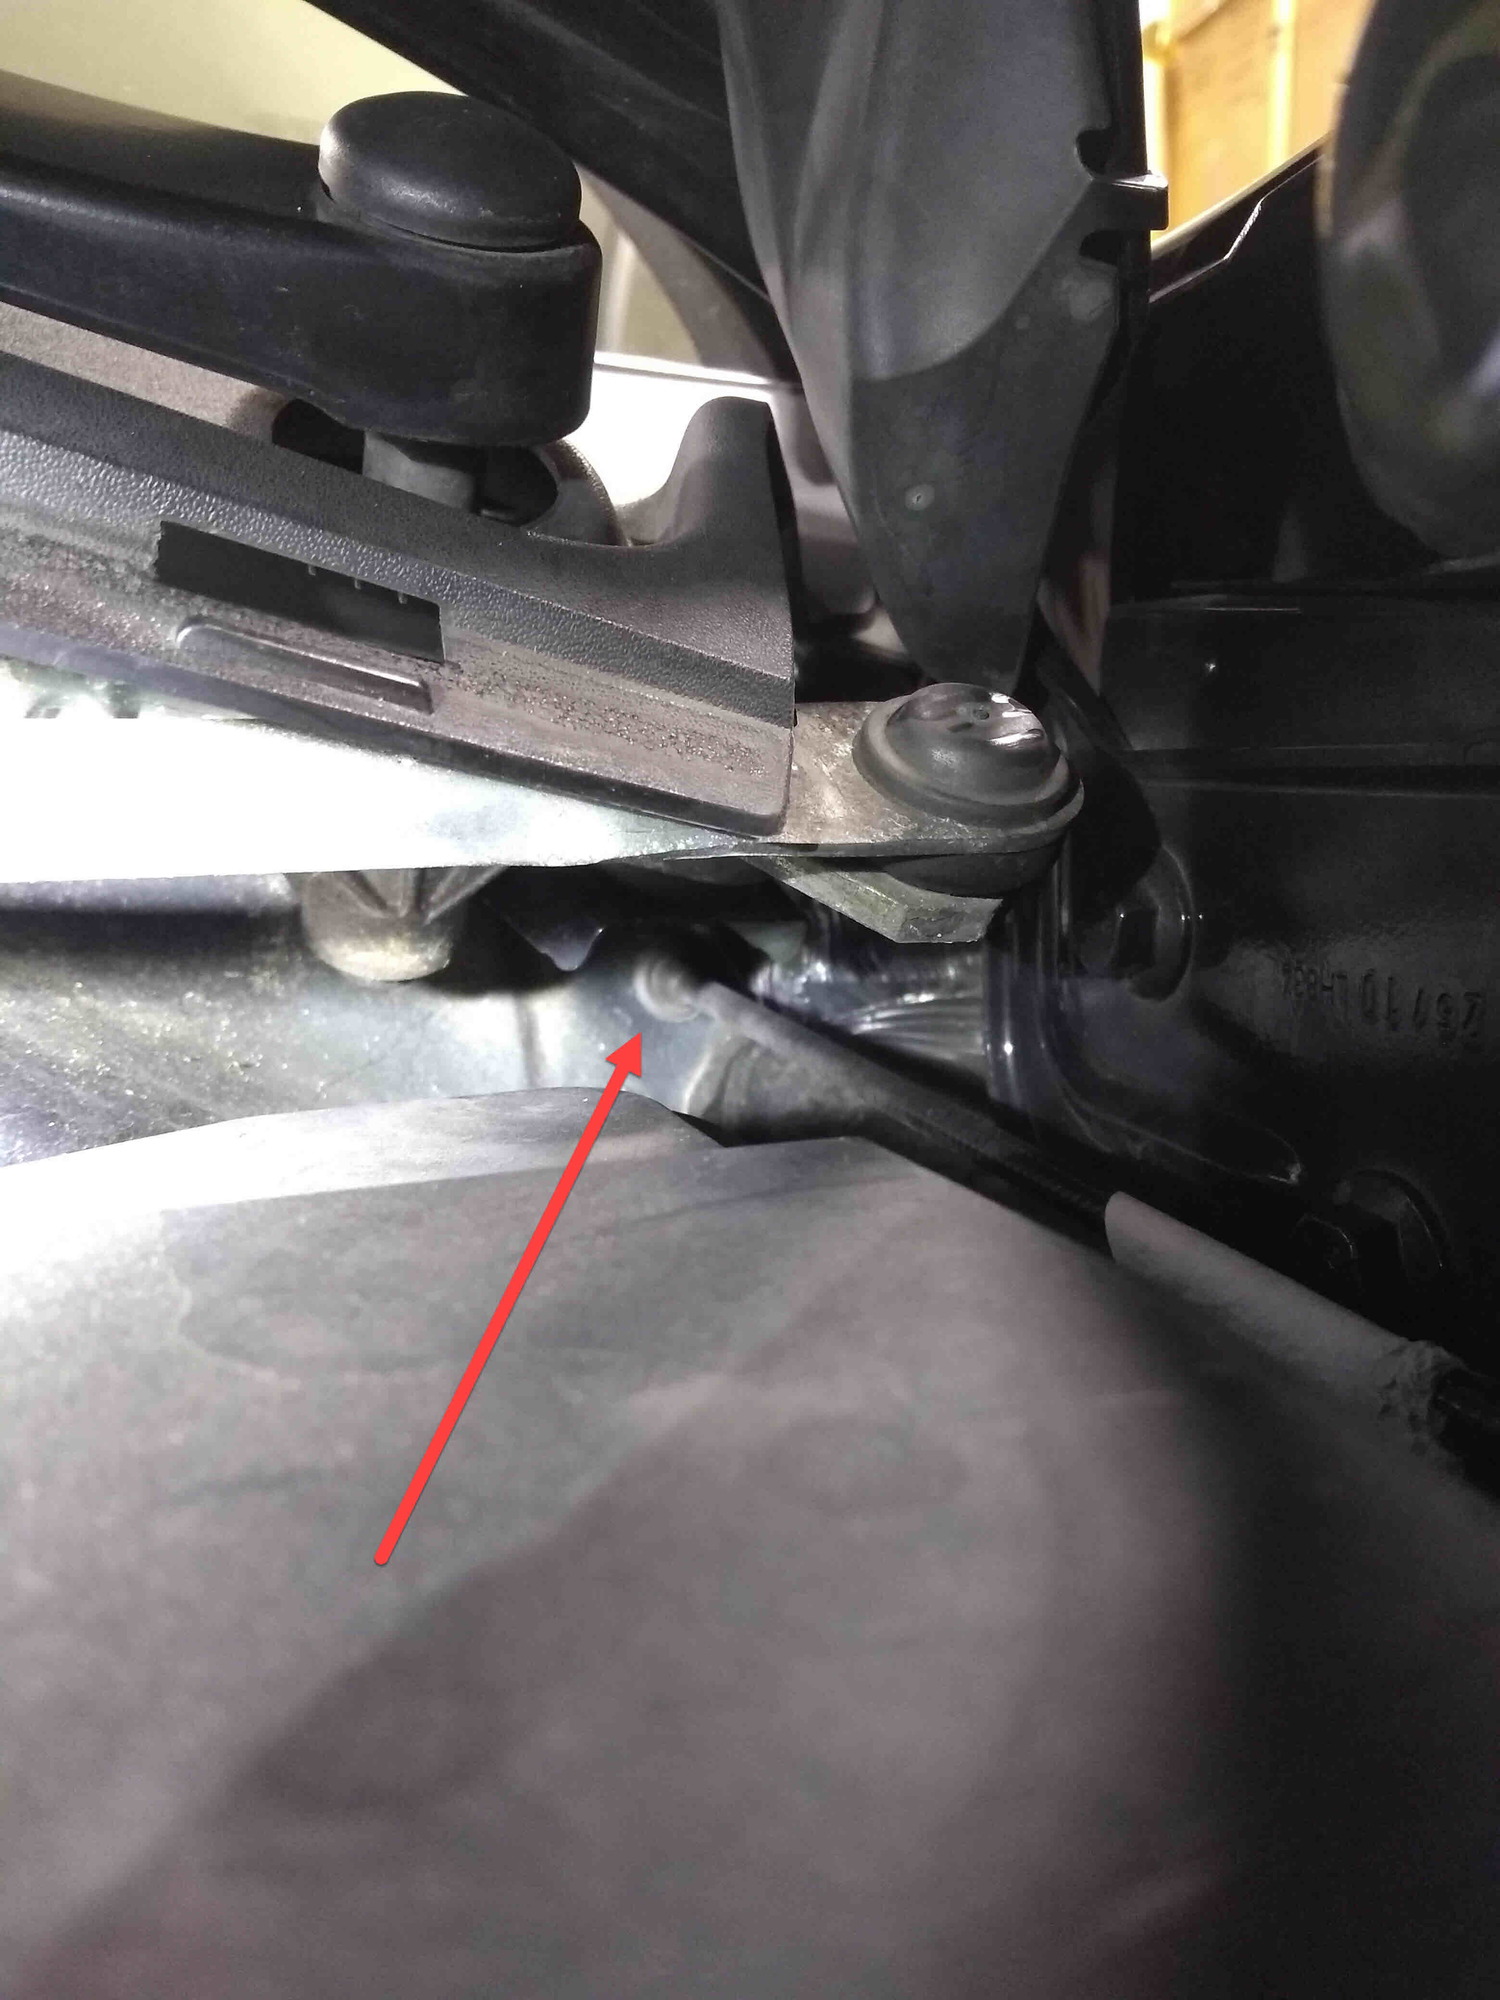
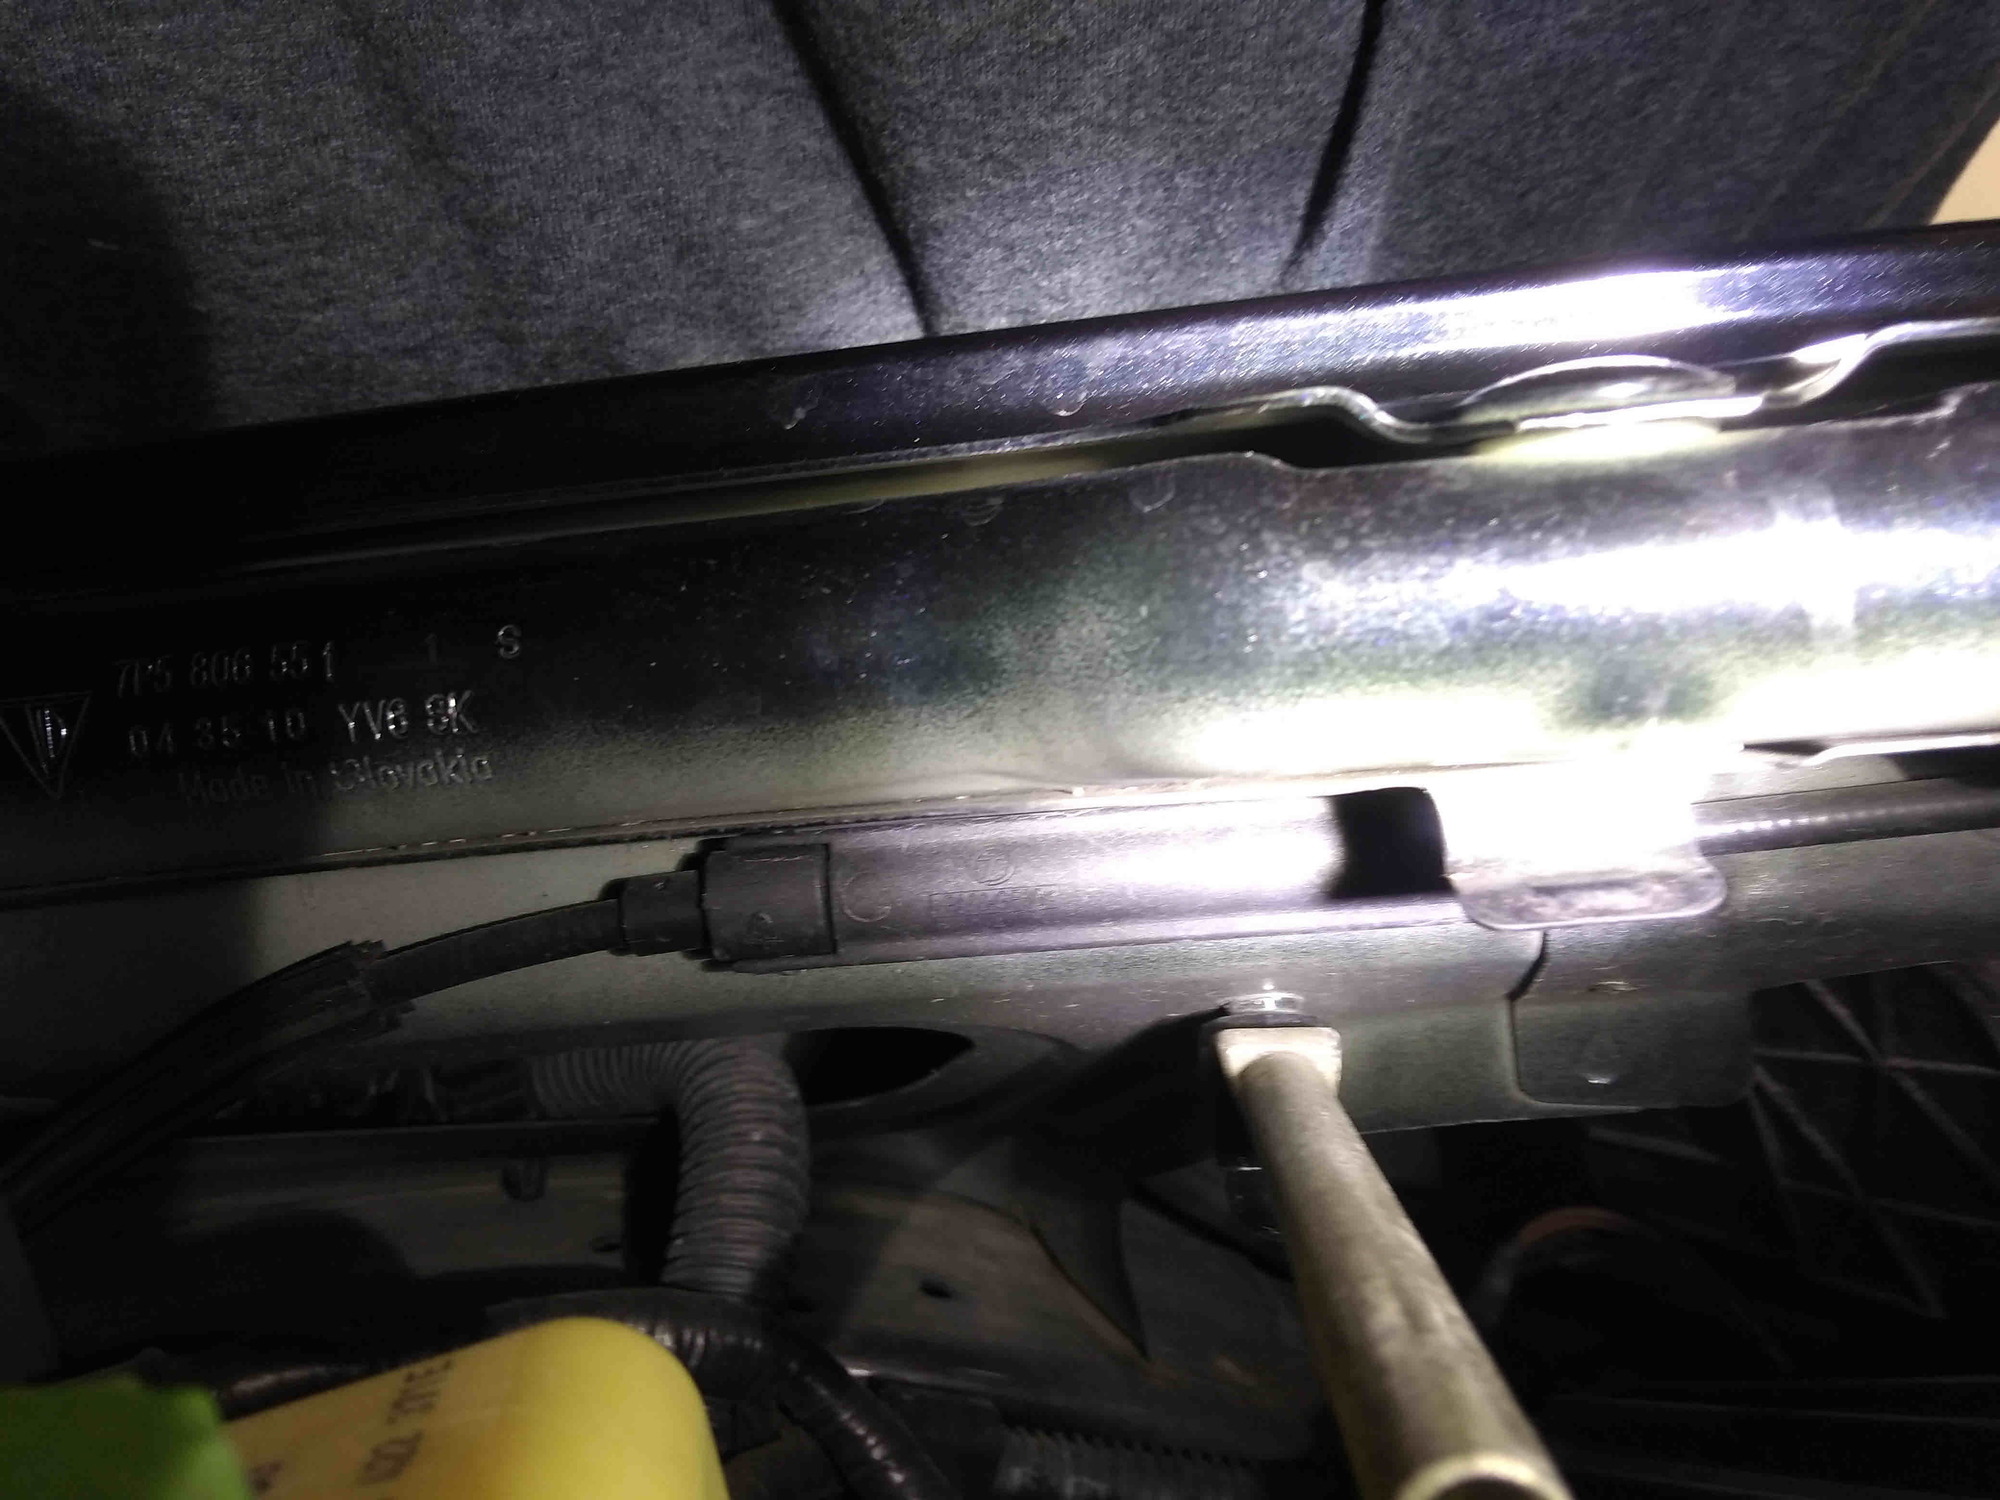
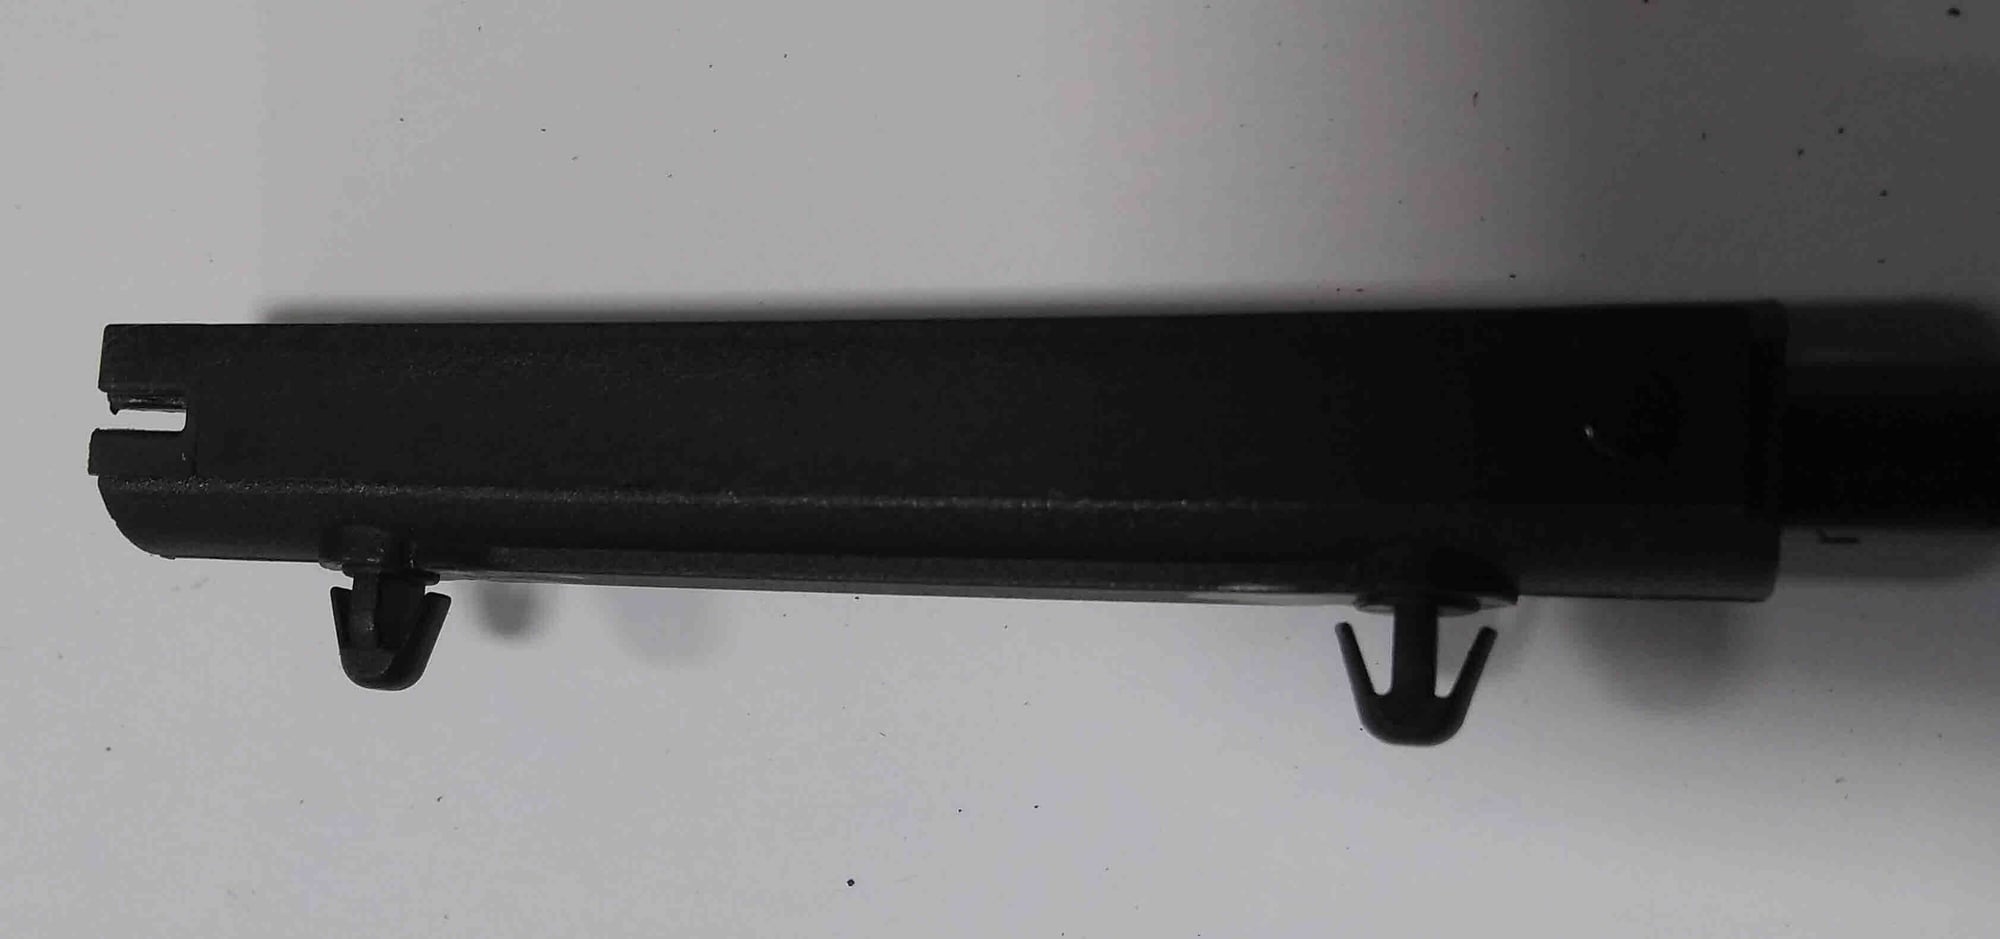
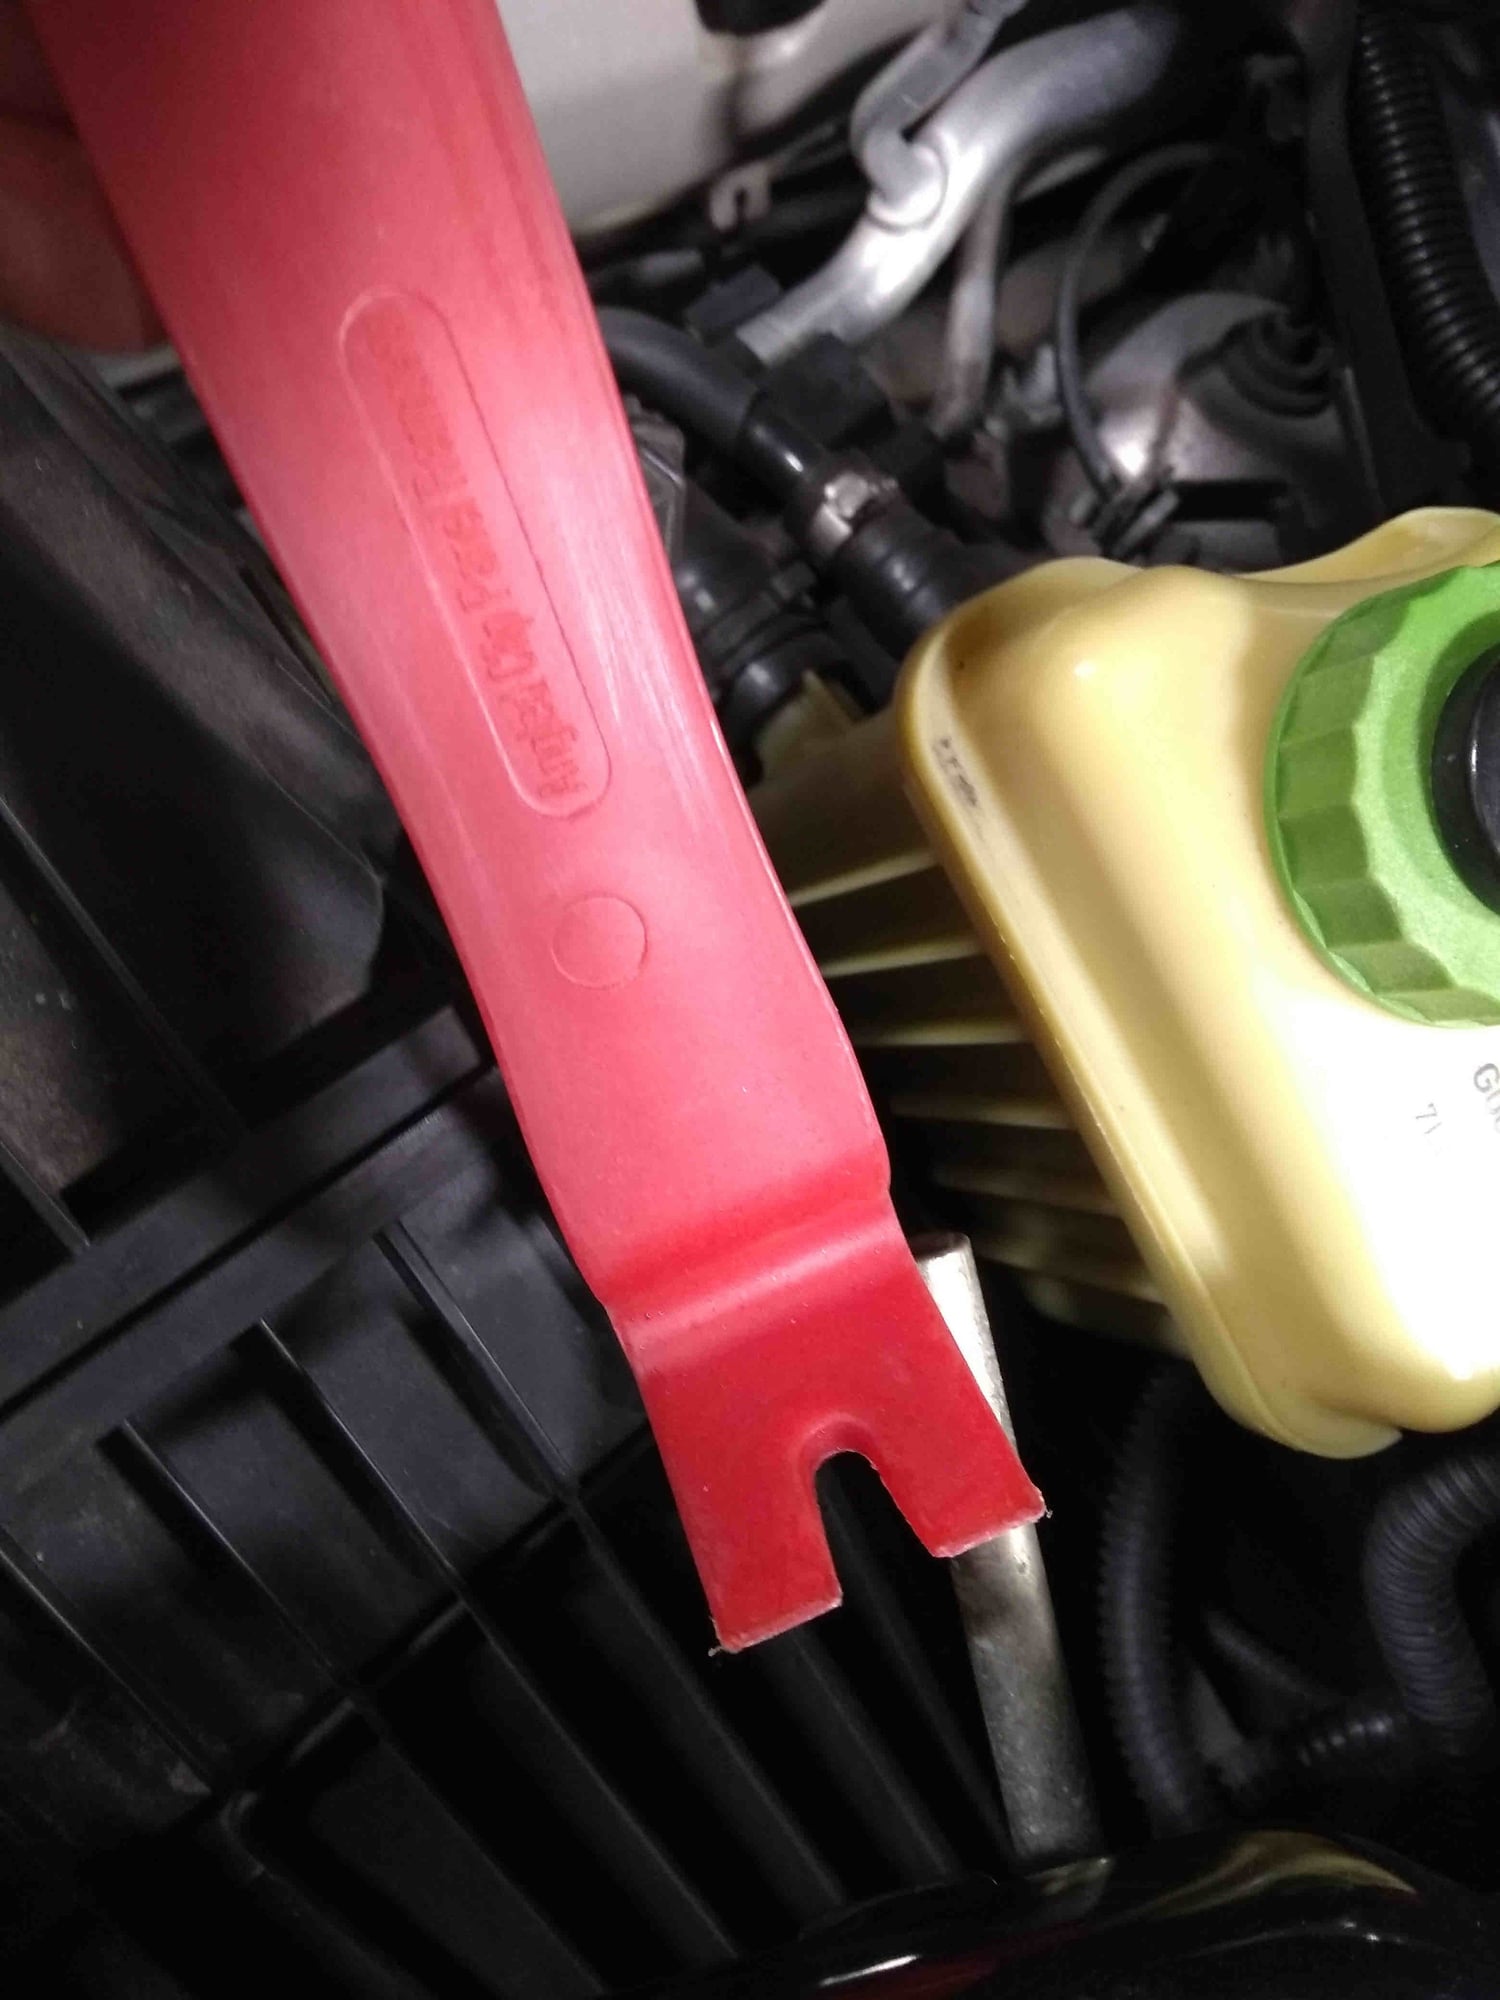
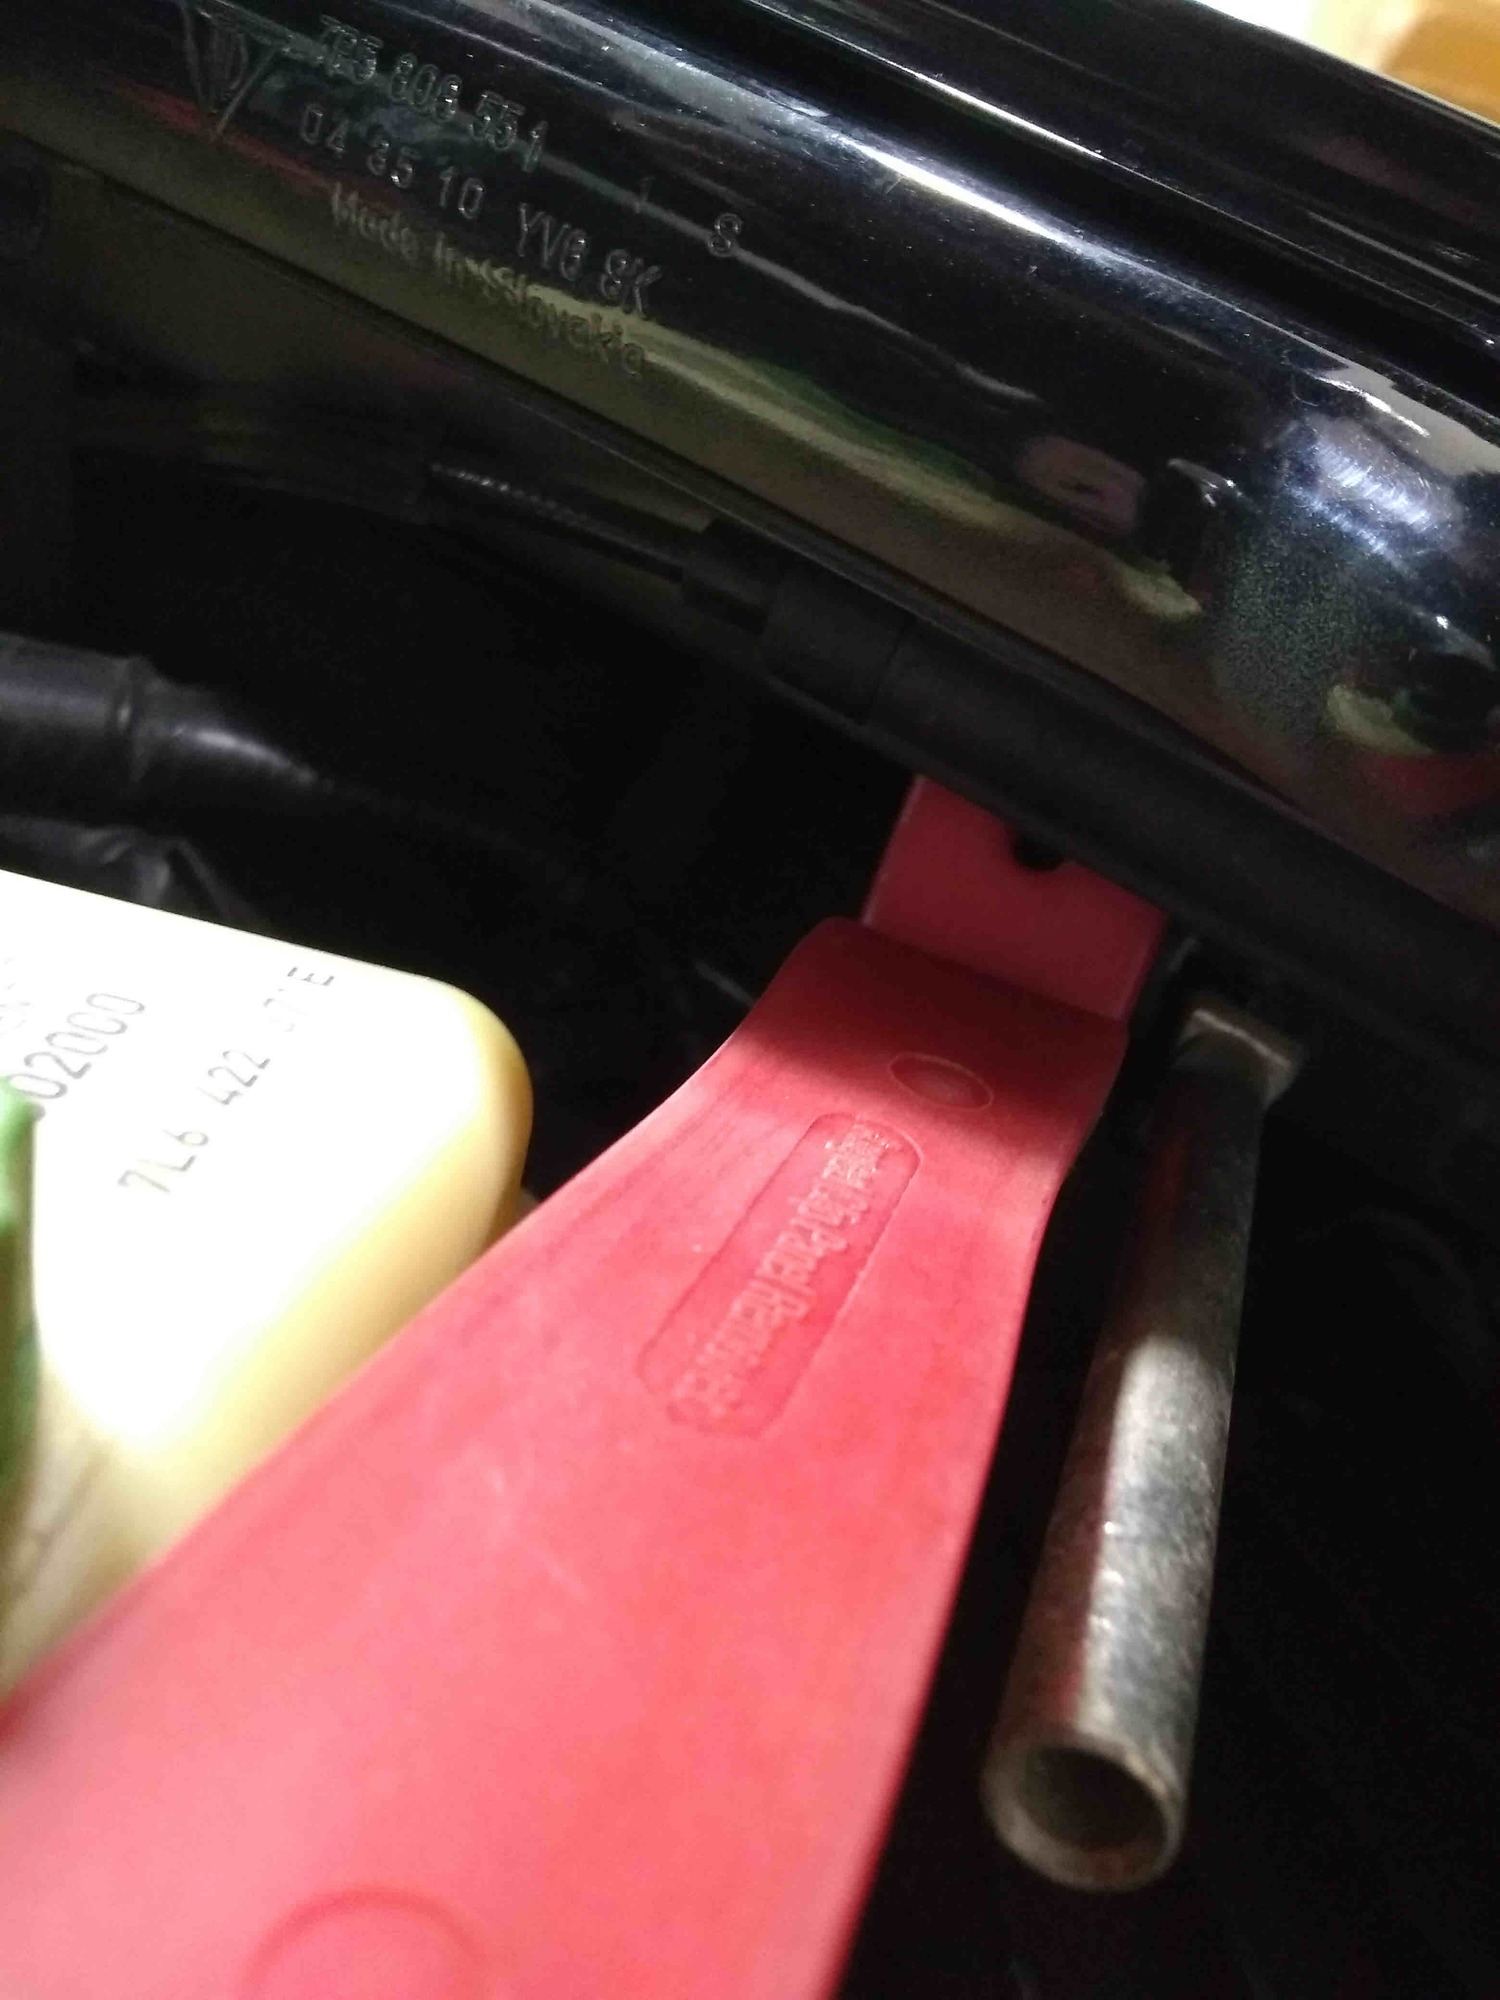
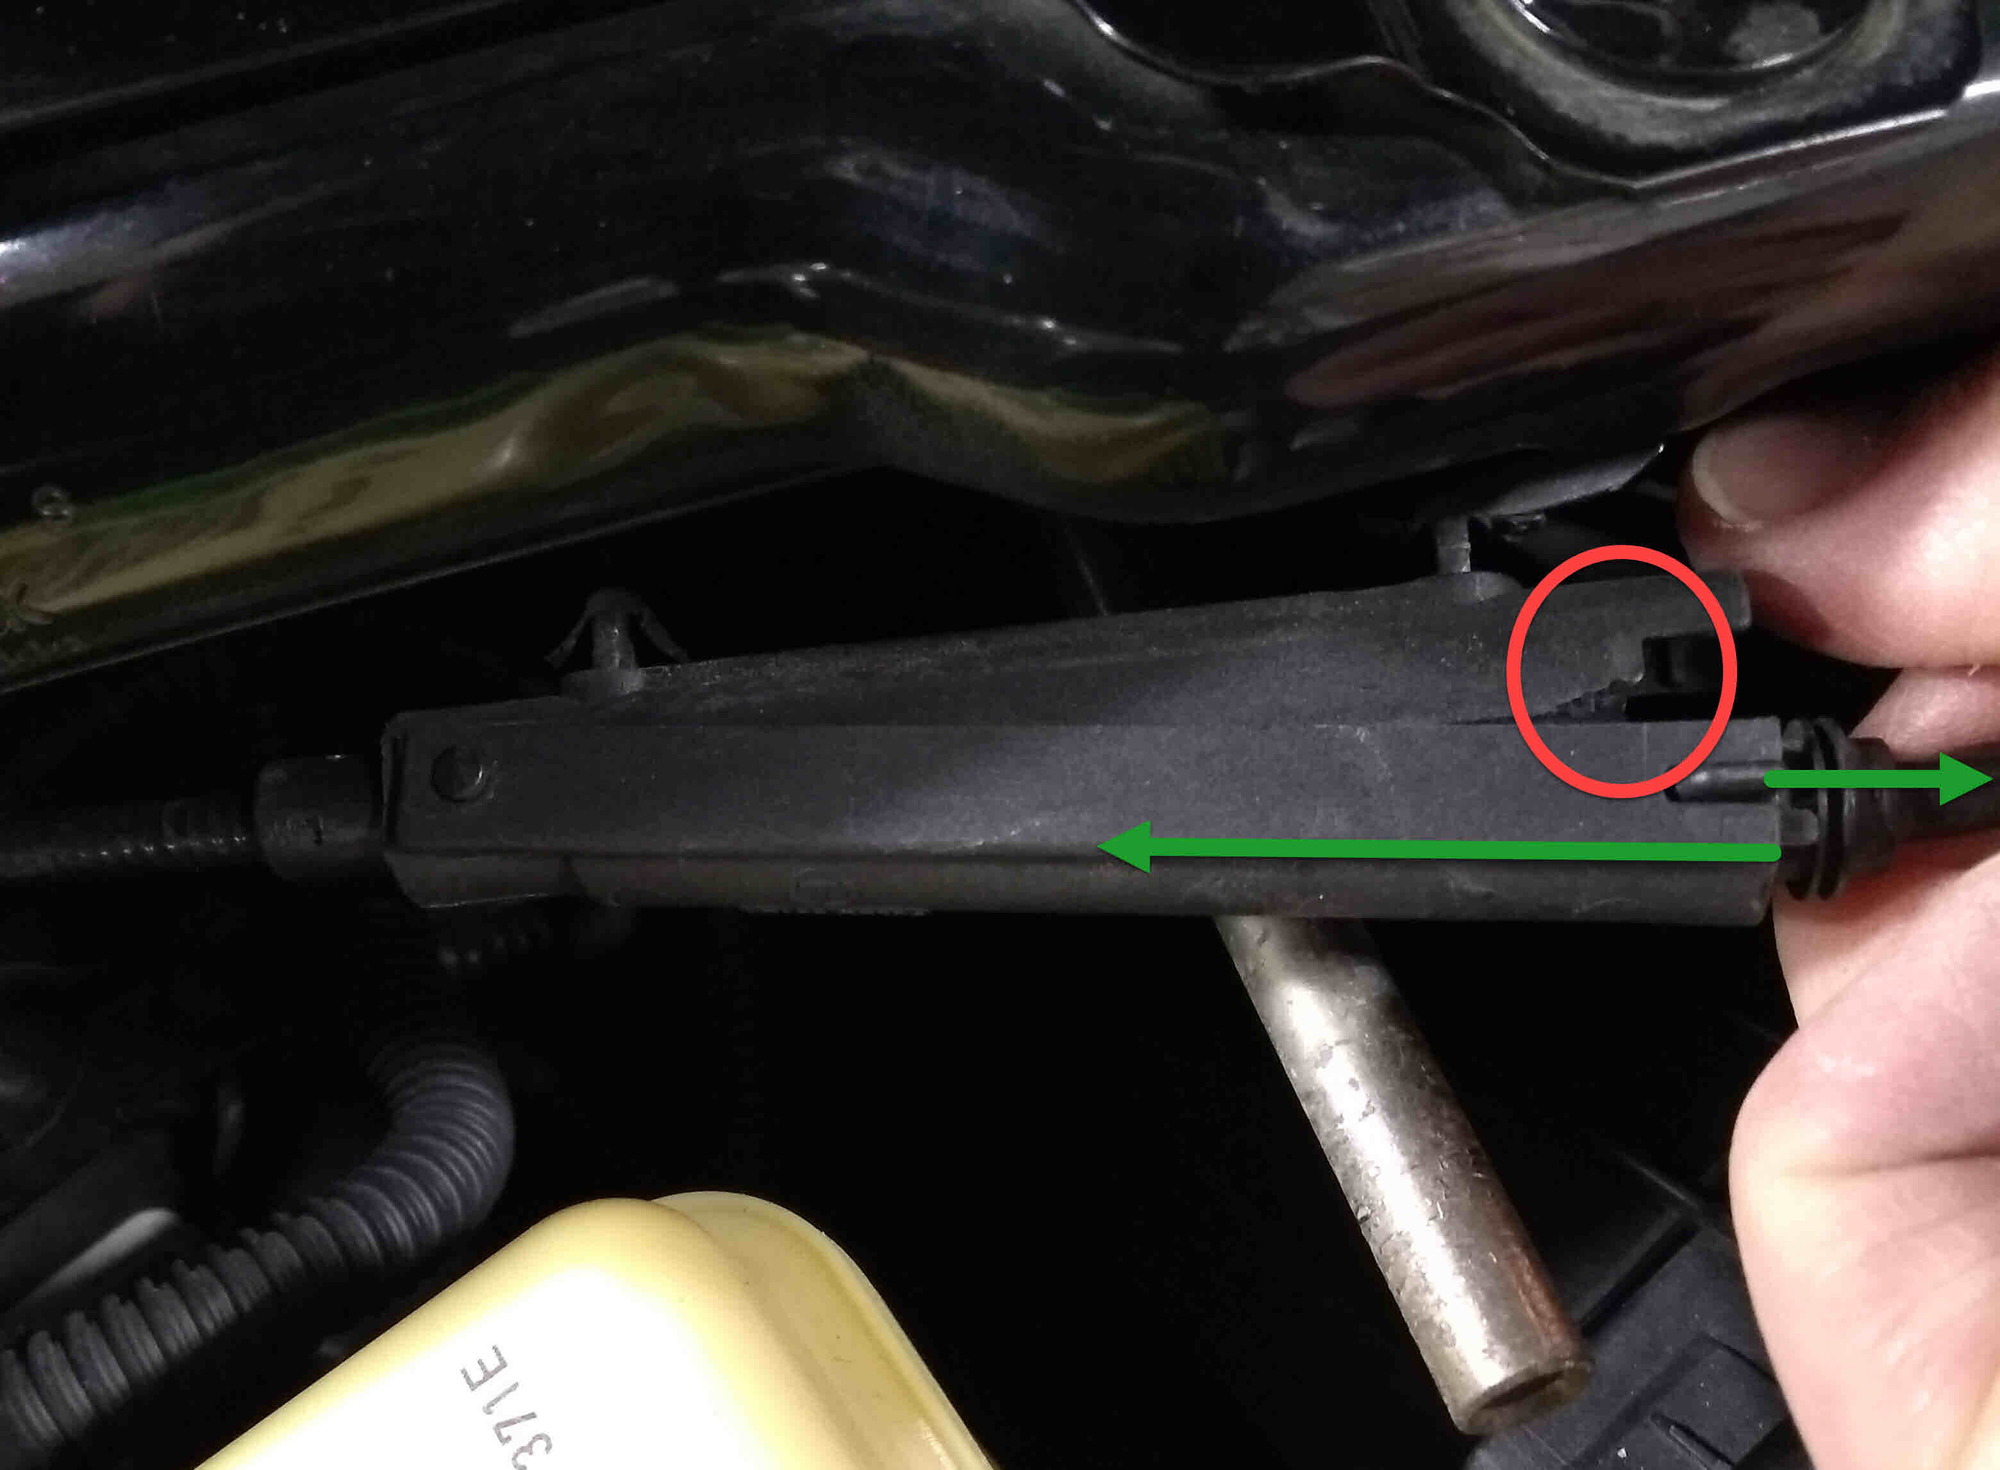
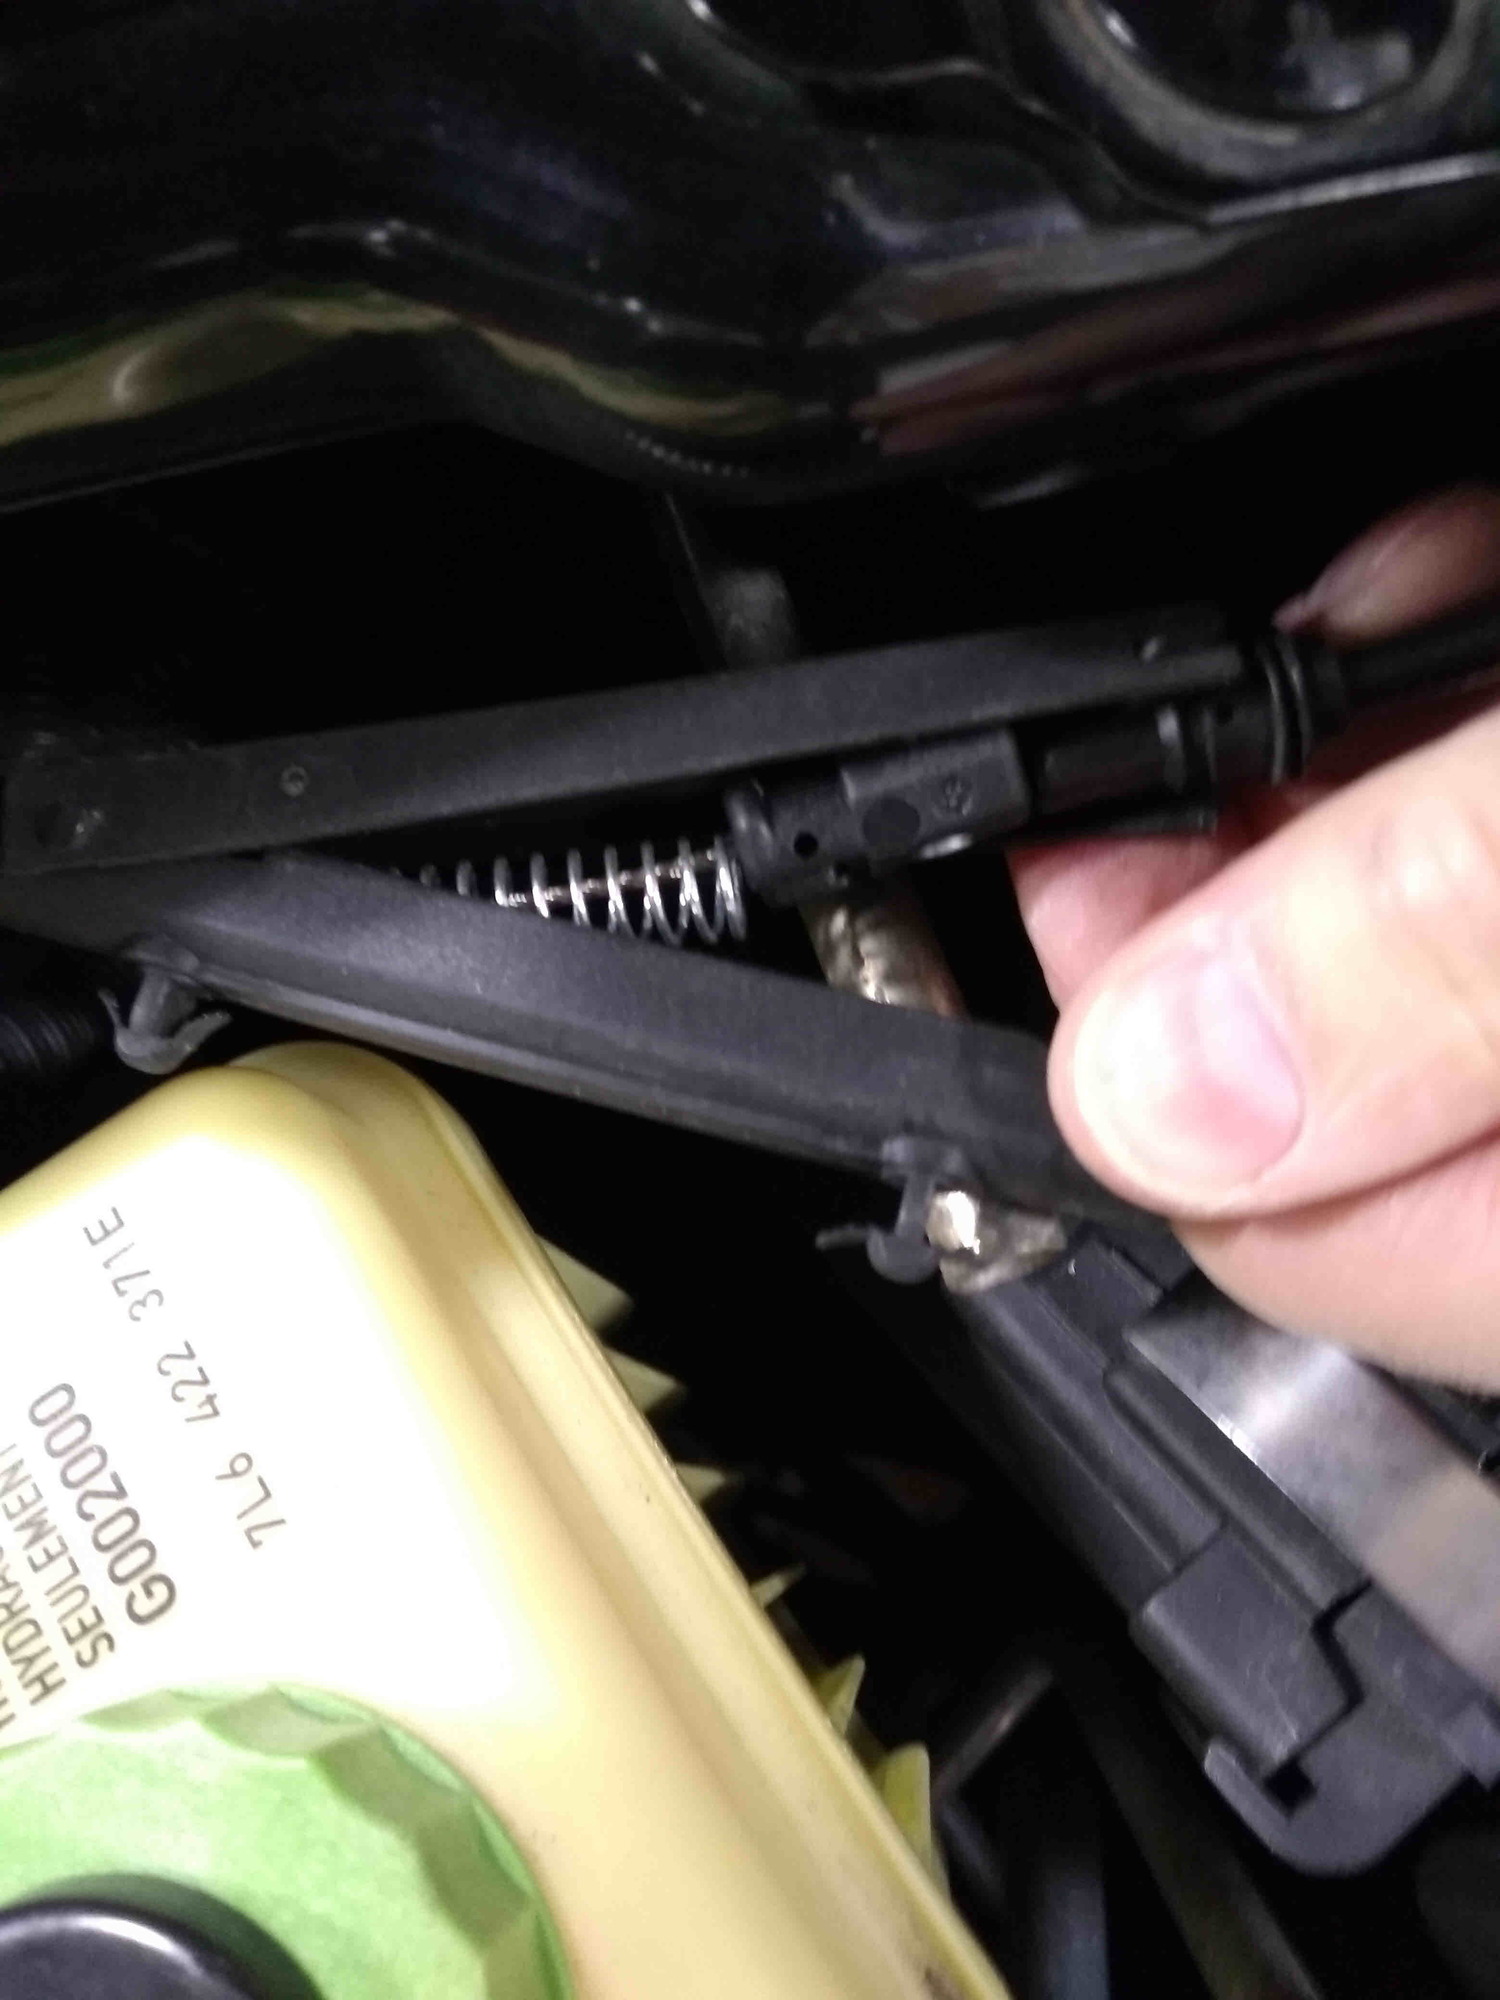
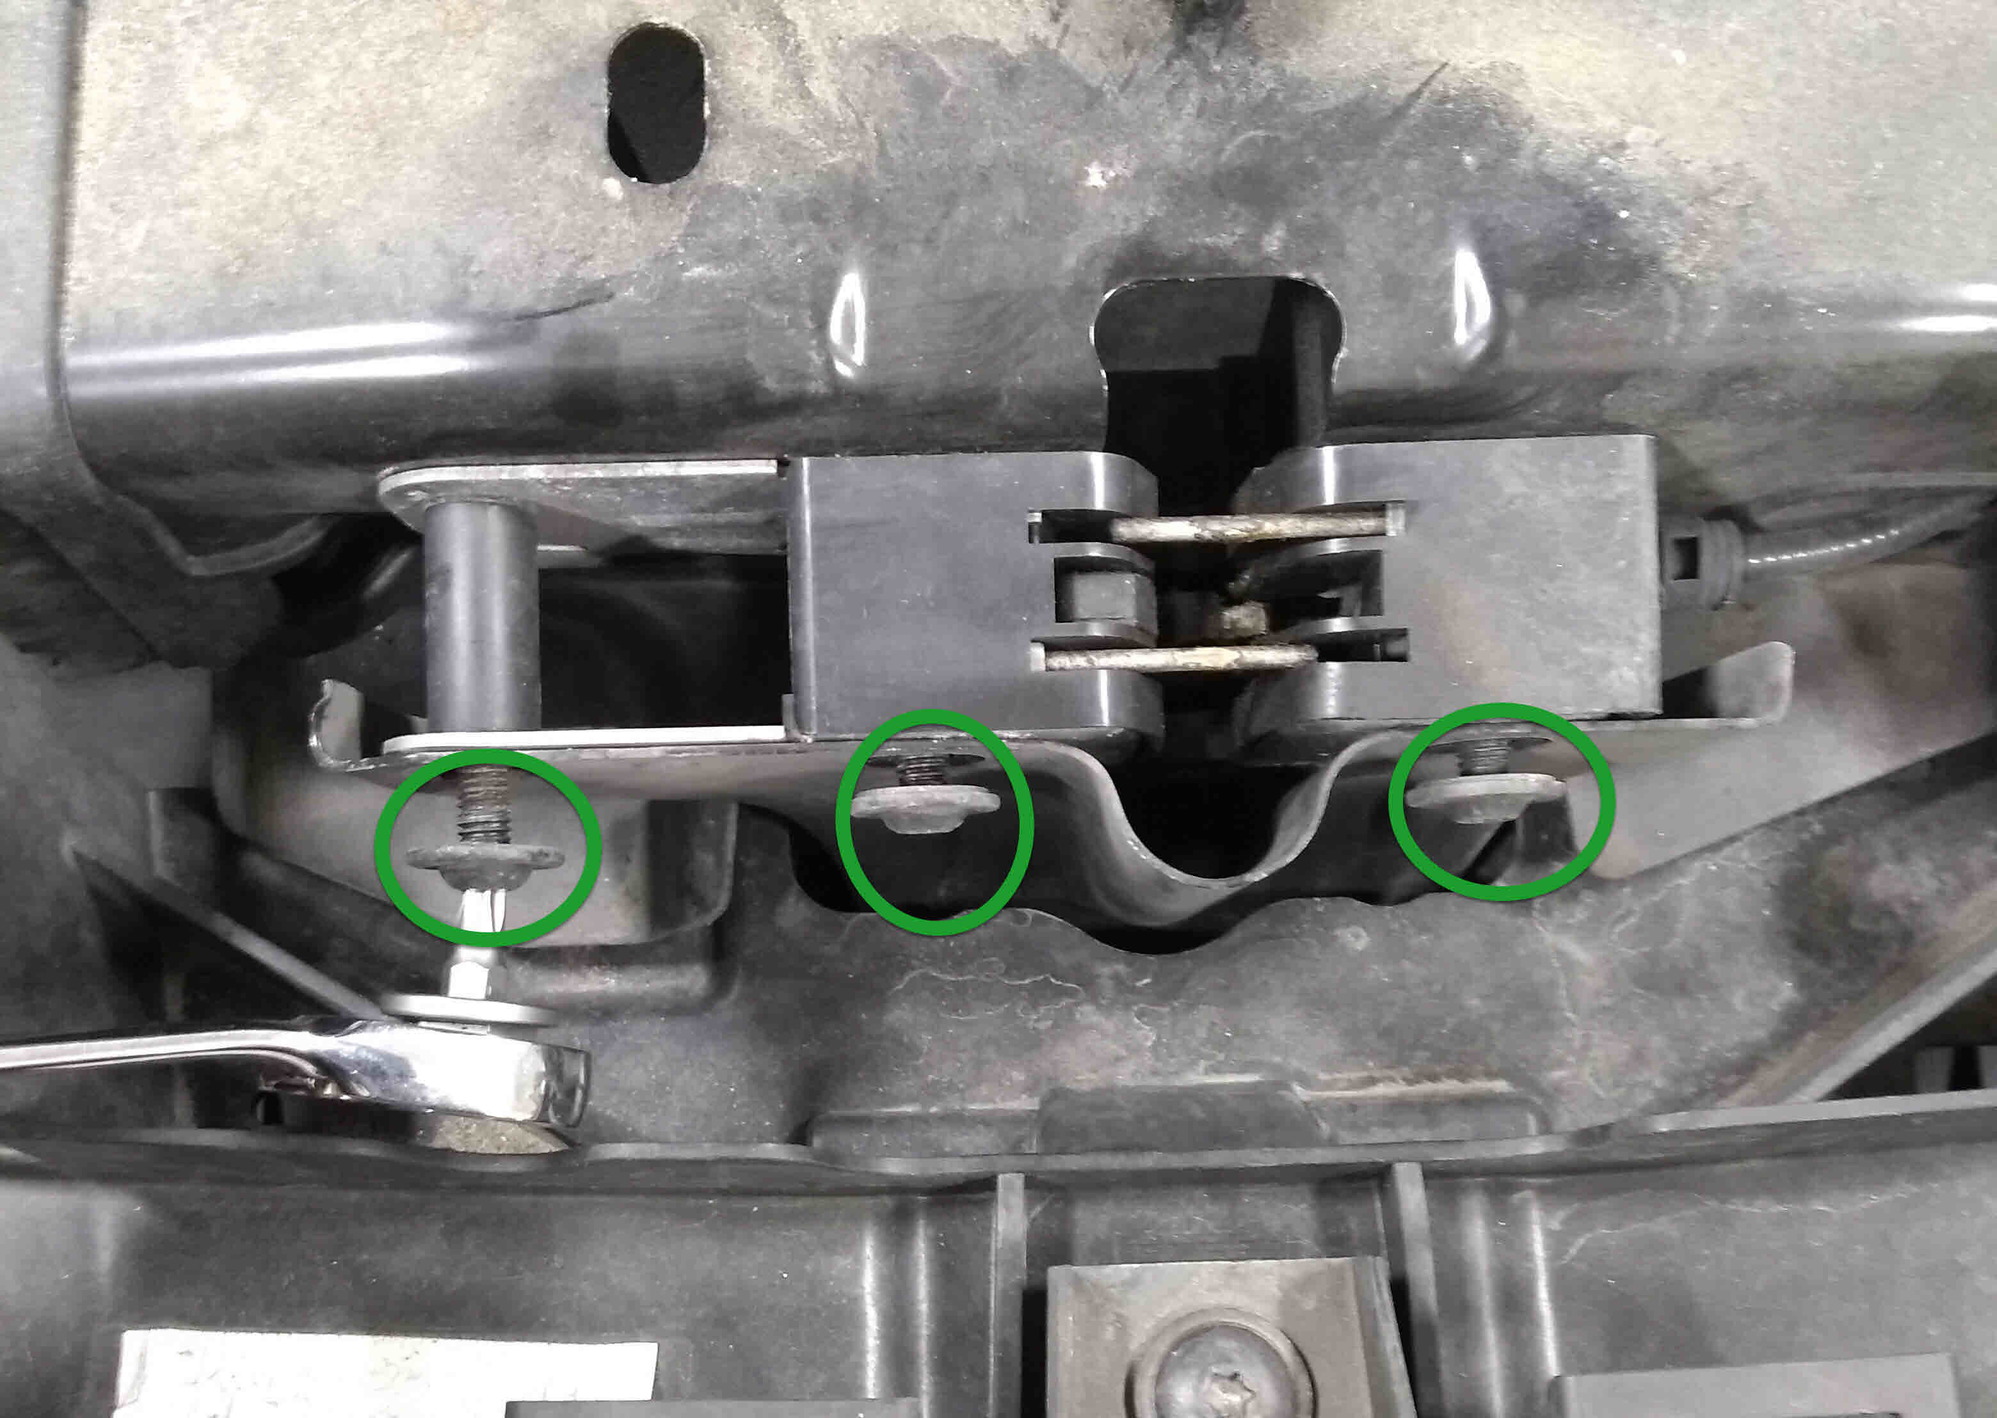
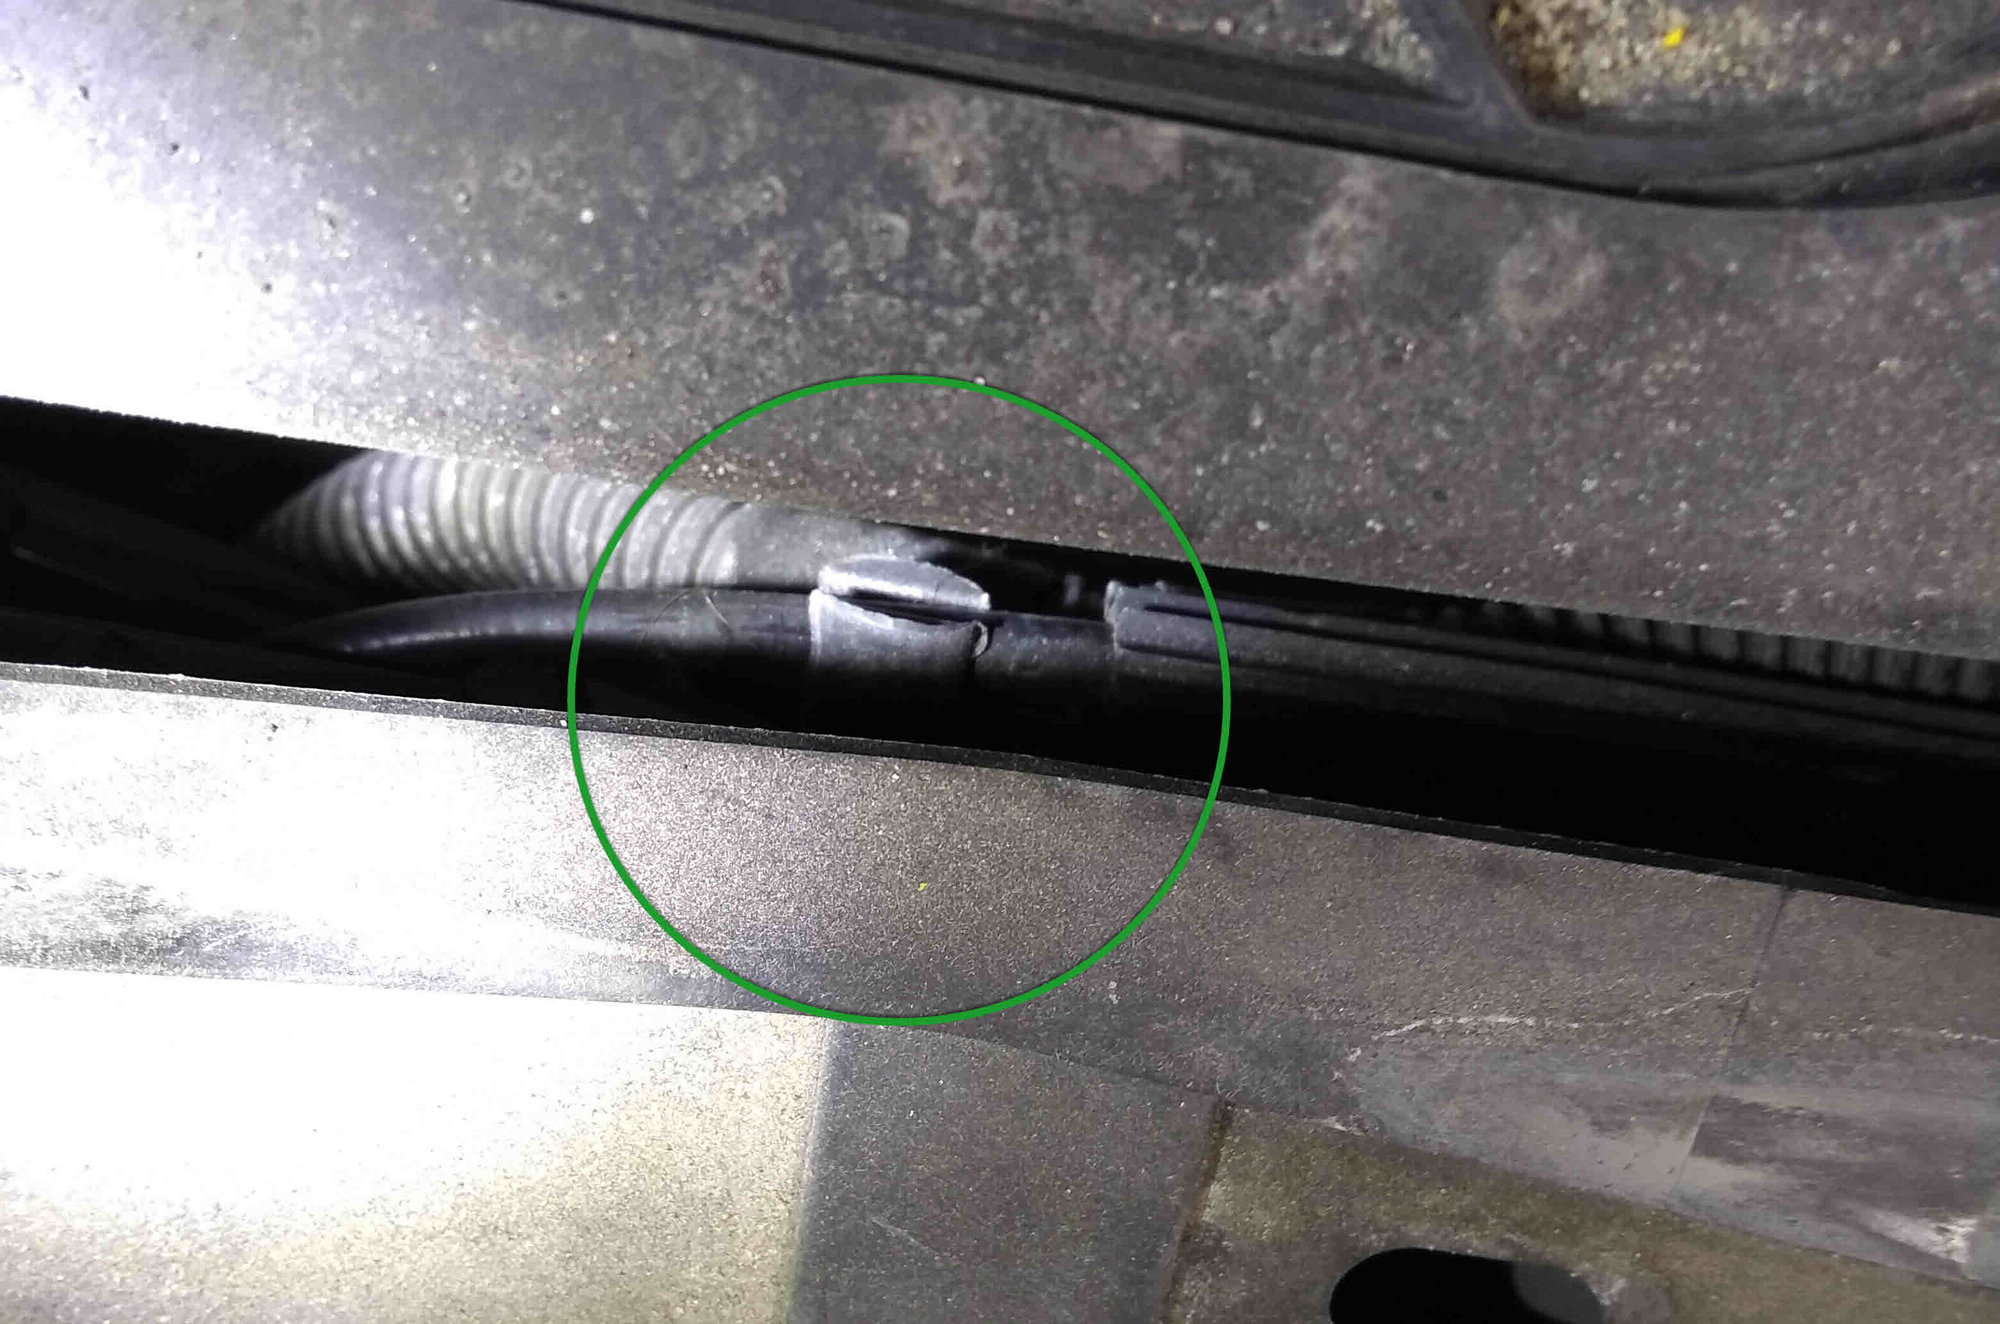
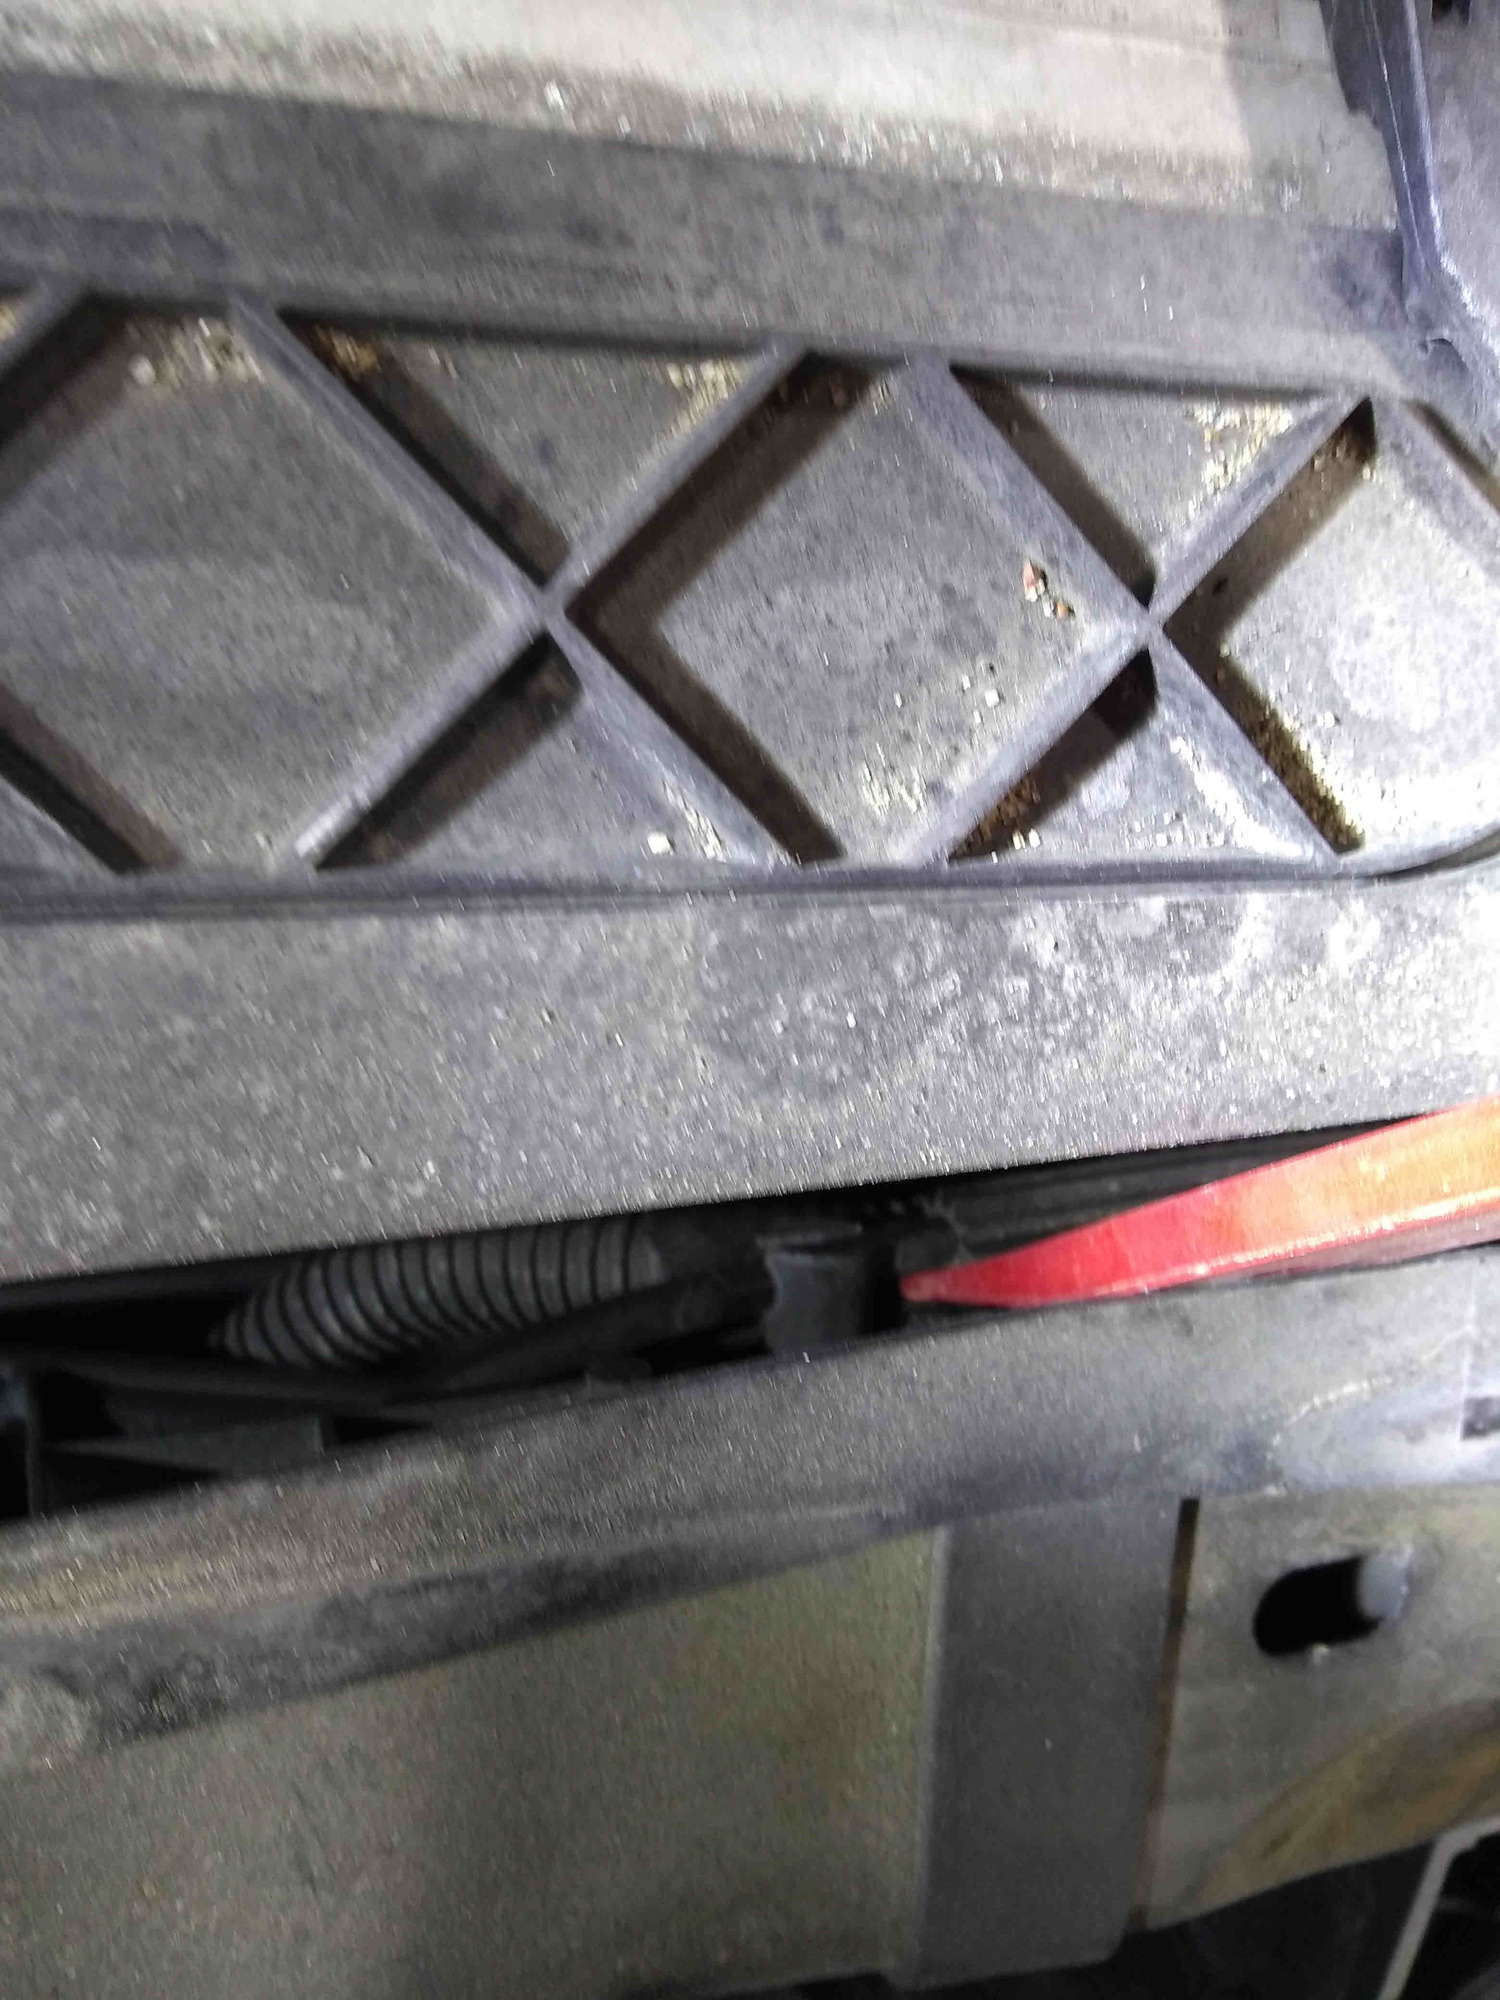
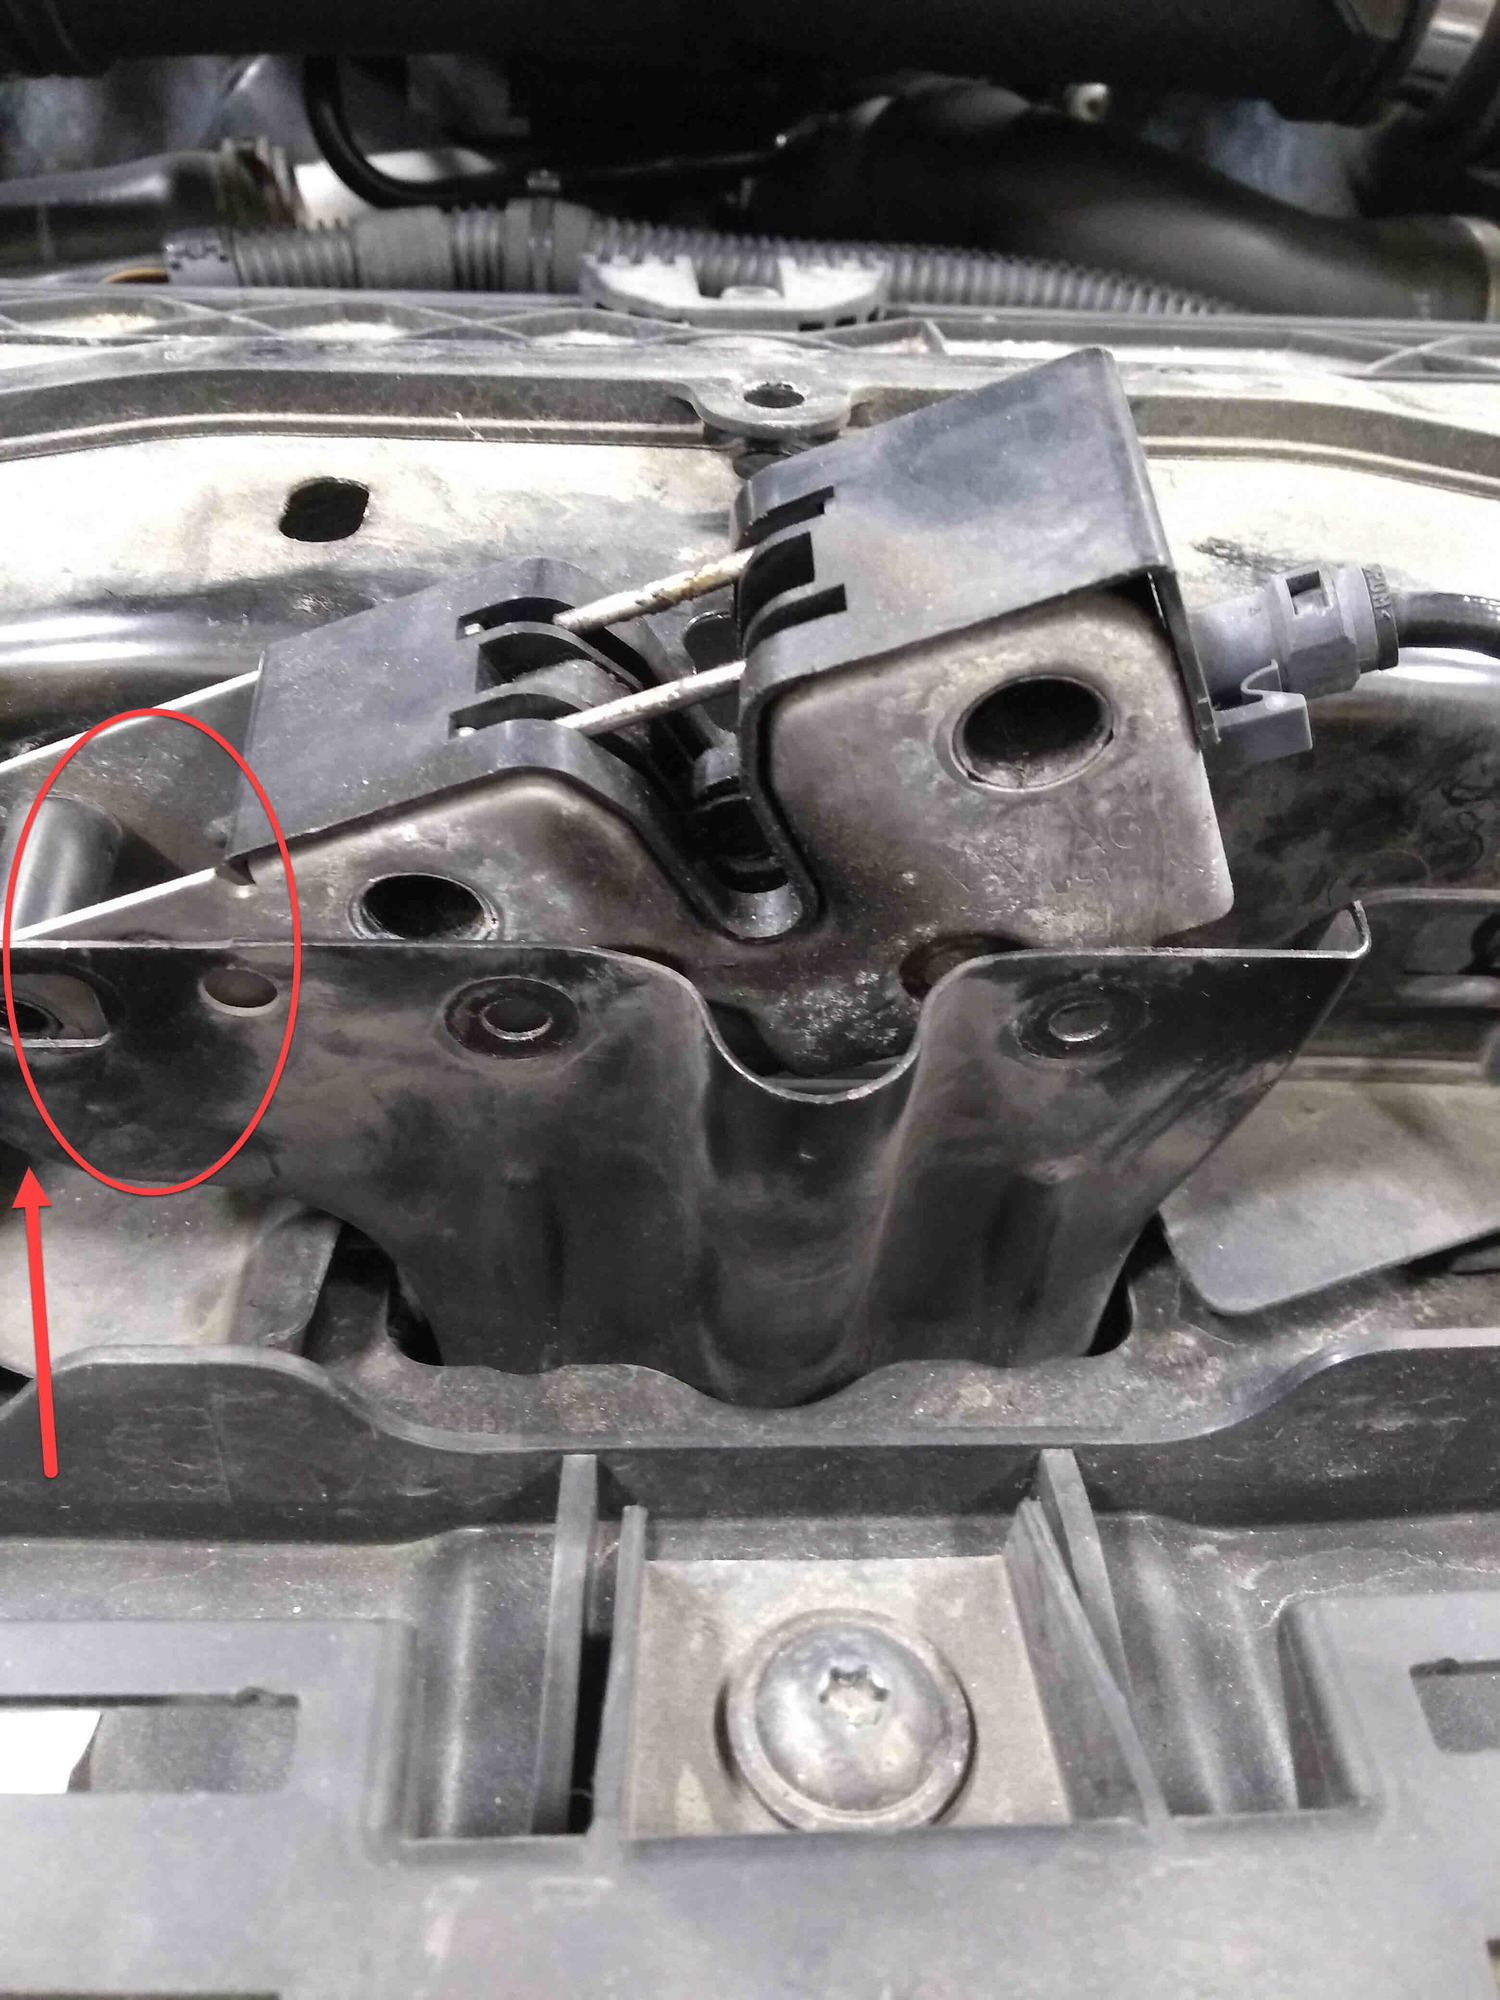
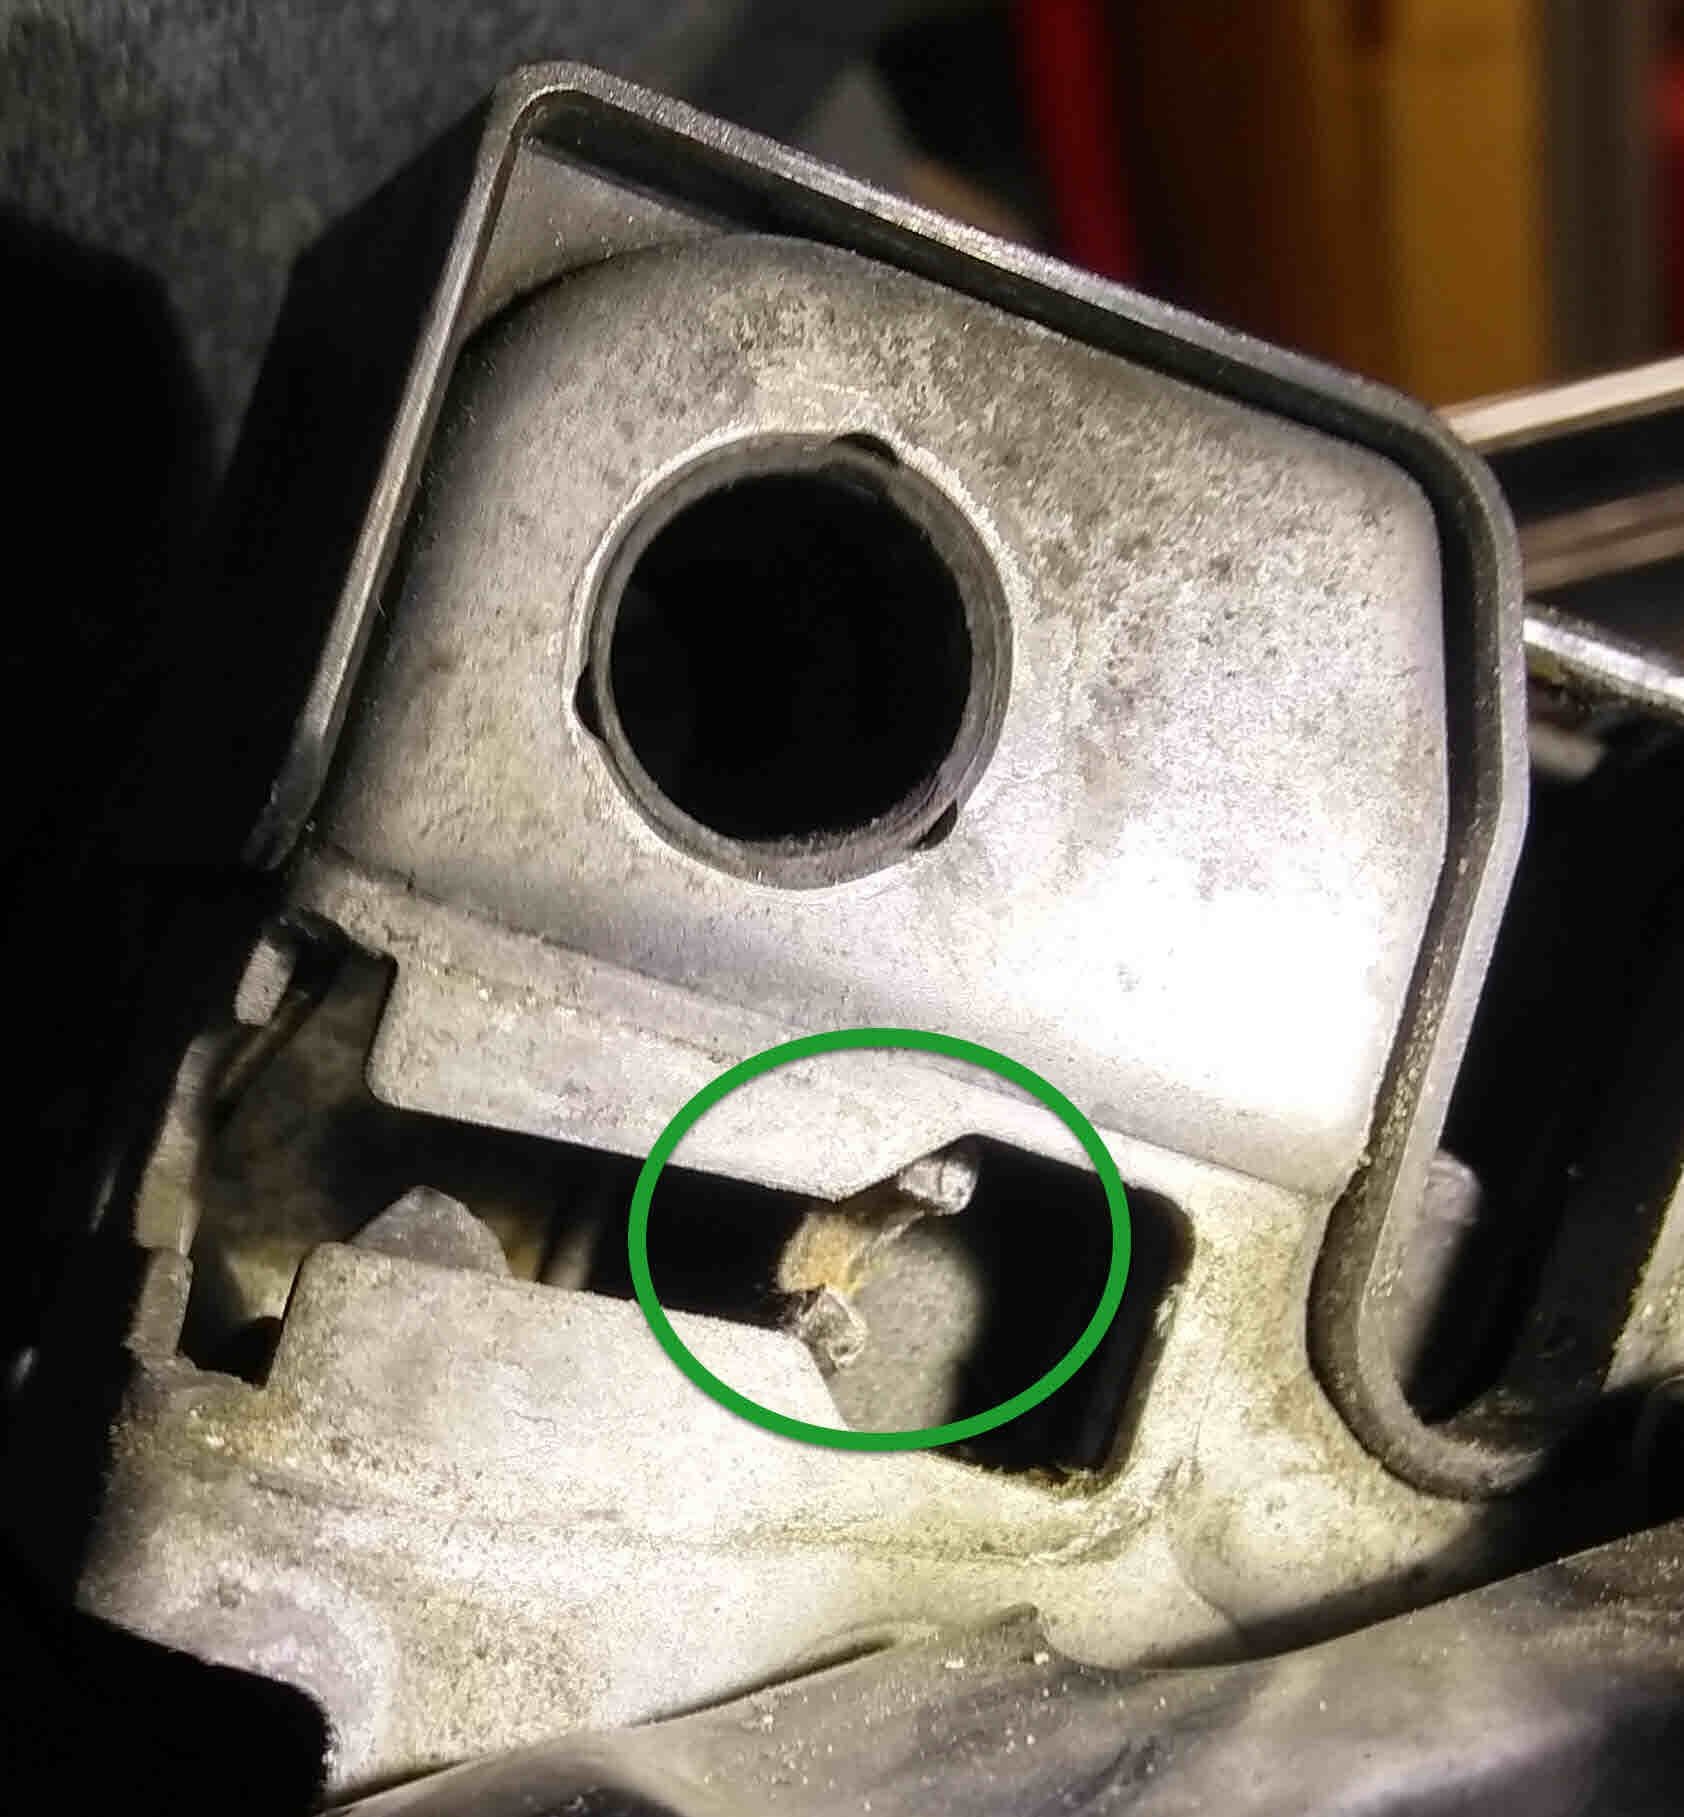
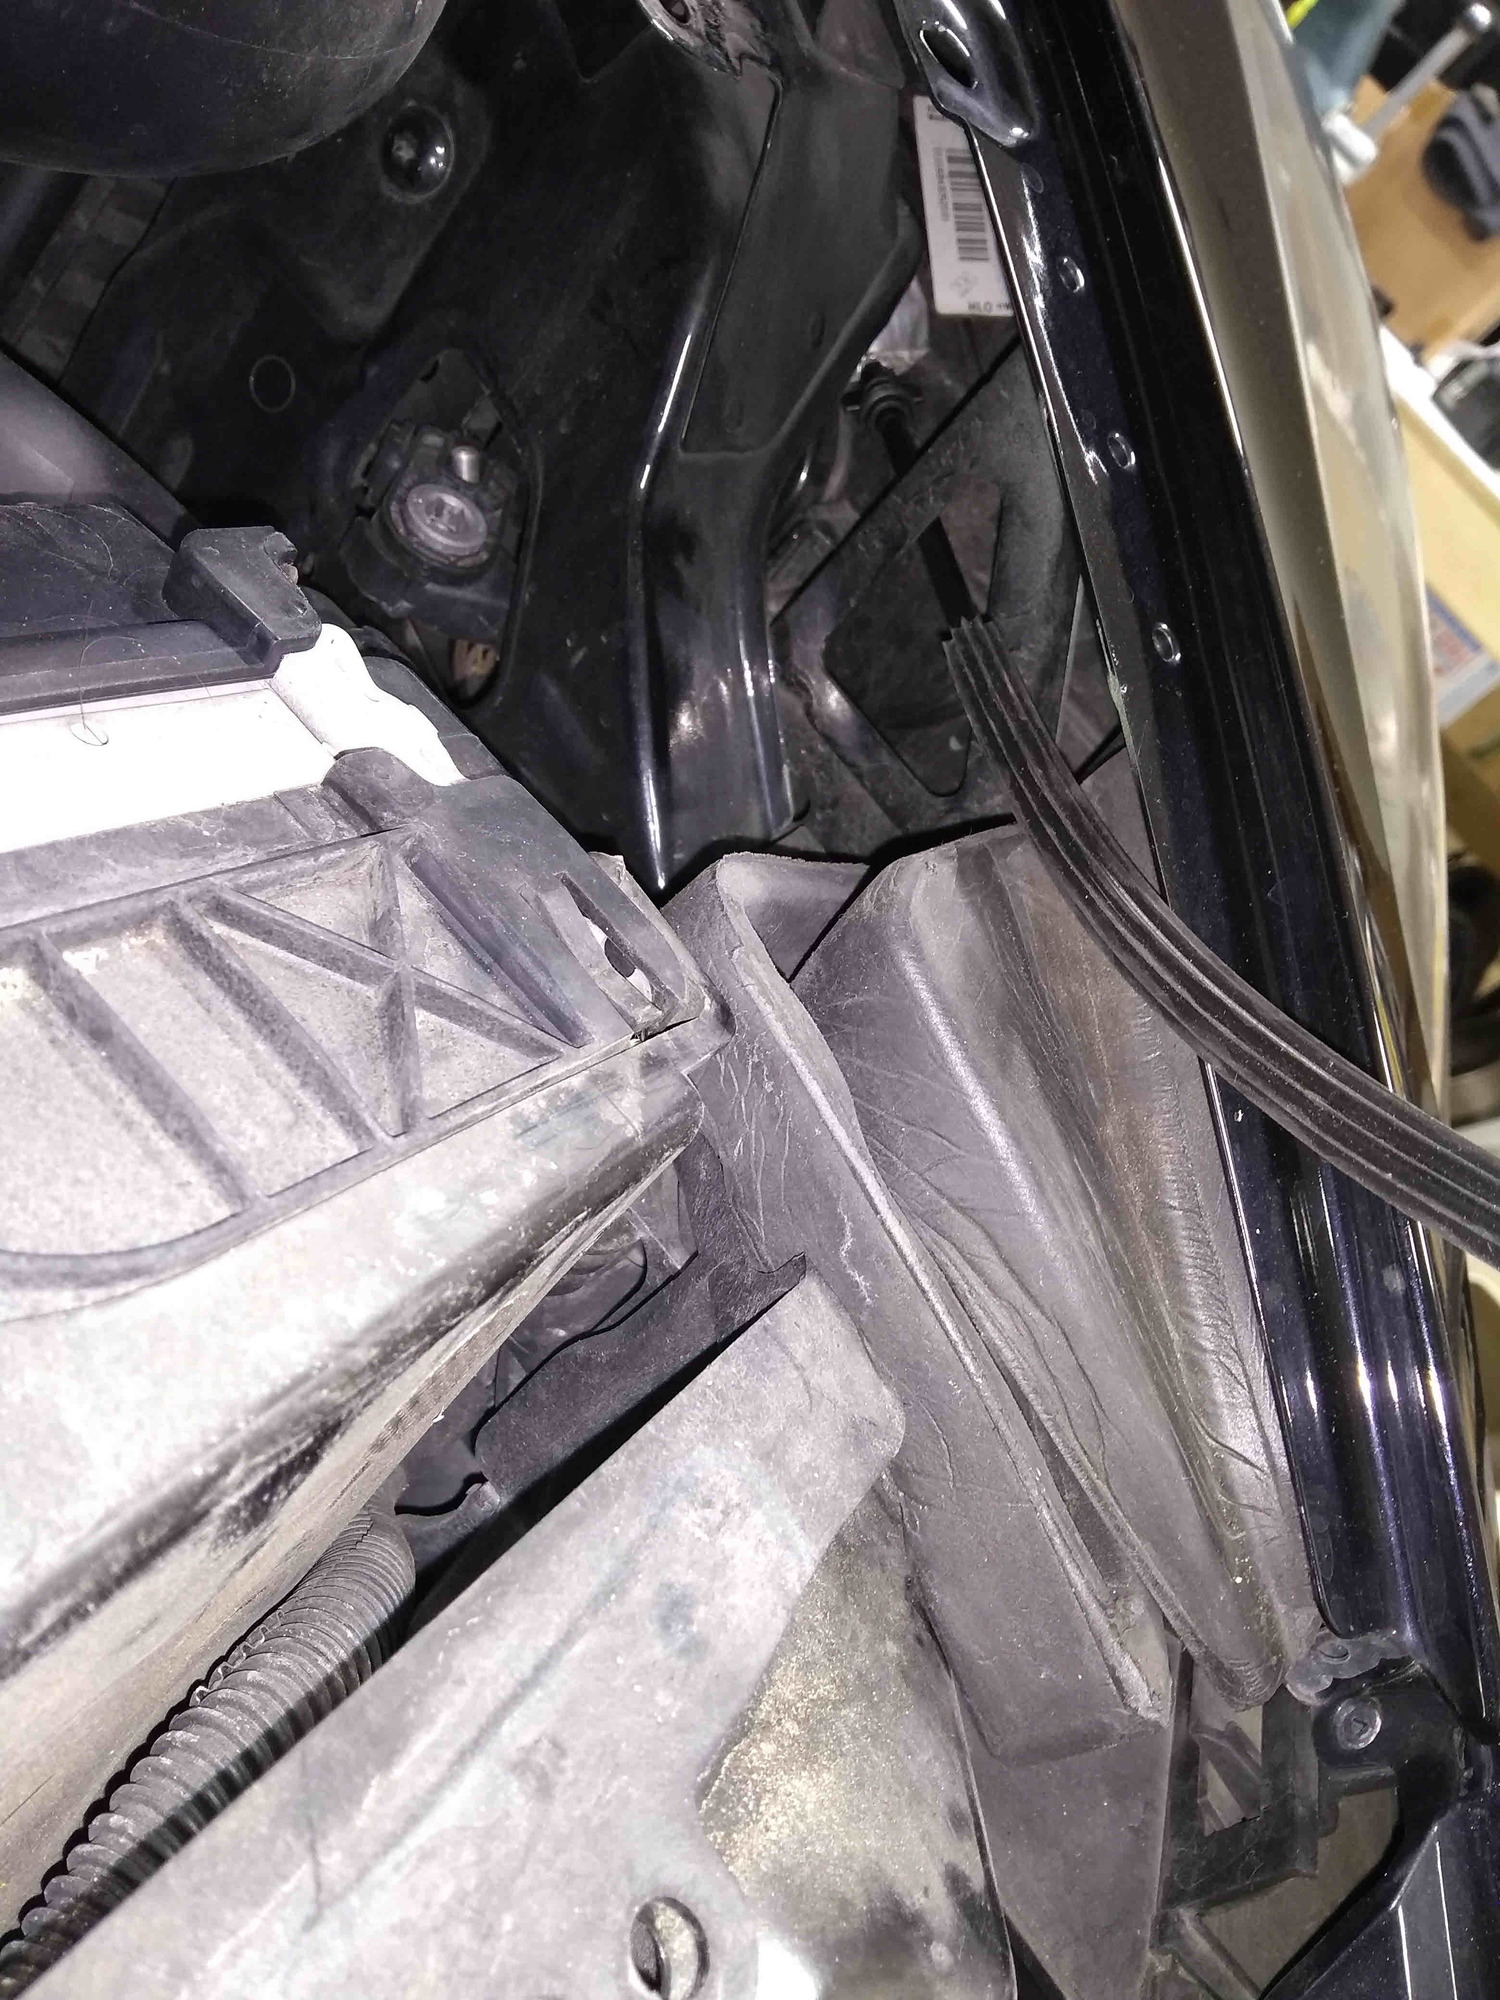
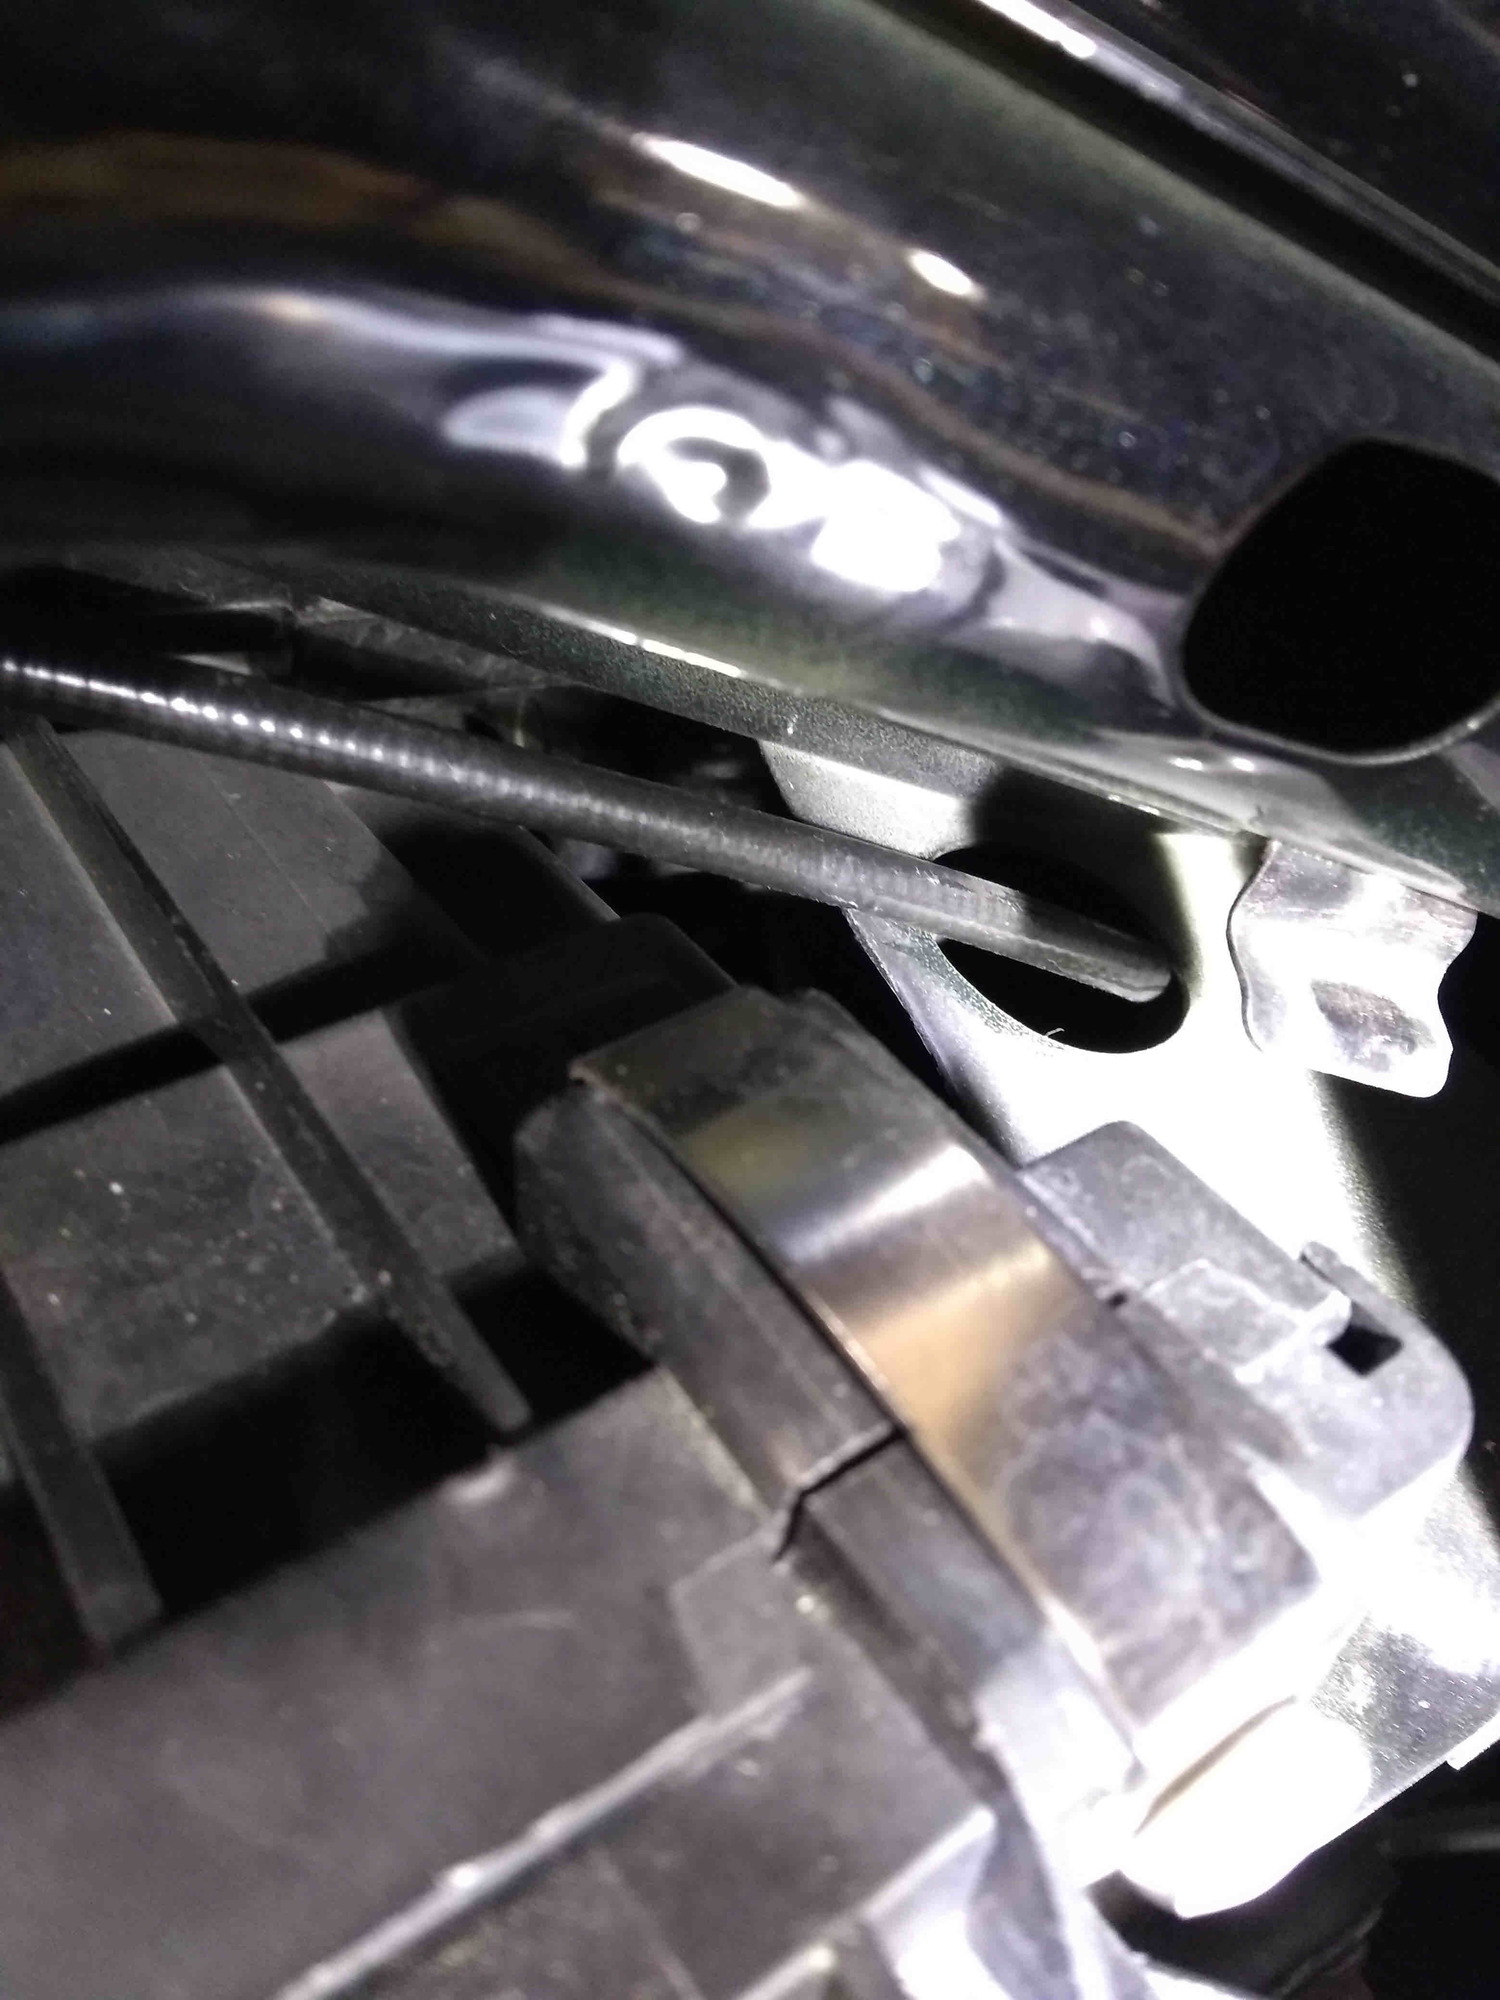
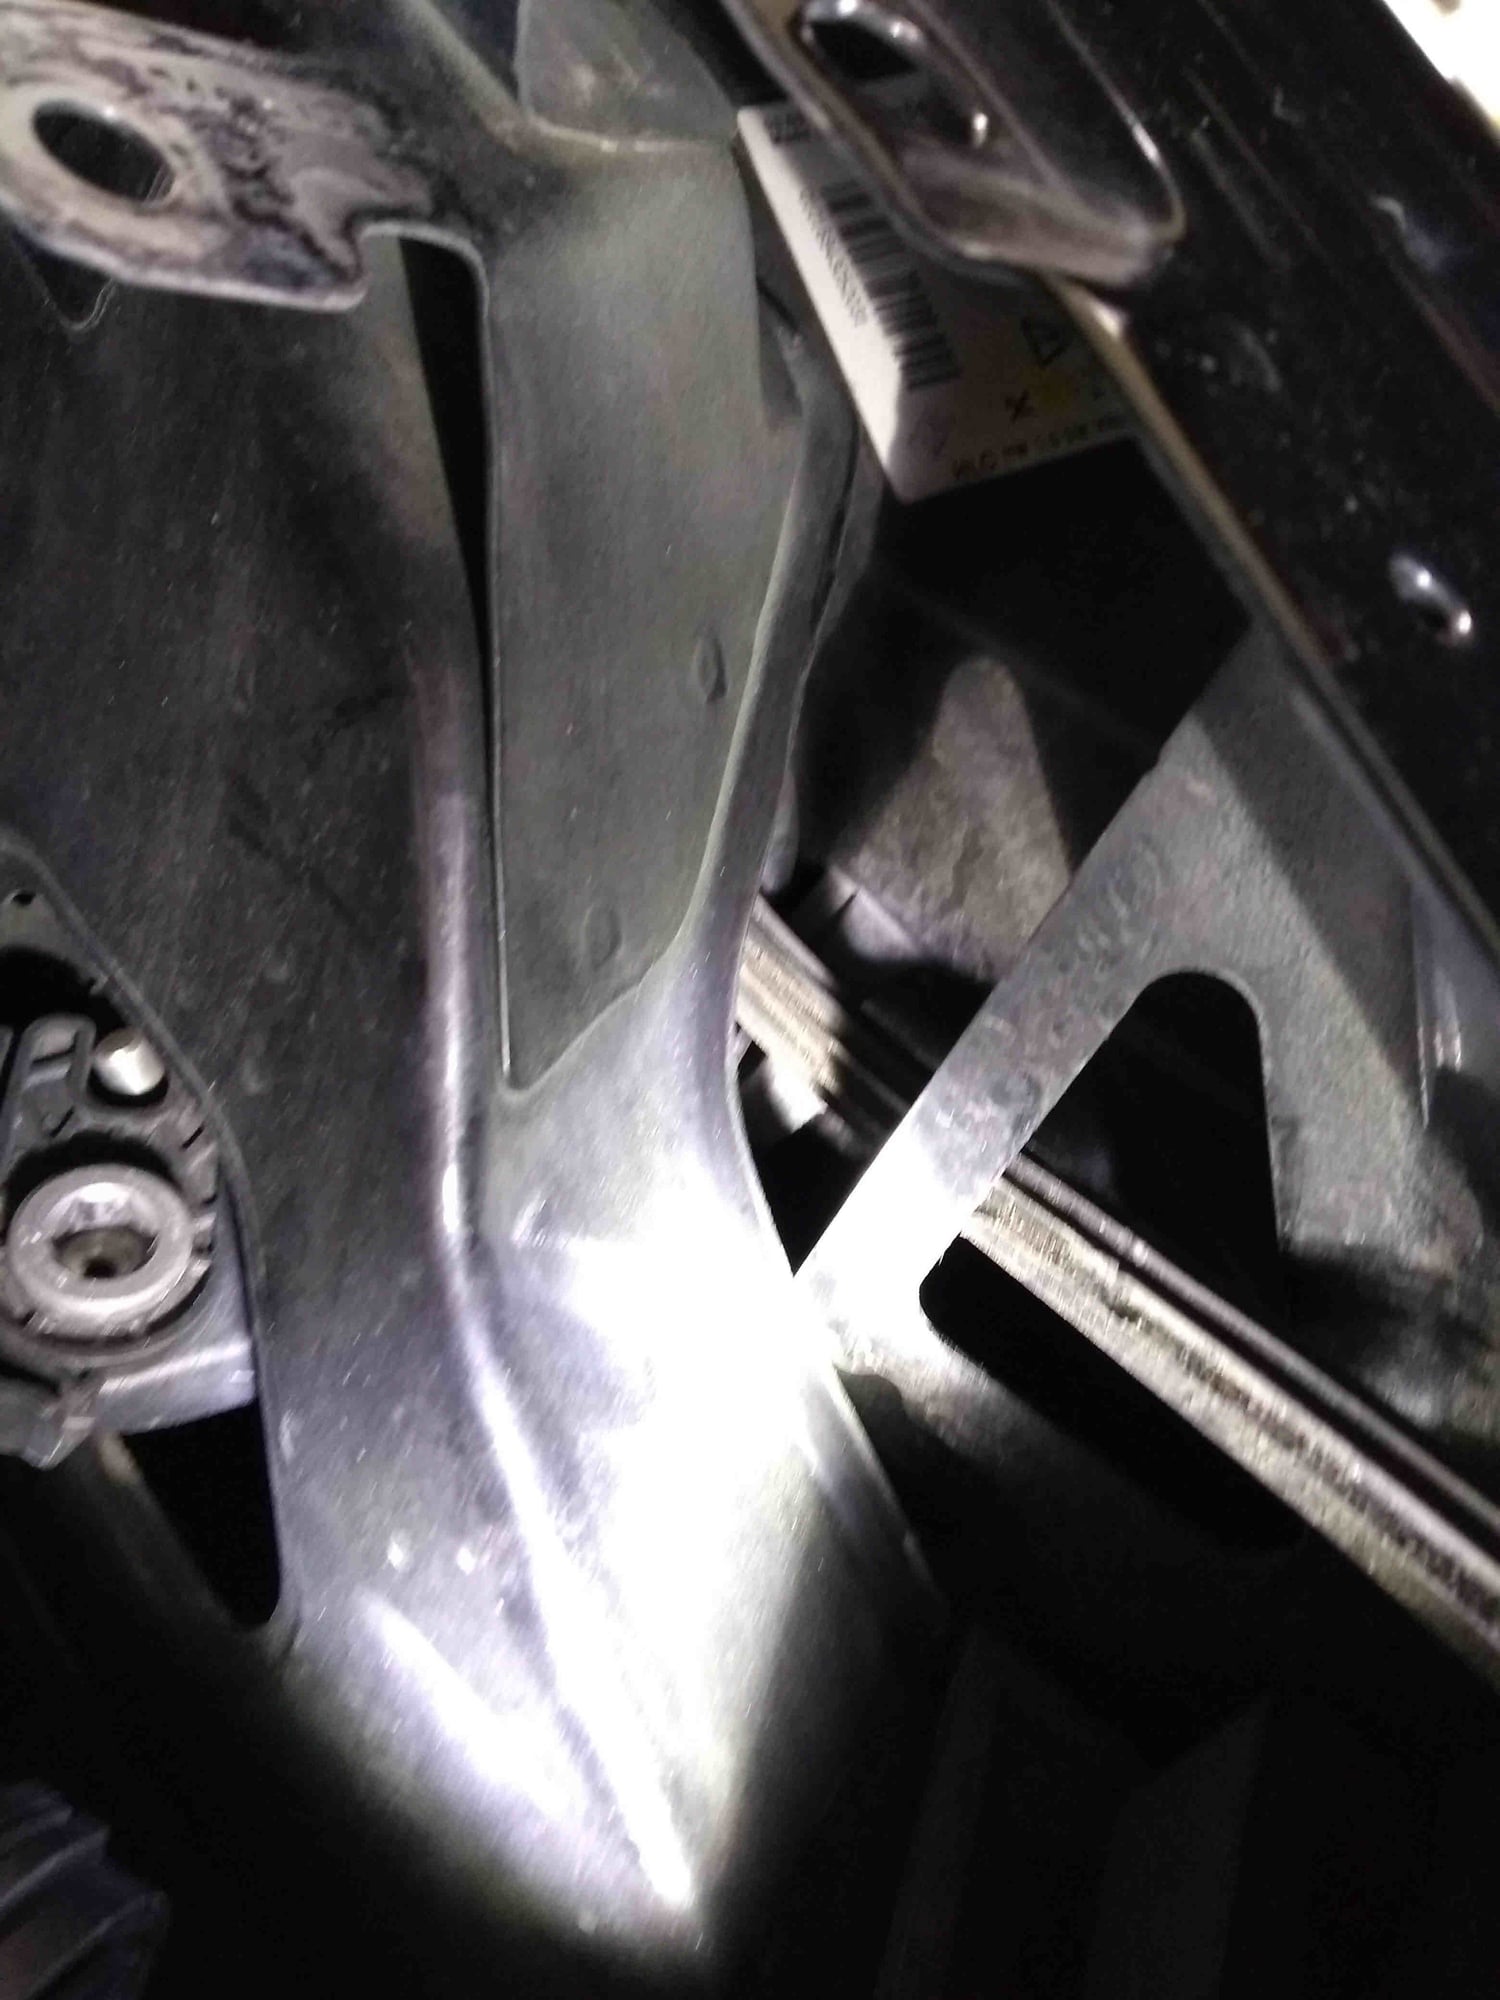
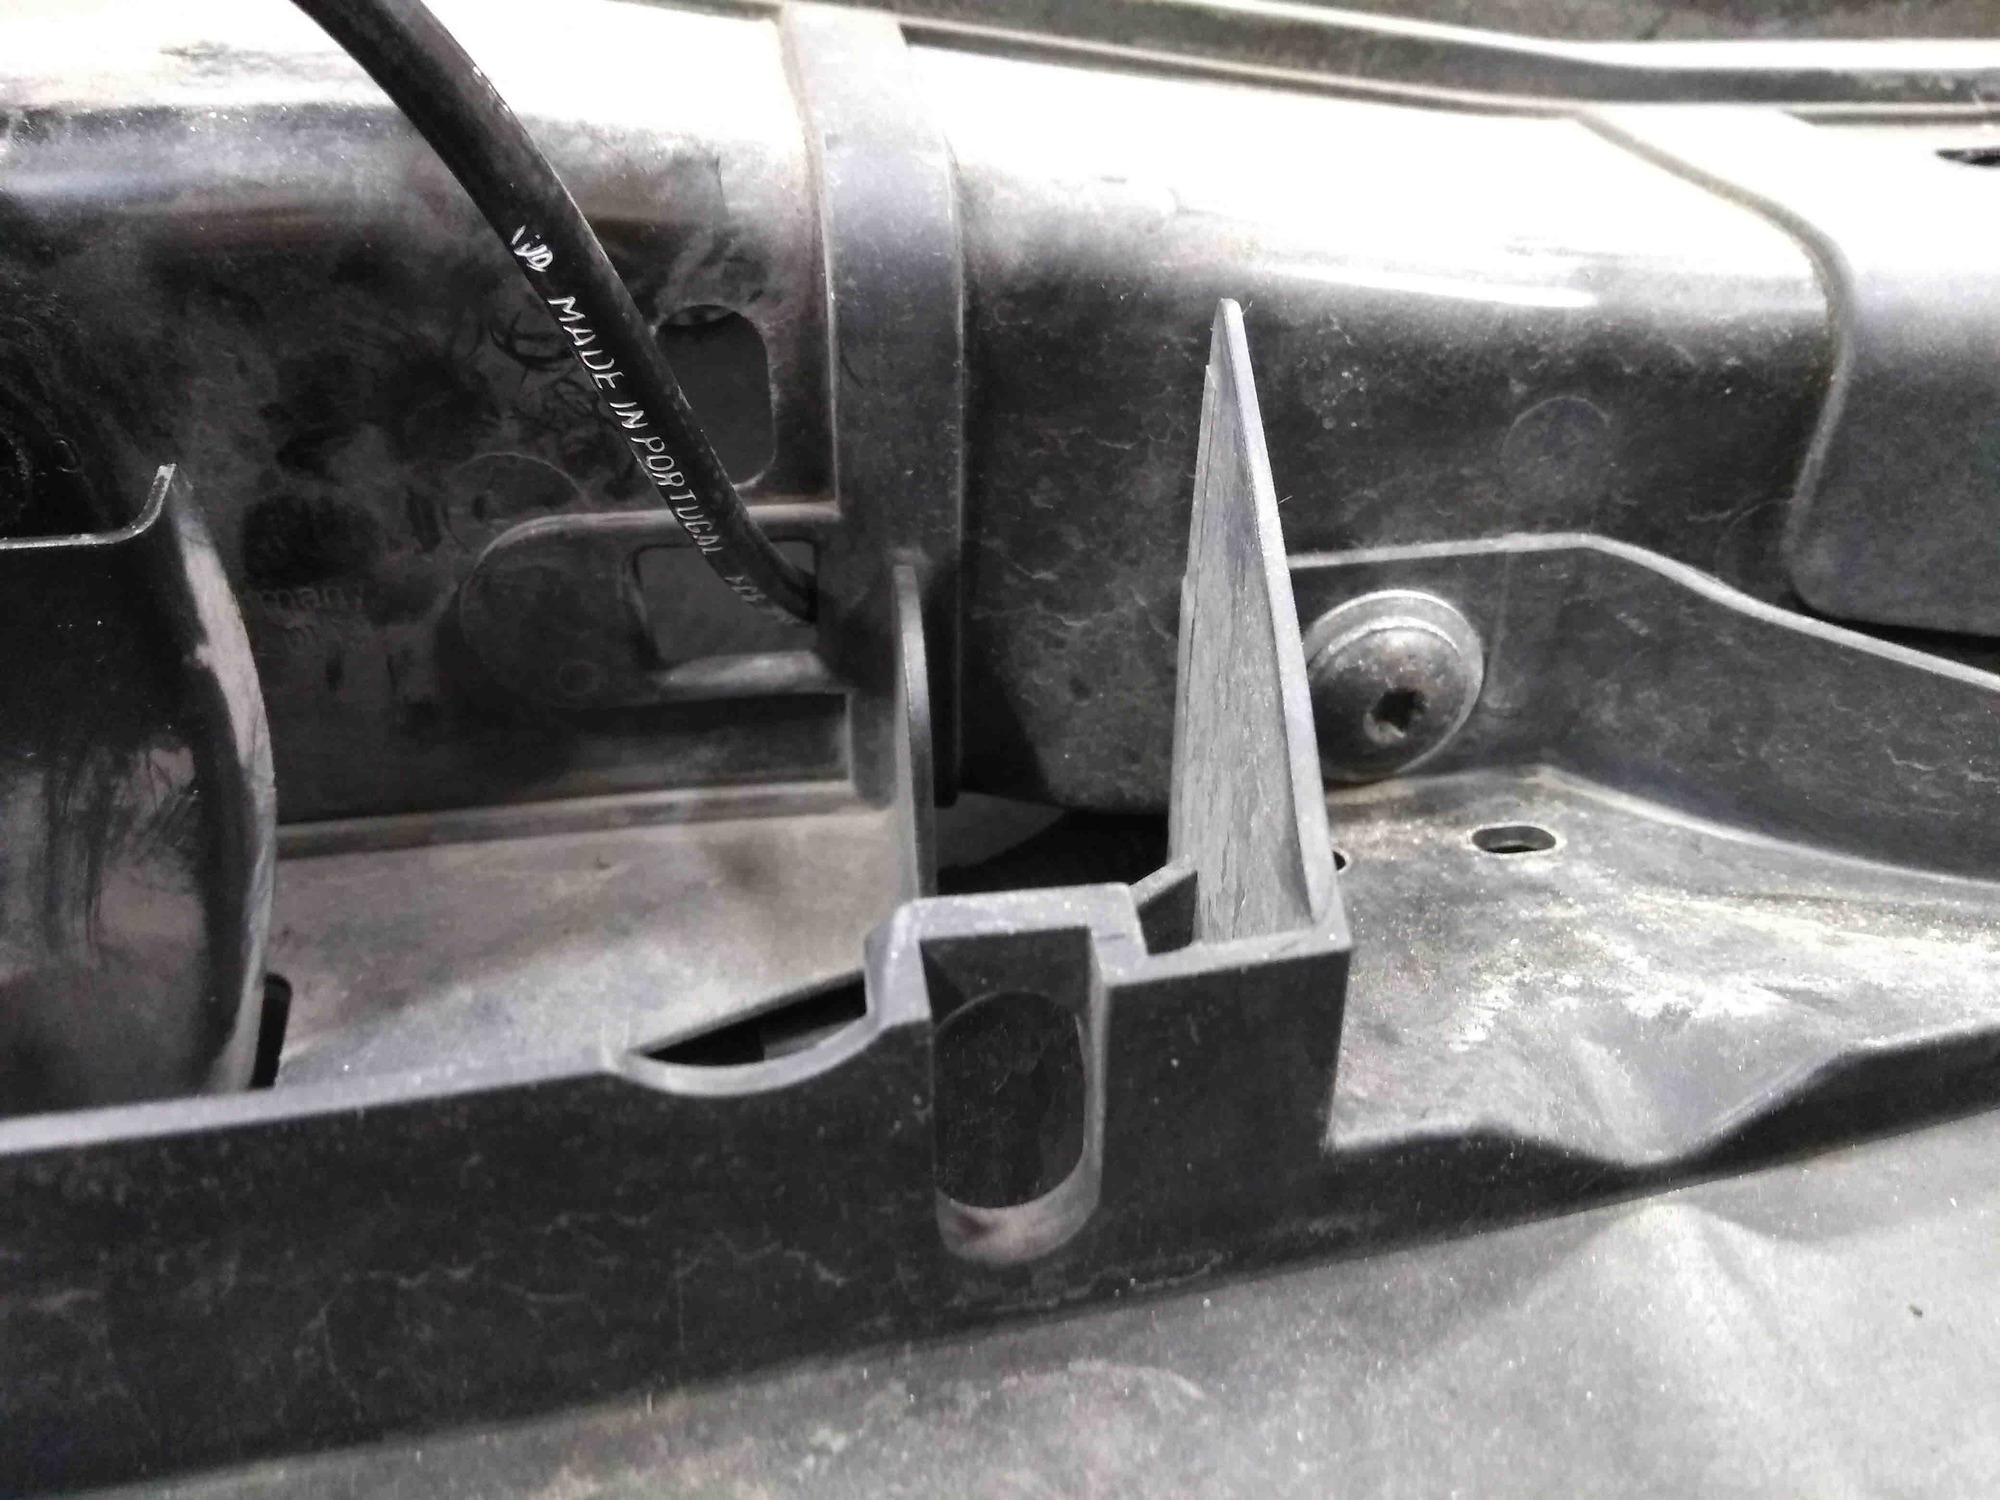
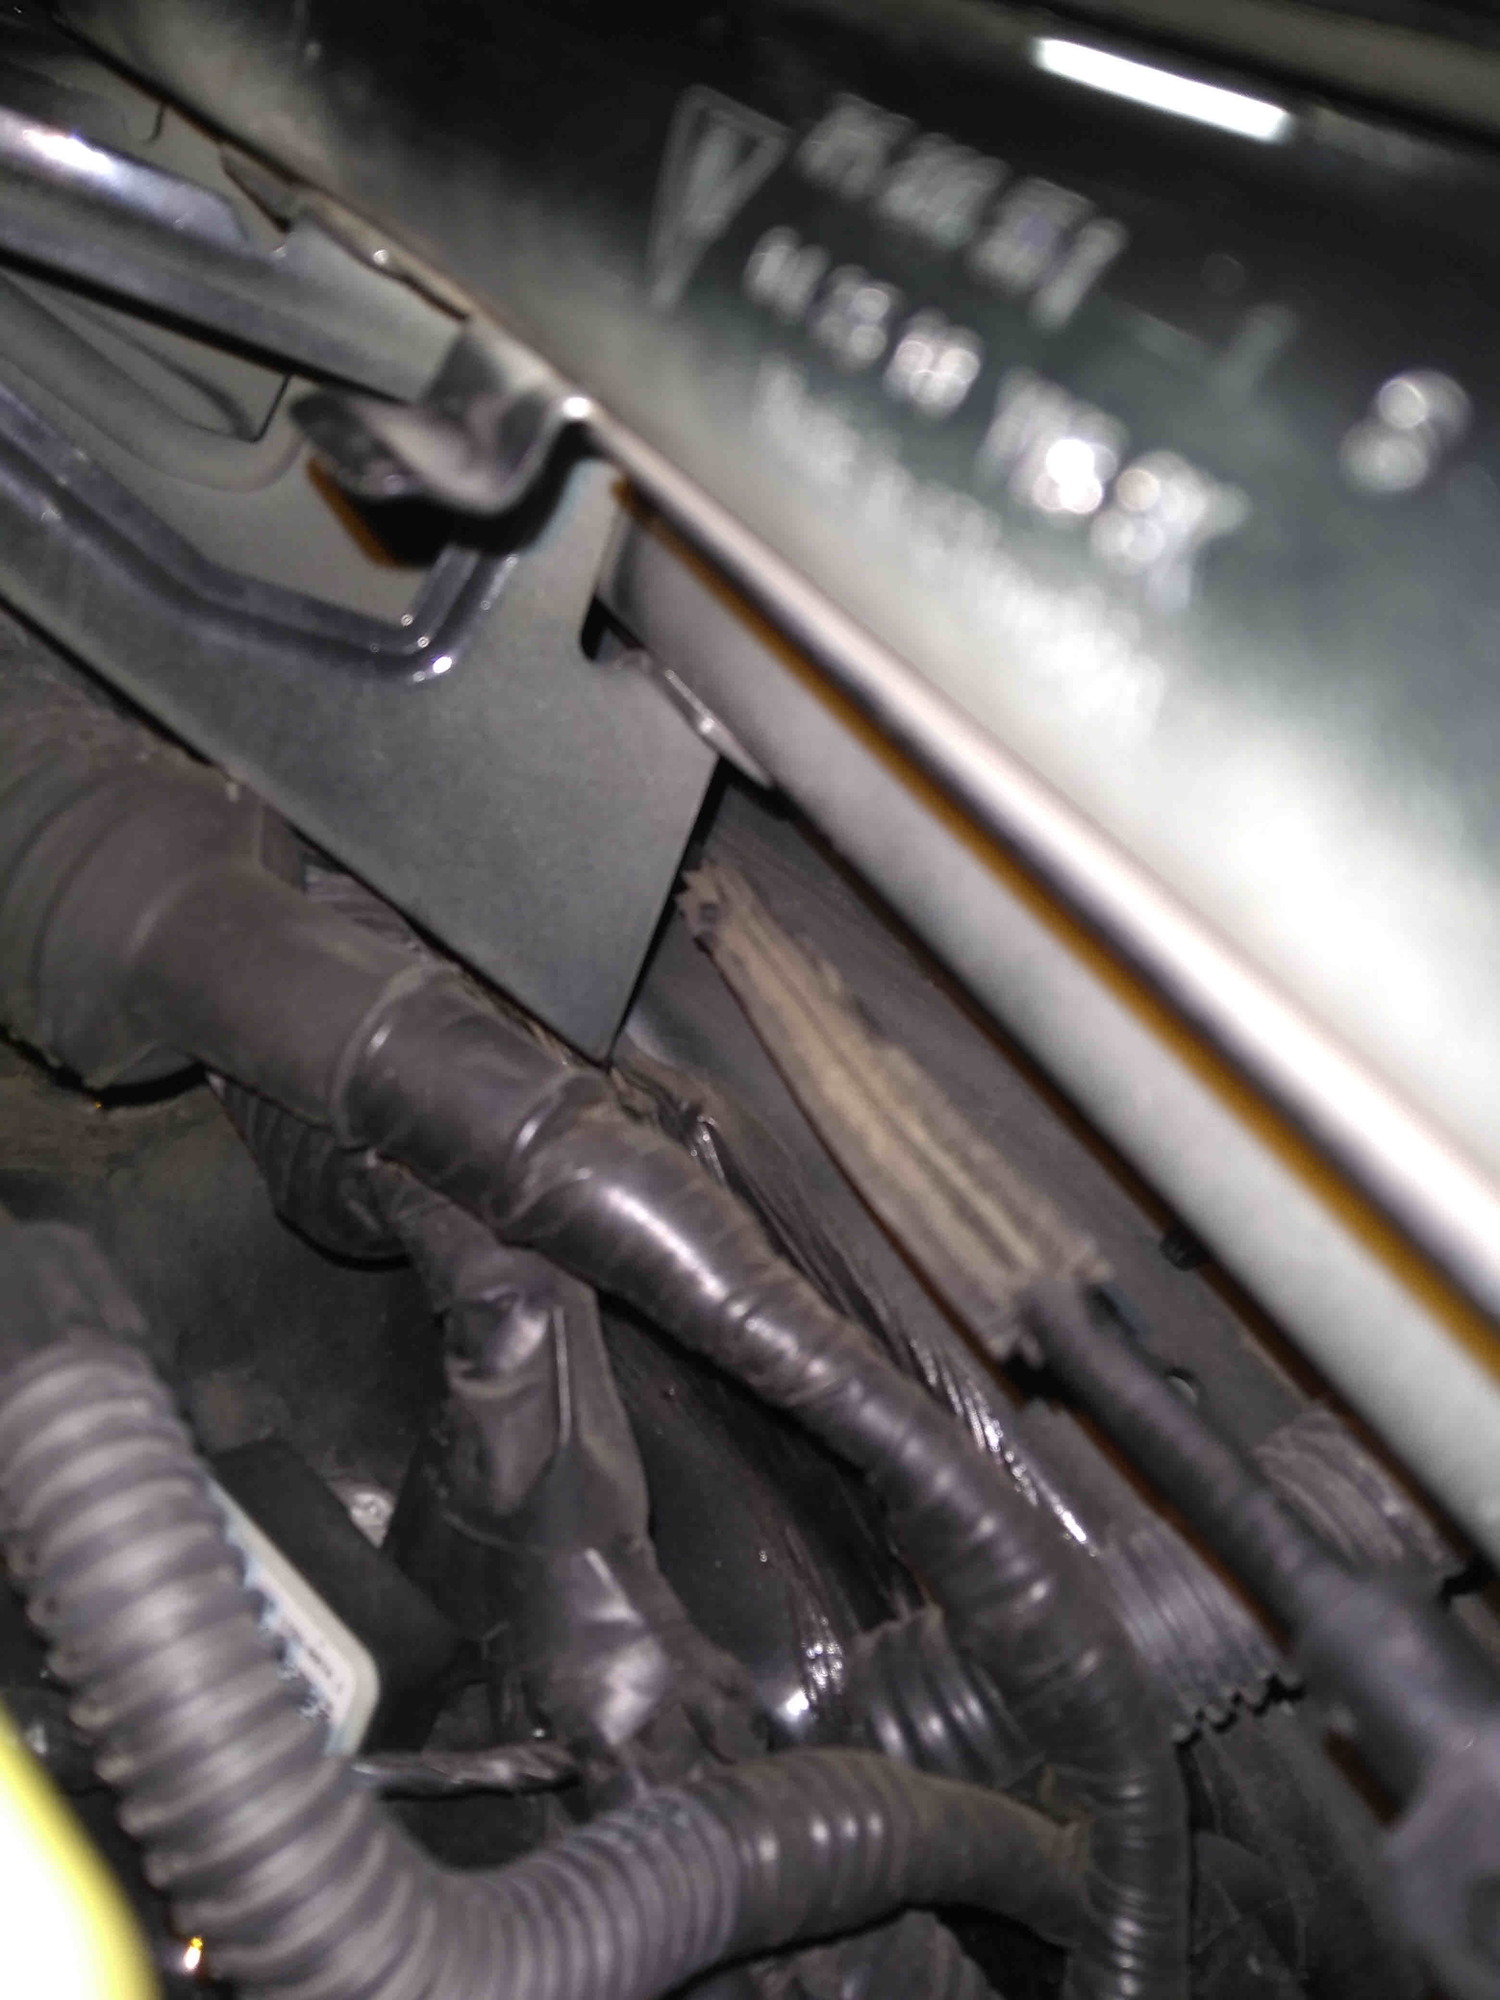
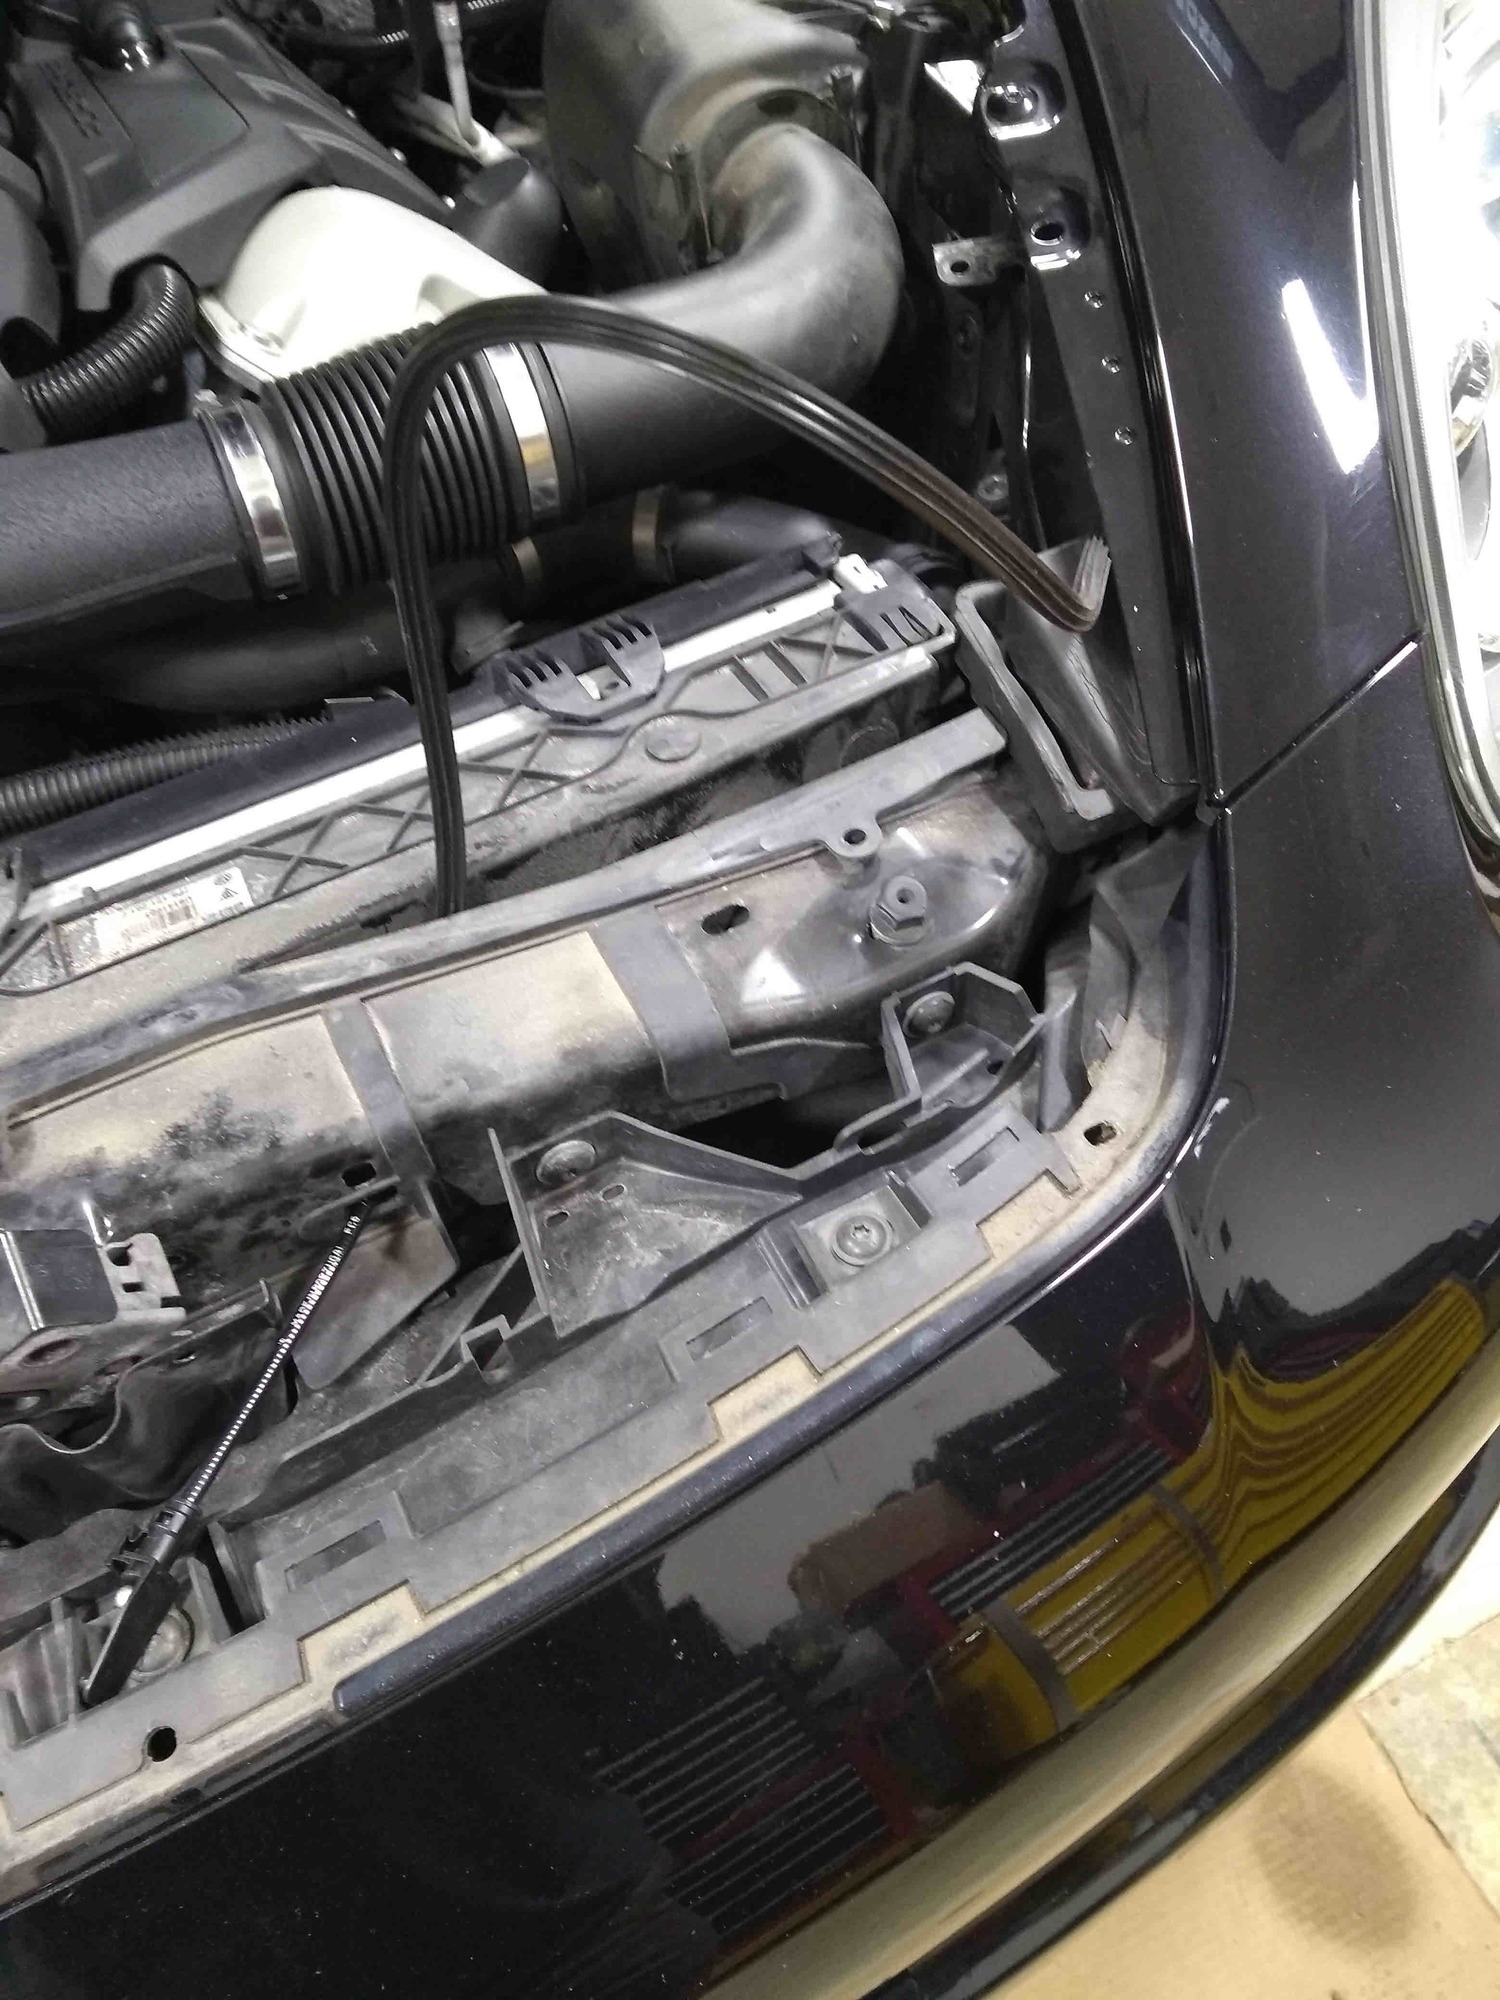
Remove this front cover and place something in the way of an accidental hood closure Remove this panel Release the trim clamps with a small screw driver Remove this panel The black clip locks the hood release handle to its swivel. Use the small screw driver Remove this torx screw after handle is removed example of hwo the clip works inside the handle The groove and its mate on the door sill trim prevent the handle from being pulled sideways Correct! Nope. Missed the grove (for reinstall) Remove this panel different view of the lower A-Pillar trim Lower A pillar trim Remove the "pretty" part to provide flexibility for door sill trim removal Upper attach point for door sill trim Drive's footwell door sill trim attachment Door sill trim attachment to the lower B-Pillar trim Got that out There's the steel rat tail New one. Poor design. really should have a collar to protect the cable Let's get that out of there Best tool for the job Looks like a push pin hold but it is not Release the cable in the driver's footwell Firewall pass through Front and rear cable connection Fitting to the sheet metal under the hood Use a tool To release the cable, pull in the direction of the arrows. If you are not careful you can snap the lock mechanism. If that happens, then a zip tie is your friend (if you are just replacing the rear cable). Mark where the latch is in advance. Remove these three torx screws BUT DO NOT move the latch yet Release teh cable Hinge the latch at the red circle end because there is an electrical connection there and there is little slack The ball on the end of the cable must get seated well inside. Take lots of pictures of where the cables are snaked. I used rubber lube for windshield installs to make it easier Thread the cables Make sure this is completely seated and lube the latch with some spray lithium grease
next time I have the underbody panels off, I am going to try and figure out how to open the latch from underneath.
That would be critical information. I wouldn't be opposed to running a piece of safety wire from the latch and letting it hang down hidden somewhere. I have done that with both front and rear trunks on both of my 914's. And they have saved my *** more than once. If you have ever had to get into the trunk of a 914 while holding half of a broken cable in your hand you will realize it's value. Sure beats a pry bar.
next time I have the underbody panels off, I am going to try and figure out how to open the latch from underneath.
I know that is doable since I paid the dealer $500+ to replace the cable after it broke with the hood closed. It had broken at the coupling from the front/rear sections of the cable. Why there is a coupling is a mystery to me - added complexity that I can't see serves any function except creating another potential failure point. Mine had about 90,000 miles on it when this happened.
That would be critical information. I wouldn't be opposed to running a piece of safety wire from the latch and letting it hang down hidden somewhere. I have done that with both front and rear trunks on both of my 914's. And they have saved my *** more than once. If you have ever had to get into the trunk of a 914 while holding half of a broken cable in your hand you will realize it's value. Sure beats a pry bar.
The 987/981 Boxsters have this sort of emergency release for the Frunk (front-trunk) where the battery lives. The catch for the frunk is electrically operated, and the battery lives inside the frunk. Classic Catch-22, if the battery fails you have no power to open the Frunk lid to replace the battery. Porsche did add a terminal inside the car at the fuse box to hook a jumper battery up to in order to release the catch - adding complexity to what could have been a simple cable operated latch. Then they added a hidden cable (behind usually the passengers - starboard side but not always - wheel well liner) that can be used to release the catch when the jumper doesn't work (usually..) The catch here is - the fender liner is quite difficult to remove with the wheel in place, but of course, the tools and special locking key for the wheel lugs are kept in the frunk which you can't get into because the battery is dead.. More Catch-22.
The original Boxster used simple cables to open both lids front and back. I guess that was much too simple a solution for the boys in engineering, so they added some complexity to make it more amusing when the failure occurred.
Doug - be a good thing if you can figure that out.
Last edited by deilenberger; 12-11-2020 at 12:34 AM.
I will give it a look tomorrow. Good project while I'm not working... On the 914 I have a strand of safety wire on the lever that captures the latch. From there I ran it down behind the valance. I have a little washer tied on the end for a handle so I don't cut my hand while I'm pulling on it. It's tucked up and hidden. It's crude but works well. I wouldn't want to use it every day, but for the couple of times I've had to use it is really handy.

 12-08-2020, 08:54 PM