When you click on links to various merchants on this site and make a purchase, this can result in this site earning a commission. Affiliate programs and affiliations include, but are not limited to, the eBay Partner Network.
I know I'm not the only one that has dealt with the backs falling off. Repeatedly in all likelihood... I saw a part someone had posted to thingiverse for the lower hangers but it wasn't well optimized for printing and it followed the original part design which I don't think had enough surface area for gluing the hangers securely to the seat. I went ahead and designed replacements for the top clip brackets as well as the lower hangers as mine had started to fracture.
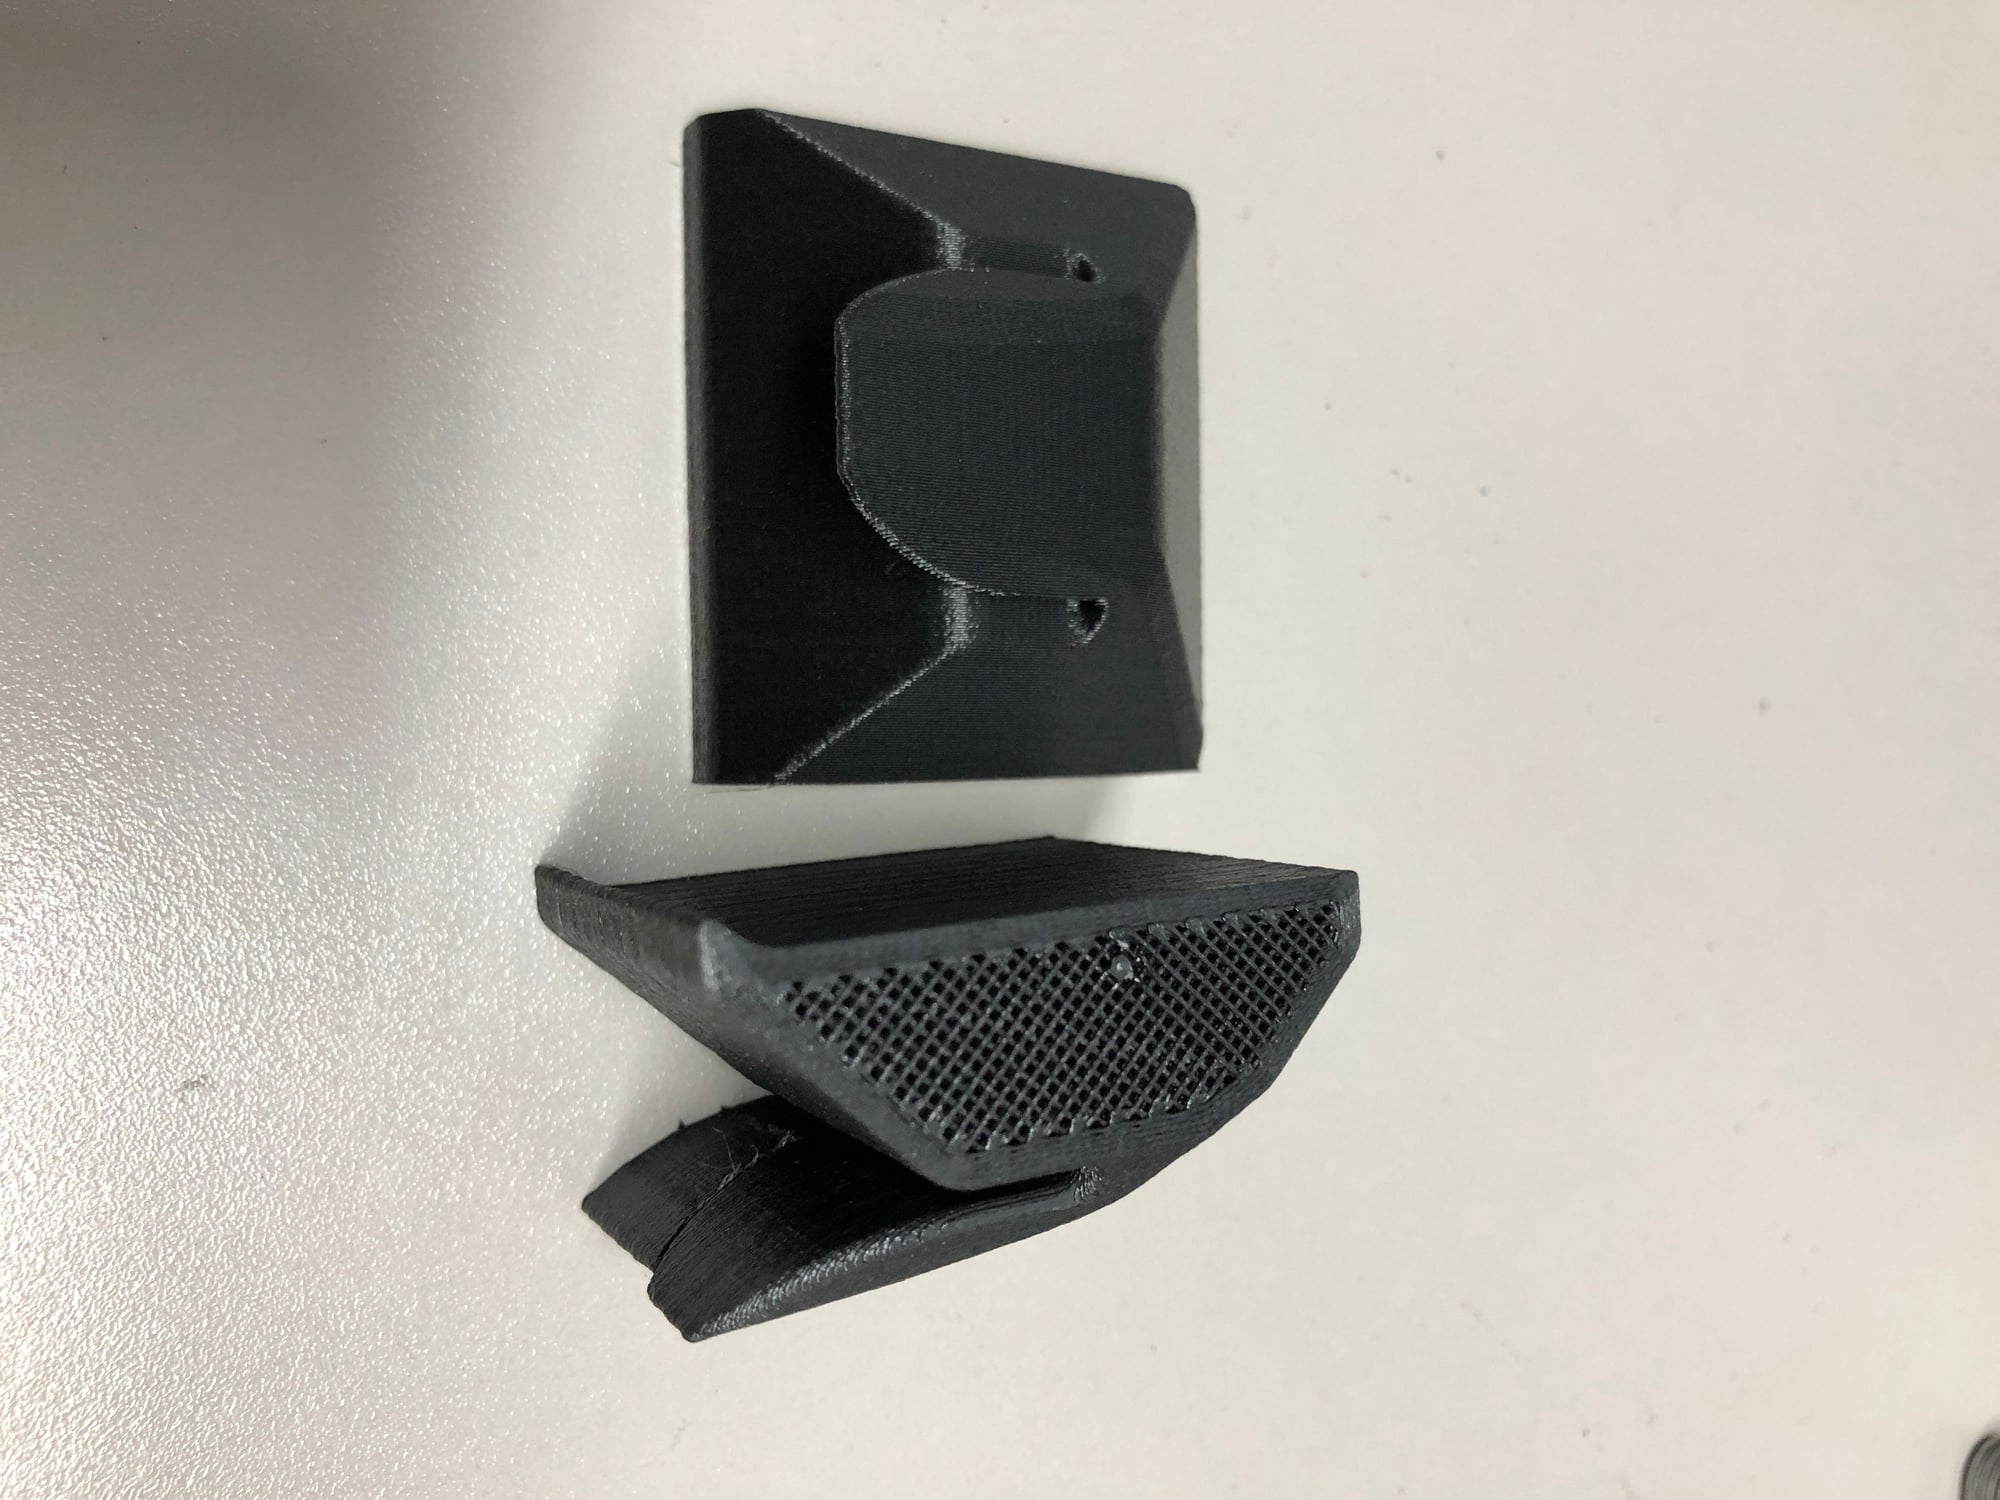
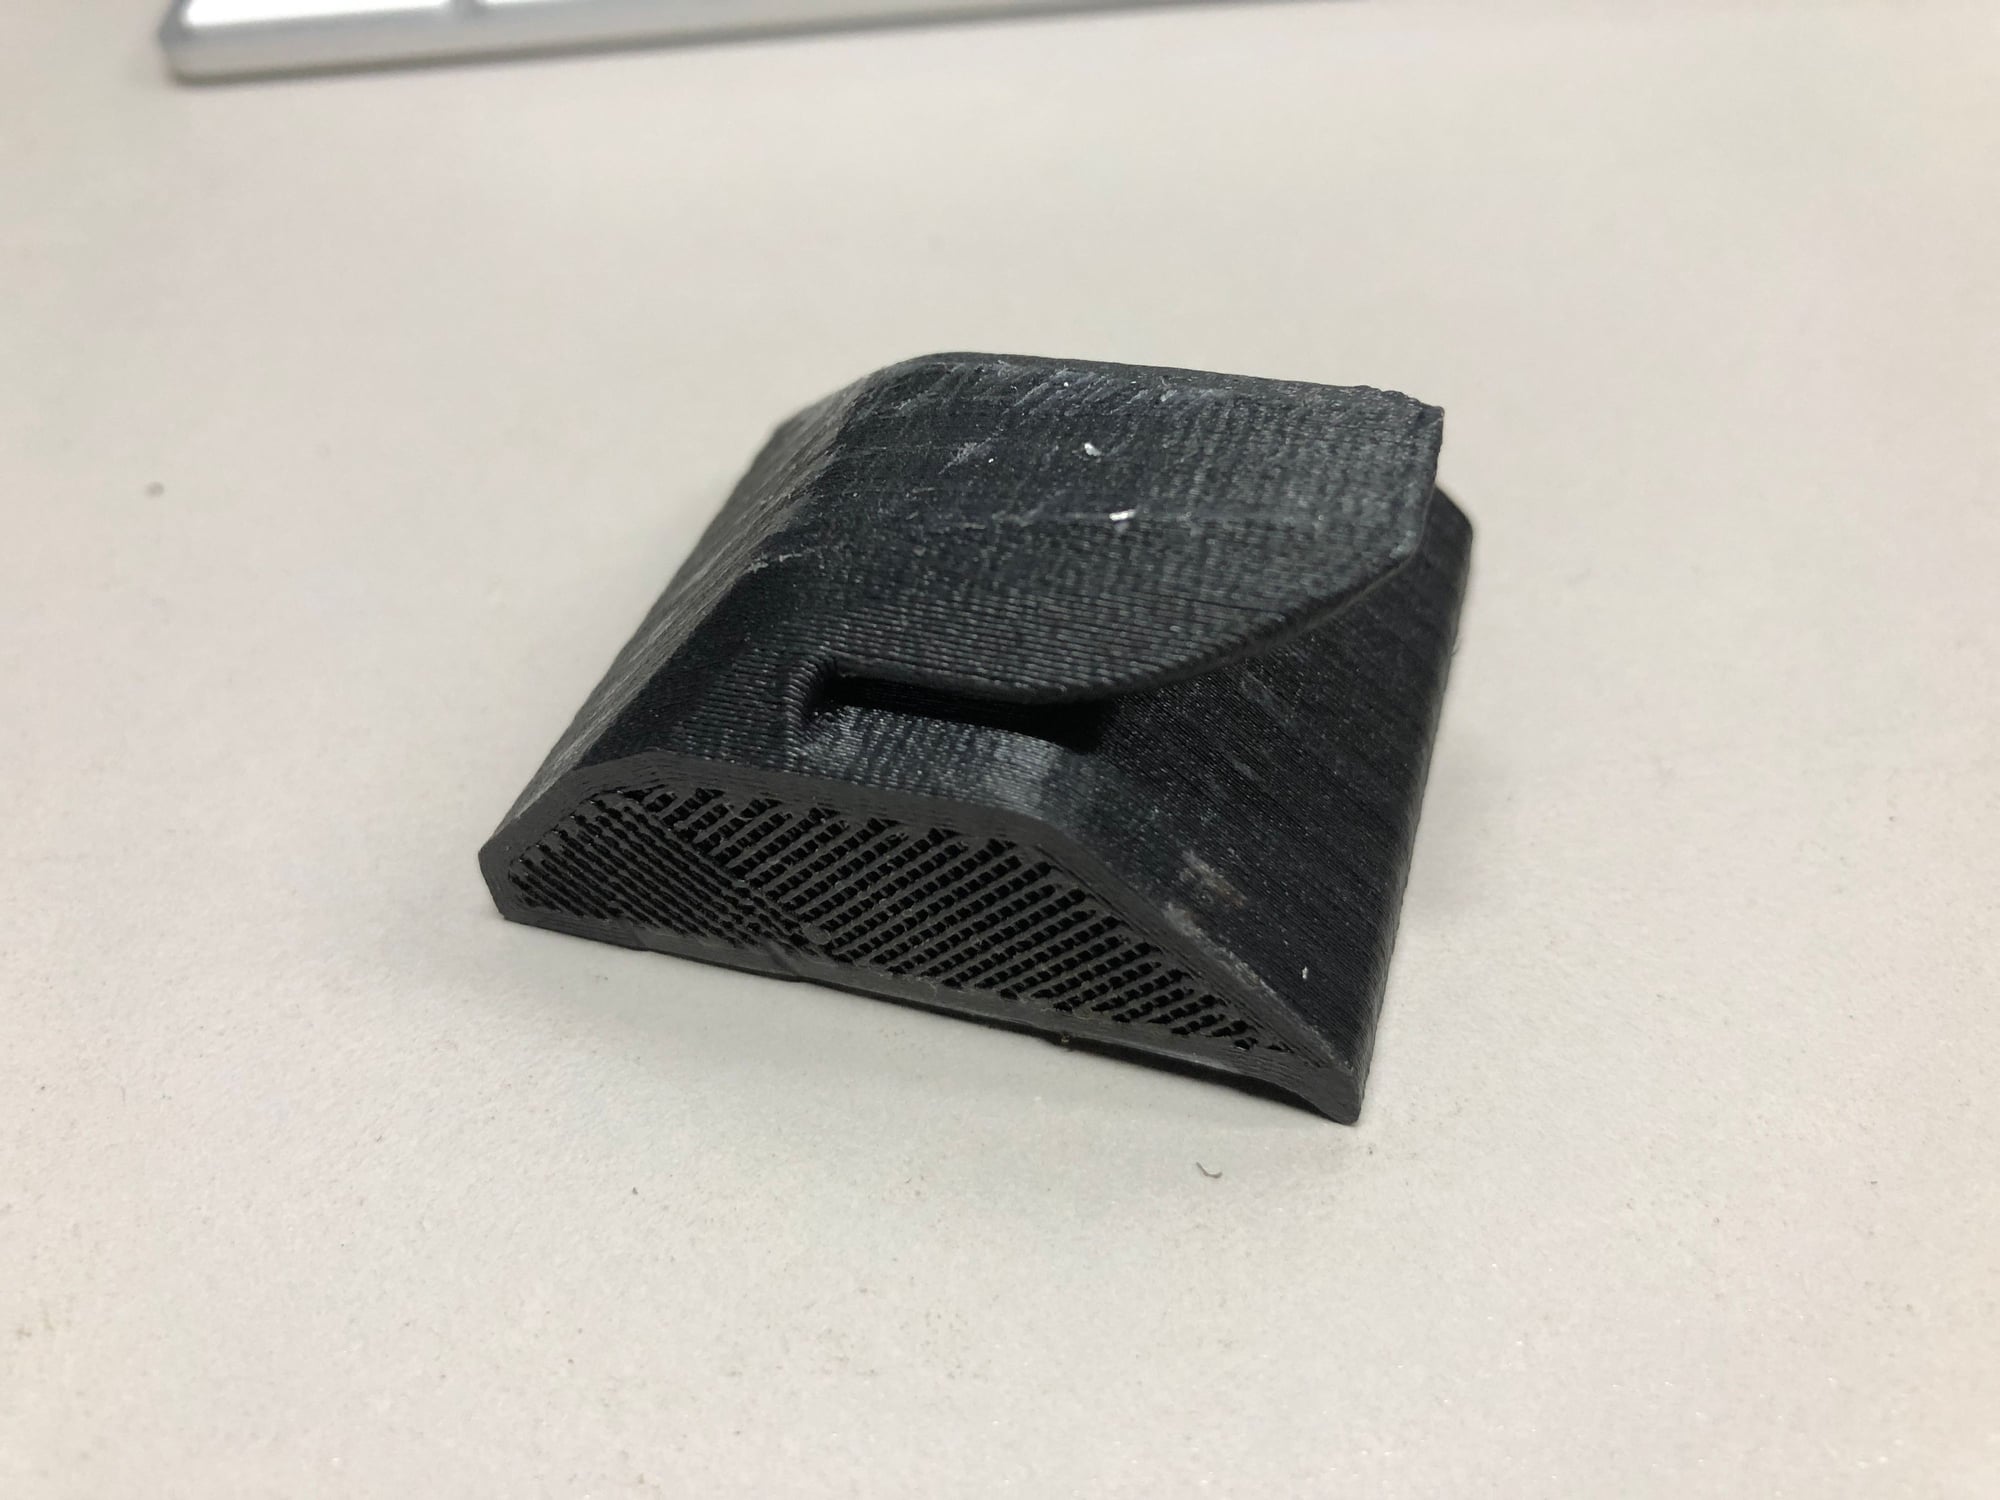
These should be printed sideways with a plastic that can deal with heat better than PLA. I used carbon fiber filled polycarbonate which is probably way over the top but I don't particularly care for ABS. I would advise against nylon as glue is never going to stick to it.
These are printed sideways with 4 shells and 40% infill. In this orientation the strong axis is oriented in line with the seat back and back cover. Support is needed for the edge of the tab only.
I had the others you make reference to printed in ABS plastic and besides one of the sides not following the bending in the seat cover, I found them OK. I must say that your design looks definitely stronger though.
I'll keep a copy of the file in my cayenne folder. Thanks for creating and sharing.
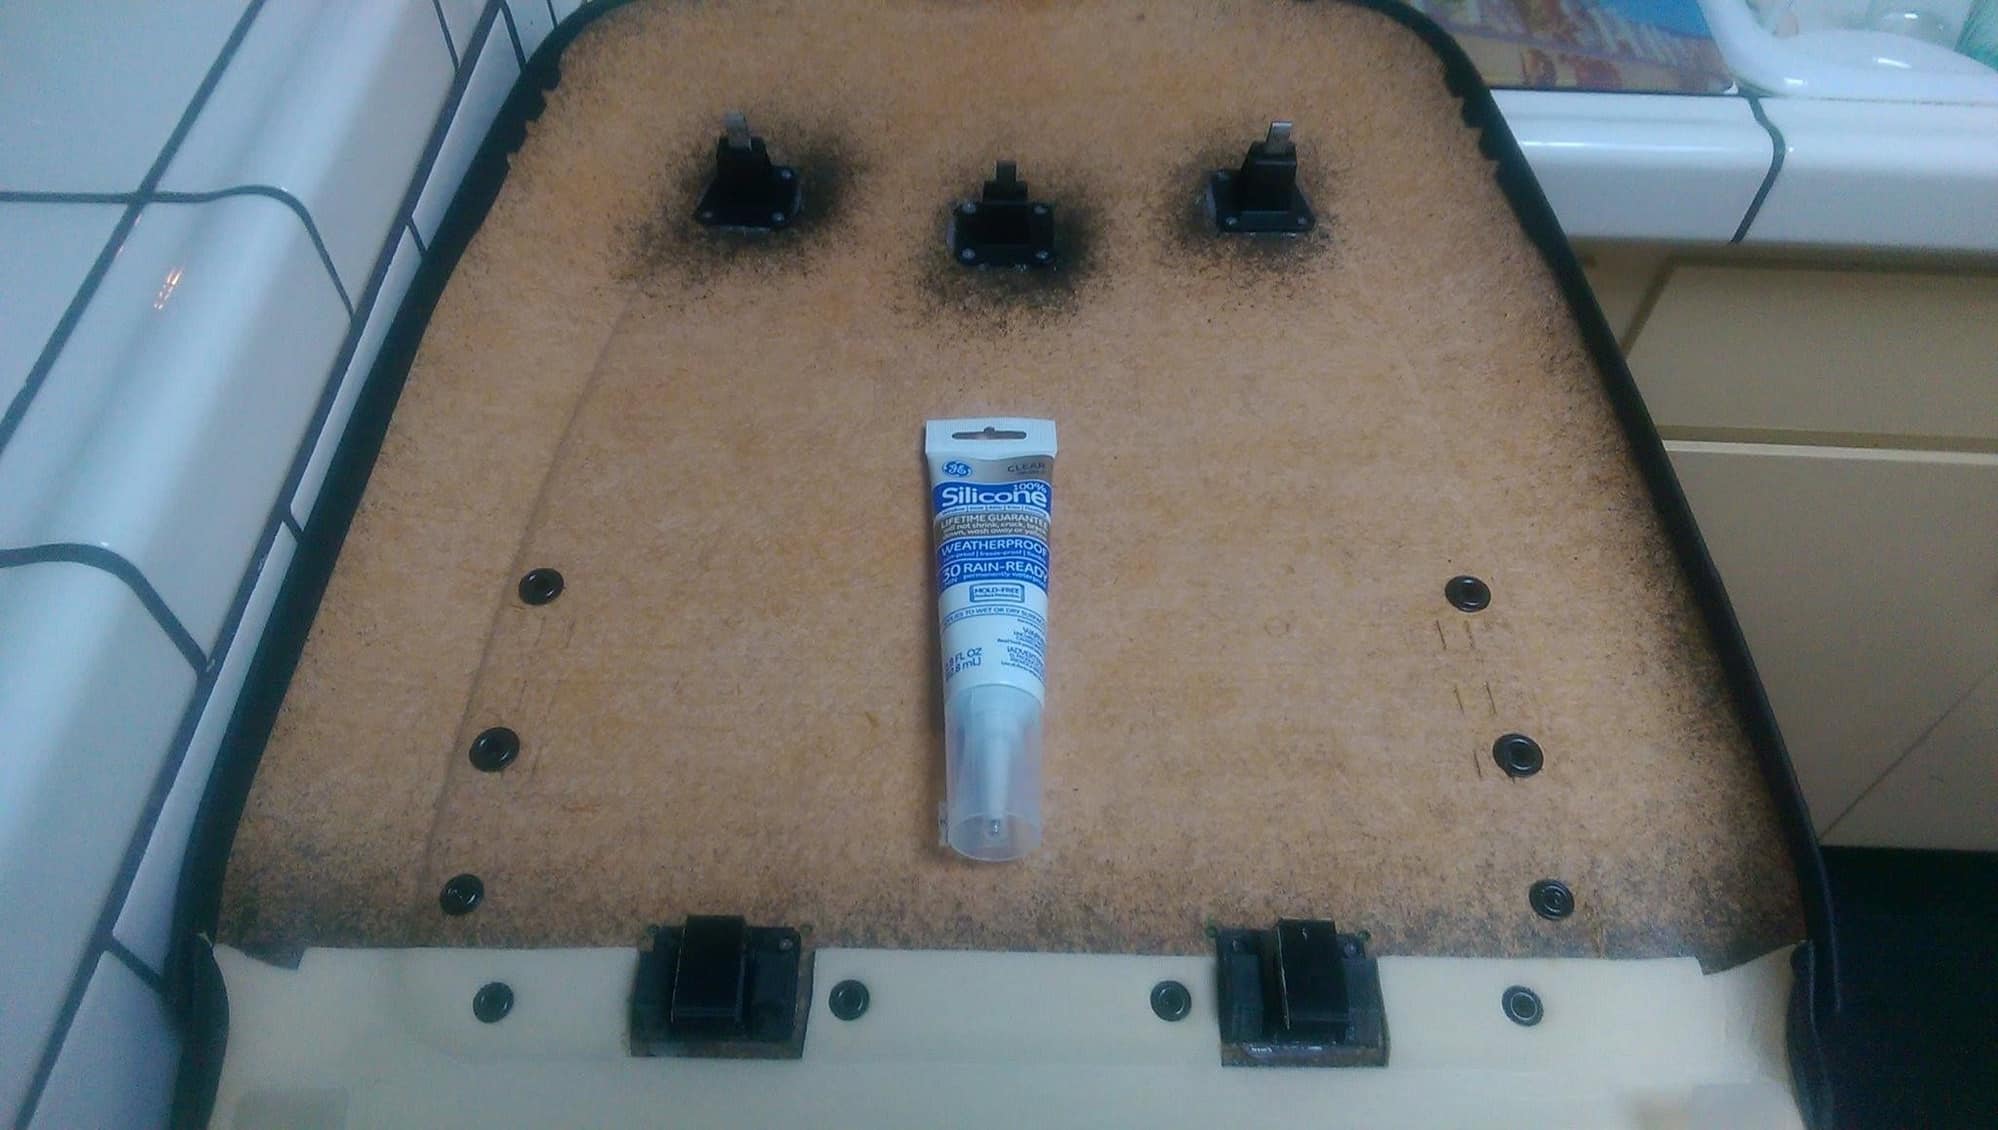
You should have left the holes...which is the KEY to not having the clips separate from the fiberboard backing. The silicone caulking I use oozes past the holes, forming a permanent "rivet."
I can see why you might think that but holes full of glue don't contribute to binding strength and that stuff cures fairly soft so your "rivet" is a floppy plug of rubber. Binding strength between surfaces is a function of surface area, how well the adhesive binds to the sides and how strong the dried glue itself is. Holes end up simply as lost potential surface area in that equation. Can you think of any other application where someone says, "we need this glue joint to be strong so we will put a bunch of random holes in it"?
I've tried them ALL: Gorilla Glue, Industrial Velcro, 2-part epoxy, yada-yada. This has been my ongoing project, for several years. I finally licked it with stronger, 3D ABS lower clips and Silicone Caulking. It's been solid for the past four seasons, braving 120F+ humid heat.
Plus, I've sold hundreds of my clips, in my Facebook Cayenne Group... I can't print them fast enough!
I'm not saying that silicon is a bad choice. It might not have the breaking strength of the other glues but it can deal with shear forces and just bounce back where a hard set epoxy will hold up until it simply breaks. It can probably also deal with thermal expansion and contraction relatively well. I've done one seat with the brackets I designed and might try silicon out when the other seat gives up the ghost.
However, I am saying that you tried to remake the original part despite it obviously being a bad design. We wouldn't be in the position of needing to deal with this at all if they had been designed well in the first place. I bet they put the engineer in charge of the remote unlock/lock in charge of these... Anyway, you also introduced all kinds of stress risers with your orthogonal design so your part is probably significantly weaker than the original. This is compounded by the printing orientation placing the weak axis (Z) across the back where the greatest amount of stress is applied anyway.
My driver's side seat back fell off in the heat booth after the repaint during my widebody project. The body shop used the same 3M Panelbond they attached the body work with, which is supposed to be unbelievably strong, but I'm sure my passenger seat will let go at some point and might as well have clips for both sides on hand if either or both fall off again.
Let me know if you'd print me a set with the stronger material and better design and I'll purchase them from you.
Dilberto, I'm not really understanding the point you are trying to make.
Printing the hook on its side like that makes sense in terms of strength but gluing it all together like that seems you are going to loose anything that you have gained. If your printer is dialed in you will only drop around 15% strength between the Z and X/Y axis. Glued joints... no clue but there are very few joining processes that produce a bond stronger that the materials they are joining.
-Sandow
I've sold hundreds at $40/pair, with one year warranty. The ONLY ones I ever warrantied was a pair printed in PLA:
I'm actually a little surprise the PLA one snapped rather than failing due to heat. PLA is quite a lot stronger than ABS after all. Just sucks at heat tolerance. Was that printed as one piece?
Had a power outage long enough to drain my UPS so I ended up with a 2/3 printed clip. Was fun trying to break it. Tried squeezing it, pulling it apart, stepping on it, jumping on it, ran it over with my car and finally clamped it in a C-clamp and hung from it on a I-beam. The last was a bit surprising when it held me. It was even more surprising when I started to do a pull up on it and it slipped out and dumped me on my *** lol. Here are the before and after shots (not of me on my *** obviously).
The carbon fiber filled polycarbonate is worth a try if your printer can handle it. Has about 80% less thermal expansion and contraction than ABS and is about 4 times the strength. Doesn't smell funky when you print it either. Does require high temps for good layer adhesion, a hardened nozzle and low extrusion speeds though (30mm/s tops) and is absolutely useless for bridging. Still, certainly fills a niche.

 10-09-2018, 09:56 AM