When you click on links to various merchants on this site and make a purchase, this can result in this site earning a commission. Affiliate programs and affiliations include, but are not limited to, the eBay Partner Network.
2008 957 TT Water bridge and Coolant Tube "T" replacement
So on my way to Watkins Glen with the kids for our Niagara Region Memorial Day DE... 2008 TT with 120k miles
Smell coolant then see lights flashing and temperature rising. Pulled off to the side at the entrance road, Coolant all over the back of it and dripping down inside. Time for some work.
Got it on my cousins big trailer and utilizing his 5-speed manual F-350 diesel drove it home put in the garage for working.
I don't have much time in life with three kids under 10, but I work near the garage I put it in so at half hour lunch increments across about 5 weeks.
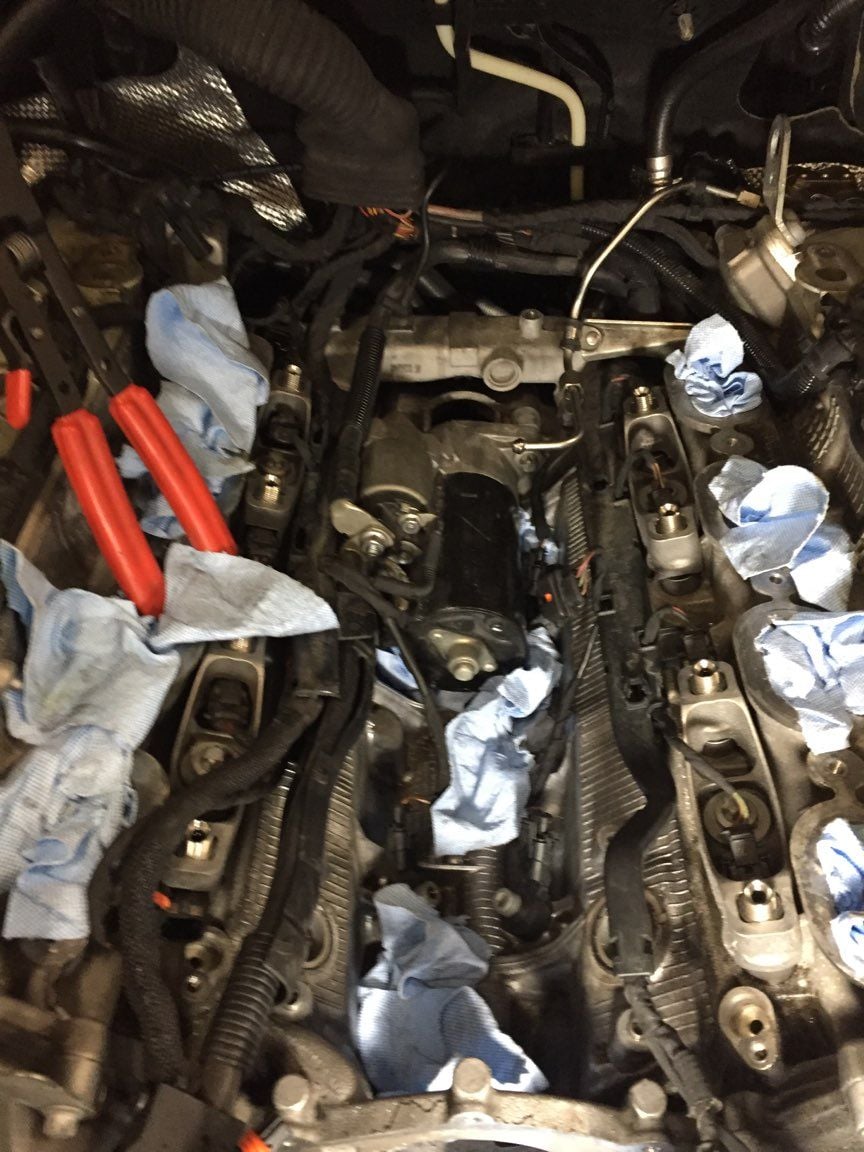
Tear down went slow and steady, no pictures though. Removed the covers and intake, then high pressure fuel pump. The pump makes it hard to reach all of the bolt heads, the bracket and the stand off's. Plan to drop tools accidentally (good idea to remove the belly pan so you can pick them back off the floor faster / easier). Small ratchets and wrenches (10mm, 13mm) are a must.
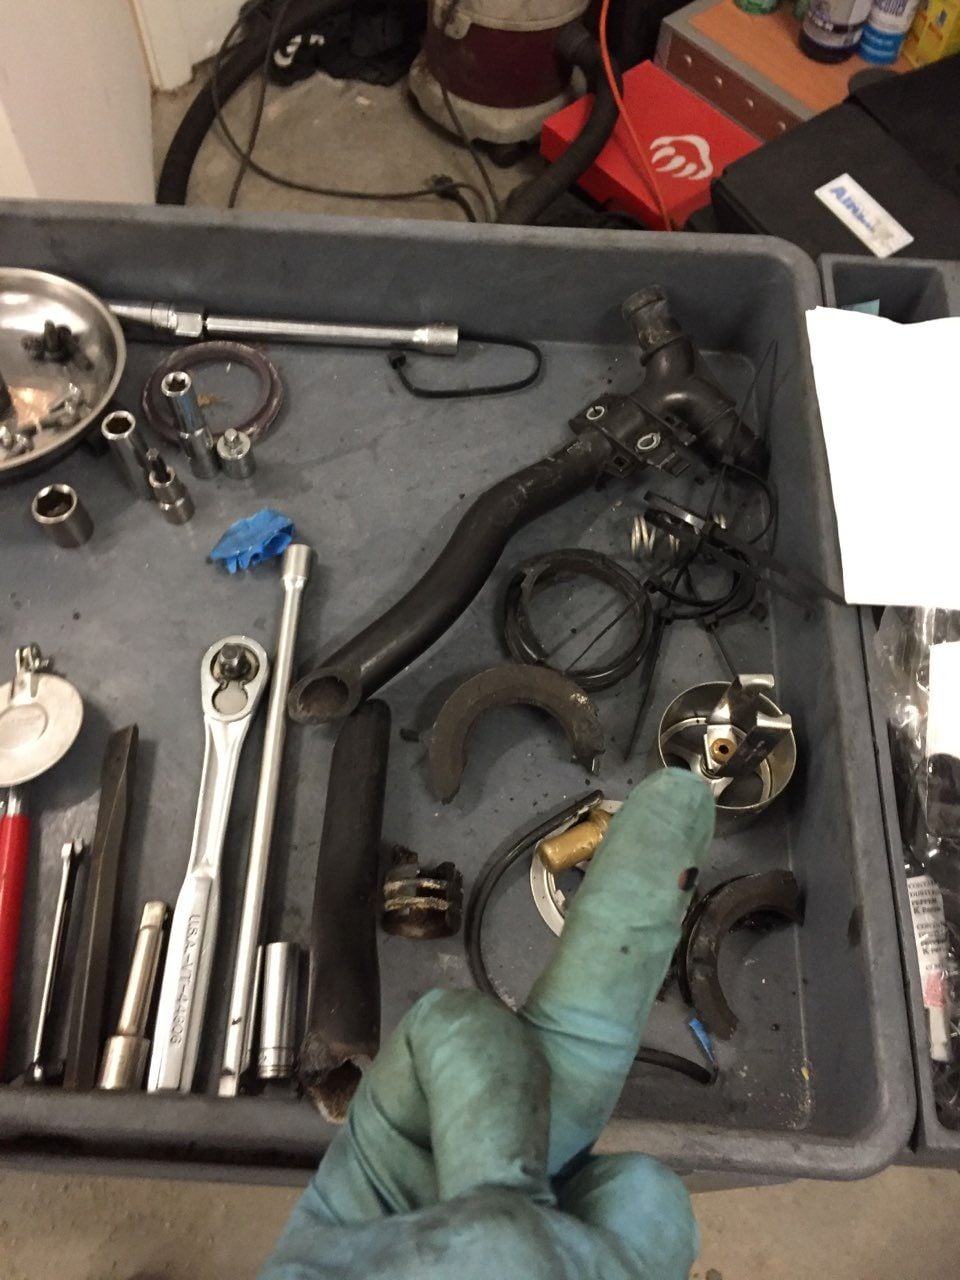
Found the fitting in the tube but not in the water bridge. Went through as much info as I could online and felt the glue and tether method was my best bet. As I couldn't drill and pin/set screw without a flexible drive shaft drill, I searched Locitite variations and felt 620 was a good fit. The fitting had very little dried glue on it so I assume it was one of the lightly covered pieces.
620 is meant for 0.015" maximum bearing inner race to shaft clearance, and has a maximum temperature 450 F.
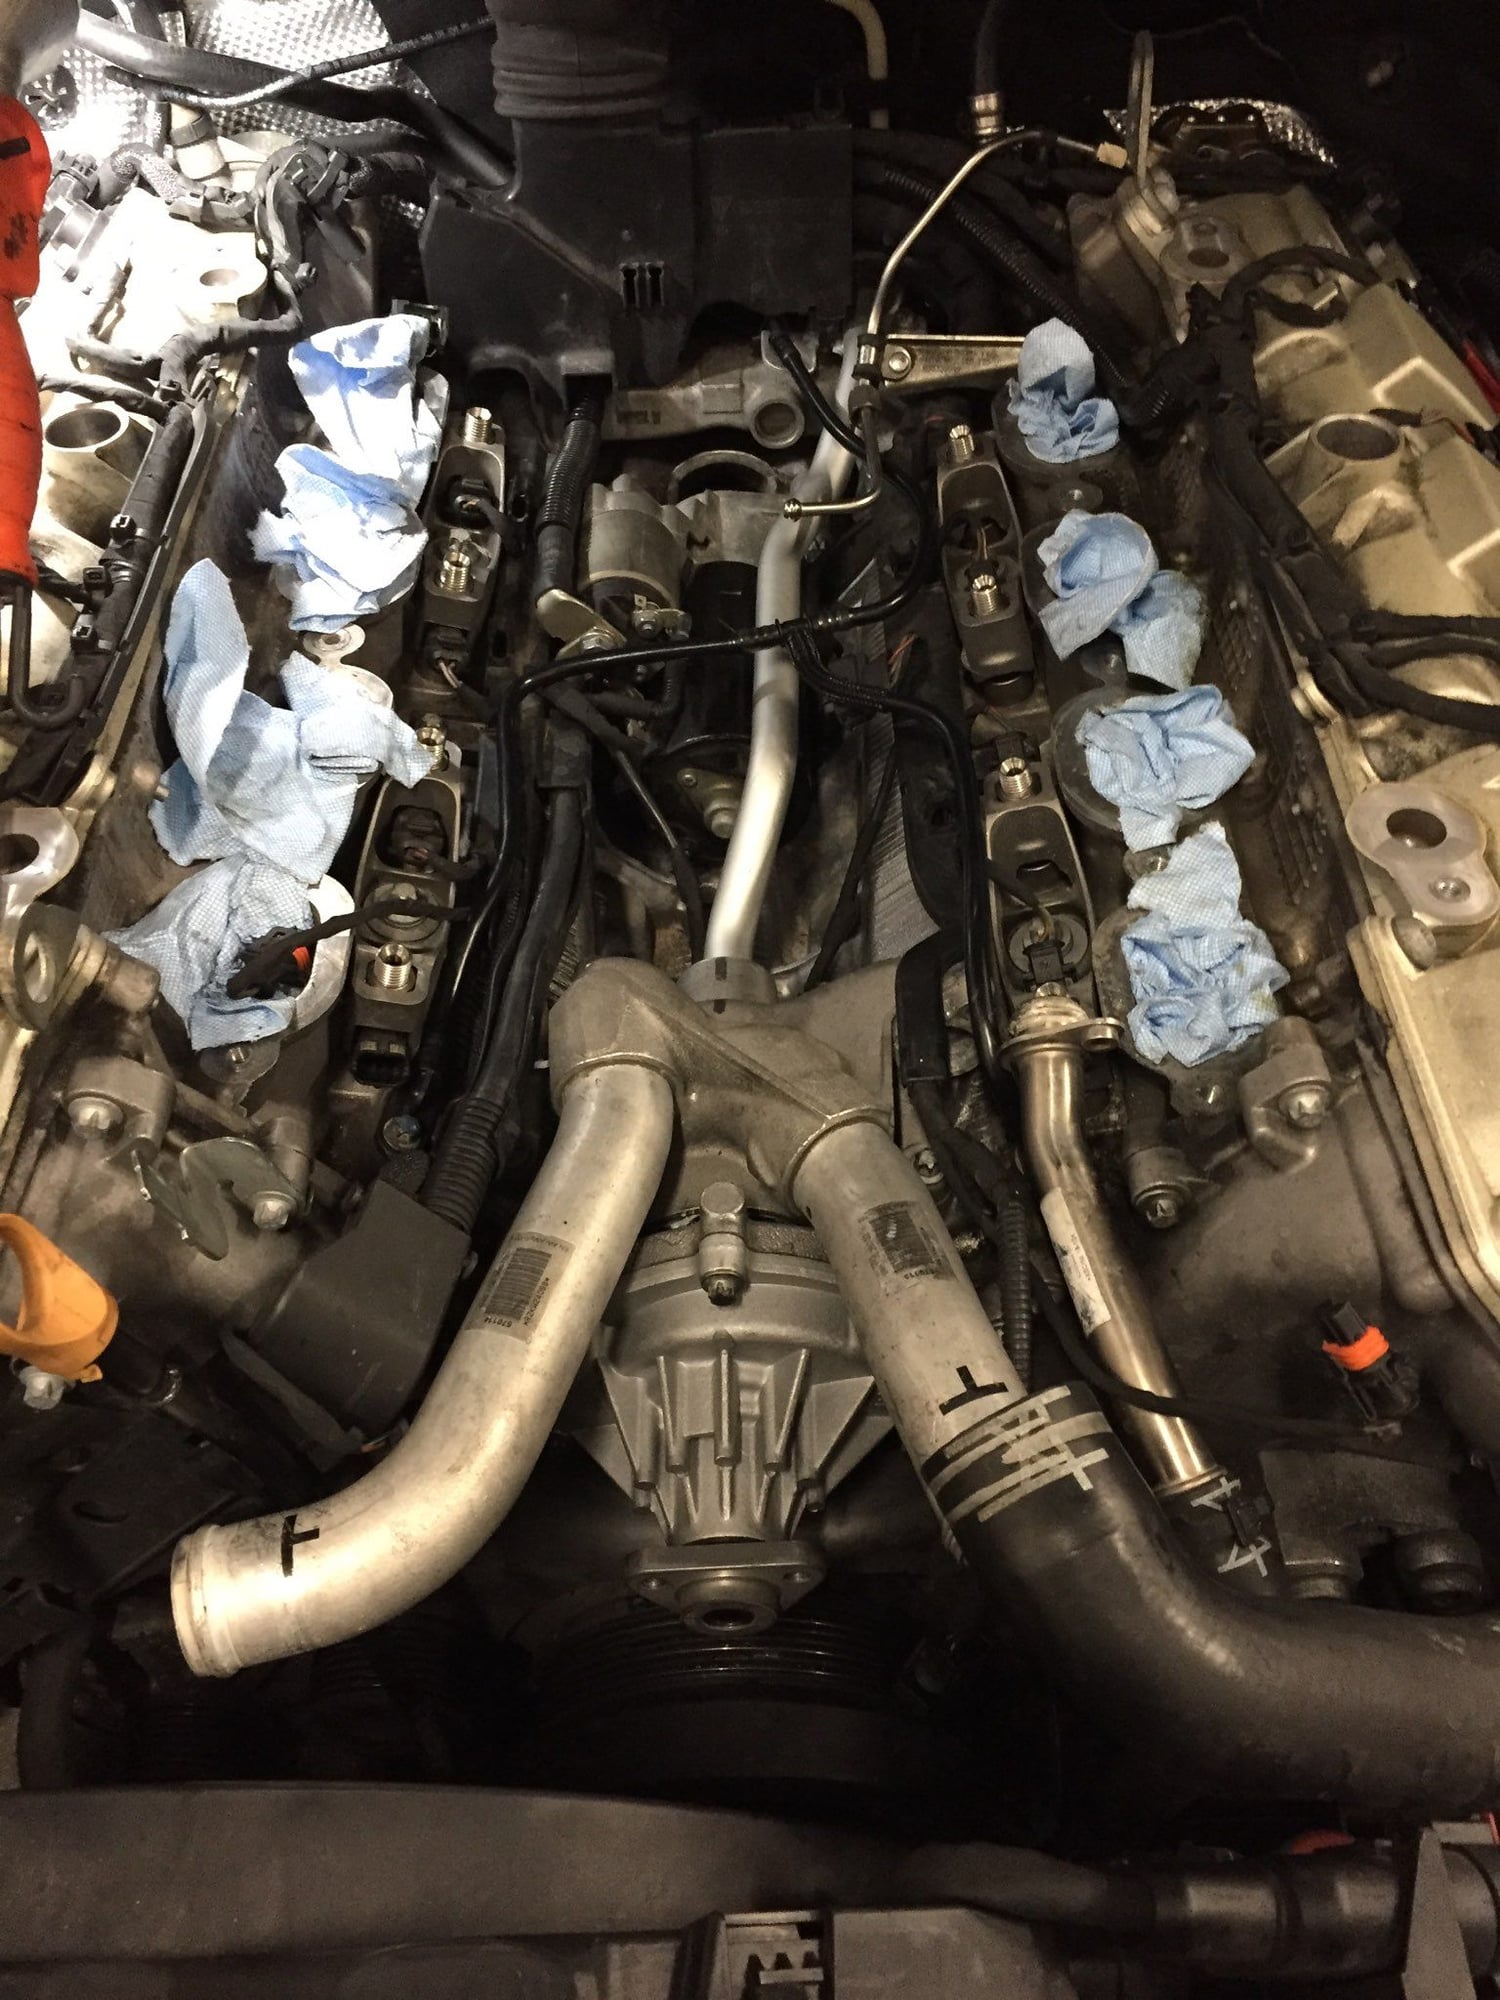
Cleaned the fitting and hole applied a liberal amount and let it dry for a few days. Most important tool I purchased was "remote cable operated spring clamp pliers" to reach the spring clamps in various areas. Reassembled the hose onto the fitting and began to remove the hoses for the "T" fitting, then the fuel rail. Careful not to drop anything in the open starter gear area... Take cover off the wire routing block, huge pain in the rear to get apart and mine broke into pieces. Make sure you have external torx sockets. Once I had everything removed I tried pulling the old plastic coolant tube out. It wouldn't budge at all and I ended up breaking it apart in the middle and still couldn't get the fitting out of the block behind the water pump. I worked for probably 3 days trying to get it out, ended up using a dremel with a small ball end mill and slowly cutting it away and breaking it up to remove it without hurting the Aluminum surface. Took some coolant and wet the O-Rings of the Aluminum tube and still had to tap on it with a small punch and ball peen hammer to full seat it. Not an easy task and tight area to work.
Reassembled everything slowly (replaced the fuel pump gear guide / center bushing as it broke into bits upon removal), and still had issues with rushing to get it done. Had a coolant leak for a hose not fully seated, then a slight fuel leak (had to get back down to the fuel rail) and then a vacuum leak.
I ended up replacing the drive belt since I had the coolant out anyway. Not easy, removed two (2) coolant hoses had to remove a screw and bracket holding on of the coolant hoses. Then the oil dip stick bracket and the vacuum line that of course cracked at the front of the intake. Needed a 30mm open end wrench to move the tensioner for belt removal, watch the belt diagram for positioning the belt correctly.
Large hands not easily fitting in places lots of cuts and sweat. Now all back together and lightly being driven to ensure everything is good.
Been there done that with a customer's car two day's before I had to leave for Daytona 24. Some hack mechanic did a carbon clean on it and broke the coolant vent line. He replaced it with some cheesy hose which blew off on the highway. My customer had just bought this truck without a PPI and just showed up with it. While in there I did the water pump, thermostat, and upgraded the coolant pipe.
Great work. These things are not easy to work. They definitely know how to chew up some hands and forearms, but it is worth all the blood, sweat, and beers when they are back on the road. I have a feeling this project will start becoming more common as people acquire miles and heat cycles on their 4.8's.

 07-13-2018, 11:09 AM