When you click on links to various merchants on this site and make a purchase, this can result in this site earning a commission. Affiliate programs and affiliations include, but are not limited to, the eBay Partner Network.
For many years, while performing my annual oil change, with the rear wheels pulled, I spent hours cleaning up oily filth from the underside of the engine and rear suspension. Reaching in from the sides, as best I could with rags, I had always assumed it was from a leaky RMS, symptoms of which started showing up when Clinton occupied the Oval Office. This year, the addition of a garage lift opened my eyes the real cause – leaking oil filler tube.
After interweb searches, ordering parts and the requisite cable operated clamp tool (I ordered a whole clamp kit for ~$40 – can’t have too many tools), I started the process. However difficult you’ve read this task is, it’s much worse! To improve my chances, I disconnected the clamshell push rods from the top transmissions, allowing the clamshell to be moved further back, out of the way.
It started out OK with the disconnection of the tube on the engine side. It’s the other side, mounted to the trunk bulkhead which requires the super human abilities I don’t possess. Access is very tight and blind. I’ve read of some folks who remove suspension parts to gain access from underneath, but I decided not to go that direction.
After some time fiddling, disassembling the air pump and breaking off the offending oil filler tube to gain access, I finally got a hold on the clamp with the cable clamp tool. The clamp loosened, turned clockwise and the tool slipped off, locking the clamp in a position where it was now in close proximity to the clamp directly below it. This was a problem! Takeaway – When you get the clamp loose, DO NOT let it turn clockwise. Perhaps turn it a bit CCW.
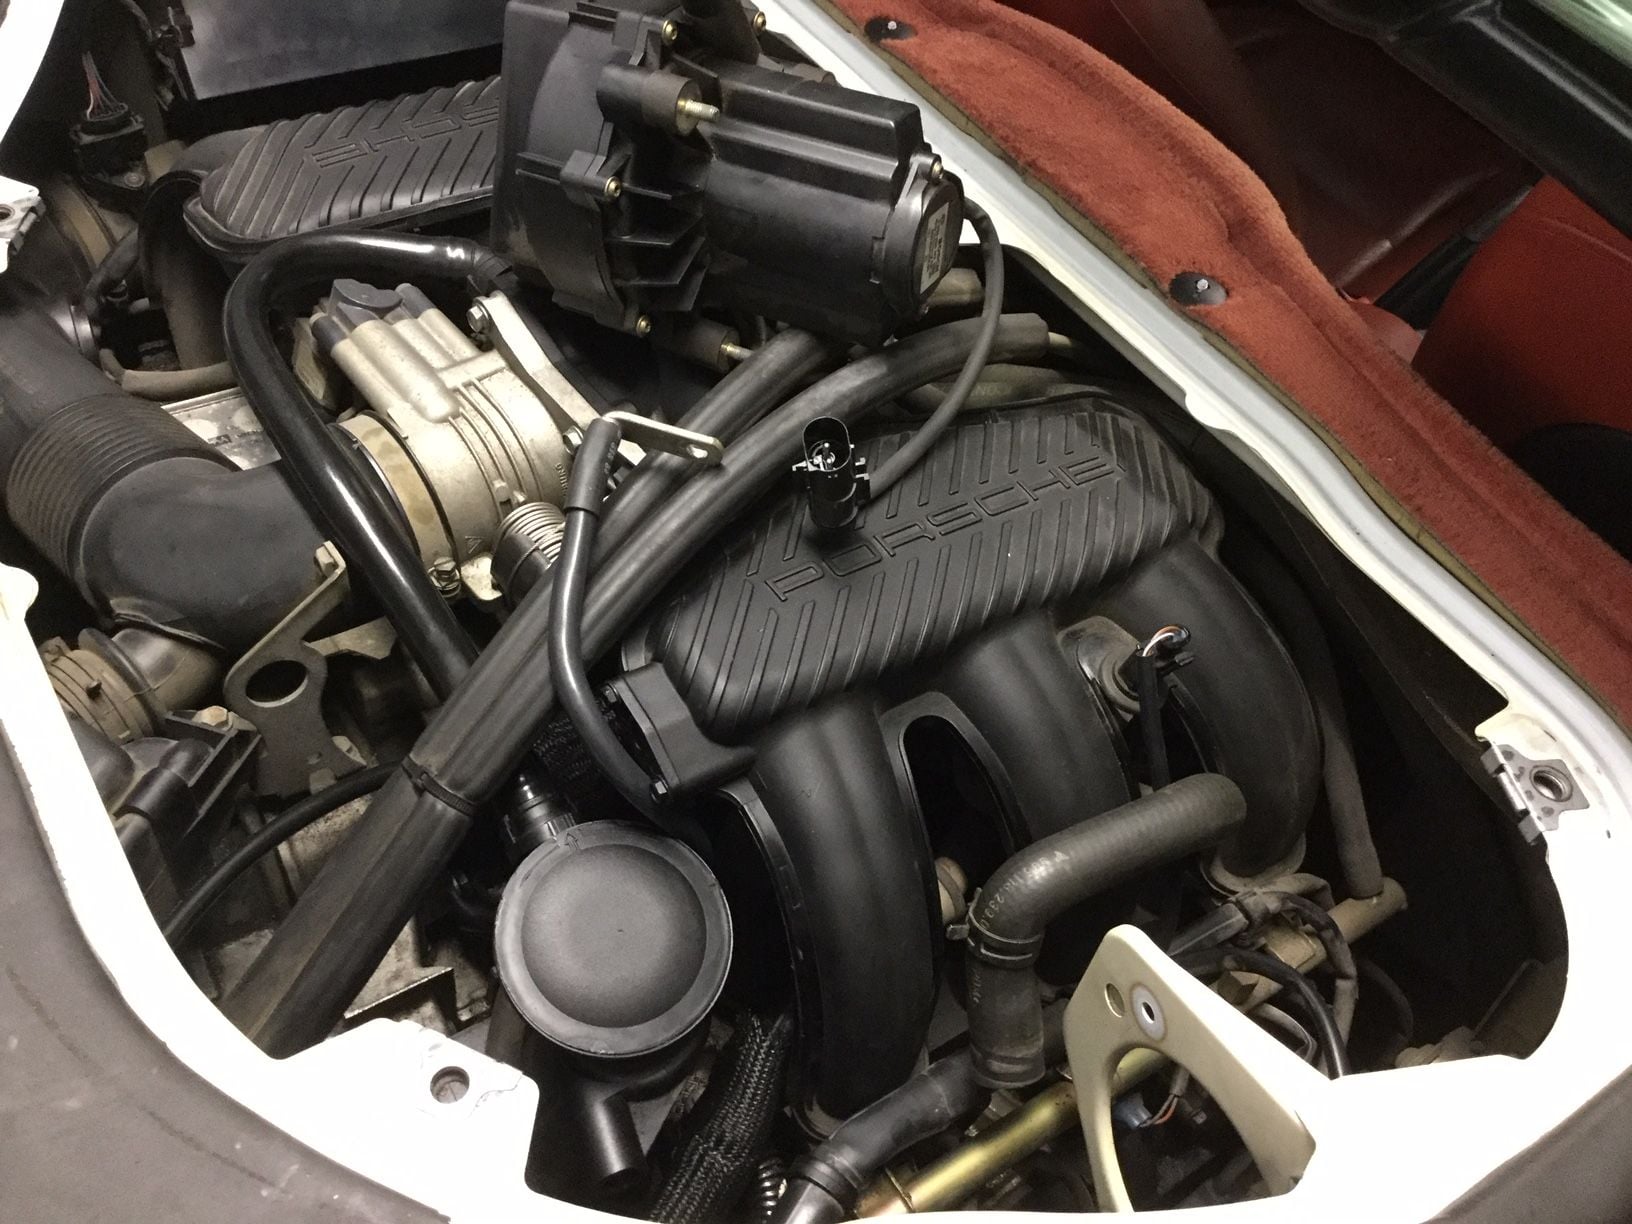
Air pump and old filler tube out of the way
For several hours, after removing the clamshell (6 nuts) in order to get the hinge out of the way, I worked on getting that hose clamp off. I finally got it rotated back; when I went in for the kill to remove, and squeezed the clamp tool - it didn’t budge much. I did what any other red blooded American man would do – I squeezed harder! As a reward for my effort, I got my hand wet with coolant.
The rear bulkhead has a plastic pass-thru plate, which allows the oil filler tube and 3 coolant lines to pass thru the bulkhead into the engine compartment. There are plastic nipples on both sides of the plate to which the hoses are connected. In Porsche’s infinite wisdom, with input, no doubt, from the Japanese consultants, they decided to place a small, fragile coolant line right next to the oil filler tube connection. During my clamp removal exercise, these clamps got intertwined and I ended up squeezing the 2 clamps together. The fragile plastic nipple broke off with the engine hose attached. Now what? Good news is, with that small hose broken off and out of the way, access to the oil filler hose clamp became much easier! I would argue that breaking off that hose is a design improvement! I removed the clamp and remnant of the old tube and connected the new tube – still not easy, but much improved with the missing hose.
After a quick search, I found that others have had this same thing occur – I felt a little better. One fix I saw involved drilling a large hole in the pass-thru, where the broken nipple was, and running a hose thru the hole directly to the coolant tank (in the trunk). I concluded a more elegant fix would be to find a metal nipple that I can pass thru to connect the engine side hose to the trunk side hose.
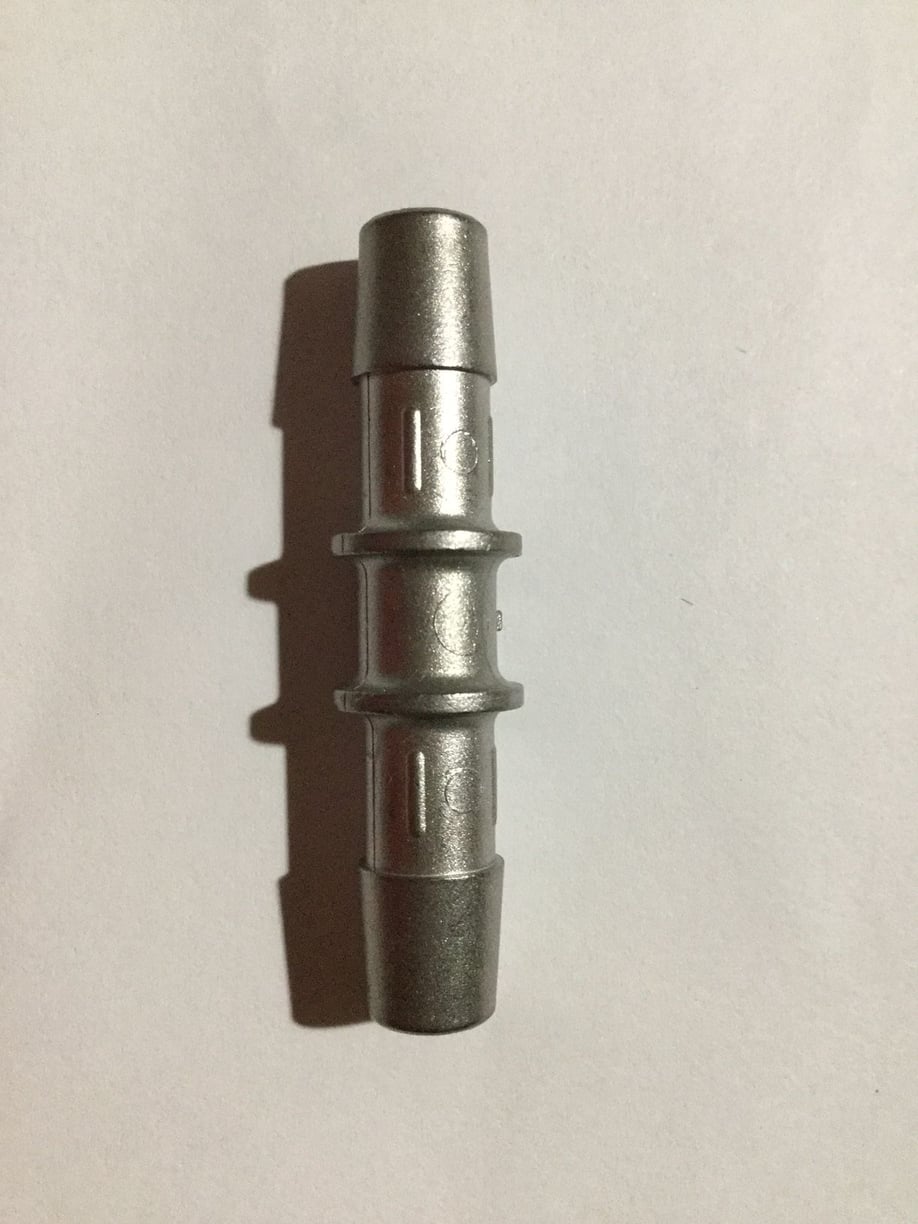
A 5/16 barbed nipple roughly 2 inches long is required to insure sufficient hose/clamp grip. I ordered a stainless steel one from McMaster Carr, after checking out Lowes, who was out of stock on them - I suspect a car parts chain may also have something that works. After pulling apart the entire trunk lining to gain access to the pass-thru, I removed the appropriate hose, cut off the inside nipple with a small hacksaw, and drilled a 3/8 hole (largest bit my drill would take) where the nipples used to be. With a round file, I enlarged the hole enough to get the metal nipple to pass thru.
McMaster Carr P/N 2653K14 - $9.22 – Hard nipple
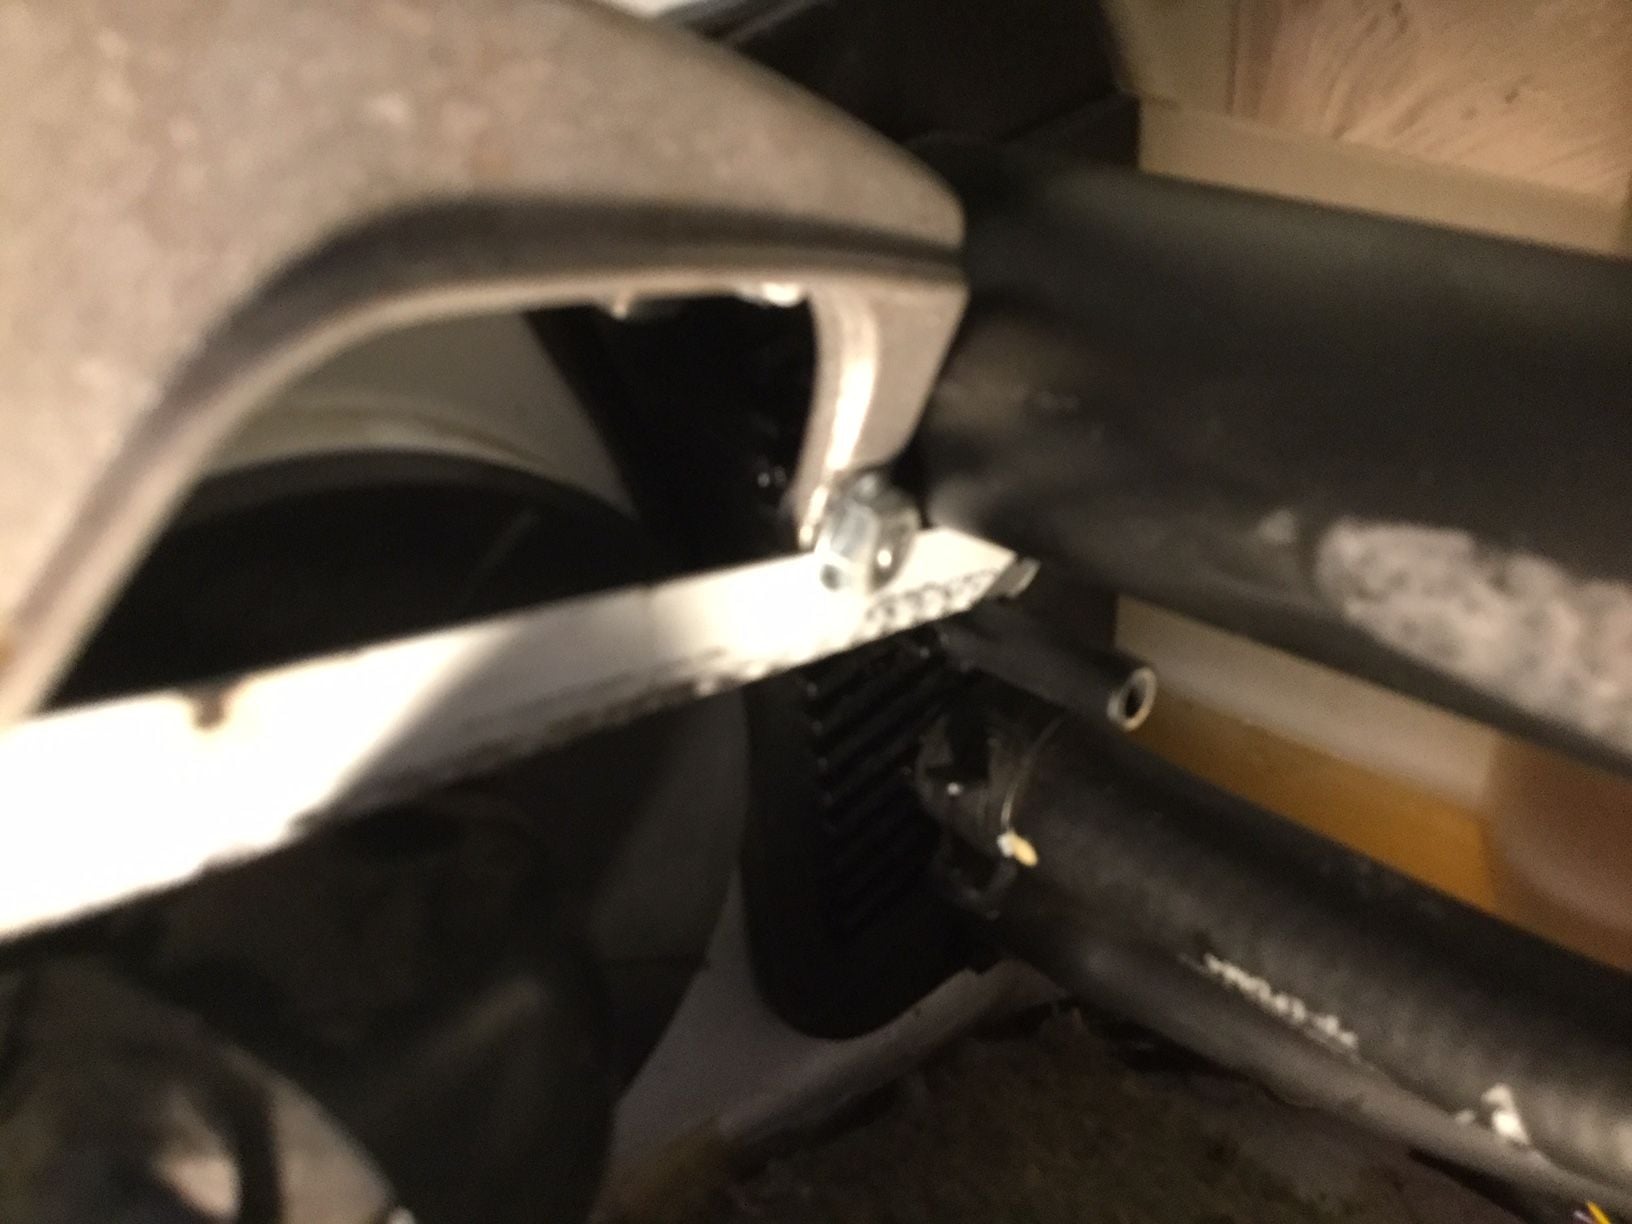
Hack off that Nipple
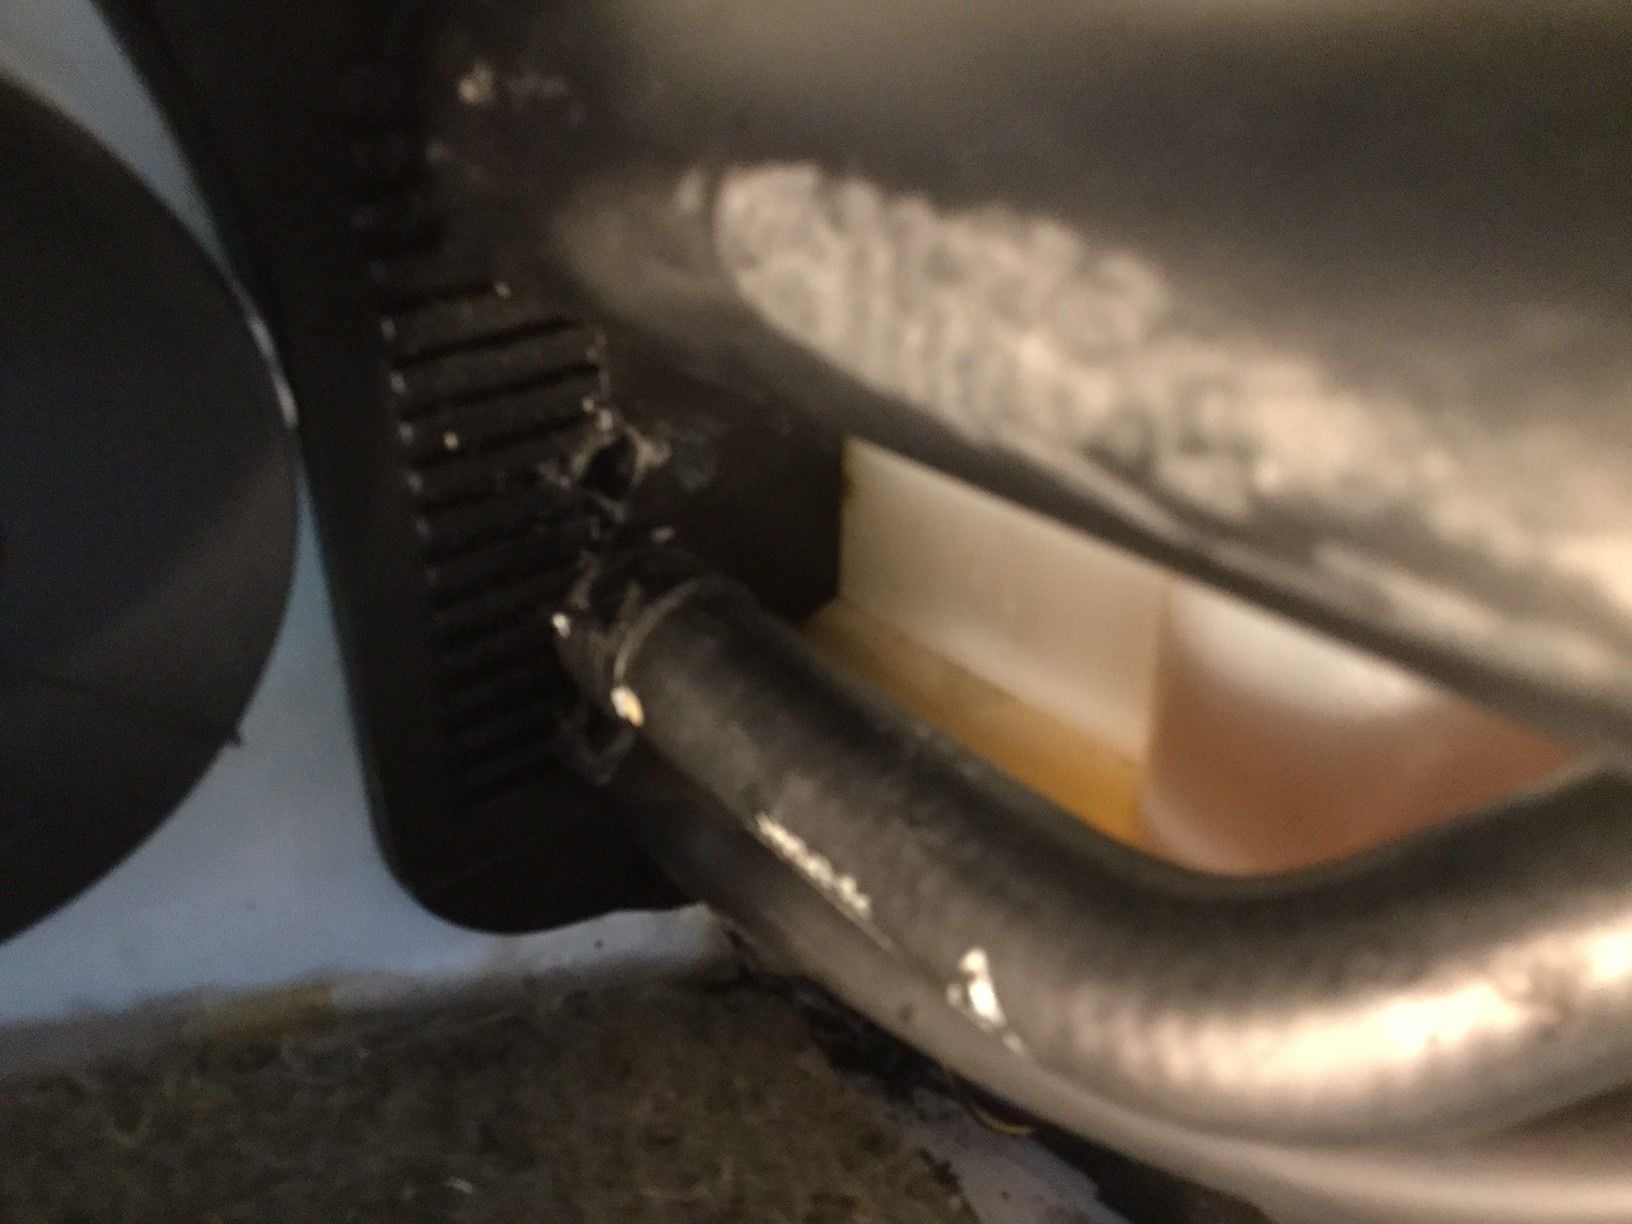
Drilled Nipple
Connecting the new metal nipple to the engine side hose and clamping it, I used the round file thru the hole I drilled to guide the nipple from the engine compartment thru the hole in the pass thru. Once thru, I had my wife assist me by holding the hose with nipple in place in the engine compartment while I assembled and clamped the hose from the trunk side. I held off replacing the trunk lining to verify there were no leaks.
Once together, one can’t tell it was ever messed with. With the removable nipple now in place, doing this job in the future, or replacing the coolant tank will be much easier. Like I stated earlier, this was a design improvement!
What I failed to mention was, with the oil tube replaced, the car runs noticeably stronger. I wasn't expecting any performance improvement, so I don't think it is a placebo effect. I suppose, being part of the PCV system, a leaky hose can cause degradation in performance.

 06-27-2019, 11:27 AM