Weekend wrenching - Speedtech exhaust, spark plugs/coils, serp. belt
 11-17-2014, 03:39 PM
#1
Rennlist Member
Thread Starter
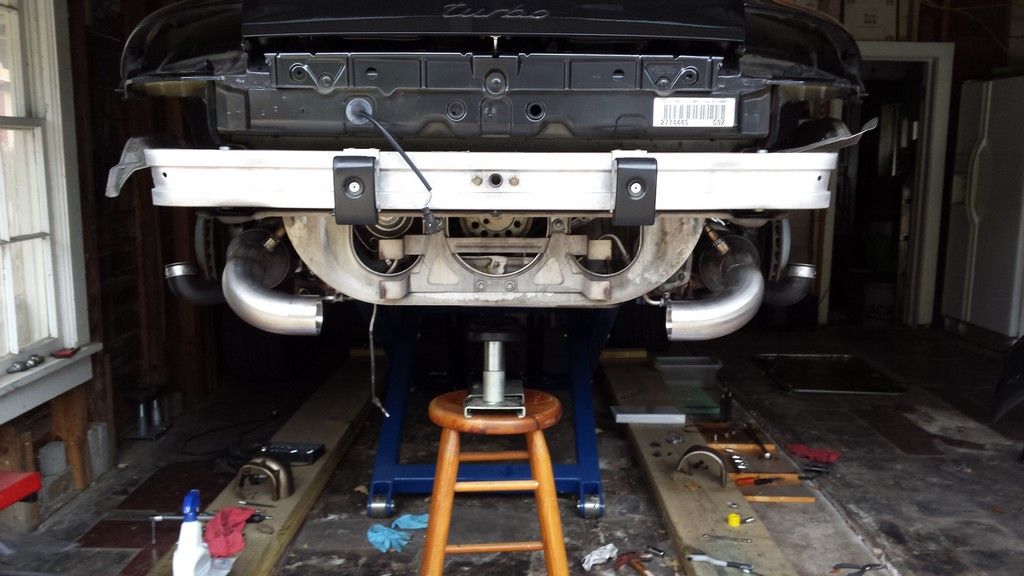
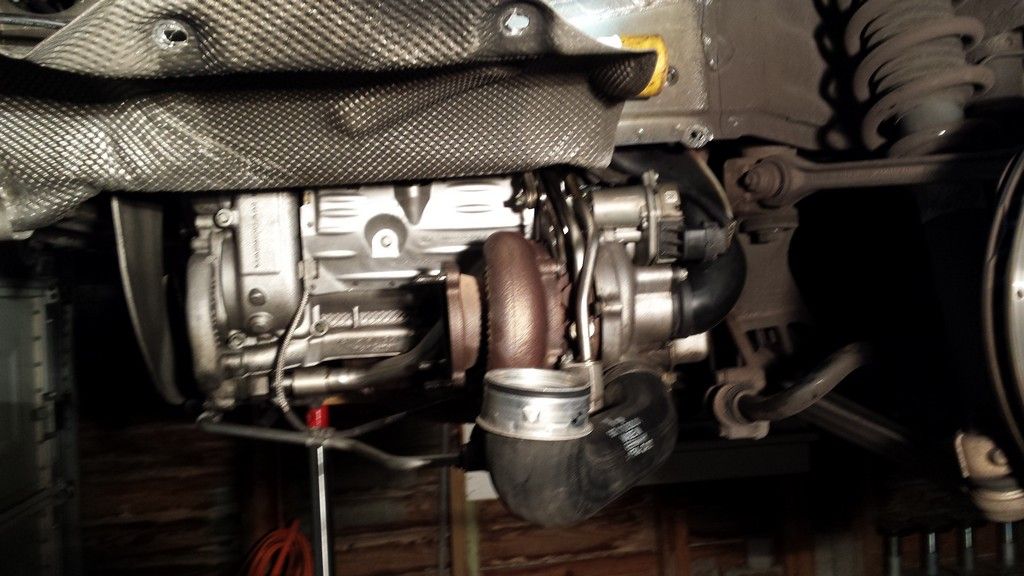
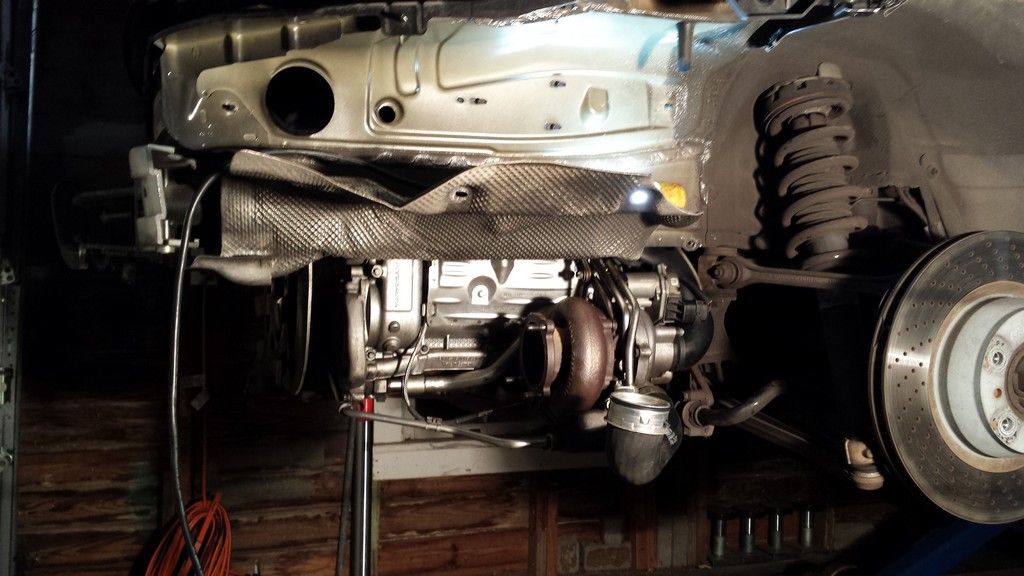
So I spent the weekend wrenching on my 997.1TT. I had been planning on doing the spark plugs and belt for a while, and decided to go ahead and do my exhaust install at the same time.
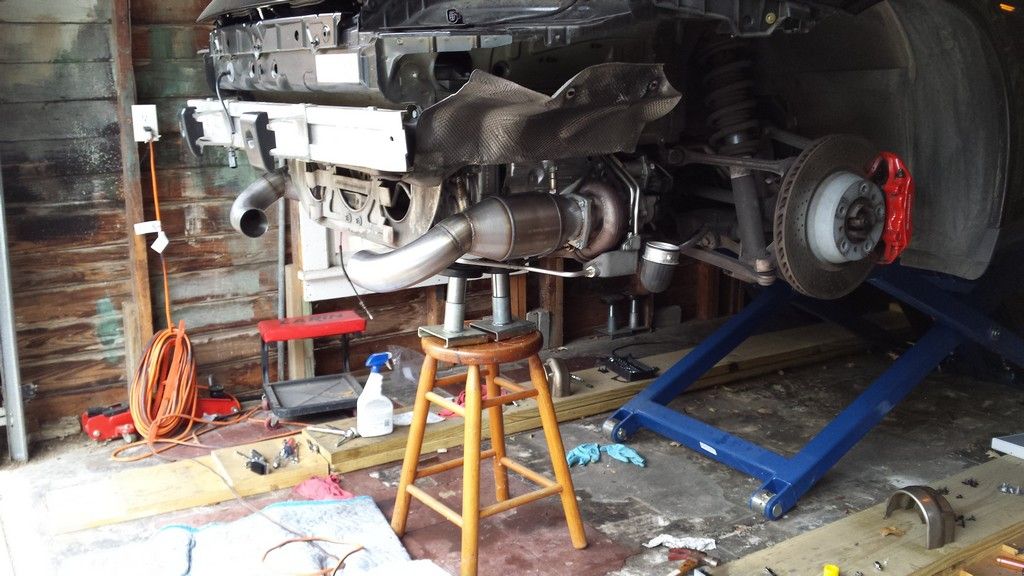
- The spark plug/coil job was slightly easier with the exhaust removed.. I mostly followed therock�s excellent DIY write-up, and didn�t have to unbolt the headers or any of the oil/water lines to the turbos. I *did* lower the engine about an inch, which was for me was only necessary to get to the front plug on the driver's side. Lowering the engine really was pretty easy, although I was a little nervous undoing the 2nd bolt.. I also removed the VTG actuator in order to gain access to the front plug on the passenger side. I gapped all the plugs to .026". The old ones looked well worn (40K miles) and were up to .036" gap.
- Took the opportunity to make sure both BRVs were functioning and able to hold vacuum.
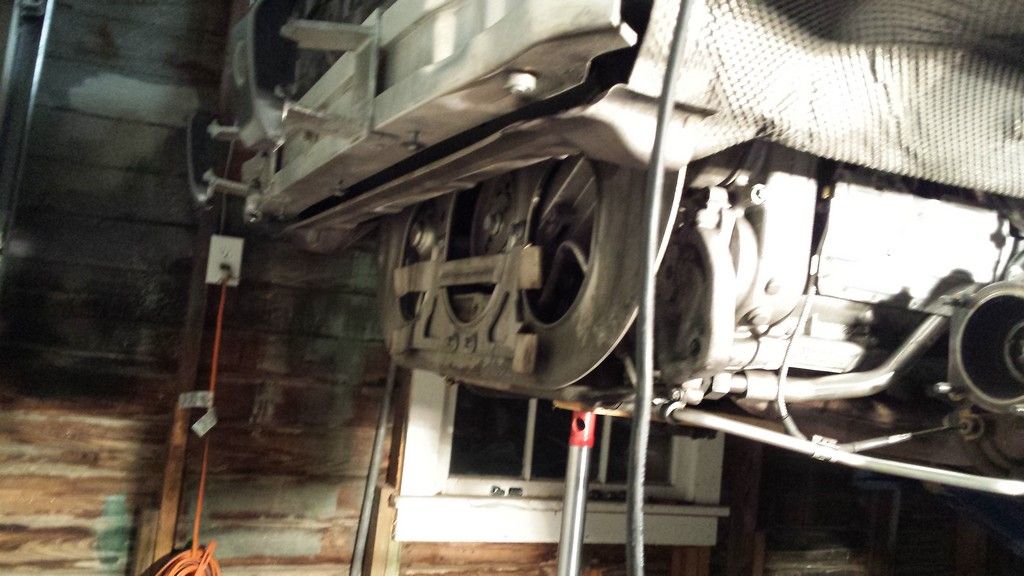
- The serpentine belt job was super easy with everything else out of the way.
- I took my time and cleaned a lot of the parts that were dirty.. the turbos, heat shields, oil lines, etc. etc.
- The exhaust install was fairly straightforward, although the instructions sent with it were garbage..it said to install to install/secure the parts from the turbo flange to the muffler first, and tighten them up, which I did. Turns out you can't get the muffler installed this way, so I had to undo the turbo flange bolts after I had put most everything back together.. I'll post a different thread on my impressions once I get a chance to drive it - the weather yesterday was pretty nasty out. I will say cold startup sounded very good.
- I replaced the 8 nuts on the turbo flange during the process.. when I undid all of them initially the entire nut/stud combo came out of the turbo..I removed the nuts after the fact..
- I didn't do my intercooler upgrade yet - I will save that project for closer to Christmas-time.
Here's a few pics I took along the way..don't worry, the stool in the pics is NOT what I was supporting the engine on..I had a proper jack in place to support it, and took it out before the pictures were taken.

- The spark plug/coil job was slightly easier with the exhaust removed.. I mostly followed therock�s excellent DIY write-up, and didn�t have to unbolt the headers or any of the oil/water lines to the turbos. I *did* lower the engine about an inch, which was for me was only necessary to get to the front plug on the driver's side. Lowering the engine really was pretty easy, although I was a little nervous undoing the 2nd bolt.. I also removed the VTG actuator in order to gain access to the front plug on the passenger side. I gapped all the plugs to .026". The old ones looked well worn (40K miles) and were up to .036" gap.
- Took the opportunity to make sure both BRVs were functioning and able to hold vacuum.
- The serpentine belt job was super easy with everything else out of the way.
- I took my time and cleaned a lot of the parts that were dirty.. the turbos, heat shields, oil lines, etc. etc.
- The exhaust install was fairly straightforward, although the instructions sent with it were garbage..it said to install to install/secure the parts from the turbo flange to the muffler first, and tighten them up, which I did. Turns out you can't get the muffler installed this way, so I had to undo the turbo flange bolts after I had put most everything back together.. I'll post a different thread on my impressions once I get a chance to drive it - the weather yesterday was pretty nasty out. I will say cold startup sounded very good.
- I replaced the 8 nuts on the turbo flange during the process.. when I undid all of them initially the entire nut/stud combo came out of the turbo..I removed the nuts after the fact..
- I didn't do my intercooler upgrade yet - I will save that project for closer to Christmas-time.
Here's a few pics I took along the way..don't worry, the stool in the pics is NOT what I was supporting the engine on..I had a proper jack in place to support it, and took it out before the pictures were taken.

 11-17-2014, 04:52 PM
#4
Rennlist Member
Thread Starter
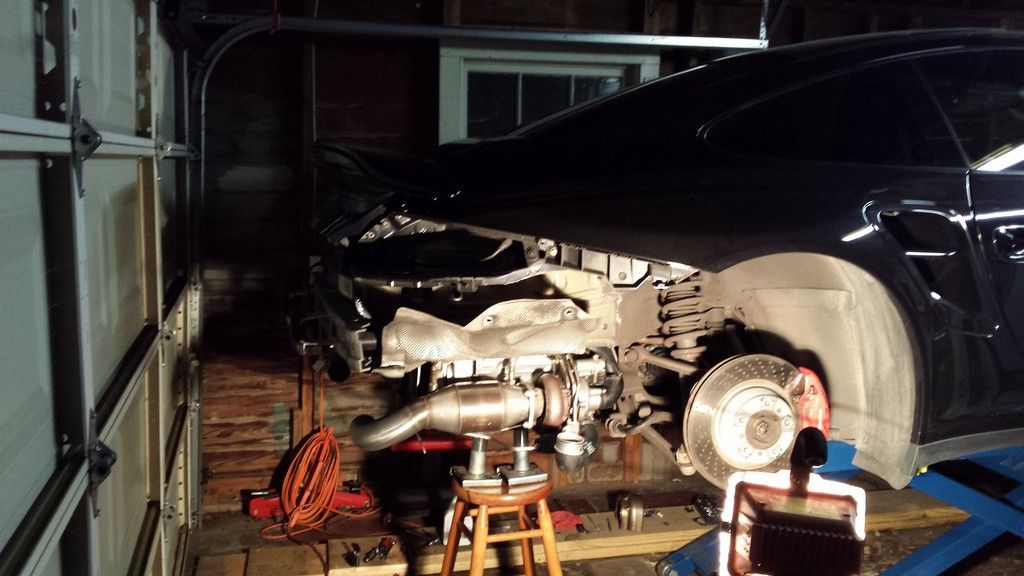
I haven't driven it yet as the weather was pretty bad on Sunday when I finished it up.. will know more this week. I did start it up and rev it some and the cold startup did sound very nice. I went with the 2.5 "sport" version.
Thanks! It's a BendPak MD6XP. Will go to 48" which is higher than I would ever need. Been very pleased with it so far.
Thanks! It's a BendPak MD6XP. Will go to 48" which is higher than I would ever need. Been very pleased with it so far.
11-17-2014, 07:31 PM
#5
Rennlist Member
I love shade tree (or home garage) wrenching! Nice work 
11-17-2014, 09:52 PM
#6
Pressure clean the wheel wells. It will look great once you do it. Simple green does fantastic work and its safe. when I dropped my engine, I did the whole car underbody.
11-17-2014, 10:19 PM
#7
Rennlist Member
Thread Starter
Thanks! makes it easier to justify to the wife buying the lift :-) Honestly, the lift cost probably about what a dealer would charge me in labor to do all the work I did, AND I got a chance to learn more about how the car works and actually see the pieces/parts I've read about.
I agree, I planned to clean the wheel well trim I removed but wanted to get it back together.. I will clean the wheel wells when I take it back apart to do the GT2RS intercooler upgrade in about a month..
I agree, I planned to clean the wheel well trim I removed but wanted to get it back together.. I will clean the wheel wells when I take it back apart to do the GT2RS intercooler upgrade in about a month..
Trending Topics
11-19-2014, 12:59 AM
#8

Thanks! makes it easier to justify to the wife buying the lift :-) Honestly, the lift cost probably about what a dealer would charge me in labor to do all the work I did, AND I got a chance to learn more about how the car works and actually see the pieces/parts I've read about.
I agree, I planned to clean the wheel well trim I removed but wanted to get it back together.. I will clean the wheel wells when I take it back apart to do the GT2RS intercooler upgrade in about a month..
I agree, I planned to clean the wheel well trim I removed but wanted to get it back together.. I will clean the wheel wells when I take it back apart to do the GT2RS intercooler upgrade in about a month..
11-19-2014, 03:26 PM
#9
Rennlist Member
Thread Starter
Most of the important ones were in therock's DIY writeup.. spark plugs, VTG actuator motor bolts, engine carrier, wheel lugs.. I found the turbo flange bolts to be about 25 ft/lbs.
It *would* be nice to have a factory manual that had all of these things spelled out.. now that I think about it, I think theres a copy of the 996TT manual out there in the public domain that probably has the specs in it..
It *would* be nice to have a factory manual that had all of these things spelled out.. now that I think about it, I think theres a copy of the 996TT manual out there in the public domain that probably has the specs in it..
11-19-2014, 10:40 PM
#12
Most of the important ones were in therock's DIY writeup.. spark plugs, VTG actuator motor bolts, engine carrier, wheel lugs.. I found the turbo flange bolts to be about 25 ft/lbs.
It *would* be nice to have a factory manual that had all of these things spelled out.. now that I think about it, I think theres a copy of the 996TT manual out there in the public domain that probably has the specs in it..
It *would* be nice to have a factory manual that had all of these things spelled out.. now that I think about it, I think theres a copy of the 996TT manual out there in the public domain that probably has the specs in it..
Glad the DIY is helpful and getting some use! I remember when the tone of these forums was to NEVER try it as it was too difficult...It is great to see more and more trying it and succeeding....I am stubborn and competitive, so of course once I saw it is impossible to do, I had to do it
Per your note above...If there are some other torque values I left off that may be helpful, let me know and I will see if I have them handy...
DC
Last edited by therock88; 11-19-2014 at 11:00 PM.
11-20-2014, 03:10 AM
#13
Rennlist Member
For those after torque values for exhaust related points:
Manifold to head bolts - 25Nm
Turbo to Cat. - 23Nm
Exhaust manifold to turbo - 25Nm
O2 sensors - 55Nm
Manifold to head bolts - 25Nm
Turbo to Cat. - 23Nm
Exhaust manifold to turbo - 25Nm
O2 sensors - 55Nm