When you click on links to various merchants on this site and make a purchase, this can result in this site earning a commission. Affiliate programs and affiliations include, but are not limited to, the eBay Partner Network.
Hi,
If you have installed a Speedtech 'Center muffler delete 3.0 X-pipe for OEM cats and tips' on a 997.2 TTS, was it necessary to remove the rear bumper cover(apron)?
I have a space issue in my shop at this time and it would be nice if I could remove the old piping and install the new piping without removing the rear cover.
Thanks
Bill
subbed.... I want to know too. It seems like you can though
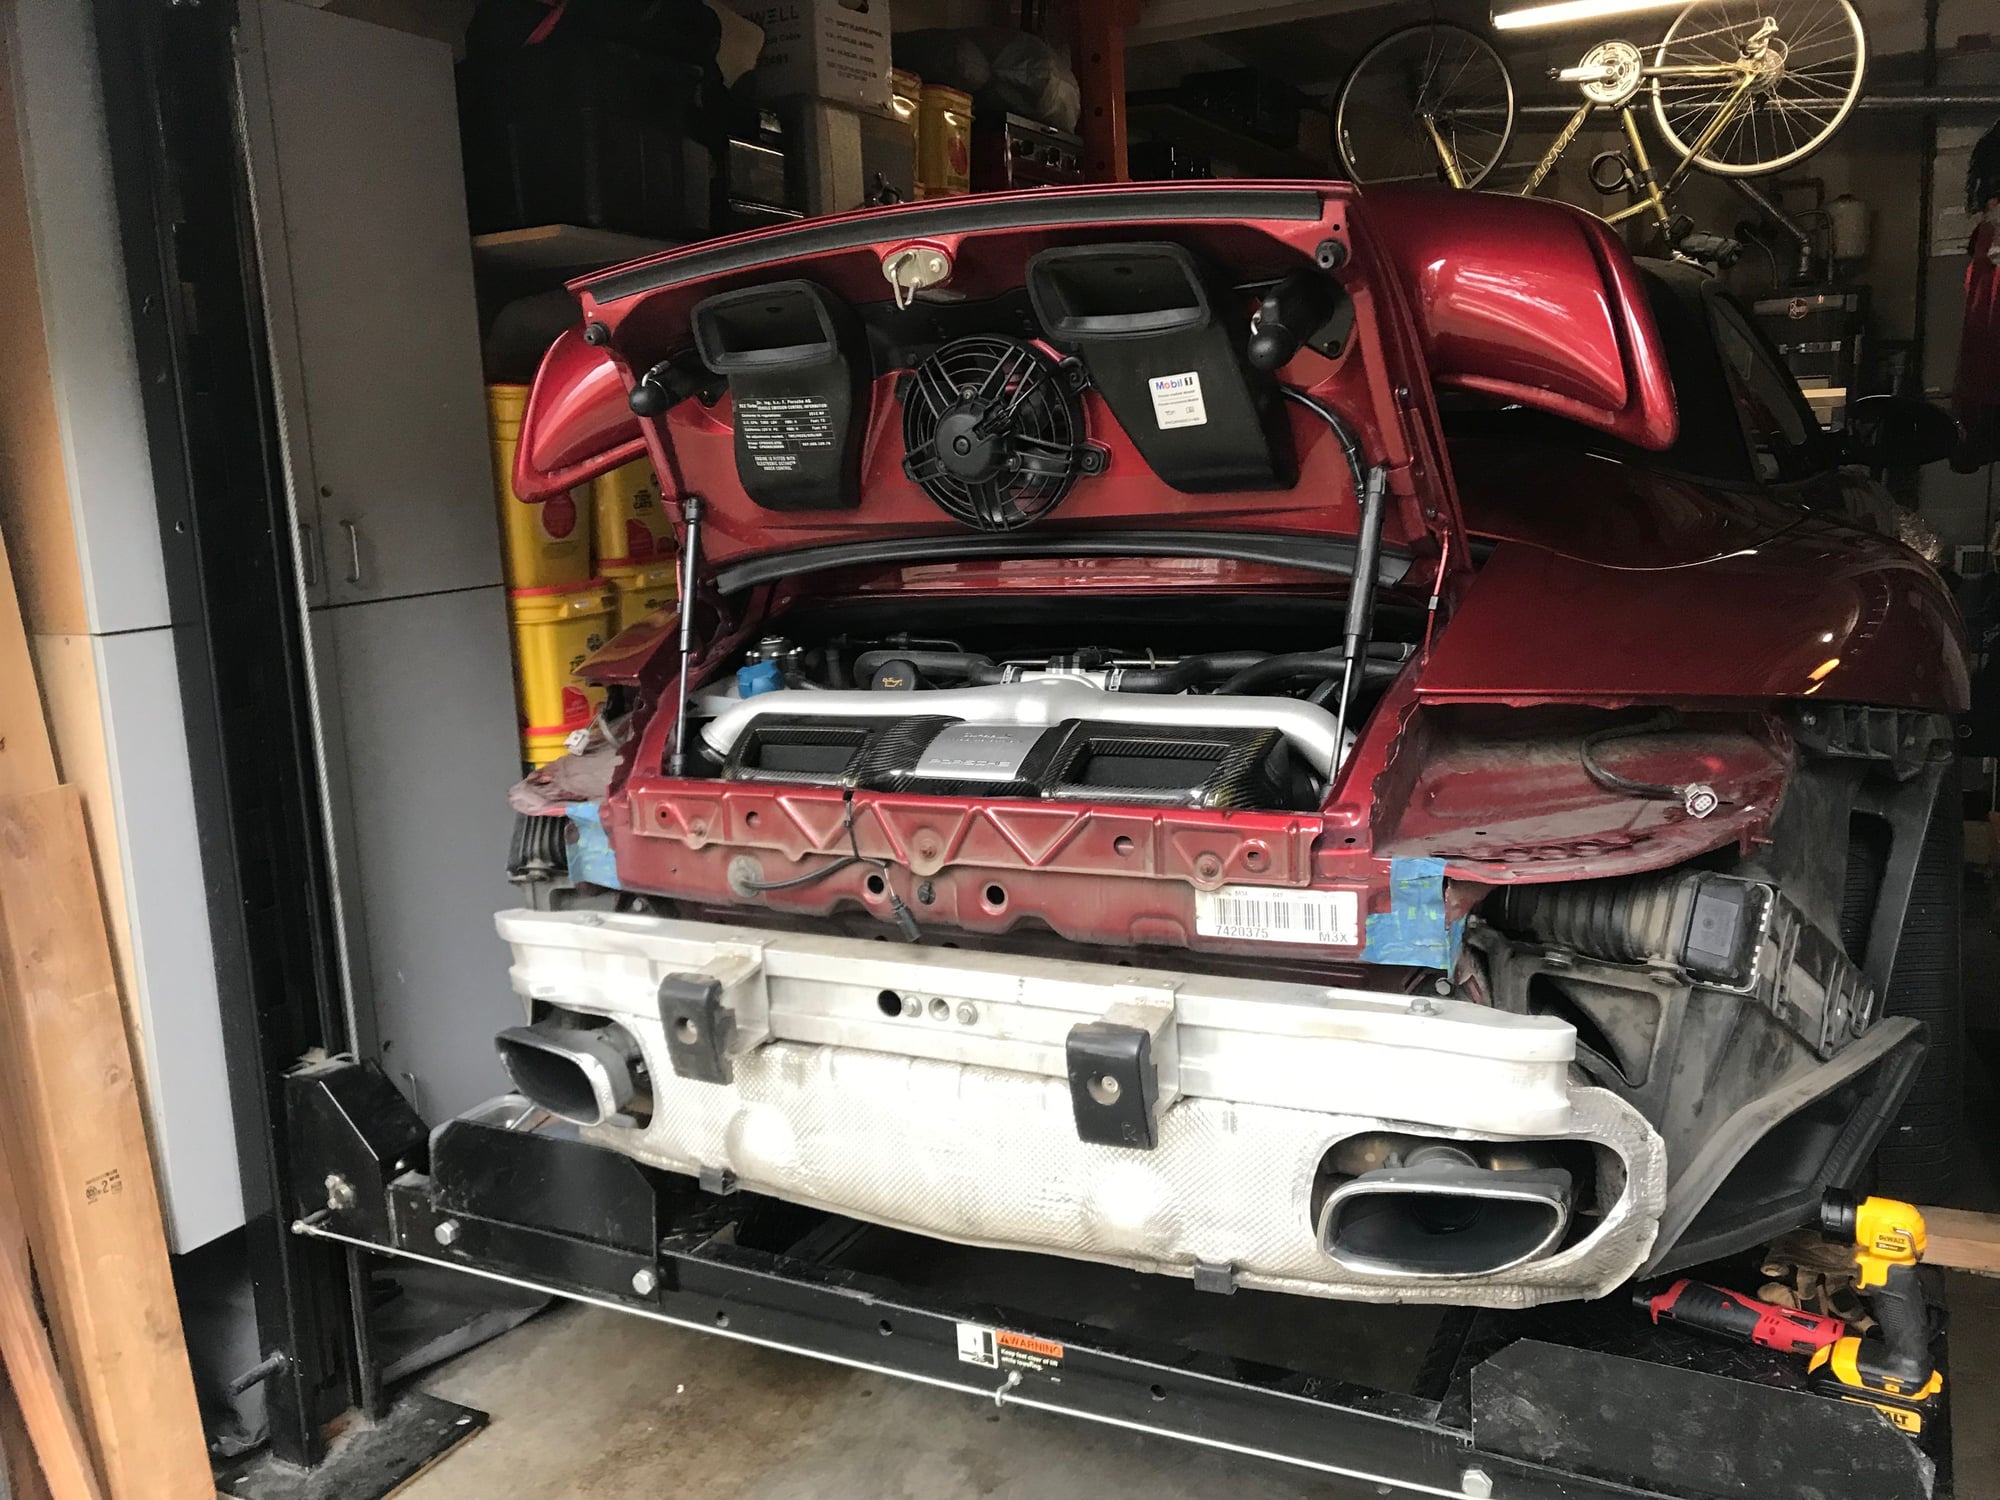
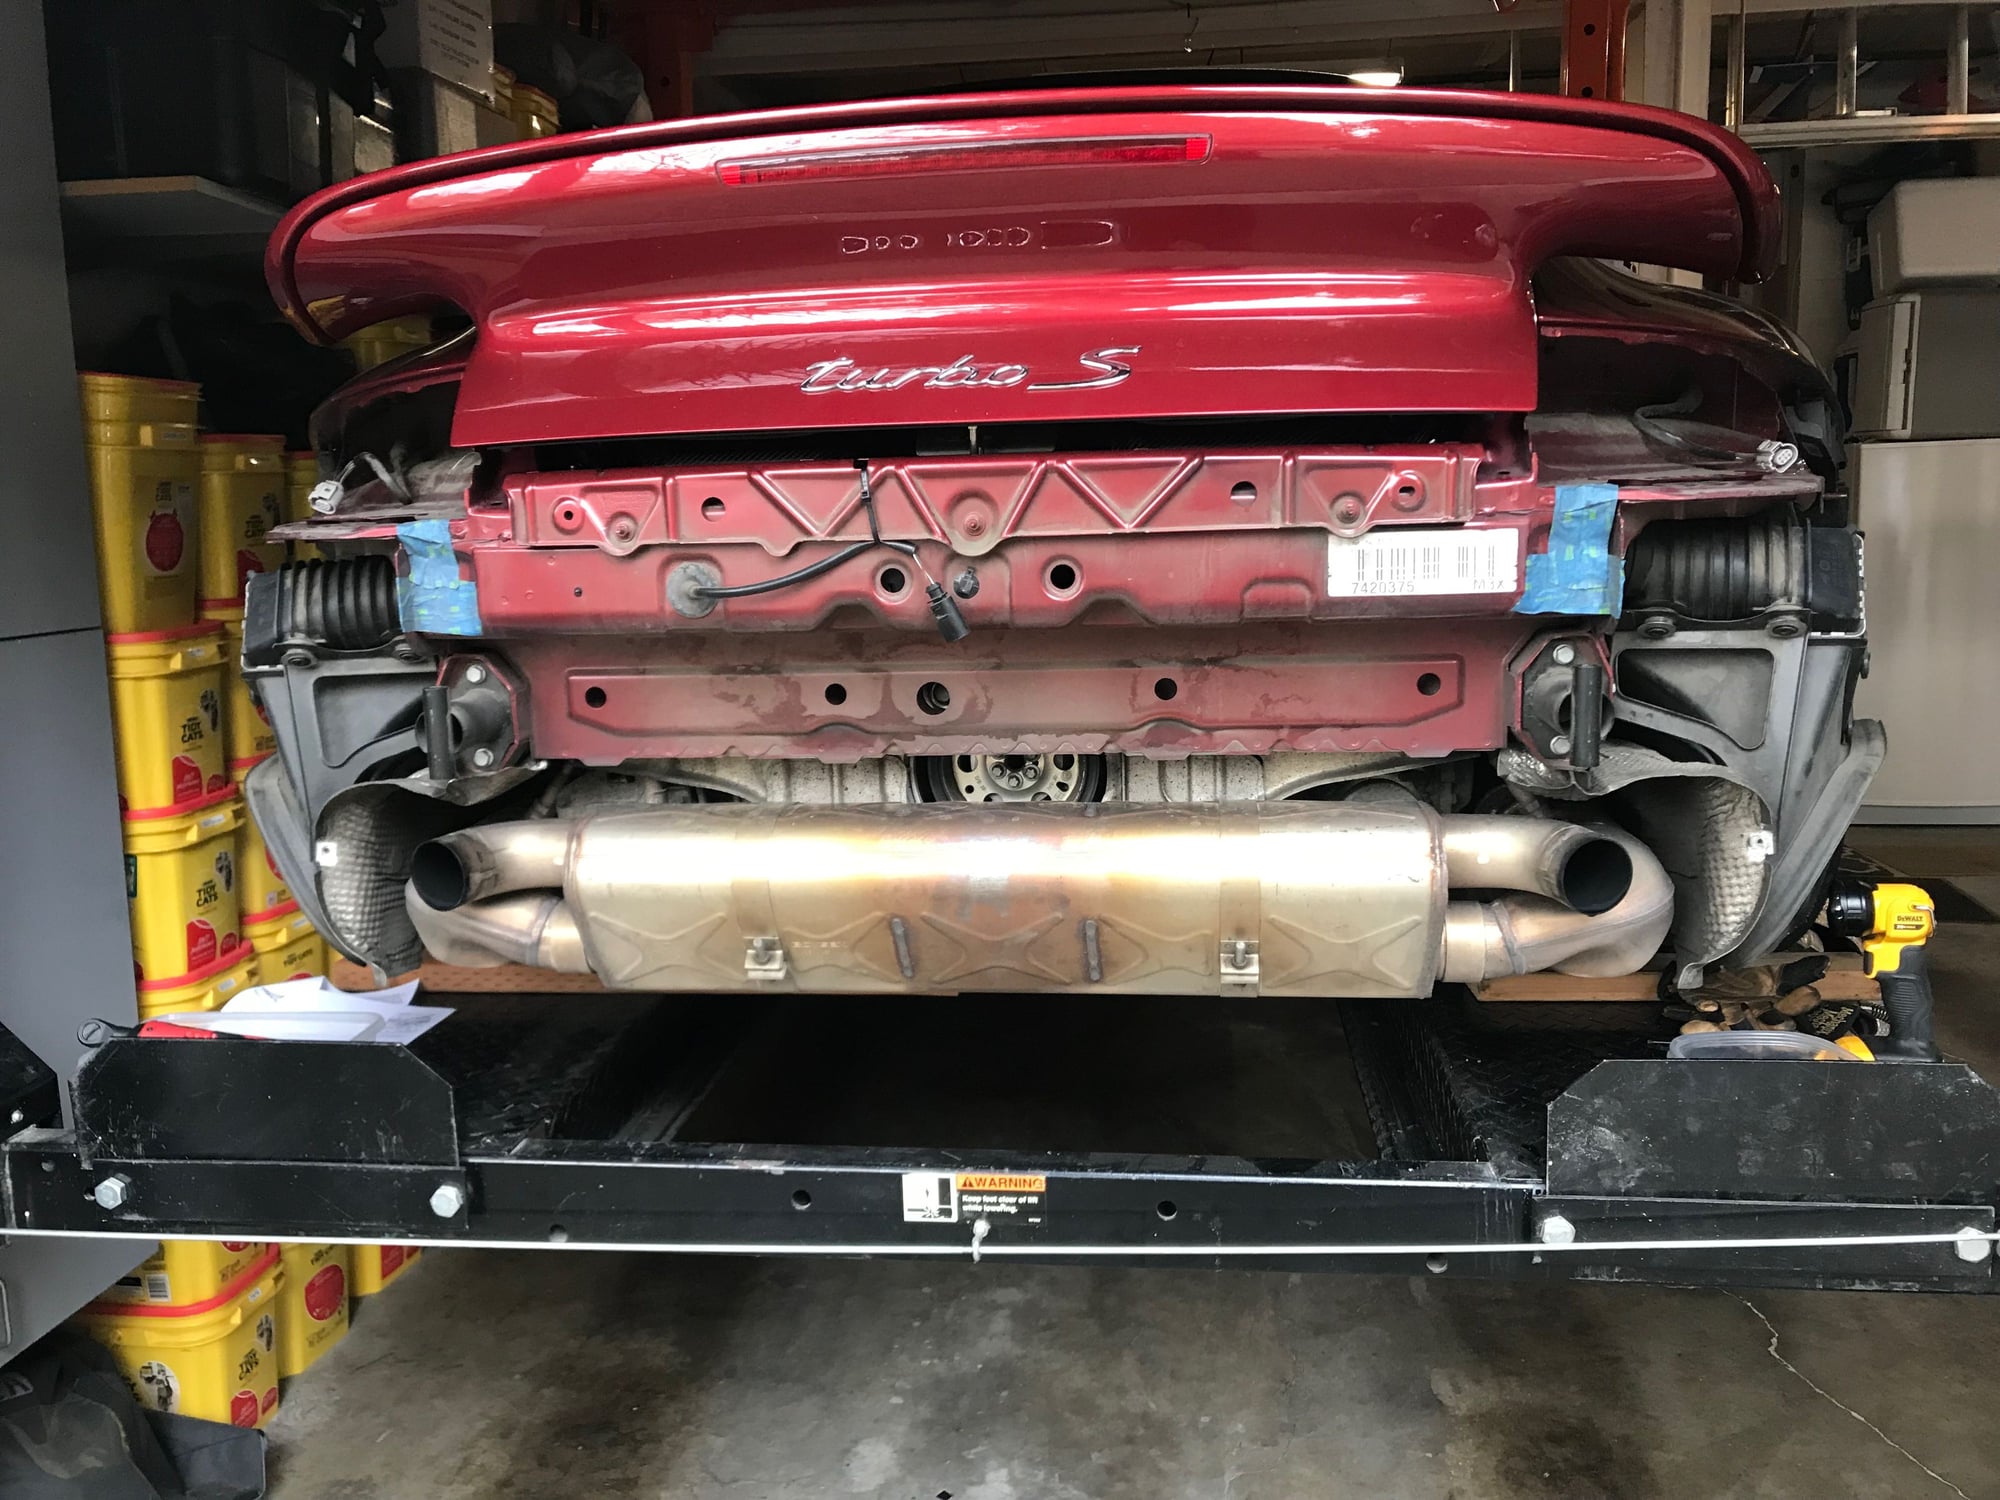
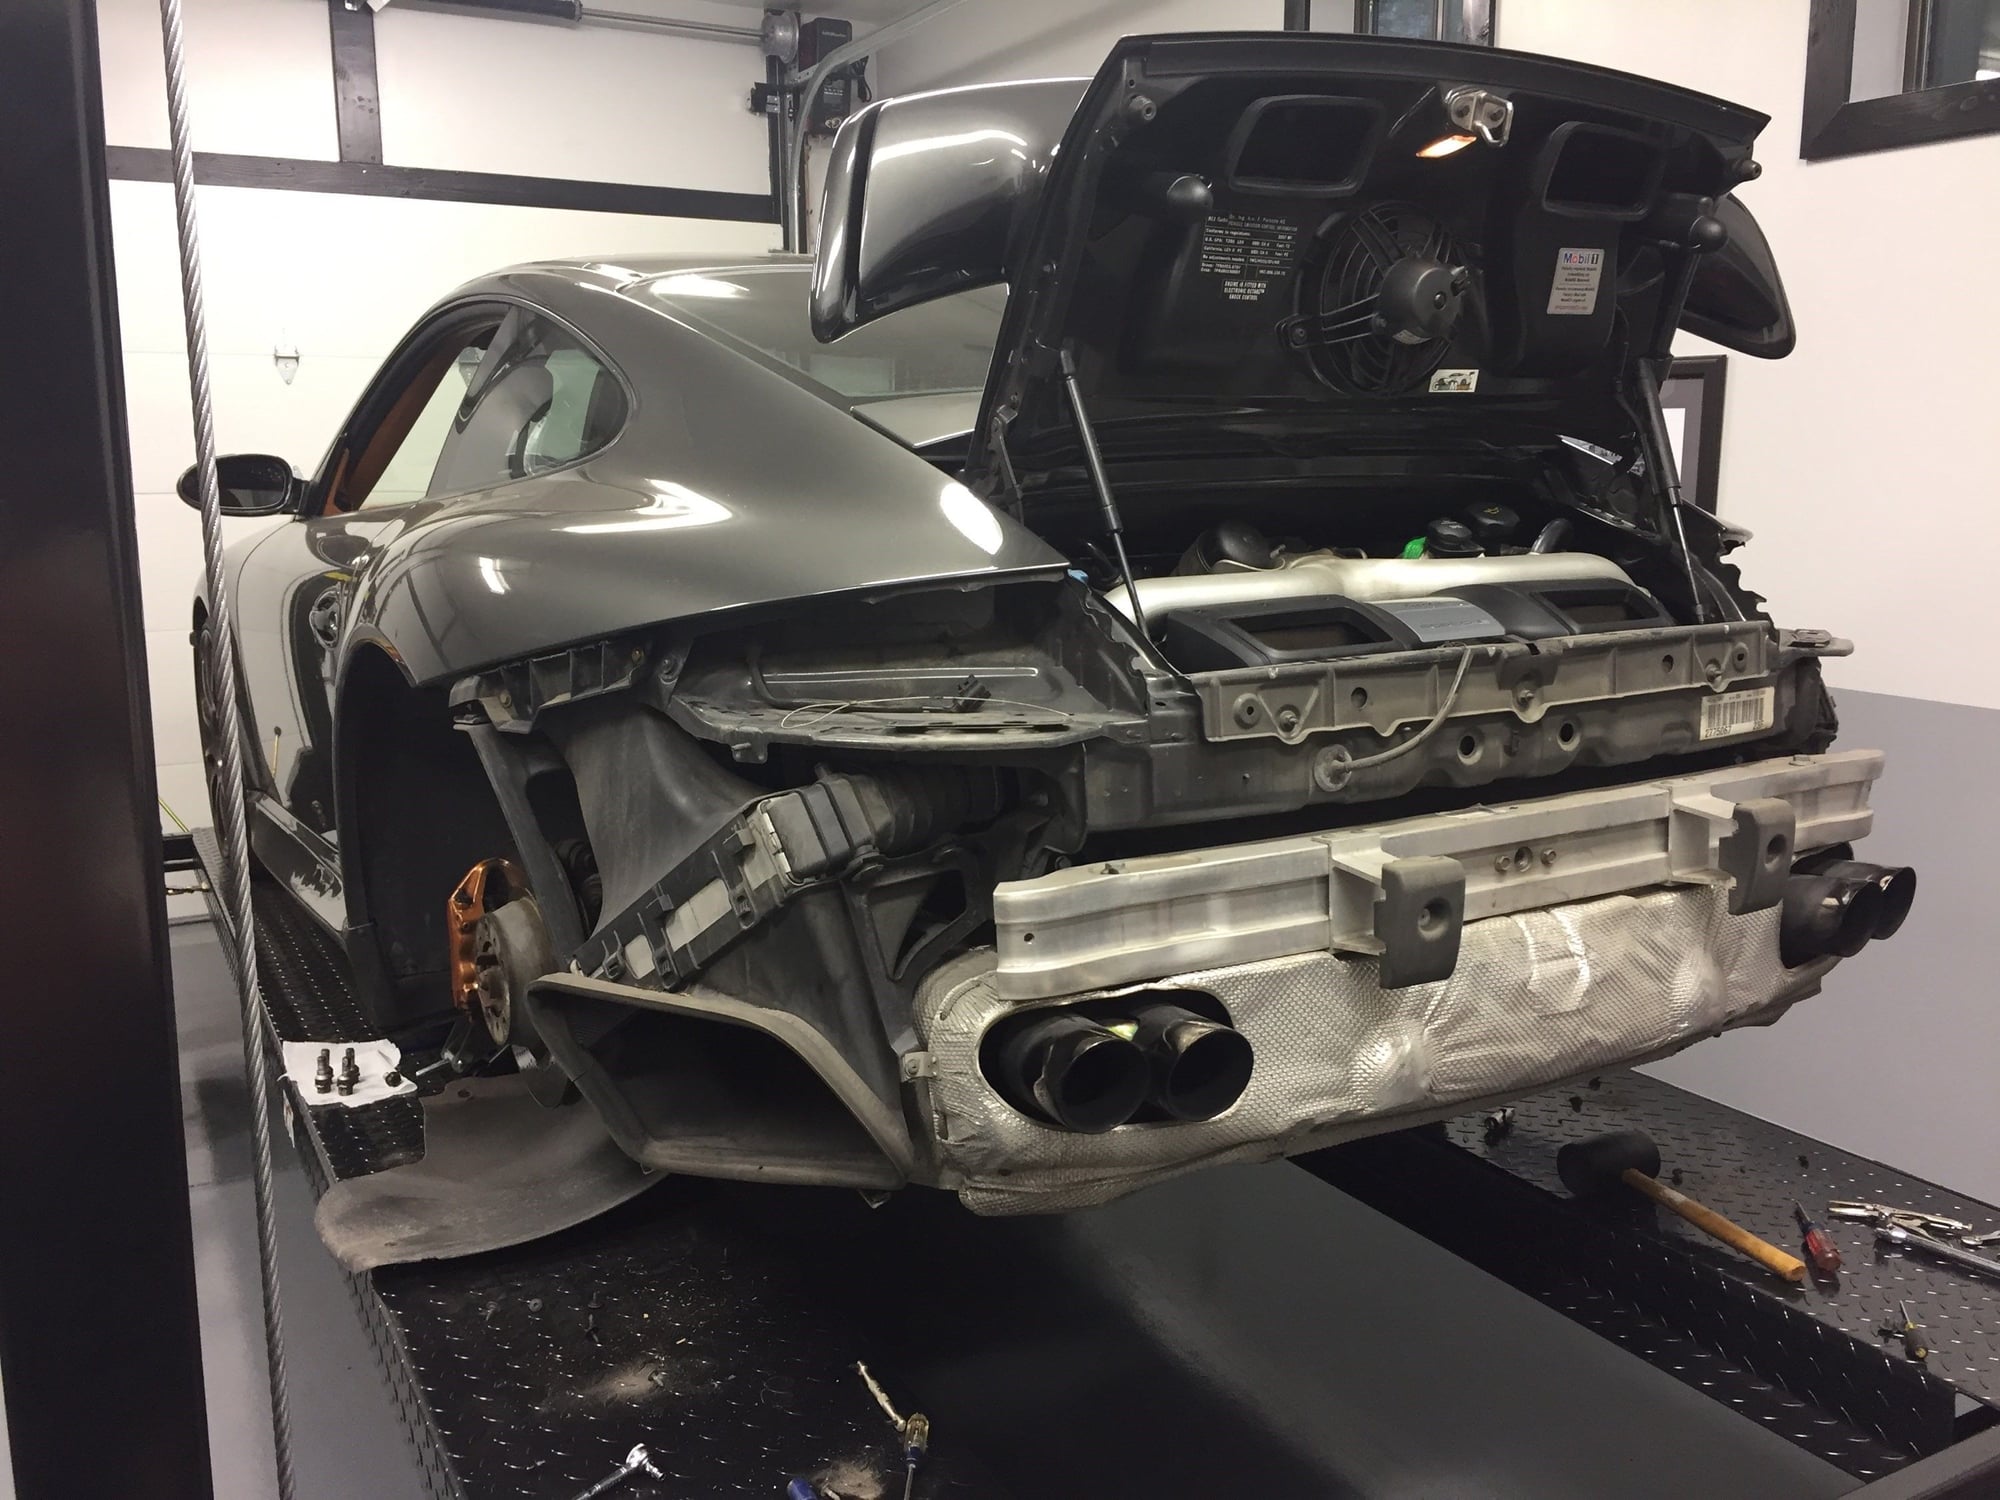
The rear bumper has to come off and its even easier if you remove the rear heat shield rather than bending it. Without the bumper off, there is insufficient horizontal free play to pull the either the cats off the turbos, or the exhaust off the cats. Further, depending on your tips, you may need to slide the tip/pipe to the side and off the center muffler or X-pipe. This requires removing the bumper, and bending (removing) of the heat shield at minimum. If you have stock tips they will simple pull straight out the back bumper. Here is a very good tutorial on rear bumper removal by another member, The Rock. https://drive.google.com/file/d/0ByZ...s0YVRtRjA/view
The rear bumper has to come off and its even easier if you remove the rear heat shield rather than bending it. Without the bumper off, there is insufficient horizontal free play to pull the either the cats off the turbos, or the exhaust off the cats. Further, depending on your tips, you may need to slide the tip/pipe to the side and off the center muffler or X-pipe. This requires removing the bumper, and bending (removing) of the heat shield at minimum. If you have stock tips they will simple pull straight out the back bumper. Here is a very good tutorial on rear bumper removal by another member, The Rock. https://drive.google.com/file/d/0ByZ...s0YVRtRjA/view
Thank you very much for the response. I was hoping that the OEM system would come apart in such a way that I could get to all of it with a floor jack as my lift has become a storage platform for a lot of 'stuff' I didn't want to temporarily relocate. But, yesterday I spent a couple of hours rearranging the garage so I could use the lift and move ahead on this project. I also want to explore the front and rear drives to see where the drain and refill points are for future oil changes.
After removing the rear-rear fender liners, tail lights and bumper cover I pulled off the bumper and center heat shield. Now I'm to the point that it looks like the cats need to be released to get the oem system out so it can be disassembled. The factory process WM260119 for removing the exhaust says that the prelim work is to remove the rear apron, charge air coolers, heat shields for the turbos and the bumper and heat shield. Were you able to get to everything without removing the coolers? [nice lift] Thanks again.
rear-rear fender liner removed. jack up the car to give yourself space between the tire and liner to remove the screws holding the liner. remove tail lights. Remove bumper cover which requires removal of several screws and one electrical connector to the license plate light. Remove the bumper and heat shield (2 screws and 2 bolts). Nothing difficult yet. Need to get access to the fasteners holding the exhaust system together. That's todays project
Yes, nice lift ;-) No need to yank the intercoolers. They are moot for the exhaust swap. Leave the cats connected to the turbos unless your are swapping for 100 or 200 cell units. Once you undo the both sides from the cats, undo the two center muffler straps, pull toward the back to release from the cats and the system will rotate down and out. Reverse to install the X-pipe.
Yes, nice lift ;-) No need to yank the intercoolers. They are moot for the exhaust swap. Leave the cats connected to the turbos unless your are swapping for 100 or 200 cell units. Once you undo the both sides from the cats, undo the two center muffler straps, pull toward the back to release from the cats and the system will rotate down and out. Reverse to install the X-pipe.
Its possible that I do not have a OEM system. The previous owner had a system on the car that was replaced by the dealer that sold me the car. However, looking at the Porsche Parts diagram it looks like mine. With the catalytic converters still attached to the turbos, I don't see how it is possible to remove the muffler. The piping that is welded into the cats fully engages the muffler on both end by at least 1" on both ends. The total side movement possible is about 3/8". I think I need to at least loosen one set of cat nuts and remove the opposite side cat nuts completely so I can get the muffler out of the system. Also, one of the 4 turbo holding nuts is not easy to access so I need to work through that as well. This is my catalytic converter. I assume it is stock? 3 of the 4 nuts are accessible without a lot of creativity. The one at about the 2pm position will be a challenge unless i take off more parts. RH cat piping inserted into muffler at least 1". See at top of pipe there is about 3/8" the muffler could slide sideways LH end of muffler similar to RH end. Not enough side movement possible to drop one end of the muffler to remove.
I believe you can do it by just removing one cat and slipping in. As mentioned, the passenger side is the easier one. IC's definitely do not have to come off. Just be careful to not strain the 02 sensor wires in the process!
I believe you can do it by just removing one cat and slipping in. As mentioned, the passenger side is the easier one. IC's definitely do not have to come off. Just be careful to not strain the 02 sensor wires in the process!
Got the 4 nuts removed from the Passenger side turbo yesterday using only a 12mm ratchet wrench. The upper right quadrant nut by the heat shield that I though would be a problem was not a problem and the ratchet wrench removed it easily. They were pretty snug though. The lower left nut did not come off the stud and the stud unscrewed from the turbo flange.
 01-06-2019, 08:13 AM


 Thanks again.