When you click on links to various merchants on this site and make a purchase, this can result in this site earning a commission. Affiliate programs and affiliations include, but are not limited to, the eBay Partner Network.
In process of doing my spark plugs I ran into a snag from the last time someone had been in there. Whoever or whatever shop was in there had no business doing spark plugs what so ever. It was clear that they came from VW/Audi experience with trying to use a screw driver to free the plug off the coil. There were tons of scrape marks.
Here are some tricks to do the connectors and part numbers needed in order to fix.
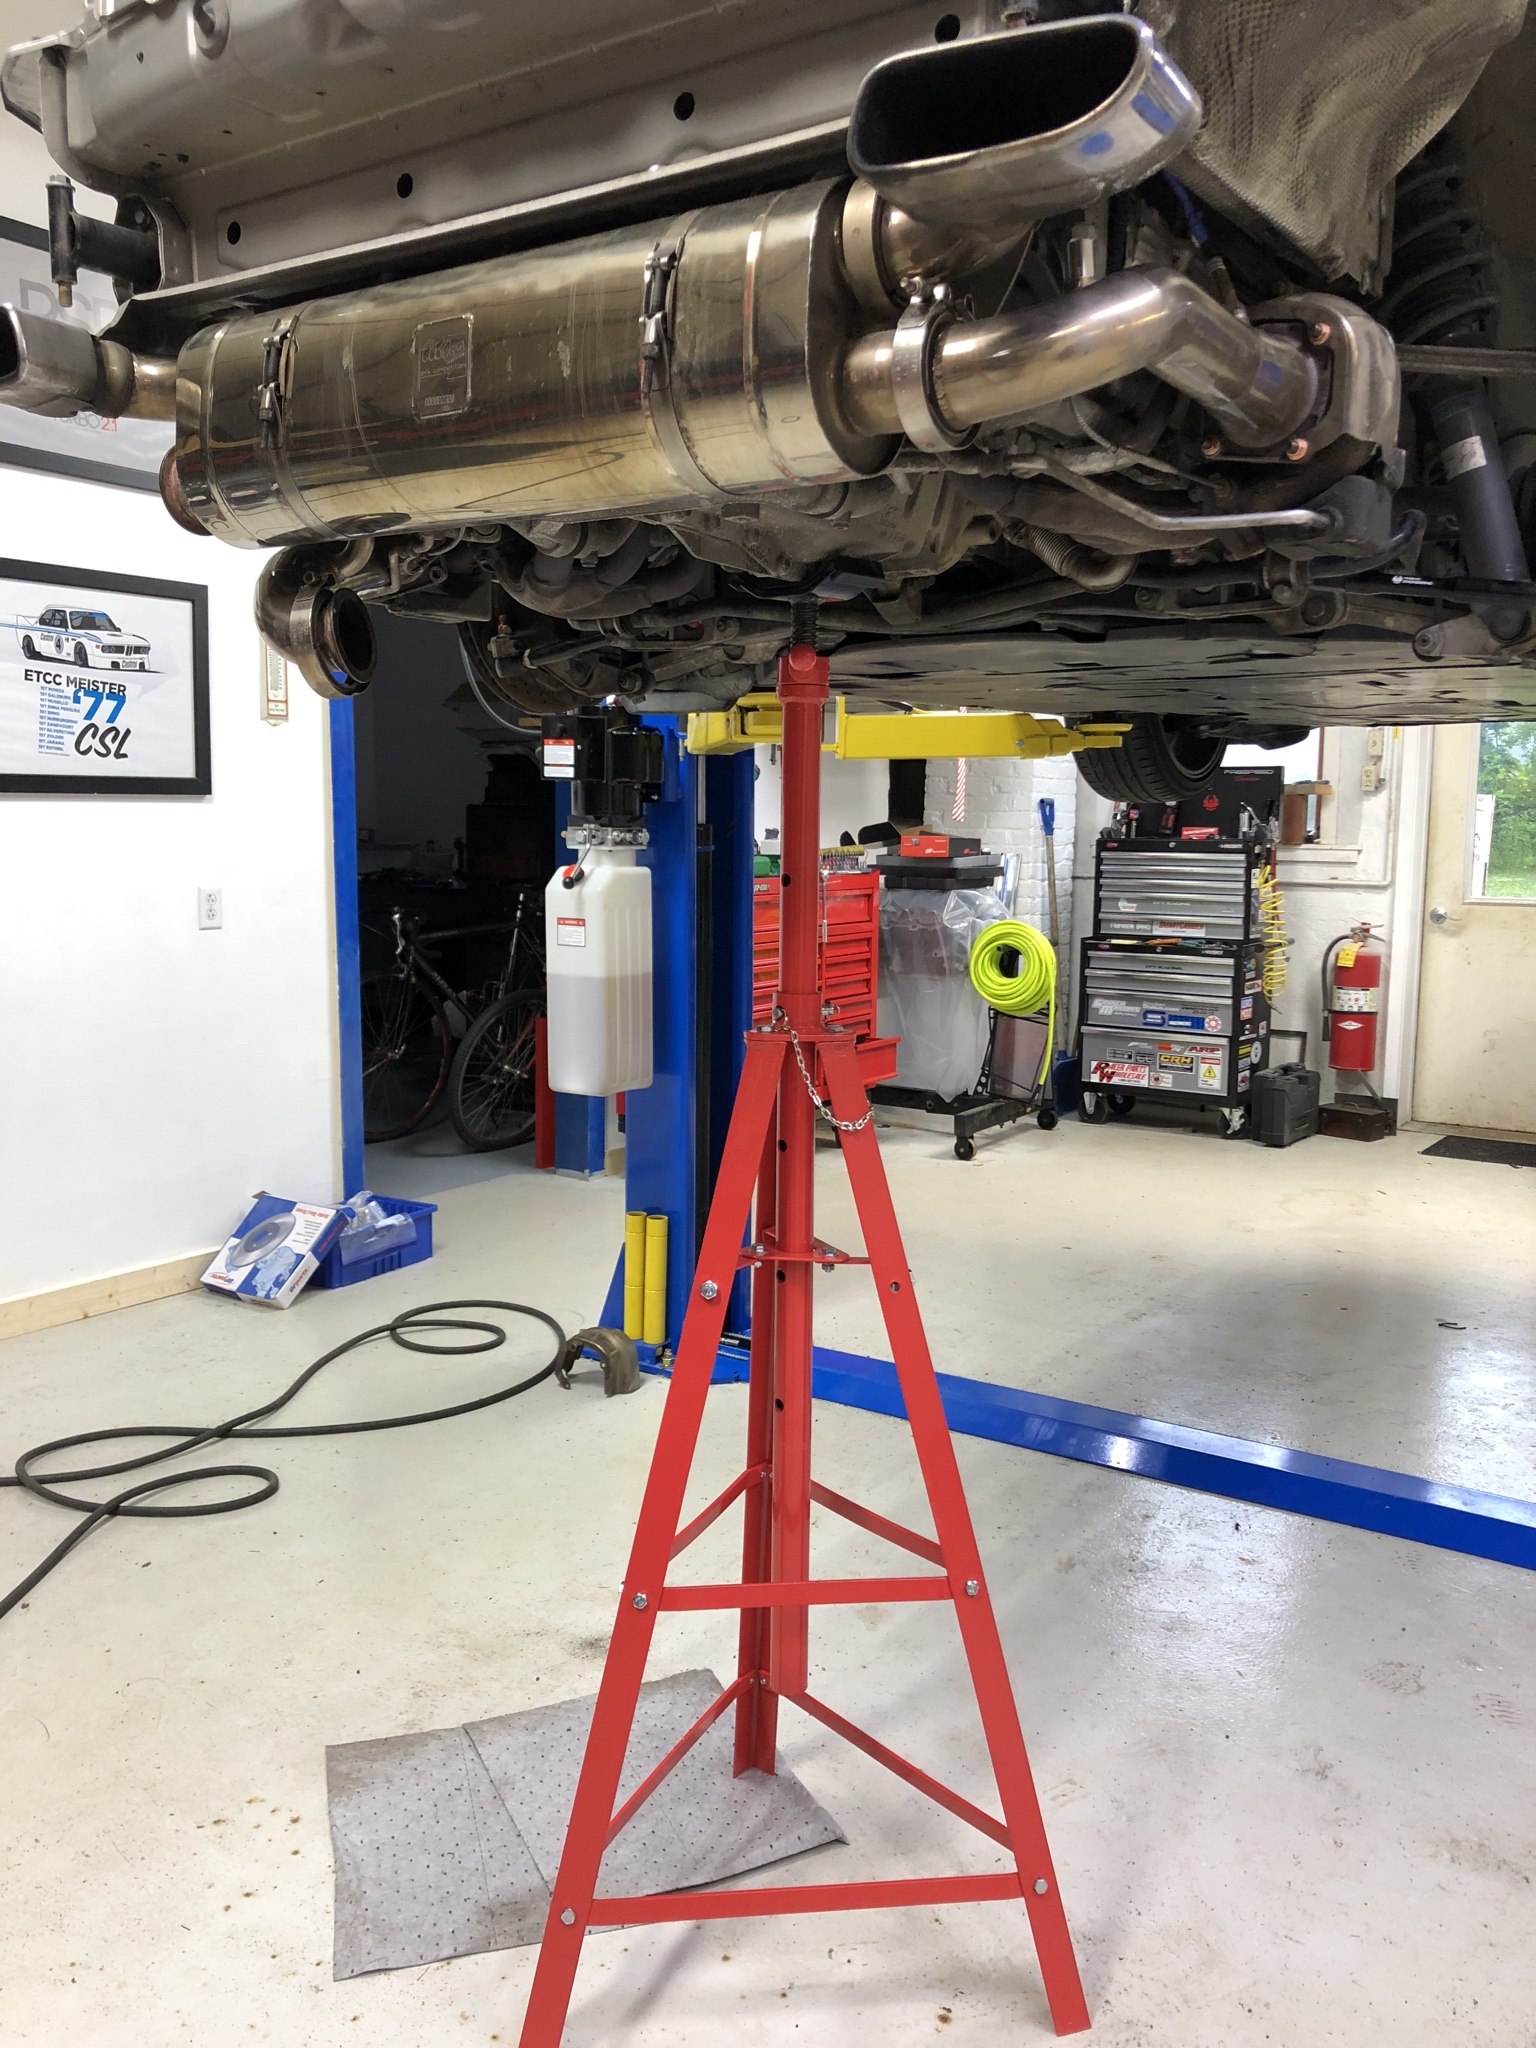
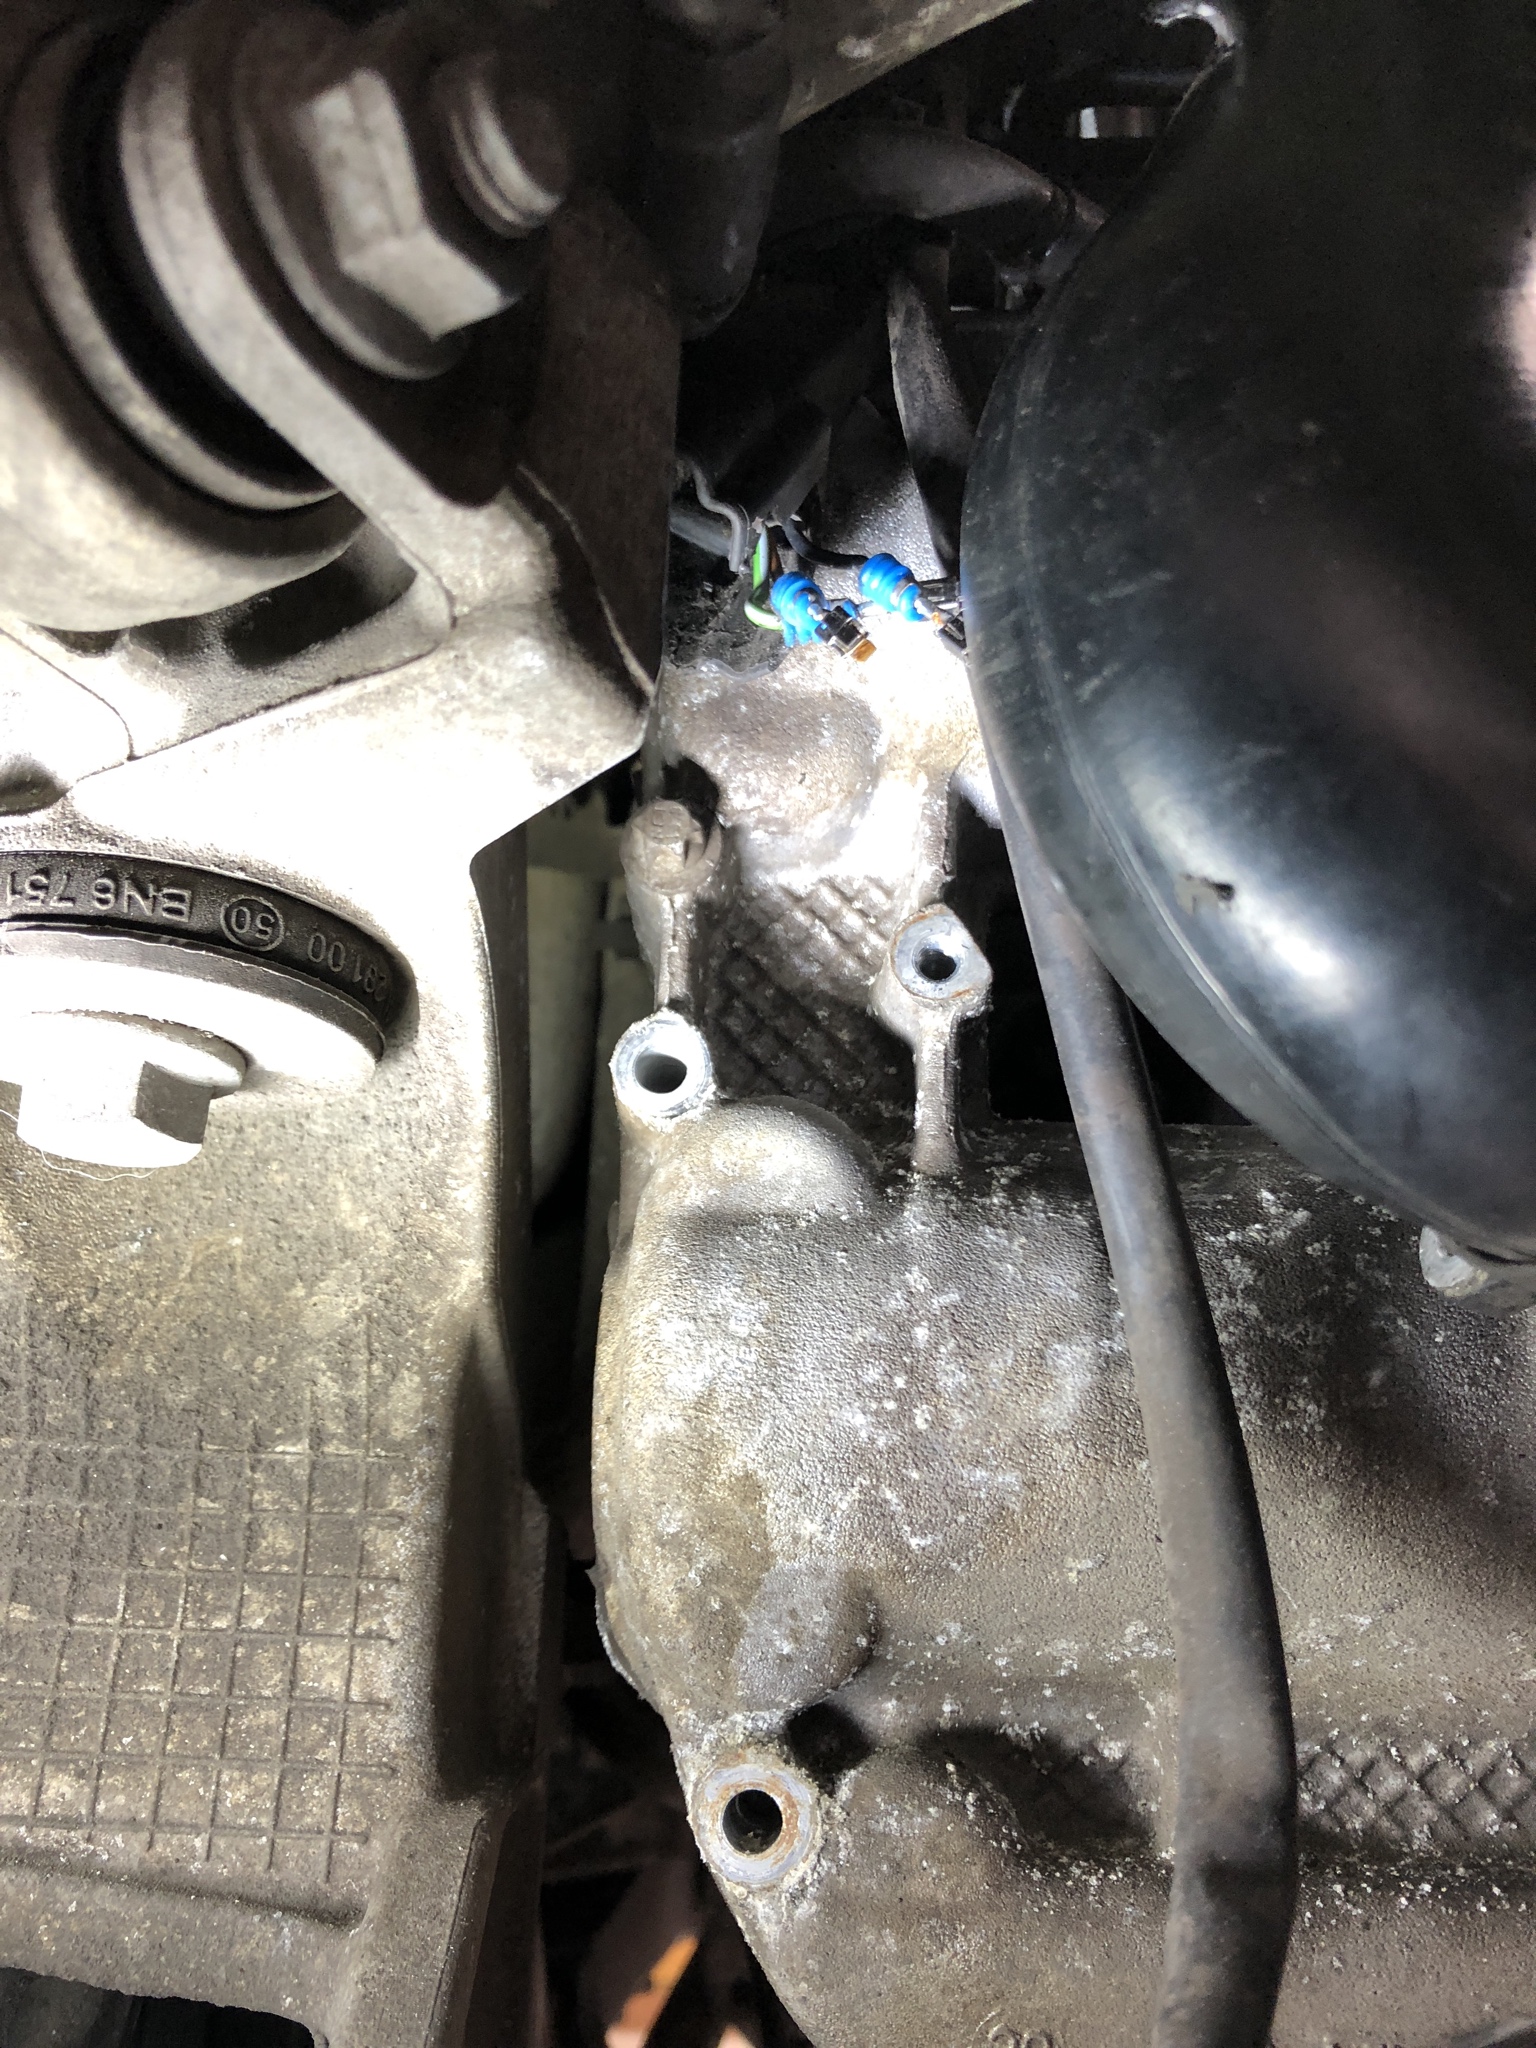
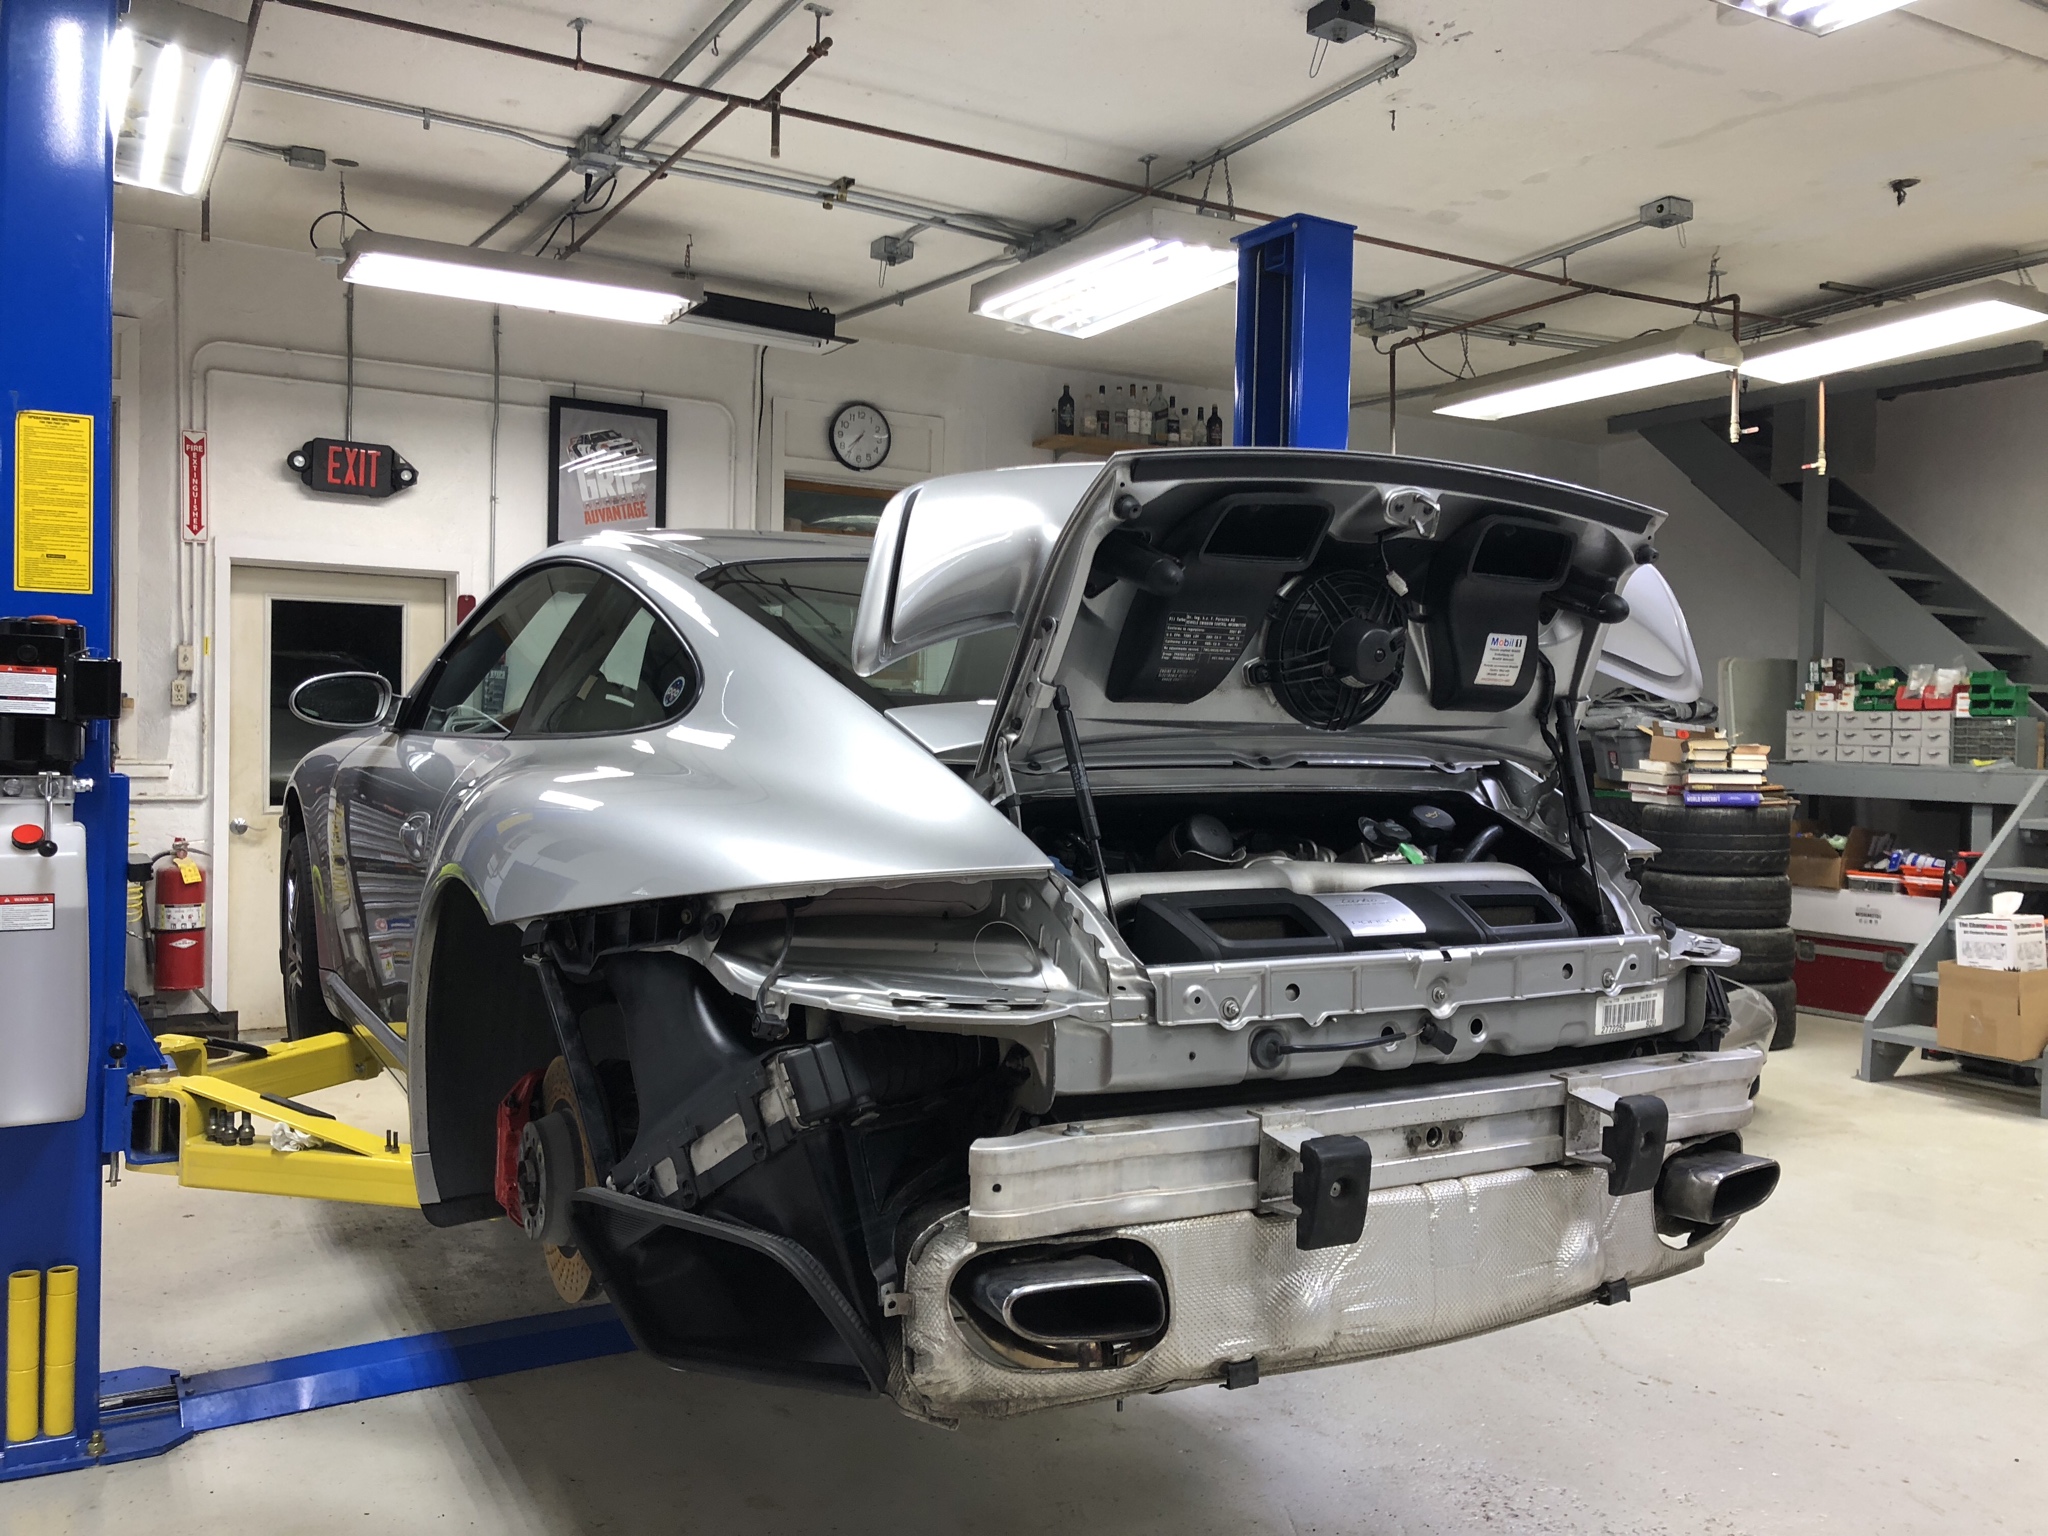
First up was to pick up a support stand to be able to lower the motor to gain a few precious inches of clearance to be able to move the inlet ducts out of the way. Of course the wonderful paint on this support was in all the threads which required some chasing with a tap.
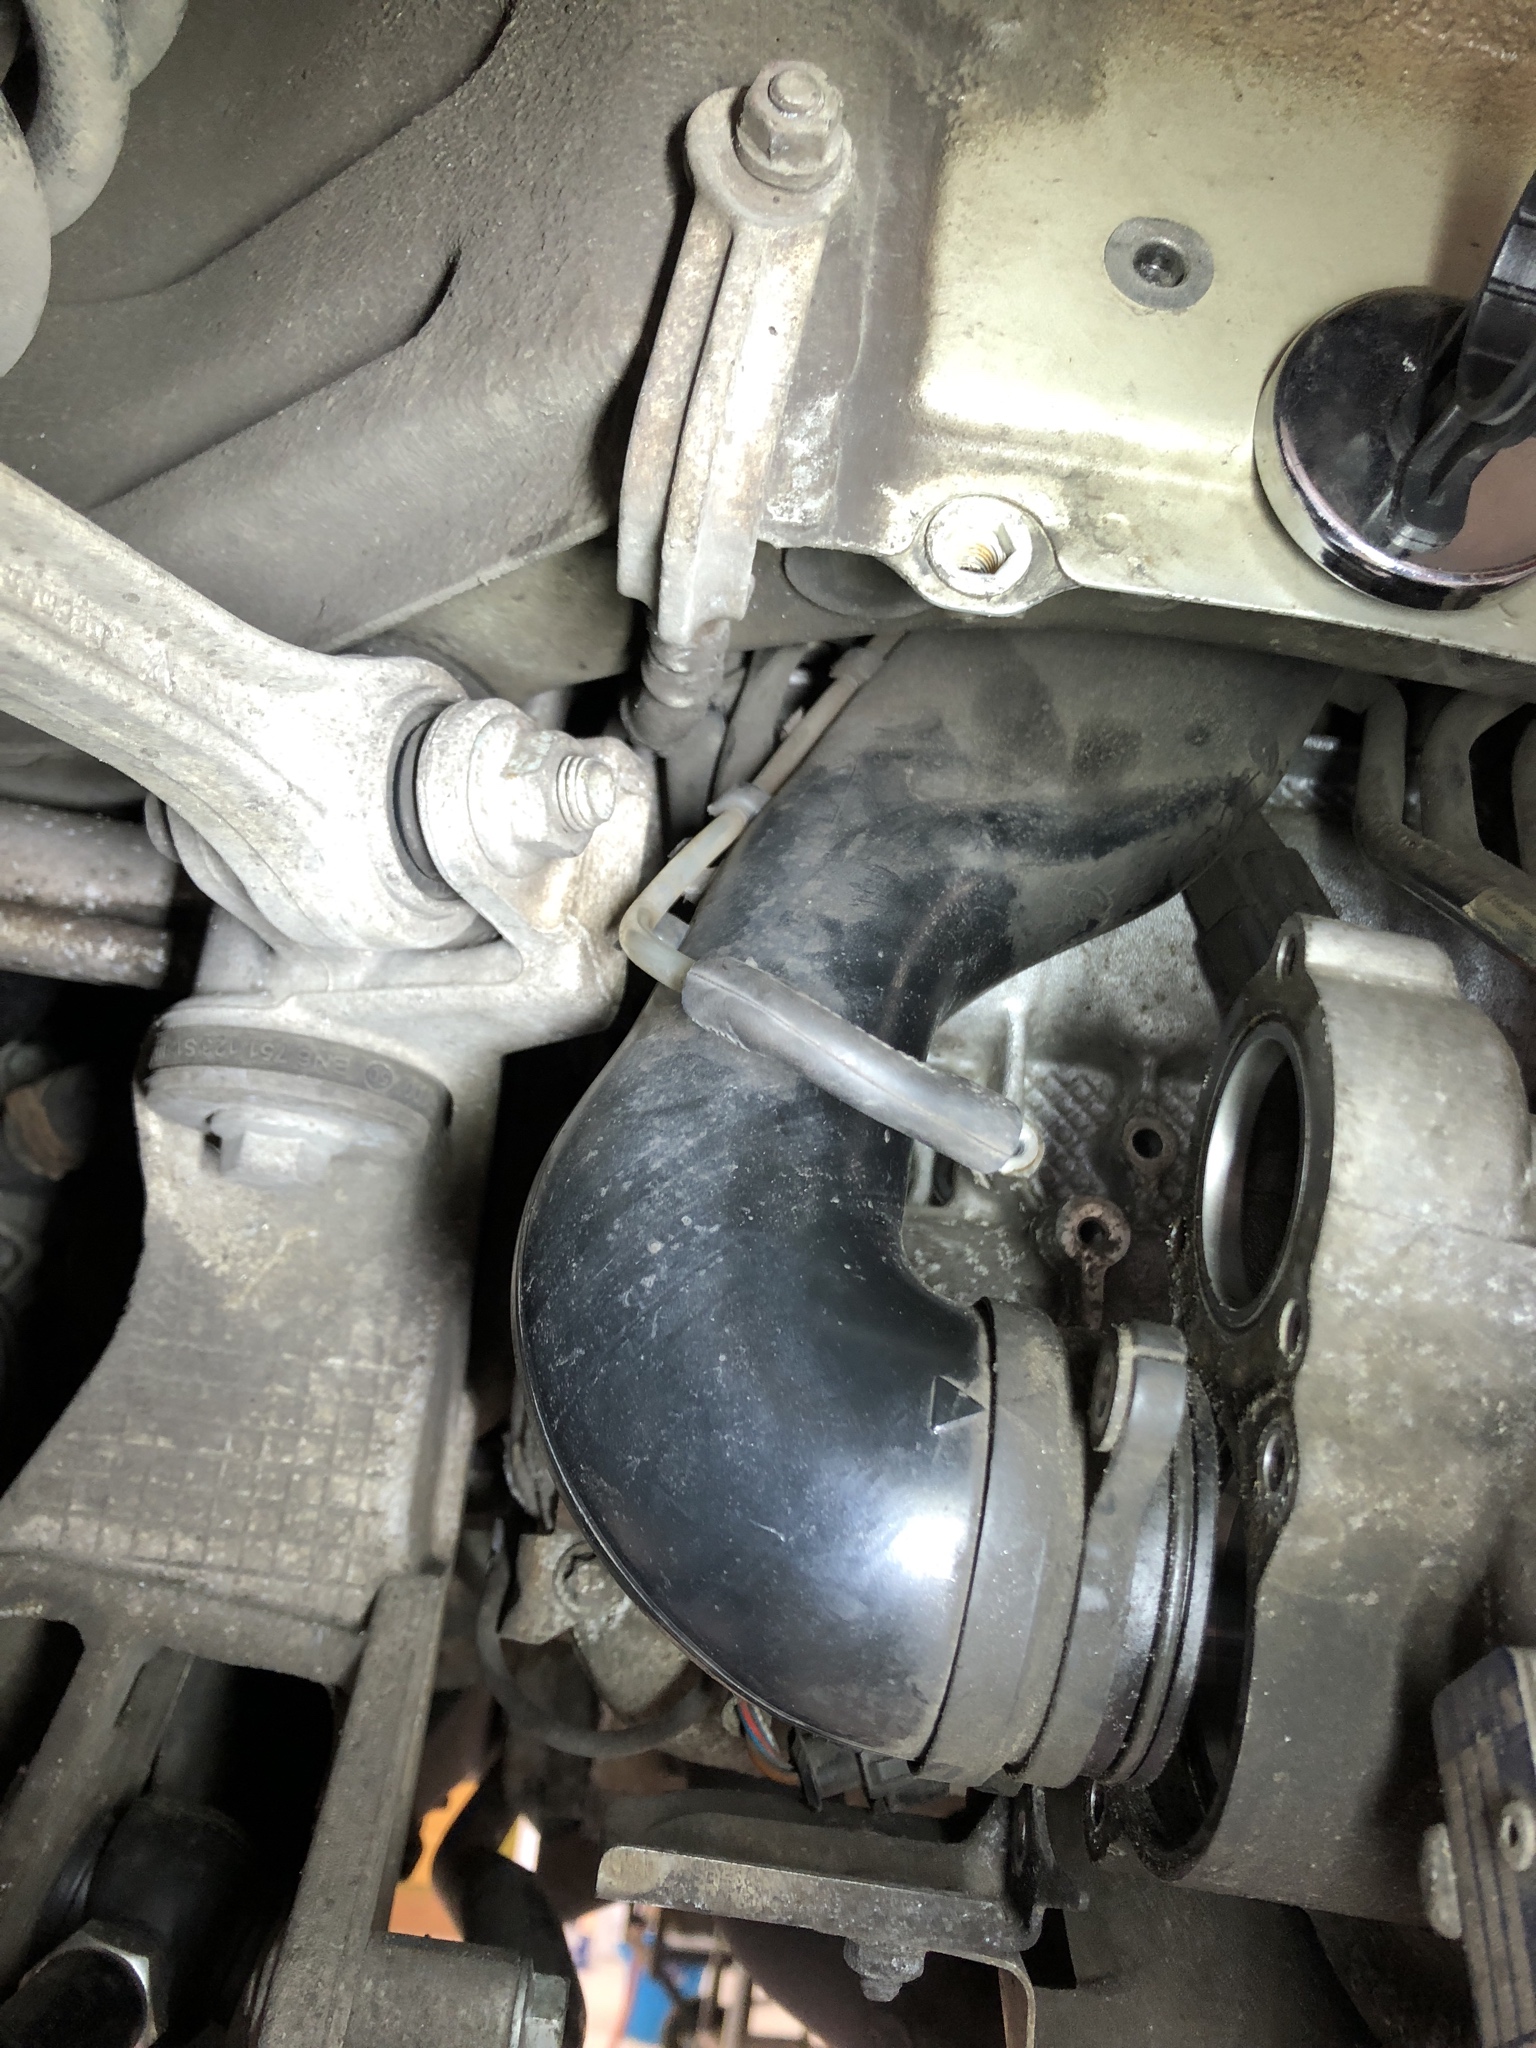
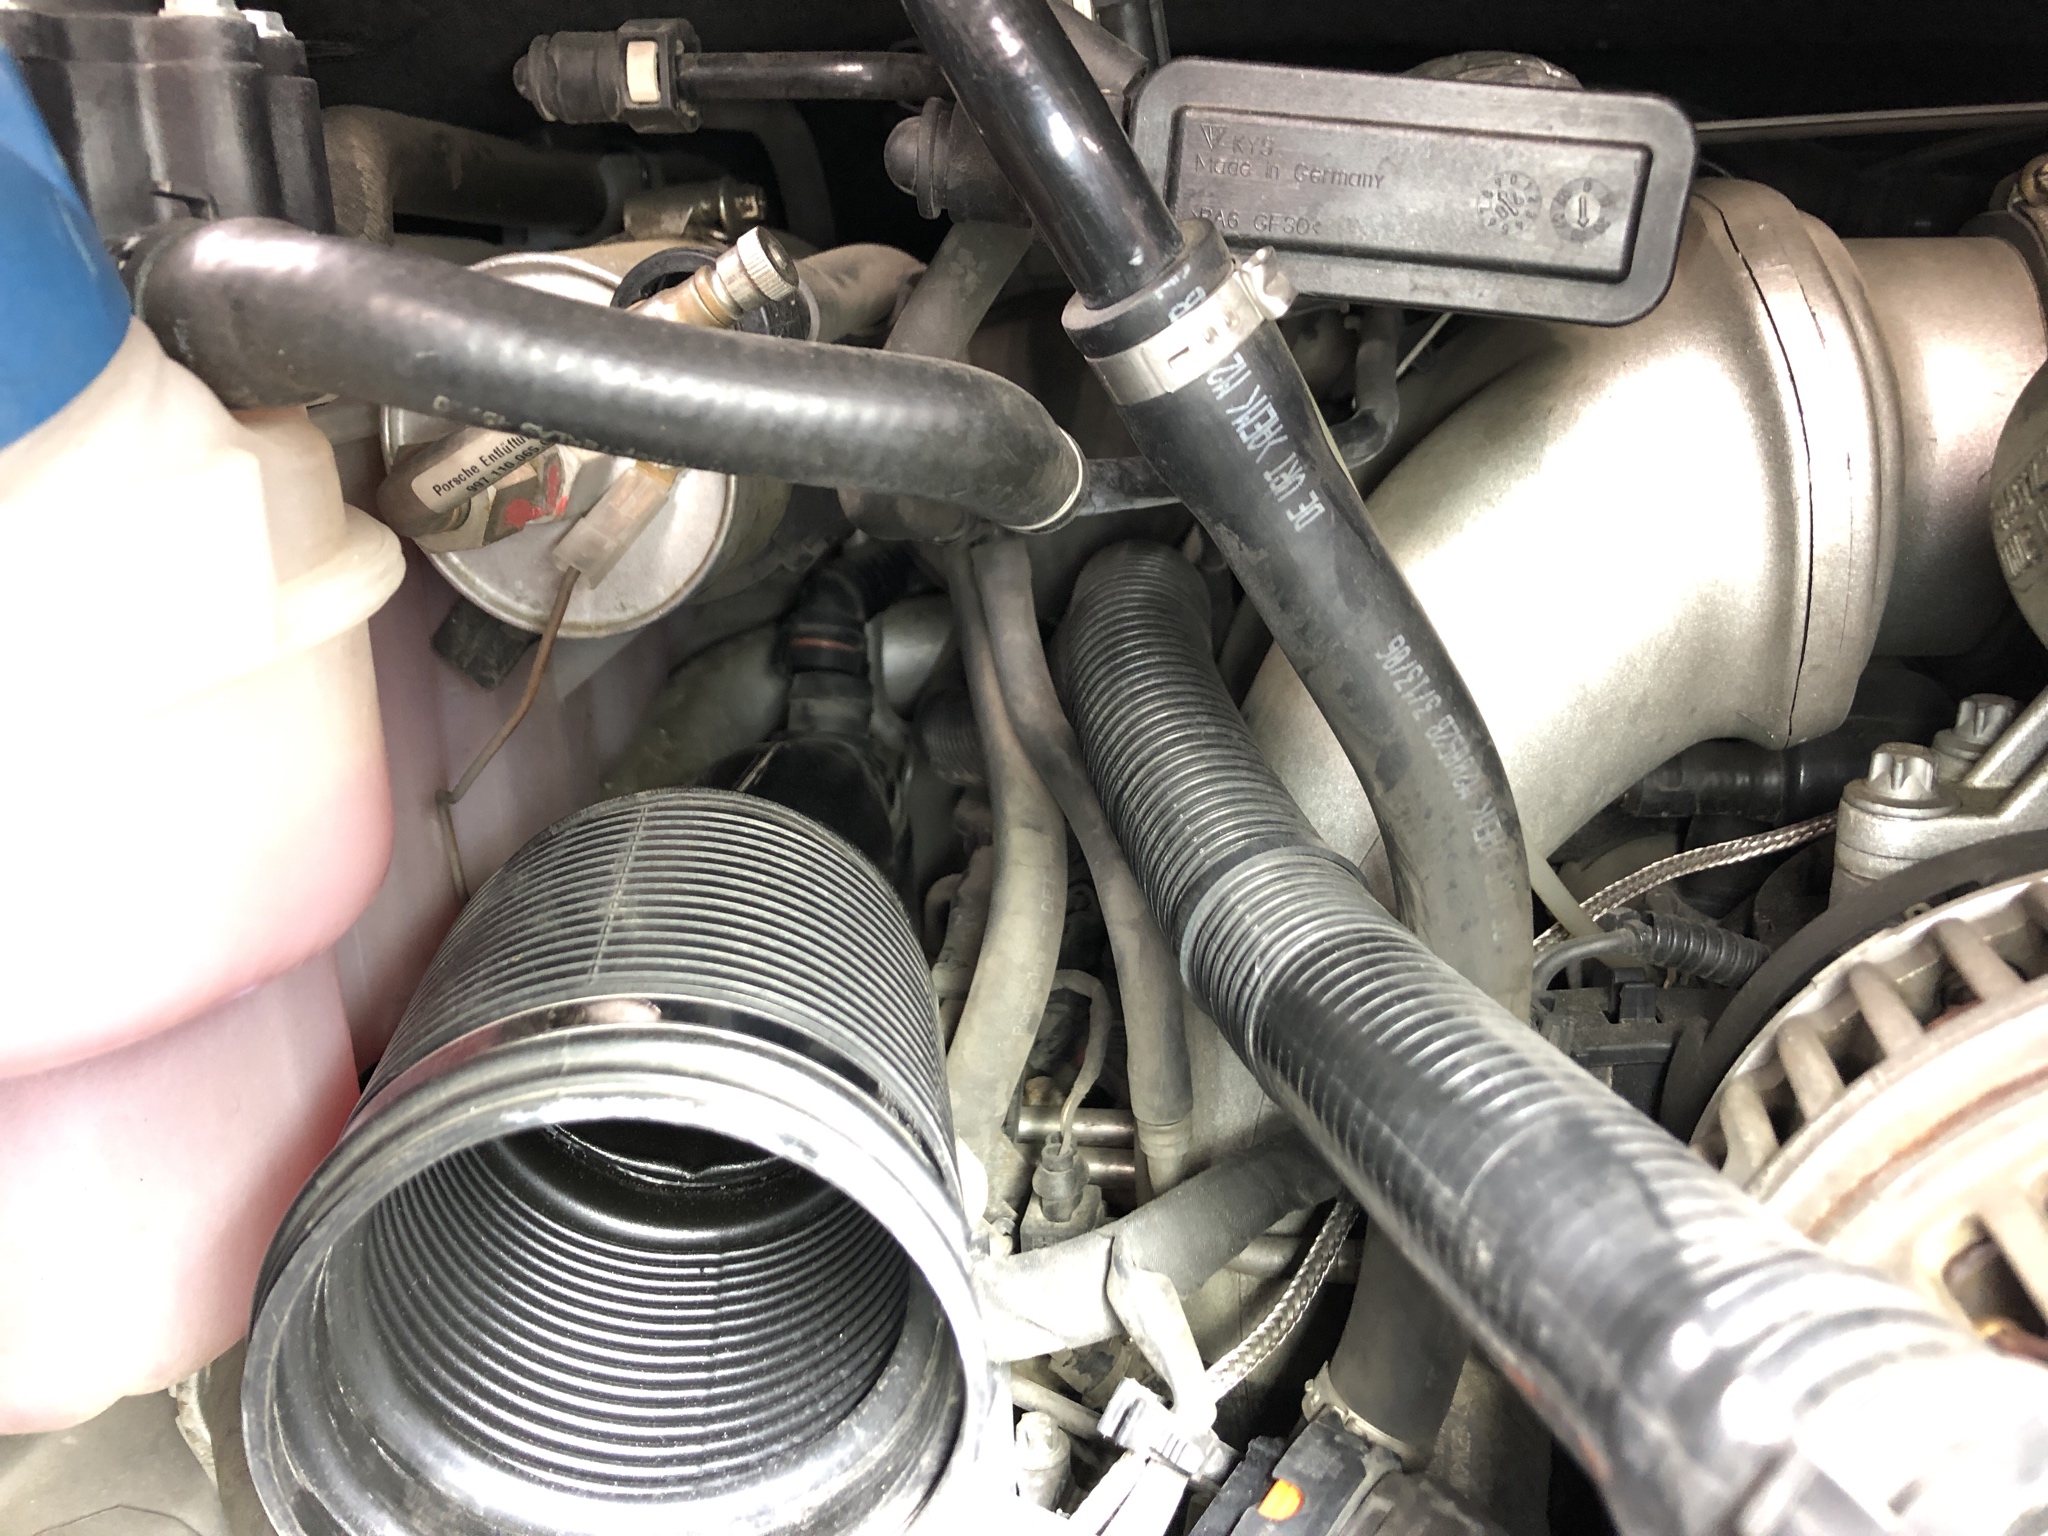
First thing was to disconnect the vacuum line off the inlet pipe and then the secondary air pump fitting
With the extra space you can just reach the fitting to pop it off the inlet pipe way down in the back, granted I did this on a ladder, one handed while half way hanging off the ladder....
Ah yes so much room!
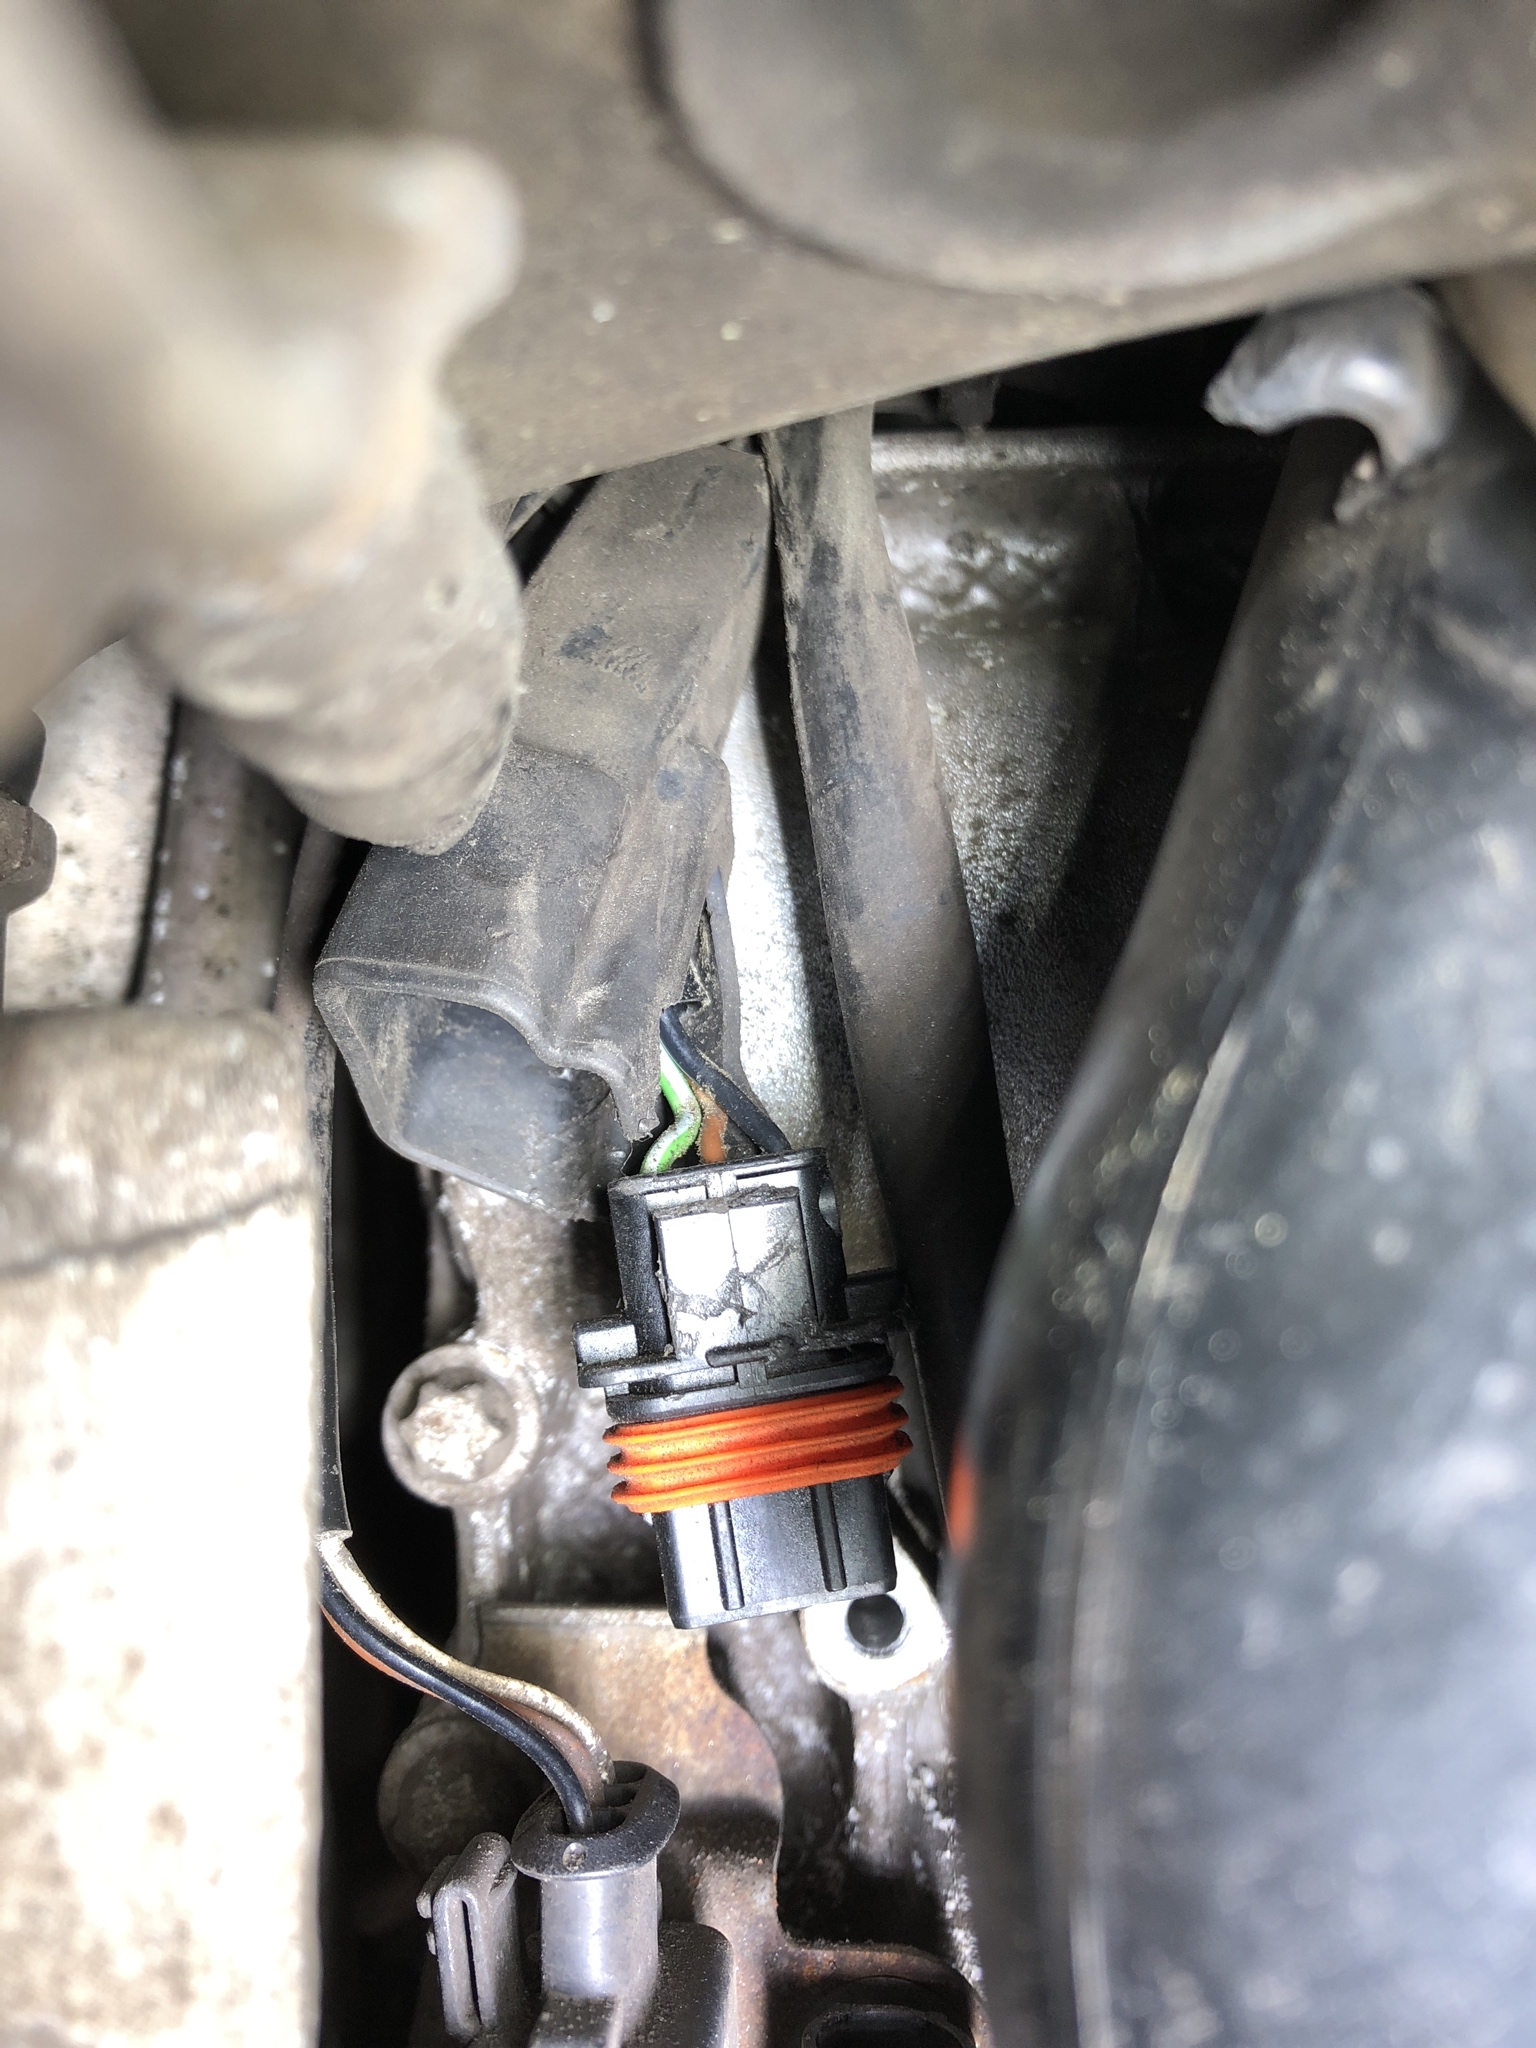
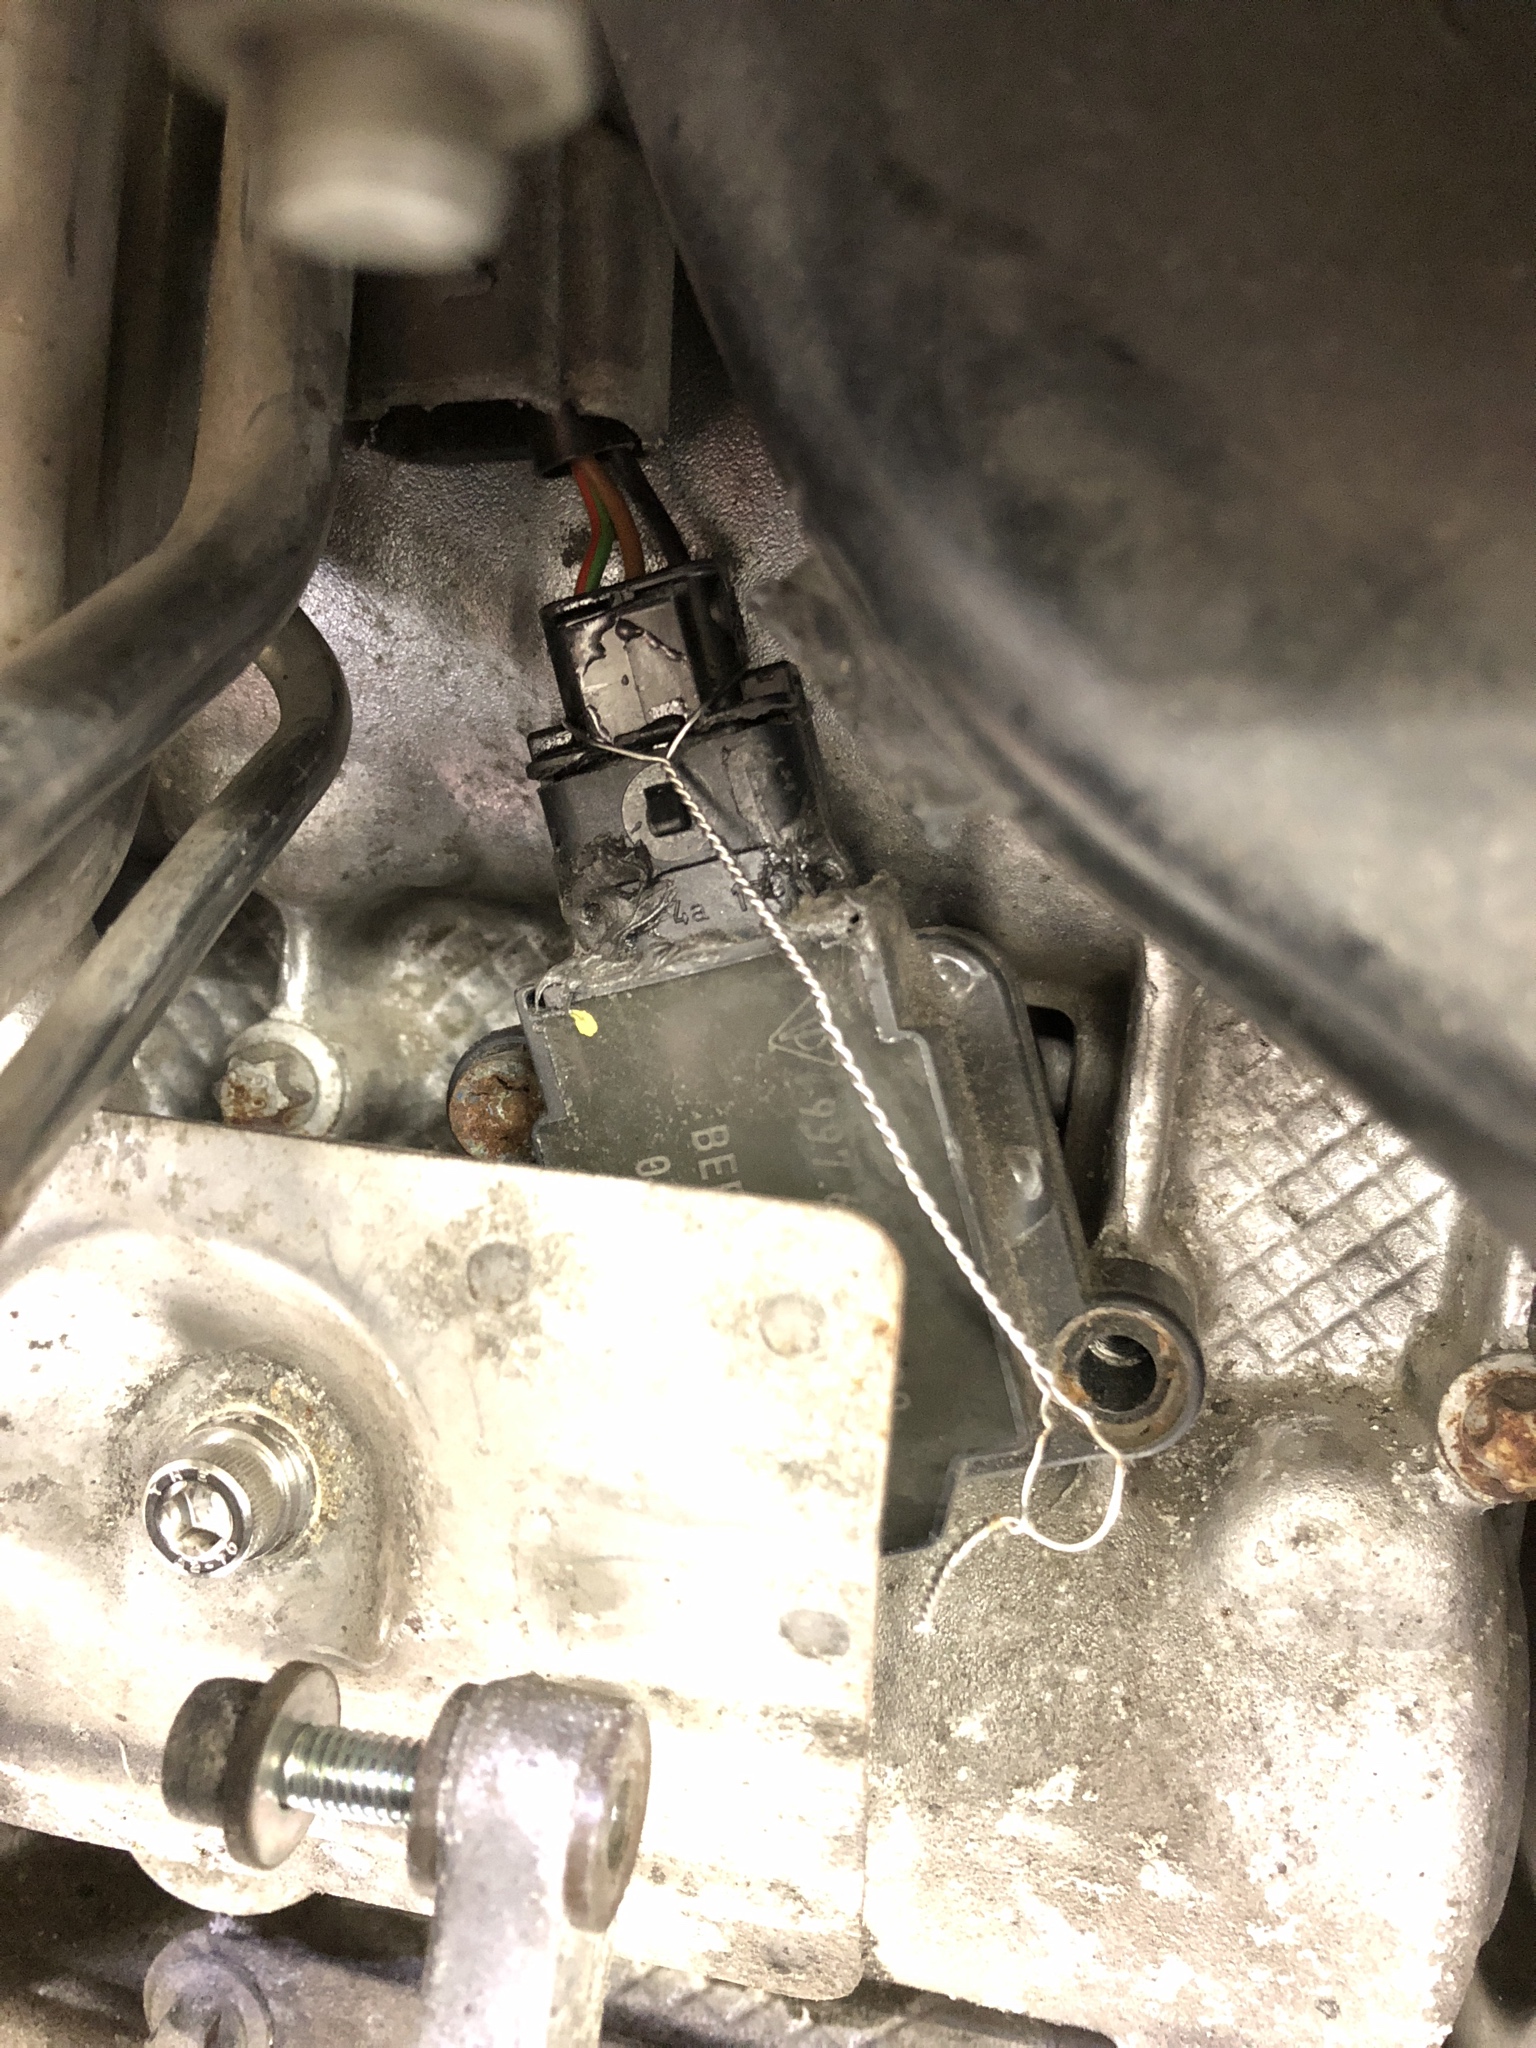
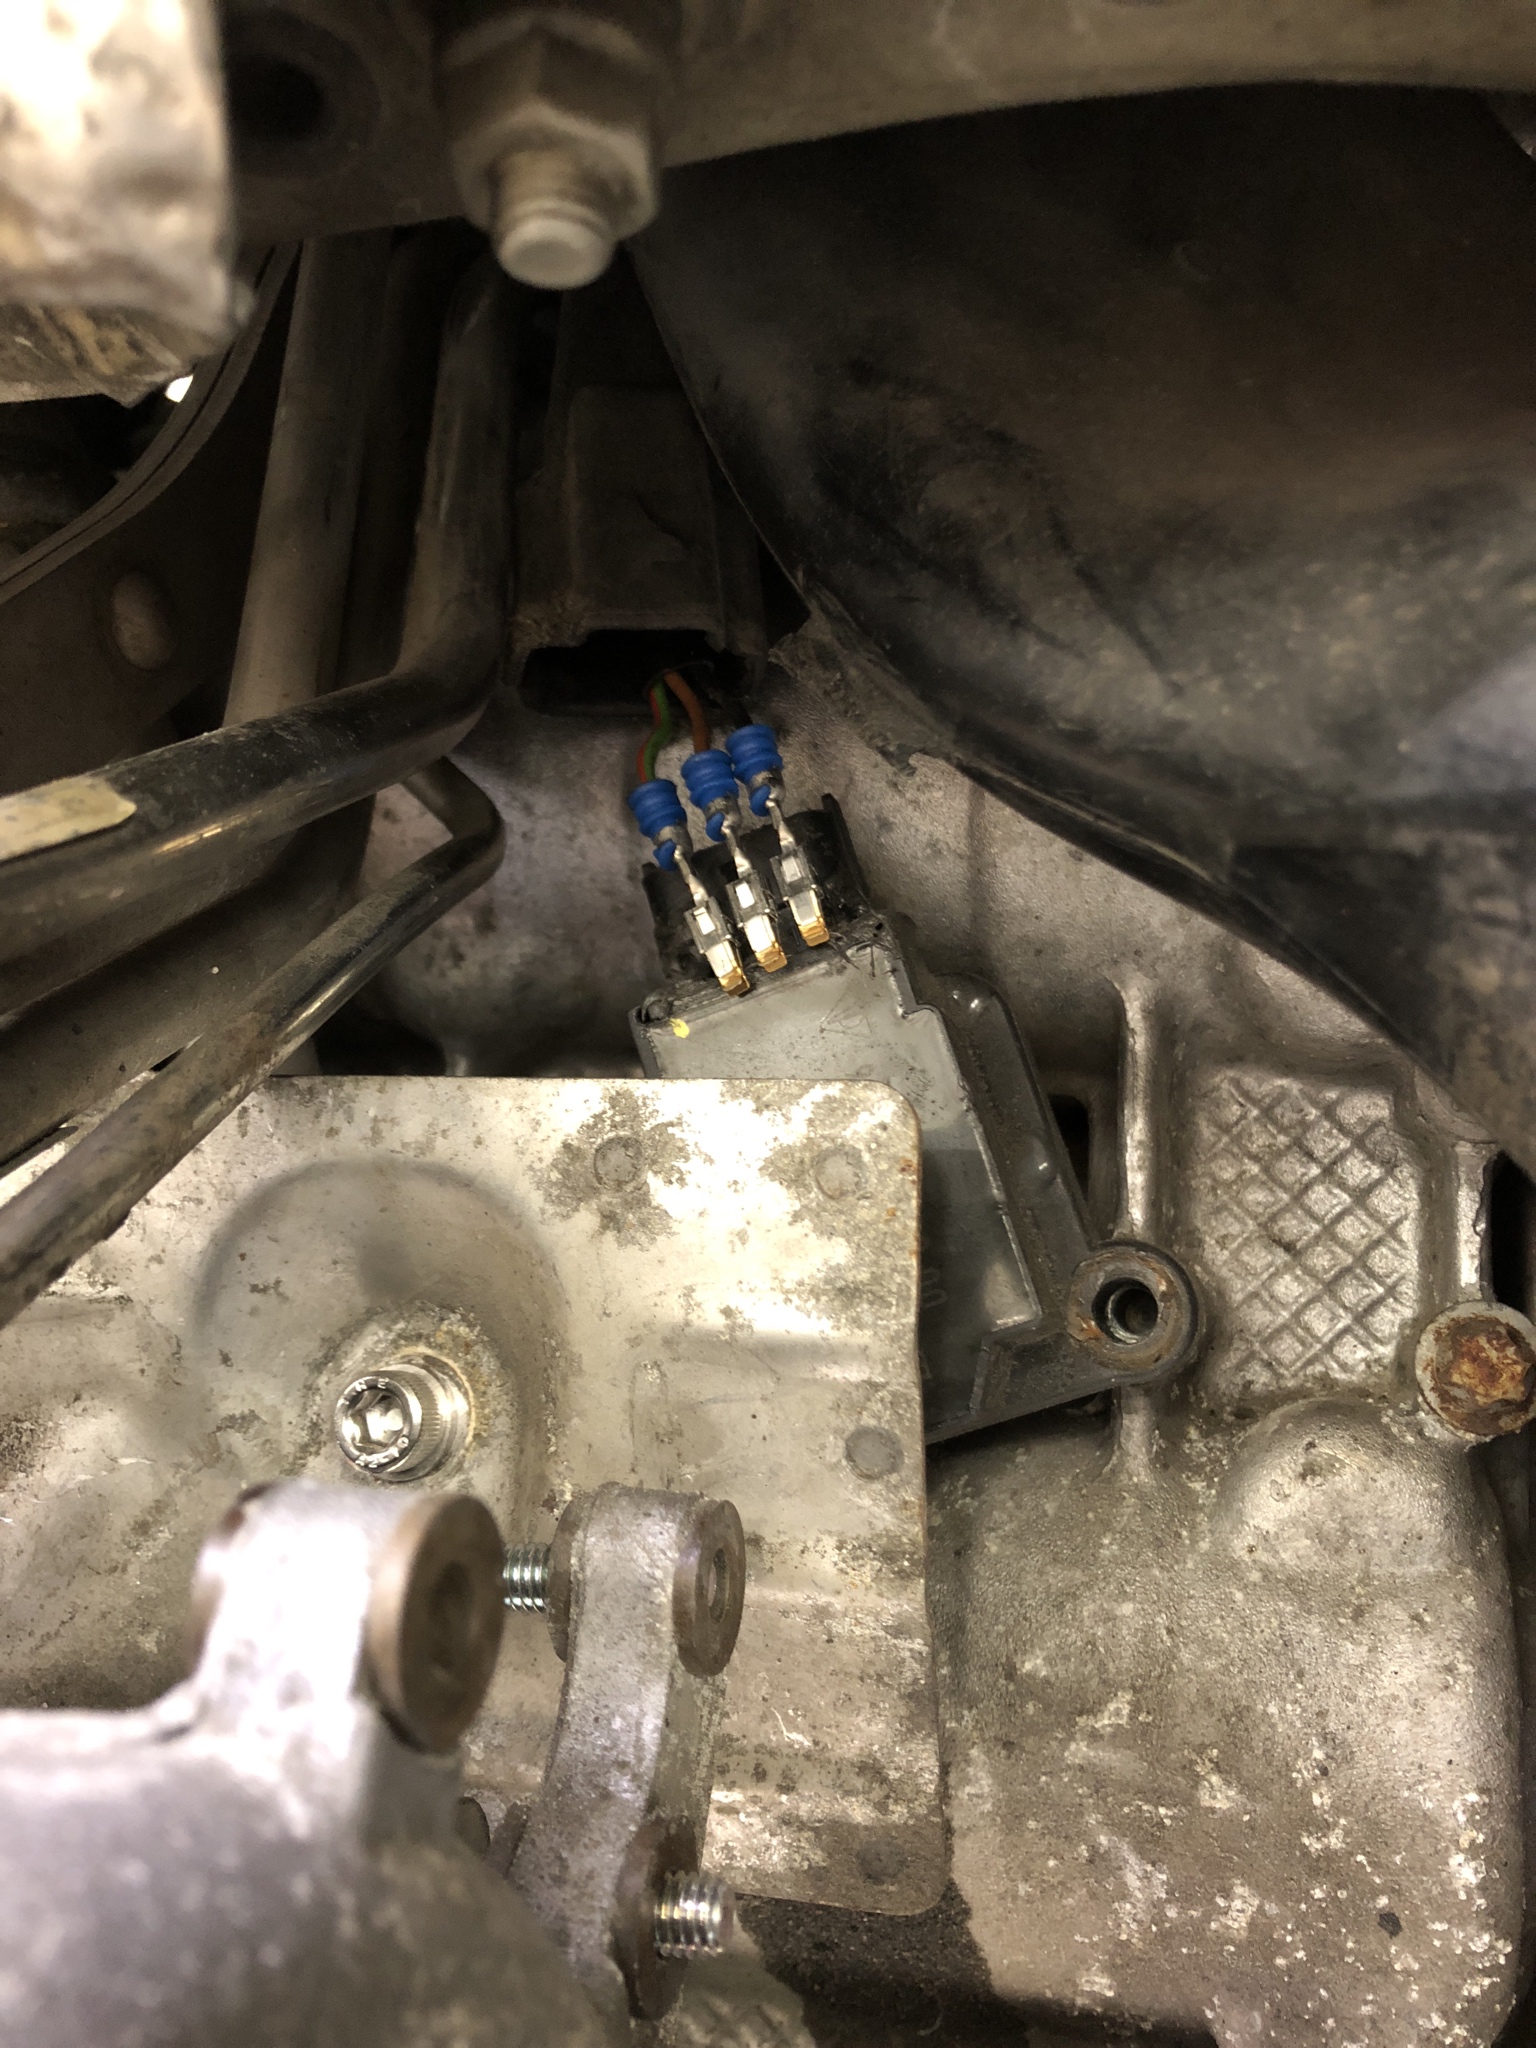
Number 3 Cylinder coil, which I took a picture of the wiring to ensure I wired the coil correctly after replacing the connector.
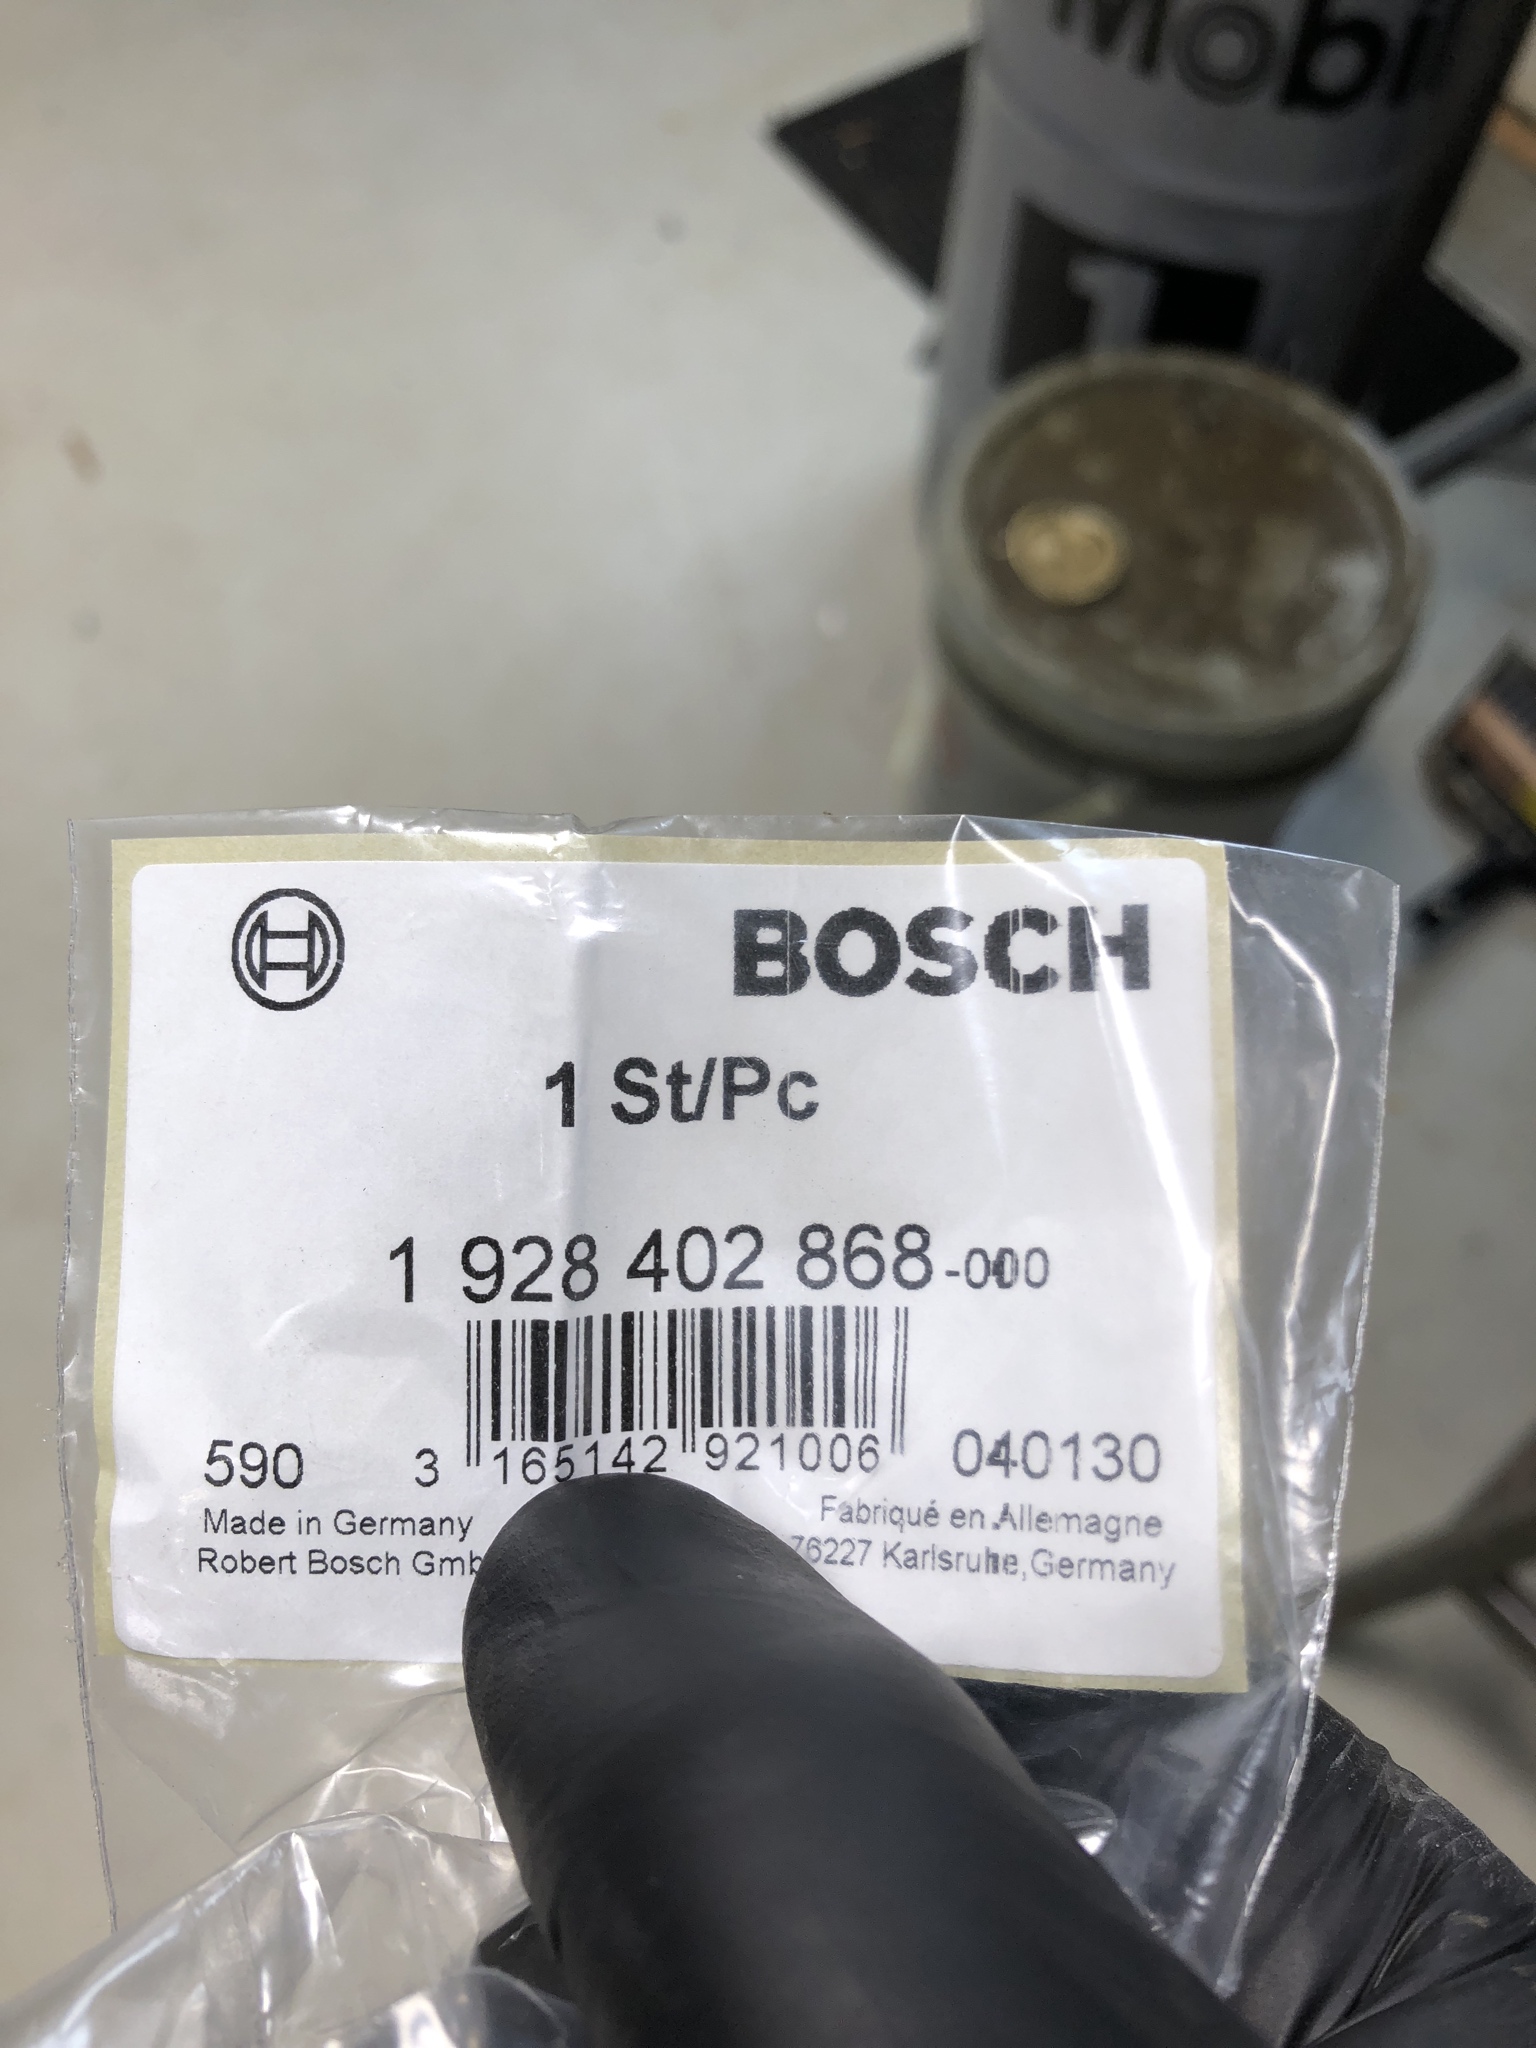
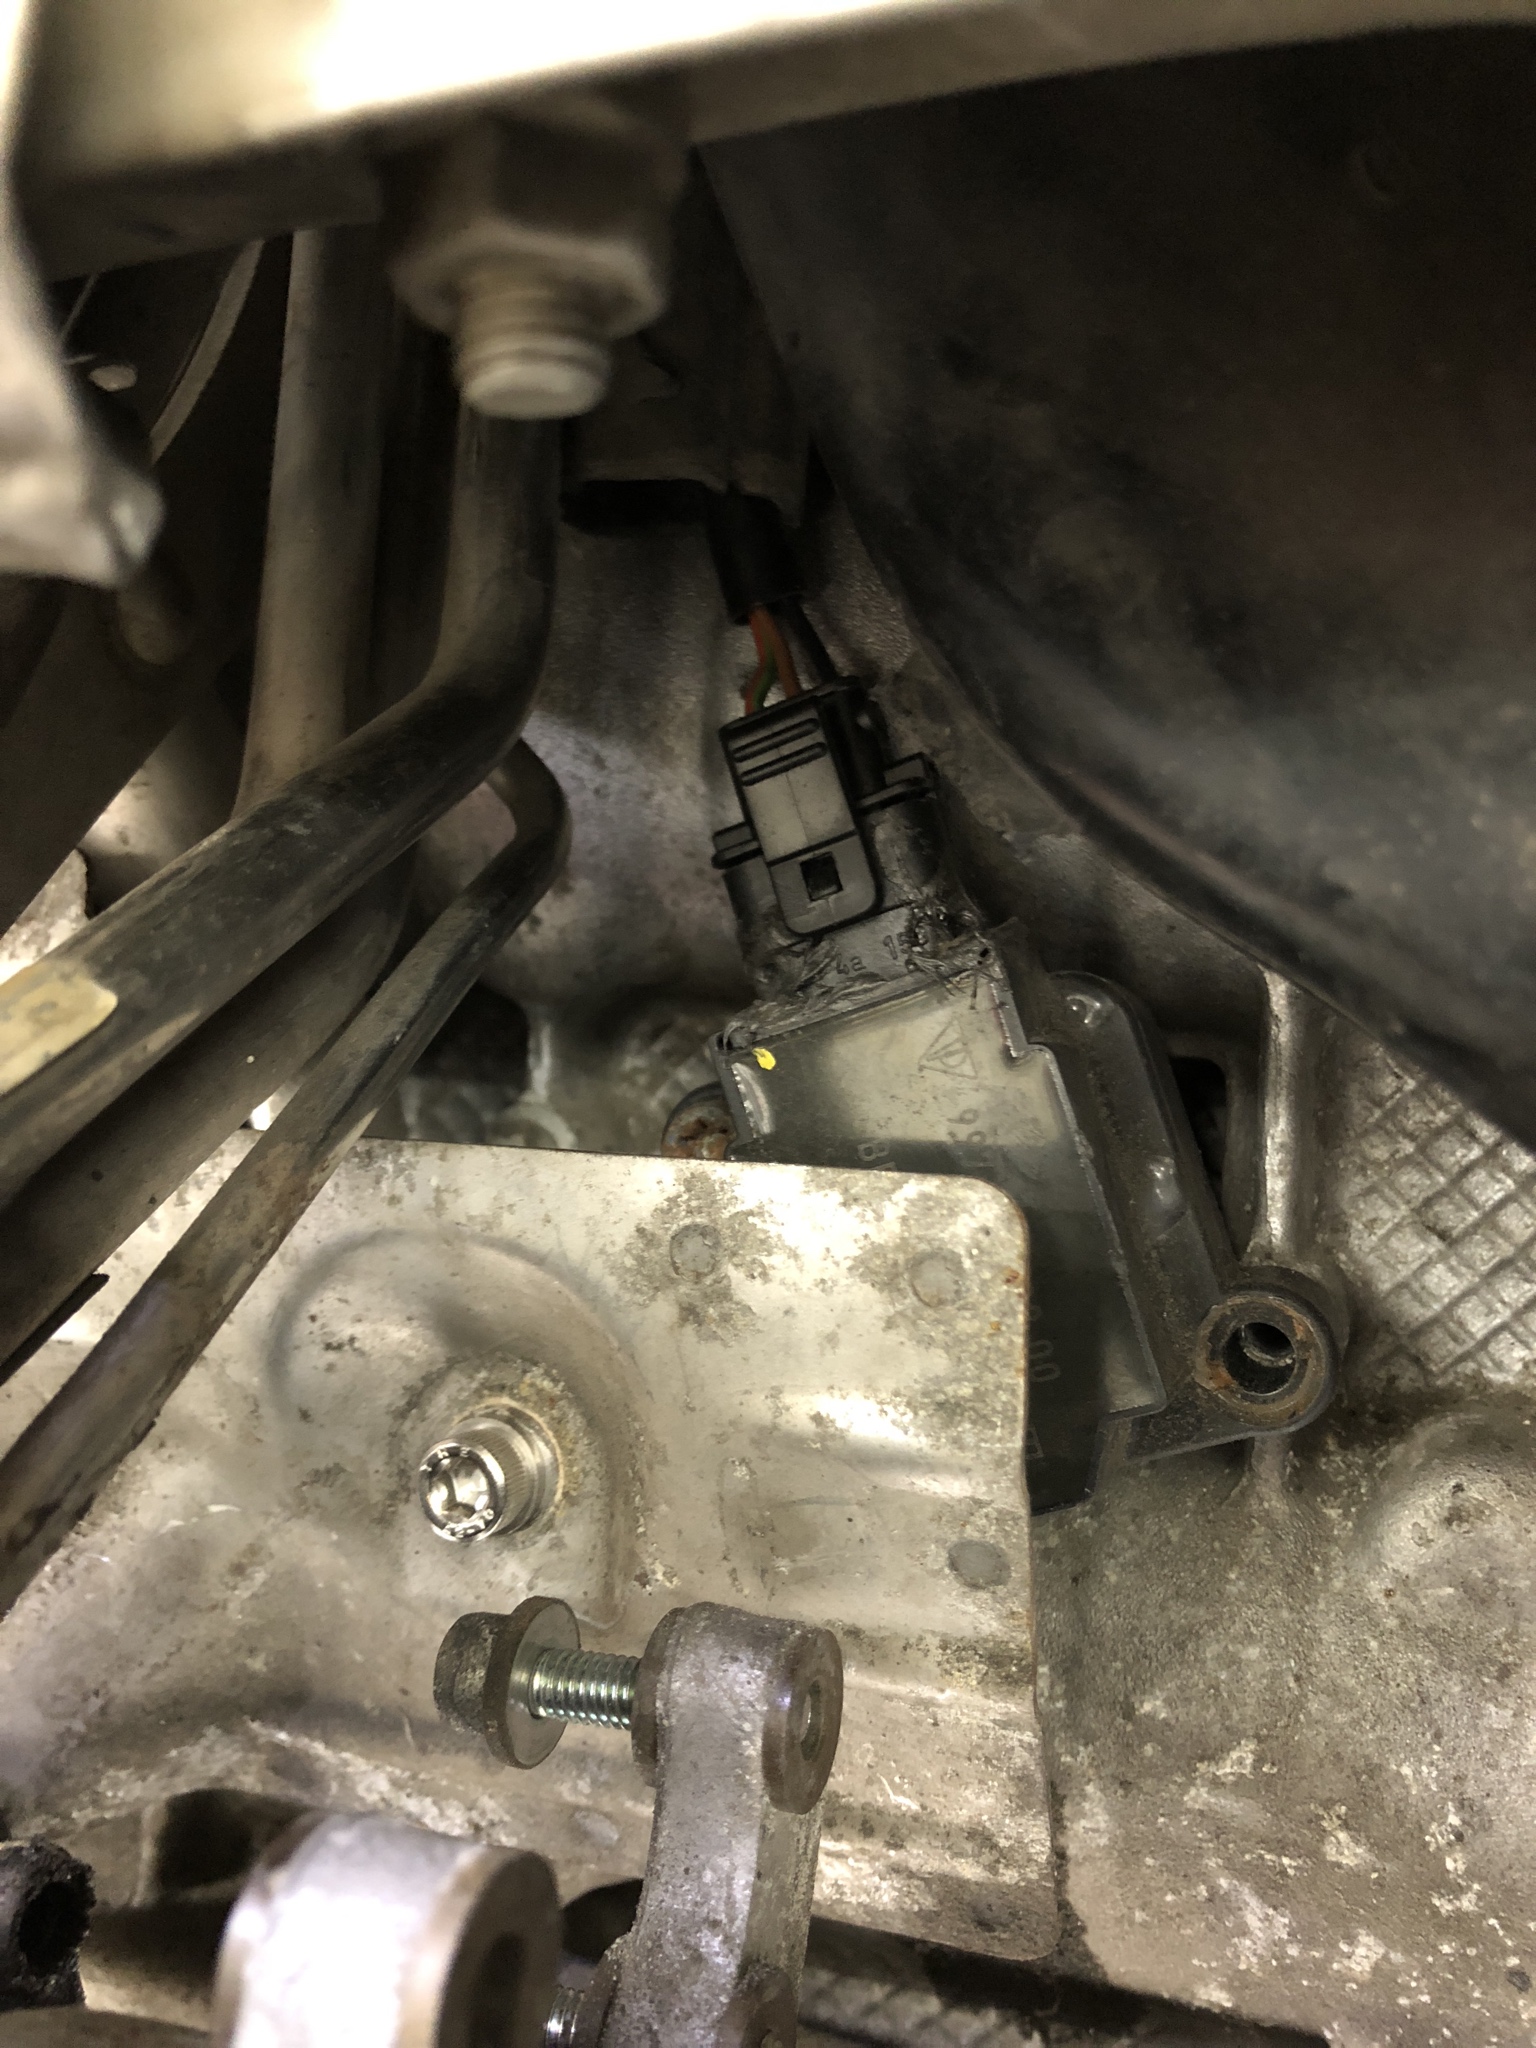
Out with the old and in with the new. If anyone else runs into the issue attached is the repair part number for the connector. This is the same part number for 996 and 997 turbos.
Then on to tackle #6
Lessons learned with this is that even when something checks out PPI wise, nothing trumps spending some time getting under a cars skirt to check some of the work that has been done by others.
PPIs are great but dont show everything. A broken tab like that can be missed very easy.
Without a doubt small things can be missed like it. One of my Audi TT's had so many broken connectors it was aggravating at first, but spending the time to replace all the broken ones really changed the experience of working on the car.
Originally Posted by JG 996T
Nice write-up. So you replaced the connector/housing on two coils - Not the coils.
Good info, thanks for sharing. It does look like the shop who did the work certainly did mangle those connectors; yikes!
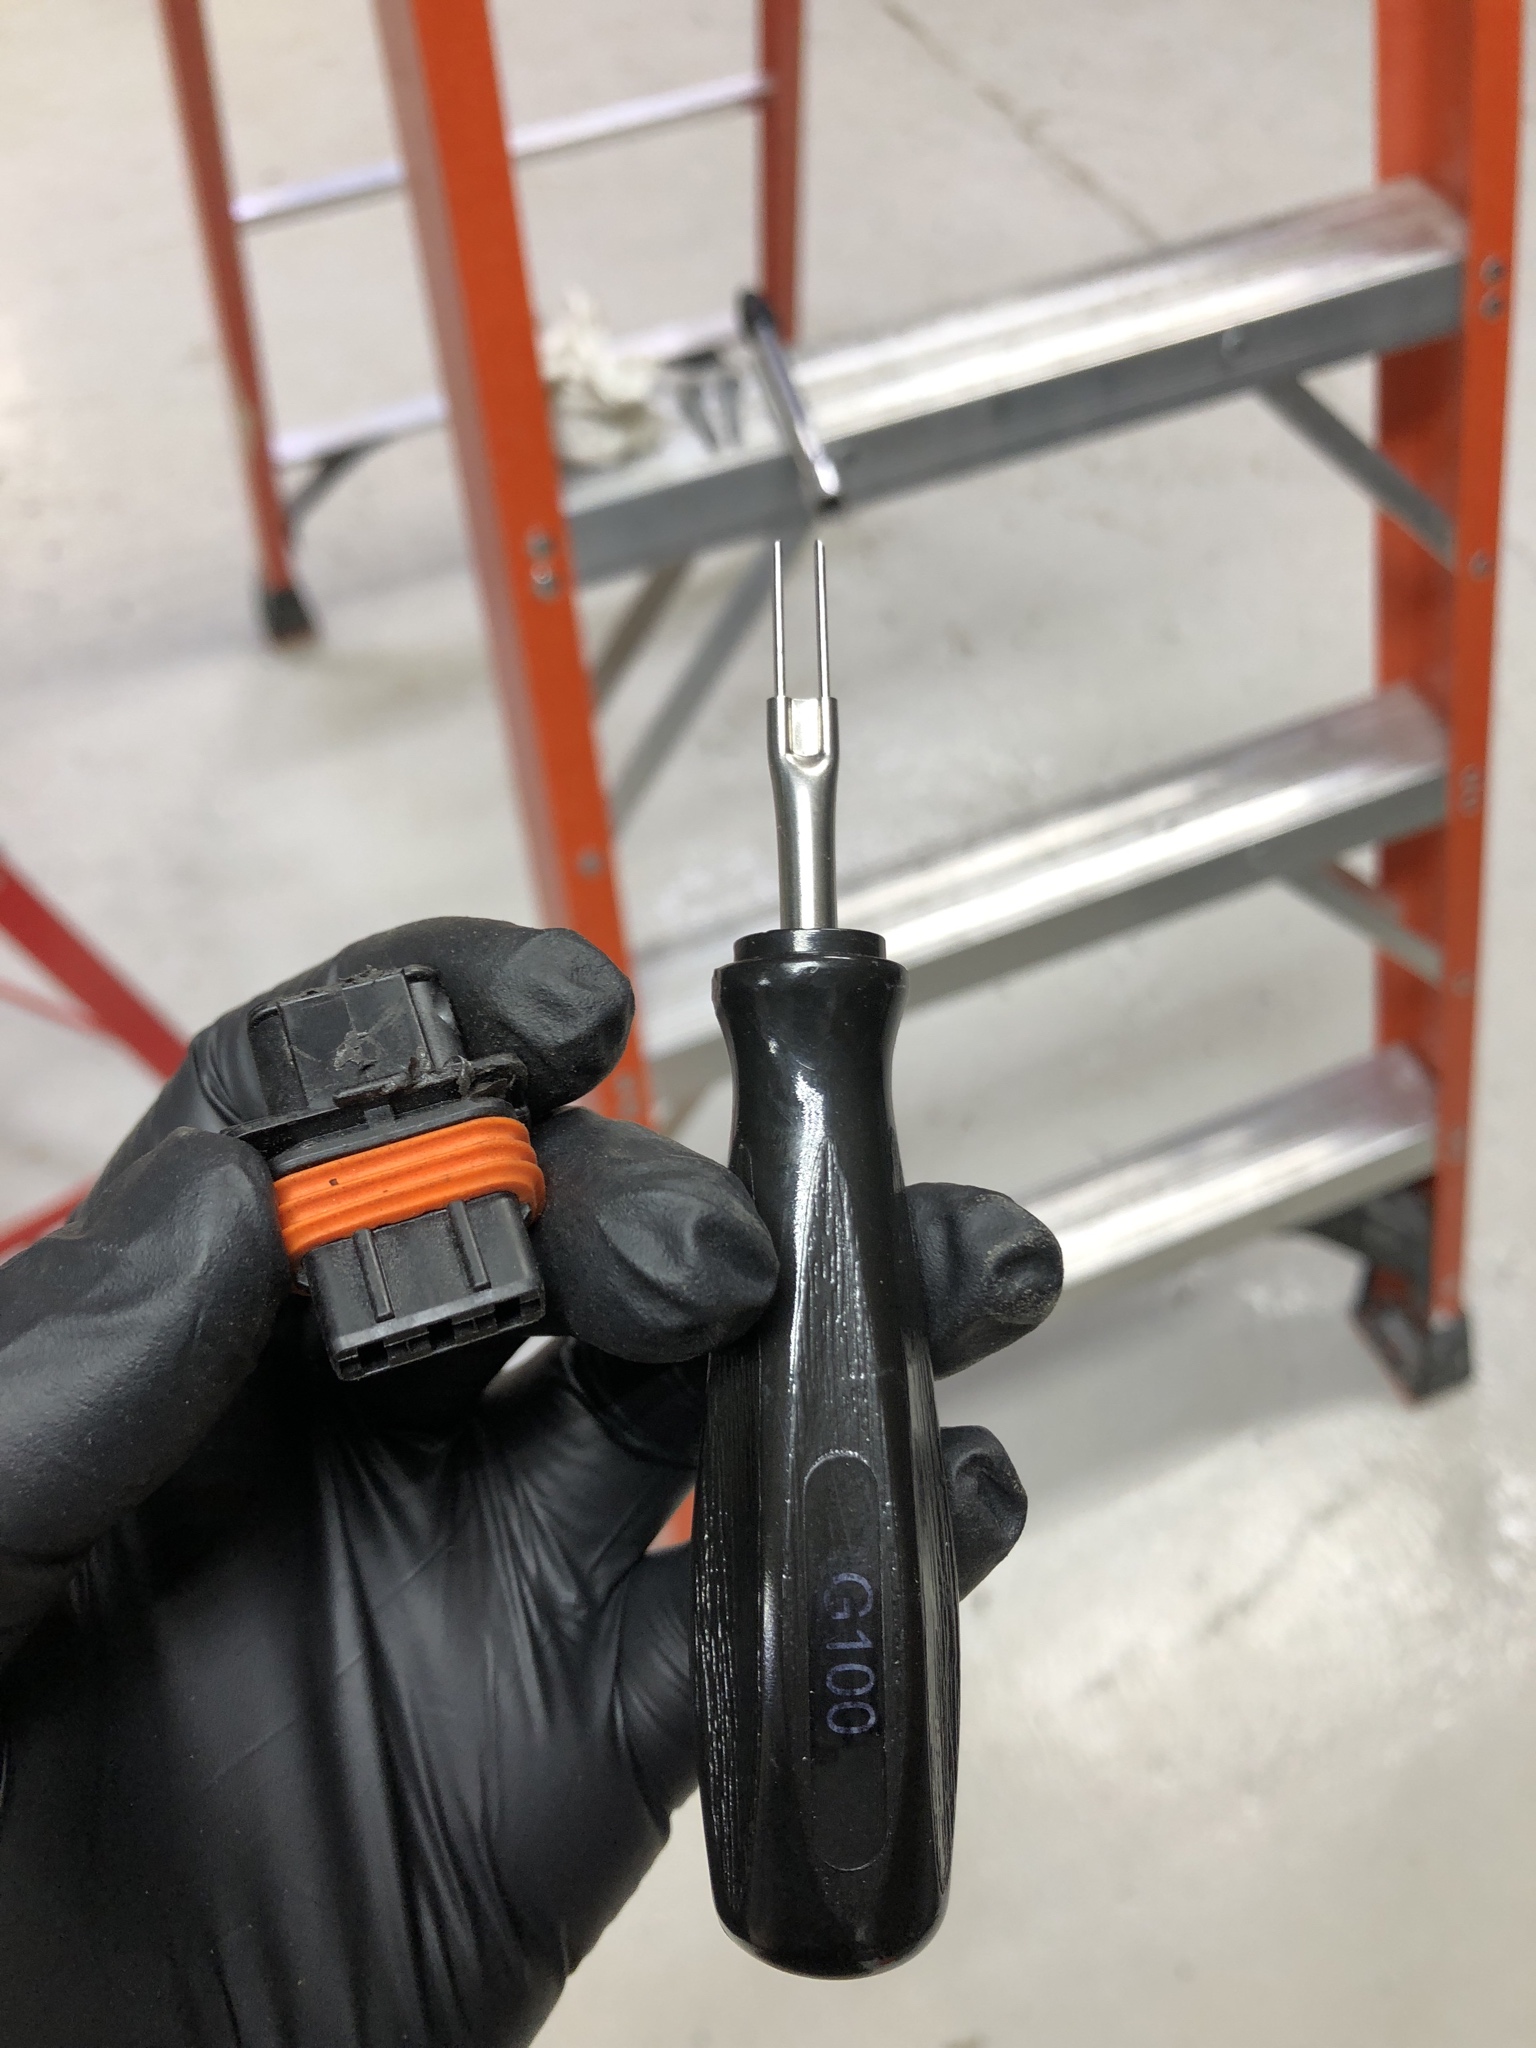
The tool to remove the pins on the connector, do you have a part # for that or is it just a standard Bosch tool?
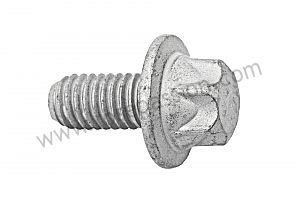
Also, the bolts on your heat shields are not the factory ones, so the original shop must have lost them.. they should look like this:
Not that it matters too much, but I notice little things like that
Thanks again for the pics!
I'll dig up the part number for the tool, it came with one of the coil repair kits for VW's I had. There is one that is close in size but will not release the tangs on the connectors. You will get a firm click when it pops the ears back in. If you use the wrong size tool you can damage the connector ends/ears.
I'll have to chase down those bolts for when it is time to drop the motor to do the coolant fittings and cam pinning.
Nice write-up, but especially nice photos. Always kind of frustrating when you find a DIY and the photos are blurry and dark and you can barely tell what you're looking at.
I'll dig up the part number for the tool, it came with one of the coil repair kits for VW's I had. There is one that is close in size but will not release the tangs on the connectors. You will get a firm click when it pops the ears back in. If you use the wrong size tool you can damage the connector ends/ears.
I'll have to chase down those bolts for when it is time to drop the motor to do the coolant fittings and cam pinning.
The screws are part # 900-385-041-01. 34 cents each.
Yes please let me know the tool part no. when you get a chance.
The backstory was high knock retard showing up on the datalogs. Deckman has some good fuel unlike our west coast garbage. The numbers were close to high altitude 91 octane.. Bad...
Can you post a picture of the plugs that were installed>>this is to show people how critical these components are.
The backstory was high knock retard showing up on the datalogs. Deckman has some good fuel unlike our west coast garbage. The numbers were close to high altitude 91 octane.. Bad...
Can you post a picture of the plugs that were installed>>this is to show people how critical these components are.
Thanks Kevin for all the support! I dug around and looks like the plugs already were trashed. Prior to a tune without a doubt replacing the plugs and O2 sensors is always the best way to go. The car has 47k miles on it currently and was completely stock when bought from the prior owner.
As Kevin stated, prior to doing a tune we did a log on the car, the first numbers were eye opening that something was up. The initial run had these : cylinder 1 was -6.8, cylinder 2 -6.8, cylinder 3 -9., cylinder 4 -4.5, cylinder 5 -6.8, cylinder 6 -9. for timing retardation. I am shooting to perhaps take it out for a log today as the rain should finally clear enough to do some pulls.
It is interesting that the cylinders with most timing retardation were the ones with the broken connectors. Kevin, do you thing perhaps loose connection issue perhaps?
I hate trying to release connector pins without knowing the right tool/trick in advance, especially when you have limited access... That set looks great! I have quite a few release tools but never seem to have the right one for the next job. That kit is on amazon as well, actually a few bucks cheaper.
I hate trying to release connector pins without knowing the right tool/trick in advance, especially when you have limited access... That set looks great! I have quite a few release tools but never seem to have the right one for the next job. That kit is on amazon as well, actually a few bucks cheaper.
They are well worth the buy, I have a couple smaller sets, some of them work better than others and having a couple spares in case you drop one and break the tangs off it makes life a lot less stressful. Pulling the wires out of the connector should take little to no force after sliding the depinning tool in and hearing that "click", if you do not hear it and the wires are not easily sliding out then the tangs have not been released.
Update on the timing pulling post getting the car back together, looks like it is still pulling timing but overall running much better. Per Kevin's great insight the next thing up is to run out this tank of "93" and put some 100 in to see if it is a fuel issue or hardware issue that is still causing the timing to be pulled.
 07-25-2018, 09:43 AM