When you click on links to various merchants on this site and make a purchase, this can result in this site earning a commission. Affiliate programs and affiliations include, but are not limited to, the eBay Partner Network.
A while ago I bought a set of Rennline pedals and a Function-First shift **** but didn't get around to install them. And to be honest, I was a bit hesitant about the finish. Even though both are great products that improve the driving experience I found the aluminium surface a bit "raw" and felt that they didn't really match the rest of the interior. Black finish would of course have been another option but a bit too subtle for me. So I decided to try my hand at polishing them myself. How hard can it be?
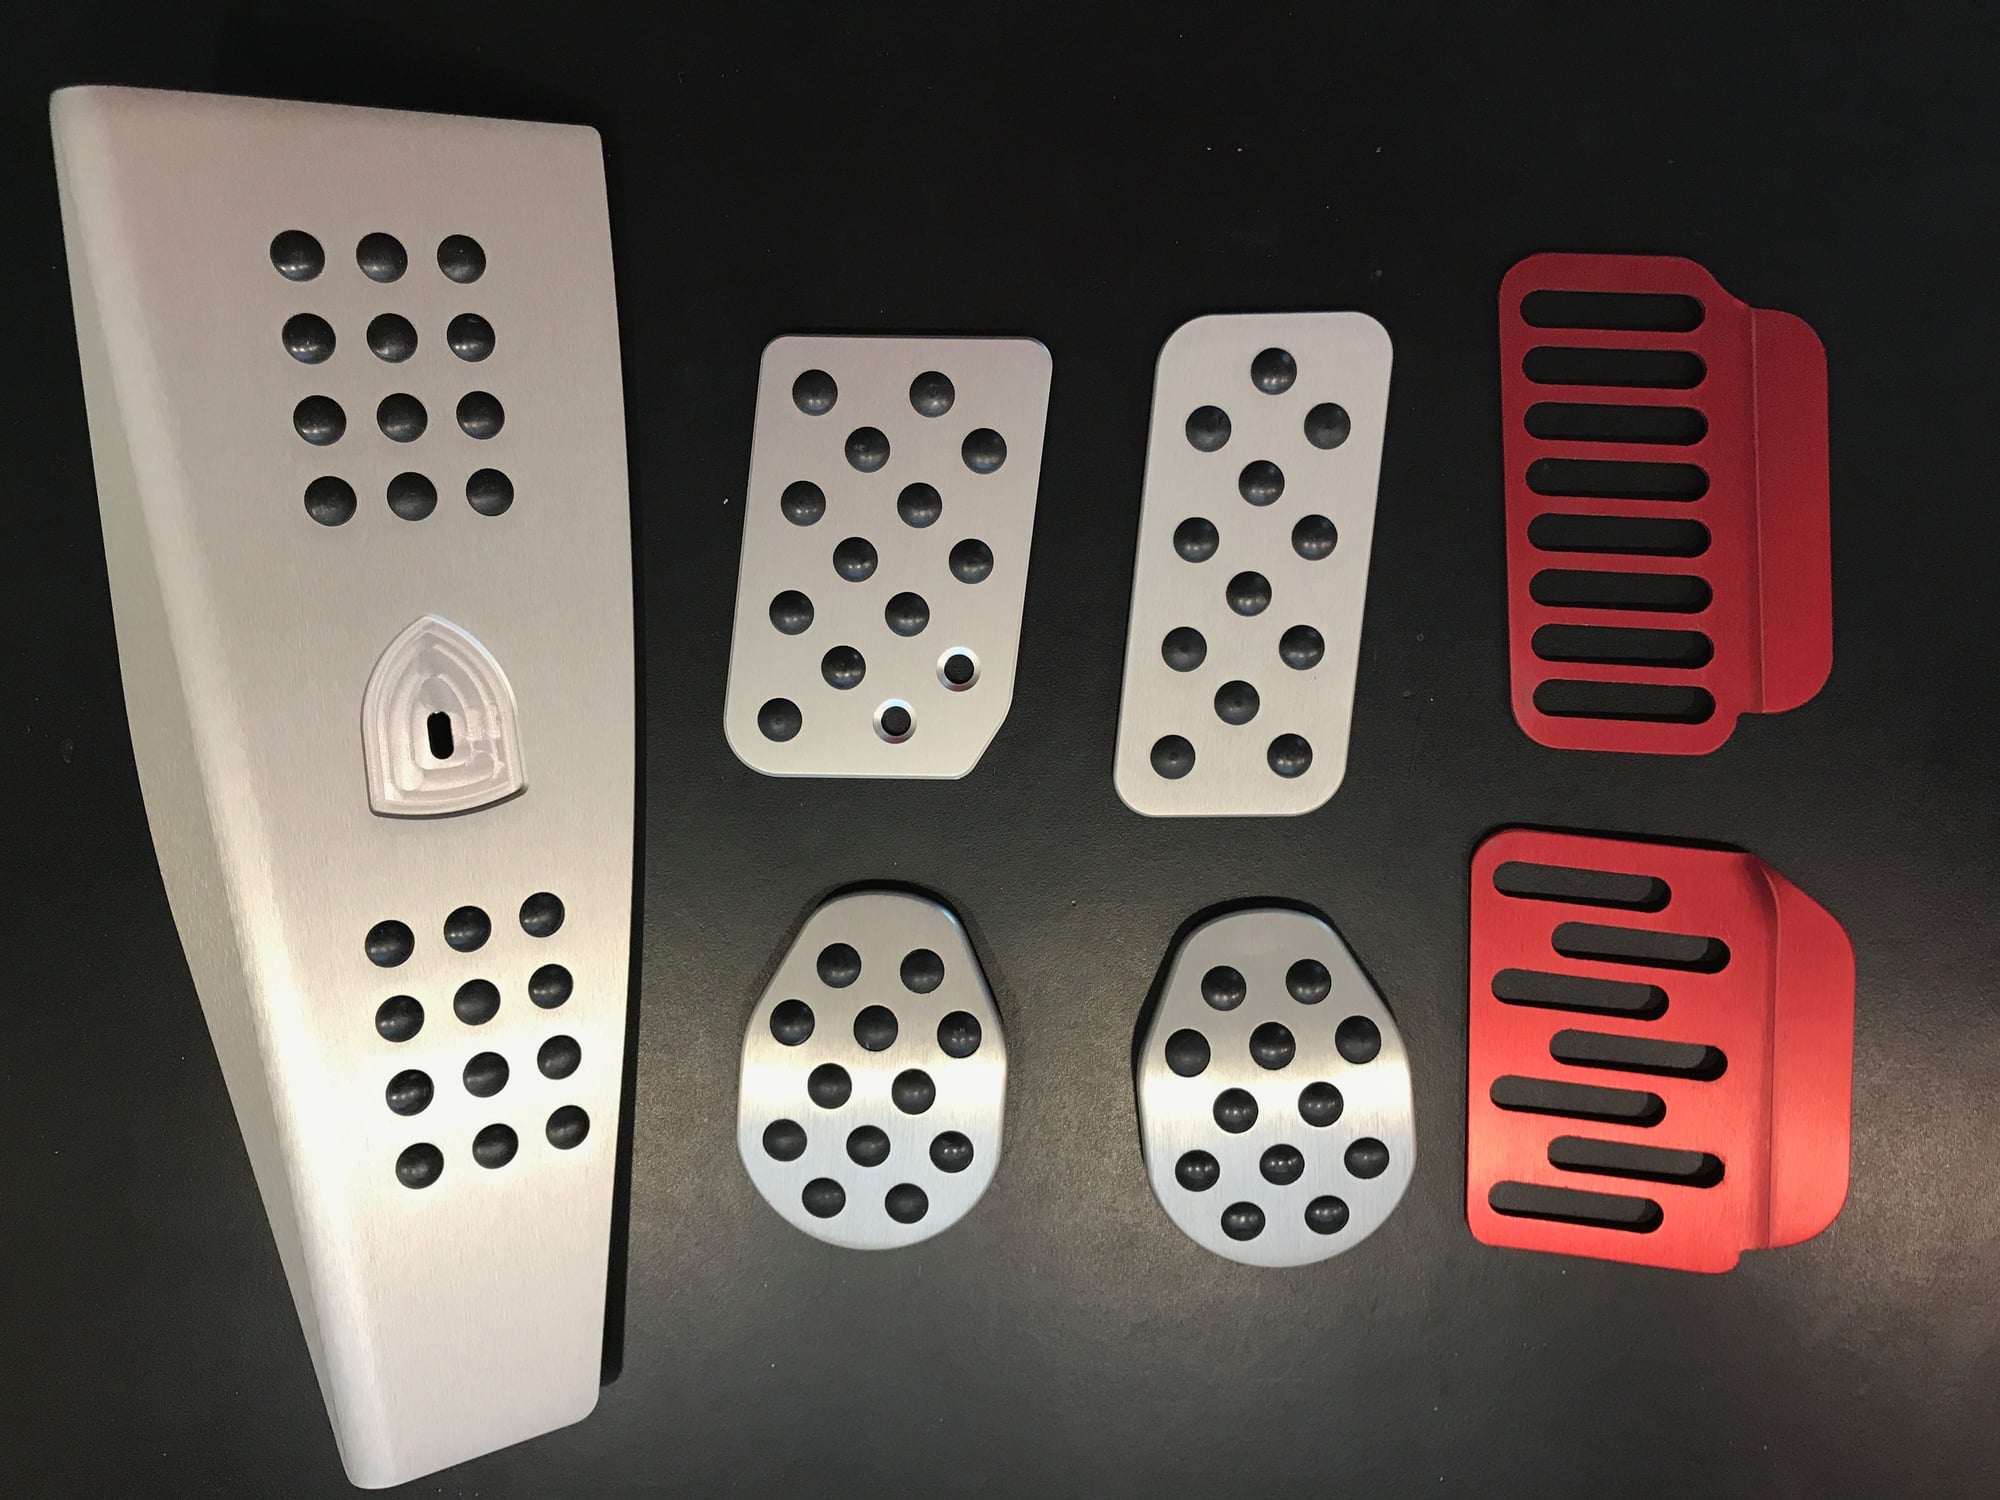
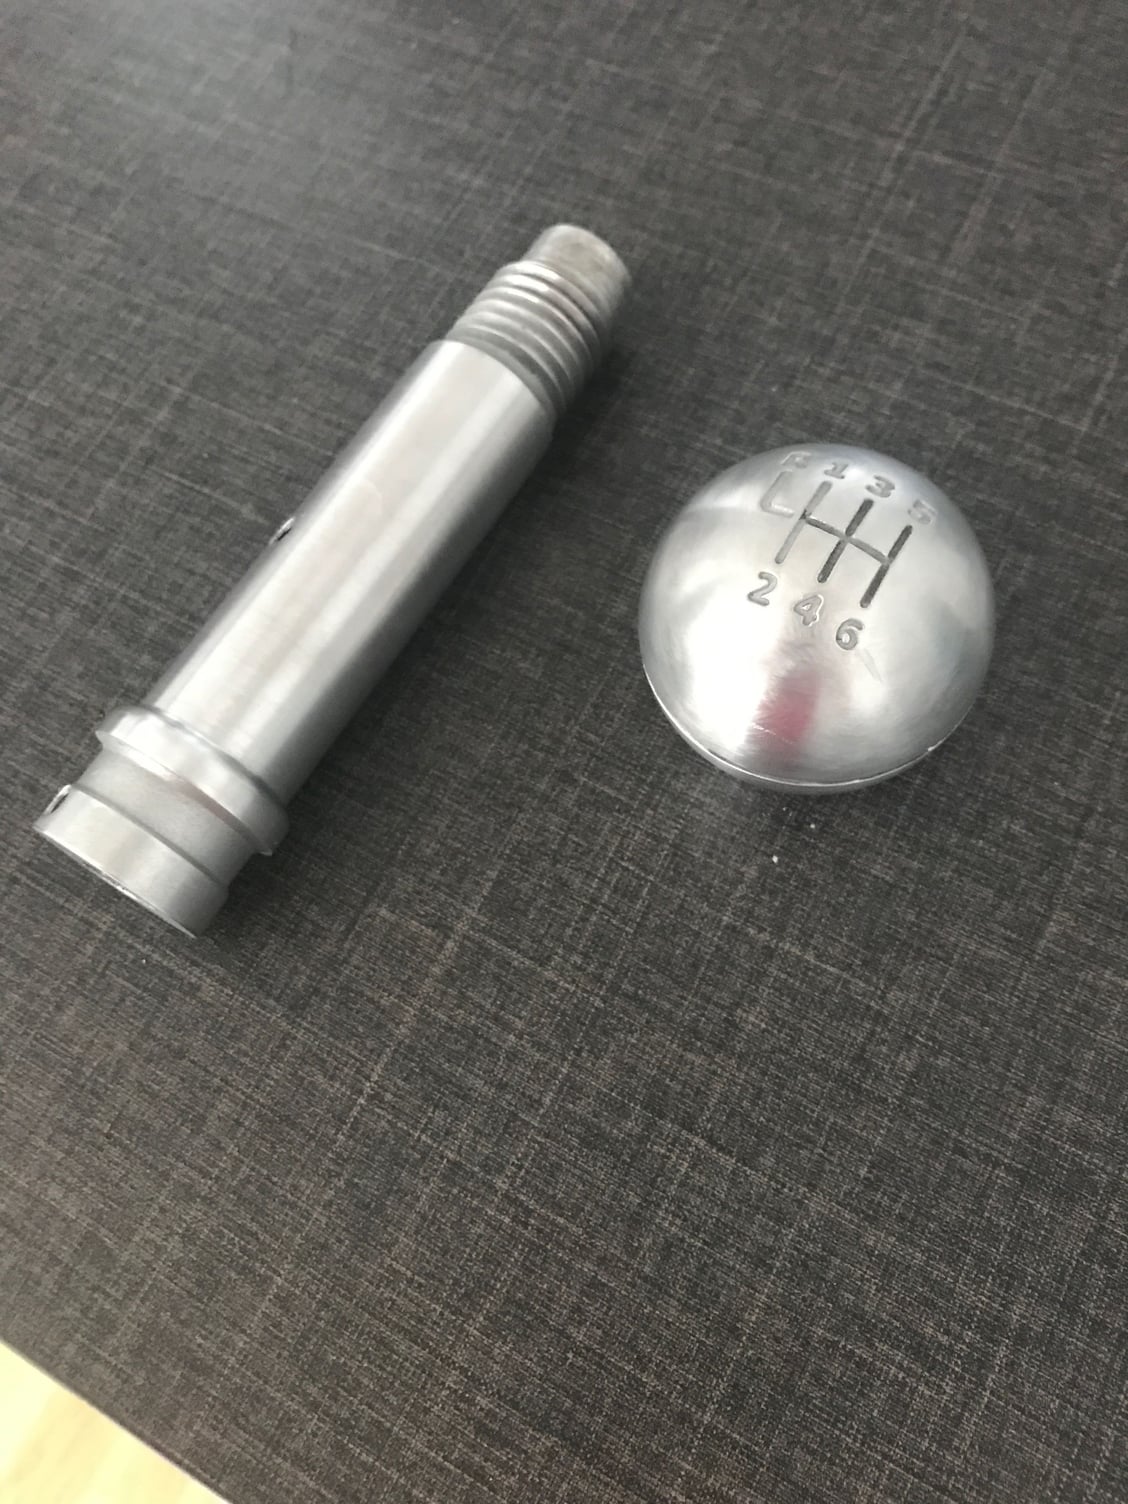
So, after some research I decided to get the stuff micro-blasted to start off with a more even surface. The pedals particularly had some real deep grooves that would have made sanding a nighmare. Here are some before and after pics: Pedals before blasting. Unfortunately I didn't get a pre-picture of the shift-**** but you can find that on the sellers page.
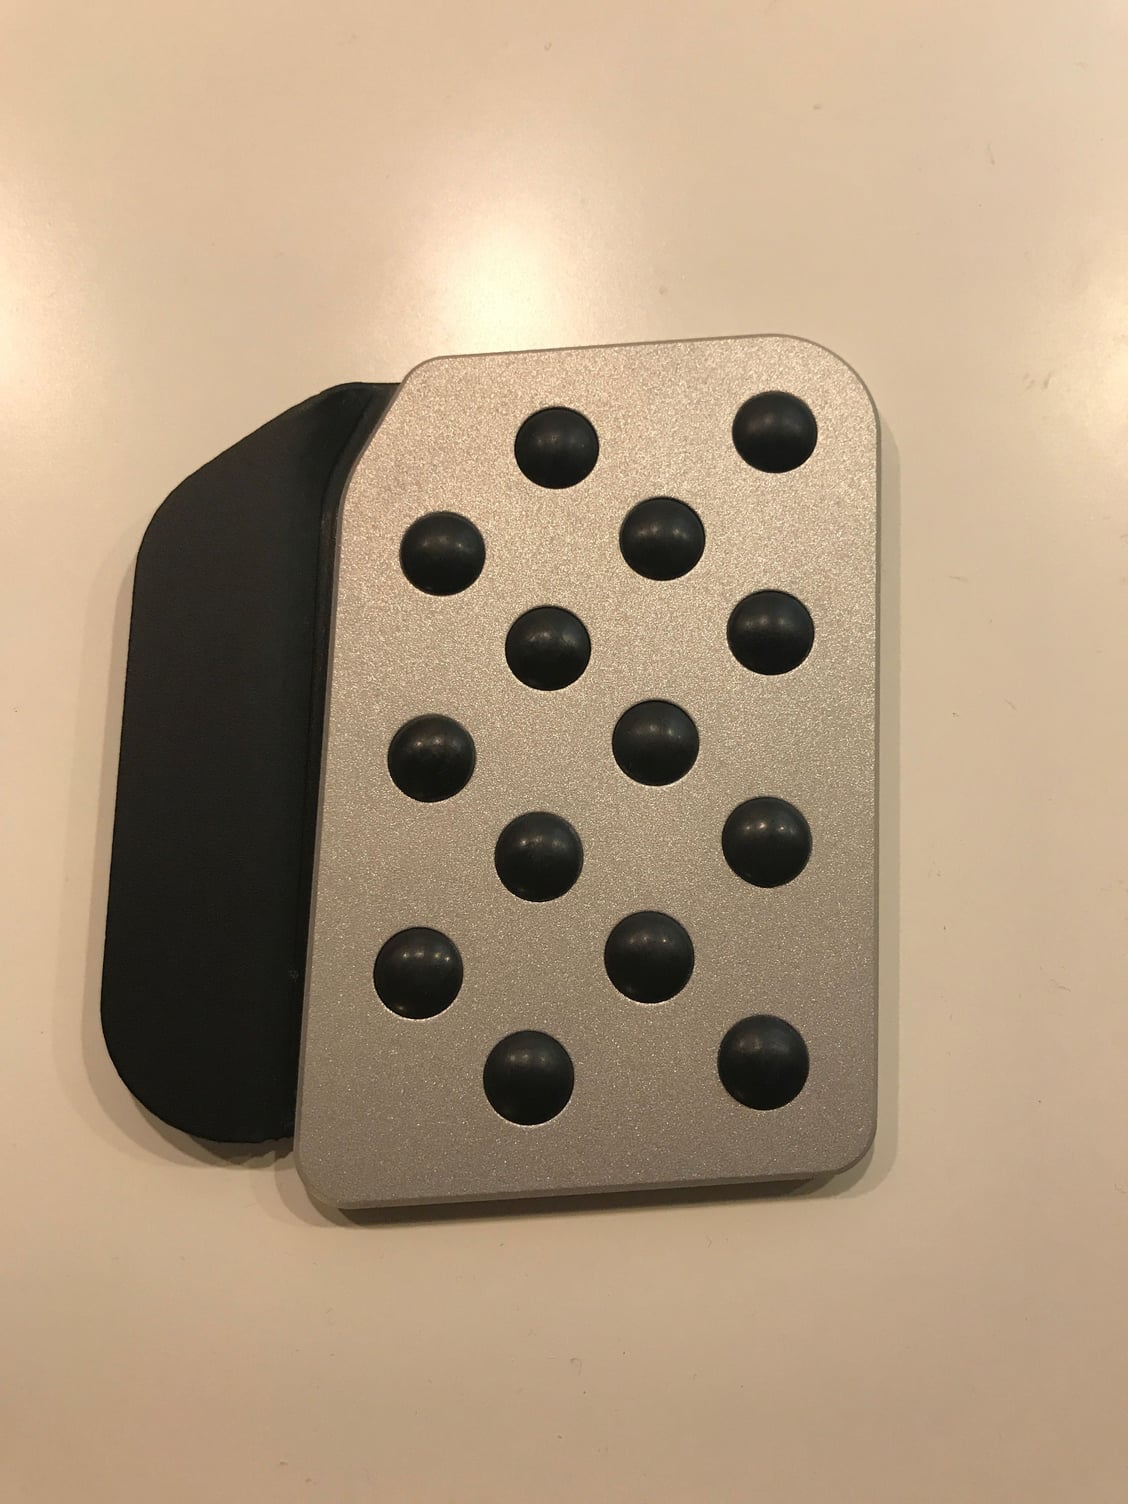
After micro-blast. Notice the more even but coarse, sparkly surface. I also changed my mind regarding the red trim and had them re-anodized in black.
Next came the sanding process which was the most patience-demanding part. I ended up wet sanding everything in three steps (400, 1000 and 2000 grit). I learned that you can't cut corners here since any imperfection will show after polishing. This took me the better part of two days due to some family related interruptions and since I had to redo some steps. I'm sure there are more effecient ways to go about this.
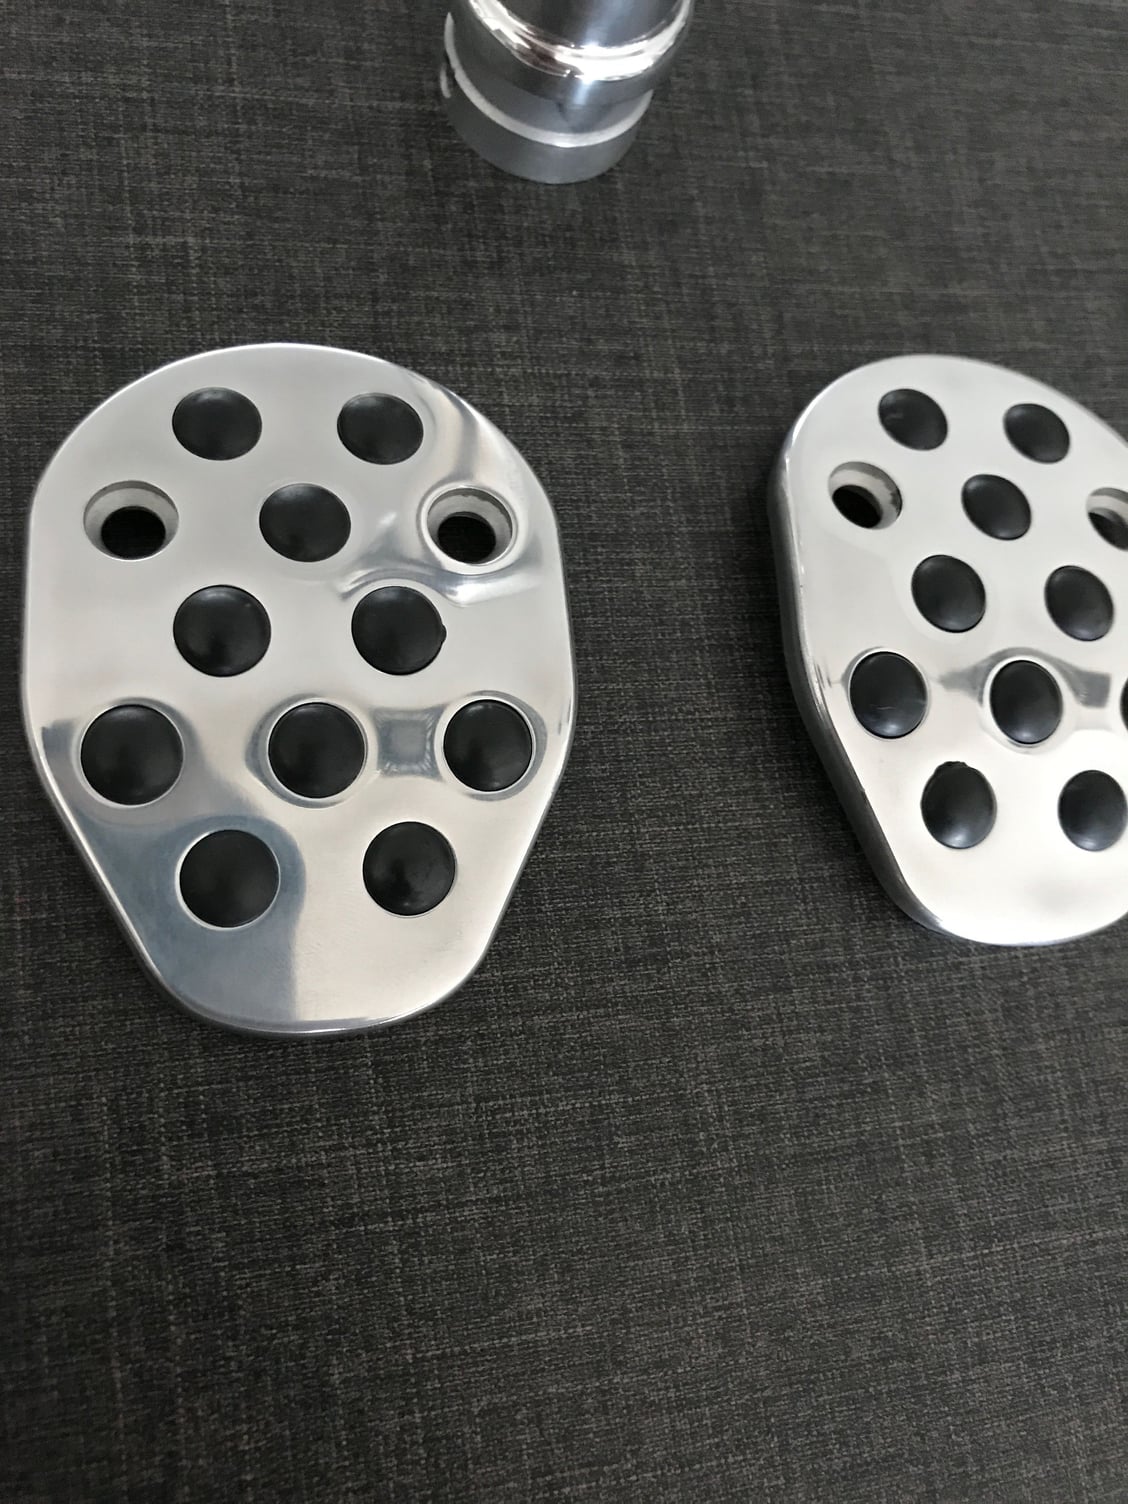
After wet sanding finishing with 2000 grit.
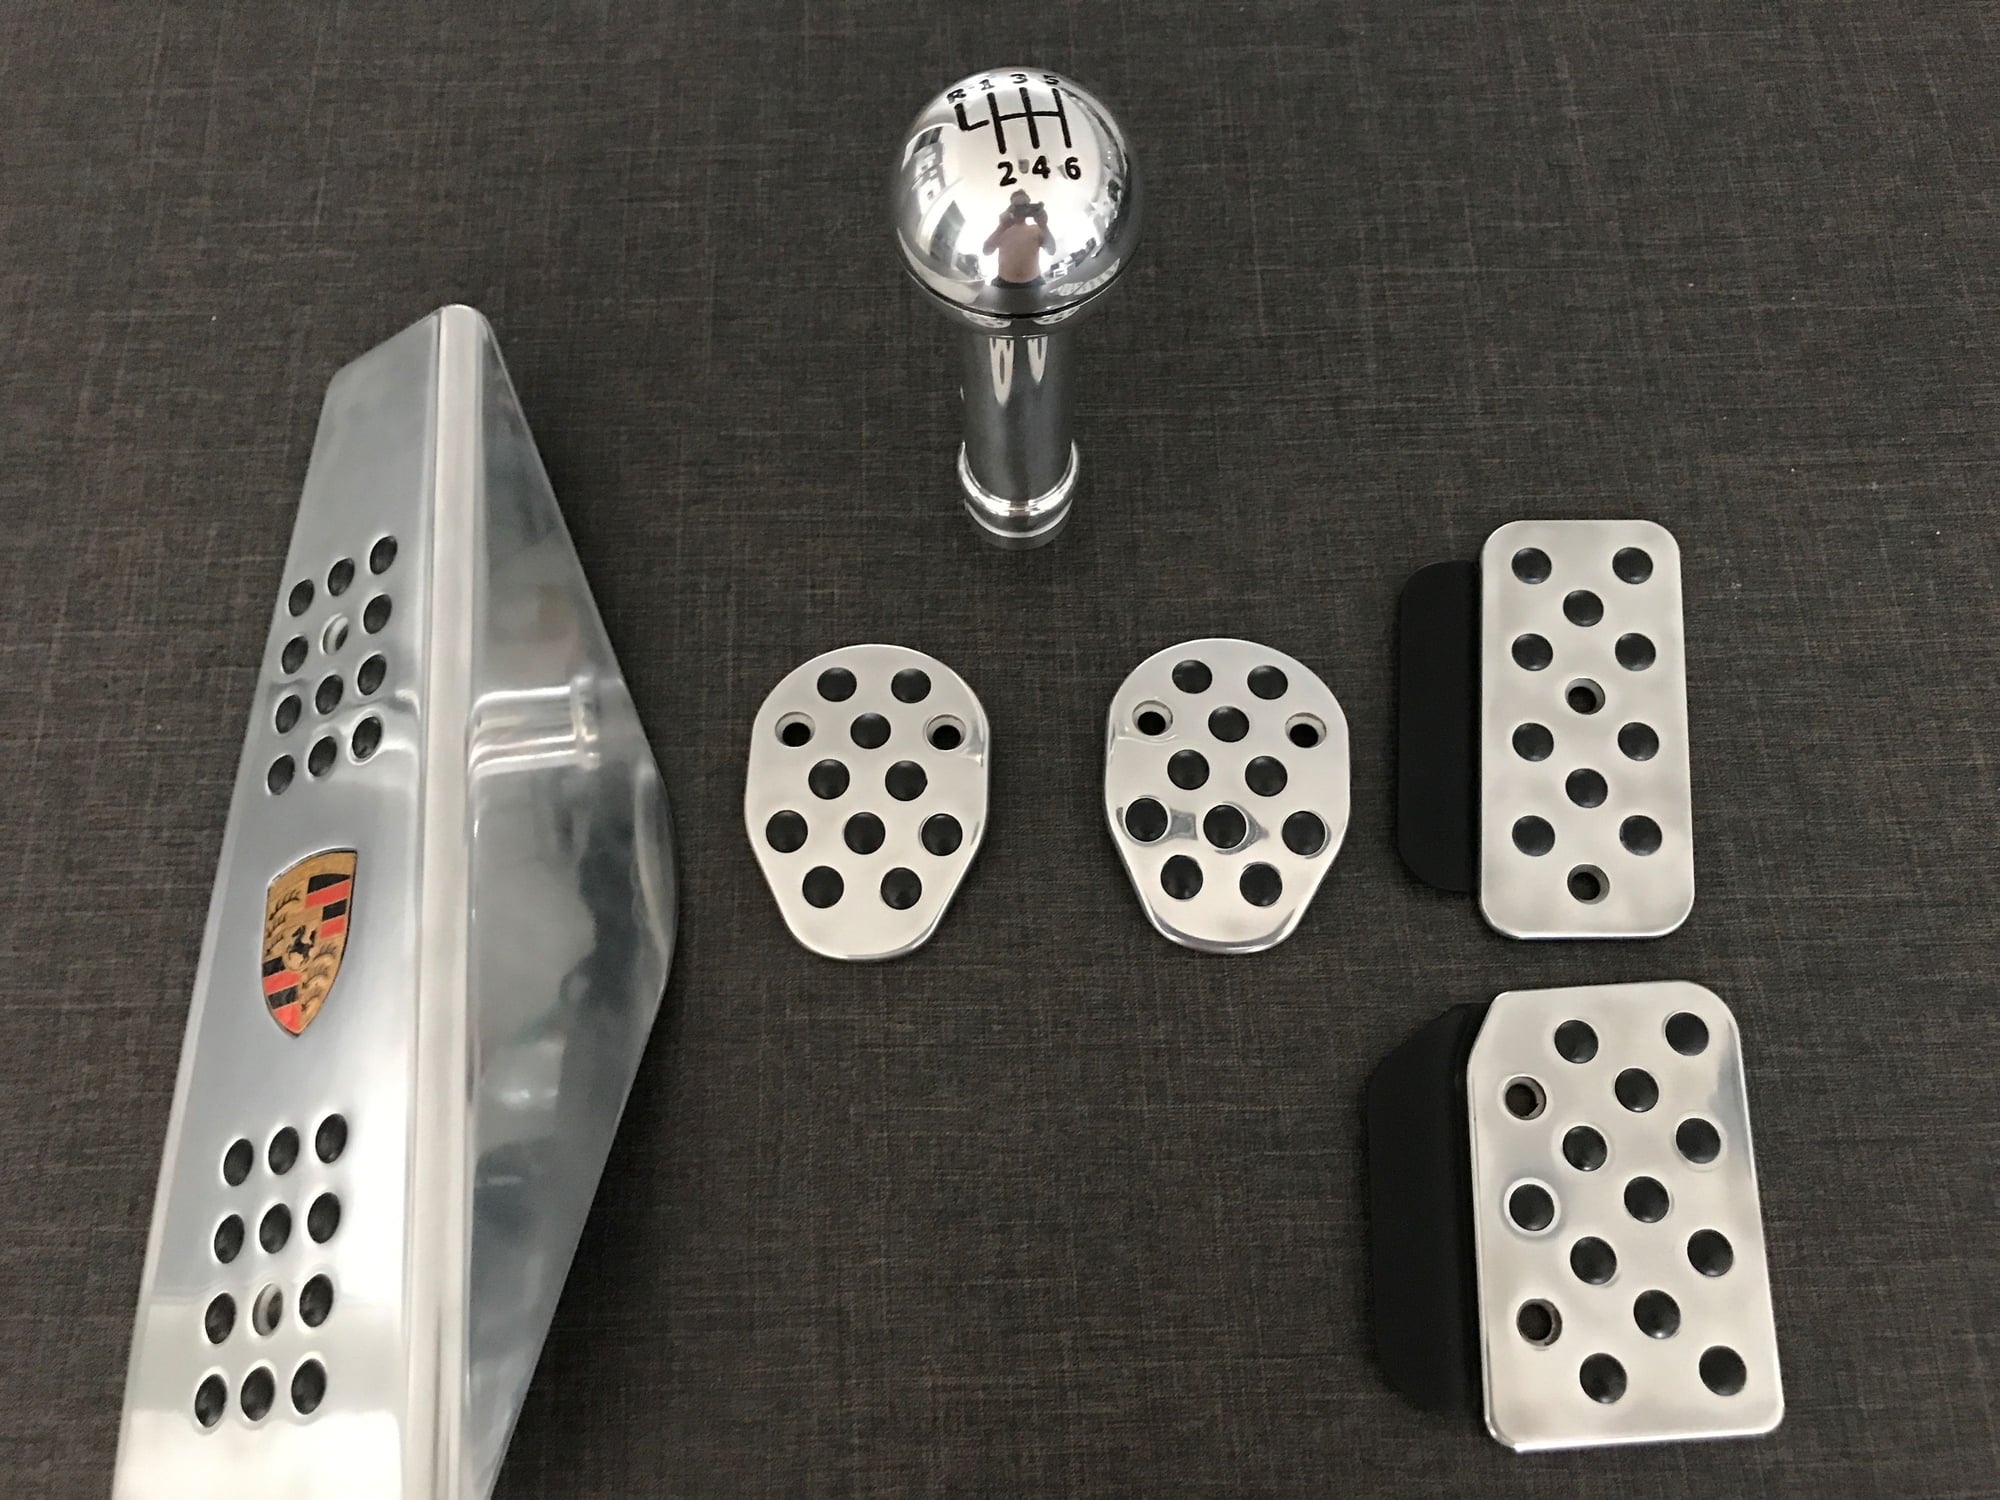
Next came the polishing process which was the most rewarding part since you quickly see a difference with each step. I used a cheap kit containing two polishing discs and one buffing disc with corresponding compounds. The kit came with a hand-drill attachement.
All in all I 'm happy with the end results since they now match my handbrake which was the goal. The pedals are not perfect but no one is going to examen them in detail and I count on having to polish them up again in the future after they collected some scratches. And before anyone asks: the grip is perfectly fine specially with the rubber ***** in place.
Cheers!
Last edited by El Dario Loco; 07-20-2018 at 04:57 PM.
polishing may make them slippery if you do any track work
Yeah, that is my concern too. Seem too work well for street driving with sneakers but if they start to affect functionality I plan on getting them blasted again.
 07-20-2018, 03:37 PM