Notices
997 GT2/GT3 Forum 2005-2012
Sponsored by:
Sponsored by: Porsche North Houston

DIY Coolant Fitting Fix with Motor In the Car

Old 01-06-2015, 09:33 AM
  #91  
CosmosMpower
Drifting
 
CosmosMpower's Avatar
 
Join Date: May 2012
Location: The Republic
Posts: 2,843
Received 52 Likes on 38 Posts
Default

Originally Posted by Steve W
After you're done pinning, before restarting the motor, you can open the two coolant drain plugs on the bottom and all the coolant in the engine along with any debris will flush down and out. Drain it into a big clean 5 gallon bucket and after you can pour the coolant through a coffee filter into another bucket. If you pin it right and according to the directions I gave you, you should find none to almost negligible debris in the filter, but any, the above method will give you peace of mind. To do a full system drain/flush follow the directions below by disconnecting the hoses at the coolers.


About 2-3 gallons will remain in the system (heater system and such).

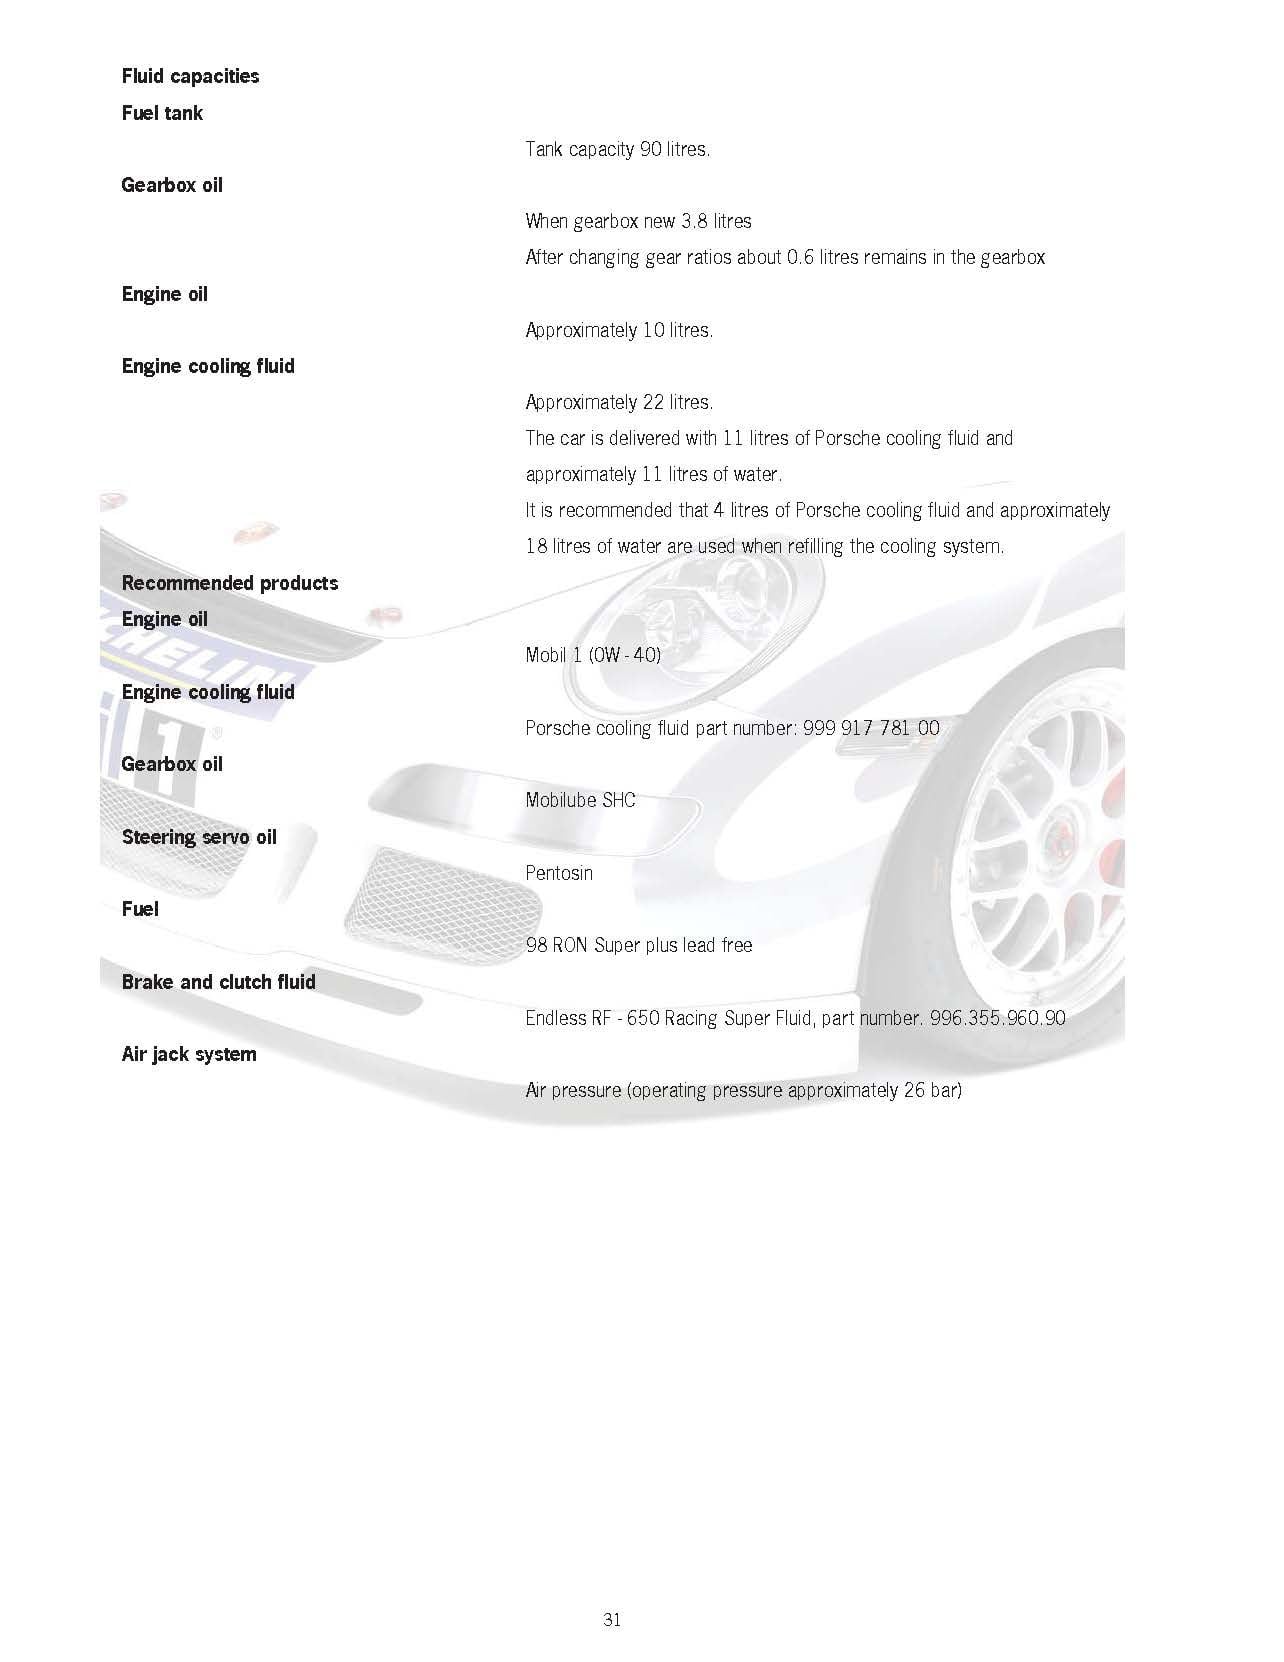
After that I prefer to refill with fresh Porsche coolant keeping the coolant to water ratio at 20% as per the GT3 Cup specifications below. Since the initial fill has formed the protective anti corrosion coating within all the internal walls of the cooling system components, the subsequent refill of a 20% concentration is all that is needed to maintain the corrosion protection. The mix of 80% distilled water also makes for a cooler running car as water absorbs and dissipates heat much more efficiently than coolant, anywhere from 10-20 degrees cooler over a 50/50 mix. I also add about 4 teaspoons of Jet Dry to the coolant to improve the surfactant properties of the mixture, which decreases water tension and improves wetting of the internal surfaces, just as Water Wetter claims. I am not a fan of Redline Water Wetter because I don't think it has the same anti-corrosion protection additives at the Porsche coolant, seems to have no lubrication for the water pump, and I've seen where it causes strange fallout of chemicals in the cooling systems.


Thanks great write up, will be doing this on my GT3 soon.
Old 01-06-2015, 09:41 AM
  #92  
flyingpenguin
Pro
 
flyingpenguin's Avatar
 
Join Date: Oct 2007
Location: Oegstgeest, the Netherlands
Posts: 592
Likes: 0
Received 2 Likes on 2 Posts
Default

I am really happy with the knurling / JB welding so far. Time will tell but from an engineering perspective it makes a lot of sense:

https://rennlist.com/forums/997-gt2-...l#post11825638
Old 01-06-2015, 04:31 PM
  #93  
CosmosMpower
Drifting
 
CosmosMpower's Avatar
 
Join Date: May 2012
Location: The Republic
Posts: 2,843
Received 52 Likes on 38 Posts
Default

Originally Posted by The Beanster
Sharkwerks has a three piece kit to replace the plastic fittings with aluminum.
Are these pieces you can get to with engine in the car or have to R&R the motor to replace these elbows?

I got the fittings pinned, thanks to the OP for the great write up.

Last edited by CosmosMpower; 01-22-2015 at 11:08 PM.
Old 01-22-2015, 06:22 PM
  #94  
rensprt
Advanced
 
rensprt's Avatar
 
Join Date: Mar 2013
Posts: 56
Likes: 0
Received 5 Likes on 2 Posts
Default

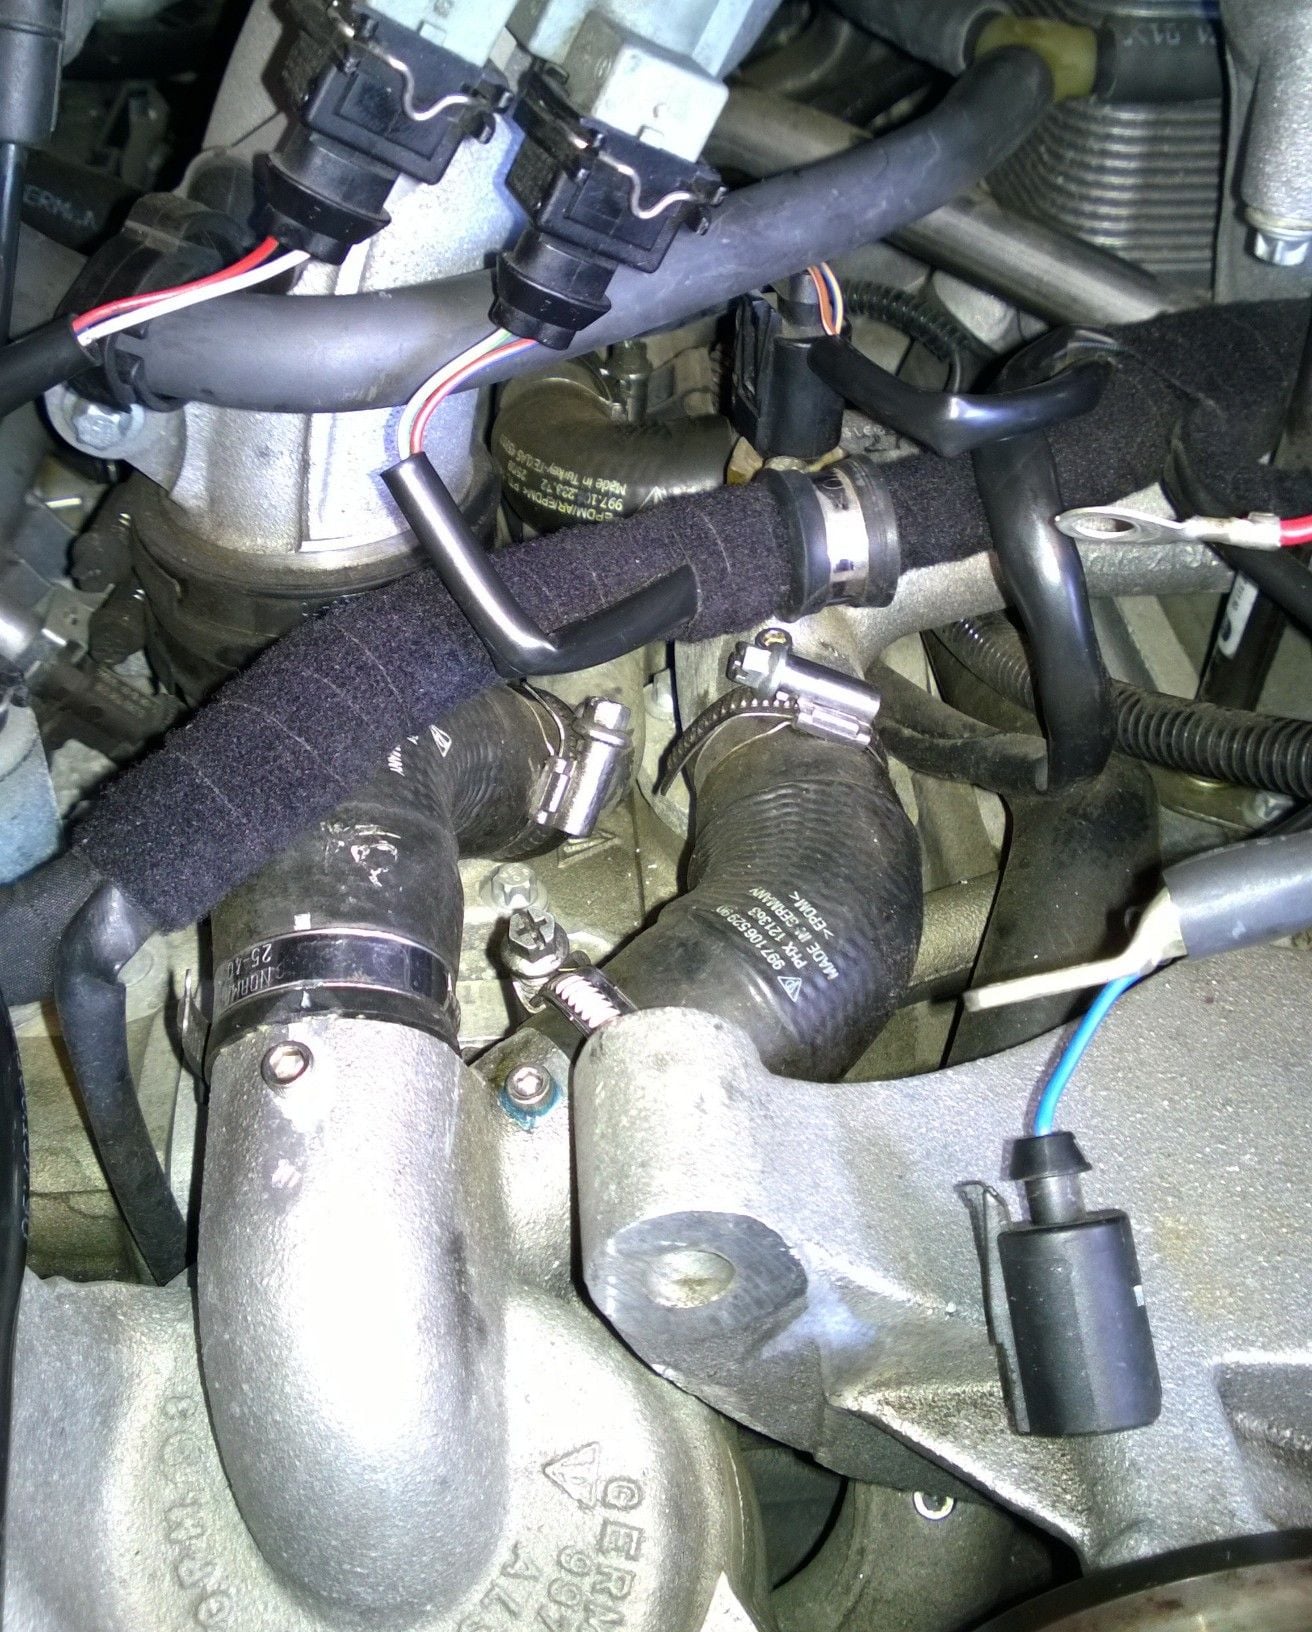
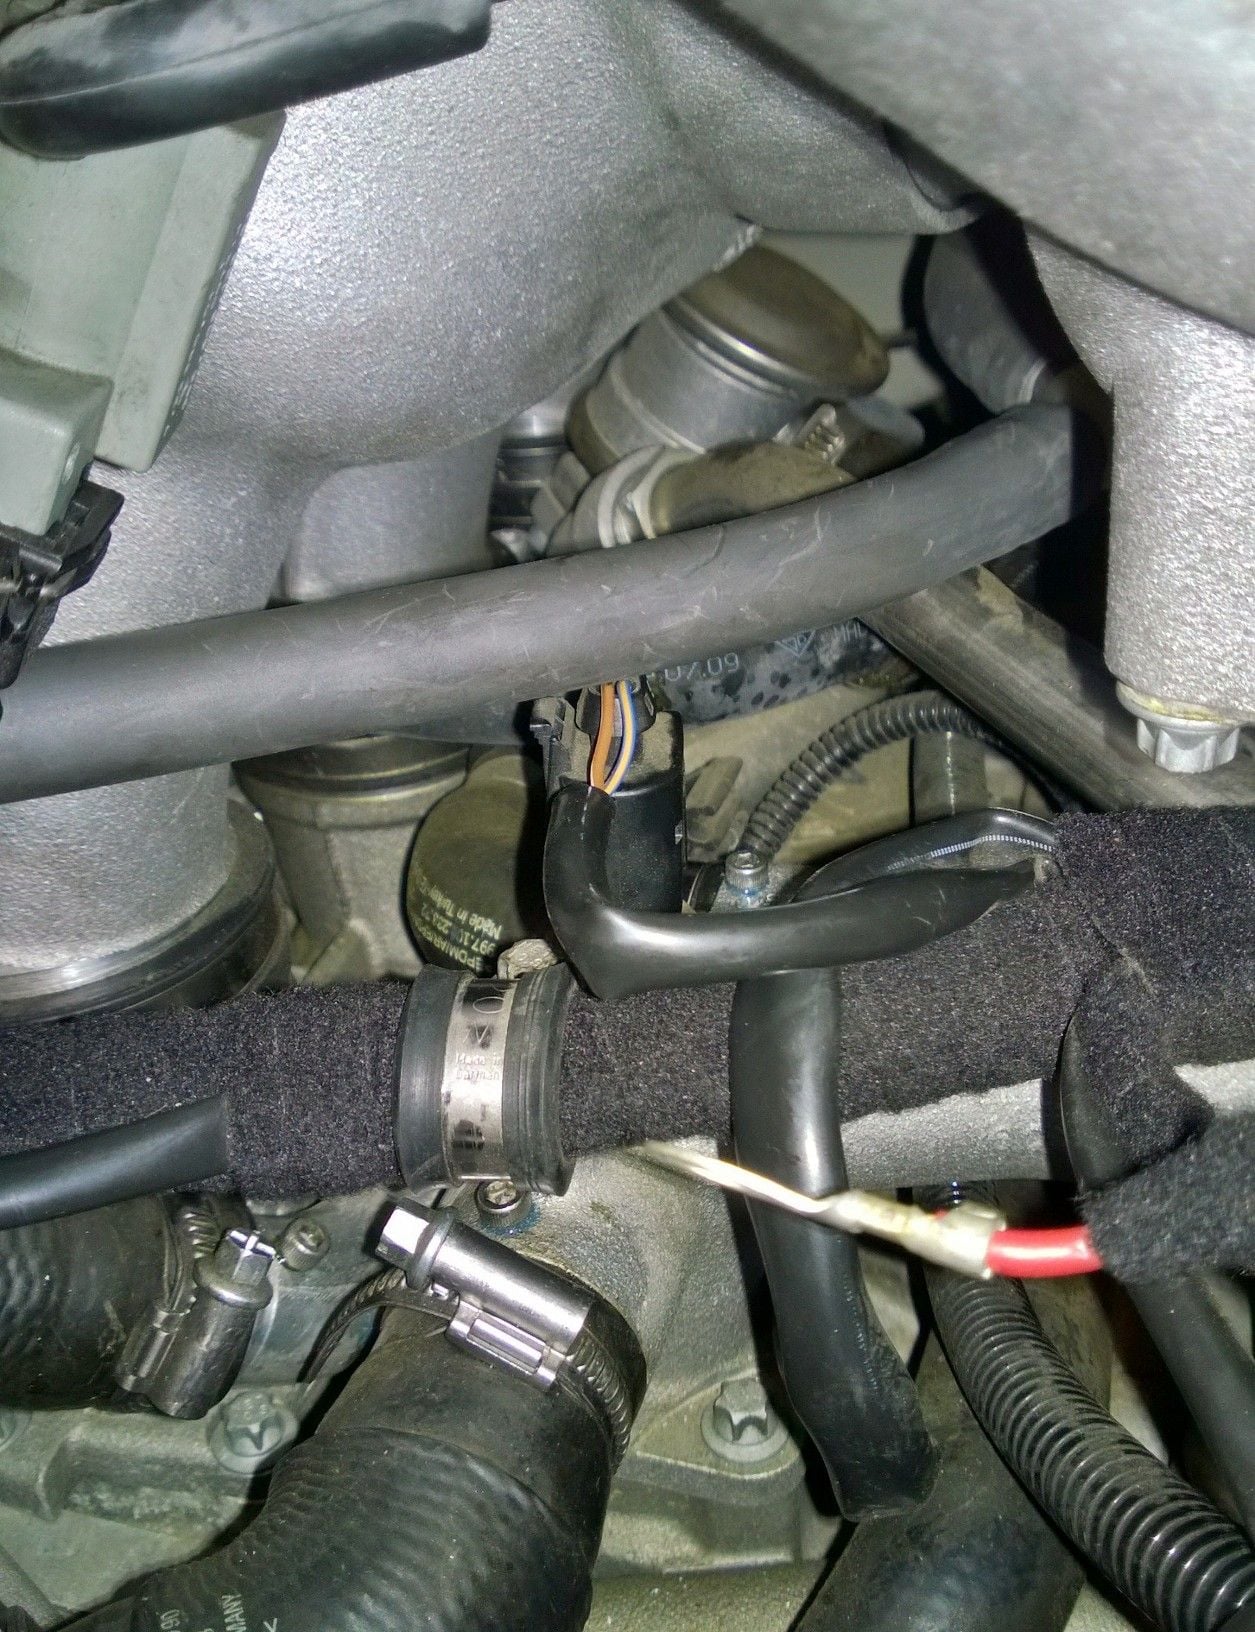
Stupid question, but can you not wire the hose clamp to the motor to prevent the pipe from coming out. It will need to be repaired but could stop fluid from dumping on rear tires.
Old 01-23-2015, 03:16 PM
  #95  
AEsco48
Pro
 
AEsco48's Avatar
 
Join Date: Oct 2007
Location: Miami, FL
Posts: 518
Received 11 Likes on 9 Posts
Default

There is maybe 1 fitting you could loop safety wire around the clamp and then around another component, the rest would need a PITA... and that's based on pictures of the engine out of the car.... In car would be another story...

When mine failed it was a catastrophic coolant dump and when I looking in the engine bay with a flashlight the fitting had not completely popped out of the hole, just backed out a bit and unseated. At 15PSI even just a slight gap allows quite a bit of fluid out rather quickly...
Old 01-25-2015, 03:32 PM
  #96  
rensprt
Advanced
 
rensprt's Avatar
 
Join Date: Mar 2013
Posts: 56
Likes: 0
Received 5 Likes on 2 Posts
Default

Too bad. I figured it would not work but good to rule it out.
Old 02-03-2015, 12:31 AM
  #97  
lmnsblu355
Rennlist Member
 
lmnsblu355's Avatar
 
Join Date: Mar 2012
Location: NY metro
Posts: 330
Received 12 Likes on 9 Posts
Default

Is anyone concerned re: galvanic corrosion between the aluminum housing and stainless bolt in the presence of coolant?

Has anyone used aluminum socket head screws rather than stainless? Shear strength should still be more than adequate, no?
Old 02-03-2015, 02:01 AM
  #98  
997s07
Burning Brakes
 
997s07's Avatar
 
Join Date: Oct 2014
Posts: 1,195
Likes: 0
Received 5 Likes on 5 Posts
Default

Originally Posted by lmnsblu355
Is anyone concerned re: galvanic corrosion between the aluminum housing and stainless bolt in the presence of coolant?

Has anyone used aluminum socket head screws rather than stainless? Shear strength should still be more than adequate, no?
Galvanic corrosion won't happen since the there won't be "electron transfer" from the metals. There's no potential. But, there could be other issues.
Old 10-24-2015, 10:34 AM
  #99  
Rick GT3
Rennlist Member
 
Rick GT3's Avatar
 
Join Date: Feb 2010
Location: PR
Posts: 883
Received 92 Likes on 71 Posts
Default

yesterday finished pining ( 6 )the left side of the engine, alternator also installed back. now this week will do the right side. also did clean engine bay.


who ever wants to do this task, do it slowly, make sure you feel comfortable working on engines.

BIG THANKS to Steve W for posting this DIY.
Old 10-24-2015, 10:35 AM
  #100  
Rick GT3
Rennlist Member
 
Rick GT3's Avatar
 
Join Date: Feb 2010
Location: PR
Posts: 883
Received 92 Likes on 71 Posts
Default

btw Steve W if you come to PR I will invite you for a cool Medalla...


Old 10-24-2015, 01:48 PM
  #101  
robbieracer
Rennlist Member
 
robbieracer's Avatar
 
Join Date: Jul 2013
Posts: 216
Likes: 0
Received 4 Likes on 1 Post
Default

Nice, I plan on doing this soon.
Old 10-24-2015, 03:36 PM
  #102  
Steve W
Racer
Thread Starter
 
Steve W's Avatar
 
Join Date: Oct 2001
Location: PV Estates, CA
Posts: 378
Received 94 Likes on 38 Posts
Default

Originally Posted by Rick 930
btw Steve W if you come to PR I will invite you for a cool Medalla...


Glad it was of help! Cheers!
Old 10-25-2015, 08:55 AM
  #103  
Greg Lab
Racer
 
Greg Lab's Avatar
 
Join Date: Aug 2002
Location: SoCal
Posts: 412
Likes: 0
Received 2 Likes on 2 Posts
Default

Wow, impressive work, undaunted...
Old 11-05-2015, 07:45 PM
  #104  
Rick GT3
Rennlist Member
 
Rick GT3's Avatar
 
Join Date: Feb 2010
Location: PR
Posts: 883
Received 92 Likes on 71 Posts
Default

finally GT3 engine pinning is done, last Monday did the right side of the engine and assemble everything back the same night. Did start the car 24 hrs later and no leaks.


Steve W, thanks again.
Old 11-05-2015, 10:20 PM
  #105  
997s07
Burning Brakes
 
997s07's Avatar
 
Join Date: Oct 2014
Posts: 1,195
Likes: 0
Received 5 Likes on 5 Posts
Default

Originally Posted by Rick 930
finally GT3 engine pinning is done, last Monday did the right side of the engine and assemble everything back the same night. Did start the car 24 hrs later and no leaks.


Steve W, thanks again.
Wow. Great job. How long did the actual labor take?

Thread Tools
Search this Thread
Quick Reply: DIY Coolant Fitting Fix with Motor In the Car


All times are GMT -3. The time now is 10:36 PM.