
rear wing part 2 (with pics) ... + did the rennline gas pedal install
 03-13-2007, 09:02 PM
#1
Drifting
Thread Starter
- thanks to comments yesterday, I re-did the rear wing adjustment attempt today and took pictures
1) remove all 6 screws - 100% not necessary but 100% easier when you do
2) by removing the forward screw, to completely take off the wing (this will be the only time this is necessary), it is now 100% easier to remove the hidden screw on the rear bracket
3) reinstall the front screw back into the wing
4) place the plug on the rear bracket into the desired position (stock, stock + 4 degress, stock + 8 degress) - yes I measured it with my new Home Depot ruler (each hole is 4 degress higher) and do NOT re-install the screw that attaches the bracket to the wing
5) lower wing down to the now somewhat floating / rotating rear bracket
6) insert 2 screws per side and tighten
Now that the rear screw has been removed, the wing position can be changed in 10 minutes as only 4 allen key screws must be removed and quickly re-installed
please see pictures
Underside of wing
http://i66.photobucket.com/albums/h2.../997gt3002.jpg
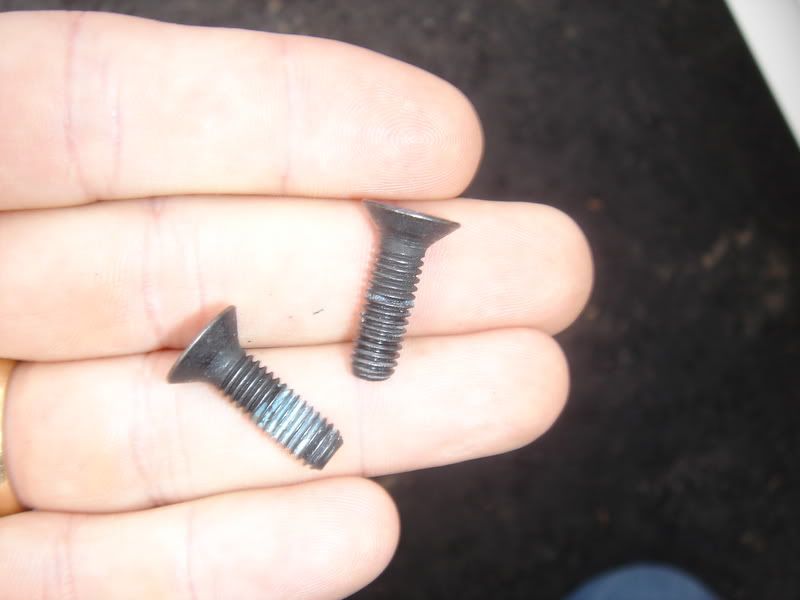
Screws that have to be removed
http://i66.photobucket.com/albums/h2.../997gt3003.jpg
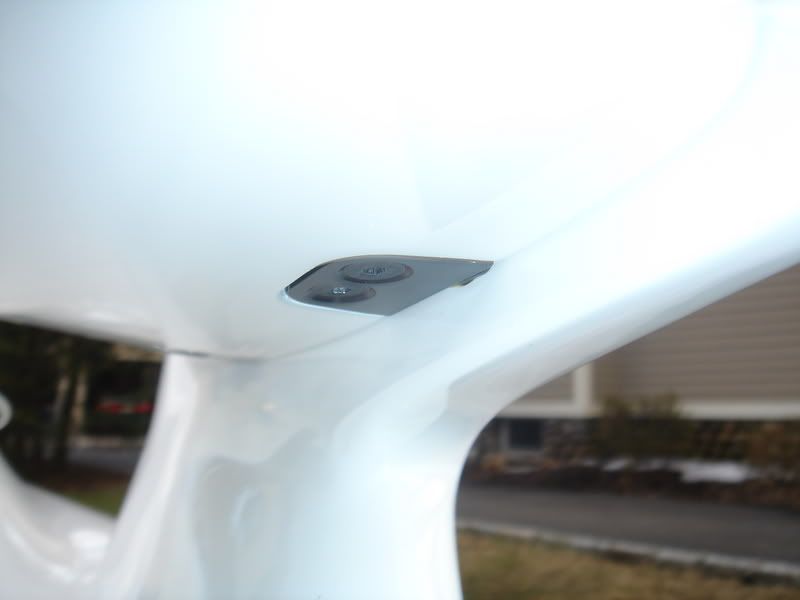
Rear bracket exposed (screw still installed)
http://i66.photobucket.com/albums/h2.../997gt3005.jpg
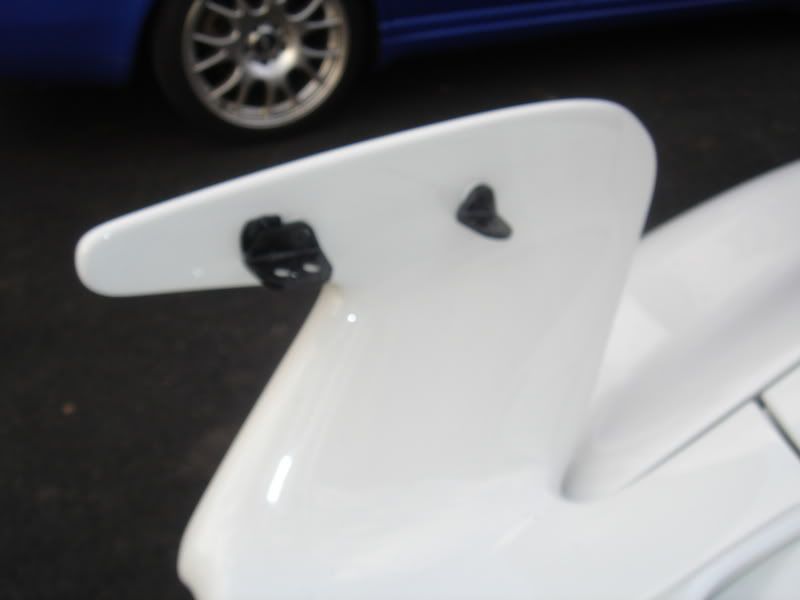
Wing removed
http://i66.photobucket.com/albums/h2.../997gt3006.jpg
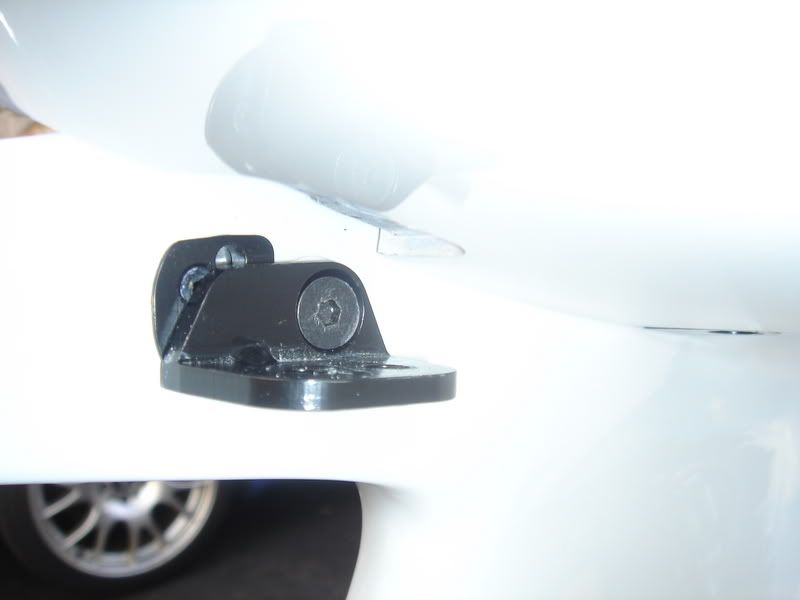
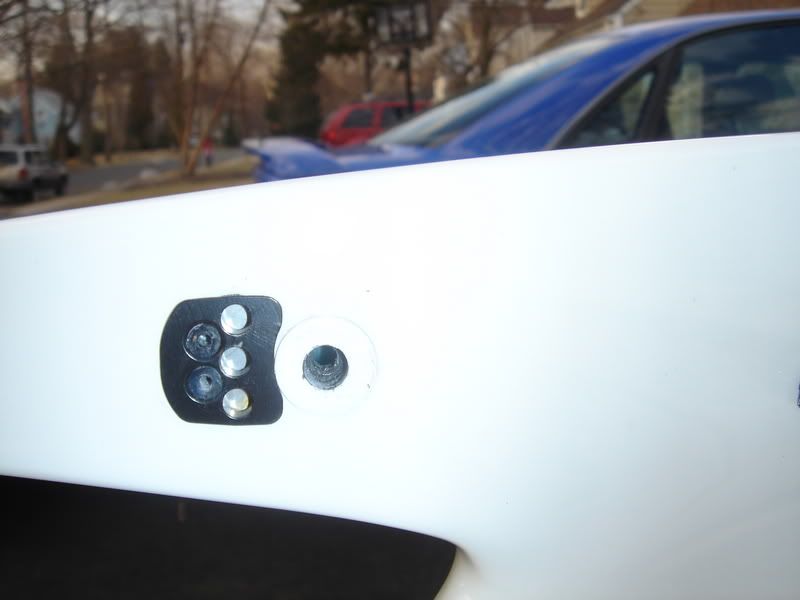
Closeup of rear bracket with 3 holes (lower hole is stock, each hole is 4 degress higher measured with Home Depot ruler from front pivot)
http://i66.photobucket.com/albums/h2.../997gt3007.jpg
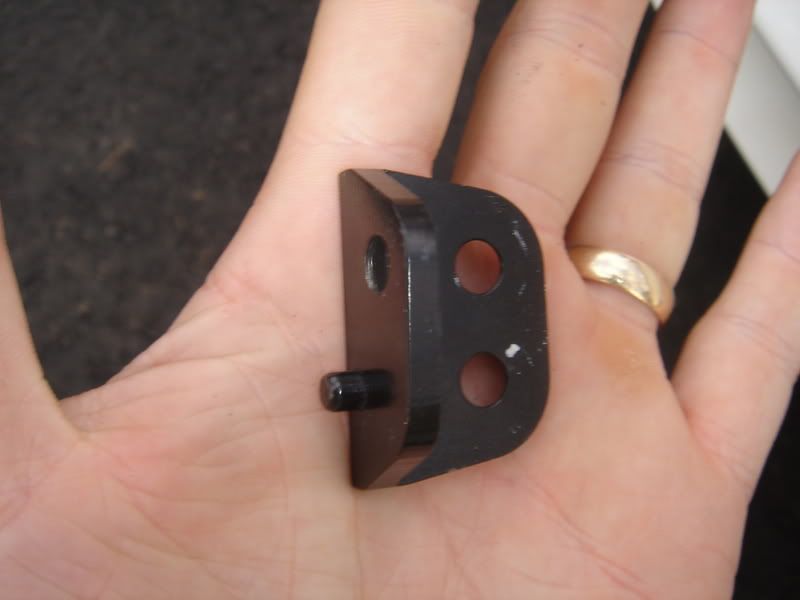
Rear bracket removed (note plug on the side that fits in the hole)
http://i66.photobucket.com/albums/h2.../997gt3008.jpg
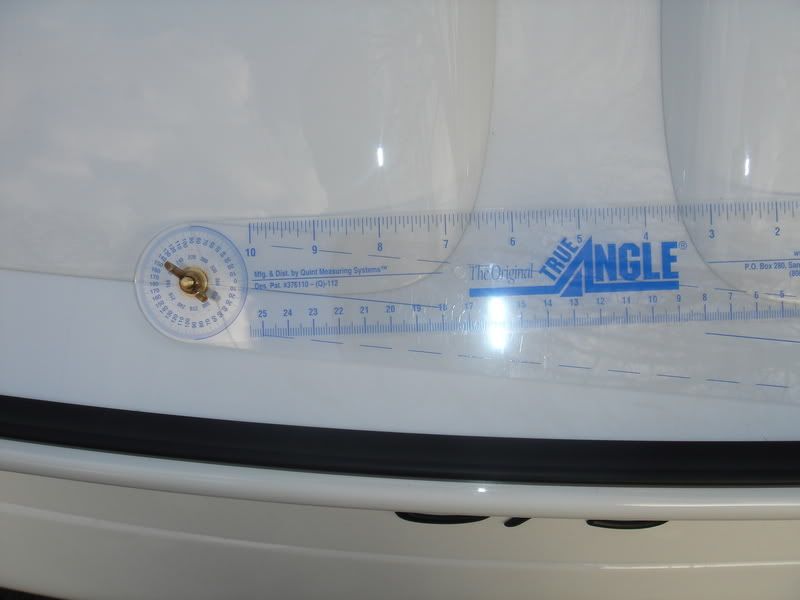
Trusty new Home Depot Ruler that was used for measurement
http://i66.photobucket.com/albums/h2.../997gt3009.jpg
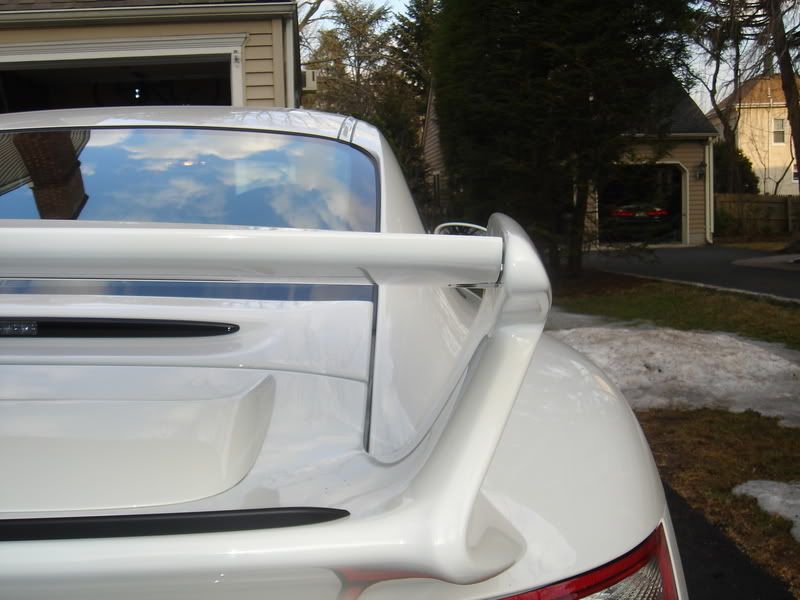
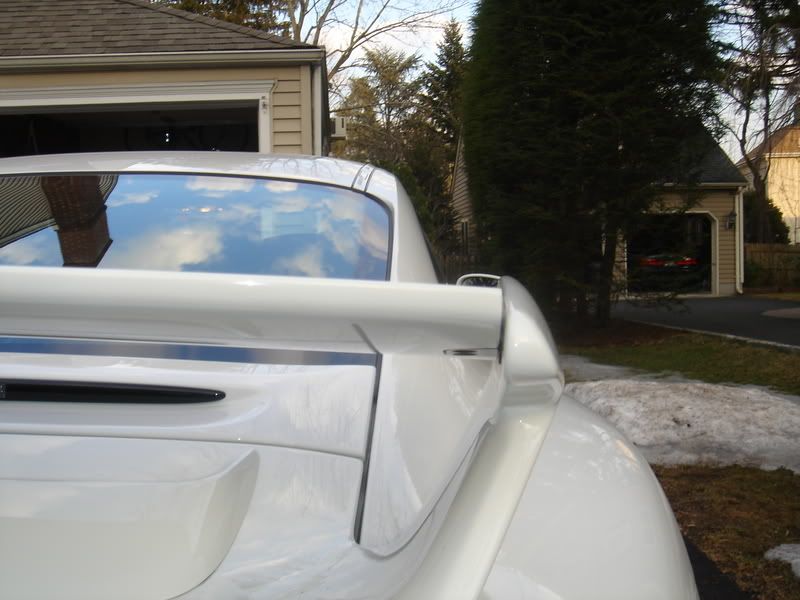
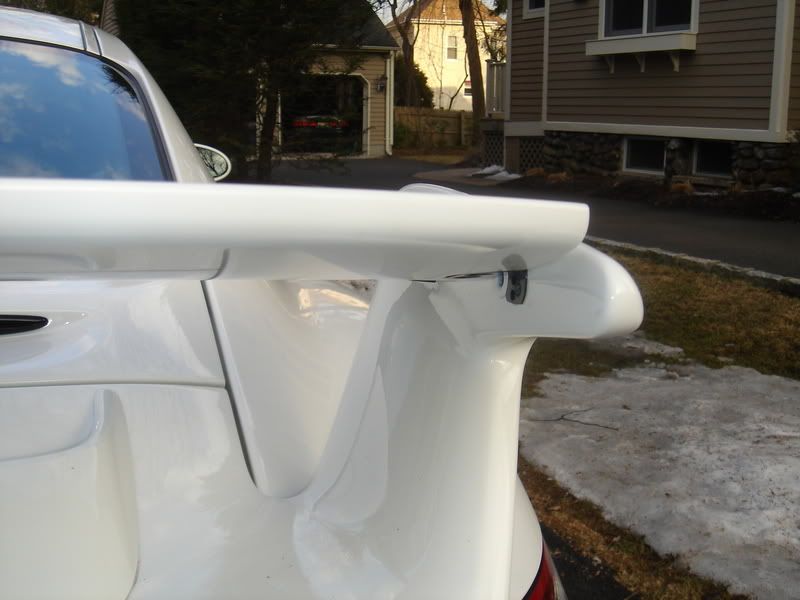
Rear wing in stock position, stock plus 4 degress, stock plus 8 degress
http://i66.photobucket.com/albums/h2.../997gt3012.jpg
http://i66.photobucket.com/albums/h2.../997gt3013.jpg
http://i66.photobucket.com/albums/h2.../997gt3010.jpg
Also did the Rennline gas pedal with side extensions install today (forgot to take picture) but see below
http://rennline.com/product.php/sid/...che/prodid/115
I was able to do Heal Toe prior to the install but now it is very easy - I have pccbs
The other pedals are not necessary to install in my opinion
1) remove all 6 screws - 100% not necessary but 100% easier when you do
2) by removing the forward screw, to completely take off the wing (this will be the only time this is necessary), it is now 100% easier to remove the hidden screw on the rear bracket
3) reinstall the front screw back into the wing
4) place the plug on the rear bracket into the desired position (stock, stock + 4 degress, stock + 8 degress) - yes I measured it with my new Home Depot ruler (each hole is 4 degress higher) and do NOT re-install the screw that attaches the bracket to the wing
5) lower wing down to the now somewhat floating / rotating rear bracket
6) insert 2 screws per side and tighten
Now that the rear screw has been removed, the wing position can be changed in 10 minutes as only 4 allen key screws must be removed and quickly re-installed
please see pictures
Underside of wing
http://i66.photobucket.com/albums/h2.../997gt3002.jpg
Screws that have to be removed
http://i66.photobucket.com/albums/h2.../997gt3003.jpg
Rear bracket exposed (screw still installed)
http://i66.photobucket.com/albums/h2.../997gt3005.jpg
Wing removed
http://i66.photobucket.com/albums/h2.../997gt3006.jpg
Closeup of rear bracket with 3 holes (lower hole is stock, each hole is 4 degress higher measured with Home Depot ruler from front pivot)
http://i66.photobucket.com/albums/h2.../997gt3007.jpg
Rear bracket removed (note plug on the side that fits in the hole)
http://i66.photobucket.com/albums/h2.../997gt3008.jpg
Trusty new Home Depot Ruler that was used for measurement
http://i66.photobucket.com/albums/h2.../997gt3009.jpg
Rear wing in stock position, stock plus 4 degress, stock plus 8 degress
http://i66.photobucket.com/albums/h2.../997gt3012.jpg
http://i66.photobucket.com/albums/h2.../997gt3013.jpg
http://i66.photobucket.com/albums/h2.../997gt3010.jpg
Also did the Rennline gas pedal with side extensions install today (forgot to take picture) but see below
http://rennline.com/product.php/sid/...che/prodid/115
I was able to do Heal Toe prior to the install but now it is very easy - I have pccbs
The other pedals are not necessary to install in my opinion
Last edited by 997gt3north; 03-13-2007 at 09:58 PM.
 03-13-2007, 09:06 PM
#2
Addict
Rennlist Member
Rennlist Member
Join Date: Jan 2003
Location: Los Angeles
Posts: 1,643
Likes: 0
Received 0 Likes
on
0 Posts
Grrrr...
please see pictures
Underside of wing
Screws that have to be removed
Rear bracket exposed (screw still installed)
Wing removed
Closeup of rear bracket with 3 holes (lower hole is stock, each hole is 4 degress higher measured with Home Depot ruler from front pivot)
Rear bracket removed (note plug on the side that fits in the hole)
Trusty new Home Depot Ruler that was used for measurement
Rear wing in stock position, stock plus 4 degress, stock plus 8 degress
Also did the Rennline gas pedal with side extendion install today (forgot to take picture) but see
 06-24-2008, 10:52 PM
#5
Drifting

Paul, thanks for the great write-up. I used the instructions above to adjust my wing's rake. To further add to the conversation, the allen key head size is 4mm.
In addition, I asked a friend of mine, Joe Cheng, designer and builder of the world's fastest autocross car, about the rake of the wing. Joe has spent countless hours in the windtunnel, etc. building the Phantom, the car that devastated the USA Solo II Nationals a few years back:

Here are his thoughts on the wing adjustment for our cars:
In addition, I asked a friend of mine, Joe Cheng, designer and builder of the world's fastest autocross car, about the rake of the wing. Joe has spent countless hours in the windtunnel, etc. building the Phantom, the car that devastated the USA Solo II Nationals a few years back:
Here are his thoughts on the wing adjustment for our cars:
"For a single element wing, there is not much drag anyway. It usually starts stalling at around 12 to 14 degrees. Doesn't surprise me for the factory to set it at around 8 degrees, since under heavy braking the rake of the chassis could easily gain another couple of degrees.
I don't know Mosport's layout, but I don't think it's considered a high-speed track. When I say high-speed, I mean tracks like Sebring, Daytona or California Speedway where part of the lap is ran on the oval. High power cars like yours would be seeing 150-160 mph down the straight, with a lot of the other corners at 100+ mph. That's when you might see some gain by trimming the wing out a bit. Even for a track like Portland, it's considered a slow-speed track and maxing the wing should be faster."
I don't know Mosport's layout, but I don't think it's considered a high-speed track. When I say high-speed, I mean tracks like Sebring, Daytona or California Speedway where part of the lap is ran on the oval. High power cars like yours would be seeing 150-160 mph down the straight, with a lot of the other corners at 100+ mph. That's when you might see some gain by trimming the wing out a bit. Even for a track like Portland, it's considered a slow-speed track and maxing the wing should be faster."
06-20-2009, 01:23 PM
#7
Instructor
Join Date: Apr 2006
Location: SF Bay Area / Switzerland
Posts: 126
Likes: 0
Received 0 Likes
on
0 Posts
Many thanks for the info ! Just set mine at +4, I'll happily trade some drag for a bit of margin on fast bends at the Ring. Does anyone have any idea of guess on the resulting downforce at +4 resp +8deg ?
Trending Topics
04-12-2015, 06:10 AM
#12
Rennlist Member
- thanks to comments yesterday, I re-did the rear wing adjustment attempt today and took pictures
1) remove all 6 screws - 100% not necessary but 100% easier when you do
2) by removing the forward screw, to completely take off the wing (this will be the only time this is necessary), it is now 100% easier to remove the hidden screw on the rear bracket
3) reinstall the front screw back into the wing
4) place the plug on the rear bracket into the desired position (stock, stock + 4 degress, stock + 8 degress) - yes I measured it with my new Home Depot ruler (each hole is 4 degress higher) and do NOT re-install the screw that attaches the bracket to the wing
5) lower wing down to the now somewhat floating / rotating rear bracket
6) insert 2 screws per side and tighten
Now that the rear screw has been removed, the wing position can be changed in 10 minutes as only 4 allen key screws must be removed and quickly re-installed
Edit: figured it out. It was the screw that attaches the rear bracket to the uprights.
Last edited by Damage; 04-12-2015 at 06:46 AM.