When you click on links to various merchants on this site and make a purchase, this can result in this site earning a commission. Affiliate programs and affiliations include, but are not limited to, the eBay Partner Network.
Sony XAV-AX100 receiver + backup camera installed >>
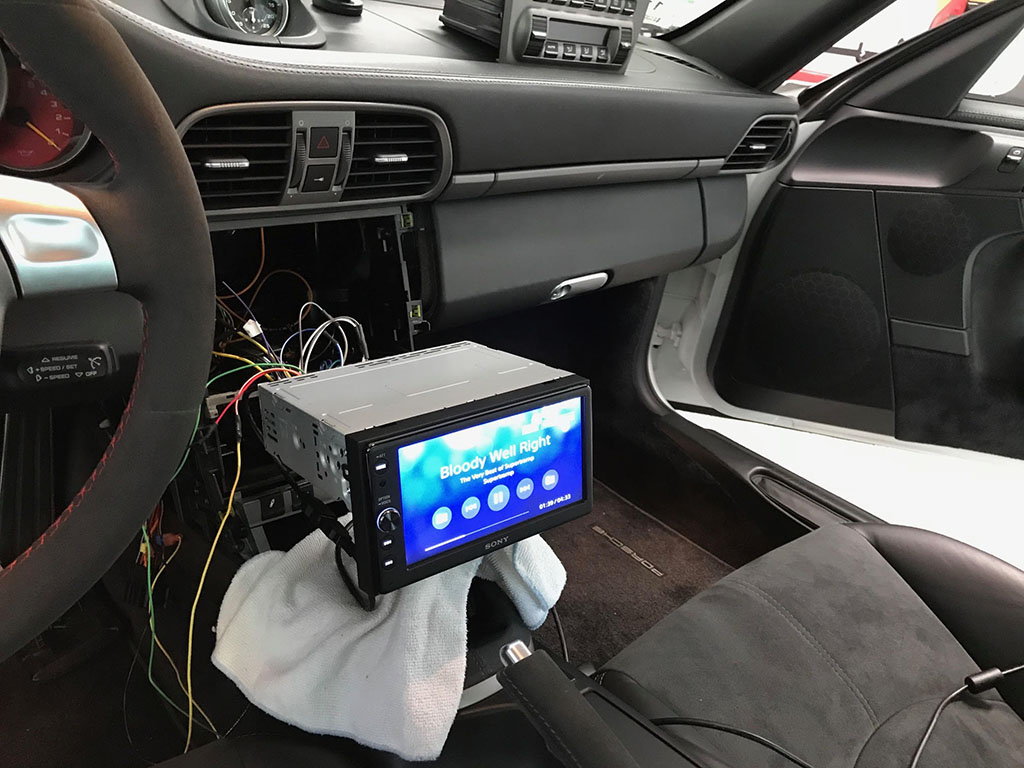
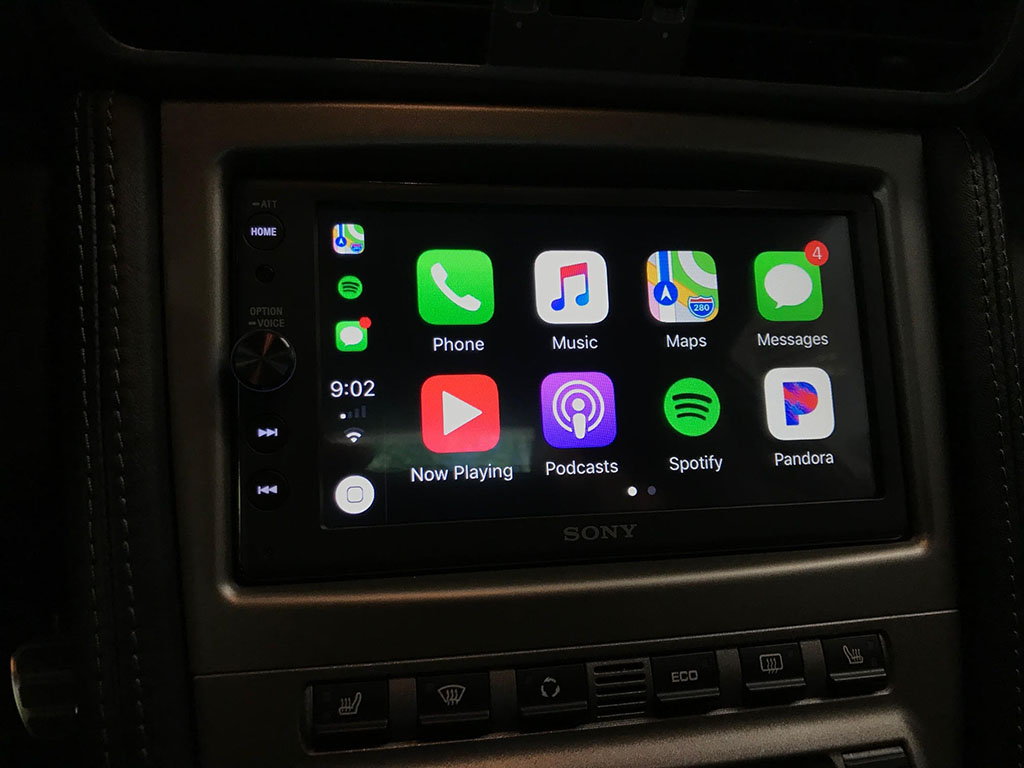
Thanks to those that helped with information and advice! I installed the head unit and backup camera this week. I had been researching for a while and settled on the Sony XAV-AX100 as it features Apple CarPlay and Android Auto plus it has an actual volume ****. I also thought it had the least offensive UI / tactile buttons of some of the aftermarket receivers I'd seen.
My reasons for changing out the stock radio are:
I wanted a backup camera as I've come to appreciate them on our other vehicles and the rear of 911 is tricky to negotiate sometimes.
I wanted CarPlay so I could get rid of my phone and various and sundry phone mounts from the cockpit of the car.
The new receiver sounds better than the stock one as well, so that was a benefit, but not mission critical.
My car is a 997.1 *without* the Bose system (amp and speakers), but it did have Porsche DVD navigation in the frunk, so the MOST fiber optic system was connected between the PCM HU and the Nav. This led to some confusion about whether or not I needed a fiber optic decoder and I feel like the install would have been smoother had I had the Bose system and could just plug the decoder in. Unlike me, if you have the Bose system and you are looking to replace your PCM with an aftermarket receiver, I would recommend buying this fiber optic adapter. Others have installed this with success and it's far cheaper than other decoders out there.
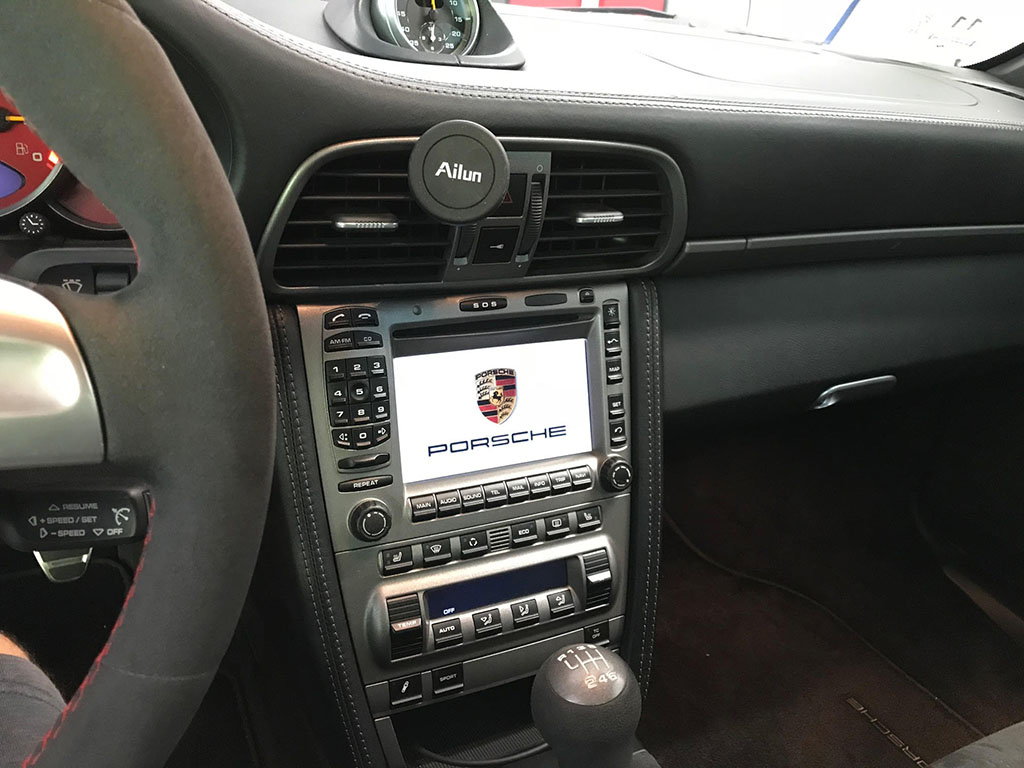
Here's the original PCM receiver before I started busting things apart. I had installed a Dension Gateway unit behind the PCM for connecting my phone when I first bought the car, so I was familiar with removing the receiver.
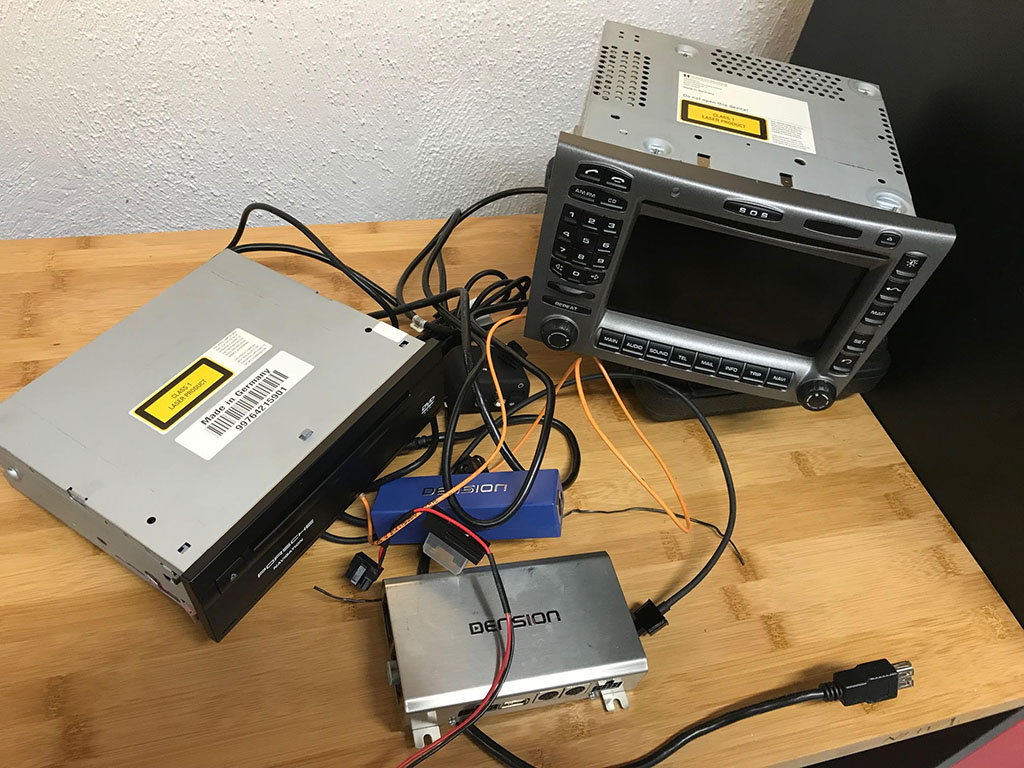
Everything removed. The whole install is reversible, so I'm going to hang on to the OEM radio and nav if I decide to go back to stock. Anyone need the Dension?
By default the pins on the Metra harness are not in the correct positions for our cars so I needed to move some pins around to connect to the existing plug. I had 12v constant, antenna booster, and ground from the existing plug, but the new head unit needed 12v switched, illumination, parking brake, and reverse trigger as well. This was a very handy write-up from CAI that I used to locate these connections. I did not want to tap the fuse panel for any connections, so it was nice to be able to grab everything from behind the dash.
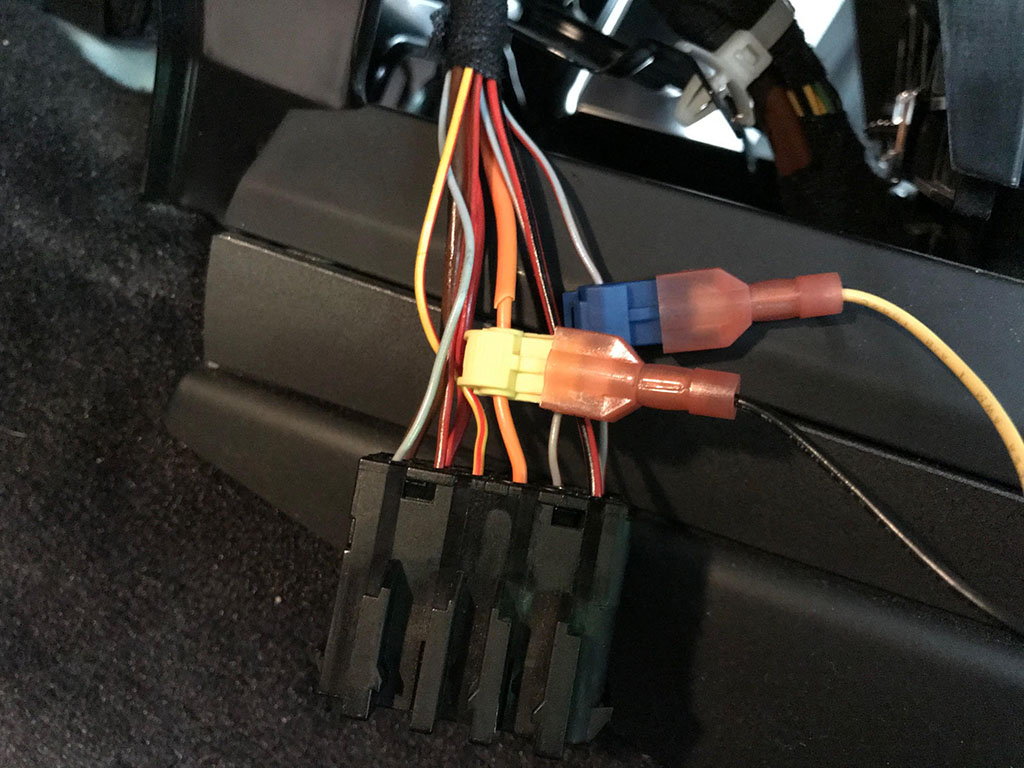
Tapping 12v switched (big orange wire) and illumination so the receiver screen dims when you have the headlights on. This plug is located on the passenger side behind the climate control module. I unplugged it and moved it to the drivers side to tap as there was more room to work there.
Testing all the connections before buttoning it up.
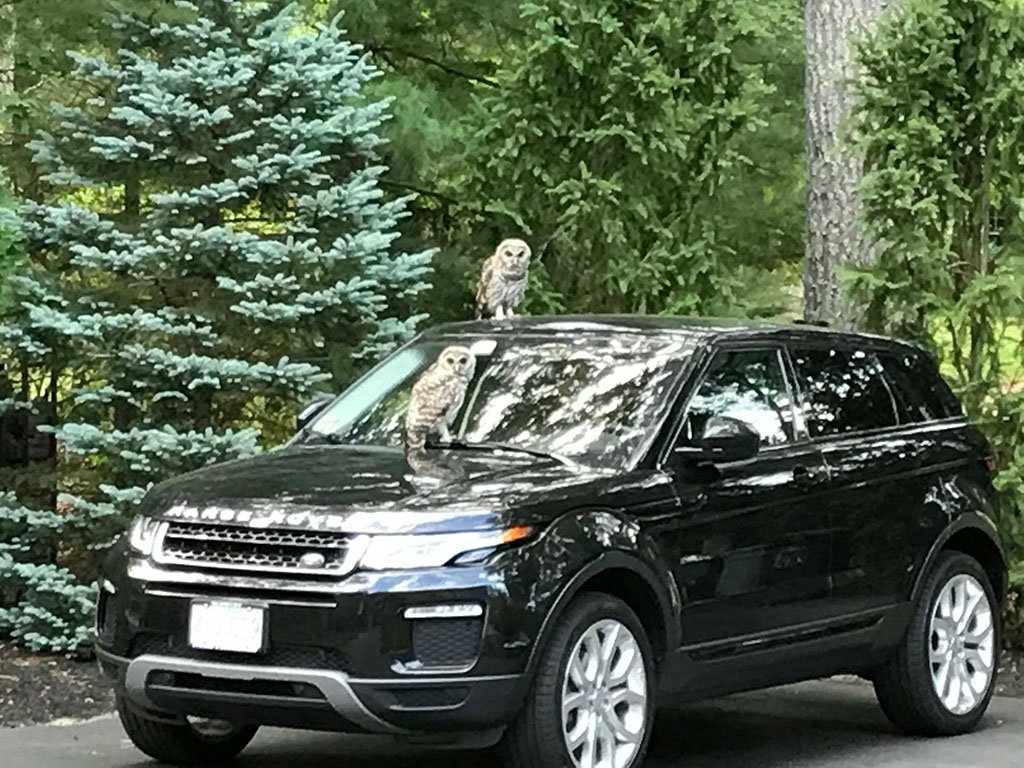
Here are a couple of Barred Owls pooping on my car in the driveway while I worked in the garage. I let them know they could stay as long as they ate all the mice and chipmunks they could find in my yard. I don't know if they understood me.
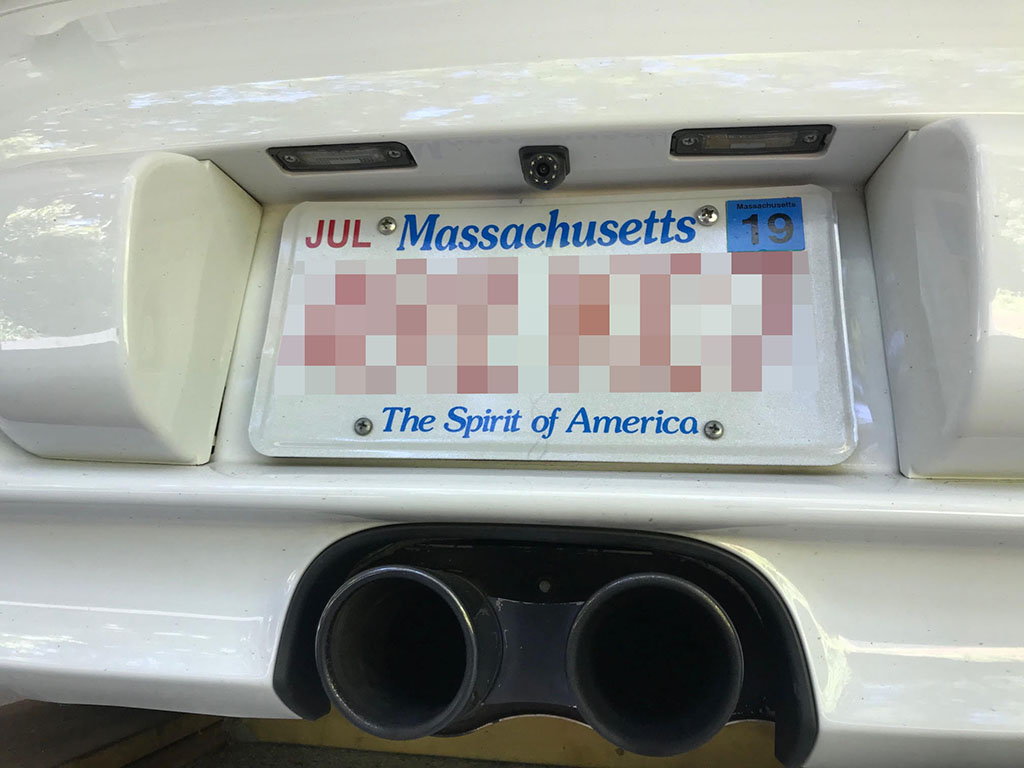
Back up camera installed above the license plate. I ran the wires behind the bumper by removing the 4 torx screws from inside the engine bay up top and removing the passenger side light.
I ran power to the camera and the reverse trigger by tapping into the backup light. Good reference here:
I made a ground connection by grinding some paint away (behind the tail light) and using a self-tapping metal screw. I ran the video cable (with included trigger wire) through the grommet behind the headlight and again into a grommet on the passenger side of engine bay into the cabin. Del Ray customs has a shaky video that shows how to run this cable:
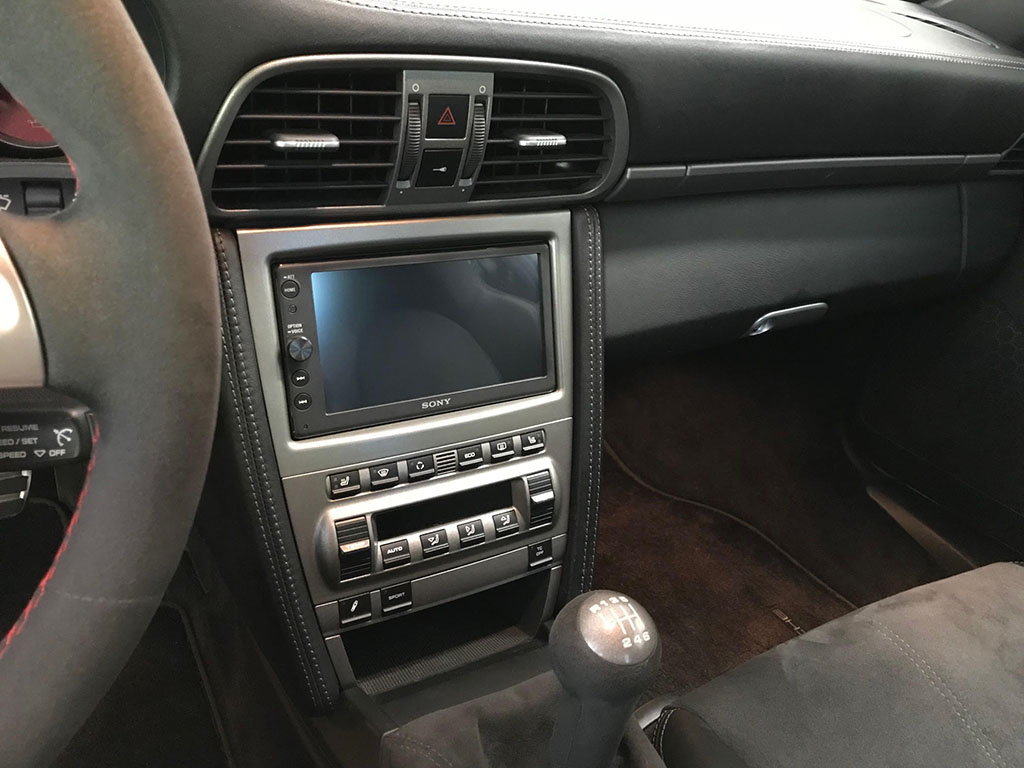
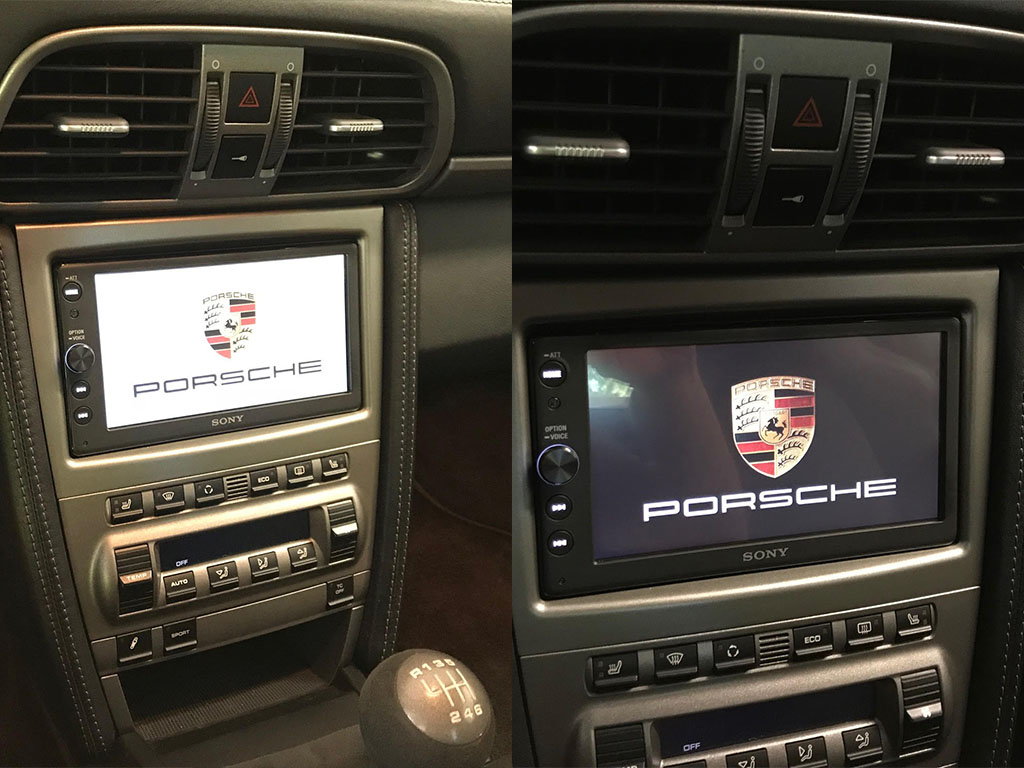
"Ta DAAAAAAA". Dash kit snapped into place. It's pretty cheaply made, hence the price, but it's a very close match and very secure.
Angle is a little low. The camera was so cheap and the connections on most of them are the same, so I may try a more adjustable one. For now it serves me well.
CarPlay! I use Waze mostly and was saddened to find out it is not available on CarPlay (yet) without a lot of hackery. However, iOS 12 is being released fall of 2018 and they will hopefully be integrating it then. For now, it's Apple maps.
Now I just need to decide on wallpaper. White or black?
I'm curious about the Sony - some have said there's a lag time for switching the reverse camera, as well as a long boot up time. What's you're experience with the reverse camera?
I'm curious about the Sony - some have said there's a lag time for switching the reverse camera, as well as a long boot up time. What's you're experience with the reverse camera?
No noticeable lag for the reverse camera. It switches on as soon as you place the car in reverse - faster than stock systems on most cars. The boot time is probably 5-7 seconds? A few seconds of that being the "attention screen" that warns of distracted driving. There is a firmware update for the Sony which I installed before I started messing with it. Maybe that's why some are having issues and it may have been remedied.
I entertained replacing speakers and adding an amp/sub, but I wanted to see how far just replacing the HU would take it. I'm going to leave it for a bit.
No noticeable lag for the reverse camera. It switches on as soon as you place the car in reverse - faster than stock systems on most cars. The boot time is probably 5-7 seconds? A few seconds of that being the "attention screen" that warns of distracted driving. There is a firmware update for the Sony which I installed before I started messing with it. Maybe that's why some are having issues and it may have been remedied.
so I could bend the bracket to the best angle. The one I previously installed looked more "OEM", but the fixed angle was more appropriate for a sedan or SUV. Our cars are too low to the ground for that style camera.
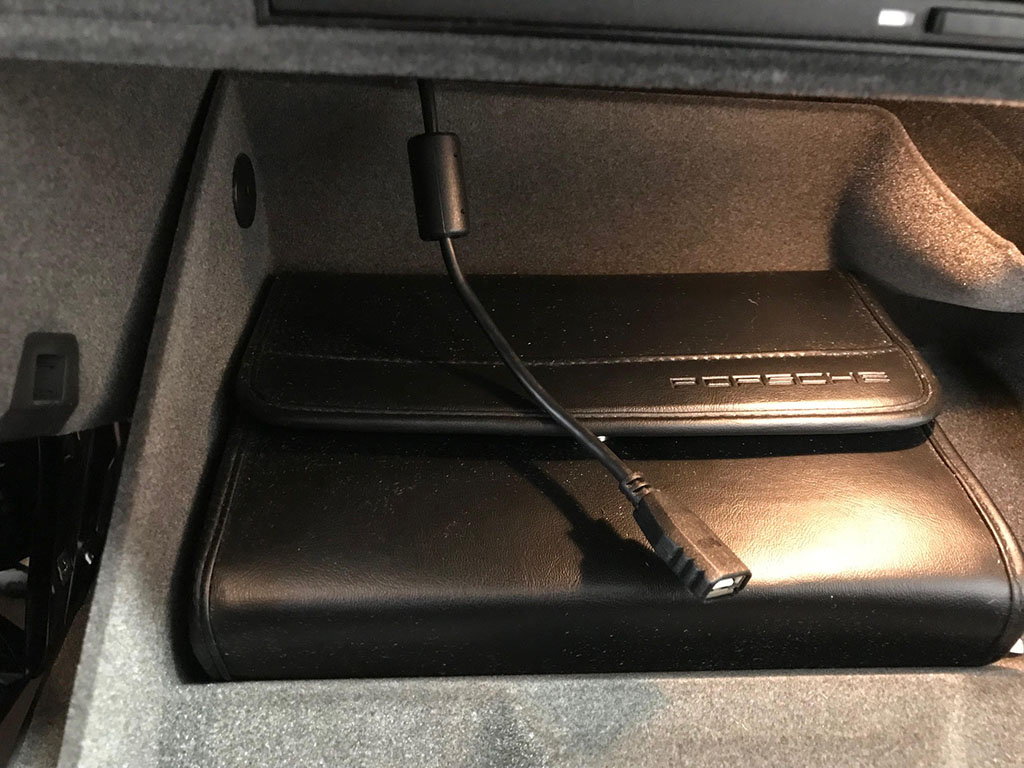
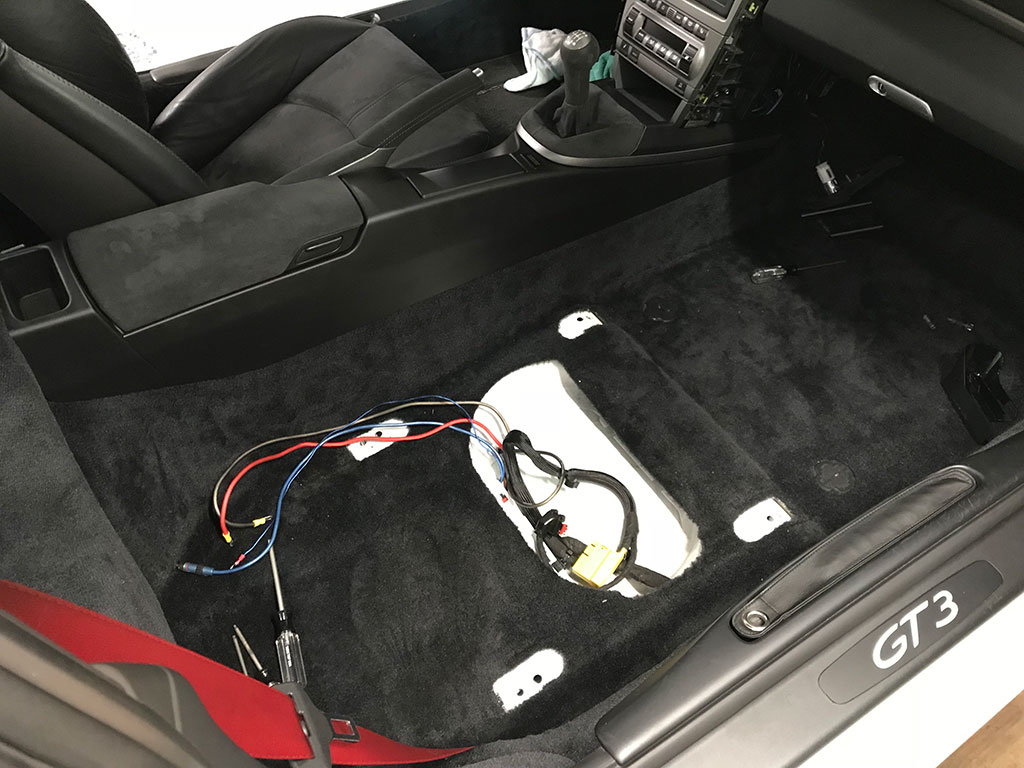
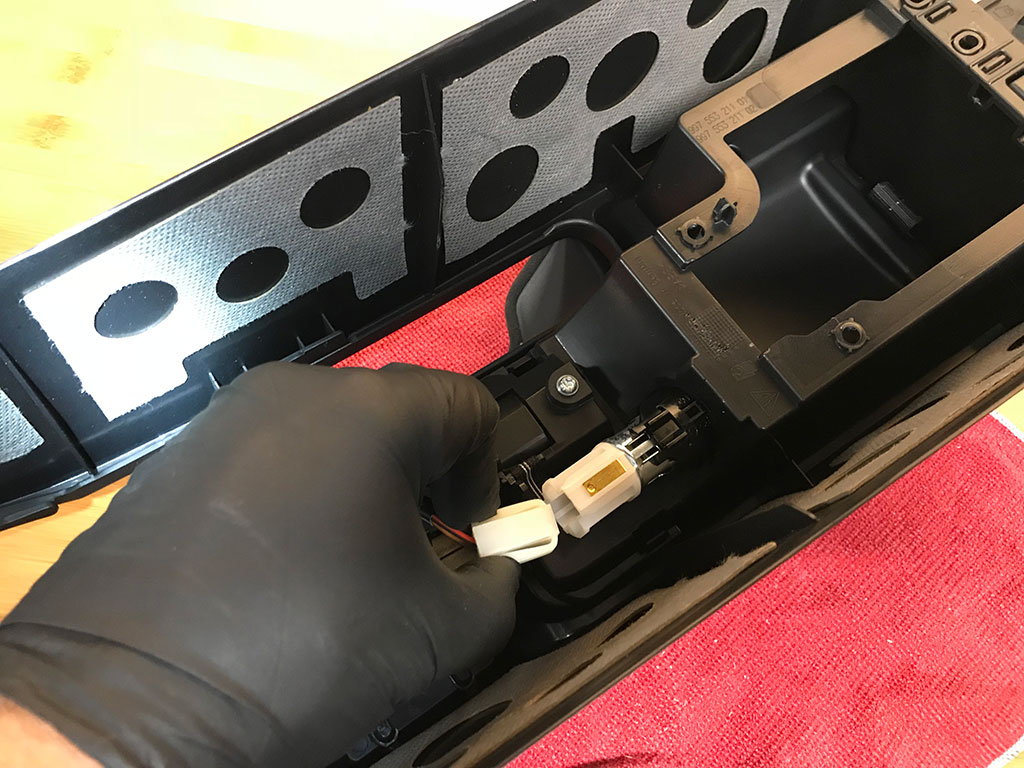
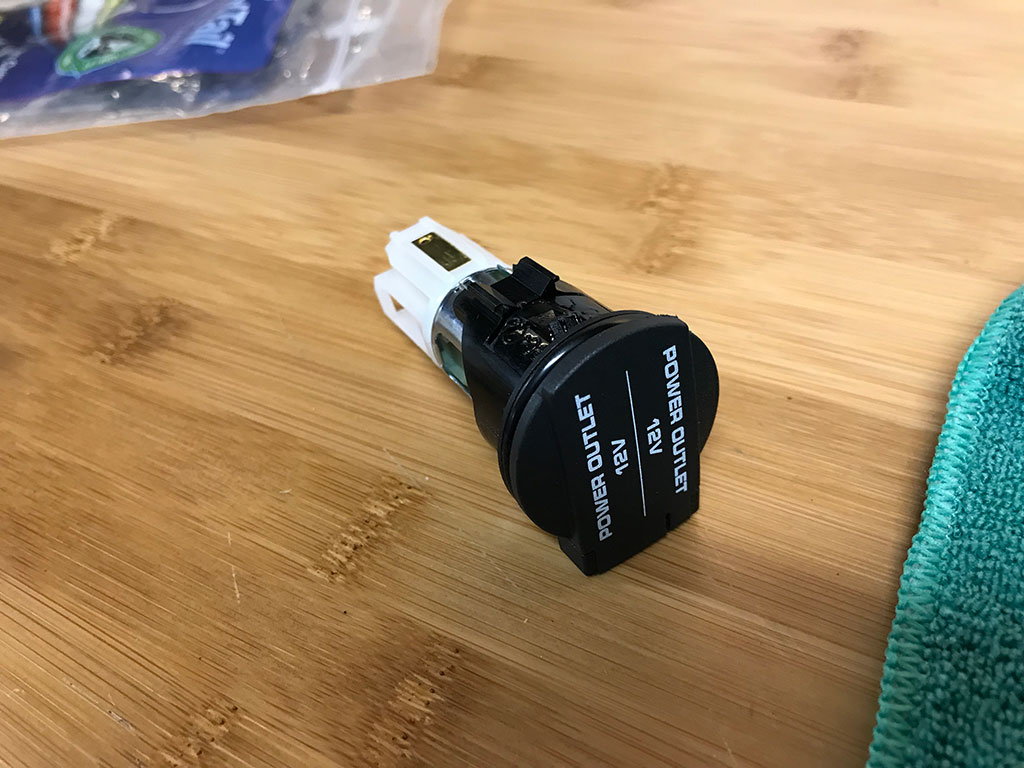
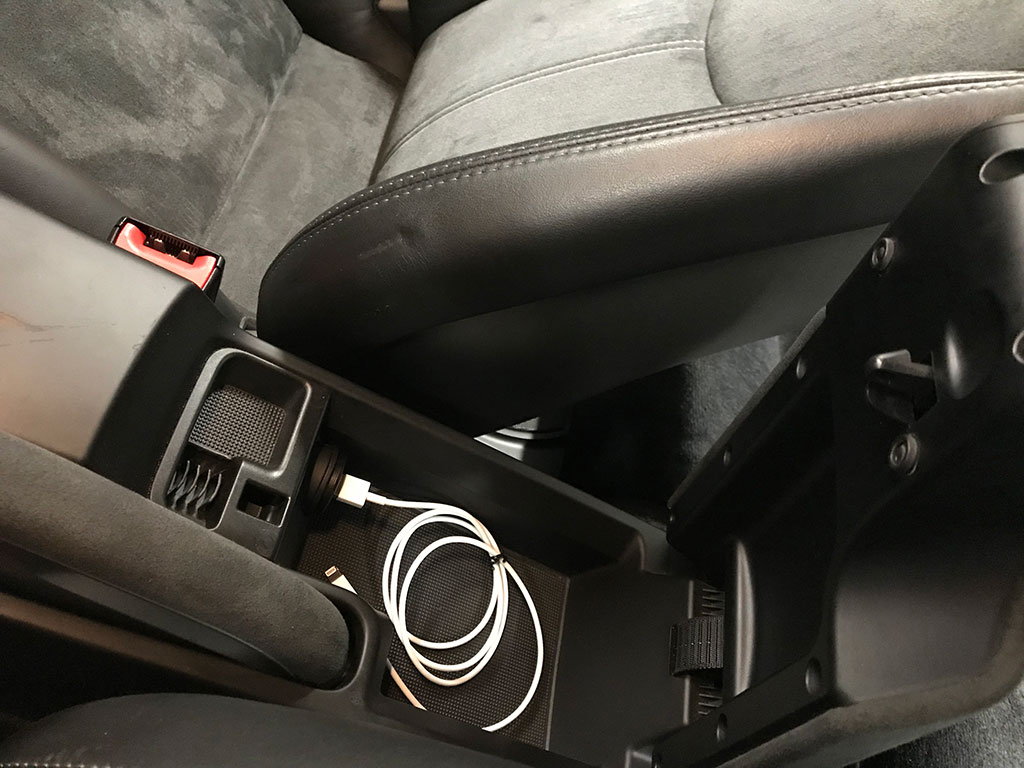
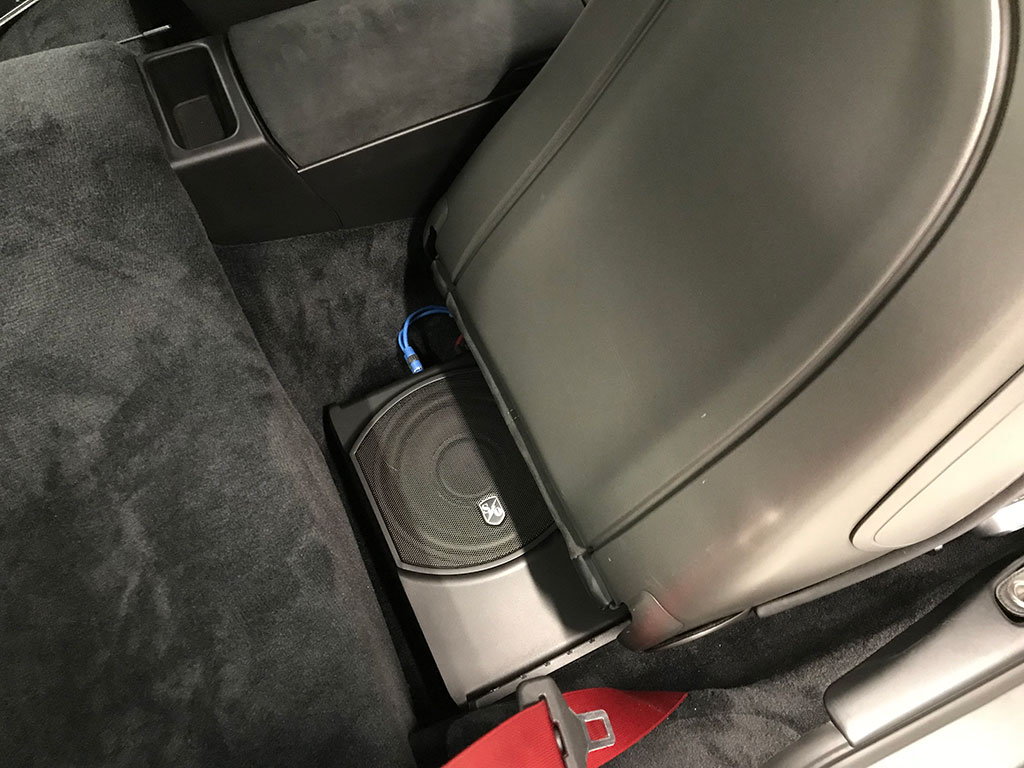
I didn't like the USB connection in the glovebox so I moved it to the center console where the 12V accessory that I've never used is located. Since I was removing the console, I added a powered sub sub behind the passenger seat to round out the limited base speaker system.
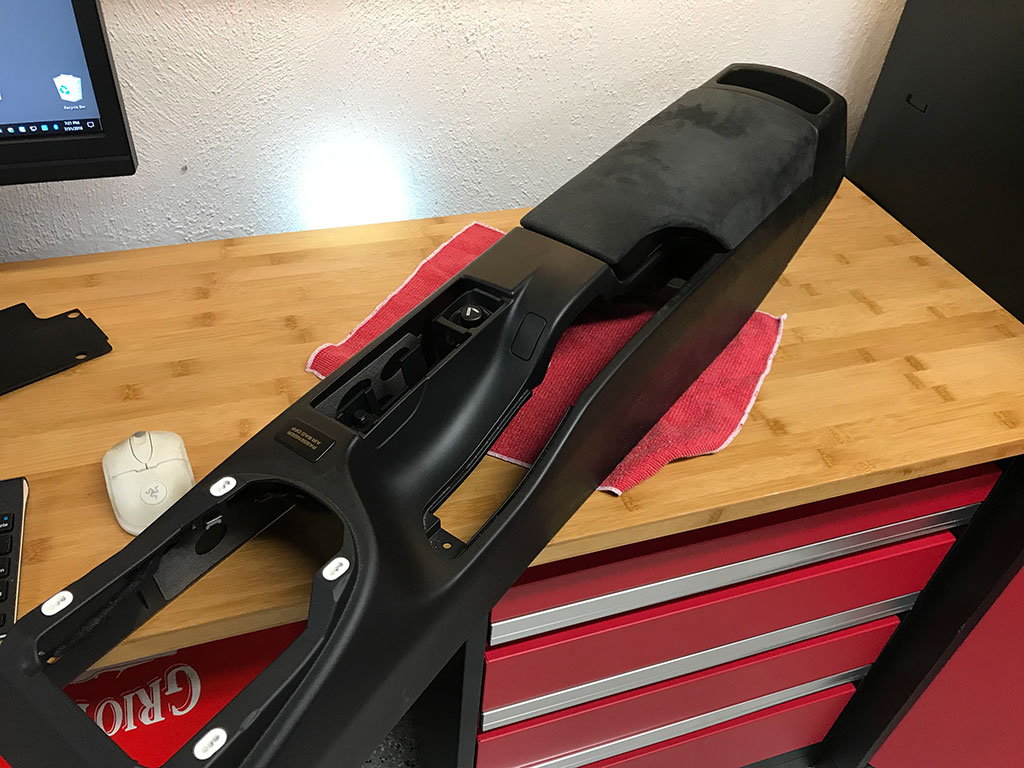
Remove plug. This took some doing. The whole piece rotates, then you can push it out.
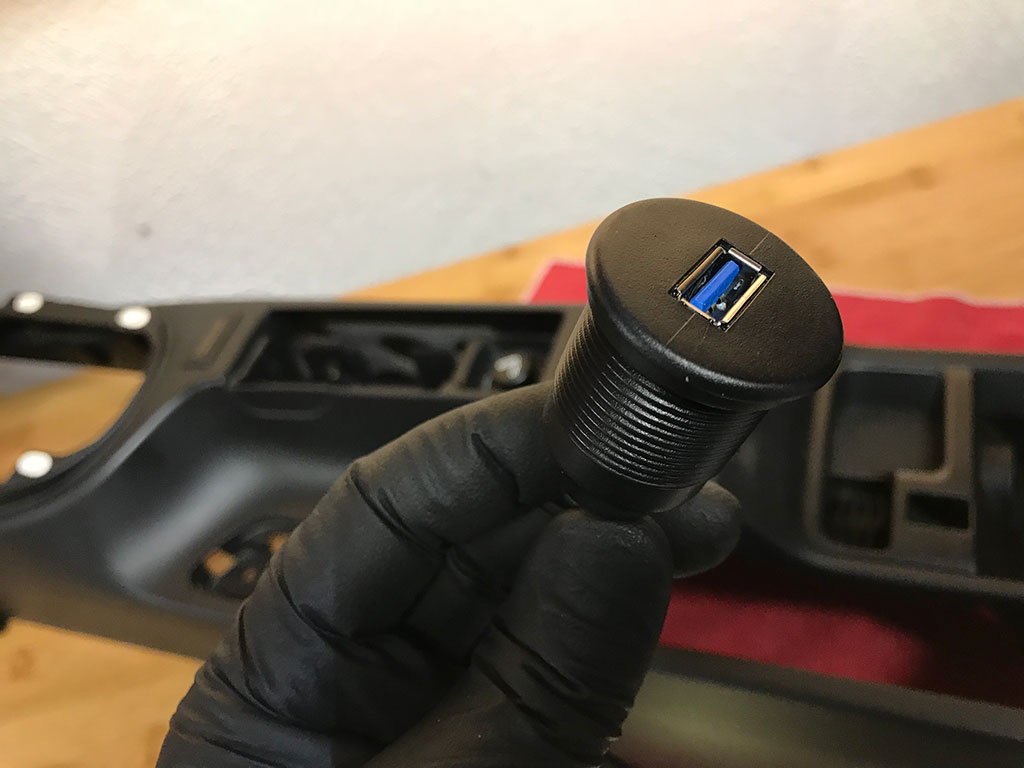
USB port going in.
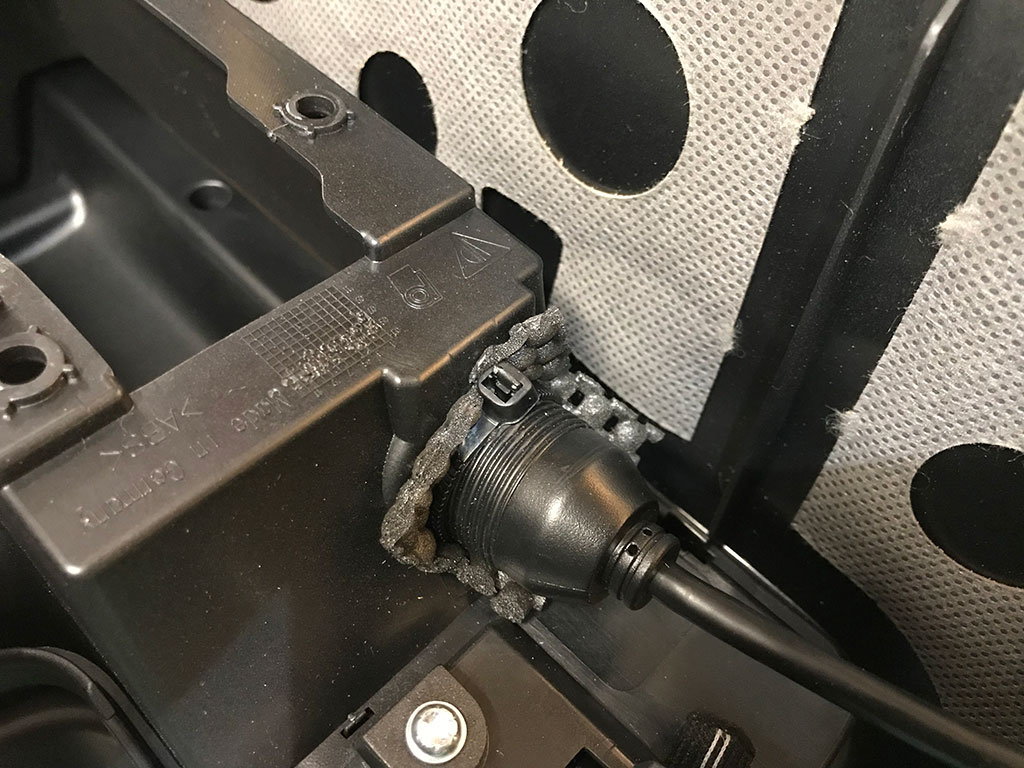
The nut that came with the port would not fit around the threads because the back side of the console is an irregular shape. I zip tied it in place (acting as a nut) and padded it with some drawer liner so it would be snug and vibration free.
Just installed an Xtrons Android 10 unit in our project 2002 C2 Tip Cab. Metra Fitting Kit that was a Royal PITA. But all good now. Bypassed old AMP (BOSE 5000) as it was blown from a mishap before we got the car. Bose speakers running off the head unit directly. Perfectly good sound clear and no distortion. After a bit of setting up this unit does everything expected. DAB+ is crystal clear and good at keeping the signal on the move. GPS is fast and Google maps and Waze work as expected. Auto connect on bluetooth. Full address book integration etc. Video playback is fast and smooth.
Used the background below which works perfectly. Used the built in Manufacturer Porsche logo for a boot logo. Total cost 286.00 GBP + a few hours of messing around with it.

 07-13-2018, 11:35 AM