When you click on links to various merchants on this site and make a purchase, this can result in this site earning a commission. Affiliate programs and affiliations include, but are not limited to, the eBay Partner Network.
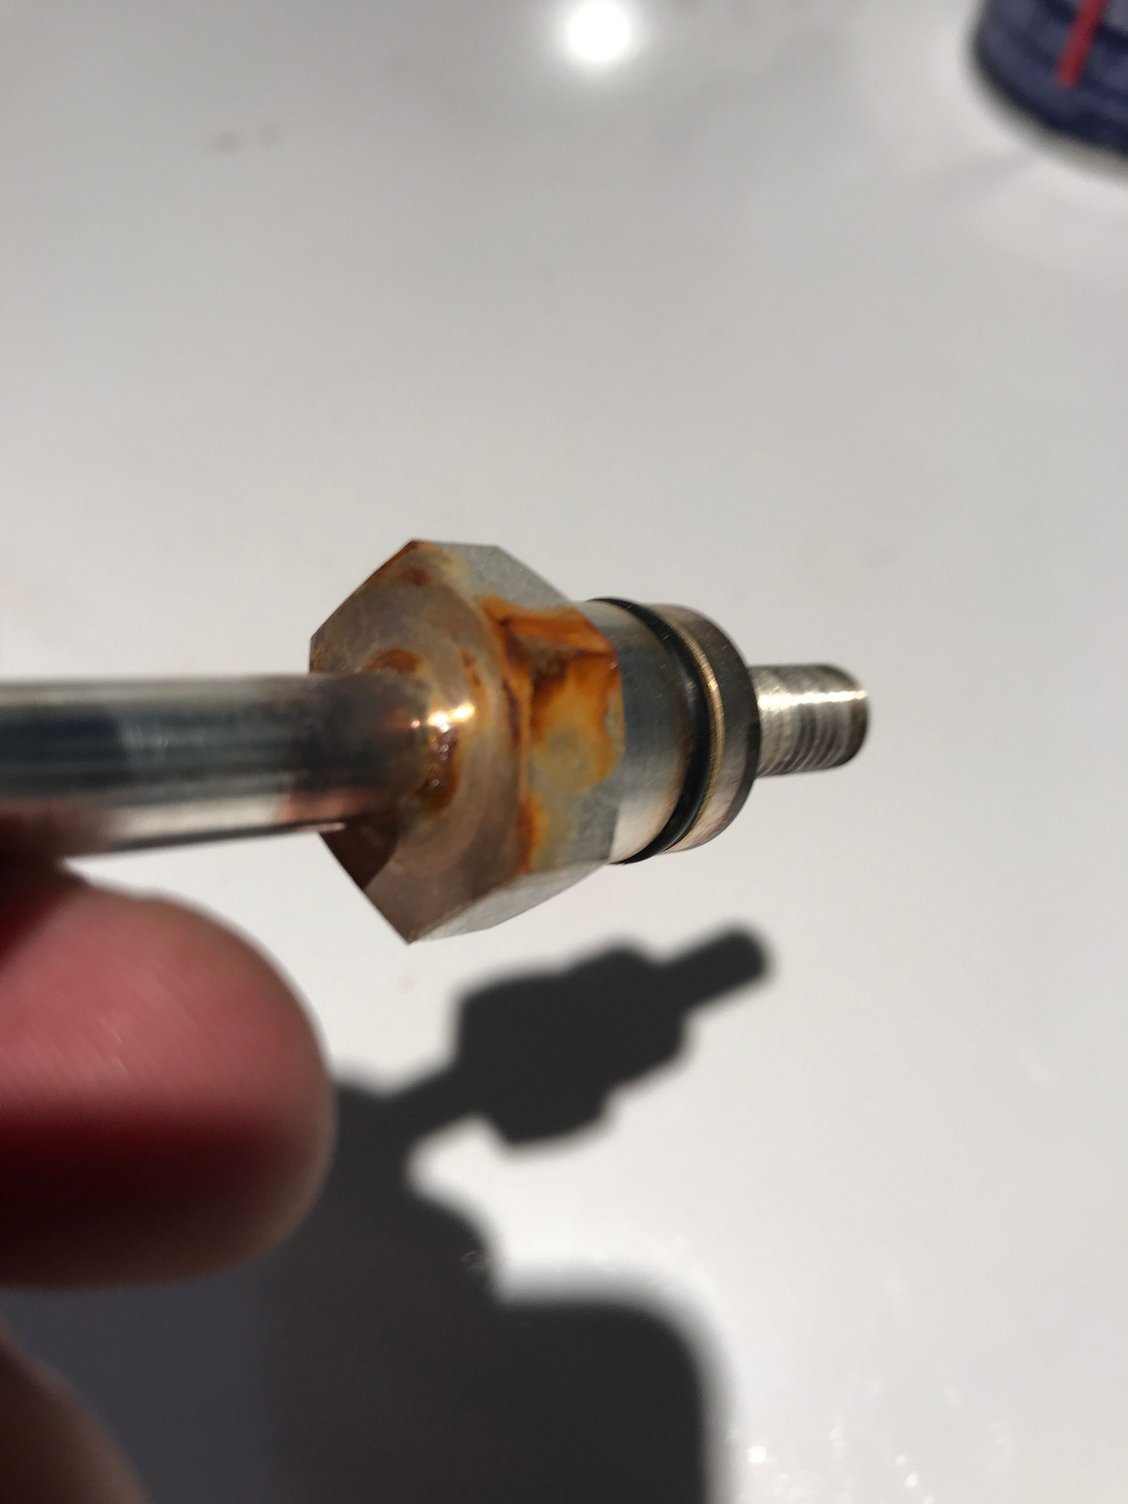
That's in better shape than mine was. Great clean up man! In theory that rust at plastic housing shouldn't be a problem but on mine I clearly got more crank after cleaning up...to be fair I cleaned the whole thing like you did.
That's in better shape than mine was. Great clean up man! In theory that rust at plastic housing shouldn't be a problem but on mine I clearly got more crank after cleaning up...to be fair I cleaned the whole thing like you did.
Any tips for getting it back in? It came out pretty easy but the pin seems to be binding in the insulation on the way back up. I�ve fiddled with it for 10 minutes and it won�t go back where it came from...
It does hang up a little. You'll get it in though, once you do it will barely be hanging. Go up front and hold it while you get at least one nut on!! then you are golden from there.
All buttoned back up. Thanks WhipE350. Like everything, its a really simple job...the second time you do it. It took me 2hrs with 30mins for a lunch break when I couldn't get the box back in. The hardest parts were getting the plastic cover back on the distributor box and trying to push the box back up into the hole in the firewall.
Unfortunately it didn't have any immediate impact. The multimeter showed a slight improvement before/after but that may just be random. I took a reading immediately before with the engine running (no load) and it was reading 13.45. After it was reading 13.55. However those readings have been bouncing around over the last few times I have tested it. A weekly ago it was at 13.2 and the morning after I charged it it was reading 13.7. I dont understand why it was highest when the battery was fully charged. I typically have a .2-.3V drop under load (lights, defrost, fogs, etc).
I didn't hear an improvement with the starter either. I will charge the battery again tonight. Maybe the full charge will last longer.
Based on this it looks like I will need to bite the bullet and replace the starter cable. I've already made my appointment at @WayneSmith's garage and David Y may join us. It should be a good project over the holiday. Only Porsche owners look forward to ripping their engine bay apart. David reminded me of all the new areas of the engine bay I will be able to clean :-)
Steps I took:
1. Remove the battery. Negative cable first, positive second.
2. Remove the 2x 13mm bolts in the firrewall to free the distributor box. You will need an extension to get at them and an angle extension for the bolt nearest to the battery. I couldn't get clearance without it.
3. Remove the 4 ****ty plastic screws holding the foam cover under the dashboard. I found using my fingernail was easiest for these. The flathead slot is really wide.
4. Pull the carpet back
5. Wiggle the box down and toward the center console. No need to remove the hose clamp once you pull the carpet is down.
6. Remove the plastic cover. Remove the top clips and then rotate up slightly to get the bottom clips out. I had to twist mine a bit to get them off and thought I broke the clips.
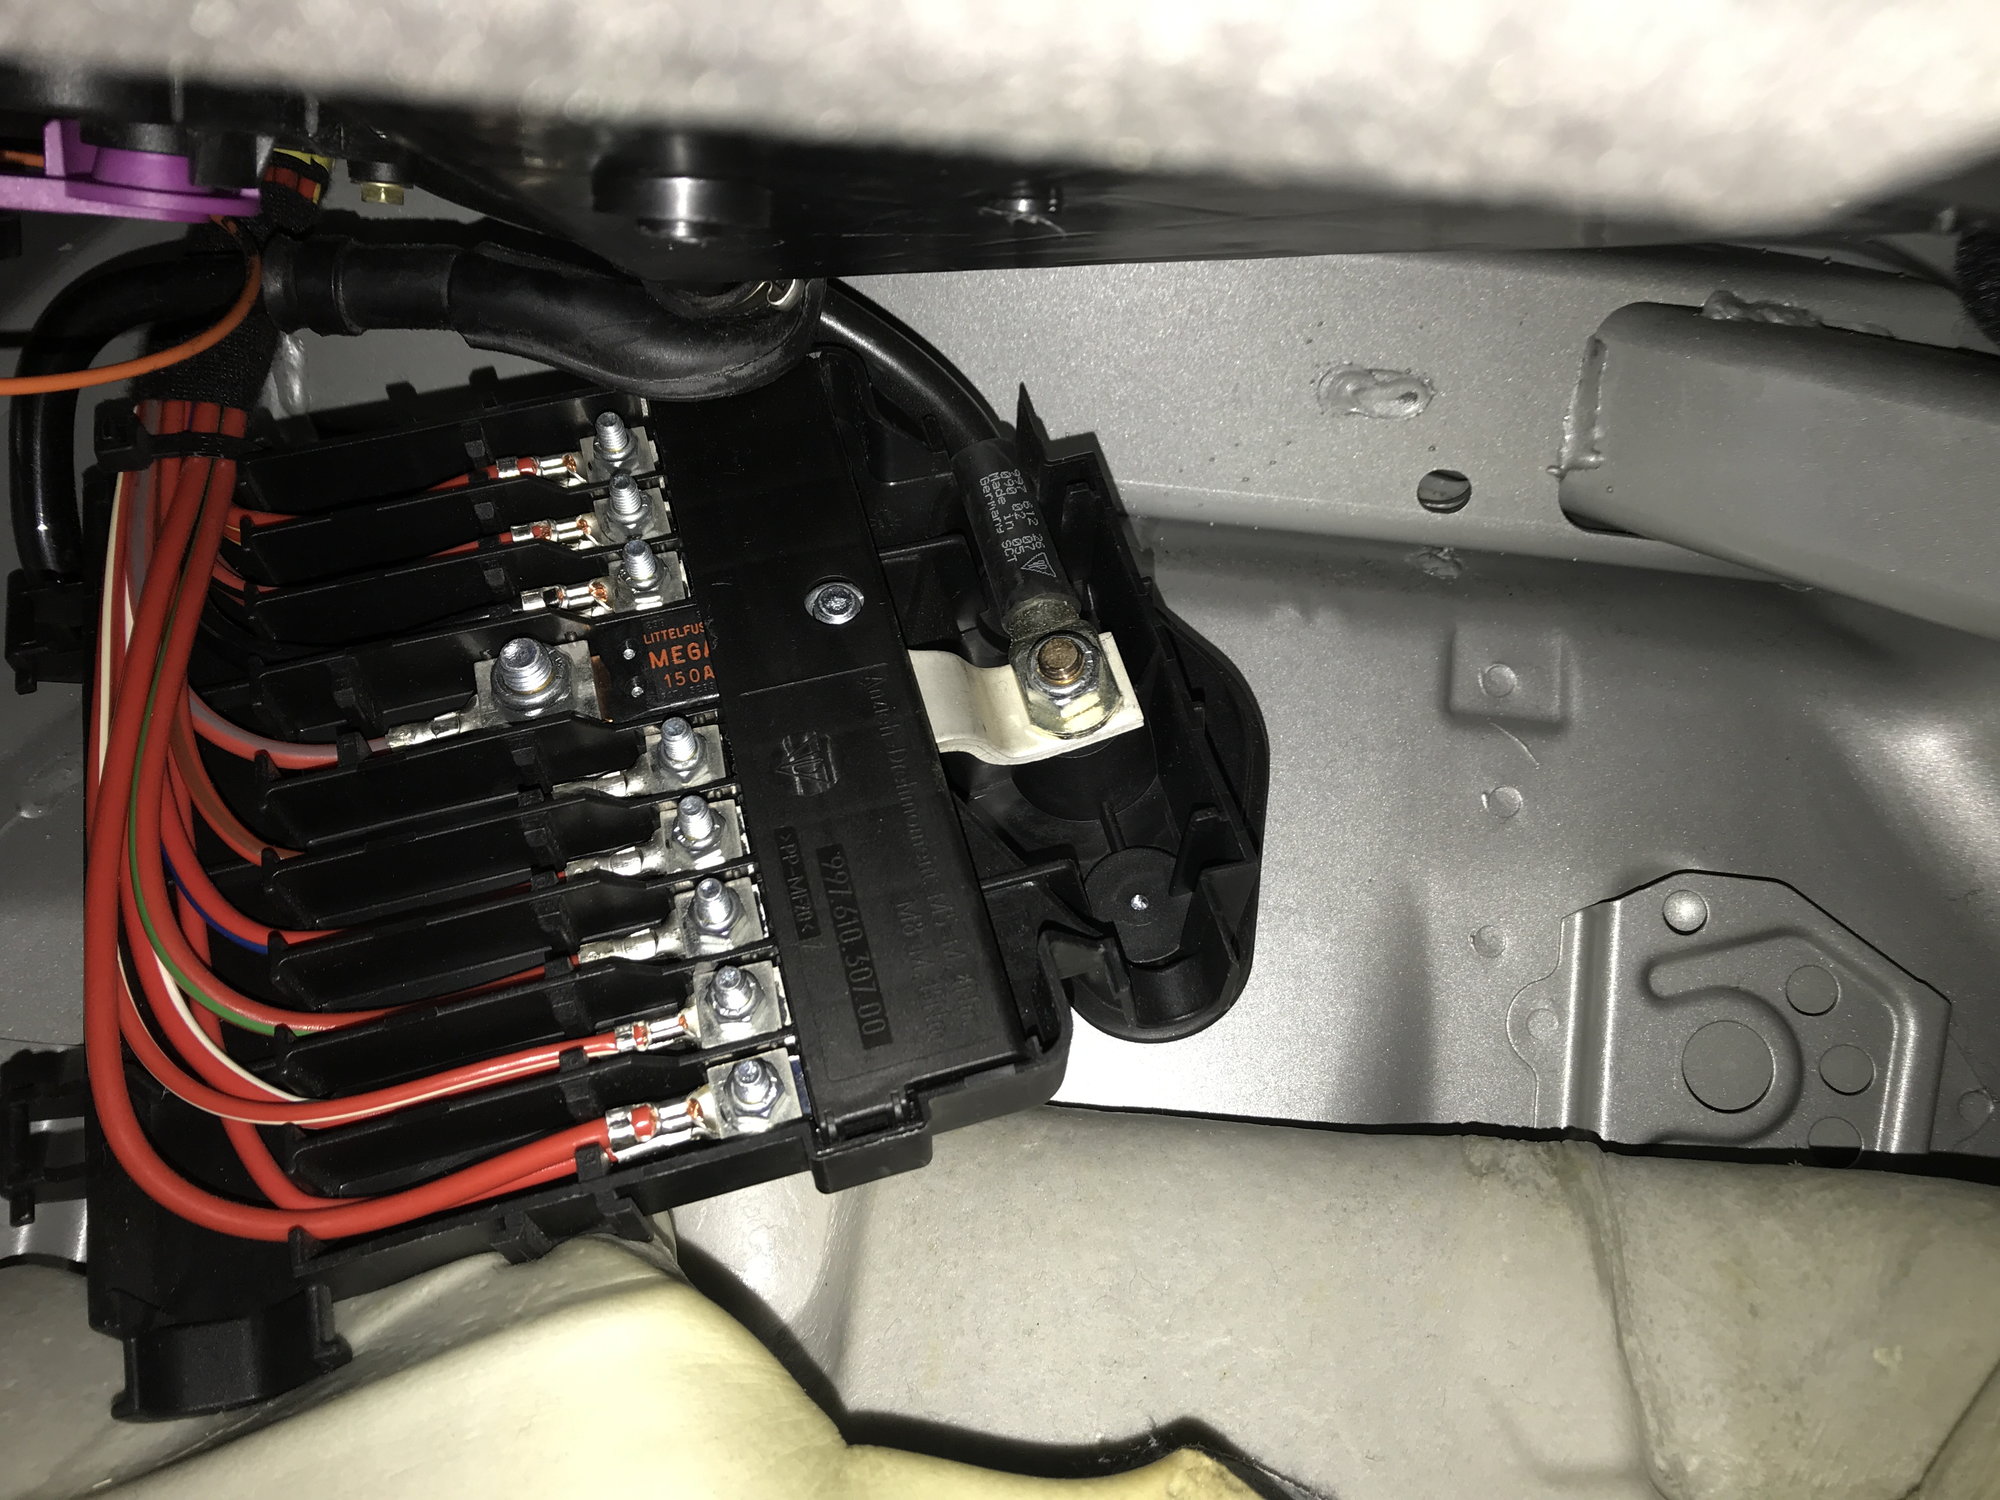
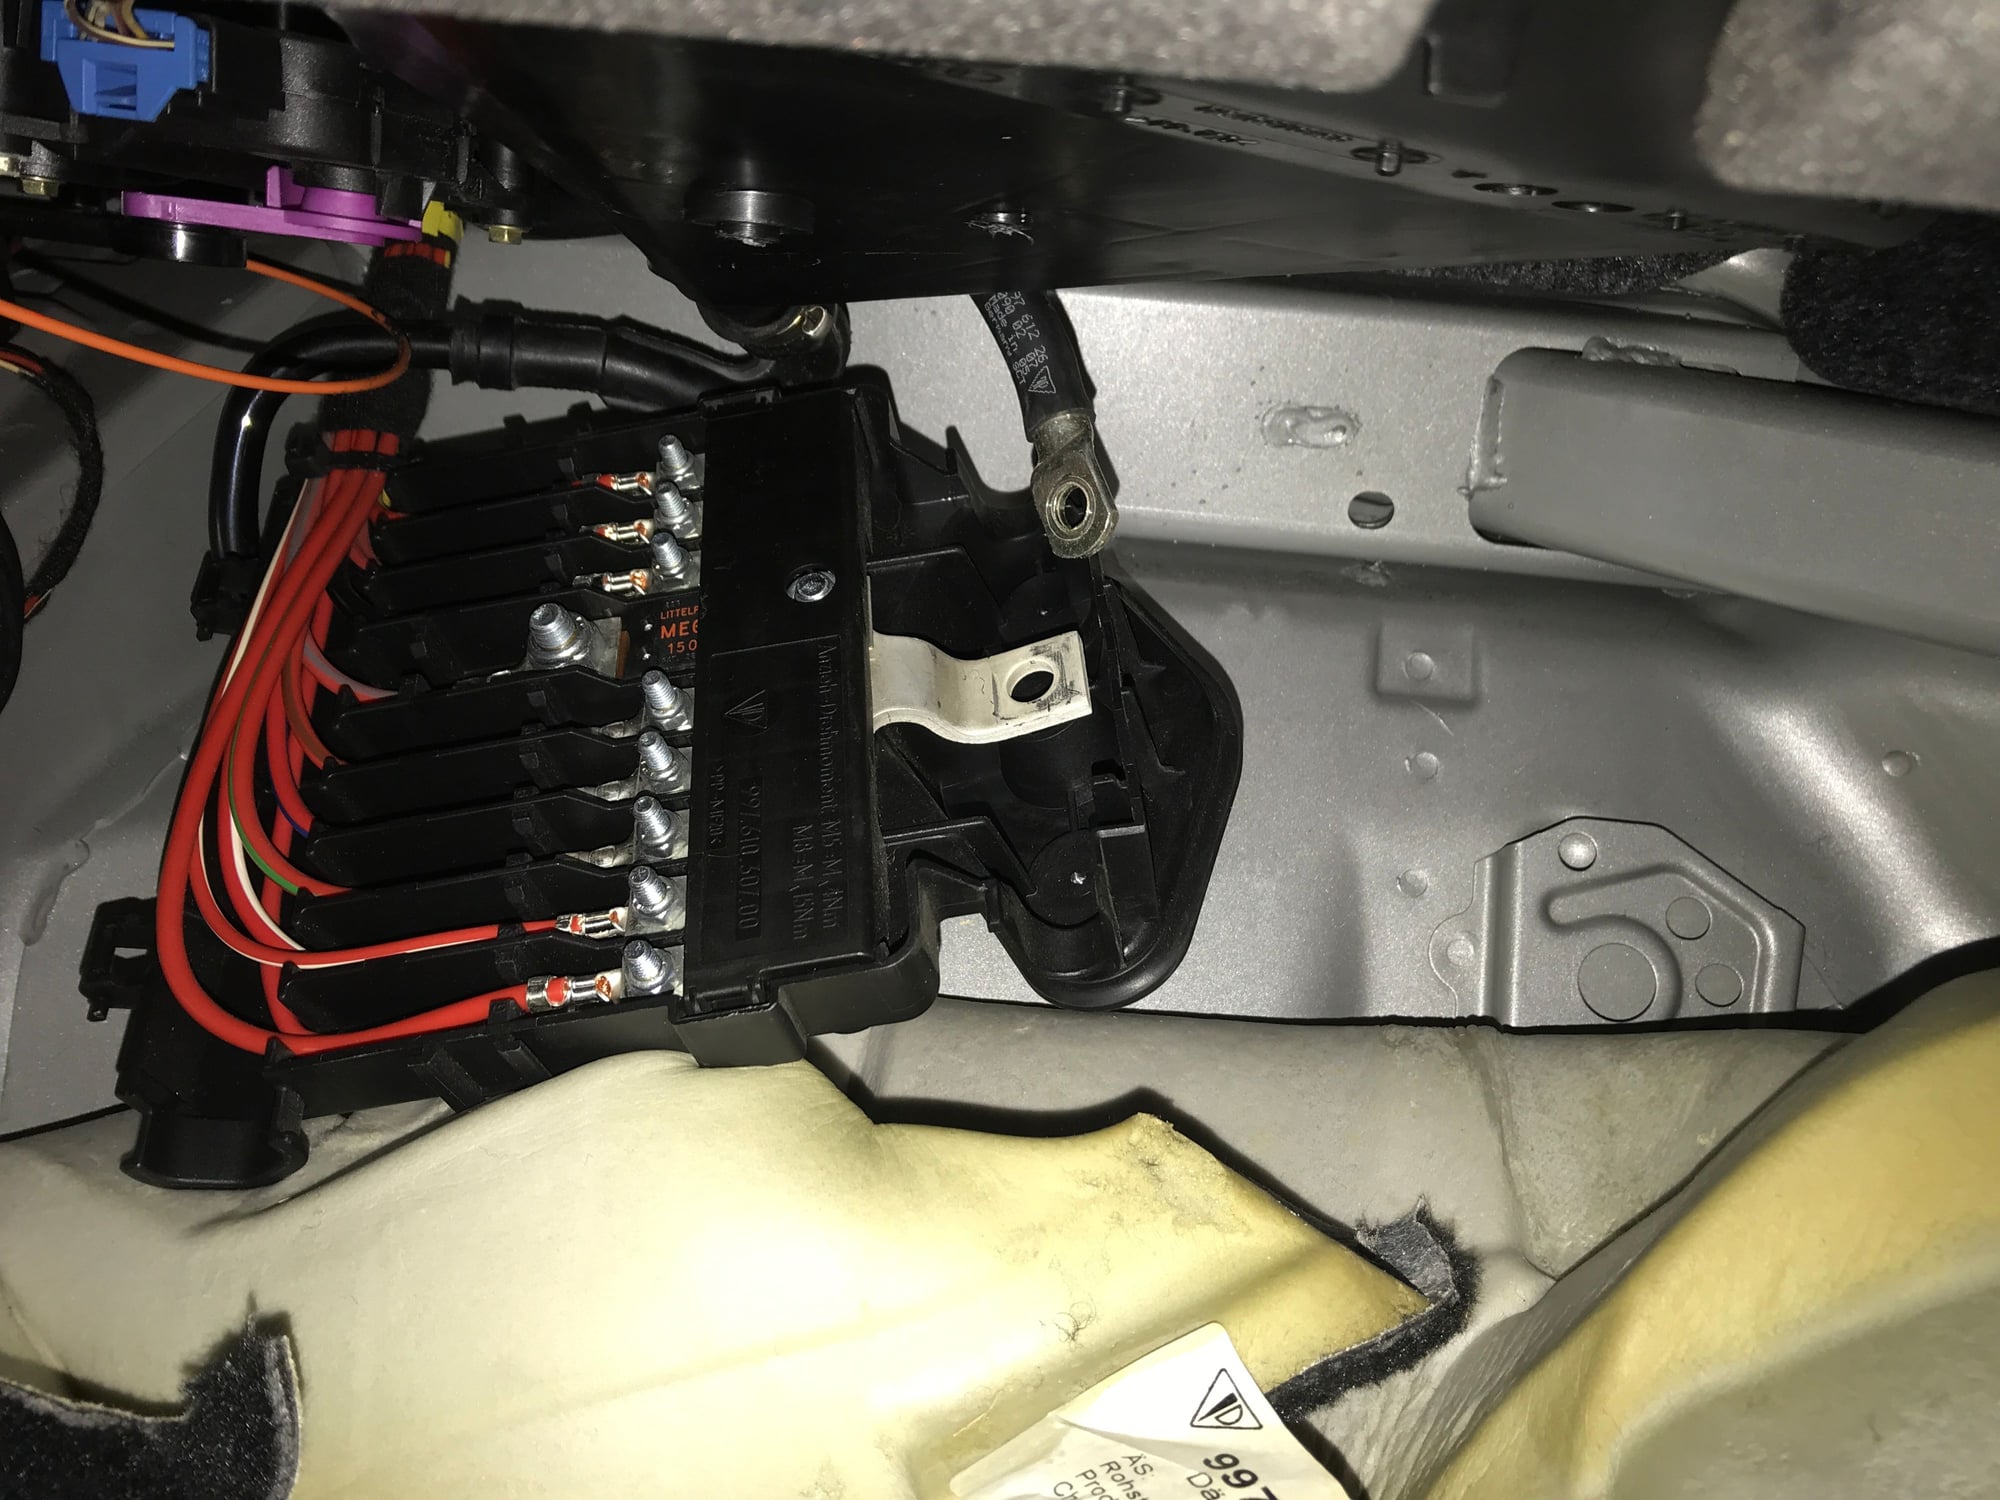
7. Unbolt the 13mm nut holding the distributor bolt in place.
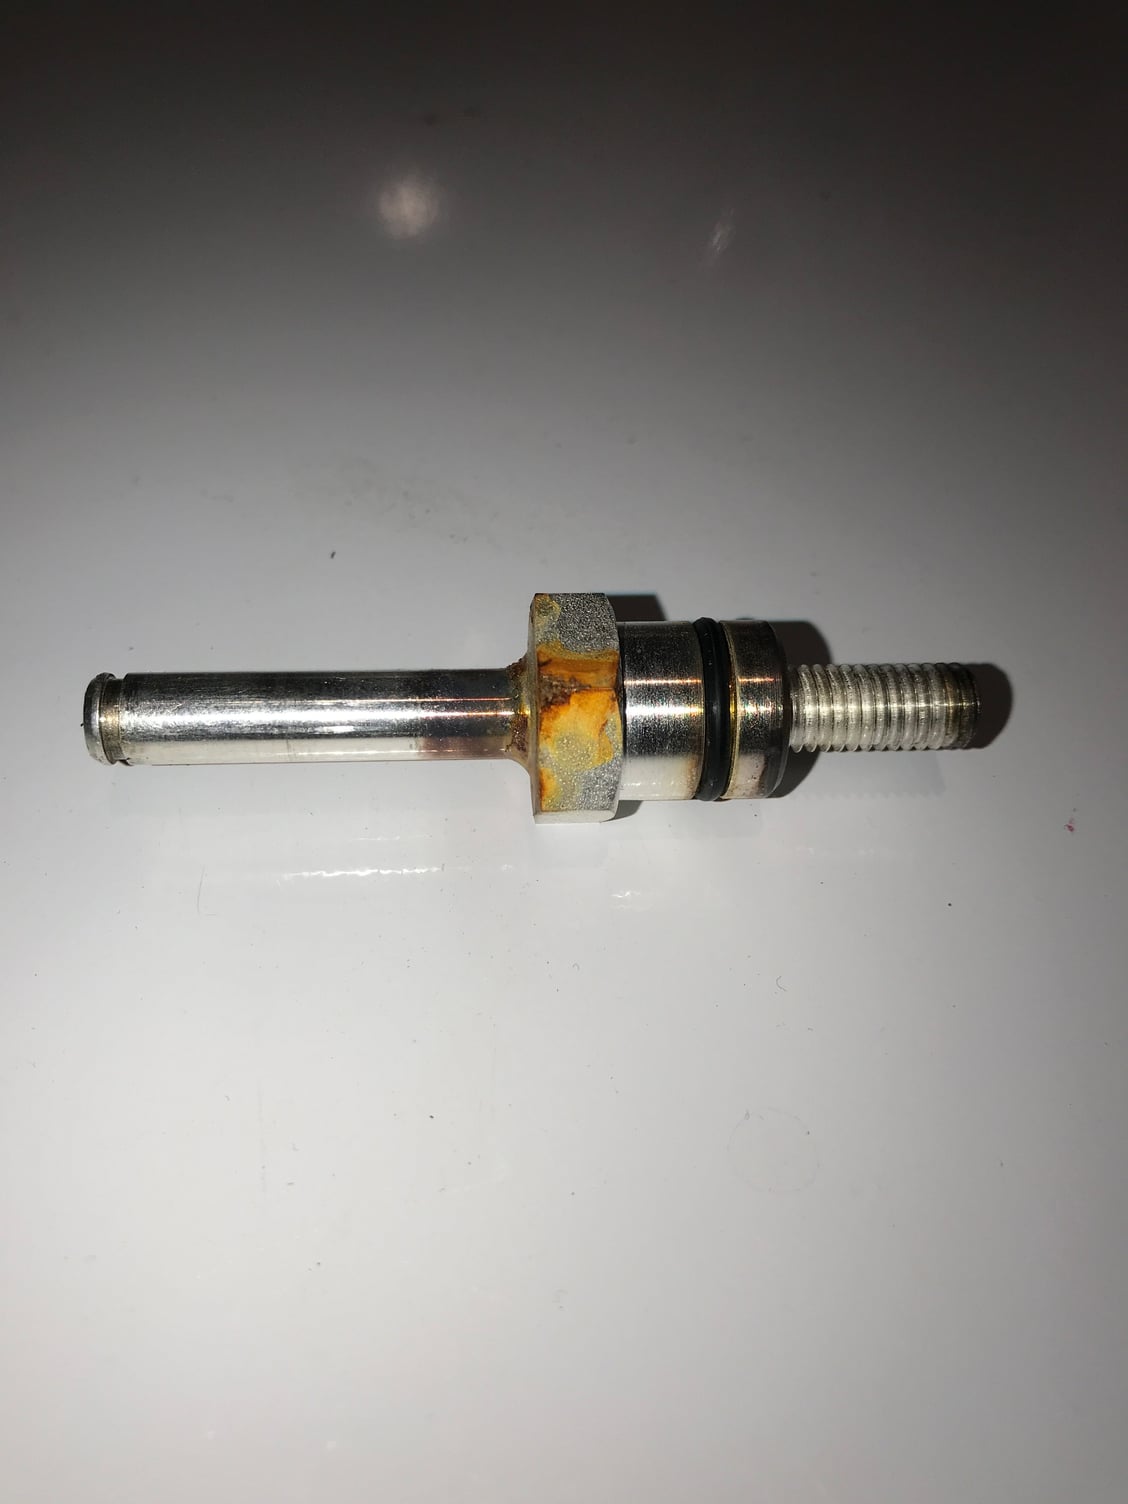
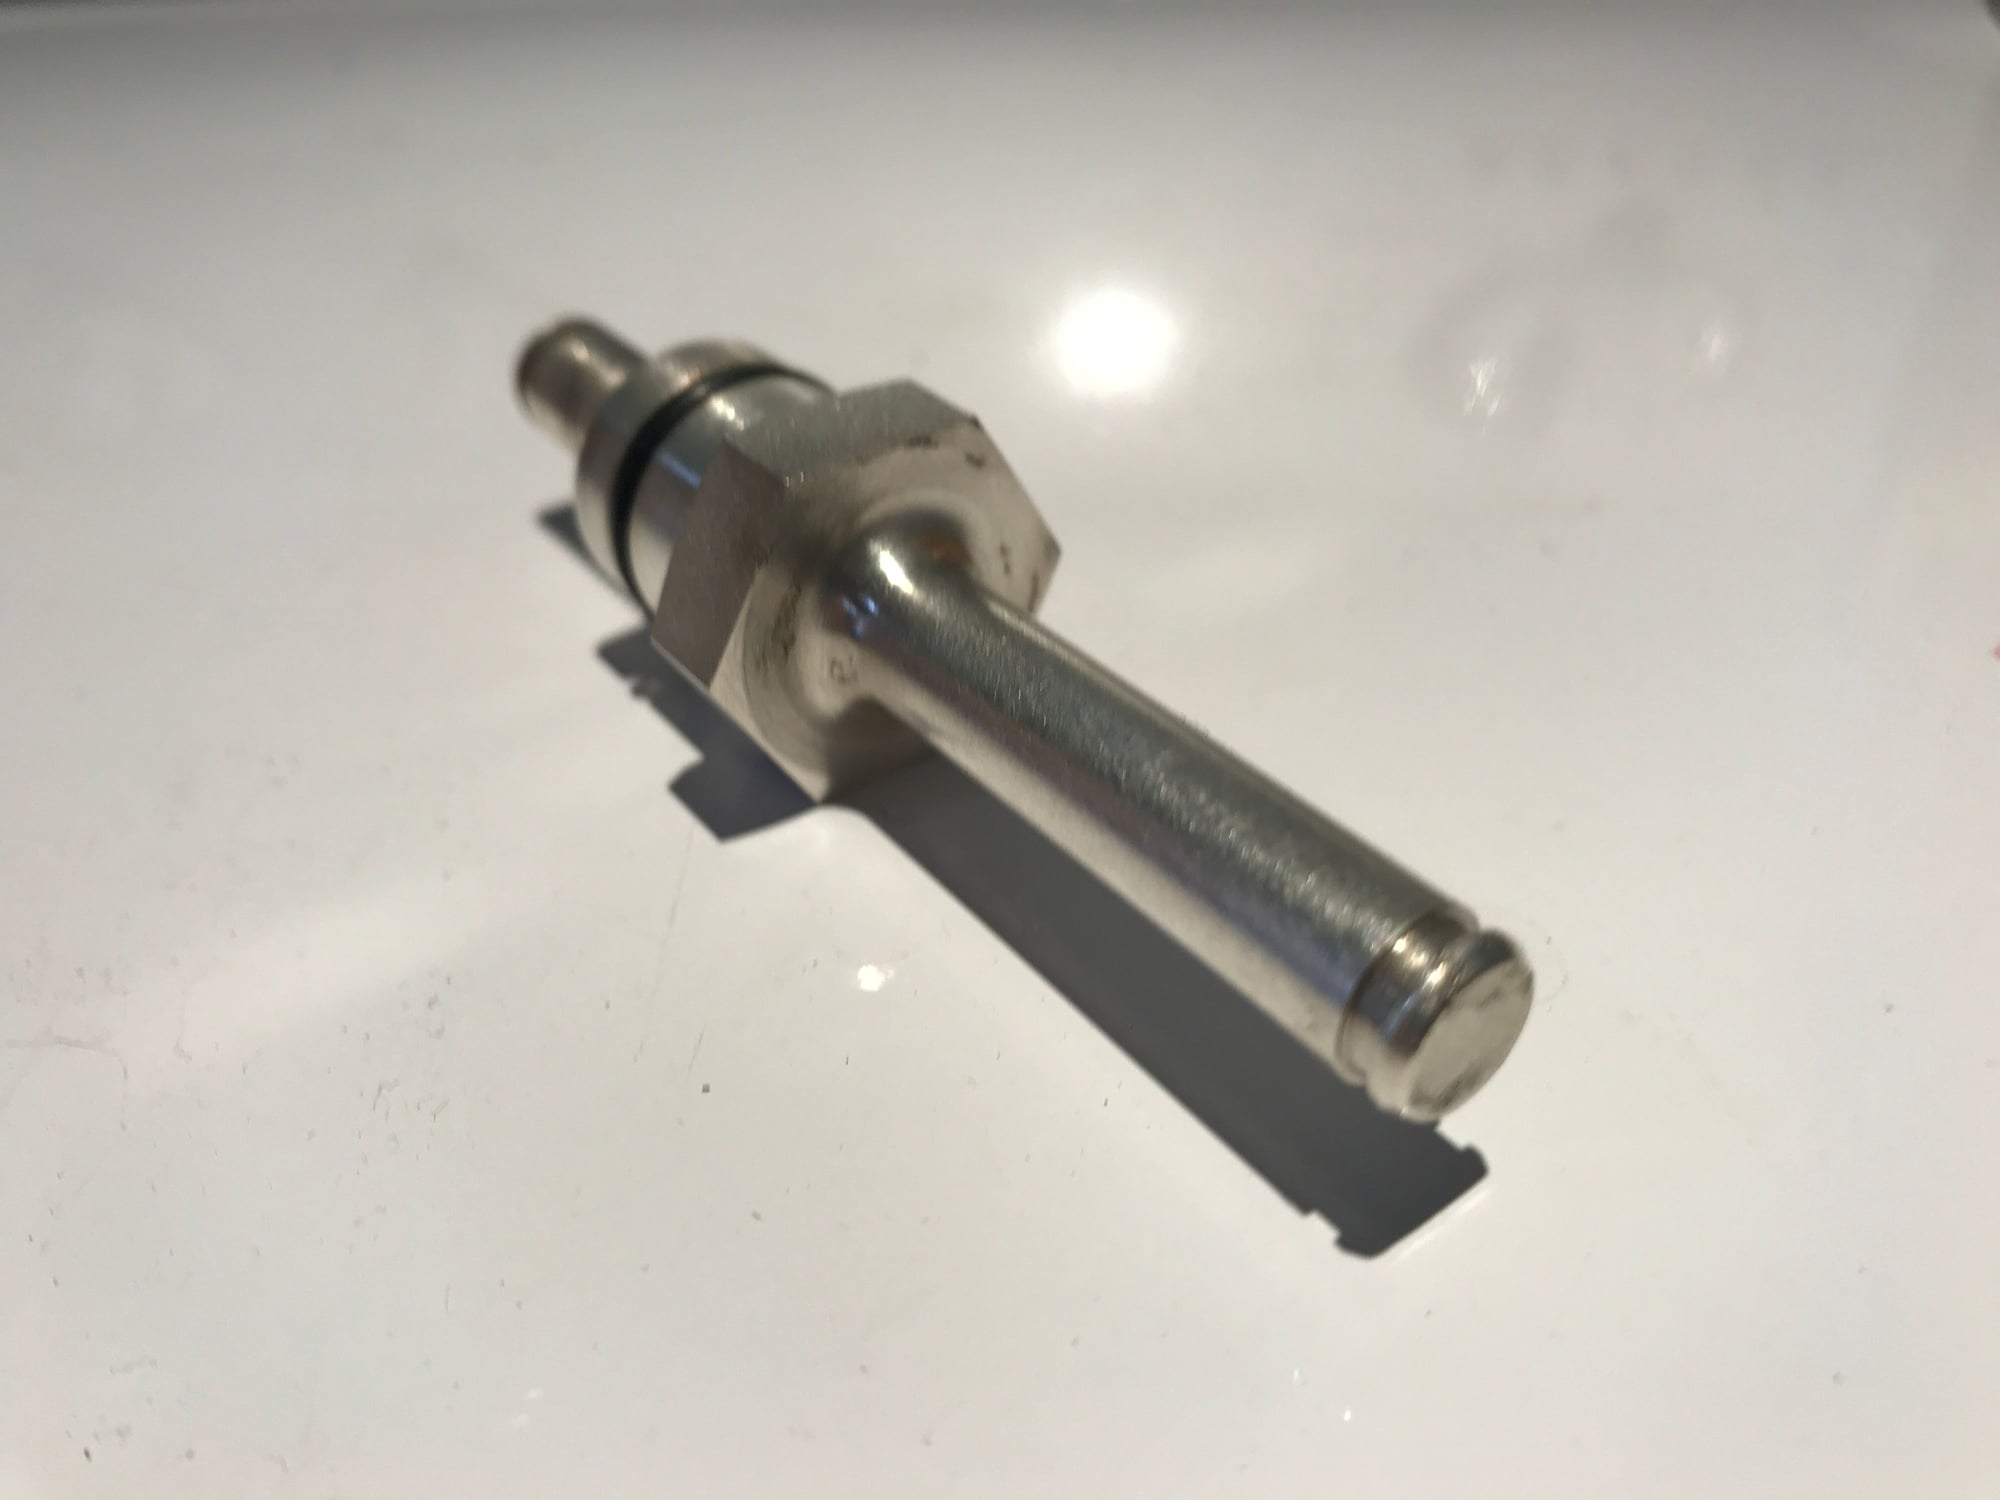
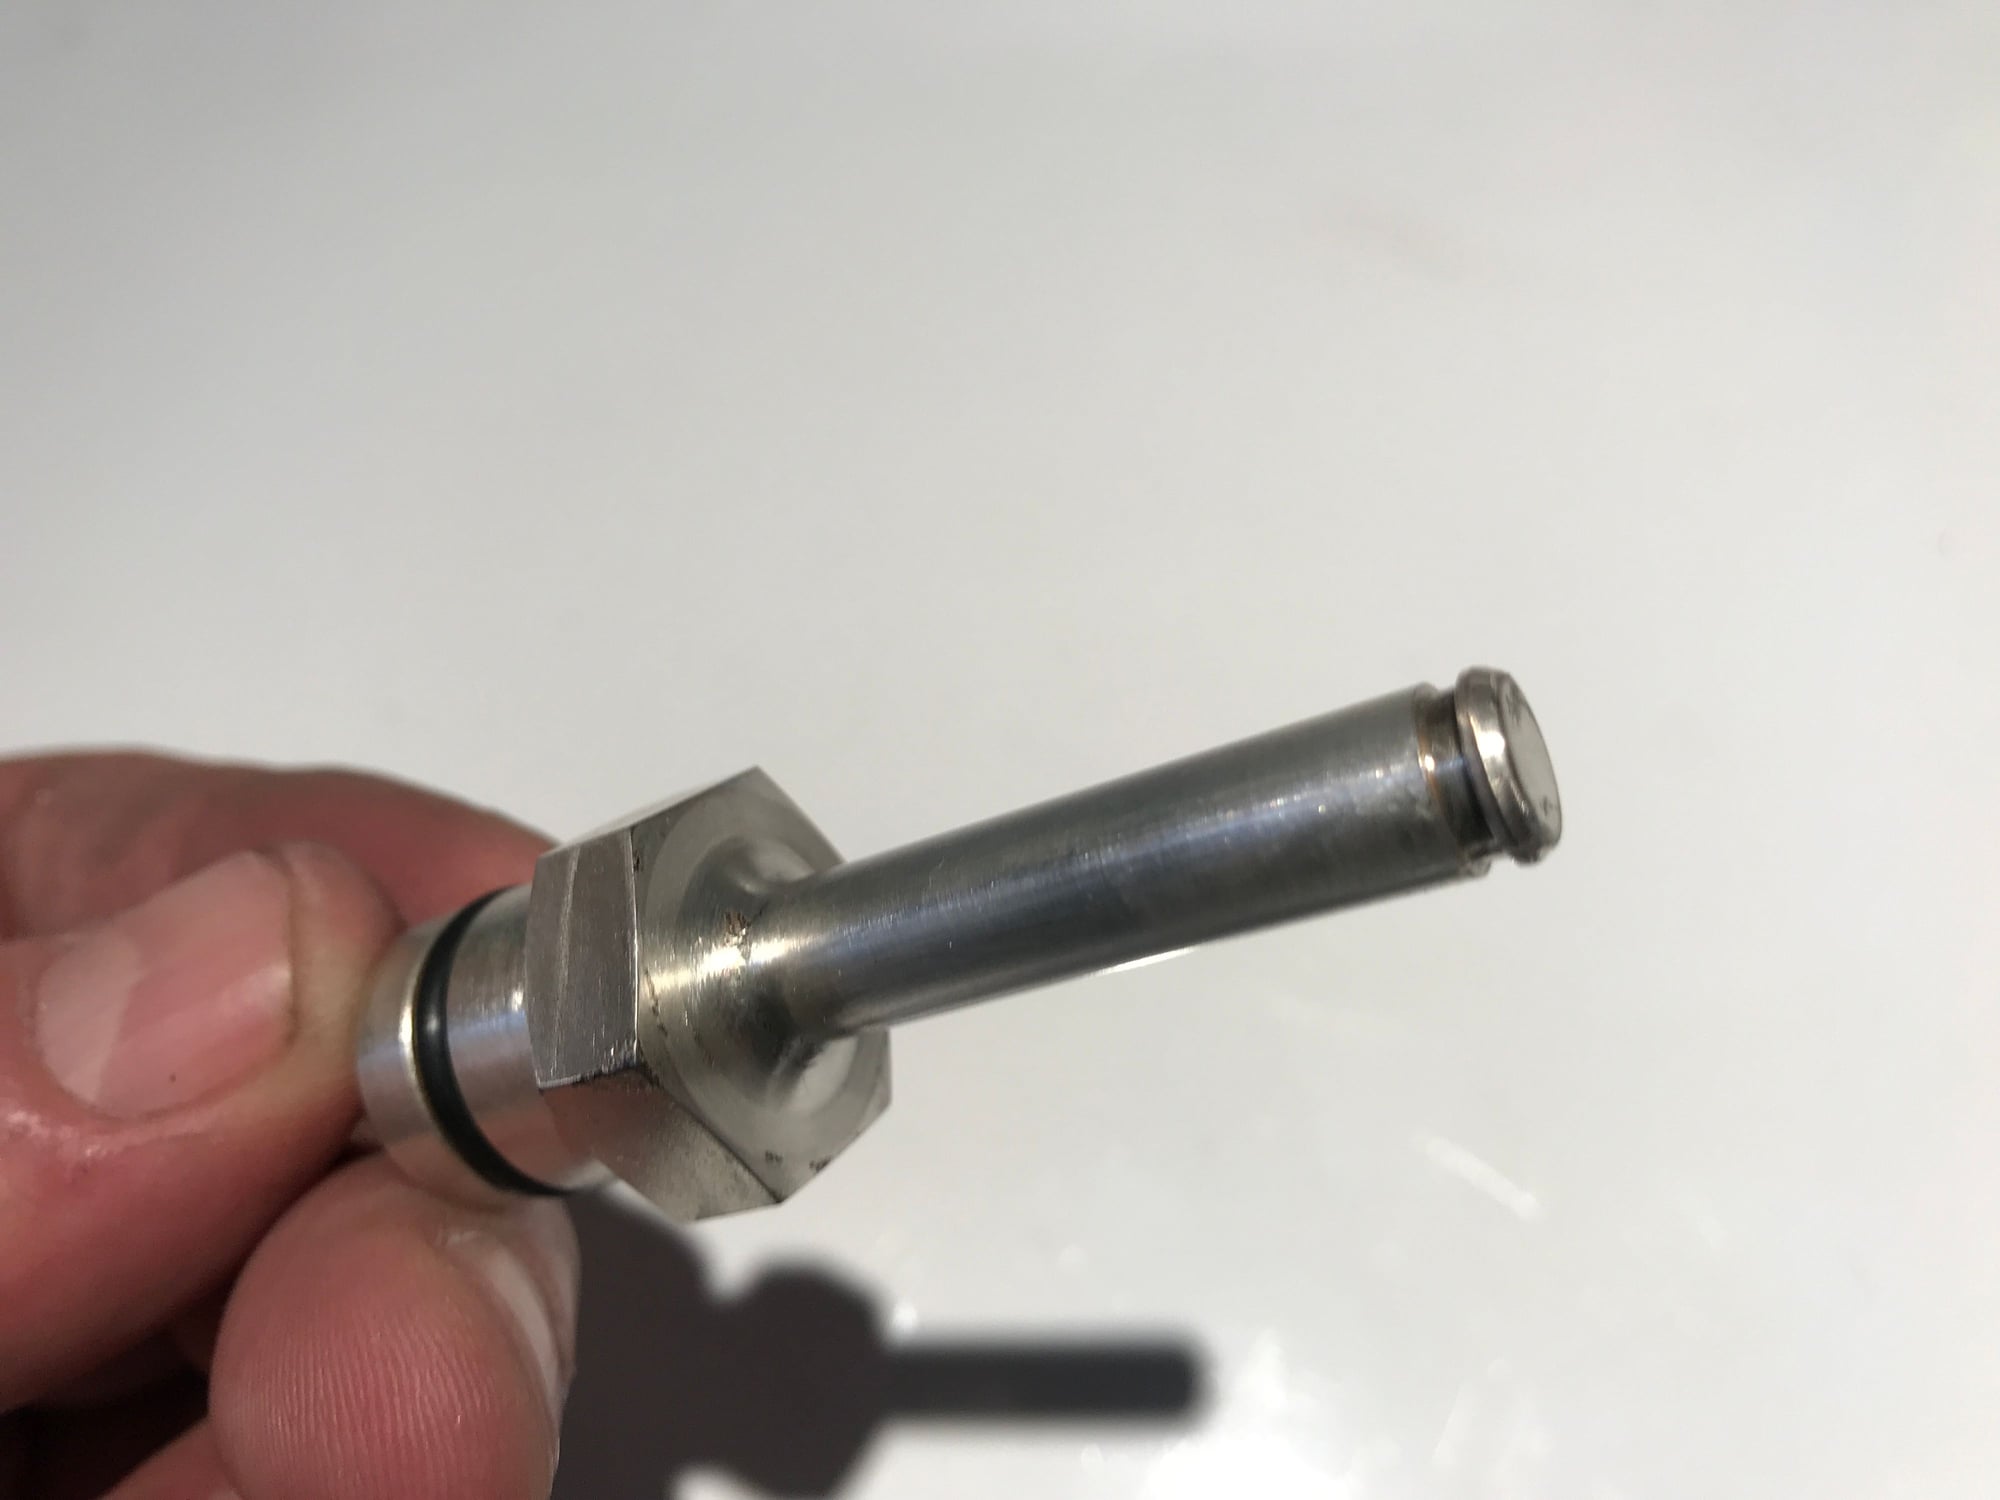
8. Clean thoroughly
9. Put the bolt back in and put the cover back on. I have a bitch of time getting the plastic cover back on. The bottom clips are hinged and I couldn't get enough space to swing cover up. I ended up having to use a screwdriver to pry the little plastic arms back to get the clips in, while upside down, while balancing the iPhone light. If anyone has a better technique...please share.
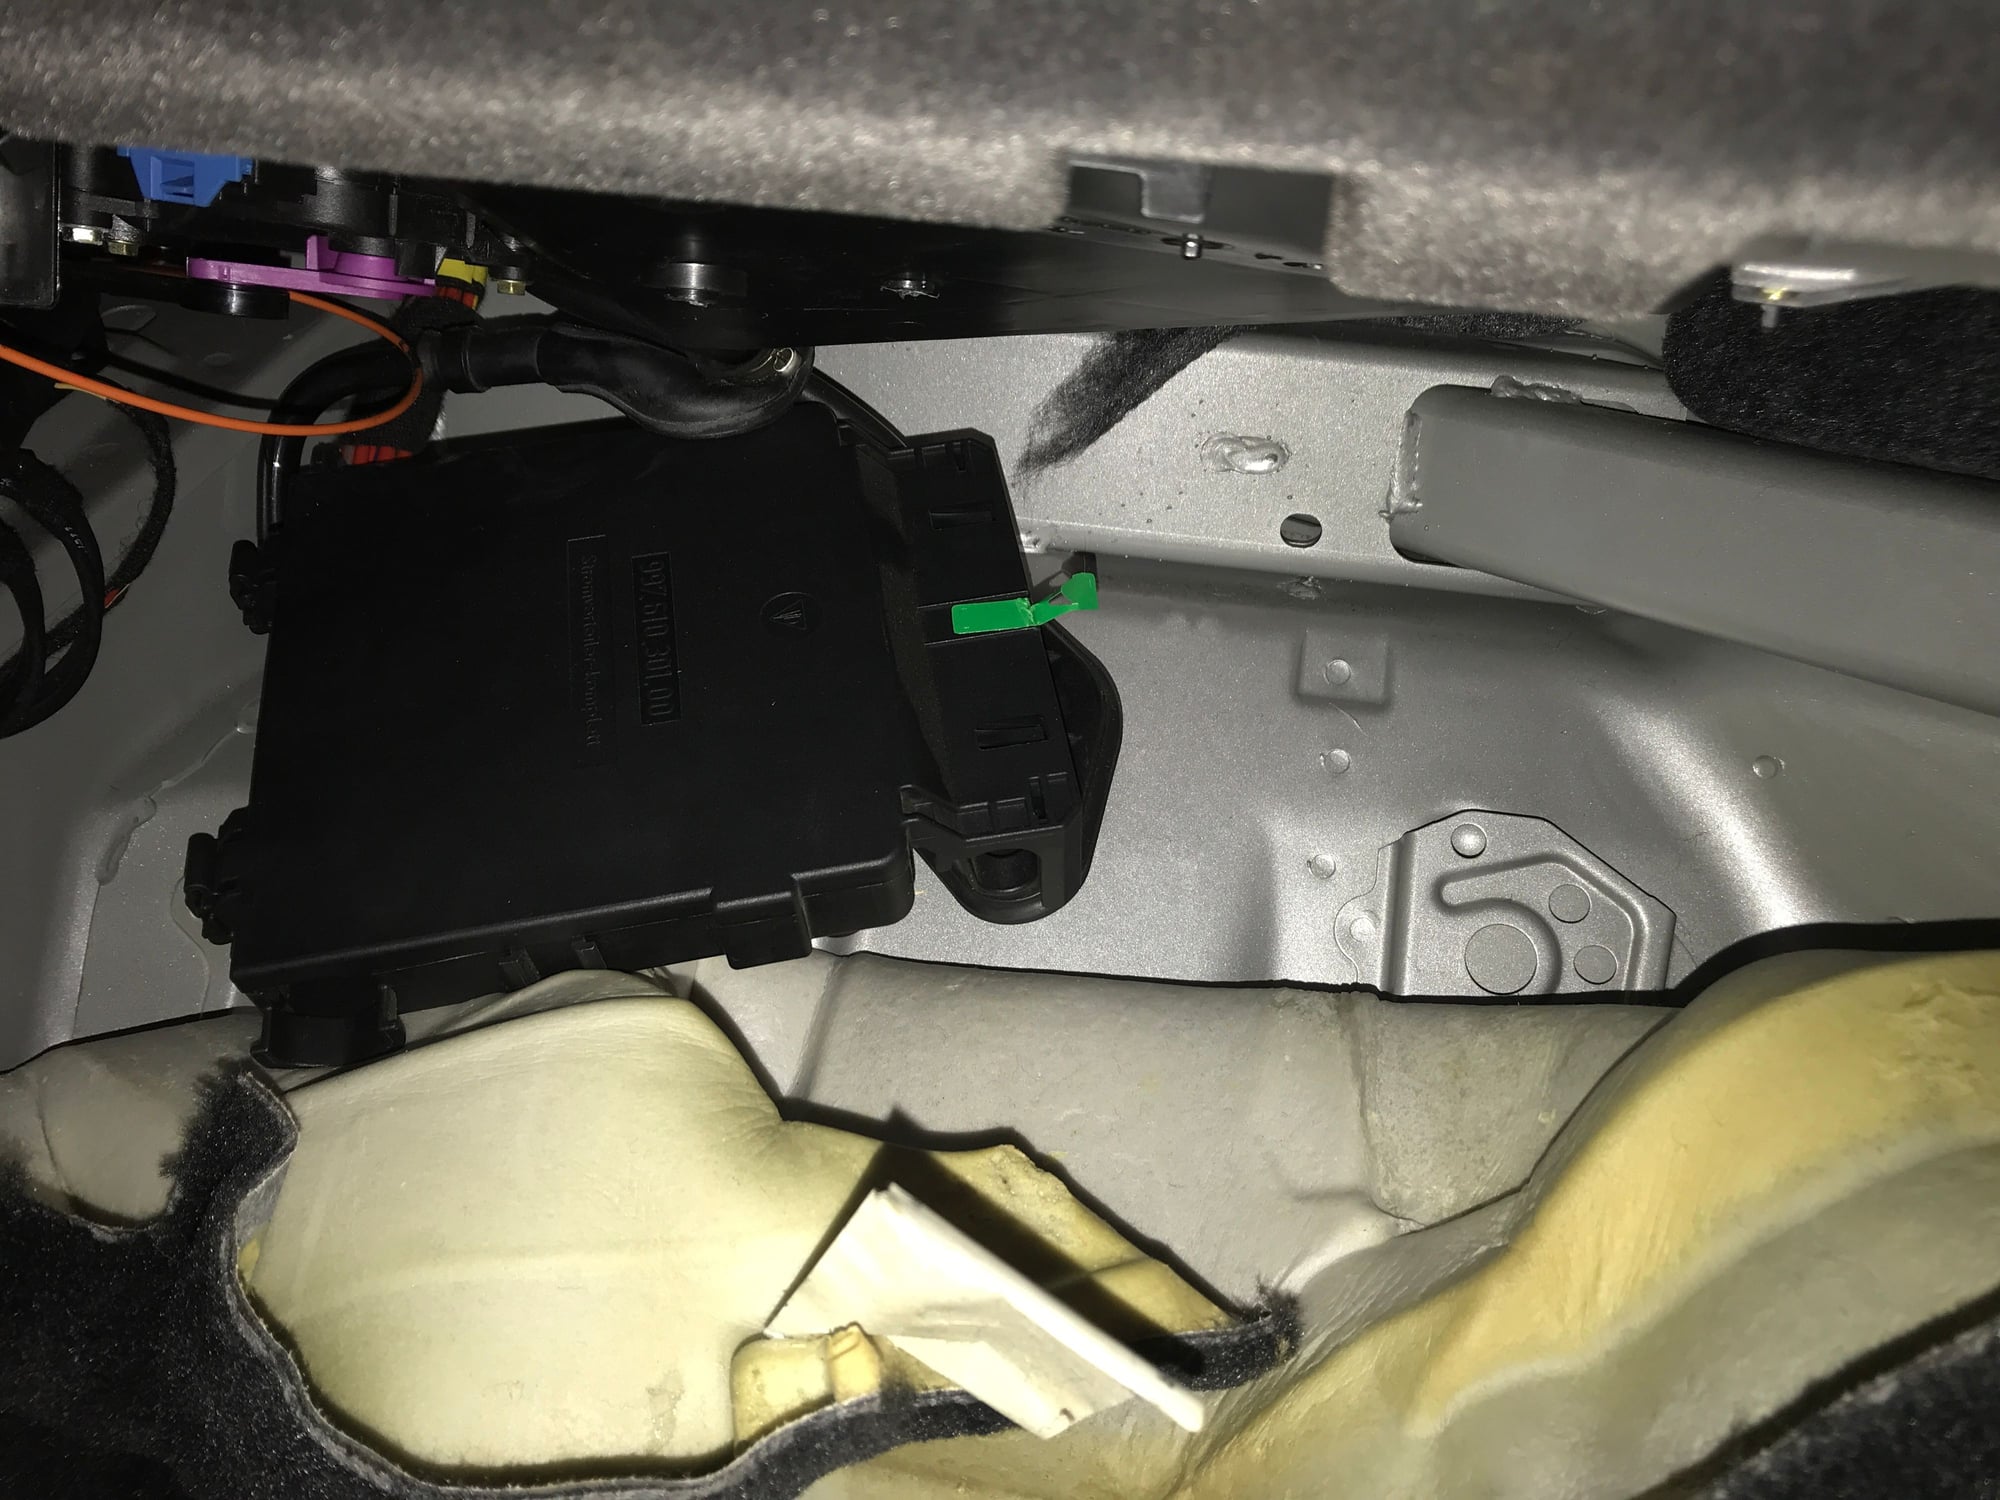
10. Push the box back up in its hole. You need to feel up with your finger where the hole is and guide the pin to that. Its tricky. I first got stuck because I had the box too far towards the door and it was getting jammed behind the blower box. Once I pushed it 2 inches towards the center console it went right in.
11. Leave the box dangling up there and push the carpet back in place now. I found this made it easier to keep the box in place. Feel around with the box to find the bolt holes. I was way off when I first started but eventually zero'd it in and was able to feel the screws go through the firewall.
12. Put the 2x 13mm nuts back on, torque to 11lbs.
13. Put the + cable back on and push the red clip back in. Ensure its on there. I didn't push mine back far enough the first time.
14. Put the battery cables back on in the opposite order, positive first, negative second. I dont know why this is but I read it in the workshop manual.
15. Put the foam cover back under the dash and hand tighten the plastic screws back on.
Thanks for documenting, I was too lazy to do that and I'm guessing you did it a second time to take pictures . You don't have to answer that.
Think on the positive side, you have a new skill and you documented it for others! You are now where I was at, however since I never got an alternator voltage drop of my own (the dealer 'said' they saw it) I did the starter. I figured a new starter in a 10 year old car can only be a good thing. I got lucky and it solved my problem. Happy I be, harness on a Tip be no fun.
Got the kits today, but surprised I got two of the smaller cables.
The existing one goes thru the firewall into the cabin and then what??
But why two?
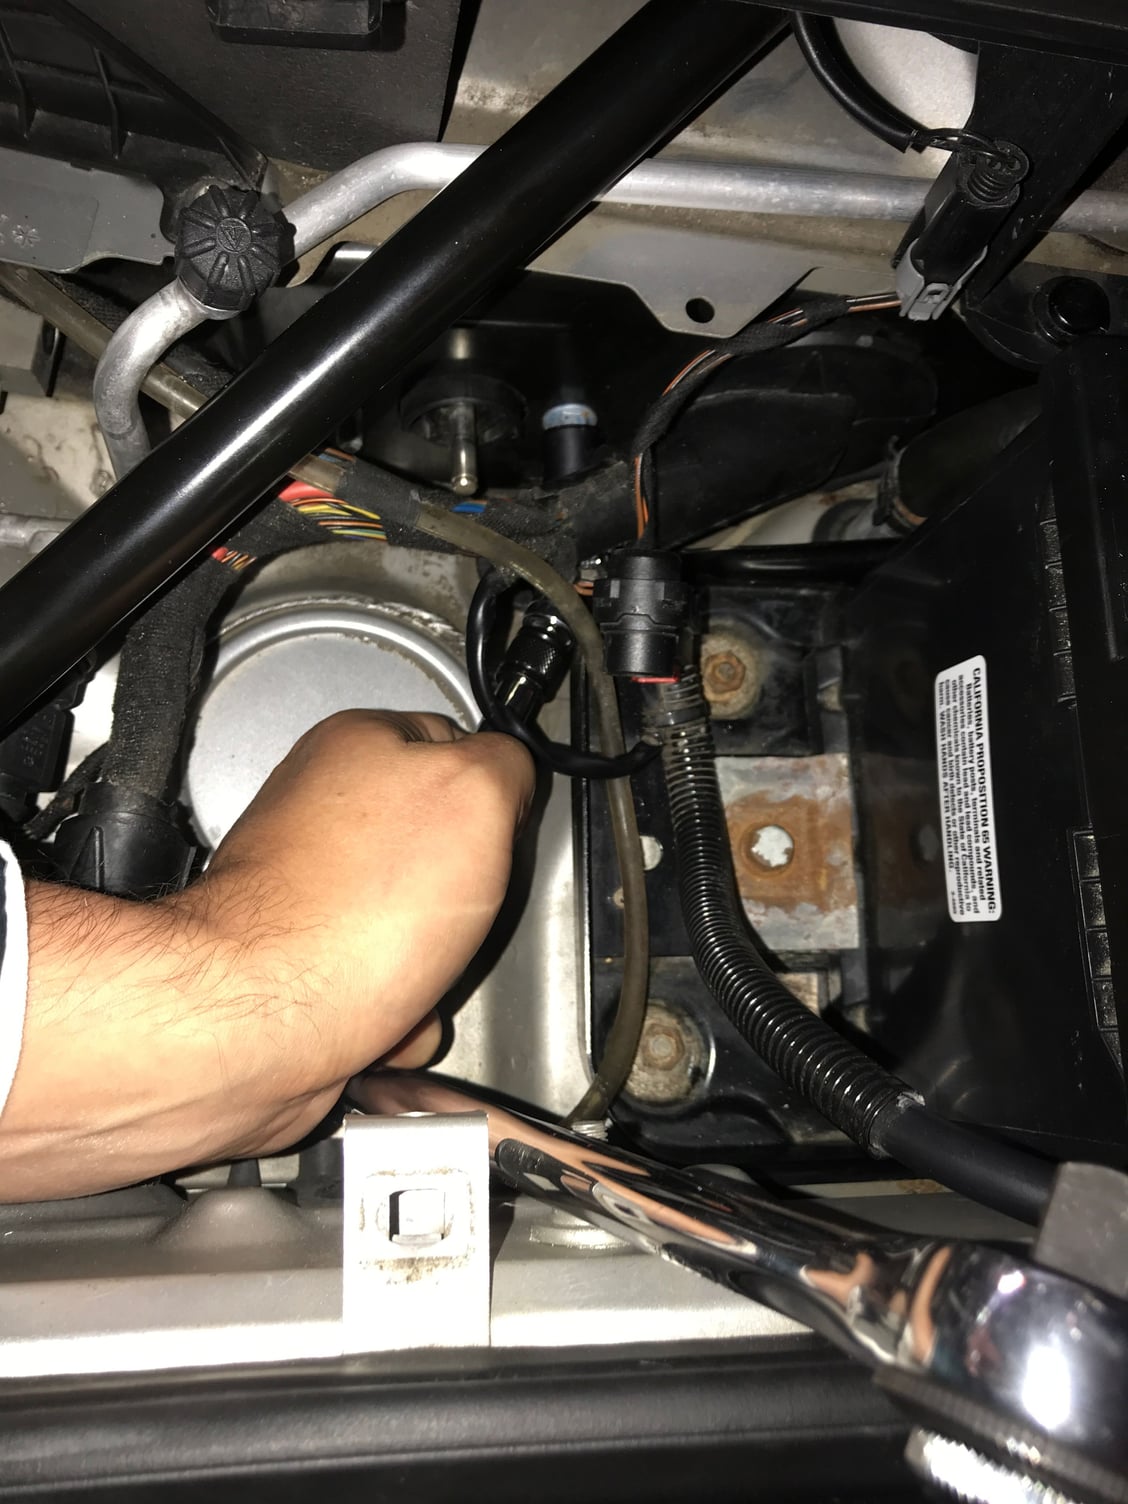
The cable with the black quick connector goes from the power distribution bolt on the outside of your firewall to the positiver terminal of the battery. Unfortunately it looks like you need to crimp it yourself. The other cable im not 100% sure. You can see from the picture below there is another cable spliced into the head of black quick connector that goes into the wiring loom. I assume thats what your second cable is. Its likely a ground wire.
I cant confirm but I dont think you need to replace that. You can likely just splice the existing cable into your new quick connector. It looks like thats what one of the prior posters did.
Keep us posted on how it turns out. I can walk you through removing the power distribution box under the dash.
- I charged my battery overnight after cleaning the bolt and 2 days later is still at 13.6V, or 100% charge, and the starter is running at normal speed.
- The alternator was also putting out 14.0V at the battery this morning, which is great. Thats the most I've ever seen it put out and back into "normal range".
- However im unsure if this is in part from the bolt, or just the fact the battery is fully charged. Wayne Smith has been trying to educate me on this voodoo magic called electricity and explained the alternator is current limited so a poorly charged battery will draw it down more than a fully charged battery.
- Next step is to check the parasitic drain. I want to confirm my new bluetooth module isn't partially to blame for the battery drain.
- Lastly, quick FYI, disconnecting your battery can have a few unintended consequences. You will get a PSM failure when you reconnect but that will go away once you start driving. You also can get some screwy things with your heated seats and garage door button not working and windows not automatically raising. You need to take it to your indy to have them reset with PIWIS.
I finally conquered the evil wench called electricity and found the root of my problem.
Its not the battery, not the cable, not the starter, not the alternator...its the damn bluetooth hands-free module I installed last month. It was causing parasitic battery drain every night because, get this, I wasn't locking my car doors in the garage.
I pulled the fuse for the PCM and the amps immediately dropped so knew the bluetooth was the culprit. While researching the issue last week I read a post mentioning the car goes into a low power mode when the doors are locked so I figured I would test that while I was at it and voila!
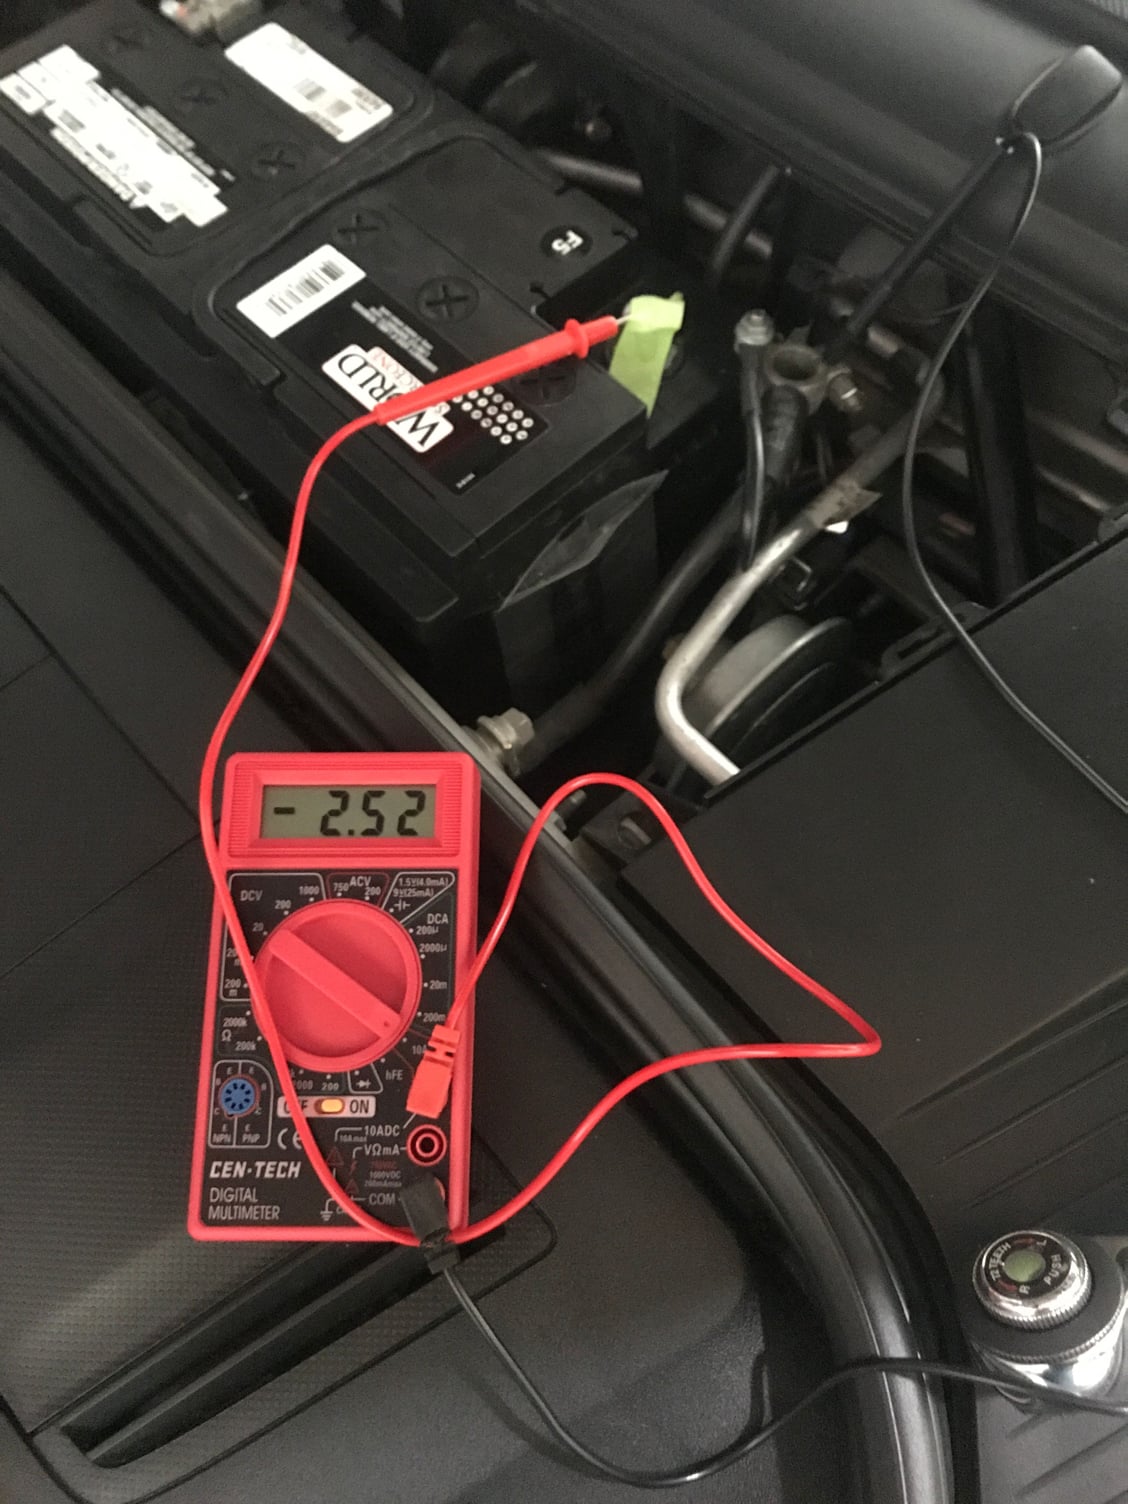
It was drawing -2.5 amps with the car off and doors unlocked.
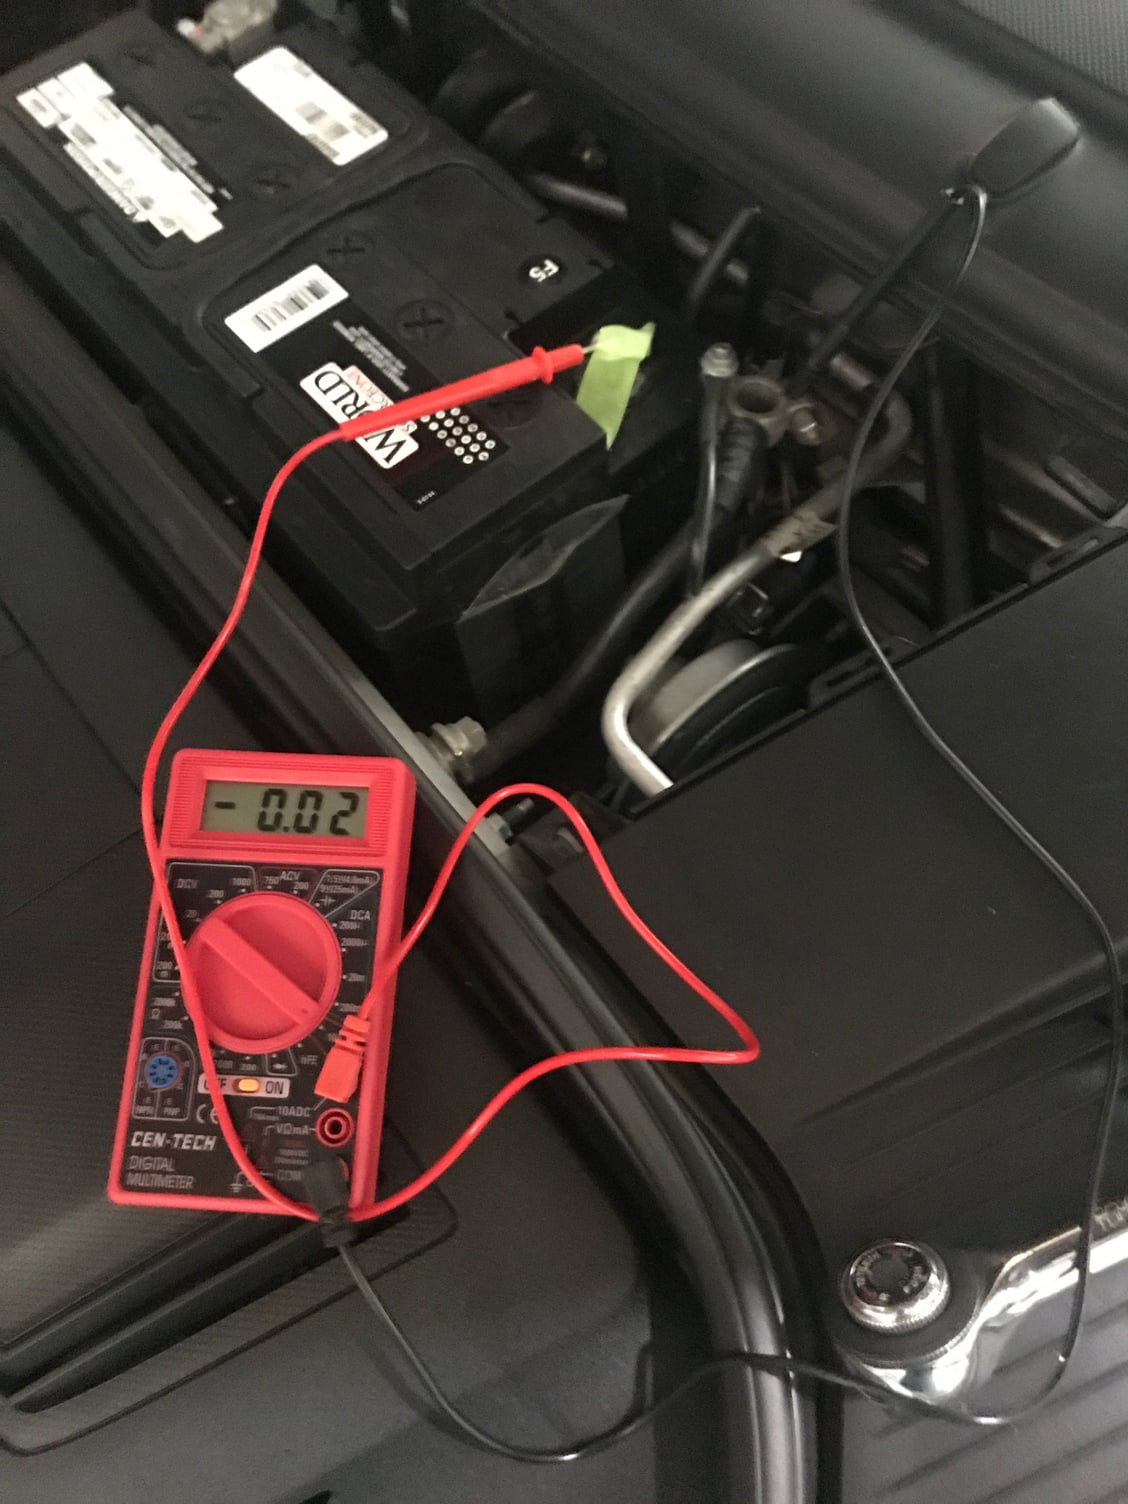
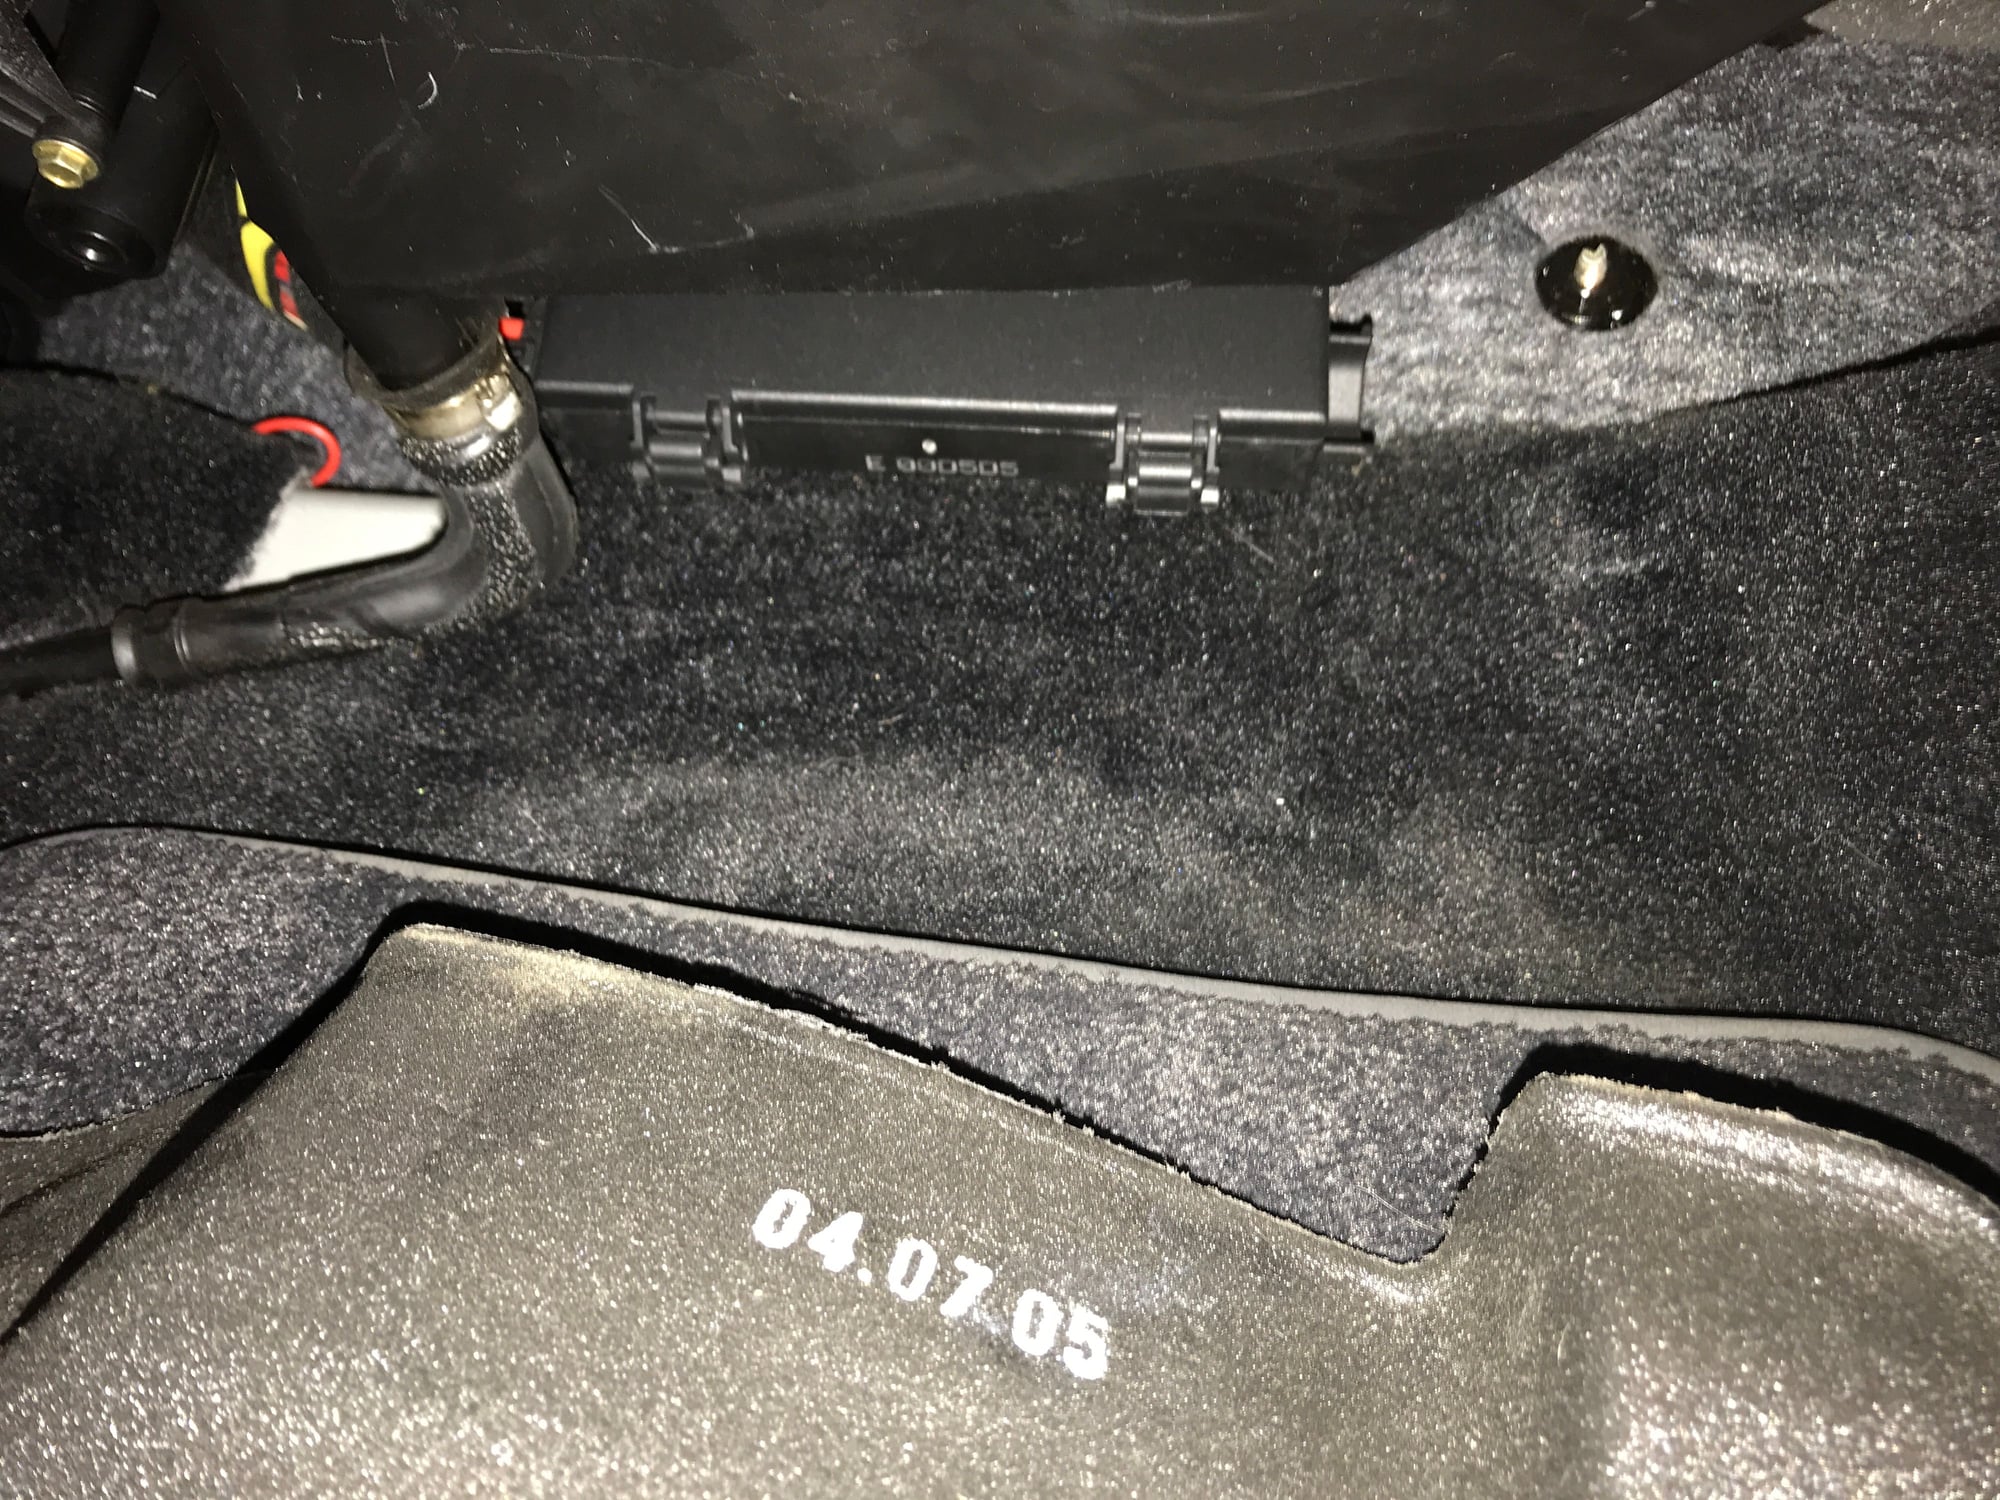
And after locking the doors it only draws -0.02 amps. (Its possibly because I tapped the aux power in the passenger footwell instead of the PCM power.)
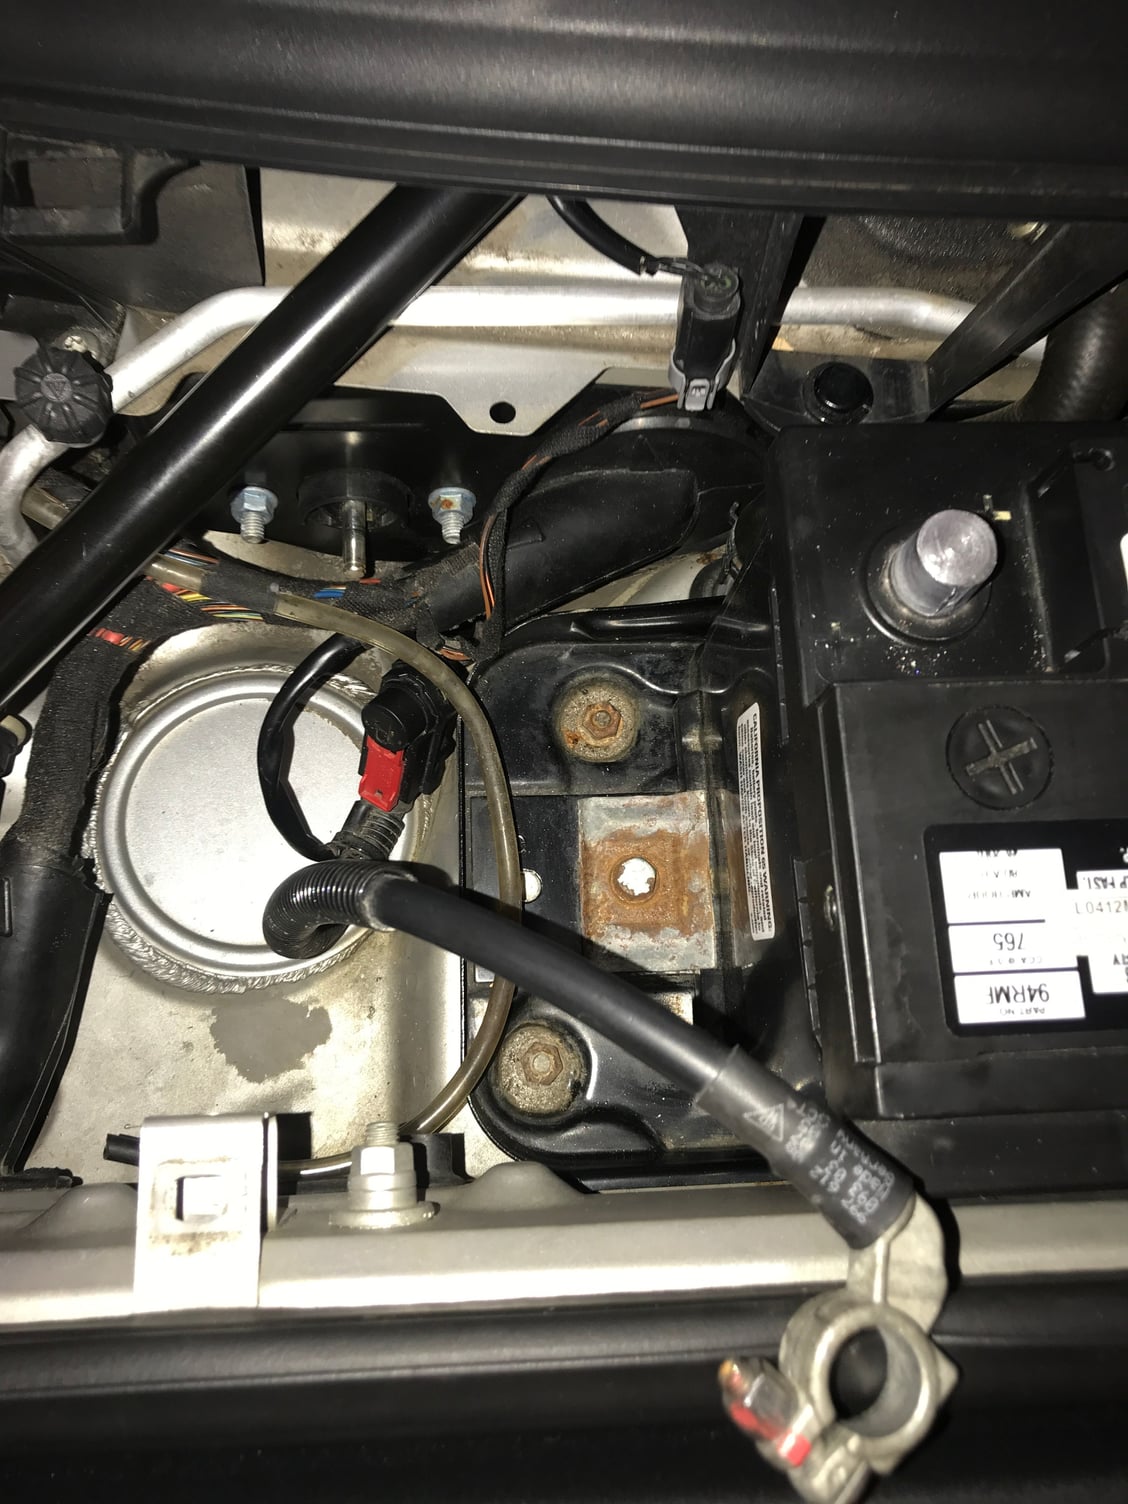
I believe the corrosion on the power distribution bolt exacerbated the problem, but wasn't "the" problem. Using similar charge levels it appears the alternator puts 0.1V more at the battery now, but thats fuzzy math because the alternator readings bounce around depending on the underlying charge of the battery.
Thx again to Wayne Smith, WhipE350 and MagnusB for all the help.
How do you measure the current draw? I.e. where do you connect?
To measure amps you need to do the following:
- Move the red lead to the "10ADC" amp socket
- Turn the dial to "10A" amp scale. You can see how mine is setup in the pictures above.
- Remove the negative cable from the battery
- Clip the red lead of the multimeter to the negative terminal and clip the black lead to the negative cable.
- Make sure your doors are closed and no interior lights are on. Your frunk light will also throw off the reading. Mine seems to have a mind of its own. The day I did the test it was off but other times its been on. I have no idea why.
You should read no more than 25-30 milliamp draw, or -0.03 amps as shown on the display. You can see my first reading was -2.52 amps, so it was obvious something was wrong.
Sorry man, thought every Porsche guy knew these cars are battery eaters with or without the Bluetooth drain. I gather they got better with the newer models, but yeah always lock the beast. Great find btw, impressive.
FWIW, DC current is measured directionally. Which direction is right depends on whether you're a physicist or an EE, but I digress. If the minus reading (implying charging) bothers you then flip the multi meter leads around. You'll get the same readings in the plus direction.
"The Bruce" worked hard on this problem and astutely found his solution. Well done!!!
Sorry to top old thread, but does anyone have a source for the cable and the bolt referenced in the OP:
997-610-916-00 (current bolt repair kit)
997-612-908-01 (cable loom repair kit)
Those two parts yield a $500 tab...is that correct?


 12-18-2017, 04:36 PM


 . You don't have to answer that.