When you click on links to various merchants on this site and make a purchase, this can result in this site earning a commission. Affiliate programs and affiliations include, but are not limited to, the eBay Partner Network.
OEM Clear Stone Guard DIY - PLEASE READ before trying - could save you some stress
I hope this thread can help save some someone from the anxiety I went through for several days as a result of this DIY...
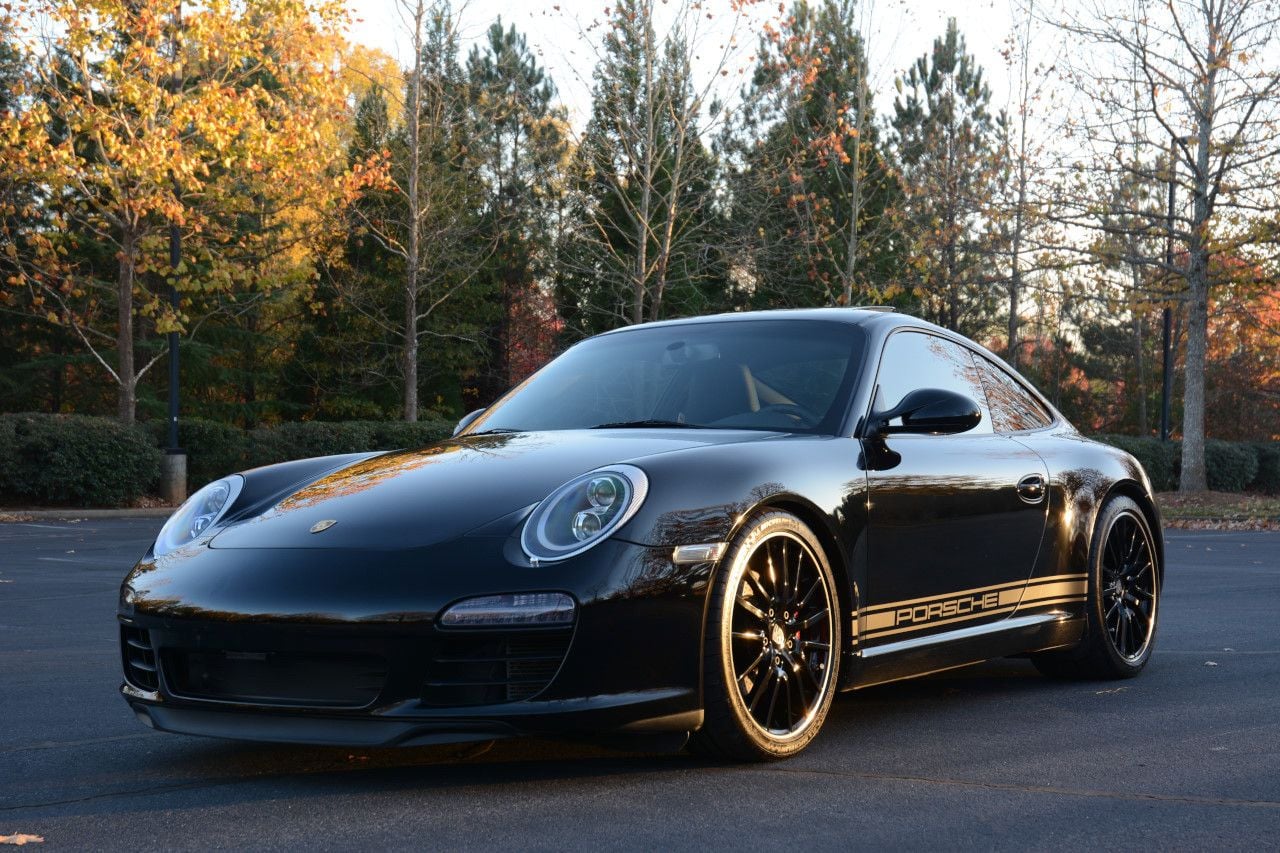
997.2 OEM Clear Stone Guard DIY
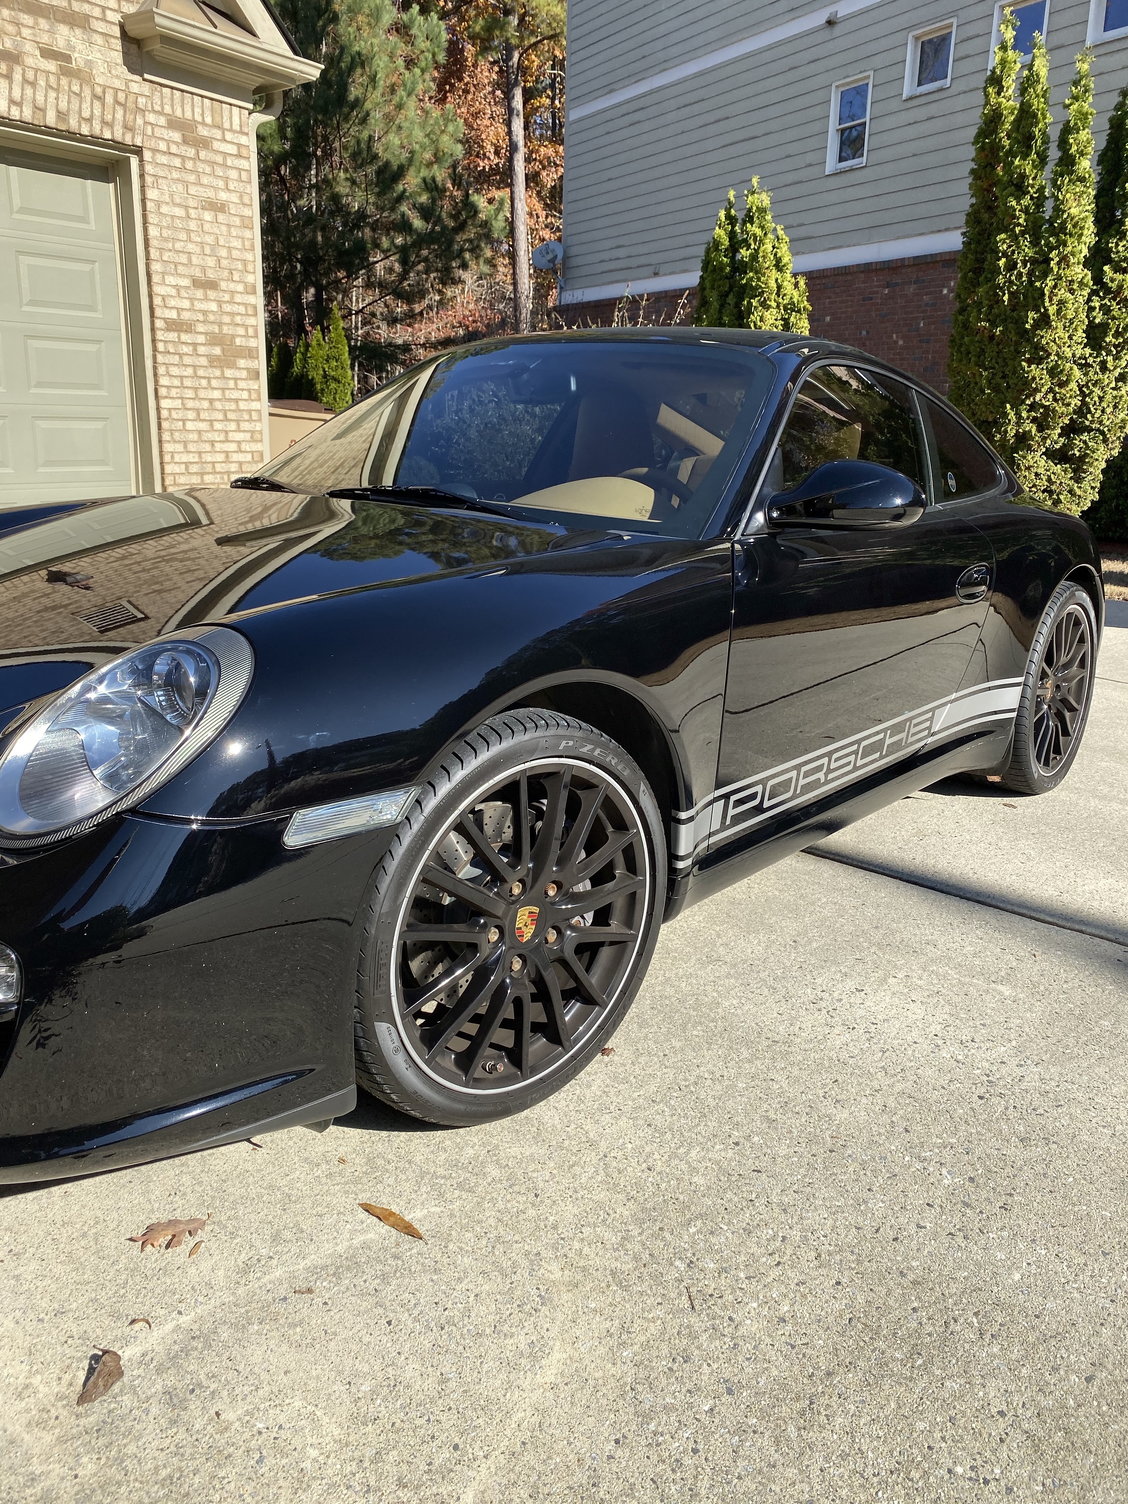
The original stone guards were beginning to show some wear, so I decided to replace them.
My car is black and the clear guards work well and are barely noticeable if you keep the edges clean (particularly from polish or wax build up).
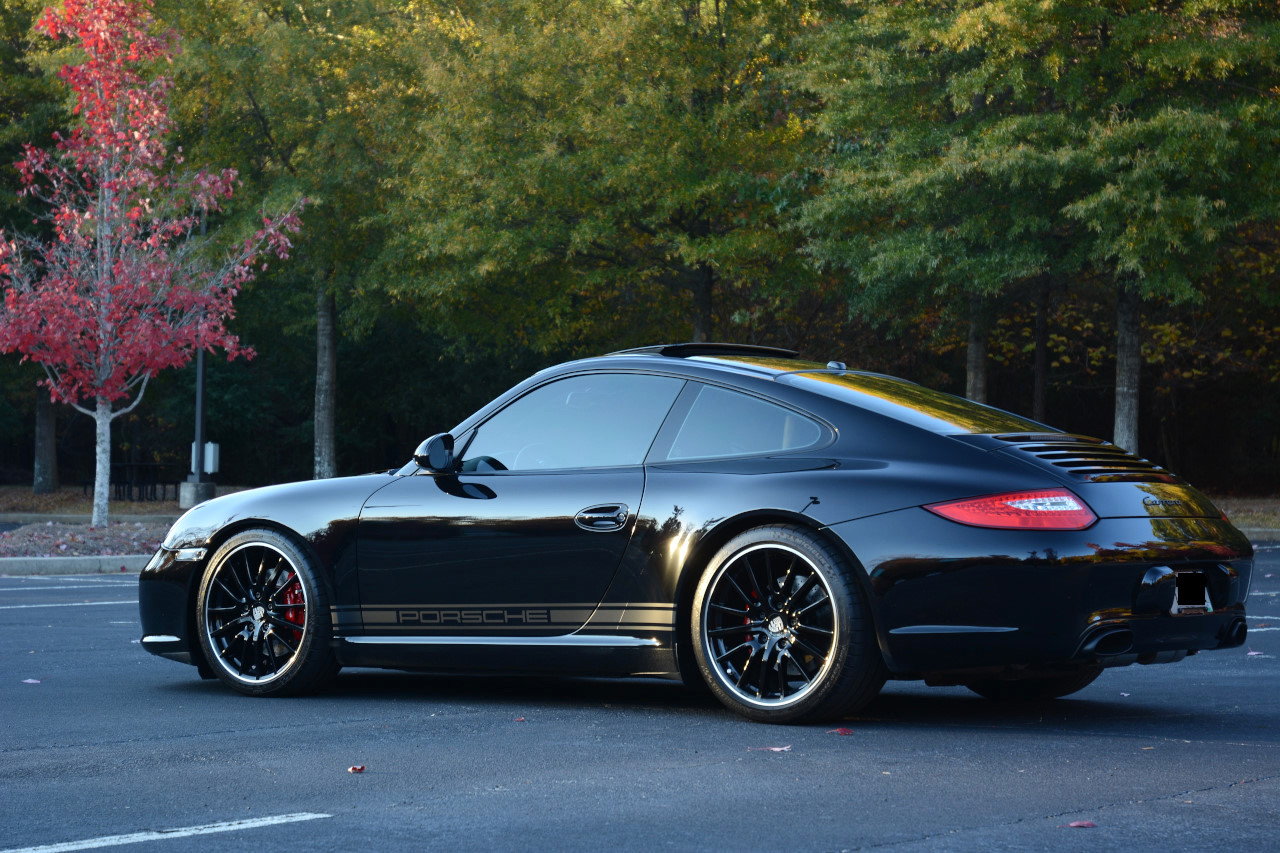
I did consider the black Matt guards but due to another upcoming project (installation of Matt black side decals, I needed to ensure the decals would contrast against the stone guards)
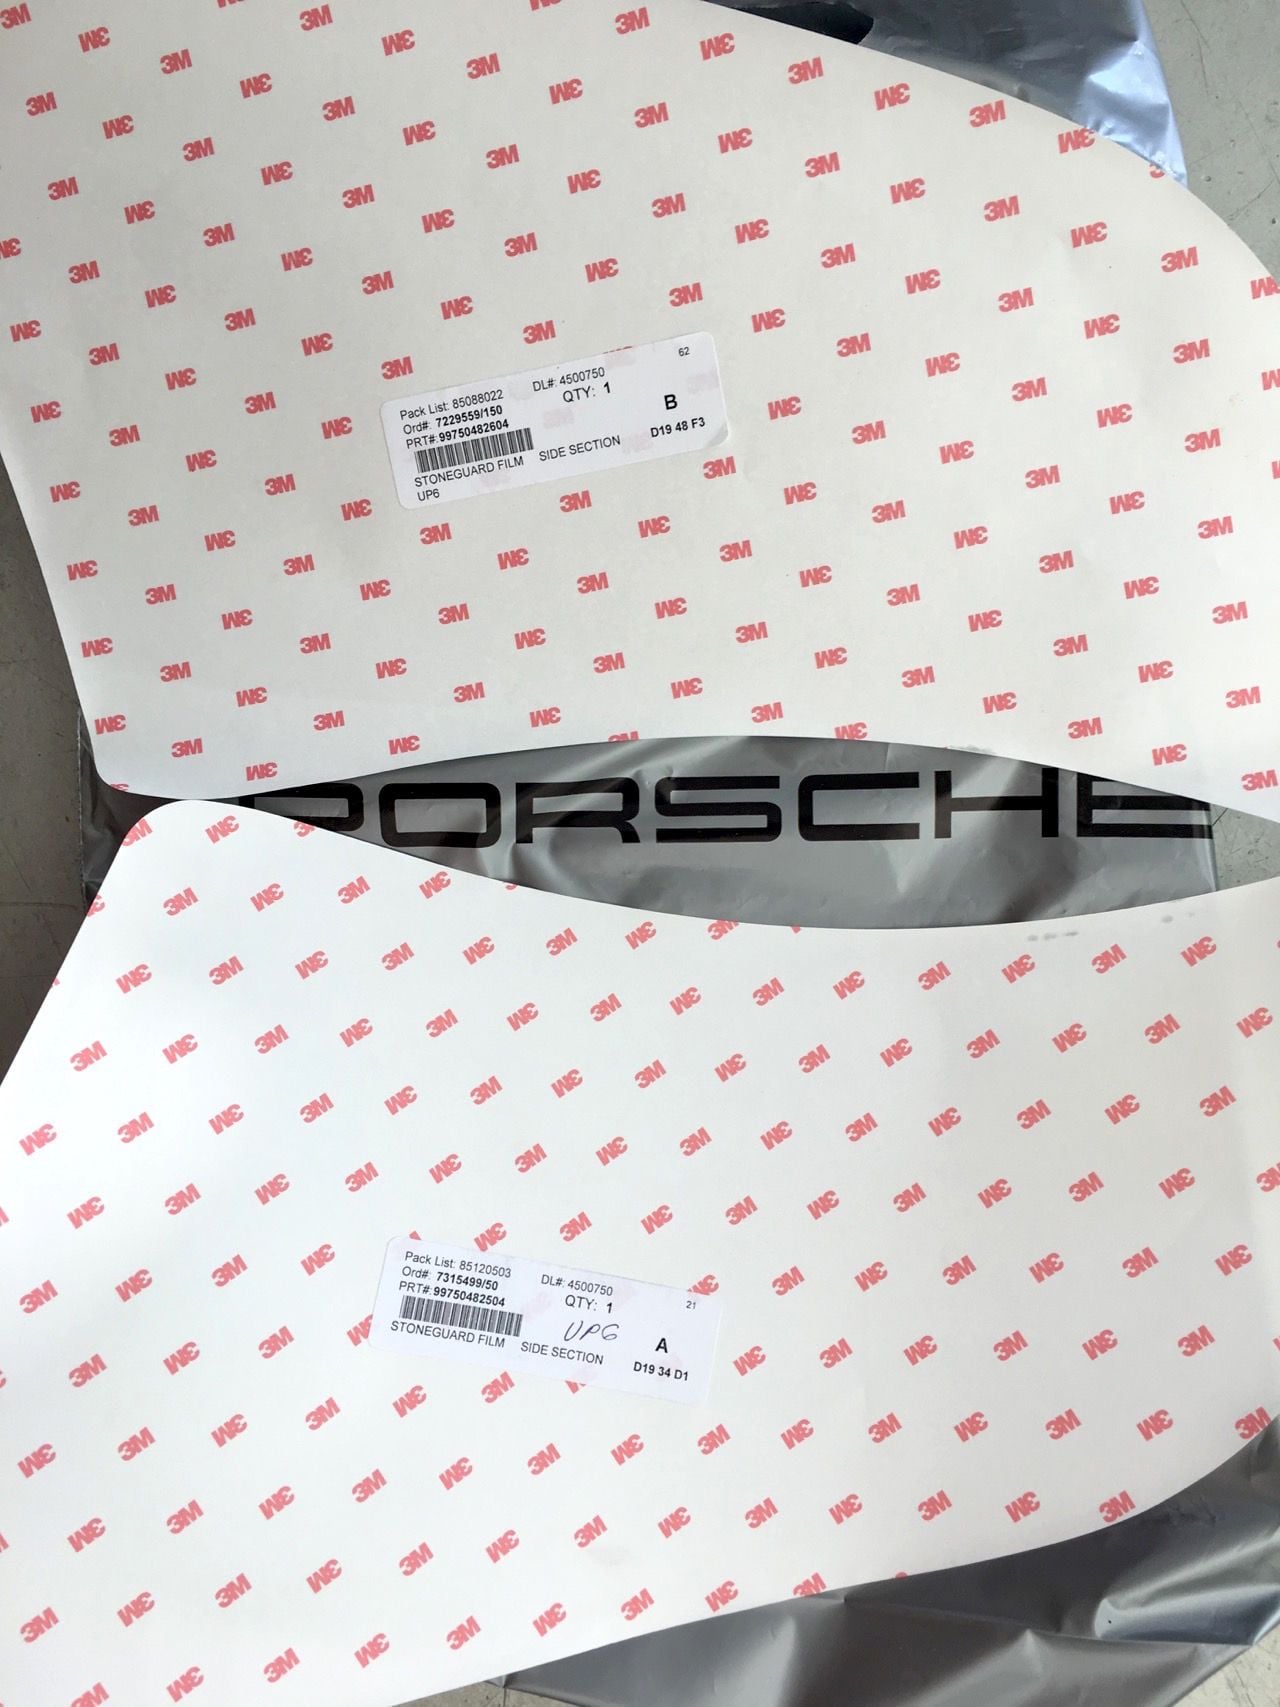
I picked up the stone guards from my local Porsche dealer - part numbers:
997-504-826-04
997-504-825-04
As usual before any DIY, I did a lot of research to see what others found during removal and installation. There are some VERY scary stories out there including several where the actual paint lifted during removal.
I'd also removed my clear bra on my 911 before so I had some prior experience from that task, which also helped.
In summary the good advice I found was to apply a very controlled amount of heat. Most suggest using a hair dryer to avoid the risk of damaging the paint with a heat gun.
I did however choose to use a heat gun, holding it about 18 inches from the surface and keeping it moving.
I also constantly monitored the temperature with an Infra Red handheld thermometer and ensured that the entire area of the stone guard was around 105 deg F. There was no scientific reason for this except that I know the body panels will regularly reach this temperature on hot days, so there should be no risk.
Before starting I ensured that the area immediately around the stone guards was completely clean. I clayed and used paint cleaner to be 100% sure, followed by a 50% isopropyl alcohol wipe down.
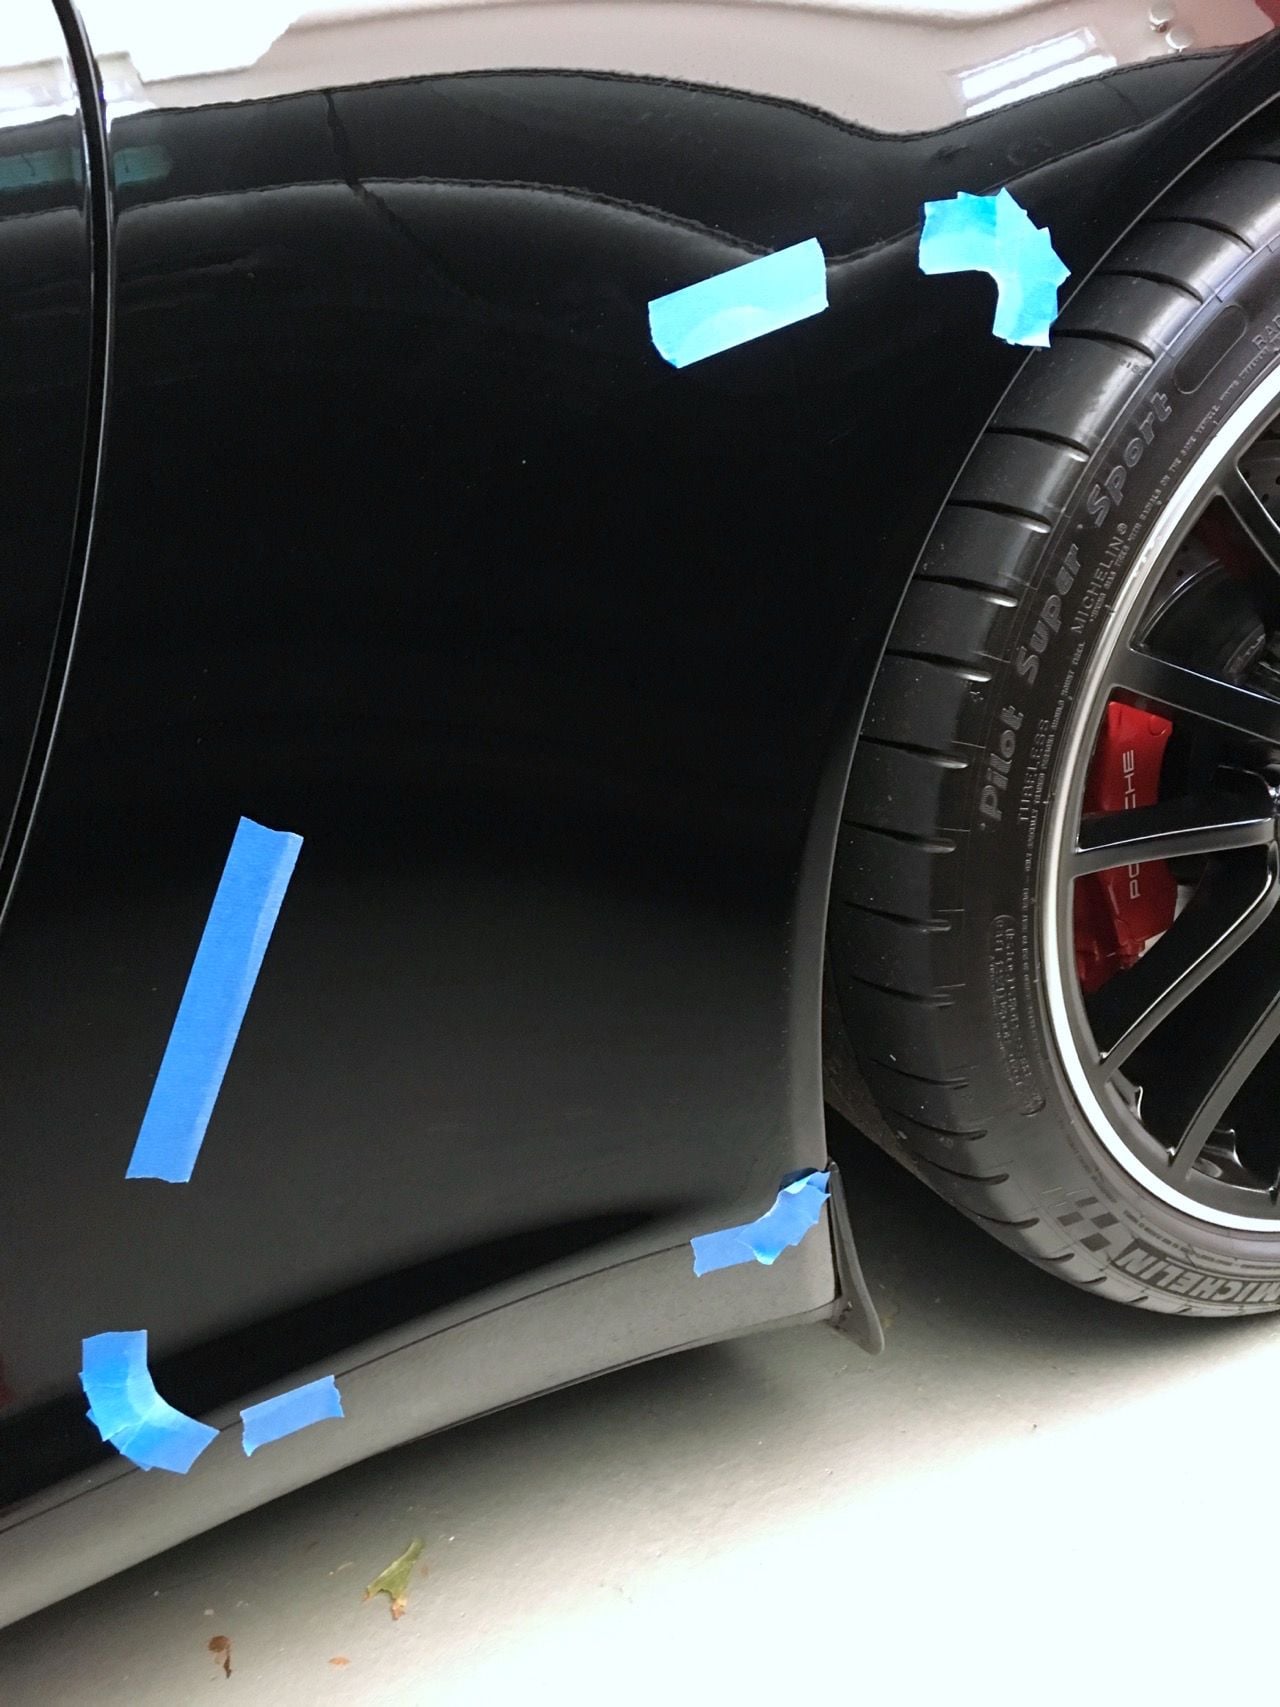
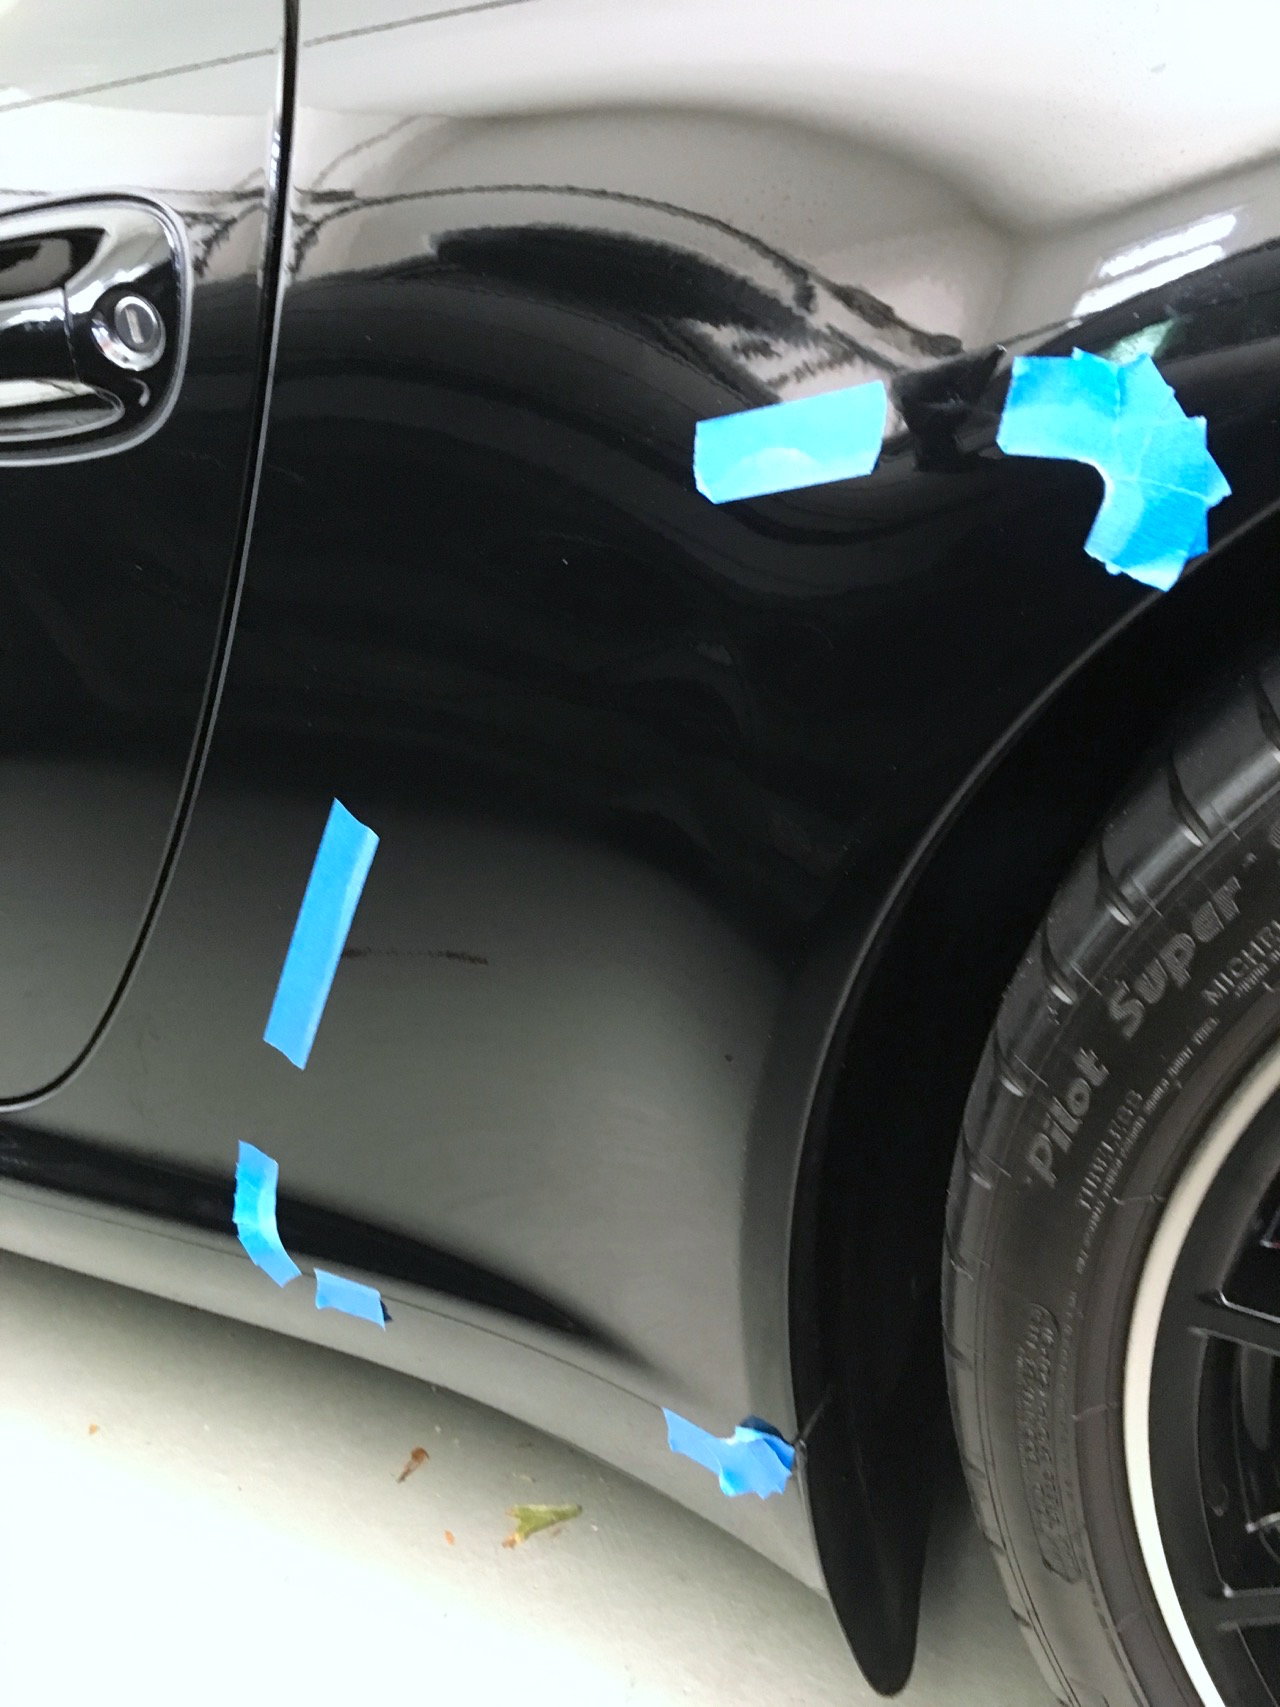
Also before removing the old stone guards I marked key locator points using blue painters tape as shown below.
Removal was a lot easier than expected, and I was able to do it without leaving any residue/adhesive behind. To do this you need to begin at a corner using your finger nail, and ensure that you get a clean lift. I had one corner that didn�t want to come away clean (I could see that the adhesive would remain behind if I continued pulling). I simply moved to a different corner to begin the removal and everything worked fine.
Once you begin you need to pull at a constant and slow speed. Also ensure that you pull evenly across the area that is lifting.
I pulled in such a way to maintain roughly a 45 degree angle between the lifted portion of the stone guard and the portion that was still on the vehicle. (or to say it differently, the lifted portion should be pulled at 135 degrees from it�s installed angle.
After complete removal, I again did another wipe down of the area with 50% isopropyl alcohol.
Now comes the interesting part�
For application I used a lightly soapy solution of water and dish soap (part of the common recommendations I came across). I sprayed the car and the back of the guard liberally with the solution.
The painters tape made it very easy to position the piece, although I did need to make a small adjustment with the first guard (because it is a little tricky to handle). The solution allowed it to slide into place quite easily. The second guard was easier to position right the first time (always the case I guess )
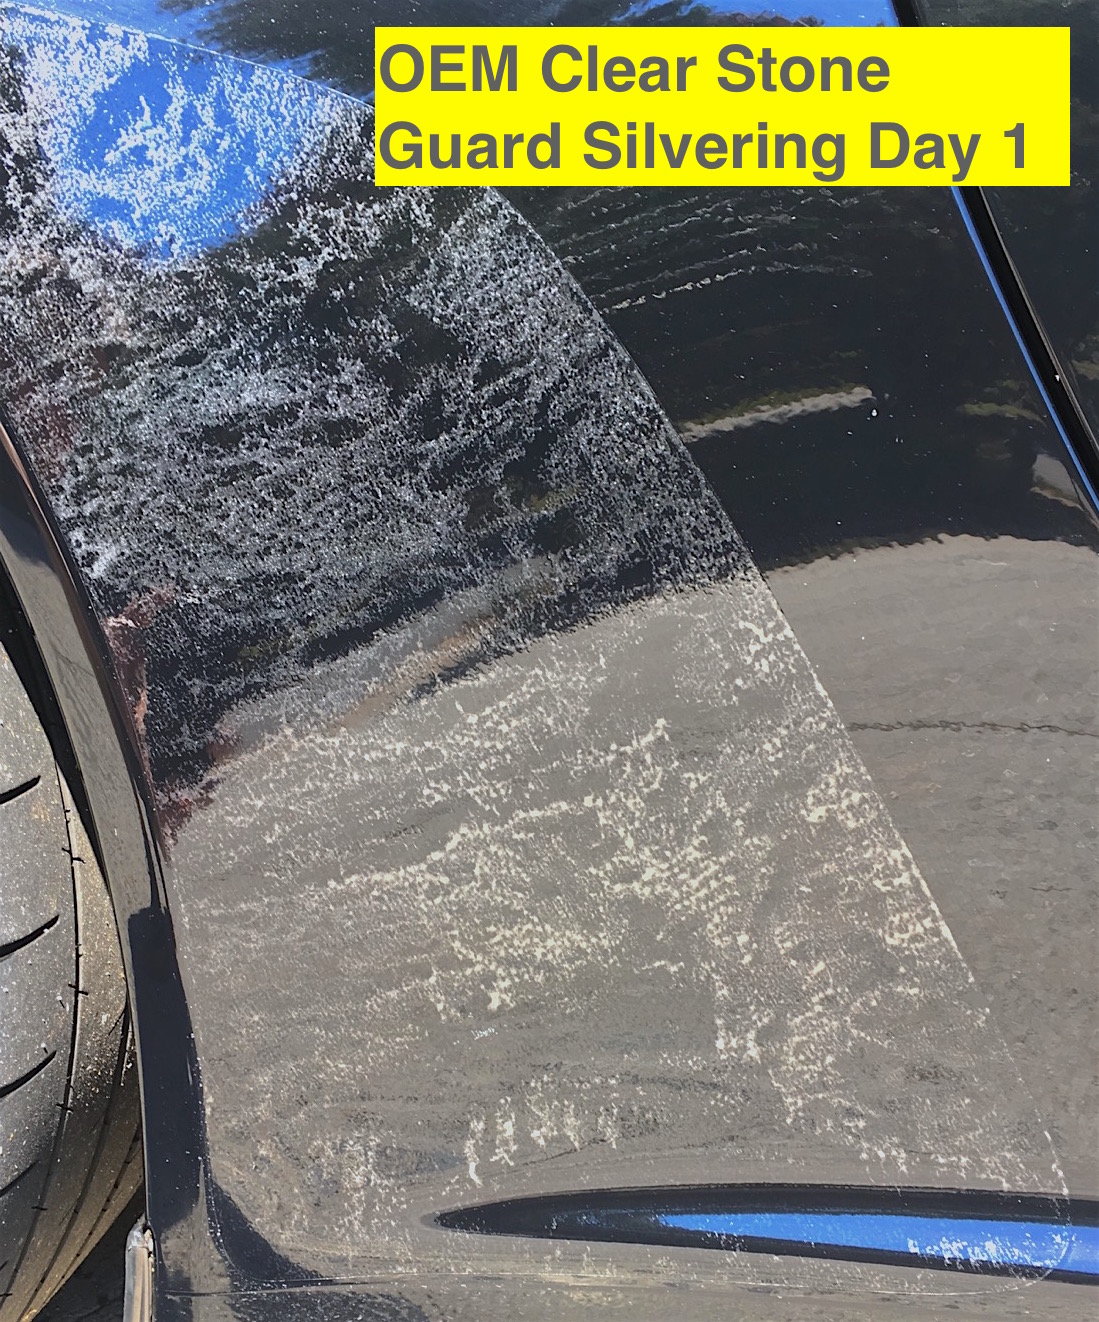
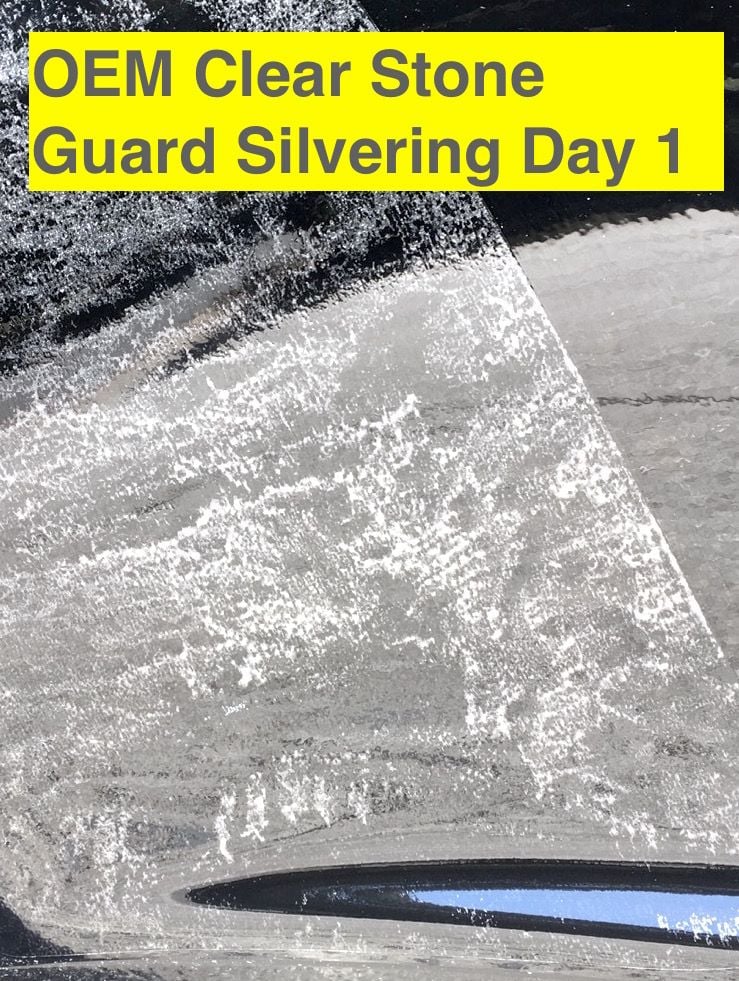
The first spray applicator I used seemed to create a lot of micro bubbles in the solution which just would not squeeze out under pressure of the squeegee. At this point I got quite concerned.
Note that I had done Lamin X film install on my previous headlights , and in that scenario only got a very small number of bubbles. From that experience knew that most small bubbles work there way out after evaporation of the solution once the car has been in the sun for a while. This kind of bubbling was very different, and was more like what is referred to as �silvering� in the industry, which is usually believed to be a permanent issue. Of course any bubbles or issues will show up even more on a black car�
The first guard looked terrible, and I was really not sure if all those bubbles were going to evaporate. It also reminded me of another forum members post where he described his new stone guards as going all cloudy, and subsequently he decided to pull them off, only to have the paint come away also.
There was no way I was gong to risk this so I decided it would be best to trust the bubbles would evaporate over time.
Before proceeding with the other side I changed to a different spray bottle which lessened the micro bubbles, but not entirely. I still had some issues on the other side, and by this time figured:
1. I am really not good at this particular DIY (entirely possible)
2. There was an issue with the adhesive on the guards that I bought, despite being OEM (not too likely)
3. There was a reaction with the soap solution and the adhesive (possible)
4. irrespective of any of the above, all bubbles would evaporate within a couple of weeks (hopefully )
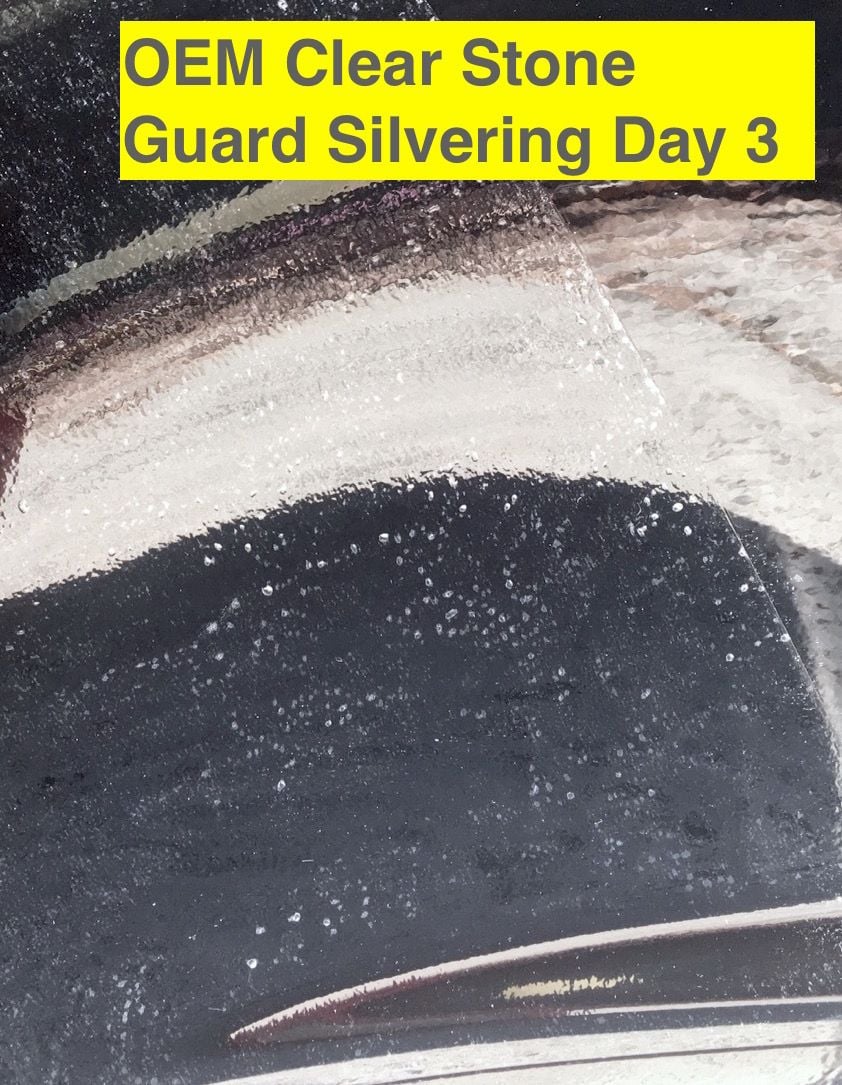
I�m pleased to say that the bubbles did indeed evaporate.
Below you can see that after only 2 days a lot of the micro bubbles were gone and some smaller ones remained. (sorry about the poor quality pics - taken with cell phone)
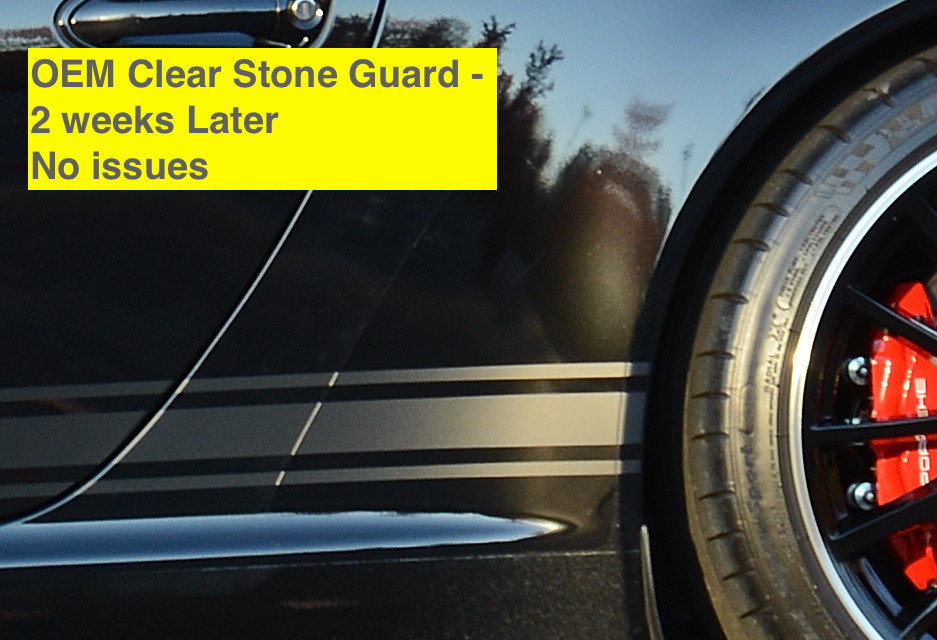
Finally after about 2 weeks (mostly in the garage - the car was only outside a few hours over that period) they turned out 100% perfect as the pictures show below. There are zero remaining bubbles of any kind.
wow your the man! that was one heck of a job for the stone guards. even measured the temp of the heat gun and surface. i hope you will allow me to share some of my experience doing this. when already installing the guard i sprayed the sticky side with a shampoo and water solution. thoroughly covering the sticky side. sprayed the body panel too. stuck the guard and with the shampoo, i could move it around to align the guard to where i would like it to be. afterwards, used a squeegee to push out the shampoo from underneathe the guard. thats it. no bubbles too... just sharing
Last edited by slicky rick; 11-21-2016 at 01:58 AM.
Nice job. I went through the exact same process on my GT Silver car. I think it showed far fewer bubbles, though, perhaps because of the lighter color. I removed the stone guards on my Carrara White car just last week, and will install the new ones soon. Hoping it goes as smoothly as the first time. It is cool to see them get perfect.
Btw, your stripes look great. Subtle. I want the same, but solid black stripes on a white car are a bit bold for me. Maybe I can go with GT Silver stripes, as a tribute to my beloved C2S. ;-) Your car looks clean, overall. Congrats.
Successful removal apparently depends a lot on the condition of the old guards. Mine were matte and cracked due to age and being baked in the sun. A dealer and several body shops all said it was doubtful they would come off without paint damage. I finally took it to an expert film installer who said the same thing but had lots of experience and I figured if anyone could do it, they could. However they were unable to remove them without some of the clear coat coming off. I would have showed through new clear guards, so what we decided was to put on gloss black ones (which luckily matched the paint extremely well) and overlay those with 3M clear. The result, fortunately, was excellent. But the lesson learned here is not to wait until the guards are too far gone as I did.
I've said it before and will say it again... This community can be AMAZING (as long as one avoids the politics thread like the plague ha...) -- Posts like this make this an incredible resource. Thank you.
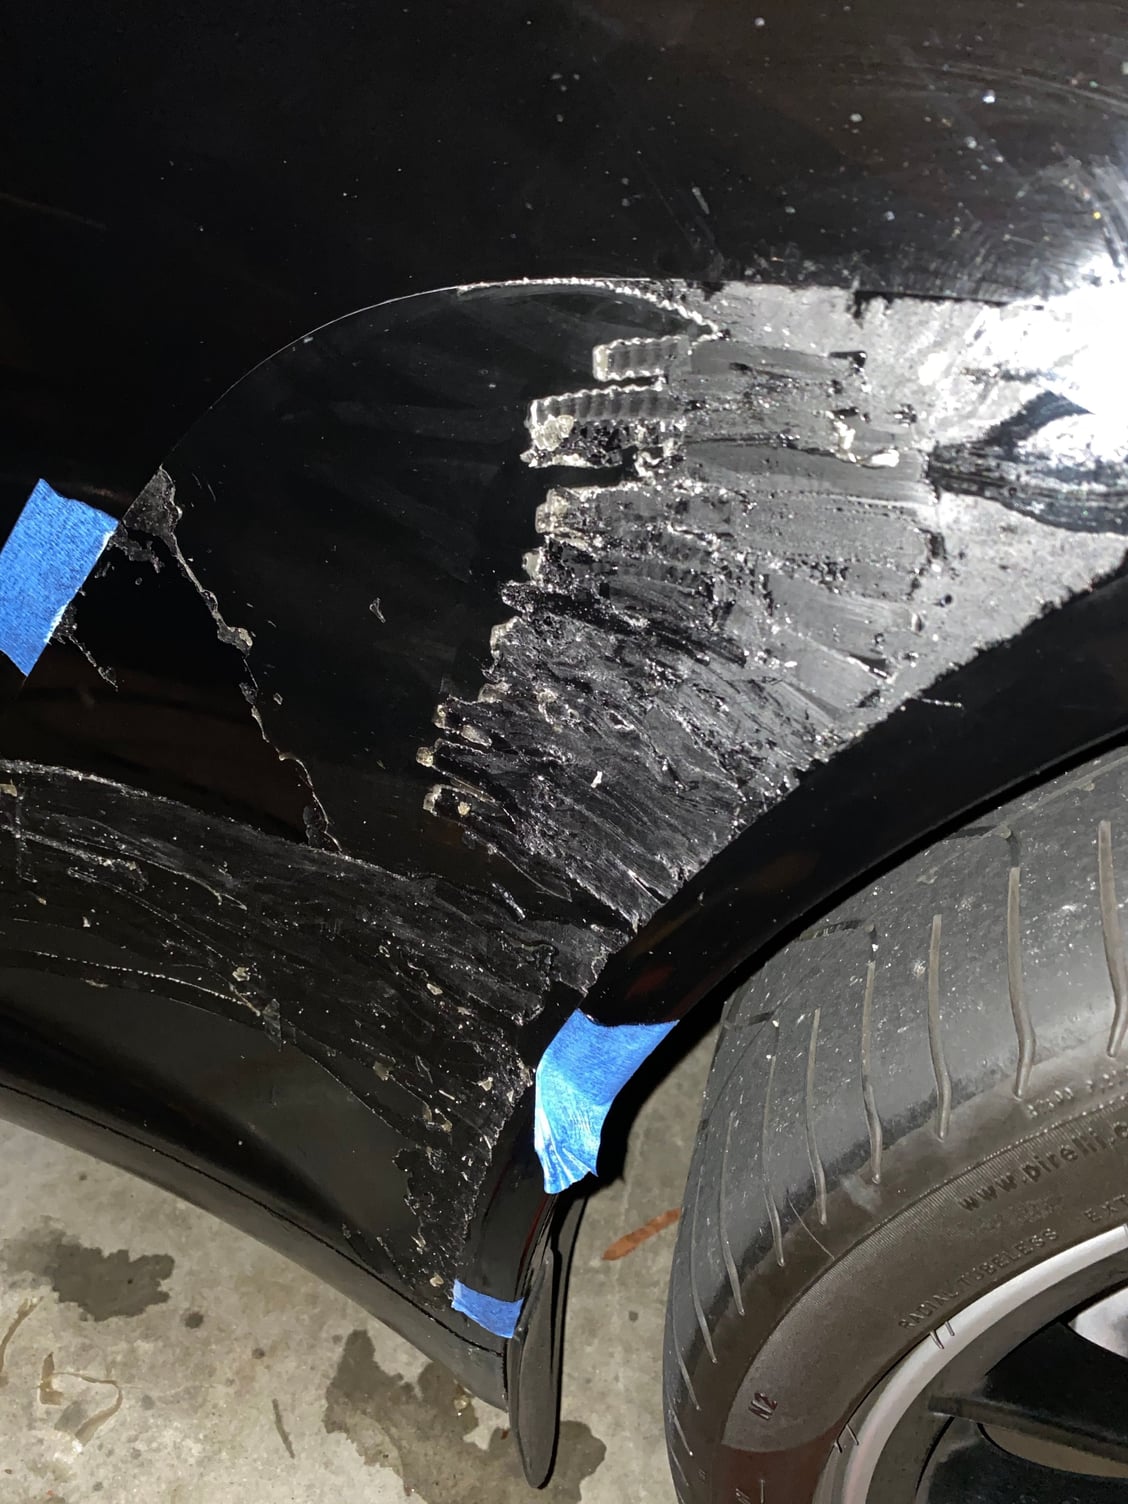
Removed and replaced my stone guards Wow, what a chore to remove the old stone guards. Probably were the original ones on my 2010 C2. The right came off with low to moderate work using steam, some some small adhesive to remove otherwise as expected. The left was a 4 -5 hour ordeal. It was cloudy so I assumed the film was degraded. And man was it. I spent hours trying steamer, heat gun, plastic wedges, credit cards 3M adhesive remover and finally got to clear paint. Never expected such a job to remove the film in pieces and layers. Posted a mid-process picture to show the mess. Then installed the new factory films and added decals. I suggest if you think your stone guard has been on a while or is cloudy take it off before it degrades further before it loses its integrity to strip off. The adhesive seems to survive just fine and was a b*&^%$ to remove since the film didn't strip. Good for 3M Specialty adhesive spray but still a job.
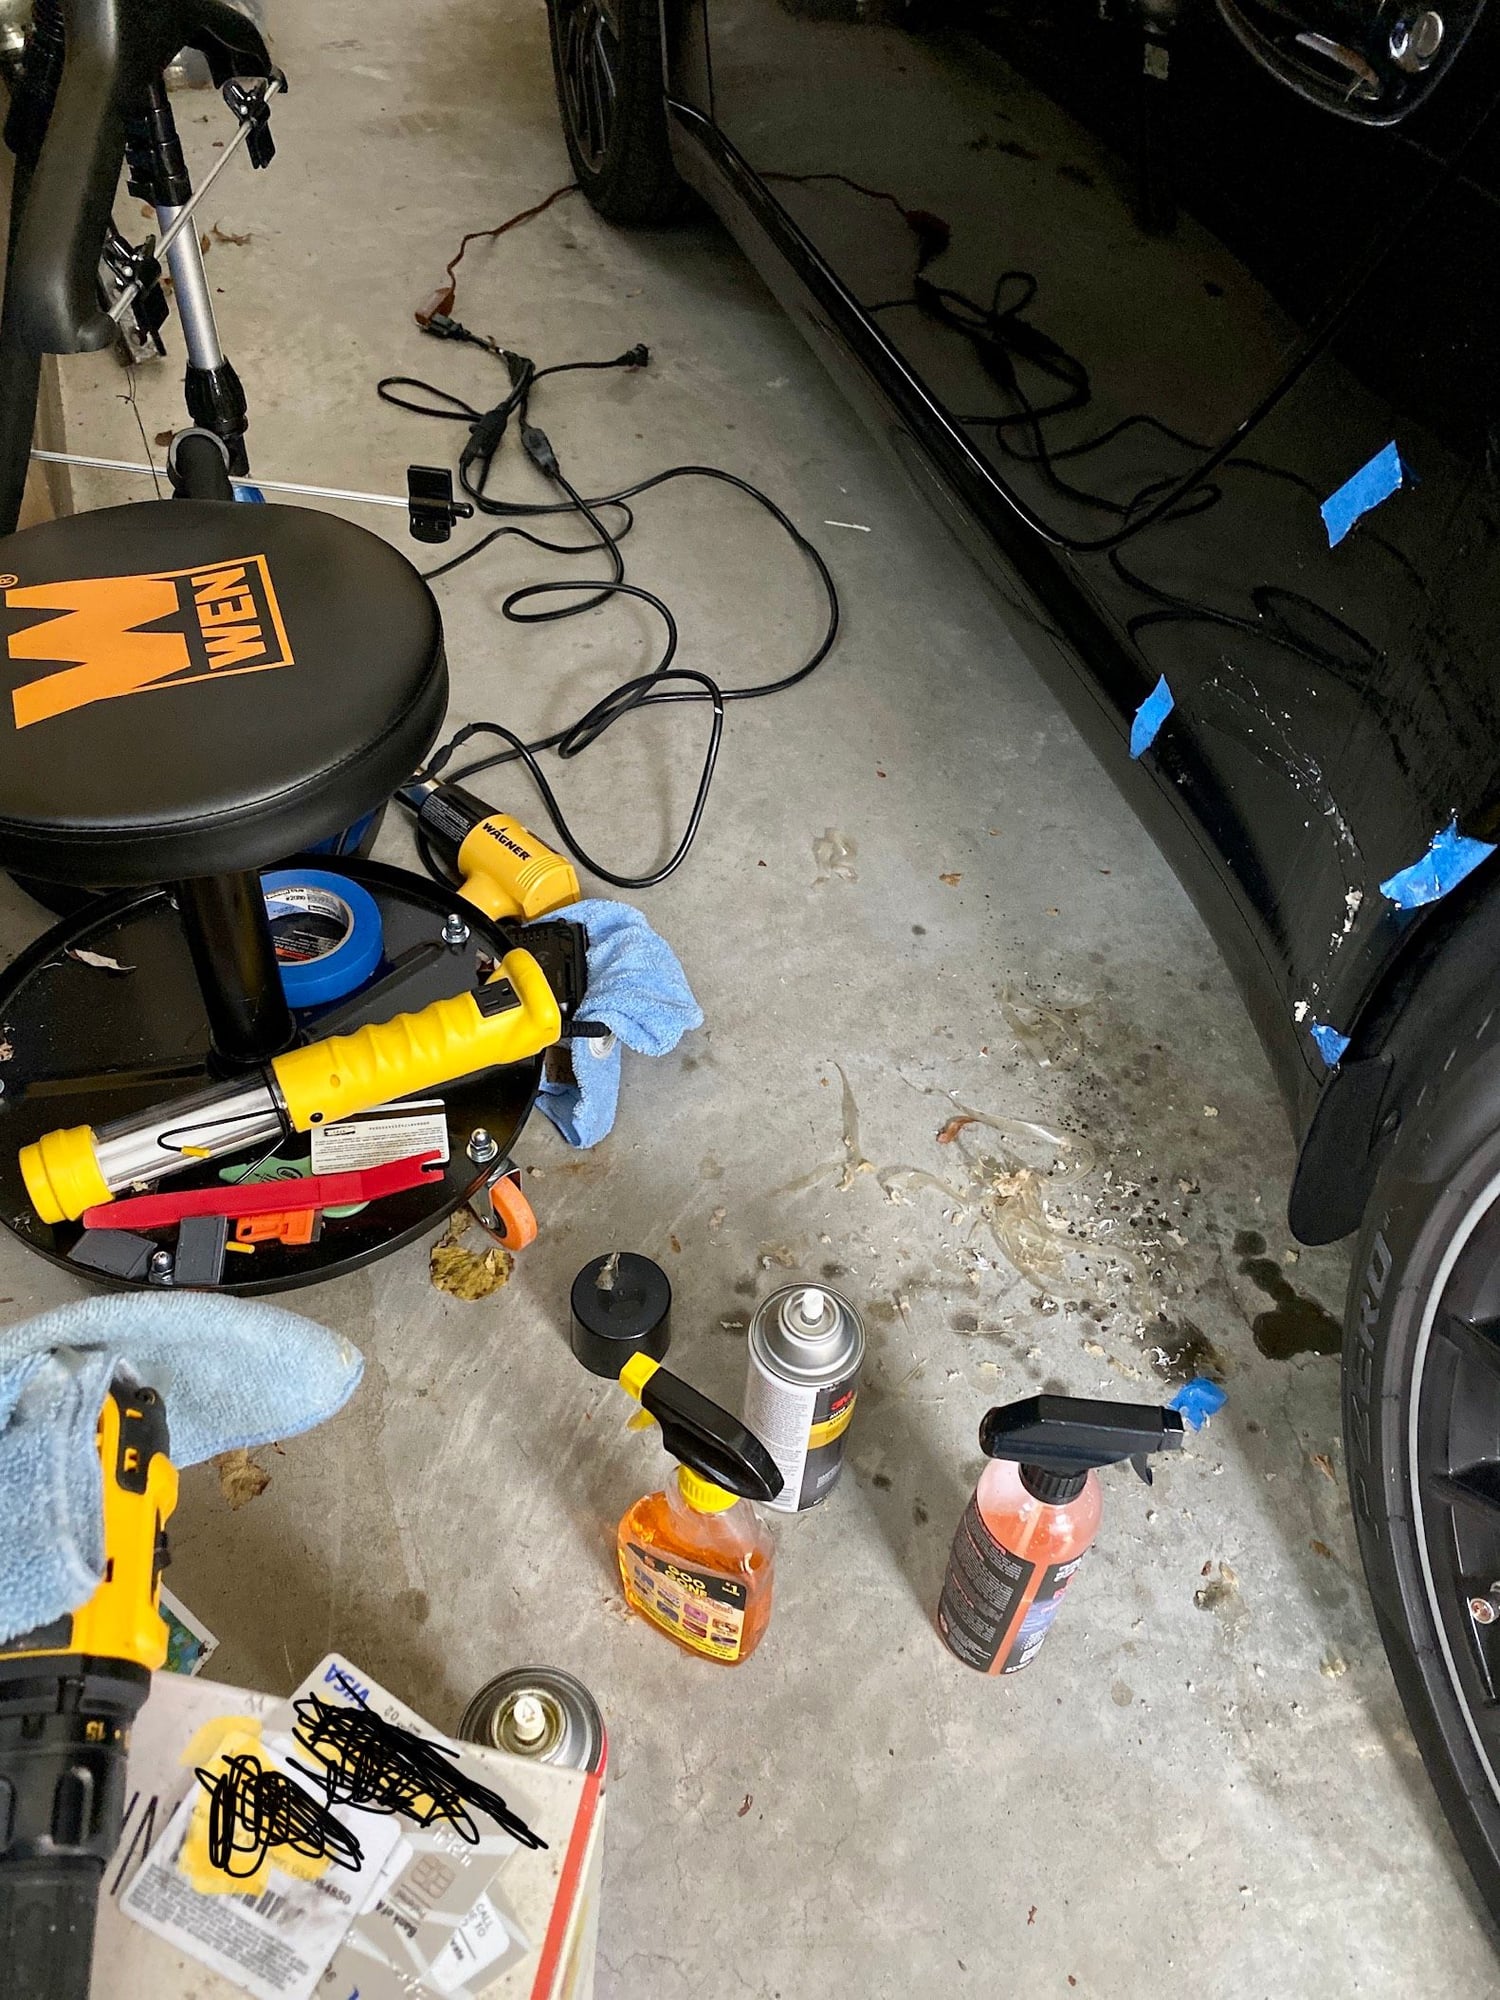
This is the during and after photos of removing the left stone guard . Previous post I mentioned the right guard came off more routinely. Due to the degree of difficultly, I couldn't resist taking a photo of the left film mid-process mess. I determined the film was so far degraded that it had no strength to withstand a pull to strip it off. The photo shows how I left it at 10PM when I decided to have a beer and think about it overnight. Next day Amazon delivered the 3M erasure wheel which I put on a fully charged DeWalt drill, 3M Adh Spray, Goo Off, A little heat from heat gun,(gave up on the steamer) plastic razor blades (Carefully)and credit card. (Borrowed my wife's credit cards which was one positive of all this) Easily a 4 hour process to finish The erasure wheel was good to spread out the film skin so the adhesive remover was much more effective to easily wipe off the thinned out residual. This technique was something I learned late in the process, unfortunately , Use the erasure wheel to spread out the old stuck film like butter then spray and wipe. Keep mindful of surface temperature when using the wheel. Worked far easier than scraping. Paint and clear coat were pristine after final removal and prep for new film.
Final analysis. Being a polymer chemist in earlier years I suspected the cloudiness of the stone guard was due to sun exposure on that side. When a clear film turns cloudy assuming its not the adhesive giving way (wish it was!) then it is an indication of degraded tensile properties of the elastomeric film..thus as we say in the trade punky consistency. I figured the film is vinyl not polyurethane so am thinking an alternative process would be to tape in place a solvent soaked gauze over the old film with tin foil on that to stop solvent from evaporating and let it sit overnight. Usually degraded film will swell and soften in the presence of a solvent. I didn't have a film sample to try a soak test of different solvents so may do that in future. then test on the clear coat first. That said I will not be in this position again. Will replace films every few years. Job done including decals.
After trying heat gun with plastic scraper.Still left adhesive on the paint. Ugh! Note newly purchased $70 fabric steamer in back, $40 3M erasure wheel, $17 3M adhesive removal spray, numerous micro cloths Done
This is the during and after photos of removing the left stone guard . Previous post I mentioned the right guard came off more routinely. Due to the degree of difficultly, I couldn't resist taking a photo of the left film mid-process mess. I determined the film was so far degraded that it had no strength to withstand a pull to strip it off. The photo shows how I left it at 10PM when I decided to have a beer and think about it overnight. Next day Amazon delivered the 3M erasure wheel which I put on a fully charged DeWalt drill, 3M Adh Spray, Goo Off, A little heat from heat gun,(gave up on the steamer) plastic razor blades (Carefully)and credit card. (Borrowed my wife's credit cards which was one positive of all this) Easily a 4 hour process to finish The erasure wheel was good to spread out the film skin so the adhesive remover was much more effective to easily wipe off the thinned out residual. This technique was something I learned late in the process, unfortunately , Use the erasure wheel to spread out the old stuck film like butter then spray and wipe. Keep mindful of surface temperature when using the wheel. Worked far easier than scraping. Paint and clear coat were pristine after final removal and prep for new film.
Final analysis. Being a polymer chemist in earlier years I suspected the cloudiness of the stone guard was due to sun exposure on that side. When a clear film turns cloudy assuming its not the adhesive giving way (wish it was!) then it is an indication of degraded tensile properties of the elastomeric film..thus as we say in the trade punky consistency. I figured the film is vinyl not polyurethane so am thinking an alternative process would be to tape in place a solvent soaked gauze over the old film with tin foil on that to stop solvent from evaporating and let it sit overnight. Usually degraded film will swell and soften in the presence of a solvent. I didn't have a film sample to try a soak test of different solvents so may do that in future. then test on the clear coat first. That said I will not be in this position again. Will replace films every few years. Job done including decals.
After trying heat gun with plastic scraper.Still left adhesive on the paint. Ugh!
Job well done
If you'd bought the stone guards and the stripes at the right places, you would still have come with a lower total bill than if you went with OE
I was lucky in that my car didn't have the stone guards - I assume one of the POs removed it, or maybe it never had one.
That made it much easier to install new one and then I also did the stripes.

 11-20-2016, 08:30 PM
 )
)